
Near the end of Final Fantasy 16, more specifically, during the “Brotherhood” main scenario quest, you’ll gain access to the Usher to the Underworld Notorious Mark, also known as Thanatos. This hulking Fallen Construct is situated in Titan’s Wake, Dhalmekia. Read below to find out its exact location, and how to defeat it.
Thanatos can be accessed during the Brotherhood main scenario quest which is near the end of the game.
Where to Find the Usher to the Underworld Thanatos
| Location | Level | Bounty |
|---|---|---|
| Titan’s Wake, Dhalmekia | 42 | 17,000 Gil, 45 Renown |
Before you can battle Thanatos, you’ll need to be on at least the Brotherhood main scenario quest. Once you have access to it, teleport to the ![]() Kretov
Kretov ![]() Obelisk and follow the eastern path to Titan’s Wake. At the intersection, head northeast to find Thanatos.
Obelisk and follow the eastern path to Titan’s Wake. At the intersection, head northeast to find Thanatos.

Thanatos can be found a short walk east from the !Kretov obelisk in Dhalmekia.
You’ll find Thanatos near the Fallen Ruins in !Titan’s Wake.
Thanatos’s Abilities and Attacks
Below you’ll find all the attacks that Thanatos has in its arsenal:
| Attack | Description | Counter |
|---|---|---|
| Jumping Slam | Thanatos’ feet will turn blue as it charges before leaping into the air and slamming down creating a shockwave on impact. Thanatos will do this multiple times in quick succession after the first stagger phase. | Don’t stand underneath it to avoid the slam, and either dodge or jump over the resulting shockwaves. It’s easier to jump them than it is to dodge. |
| Shoulder Charge | Thanatos will lean down and charge at you with its shoulder leading the way. | |
| Crashing Fist | Thanatos will pull its arm back which will turn blue as it winds up an attack before crashing it down toward the floor at your location. The impact will create a small area of effect around it. | This is a powerful attack, but it has a long wind-up, so simply get away from Thanatos as soon as its hand goes back and turns blue. |
| Crashing Foot | Similar to the Fist attack, Thanatos will raise its leg into the air before crashing down at you. This also has a small area of effect on impact. | You can either dodge as the foot begins to travel toward the floor or the easier method, get away from Thanatos to avoid it altogether. |
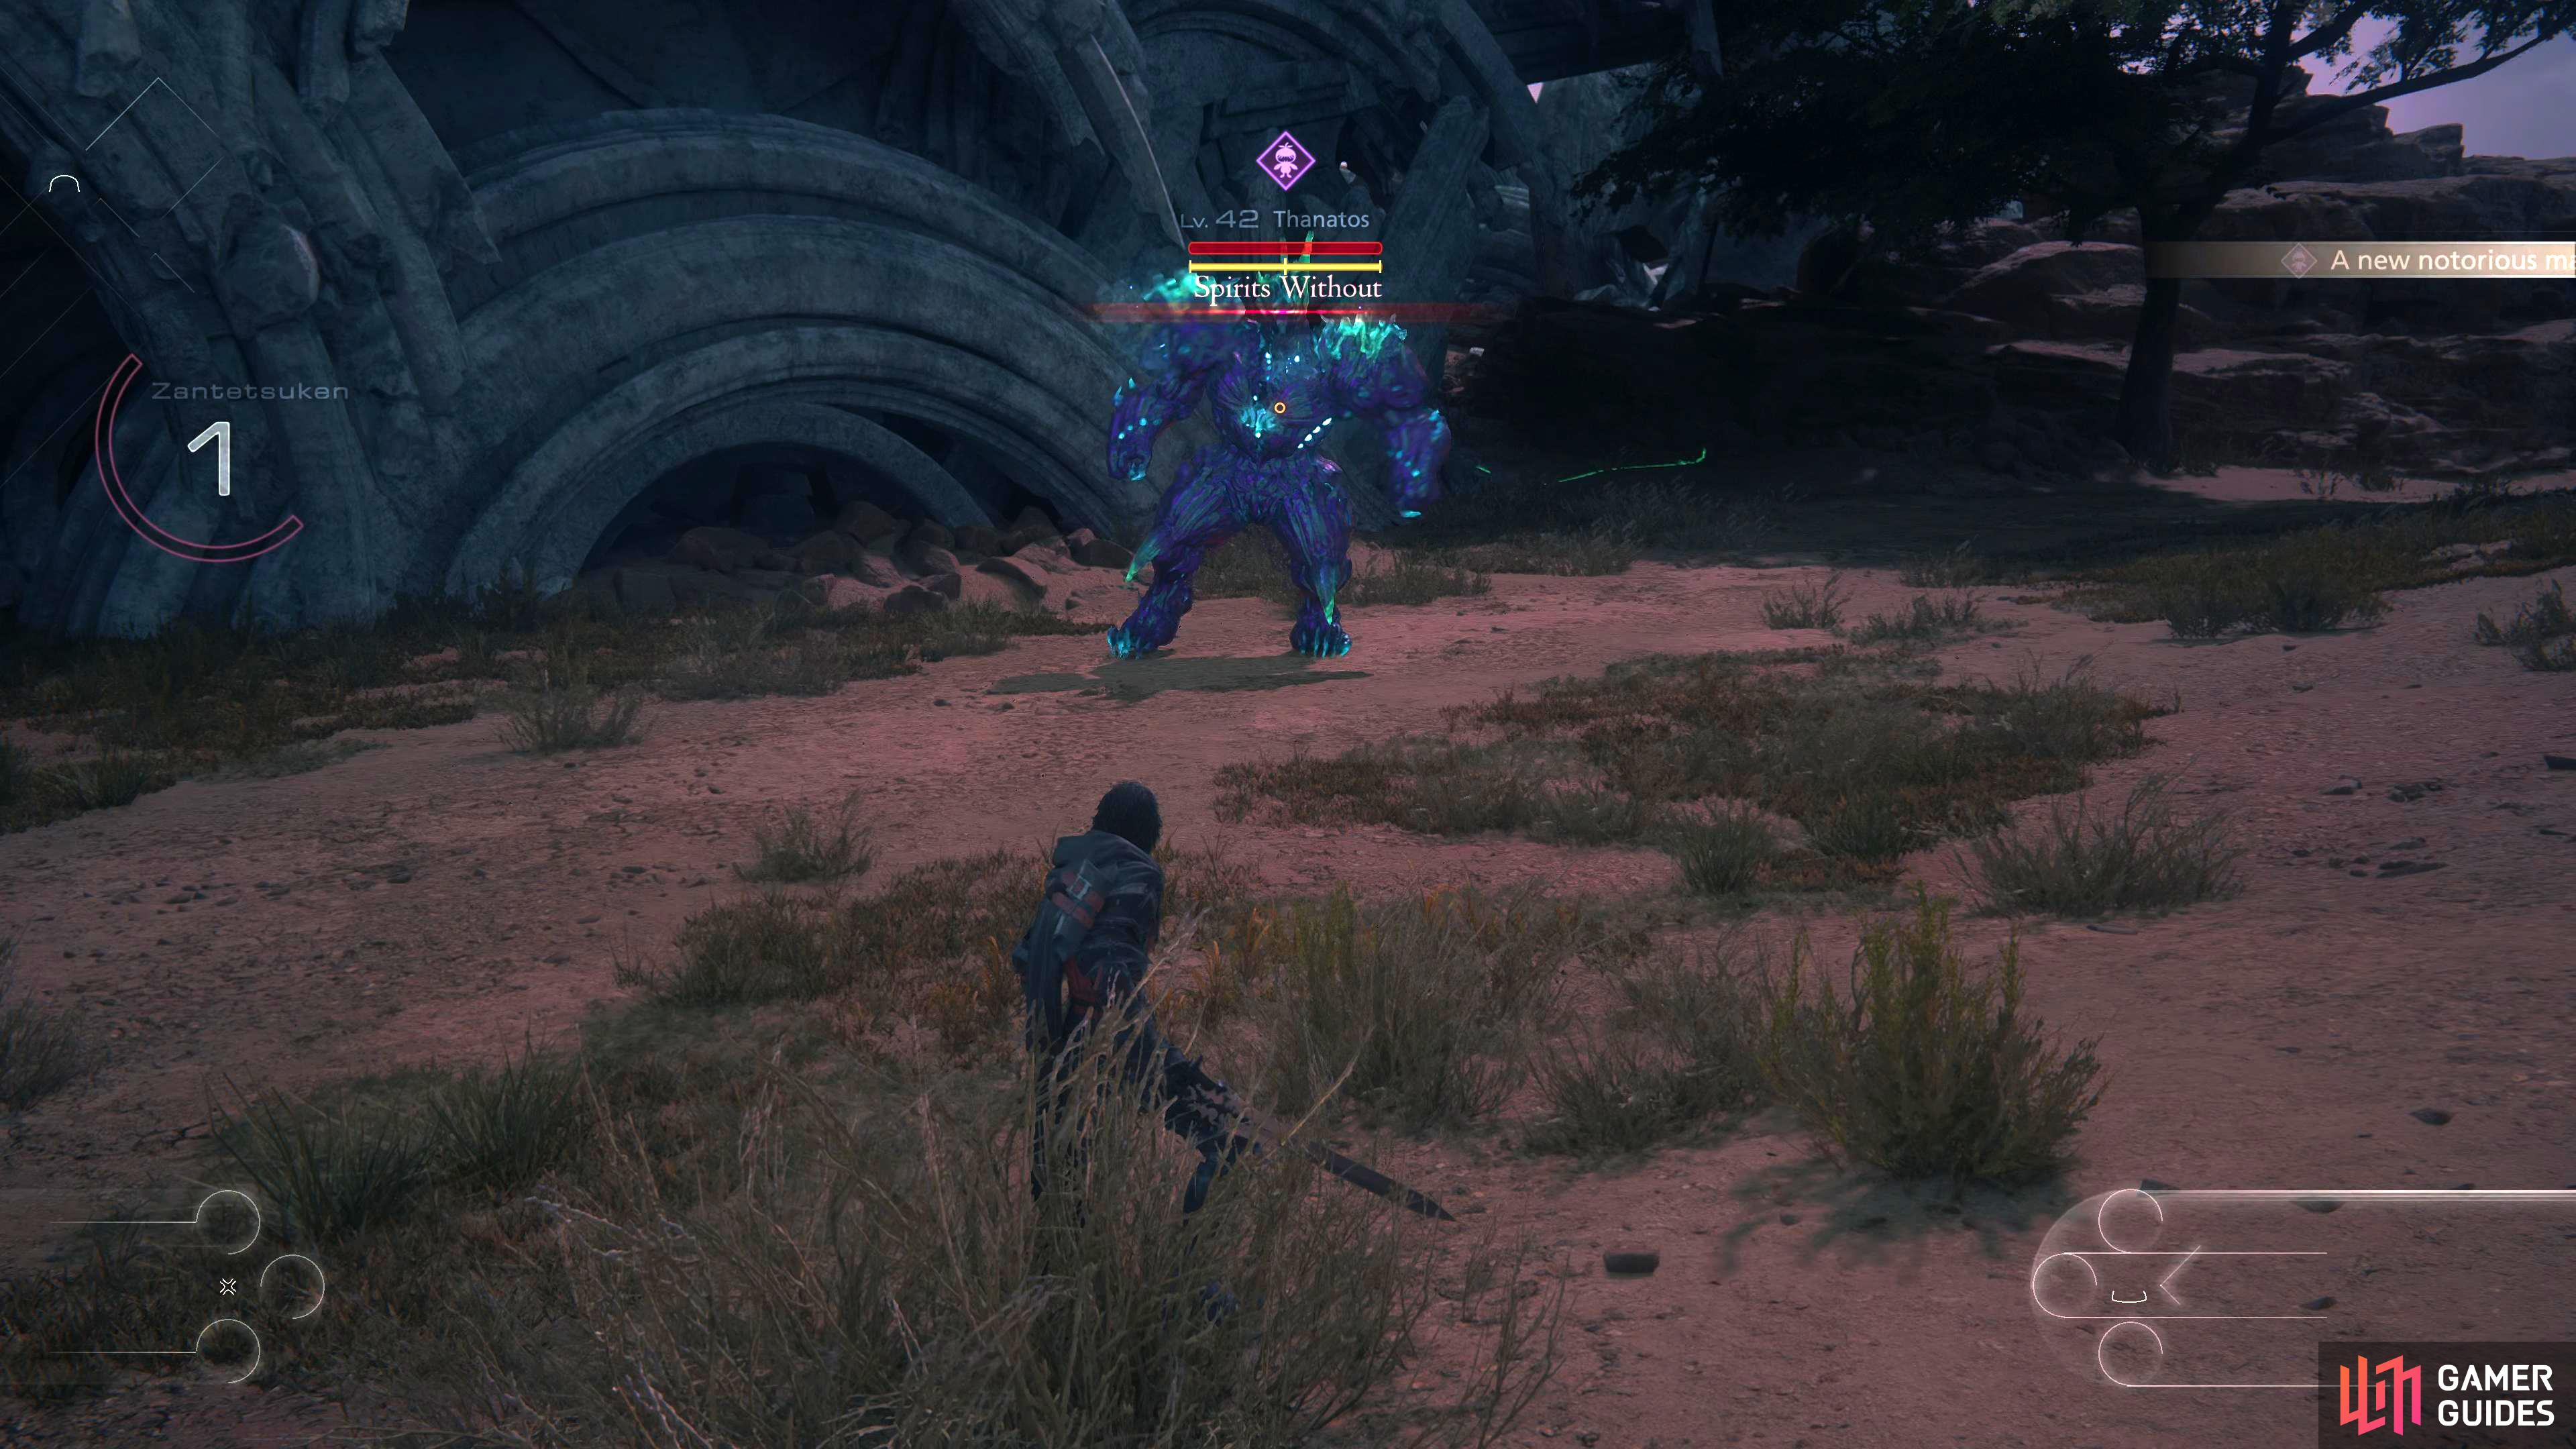
| Spirits Without | Thanatos will absorb aether into its chest before unleashing a beam that goes back and forth across the battlefield. It will use this attack three times in quick succession. | Stand (and attack) at Thanatos’ side until the beam starts to reach you then dodge through it at the last second and repeat the action on the opposite side. Thanatos can do this multiple times, so keep doing this whenever the beam gets close to you. |
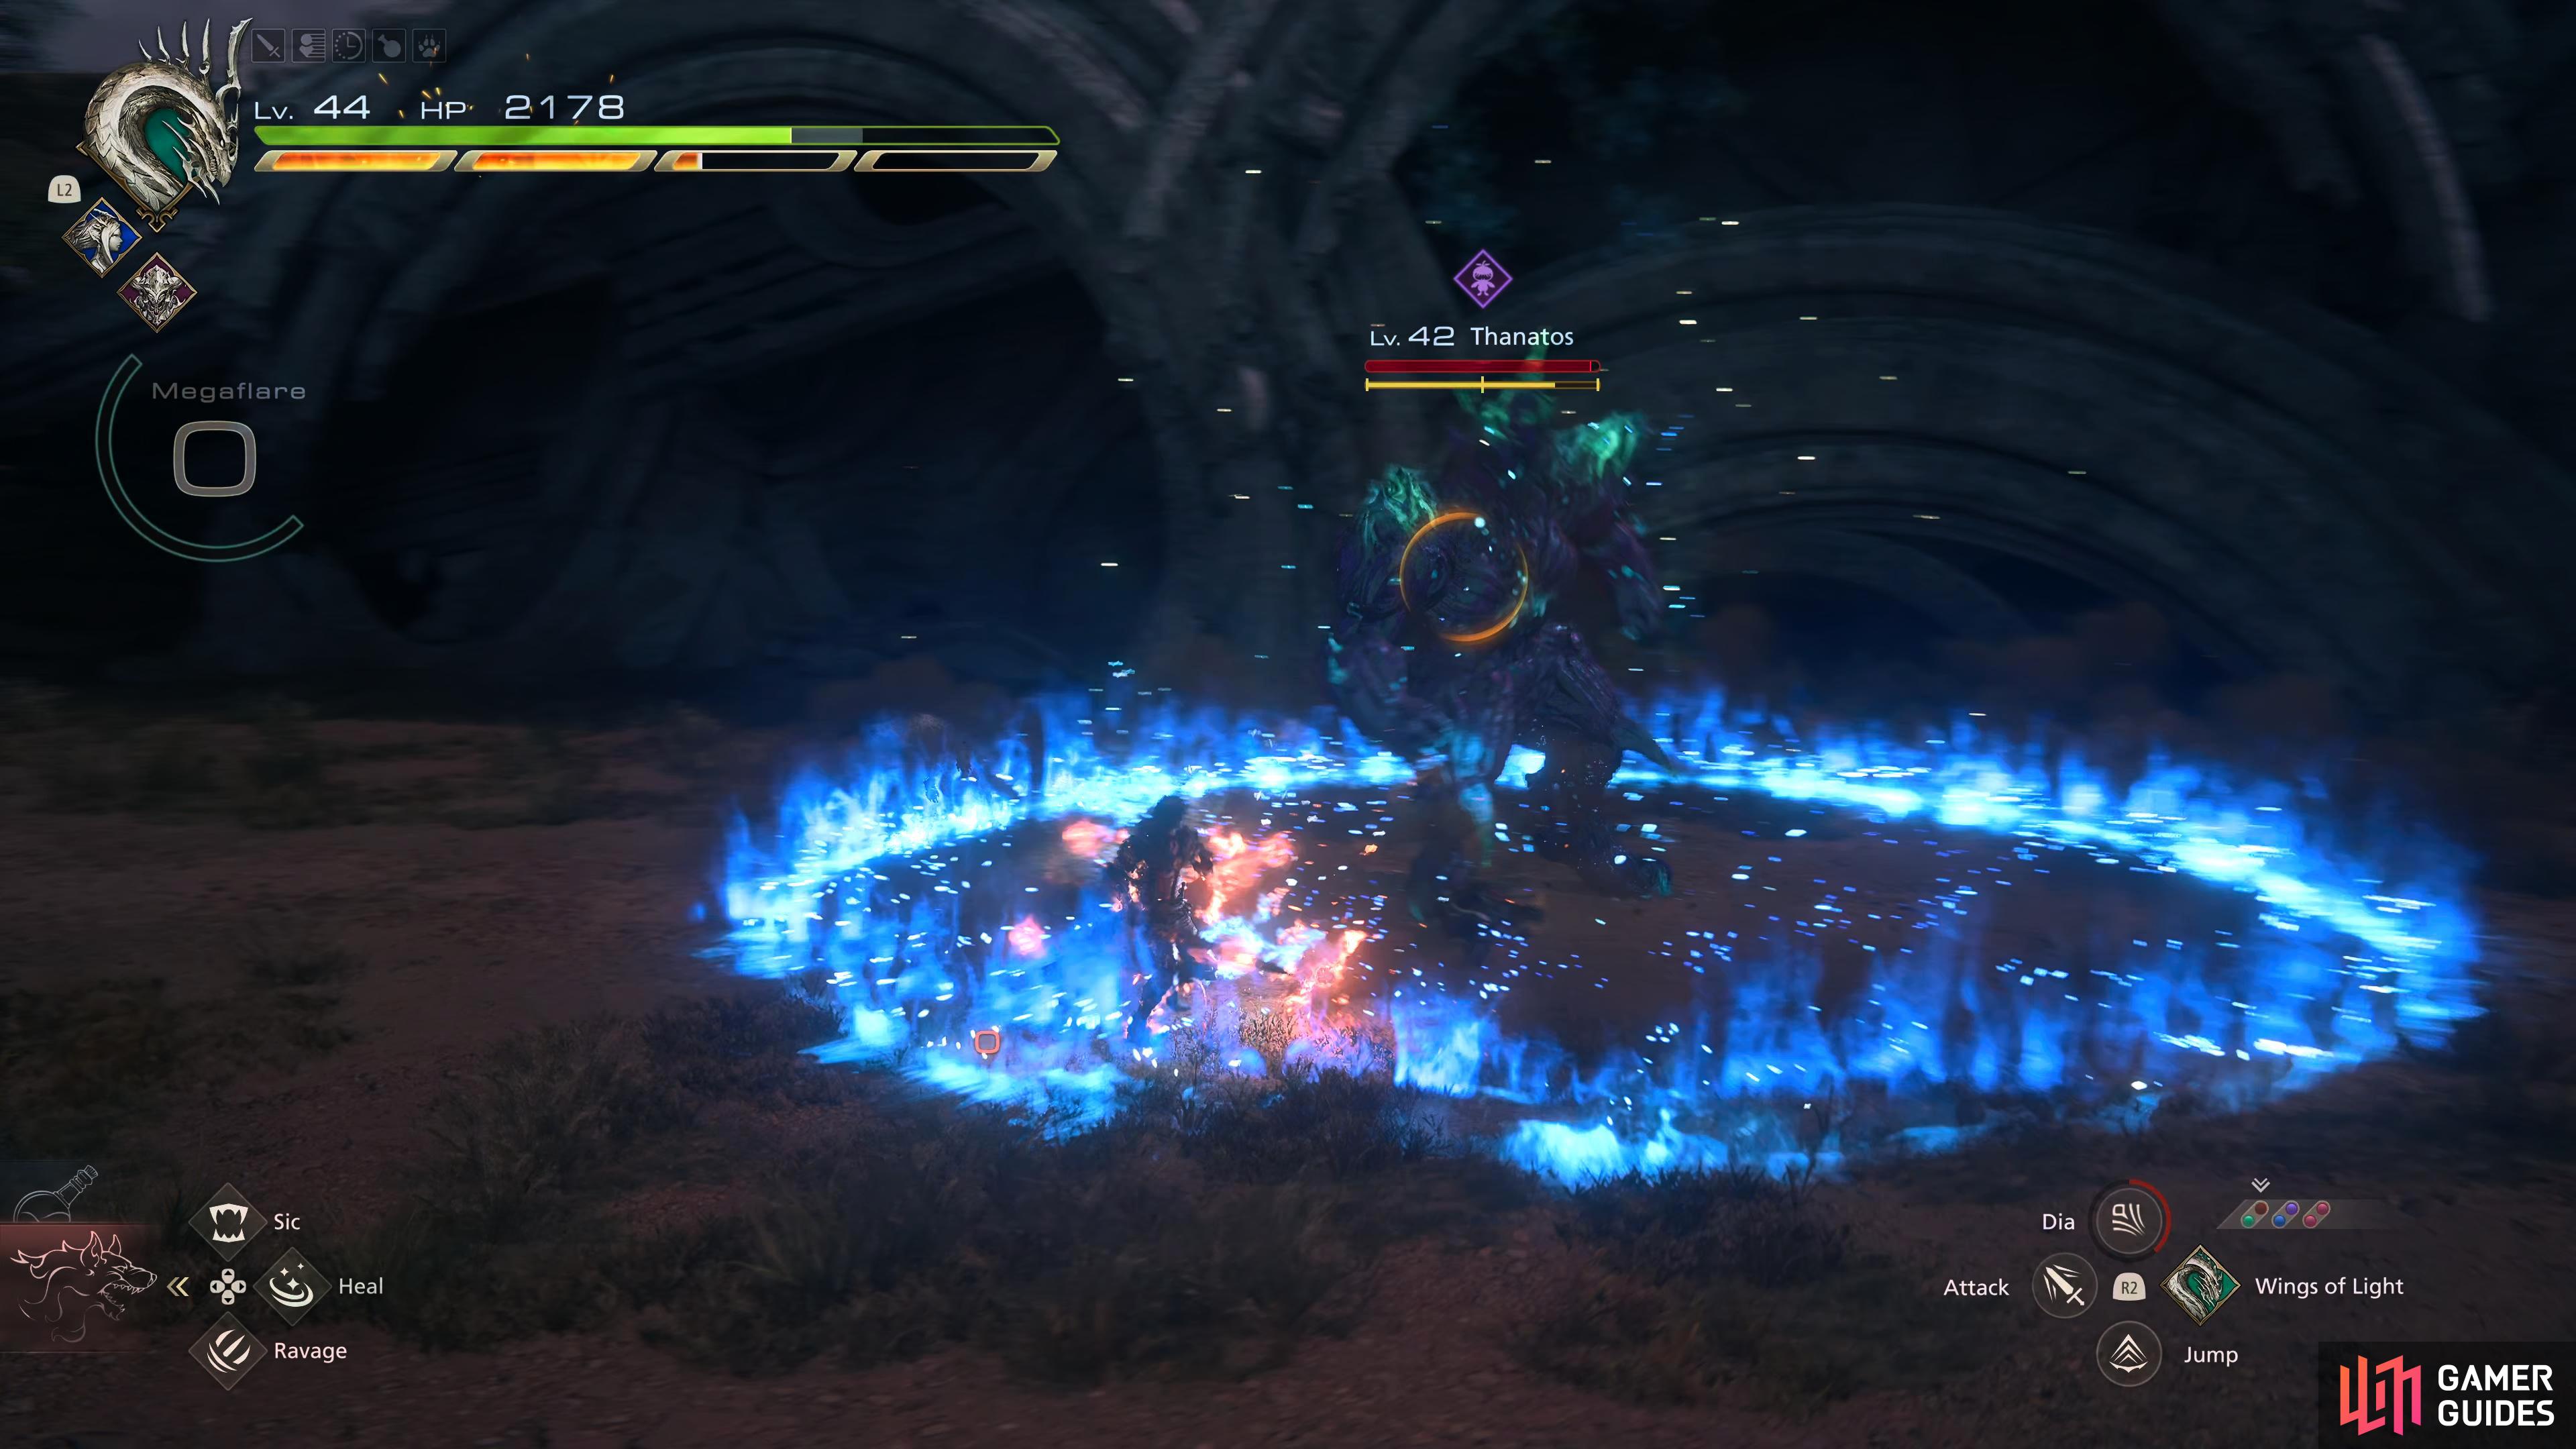
| Destrudo | Thanatos’ signature attack. It will crouch down and place its hands on the floor creating multiple explosions throughout the arena indicated by the blue markers. After a brief moment, Thanatos will get off the ground and begin to use other attacks while they’re exploding. | This is one of those attacks where you want to avoid the markers around the arena, nothing more. If one does detonate as you’re on it, activate dodge to avoid the attack and gain a |
(1 of 5) Thanatos will leap into the air and slam down to create a shockwave with its Jumping Slam attack.
Recommended Abilities for Thanatos
Here we will list our recommended ability set up to do this fight effectively:
| Eikon | Ability | Damage Type |
|---|---|---|
| Damage (5 Stars) | ||
| Will (2 Stars) - Master this and place it as the second Bahamut ability. | ||
| Will (5 Stars) | ||
| Damage (2 Stars), Will (3 Stars) - Master this and place it as the second Shiva ability. | ||
| Damage (1 Star) Will (2 Stars) | ||
| No damage – Use to recover immediately from any ability or action. |
The reason behind the chosen abilities is as follows. Odin’s Zantetsuken when used at level 5 is powerful, to say the least, and can be used quite frequently especially when combined with Dancing Steel which can give you 3–4 levels of Zantetsuken in one attack. Rift Slip allows you to cancel an action immediately should you need to while also allowing you to slow down time briefly when followed up after a combo to give you more time to get Dancing Steel off as it takes a while to execute.
Shiva’s Cold Snap can Permafrost enemies whenever you perform a successful Precision Dodge which makes her invaluable to have while also having access to Diamond Dust which is the strongest Will-Damage attack in the game. Then we take Lightning Rod from ![]() Ramuh to place in front of the Prince of Death when it is staggered to amplify any multiple-hit attacks we do.
Ramuh to place in front of the Prince of Death when it is staggered to amplify any multiple-hit attacks we do.
Finally, we take Bahamut for Gigaflare which is one of the most powerful attacks in the game. This is fantastic to use at any time, but especially at the end of a stagger phase when combined with Lightning Rod. Also, Bahamut’s ![]() Wings of Light can be really strong, especially when you get to level 5 Megaflare just before the stagger phase.
Wings of Light can be really strong, especially when you get to level 5 Megaflare just before the stagger phase.
Recommended Items and Equipment for Thanatos
Gear
For your Weapon, Belt, and Vambraces, you should have the following:
| Weapon | Belt | Vambraces |
|---|---|---|
If you don’t have what’s listed above, use the highest Attack for the Weapon, and the highest Defense and Health for the Belt and Vambraces.
Accessories
For your Accessories, this is more subjective, so here is what we used:
| Accessory 1 | Accessory 2 | Accessory 3 |
|---|---|---|
| Adamantite Gauntlets | Berserker’s Ring (Increase attack proficiency with each Precision Dodge.) | The Grace of the Inferno: Will-o’-the-Wykes (Will-o’-the-Wykes duration increased by 5 seconds) |
Items
Finally, we have items. This is more of a preference thing, but we chose the following items:
| Shortcut 1 | Shortcut 2 | Shortcut 3 |
|---|---|---|
Although Thanatos can be difficult for an A-Rank, it shouldn’t cause you too many problems at this point of the game. That is why we suggest bringing ![]() Strength Tonics as they will increase your damage by 30%, ending the battle quicker.
Strength Tonics as they will increase your damage by 30%, ending the battle quicker.
Thanatos Hunt Strategy
Although Thanatos is a large construct, it’s deceptively quick. It has a few dangerous attacks which only get more difficult to avoid the longer the battle persists. It’s easy to get caught by Spirits Without especially if you’re in front of Thanatos when the attack goes off which is why we recommend sticking to its sides or backs for the duration of the battle. Then you have its Jumping Slam attack to contend with where one wrong jump or badly timed dodge can end up with you getting hit by multiple shockwaves from the aftermath of the attack.
Then you have its signature attack, Destrudo. On its own, it’s nothing to worry about, but when Thanatos begins to perform multiple Jumping Slams or Shoulder Charges at the same time, it starts to get overwhelming. Both of its charge-up attacks (Fist and Foot) are easy enough to avoid due to their long windup, so it’s mainly the above attacks you’ll need to watch out for. Fortunately, Thanatos doesn’t deal too much damage with its attacks with Spirits Without probably dealing the highest damage.

(1 of 3) At the later stages of the battle, Thanatos will combine various attacks with Destrudo.
At this stage of the game, you have a lot of powerful abilities, especially Odin’s abilities. Throughout the battle, you’ll want to stay on Odin, and use Dancing Steel to raise the Zantetsuken gauge to level 5. Once you have that at level 5, you can switch to Bahamut and charge up Megaflare to level 5 as well. You’ll want to use both of these around the time of the stagger phase with the latter being used just before it, and the former being used inside it.
Before you can do that though, you’ll need to break Thanatos’ Will-Gauge, and to do this, you should use Shiva’s Diamond Dust combined with Lightning Rod. This is enough to take it down to half, repeat it, and say goodbye to Thanato’s gauge. When it’s staggered, do the following combo: Lightning Rod, ![]() Limit Break (and tonic), Gigaflare, and a level 5 Zantetsuken. If you have any time left of the stagger phase, use Dancing Steel, Diamond Dust or a combo for a bit more damage.
Limit Break (and tonic), Gigaflare, and a level 5 Zantetsuken. If you have any time left of the stagger phase, use Dancing Steel, Diamond Dust or a combo for a bit more damage.
Once you’ve defeated Thanatos, you’ll be rewarded with 9,000 XP, 110 AP, 17,000 Gil, and 45 Renown. On top of that, you’ll obtain the invaluable ![]() Darksteel material which can be used in the creation of the best weapon in the game excluding new game plus.
Darksteel material which can be used in the creation of the best weapon in the game excluding new game plus.
What is Darksteel used for?
Read the page below to find out where you can spend your hard-earned Darksteel.
More Final Fantasy 16 Hunts
For information on some of the other ![]() Notorious Marks you can take on in Final Fantasy XVI, check out these pages below:
Notorious Marks you can take on in Final Fantasy XVI, check out these pages below:
No Comments