
As you approach the endgame of Final Fantasy 16, you’ll unlock an S-Rank Hunt called Ruin Reawakened. This is later to be known as Svarog, who is a giant level 50 dragon! That’s not only the hard part, as you’ll also need to find them first, and with no location on the bill, you’ll need to resort to reading what’s written on the bill and deciphering the clues. Fortunately for you, you can find out the Notorious Mark Svarog’s location below as well as a full boss guide for them.
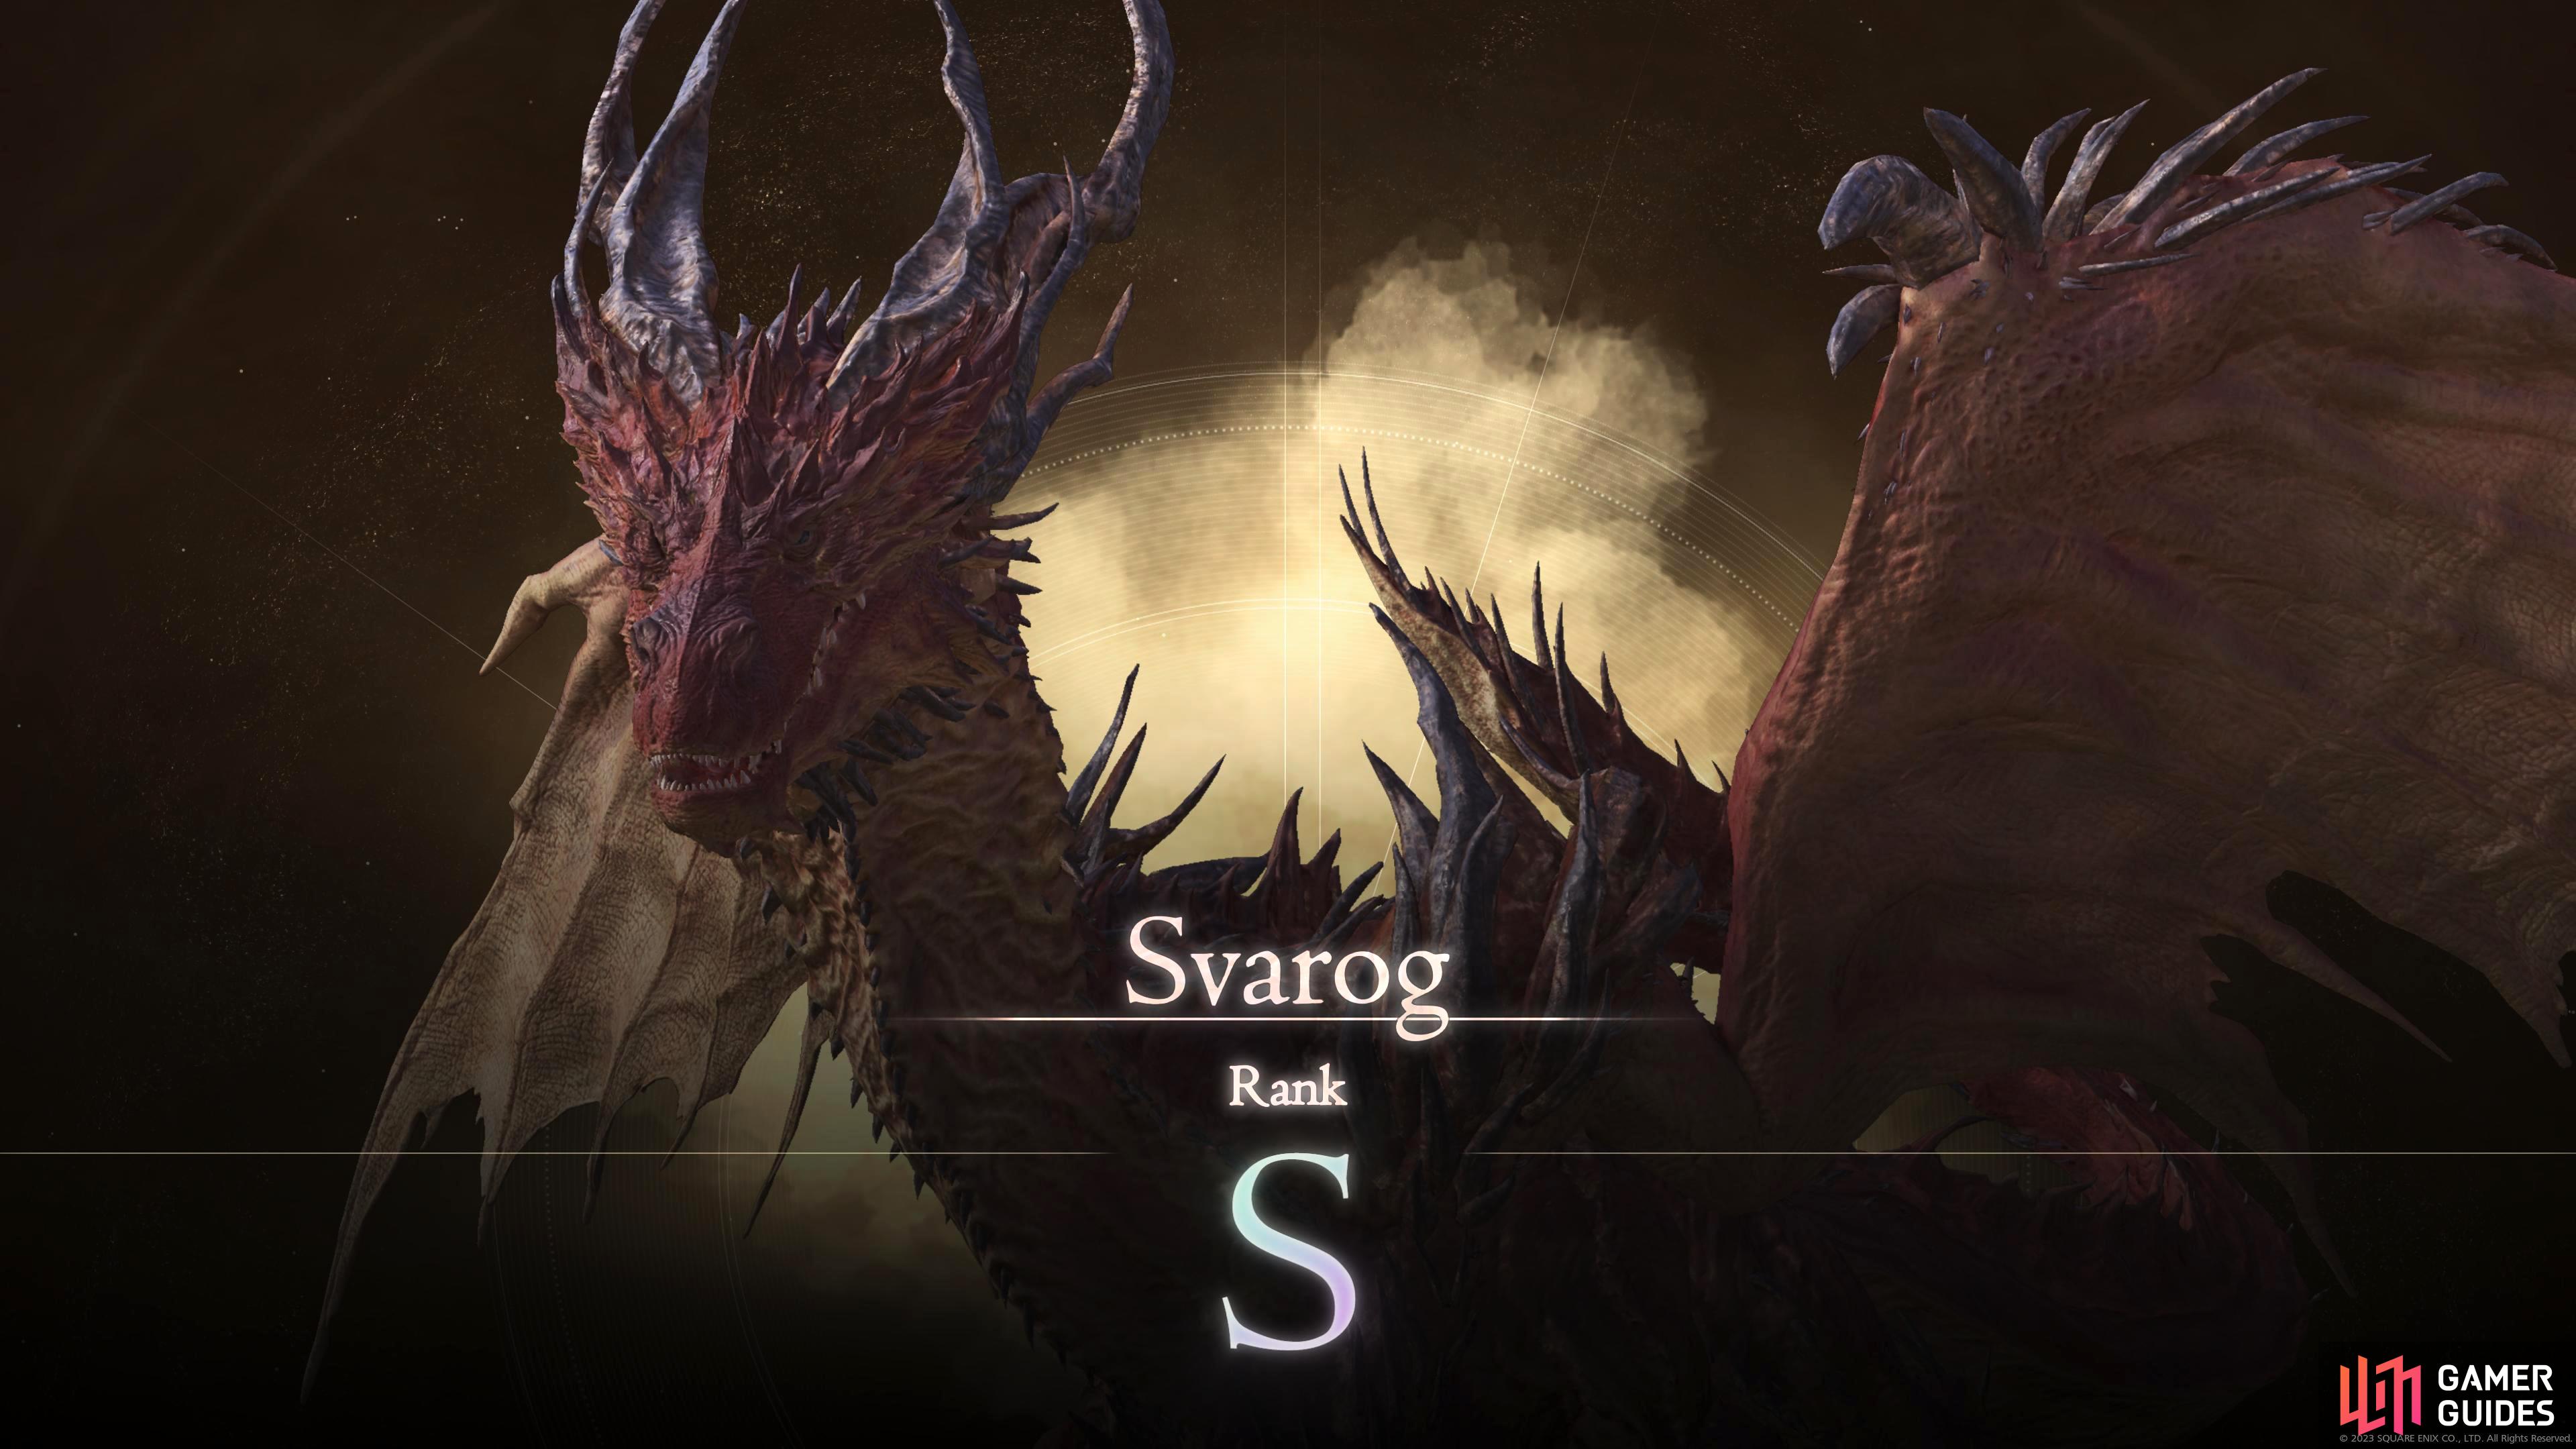
The Ruin Reawakened, also known as, Svarog, is a level 50 S-Rank Hunt.
Where is the Ruin Reawakened, Svarog Mark Location?
| Location | Level | Bounty |
|---|---|---|
| South Mornebrume, Sanbreque | 50 | 40,500 Gil, 60 Renown |
Svarog can be found in Mornebrume which is to the far south of ![]() Northreach in Sanbreque. The nearest obelisk to it is Caer Norvent Glorieuse Gate. Open up the world map, teleport to the obelisk, and proceed east until you can head south. This is Mornebrume, but you’ll need to make your way through the woods to the large circular area at the bottom to find them. When you get there, walk further to trigger the Hunt.
Northreach in Sanbreque. The nearest obelisk to it is Caer Norvent Glorieuse Gate. Open up the world map, teleport to the obelisk, and proceed east until you can head south. This is Mornebrume, but you’ll need to make your way through the woods to the large circular area at the bottom to find them. When you get there, walk further to trigger the Hunt.
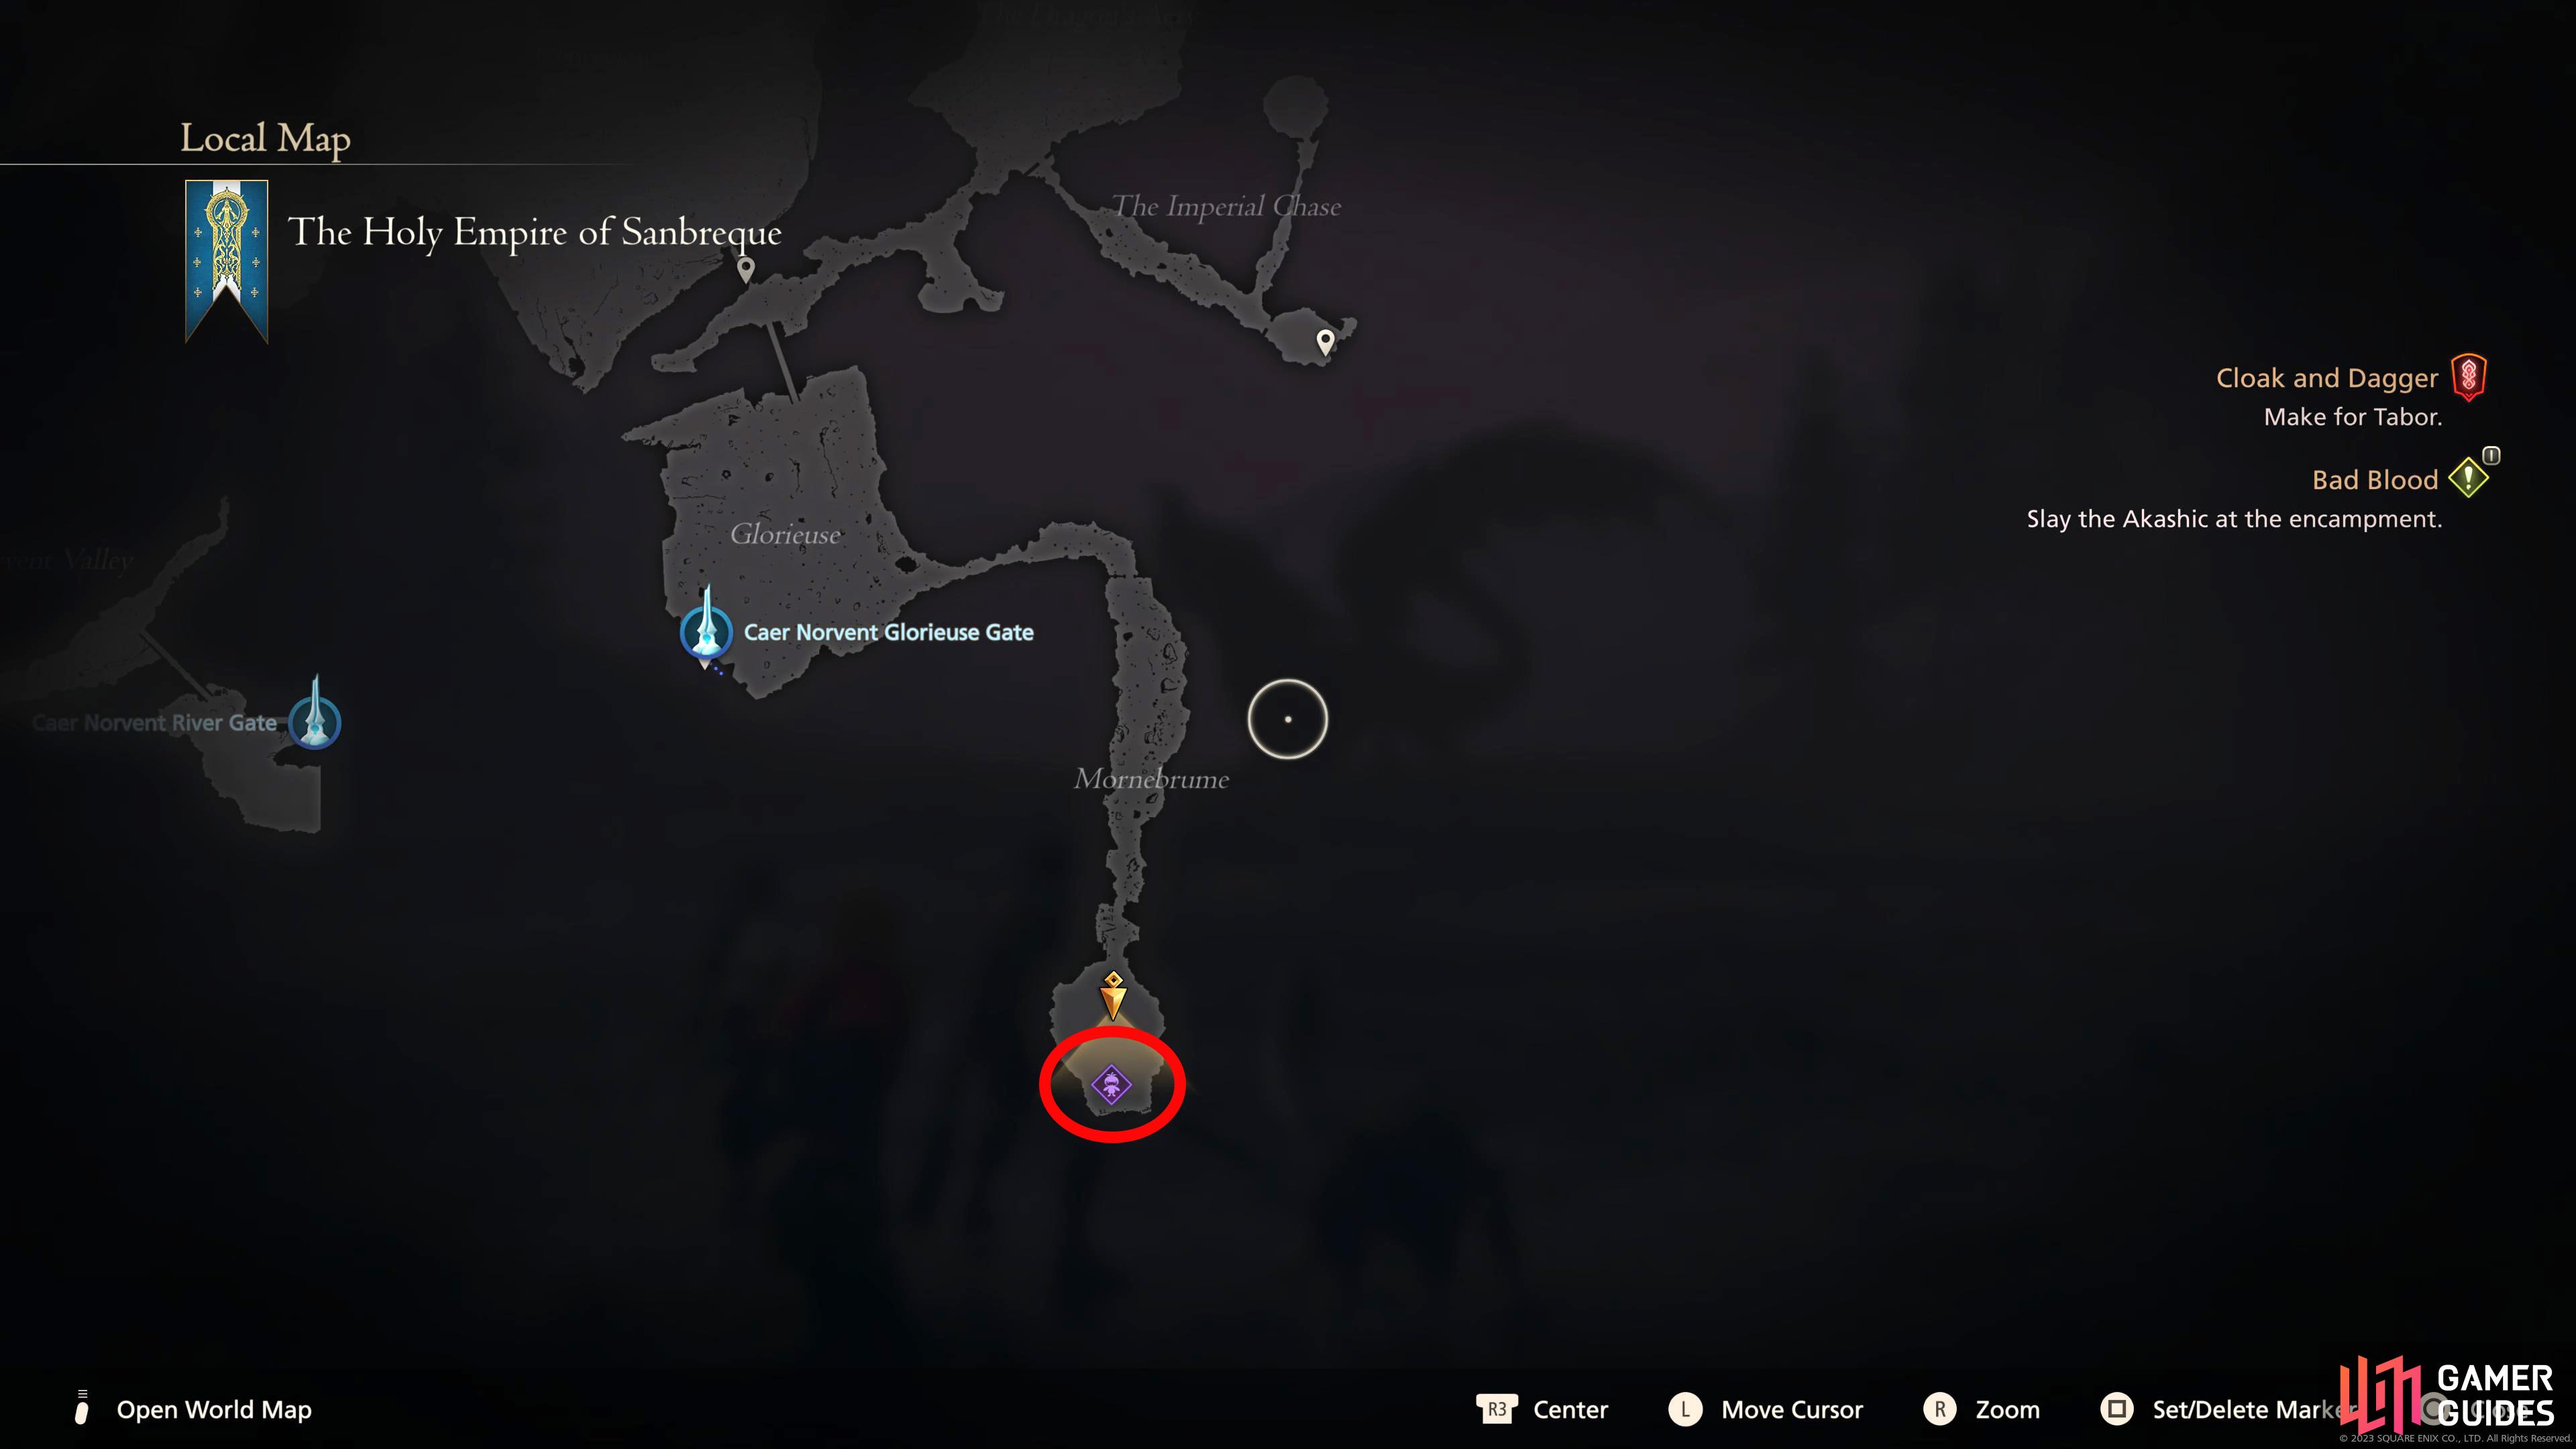
The location of Svarog, Ruin Reawakened is in the south of Mornebrume which can be accessed in the east of Glorieuse, Sanbreque.
When you get to the circular area, proceed onwards to trigger the Hunt.
Svarog, Ruin Reawakened Attacks
Below you’ll find all the attacks that the Svarog has in its arsenal:
| Attack | Description | Counter |
|---|---|---|
| Vertical Laser Beam | Svarog will fire a laser straight down the middle of you before the laser explodes. | This attack shouldn’t trouble you when it’s used on its own, but it can be a pain to deal with when it’s used in conjunction with Blazing Legion, and Red Dawn. You can dodge the lasers, but as these are usually occurring during another attack, it’s best to just avoid it entirely. You have 1–2 seconds after the beam has created a line on the floor to move away from it. |
| Horizontal Laser Beam | Svarog will fire a laser straight down the center of the arena toward you before the laser explodes. | This is precisely the same as the previous attack, but the laser will go from right to left, or vice versa. |
| Fire Dive | Svarog will hover into the air before diving upon you as a fiery missile. | Svarog will jump into the air while twisting its body before immediately diving at your location. This comes quickly, so be ready to hit dodge the second you see them diving. |
| Swiping Bite | Svarog will sweep its head from left to right, or vice versa while trying to bite you. This can happen twice in a row with the second attack coming from the opposite direction. | Svarog will take a small step back while moving its head on either side of you. Wait for the head to get close before dodging. You can also move/dodge backward to avoid it altogether. |
| Spike Flail (Tail Spin) | Svarog will slightly raise its wing to gain momentum to spin around, swinging its tail. | Either back away immediately, or dodge as soon as its wing reaches you before dodging which will give you a Precision Dodge. Although the attack is with its tail, it can hit you with its wing at the start of the spin. |
| Wing Stab | Svarog will stand on its hind legs and raise one of its wings before stabbing it into you. | Wait for the wing to be just above your head before hitting Dodge for a !Precision Dodge otherwise simply move to the side to avoid it. |
| Fireballs | Svarog will have flames appear around its mouth before floating in the air and unleashing three consecutive fireballs in quick succession. | Wait for each fireball to reach you before dodging. After dodging the first fireball, count between 1–2 seconds (more like 1.5) before hitting dodge for the next fireball. This is a relatively easy way to build up your Precision Dodges for your counterattack. |
| Blazing Legion | Svarog will place numerous fiery balls in a line that slowly moves forward toward you. While this is happening, Svarog will cast other attacks such as its Laser Beam. | Either walk in between the balls or dodge each one while heading toward the side. This allows you to be in a better position to avoid follow-up attacks. |
| Red Dawn | Svarog will create some distance by leaping back before unleashing pillars of fire on either side of its wings before sending further fiery pillars towards your location in a “V” shape. What this means is, they will start at Svarog and gradually get narrower the nearer they get to you. | There are two easy ways to avoid this attack. Either go to one of the sides away from the pillars or rush straight down the middle towards Svarog. Note that other attacks will be used during this attack. |
| Embroil | Svarog will rise into the air and fire down a meteor which will unleash a shockwave on impact. Afterward, numerous patches of fire made into a circle will appear before exploding where the meteor hit. This will be followed up by a second meteor/patches of fire. | Move away from the marker, and jump over the shockwave then immediately run/dodge away from the patches of fire. You can wait on the fire for it to explode and hit  just before to gain a Precision Dodge. just before to gain a Precision Dodge. |
| Dragon Dance | Svarog will stand on its hind legs while breathing fire into the air before it unleashes several of its attacks consecutively. Normally it will start off with the Fireballs attack, but this will send out six balls of fire instead of the usual three. Next up will be Laser Beam - Horizontal, followed immediately by a Laser Beam - Vertical before finishing it up with a fire dive. | All of this will happen quickly, so you’ll need to be on your toes. For most of the attacks, you can use the same counters stated above for their respective attacks, but for the last two lasers, dodge in a non-cardinal direction (NE, SE, NW, SW) as they will go off in a + shape. |

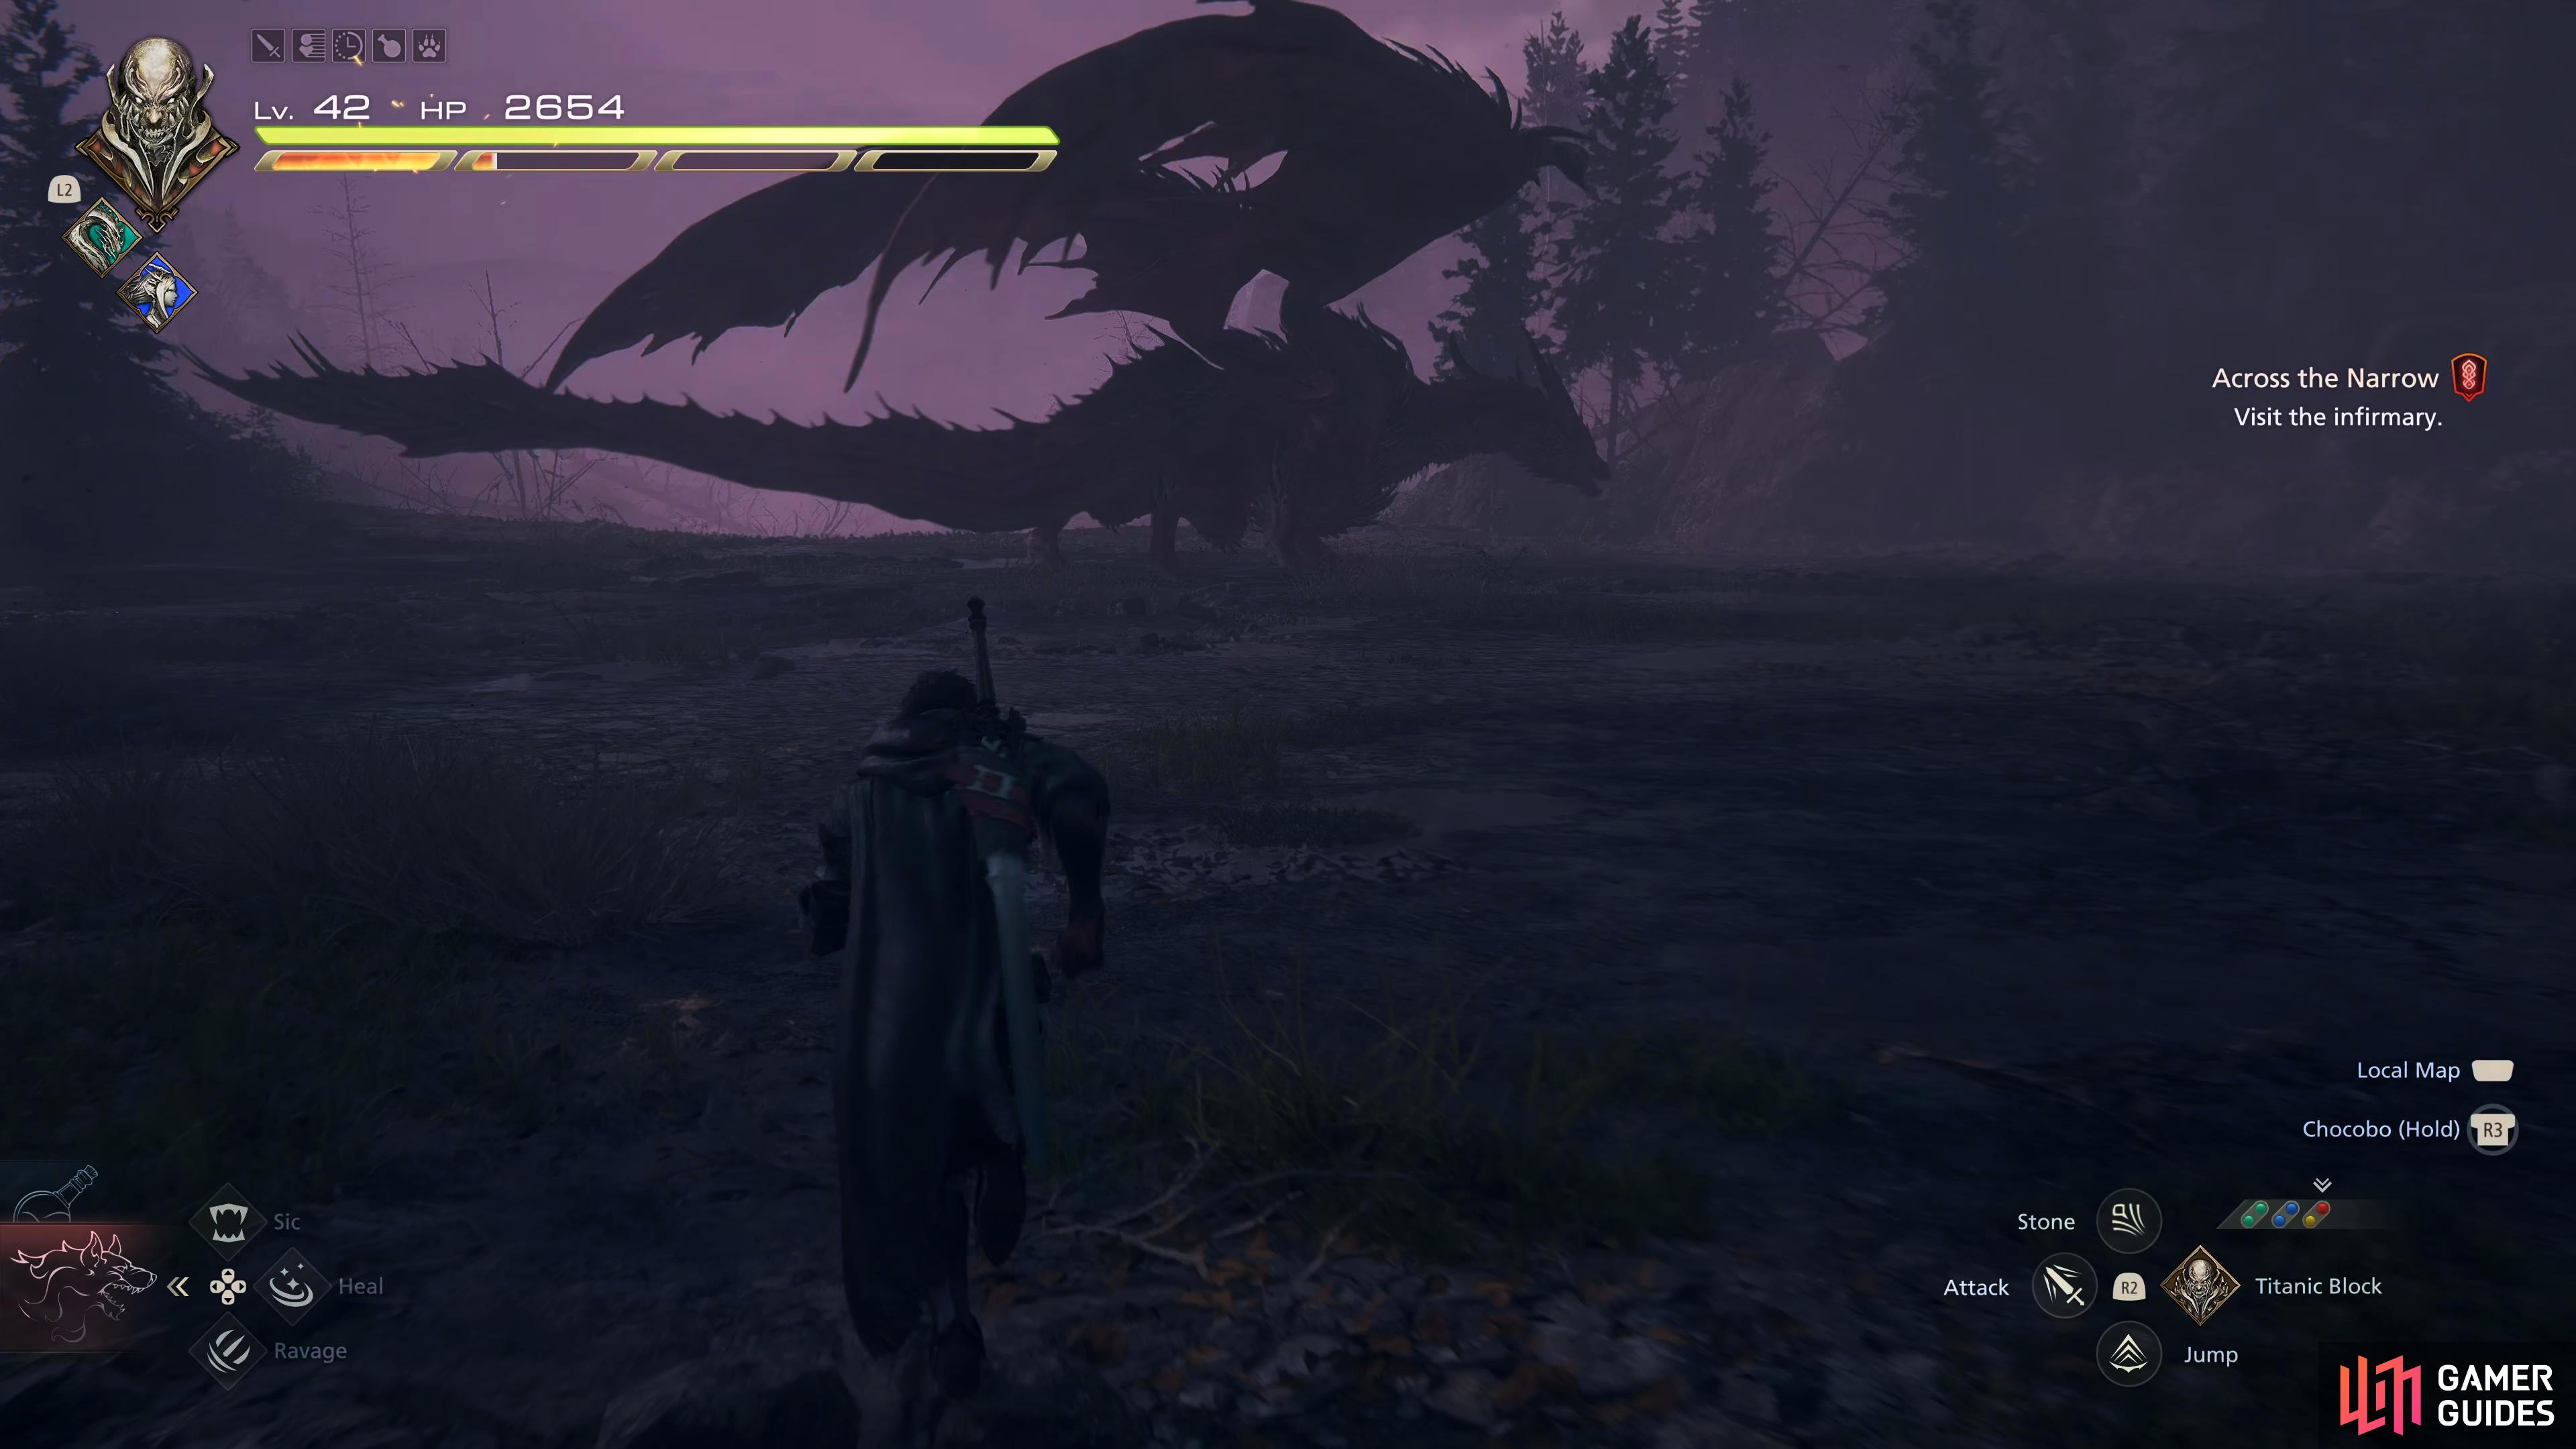
(1 of 11) Vertical Laser Beam has Svarog fire a beam straight down the center which will explode a short while after.
Recommended Abilities for Svarog
Here we will list our recommended ability set up to do this effectively:
| Eikon | Ability | Damage Type |
|---|---|---|
| Damage (5 Star) - Master this and place it as the second Bahamut ability. | ||
| Will (4 Stars) | ||
| Will (5 Stars) | ||
| Damage (2 Stars), Will (3 Stars) - Master this and place it as the second Shiva ability. | ||
| Damage (4 Stars) | ||
| Will (2 Stars) - Master this and place it as the second Titan ability. |
The reasoning behind this ability list is as follows. Shiva’s Cold Snap feat is useful to avoid some attacks while also Permafrosting Svarog when executing a perfect dodge, and Diamond Dust is fantastic for Will-Damage. Use this during the first half of its Will-Gauge. Garuda is brought along mainly for its Deadly Embrace feat, so you can pull Svarog down when its Will-Gauge reaches half. While it’s down, place a !Lighting Rod by its head, and use Gouge to deplete what’s remaining of the Will-Gauge.
Titan on the other hand is brought along for its Titanic Block which comes in handy from time to time. Now, place a mastered Will-o’-the-Wykes onto Titan for some much-needed damage negation, and then you have Windup for its high damage output which can be used when Svarog is staggered. Finally, place a mastered Gigaflare onto Garuda due to being the most powerful attack in the game which is best used when Svarog is staggered.
Svarog Location and Attacks Video
Here is a video to help visualize Svarog’s attacks in motion as well as their location.
Recommended Items and Equipment for Svarog
Gear
For your Weapon, Belt, and Vambraces, you should have the following:
| Weapon | Belt | Vambraces |
|---|---|---|
| ( |
If you don’t have what’s listed above, use the highest Attack for Weapon, and the highest Defense and Health for the Belt and Vambraces.
Accessories
For your Accessories, this is more subjective, so here is what we used:
| Accessory 1 | Accessory 2 | Accessory 3 |
|---|---|---|
Items
Finally, we have items. This is more of a preference thing, but we chose the following items:
| Shortcut 1 | Shortcut 2 | Shortcut 3 |
|---|---|---|
Svarog can deal a lot of damage in a short amount of time while also having a boatload of attacks to deal the damage, so more healing items are always a good thing. For the other slot, bring along ![]() Stoneskin Tonics to reduce damage by 30%. You could bring
Stoneskin Tonics to reduce damage by 30%. You could bring ![]() Elixirs instead, but it’s not worth the 10,000 Gil per potion.
Elixirs instead, but it’s not worth the 10,000 Gil per potion.
Svarog, Ruin Reawakened Boss Strategy
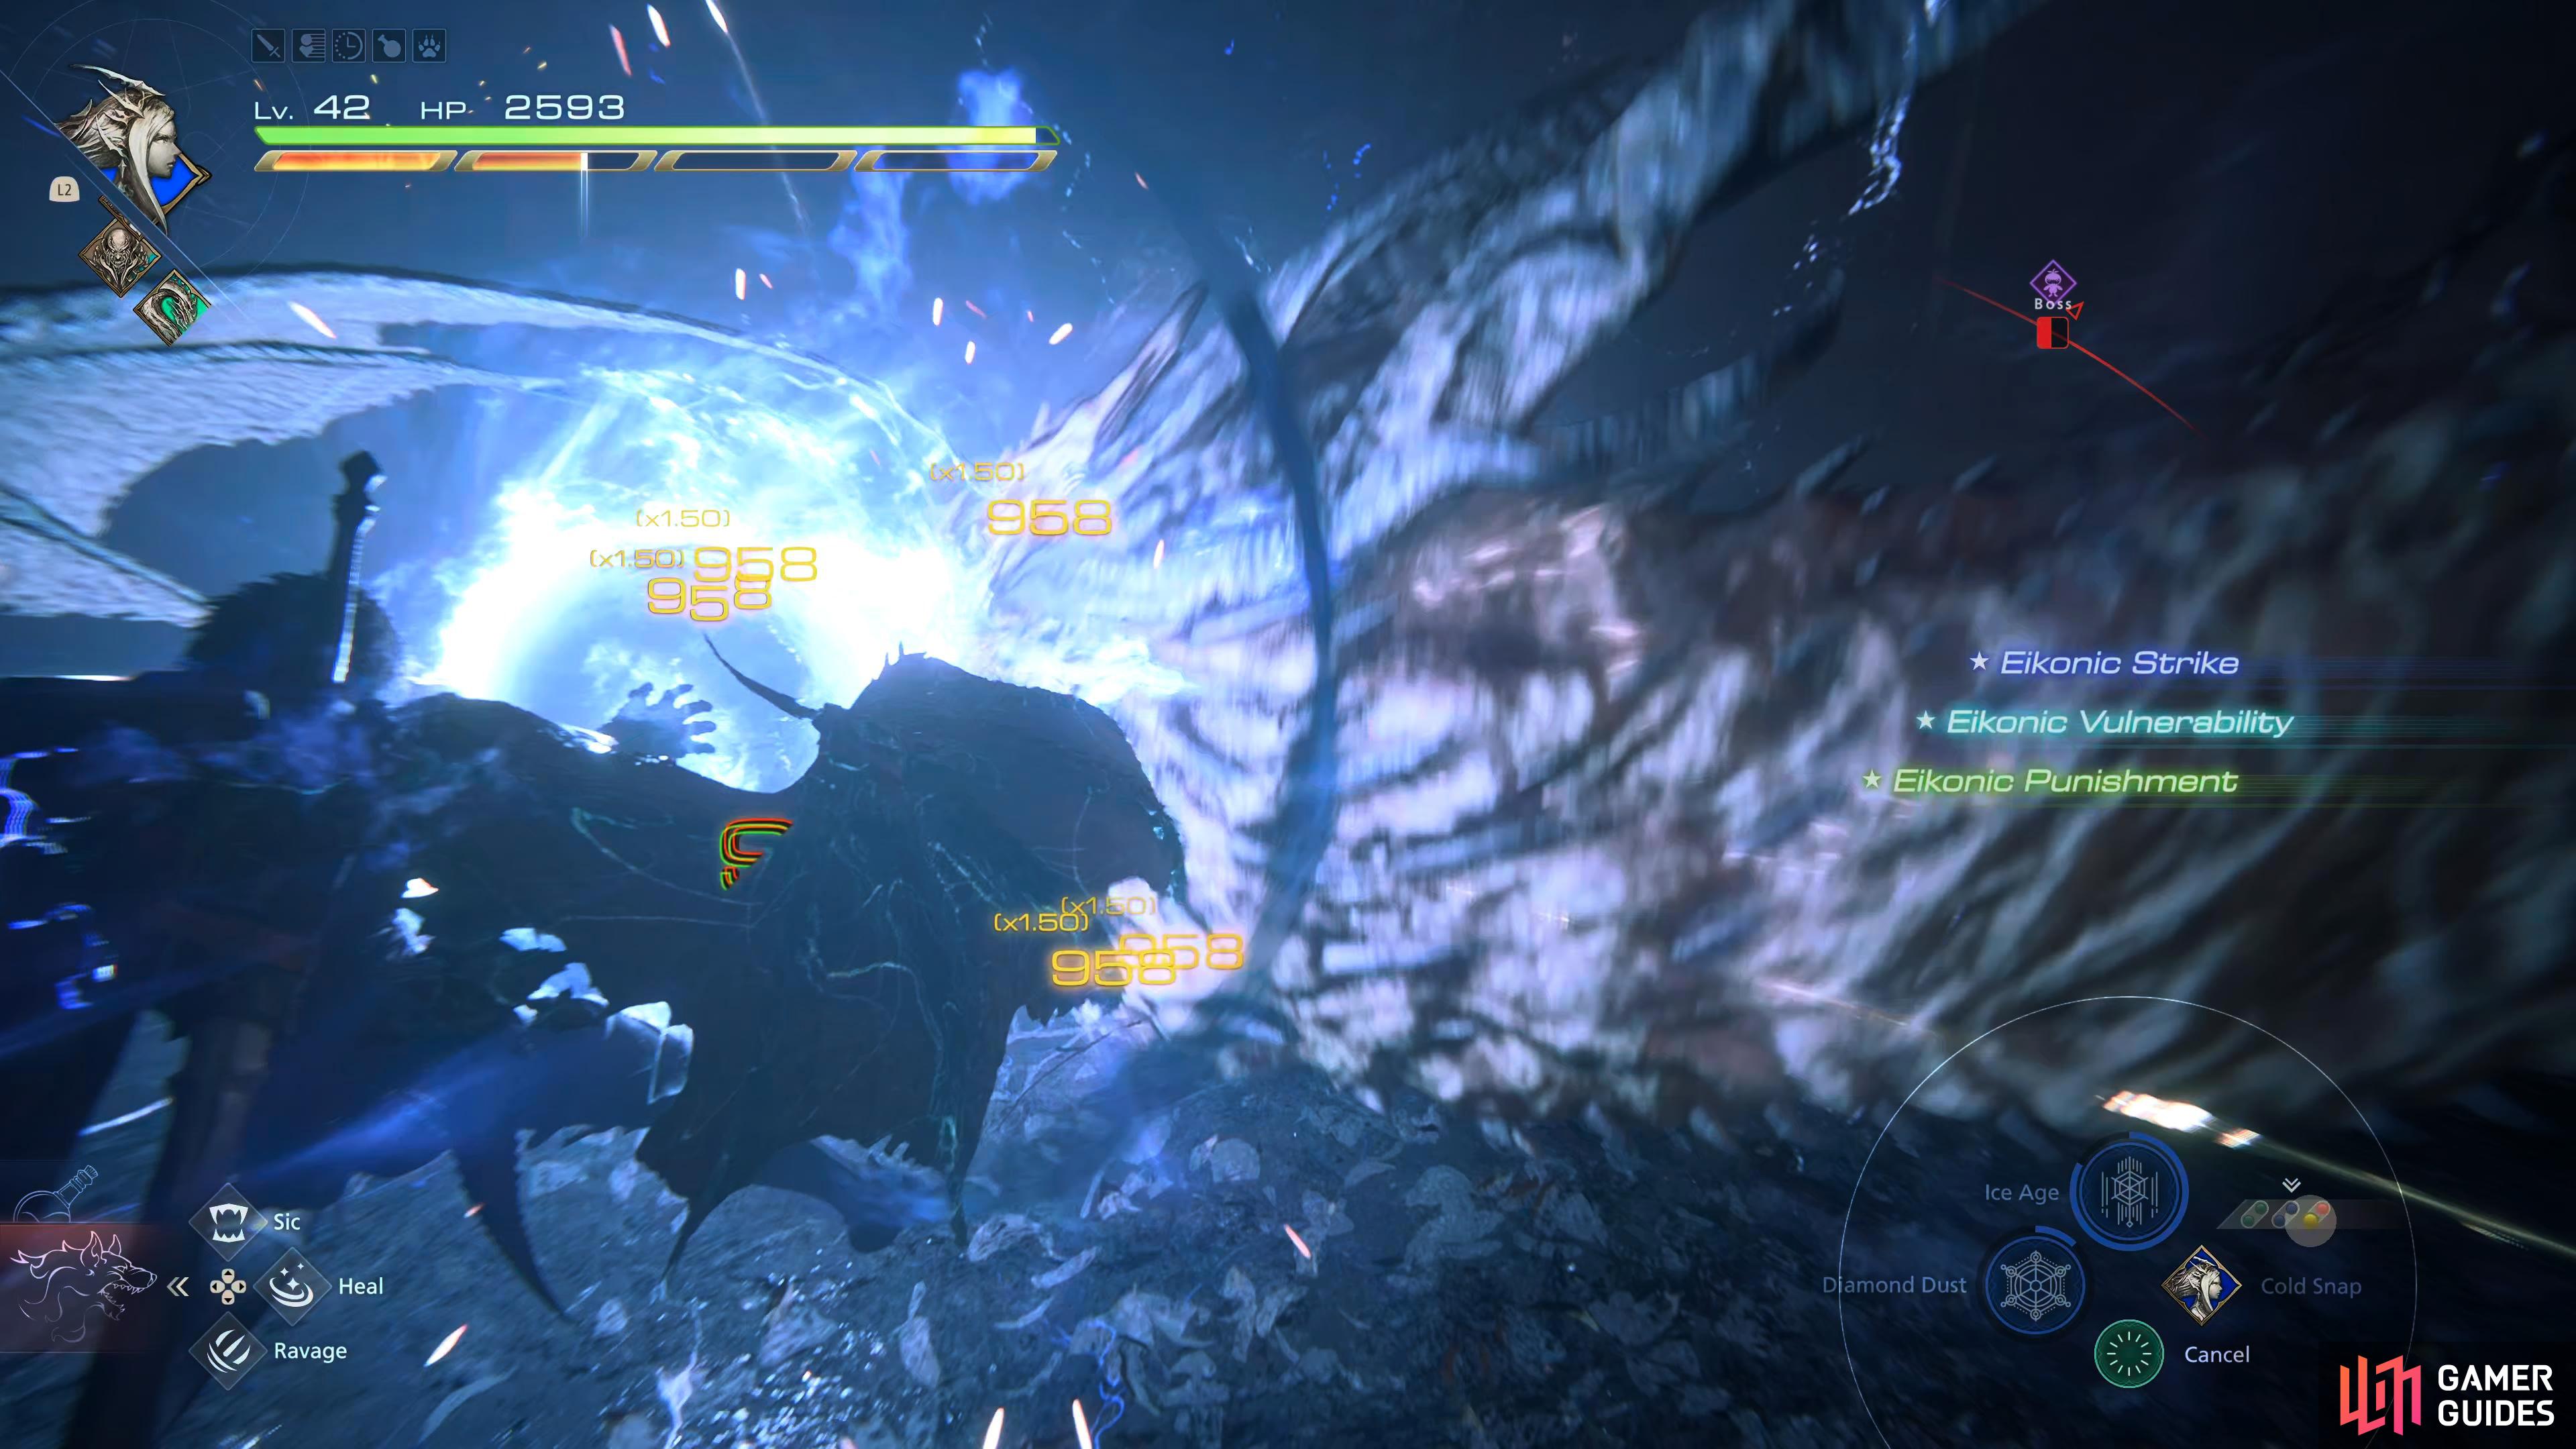
The first tip we’ll give is do not lock onto Svarog. It is a large creature and the lock-on targets its head which is in the air most of the time causing you to miss most of your combos. Instead, take off lock-on, and attack its legs/body. You can use lock-on when it uses some of its attacks such as Fireballs as this can help you dodge them more efficiently. Start the battle by getting close to Svarog, and using Diamond Dust as soon as possible. This will take a huge chunk out of Svarog’s Will-Gauge from the beginning.
Most of Svarog’s attacks come at you fairly quickly, and it’ll often chain attacks together. For example, Svarog will use Blazing Legion which will fill the arena with a line of fiery balls. While you’re trying to maneuver around them, it’ll unleash a Laser Beam or a Fire Dive. Then you have its most dangerous attack in Dragon Dance which will chain together several attacks at once with some of them gaining an extra mechanic or two such as Fireballs changing from three to six balls instead.
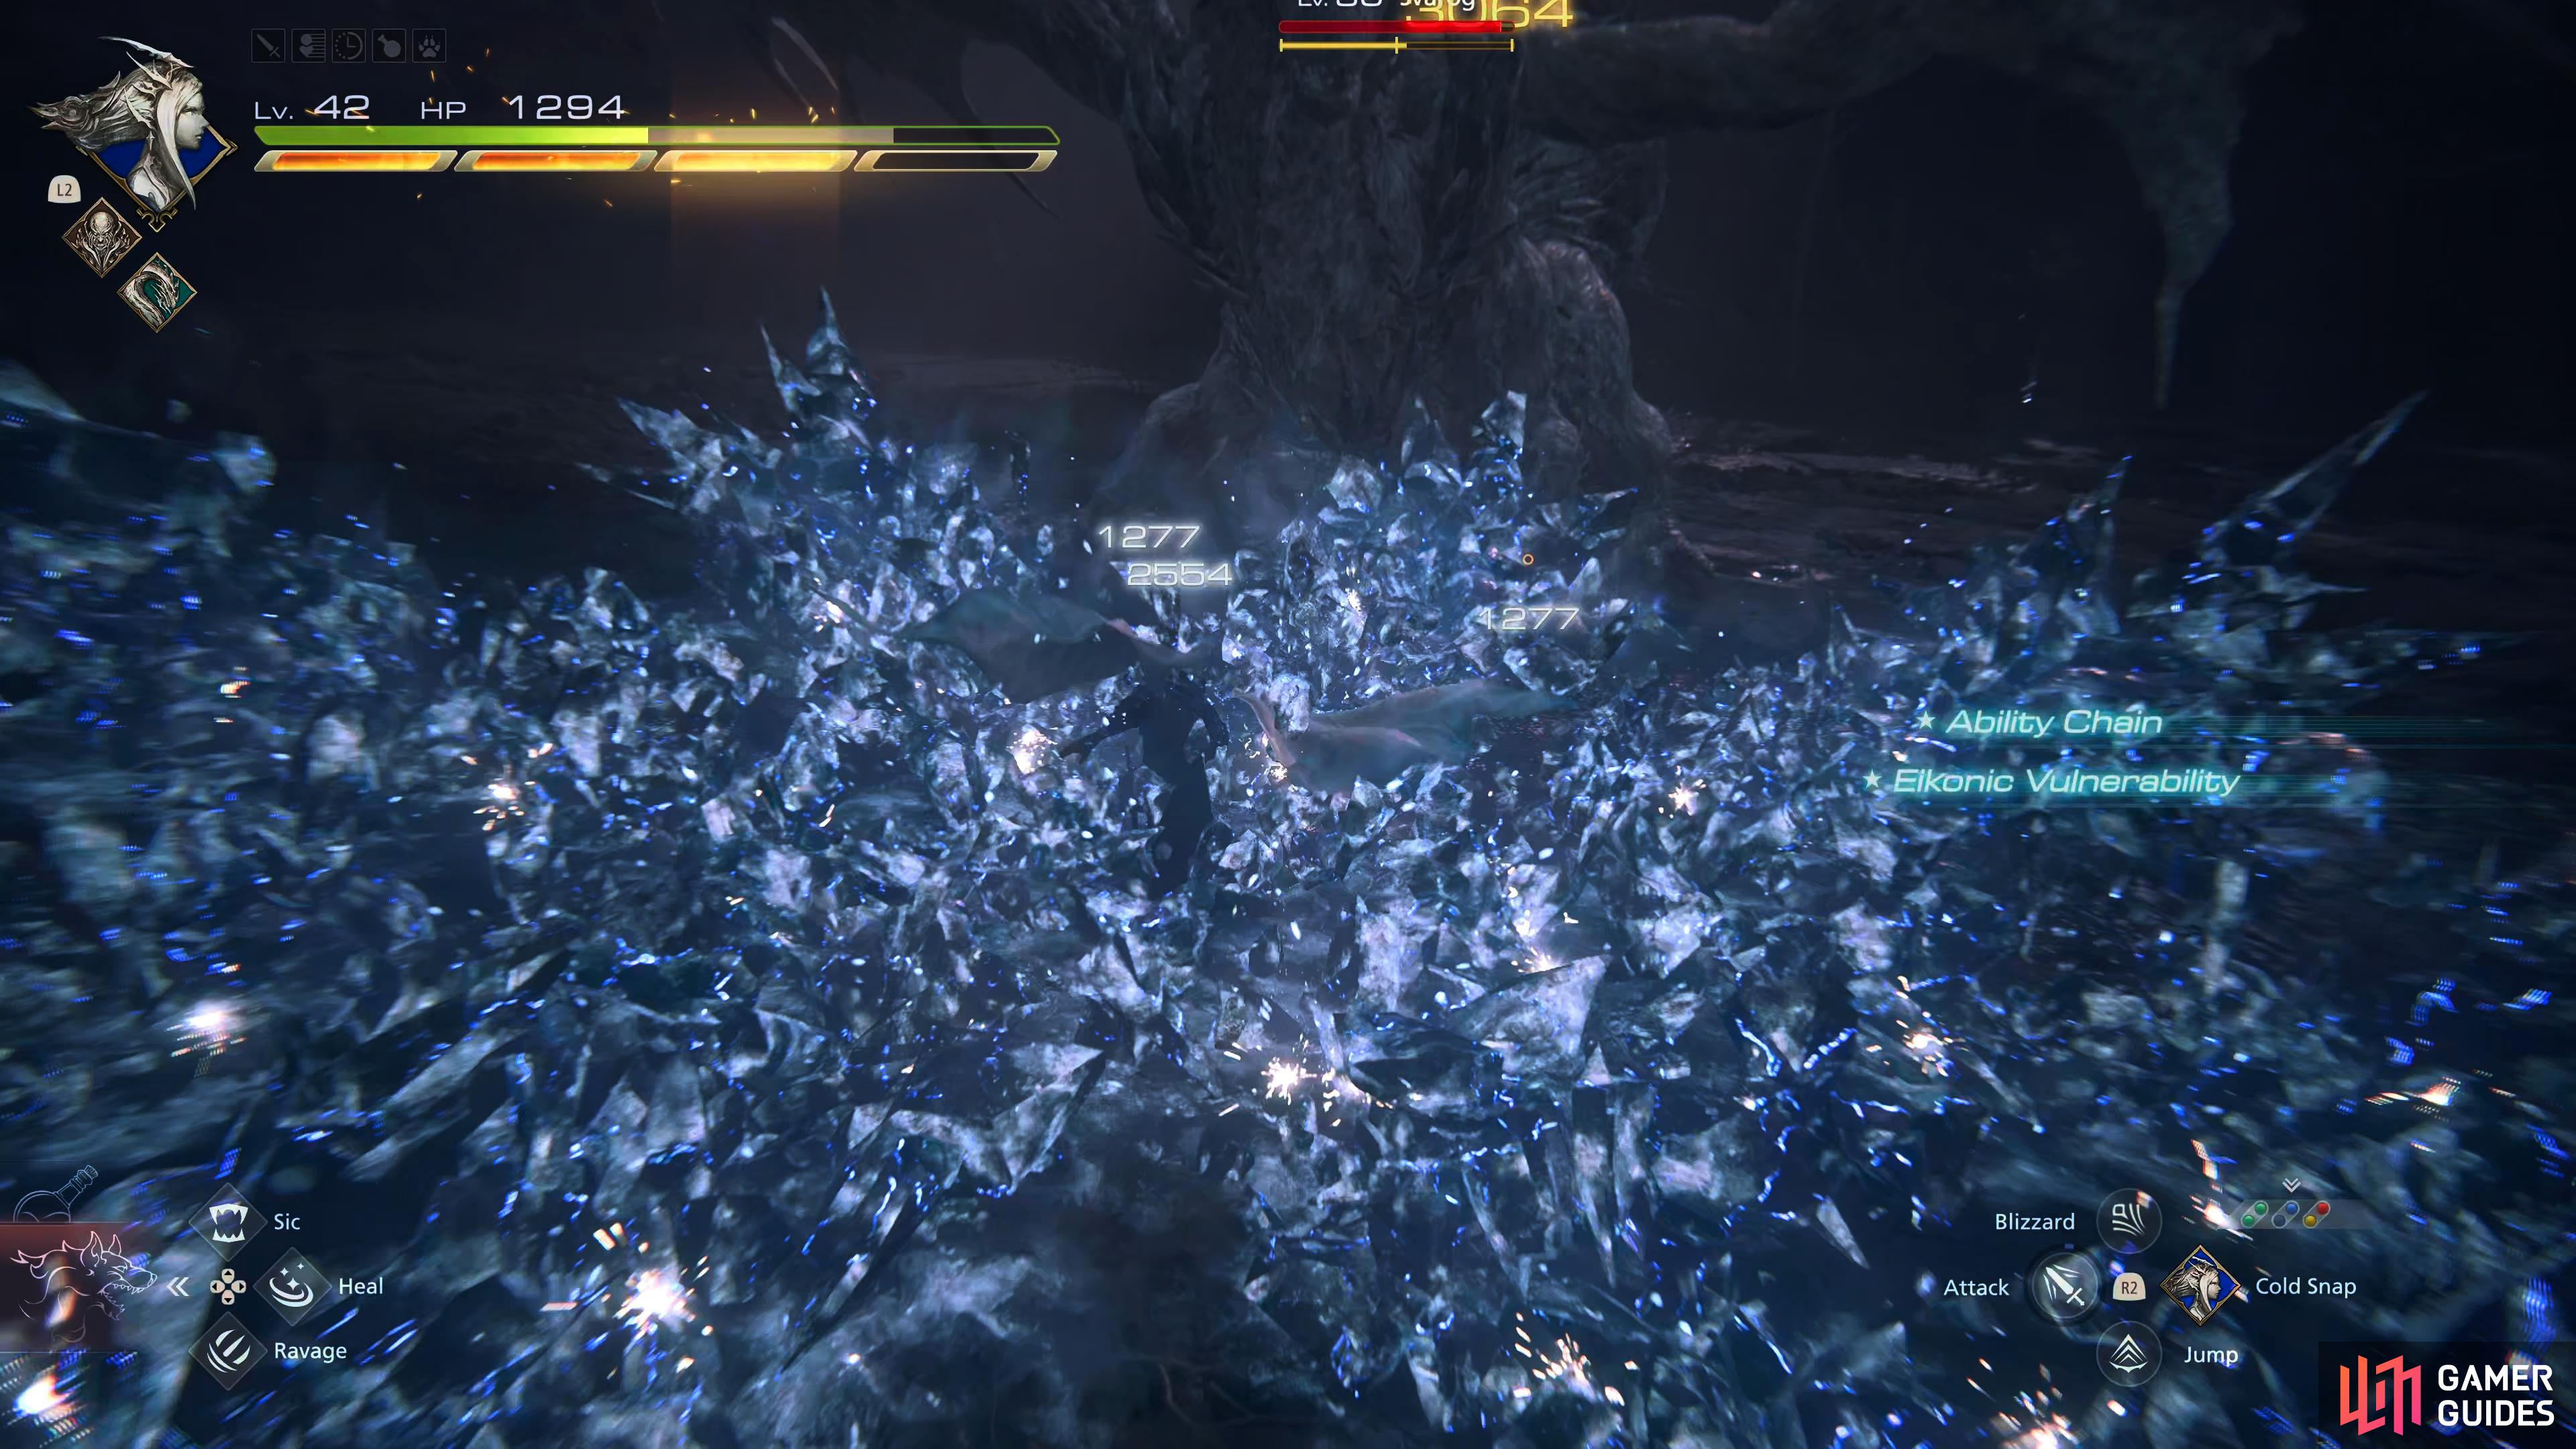
Shiva’s Diamond Dust ability is great for reducing Svarog’s Will Gauge.
Fortunately, most of Svarog’s attacks are telegraphed, and can easily be avoided. Be patient, and wait for an opening while using abilities like Diamond Dust, Windup, and !Lightning
Rod whenever they’re available. You will want to keep up Will-o’-the-Wykes up at all times as this will nullify up to four attacks when upgraded which gives you some breathing space should you mistime a dodge.
When you bring Svarog’s Will-Gauge to half, bring it down with Deadly Embrace, place a Lightning Rod near its head, and use Gouge to deplete its Will-Gauge. This should take you near to a full stagger. When you do eventually stagger Svarog, place another Lightning Rod at its head again then use Gouge to raise the damage multiplier, preferably to x1.50. After that, use Windup for massive damage, and finish it off with the overpowered Gigaflare. If you have Limit Break available, use this at the beginning of the Stagger to fully maximize your damage.
Finish the Stagger phase with Bahamut’s Gigaflare.
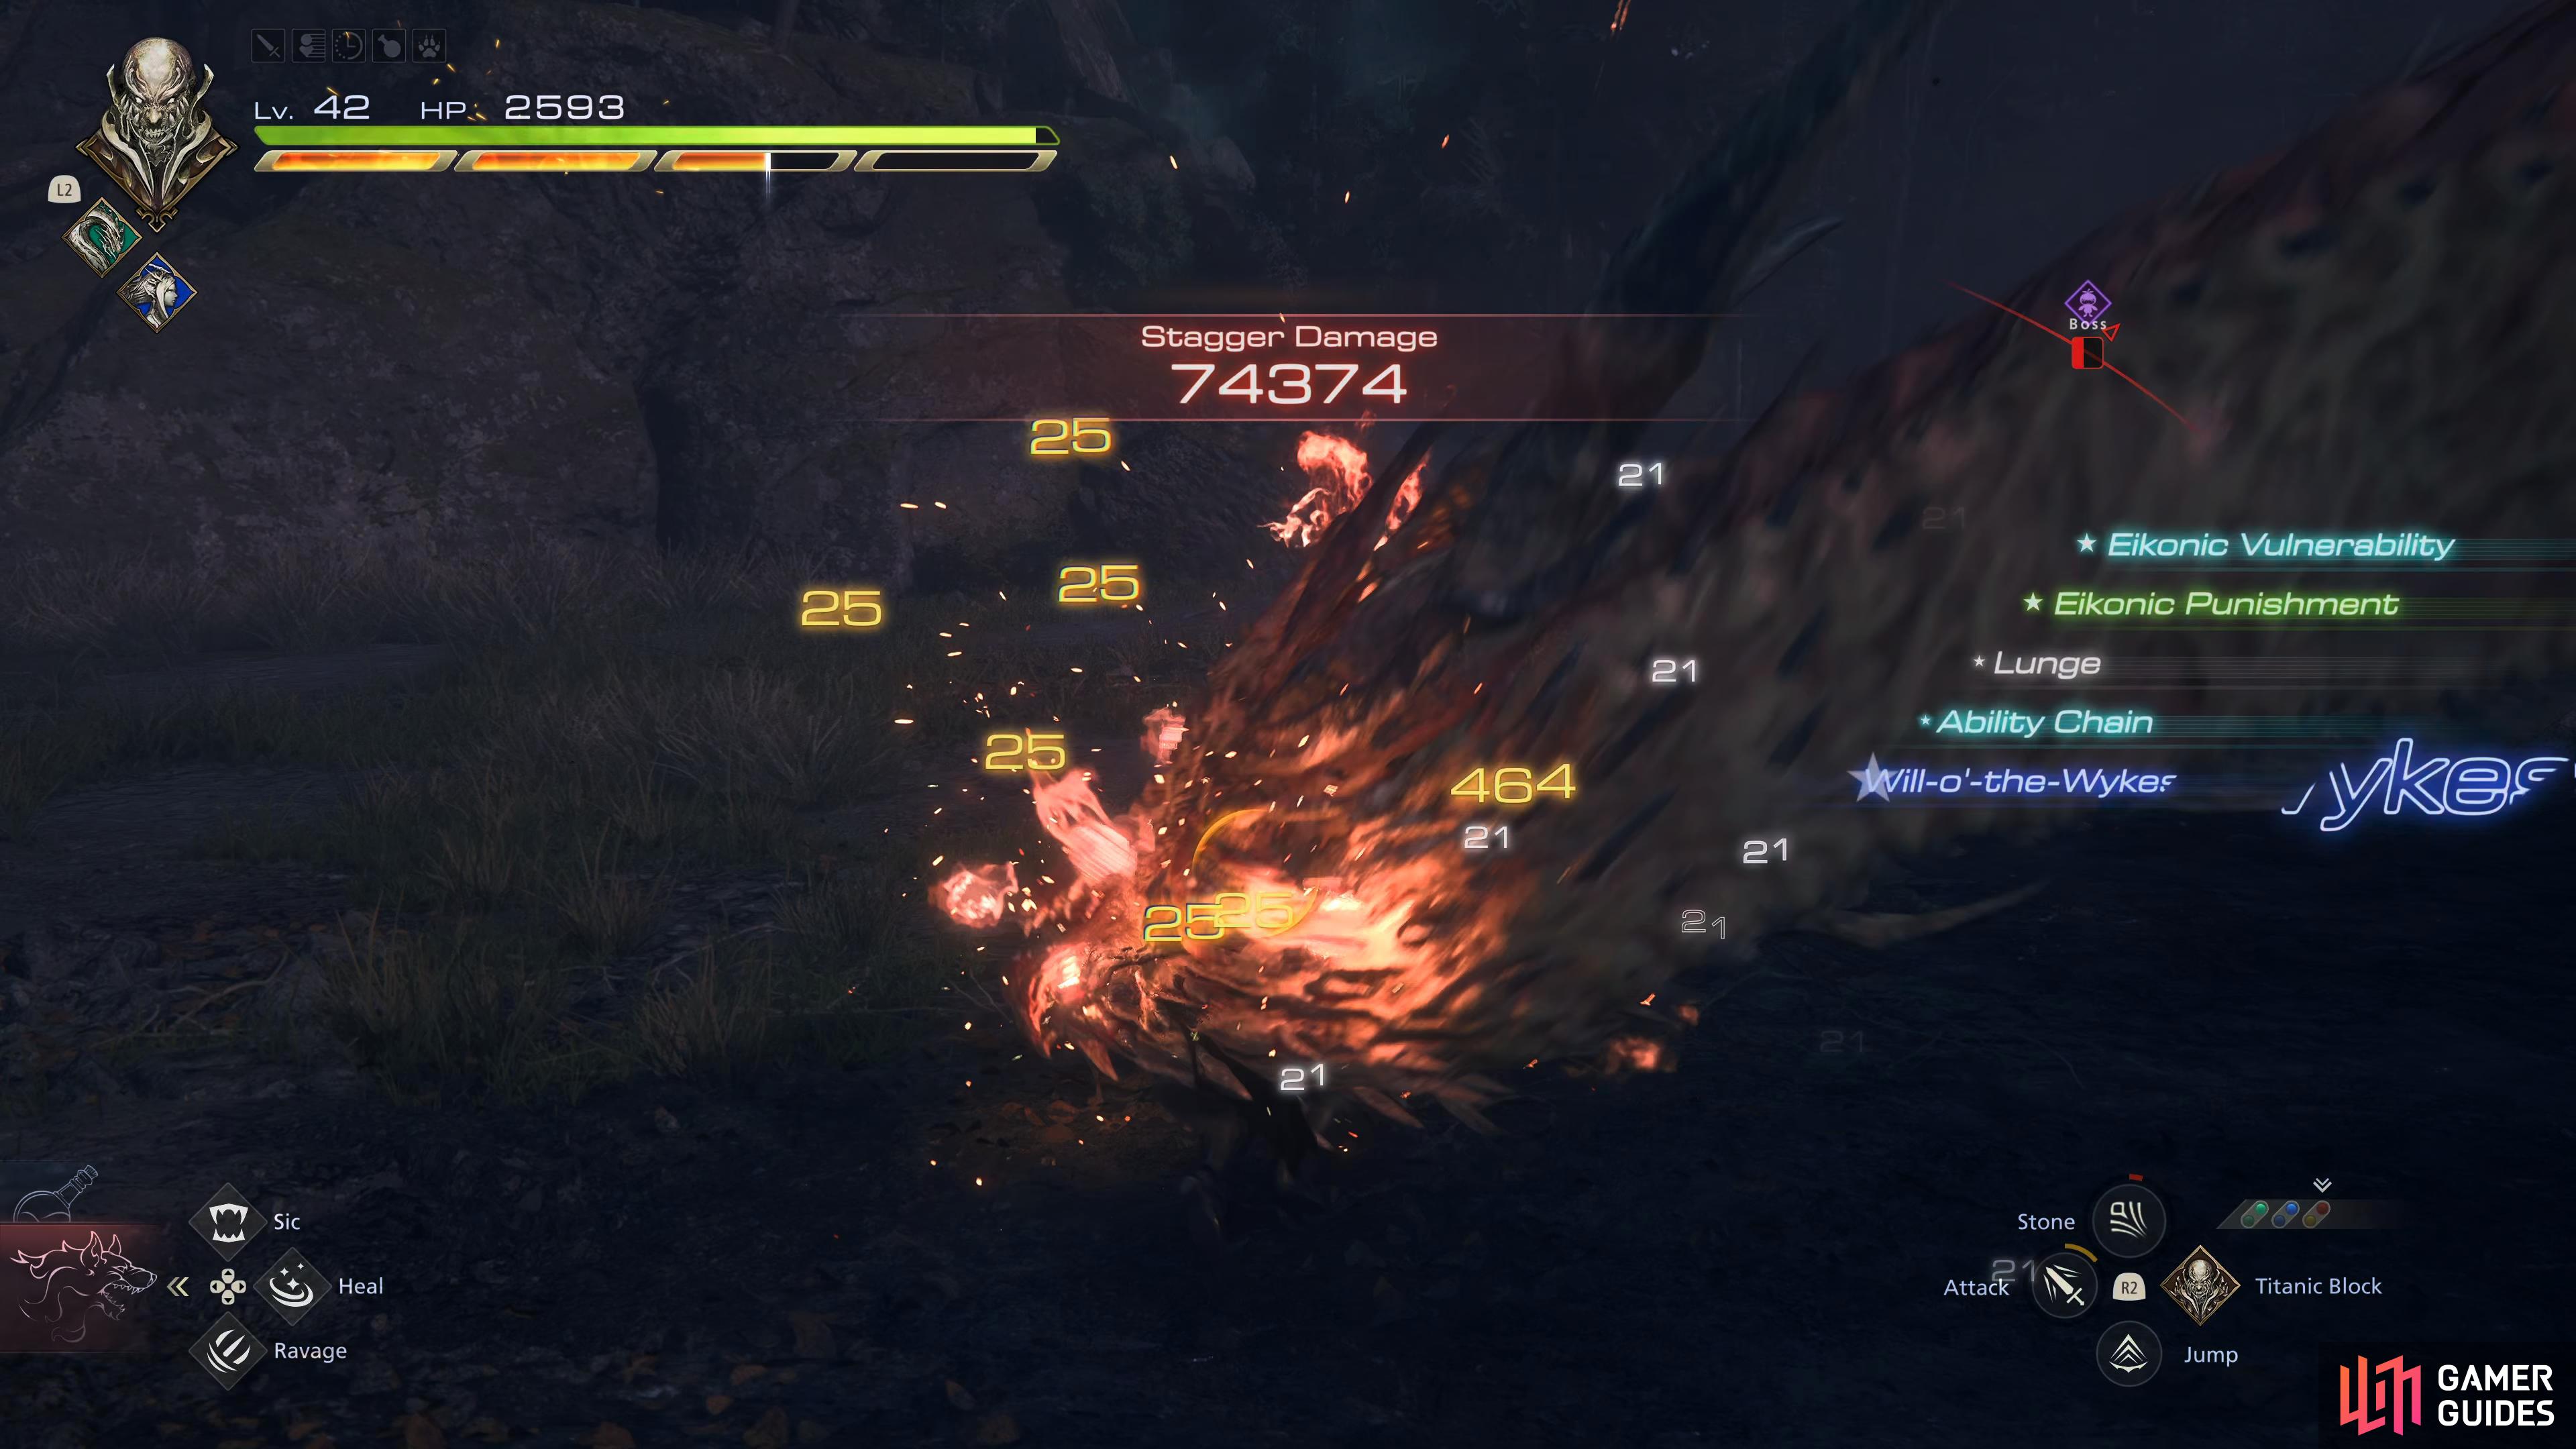
This does tremendous damage which can cut the battle time in half.
Svarog has quite a large health pool, so it may take three to four staggers before defeating it. Just rinse and repeat the above strategy, and you should be fine. Whenever you’re waiting for your abilities to recharge, hit Svarog with some short combos, but make sure you don’t get hit by its Swiping Bite, Wing Stab, and Spike Flail attacks as these can deal a lot of damage. Finally, keep your health above half just in case you get hit by multiple attacks as that can be enough to finish you. With the High Cleric’s Medallion, a normal potion will suffice.
Keep up with the above strategy and sooner or later, Svarog will be defeated, which you’ll obtain a massive 25,000 XP, 40,500 Gil, 300 AP, and 60 Renown. More importantly, you’ll obtain some valuable crafting materials such as one ![]() Orichalcum, one Fallen Enigma, and some valuable items to sell such as an Amber, and an
Orichalcum, one Fallen Enigma, and some valuable items to sell such as an Amber, and an ![]() Empty Shard.
Empty Shard.
More Final Fantasy 16 Hunts
For information on some of the other ![]() Notorious Marks you can take on in Final Fantasy XVI, check out these pages below:
Notorious Marks you can take on in Final Fantasy XVI, check out these pages below:
No Comments