
Muddy Murder is the first A Rank Notorious Mark you’ll come across in Final Fantasy 16. There are plenty of Notorious Marks available for Clive to take on in Final Fantasy 16, and finding them is just the beginning. This page will show you where you can find the Flan Prince, and how you can defeat it.

Muddy Murder, Flan Prince is an A Rank Hunt in Final Fantasy 16.
Where is the Muddy Murder Mark Location?
| Location | Level | Bounty |
|---|---|---|
| 38 | 12,000 Gil, 30 Renown |
Before you can unlock this Hunt, you must progress the Main Quest until you reach the Bolts from the Blue Quest. Once you do, pay a visit to the Hideaway and check out the Hunt Board to view the bill on the Muddy Murder Notorious Mark that is now out in the world.
This is the first opportunity you’ve had to test your mettle against an A Rank Hunt, and you may wish to consider waiting a little before you’ve gained some more Levels before taking it on, they’re a serious step-up over the C and B Ranks. Still, the temptation is there as you’ll obtain the material needed to finally craft the final piece of the Drakeslayer’s Set, provided you completed the Blacksmith’s Blues Side Quest.
As for the Muddy Murder’s location, it’s a rather simple one to reach, start by heading to the Hawk’s Cry Cliff ![]() Obelisk and hug the eastern wall heading all the way north (ignore the entrance to
Obelisk and hug the eastern wall heading all the way north (ignore the entrance to ![]() Amber), you’ll eventually reach an open area where you’ll encounter the Flan Prince.
Amber), you’ll eventually reach an open area where you’ll encounter the Flan Prince.
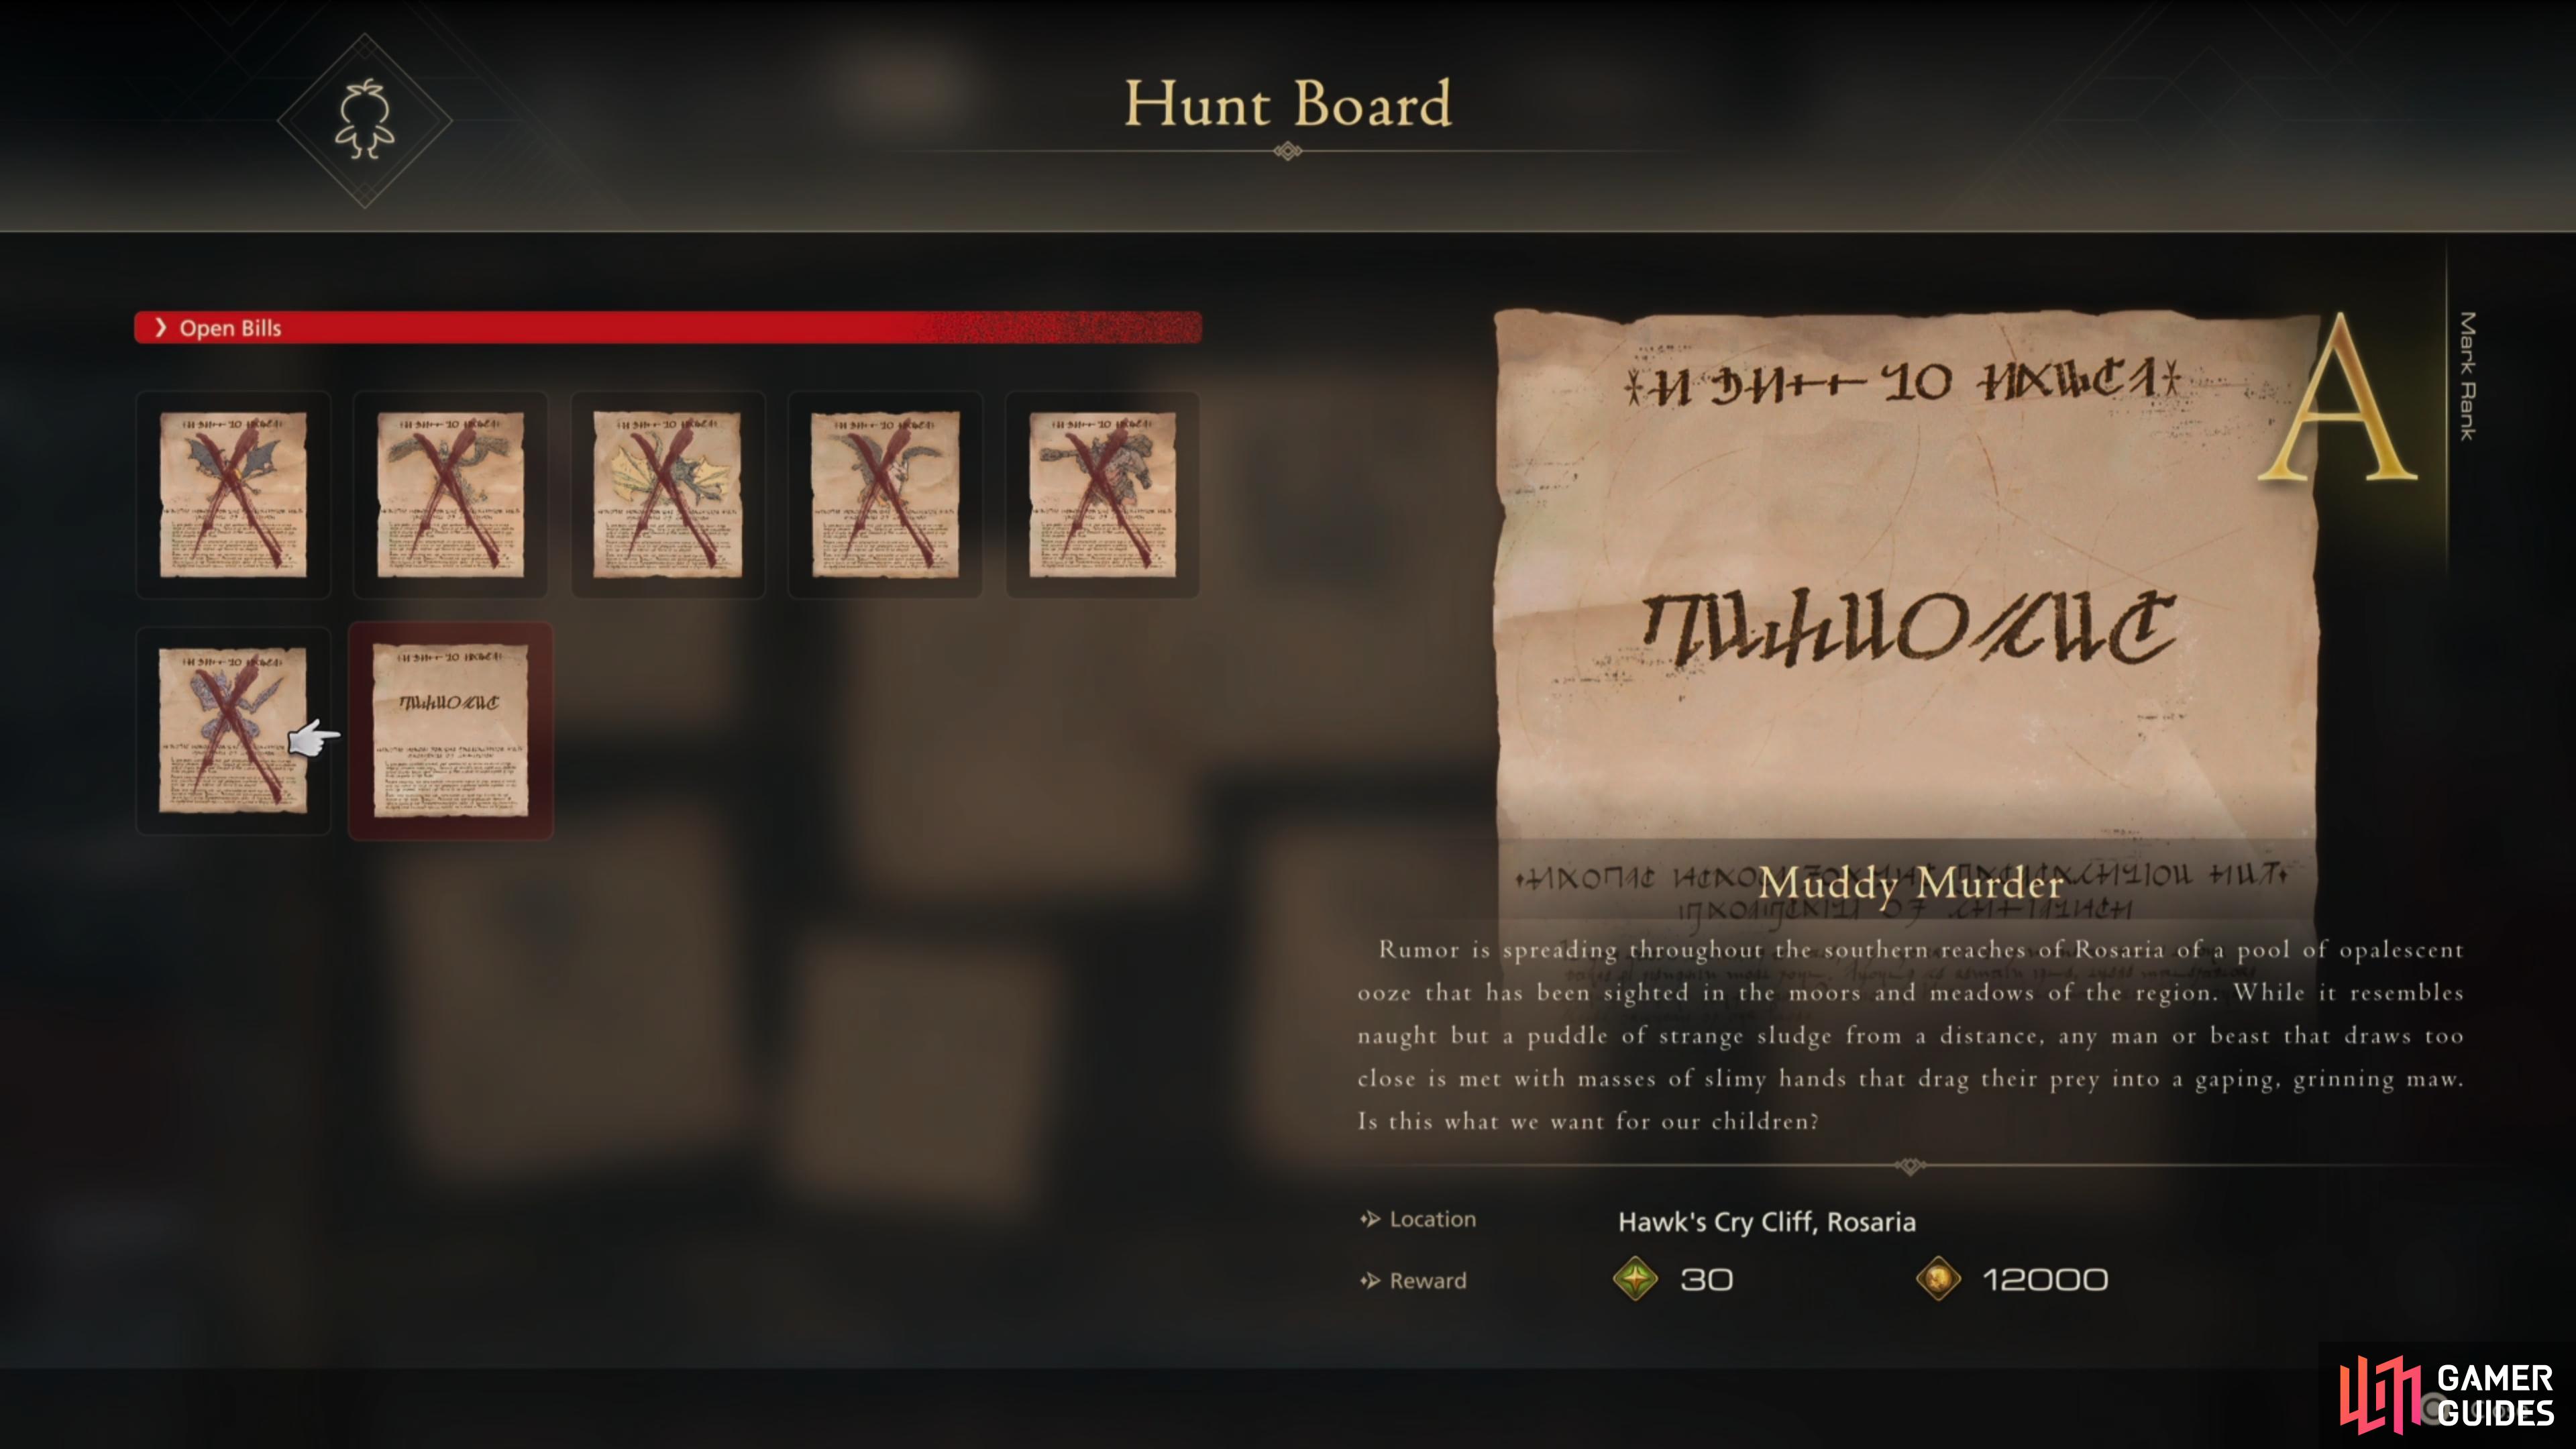
Head to the Hunt Board and take a look at the bill
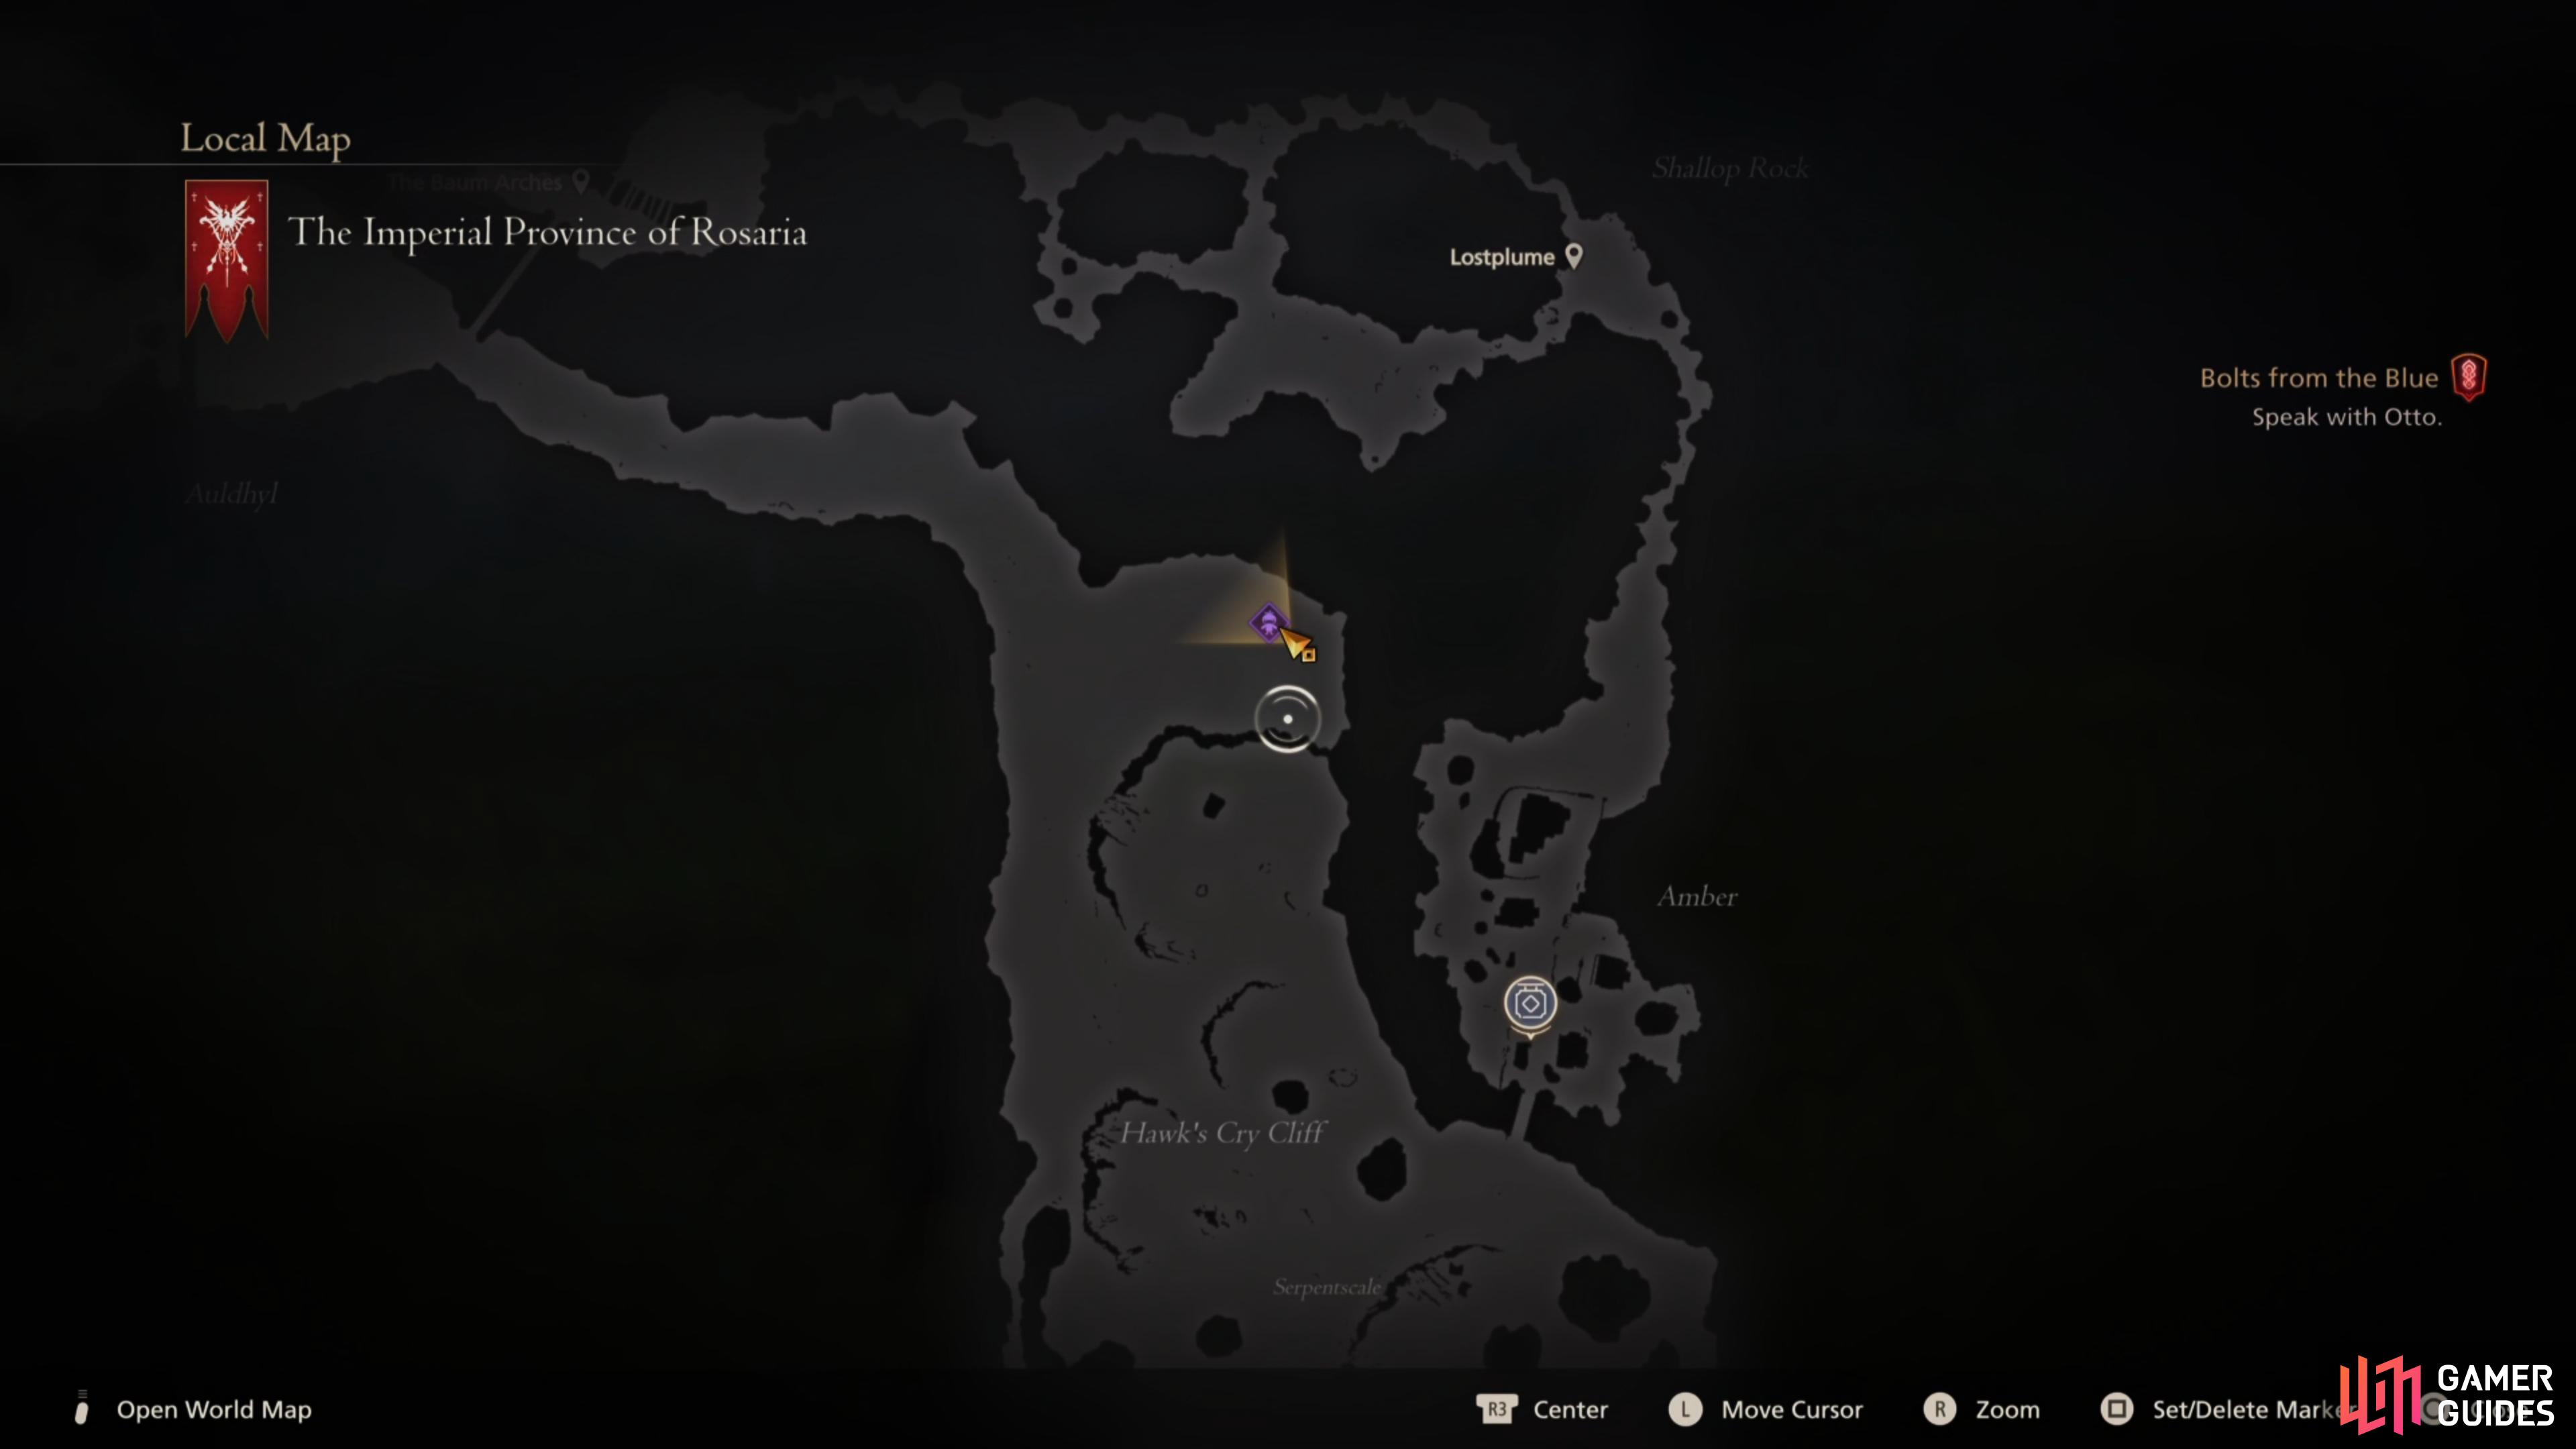
then head here in Rosaria to find the Flan Prince.
Flan Prince’s Attacks
Below you’ll find all the attacks that the Flan Prince has in its arsenal:
| Attack | Description | Counter |
|---|---|---|
| Leap | Flan Prince leaps into the air and slams down with its entire body. | This is Flan Prince’s melee attack, and so long as you spot when it starts its leap, you can use it for an easy |
| Firaga | Flan Prince conjures a massive fireball that it then launches towards Clive, the surrounding area will burn, causing damage if you step into it. | This is the attack you’re looking out for if you have |
| Tornado | Flan Prince conjures multiple pillars of wind that deal damage to Clive if he is too close or strays into its path. | There is no real good counter to Tornado, so instead keep your distance, look at the ground to spot the green glow to tell where a pillar will appear. |
| Blizzaga | Flan Prince conjures an aerial wave of Icicles that drop down onto the ground. | The icicles come down in a line pattern, and there are a lot that come one after the other. Like Tornado, focus on evasion and look for the blue glow on the ground and get away from it. |
| Stonega | Flan Prince conjures a crack in the ground that explodes with rocks that jut out. | The easiest of the elemental spells to avoid, just back away from the crack in the ground to avoid it. |
| Arm Spin | The Flan Prince coils up and then unleashes its arms in all directions. | There’s a long windup here, so once its finished coiling up, get ready with a |
| Dualcast | Used after a first Stagger, the Flan Prince will cast two of its spells at the same time. This will always be the same two spells, either Firaga + Blizzaga, or Tornado + Stonega | Not much else to say, other than that you should be careful when dispelling Firaga as the Blizzaga icicles may hit you in the process. |
| Hands Down | Flan Prince’s final attack, usable after its lost half of its HP. It will slam down its hands a flurry of attacks and then finish with a large leap and slam | This is a deadly attack and is a tough one to avoid at mid or long-range. Instead, when you see the name, get up close and dodge around it to avoid the strikes. |

Recommended Abilities for Flan Prince
Here we will list our recommended ability set up to do this effectively:
| Eikon | Ability | Damage Type |
|---|---|---|
| Phoenix/ |
Damage (1 Star), Will (2 Stars) | |
| Phoenix/ |
Damage and Will (2 Stars) | |
| Damage (2 Stars), Will (5 Stars) | ||
| Damage (2 Stars), Will (4 Stars) | ||
| Damage (4 Stars), Will (3 Stars) | ||
| Damage (2 Stars), Will (3 Stars) |
Especially against A and S Ranks, ![]() Will-o’-the-Wykes is invaluable as it not only offers protection from being hit (which is very deadly at these Ranks), but it adds to the damage you do during a Stagger phase, and can help proc the fantastic
Will-o’-the-Wykes is invaluable as it not only offers protection from being hit (which is very deadly at these Ranks), but it adds to the damage you do during a Stagger phase, and can help proc the fantastic ![]() Lightning Rod. Heatwave will never be more useful than in this battle and using it to Dispel Firaga is a core part of your attacking strategy here.
Lightning Rod. Heatwave will never be more useful than in this battle and using it to Dispel Firaga is a core part of your attacking strategy here.
As with most enemies with a Will gauge, when you deplete half of it, that’s your time to pull Flan Prince to the ground with ![]() Deadly Embrace and use
Deadly Embrace and use ![]() Gouge to hopefully bring it close to Stagger (you may need to damage it a little more after).
Gouge to hopefully bring it close to Stagger (you may need to damage it a little more after). ![]() Aerial Blast is useful here as the Flan Prince can often be stationary while casting its magic, allowing Aerial Blast to show its true worth. Both
Aerial Blast is useful here as the Flan Prince can often be stationary while casting its magic, allowing Aerial Blast to show its true worth. Both ![]() Judgment Bolt and Lightning Rod are your go-to abilities during a Stagger. Use Lightning Rod in front of the Staggered Flan Prince and then follow up with a
Judgment Bolt and Lightning Rod are your go-to abilities during a Stagger. Use Lightning Rod in front of the Staggered Flan Prince and then follow up with a ![]() Limit Break and Judgment Bolt, everything you do here will proc the shocks from Lightning Rod adding to the overall damage.
Limit Break and Judgment Bolt, everything you do here will proc the shocks from Lightning Rod adding to the overall damage.
Recommended Items and Equipment for Flan Prince
Gear
For your Weapon, Belt, and Vambraces, you should have the following:
| Weapon | Belt | Vambraces |
|---|---|---|
If you don’t have what’s listed above, use the highest Attack for Weapon, and highest Defense and Health for the Belt and Vambraces.
Accessories
For your Accessories, this is more subjective, so here is what we used:
| Accessory 1 | Accessory 2 | Accessory 3 |
|---|---|---|
| Berserker’s Ring - Increase attack proficiency with each Precision Dodge |
Items
Finally, we have items. This is more of a preference thing, but we chose the following items:
| Shortcut 1 | Shortcut 2 | Shortcut 3 |
|---|---|---|
More Healing is always a good thing which is why we went with ![]() Elixir for the third slot. These are costly, so if you don’t want to waste your
Elixir for the third slot. These are costly, so if you don’t want to waste your ![]() Gil, take either a
Gil, take either a ![]() Strength Tonic or a
Strength Tonic or a ![]() Stoneskin Tonic to reduce damage by 30%.
Stoneskin Tonic to reduce damage by 30%.
Flan Prince Boss Strategy
A lot of players will attempt this Hunt when it first opens up, and if you’re not careful, you’ll see an early Game Over. Both A and S Ranks significantly up the damage you’ll take and if you’re not careful, you can easily be defeated in a few hits. For this reason alone, Will-o’-the-Wykes is a vital ability and should be up at all times. Having the ability to absorb a few attacks (be sure to upgrade it!) makes a massive difference at this difficulty for Hunts.
You’ll quickly learn that magic is the name of the game when it comes to the Flan Prince, as it focuses on casting high-level elemental spells that you may recognize from past Final Fantasy games. Still, that doesn’t mean that its melee attacks are no slouch, indeed, it will often throw in a Leap after casting one of its spells which can easily catch you unaware.
Flan Prince will cycle through each of its four spells to begin with, starting with Firaga. If you have Heatwave set, this is the attack you’re looking out for as the Flan Prince conjures a massive fireball before flinging it towards you. Use Heatwave to dispel it and deal massive will gauge damage to it, you should be looking to do this whenever you see Firaga.
Tornado follows next and will see multiple pillars of wind appear wherever you see a green glow on the ground. Although you can use Precision Dodge as the explosion causes the wind to appear, it’s a risky affair and one much better suited for keeping away.
Blizzaga can be the toughest of the spells to avoid if you’re not careful, it will cast multiple lines of icicles that cover a wide area and shoot out in a line. The good news about Blizzaga is that it gives you an opening to get behind it and unleash a few combos before it turns to its next spell.
Stonega is the final elemental spell that the Flan Prince will use and is arguably the easiest of the bunch to avoid. Look for the crack in the ground and get away from the rocks that jut out after. This is another one, like Blizzaga, you can use to get an opening on the Flan Prince.
Once you deal your first Stagger to the Flan Prince, it changes up a little. It will start using Dualcast when using its spells now, meaning, well, you’ll be dealing with two spells at once. These are always the same two spells, and the Flan Prince will rotate between them.
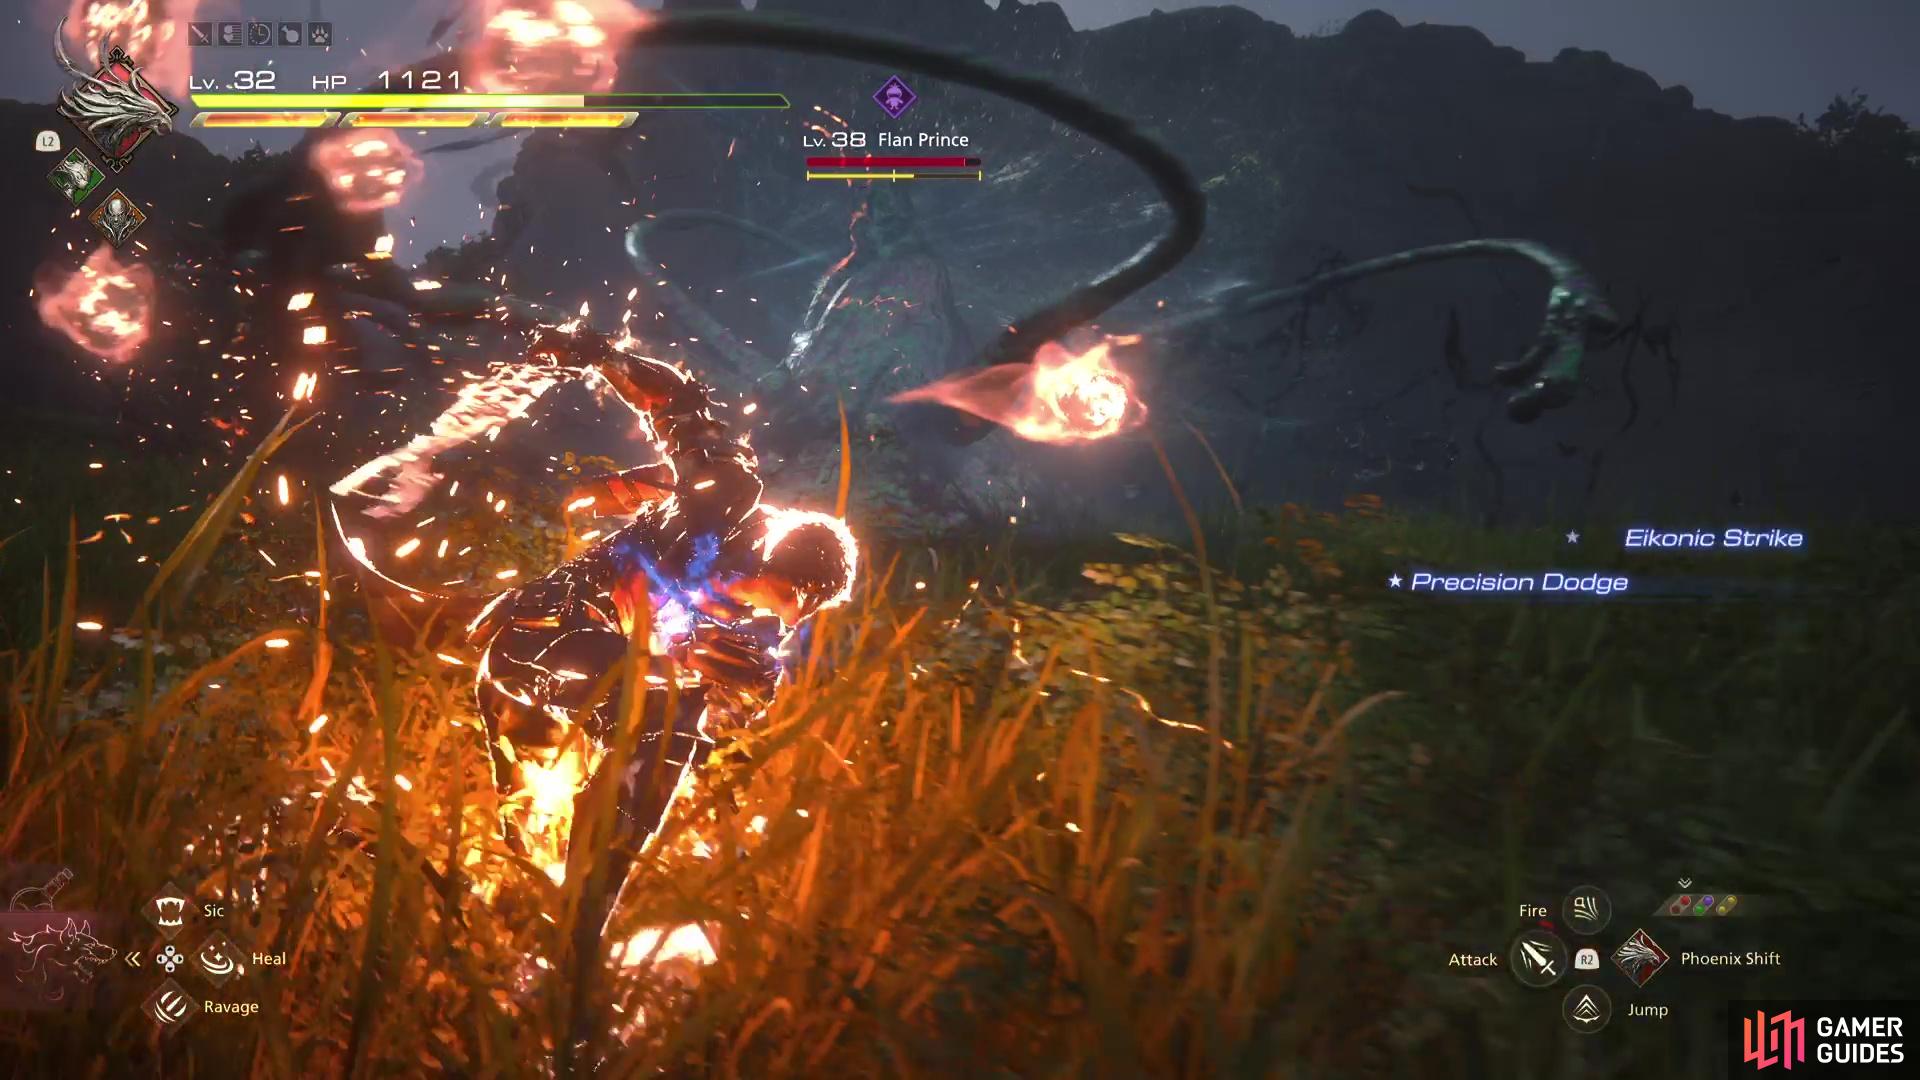
You can dodge most of the Flan Prince’s attacks but some are more riskier than others

use Lightning Rod before triggering Limit Break during a Stagger phase to increase your damage output.
The first is Firaga and Blizzaga, and it makes it a little trickier to time the Heatwave counter so make sure you move immediately after using it to avoid the Blizzaga follow-up. Blizzaga will always be cast in a line where the Firaga will land, so use that as a rough idea of where to move away from.
The second combo is Tornado and Stonega, this is a much easier one to deal with as you would be avoiding these spells anyway, so keep on the move and it should cause you little issue. Still, you’ll need to keep an eye out for the melee attacks the Flan Prince uses in the middle of these casts.
Once you finally bring the Flan Prince below half HP, you’ll need to deal with Hands Down. This is a very deadly attack and is a tough one to avoid at mid-range or further. The hands will take up a massive area and they come quick enough that if you get hit by one, you’ll get hit by them all. The best way to deal with this is to close the distance and then rotate around the Flan Prince.
As for attacking the Flan Prince, your best openings are when its casting Blizzaga or Stonega and countering with Heatwave. Once you have it in Stagger, repeat the usual tactics such as dropping a Lightning Rod before using Limit Break and your hardest hitting abilities such as Judgment Bolt.
Once the Flan Prince falls, you’ll complete the Hunt and obtain 12,000 Gil and 30 Renown along with a ![]() Gelatinous Mass, this is a rare material needed to craft the
Gelatinous Mass, this is a rare material needed to craft the ![]() Drakeslayer’s Bracelets should you have completed the Blacksmith’s Blues Side Quest.
Drakeslayer’s Bracelets should you have completed the Blacksmith’s Blues Side Quest.
Muddy Murder Final Fantasy 16 Video Guide
If you prefer a visual cue for this battle, or just want to see it in action before you attempt it yourself, check out our video guide below!
More Final Fantasy 16 Hunts
For information on some of the other ![]() Notorious Marks you can take on in Final Fantasy XVI, check out these pages below:
Notorious Marks you can take on in Final Fantasy XVI, check out these pages below:
No Comments