
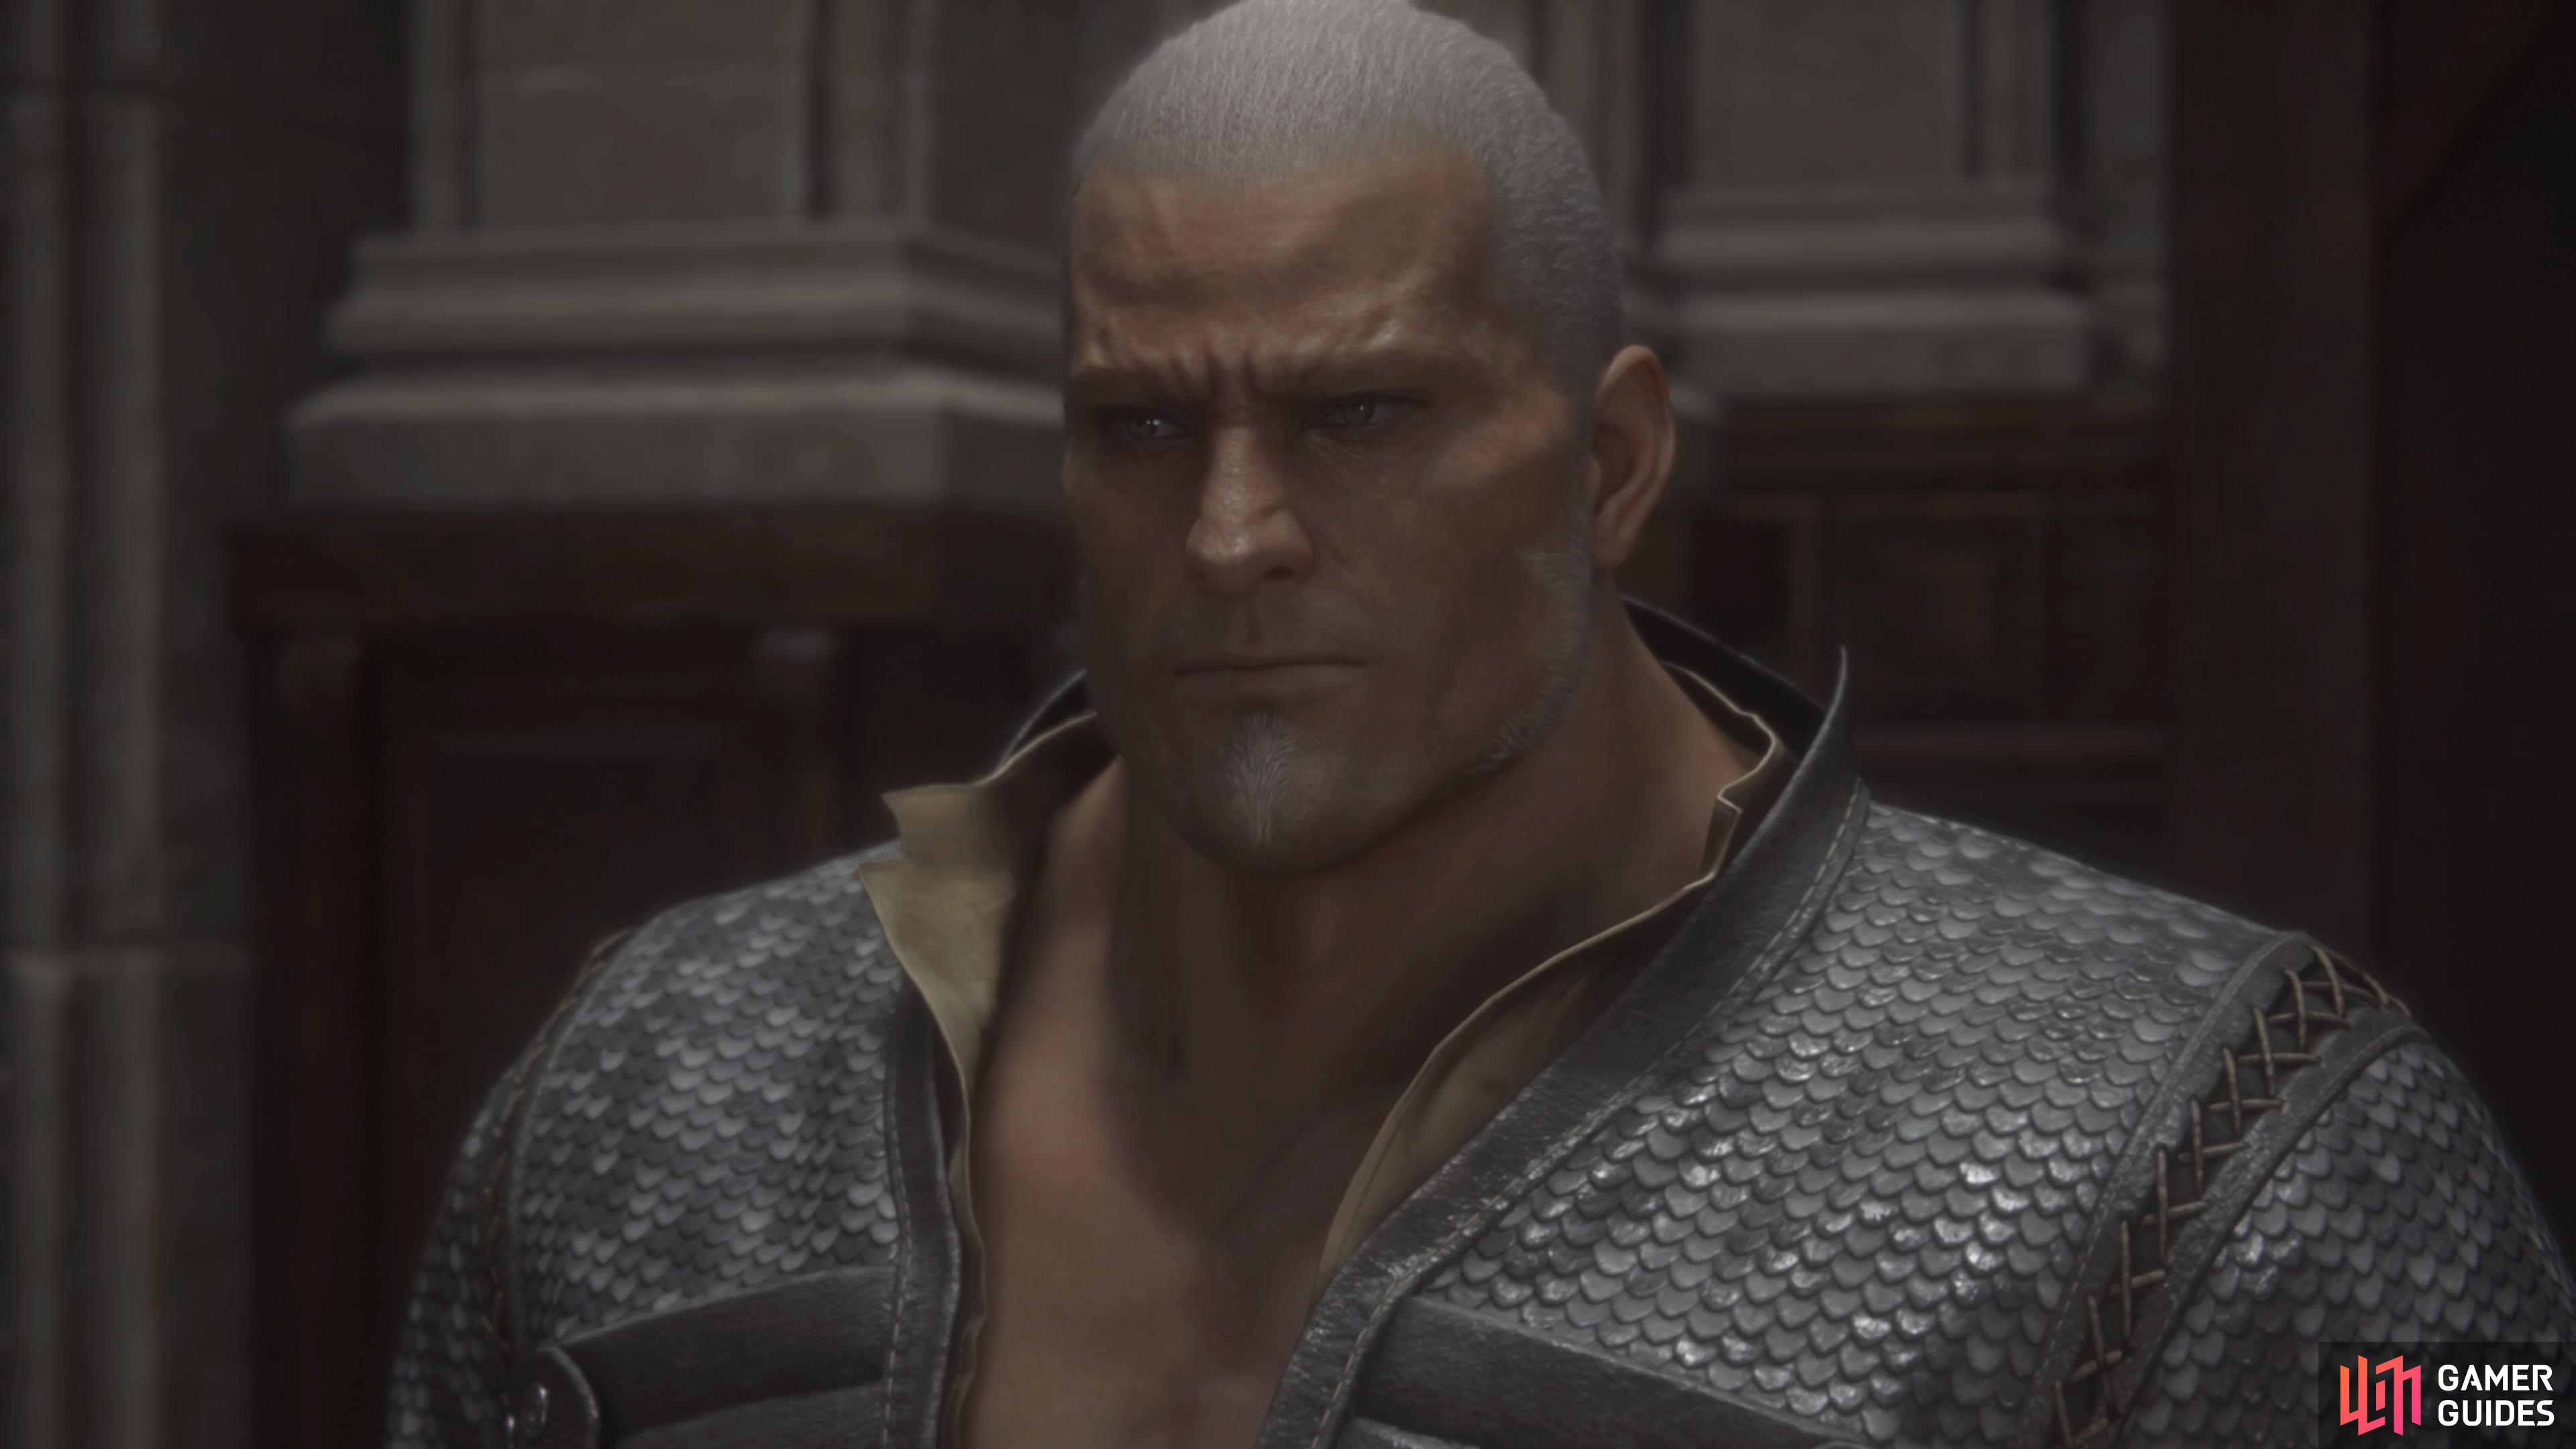
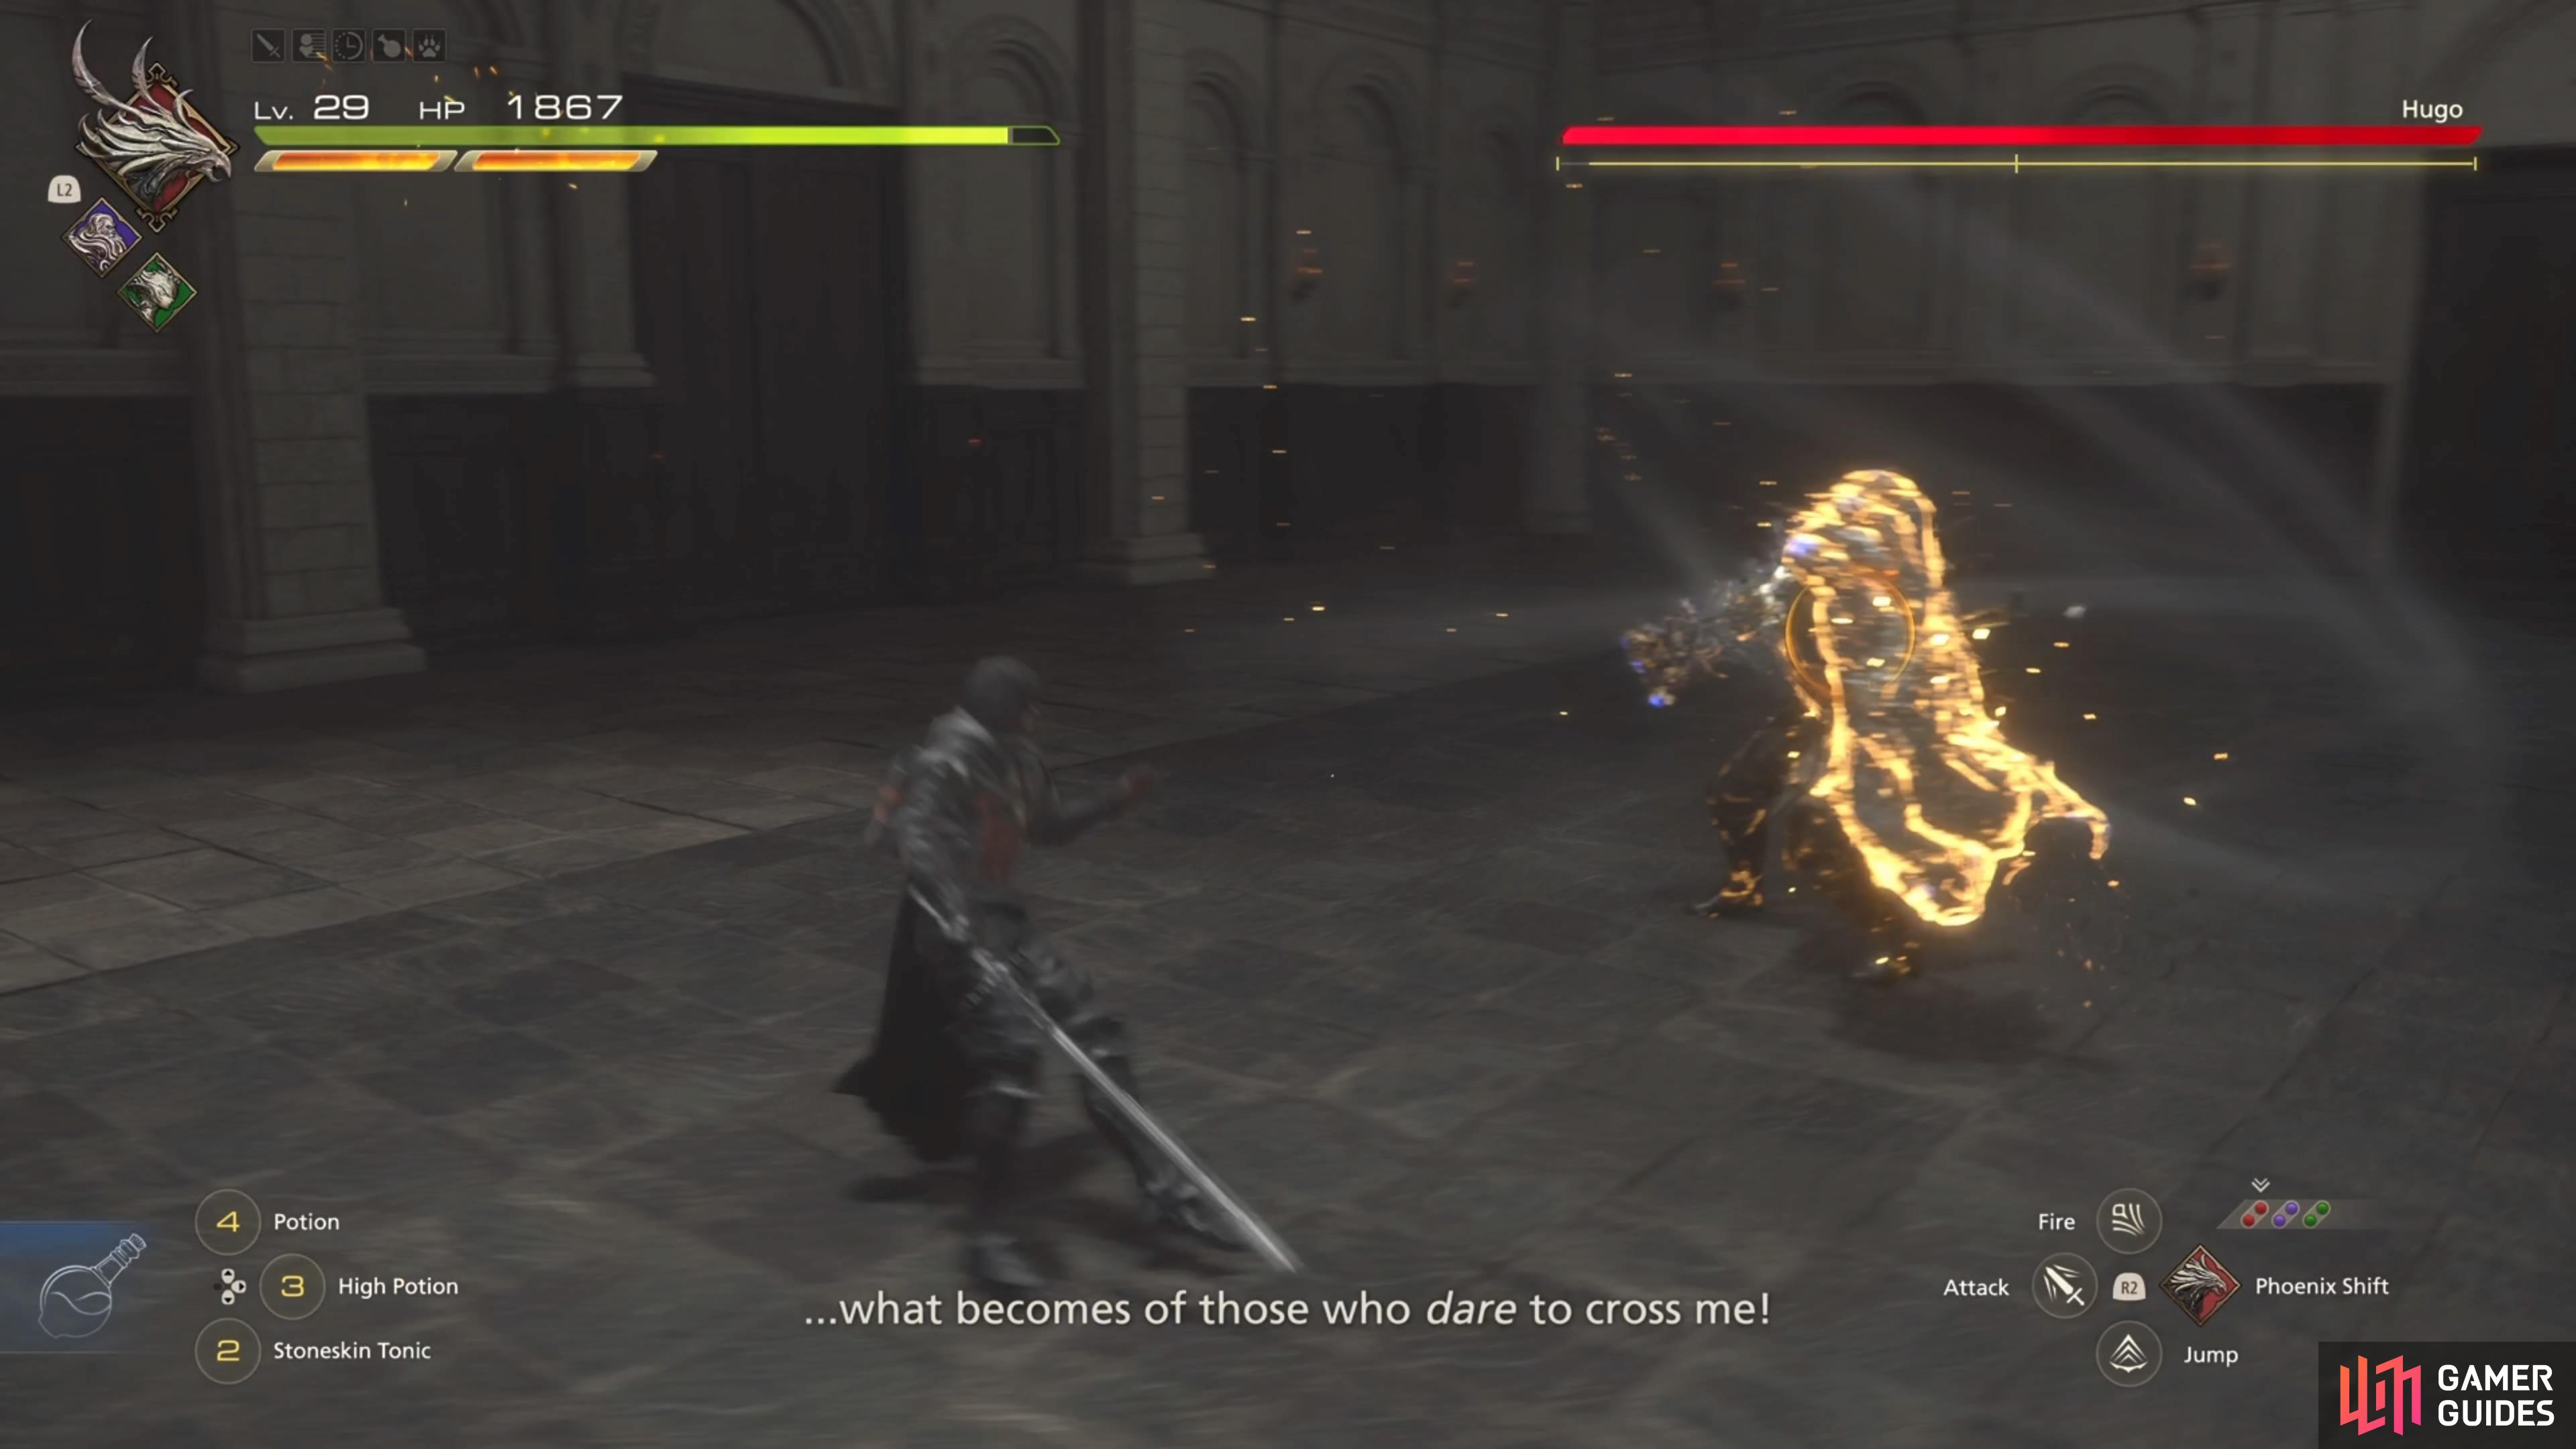
![]() Hugo Kupka is one of the bigger boss fights in Final Fantasy XVI, with you encountering him during the Capital Punishment main quest. This is a pretty major battle and you will see a lot of different attacks, and will probably be the first boss in the game where you actually need to use the jump button.
Hugo Kupka is one of the bigger boss fights in Final Fantasy XVI, with you encountering him during the Capital Punishment main quest. This is a pretty major battle and you will see a lot of different attacks, and will probably be the first boss in the game where you actually need to use the jump button.
Hugo will be a pretty big boss fight, so come prepared.
How to Beat Hugo Kupka in Final Fantasy 16
Hugo will definitely not be a pushover, so don’t come into the fight unless you’re fully prepared. The battle will be a little longer than most, since he has a lot of health and there’s a lot of attacks that he might do. Some of these attacks will actually be easier to dodge via jumping, which is something you haven’t really done yet in the game. Playing defensively is a good option, as is the case with most bosses, to see his moves, so you can adjust to them and dodge accordingly.
All Hugo Kupka Attacks in Final Fantasy XVI
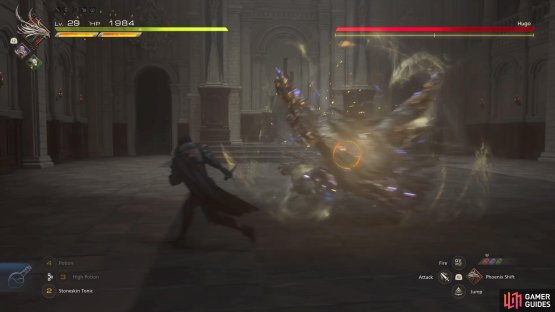
Hugo will have three phases to the fight, with the first phase being pretty lackluster, in terms of attacks. Once the second phase begins, though, he will add a lot more attacks to his arsenal, as well as slightly change some of the earlier ones.
Arms Dash
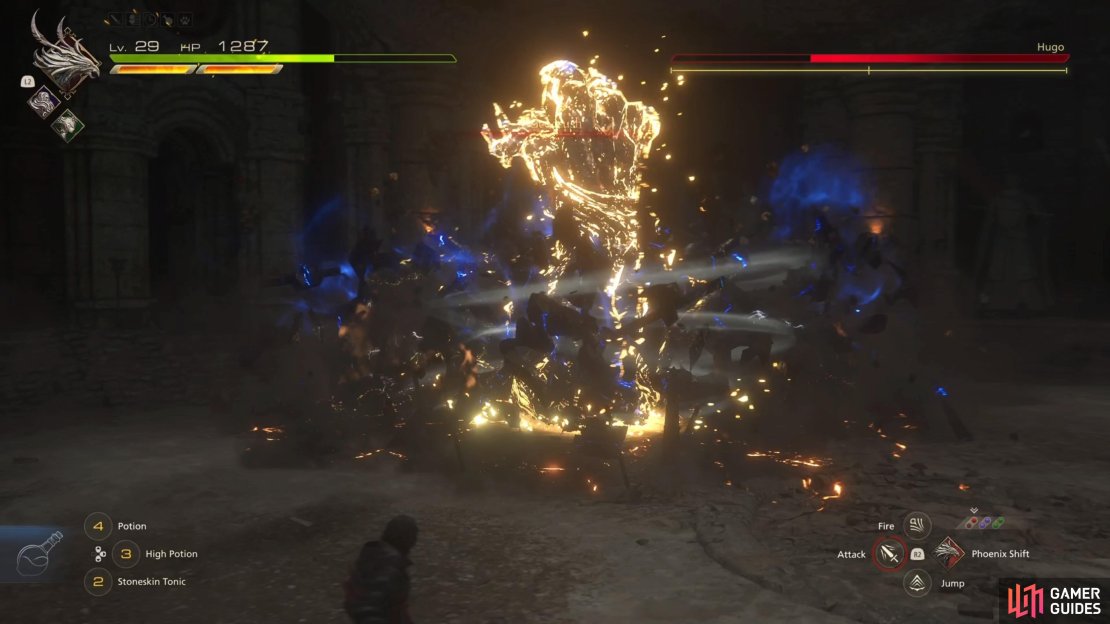
Hugo will make his arms bigger, cross them, then dash straight towards you. He will pretty much start with this attack at the beginning of the battle, so be ready for it. He will also use it throughout all of the waves, but it can be a little deceptive to avoid, due to the arms being bigger.
(1 of 2) He will start the battle by doing the Arms Dash attack.


He will start the battle by doing the Arms Dash attack. (left), Hugo will do a dashing kick attack after the one punch. (right)
Punch Kick Combo
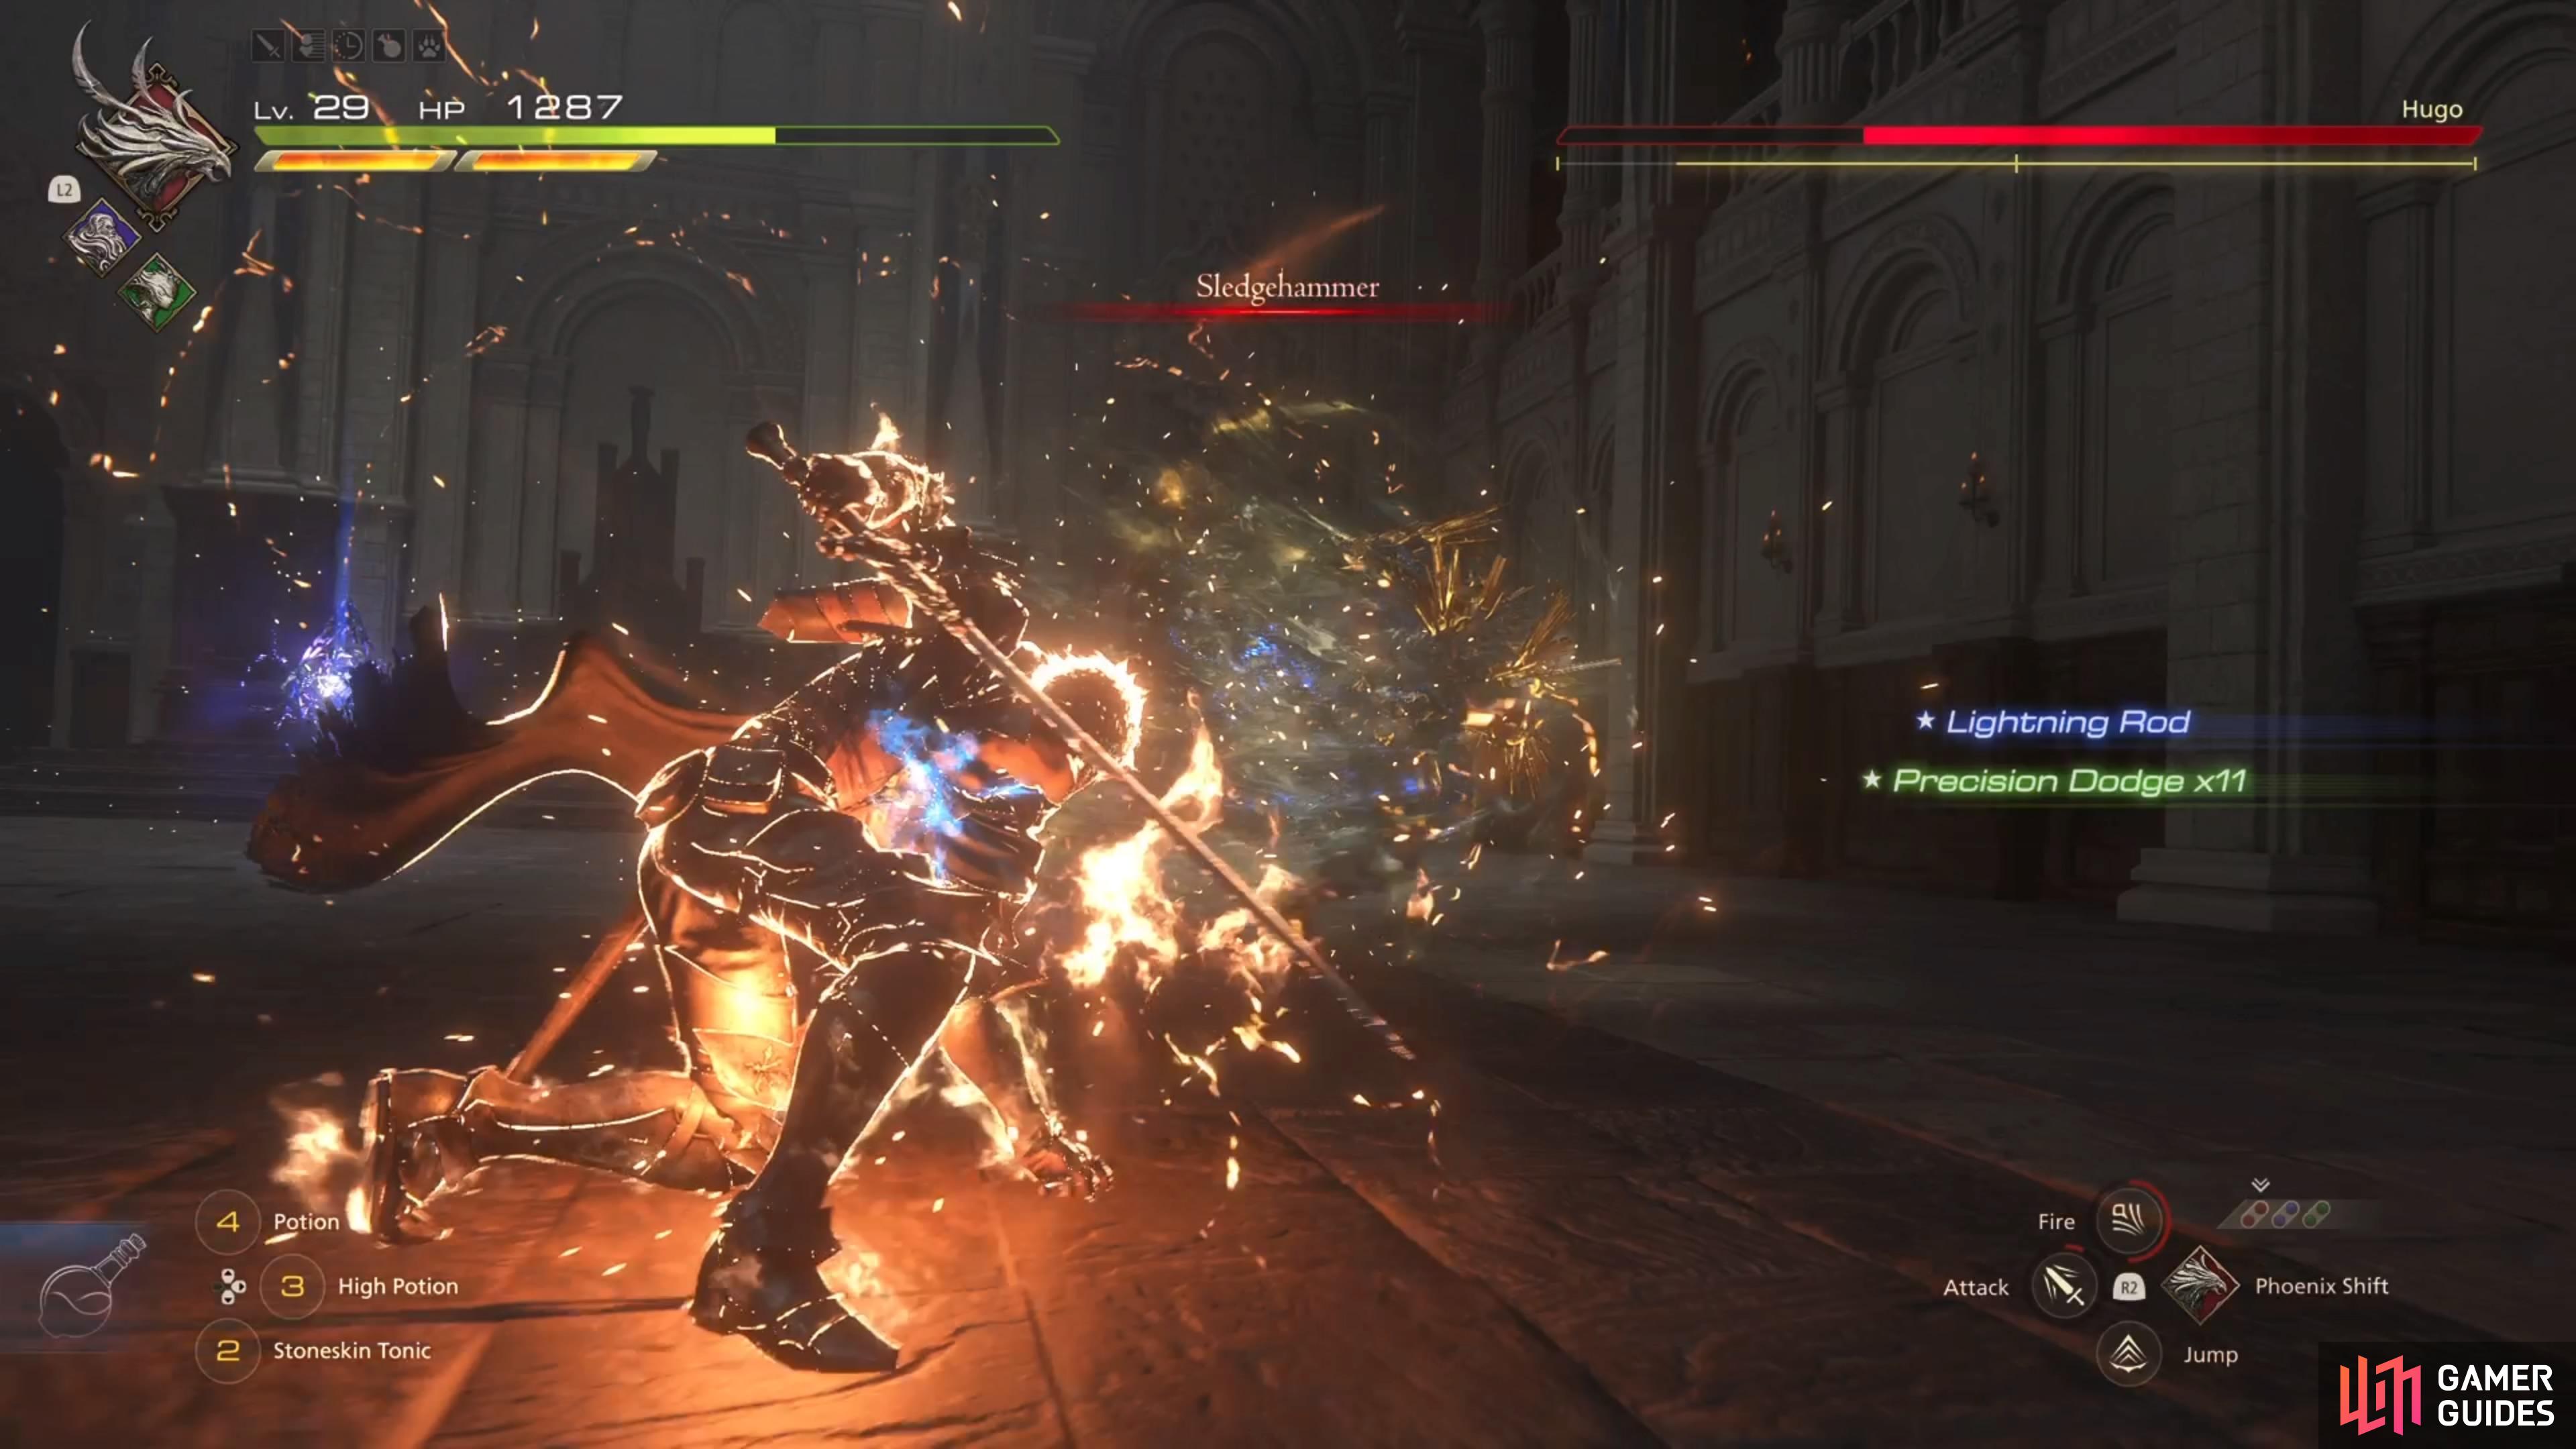
Another dashing attack, except that Hugo will attempt a straight haymaker punch, then try a straight kick right after the punch has been executed. The punch is pretty easy to avoid, and if you wait until he starts moving after the punch, then you can dodge that instant to get a ![]() Precision Dodge there.
Precision Dodge there.
Dashing Uppercut
You seem to be getting the gist of a lot of attacks during this first phase, as Hugo will grow both of his arms, then dash forward to try and uppercut you with one of them. You can simply dodge out of the way, since there’s a decent wind-up to this attack. After the phase transition, this will become a three-hit combo, where he’ll chain together three punches.

(1 of 2) The Dashing Uppercut is just another charging attack
The Dashing Uppercut is just another charging attack (left), as is Sledgehammer, so they should be easy to dodge. (right)
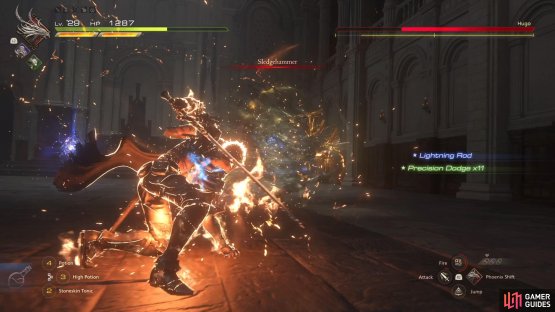
Sledgehammer
Hey, look! There’s another dashing attack! This named attack, though, is pretty much nothing but a shoulder tackle. There’s not much more to say about this, other than it being a little quicker than the others, it appears, so dodge accordingly.
Geocrush
You won’t see this attack until the second phase, which is after the Cinematic Evasion cutscene. Hugo will start by actually diving into the ground, then he will cause small earthquakes in the arena. With the third tremor, if you’re still on the ground, you’ll be temporarily stunned (no damage, though). A large circle will appear beneath you, which is the target area for the actual attack. After a few seconds have passed, a large fist will burst out of the ground. Even if you get stunned, you should have enough time to move out of the circle.
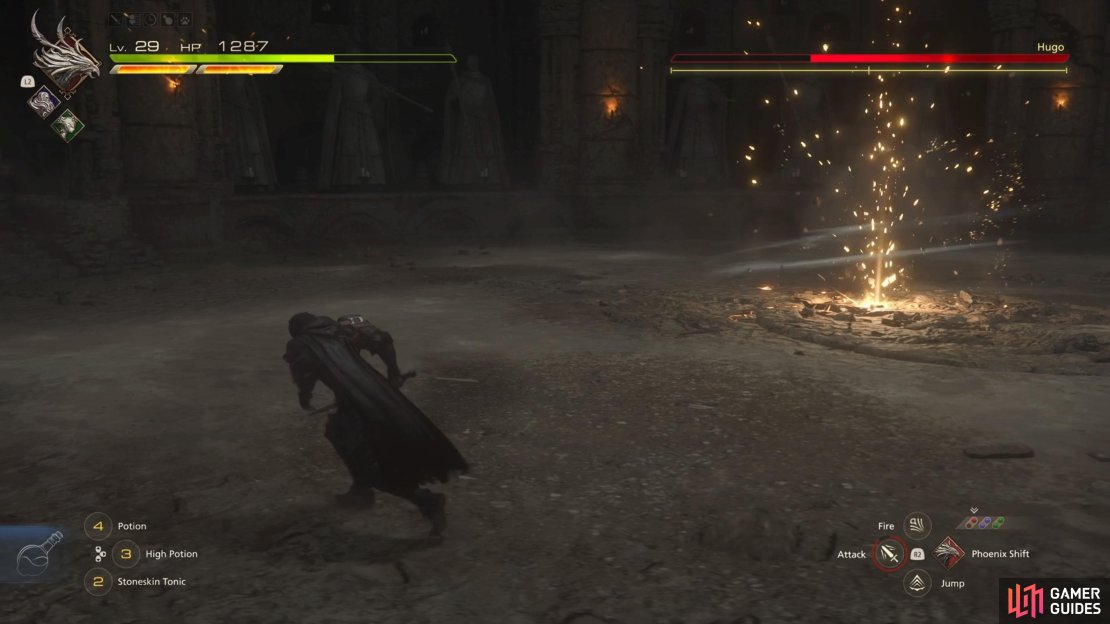
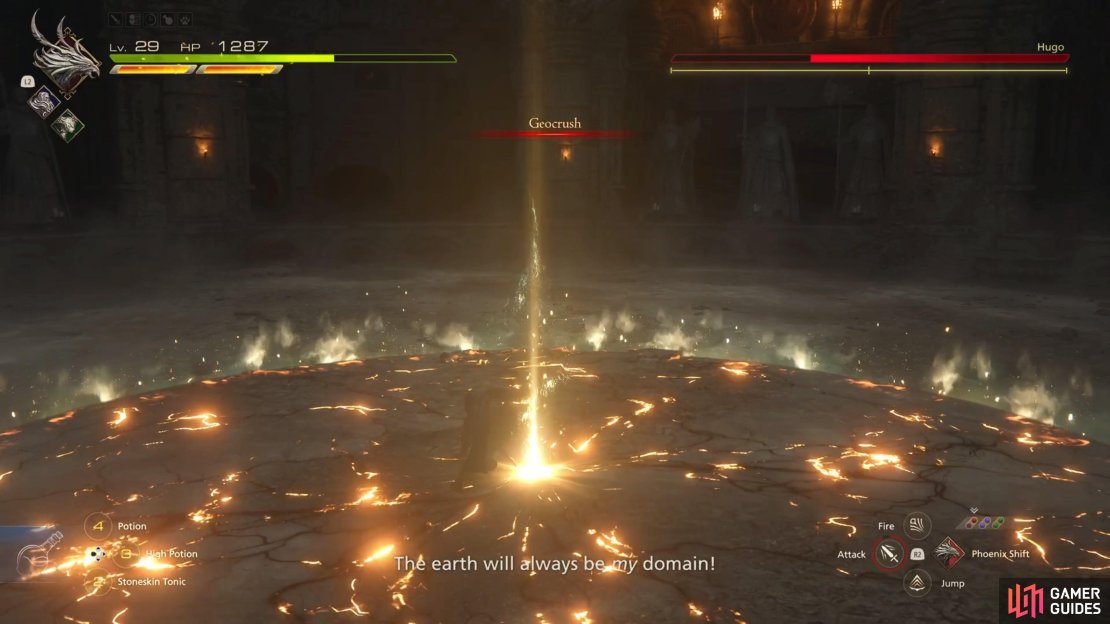
(1 of 3) Hugo will burrow into the ground when he’s about to do Geocrush.
Weight of the Land
Large circles will appear, at random, on the ground. After a second or so, some rocks will burst out of the ground at those circles. Just avoid the circles and you won’t get hit by this.
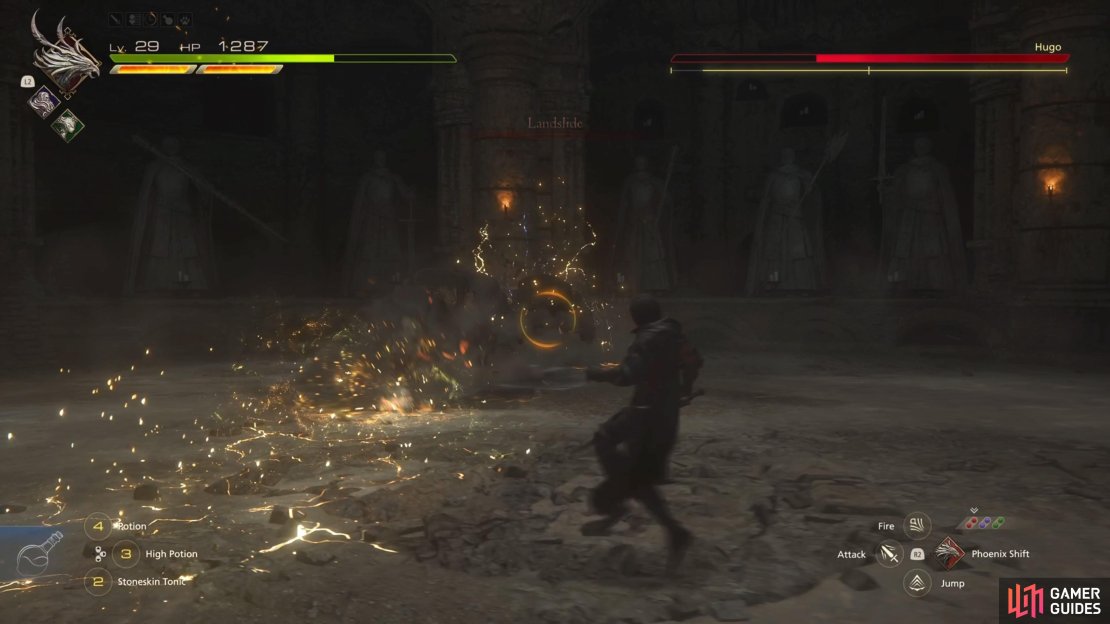
Landslide
Hugo will slam the ground and cause a shockwave, in a straight line, to head in your direction. It’s another straight line attack that should be easy to dodge, since you will know it’s coming, due to the name appearing on your screen.
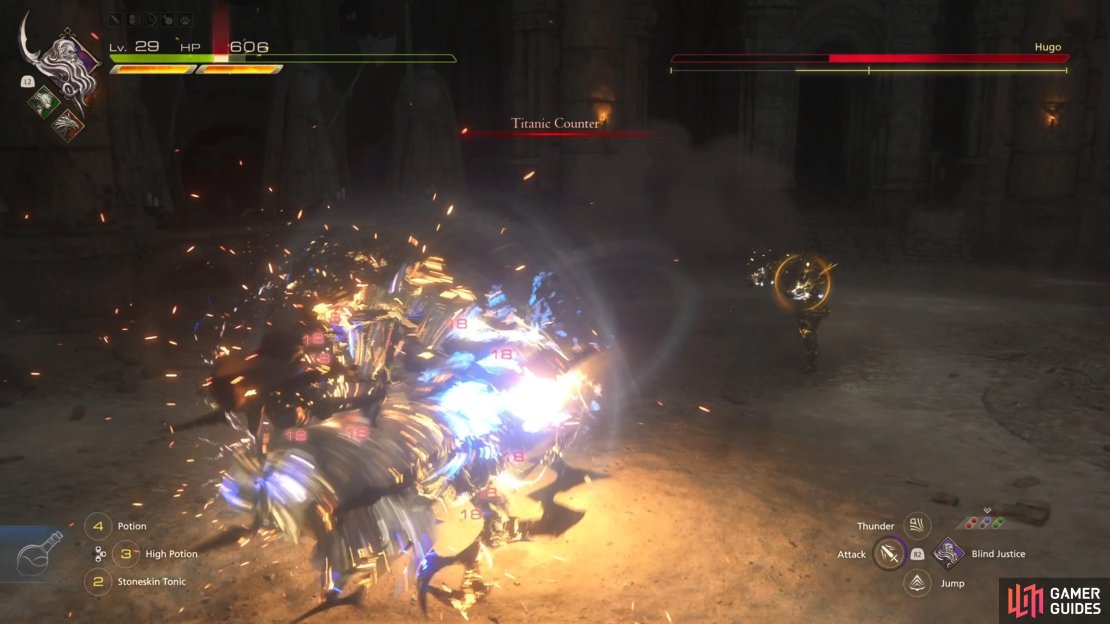
Titanic Counter
During the course of the second phase onwards, Hugo will sometimes actually block your attacks, by crossing his arms. If you continue attacking him while he’s in the blocking animation, he will knock you into the air and perform a series of attacks you won’t be able to avoid. These attacks can deal some significant damage to Clive, too, so you want to stop your offense when you see him blocking.


(1 of 4) Watch for the circles on the ground for Weight of the Land.
Stripmine
Hugo will mark a huge area in front of him, in a fan-like pattern, which will also extend a good portion of the arena. After a few seconds, he will then plant his hands into the ground and cause a massive upheaval of rocks to appear in the marked area. The areas to his sides and behind him are clear of this, so that is the best way to dodge this attack.
Tumult
Hugo will float in the sky for a quick second, then come crashing into the ground, sending out three shockwaves. You can either try dodging through them, but you are also able to jump over them easily. Note that you are also able to dodge while in the air, which can be used to extend your airtime.
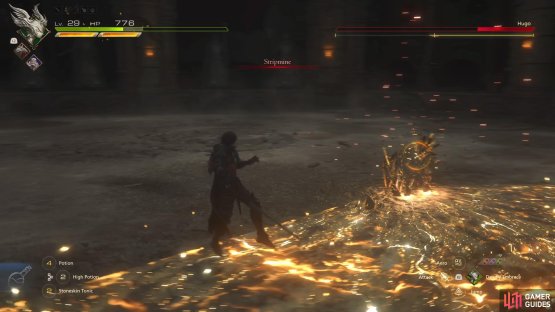
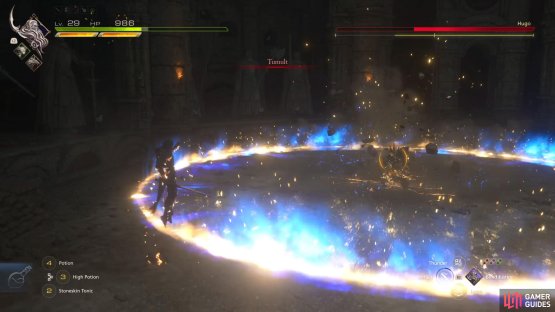
(1 of 2) Go to either side, or behind Hugo to dodge Stripmine.
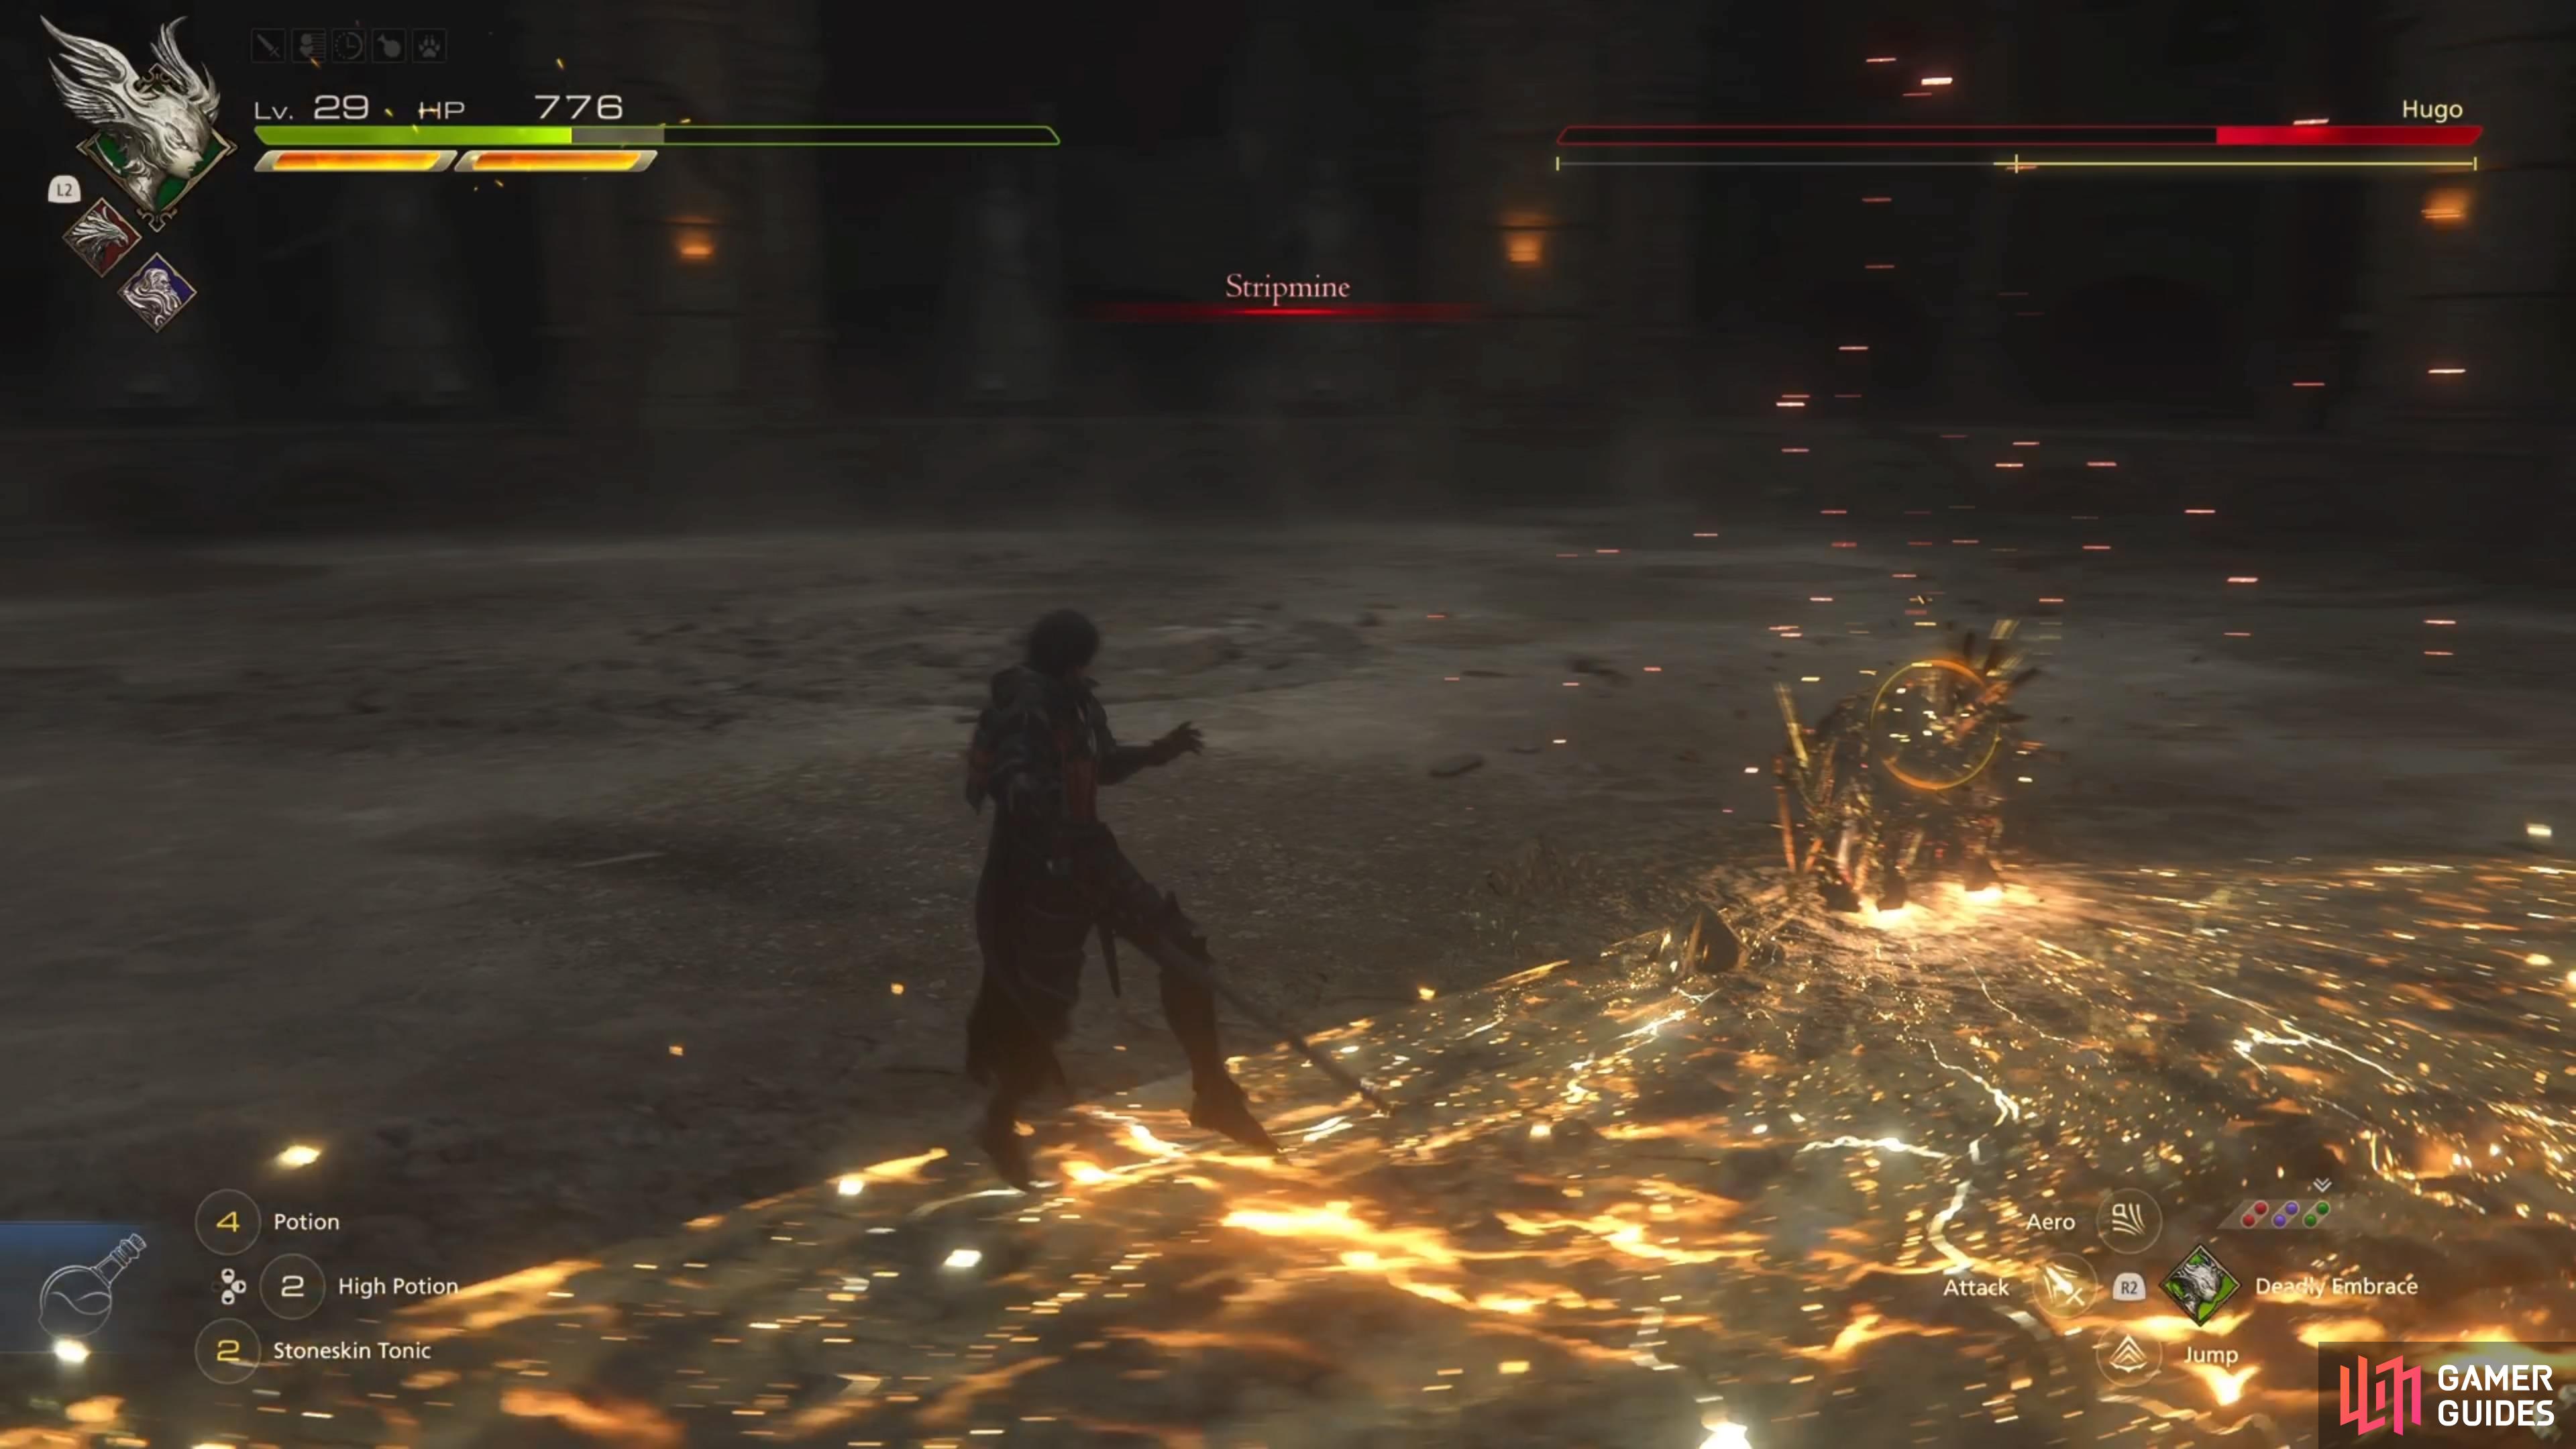

Go to either side, or behind Hugo to dodge Stripmine. (left), Jumping over the shockwaves for Tumult is the best option to avoid damage. (right)
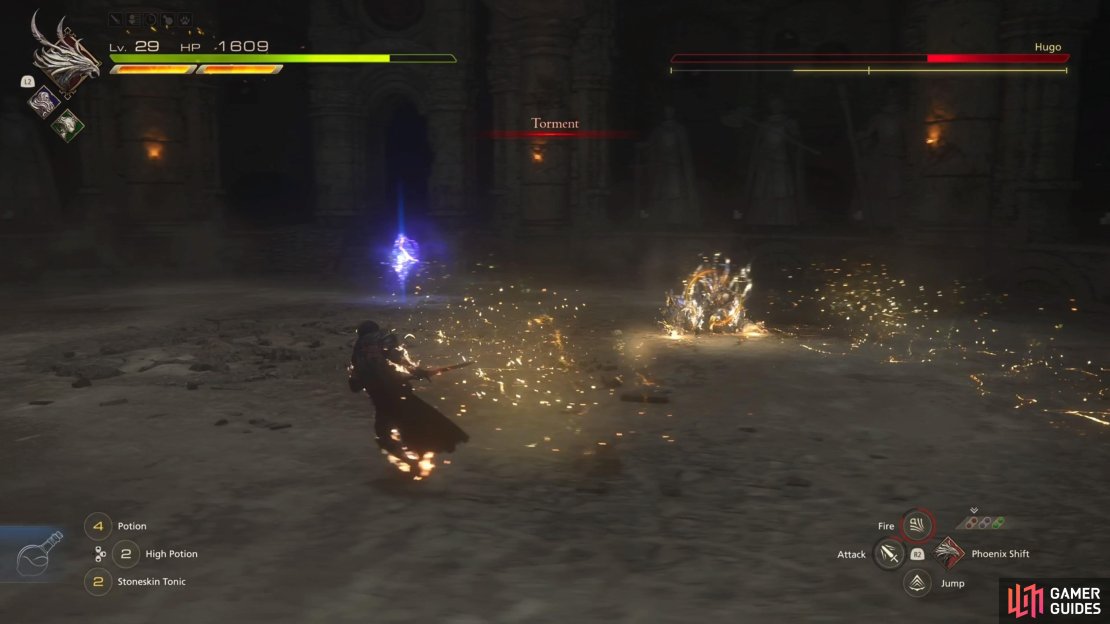
Torment
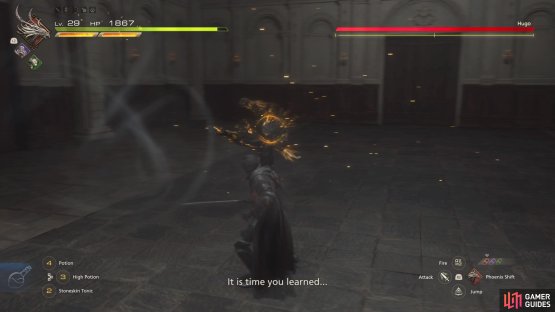
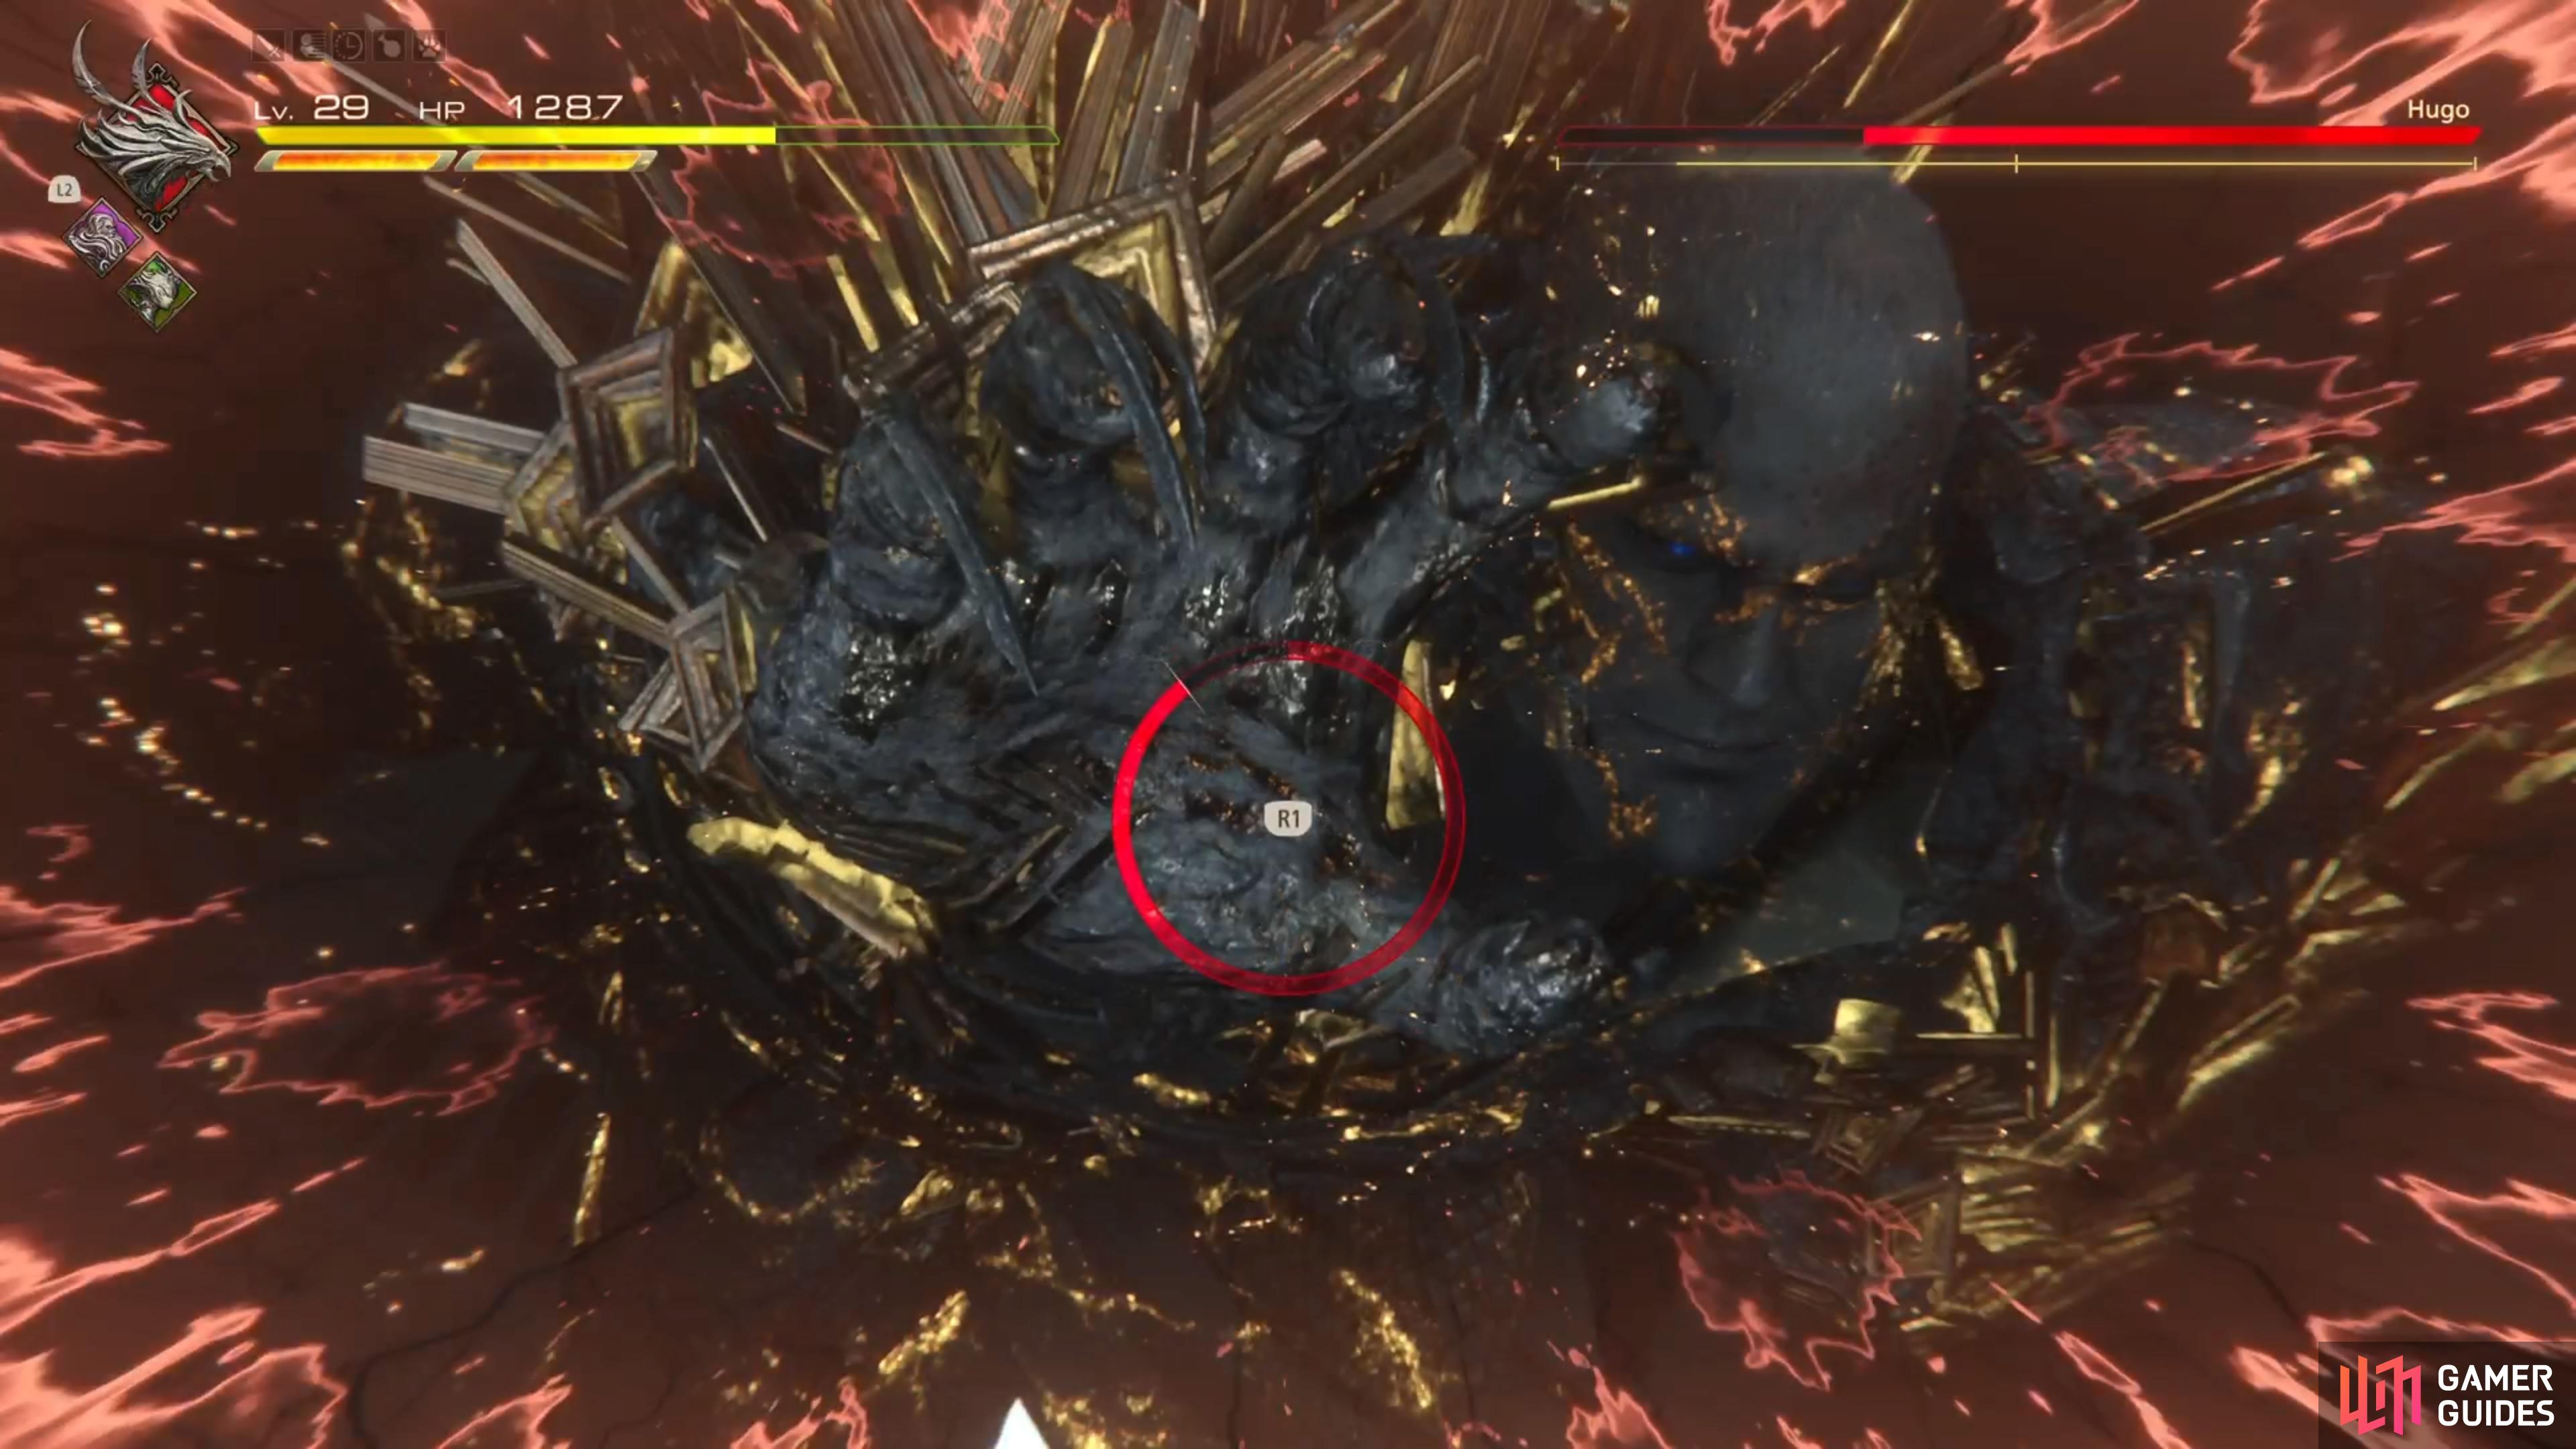
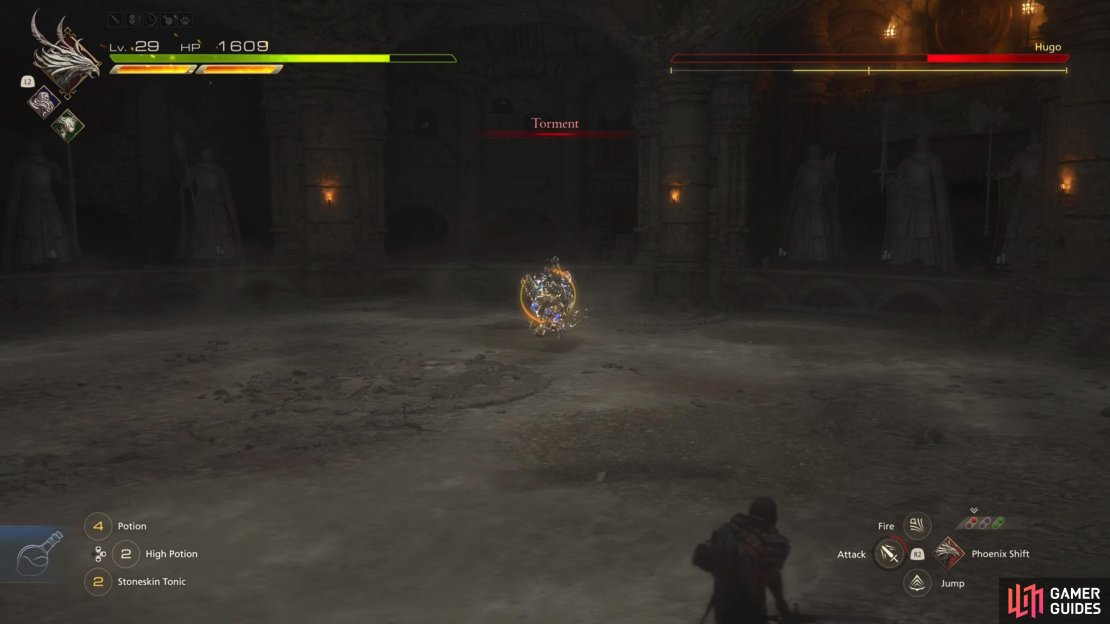
This is a long string of attacks, and will likely occur either after bringing his health down to a certain point, or after the second stagger. It will start with Hugo growing both of his arms, then performing a pounce on your position. After that, two lines of cracks will form on the ground, and rocks will come up from those cracks. He will then wind up his one arm, and charge towards you, performing a clothesline. There will be one more clothesline with the other arm, then a backhand attack.
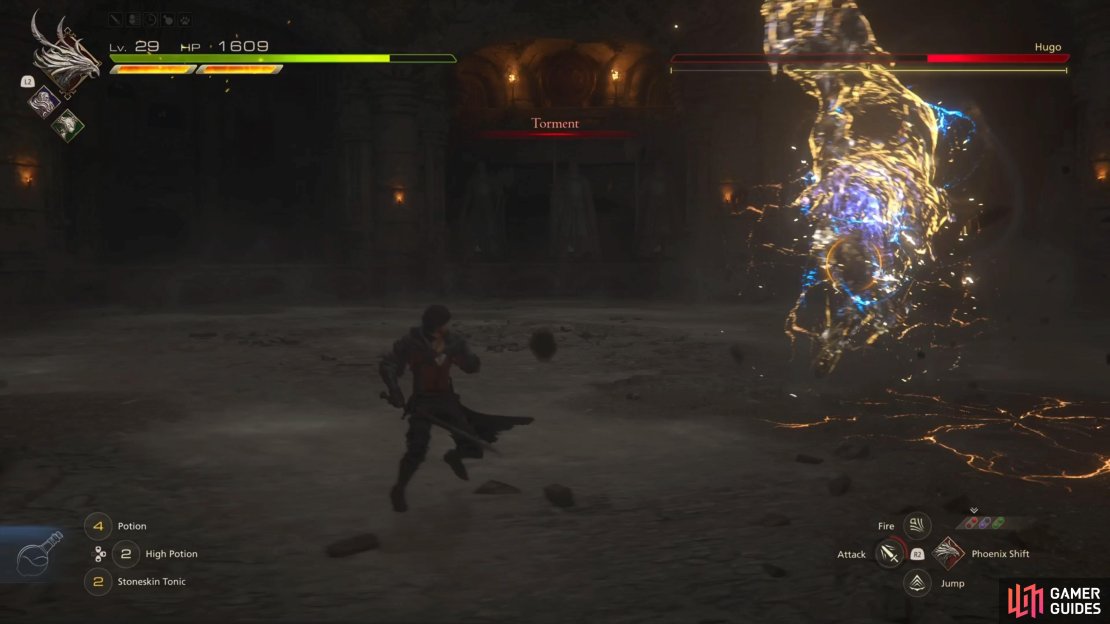
From there, he will move away from you and spin one of his arms in a circle, before firing it as a projectile. He’ll do the same with the other arm, then bring both arms together, making them bigger, and firing that as a missile. Lastly, Hugo will jump towards you and smash the ground twice, with one of his arms. After the second smash, he will transition to the following attack…
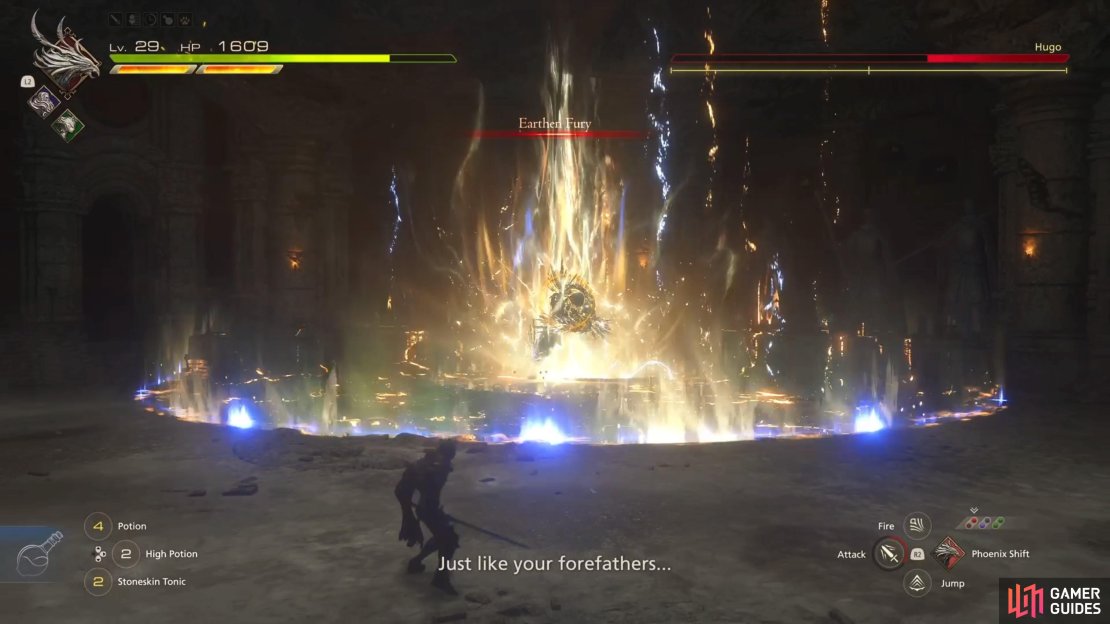
Earthen Fury
You will find this attack happening at the end of Torment, where a large circle will form on the ground, around Hugo. After some seconds have passed, a huge explosion of rocks and stuff will occur, so you definitely don’t want to be caught up in it. As soon as you see Torment being used, just concentrate on avoiding damage as much as possible, then get ready to move as far away from Hugo, so you can get away from ![]() Earthen Fury. Note that he will be stunned for a few seconds after this attack, so get ready to dash in and unleash your attacks on him.
Earthen Fury. Note that he will be stunned for a few seconds after this attack, so get ready to dash in and unleash your attacks on him.
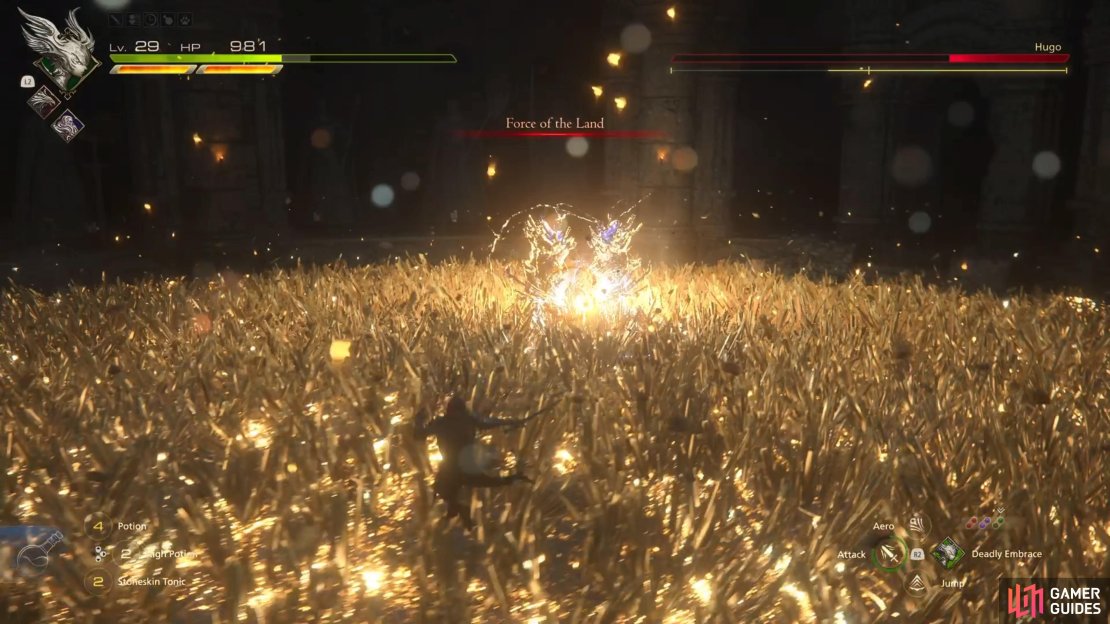
Force of the Land
This will occur after Torment/Earthen Fury, and can be a dangerous attack, if you don’t know what to do. Hugo will first smash the ground, causing a marker to appear over the entire arena. As soon as you see this happening, get ready to jump after the first ground pound, as the second one will cause all manner of crystals to appear, which will hurt you.
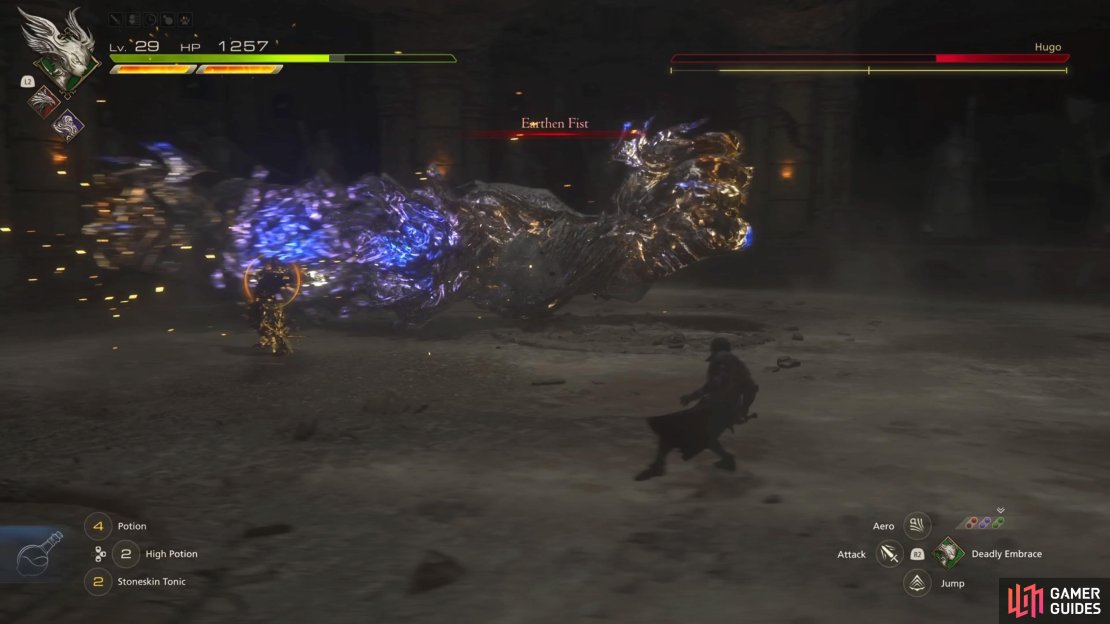
(1 of 3) Hugo will attempt to clap you out of existence with Earthen Fist.
Earthen Fist
Another attack that will occur after Torment/Earthen Fury. This time, Hugo will make his arms pretty large, stretch them out to his sides, then bring them together for a big clap, in front of his body. You can easily just move away from him to avoid this.
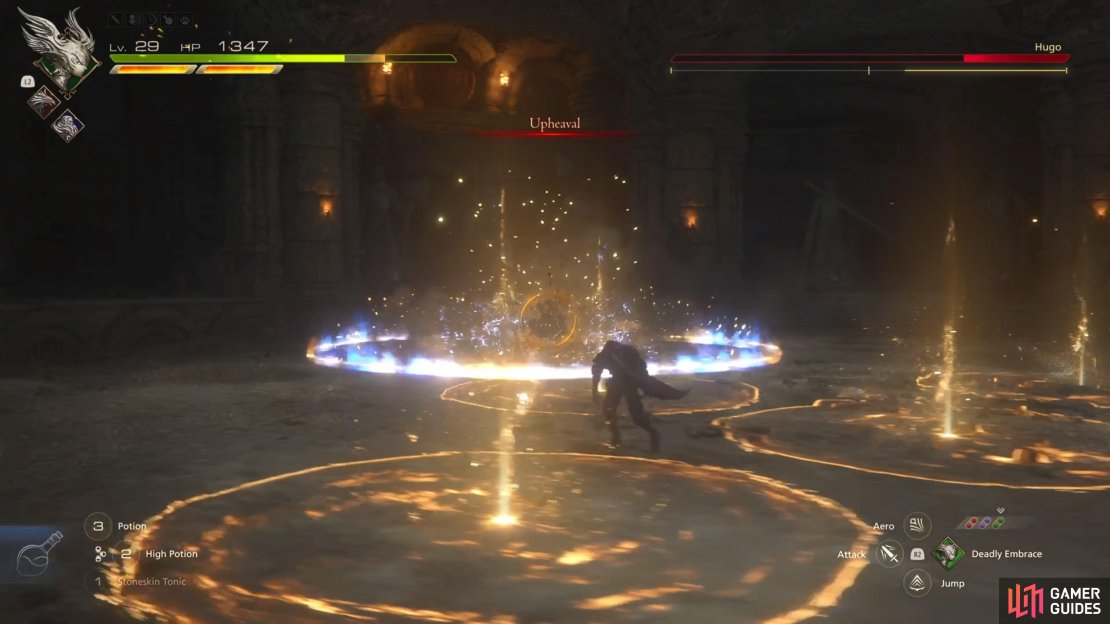
Upheaval
You will probably hate this attack, quite a lot, as it can be a bit hard to fully avoid. It’s a combination of Weight of the Land and Tumult, where you have circles on the ground that will cause rocks to rise from them, with the circular shockwaves that need to be dodged through or jumped over. It’s important to remember that you can jump, then dodge while in the air, which is extremely useful in this case.
Strategy for the Hugo Kupka Boss in FFXVI
The first phase of the battle with Hugo is fairly straightforward, and actually kind of easy. All four of his attacks in the first portion are ones where he’ll charge you in some manner. Three are simple one-off attacks, while the fourth is a straight punch that is followed up by a kick. You might get hit by the kick a few times, but once the punch is finished and he starts moving towards you again, dodge straight away to avoid the kick. Also, the attack where he crosses his arms can be a little deceptive, since his hitbox will become slightly bigger.

(1 of 2) After the first stagger, you will trigger a cutscene.
After the first stagger, you will trigger a cutscene. (left), There will be a Cinematic Evasion prompt during this cutscene. (right)
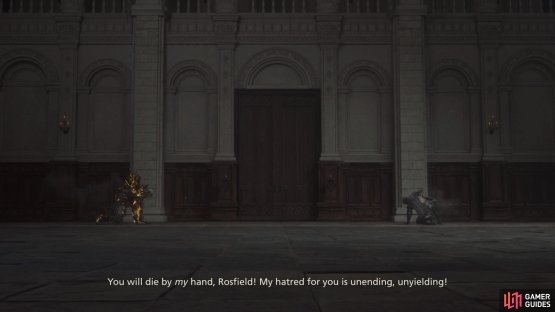
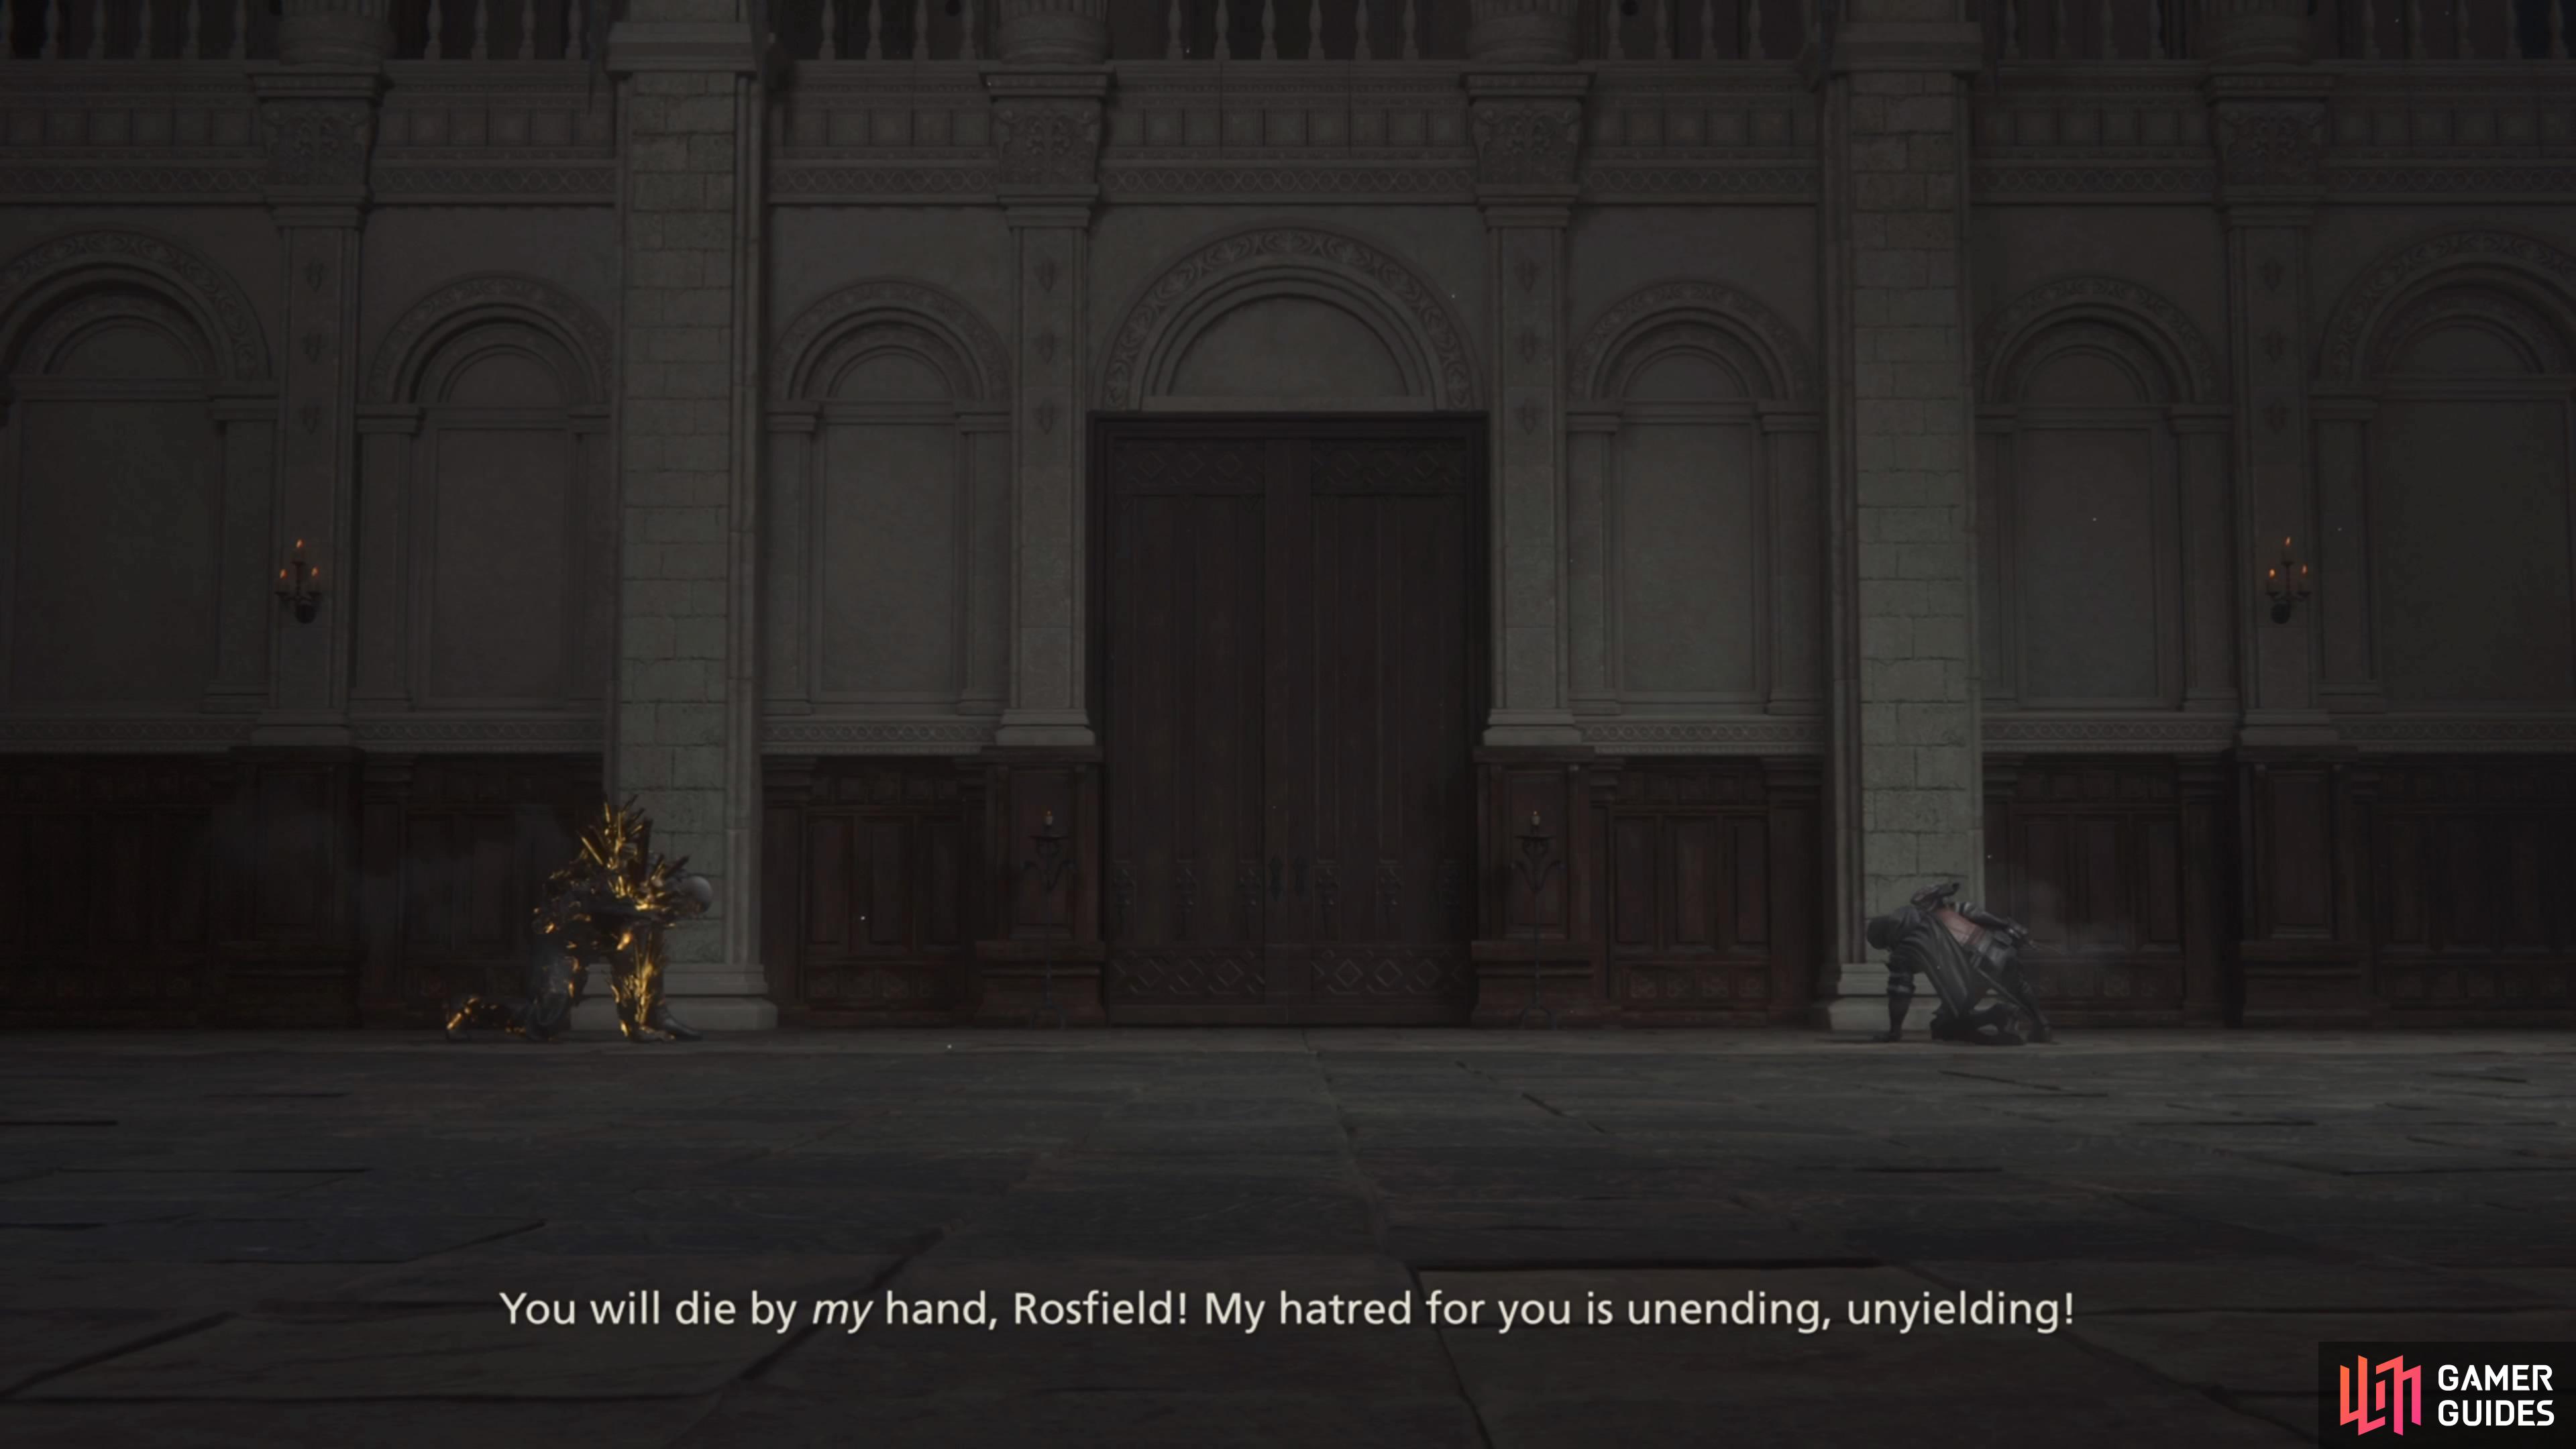
Once you stagger Hugo for the first time, there will be a cutscene after the fact, where you will eventually witness a Cinematic Evasion, so keep an eye out for that. This will trigger the second phase of the battle, where there will be a lot more moves to worry about. First, the Dashing Uppercut move will turn into a three-hit combo, so keep an eye out for that. For the second phase, the biggest moves to worry about are Geocrush, Stripmine, and Tumult. While Geocrush can be devastating, you should have more than enough time to move out of the marked circle, before the giant fist appears.
For Stripmine, the area of effect is fairly large, but you should also have enough time to get away from it, even moreso since you can just go to the sides or behind Hugo. The last attack, Tumult, is a bit of a problem, as dodging through the shockwaves can prove difficult. However, jumping over them is much easier (you can dodge while in the air for more airtime), so you should probably do that. Eventually, after more battling, Hugo will initiate Torment, which is a series of attacks that you should just concentrate on avoiding.
At the end of Torment, you will need to dodge a large area of effect, called Earthen Fury, after which, the third phase will start. Both Force of the Land and ![]() Upheaval will be treacherous here, with the latter just being a combination of Weight of the Land and Tumult. If you don’t forget about the ability to evade while in the air, you will likely be taking hits during it. Force of the Land will have the entire arena covered in a marked area, and you will need to jump/dodge whenever Hugo slams his fists on the ground a second time.
Upheaval will be treacherous here, with the latter just being a combination of Weight of the Land and Tumult. If you don’t forget about the ability to evade while in the air, you will likely be taking hits during it. Force of the Land will have the entire arena covered in a marked area, and you will need to jump/dodge whenever Hugo slams his fists on the ground a second time.
(1 of 4) Torment will be nothing but a series of attacks.
As long as you can avoid some of the bigger attacks, you shouldn’t have that much trouble against Hugo. There’s really no projectiles for using ![]() Heatwave, so if you’ve been keeping it on your abilities list thus far, you can substitute a more useful
Heatwave, so if you’ve been keeping it on your abilities list thus far, you can substitute a more useful ![]() Eikon ability for this battle. It should also be noted that Hugo can block your attacks and if you keep pushing your offense when he’s blocking, he will eventually counter and deal some damage to you, while you can’t do anything.
Eikon ability for this battle. It should also be noted that Hugo can block your attacks and if you keep pushing your offense when he’s blocking, he will eventually counter and deal some damage to you, while you can’t do anything.
Upon finishing off Hugo, watch the ensuing cutscenes, then you’ll be ready to head back to ![]() The Hideaway, starting the next main story quest, Bolts from the Blue.
The Hideaway, starting the next main story quest, Bolts from the Blue.
No Comments