
You will fight numerous bosses throughout the story in Final Fantasy XVI, and the Infernal Shadow is the second of a two-part boss, during the Buried Memories main quest. He’s definitely more challenging than the ![]() Infernal Eikon fight, so be prepared for a tough battle ahead of you.
Infernal Eikon fight, so be prepared for a tough battle ahead of you.
The Infernal Shadow will follow right after the Eikon battle.
How to Beat the Infernal Shadow in FF16
The Infernal Shadow is the second of a two-part boss fight, and he can be quite challenging, for more than one reason. First, you are coming off of another somewhat tough boss, so you might be low on healing. Second, the Infernal Shadow does have one particular maneuver that can deal some pretty big damage. There will be two phases here, with the first being fairly tame, but the second being where the real battle begins.
All Infernal Shadow Attacks in Final Fantasy XVI
As mentioned above, the battle with this boss will have two major phases, with some attacks from the first gaining different properties or just being being doubled, for example.
Sword Combo
The Infernal Shadow will dash forward and perform two slashes with his sword. There’s not much to really say, as it’s not difficult to dodge out of the way.
Fira
The boss will shoot a fireball in your direction, which is super easy to dodge. Note that once the second phase begins, he will shoot a second fireball after the first, but it doesn’t really change anything.
Homing Fireballs
The boss will unleash three fireballs, that will home in on your position. You can easily dodge by waiting until the last second and going to the side, or even forward. In the second phase, there will be more fireballs shot.
Molten Thrust
Infernal Shadow will charge up for a quick second, then perform a quick dash forward, with a fiery flame and trying to stab you with his sword. There’s plenty of these attacks in the game from other bosses, so you should be used to it by now.
Flurry Rush
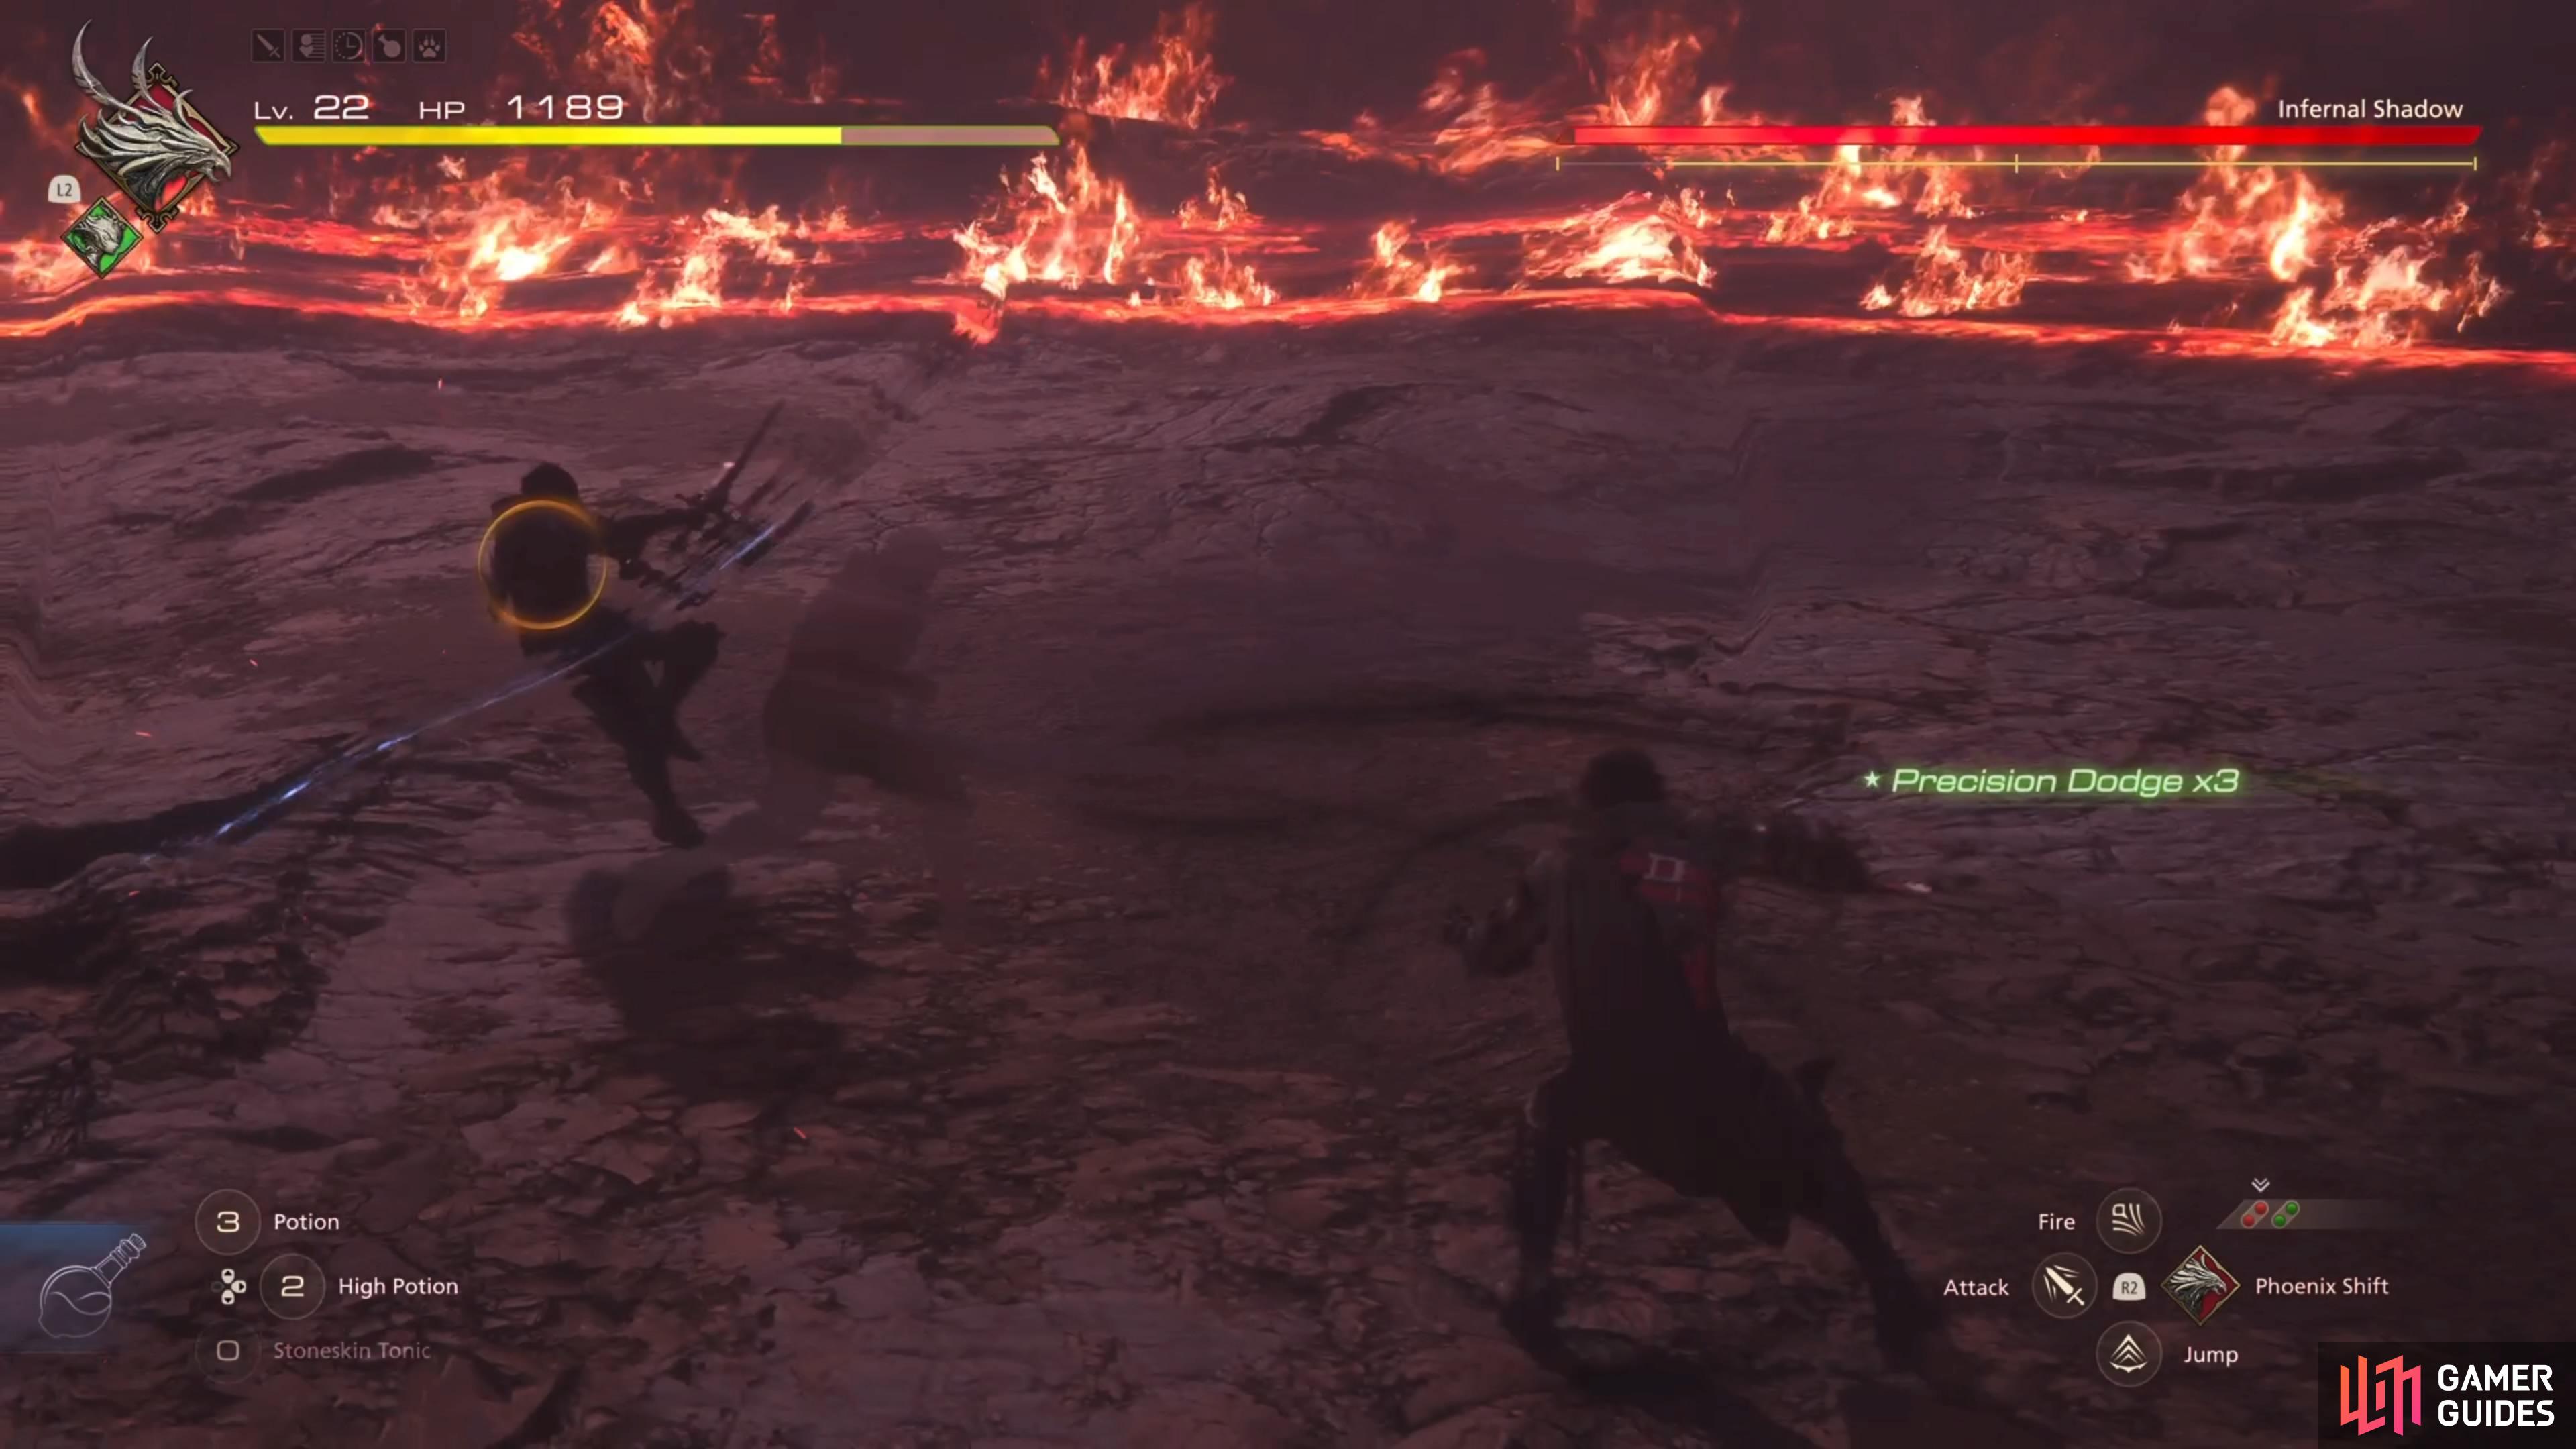
This is the most dangerous move in the whole fight, since it’s deceptive and you might think of attacking before the maneuver is finished; it will be put into rotation after the first stagger. The Infernal Shadow will begin with two fiery slashes, then pause briefly, before unleashing a few more attacks and finishing with two more sword strikes. There’s a lot of attacks in there, which means if you get hit by one of the first two, then you may be taking a lot more damage than needed.
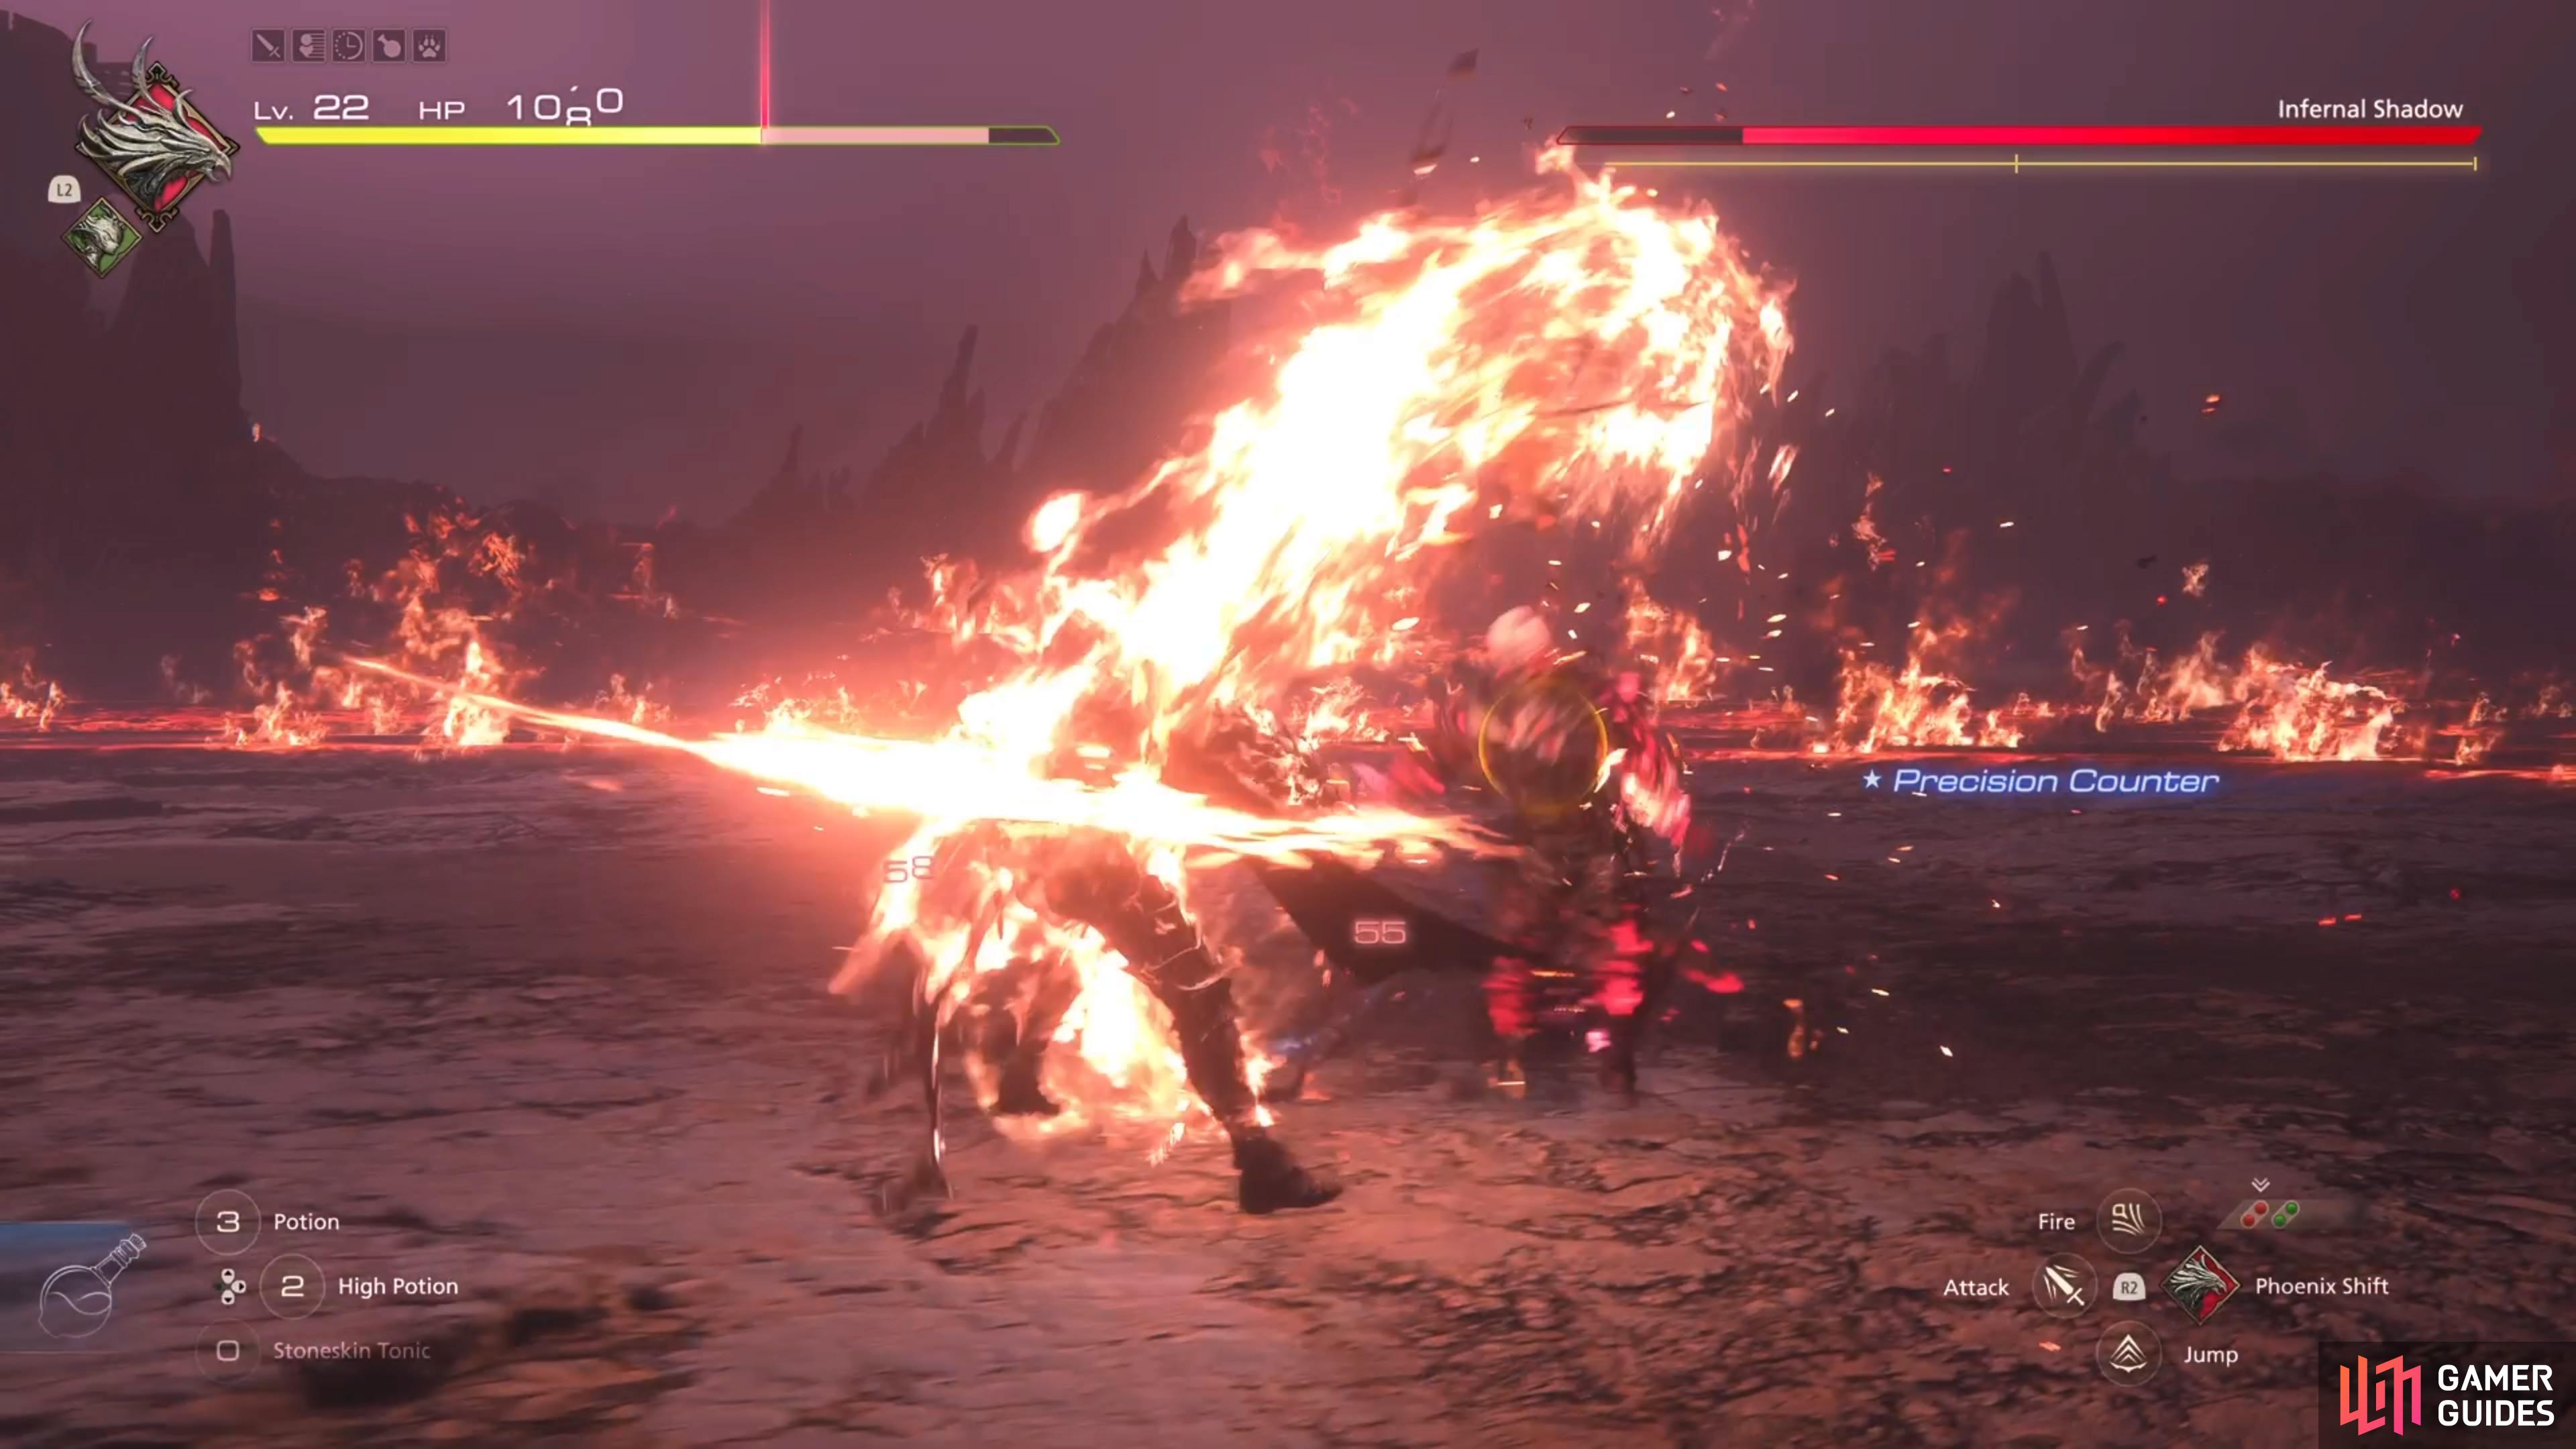
The flurry rush combo can be devastating, if you get caught in it.
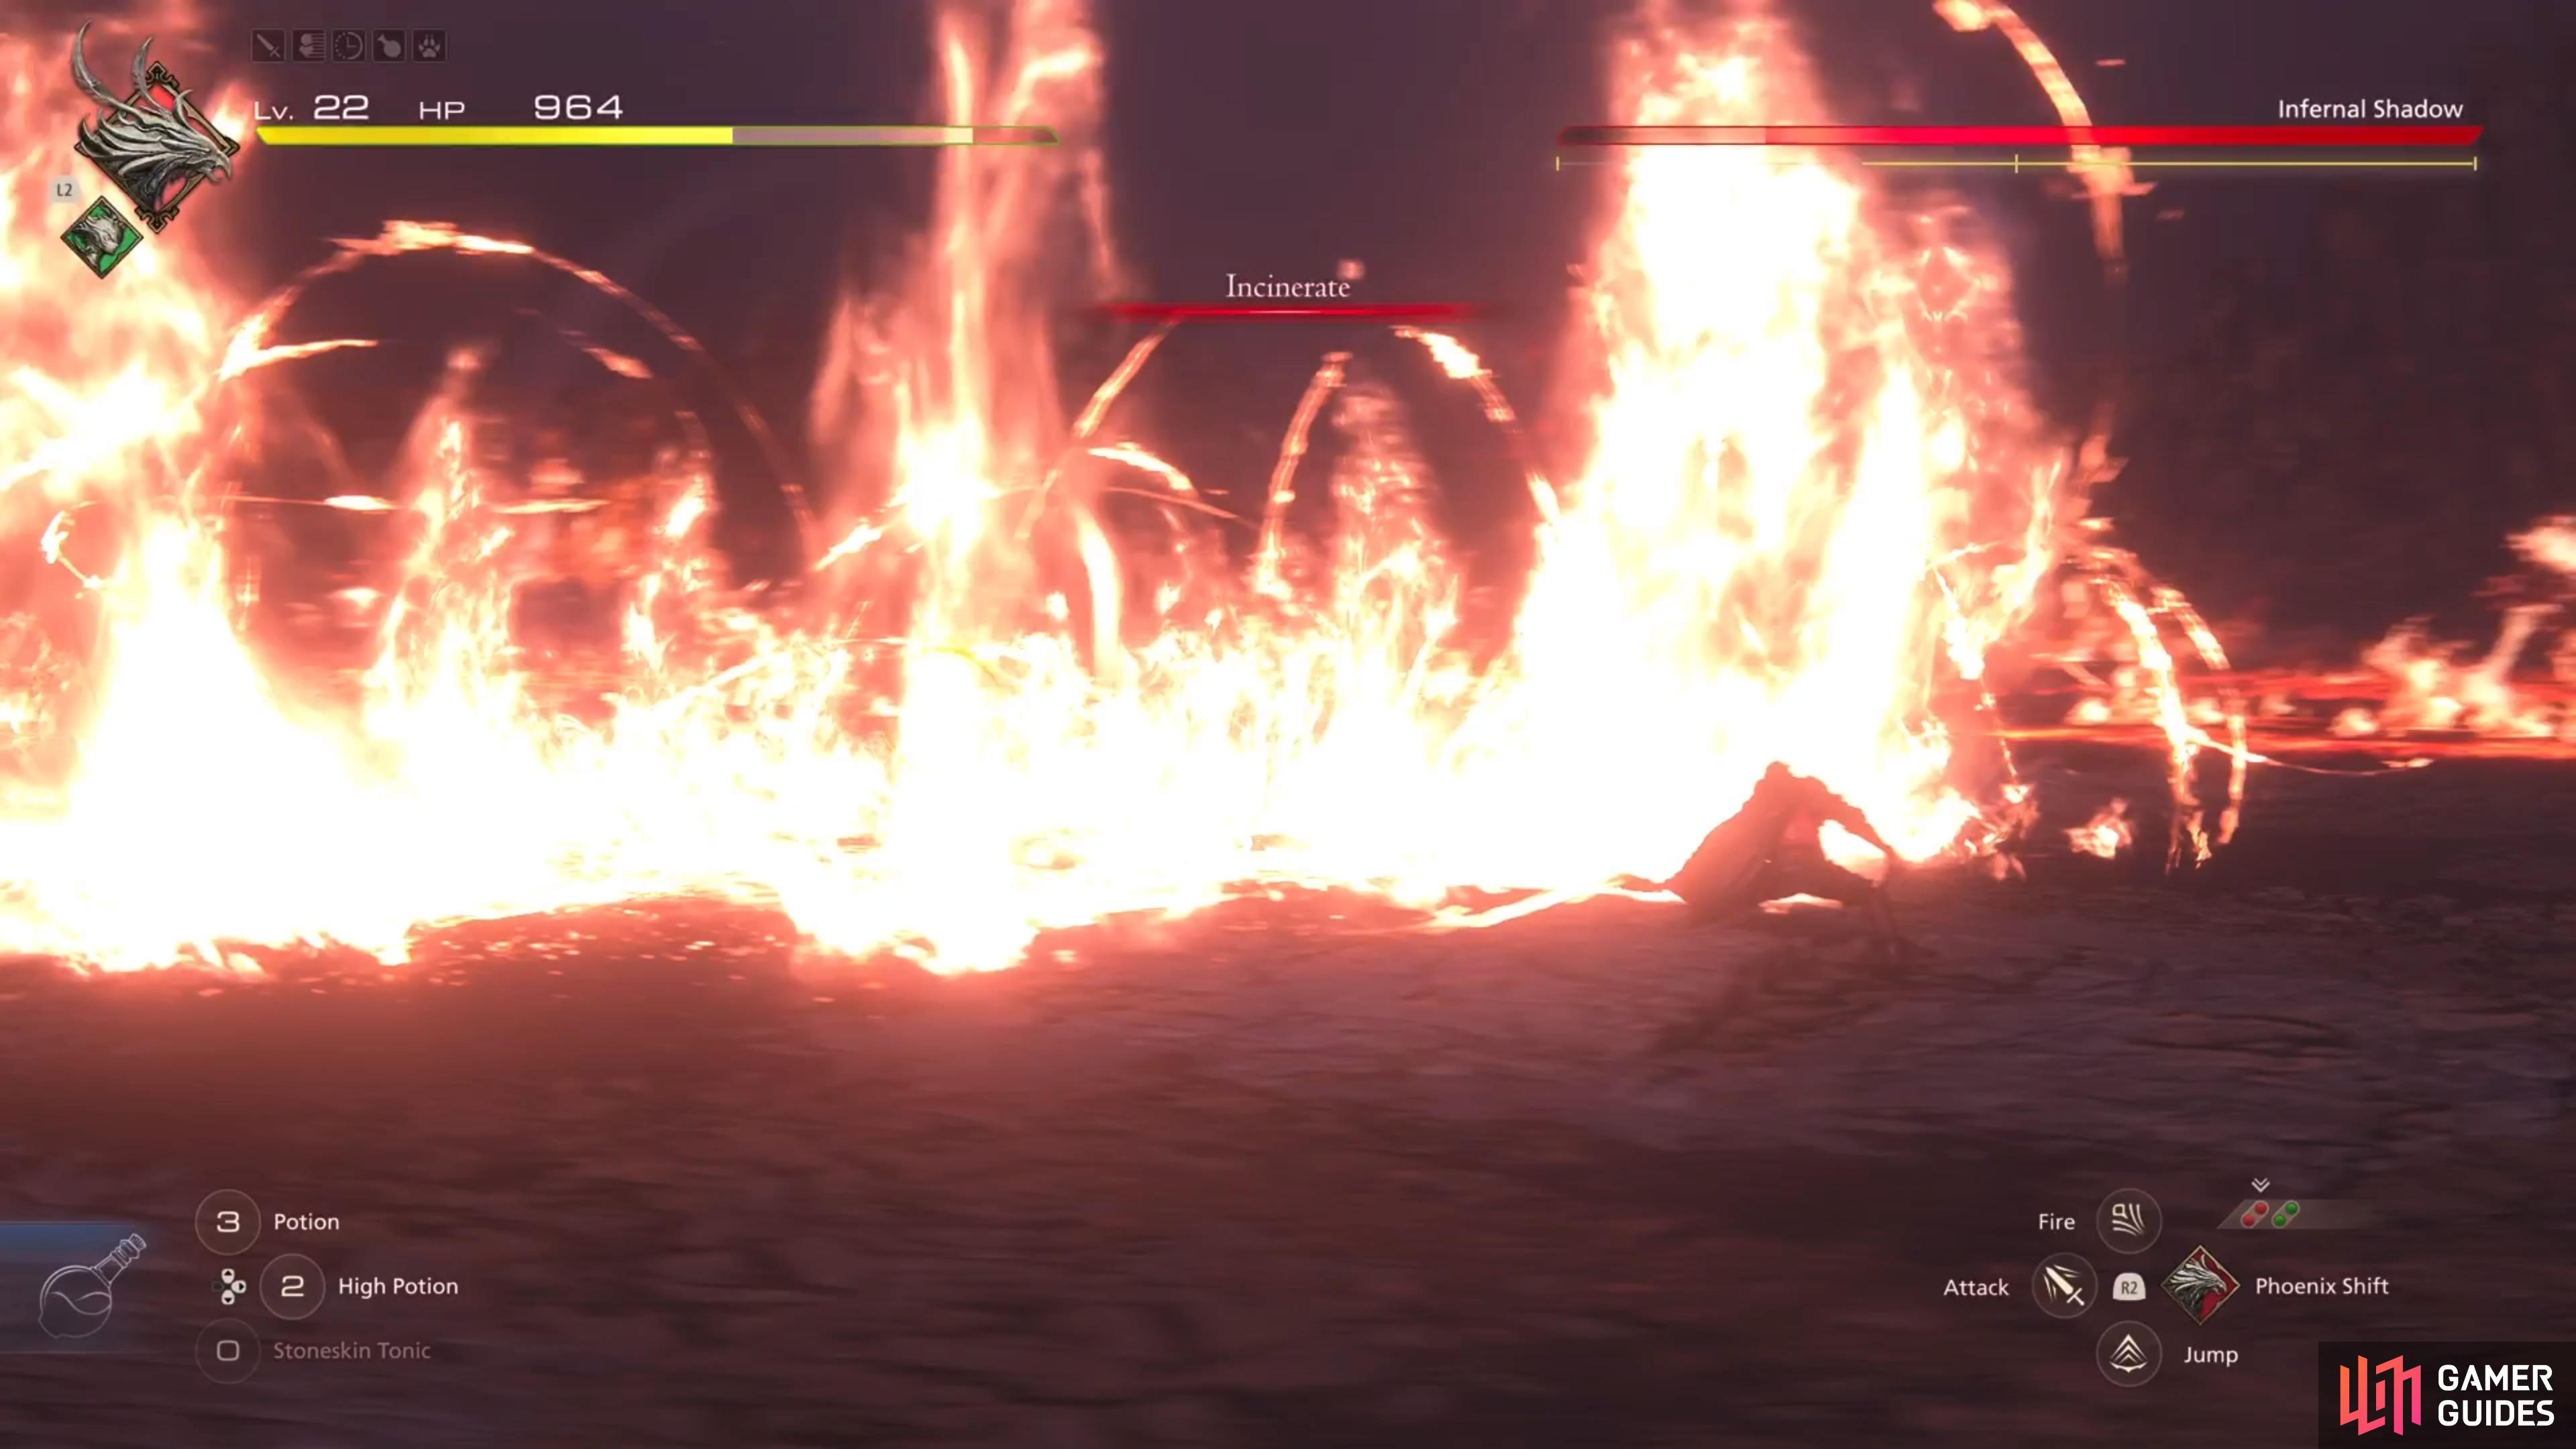
Incinerate will only hit in front of the boss, so you can go behind him to avoid it.
Incinerate
The ground in front of the boss will glow, which is where a bunch of fire will appear in a few seconds. As mentioned, this only hits in front of the Infernal Shadow, so you can move to the sides/behind him to avoid the attack.
Hammer and Anvil
The boss will disappear briefly, then reappear in the air above you. A few seconds later, he will crash into the ground, creating a huge explosion. The best way to avoid this is to just get away from the impact area.
Hellfire
At around half health or so, the Infernal Shadow will teleport into the middle of the arena to use this attack. He will float in the air, surrounded by fire, while summoning pillars of fire across the battlefield. You will want to avoid the pillars, of course, but you also don’t want to stay near the boss. After some time has passed, he will perform a big pillar of fire around his body.
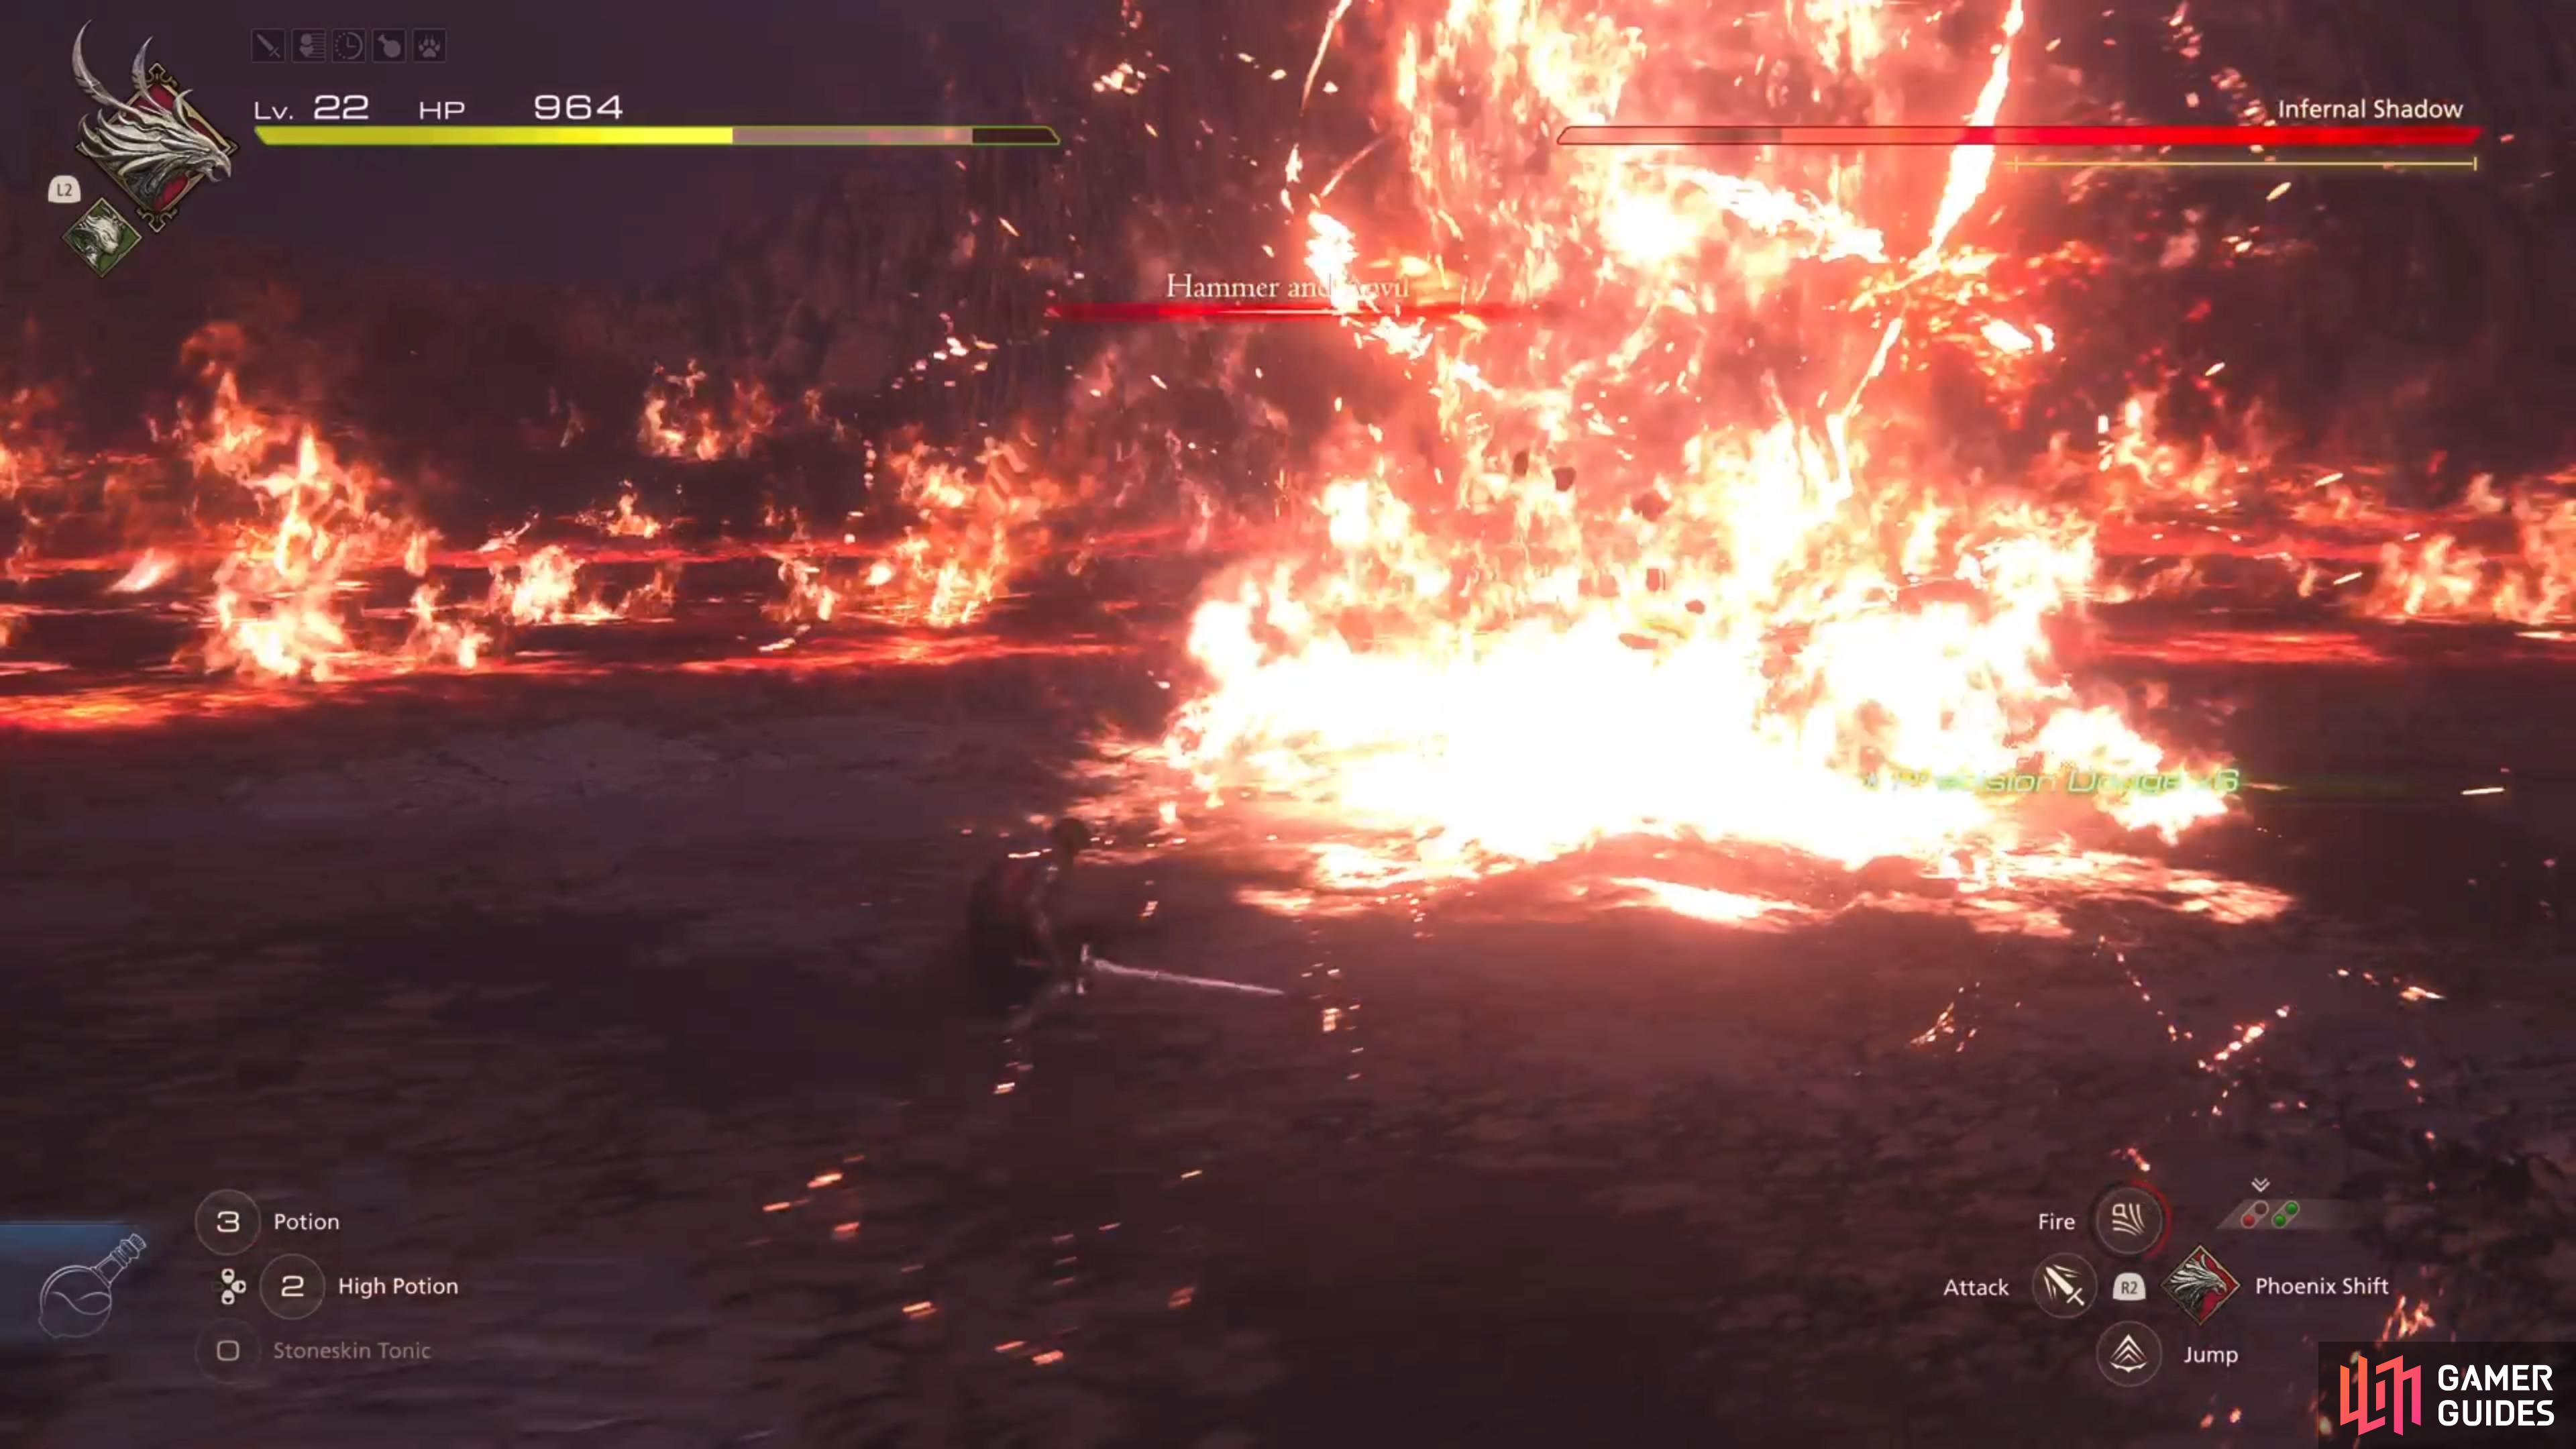
Quickly move away to avoid the explosion from Hammer and Anvil.
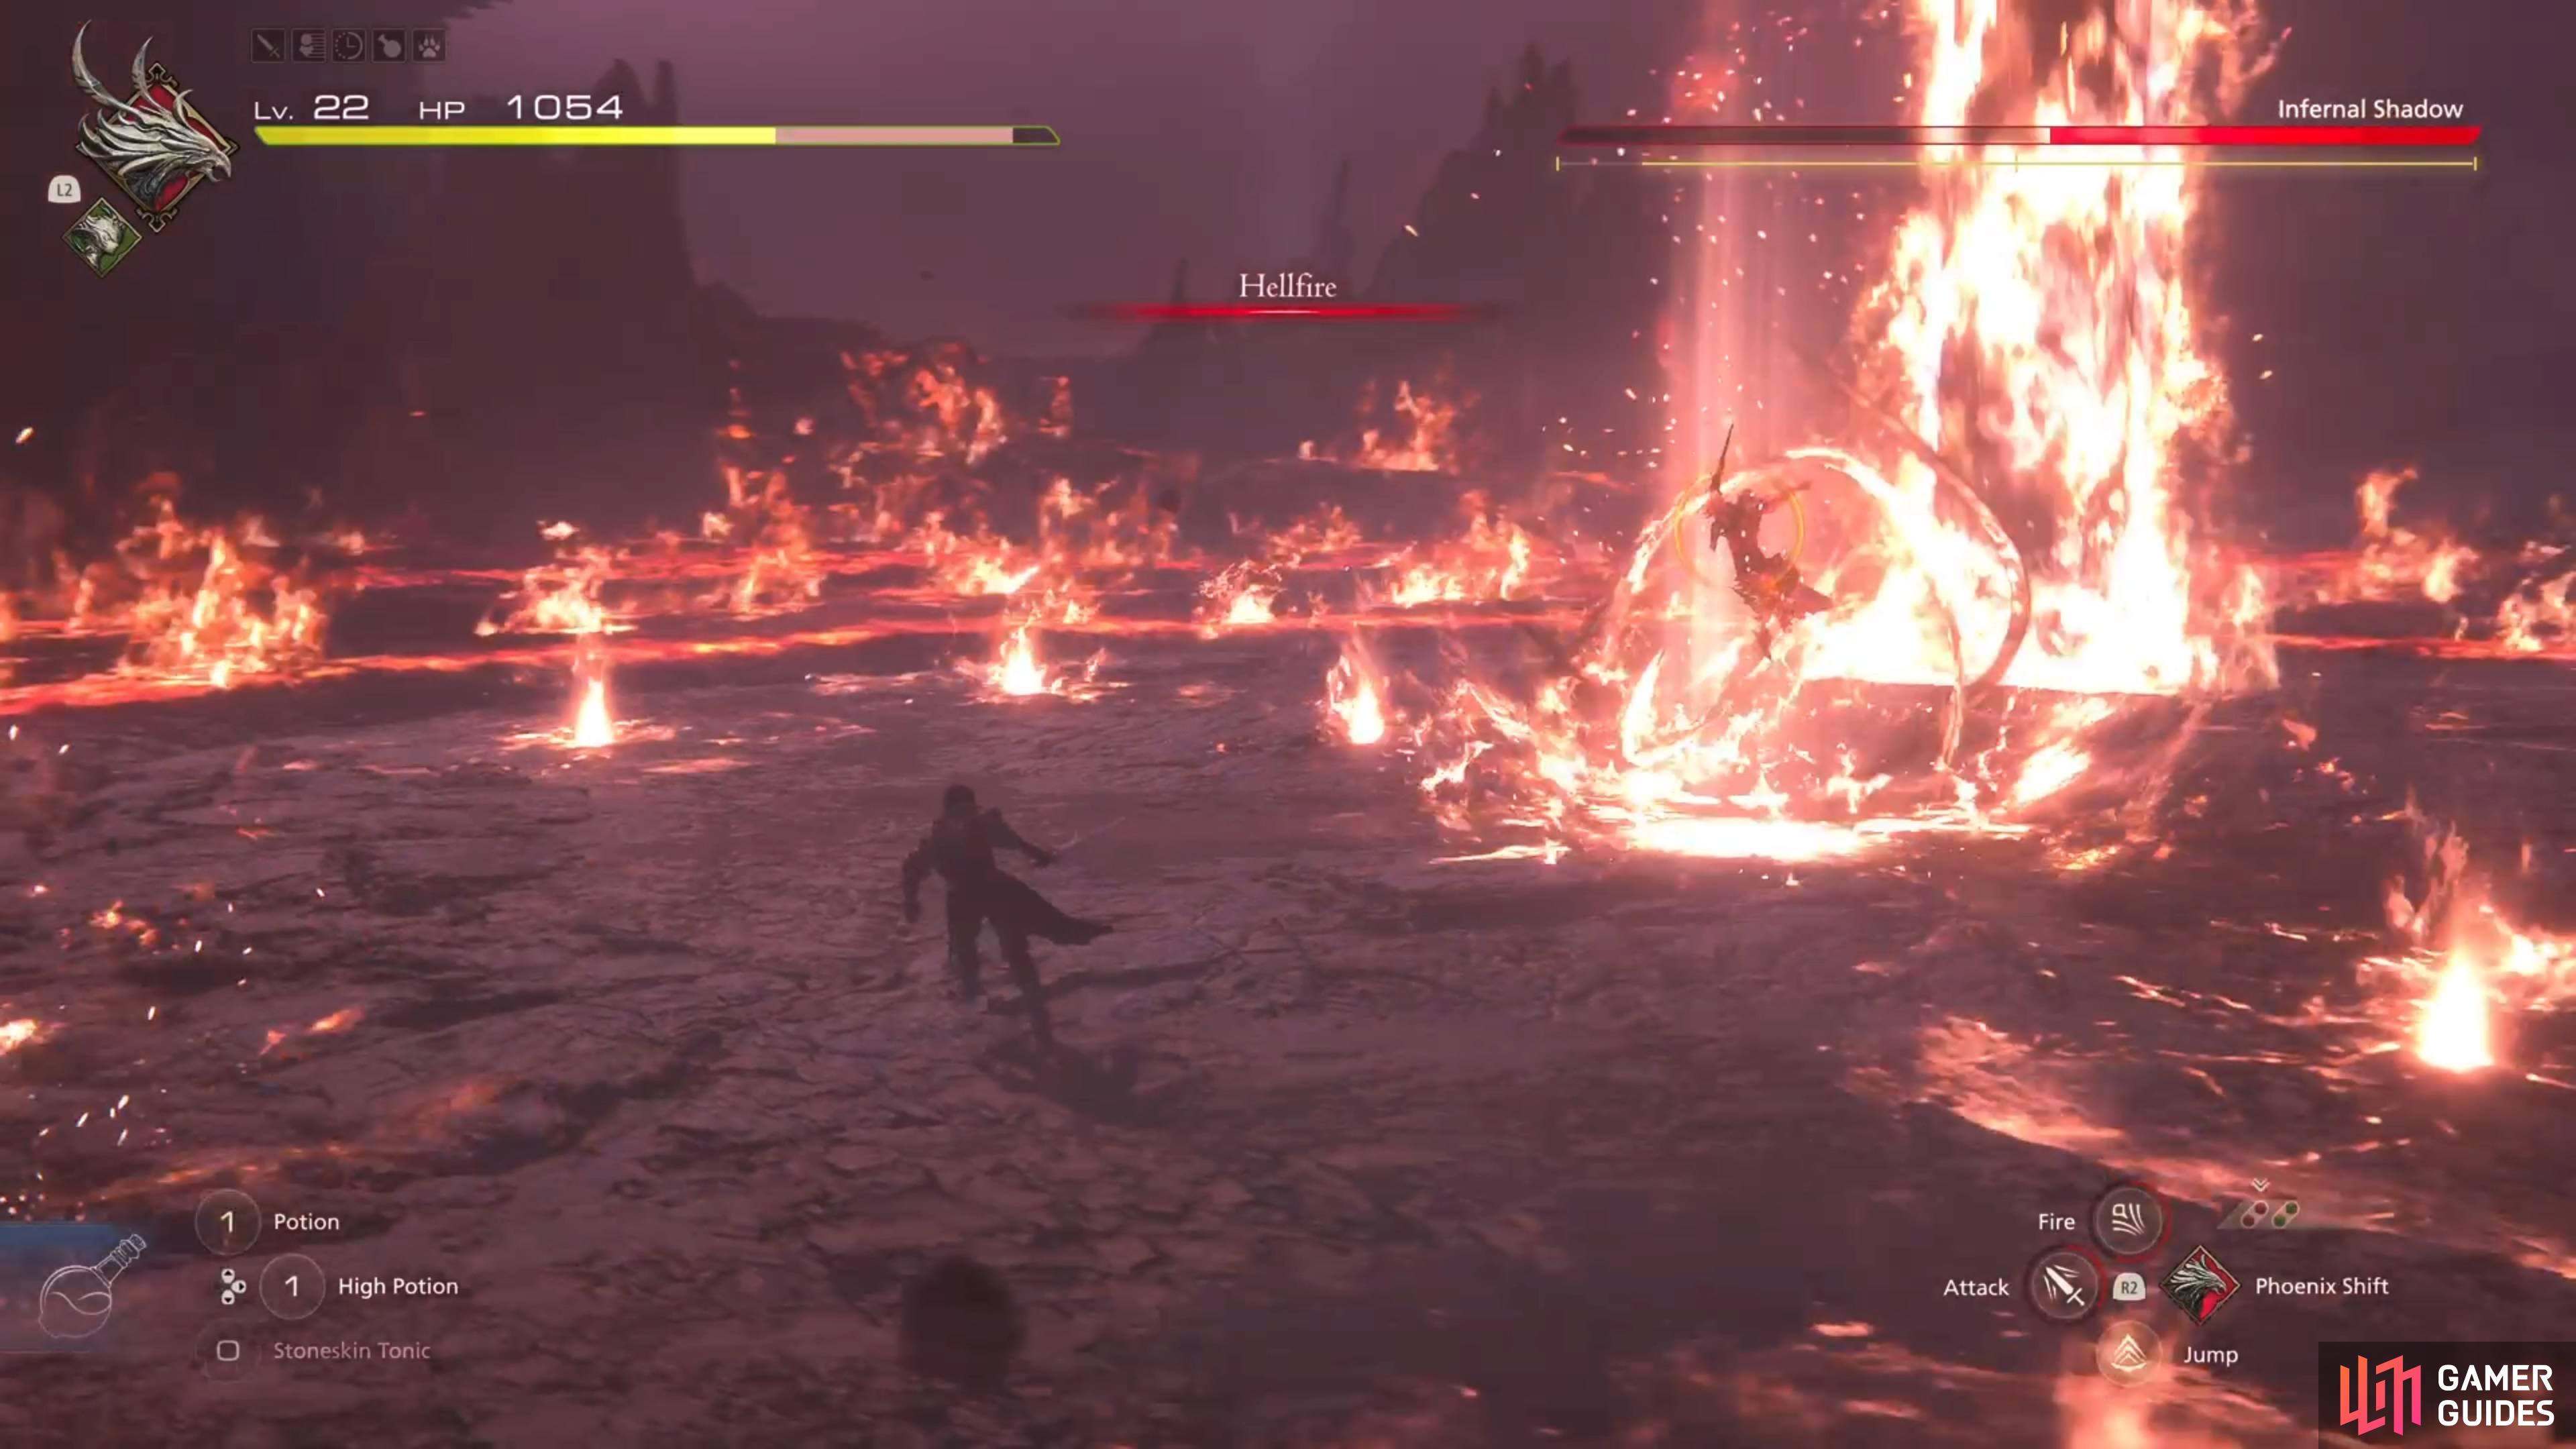
Stay back far enough whenever the boss unleashes Hellfire.
Crimson Rush
This is the exact same attack that the Infernal Eikon used, which is just a straight dash towards you, with a trail of fire behind him. Naturally, this is easier to avoid here, since the boss isn’t as large. You won’t be seeing this until after Hellfire is used, though.
Eruption
This move will occur after Hellfire is used, and isn’t a move that will just be one and done, actually. The boss will mark spots on the ground, where a smaller explosion will occur. Note that this move will continue on for a while, and the boss will be able to perform other moves while it’s going. That could make it annoying, since you might accidentally dodge another attack, only to go right into one of the Eruptions.
Strategy for the Infernal Shadow Boss in FFXVI
This battle could be quite difficult, depending on if you had to use a lot of healing in the previous one. If not, it could still be a little challenging, as the boss does use a lot of attacks, some of which can deal quite a bit of damage. Incinerate and the Flurry Rush are two big ones, since you might have a hard time dodging the first, and the second is like 6-7 attacks in a row. There’s also just a lot of moves in general to keep track of, especially once the boss goes into the second phase and beyond.
The fight starts out relatively simple, with there only being a few moves, but after the first stagger, the second phase begins and things pick up. Once you get his health low enough, you will see the boss jump into the center of the arena and use Hellfire. A bunch of eruptions will occur around the area, which you need to avoid, but you also want to stay away from the center. This is because once enough time has passed, the boss will perform one last giant explosion for the maneuver.
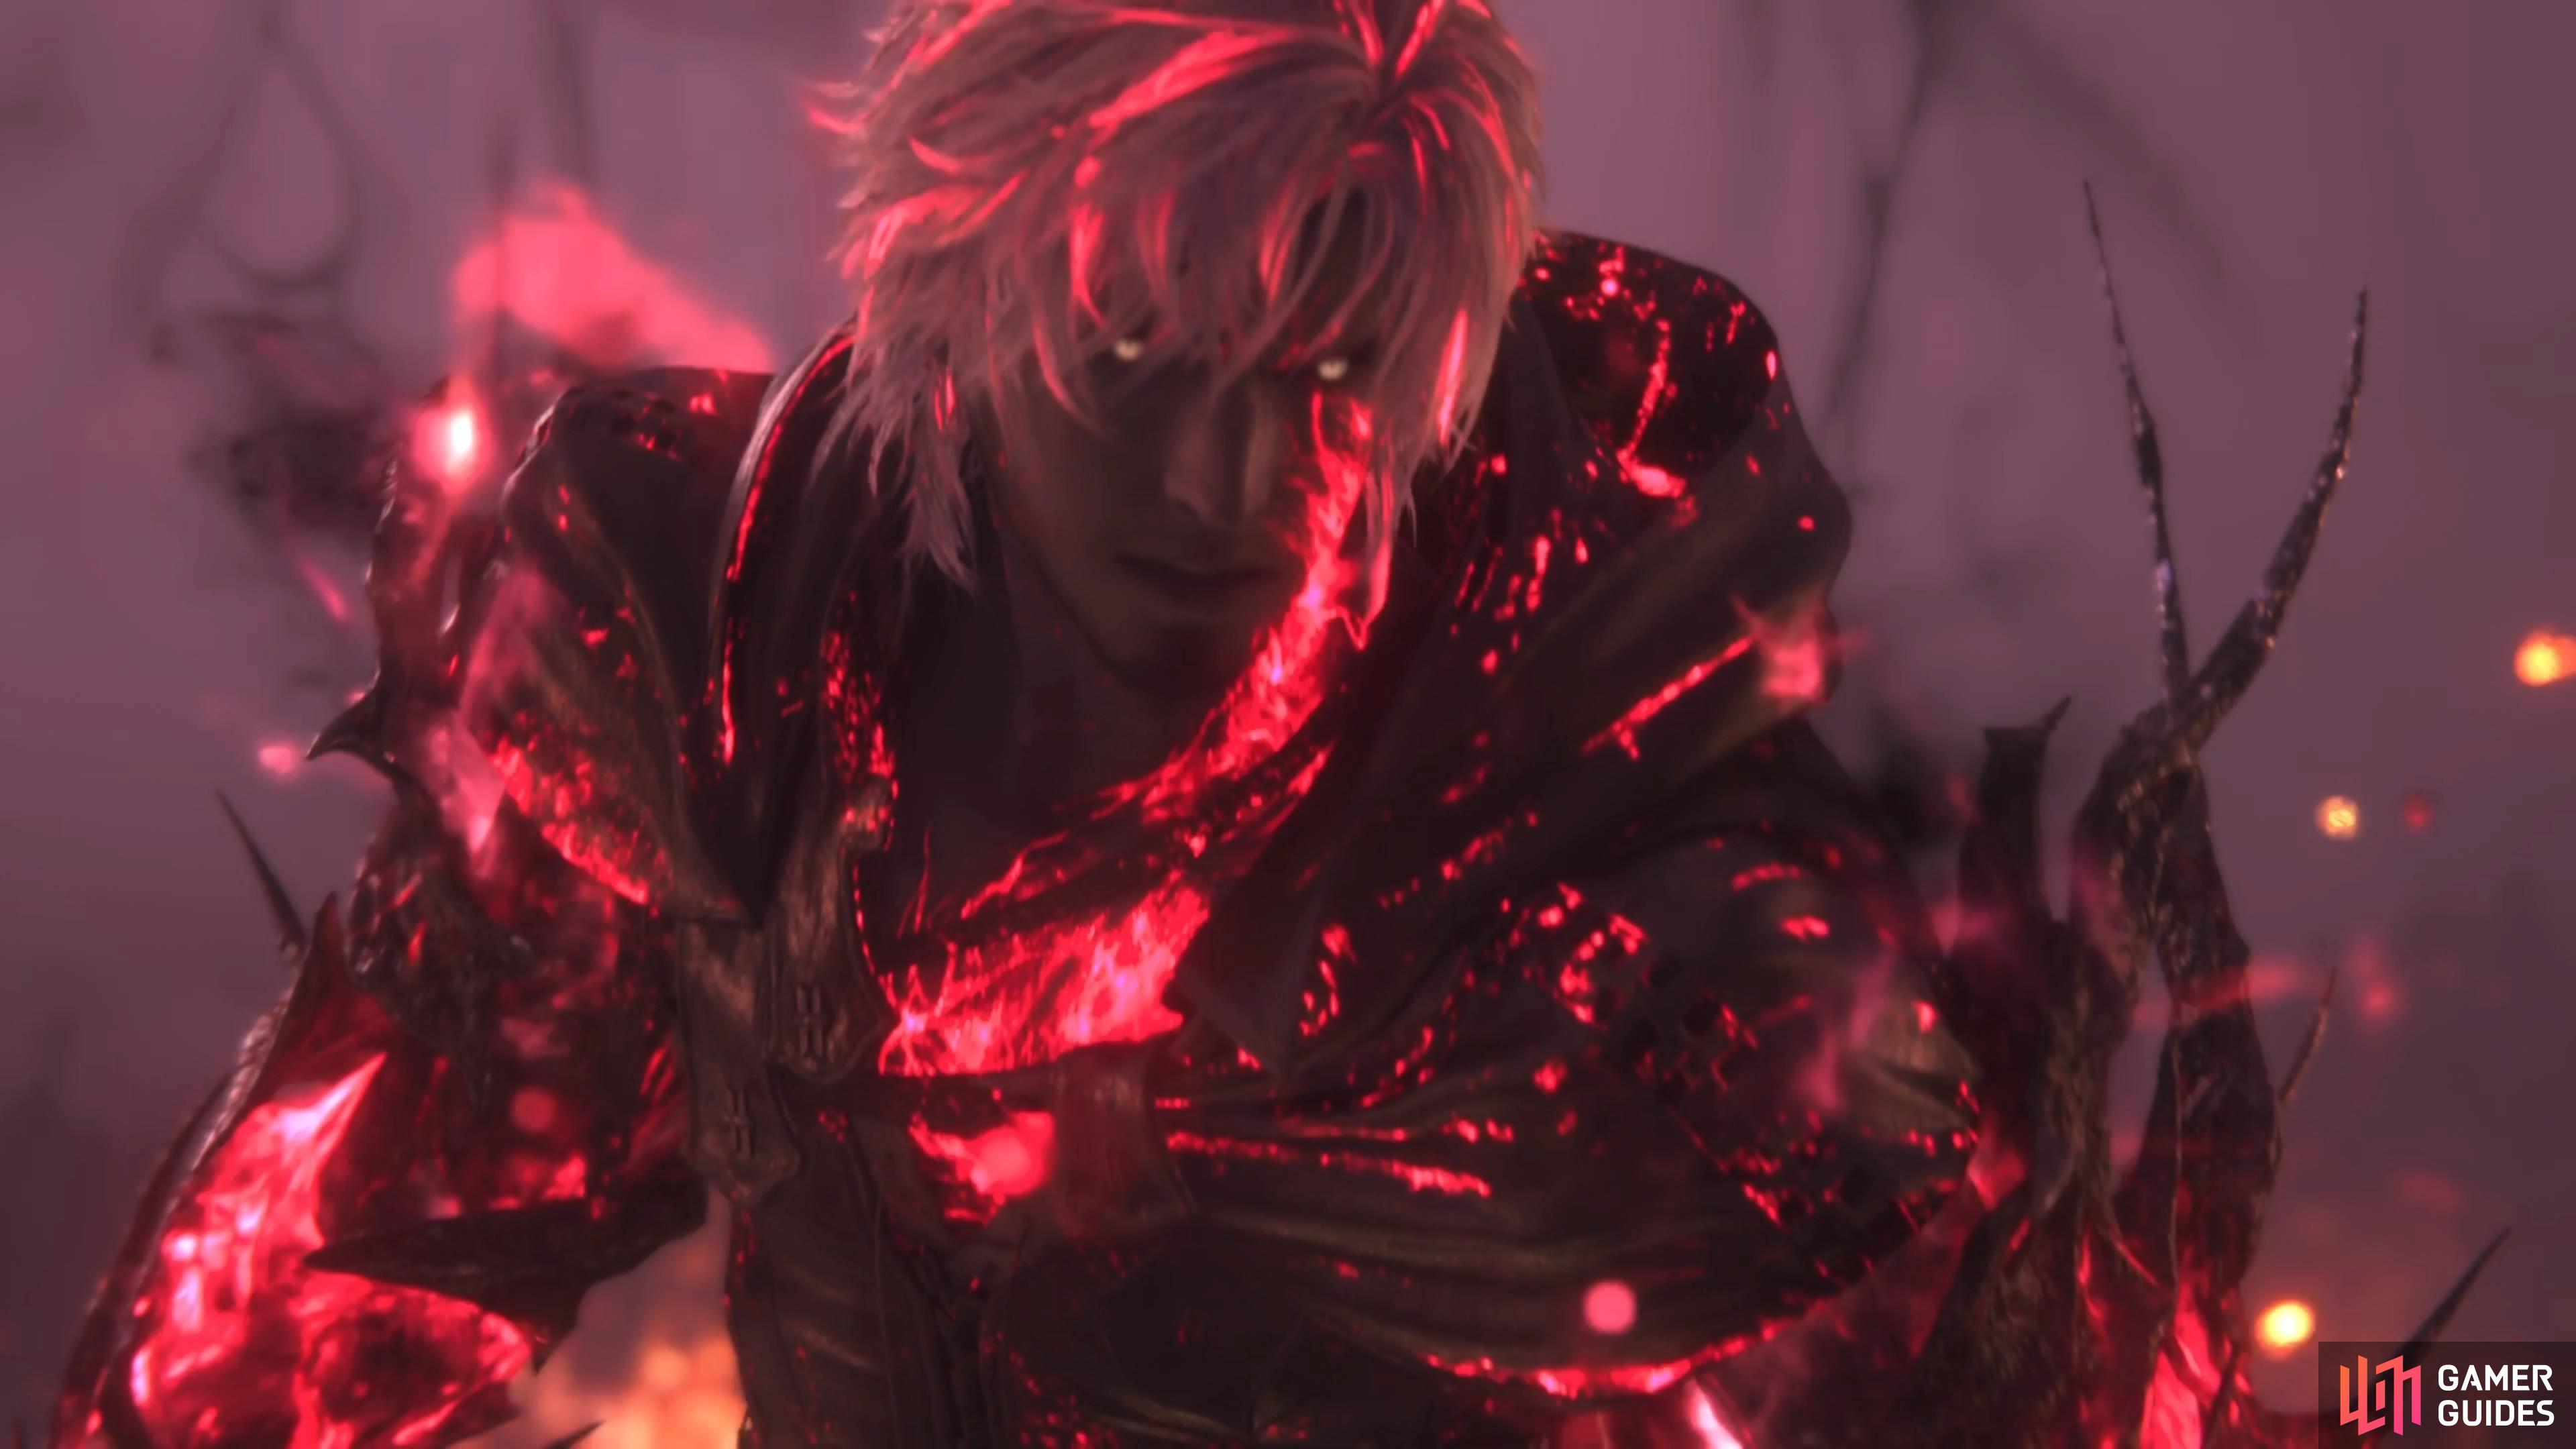
The boss will gain two new moves in this final bit, with Eruption being particularly dangerous, just due to it running while he can perform other attacks. With that out of the way, with about 1/3 HP remaining, another cutscene will trigger, that unlocks the ![]() Limit Break for Clive. There will be two bars underneath his health and when at least one is full, press both
Limit Break for Clive. There will be two bars underneath his health and when at least one is full, press both  and
and  to go into a Limit Break state. You will start glowing, similar to the boss from earlier, and you will be stronger.
Normally, the LB bars will start depleting, but for this battle, you will have a permanent Limit Break. You can be a little more aggressive here, but you will still want to be a little careful, since you need to dodge attacks. Keep at it and once the health gets low enough, you will enter one final cutscene and sequence. You don’t have to move in this final bit, as the game will just give you Cinematic Clashes to deplete the rest of the health bar. When that is over, you will finally be finished with the battle.
No Comments