
The Behemoth is a staple of the Final Fantasy series, and you will encounter one as a boss in the Streets of Madness main quest. You will encounter it after fighting through a few ![]() Akashic enemies. Any fan of the series will know that the
Akashic enemies. Any fan of the series will know that the ![]() Behemoths are known for being quite tough, as well as for a specific skill, so you better be prepared for it. This page will provide tips and strategies for the Behemoth boss fight in Final Fantasy XVI.
Behemoths are known for being quite tough, as well as for a specific skill, so you better be prepared for it. This page will provide tips and strategies for the Behemoth boss fight in Final Fantasy XVI.
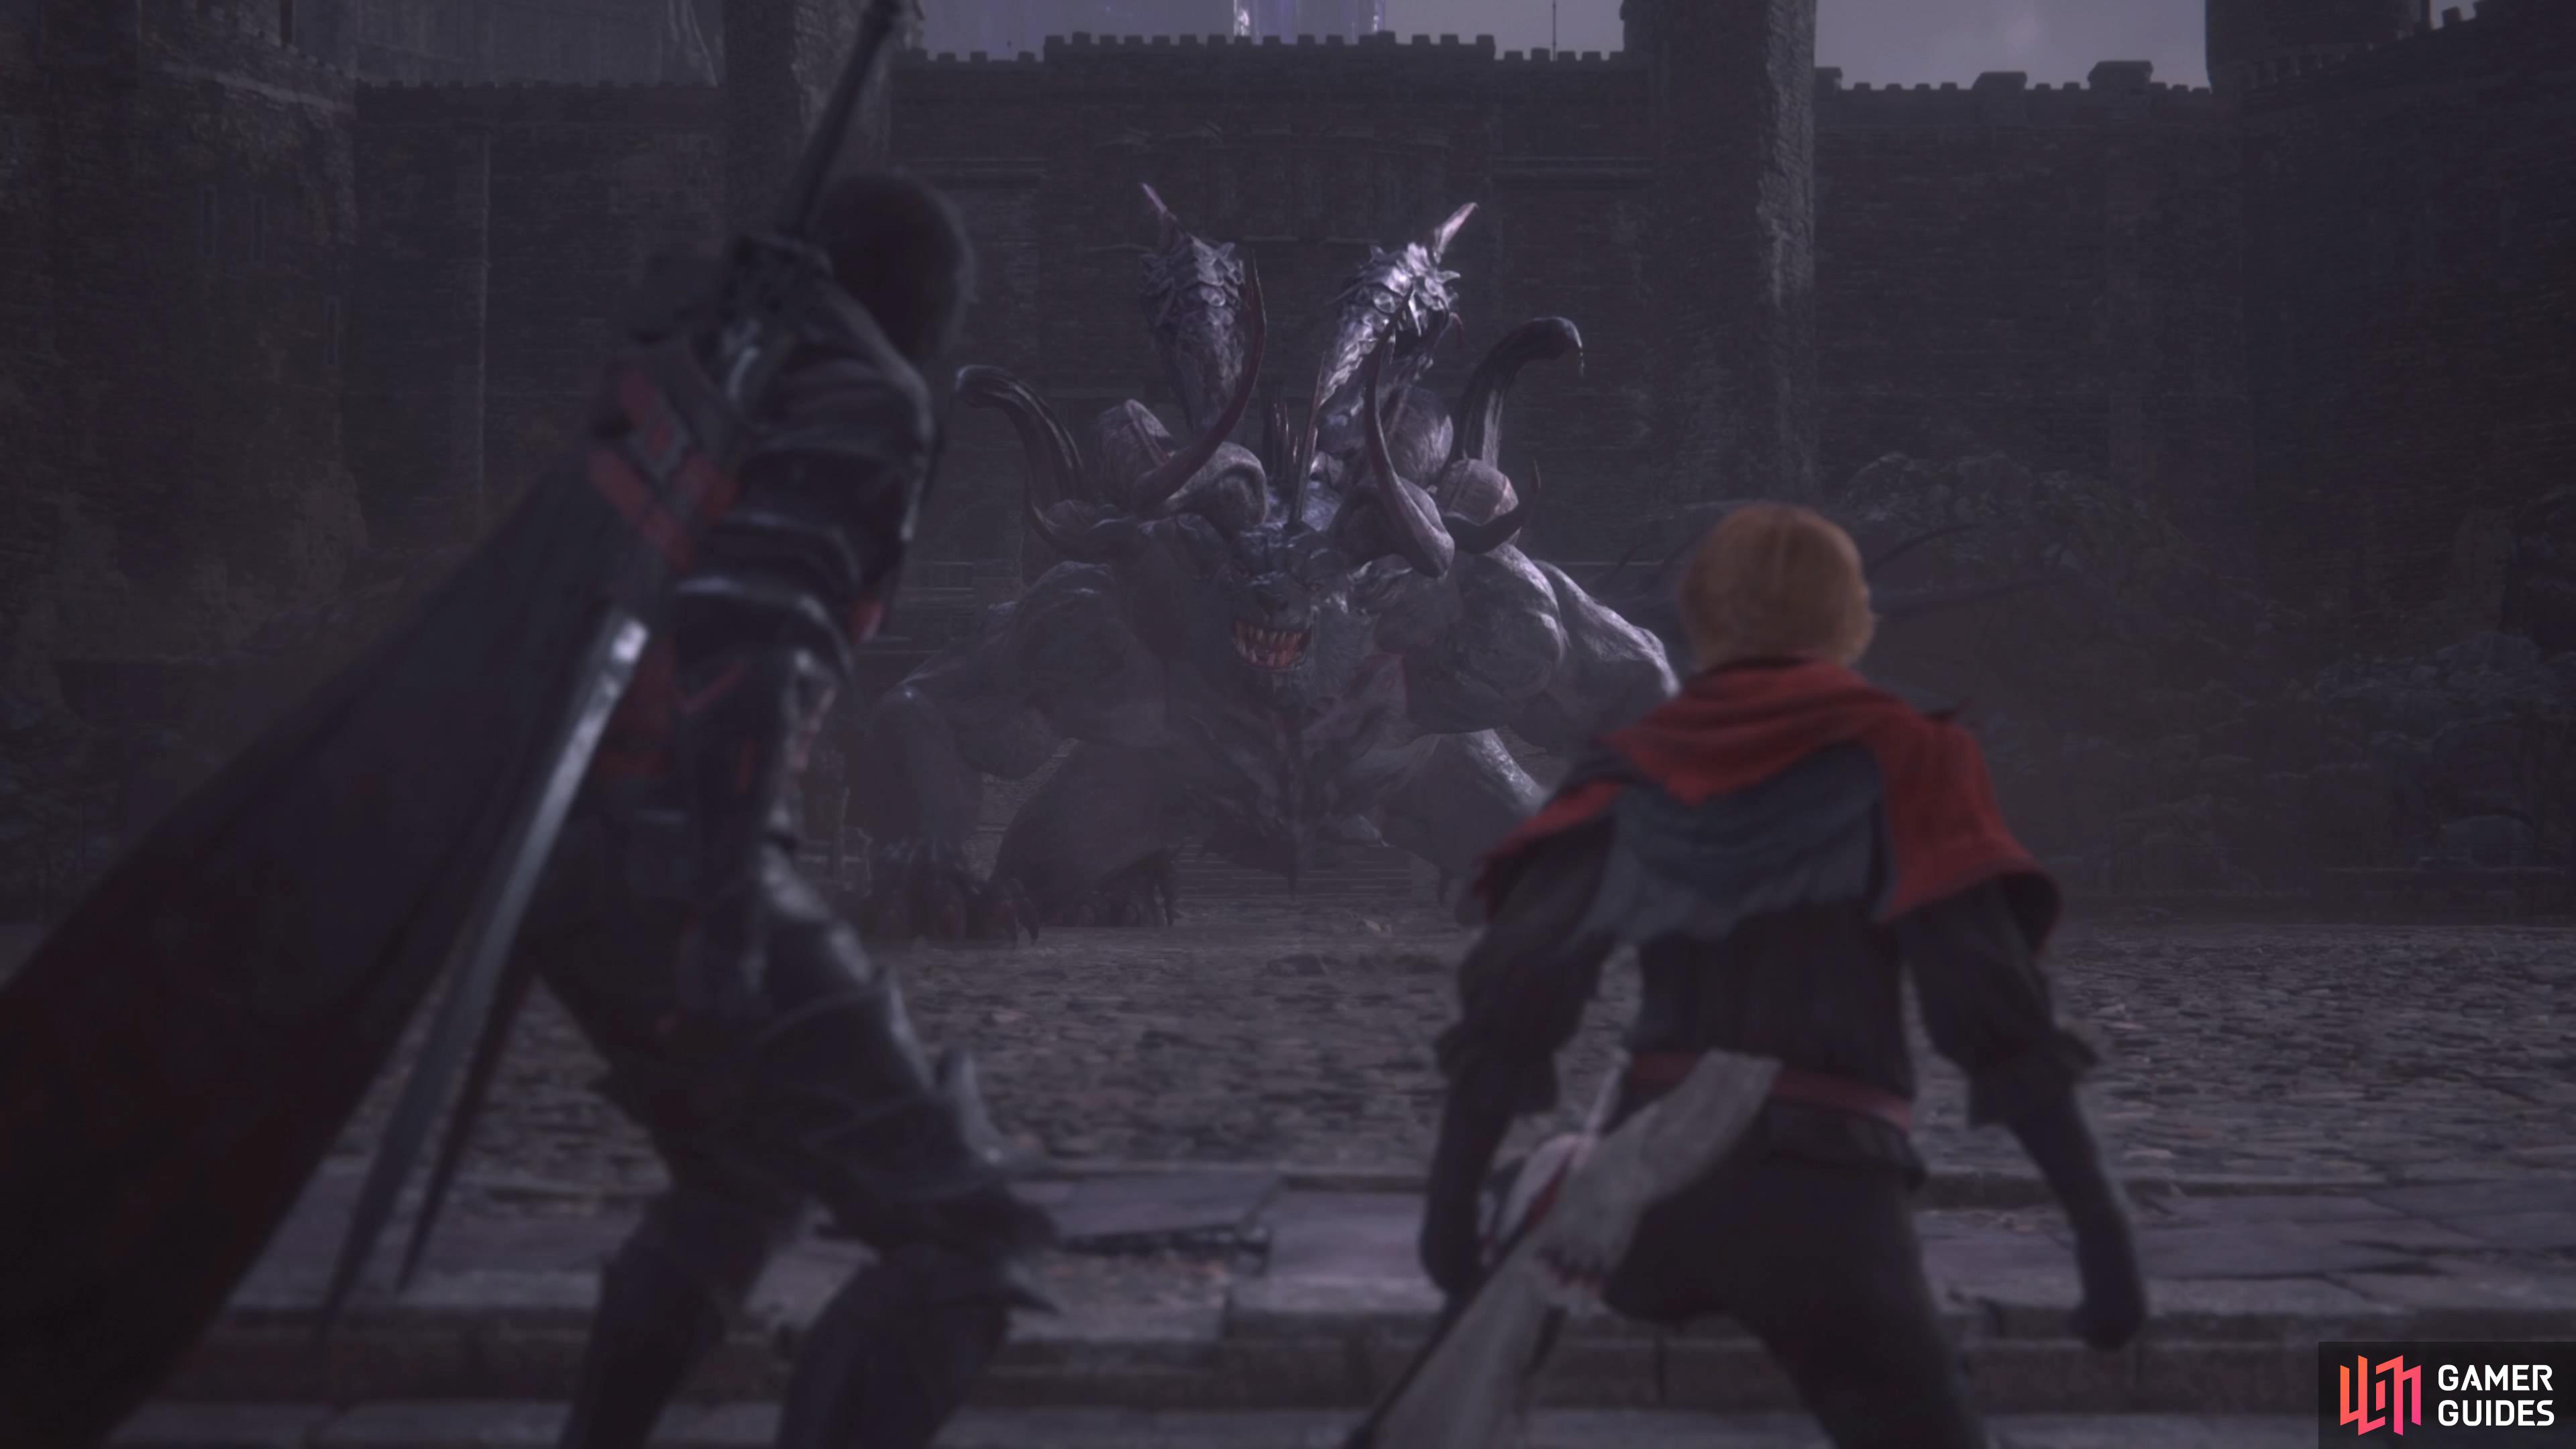
The Behemoth is an iconic creature from the series!
How to Beat the Behemoth in FF16
The Behemoth is a boss that likes to use a lot of melee attacks, although it’s not the only thing it knows. However, there’s a variety of melee attacks to watch out for, so you will need to become accustomed to their varying timings. In addition to that, you will see Comet quite often, which requires you to jump over the shockwave it produces. This basically means you will have to concentrate on dodging, over being on the offensive. It only really has four non-melee attacks, and they are all easy enough to dodge.
All Behemoth Attacks in Final Fantasy XVI
The Behemoth will debut most of its moves in the first phase of the battle, with not too many showing up after the cutscene attack.
Diving Pounce
The Behemoth will pretty much start the battle with this move, where it will leap at you with both front paws stretched out. While the move is a little quick and the Behemoth’s size is a little large, it shouldn’t be too difficult to dodge out of the way.

Tail Swipe
If you are behind the Behemoth, it will raise one of its hind legs, then do a swipe with its tail. Watch the tail here and wait for it to get close, before you initiate a dodge, as the leg is a distraction.
Paw Smash
While you are in front of the creature, the Behemoth will raise its paw on your right and just smash it on the ground. It’s easy to avoid, as the attack just goes straight down, so it doesn’t cover a lot of area. Later on in the battle, it will do two of these in a row.
Claw Swipe
Using the paw opposite of the one for the above smash move, the Behemoth will perform a swipe across its body. You’ll know this attack is coming, due to its paw going above its head. There is a slight delay before the claw will move, so wait until it does before initiating a dodge. Note that it will sometimes do a reverse swipe with the same claw.

Spin Attack
The Behemoth will look like he’s going to do something like the swipe, but instead, it will spin around and attack you with its whole body. Backing away from it will likely be your best bet, although you could try and time a dodge to go through its body.
Shoulder Rush
Similar to the Diving Pounce attack, the Behemoth will lower its one shoulder to the ground, then dash across the screen. It’s not a particularly difficult move to avoid, though, other than the fact that the Behemoth is a large creature.
Asteroids
One of the few non-melee attacks, the Behemoth will open up some portals in the sky and summon small rocks to fly in your direction. There should only be about five or so of these rocks that are summoned, and they leave a little spot of fire on the ground upon landing. You shouldn’t be getting hit by these, as long as you keep moving.
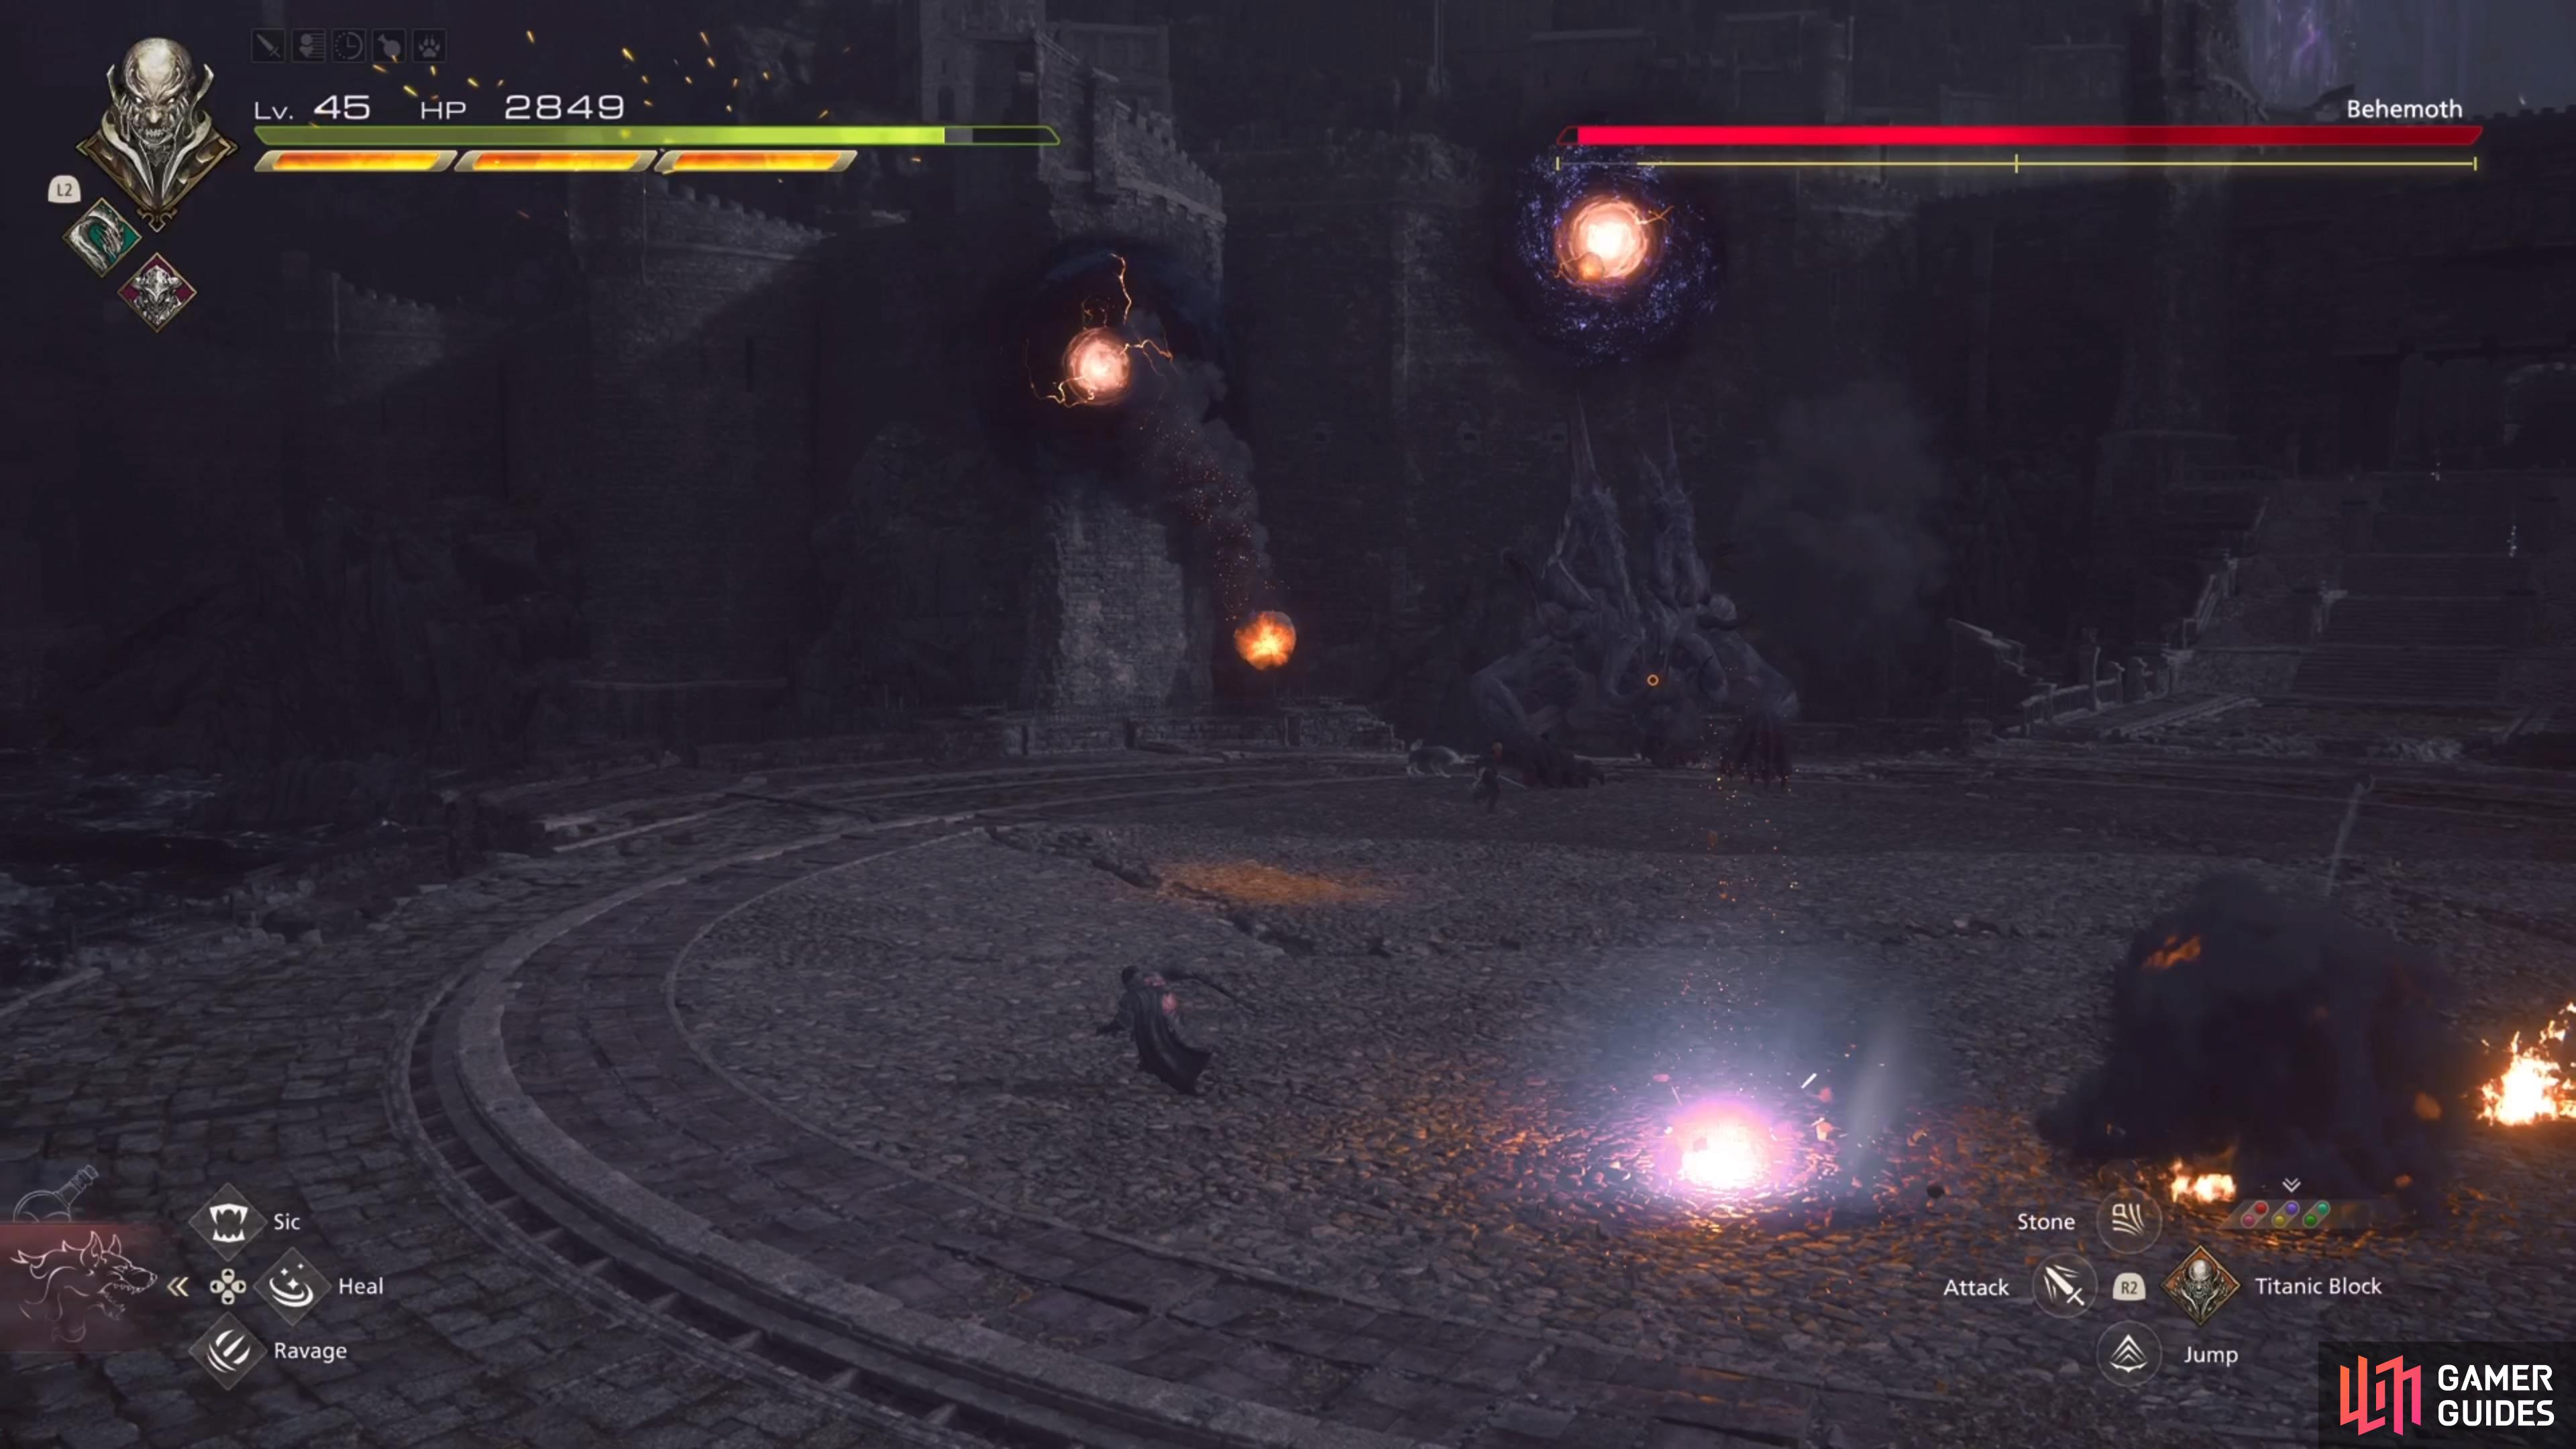
Comet
The Behemoth will summon a comet from the sky, which is bigger than the previous attack. The spot where it will land is marked on the ground, and upon touchdown a shockwave will be sent out in all directions. The shockwave doesn’t go too far, but enough to likely force you to jump over it. At first, it will summon two Comets, but as the battle wages on, it will do three of them. Note that the Behemoth will continue attacking as normal, while the Comets fall.
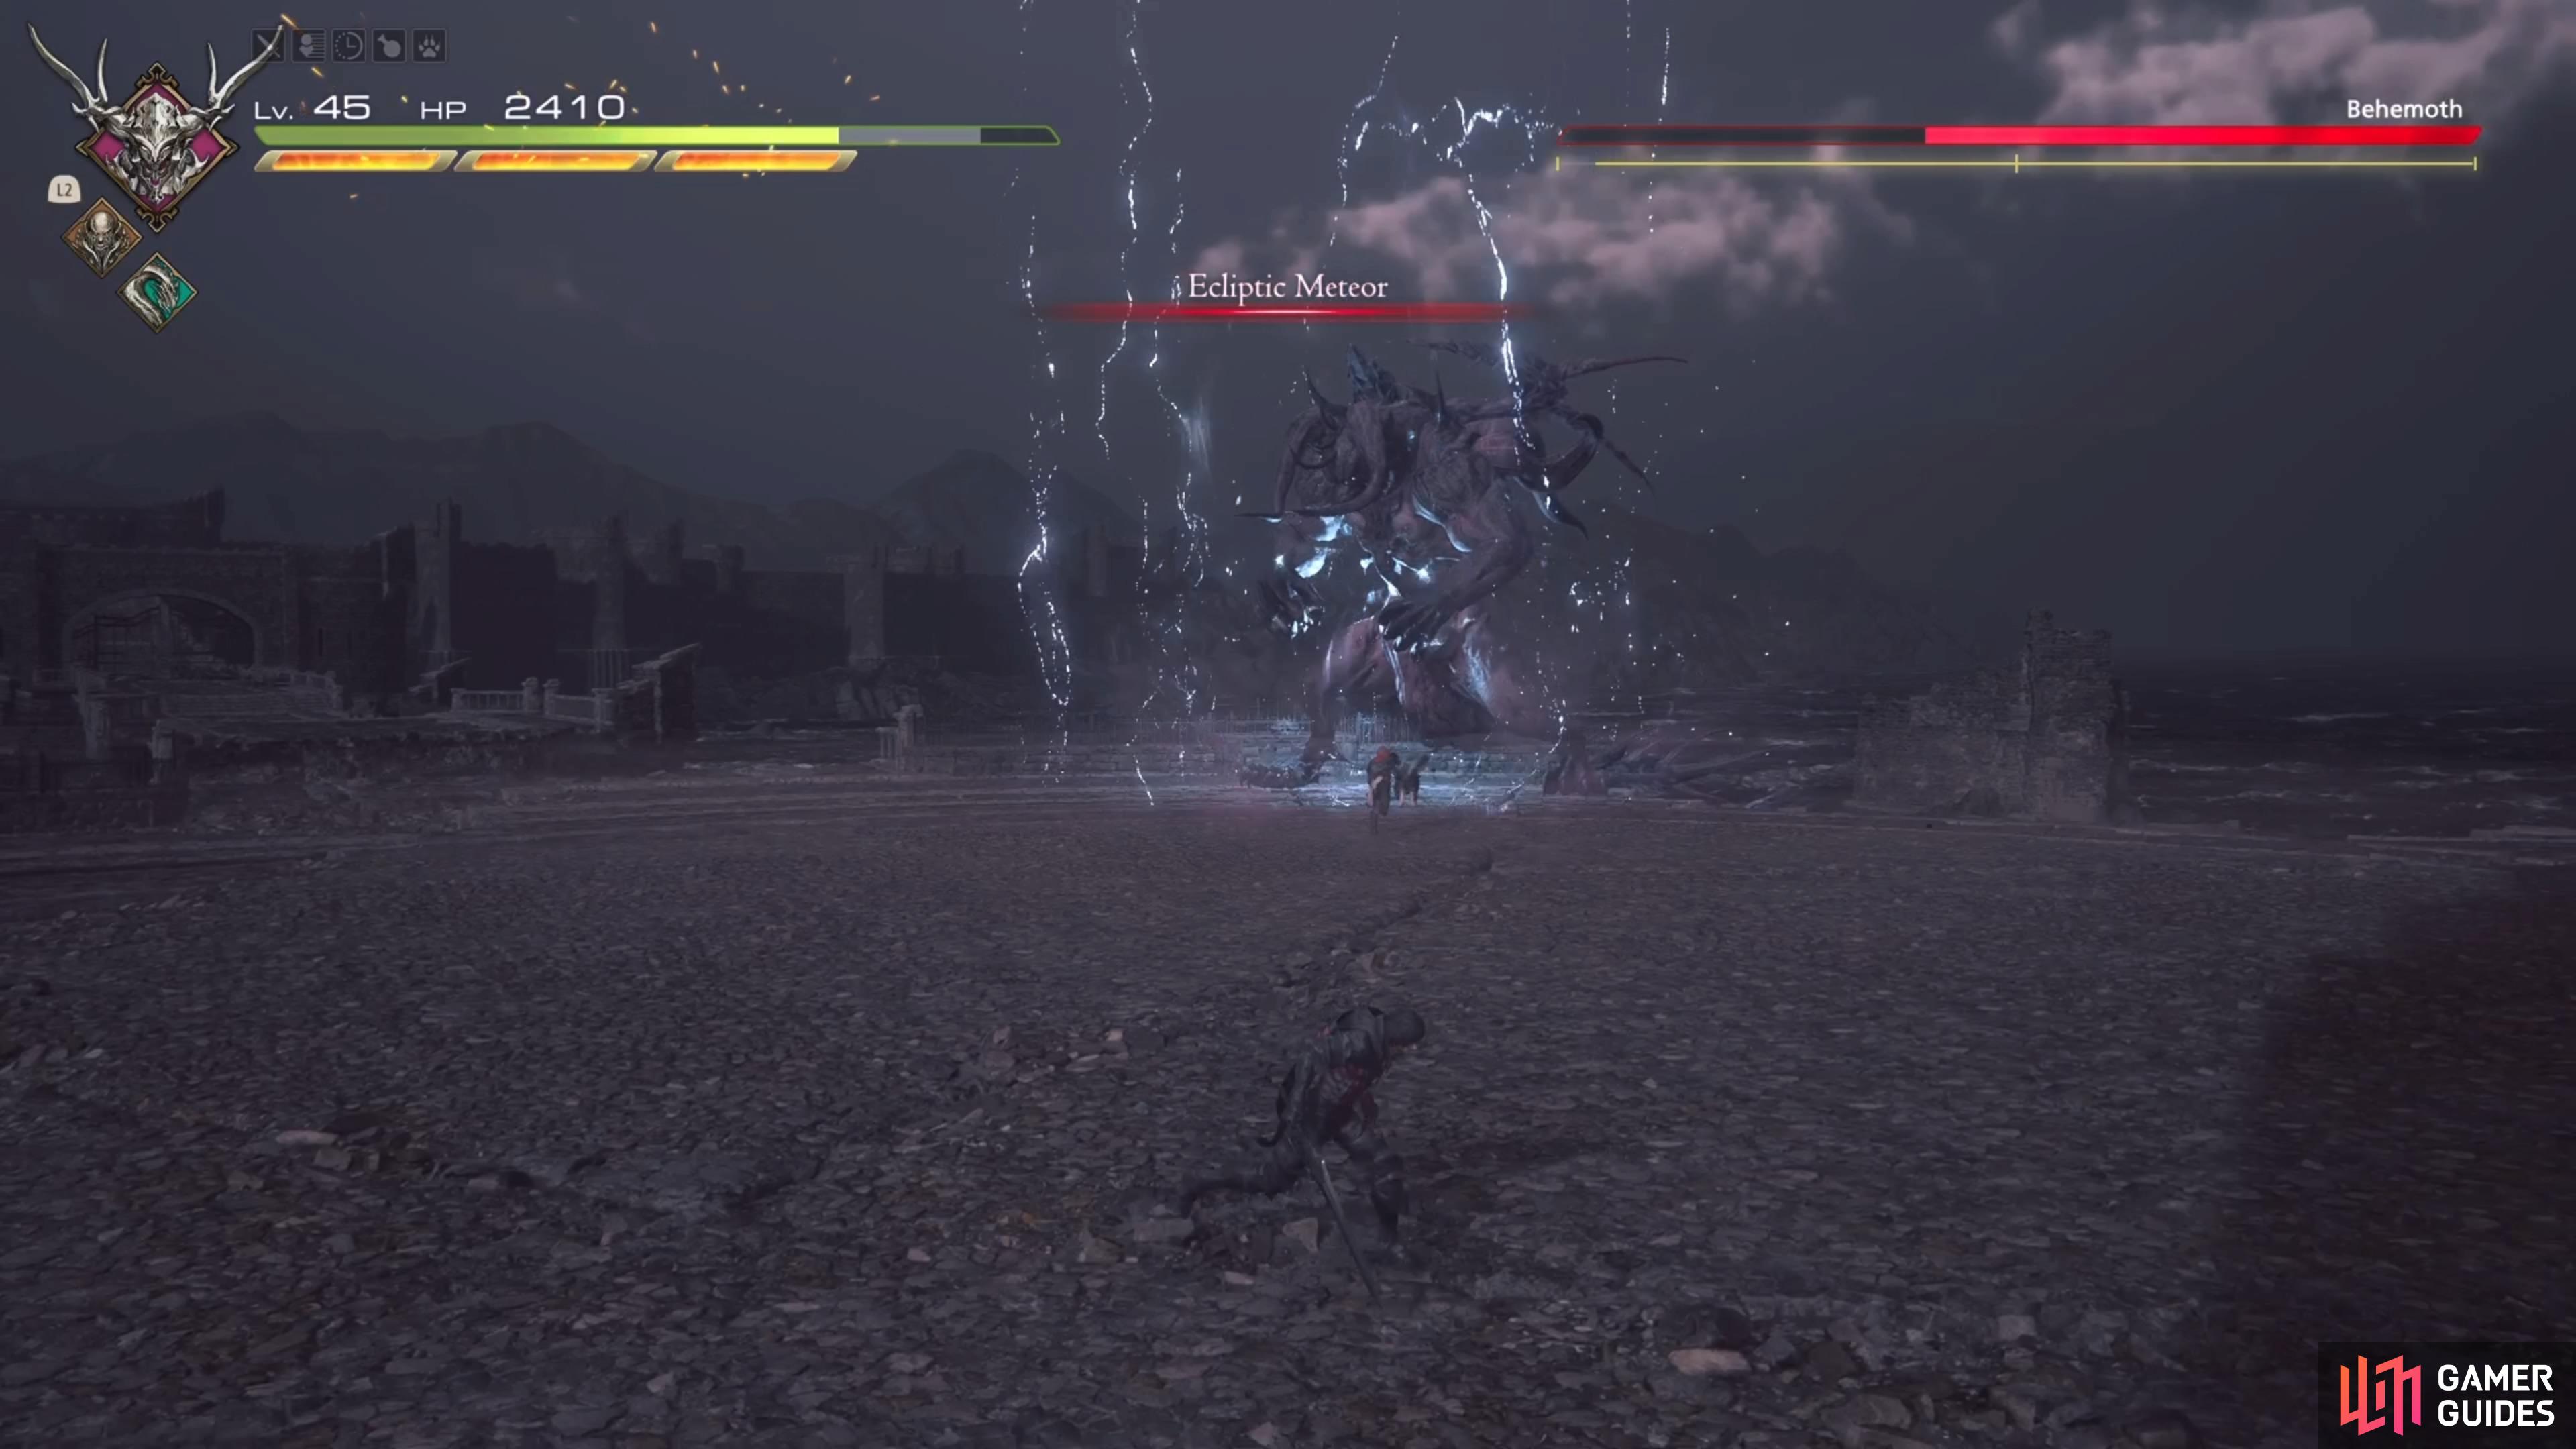
Maelstrom
The first attack you will likely see after Ecliptic Meteor, the Behemoth will summon a storm cloud under your feet, which follows you around for a short time. After a few seconds, a tornado will spawn from the cloud, and there will be blue markers on the ground nearby. Lightning will strike those blue markers. As long as you keep moving, this move shouldn’t even touch you.
Meteor
This attack happens whenever you get the Behemoth to low health. It will just summon a bunch of meteorites, which when they hit the ground, will cause a small shockwave. Keep moving and try to get a ![]() Precision Dodge off of one of the little shockwaves, which should hopefully get you out of range.
Precision Dodge off of one of the little shockwaves, which should hopefully get you out of range.

Extinction
This is the final trump card for the Behemoth, as it will summon a huge meteor to try and finish you off. The meteor will have a huge circle on the ground for its impact point, but all you have to do is get away from the circle to avoid it.
Strategy for the Behemoth Boss in FFXVI
The first portion of the fight with the Behemoth is fairly simple, as the majority of its attacks will be melee oriented. The Claw Swipe and Spin Attack are probably its most dangerous melee attacks, just because they hit a wider area or there’s a slight lag before they’re executed. The Tail Swipe is also annoying, but that will only be used if you’re attacking the behind of the creature. Outside of those attacks, you have the Asteroids one, where the Behemoth will summon some smaller rocks through portals.
They will be sent at you, but they are small enough that you shouldn’t really get hit by them. As for the bigger version, Comet is a little more challenging, as whenever they land, the impact will cause a shockwave to shoot out. While the Comet attack is in effect, the Behemoth will continue attacking with other moves. After you stagger it for the first time, the Behemoth will use Ecliptic Meteor, which is a giant meteor that will trigger a cutscene. During this scene, there will be two Cinematic Clashes, so get ready to mash that button.
Once the big meteor attack is finished, the second phase of the battle will commence. It will start using Maelstrom at this point, as well as chaining two melee attacks together, for combos. You will also start seeing three Comets being dropped from the skies. The fight will be pretty much the same, until you get it down to around 15-20% health remaining. It will debut a new attack, called Meteor, where it will just rain down a bunch of meteorites that will cause a very small shockwave on impact. It can use this attack more than once, so be aware of that.
Keep fighting the Behemoth and you will eventually bring it down to a sliver of health, which is when you’ll see one final move, Extinction. The Behemoth will summon one final meteor, a big one, with its landing spot designated by a big circle. Just get away from the big circle, watch the meteor land, and the battle will be over.
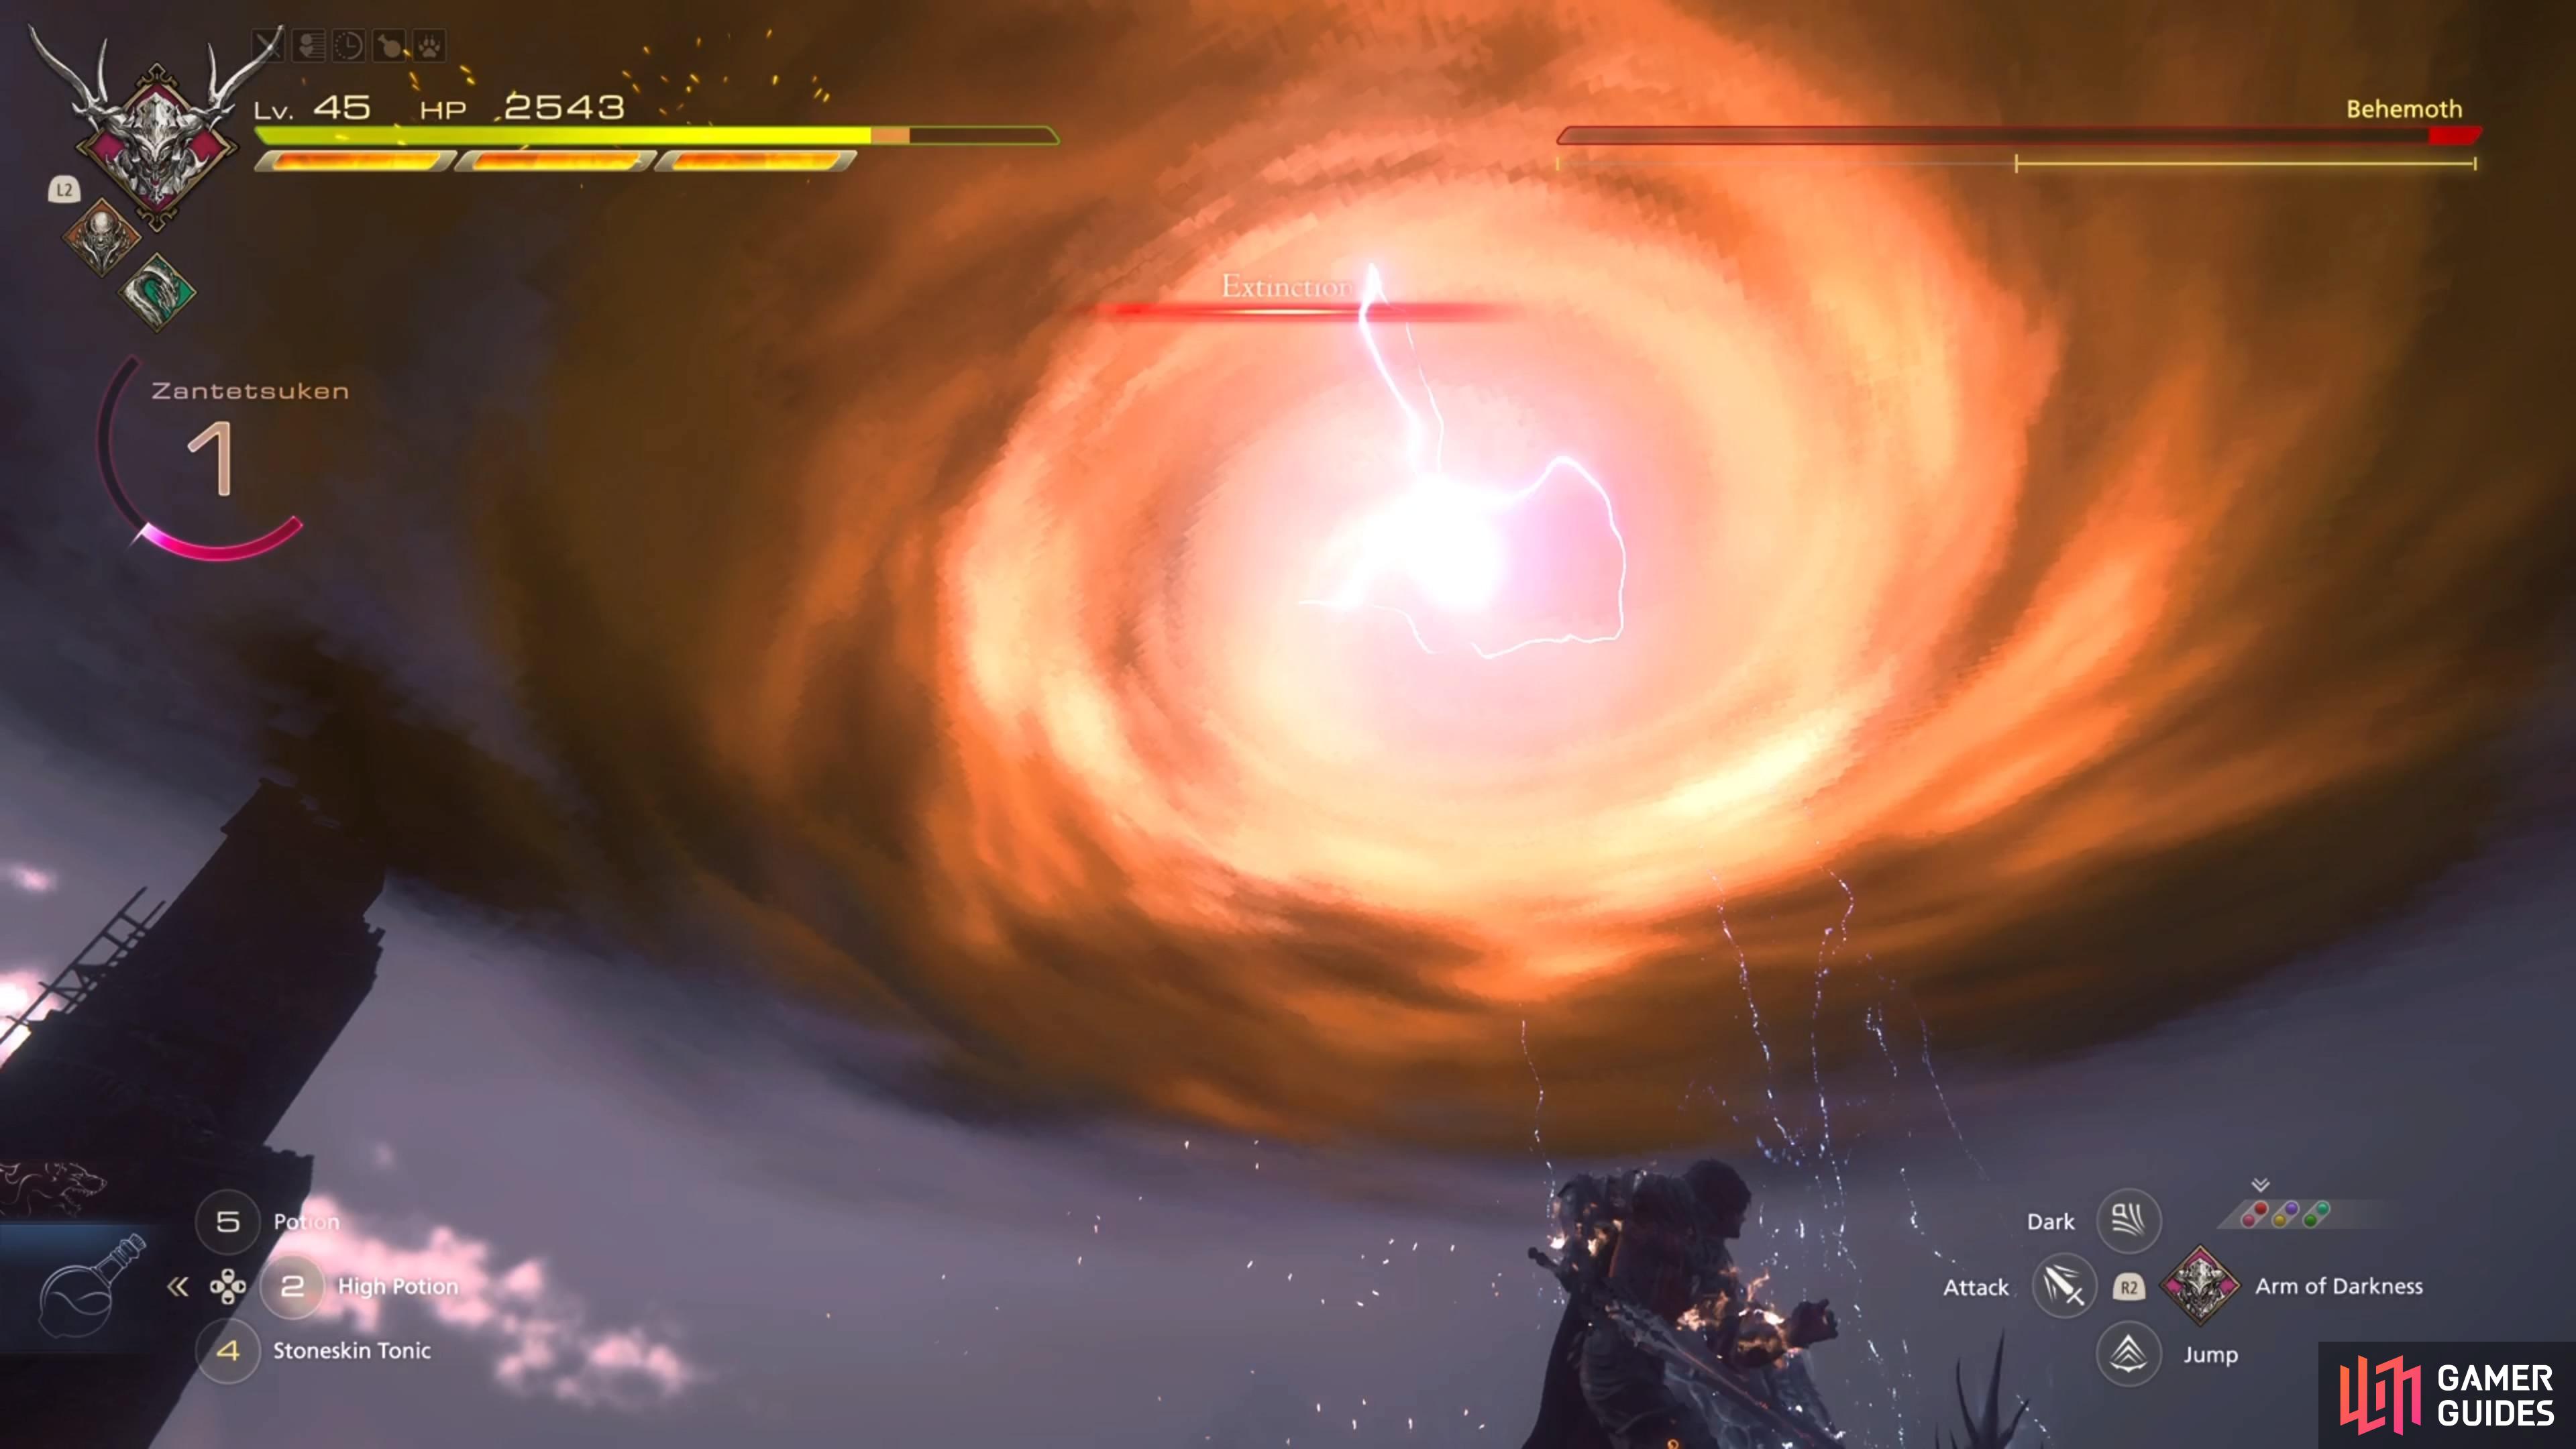
Extinction will be the final move from the Behemoth, right before it perishes.
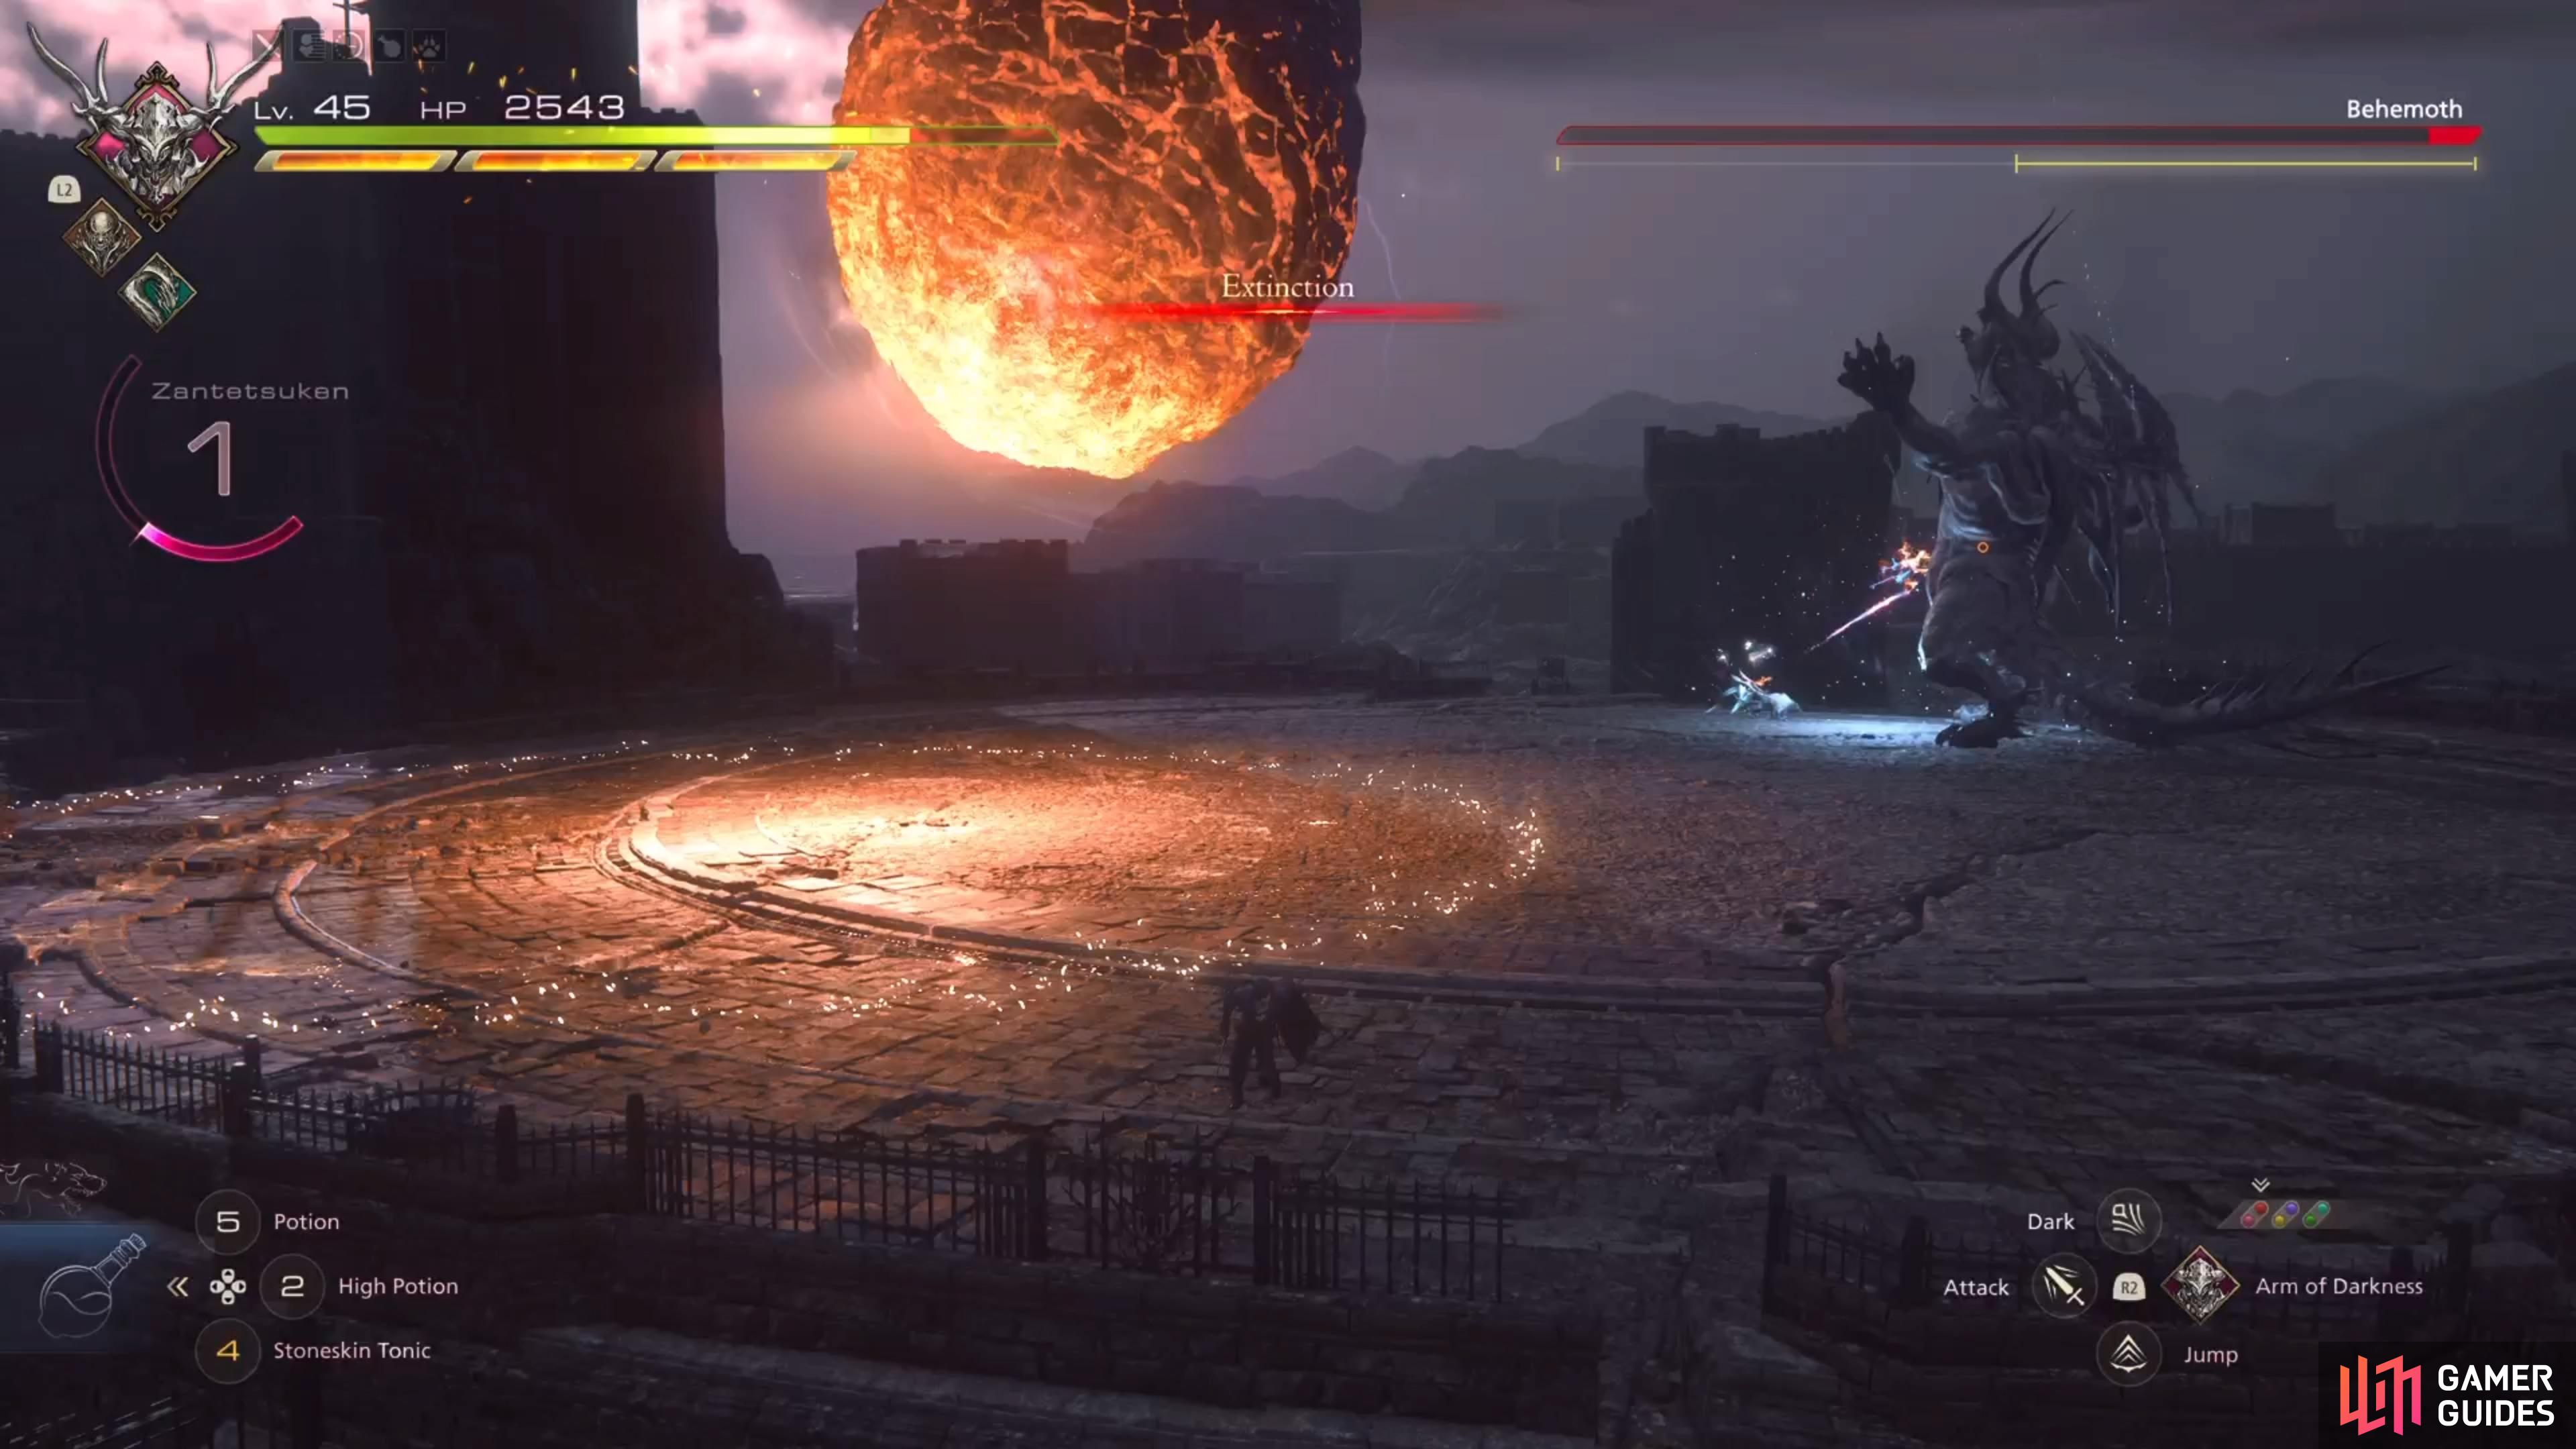
Just get out of the circle to avoid the attack.
Recommended Abilities for the Behemoth Boss in FF16
The following skills is what we used for the boss battle against the Behemoth. It is not the definitive build here, as the skills you use might differ. Remember that mastered abilities can be put on any ![]() Eikon, which certainly gives more flexibility for builds.
Eikon, which certainly gives more flexibility for builds.
| Eikon | Ability |
|---|---|
| Odin | |
| Titan | |
| Bahamut |
With access to Odin now, you should make sure to unlock Dancing Steel, which is a great way to power up the Zantetsuken attack. The only slight problem with this move is that it takes a little bit to get it started, so if you miss or the enemy attacks you at the beginning, then you will need to do it again or wait for the cooldown. However, Zantetsuken is a powerful move, especially if you unleash it during a stagger (even moreso, if you have it upgraded). Most of the other abilities in the table above are for stagger damage, like Diamond Dust and Rook’s Gambit. Raging Fists is for countering the melee attacks, and you can also use ![]() Titanic Block to help with those.
Titanic Block to help with those.
After defeating the Behemoth, you’re only a little ways into the main story quest. There’s a lot more enemies to fight in Streets of Madness, so be prepared to face more mini-bosses. Upon reaching the end and getting transported to another area, there will be a lot of story bits here, then you’ll be ready to fight the next boss.
No Comments