
The twenty-sixth main quest in Final Fantasy XVI, The Crystal’s Curse will begin after you leverage Cid’s connections to sneak into the empire during the main quest Righting Wrongs. Technically this quest doesn’t begin until you fast travel to ![]() Drake’s Head and you’ll be warned before traveling that this is a point of no return of sorts. Be sure to finish all the outstanding side quests up to this point, otherwise they may be lost. This page contains a walkthrough for the main quest The Crystal’s Curse in Final Fantasy XVI, listing all the treasure you can find and all the enemies you’ll encounter within Drake’s Head, including basic strategies for the Imperial Cannonier and the Akashic Dragon.
Drake’s Head and you’ll be warned before traveling that this is a point of no return of sorts. Be sure to finish all the outstanding side quests up to this point, otherwise they may be lost. This page contains a walkthrough for the main quest The Crystal’s Curse in Final Fantasy XVI, listing all the treasure you can find and all the enemies you’ll encounter within Drake’s Head, including basic strategies for the Imperial Cannonier and the Akashic Dragon.
The Crystal’s Curse - Point of No Return Warning
As we pointed out earlier, the main quest Righting Wrongs is a point of no return for pretty much every outstanding side quest at this point in the game. If you travel to Drake’s Head and hence start The Crystal’s Curse, you will miss all those side quests. That being the case, we highly suggest you complete them all before starting this main quest. Below you’ll find a list of new side quests that pop up during Righting Wrongs, which you should ensure are completed before moving on:
- Welcoming Committee
- Dying on the Vine
- While the Cat’s Away
- Needs of the Many
- Red Letter Day
- All Bark
- Friend of the People
- Playthings
- Pride Comes Before a Fall
- The Want Beyond the Wall
Enemies in Drake’s Head
| Enemies in this Area |
|---|
| Imperial Astrologer |
| Imperial Cannonier |
| Imperial Captain |
| Imperial Legionnaire |
| Imperial War Wyrm |
Items in Drake’s Head
| Items in This Area |
|---|
| 1,000 gil |
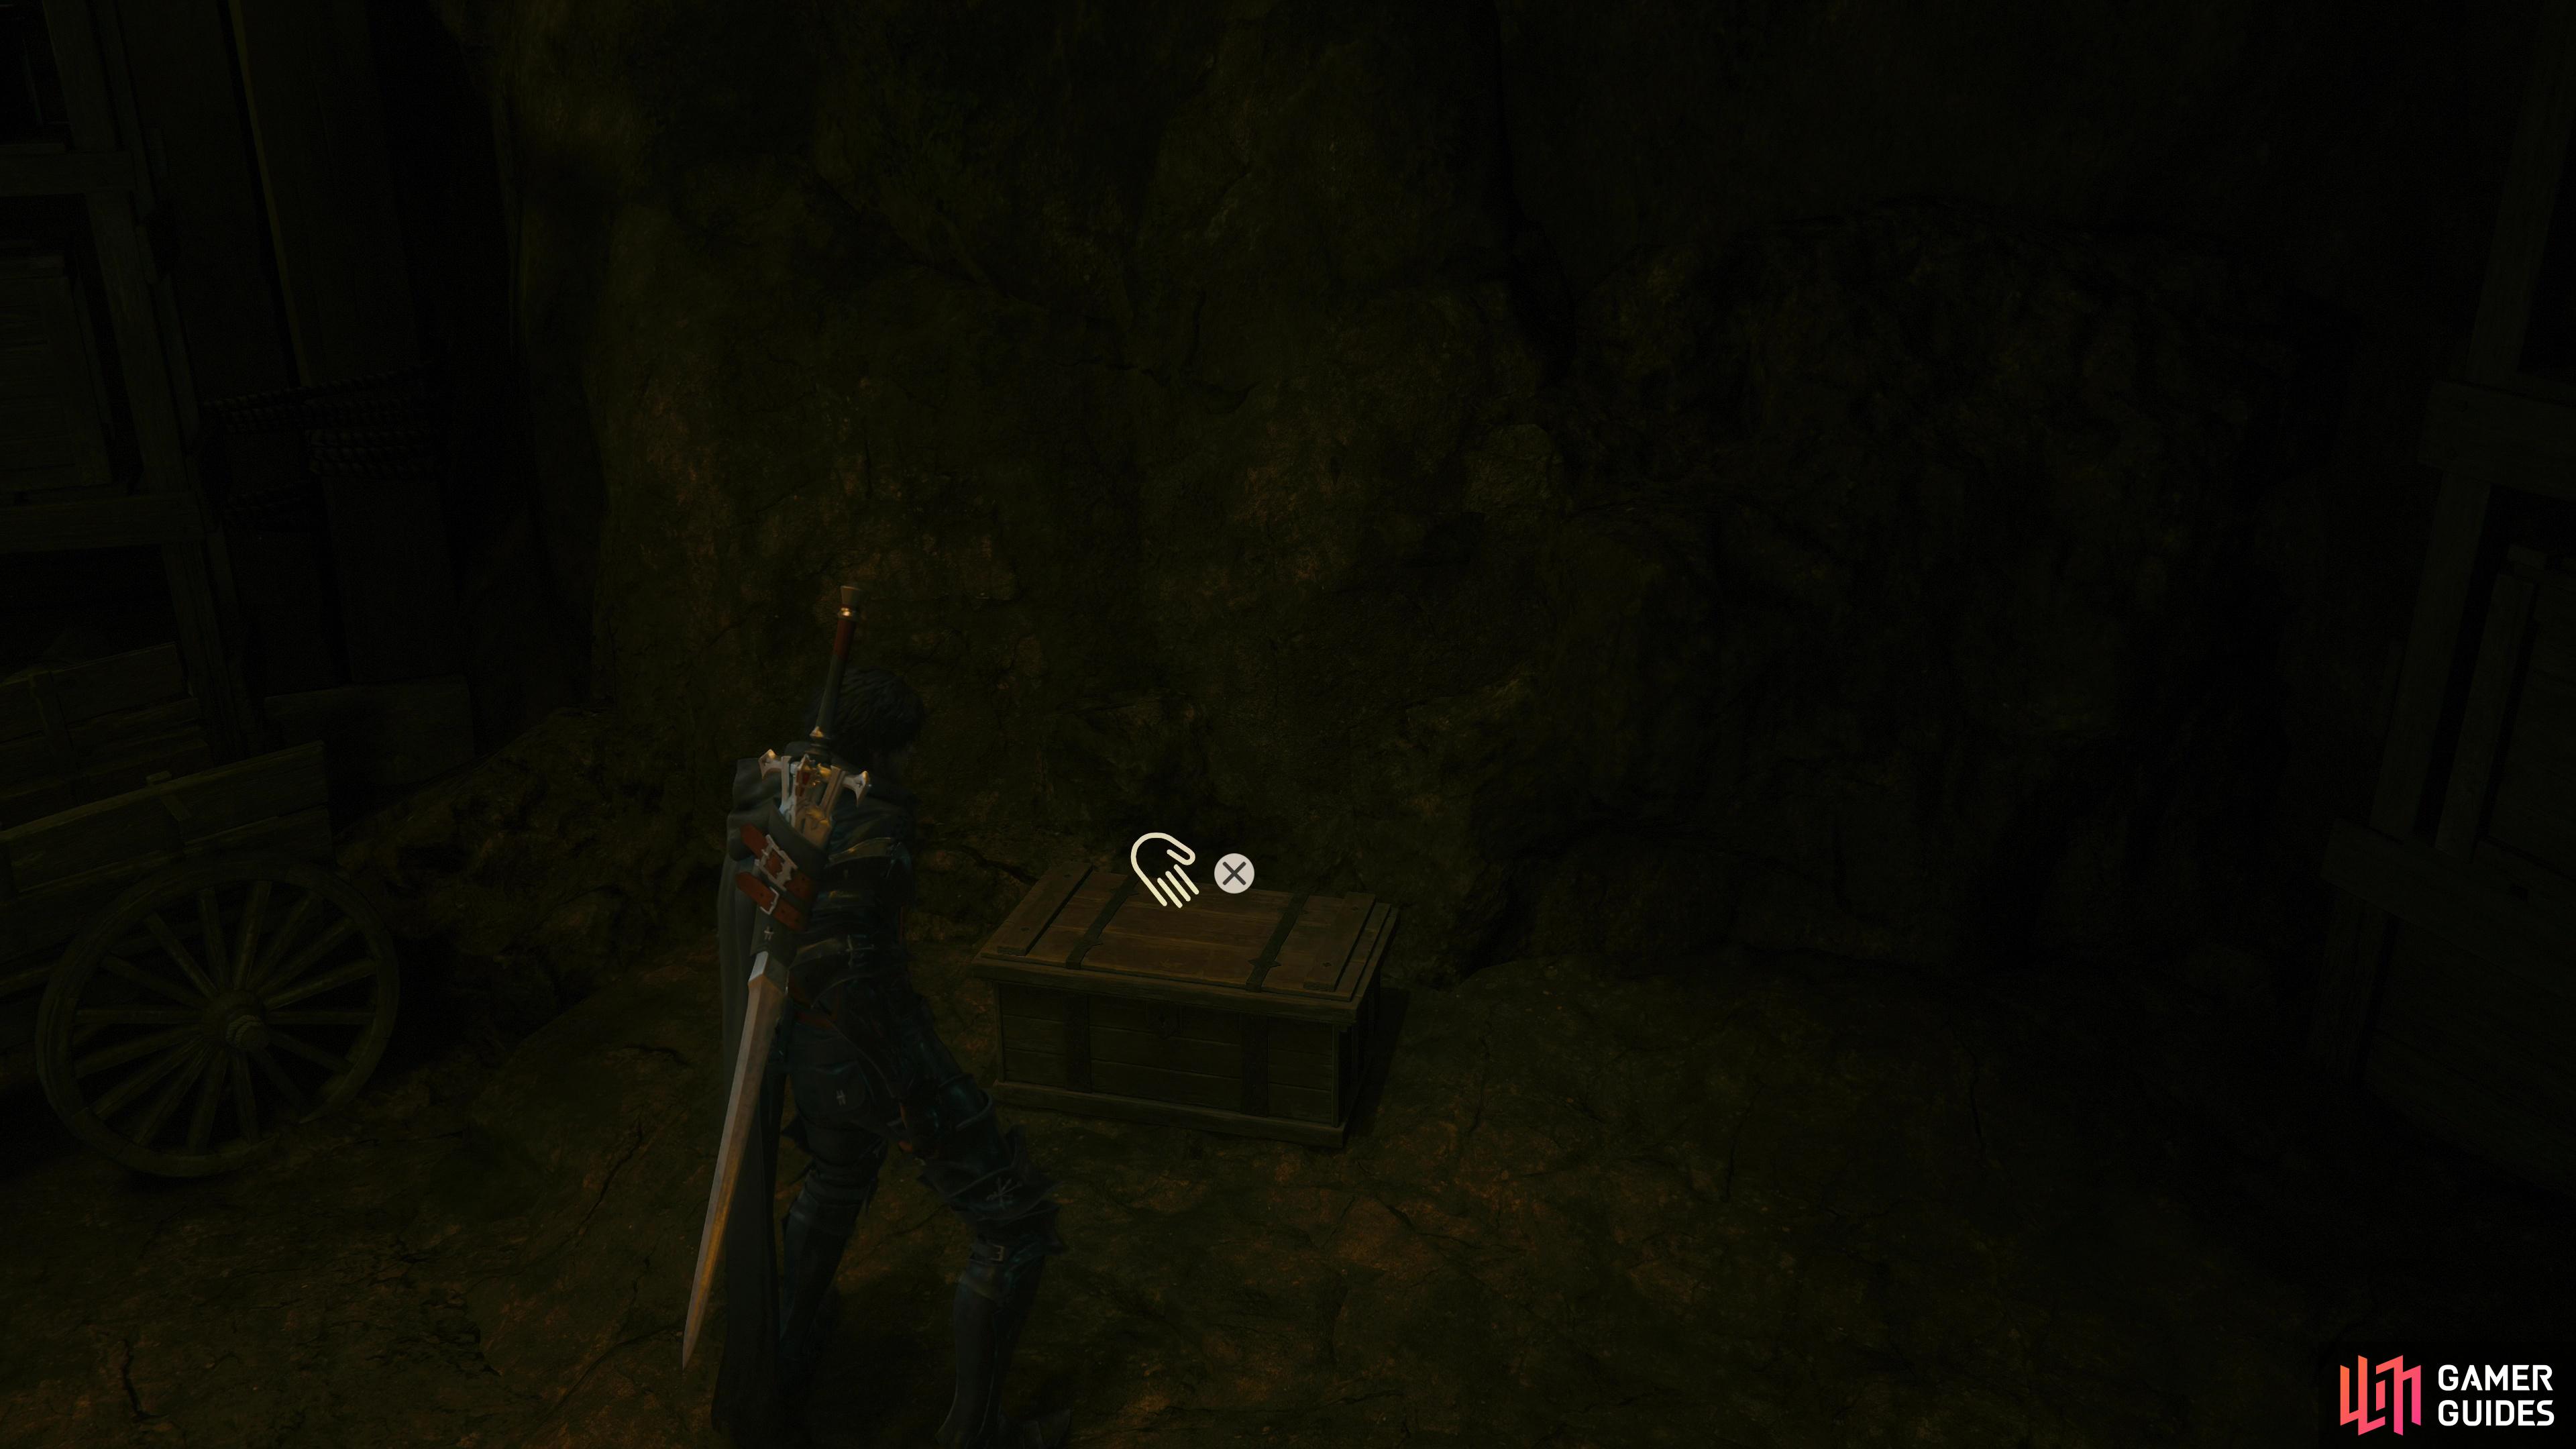
Follow Cid until you find a ladder, down which is a chest you can plunder.
After some introductory chatter, follow Cid through a doorway to reach some caves, and when you get a chance descend a ladder to the left, then turn right to find a chest. Loot it to score 1,000 gil, then climb back up the ladder and continue following Cid. Until he leads you to a mess hall crawling with Imperials. Drop off a ledge and cut them down - there’s nothing particularly new or interesting here - then continue forward and smash through a wall.
Keep following Cid and grab an item (2x Wyrrite) overlooking a massive chamber. Crawl through a passage and pick up an item on the other side (Sharp !Fang) and follow the linear tunnel ahead, picking up 2x Wyrrite before reaching another large chamber crawling with enemies. Drop down and dust another nest of Imperials - including War Wyrms - and when the mobs have been thrashed a more worthy foe will show itself: an Imperial Cannonier.
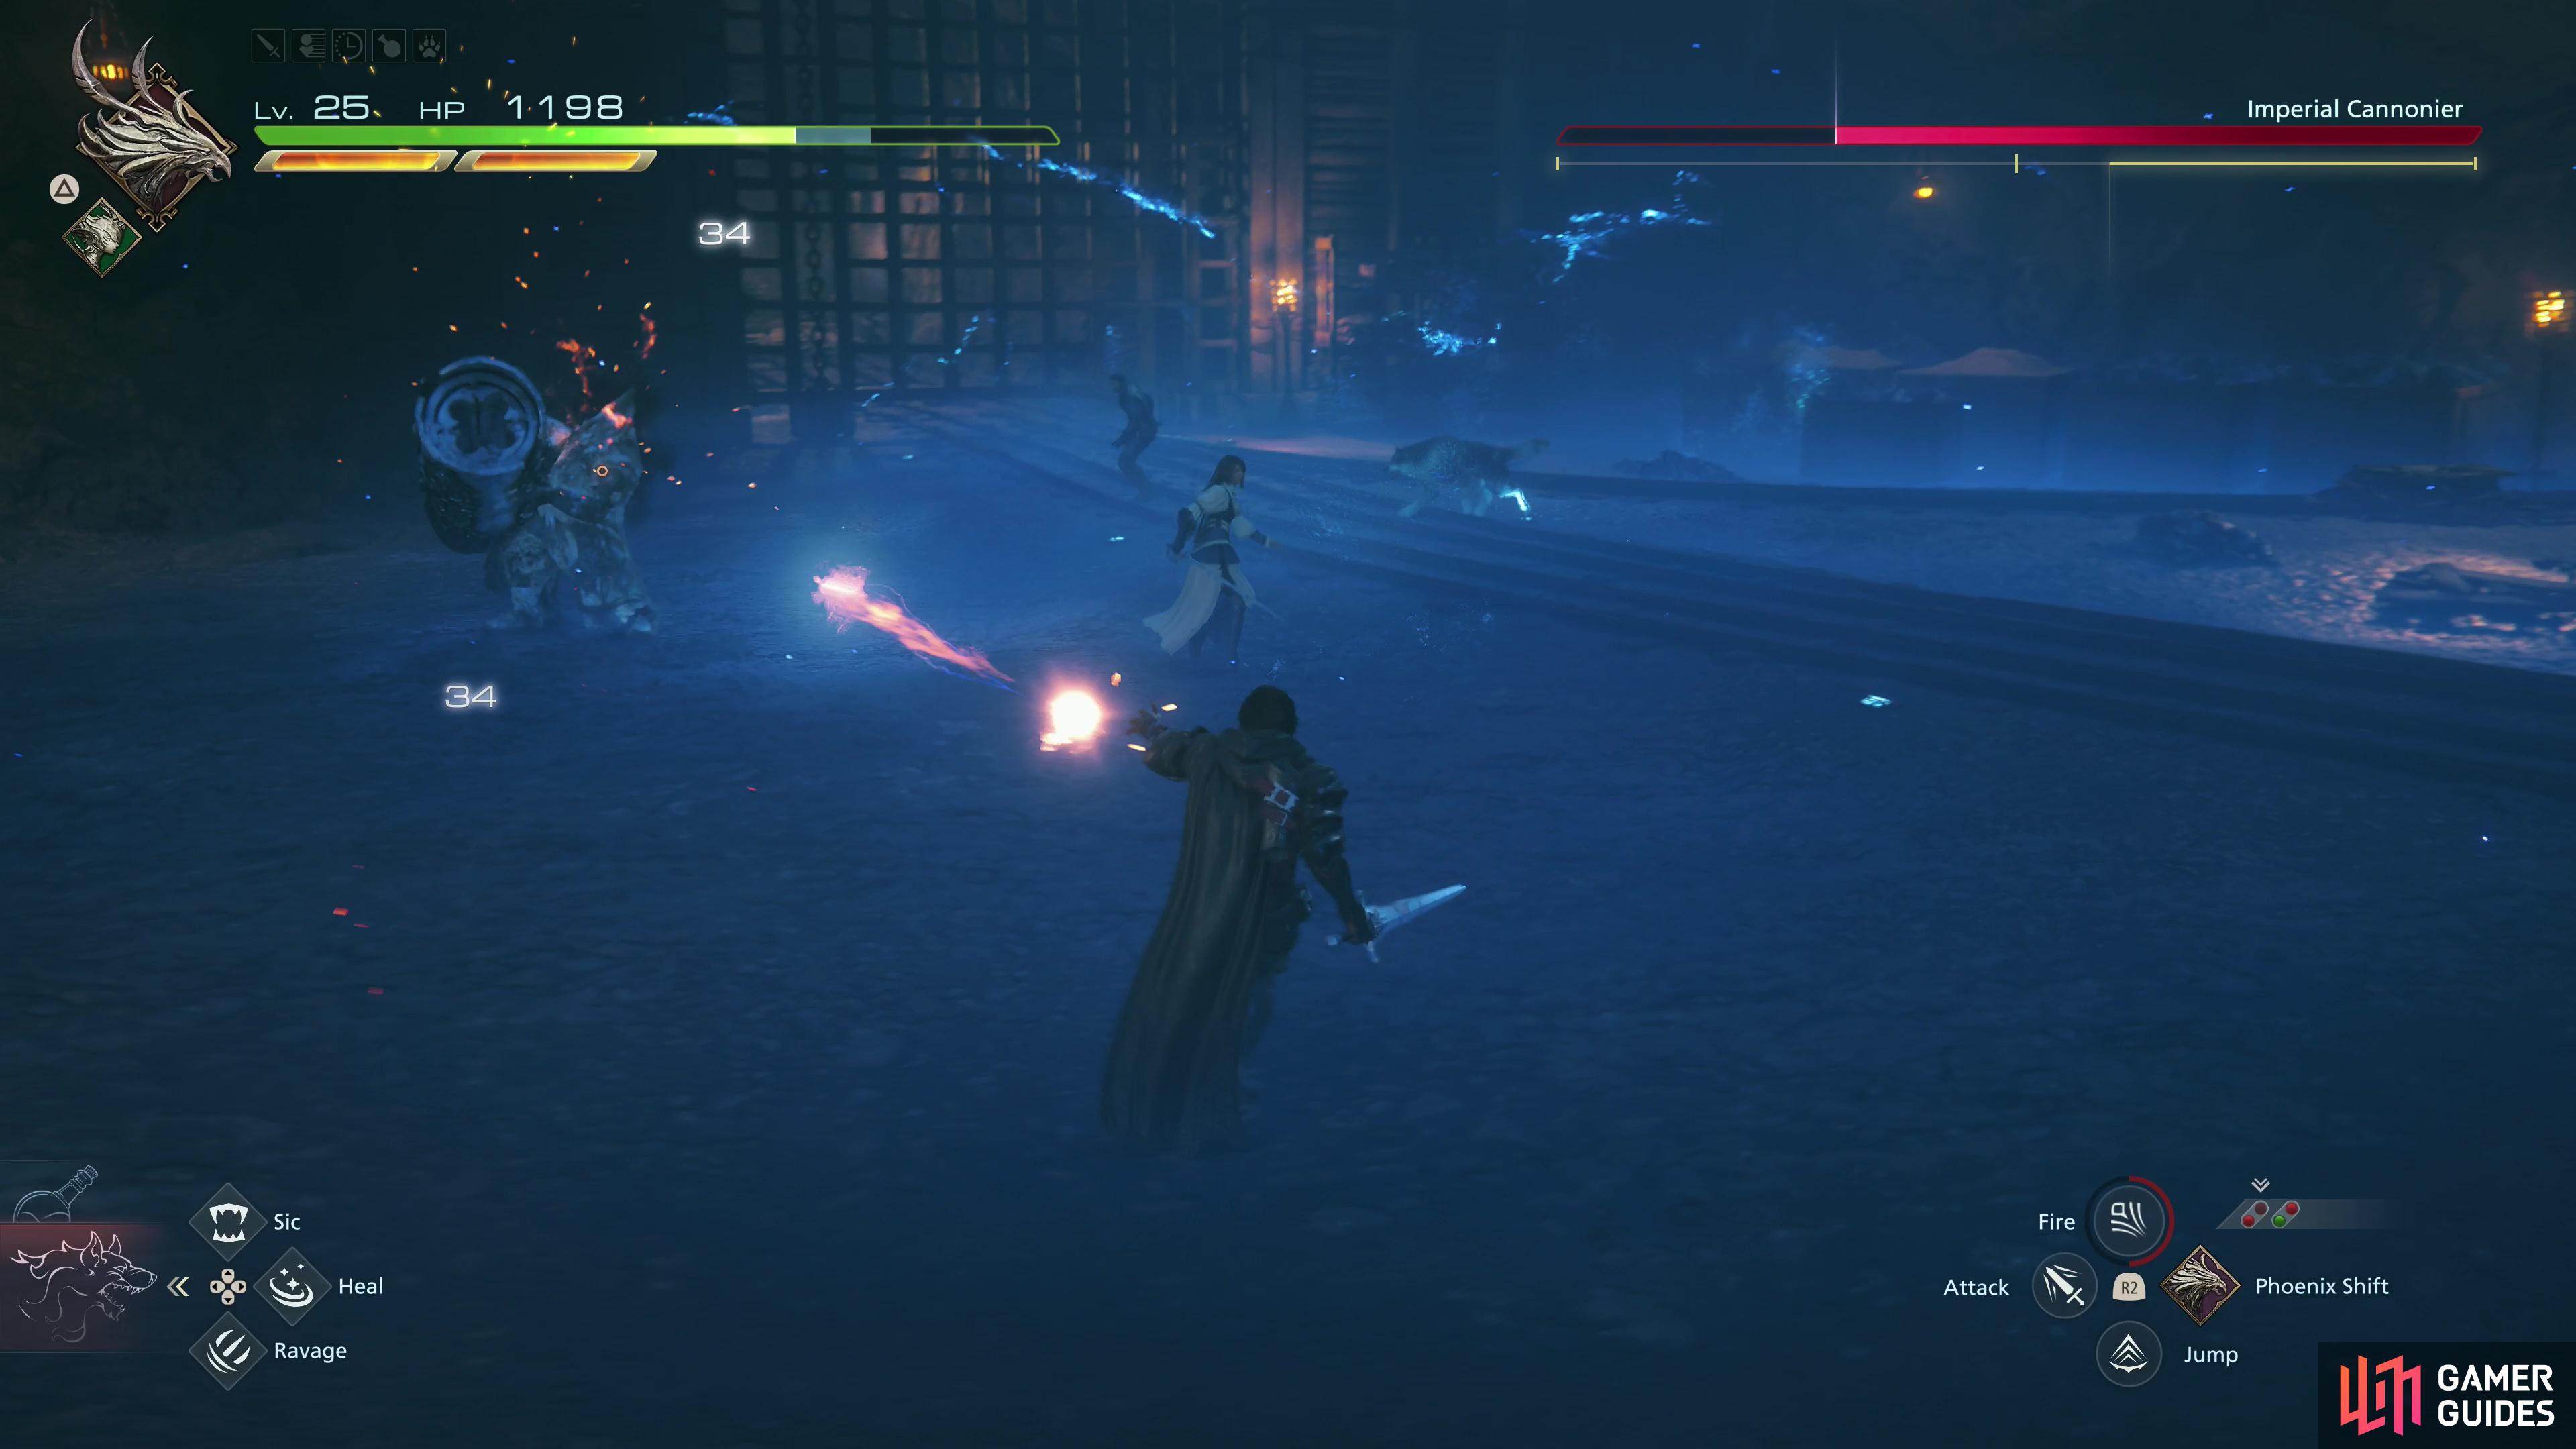
(1 of 4) The Imperial Cannonier has little response to ranged attacks, but it’s a tedious and slow way to win this fight.
How to Defeat the Imperial Cannonier - FF16 The Crystal’s Curse Main Quest Walkthrough
This guy has “future miniboss” written all over him. The Imperial Cannonier’s gimmick is the massive bombard he lugs around, with which can use to effect various attacks, usually of the fiery and ranged variety, but this is a surprisingly versatile boss. He’ll swing his cannon against foes in melee range, shoot fireballs from the cannon, use the bombard as a flamethrower and even perform rocket jumps with it!
Despite his size, the Imperial Cannonier isn’t all that sturdy, having only moderate Hit Points and a Will Gauge that’s fairly easy to deplete. He’s also outnumbered three-to-one, which will occasionally prove useful, but he’ll focus most of his attacks on Clive. That said, he’s quite aggressive to the point of making frontal melee assaults foolhardy and sustained Eikonic Abilities are almost certainly going to be interrupted. You’re better off switching out attacks like ![]() Ignition and
Ignition and ![]() Gouge for snappier abilities, like
Gouge for snappier abilities, like ![]() Heatwave and
Heatwave and ![]() Rising Flames. If your timing is good, Heatwave is absolutely killer here, as the Imperial Cannonier will regularly feed you projectiles for you to counter. You can also cheese this boss entirely by just spamming ranged magic, if you’ve the patience. He really has little answer for distant foes who move in a wide arc while spamming spells, but this will take a while.
Rising Flames. If your timing is good, Heatwave is absolutely killer here, as the Imperial Cannonier will regularly feed you projectiles for you to counter. You can also cheese this boss entirely by just spamming ranged magic, if you’ve the patience. He really has little answer for distant foes who move in a wide arc while spamming spells, but this will take a while.
Despite the doom and gloom, melee isn’t off the table, if you’re willing to dodge. Most of the Imperial Cannonier’s attacks are rather front-facing, and if you keep dodging around him you should be able to land a few hits when he leaves himself open - usually during his attacks. You can also spam ![]() Phoenix Shift to great effect in this fight, closing the distance every time the Imperial Cannonier forces you away with one of his attacks. It’s not the standard melee experience, to be sure, requiring a lot of mobility and hit-and-run tactics, but it’s far more interesting than spamming magic.
Phoenix Shift to great effect in this fight, closing the distance every time the Imperial Cannonier forces you away with one of his attacks. It’s not the standard melee experience, to be sure, requiring a lot of mobility and hit-and-run tactics, but it’s far more interesting than spamming magic.
Once you’ve nearly depleted this boss’s life bar he’ll “go Akashic”. Look it up in the ATL, for our purposes, he’s shiny, more aggressive, and his health bar is full again. Some of his attack patterns will change - he’ll shoot more fireballs out of his cannon, and faster, he adds a third melee attack (a frontal slam), his Black Powder attack will create more eruptions, and he’ll ride on his rocket performing series of three charges (plenty of time to Phoenix Shift between each charge!), but despite the altered offense, what worked during the first phase of the fight will continue to work here.
You can find a more in-depth guide for this battle on the page FF16 - The Imperial Cannonier Main Quest Boss Strategy. When you defeat this boss, you’ll obtain ![]() The Favor of the Inferno (Ignition), 15x
The Favor of the Inferno (Ignition), 15x ![]() Wyrrite and 15x
Wyrrite and 15x ![]() Steelsilk.
Steelsilk.
| Enemies in this Area |
|---|
| Akashic Captain |
| Akashic Champion |
| Akashic Miner |
| Akashic War Wyrm |
| Items in This Area |
|---|
| gil |
Take down the Imperial Cannonier, then board an elevator, pull a lever and ride down into the heart of the mako reactor… err… aether mine. When you reach the bottom, scour the area for a High Potion and some Steelsilk, the follow the tracks a bit to find a Potion to the left and a chest containing Meteorite to the right. Another unit of Steelsilk can be found down a side passage to the right shortly ahead. Progress forward to reach a chamber occupied by several Akashic Miners and put them out of their misery, then turn left and smash through a wooden barrier.
Follow the tunnel beyond the barricade and pass by an item (Magicked Ash) then cross a bridge to trigger a scene, and after the drama advance until you reach another large chamber. Here you’ll get a Warcry tutorial, which basically warns you to target Akashic Captains (and similar buffers) before they can empower their minions too much. Defeat the aforementioned Akashic Captains and Akashic Miners, then follow the tracks left for 2 gil and a Bloody Hide while following the tracks right should yield some Steelsilk, a Potion and a chest containing 75 gil and 7x Sharp Fangs.
Crawl through a narrow passage at the rightmost end of the tracks and grab a Potion at an intersection, then note a lever near a gate ahead. Ignore it and instead follow some tracks to the right to find a Potion and a chest containing 10x Wyrrite. For daring to grab this prize, however, you’ll be ambushed by more Akashic Miners and their pet Akashic War Wyrm. Shameless palette swaps. Anywho, backtrack and pull the lever to open the gate.
Defeat an Akashic Champion,
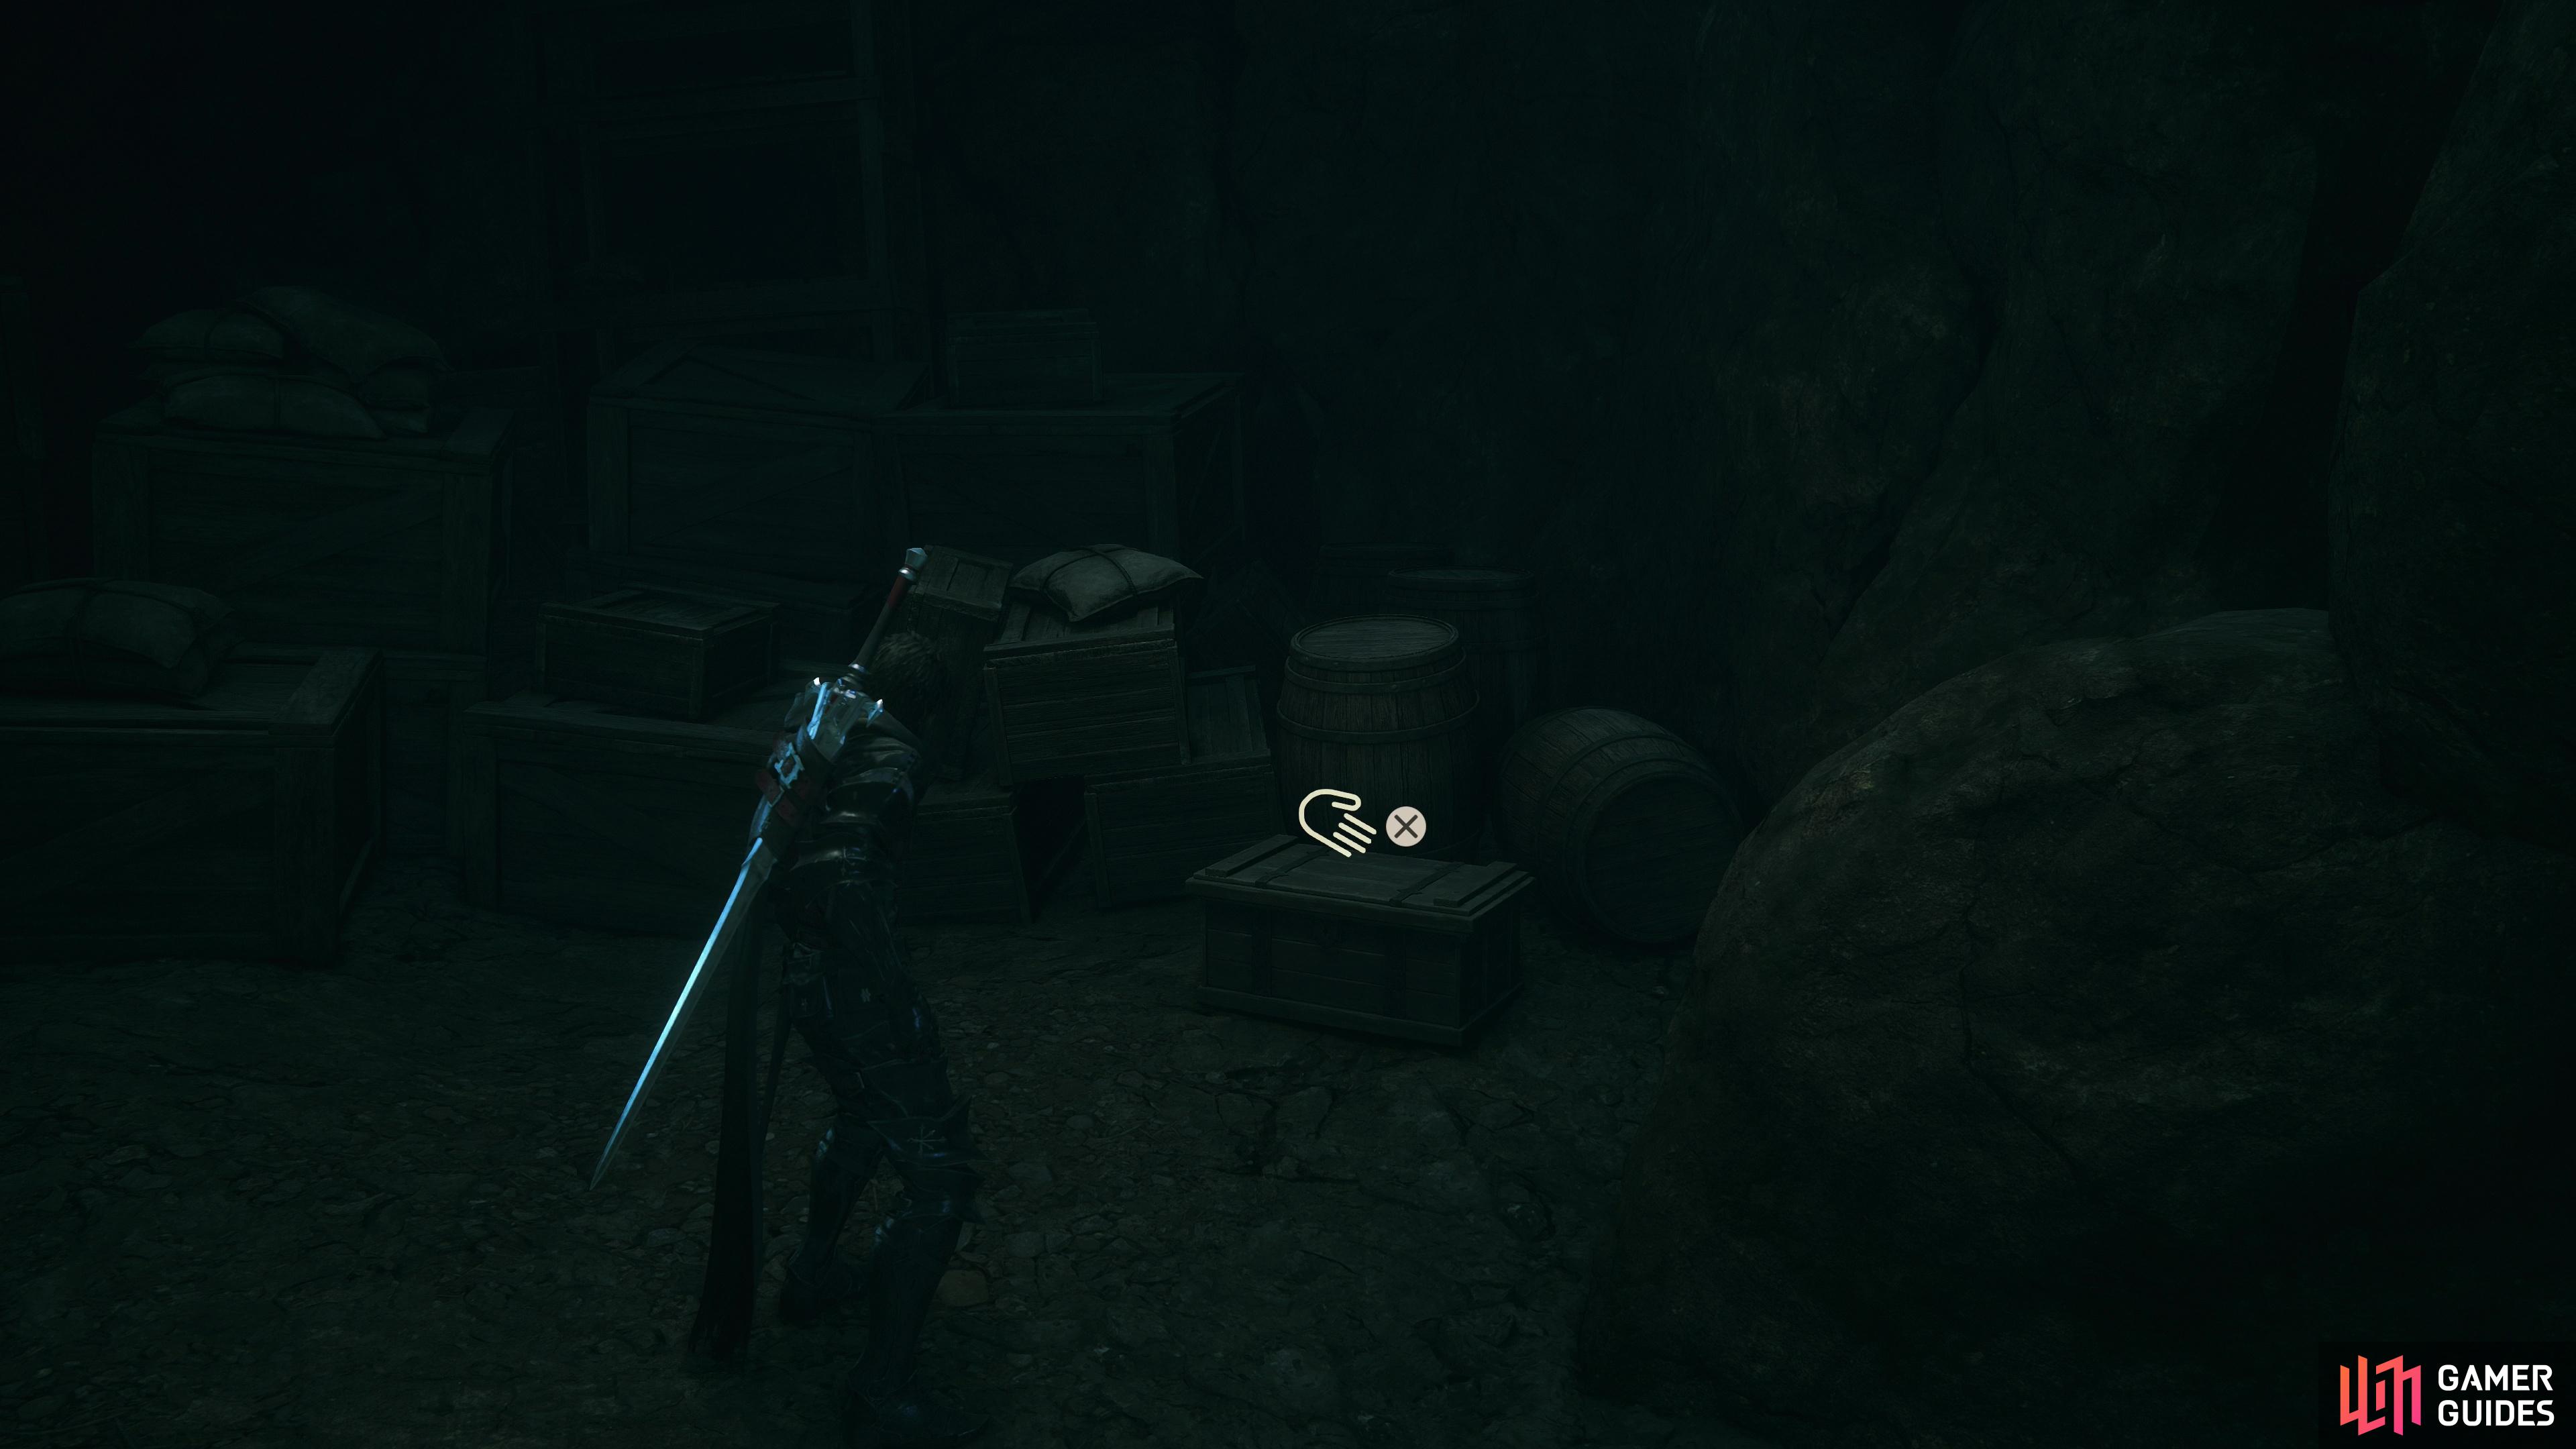
then continue until you find a gate - loot a chest nearby to obtain a Coral Sword.
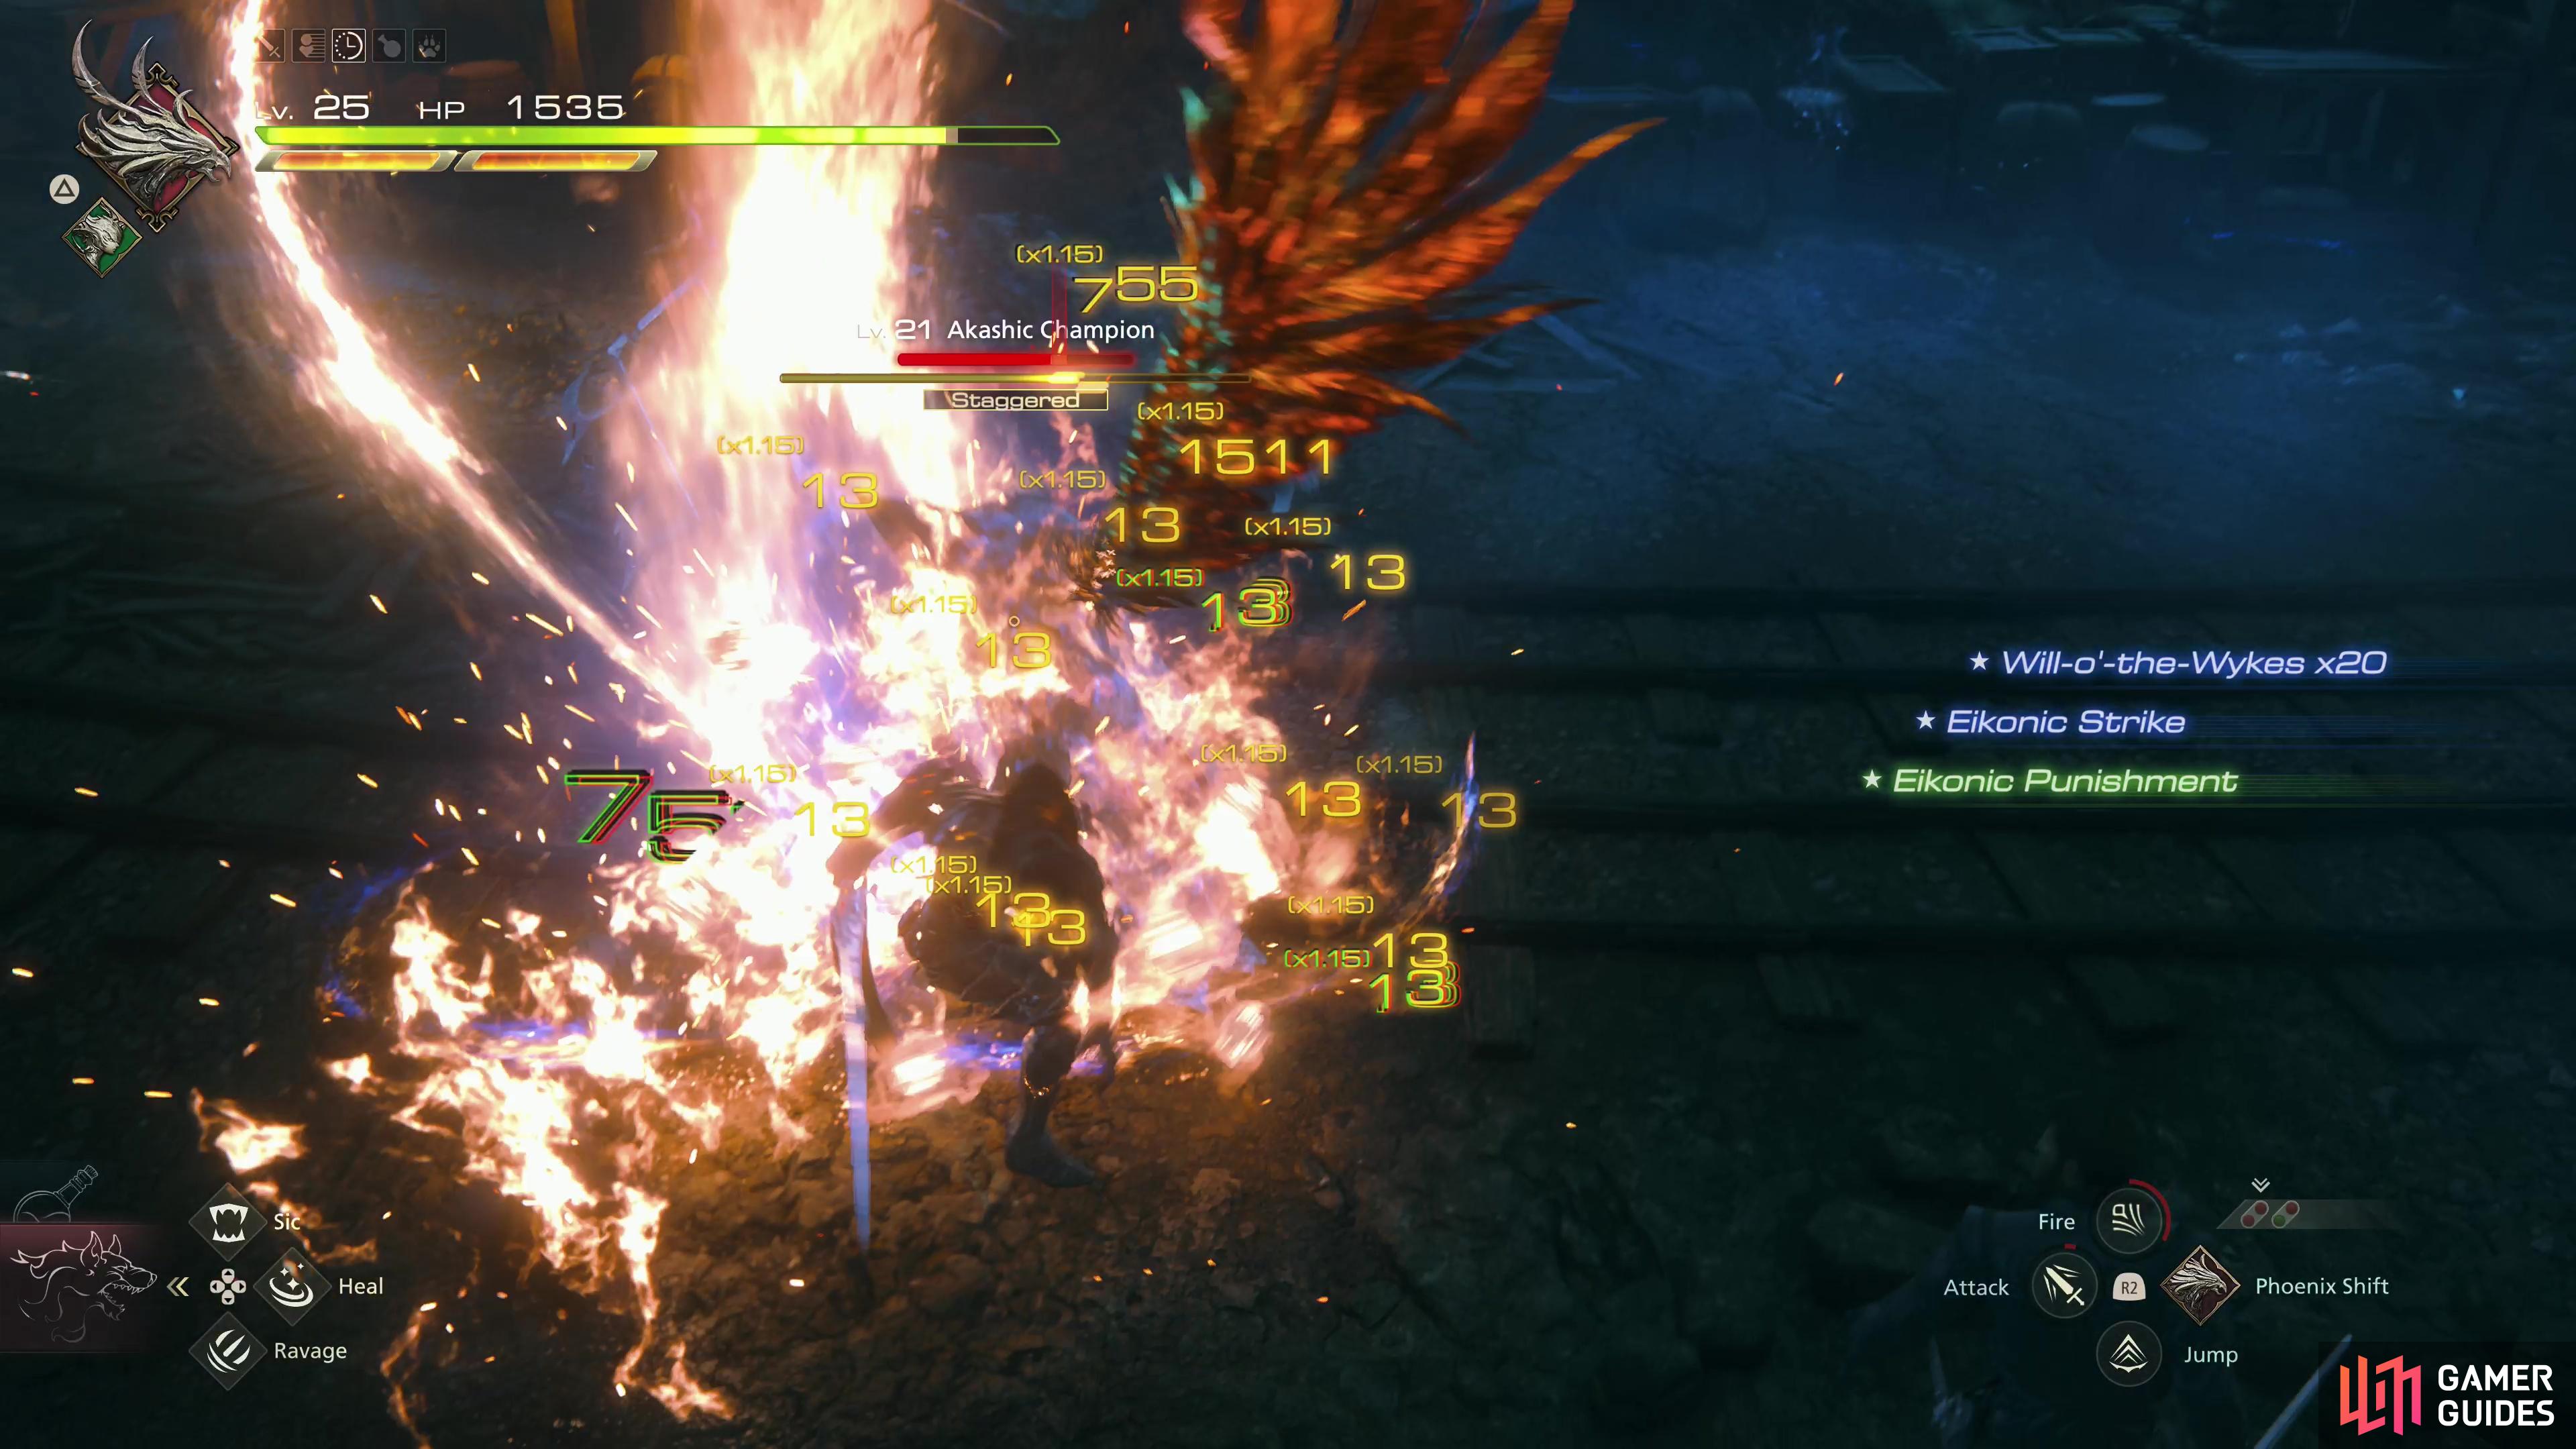
How to Defeat the Akashic Champion and Find the Coral Sword - FF16 The Crystal’s Curse Main Quest Walkthrough
Go through the gate and follow the tracks to snag another generous 2 gil, then continue forward to find another familiar miniboss - an Akashic Champion. You fought one of these - minus the Akashic bit - back during The Meaning of Life and the influence of aether really hasn’t affect much. He still slams with his hammer, performs sweep attacks (often in pairs) and calls pillars of light via his “Divine Hammer” attack. He starts out accompanied by Akashic Legionnaires, and will later be joined by Akashic Miners, so focus on trash mobs whenever they show their faces, then focus on whittling down the Akashic Champion.
Follow the tracks and break a barricade, then brave the darkness, nabbing a Potion along the way. After a bit you’ll find a gate to your left. Ignore it and continue forward to plunder a chest for a Coral Sword. This is almost certainly an upgrade for Clive, so equip it. Once done, use the power of teamwork and friendship to bully the gate down, then brave the watery cavern beyond. Hang right to score a Sharp Fang and follow the linear tunnel beyond to score a Potion before you finally catch sight of your destination.
| Enemies in this Area |
|---|
| Akashic Dragon |
| Lich |
| Specter |
| Wraith |
| Items in This Area |
|---|
Head downstairs, jumping a gap to reach a chamber where some Wraiths appear. Clive and Jill voice their displeasure, and so should we, as this portends another dull series of chambers - and the encounters therein - similar to what we endured back at ![]() Phoenix Gate during the main quest Buried Memories. Sure enough, after clearing this chamber you’ll need to keep going down stairs and through doors to clear more chambers, fighting Wraiths, Specters, Liches. After the second fight you’ll be topped off by conveniently-placed Potion and High Potion drops, after which you’ll find yourself on an uncannily large bridge…
Phoenix Gate during the main quest Buried Memories. Sure enough, after clearing this chamber you’ll need to keep going down stairs and through doors to clear more chambers, fighting Wraiths, Specters, Liches. After the second fight you’ll be topped off by conveniently-placed Potion and High Potion drops, after which you’ll find yourself on an uncannily large bridge…
No way there’s this much real-estate without a fight, and sure enough when you cross the bridge you’ll trigger a scene…
While powerful, the Akashic Dragon is fairly ponderous - you can stick to its flank and punish it with relative impunity.

Use Deadly Embrace when half of its Will Gauge has been depleted to buy yourself more time to dish out damage.
How to Defeat the Akashic Dragon - FF16 The Crystal’s Curse Main Quest Walkthrough
The Akashic Dragon is an odd foe… large, sure, more powerful than the Imperial Cannonier, probably, but honestly we had an easier time with this fight than with the aforementioned boss. Don’t get complacent - if you get hit it’ll hurt, but the Akashic Dragon uses deliberate, powerful attacks and just isn’t as relentlessly aggressive as the Imperial Cannoneer. You can safely attach yourself to the side of the Akashic Dragon and usually expect to complete whatever combo or use whatever Eikonic Ability you want between attacks, making this more of a slugfest than a fight relying on speed and mobility.
The Akashic Dragon is capable of spitting fireballs (very similar to the Imperial Cannoneer here - the rule of three governs again, unless it’s in the air, then it might show some restraint) and performing swooping charges, but when you’re near it the Akashic Dragon will usually attack with a sweeping bite, a rearing stomp with its arms, a breathe and smash combo where it marks the ground in front of it with a laser before smashing down on top of it, causing an explosion (the area affected will be indicated by glowing fissures) and a spinning wing sweep. Of these, only the wing sweep is terribly dangerous if you stick to the Akashic Dragon’s side. Even then, the trick is to simply not dodge early; most if its attacks have a bit of a wind-up, tempting you to dodge early, but if you wait for the attack to actually start you shouldn’t get hit much if at all during the boss’s normal combat routine.
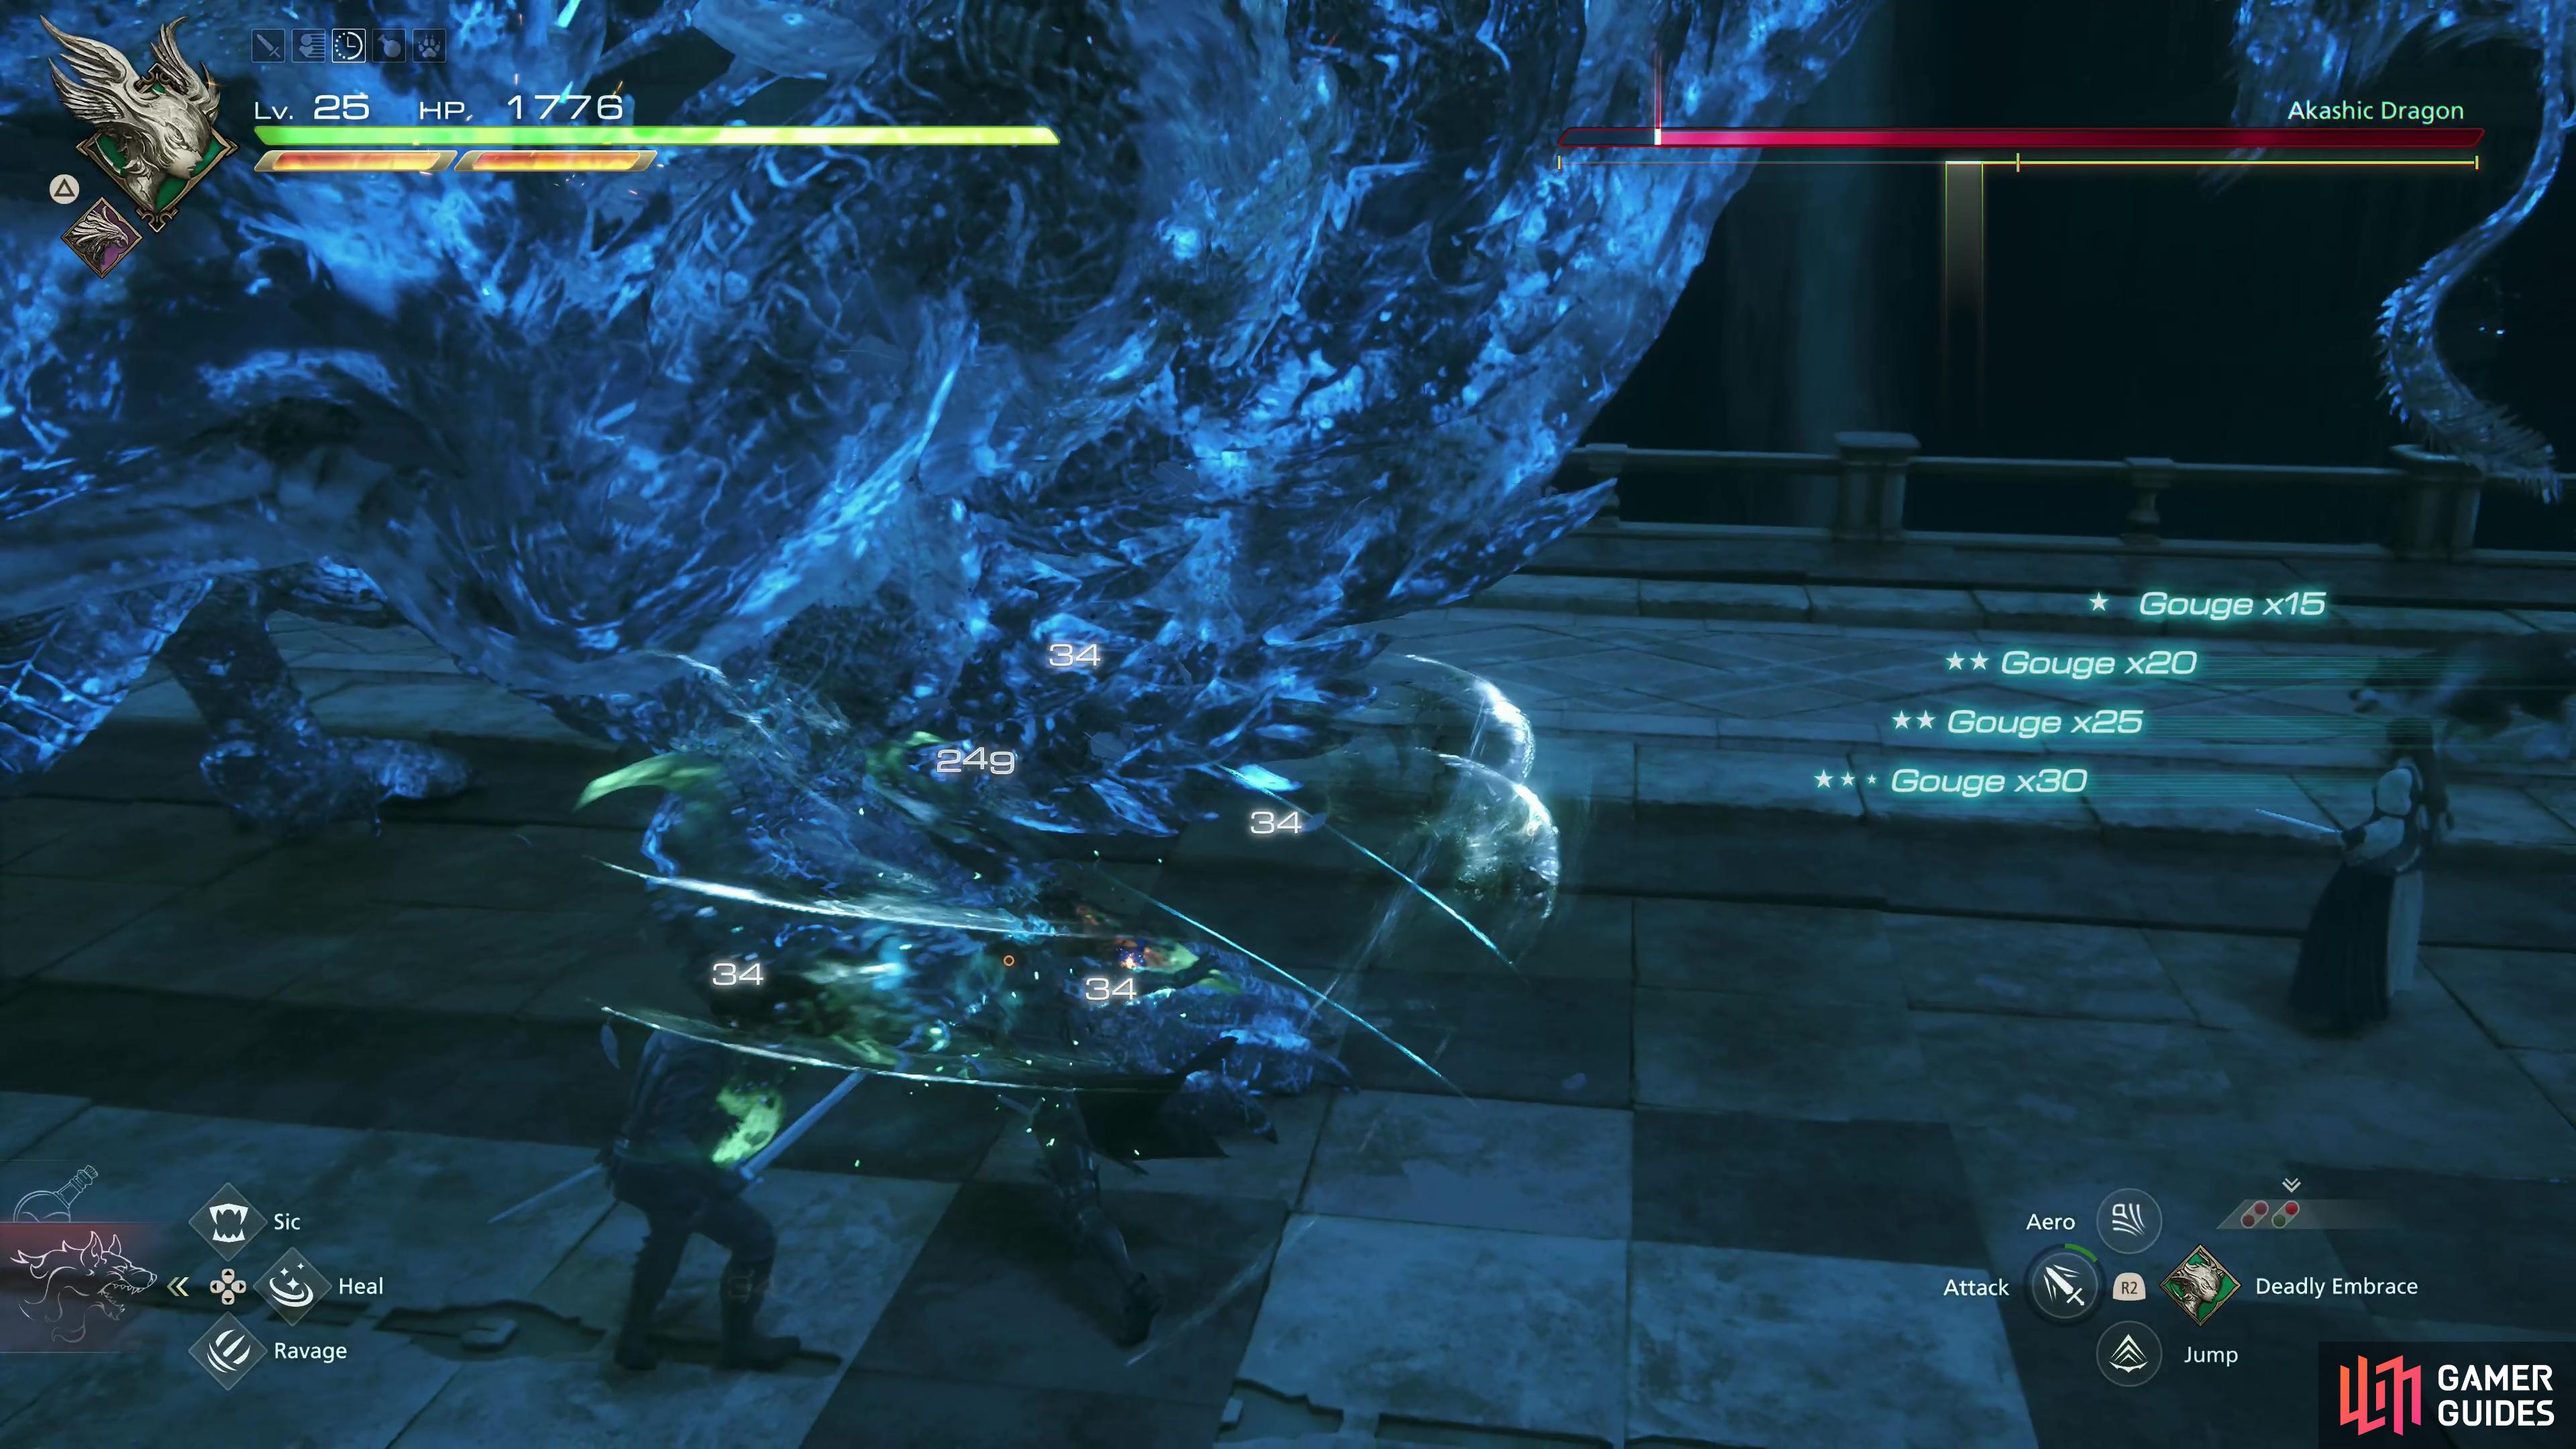
Punish the Akashic Dragon’s flank and when it’s at half its Will Gauge, use ![]() Garuda’s
Garuda’s ![]() Deadly Embrace to pull it down, giving you a fairly long stagger window. You can usually make full use of Gouge during this fight, as well, which will deal massive damage to the Akashic Dragon’s Will Gauge. All in all, it’s pretty easy to dodge its attacks and stagger it, although it doesn’t remain staggered for terribly long and has a great deal of Hit Points.
Deadly Embrace to pull it down, giving you a fairly long stagger window. You can usually make full use of Gouge during this fight, as well, which will deal massive damage to the Akashic Dragon’s Will Gauge. All in all, it’s pretty easy to dodge its attacks and stagger it, although it doesn’t remain staggered for terribly long and has a great deal of Hit Points.
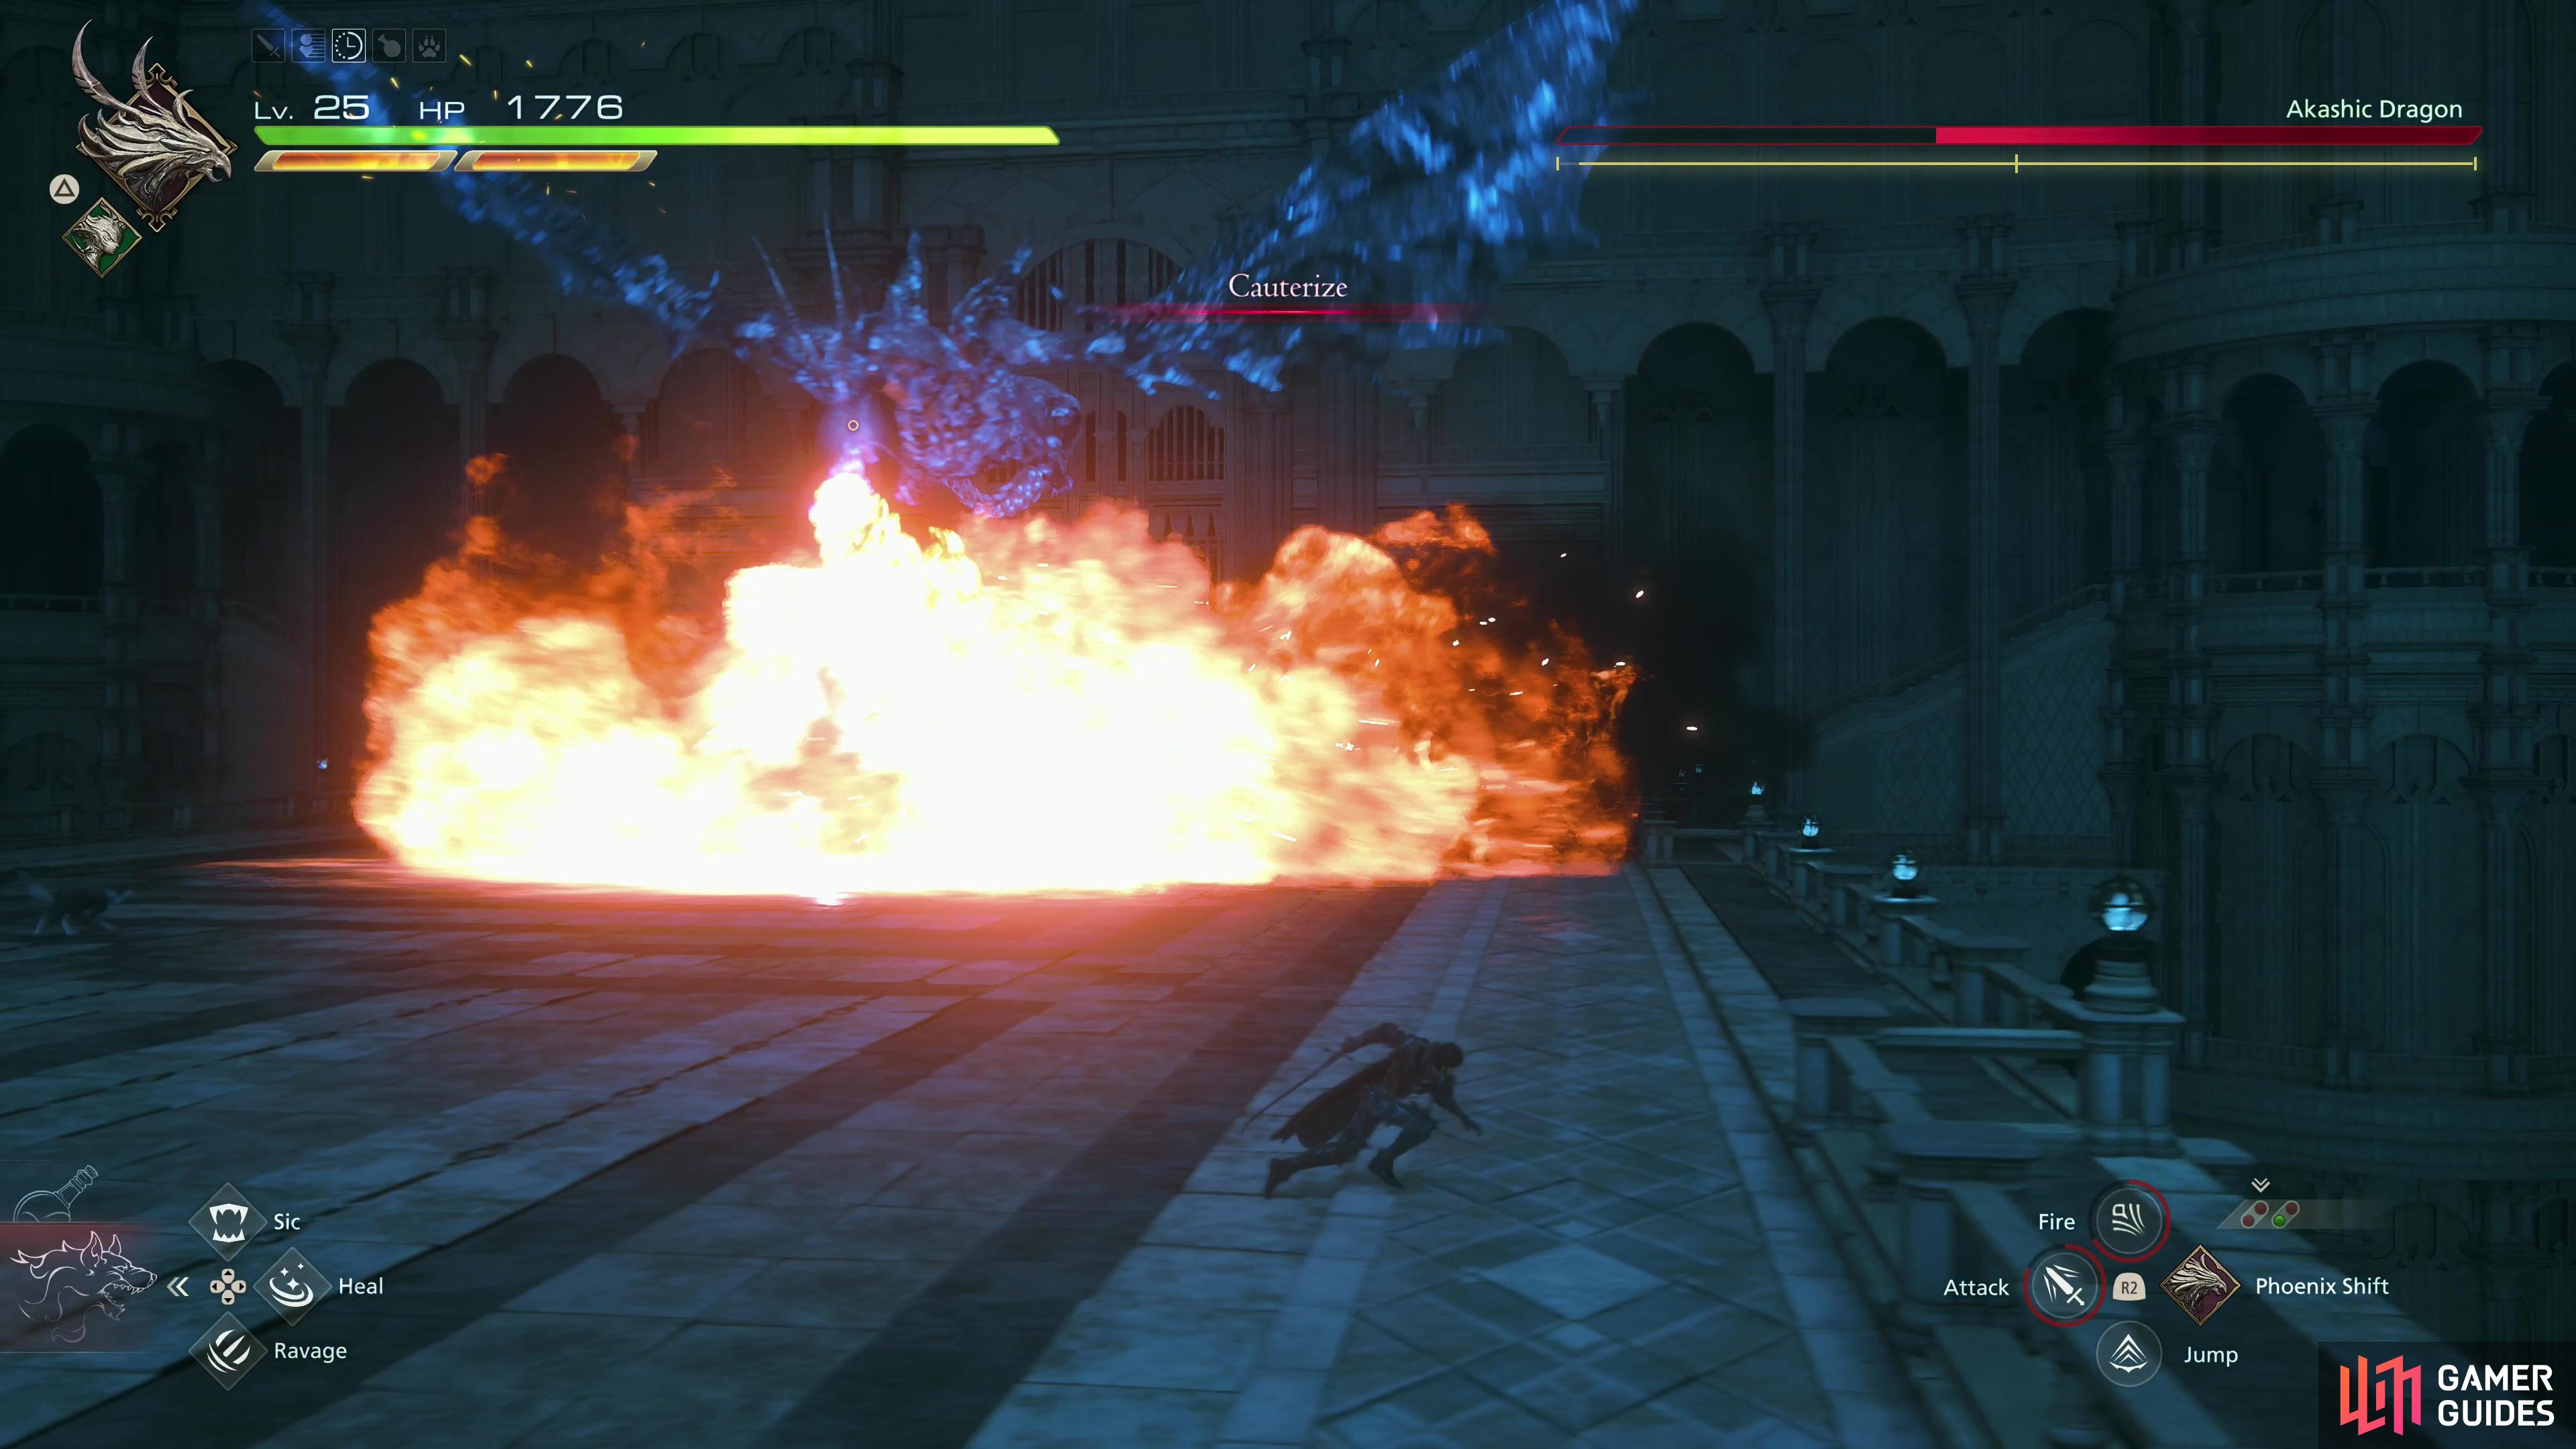
When injured, the Akashic Dragon tends to take to the sky, where it may perform a zig-zagging “Cauterize” run.
The only times you really need to be wary are when the Akashic Dragon takes flight, which it will usually do upon reaching certain Hit Point thresholds or after recovering from stagger (the two kind of go hand-in-hand). At this point it’ll likely perform a “Cauterize” run, breathing fire in a wide zig-zag formation. Try to anticipate its movements and avoid the flames - sticking to one side of the bridge should give you a wider window.
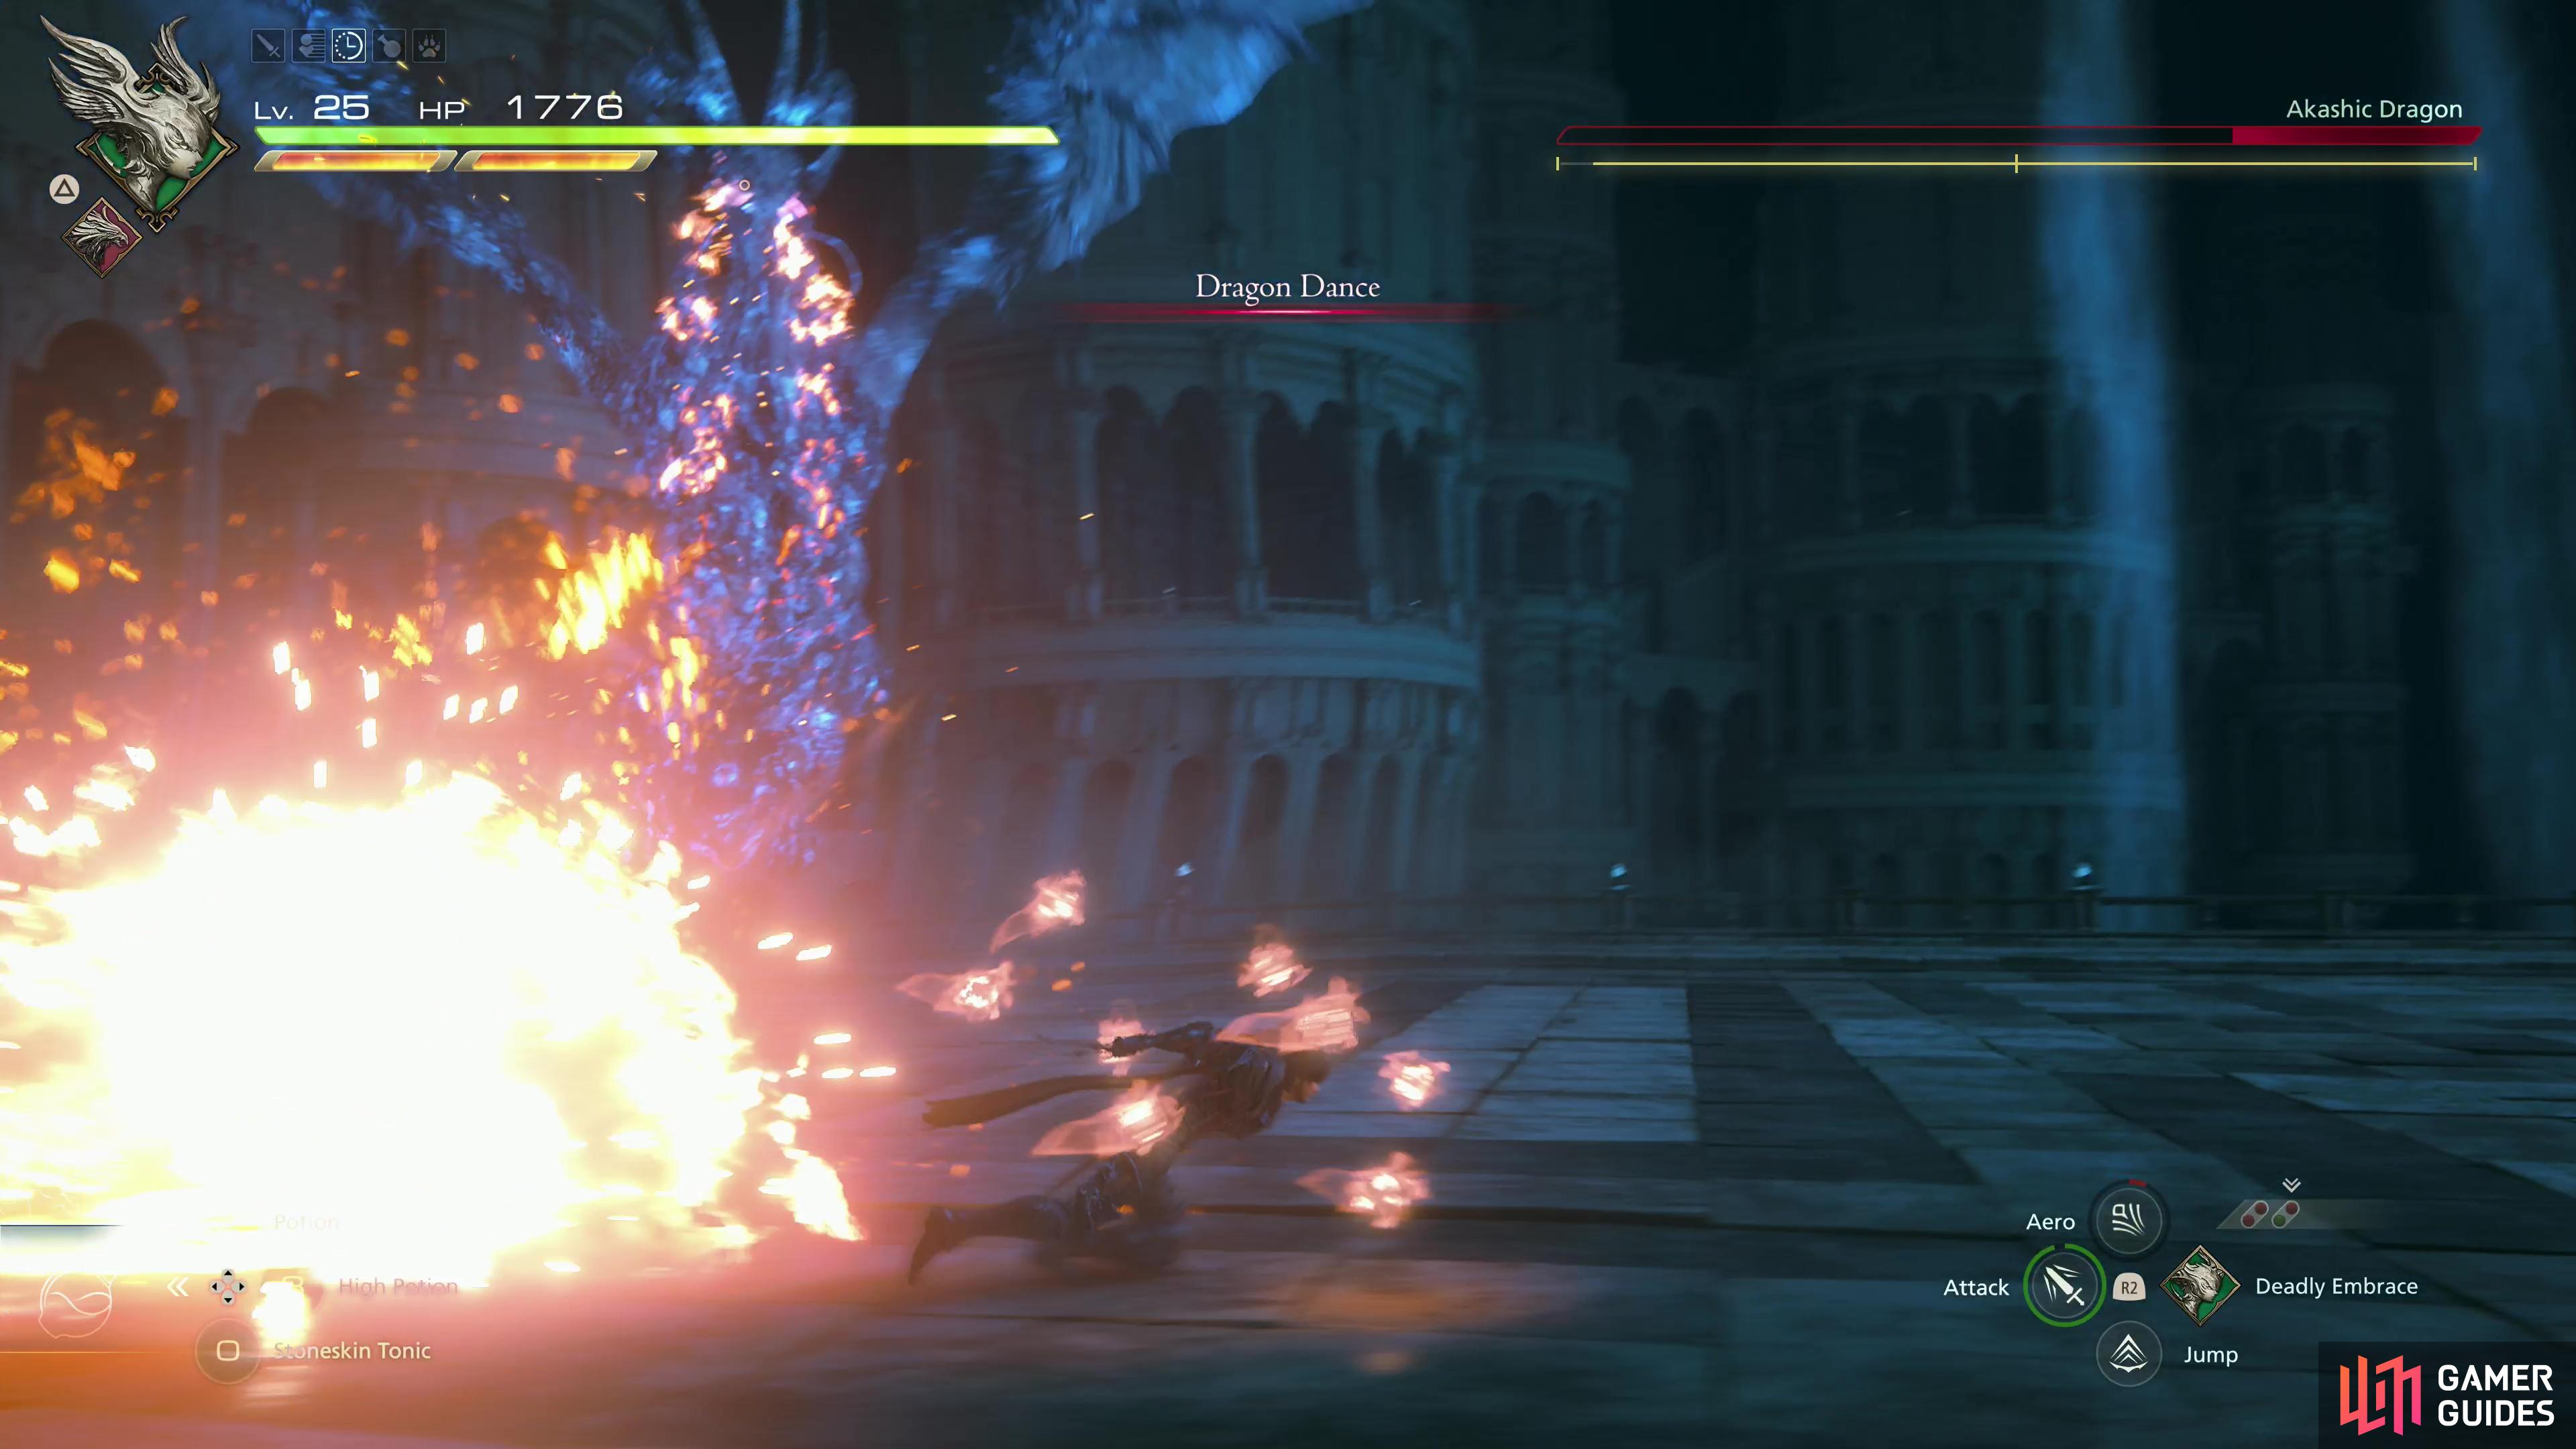
Once its health is low, the Akashic Dragon may perform its “Dragon Dance” attack, staring with a volley of fireballs,
before unleashing a pair of bisecting lasers than explode after a moment.
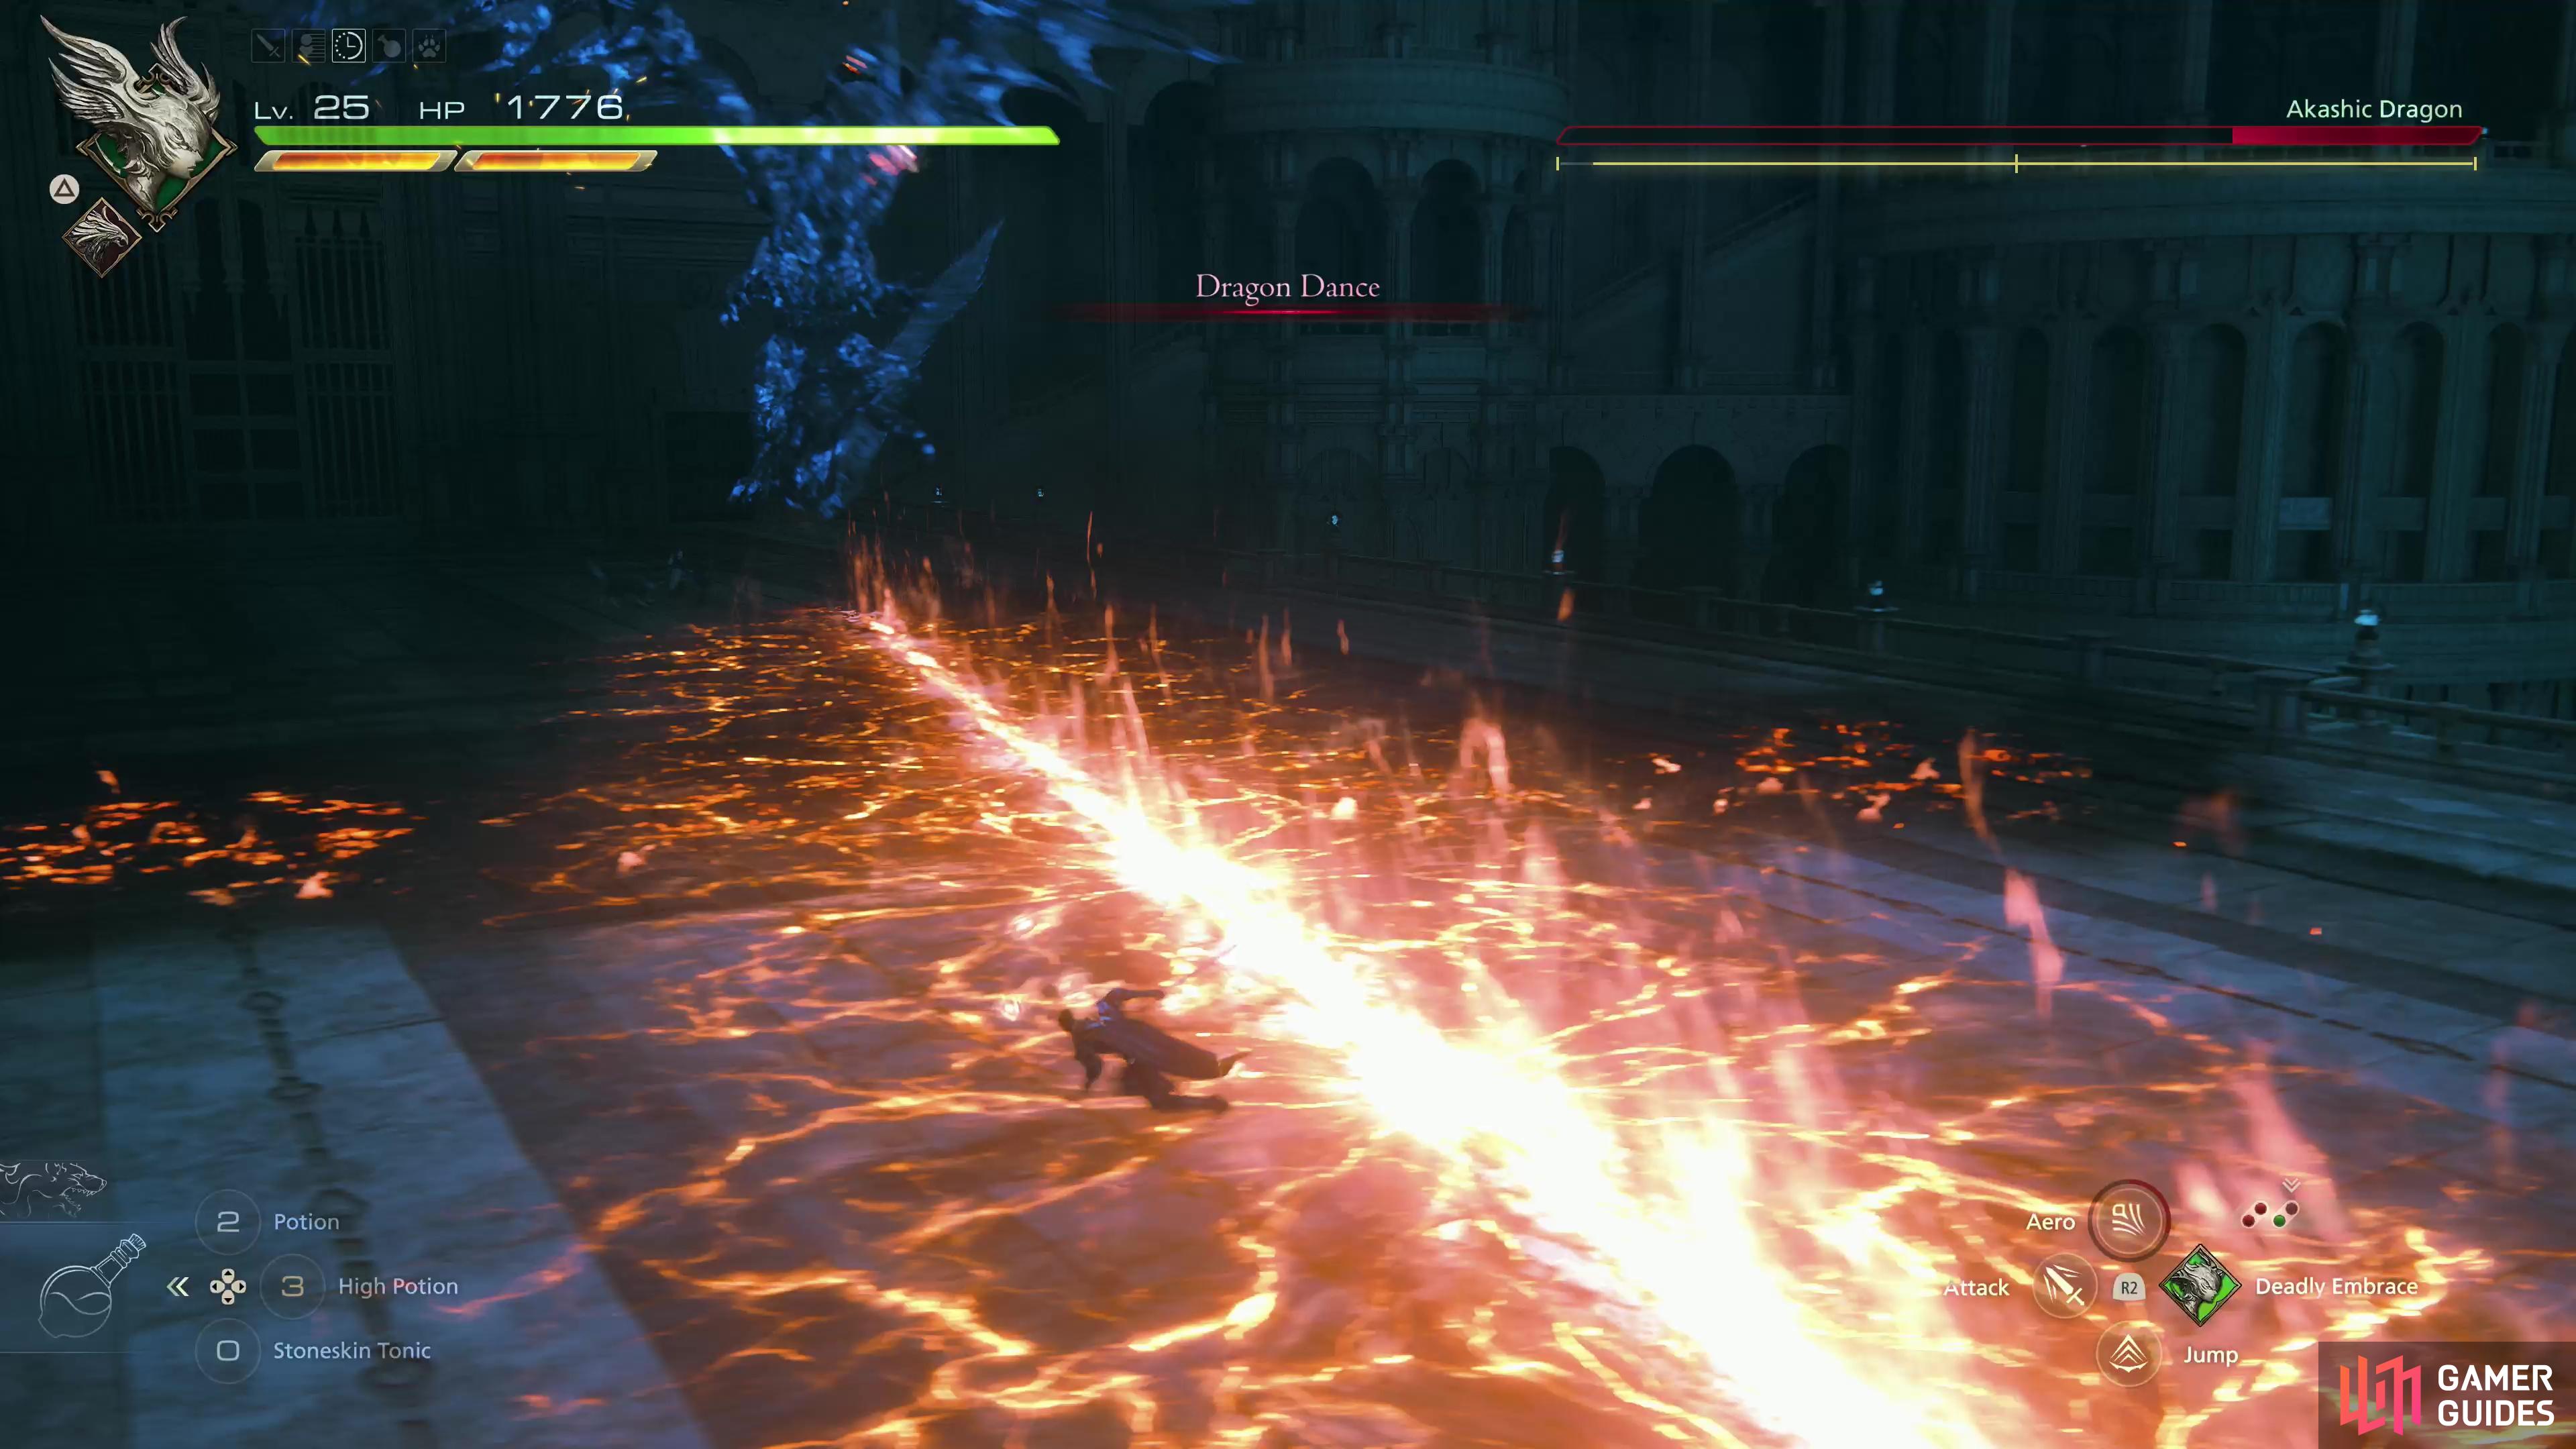
When low on health the Akashic Dragon will perform its ultimate attack, “Dragon Dance”, which starts with the Akashic Dragon shooting a volley of fireballs at you in rapid succession, followed by two intersecting breath lasers. These lasers explode after a moment, again, with fissures marking the area they affect. The size of these explosions makes them dangerous in spite of the warning you get, and you’ll just need to spam dodge here to stay out of trouble. This attack ends with a spinning, diving charge while the dragon continues to breathe fire. Spamming dodge is less important here than timing. Fortunately the Akashic Dragon will be winded after this bout of offense, giving you time to heal or punish, depending on what shape you’re in.
Be very wary of the Akoshic Dragon when its health is below 25%, as it becomes extremely aggressive at this phase, frequently taking flight, using ranged attacks and its breath lasers and generally waiting less between attacks.
Defeat the Akoshic Dragon to score 10x ![]() Bloody Hides, 2x
Bloody Hides, 2x ![]() Meteorites and some
Meteorites and some ![]() Black Blood.
Black Blood.
| Enemies in this Area |
|---|
| Revenant |
| Specter |
| Wraith |
| Items in This Area |
|---|
| Bloody Hide |
| Magicked Ash |
| Potion |
| Steelsilk |
After thrashing the Akashic Dragon, continue to the end of the bridge and open the gate to the Mothercrystal. Just a linear path between you and your destination, and on the way you’ll find two Potions. Grab them and continue up a flight of stairs, but before ascending the next flight of stairs turn left and search a chest to obtain 10x Bloody Hides, while to the right of the stairs you’ll find yet another Potion. Ascend the remaining stairs and you’ll find yourself in another cutscene. After these end you’ll find yourself engaged with a host of otherworldly foes, an encounter that ultimately leads to the game’s first proper Eikon battle. Complete this final boss battle and the main questline will continue with Cid the Outlaw
No Comments