
Near the end of Final Fantasy 16, you’ll unlock a bunch of new Hunts to find and defeat, with Bygul being one of them. This A-Rank Notorious Mark is a large Coeurl who does typical Coeurl-like stuff if you’re familiar with the staple Final Fantasy enemy. Bygul can be found at Kritten Hollow in the Kingdom of Waloed. This is the final region you’ll explore in FF16. Read below to find out Bygul’s precise location, and how to defeat it.

Bygul can be accessed during the Brotherhood main scenario quest.
Where to Find Bygul
| Location | Level | Bounty |
|---|---|---|
| Kritten Hollow, Waloed | 40 | 16,000 Gil, 35 Renown |
This Hunt won’t be available until you reach the Brotherhood main scenario quest (4th from last). Once it’s “unlocked”, teleport to the ![]() Ravenwit Walls obelisk in Waloed, and head across the field northeast. You should see Bygul in the distance, but if you have trouble finding it, it can be found to the left of the “Kritten Hollow” text on the map. Approach Bygul to initiate the battle.
Ravenwit Walls obelisk in Waloed, and head across the field northeast. You should see Bygul in the distance, but if you have trouble finding it, it can be found to the left of the “Kritten Hollow” text on the map. Approach Bygul to initiate the battle.

From the Ravenwit Walls obelisk in Waloed, jump on your Chocobo and head northeast.
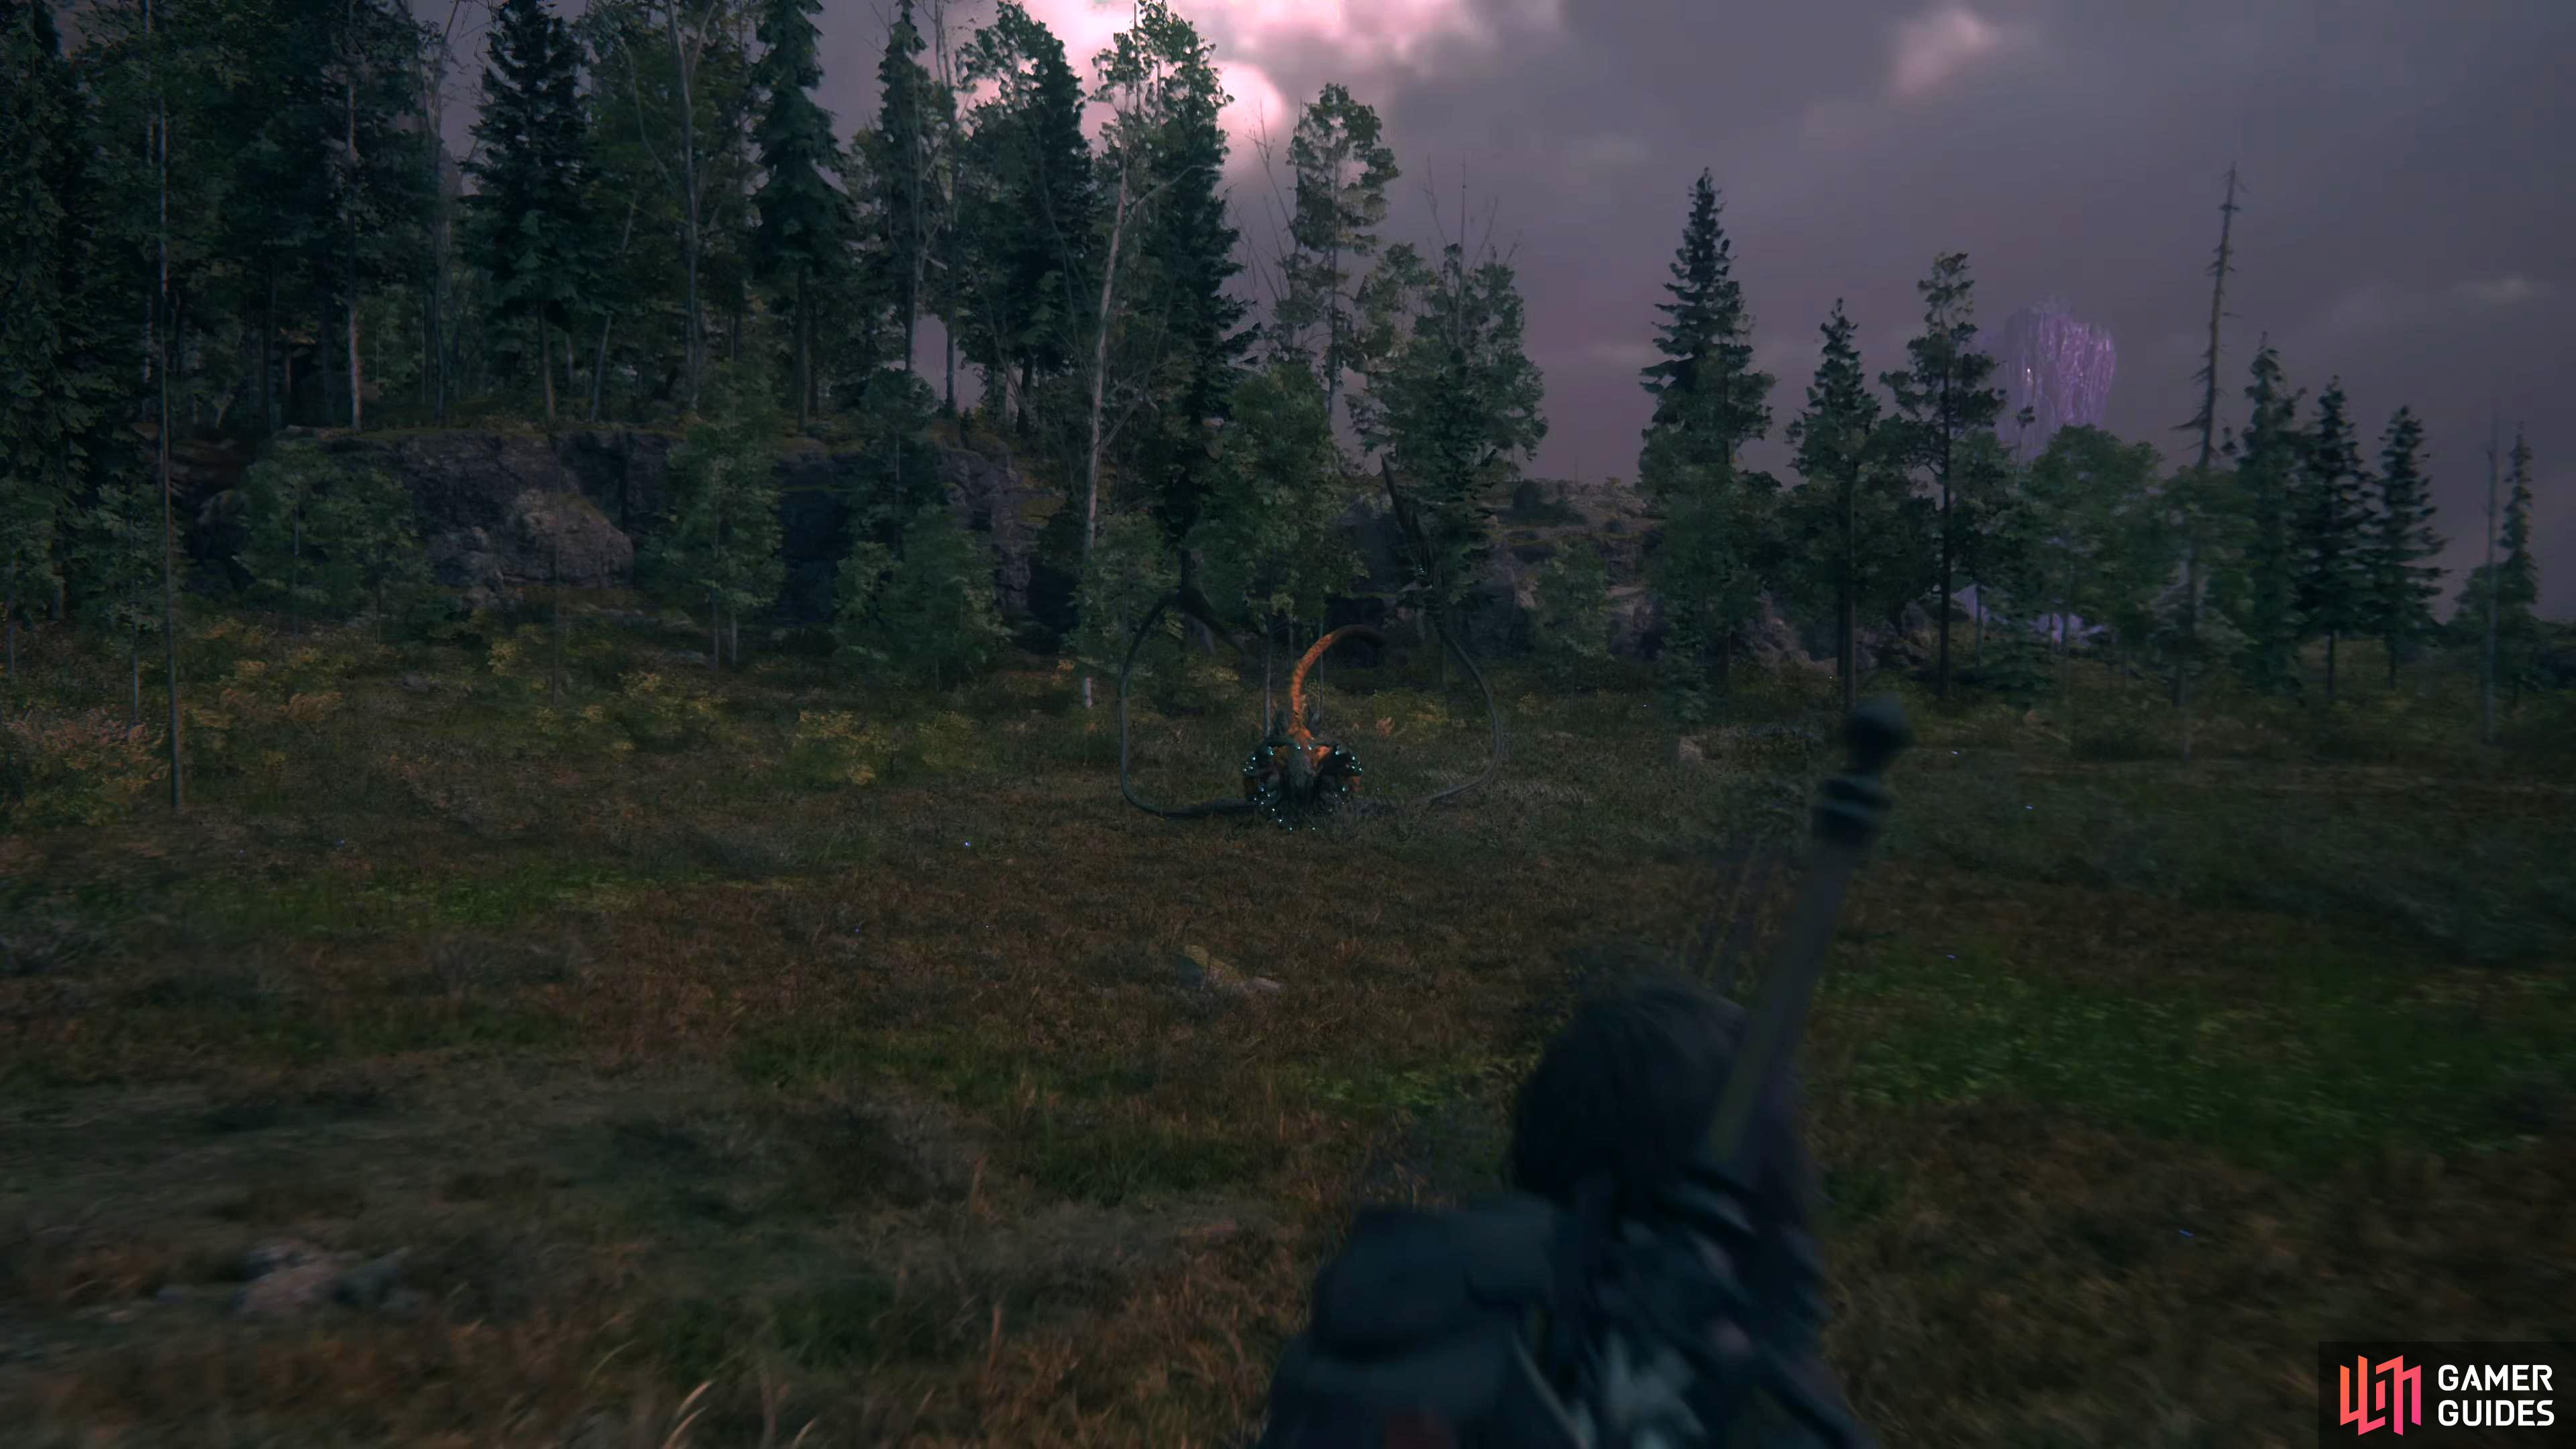
Where you’ll see Bygul roaming the plains.
Bygul’s Abilities and Attacks
Below you’ll find all the attacks that Bygul has in its arsenal:
| Attack | Description | Counter |
|---|---|---|
| Electric Orbs | Bygul will retreat to get some distance before unleashing a singular electric orb following it up with two more orbs. | You can easily avoid these by moving to either side, but you’ll want to use the orbs to close the distance by dodging through them. |
| Static Torrent | Bygul will charge up electricity before placing numerous blue/purple markers around the arena. These will chain together to create a line between them. After a short while, these will explode, one at a time. | This attack is used to restrict the space you have to maneuver in the arena more than an actual damaging attack, but it can still damage you. Make sure you’re not standing on the markers when they explode and stay in between the electrical lines. |
| Electric Charge | Bygul will conjure electricity around its antennae before charging at you. | This is a simple charge attack which you should be used to by now. Wait until it gets close, then dodge through them. |
| Electric Spin | Bygul will charge electricity before performing a spin attack. | This has a short range, so just back away from them to avoid the attack. |
| Electric Claw | Bygul’s paw will gather electricity around it before swiping at you. | This attack will only be used in melee range. Either back away, or get behind them to avoid the attack. If you want to dodge it, wait until the paw is traveling toward you. |
| Whipcrack | The tips of Bygul’s antennae will spark with electricity before it flings them around in an arc in front of itself. | As this attack only covers in front of Bygul, you can swing around to their side/back to get some free attacks on them. If you are further back, dodge the antennae just as they are about to reach you. |
| Wild Charge | Bygul’s signature attack. It will turn gold before it will continuously pounce at you. During this, lightning bolts will spark around the arena before finally unleashing numerous electric orbs at you. | You can either keep your distance, but the pounces will close the gap, so you’ll need to keep moving while dodging every time the pounce is about to land. You may want to use Will-o’-the-Wykes for this attack. |
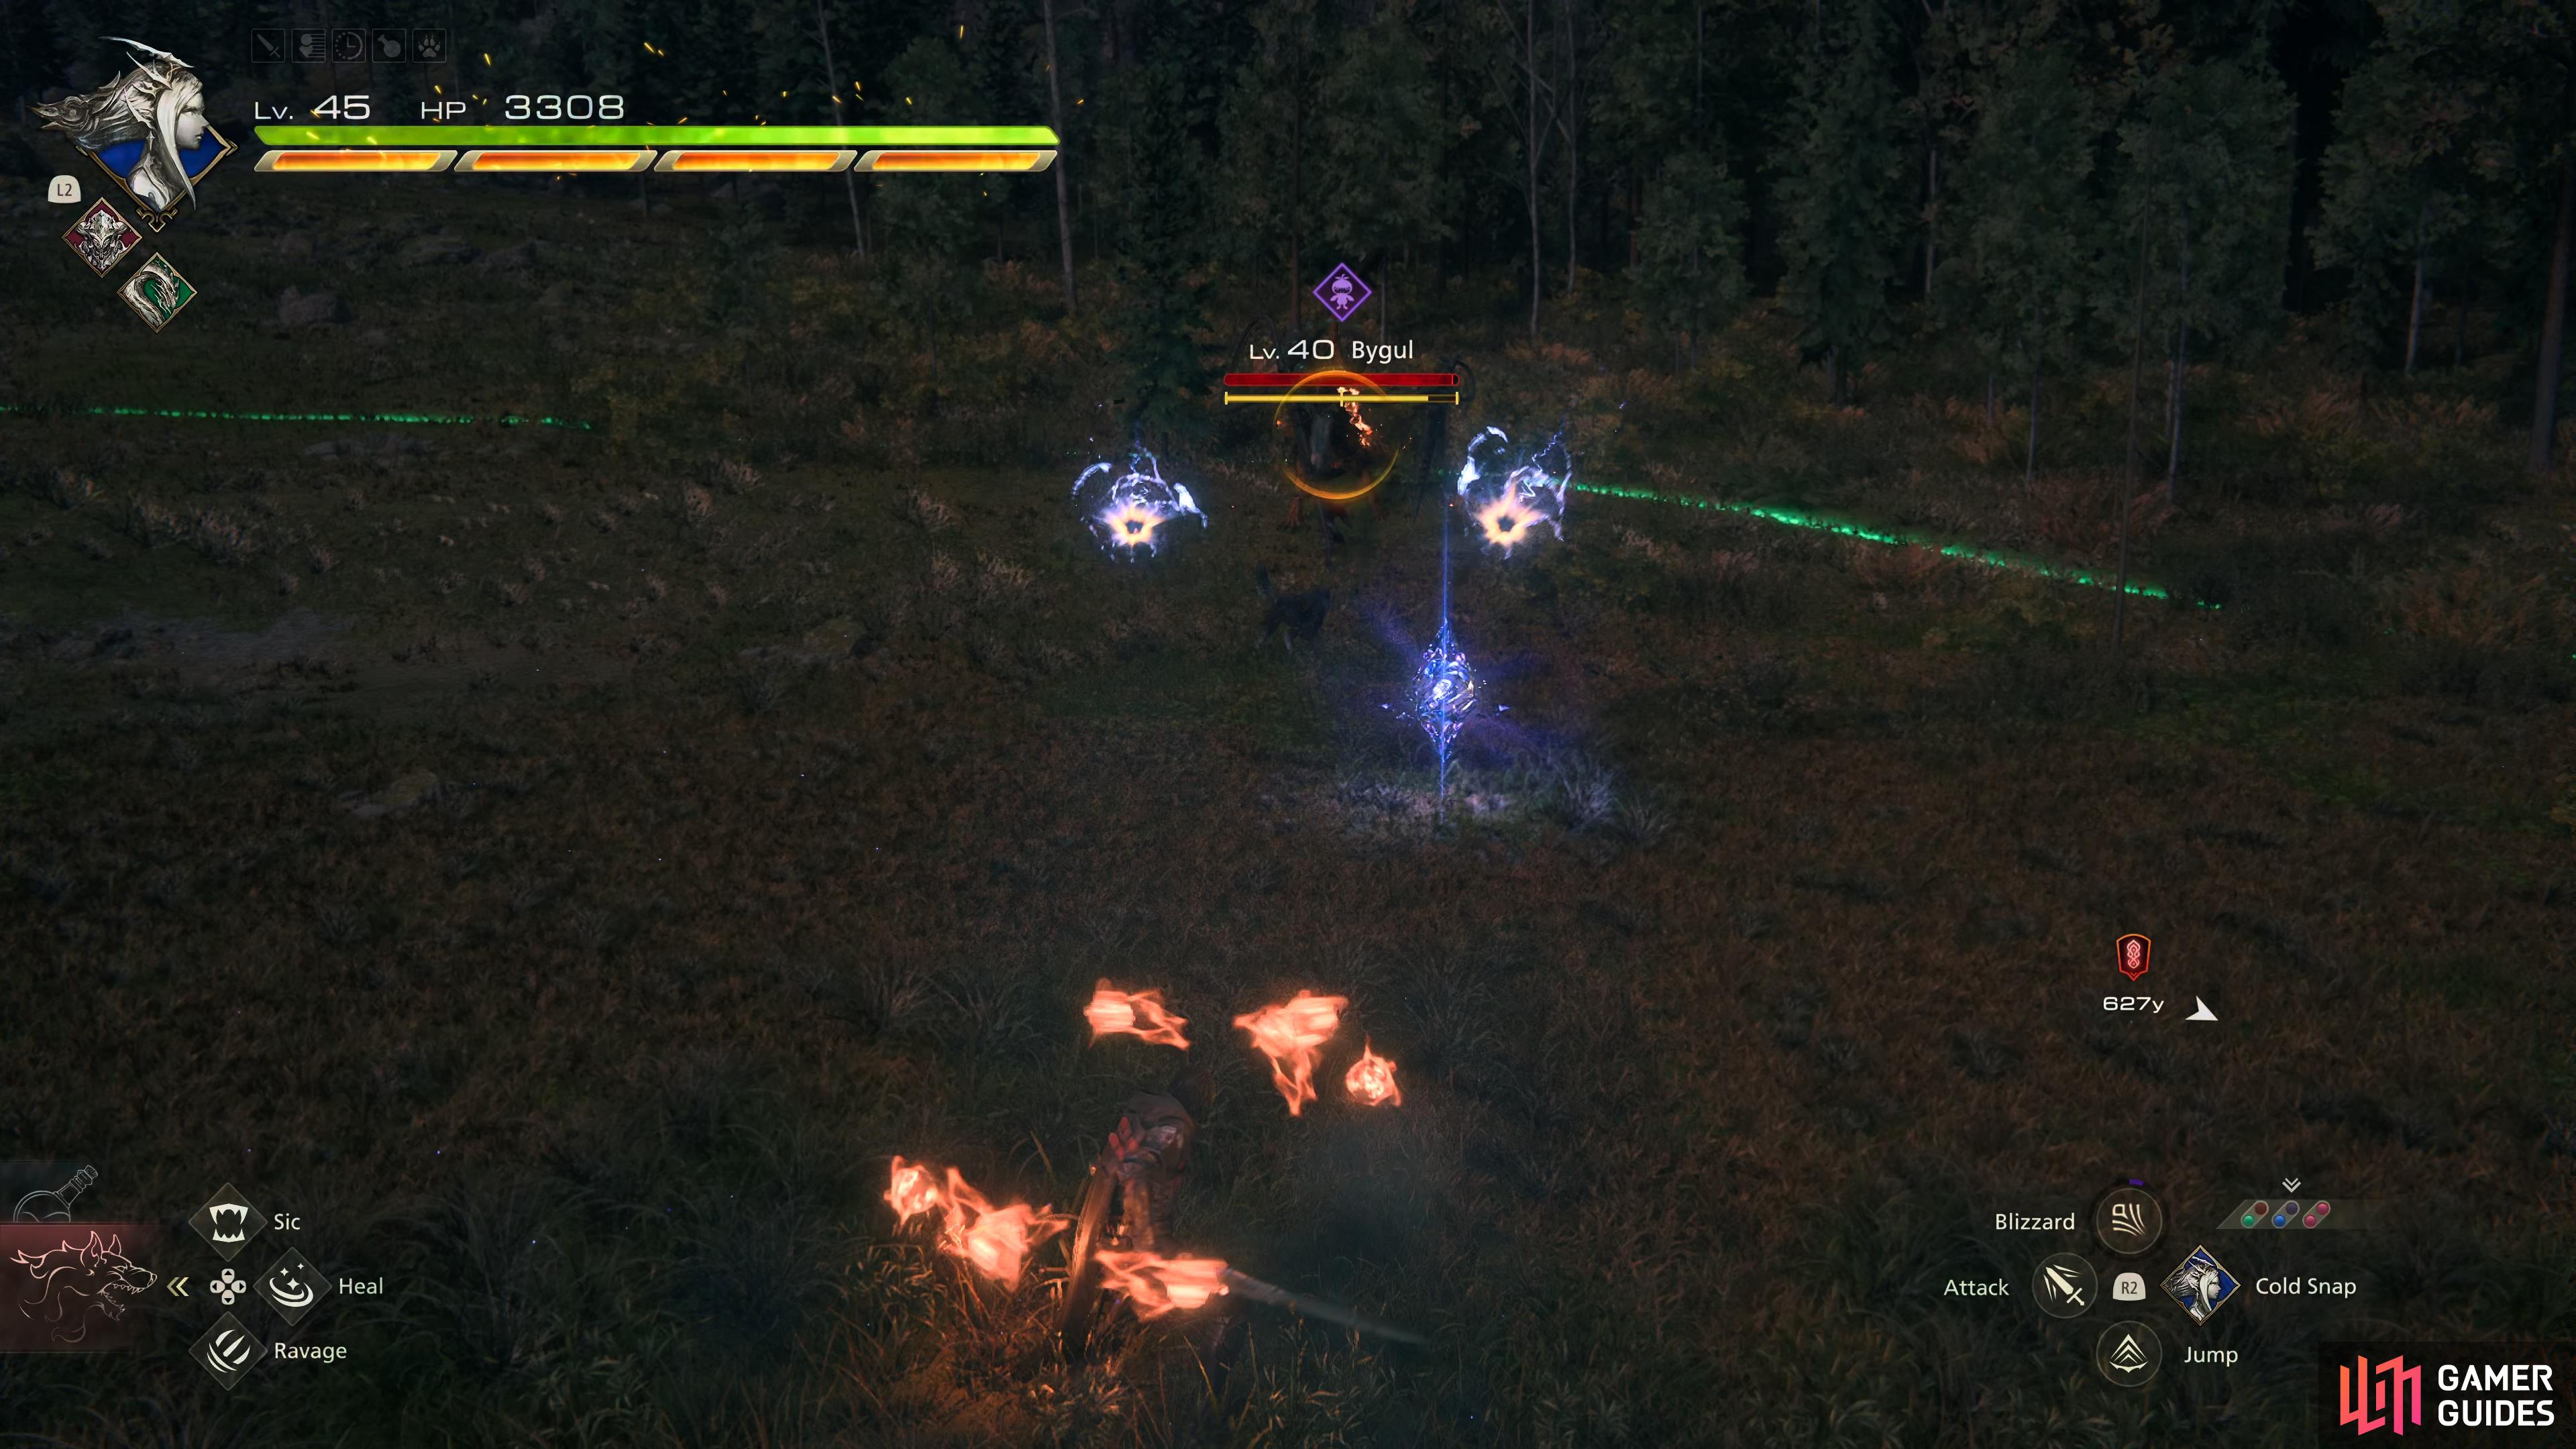
(1 of 6) Bygul will unleash one Electric Orb followed immediately by another two Electric Orbs.
Recommended Abilities for Bygul
Here we will list our recommended ability set up to do this fight effectively:
| Eikon | Ability | Damage Type |
|---|---|---|
| Damage (5 Stars) | ||
| Will (2 Stars) - Master this and place it as the second Bahamut ability. | ||
| Will (5 Stars) | ||
| Damage (2 Stars), Will (3 Stars) - Master this and place it as the second Shiva ability. | ||
| Damage (1 Star) Will (2 Stars) | ||
| No damage – Use to recover immediately from any ability or action. |
The reason behind the chosen abilities is as follows. Odin’s Zantetsuken when used at level 5 is powerful, to say the least, and can be used quite frequently especially when combined with Dancing Steel which can give you 3–4 levels of Zantetsuken in one attack. Rift Slip allows you to cancel an action immediately should you need to while also allowing you to slow down time briefly when followed up after a combo to give you more time to get Dancing Steel off as it takes a while to execute.
Shiva’s Cold Snap can Permafrost enemies whenever you perform a successful Precision Dodge which makes her invaluable to have while also having access to Diamond Dust which is the strongest Will-Damage attack in the game. Then we take Lightning Rod from Ramuh to place in front of Bygul when it is staggered to amplify any multiple-hit attacks we do.
Finally, we take Bahamut for Gigaflare which is one of the most powerful attacks in the game. This is fantastic to use at any time, but especially at the end of a stagger phase when combined with Lightning Rod. You could switch out Bahamut with Titan for added defense with Titanic Block, but Bahamut’s Wings of Light can be really strong, especially when you get to level 5 Megaflare just before the stagger phase.
Recommended Items and Equipment for Bygul
Gear
For your Weapon, Belt, and Vambraces, you should have the following:
| Weapon | Belt | Vambraces |
|---|---|---|
If you don’t have what’s listed above, use the highest Attack for the Weapon, and the highest Defense and Health for the Belt and Vambraces. If you do the hunt during the last scenario mission, equip The Founder’s Grasp instead which is from the side quest “Where There’s a Will”.
Accessories
For your Accessories, this is more subjective, so here is what we used:
| Accessory 1 | Accessory 2 | Accessory 3 |
|---|---|---|
| Adamantite Gauntlets (HP+500) |
Items
Finally, we have items. This is more of a preference thing, but we chose the following items:
| Shortcut 1 | Shortcut 2 | Shortcut 3 |
|---|---|---|
Although Bygul can be difficult for an A-Rank, it shouldn’t cause you too many problems at this point of the game. That is why we suggest bringing ![]() Strength Tonics as they will increase your damage by 30% which will end the battle quicker.
Strength Tonics as they will increase your damage by 30% which will end the battle quicker.
Bygul Hunt Strategy
The first thing you’ll notice about Bygul is its quickness and elusiveness, so you’ll need to be ready to dodge at a moment’s notice. Most of the damage you suffer will come from Static Torrent, Electric Orbs, and especially Wild Charge. The rest of its attacks are either telegraphed, slow to build up, or both. For Static Torrent, make sure you position yourself in the largest area between the markers, so it gives you ample space to avoid their follow-up attacks. With Electric Orbs however, remember that the first attack will be one orb with the following two being on either side of each other.
Finally, with Wild Charge, dodge every time it pounces on you to avoid its other mechanics as the Berserker Ring will make your dodge animation longer thus making you miss them. On the final part of Wild Charge, it will use Electric Orbs, but this version is upgraded. Bygul will unleash approximately five orbs at the same time, so keep moving to one side to avoid them while also being ready to dodge if any get close.

During Wild Charge, Bygul will constantly pounce at you while at the same time Static Torrent will also be happening.
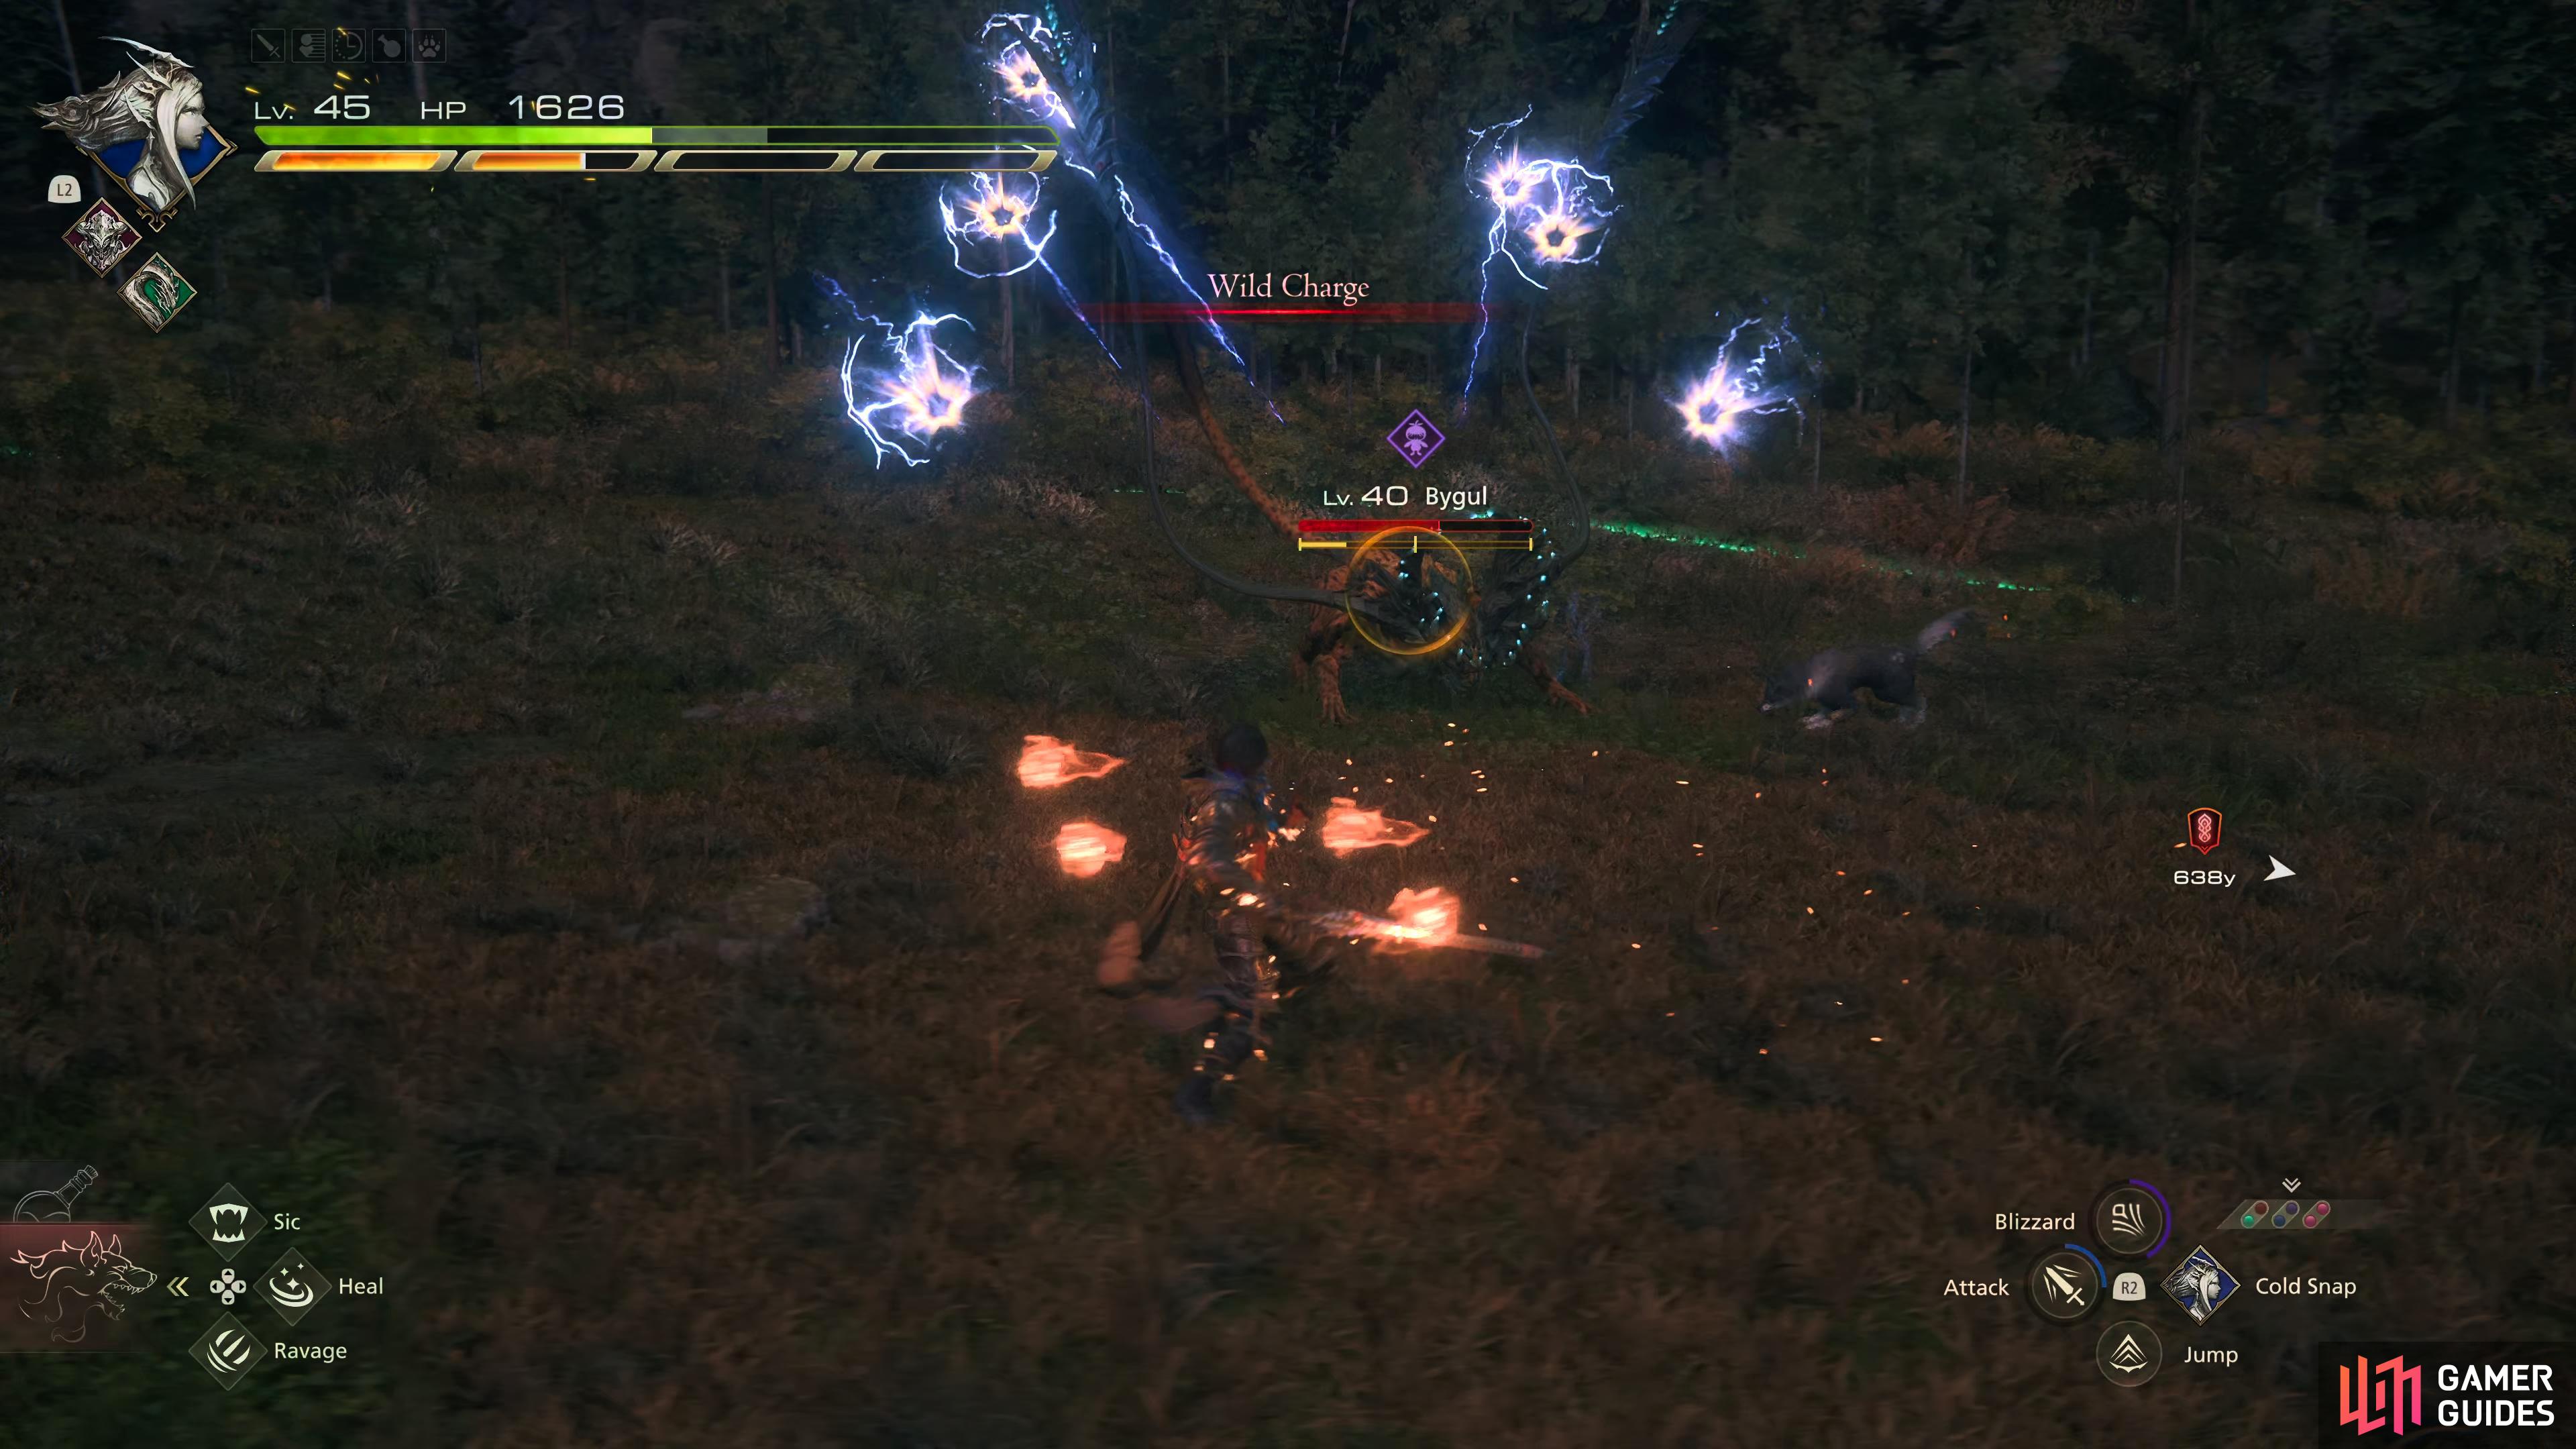
After several pounces, it will attack with a barrage of Thunder Orbs.
When trying to damage Bygul, it’s easier to switch to Odin and dodge the attacks instead of running away from them. This allows you to hit  after a successful dodge to perform a Flash of Steel counter which helps you close the gap instantly. Then you can drop a Lightning Rod on the floor, and use Shiva’s Diamond Dust when Bygul gets near to you, and the Lightning Rod. This will shred its Will-Gauge to half. While you wait for Diamond Dust to come off cooldown, use Odin’s Dancing Steel to raise the level of Zantetsuken to level 5; you’ll want this for the stagger phase. When Diamond Dust is available again, use it in tandem with Lightning Rod one more time to put Bygul in the stagger phase.
During the stagger phase, place a Lightning Rod if you haven’t already, pop Limit Break then use Gigaflare before finishing up with a level 5 Zantetsuken. If you have any time left of the stagger phase, use Dancing Steel, or a combo for a bit more damage. If you charge up a level 5 Megaflare via Bahamut’s Wings of Light, you can use it just before you put it into the stagger phase. This will dramatically increase the stagger damage.
A couple of the above stagger phase combos will be enough to take down the poor Coeurl. Once you’ve defeated Bygul, you’ll be rewarded with 8,000 XP, 100 AP, 16,000 Gil, and 35 Renown. On top of that, you’ll obtain a ![]() Coeurl Whisker and a
Coeurl Whisker and a ![]() Meteorite.
Meteorite.
More Final Fantasy 16 Hunts
For information on some of the other ![]() Notorious Marks you can take on in Final Fantasy XVI, check out these pages below:
Notorious Marks you can take on in Final Fantasy XVI, check out these pages below:
No Comments