
The Where There’s a Will side quest in Final Fantasy 16 can be acquired in ![]() The Hideaway once you reach the Back to Their Origin main quest. Here you’ll find a person named Joshua and he wants you to look into their fathers will. We’ll take you through the necessary steps to completion and to defeating the Simurgh.
The Hideaway once you reach the Back to Their Origin main quest. Here you’ll find a person named Joshua and he wants you to look into their fathers will. We’ll take you through the necessary steps to completion and to defeating the Simurgh.
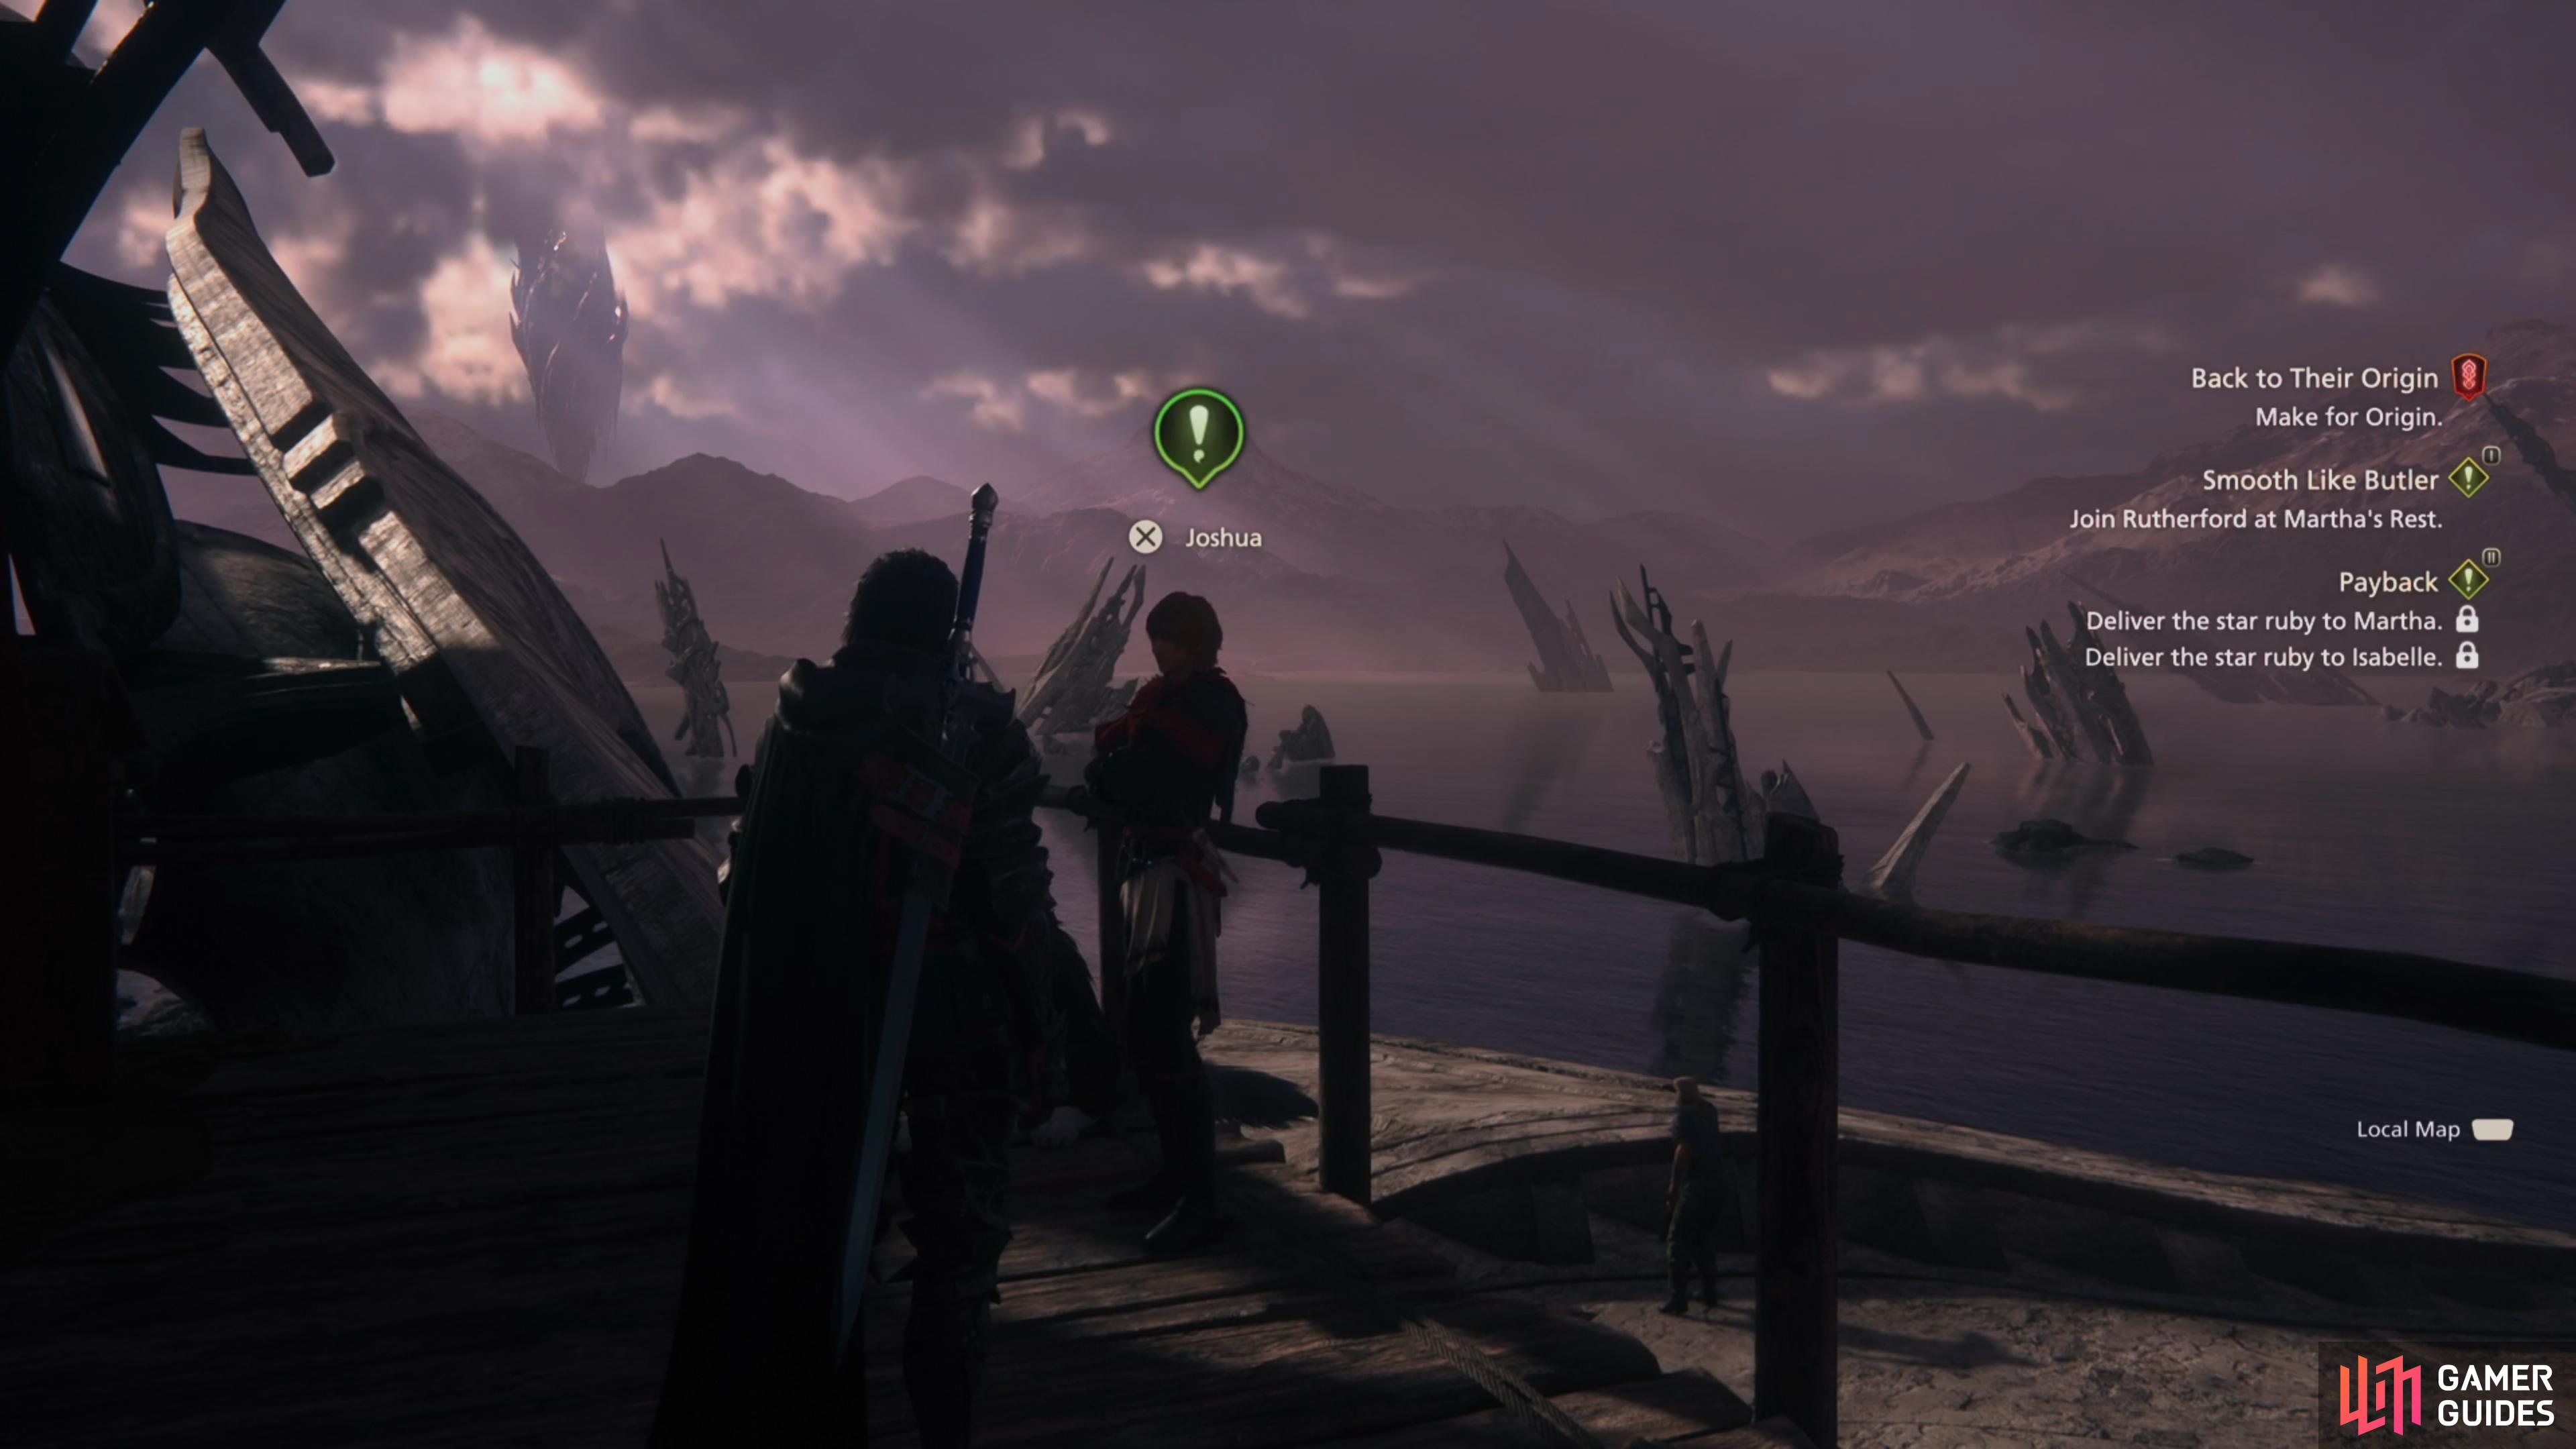
Speak with Joshua on the Main Deck to begin this quest
Joshua has received a message from ![]() Cyril, saying that something akin to their father’s last will and testament has been found. He suggests that he and Clive make for
Cyril, saying that something akin to their father’s last will and testament has been found. He suggests that he and Clive make for ![]() Tabor to learn more.
Tabor to learn more.
How to Start the Where There’s a Will Side Quest in Final Fantasy 16
First things first, you’ll need to have completed the main story mission Streets of Madness, and be on Back to Their Origin. When those requirements have been met, head over to ![]() Joshua Rosfield who can be found standing on the Main Deck. Speak with him and you’ll learn that Cyril has found their fathers will and they want you to meet with them in Tabor.
Joshua Rosfield who can be found standing on the Main Deck. Speak with him and you’ll learn that Cyril has found their fathers will and they want you to meet with them in Tabor.
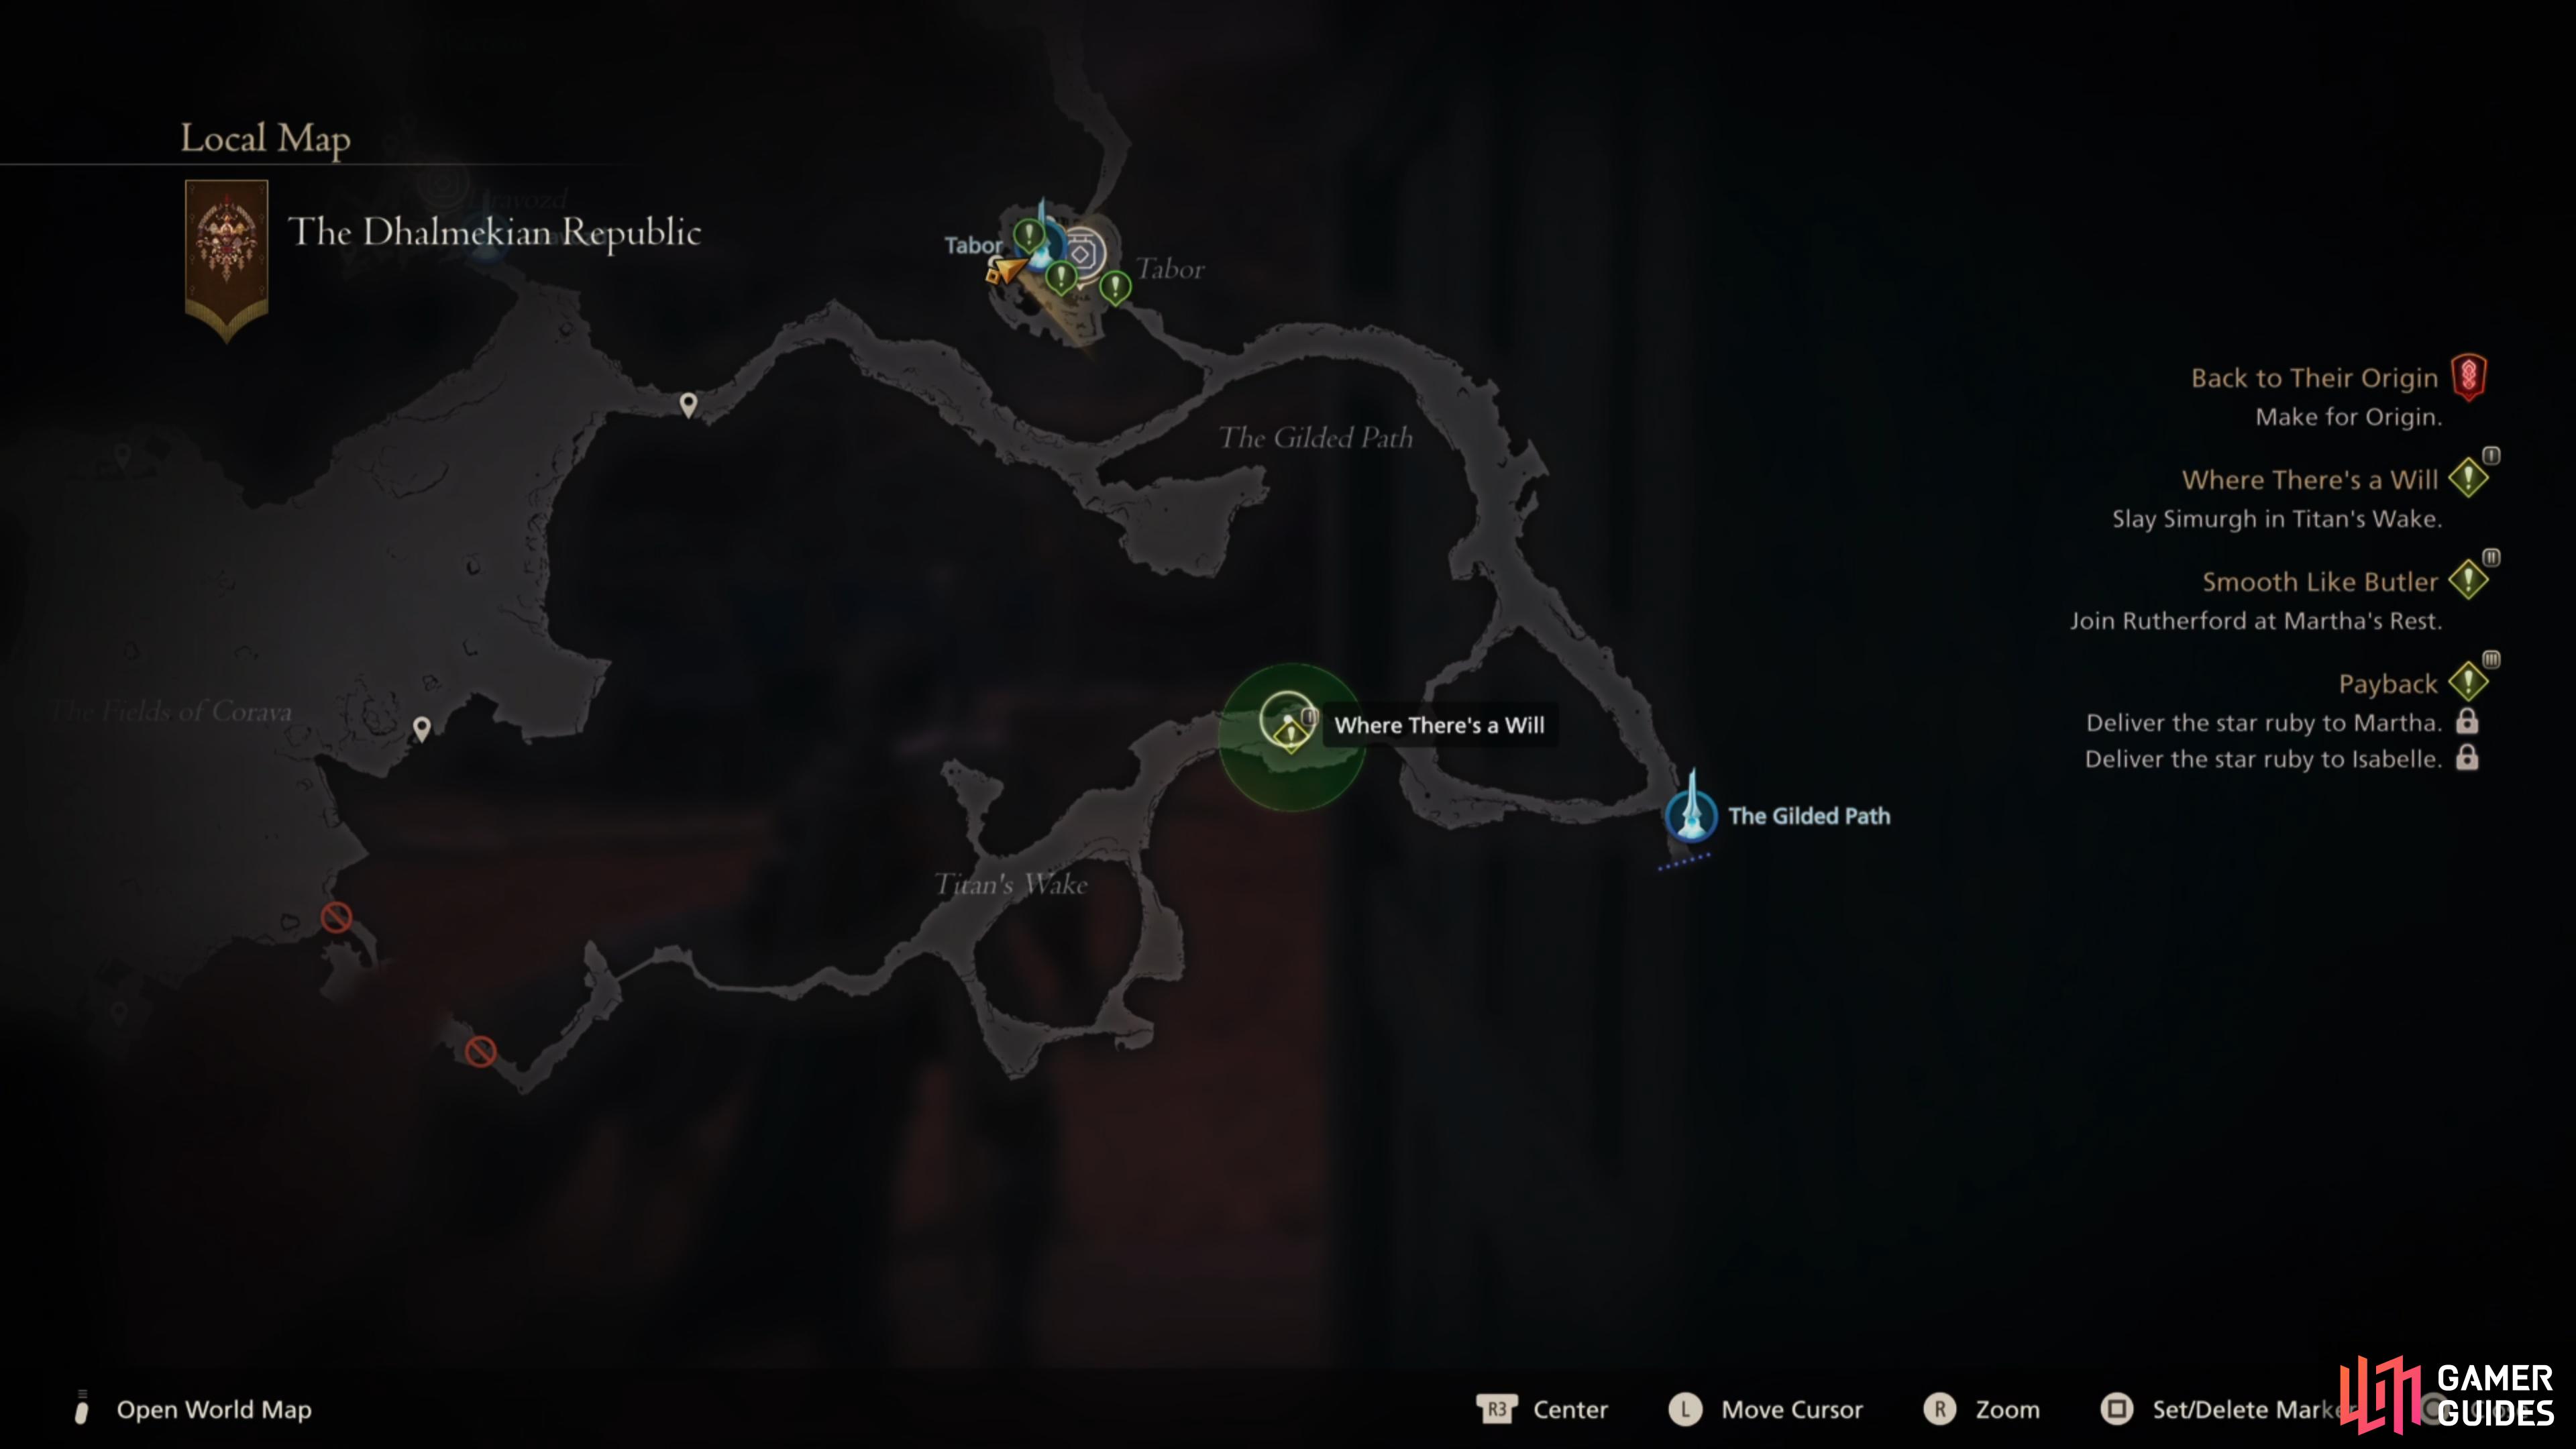
Once you’ve finished speaking with Joshua, use the Tabor ![]() Obelisk and visit Cyril who can be found in the nearby building and you’ll learn that your father wanted to have a complete emancipation of
Obelisk and visit Cyril who can be found in the nearby building and you’ll learn that your father wanted to have a complete emancipation of ![]() Bearers and create hospices to aid those stuck by the curse. After you’ve learned all you can from Cyril, exit the building and head up the stairs to The Requietory and talk to Goditha.
Bearers and create hospices to aid those stuck by the curse. After you’ve learned all you can from Cyril, exit the building and head up the stairs to The Requietory and talk to Goditha.
How to Defeat Simurgh
You’ll quickly learn that she was entrusted to give you and Joshua matching armbands when you were old enough, but due to their fathers passing the gift isn’t complete, as she couldn’t acquire the heartstones because it requires taking down an Elder Griffin. In order for the gift to be completed you’ll need to take one down yourself, so follow the path to the south of Tabor and eventually you’ll reach Titan’s Wake which is where the Griffin Simurgh lives.
This is an elite enemy, so you’ll want to work on staggering it as quickly as possible. However, at this stage of the game you have the strongest abilities available to you, so begin the battle by performing ![]() Dancing Steel to increase your Zantetsuken Gauge to level 5, then you’ll want follow it up with
Dancing Steel to increase your Zantetsuken Gauge to level 5, then you’ll want follow it up with ![]() Diamond Dust to deplete most of its stagger bar before using
Diamond Dust to deplete most of its stagger bar before using ![]() Magic Bursts to finish it off.
Magic Bursts to finish it off.
When you’ve successfully staggered it you’ll want to place down ![]() Lightning Rod in front of it and activate your
Lightning Rod in front of it and activate your ![]() Limit Break, then quickly use Zantetsuken along with
Limit Break, then quickly use Zantetsuken along with ![]() Gigaflare and you should kill it instantly. If not, then use up any of your remaining abilities to finish it off. However, there are some attacks you’ll want to be aware of whilst you’re doing the above, so below you will find a rundown of what they area and how to avoid them:
Gigaflare and you should kill it instantly. If not, then use up any of your remaining abilities to finish it off. However, there are some attacks you’ll want to be aware of whilst you’re doing the above, so below you will find a rundown of what they area and how to avoid them:
- Witch’s Ladder - Simurgh will shoot out a small orb which will explode into a tornado. Here you’ll want to keep your distance otherwise it’ll pull you into it and you’ll temporarily be stunned.
- Dive Bomb - Throughout the battle Simurgh will fly up into the sky and dive straight down into you, so you’ll want to keep on the move to avoid it.
- Charge - Similar to the Dive Bomb, Simurgh will fly up and charge straight towards you, so keep on the move and you should easily avoid it.
Where to Find the Archduke Elwin’s Memorial
Once you’ve taken Simurgh down, return to Tabor and speak with Goditha and you’ll be rewarded with ![]() The Founder’s Grasp, then exit the Requietory to trigger a scene with Cyril. He requests that you visit the Archduke Elwin’s memorial, so fast travel to the
The Founder’s Grasp, then exit the Requietory to trigger a scene with Cyril. He requests that you visit the Archduke Elwin’s memorial, so fast travel to the ![]() Hawk’s Cry Cliff Obelisk, then head northwest to find it. This will bring the quest to a close and you’ll be rewarded with the
Hawk’s Cry Cliff Obelisk, then head northwest to find it. This will bring the quest to a close and you’ll be rewarded with the ![]() Rusted Battlehelm Curiosity.
Rusted Battlehelm Curiosity.
Other Side Quests in The Hideaway
As you’re playing through the Main Quest you’ll find more Side Quests pop up in the Hideaway, so it’s a good idea to check back often. Below is a list of all the currently available Side Quests:
| Name | Location |
|---|---|
| On Balance | The Shelves |
| Not to Be Outdone | The Ale Hall |
| Blacksmith Blues III | The Mess |
| Blacksmith Blues IV | The Mess |
| Nobody’s Tool | Main Decks |
| More Than Words | Clive’s Chambers |
No Comments