
After you complete The Last King, you will be allowed to wander further into the Kingdom of Waloed. Unlike the other areas of the game, this open-world segment is devoid of a lot of side quests, and you won’t find many living creatures wandering around in fourty-fourth main story quest, Brotherhood. There are some chests you will want to get hold of while making your way to ![]() Drake’s Spine. The guide below goes over how to complete Brotherhood, and where to find all the chests around the Waloed countryside in Final Fantasy XVI.
Drake’s Spine. The guide below goes over how to complete Brotherhood, and where to find all the chests around the Waloed countryside in Final Fantasy XVI.
Enemies in The Ravenwit Walls
| Enemies in this Area |
|---|
| Akashic Chocobos |
| Akashic Coursers |
| Akashic Folkstafs |
| Akashic Mastiffs |
| Akashic Osfreyrs |
| Akashic Tognvaldrs |
| Lichs |
| Orcish Mesmerizers |
| Orcish Warlords |
| Puroboloss |
| Revenants |
Items in The Ravenwit Walls
| Items in This Area |
|---|
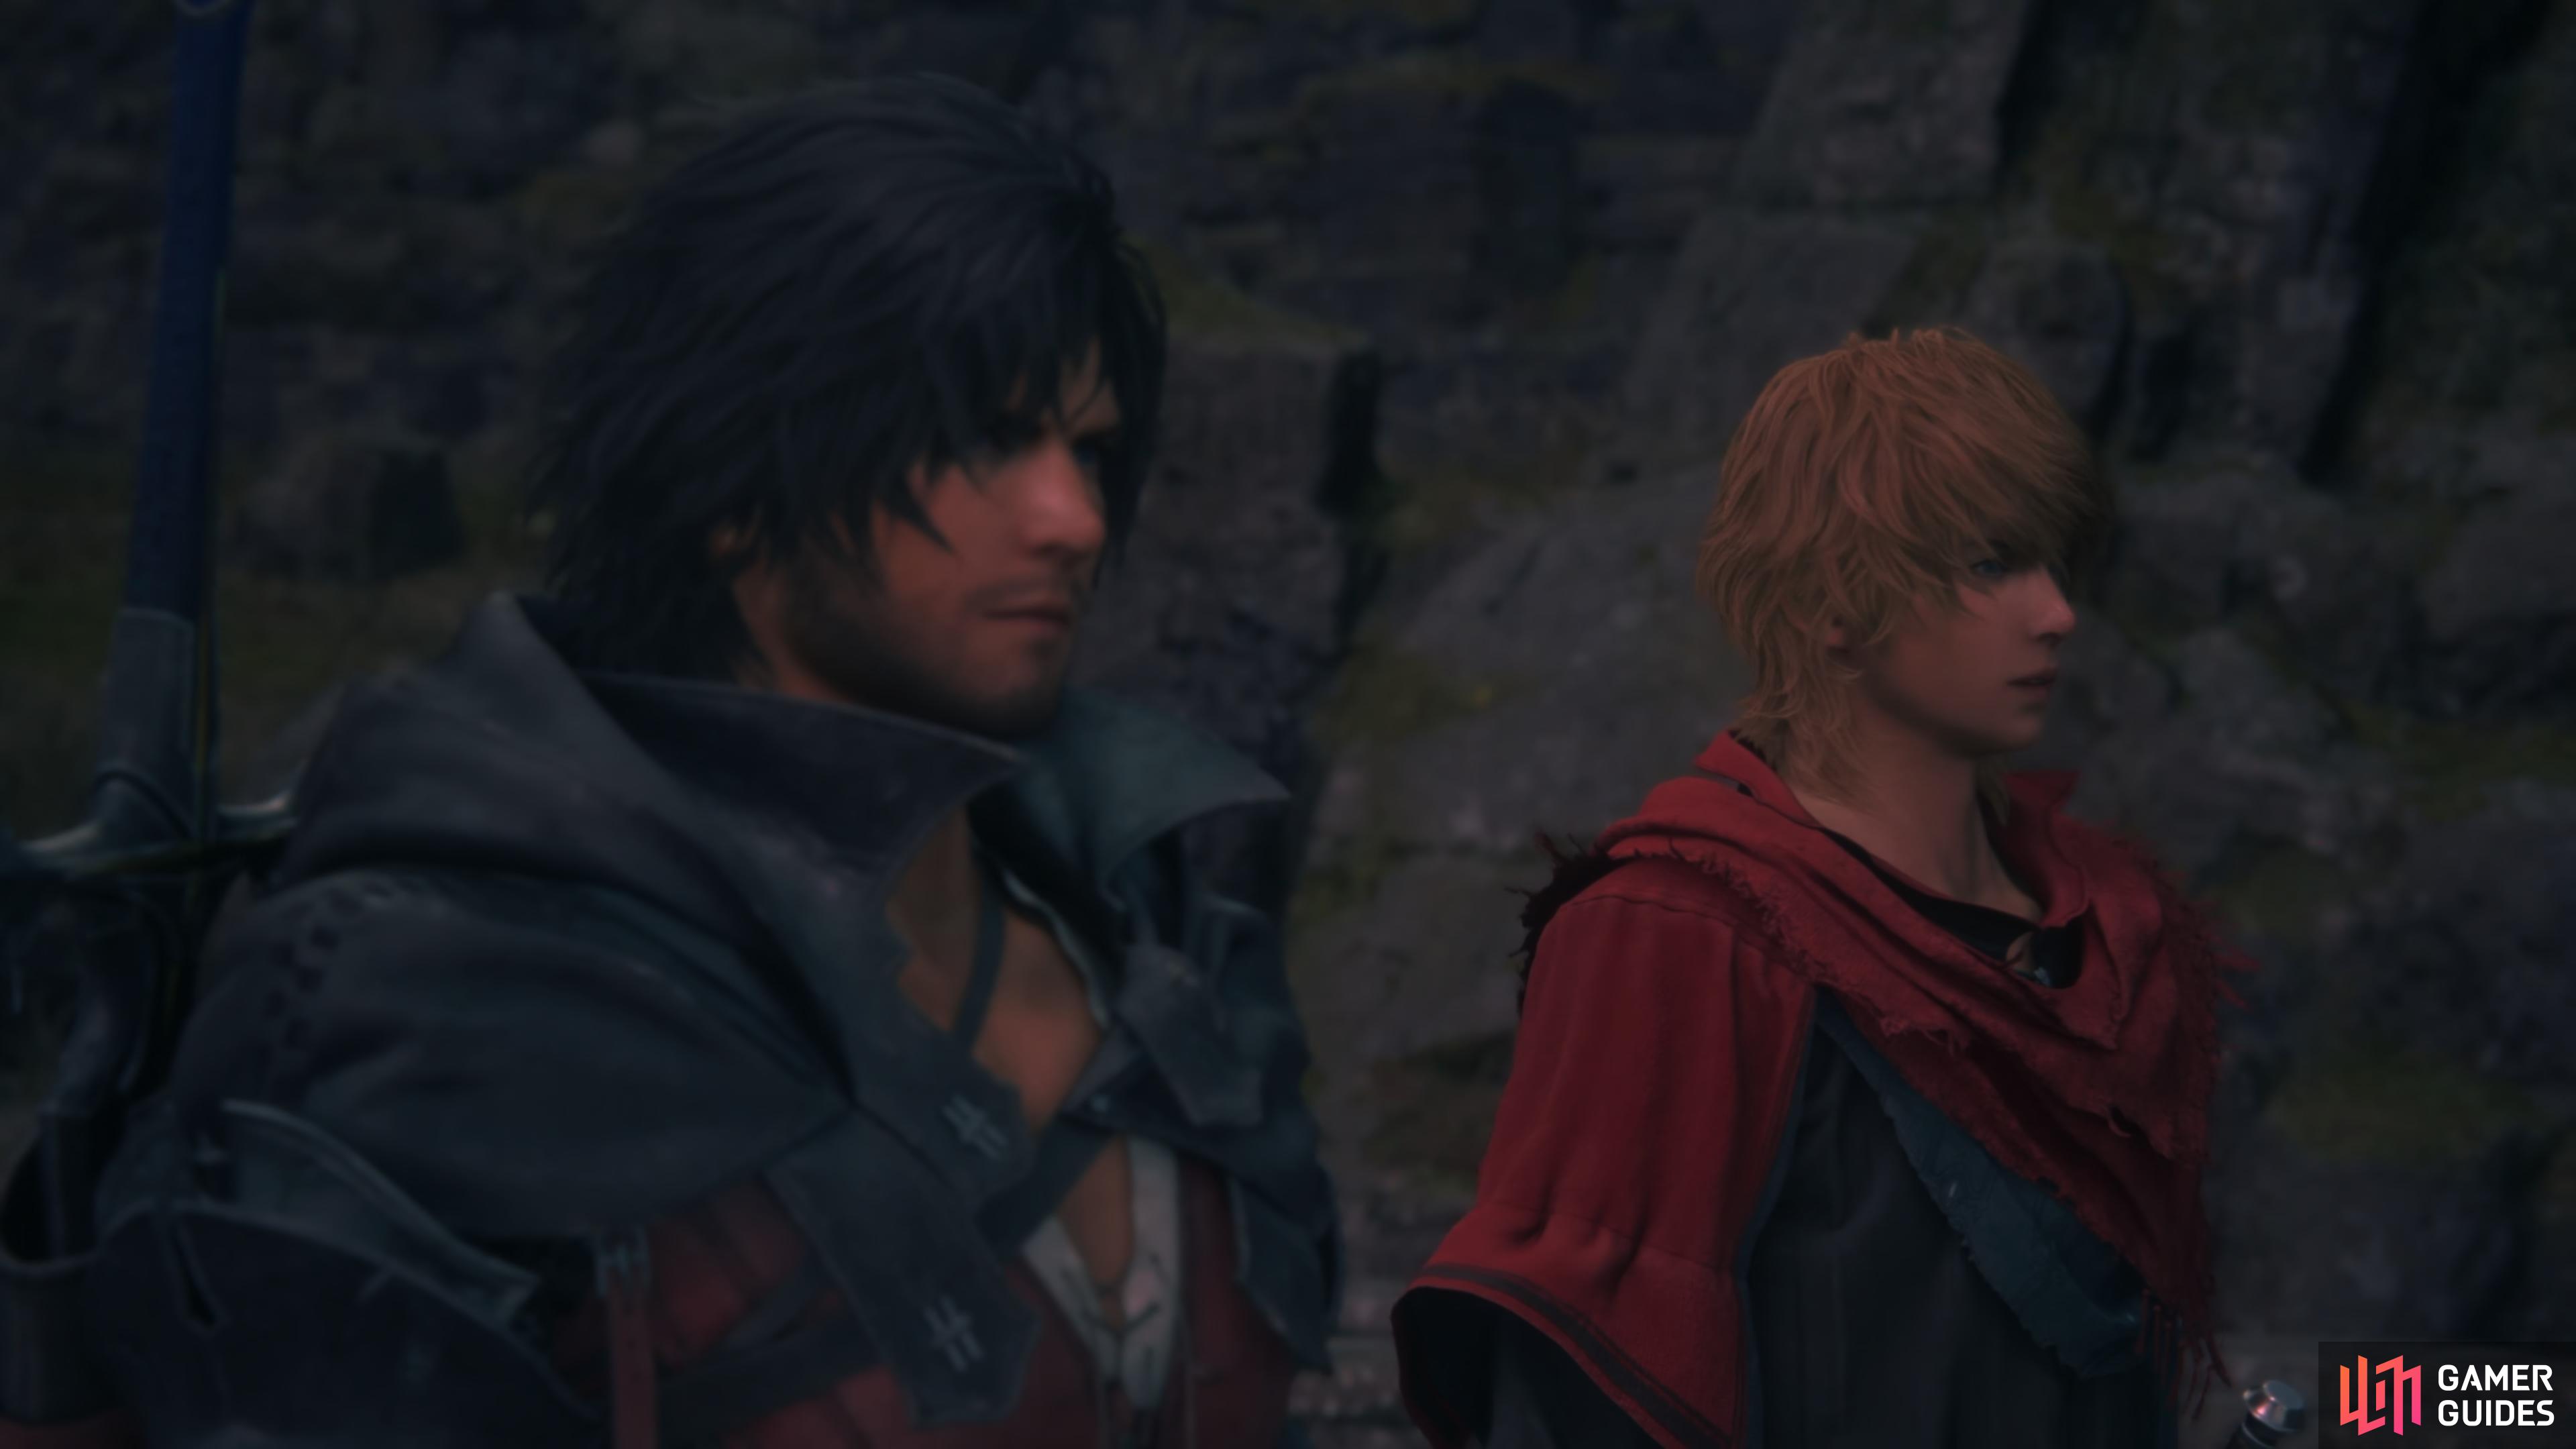
Joshua and Clive before going to !Drake’s Spine.
How to Reach Drake’s Spine in Waloed
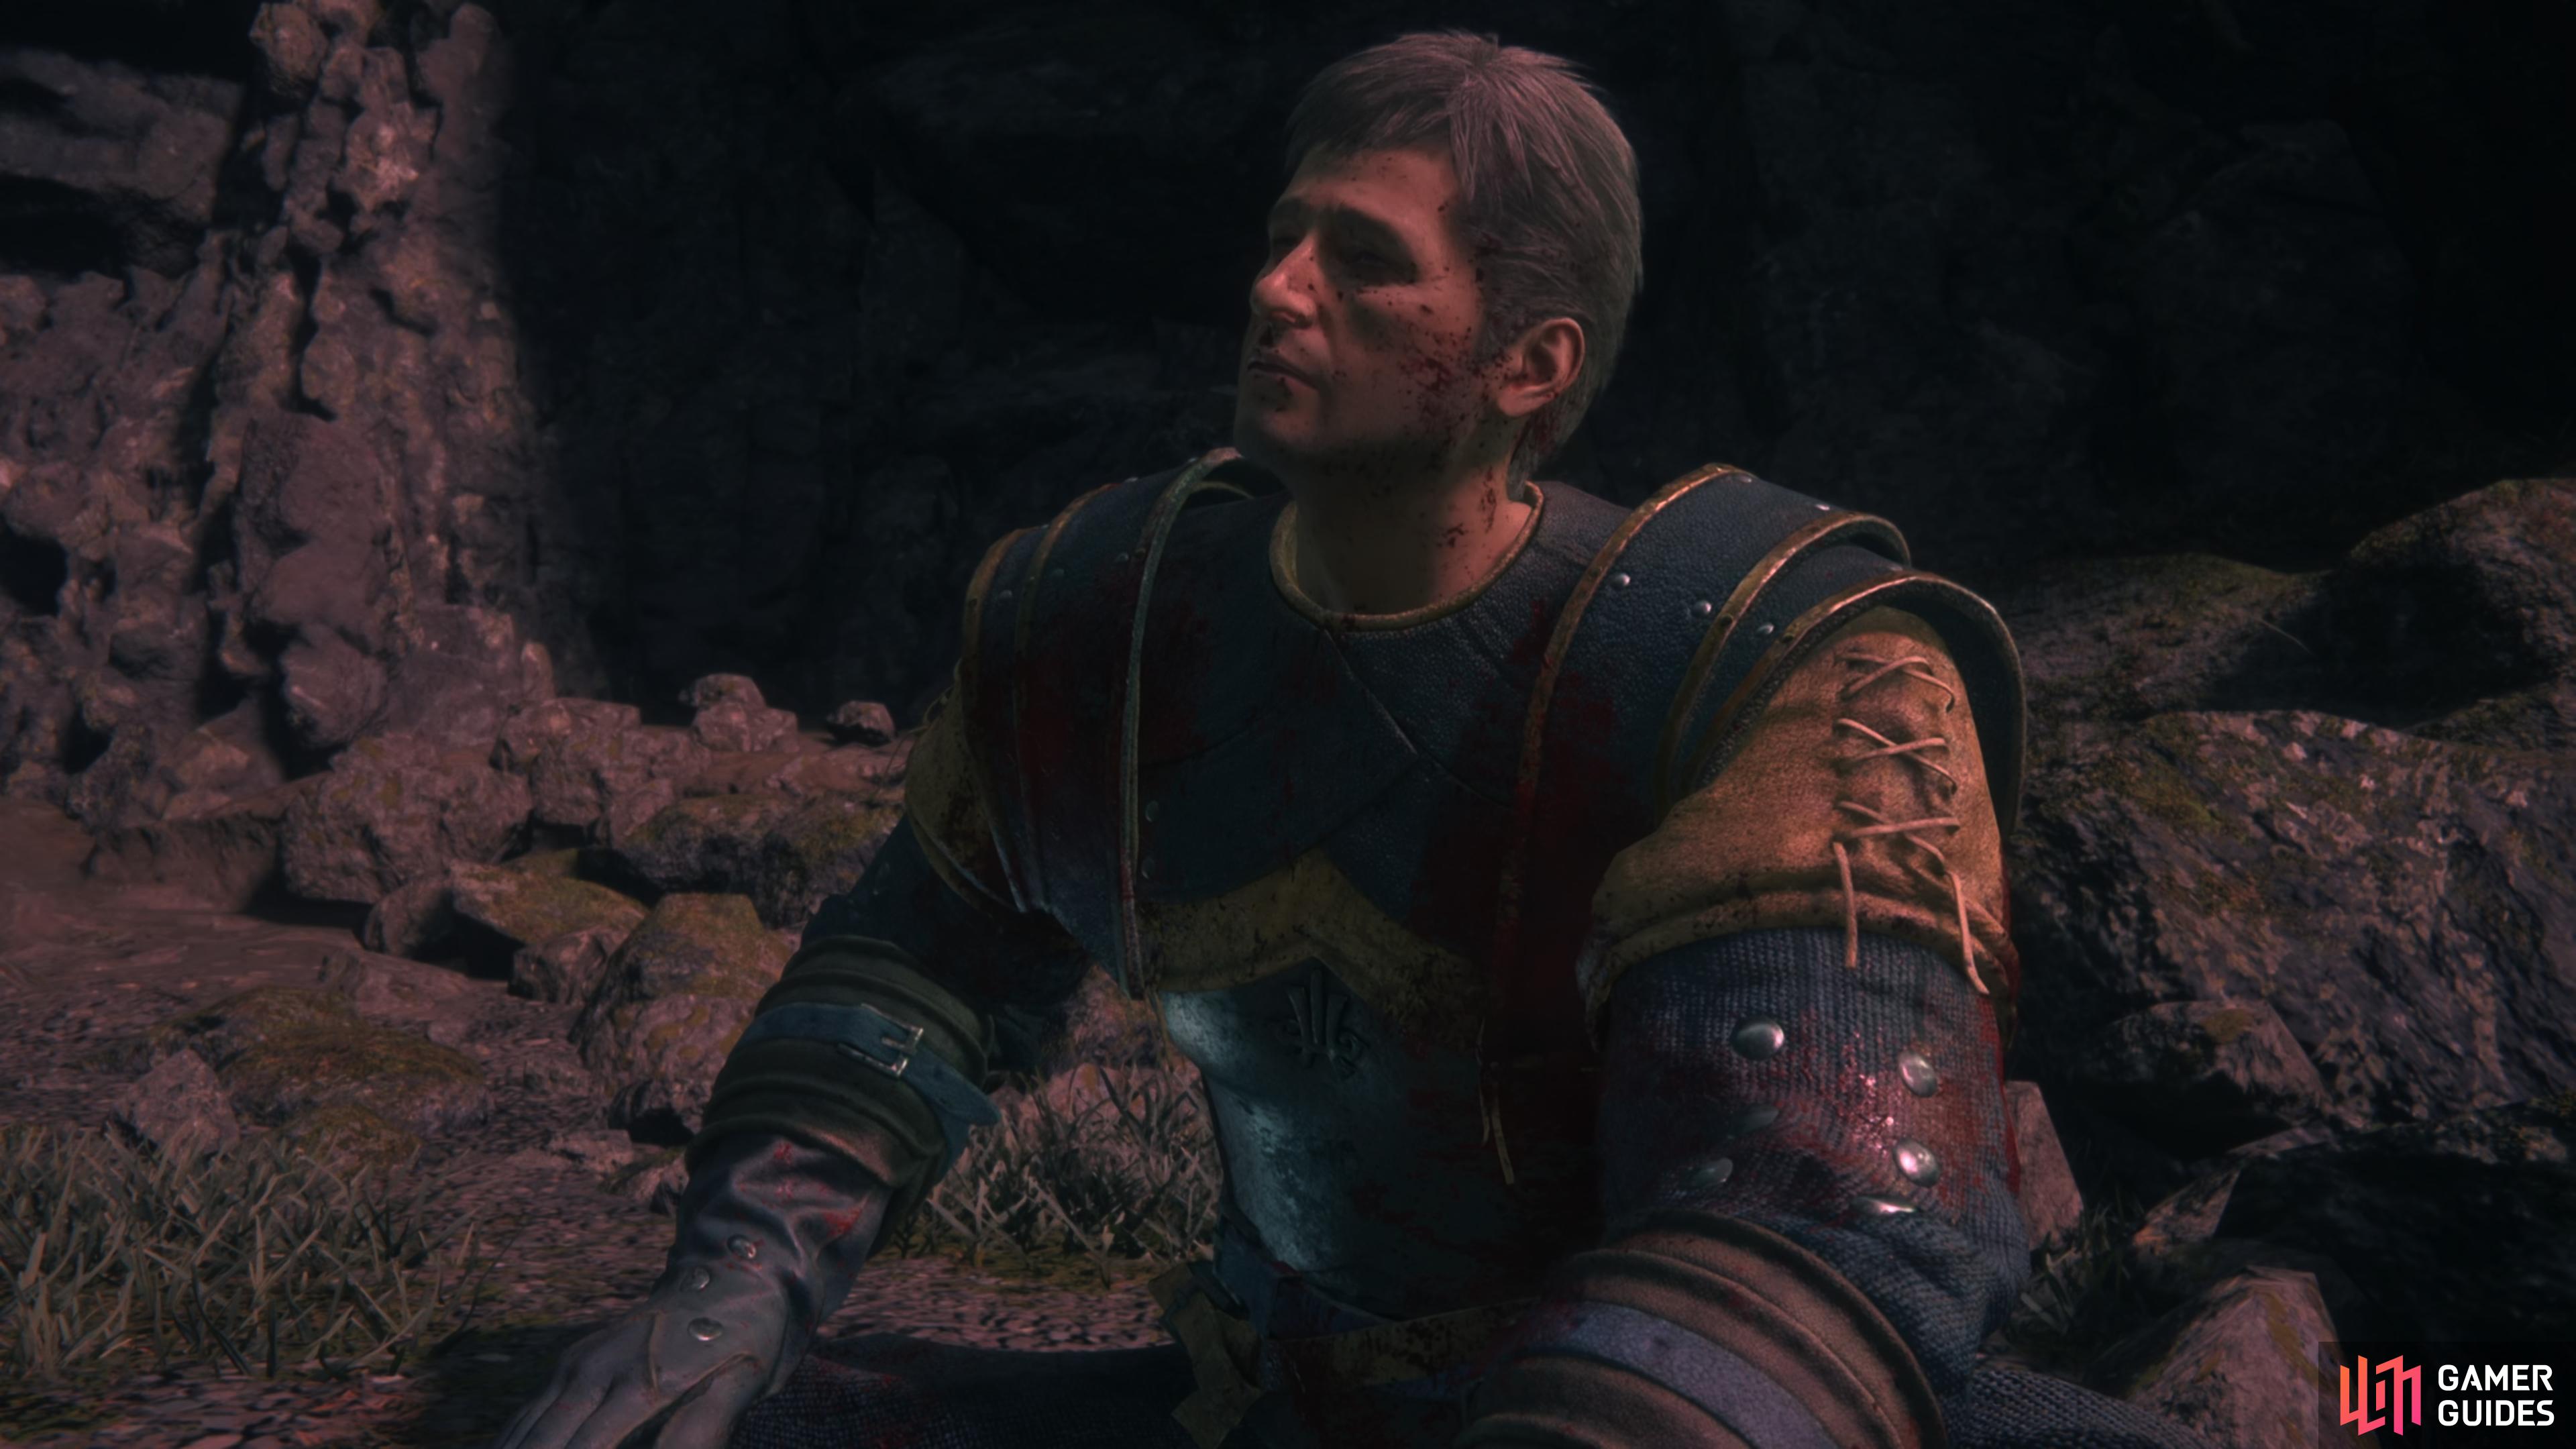
Once you’re ready to set off, make your way outside of ![]() Eistla. You will be following a new path that will lead Clive to Drake’s Spine and through the desolate Waloed countryside. At the start of your walk, you will run into an injured soldier and the only side quest in the region, Laid to Rest. You can complete this quickly or leave it for a different time. Head up the mountain pass, you will soon come to a large gate where enemies will constantly swarm you. In the first wave, you will be attacked by Akashic Folkstaf, Akashic Coursers, Akashic Mastiffs, Orcish Mesmerizer, Akashic Chocobos and Akashic Osfreyrs. These are easy to deal with, your real problem will start when the Akashic Tongvaldr appears. This enemy has the ability to use a fire attack that will melt your health bar in seconds.
Eistla. You will be following a new path that will lead Clive to Drake’s Spine and through the desolate Waloed countryside. At the start of your walk, you will run into an injured soldier and the only side quest in the region, Laid to Rest. You can complete this quickly or leave it for a different time. Head up the mountain pass, you will soon come to a large gate where enemies will constantly swarm you. In the first wave, you will be attacked by Akashic Folkstaf, Akashic Coursers, Akashic Mastiffs, Orcish Mesmerizer, Akashic Chocobos and Akashic Osfreyrs. These are easy to deal with, your real problem will start when the Akashic Tongvaldr appears. This enemy has the ability to use a fire attack that will melt your health bar in seconds.
Be sure to keep dodging around the Tongvaldr to avoid this and defeat them. After this is done, another wave of the army will appear on the battlefield along with an Orcish Warlord. Like the one you faced in the main quest, Into The Darkness, he will be able to teleport around the field and use powerful ranged attacks. Make sure you are dodging or using ![]() Titanic Block to keep from being damaged and attack him when you see an opening just like in the previous quest he appeared in. You can also use your newer ability from
Titanic Block to keep from being damaged and attack him when you see an opening just like in the previous quest he appeared in. You can also use your newer ability from ![]() Shiva,
Shiva, ![]() Cold Snap to briefly freeze the Orcish Warlord.
Cold Snap to briefly freeze the Orcish Warlord.
Once you are able to move forward, go through the gate, there will be a chest for you to open with 20x Chunks of ![]() Wyrrite. A cutscene will play where you look towards Drake’s Spine, and you will notice that you have a bit of land to cross before you arrive. Before taking off, you will want to walk all the way down your gate to both the right and left as there are two treasure chests.
Wyrrite. A cutscene will play where you look towards Drake’s Spine, and you will notice that you have a bit of land to cross before you arrive. Before taking off, you will want to walk all the way down your gate to both the right and left as there are two treasure chests.
- Go to the left, there will be a Lich and
 Empty Shard,
  Goblin Coin, and 30x
  Magicked Ash guarding a chest with in it.
 - Go to the right, there will be !Revenants guarding a chest with Amber in it.
Once you’re ready to proceed forward, come back to the middle of the gate and head down the steps. You’re now in a normal open-world area. You can choose to run straight through to the Vidargraes Obelisk, or explore around a bit. There are quite a few enemies in the area to farm, and a small village called Garnick on the way with a chest to open.
- Stop off at the village of
 Garnick there will be Akashic Miners all around, the chest is in the yard of the large house on the hill, it has a hi-potion and 20x Spools of
  Steelsilk inside of it.
Once you have your chest continue up the path, and be careful as there is a powerful hunt you can run into on the way the enemy is called the Bygul and is an A-class hunt. Try to avoid this if you’re not looking for an extra boss fight right now. Once you reach the Obelisk another cutscene will play and you will be taken back to the world map. When you’re ready to proceed to the next quest, Streets of Madness, go to Drake’s Spine. Keep in mind that this is the last dungeon of the game, so you should head back to ![]() The Hideaway to refuel before taking it on.
The Hideaway to refuel before taking it on.
No Comments