
As the second boss faced during The Last King main story quest, the Aurum Giant makes its appearance as soon as you defeat the Control Node. It’s going to be quite similar to the Iron Giant boss you fought earlier in the game, with a good number of moves being adopted from it. However, it will have one or two things different than the Iron Giant, so be prepared for a boss remix!

The Aurum Giant is a familiar, but new boss that is fought right after Control Node.
How to Beat Aurum Giant in FF16
You don’t get a reprieve after the Control Node boss, with the game throwing the Aurum Giant right at you, as soon as you finish with the former. You really shouldn’t have had too much trouble there, but if you did, don’t forget that the game restocks your potions if you select Retry upon being defeated. If you remember the Iron Giant boss, then you should be more than comfortable fighting this boss, other than learning the new patterns and moves.
All Aurum Giant Attacks in Final Fantasy XVI
The Aurum Giant will have a lot of similar attacks to the Iron Giant, although it doesn’t take everything from that fight. In fact, the Aurum Giant is fairly formulaic in how it does its moves.
Shield Shockwave
The Aurum Giant will likely start the battle with this attack, where it will hop back and send a shockwave along the ground, with its shield. It travels in a straight line and considering it takes a second or so to charge the shield, you will know it’s coming, which means it’s fairly easy to move out of the way. Later on in the game, it will send out like 3-4 of these in a row, so try to not get trapped in between them.

The Shield Shockwave is something you’ve seen in the Iron Giant fight.
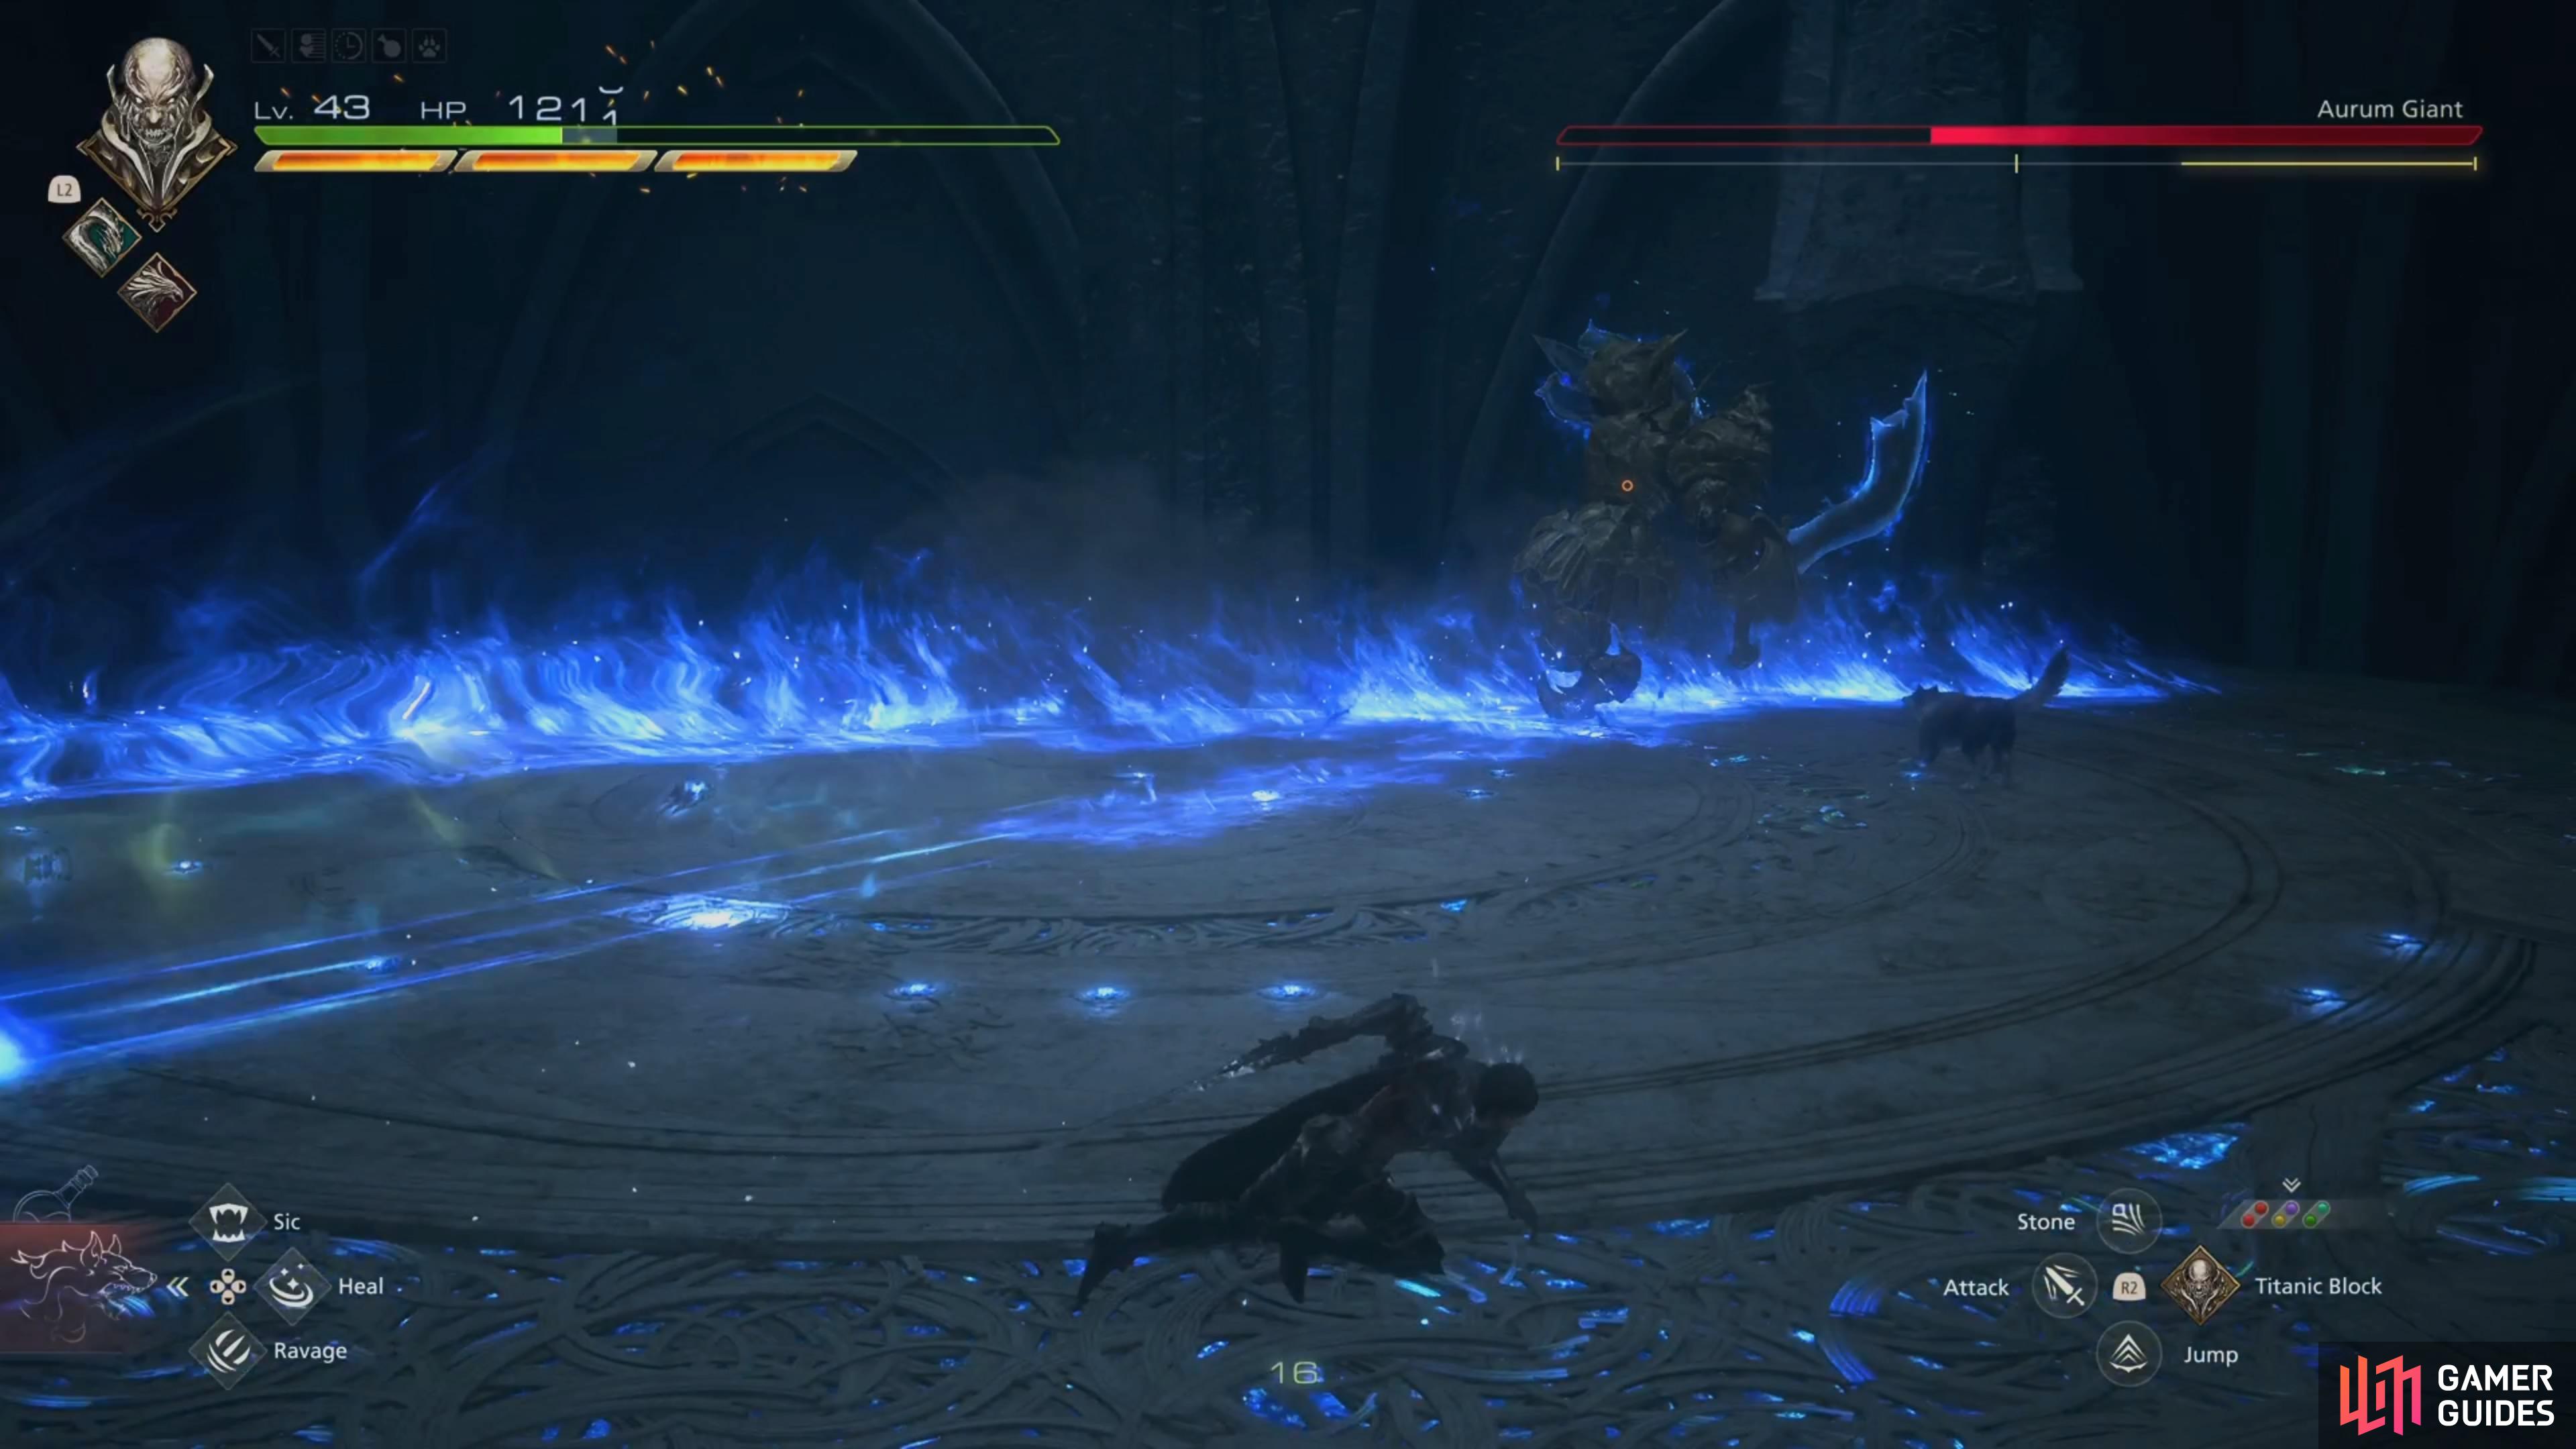
Later in the battle, it will do multiple of these in a row.
Sword Combo
The Giant will stomp its foot on the ground, before leaping towards you and performing an overhead slash. After that sword attack, the Giant will perform another overhead slash. The final attack will be a sweeping attack with the sword. While these are normally all singular attacks, the Aurum Giant will always do all three in a row (for the most part). All three are kind of slow in execution, so they shouldn’t be too difficult to dodge.
Sword Sparks
Aurum Giant will charge straight ahead, while dragging its sword on the ground, then do a spinning slash with its sword. Your best bet in avoiding this is to just time your dodge to go through the boss, so you avoid the spinning slash at the end, if possible.

Ground Stomp
The boss will lift its one leg into the air, the stomp the ground with it. There will be a slight explosion on impact, so the attack is bigger than you would think. The wind-up on this move is fairly long, so you can easily go to the sides or back away to avoid it.
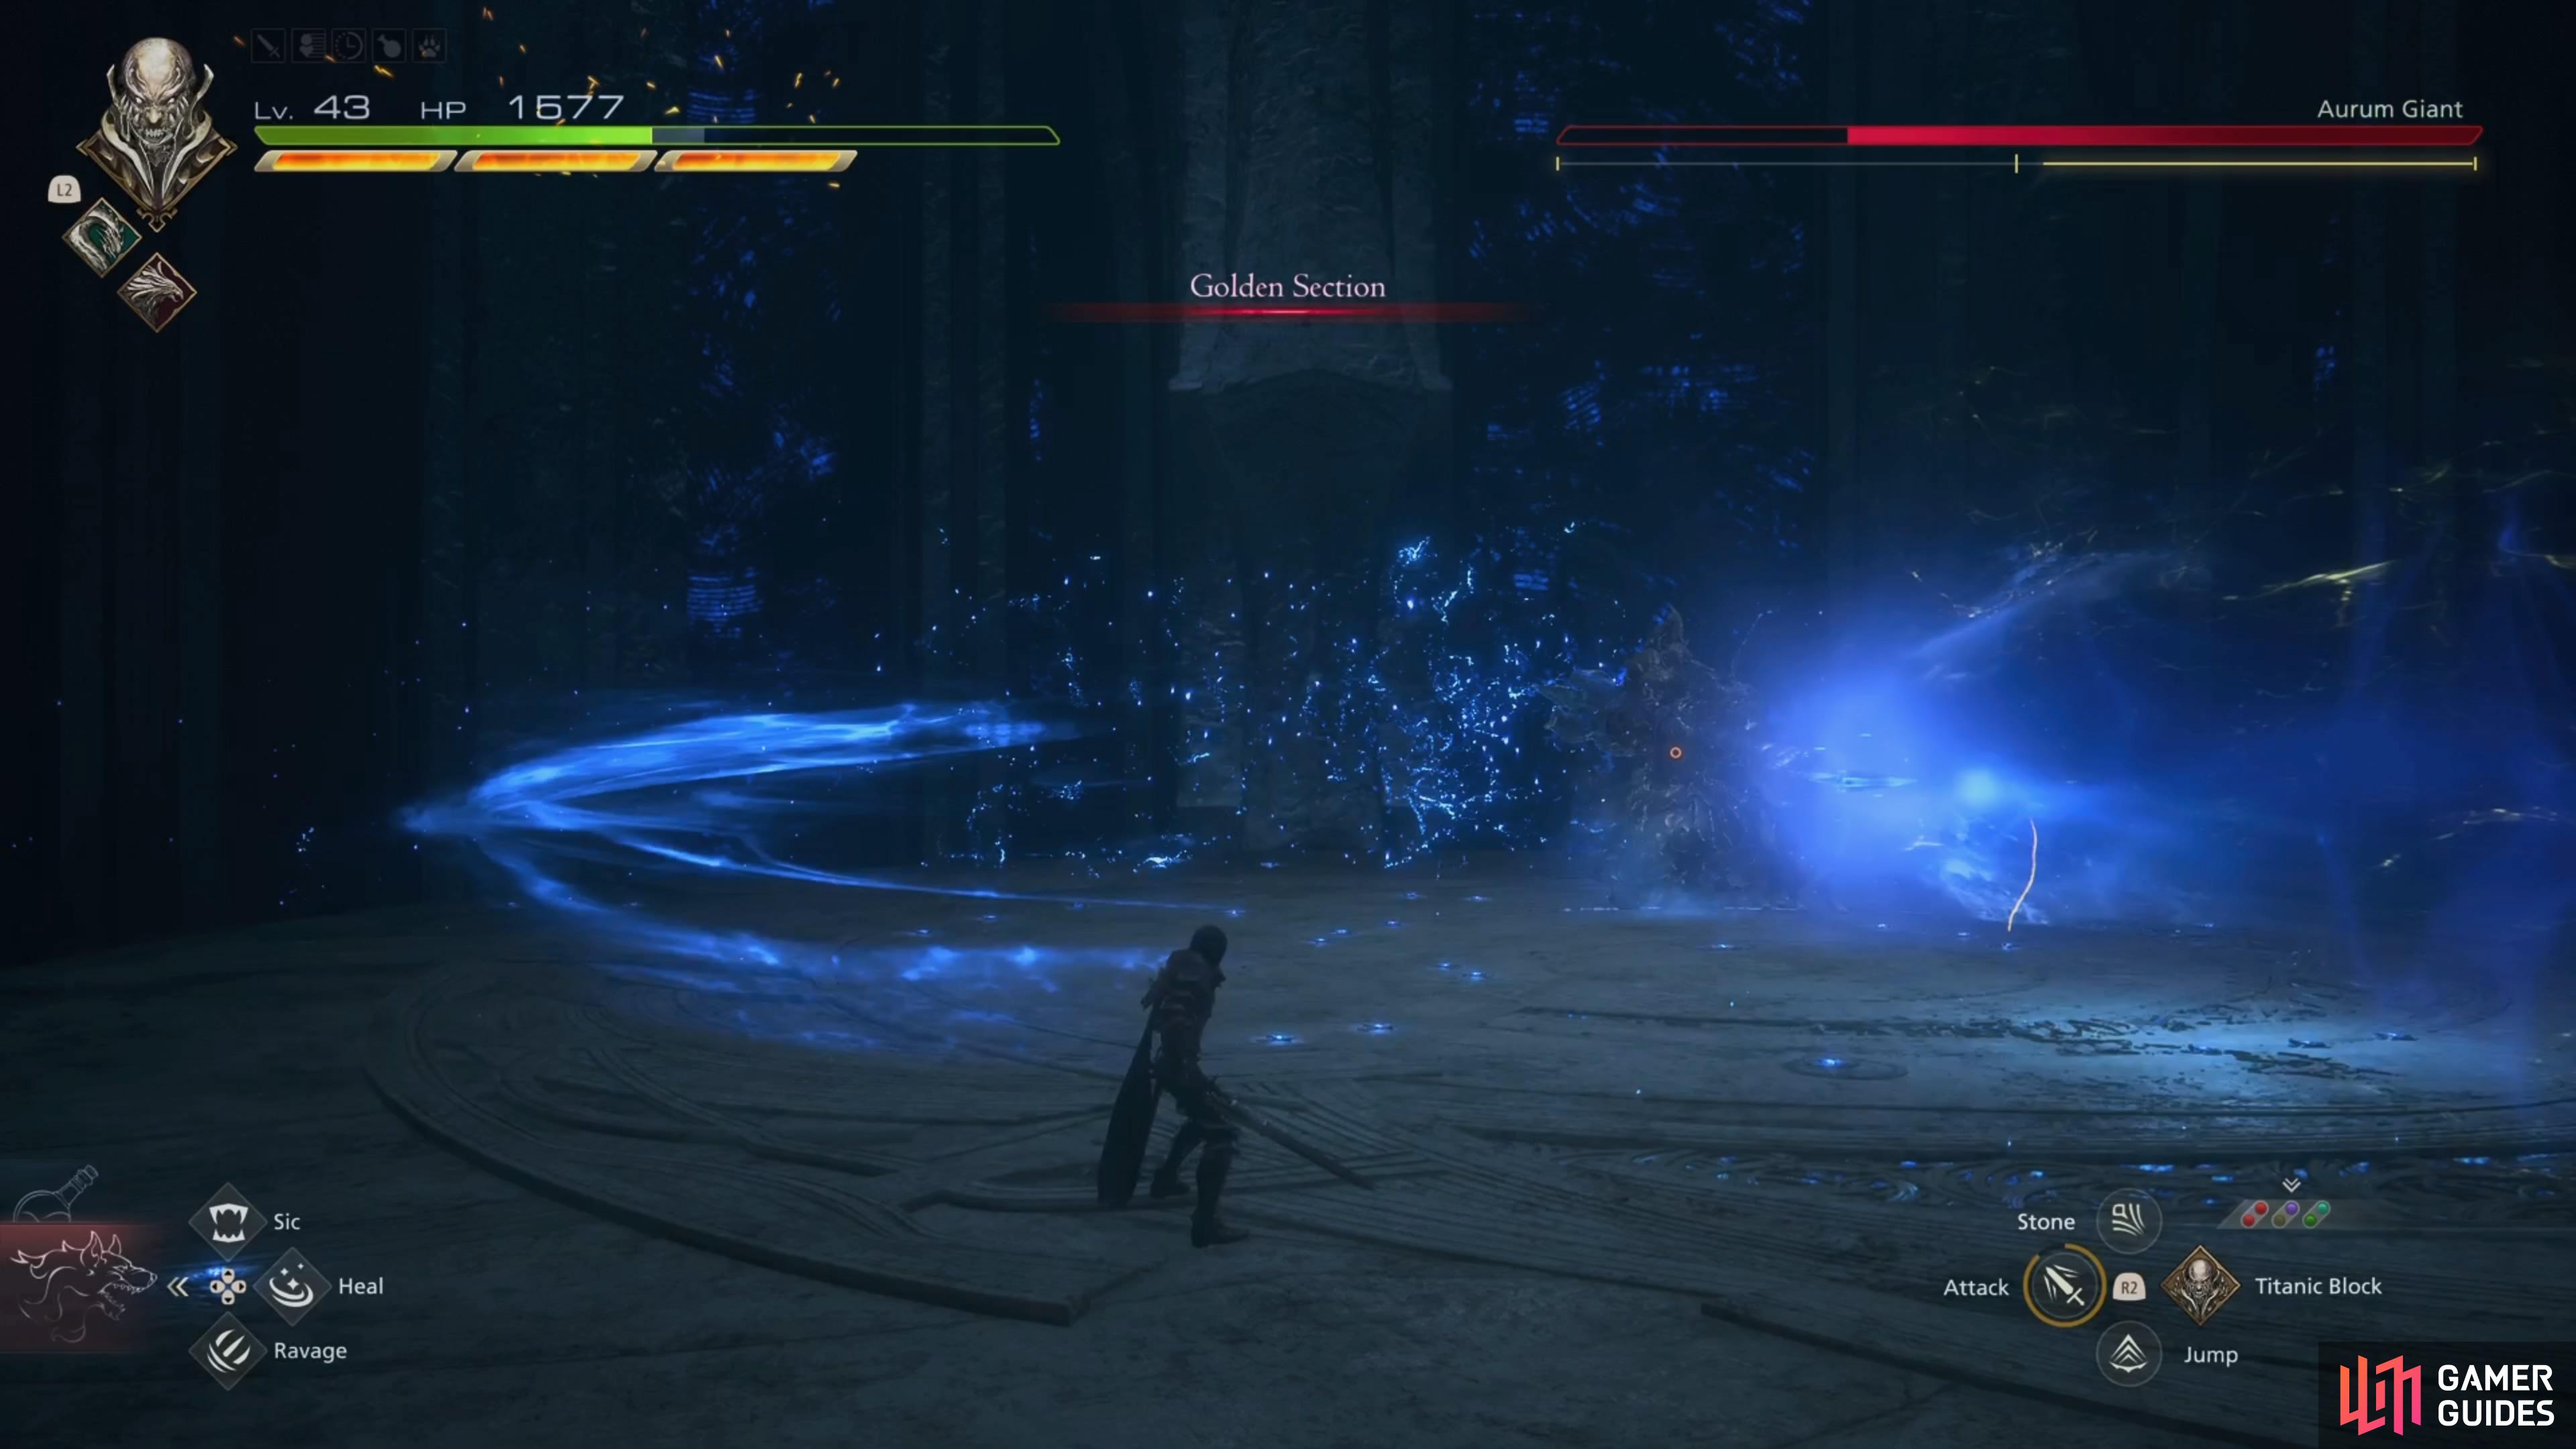
Golden Section
Aurum Giant will hop back and make its sword really large, then perform a horizontal slash with it. Depending on where it’s at in the arena, you might need to time your dodge to get a ![]() Precision Dodge. If it’s on the edge of the arena, then you can back all the way up and not have to do anything to avoid this attack. After the attack, blue spots will be left on the ground, which will explode with energy after a few seconds.
Precision Dodge. If it’s on the edge of the arena, then you can back all the way up and not have to do anything to avoid this attack. After the attack, blue spots will be left on the ground, which will explode with energy after a few seconds.
Aetherial Assault Cannon
At around 50% health or so, you will start seeing the Aurum Giant using this move. It will fire off a bunch of shots into the air, which will then rain down on the battlefield. The locations of impact will be marked, so you can easily avoid those. However, the Aurum Giant will continue using its other attacks while Assault Cannon is ongoing, so things get a little more complicated in trying to remain unscathed.
Strategy for the Aurum Giant Boss in FFXVI
The Aurum Giant can be a pretty simple boss, if you know the timing of its attacks in regards to using ![]() Titanic Block. It is also similar to the Control Node, in that it has some stagger resistance, so you’re not going to be breaking its
Titanic Block. It is also similar to the Control Node, in that it has some stagger resistance, so you’re not going to be breaking its ![]() Will Gauge all too often, unless you use the specific breaking
Will Gauge all too often, unless you use the specific breaking ![]() Eikon skills. Putting that aside, the Aurum Giant is pretty methodical with its attacks, as it will always use the other two sword swipes after the jumping one.
Eikon skills. Putting that aside, the Aurum Giant is pretty methodical with its attacks, as it will always use the other two sword swipes after the jumping one.
If you haven’t fought Atlas, the Breaker of Worlds, then you probably never saw Golden Section. Basically, the Aurum Giant will create a larger energy sword, then do a quick swipe. This can be annoying, if it’s in the middle of the arena, as this attack covers a lot of ground, which means you will likely need to time a !Precision dodge. If it’s on the edge of the arena, then you can go to the opposite side to just avoid it altogether. The named hunt above will use that same attack multiple times.

Titan is a fantastic !Eikon to use in this battle, due to his defensive options.
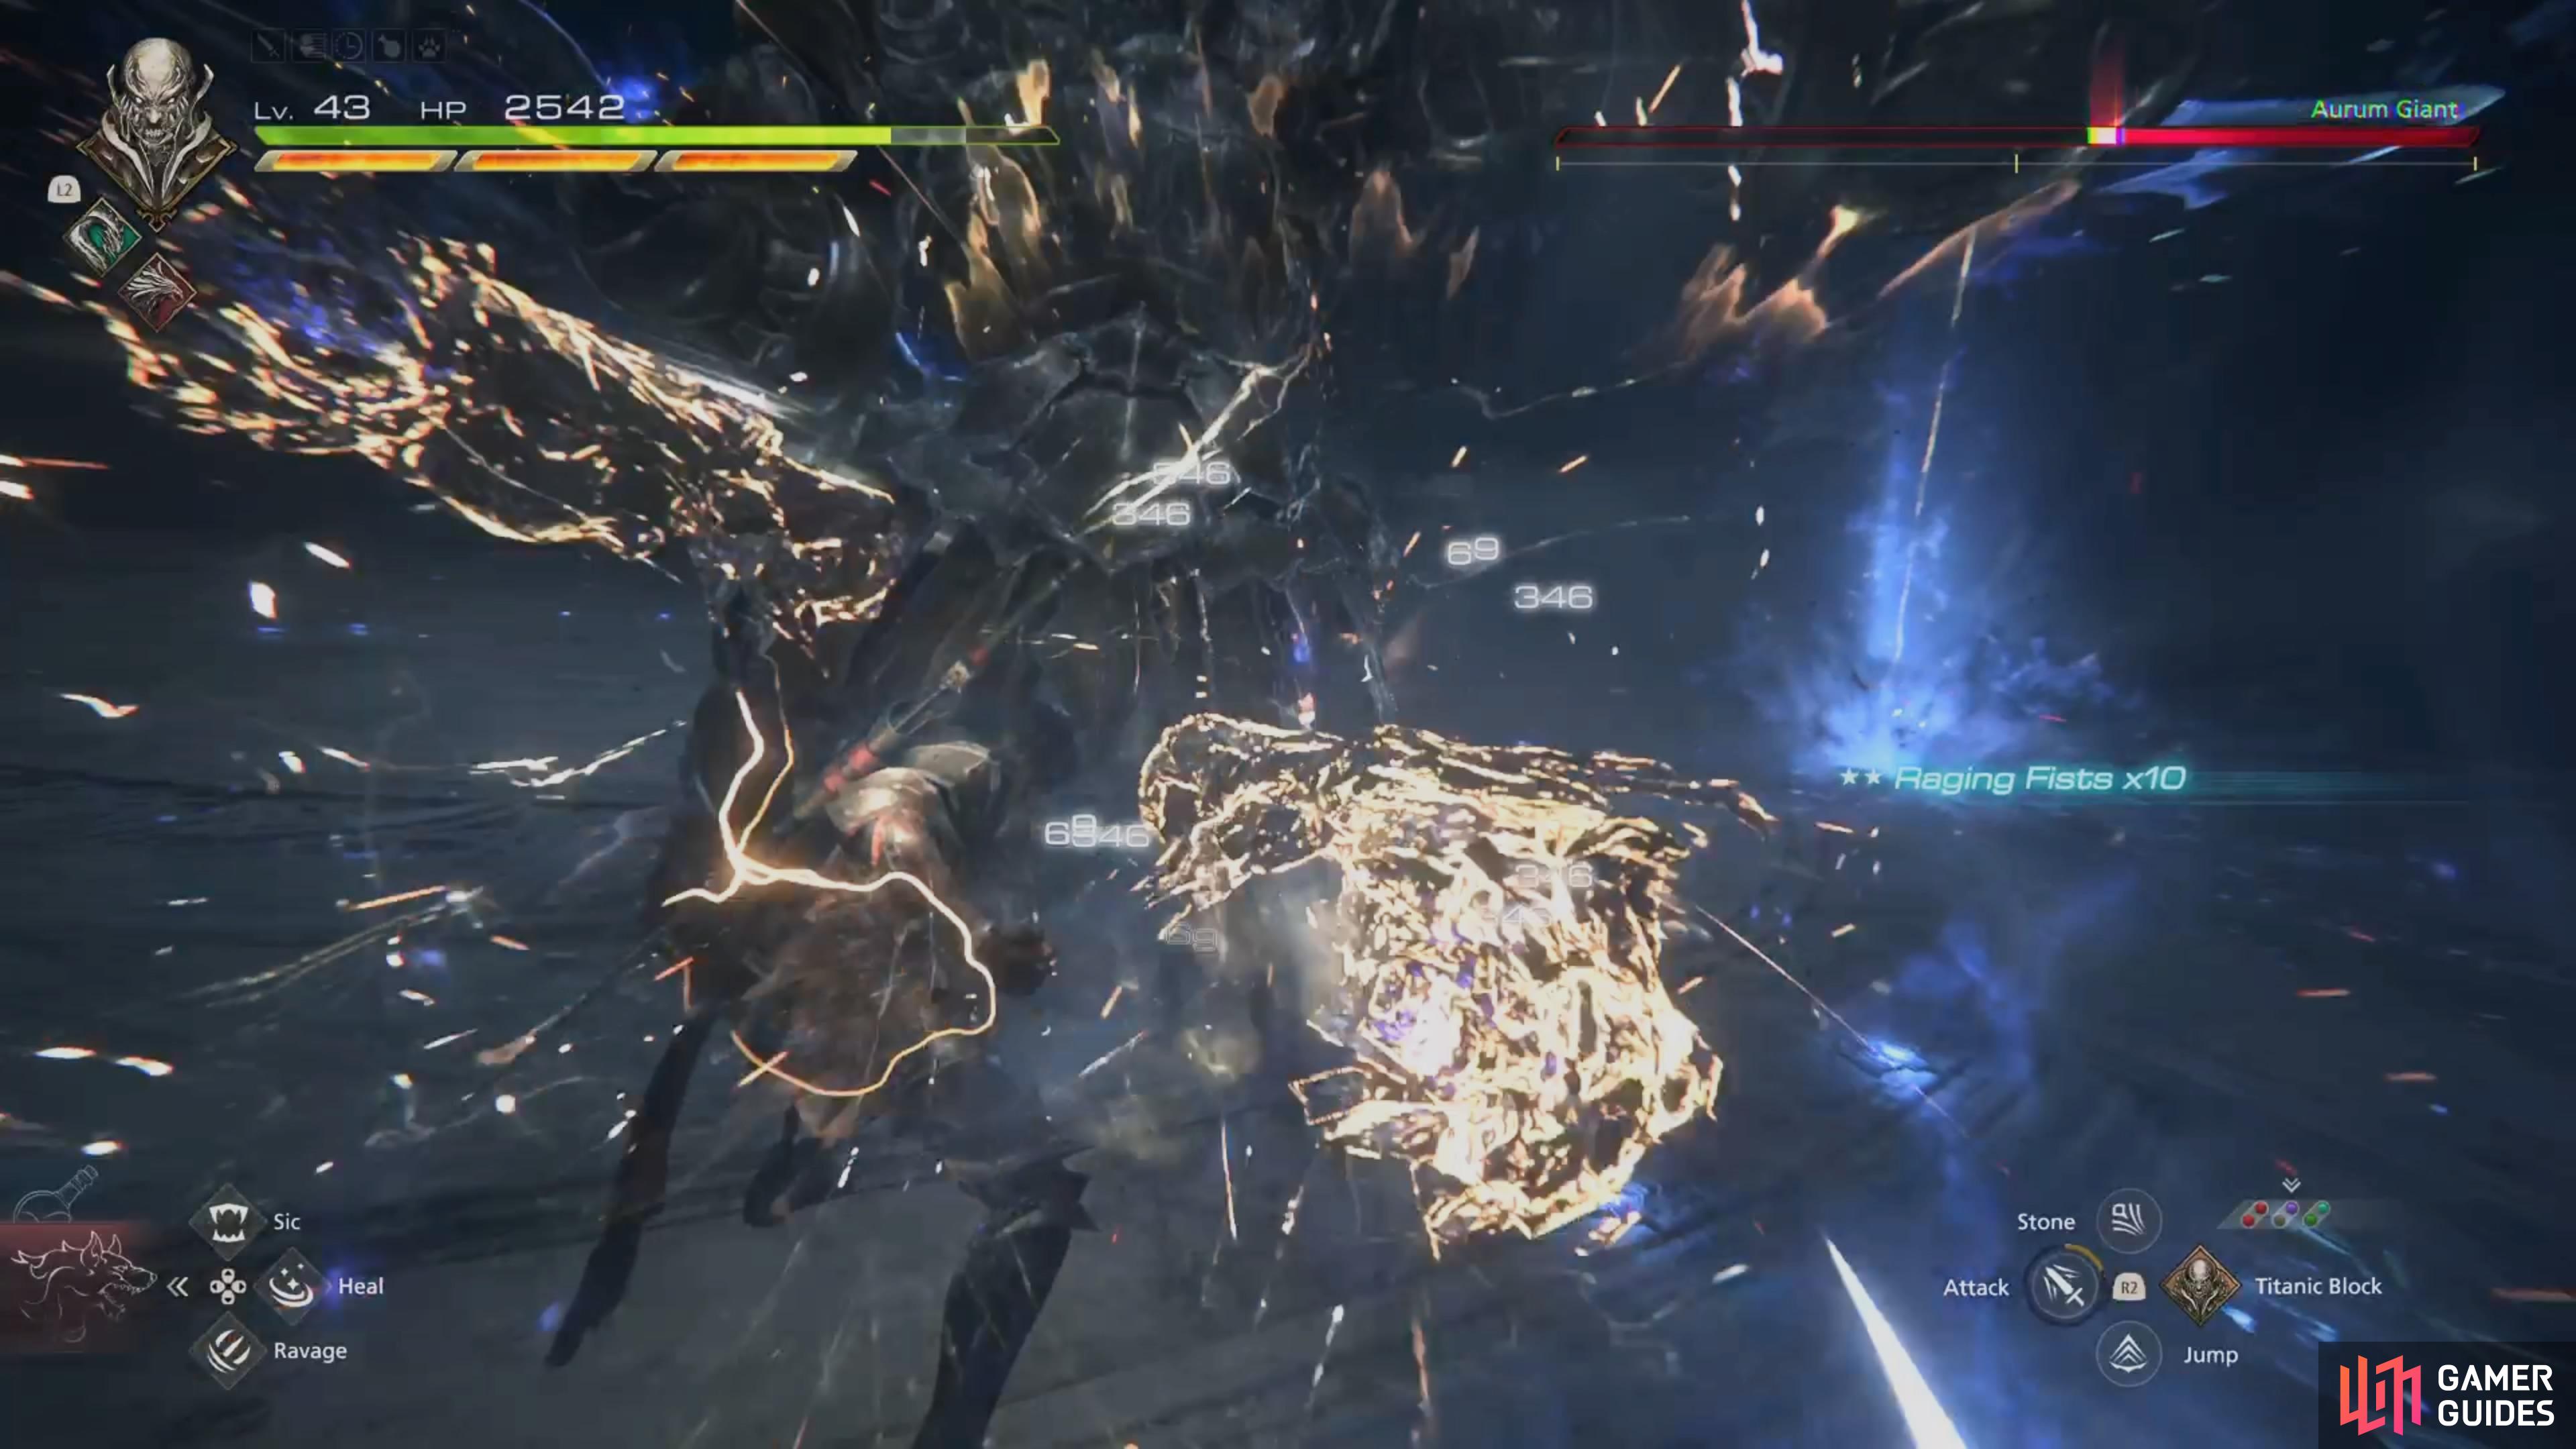
Raging Fists is a great move for countering all of the melee attacks it often uses.
The other named attack is Aetherial Assault Cannon, which is a new move. Basically, the Aurum Giant will fire some shots into the air, that will then come back down at designated spots. The move itself is nothing to worry about, since you will see where the shots come down, but it’s that the boss will continue doing other attacks while it’s ongoing. This means that it’s possible to dodge a secondary move, right into the path of the Assault Cannon projectile.
Recommended Abilities for the Aurum Giant Boss
The following list is our recommended abilities to do this fight effectively:
| Eikon | Ability |
|---|---|
| Phoenix / |
|
| Phoenix/ |
|
| Titan | |
| Bahamut |
Titan is a great Eikon for this battle, as his Titanic Block is perfect for the melee strikes, and Raging Fists is also nice to use as a counter to its attacks. If you wish to substitute something for Gouge, ![]() Rook’s Gambit is another ability you can use that benefits from countering enemy attacks. The rest of the abilities listed are just there to increase your damage, especially during stagger. Lightning Rod and Gigaflare are one of the go-tos for that, especially when you use the former before the latter. You could use Gouge to build up the damage multiplier, then use that combo as the final bit to really rack up the damage.
Rook’s Gambit is another ability you can use that benefits from countering enemy attacks. The rest of the abilities listed are just there to increase your damage, especially during stagger. Lightning Rod and Gigaflare are one of the go-tos for that, especially when you use the former before the latter. You could use Gouge to build up the damage multiplier, then use that combo as the final bit to really rack up the damage.
After the fight with the Aurum Giant is over, climb the stairs and collect the items on the ground, some of which will be potions. Upon reaching the top, be prepared for a challenging boss fight against Barnabas.
No Comments