
If you’re looking for a challenge in Final Fantasy 16, look no further than the Chronolith Trials. These optional activities involve running a series of stages against the clock while using a single ![]() Eikon’s abilities.
Eikon’s abilities. ![]() Ramuh’s trial, The Hand of Iapetus, will focus on the abilities of Ramuh and you will need to make use of
Ramuh’s trial, The Hand of Iapetus, will focus on the abilities of Ramuh and you will need to make use of ![]() Blind Justice to overcome it. This page will arm you with all the knowledge you need to beat this trial.
Blind Justice to overcome it. This page will arm you with all the knowledge you need to beat this trial.
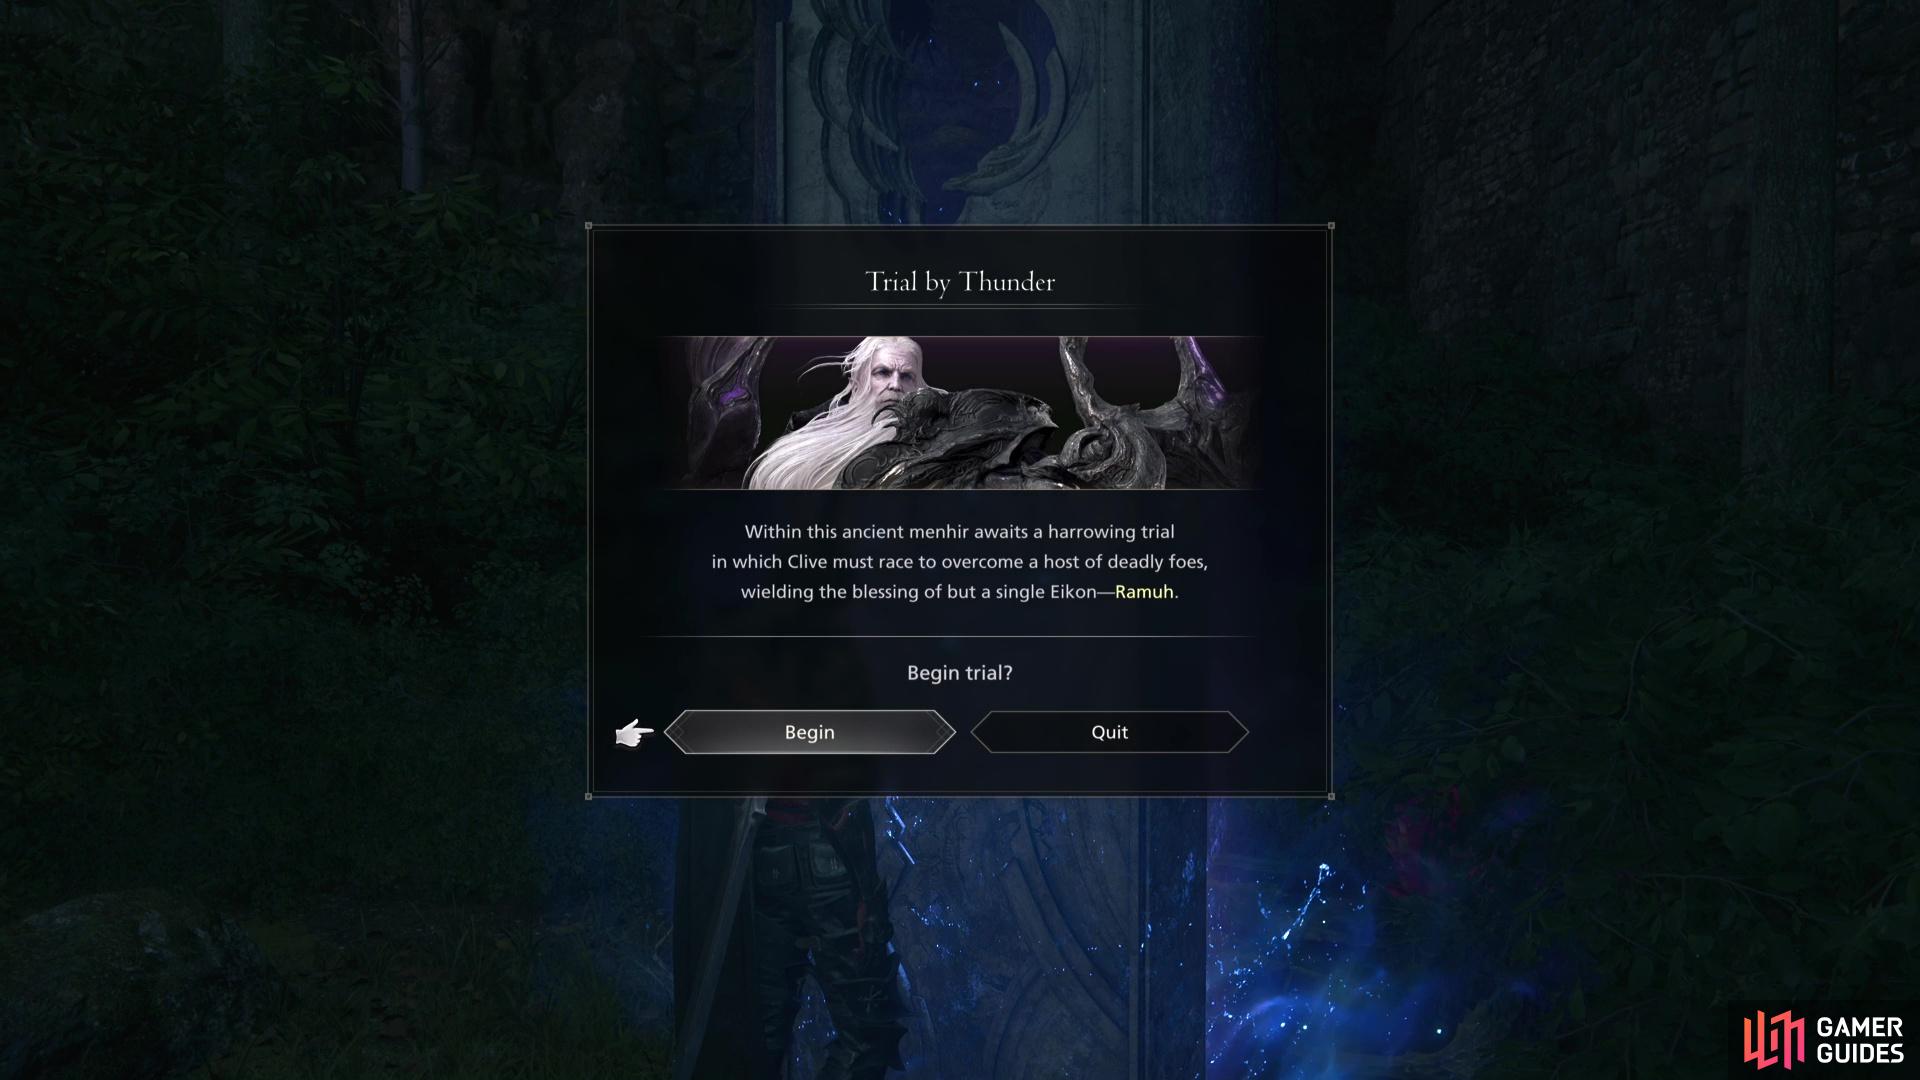
Trial by Thunder is the !Ramuh Chronolith Trial in Final Fantasy 16.
Where to Find The Hand of Iapetus Chronolith in FF16
You will need to find the Chronolith that will grant you access to the Ramuh trial, and that is The Hand of Iapetus, and you’ll find it in Sanbreque. Once there, go to the ![]() Caer Norvent River Gate
Caer Norvent River Gate ![]() Obelisk and go north across the bridge, then turn right to find the Chronolith. Just beware that you’ll need to deal with some minor enemies before you can access the Chronolith.
Obelisk and go north across the bridge, then turn right to find the Chronolith. Just beware that you’ll need to deal with some minor enemies before you can access the Chronolith.
Be sure to make sure you save your game and prepare fully before accessing the trial; you won’t be able to learn/unlearn any abilities (although these will come upgraded anyway) once the trial begins but you will (and should) be able to change your equipment between stages.
Ramuh Chronolith Trial Preparation
Before you access any Chronolith Trial, you’ll want to make sure you’re fully prepared before entering, and there are a few common preparations across all of these trials. To begin with, you’ll have a much easier time if you progress the Main Quest to the final one, Back to Their Origin, where all of the final Side Quests open up.
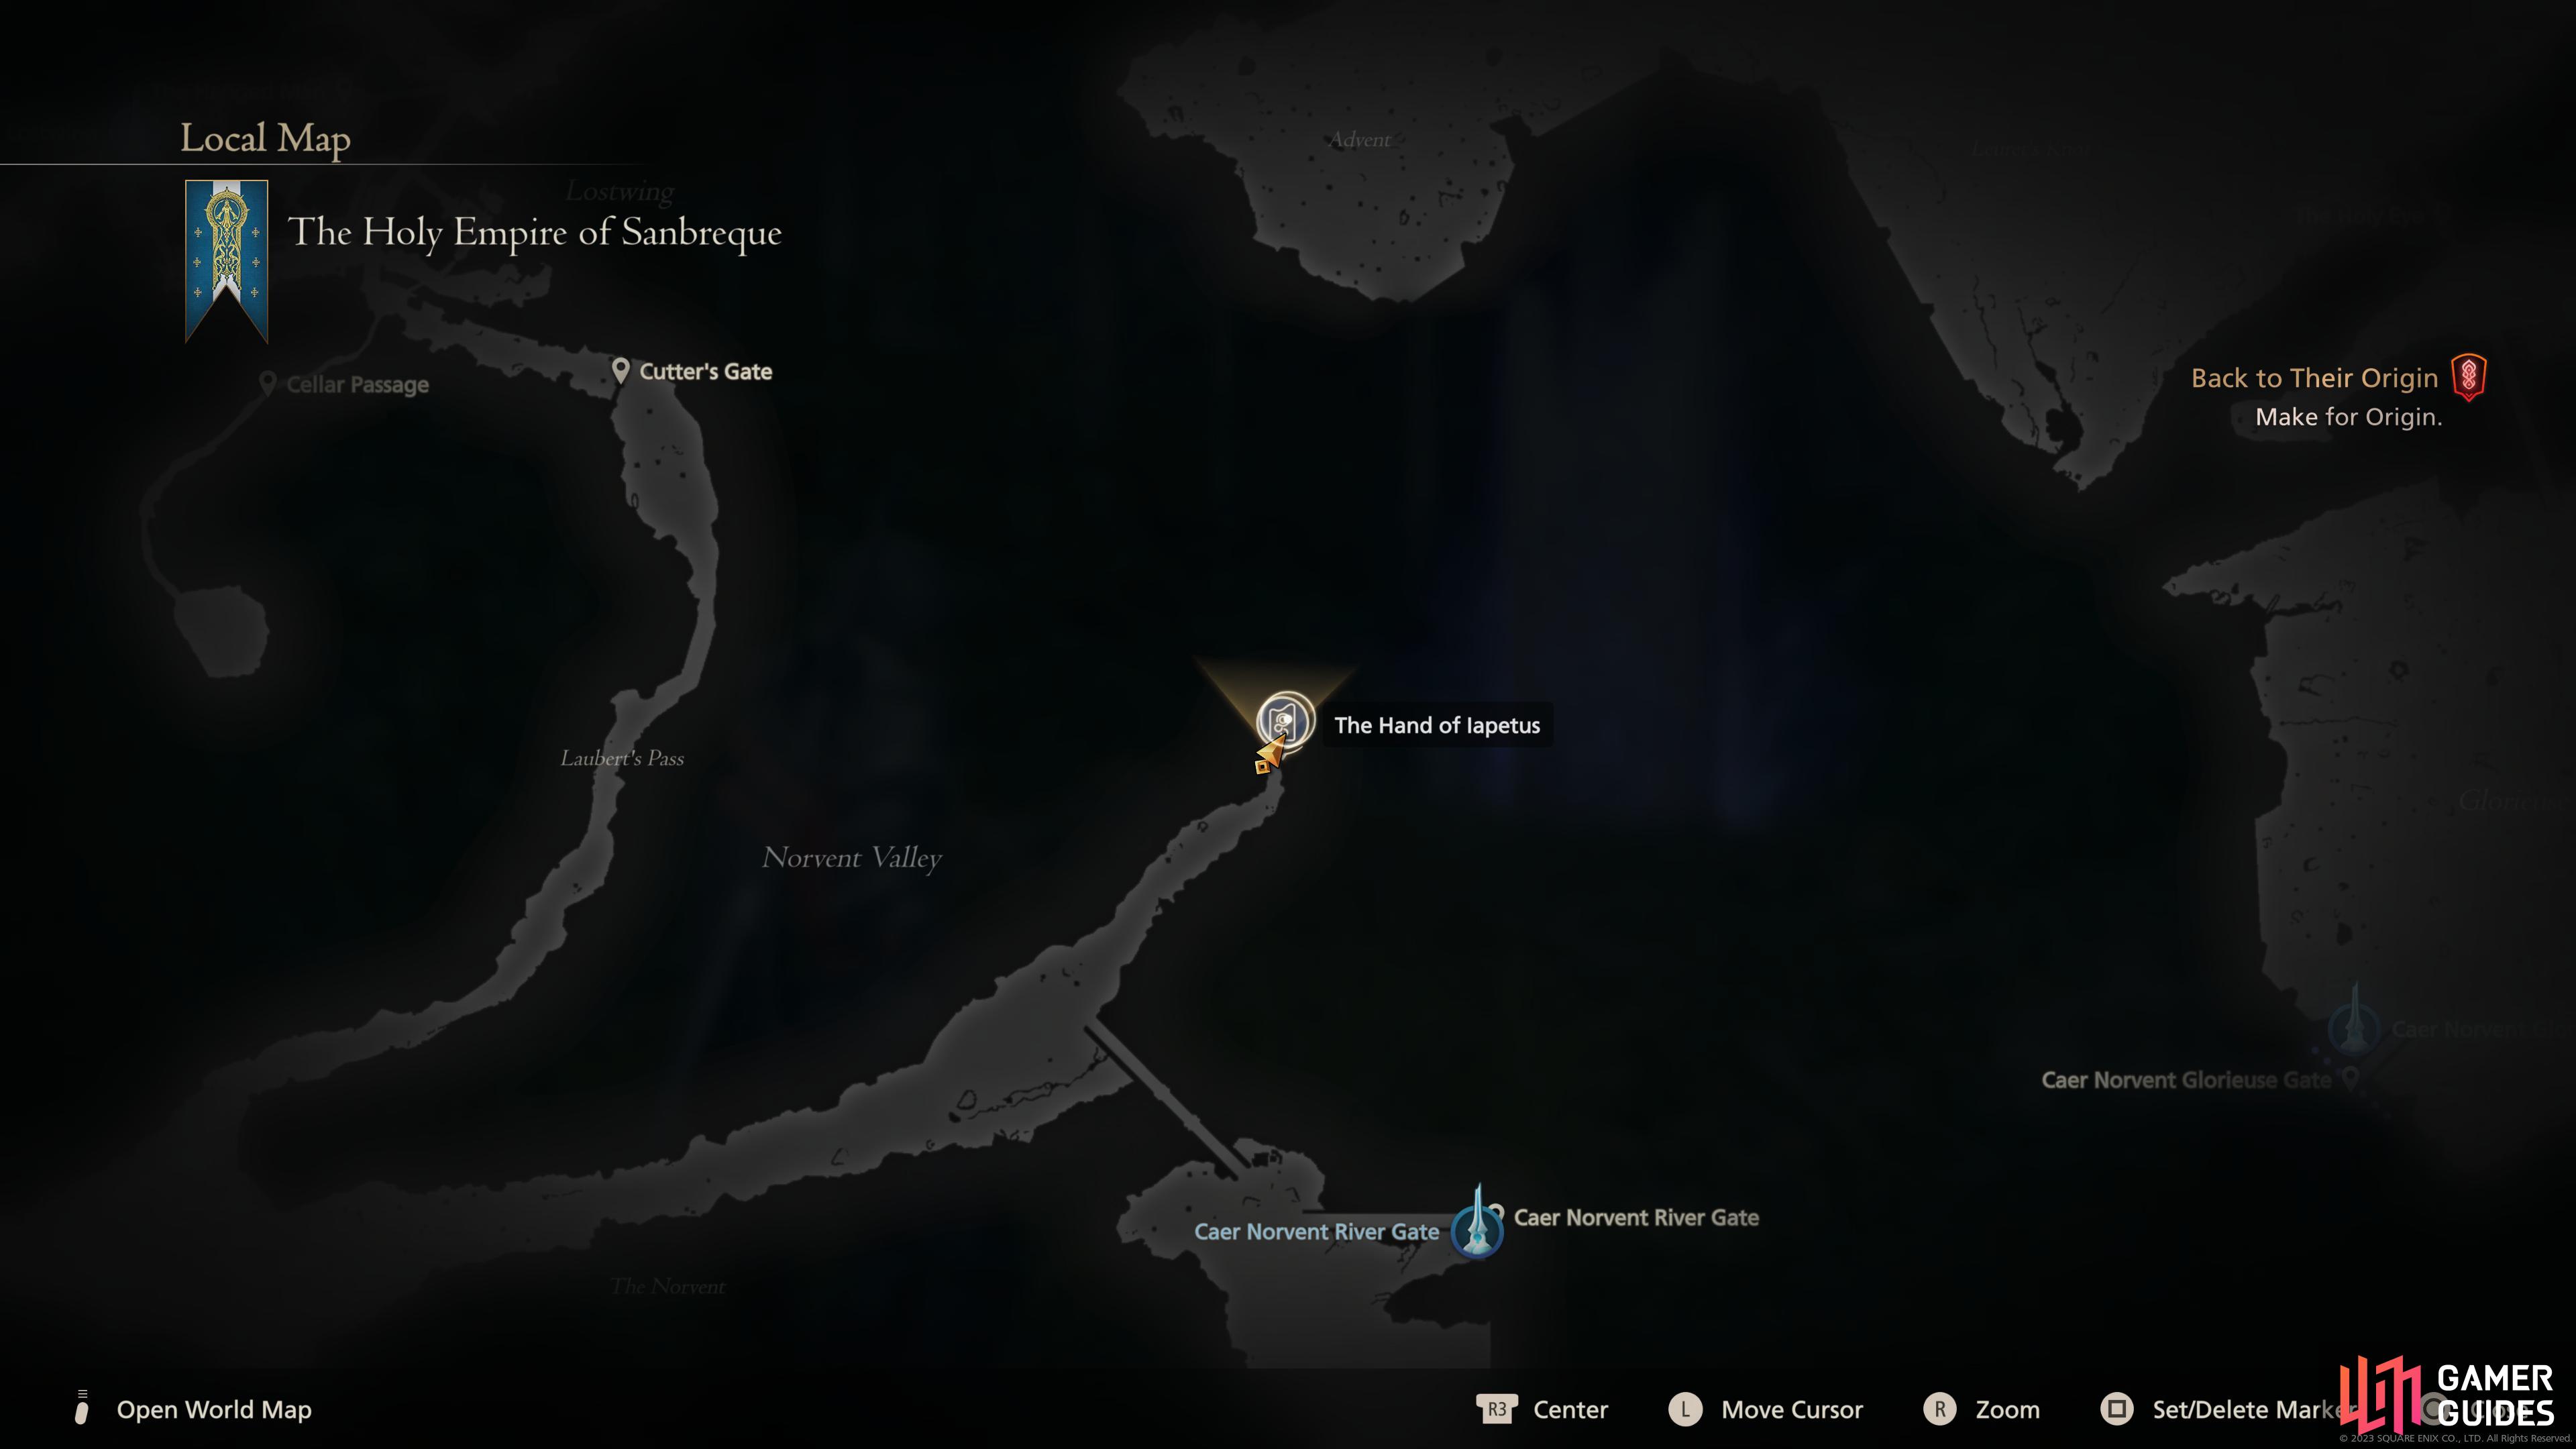
The !Ramuh trial is located just northeast of the !Caer Norvent River Gate in Sanbreque

and receive a powerful reward for completing the trial.
Equipment
Once you’ve got access to everything you can do in FF16, you’ll be able to complete Blacksmith’s Blues IV and obtain the recipe for the Gotterdammerung, the most powerful weapon in Final Fantasy XVI (at least for your first playthrough). You will also have access to get your hands on all of the accessories that you should equip for each of these trials. With that in mind, we suggest the following equipment loadout:
| Name | Slot | Description | Location |
|---|---|---|---|
| Weapon | +375 Attack + Stagger | Complete the Blacksmith’s Blues IV Side Quest to obtain the recipe and then craft it. | |
| Belt | +95 Defense, +32 HP | Crafted from the recipe obtained from the Blacksmith’s Blues III Side Quest. | |
| Vambraces | +94 Defense, +50 HP | Reward for completing the Where There’s a Will Side Quest. | |
| Accessory 1 | Increases attack and alters |
Reward for 85 Renown at the Patron of Whispers. | |
| Stage Ability Accessory | Accessory 2 | – | Multiple |
| Stage Ability Accessory | Accessory 3 | – | Multiple |
As you can see from the above table, equipping the Gotterdammerung will make life a lot easier, as will having the best armor. When it comes to the Vambraces, you can change to ![]() The Sons of Ouroboros instead; the difference is slightly more Defense at the expense of more HP.
The Sons of Ouroboros instead; the difference is slightly more Defense at the expense of more HP.
You should definitely consider the ![]() Berserker Ring, as it is an excellent accessory that alters and powers up Precision Dodge, but if you find it difficult to deal with the animation, opt for the Genji Gloves instead as they offer a flat 5% damage increase to all damage Clive outputs.
Berserker Ring, as it is an excellent accessory that alters and powers up Precision Dodge, but if you find it difficult to deal with the animation, opt for the Genji Gloves instead as they offer a flat 5% damage increase to all damage Clive outputs.
When it comes to the final two Accessories, consider rotating these around to the abilities you have access to for each stage, this will make life a lot easier to complete the Battle Techniques and crucially increase the available time you have remaining to complete the trial. You can find a list of Ramuh accessories in the table below:
Ramuh Accessories List
| Name | Description | Location |
|---|---|---|
| Increases Pile Drive Will damage by 10% | Chest during the Capital Punishment Main Quest | |
| Reduces Lightning Rod’s cooldown by 5.0 seconds | Purchase at the Dhalmil Inn for 12,200 Gil | |
| Increases Lightning Rod’s Damage by 9% | Chest during the Into the Darkness Main Quest | |
| Increases Thunderstorm’s Damage by 10% | Dropped by the boss during the Into the Darkness Main Quest | |
| The Breath of Lightning (Judgment Bolt) | Reduces Judgment Bolt’s cooldown time by 9.0 seconds | Chest during the Fire in the Sky Main Quest |
| The Breath of Lightning (Pile Drive) | Reduces Pile Drive’s cooldown time by 4.2 seconds | Reward for completing the Trial and Error Side Quest |
| The Favor of Lightning (Judgment Bolt) | Increases Judgment Bolt Damage by 6% | Reward for completing the Ramuh Chronolith Trial |
Stage 1 Walkthrough
Stage 1 will give you the !Pile Drive and !Thunderstorm abilities.
| Ability | Suggested Accessory |
|---|---|
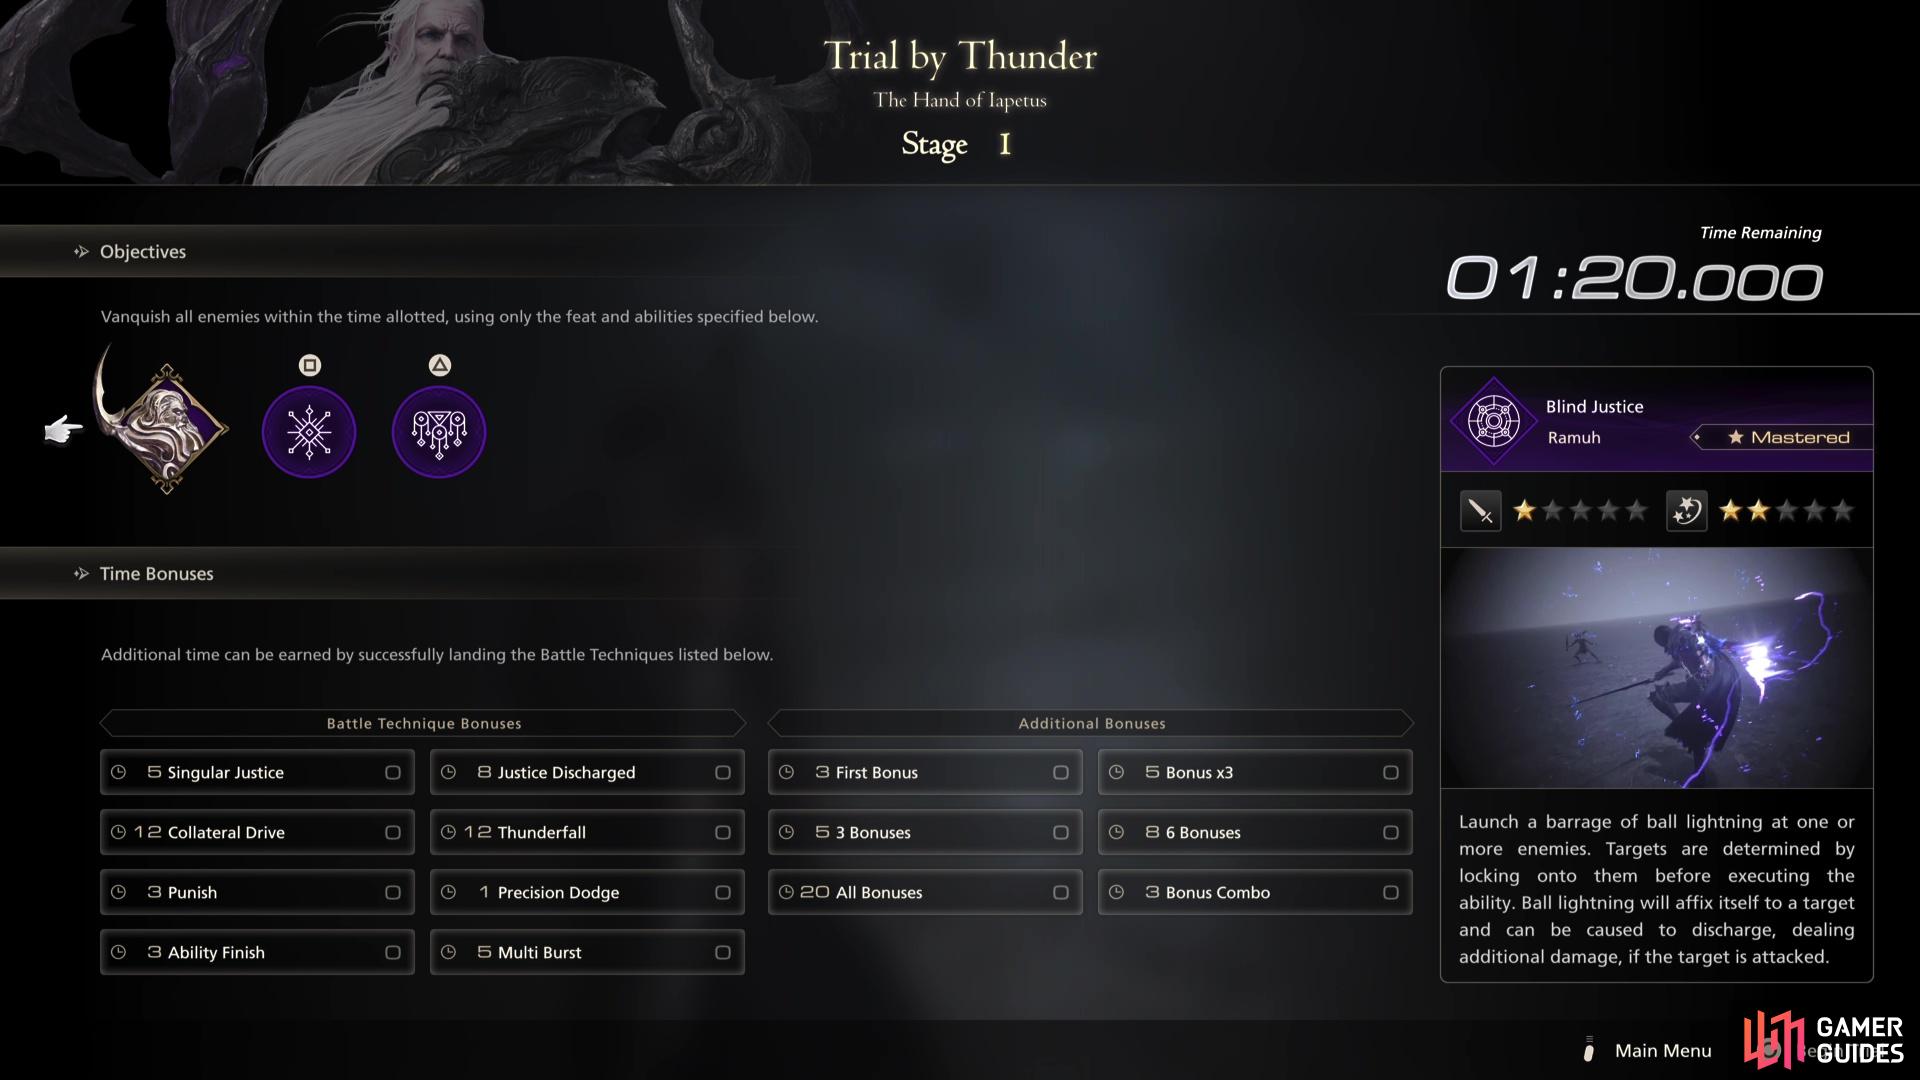
As you should come to expect with any Chronolith Trial, Stage 1 is where you should be looking to build up the majority of your time bonuses. This is because you’ll be facing the easiest enemies that you’ll encounter in the challenge, so be sure you equip the two suggested accessories above before you begin.
When you take a look at the Battle Technique Bonuses for Ramuh, Singular Justice can be a tough one to trigger as it involves you sitting there and fully charging the glacial Blind Justice and unleashing them on a single target. This obviously leaves you open while you’re charging to the maximum so it’s usually easier to perform at the start of a Stage.
Justice Discharged is slightly easier to pull off, only focus on charging it four times but make sure lock is on a different enemy, then discharge them with your other abilities. Ability Finish and Multi Burst are as they say, simply finish an enemy off with an Eikonic Ability and use 10 ![]() Magic Bursts respectively.
Magic Bursts respectively.
Collateral Drive is a simple one, it’s an Area-of-Effect (AoE) ability and you just need to hit two targets with it. Thunderfall, on the other hand, wants you to hit an enemy that has already fallen with Thunderstorm so you’ll need to be on the lookout for suitable opportunities.
Stage 1-1
You’ll be taking on a group of Thunderbound Antelope and two Thunderbound Muggers for the first part of Stage 1, all enemies that should cause little issue. This is perfect, then, to try and hit the Justice Discharged Battle Technique. Begin the encounter by using Blind Justice and try to lock-on to at least four enemies, then rush in and use Pile Drive and watch the sparks fly!

Line up !Blind Justice at the start of this stage

beware of the ranged fireballs from the Salamander.
Stage 1-2
Yet another simple stage, a group of Thunderbound Bugs and two Thunderbound ![]() Vultures are the targets this time. The biggest threat here is trying to attack the Vultures as they are difficult to hit with Ramuh’s skillset. You can make life a bit easier for yourself by using Blind Justice on them, then using a Thunderstorm from below to have it discharge and hopefully take them out.
Vultures are the targets this time. The biggest threat here is trying to attack the Vultures as they are difficult to hit with Ramuh’s skillset. You can make life a bit easier for yourself by using Blind Justice on them, then using a Thunderstorm from below to have it discharge and hopefully take them out.
Stage 1-3
The final part of Stage 1 is up against a Thunderbound Salamander, another Aevis type enemy that you encounter in most of the trials. These are agile creatures, so you’ll need to make sure there is some distance between you and the Salamander before attempting the Singular Justice Battle Technique as it’s easier to do this when you’re only up against a single enemy.
Pay careful attention to the Salamander from range too, as it will shoot fireballs out at you and may catch you offguard. Alternatively, this is a great attack to bait if you’ve still yet to score a Precision Dodge in Stage 1 and are looking for the Battle Technique bonus.
Stage 2 Walkthrough
Stage 2 will give you the !Pile Drive and !Lightning Rod abilities.
| Ability | Suggested Accessory |
|---|---|
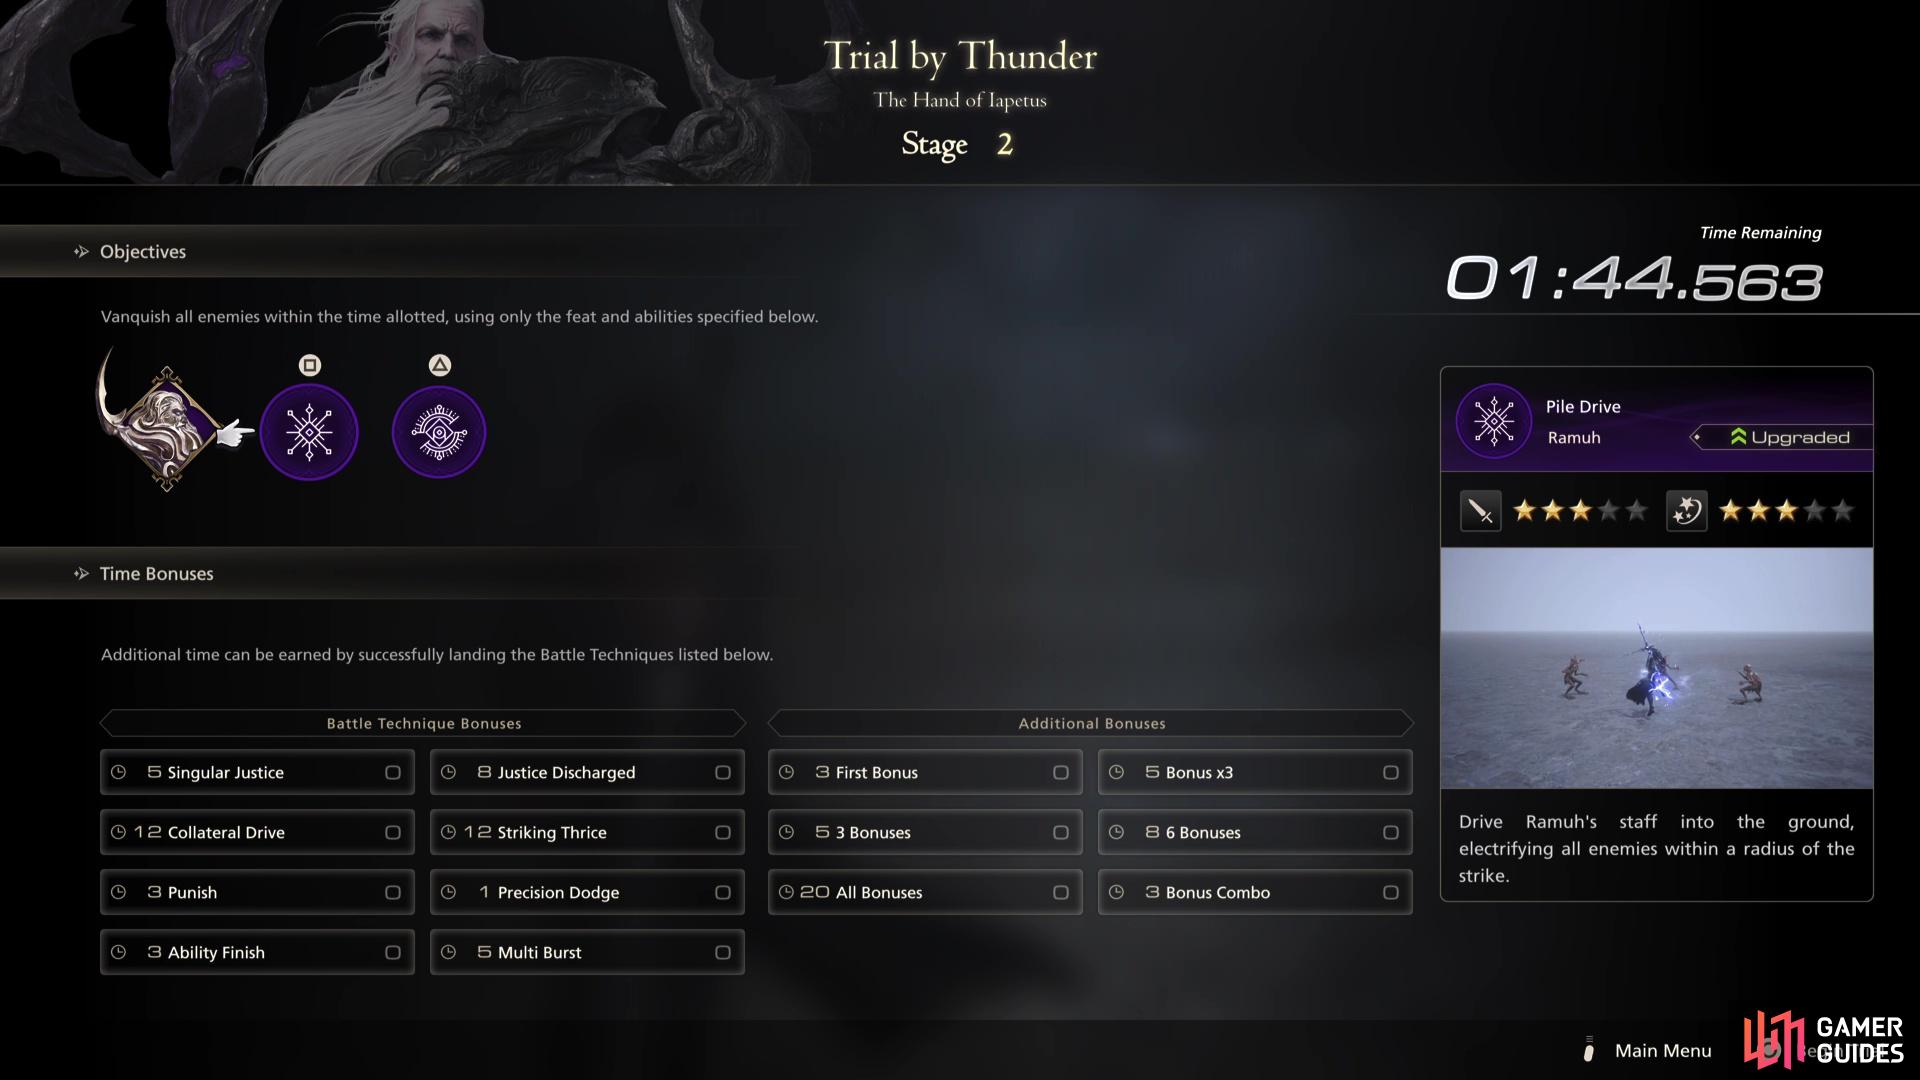
You can expect the difficulty to increase a little when it comes to the types of enemies you’ll face in Stage 2. You’ll lose access to Thunderstorm for this stage, but you’ll get the fantastic Lightning Rod in its place. You can drop this in a group of enemies and trigger it to take them down easier and it’s fantastic in a Stagger phase.
As for new Battle Techniques, there’s only one new one to consider, Striking Thrice. To achieve this bonus, you need to lure an enemy into attacking the Lightning Rod three times, this is done easily by placing it in a group of enemies. If you’re up against a single enemy, you can place it, then stand behind it and use ![]() Taunt to lure your enemy into it.
Taunt to lure your enemy into it.
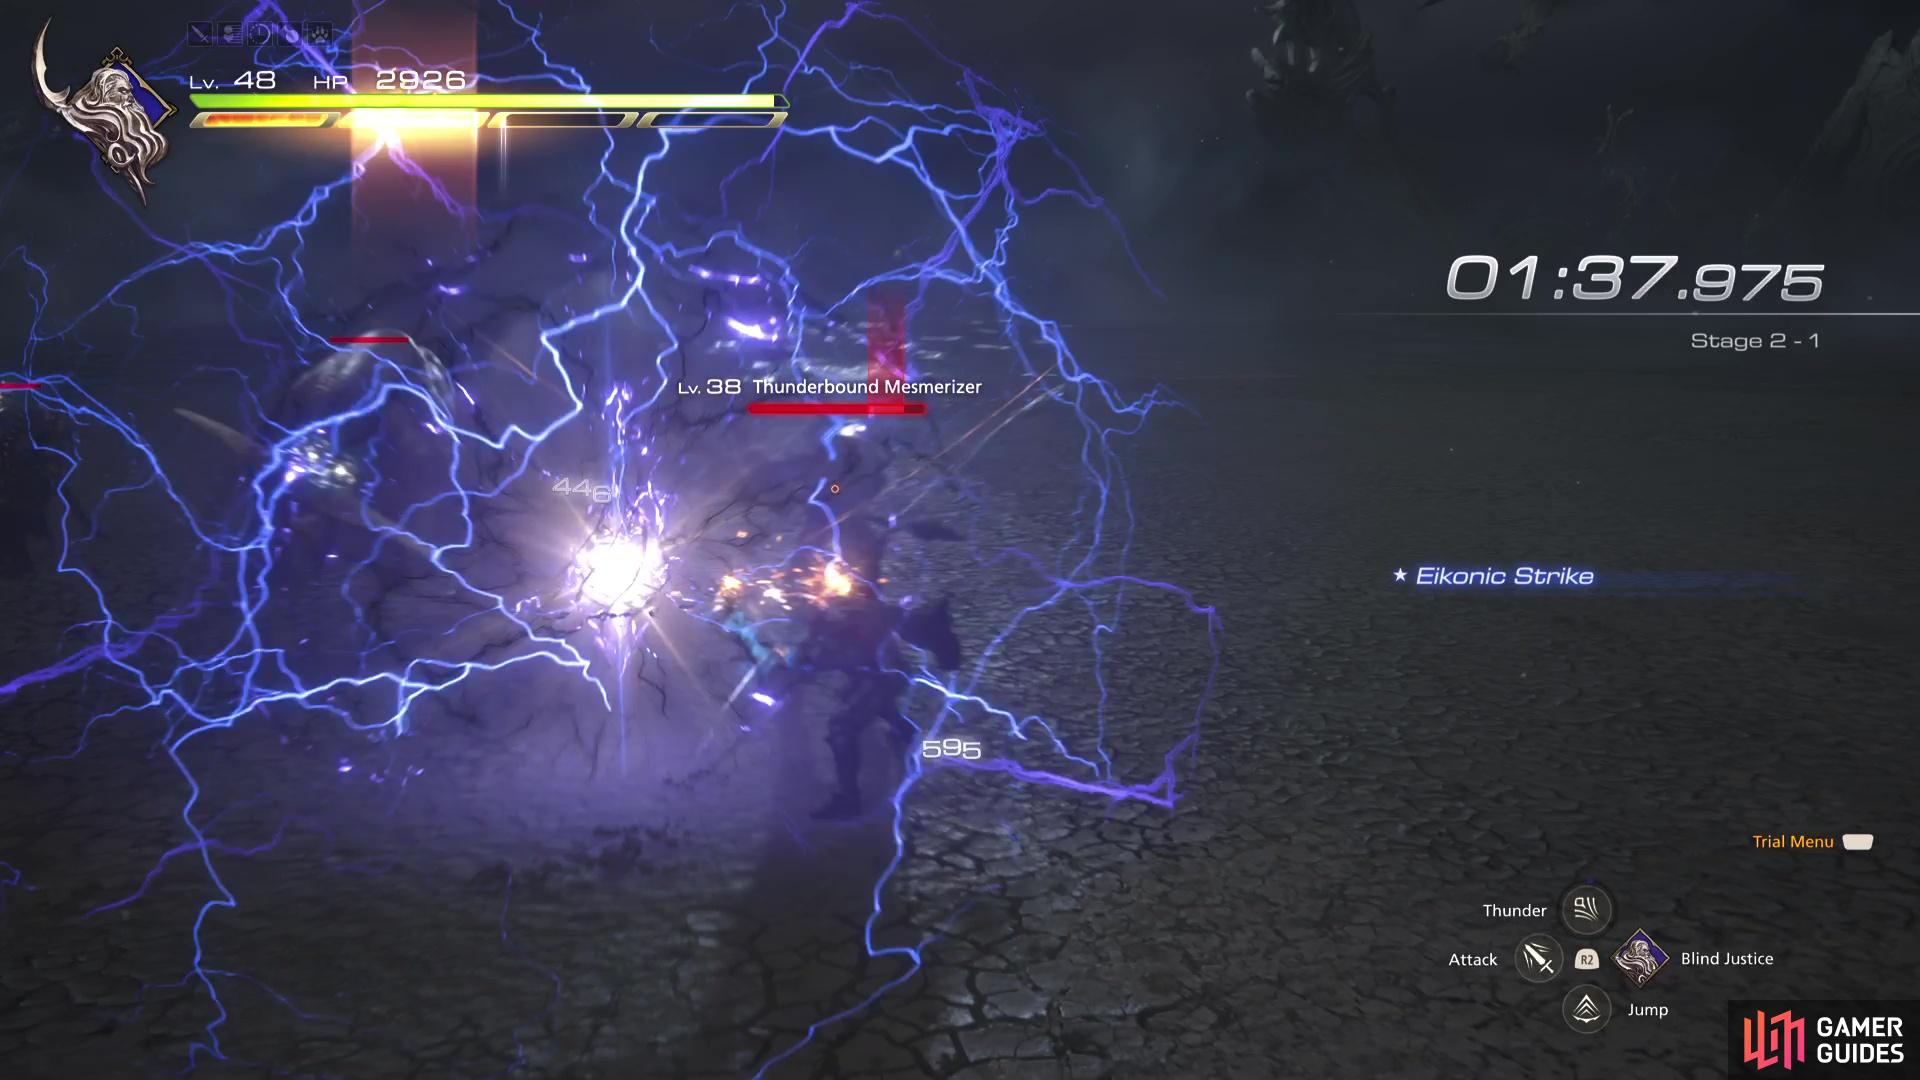
Stage 2-1
If you’re completing the Chronolith Trials in order of Eikons obtained, then you’ll find this next stage is similar to Garuda’s Stage 3-1. Once again, you’ll be fighting against a Bighorn but this time it is accompanied by two Thunderbound Mesmerizers. Begin the battle by dashing in and dropping a Lightning Rod at the Bighorn’s feet and then turn your attention to taking care of the two Mesmerizers.
Once just the Bighorn remains, wait for it to charge you and then you’ll have enough time to fully charge Blind Justice and nab that Battle Technique bonus. Once you Stagger it, place a Lightning Rod down before you use Pile Drive and other regular combos to deal maximum damage.
Stage 2-2
A simple stage follows the tough opening act, and you’ll find yourself up against Waloed soldiers accompanied by two ![]() Dragonets. As always, the start of any stage is perfect to line up Blind Justice on at least four enemies, then drop a Lightning Rod in the middle and use Pile Drive and you’ll find yourself decimate the majority of the group of enemies. If there are any stragglers, focus on the Dragonets first as they will attack you from behind while you’re back is turned.
Dragonets. As always, the start of any stage is perfect to line up Blind Justice on at least four enemies, then drop a Lightning Rod in the middle and use Pile Drive and you’ll find yourself decimate the majority of the group of enemies. If there are any stragglers, focus on the Dragonets first as they will attack you from behind while you’re back is turned.
!Lightning Rod is useful to chain among many enemies

take out the !Bombs asap to avoid the heavy damage from Self Destruct.
Stage 2-3
The final part of Stage 2 can be tricky if you don’t focus in the right areas first. You’ll be fighting a Thunderbound Bavarois, which is a reskinned Flan Prince and retains a lot of the same attacks as the Hunt version you will most likely already defeated. The catch, however, is that the Bavarois should not be your first target, it’s the Thunderbound ![]() Bombs as if you’re not quick, it can ruin your whole run.
Bombs as if you’re not quick, it can ruin your whole run.
As you should come to expect from Bombs in the Final Fantasy series, if you leave them be for too long, they’ll Self Destruct and should you get caught in the blast, you’ll take massive damage. The fact that there are three of them only adds to the danger and this part of Stage 2 can determine your entire run. The good news is, the Bombs will close in on your position, so you can lure them altogether, drop a Lightning Rod and use Pile Drive to deal massive damage to all of them at once.
Stage 3 Walkthrough
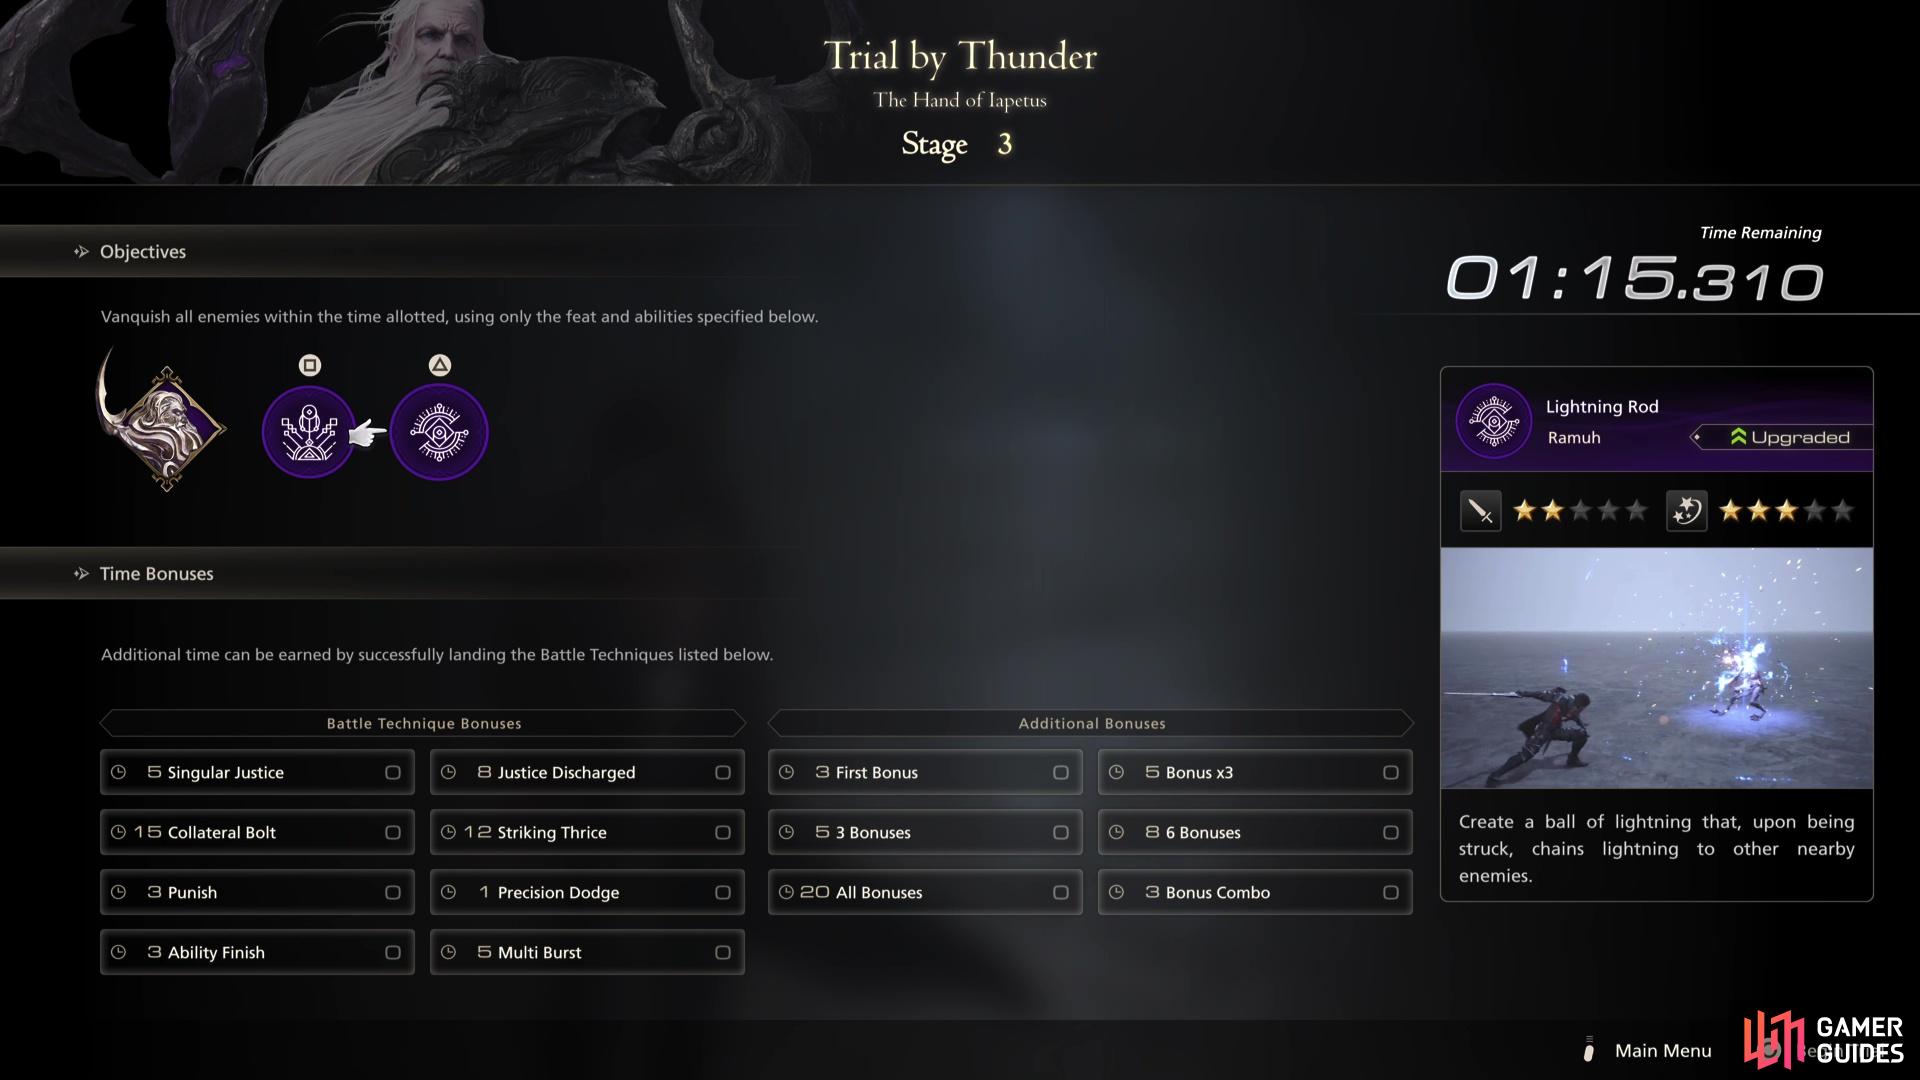
Stage 3 will give you the !Judgment Bolt and !Lightning Rod abilities.
| Ability | Suggested Accessory |
|---|---|
| The Breath of Lightning (Judgment Bolt) | |
The final stage where you can improve your time, so be sure to focus on Battle Technique Bonuses here unless you’re already sitting on plenty of time (3 minutes+). You’ll lose access to Pile Drive for this Stage, but in its place you’ll gain access to the Ramuh ultimate, Judgment Bolt! This will make a huge difference in your damage output throughout this stage. When used, you will launch Levinbolts that will deal massive damage over a large area.
With access to the final ability in Ramuh’s kit, you’ll also have one final Battle Technique Bonus to aim for. Collateral Bolt is a nice and simple bonus to aim for, all it requires is for you to strike at least two enemies with the attack, something you’ll certainly pull off provided there are at least two enemies in the encounter.
Stage 3-1
An incredibly challenging first part to Stage 3, you’ll be up against four Thunderbound Nodes and a Thunderbound Undertaker. You’ll have fought an Undertaker before, such as during the Into the Darkness main quest and you’ll be aware that they are no foe to take lightly. Begin the battle by lunging in to the Undertaker, dropping a Lightning Rod and then follow it up with Judgment Bolt, this should deal with all of the nodes.
Still, the Undertaker can easily deal heavy damage to you even on its own if you’re not careful. Keep an eye out for when it pulls its arm back, this will soon follow with a Ground Pound that will cause a small explosion around the impact. It will, however, give you time to fully charge Blind Justice on the Undertaker and if the Lightning Rod is still up, you can chain it all together. If you have built up enough of your ![]() Limit Break, be sure to use it during the Stagger so can try and take it out in just over one Stagger phase.
Limit Break, be sure to use it during the Stagger so can try and take it out in just over one Stagger phase.
Stage 3-2
A bit of a breather after the hectic first encounter, you’ll need to defeat a group of Thunderbound ![]() Orcs and Crusaders, simple enemies that you should use to try and line up the Justice Discharged Battle Technique Bonus (lock-on to at least four enemies). If Judgment Bolt is available again, sit on it for this part of Stage 3 unless you’re hurting for time, it’s far more beneficial having it ready to go at the start of the final encounter for Stage 3.
Orcs and Crusaders, simple enemies that you should use to try and line up the Justice Discharged Battle Technique Bonus (lock-on to at least four enemies). If Judgment Bolt is available again, sit on it for this part of Stage 3 unless you’re hurting for time, it’s far more beneficial having it ready to go at the start of the final encounter for Stage 3.

Use !Judgment Bolt at the start of 3-1
focus your attention on the Panther first during 3-3.
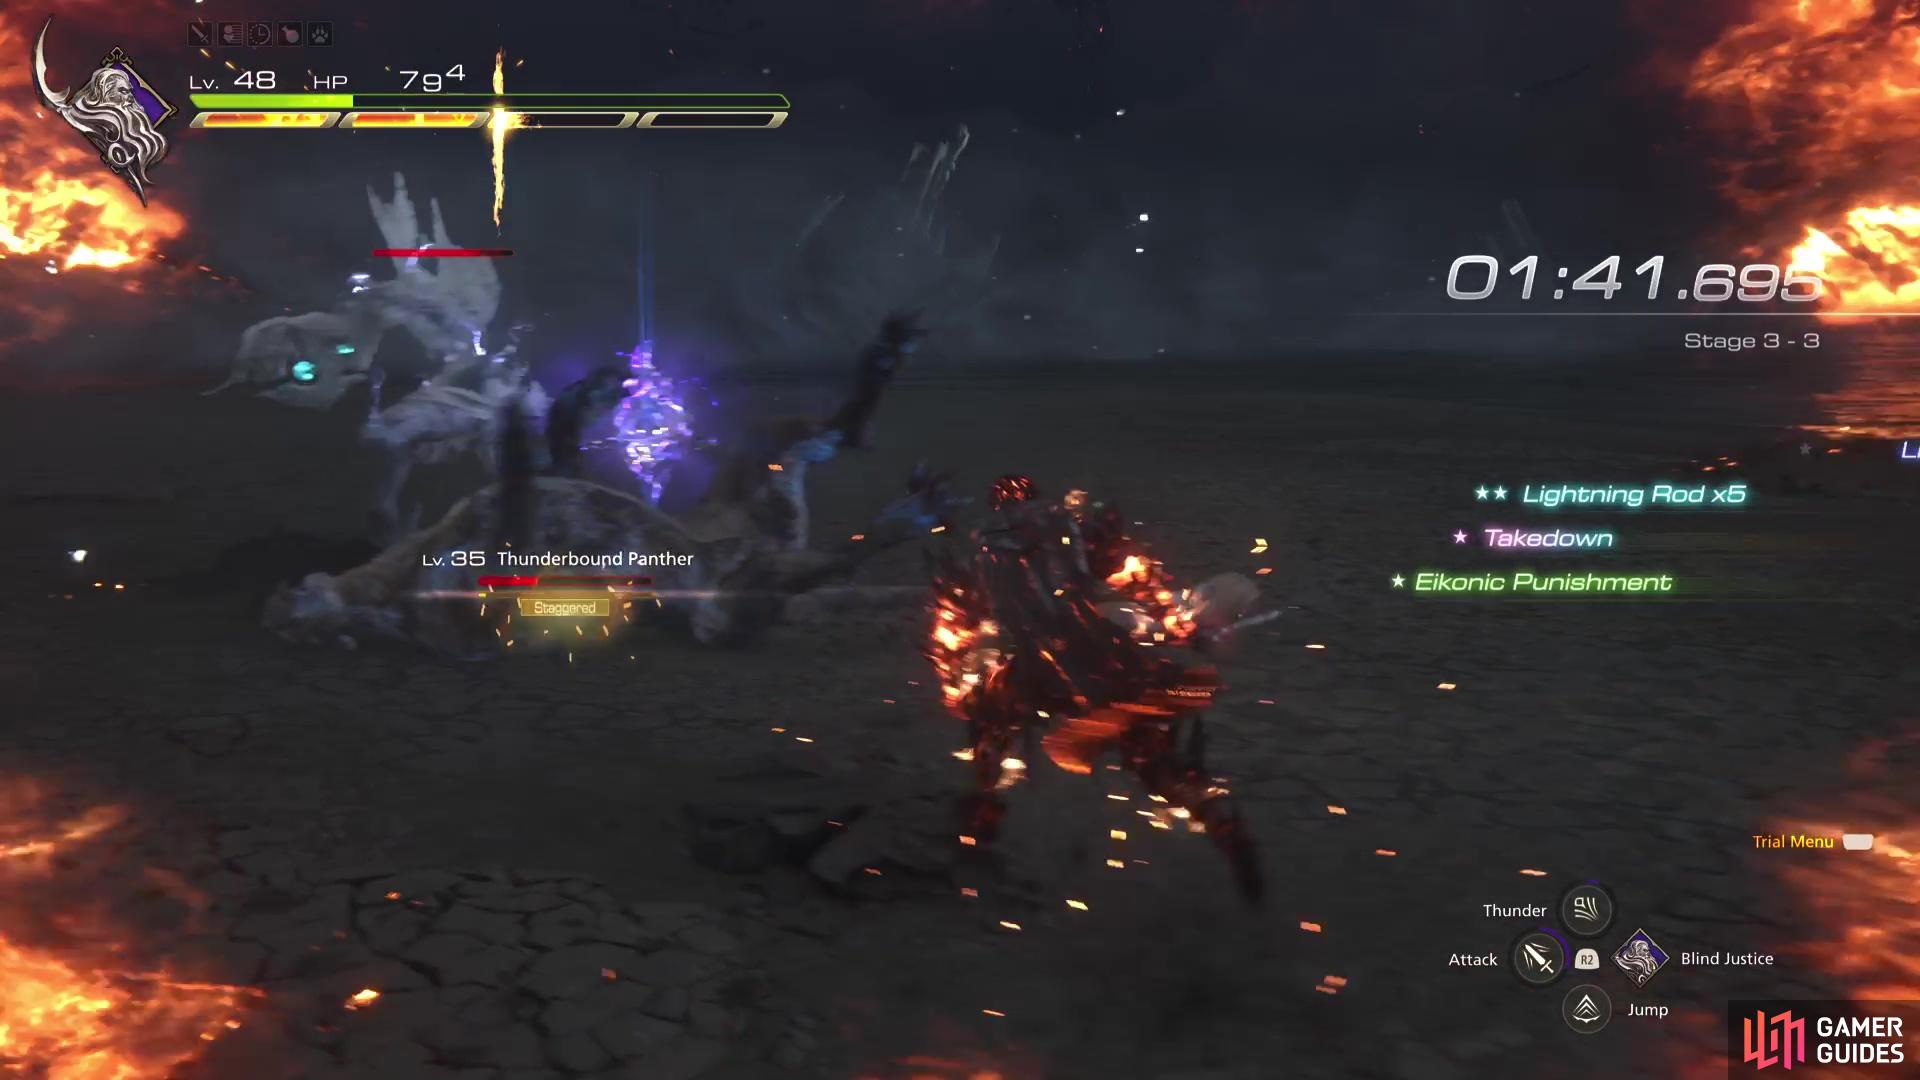
Stage 3-3
As with all Stage 3-3s for the Chronolith Trials, you’ll be facing a tough battle against two Elite enemies at once, a Thunderbound Panther and a Thunderbound Guardian! The Guardian is tough enough on its own, let alone when adding a Panther to the mix, but thankfully you’ve already fought both a Guardian and Panther before so you should know what to expect when it comes to their attacks.
You should know, then, that the Guardian is the main threat here, so you’ll want to focus all of your attention on getting that Panther down as quickly as possible. If you hopefully saved Judgment Bolt, go into Limit Break and toss it at the two of them, then dart in with a Lightning Rod and chain together Magic Burst combos. If all goes well, that should deal with the Panther before it can get so much as a single attack in.
That leaves you with the Guardian, and if you have plenty of time remaining, take it slower to preserve your HP ahead of the Final Stage. The Guardian has a huge range on it, and will often lunge with its massive blades; this is a good opportunity to nail that Precision Dodge and get a heavy combo in on it. If you see it use it’s Whirlwind Blades attack, don’t risk it and keep your distance until it’s over, then rush back in while it’s recovering.
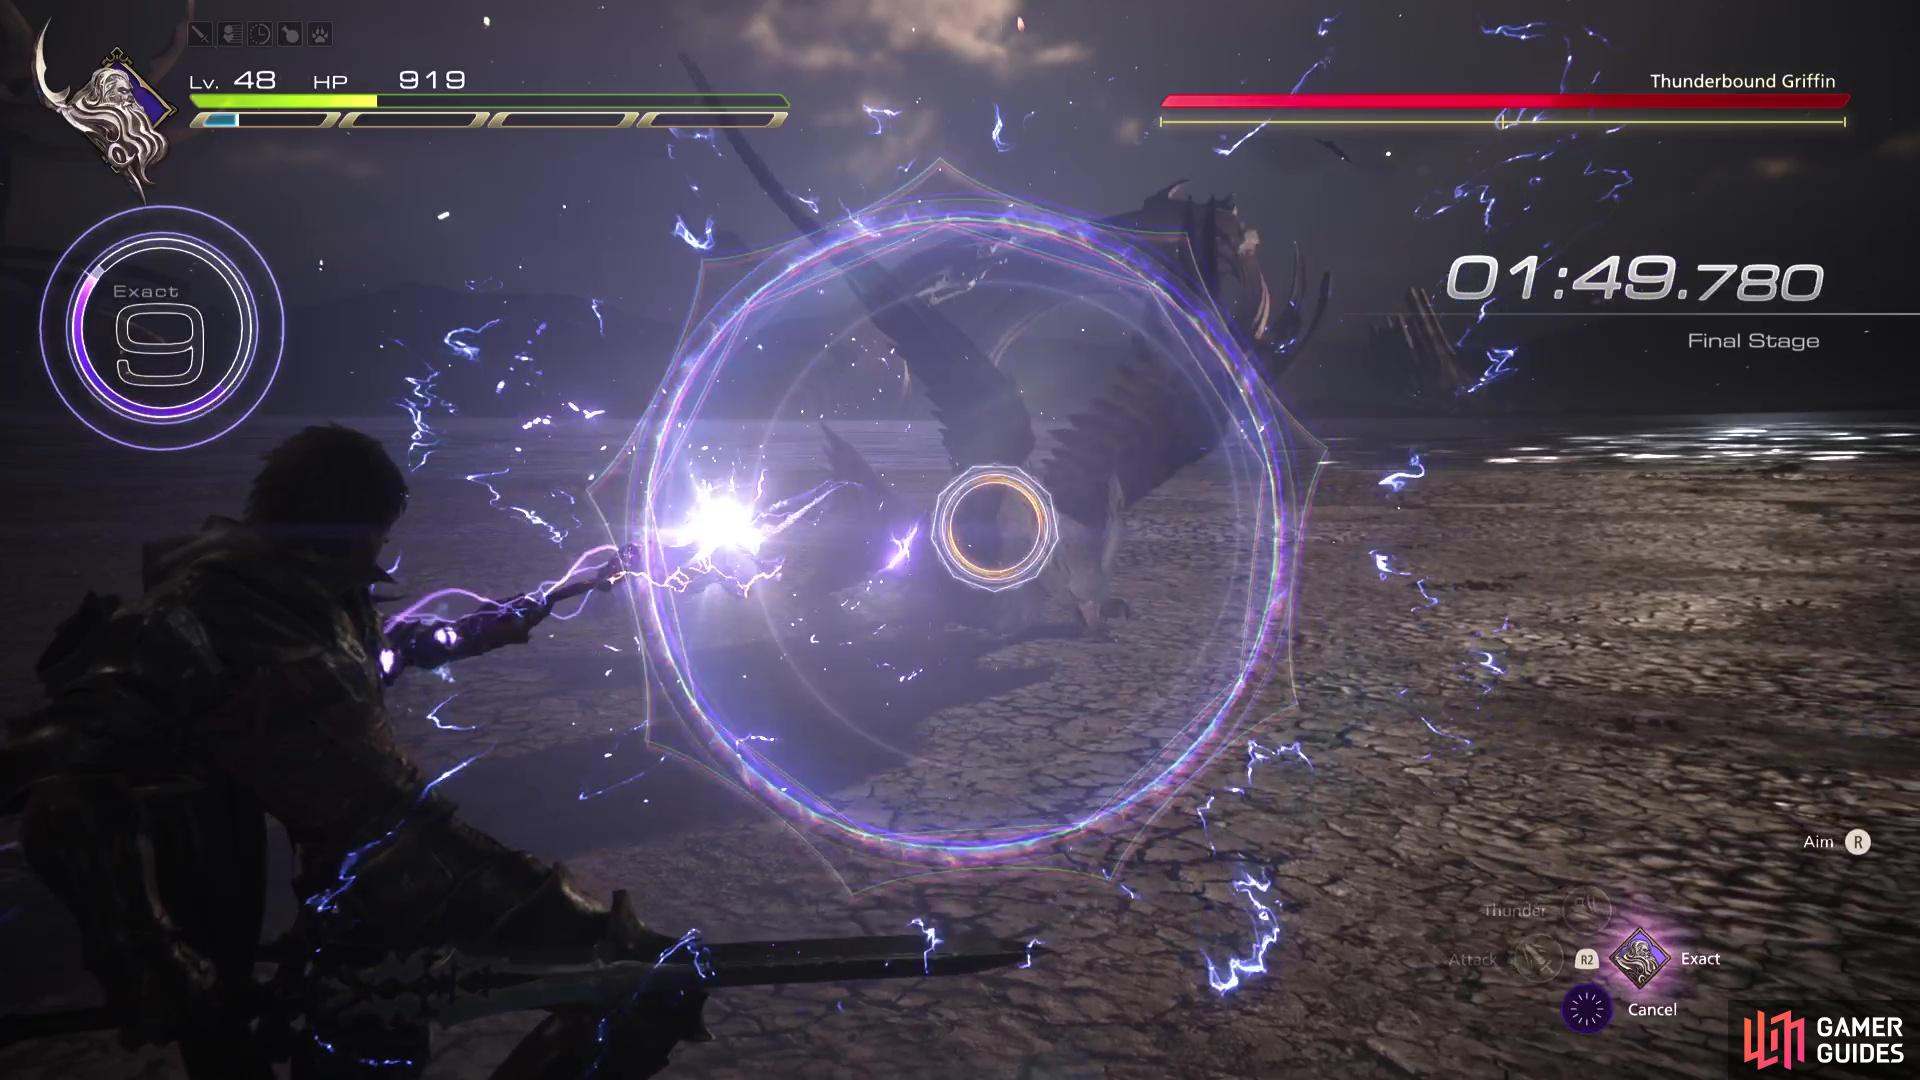
Final Stage - Thunderbound Griffin Strategy

You will fight a Thunderbound Griffin in the final stage of the !Ramuh trial.
| Ability | Suggested Accessory |
|---|---|
| The Breath of Lightning (Judgment Bolt) | |
If this is not your first Chronolith Trial, you’ll know that the Final Stage is a one-off battle against a boss, and that you’ll be prevented from earning any more Battle Technique Bonuses. This means, the time you have is what you’ve got to beat the boss in, so hopefully you have a nice buffer going into the battle. You will, unfortunately, lose access to Lightning Rod, and instead have Thunderstorm back, but it’s not the end of the world as Judgment Bolt is still incredibly useful.
If you’ve been clearing Hunts (or the Blacksmith’s Blues Side Quests), you’ll already have dealt with a Griffin, Dozmare and so should know what to expect. The battle against the Thunderbound Griffin plays out very much the same way and when it comes to enemies you could fight for a Final Stage, this is one of the easier ones.
The only time you should make use of Blind Justice is at the very start of the battle, charging it to full and unleashing it. This is because it’s a slow ability and you’re up against the clock here but getting it on that first time helps massively to drain that Stagger gauge the first time. Once it’s on, toss a Judgment Bolt to start dealing damage to it.
The main attack to watch out for is when the Thunderbound Griffin raises high into the air, this will be followed by an Aerial Blast that will catch you if you’re purely focused on staying in melee range and going all out. The Griffin will also shoot out an Aero Mine when you’re at range, this is easy to Precision Dodge and will allow you to close the gap with a powerful counter.
The only other attack to watch out for is the Thunderbound Griffin’s Dive Bomb which also starts by raising into the air. You can tell the difference by looking at the ground below it, if there’s a green glow, it will be Aerial Blast, otherwise expect a Dive Bomb. If you’re efficient, you should be looking to defeat the Thunderbound Griffin within two Stagger phases.
Once the Thunderbound Griffin has been dealt with, you’ll complete the trial and obtain the The Favor of Lightning (Judgment Bolt), a powerful accessory that increases the damage of Judgment Bolt by 6%. You’ll also unlock The Final Trial by Thunder at the ![]() Arete Stone in
Arete Stone in ![]() The Hideaway, a more challenging version of the trial you just completed (with no real rewards)!
The Hideaway, a more challenging version of the trial you just completed (with no real rewards)!
More Final Fantasy 16 Chronolith Trials
If you’re looking for help on any of the other Chronolith Trials, check out our pages below:
No Comments