
After the events at ![]() Caer Norvent, Clive and Cid will escape back outside with more questions than answers. Clive has secured new powers through mysterious means, while the
Caer Norvent, Clive and Cid will escape back outside with more questions than answers. Clive has secured new powers through mysterious means, while the ![]() Dominant he seeks has managed to elude him, and Benedikta, although defeated and distraught, still managed to escape. These matters are the subject of your immediate attention, and this page will provide the main quest
Dominant he seeks has managed to elude him, and Benedikta, although defeated and distraught, still managed to escape. These matters are the subject of your immediate attention, and this page will provide the main quest ![]() Wings of Change in Final Fantasy 16, including information about equipping your new
Wings of Change in Final Fantasy 16, including information about equipping your new ![]() Eikon and purchasing new Eikon abilities, the items and enemies you’ll find while exploring
Eikon and purchasing new Eikon abilities, the items and enemies you’ll find while exploring ![]() Glorieuse, how to farm Wind Elementals for Ability Points, and how to backtrack and find the
Glorieuse, how to farm Wind Elementals for Ability Points, and how to backtrack and find the ![]() Histoire Orchestrion Roll.
Histoire Orchestrion Roll.
At the start of this quest you’ll unlock !Garuda’s ability tree.
How to Use Garuda’s Abilities in FF16
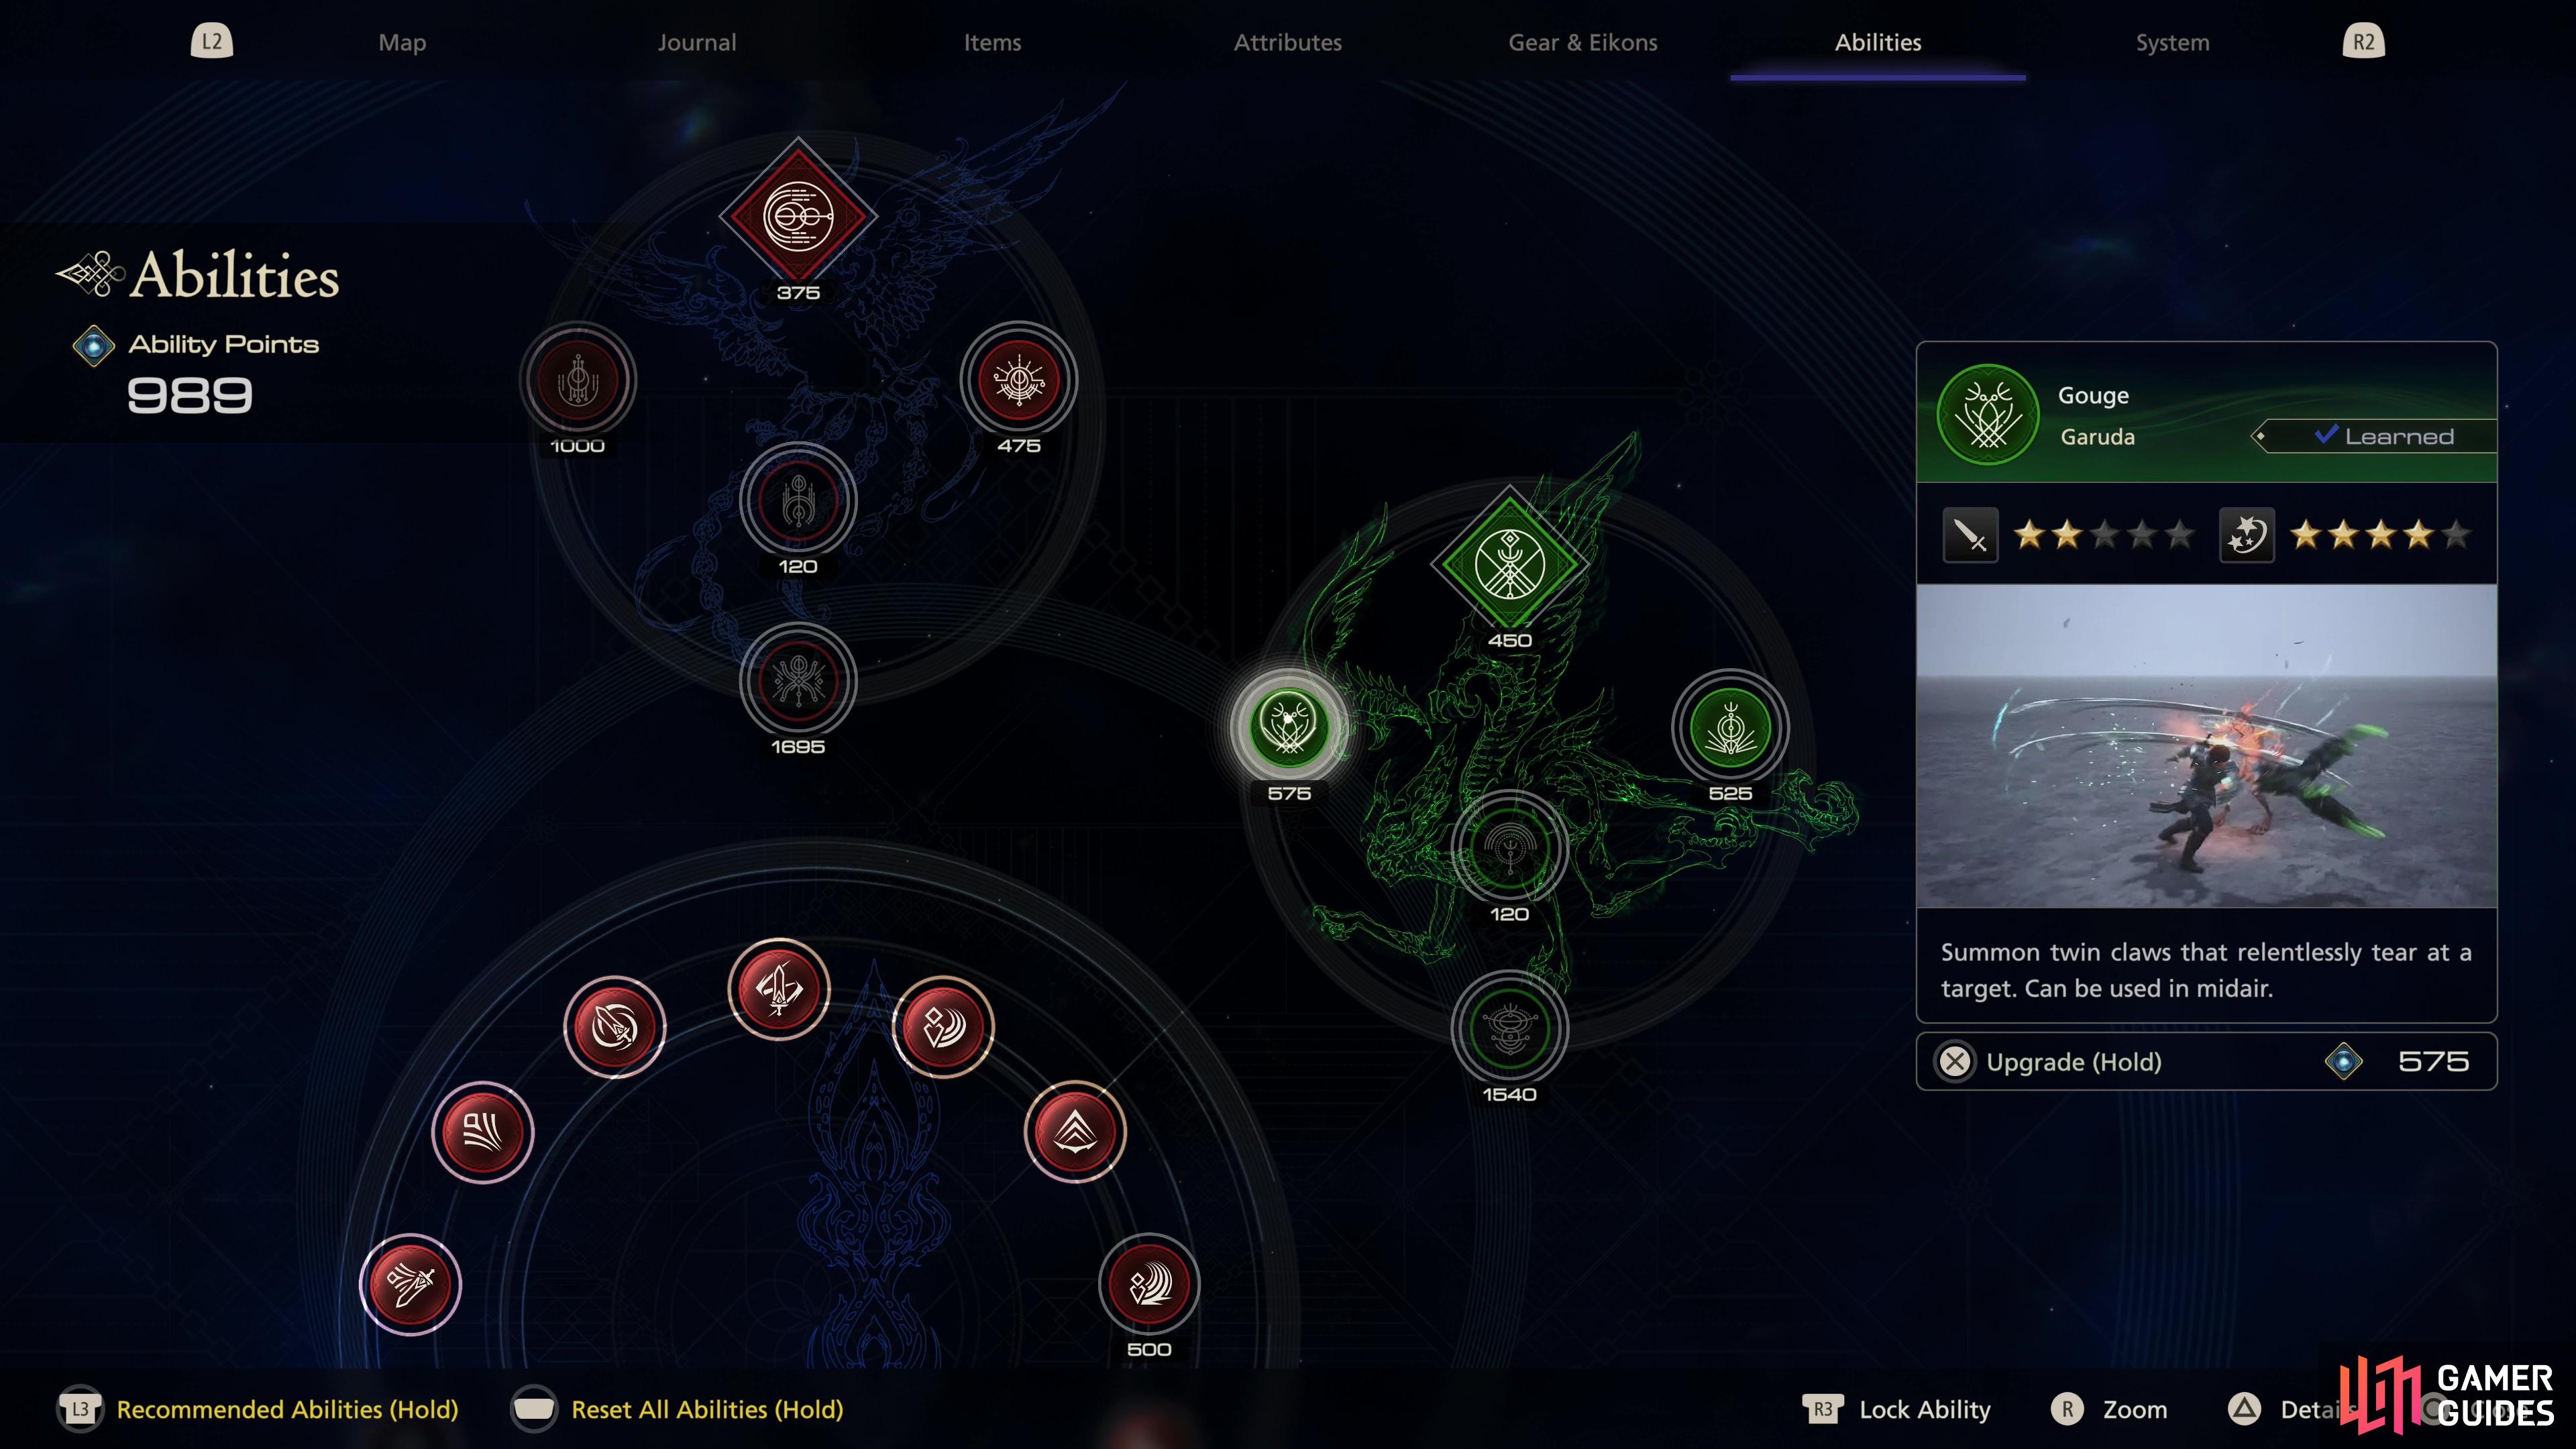
Before you go wandering about, it’s time to address Clive’s new powers. While the means of his theft remains a mystery, Clive did manage to steal ![]() Garuda from Benedikta, and he now has access to these new Eikonic powers. Enter the menu and it should default to the Abilities tab, where a new ability board will open up for Garuda.
Garuda from Benedikta, and he now has access to these new Eikonic powers. Enter the menu and it should default to the Abilities tab, where a new ability board will open up for Garuda.
By default you’ll have access to the ![]() Gouge and
Gouge and ![]() Wicked Wheel Eikonic Abilities (mapped to
Wicked Wheel Eikonic Abilities (mapped to  +
+  and +
and +  , just like Phoenix’s Eikonic Abilities) and the
 ![]() Deadly Embrace ability stands as the Garuda counter to
Deadly Embrace ability stands as the Garuda counter to ![]() Phoenix Shift. Instead of shift-charging at enemies, Garuda instead attempts to draw them to you, and as an air elemental, Garuda’s abilities are generally suitable for aerial combat and excels at inflicting stagger instead of being damaging powerhouses. You can unlock new Garuda abilities, upgrade them, and master them as normal, and you can swap between Phoenix and Garuda’s ability sets on a whim by pressing the
Phoenix Shift. Instead of shift-charging at enemies, Garuda instead attempts to draw them to you, and as an air elemental, Garuda’s abilities are generally suitable for aerial combat and excels at inflicting stagger instead of being damaging powerhouses. You can unlock new Garuda abilities, upgrade them, and master them as normal, and you can swap between Phoenix and Garuda’s ability sets on a whim by pressing the  button. While you can only use the currently equipped Eikon’s abilities, shifting between them is fairly quick and painless and all Eikonic Abilities have separate cooldowns, so there’s no reason not to get into the habit of spamming them.
For a more in-depth look at Garuda’s abilities, check out the page Best Garuda Eikon Abilities in FF16.
| Enemies in this Area |
|---|
| Imperial |
| Imperial Captain |
| Imperial Legionnaire |
| Imperial War |
| Imperial War Wyrm |
| Wind Elemental |
| Items in This Area |
|---|
| 5x Pinches of |
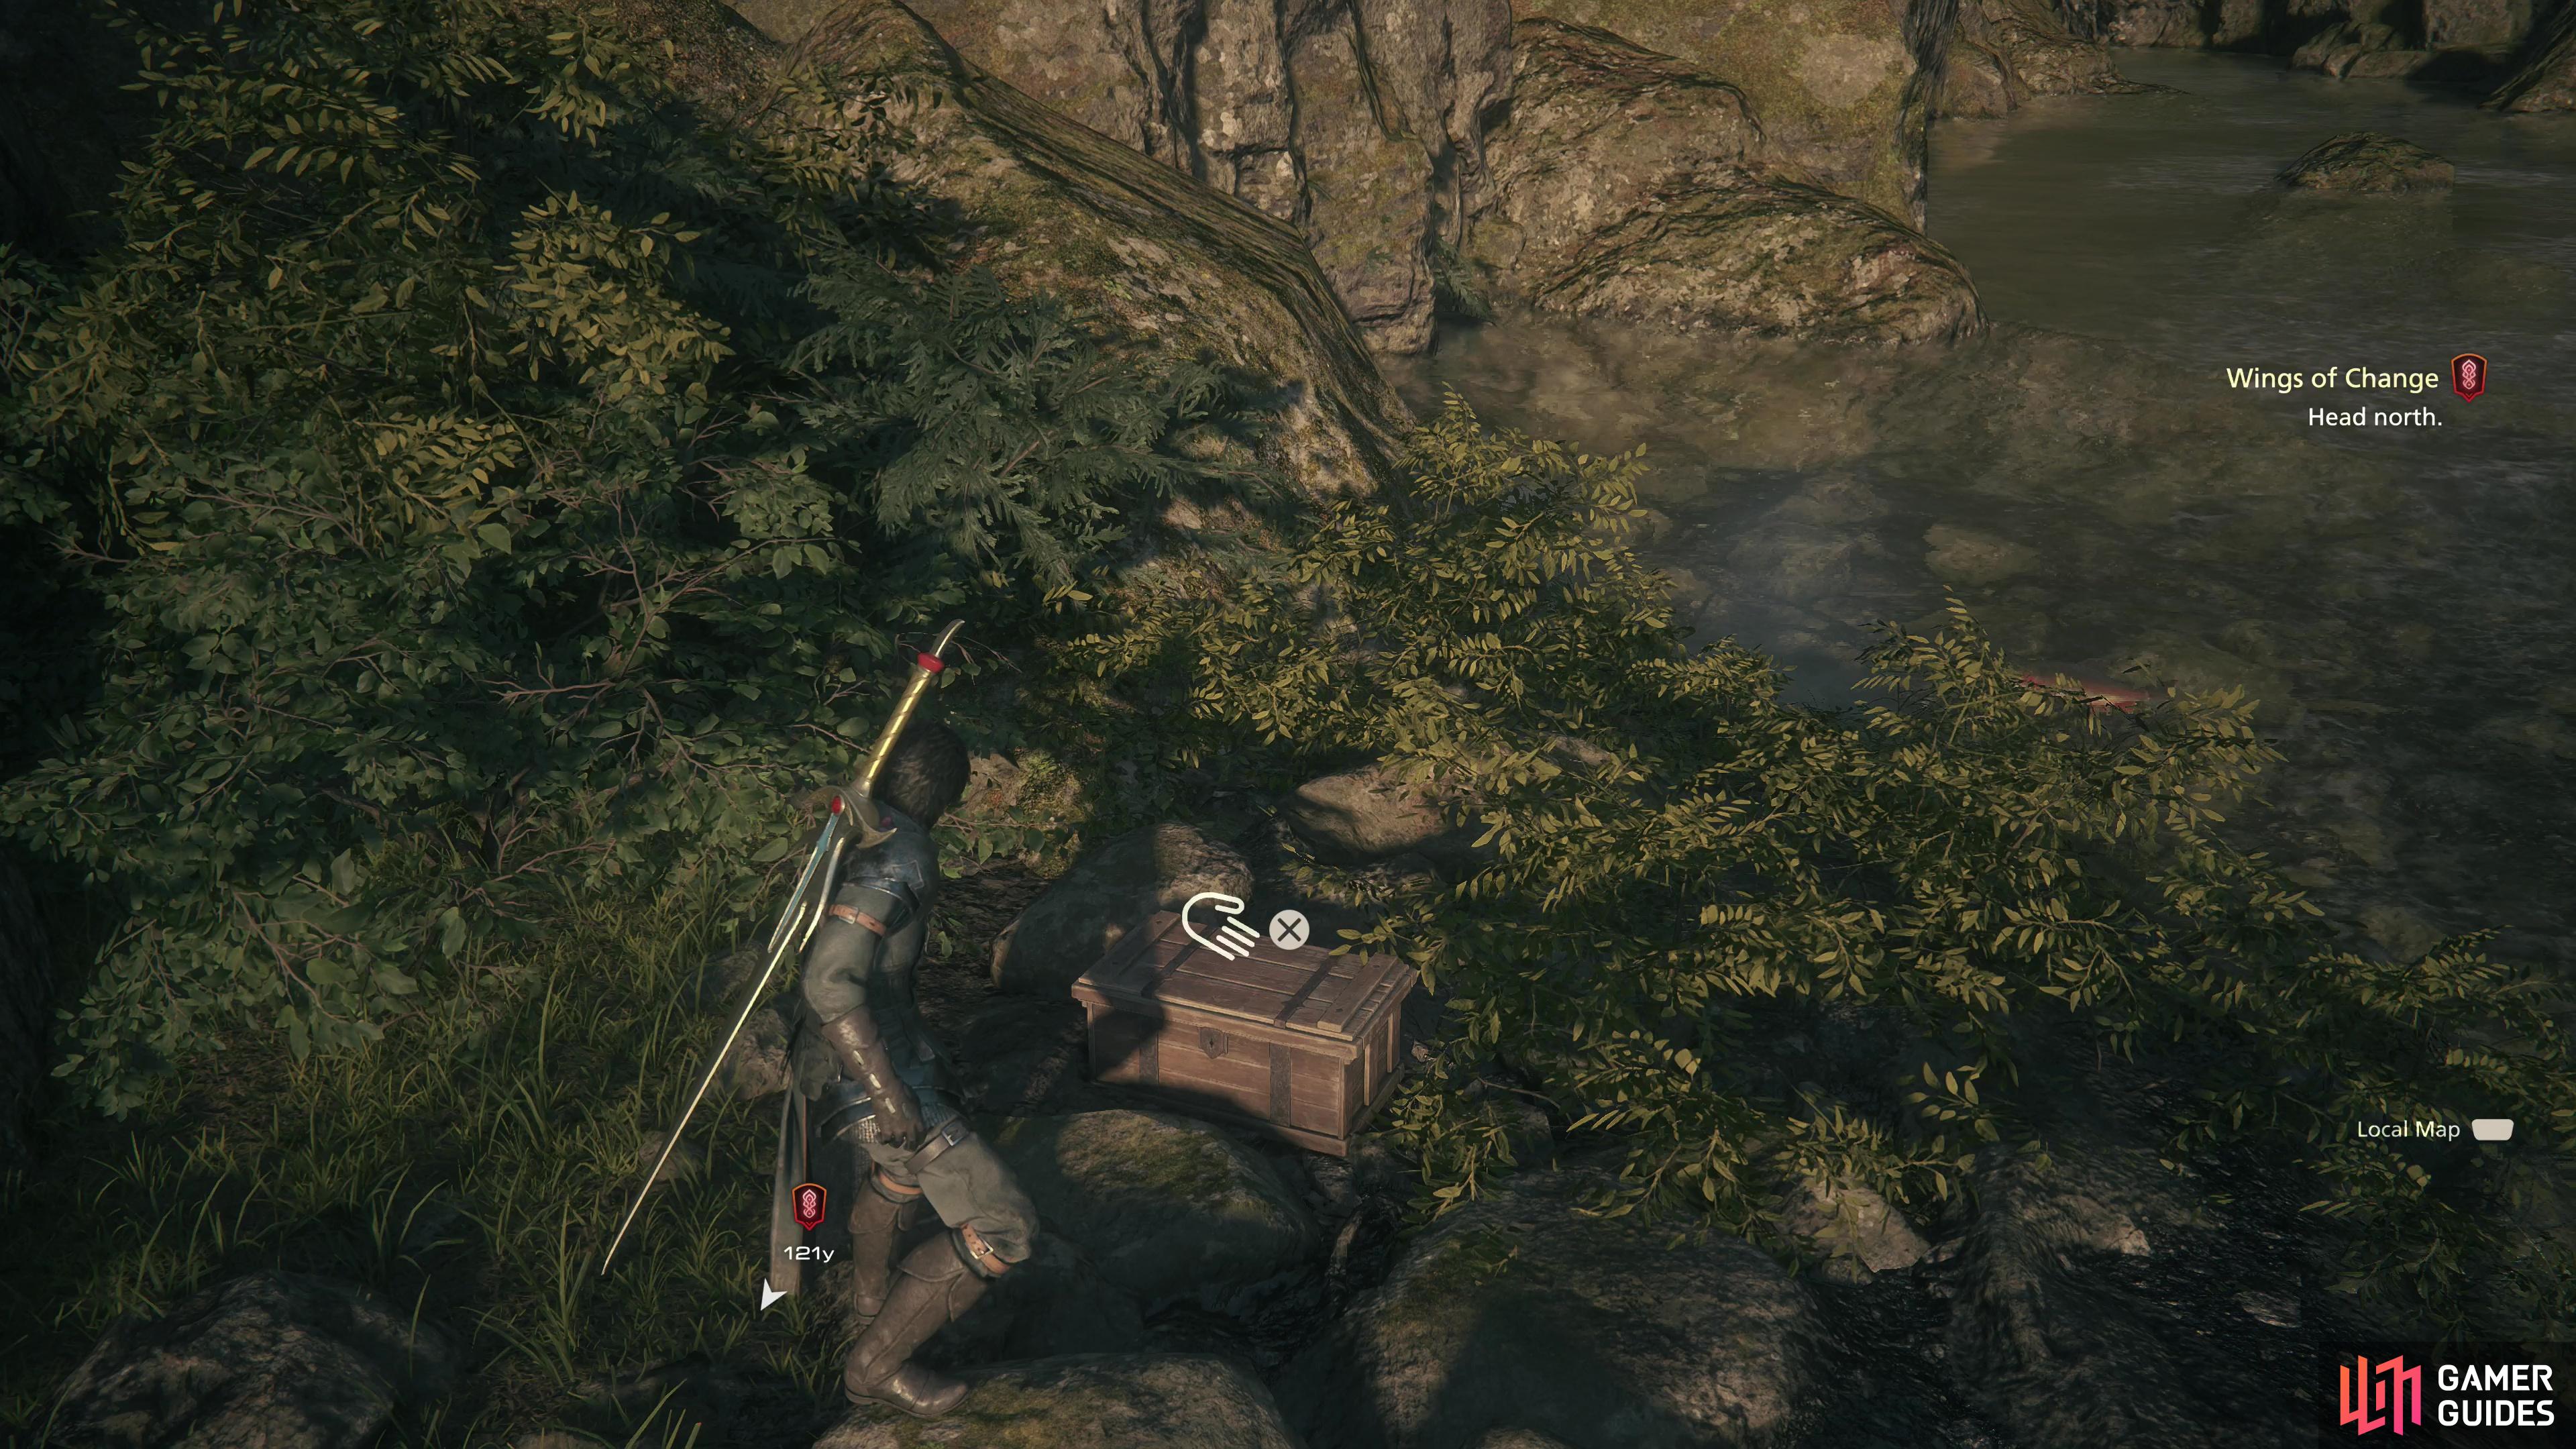
Head down to the river and search a chest for a !Gil Bug,
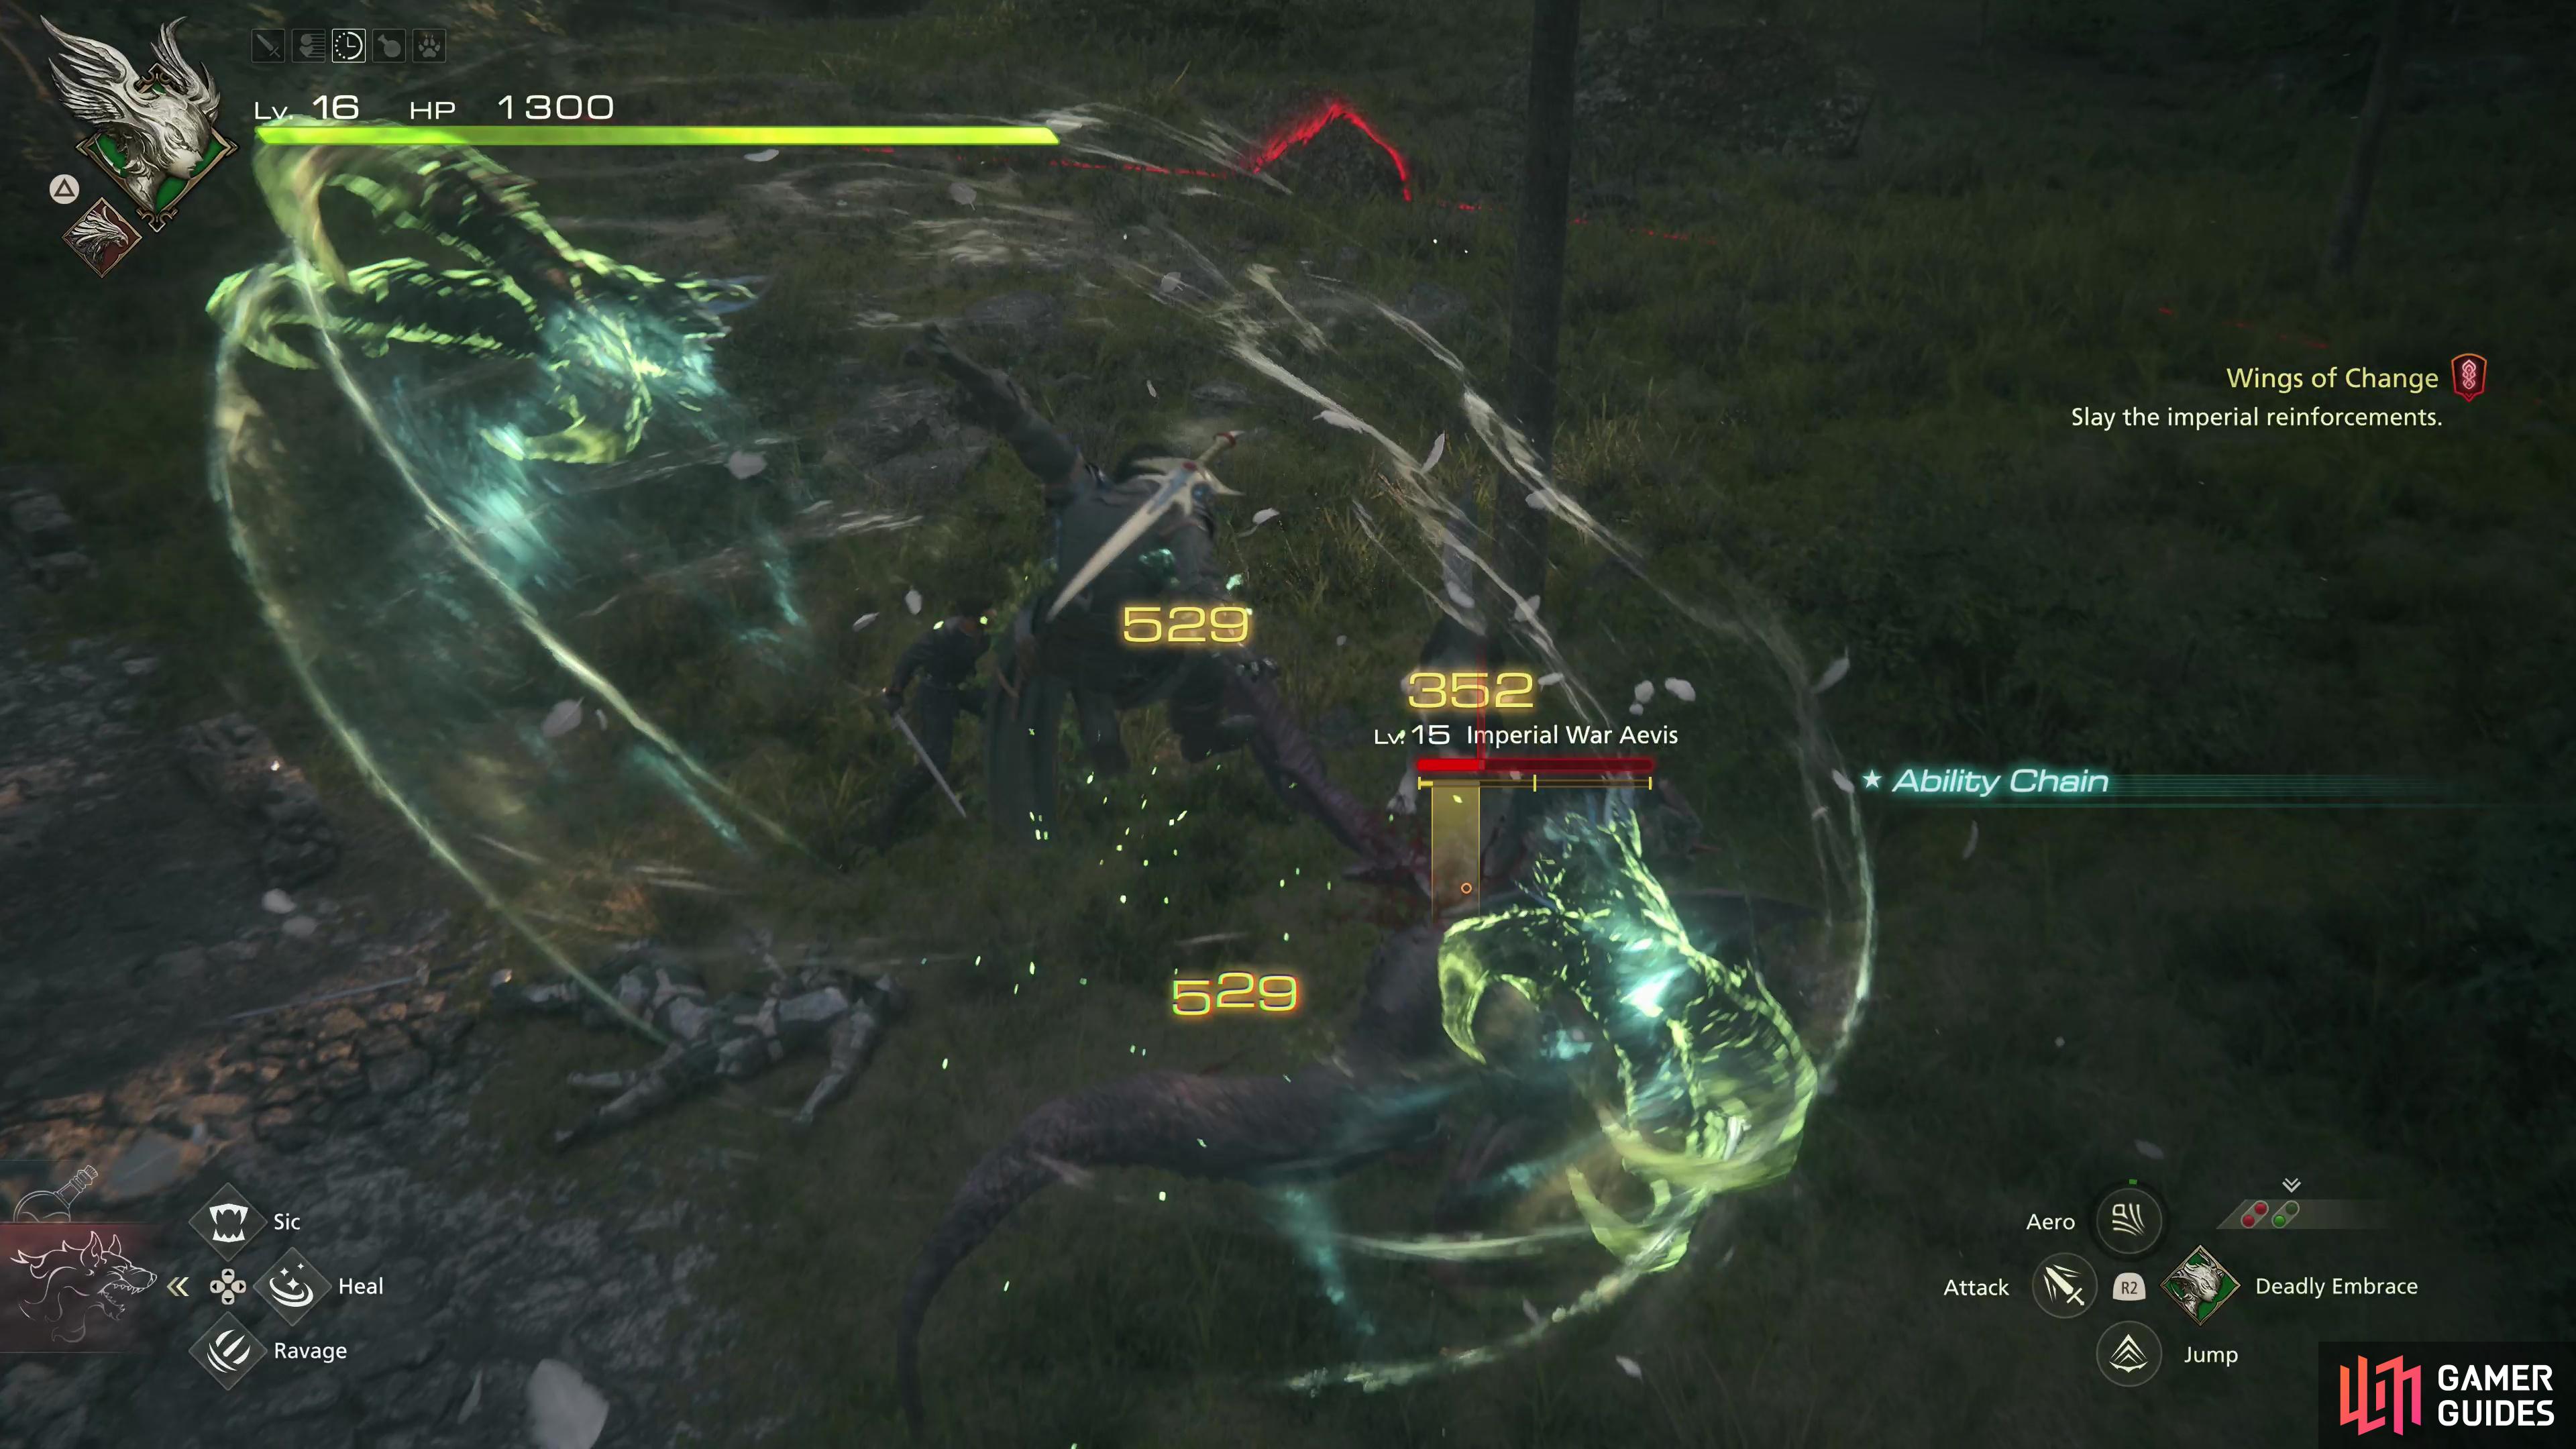
then defeat someImperials - including their pet !Aevis - near a bridge. It’s a good opportunity to try out those new !Garuda abilities you have!
Exploring Glorieuse - FF16 Wings of Change Main Quest Walkthrough
When you’re ready to go, not the road leading away from the castle and promptly head left into the wilderness and follow the edge of the castle until you reach a river. At this point, search upstream near some rocks near the castle to find a chest along the river, within which you’ll find a Gil Bug.
Follow the river and you’ll eventually spot a bridge. Head up to it and you’ll discover that the Imperials haven’t completely abandoned Caer Norvent, and guard the road along with their pet - an Imperial War Aevis. This miniboss is similar to wyvern’s you fought back during the quest Fanning Embers. It spits globs of fire, performs claw swipes (stationary or lunging - mind the range) and can perform spinning lashes with its tail, both horizontal and vertical. Most of its attacks are well-telegraphed and easy to read, and what’s more, you now have twice as many Eikonic Abilities you can spam! Use Garuda’s abilities to make quick work of its stagger bar, then punish with Phoenix’s abilities (and ![]() Torgal).
Torgal).
Once these enemies are dead, cross the bridge to trigger some scenes. Seems Garuda didn’t completely abandon Benedikta, or is this some darker power she’s tapping into? Either way, it’s not good, and Clive absolves to settle matters lest he lose the fire Dominant he’s seeking.
After the scene you’ll find yourself facing northeast. Turn around and search past the bridge to the southwest to find another chest, wherein you’ll find 5x Pinches of Magicked Ash. You can now head towards the tornado, and when you reach the next open area - ![]() The Dragon’s Aery - you’ll find it’s crawling with Wind Elementals. These are functionally wind drakes, and while they’re similar to the Imperial War Aevis you just fought, they’re more prone to diving and performing spin attacks than spitting (although they can discharge aero balls). There’s a good number of them here and they’ll yield a decent number of AP when defeated.
The Dragon’s Aery - you’ll find it’s crawling with Wind Elementals. These are functionally wind drakes, and while they’re similar to the Imperial War Aevis you just fought, they’re more prone to diving and performing spin attacks than spitting (although they can discharge aero balls). There’s a good number of them here and they’ll yield a decent number of AP when defeated.
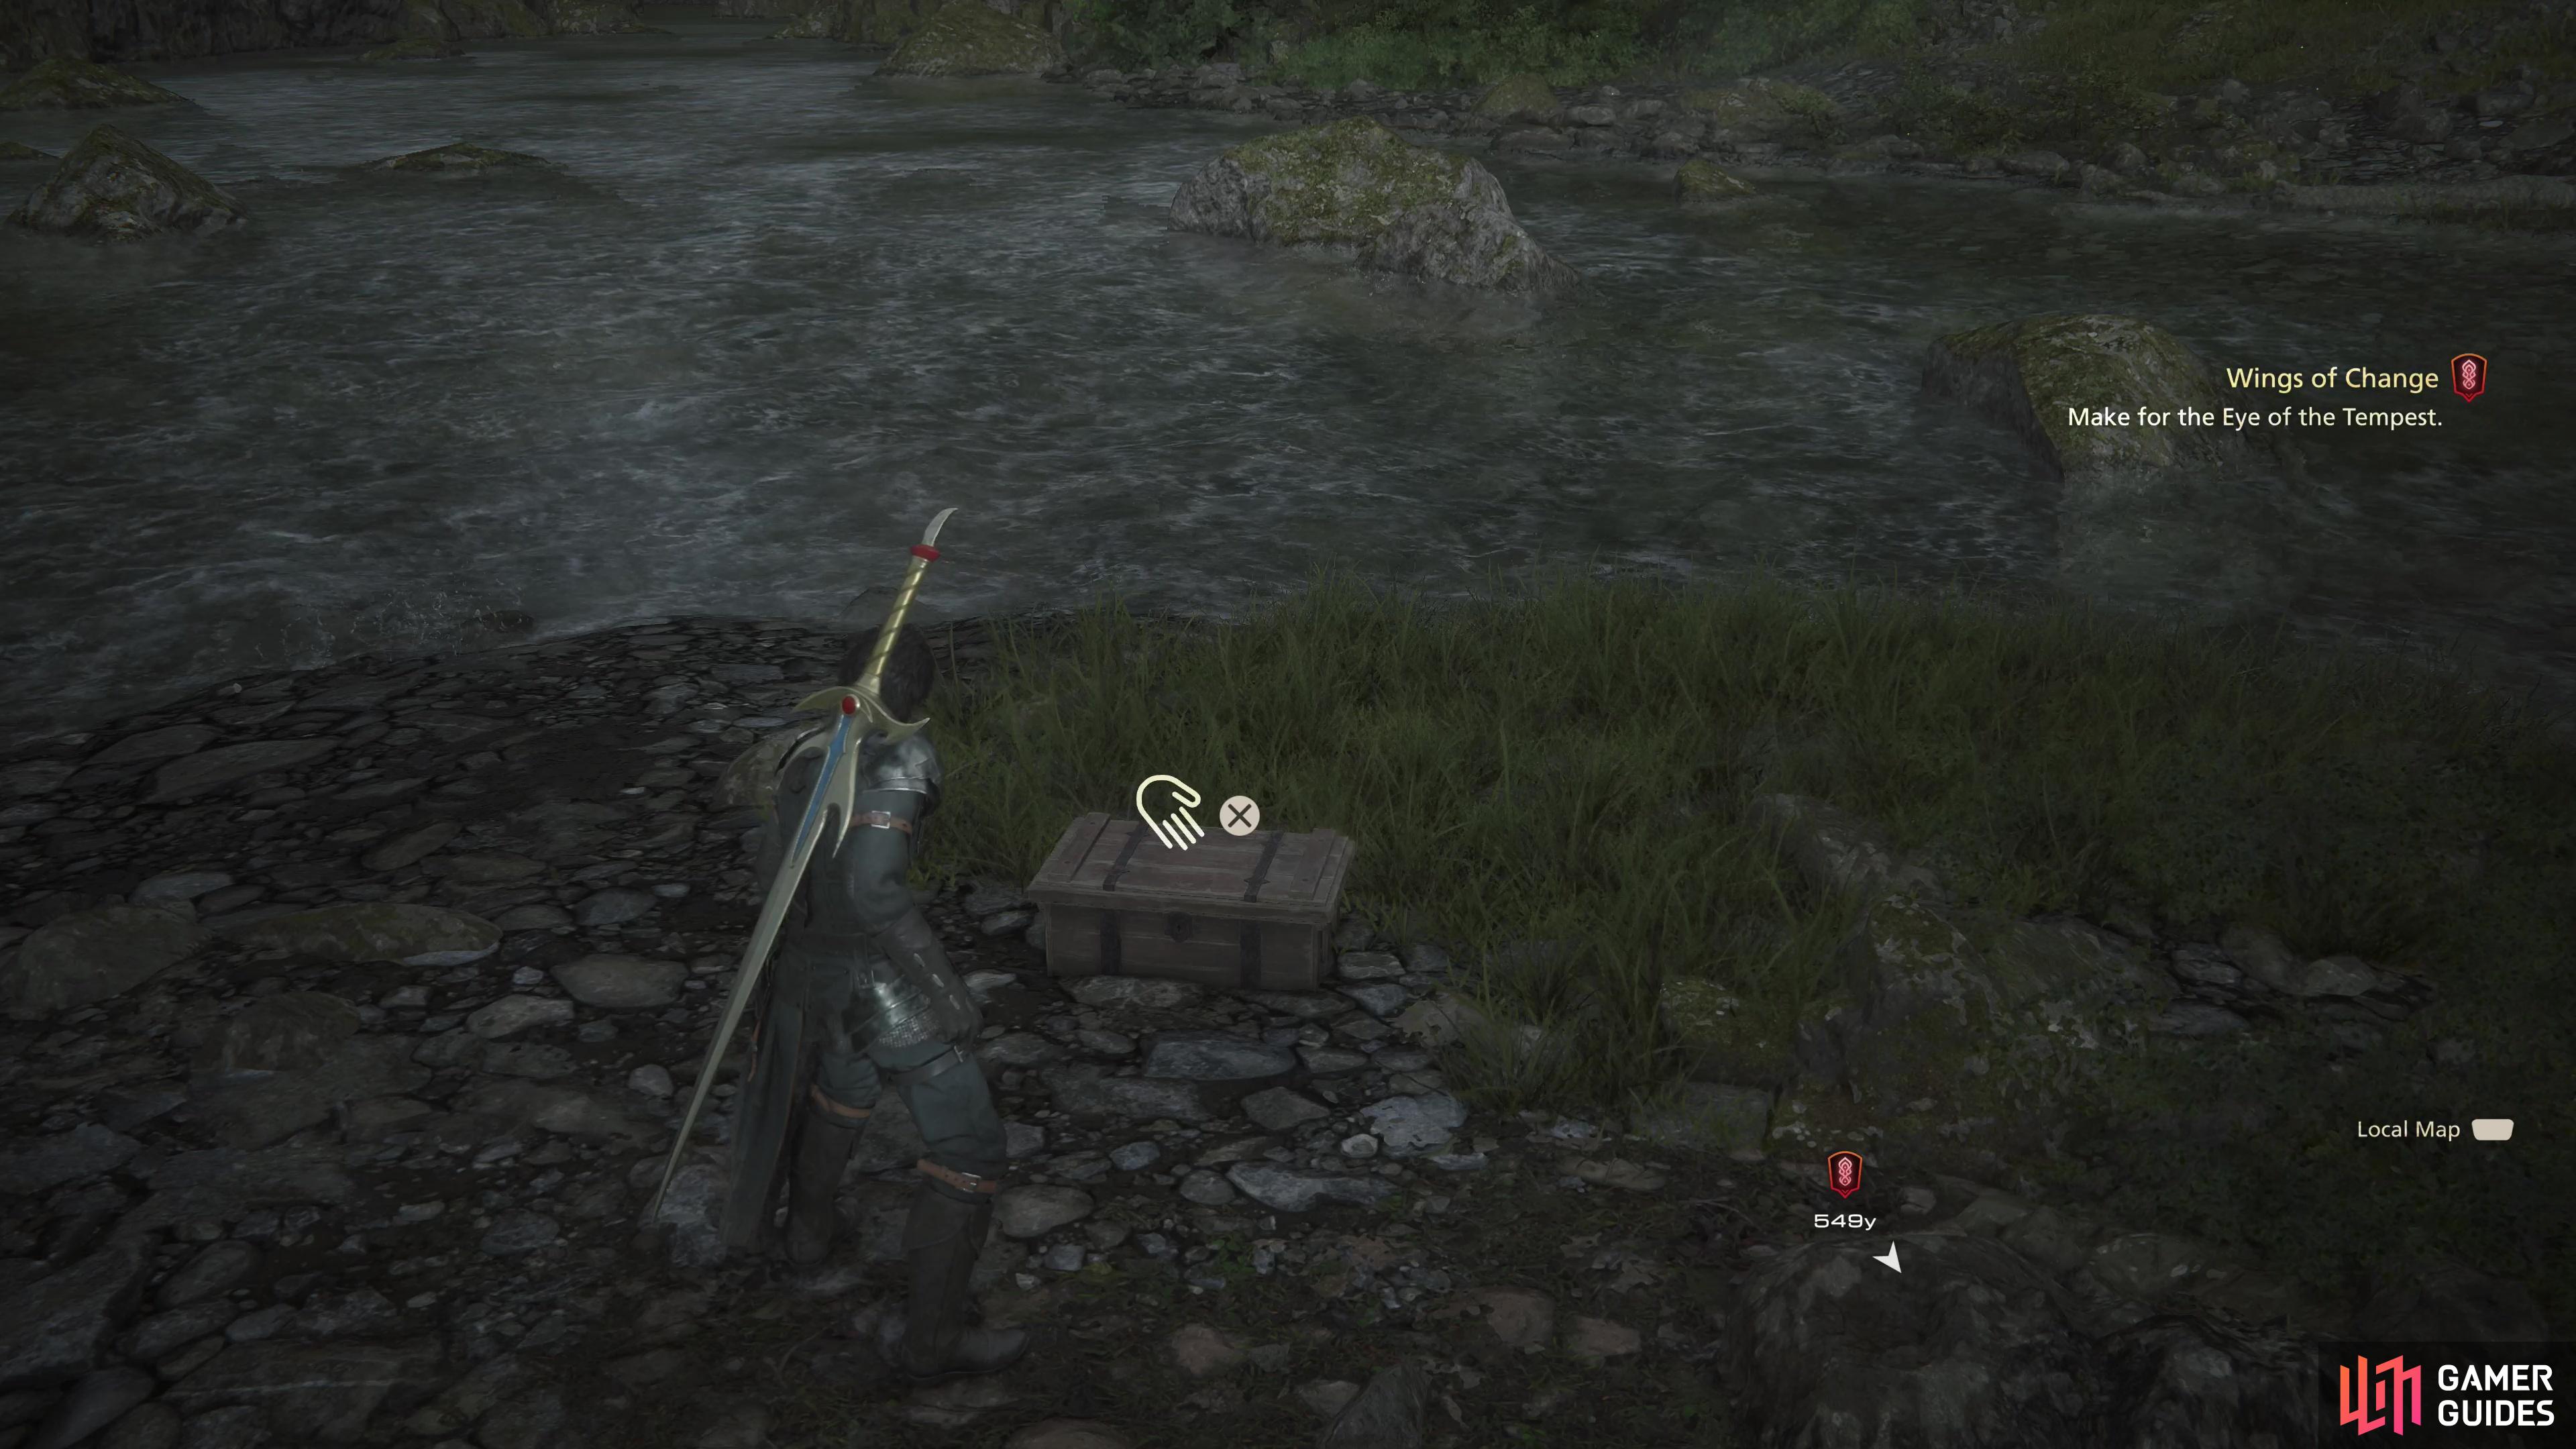
After a scene, loot a chest to find 5x Pinches of !Magic !Ash.
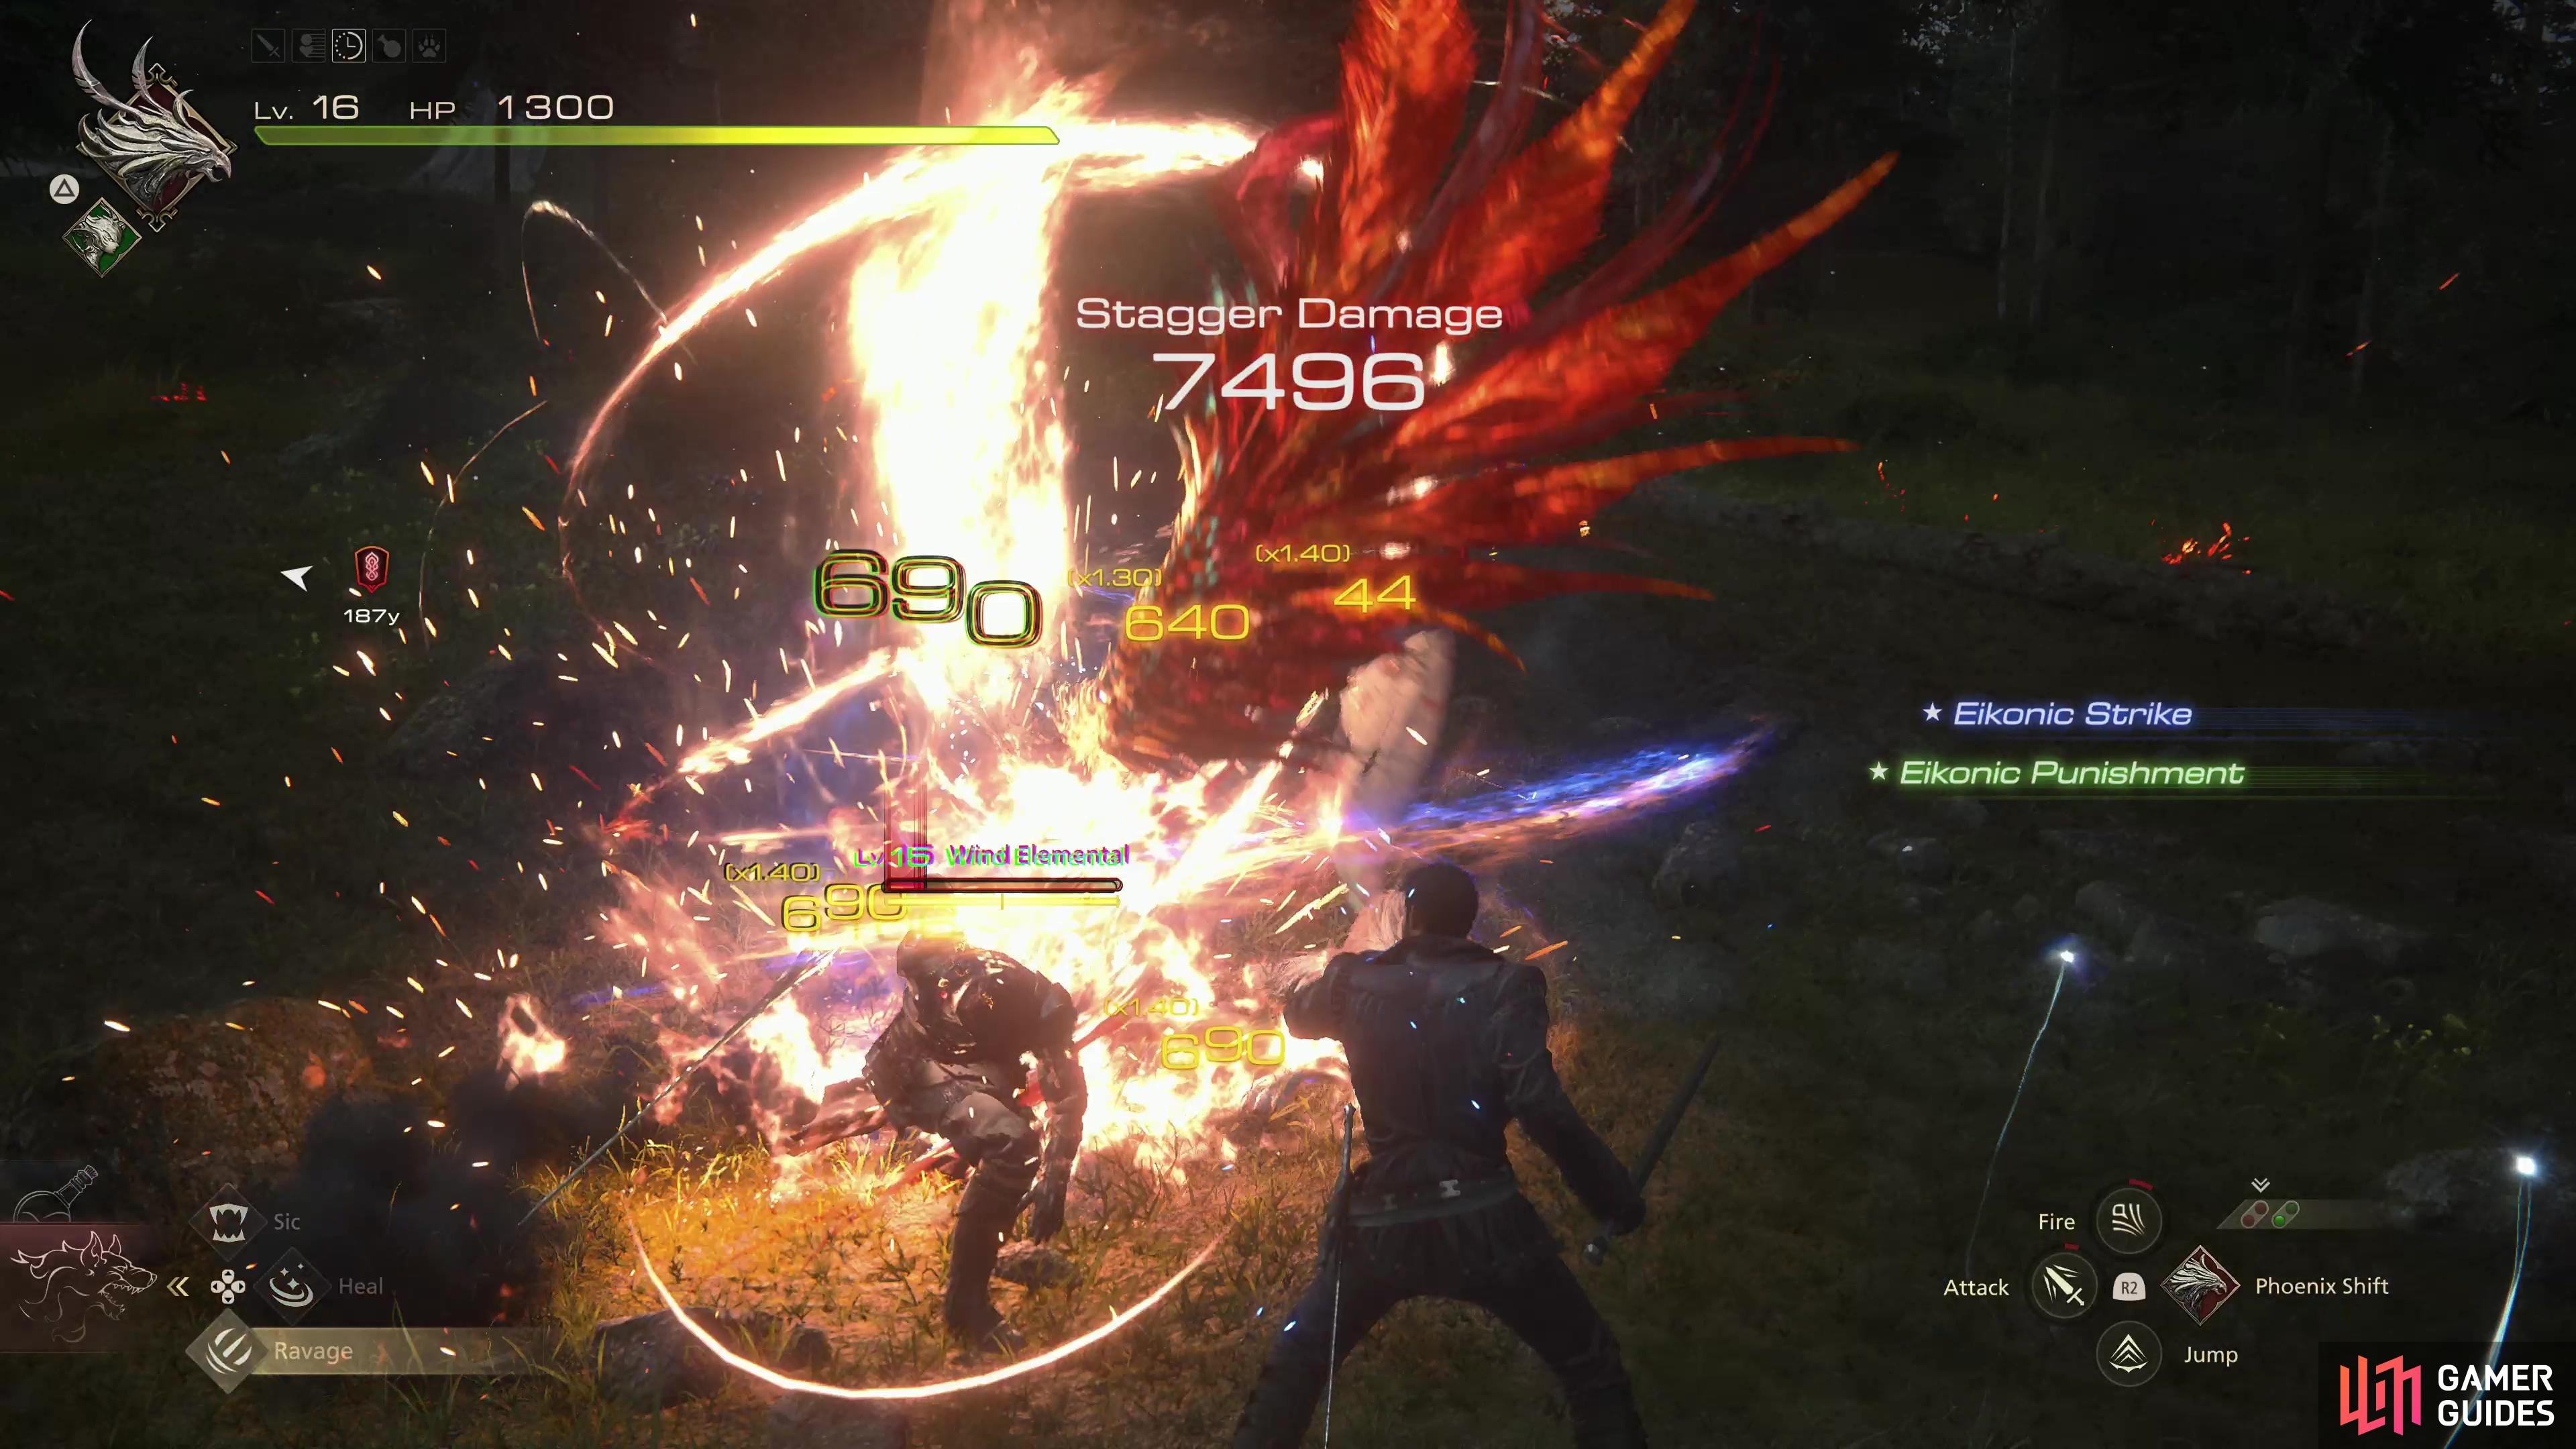
If you want to buff up for the upcoming fight, you can farm Wind Elementals.
Farming Wind Elementals - FF16 Wings of Change Main Quest Walkthrough
Fight what you want and continue northeast until you find the exit to this area, near which is The Dragon’s Aery obelisk. You should have also acquired the Caer Norvent Glorieuse Gate obelisk at the start of this quest, just after you exited Caer Norvent. If you exit near The Dragon’s Aery obelisk you’ll see the next main quest area pop up on the map, ![]() The Eye of the Tempest, and when you head there this quest will end and the next quest will begin.
The Eye of the Tempest, and when you head there this quest will end and the next quest will begin.
A fight of some significance lies ahead, however, and it’s worth pointing out that this is your first opportunity to grind in the game. The RPG mechanics in Final Fantasy XVI are fairly shallow, so the idea of grinding to gain levels and boost stats is… not really as important this time around, but you can farm Ability Points to buy new abilities and score materials from combat and exploration that can be used to craft and reinforce gear. If you travel back to ![]() The Hideaway, you can then fast travel back to either The Dragon’s Aery or Caer Norvent Glorieuse Gate and almost everything in this large area should have respawned. The Imperial War Aevis won’t return, but other Imperials will spawn near the bridge, all the Wind Elementals will respawn, and a few other encounters, besides. In addition all the glowing item motes will respawn. You’ve got a whole new ability tree to invest in, and it might not be a bad idea to buff up a bit for the encounters ahead.
The Hideaway, you can then fast travel back to either The Dragon’s Aery or Caer Norvent Glorieuse Gate and almost everything in this large area should have respawned. The Imperial War Aevis won’t return, but other Imperials will spawn near the bridge, all the Wind Elementals will respawn, and a few other encounters, besides. In addition all the glowing item motes will respawn. You’ve got a whole new ability tree to invest in, and it might not be a bad idea to buff up a bit for the encounters ahead.
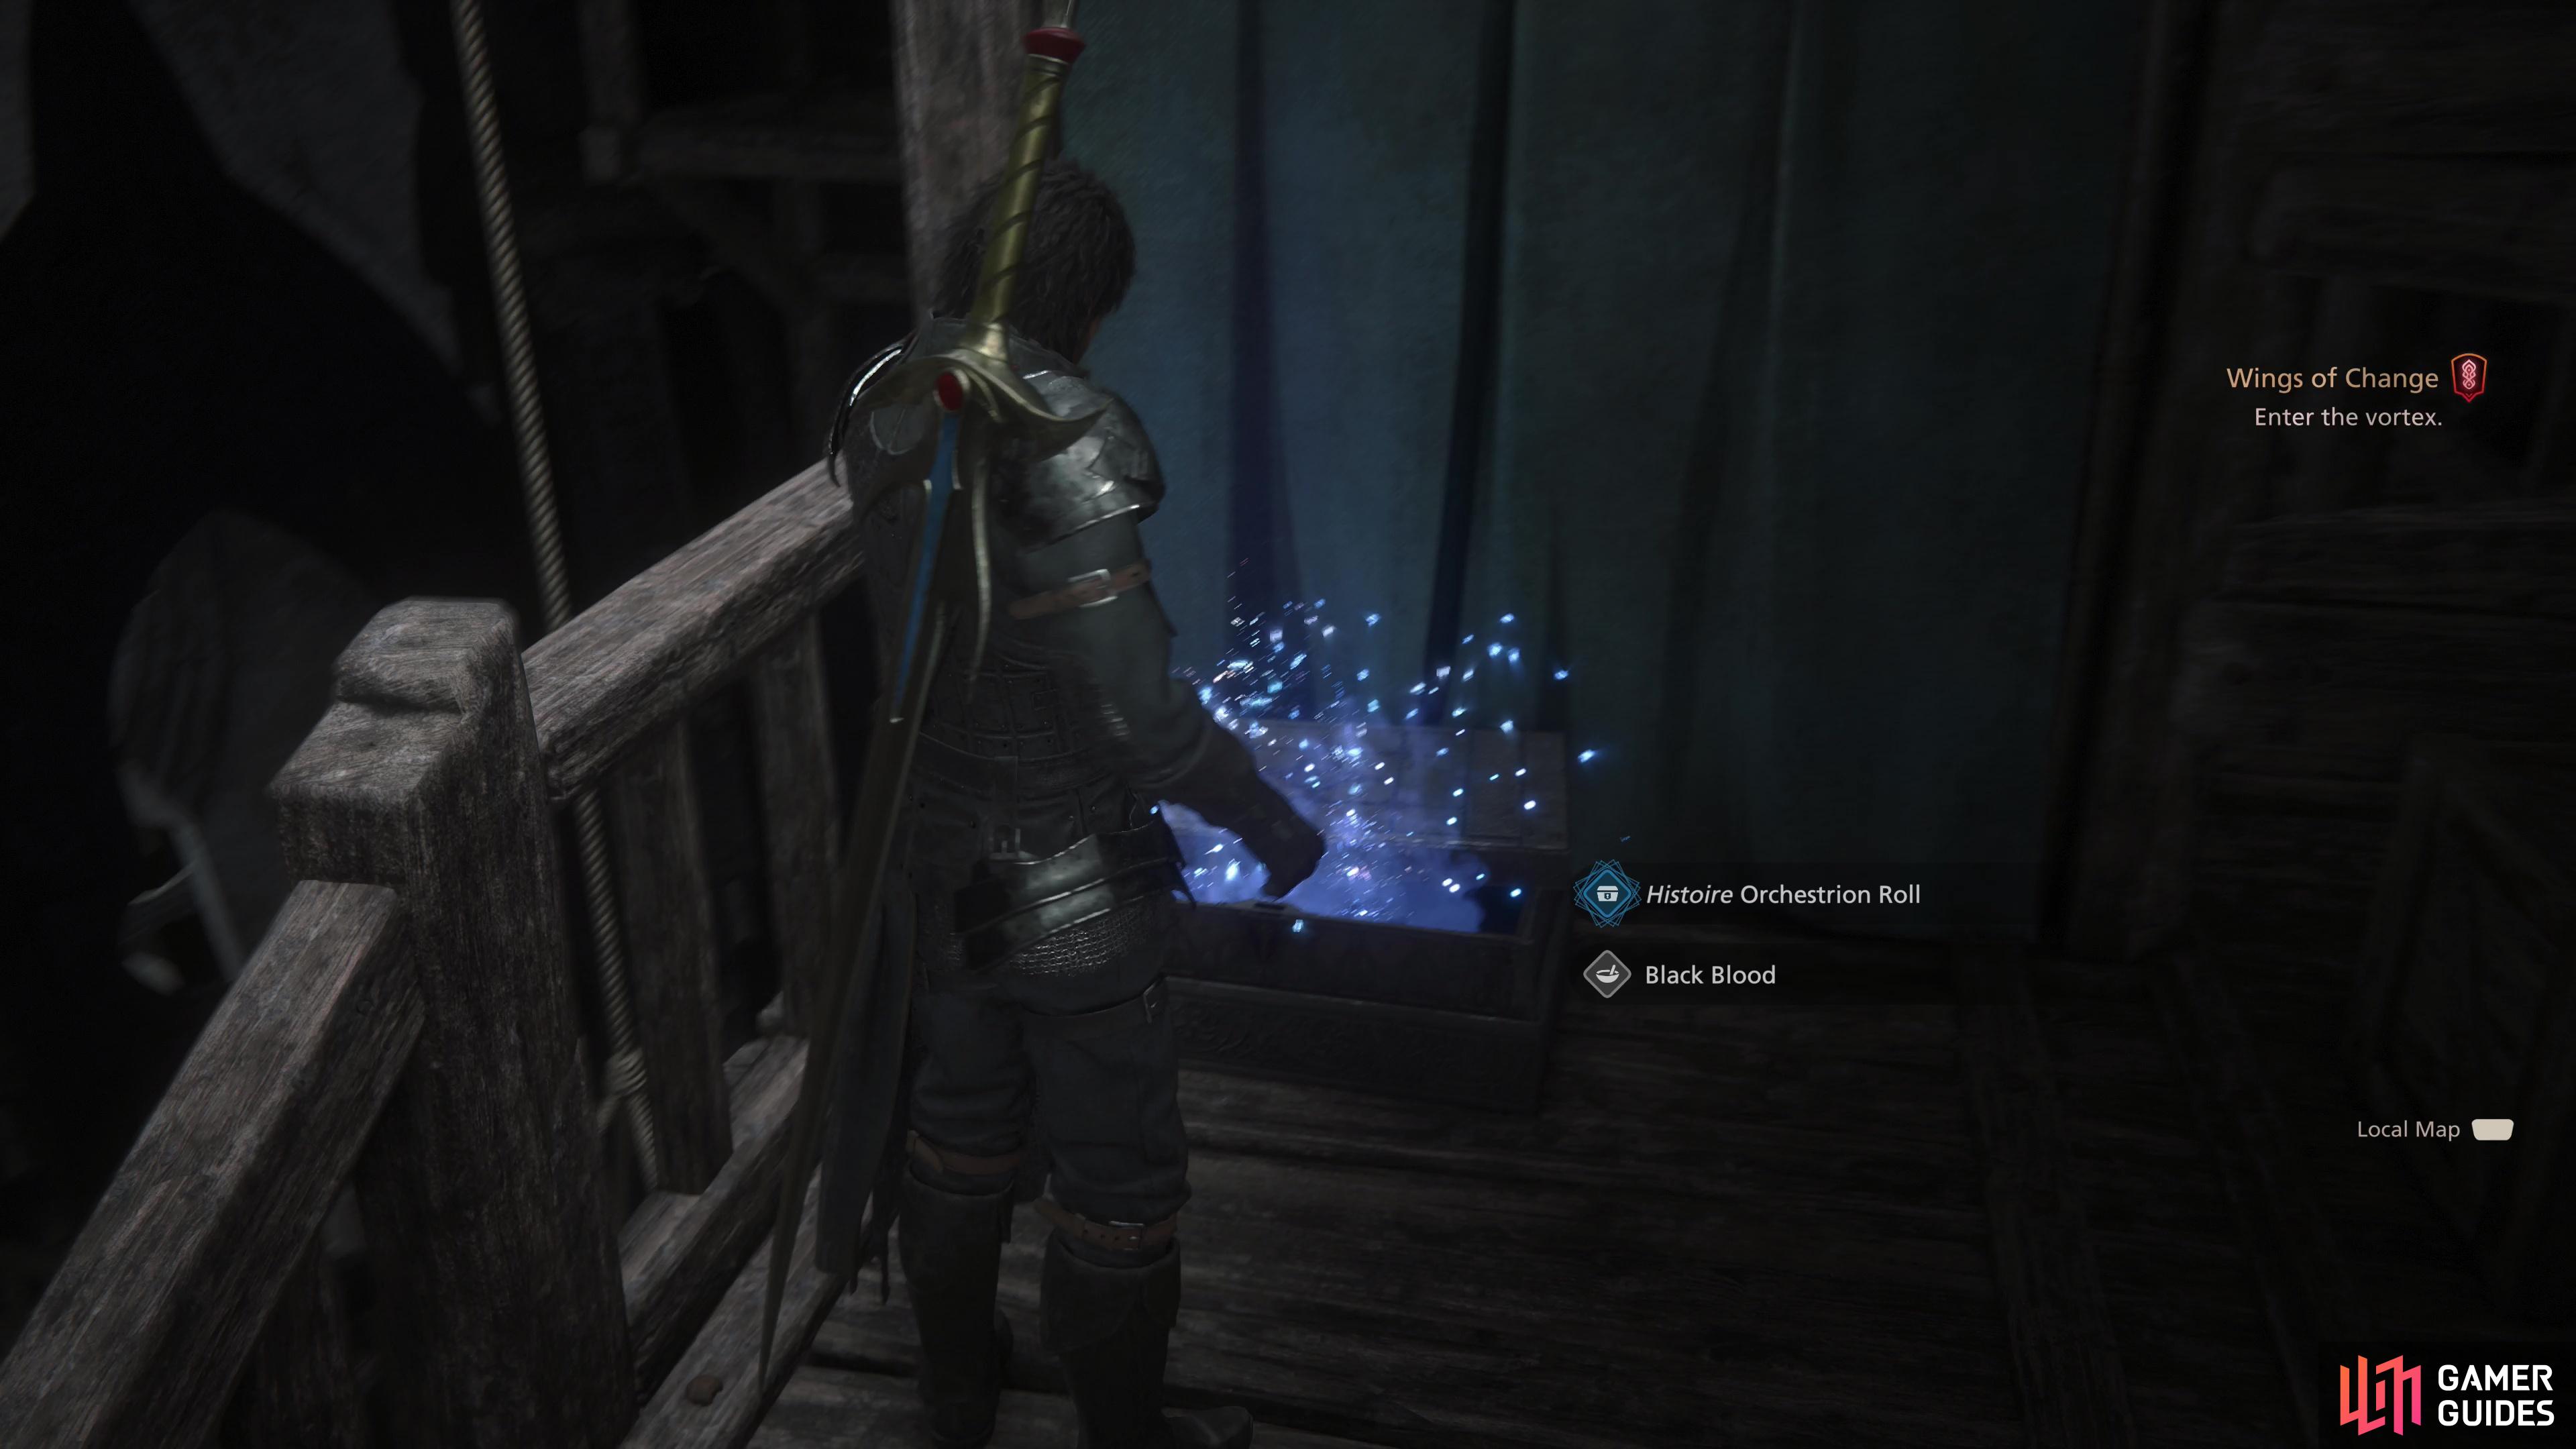
Return to !Lostwing and ascend to find a chest containing the !Histoire Orchestrion Roll.
How to Find the Histoire Orchestrion Roll - FF16 Wings of Change Main Quest Walkthrough
If you’re keen on traveling, you can backtrack to ![]() Lostwing and pick up a previously inaccessible treasure. Fast-travel to the Lostwing obelisk, then enter
Lostwing and pick up a previously inaccessible treasure. Fast-travel to the Lostwing obelisk, then enter ![]() The Hanged Man bar. From the merchant’s stall, turn right and go up several flights of stairs to reach an elevated wooden walkway, then follow it around to find a ladder. Climb it, then ascend a second ladder and walk around another walkway to find a chest, inside of which you’ll find the Histoire
The Hanged Man bar. From the merchant’s stall, turn right and go up several flights of stairs to reach an elevated wooden walkway, then follow it around to find a ladder. Climb it, then ascend a second ladder and walk around another walkway to find a chest, inside of which you’ll find the Histoire ![]() Orchestrion Roll. You can use this at The Hideout to play music, just interact with the Orchestrion in The Ale Hall. If you want to know where to find all these Orchestrion Rolls, check out the aptly-named page All Orchestrion Roll Locations in FF16.
Orchestrion Roll. You can use this at The Hideout to play music, just interact with the Orchestrion in The Ale Hall. If you want to know where to find all these Orchestrion Rolls, check out the aptly-named page All Orchestrion Roll Locations in FF16.
When you’re ready to move on, open the world map and travel to The Eye of the Tempest to confront whatever’s left of Benedikta - this will be covered on the page Garuda Boss Guide in FF16. After that, the main questline will continue with The Hunter and the Hunted.
No Comments