
Final Fantasy XVI features a wide variety of different activities that you can get stuck into. Early on in Clive’s adventure, you’ll gain access to the Arete Stone at the Hideaway, and it will present you with a number of options. The Hall of Virtue is one such option, and this page will inform you of everything you can do with it.
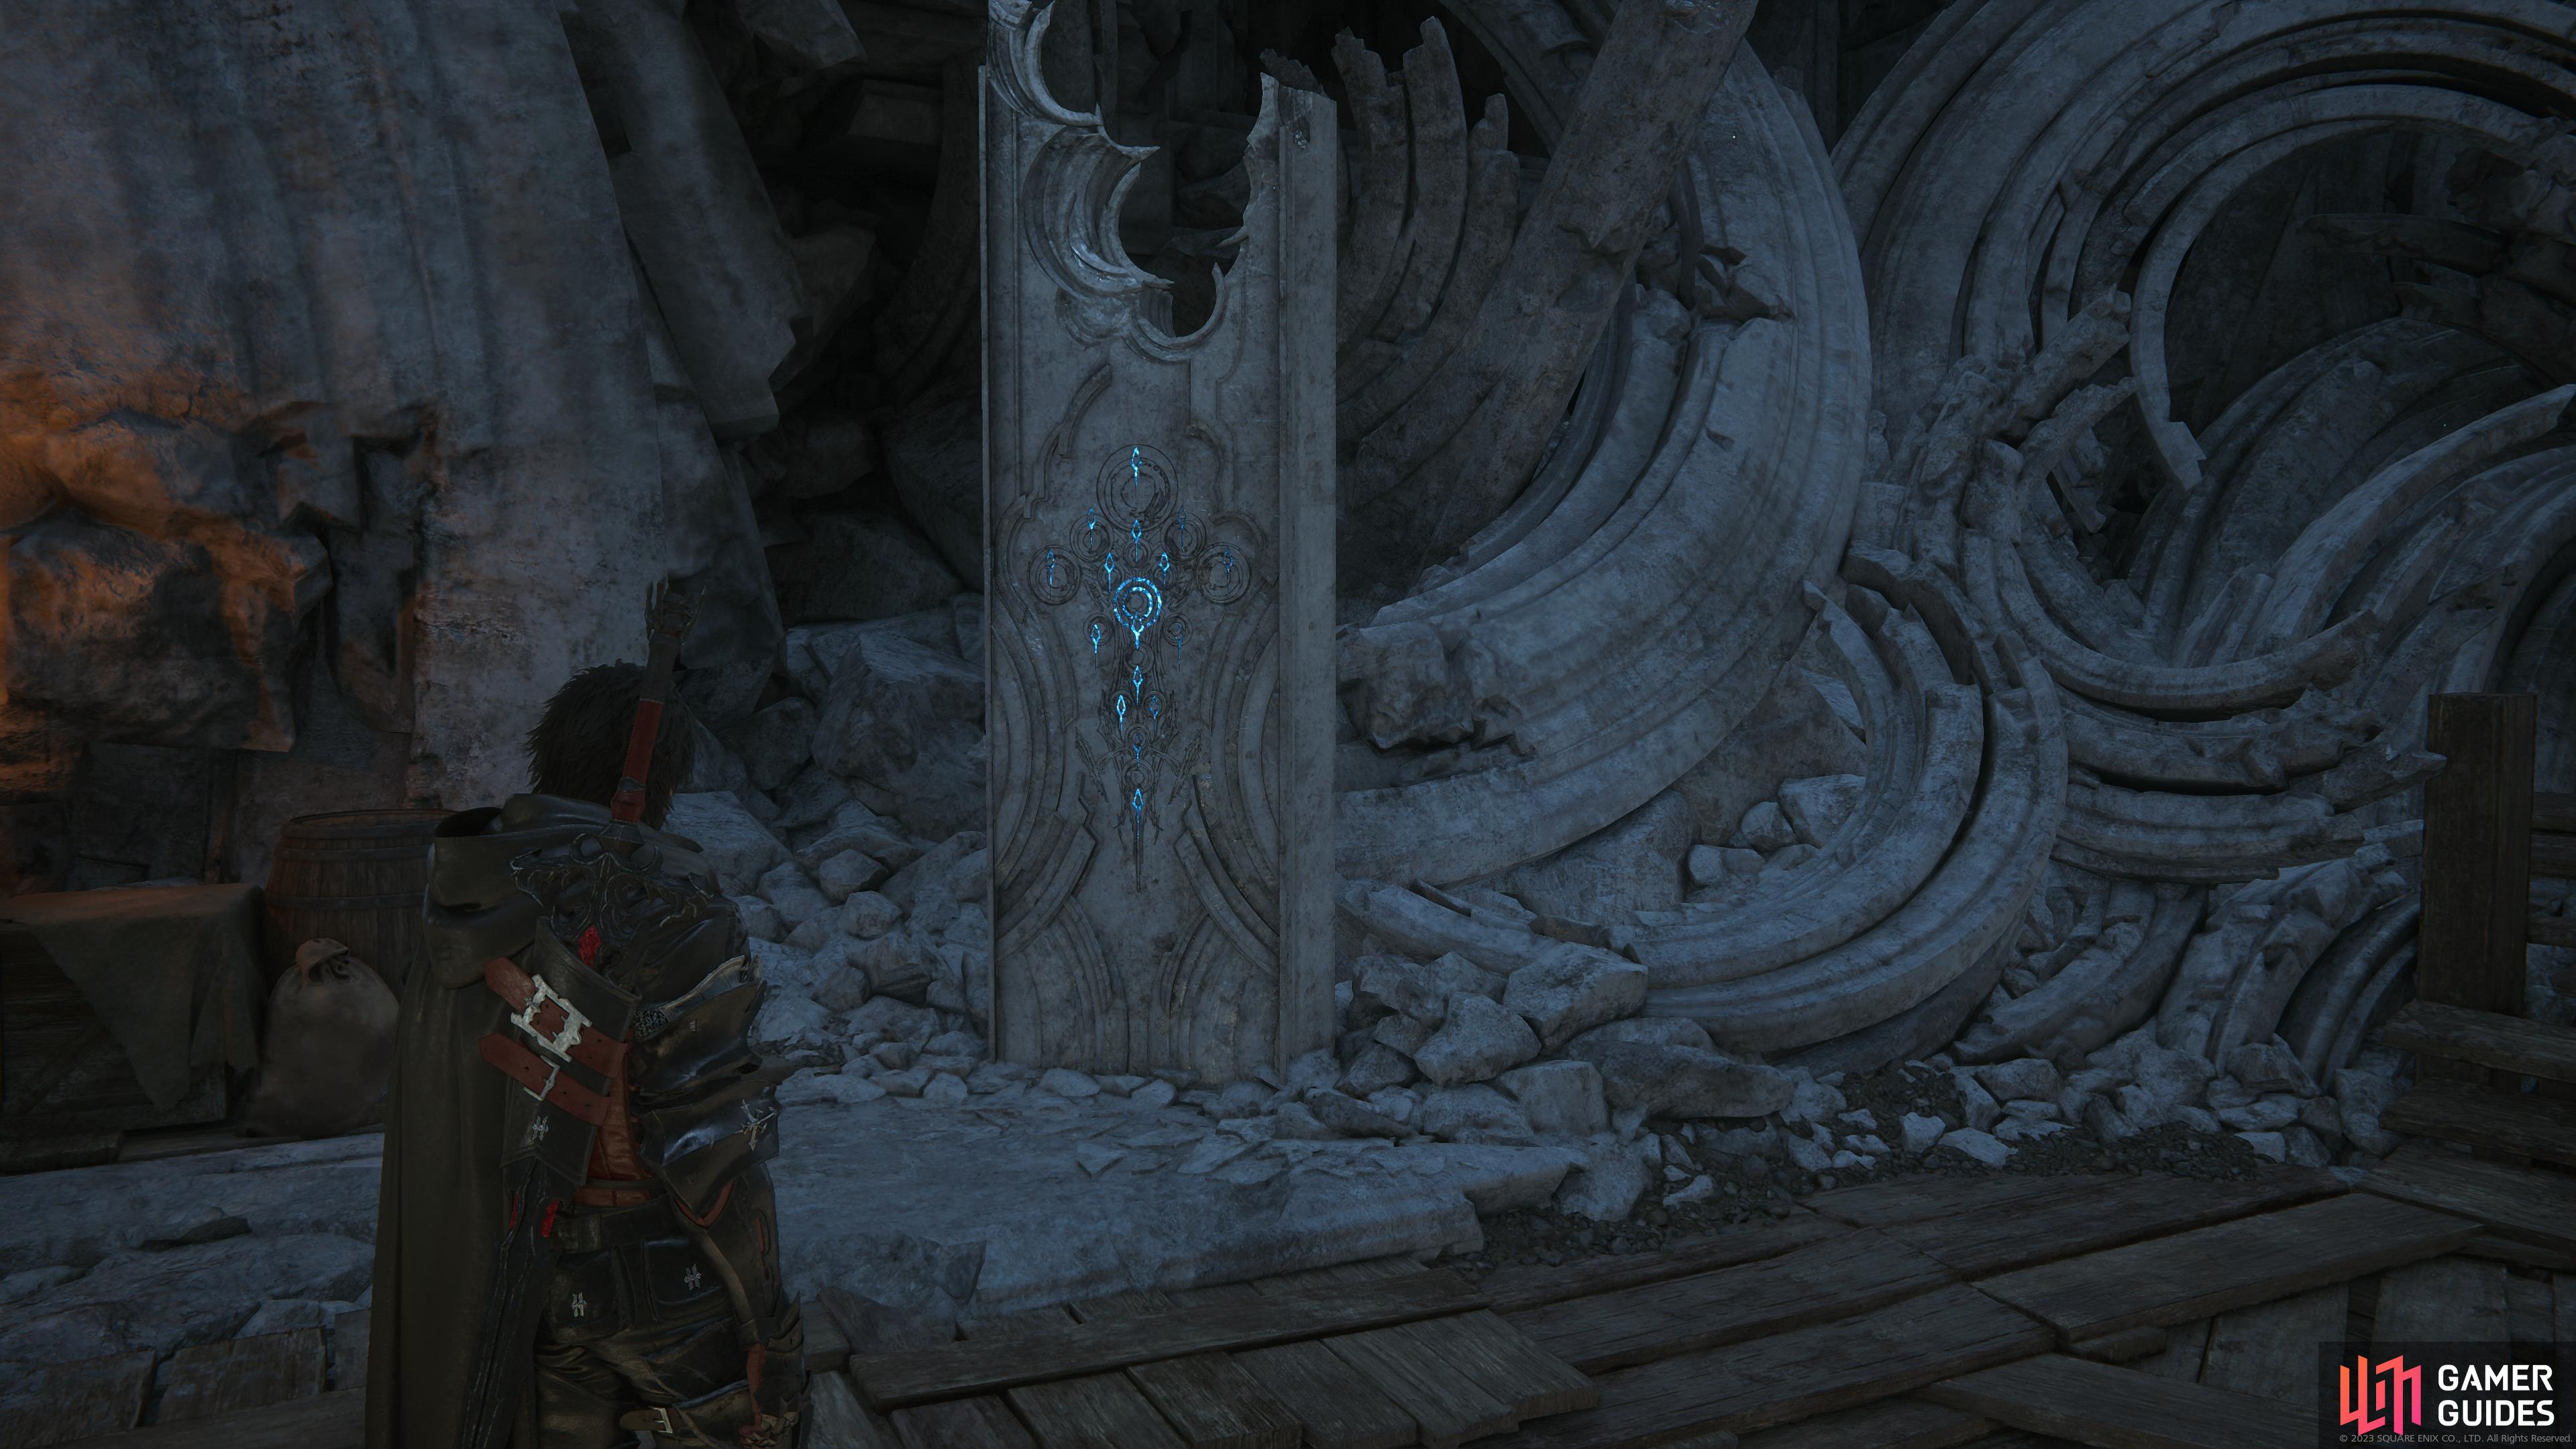
The !Arete Stone in the Hideaway will let you access the Hall of Virtue and begin Training.
To access the Hall of Virtue, you must progress through the Main Quest until you reach the Hide, Hideaway Main Quest, early on in the adventure. You’ll be prompted to go inside and test it out, so you can’t miss this, but there’s a lot more you can do.
Training Mode Options in Final Fantasy 16
The Hall of Virtue, then, is essentially Final Fantasy XVI’s version of a training ground, where you can test out all of Clive’s abilities with an assortment of useful settings that you can change.
Input Display
A handy option that will display all button prompts that you use during the Training Mode. This can be handy to see where you may be going wrong when trying to execute a specific combo. Trying to pull off the ![]() Magic Burst combo (
Magic Burst combo ( >
>  > > ) but it’s not activating, perhaps you’re pressing one of the buttons too soon? By displaying button inputs, you’ll be able to get this through visual feedback.
Action Log
The Action Log will display in the bottom left of the screen and will show the last eight actions you’ve performed, such as magic, combos, and ![]() Eikon Abilities. Once again, this can be useful to see if you’re pulling off the specific techniques that you wish to in your combo strings.
Eikon Abilities. Once again, this can be useful to see if you’re pulling off the specific techniques that you wish to in your combo strings.

Input Display will show the controller layout to the right
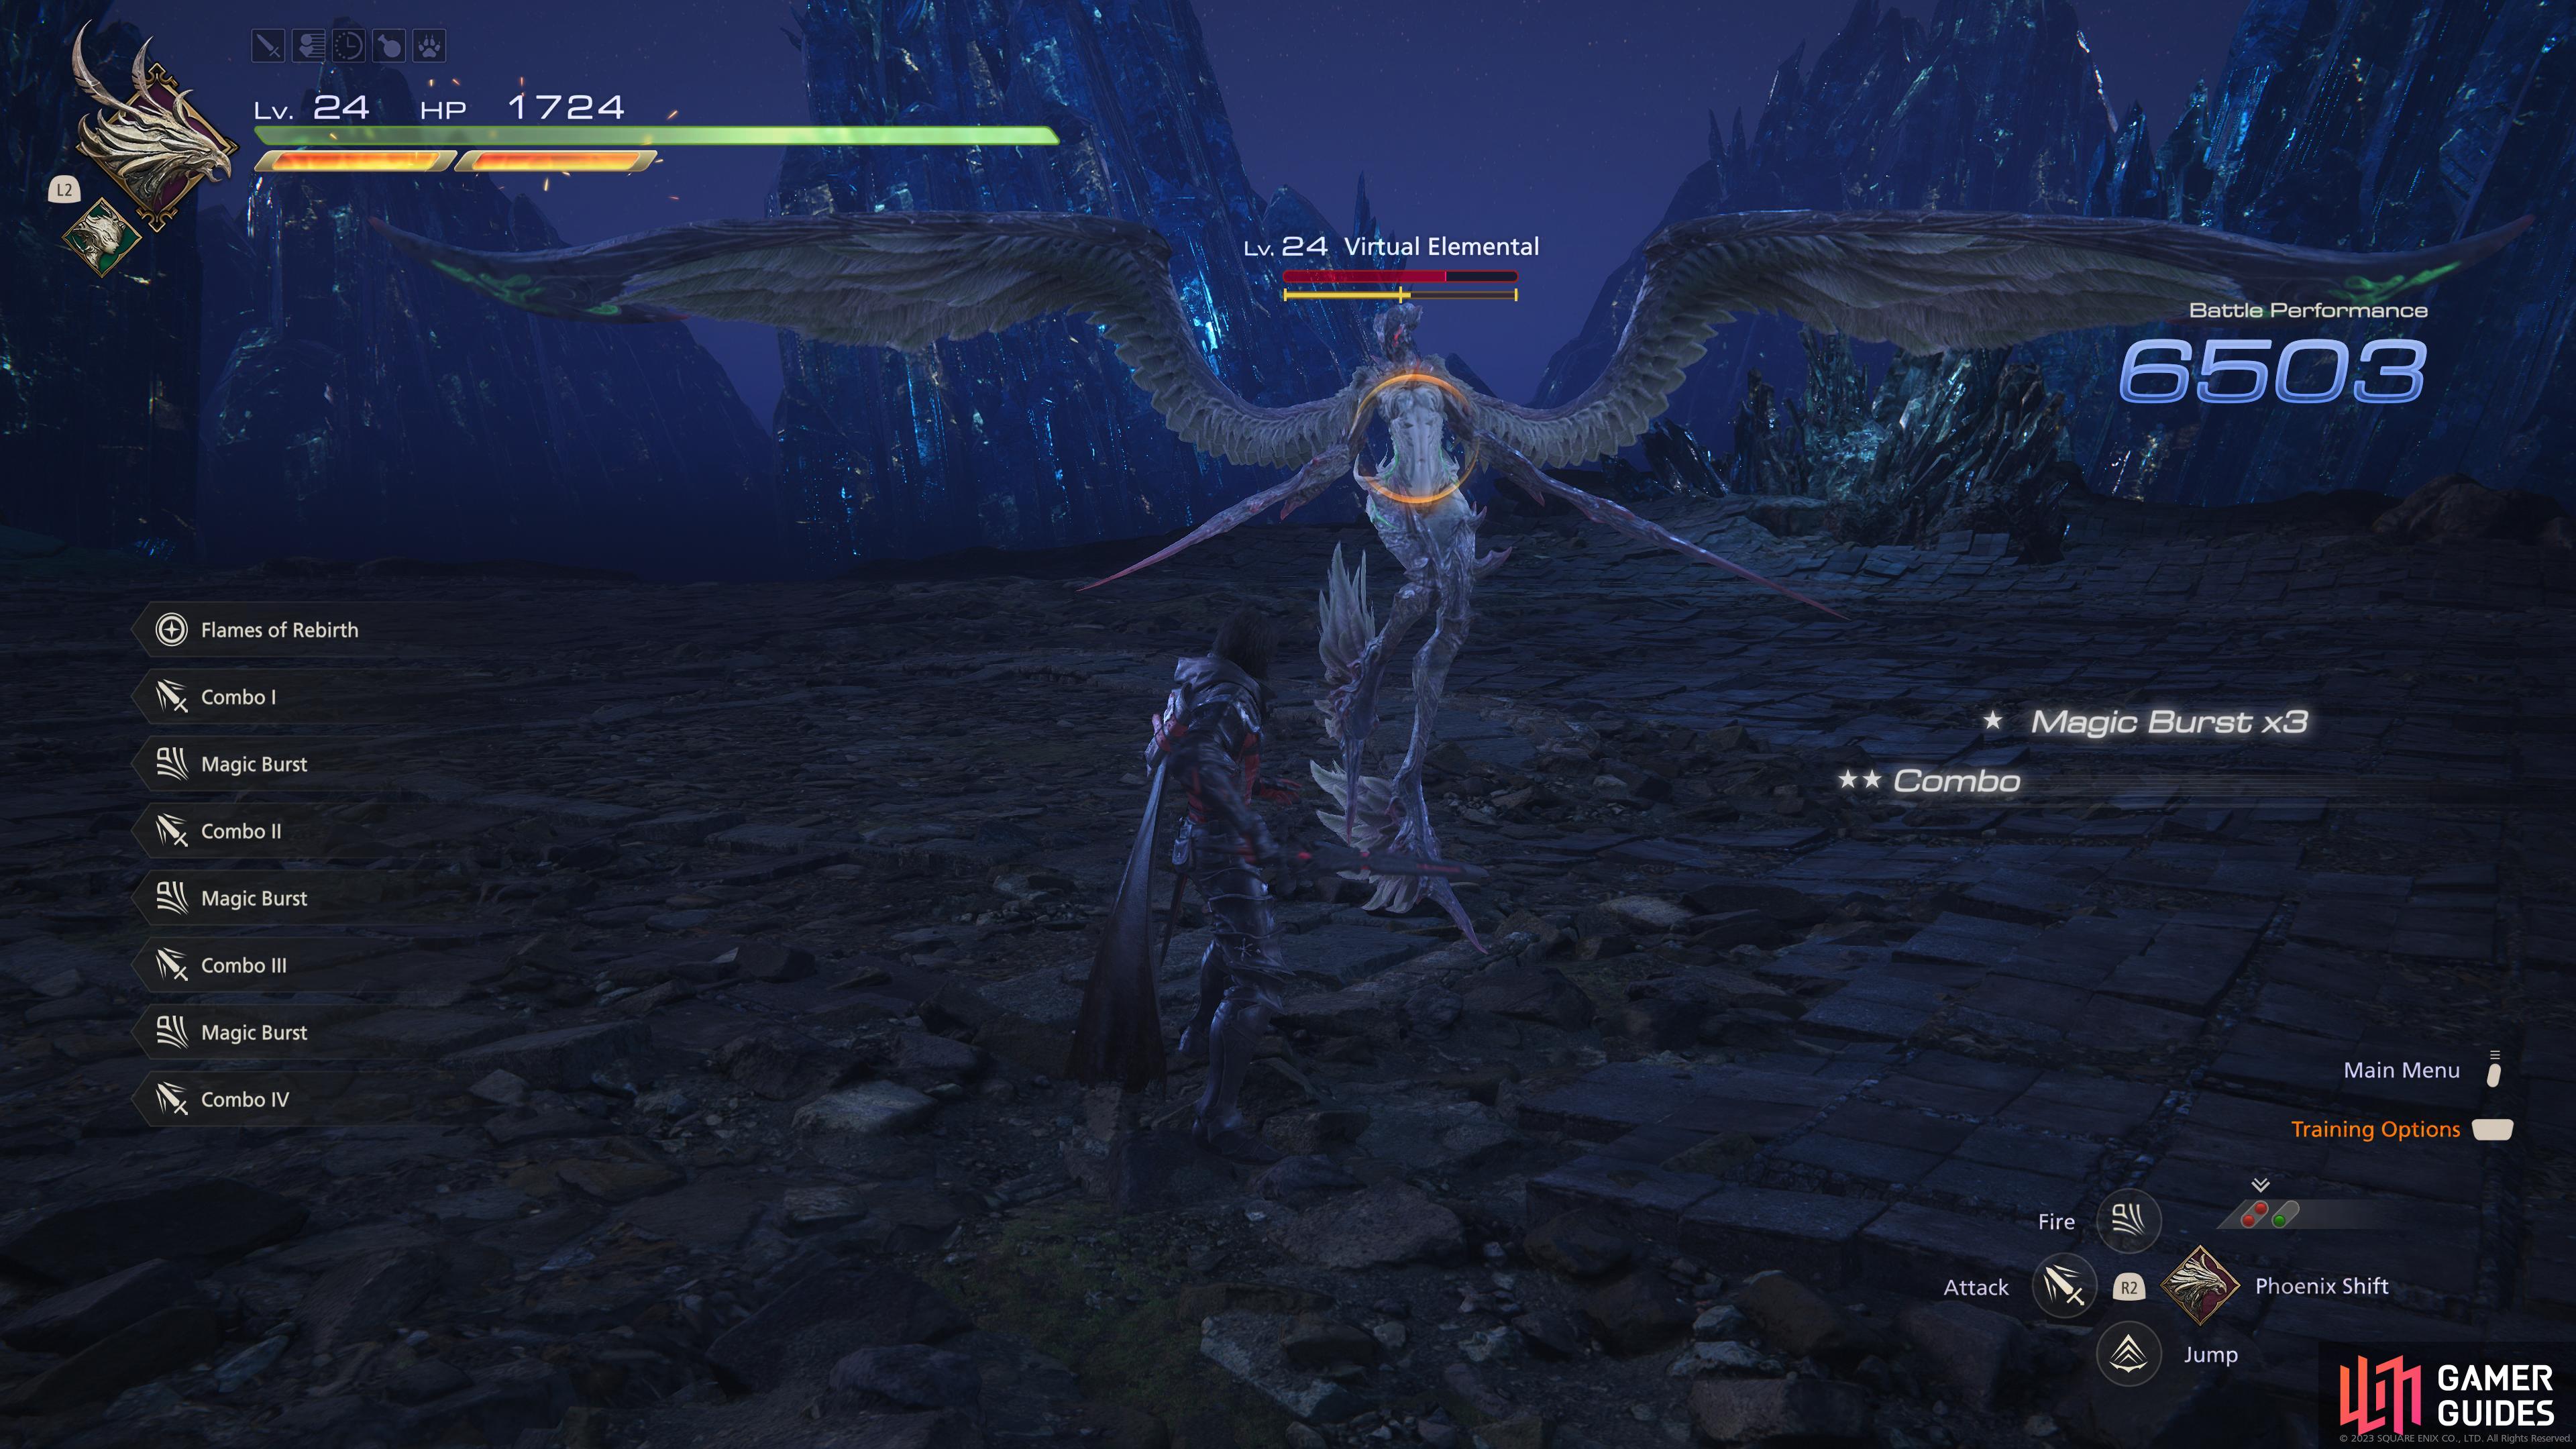
while Action Log will display the skills that you’re pulling off to the left of the screen.
Invincibility and Regen
Sometimes, you want to practice your skills without the fear of taking any damage from the enemies you’ve selected. This option will make it so Clive will suffer no damage and can be useful when your goal is to learn, rather than to see how much damage an enemy will inflict on you.
If you want this option, but without the full Invincibility, you can select Regen instead, which will mean you’ll be able to take damage still, but you’ll have constant HP regeneration. Ultimately, it’s probably best to just select Invincibility if monitoring damage you take is not the point of your training.
Unlimited Break and Limit Break Regen
![]() Limit Break is a mechanic you’ll unlock during the
Limit Break is a mechanic you’ll unlock during the ![]() Buried Memories Main Quest and is activated with the L3 and R3 Buttons (
Buried Memories Main Quest and is activated with the L3 and R3 Buttons ( +
+  ). While in this state, you will deal increased damage, gain HP regeneration, increased defense, and many other such boons.
With these options, you’ll be able to set it so that you can use Limit Break at will, without it decreasing. Much like Invincibility, if testing out Limit Break is your goal, it’s better to just go with Unlimited Break over Limit Break Regen.
Torgal
Clive’s faithful hound adds a lot more to your attacking options, especially if you’re proficient at weaving Sic and Ravage into you attack strings. By selecting this option, Torgal will join you in battle.
This is a good opportunity to test when it’s best to use ![]() Torgal to use Sic on an enemy in the air and prolong the airtime for Clive to continue his assault, or perhaps use Ravage to launch smaller enemies.
Torgal to use Sic on an enemy in the air and prolong the airtime for Clive to continue his assault, or perhaps use Ravage to launch smaller enemies.
Once you enable Torgal, you’ll have two more options available to you. The first is Auto Torgal, which is the same effect as using the Ring of Timely Assistance, that is, having the AI control Torgal’s abilities. Unless you’re going to use that accessory outside of the Training Mode (and take up a precious accessory slot), we don’t advise usage of this option.
The final toggle here is Sic Timing, this will display on the screen the best time to use Sic for a Precious Sic.
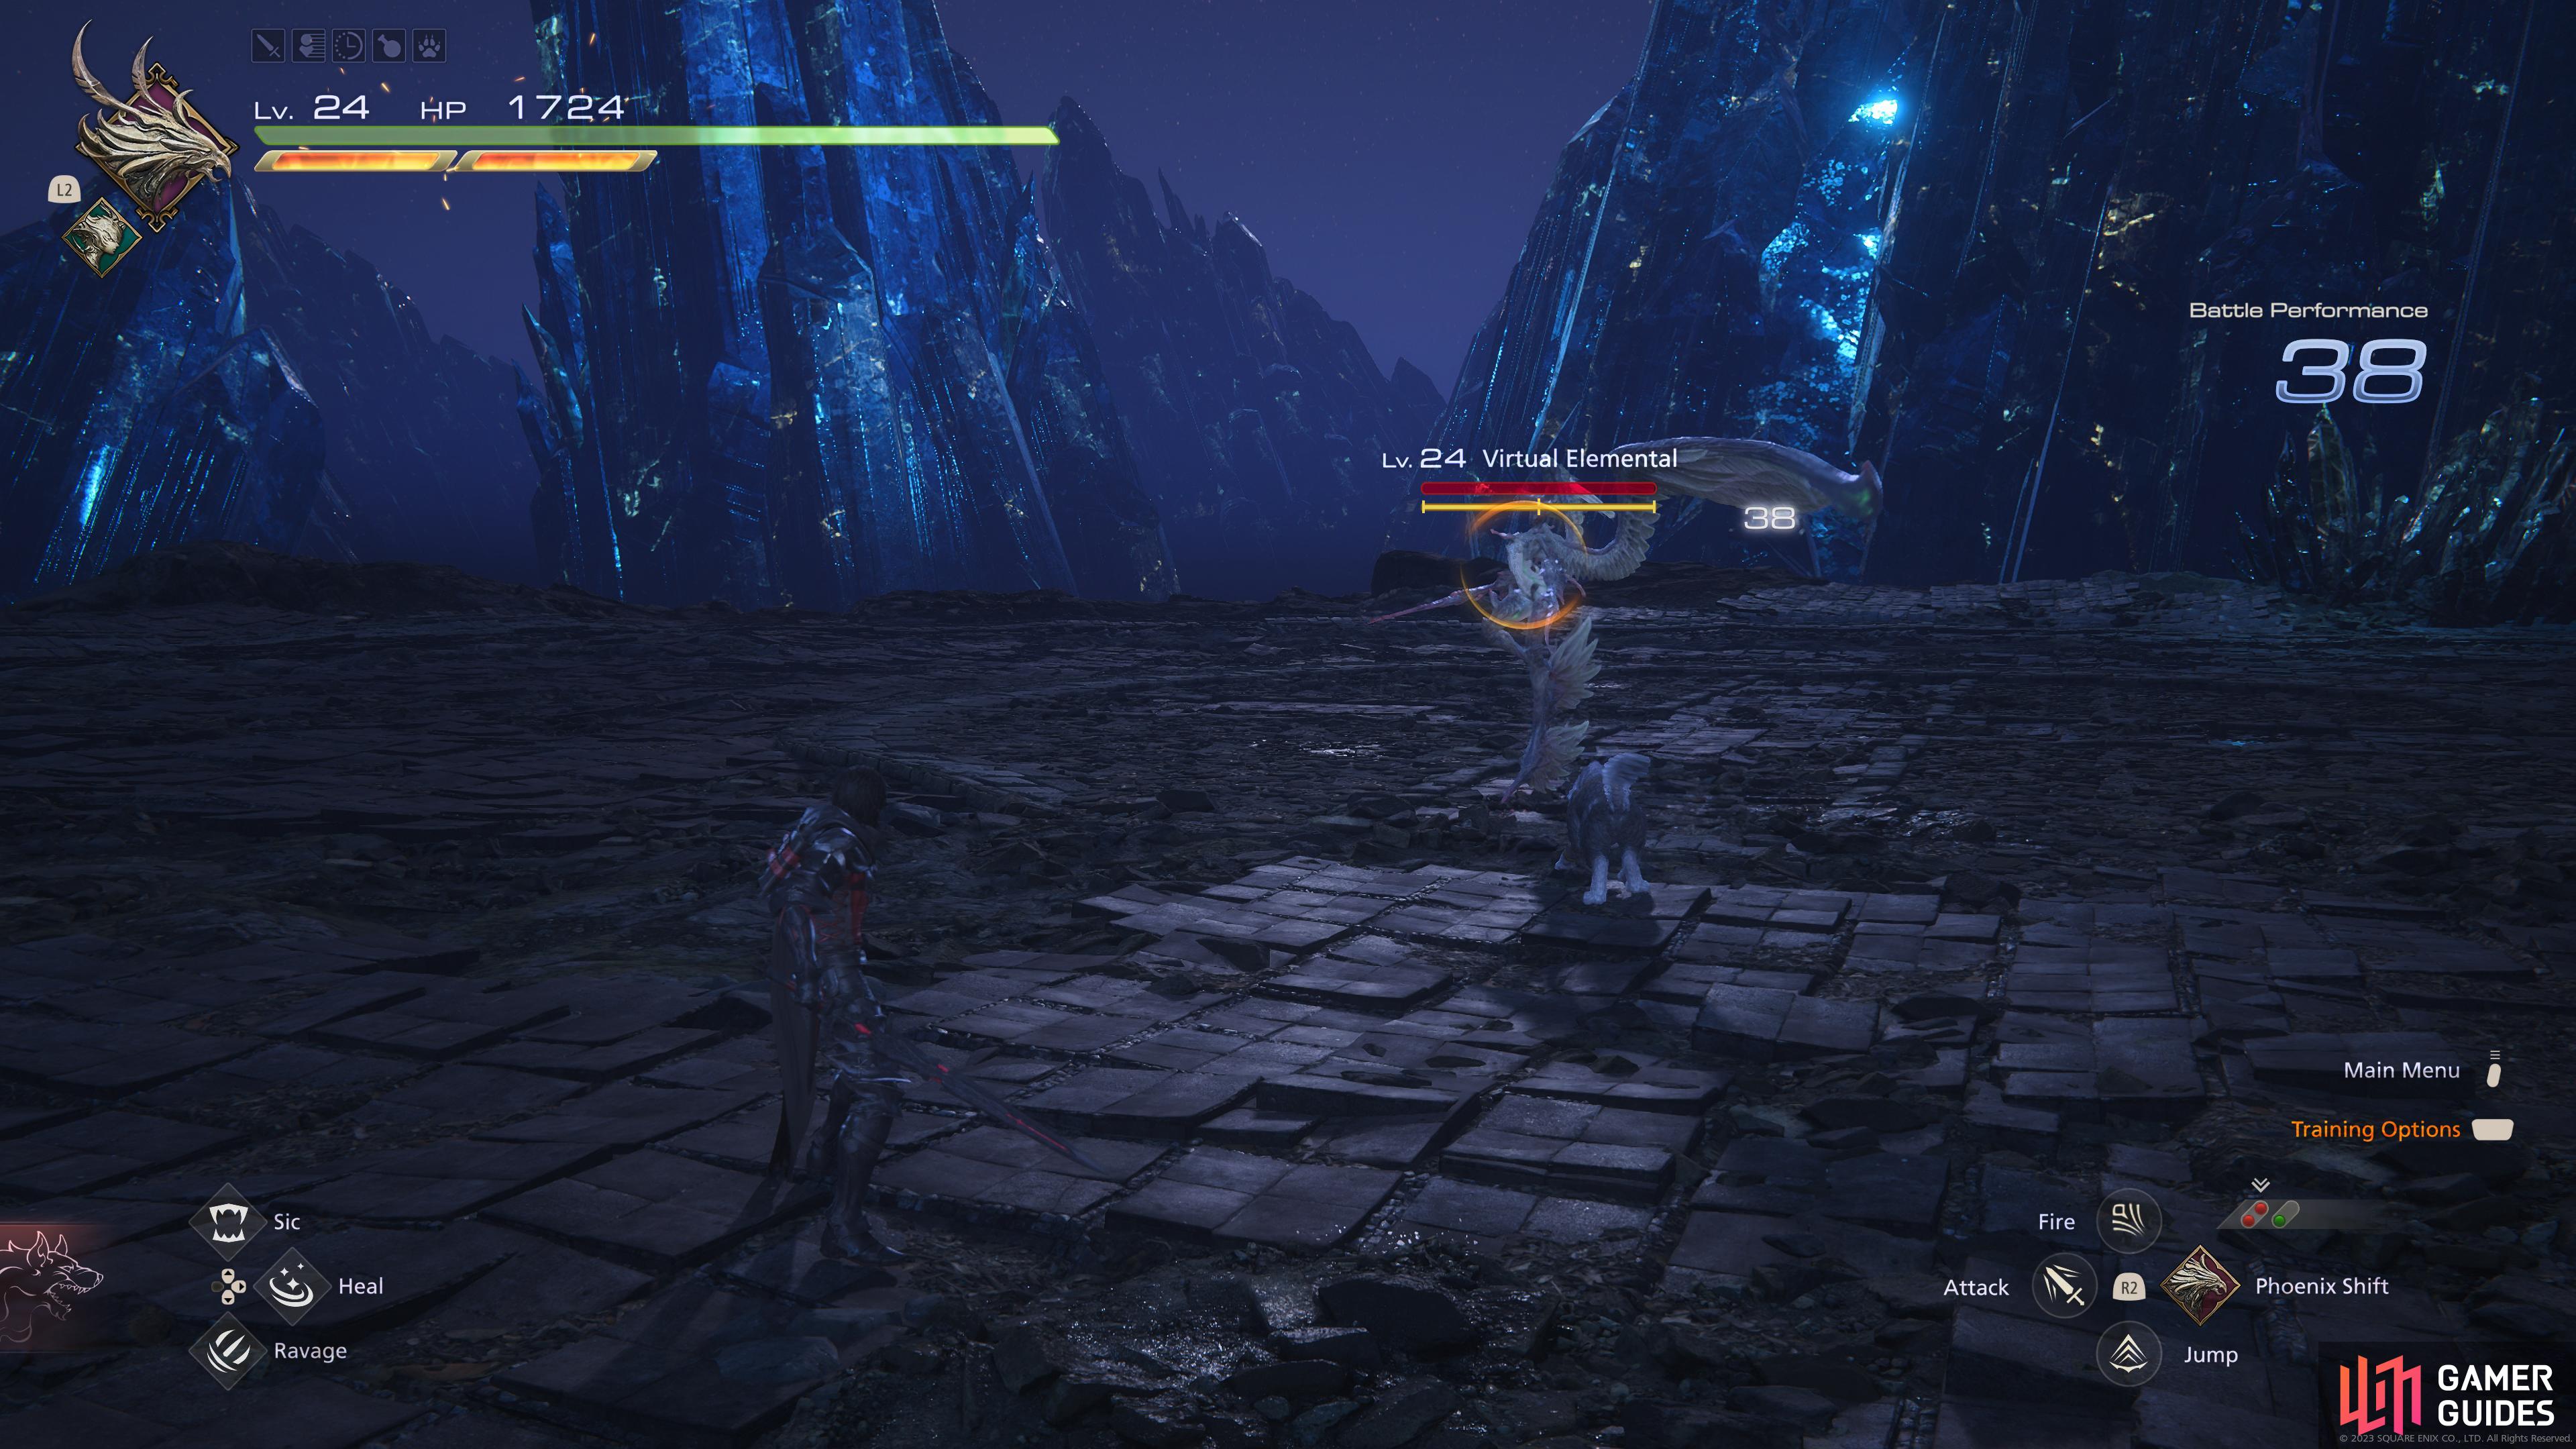
You can choose to have !Torgal appear in Training Mode
while the burst timing option will light up the icon at the bottom when it’s time to perform a !Magic Burst.
Burst Timing
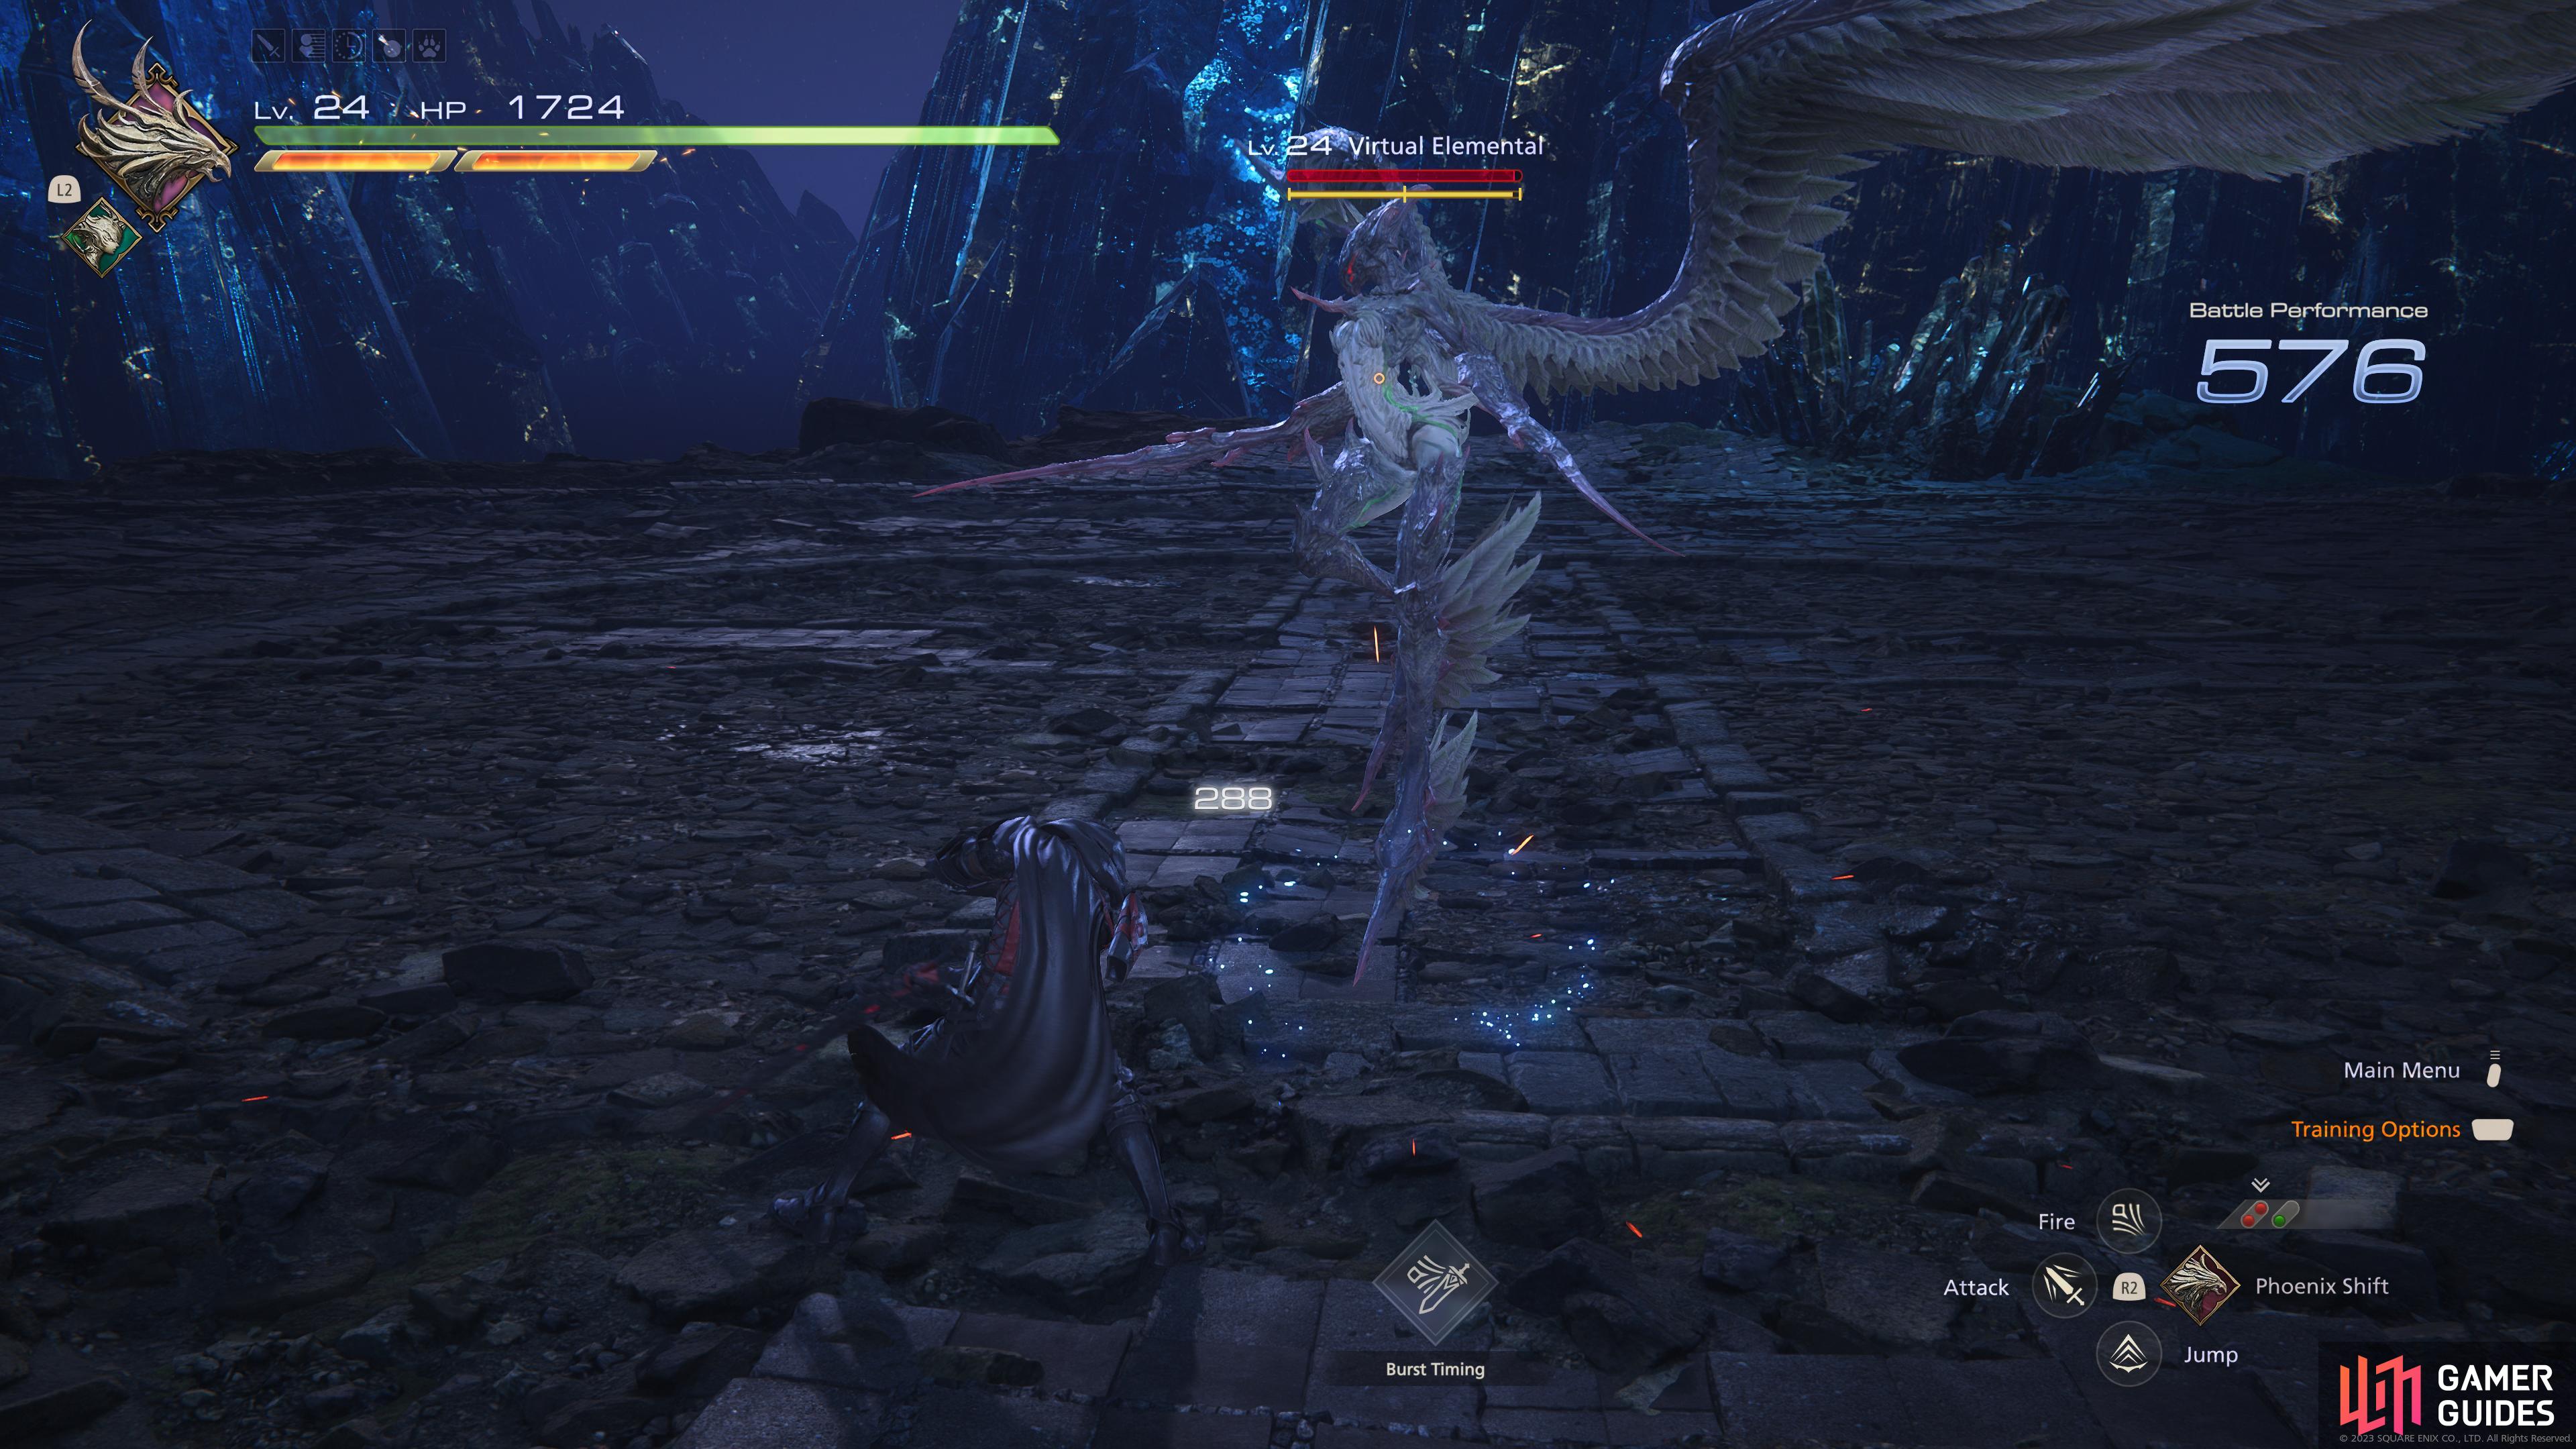
This is one of the better options available to you in the Training Mode and one you should make use of early in your adventure. Magic Burst is an important skill to make use of if you want to maximize the damage you deal, especially during Stagger windows.
By turning this option on, you’ll see an icon at the bottom of the screen that lights up when you should use the ![]() Magic skill to initiate the Magic Burst. Remember, you can chain this up to four times in a regular attack string and it can be performed in the air.
Magic skill to initiate the Magic Burst. Remember, you can chain this up to four times in a regular attack string and it can be performed in the air.
Recast Timers
The name of this option can be a bit misleading, as it may lead you think that it’s just showing your recast timer for your Eikonic Abilities. Instead, enabling this will remove any cooldown on your abilities, allowing you to use them at will without having to wait around. This is best used to test out all of the various abilities on offer in Final Fantasy XVI to see which ones fit your playstyle.
Battle Performance Auto Reset
When in Training Mode (and Arcade Mode), you’ll find your Battle Performance in the top right of the screen. This is your grading based on the skills and battle techniques you use. With this option selected, your Battle Performance will be reset after every enemy you defeat, this is useful if you’re testing for ways to improve your Arcade Mode score.
Enemy Aggro and Enemy Invincibility
This is one of the more important options available to you during the Training Mode, with this you can toggle whether the enemies will attack you, or simply stand there waiting to get pummeled. Unless you’re here to just test out attack strings or see what certain abilities look like, it’s almost always advised to have enemies remain aggressive.
This is ideal for if you want to get down Parry timings, learn how to use the various Counter abilities or just test out how to handle certain Elite enemies without the fear of a Game Over.
Enemy Invincibility takes this a step further, making it so no matter your attacking prowess, an enemy will shrug everything off. Useful for testing out an opponent without accidentally defeating it and waiting around for it to respawn.
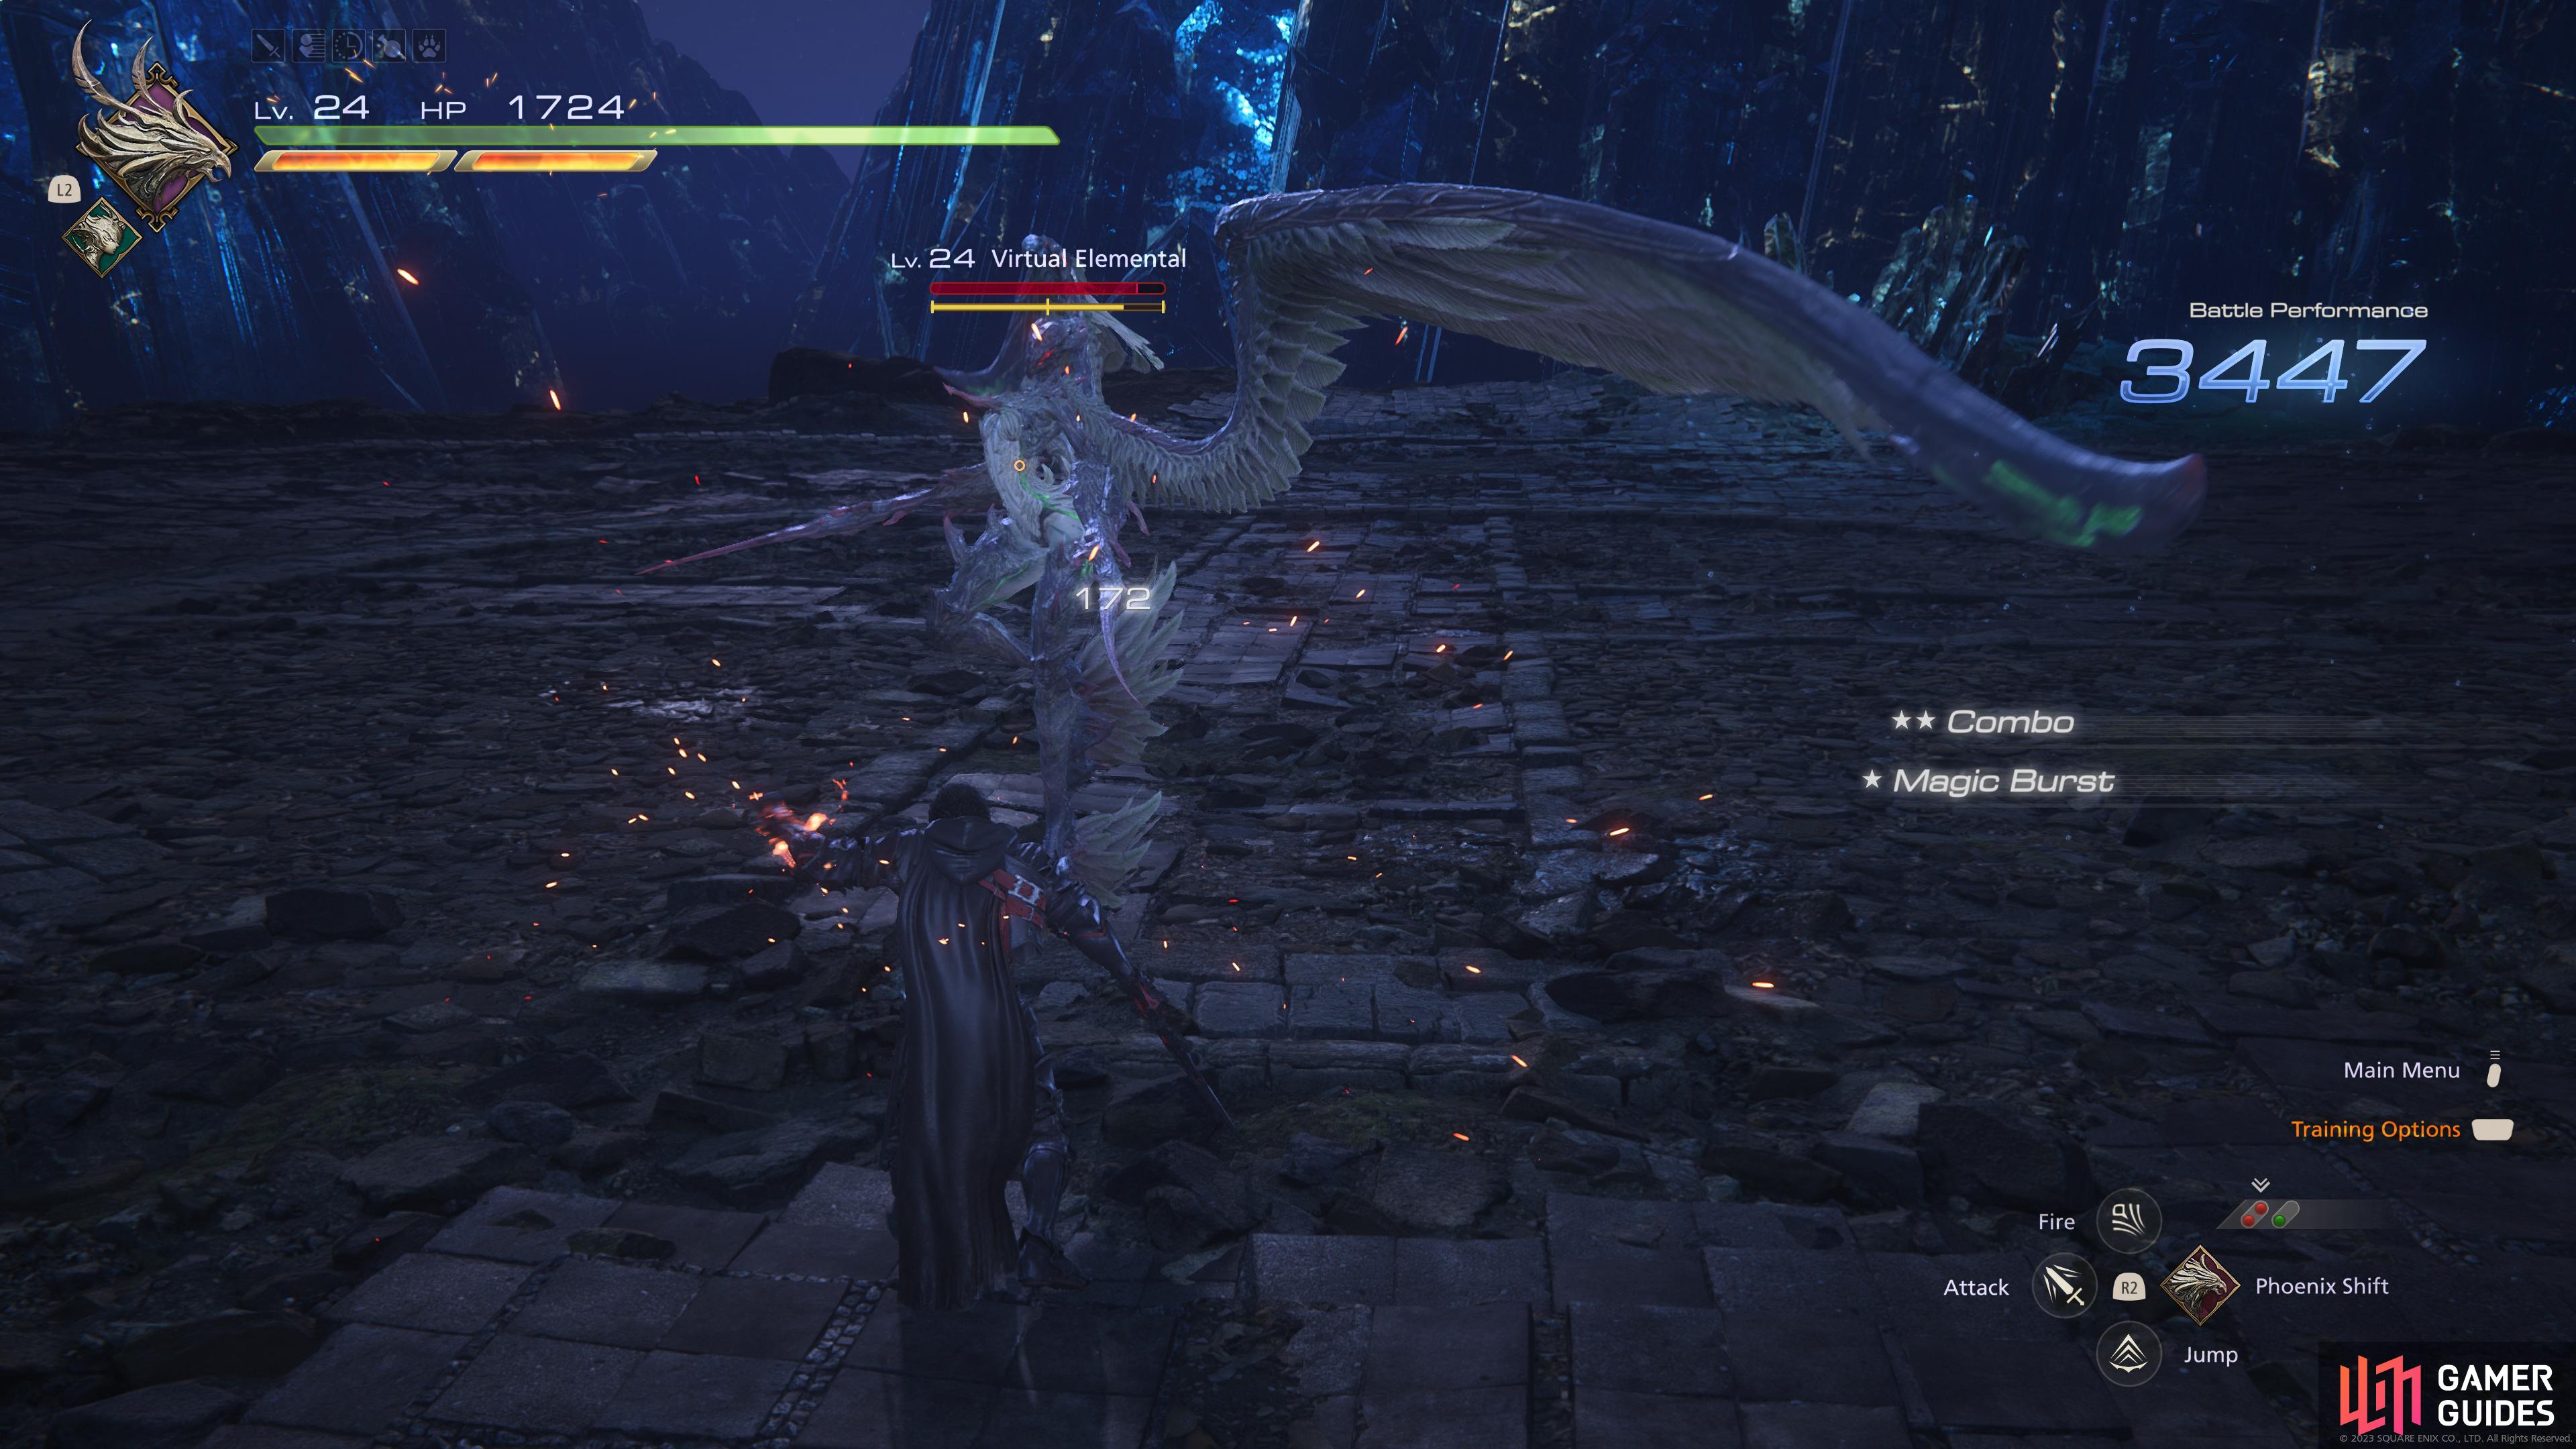
Your Battle Performance can be found graded in the top right of the screen
while you’re free to select from a large list of enemies to test out your abilities.
Select Target
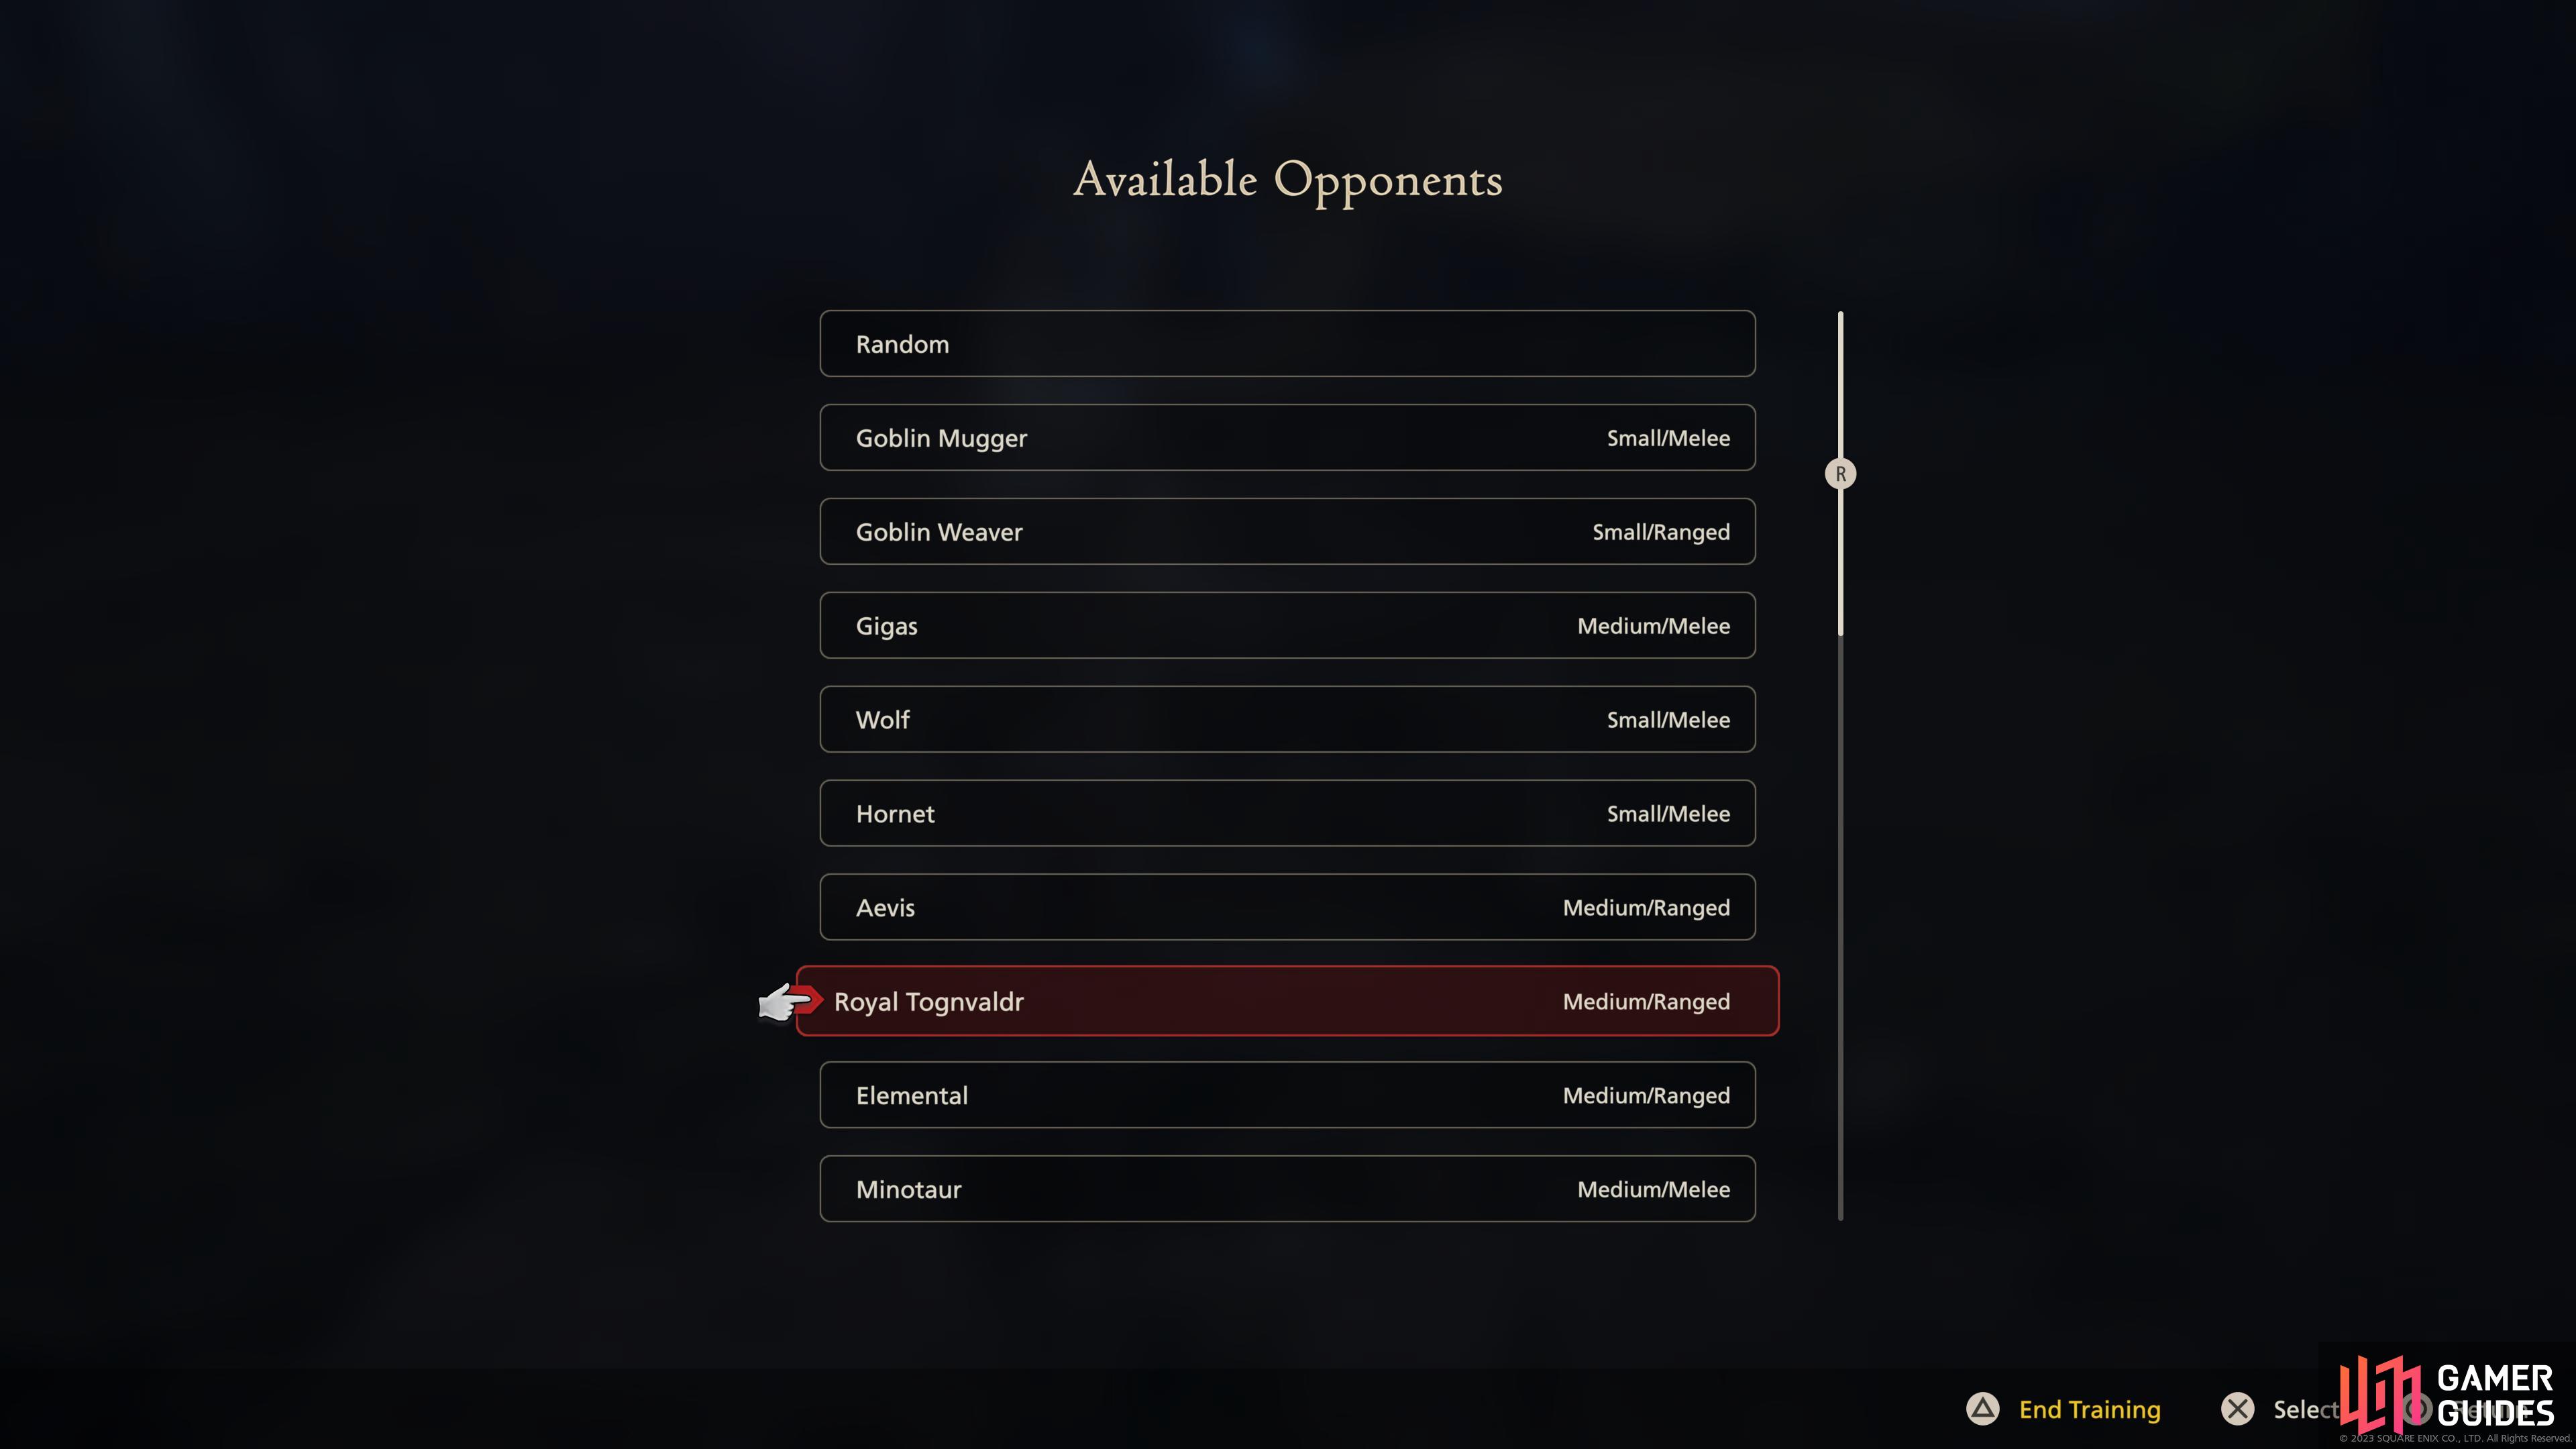
The final option is a self-explanatory one, by selecting this, you’ll be able to choose from a long list of enemies that you’ve already faced in your current progress of the Main Story. You can have the game give you constant random enemies from said list, or you can choose one yourself, with the game helpfully pointing out the focus of their attacks.
Not every enemy in the game will appear here, and plenty of the bosses from the main scenario are not available, but there’s a large variety that should fill any needs you may have.
More Final Fantasy 16 Guides
If you’re looking for help on any other mechanics found in Final Fantasy XVI, check out our pages below:
No Comments