
The Even Weirder Science side quest in Final Fantasy 16 can be acquired in ![]() The Hideaway once you reach the Across the Narrow main quest. Here you’ll find someone named Owain who needs you to find some materials for a new smelter. We’ll take you through the necessary steps to completion and to finding the Spherical Echoes
The Hideaway once you reach the Across the Narrow main quest. Here you’ll find someone named Owain who needs you to find some materials for a new smelter. We’ll take you through the necessary steps to completion and to finding the Spherical Echoes
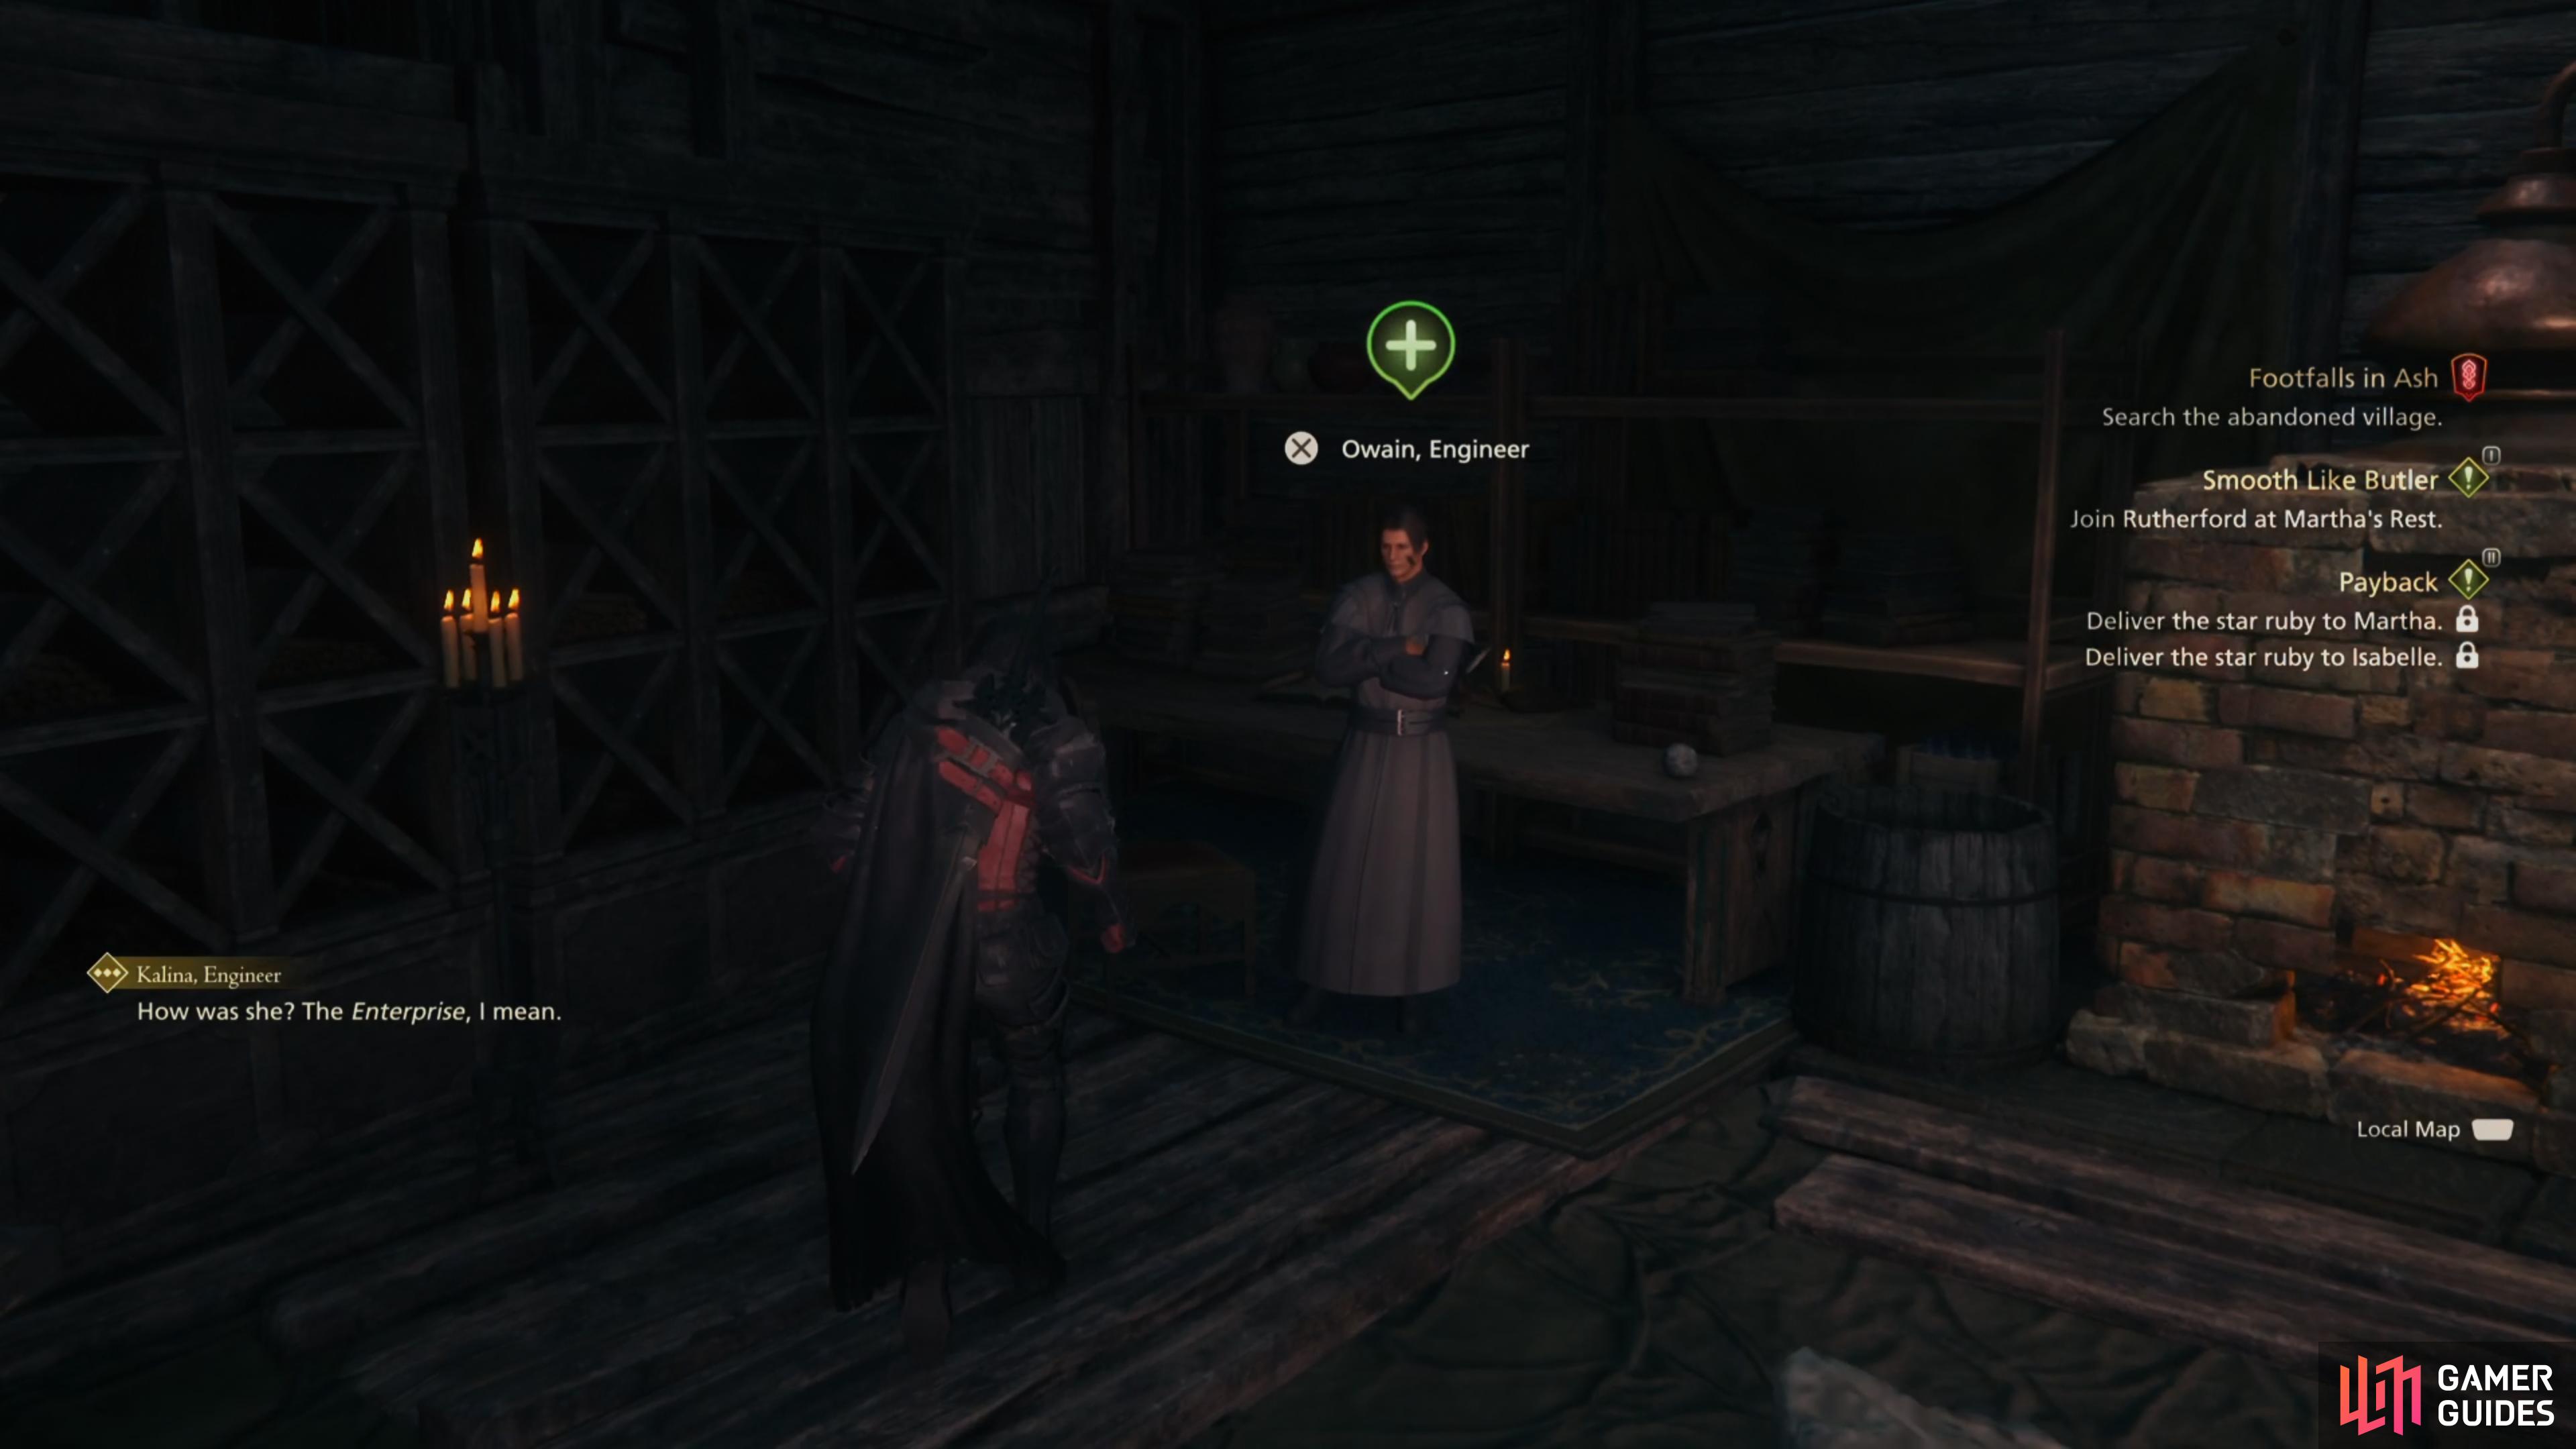
Speak with Owain in Mid’s Dungeon to begin this quest.
Owain asks for Clive’s assistance in obtaining the spherical echoes he needs to complete a new invention. He has only to venture to three Fallen ruins and retrieve them from their bigger, deadlier cousins.
How to Start the Even Weirder Science Side Quest in Final Fantasy 16
First things first, you’ll need to have completed the main story mission Through the Maelstrom, and be on Across the Narrow. When those requirements have been met, head over to ![]() Owain who can be found in Mid’s Dungeon area of the Hideaway. Speak with him and you’ll learn that he wants to create a new smelter, but he requires some Spherical Echoes which can be found in Fallen Ruins. Obviously, Owain is no fighter, so he has requested you go and collect them for him.
Owain who can be found in Mid’s Dungeon area of the Hideaway. Speak with him and you’ll learn that he wants to create a new smelter, but he requires some Spherical Echoes which can be found in Fallen Ruins. Obviously, Owain is no fighter, so he has requested you go and collect them for him.
Where to Find the Spherical Echoes
There are three Fallen Ruins to track down, so below you’ll find out where they are located.
Where to Find the Silent Sough Fallen Ruins
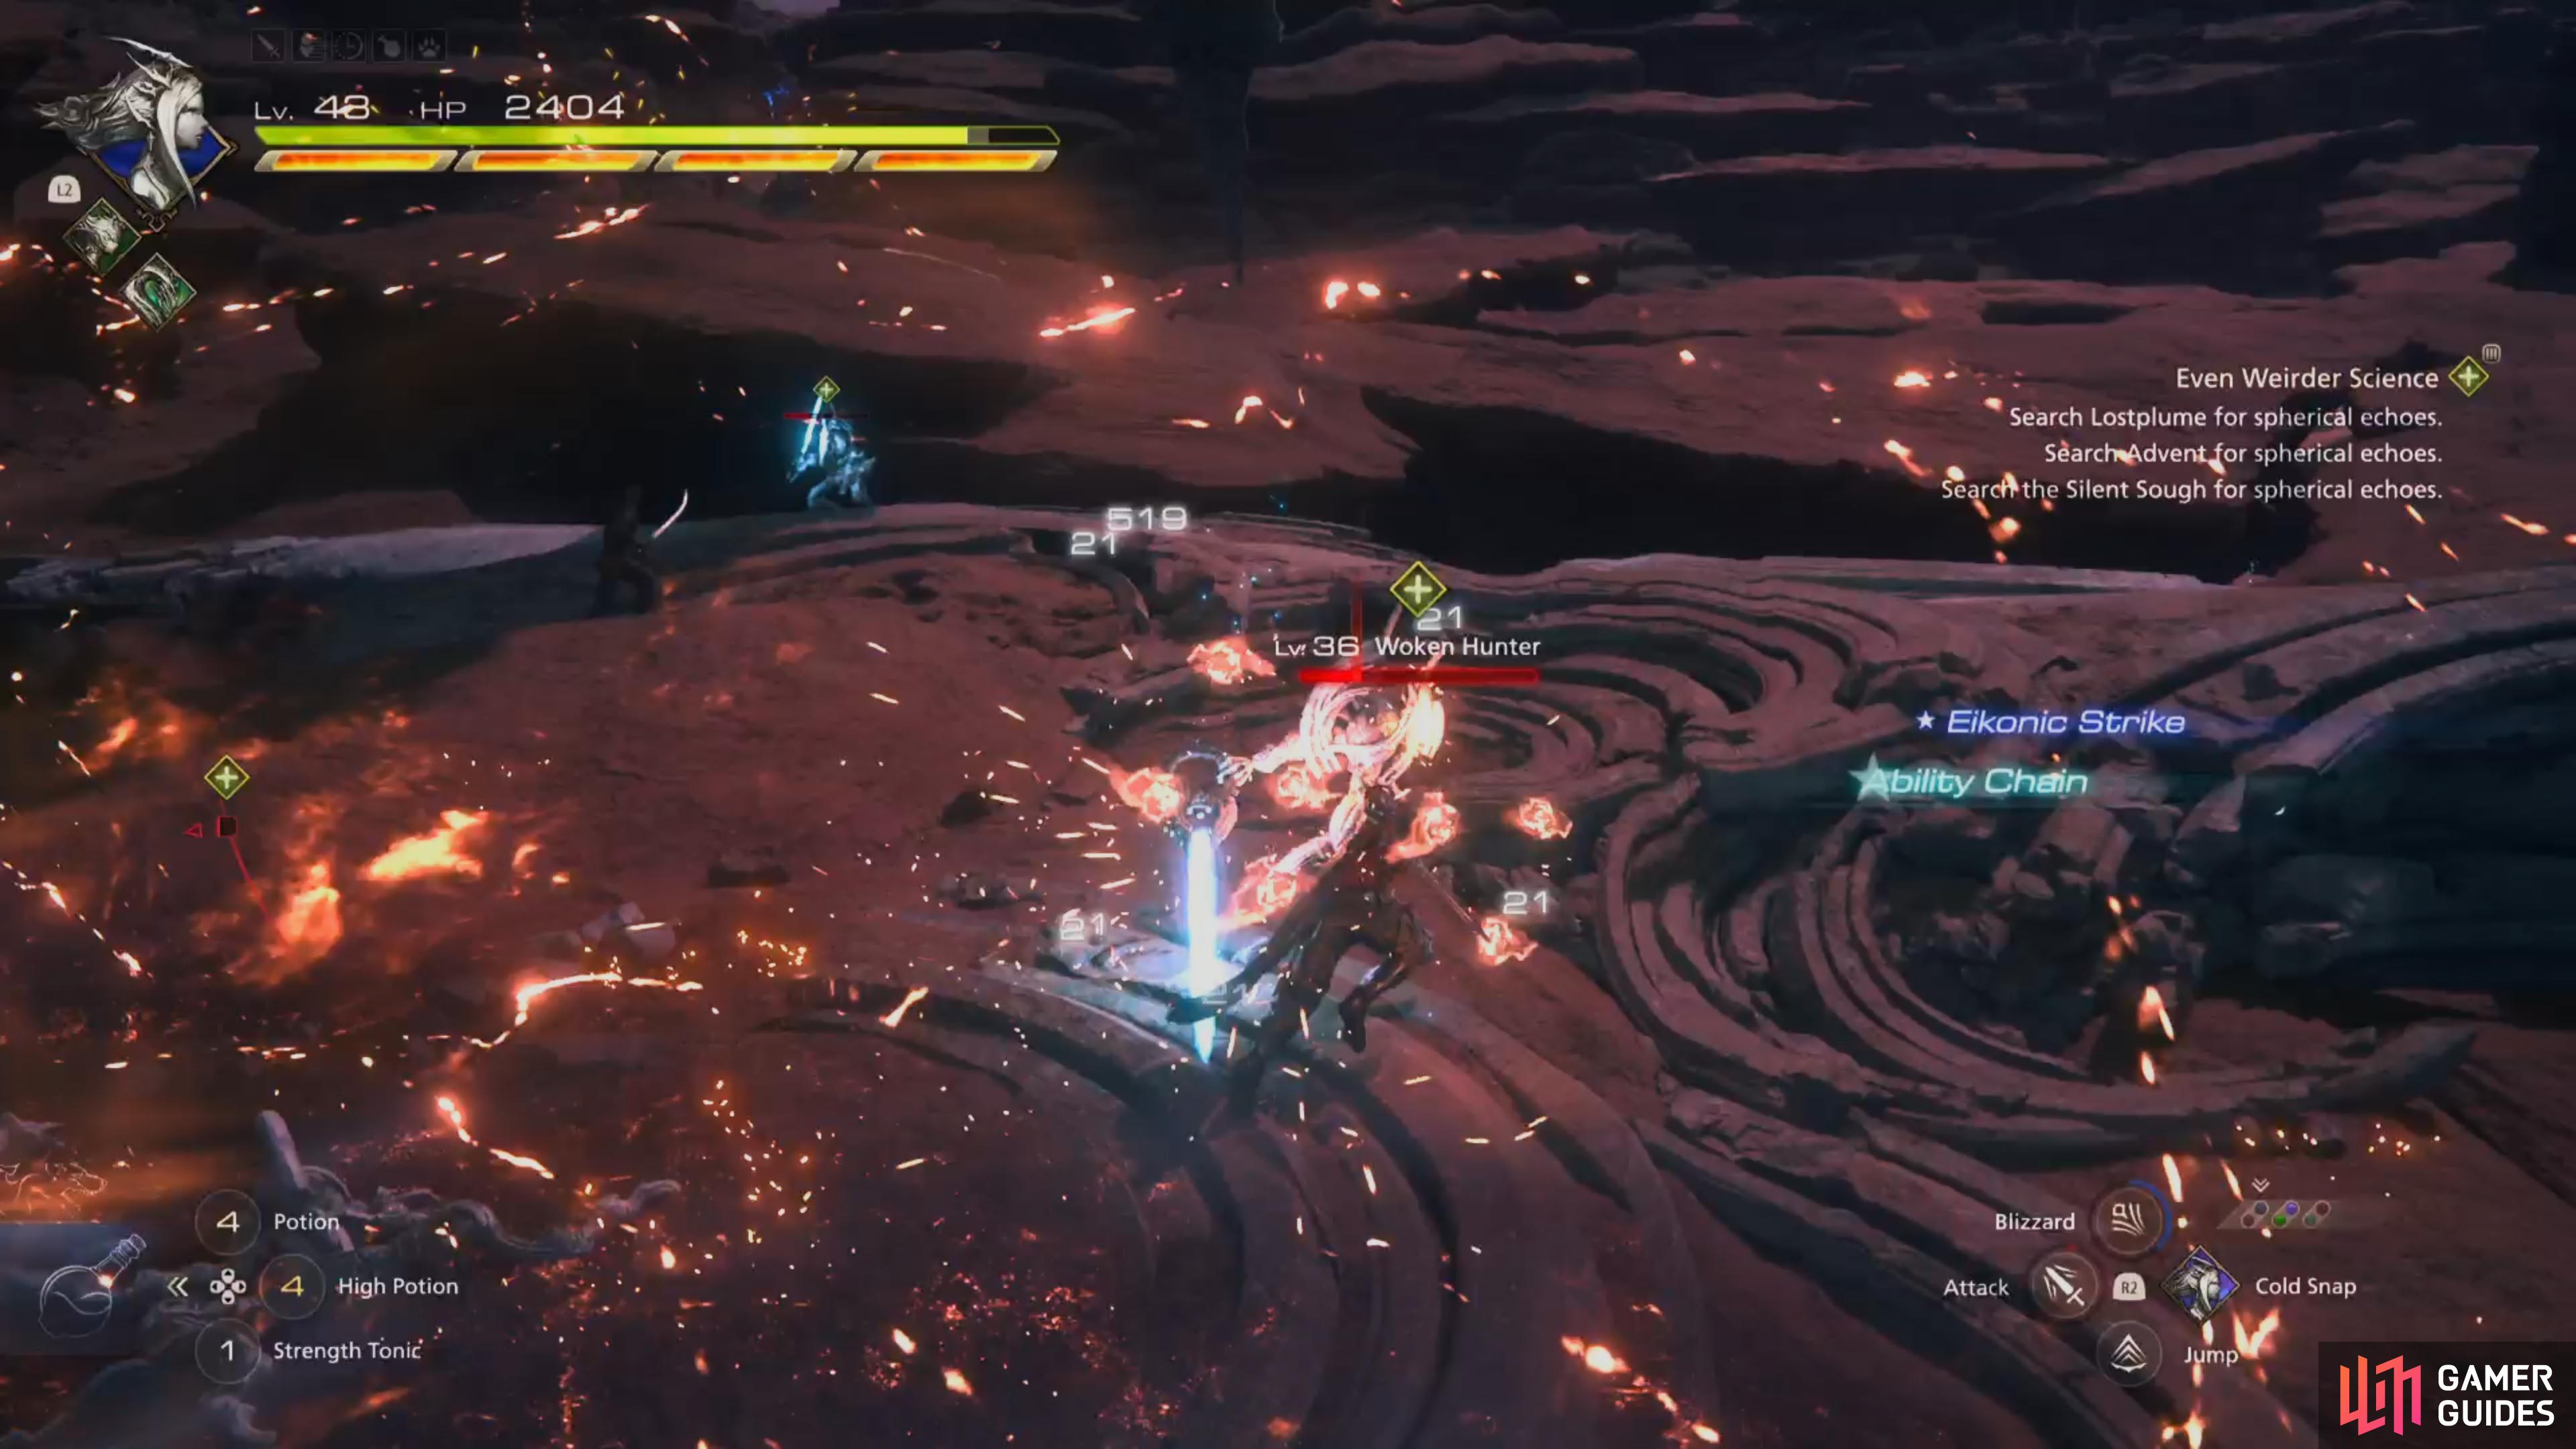
Once you’ve finished speaking with Owain, you’ll need to head to three ruins which are scattered throughout ![]() Valisthea, so to begin fast travel to The Krozjit Echoes and follow the path along to the southeast until you reach the Silent Sough area. Here you’ll need to take down multiple Woken Hunters and a Bomb Errant. Thankfully, these are just regular enemies, so any of your AoE Abilities, such as
Valisthea, so to begin fast travel to The Krozjit Echoes and follow the path along to the southeast until you reach the Silent Sough area. Here you’ll need to take down multiple Woken Hunters and a Bomb Errant. Thankfully, these are just regular enemies, so any of your AoE Abilities, such as ![]() Diamond Dust or
Diamond Dust or ![]() Aerial Blast will make quick work of them.
Aerial Blast will make quick work of them.
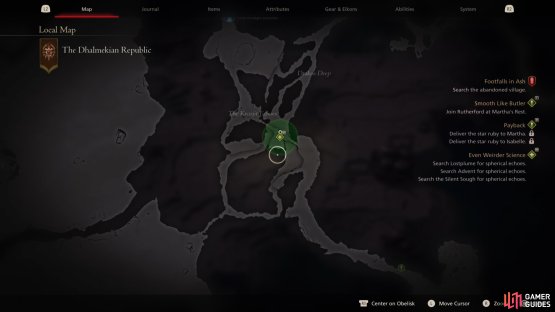

(1 of 2) Head to this location on the map

Head to this location on the map (left), and take down the Woken Hunters. (right)
If the Bomb Errant enlarges before you are able to take it down, then you’ll want to get far away before it explodes. After you’ve cleared out all of the enemies, pick up the Spherical !Echo from the floor at the back of the area before going onto the next ruin.
Where to Find the Lostplume Fallen Ruins
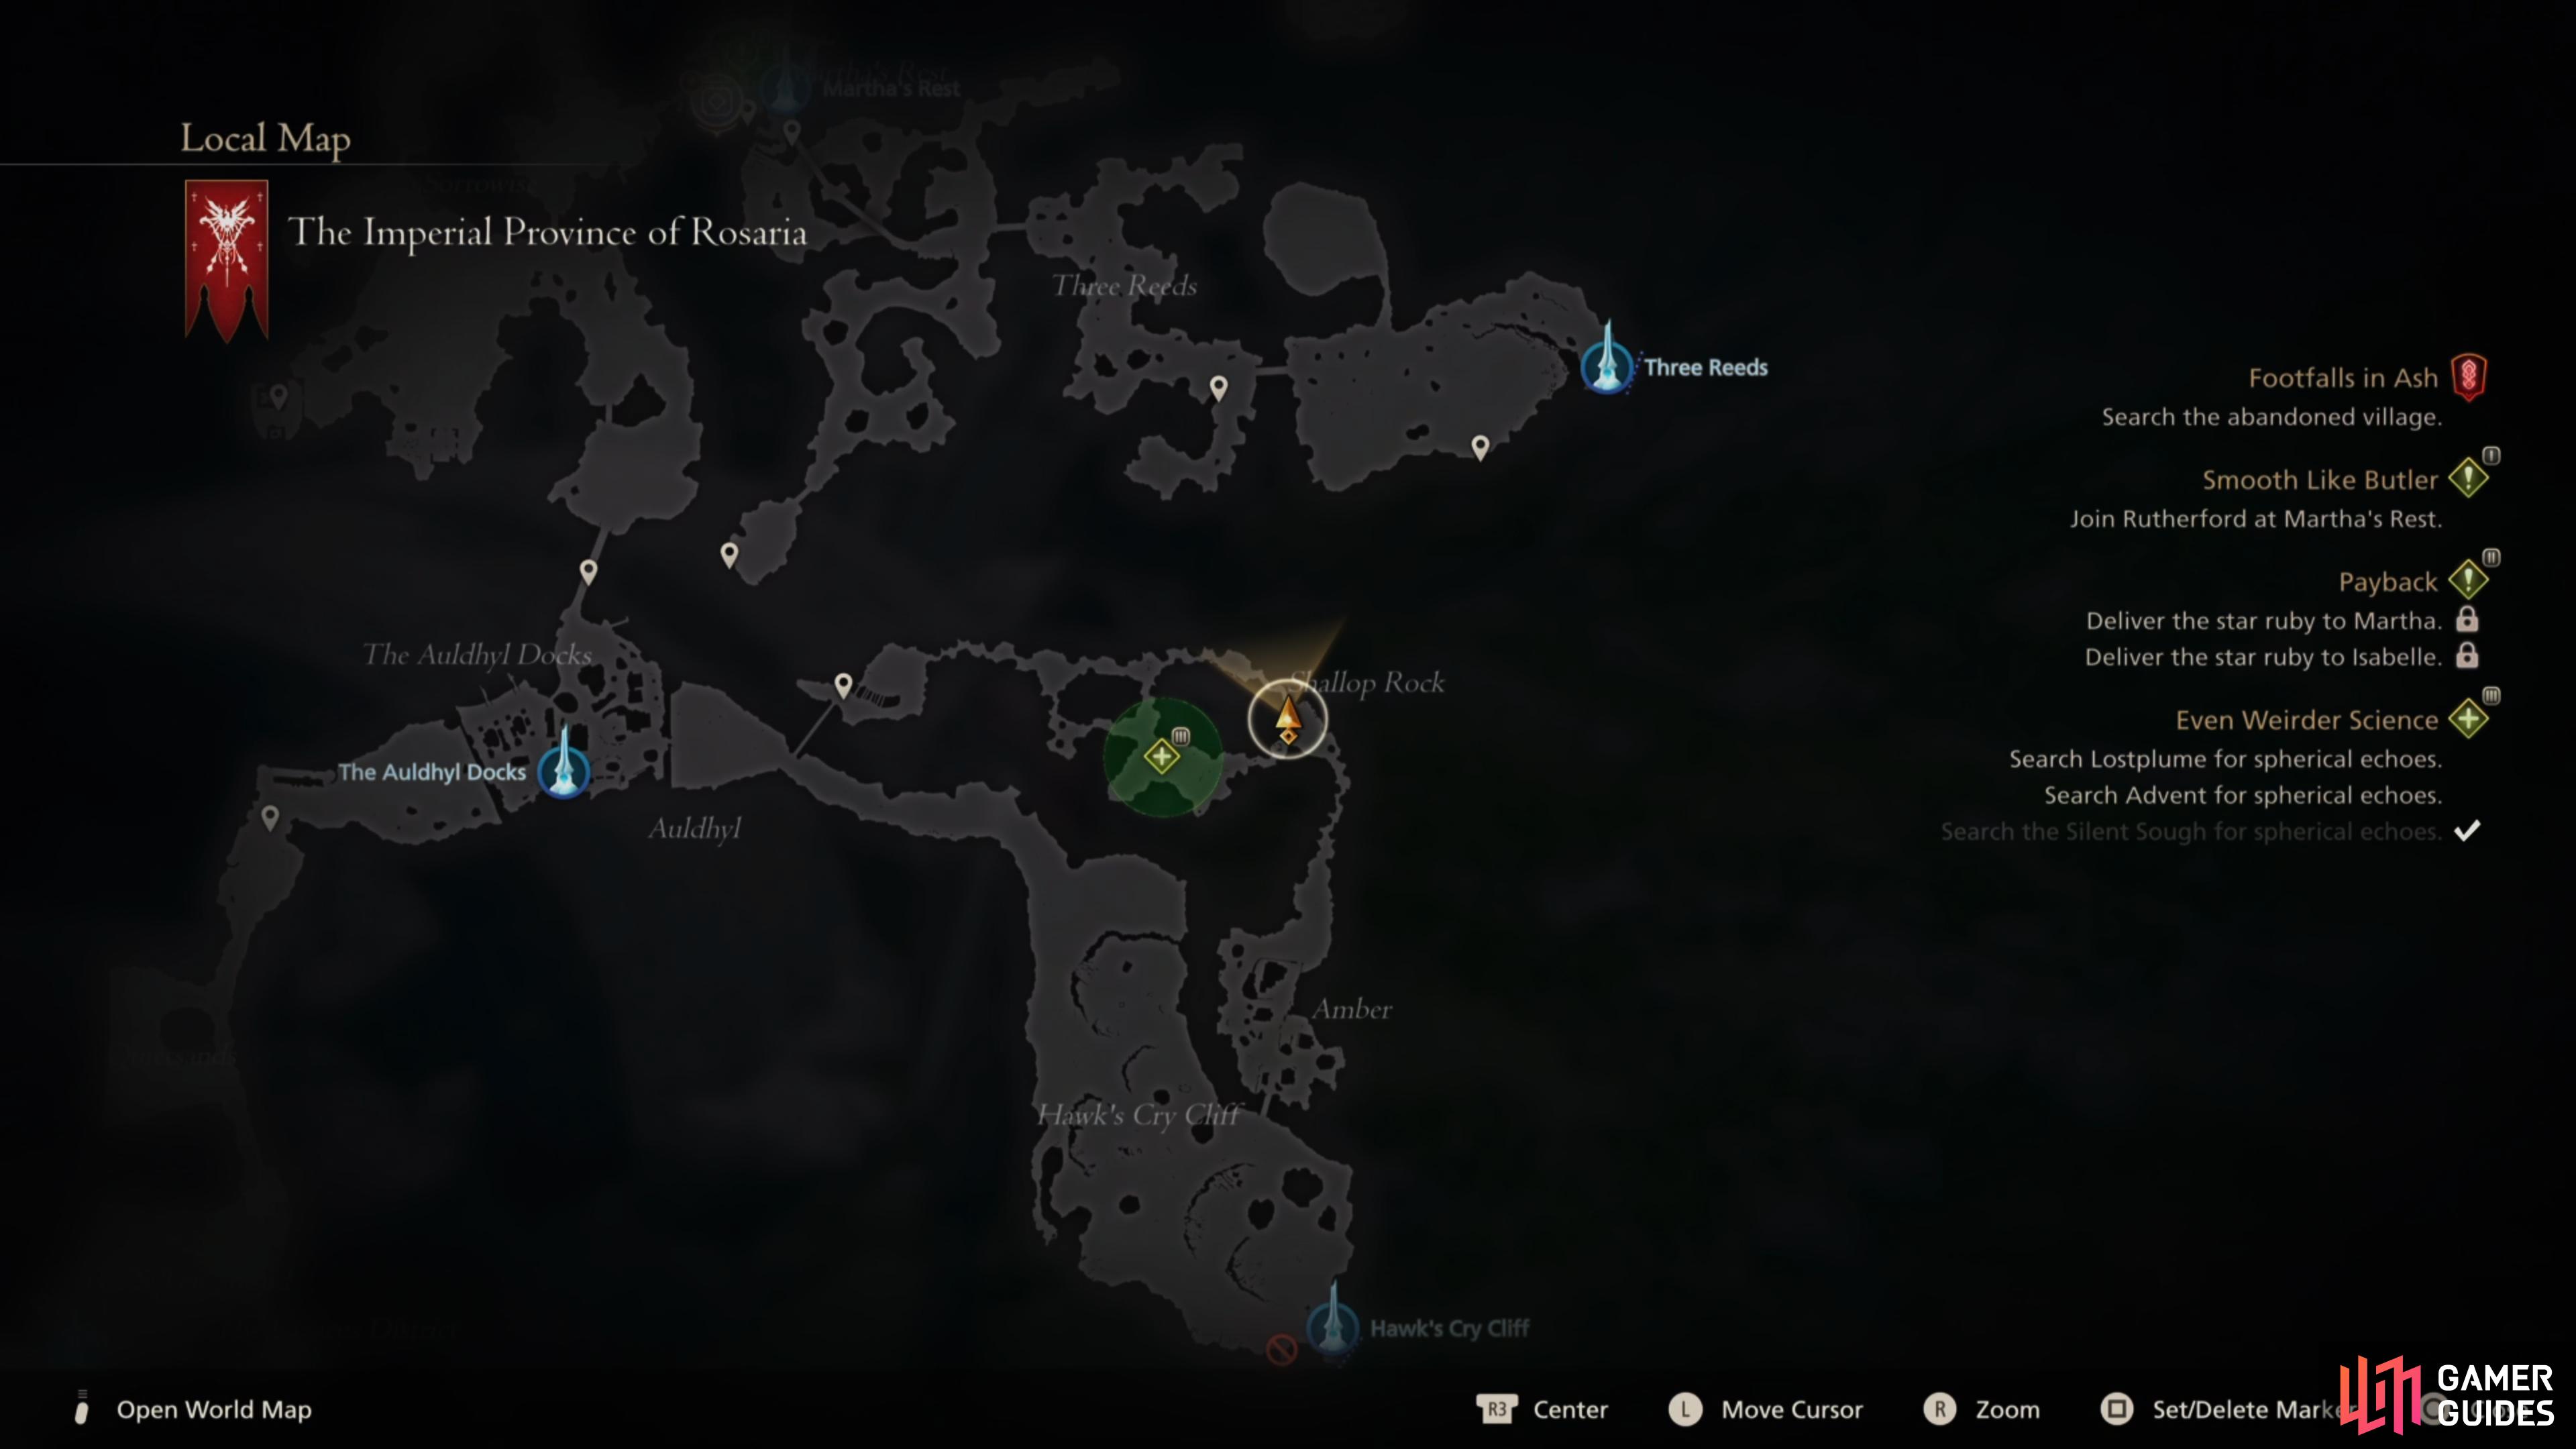
For the next Fallen Ruins you’ll want to fast travel over to the ![]() Hawk’s Cry Cliff
Hawk’s Cry Cliff ![]() Obelisk, then head north until you reach the Shallop Rock sub-region and you’ll find the Lostplume Fallen Ruins in the center. This time around you’ll be up against a Woken Bug and a Woken Guardian. Take down the bug first as it’s just a regular enemy, then focus all your attention on the guardian. This is an elite enemy, so it has lot more health and attacks, so we’ll have rundown of what they are and how to avoid them below:
Obelisk, then head north until you reach the Shallop Rock sub-region and you’ll find the Lostplume Fallen Ruins in the center. This time around you’ll be up against a Woken Bug and a Woken Guardian. Take down the bug first as it’s just a regular enemy, then focus all your attention on the guardian. This is an elite enemy, so it has lot more health and attacks, so we’ll have rundown of what they are and how to avoid them below:
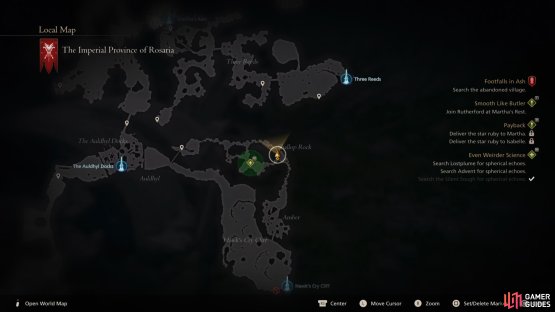

(1 of 2) Head to this location on the map
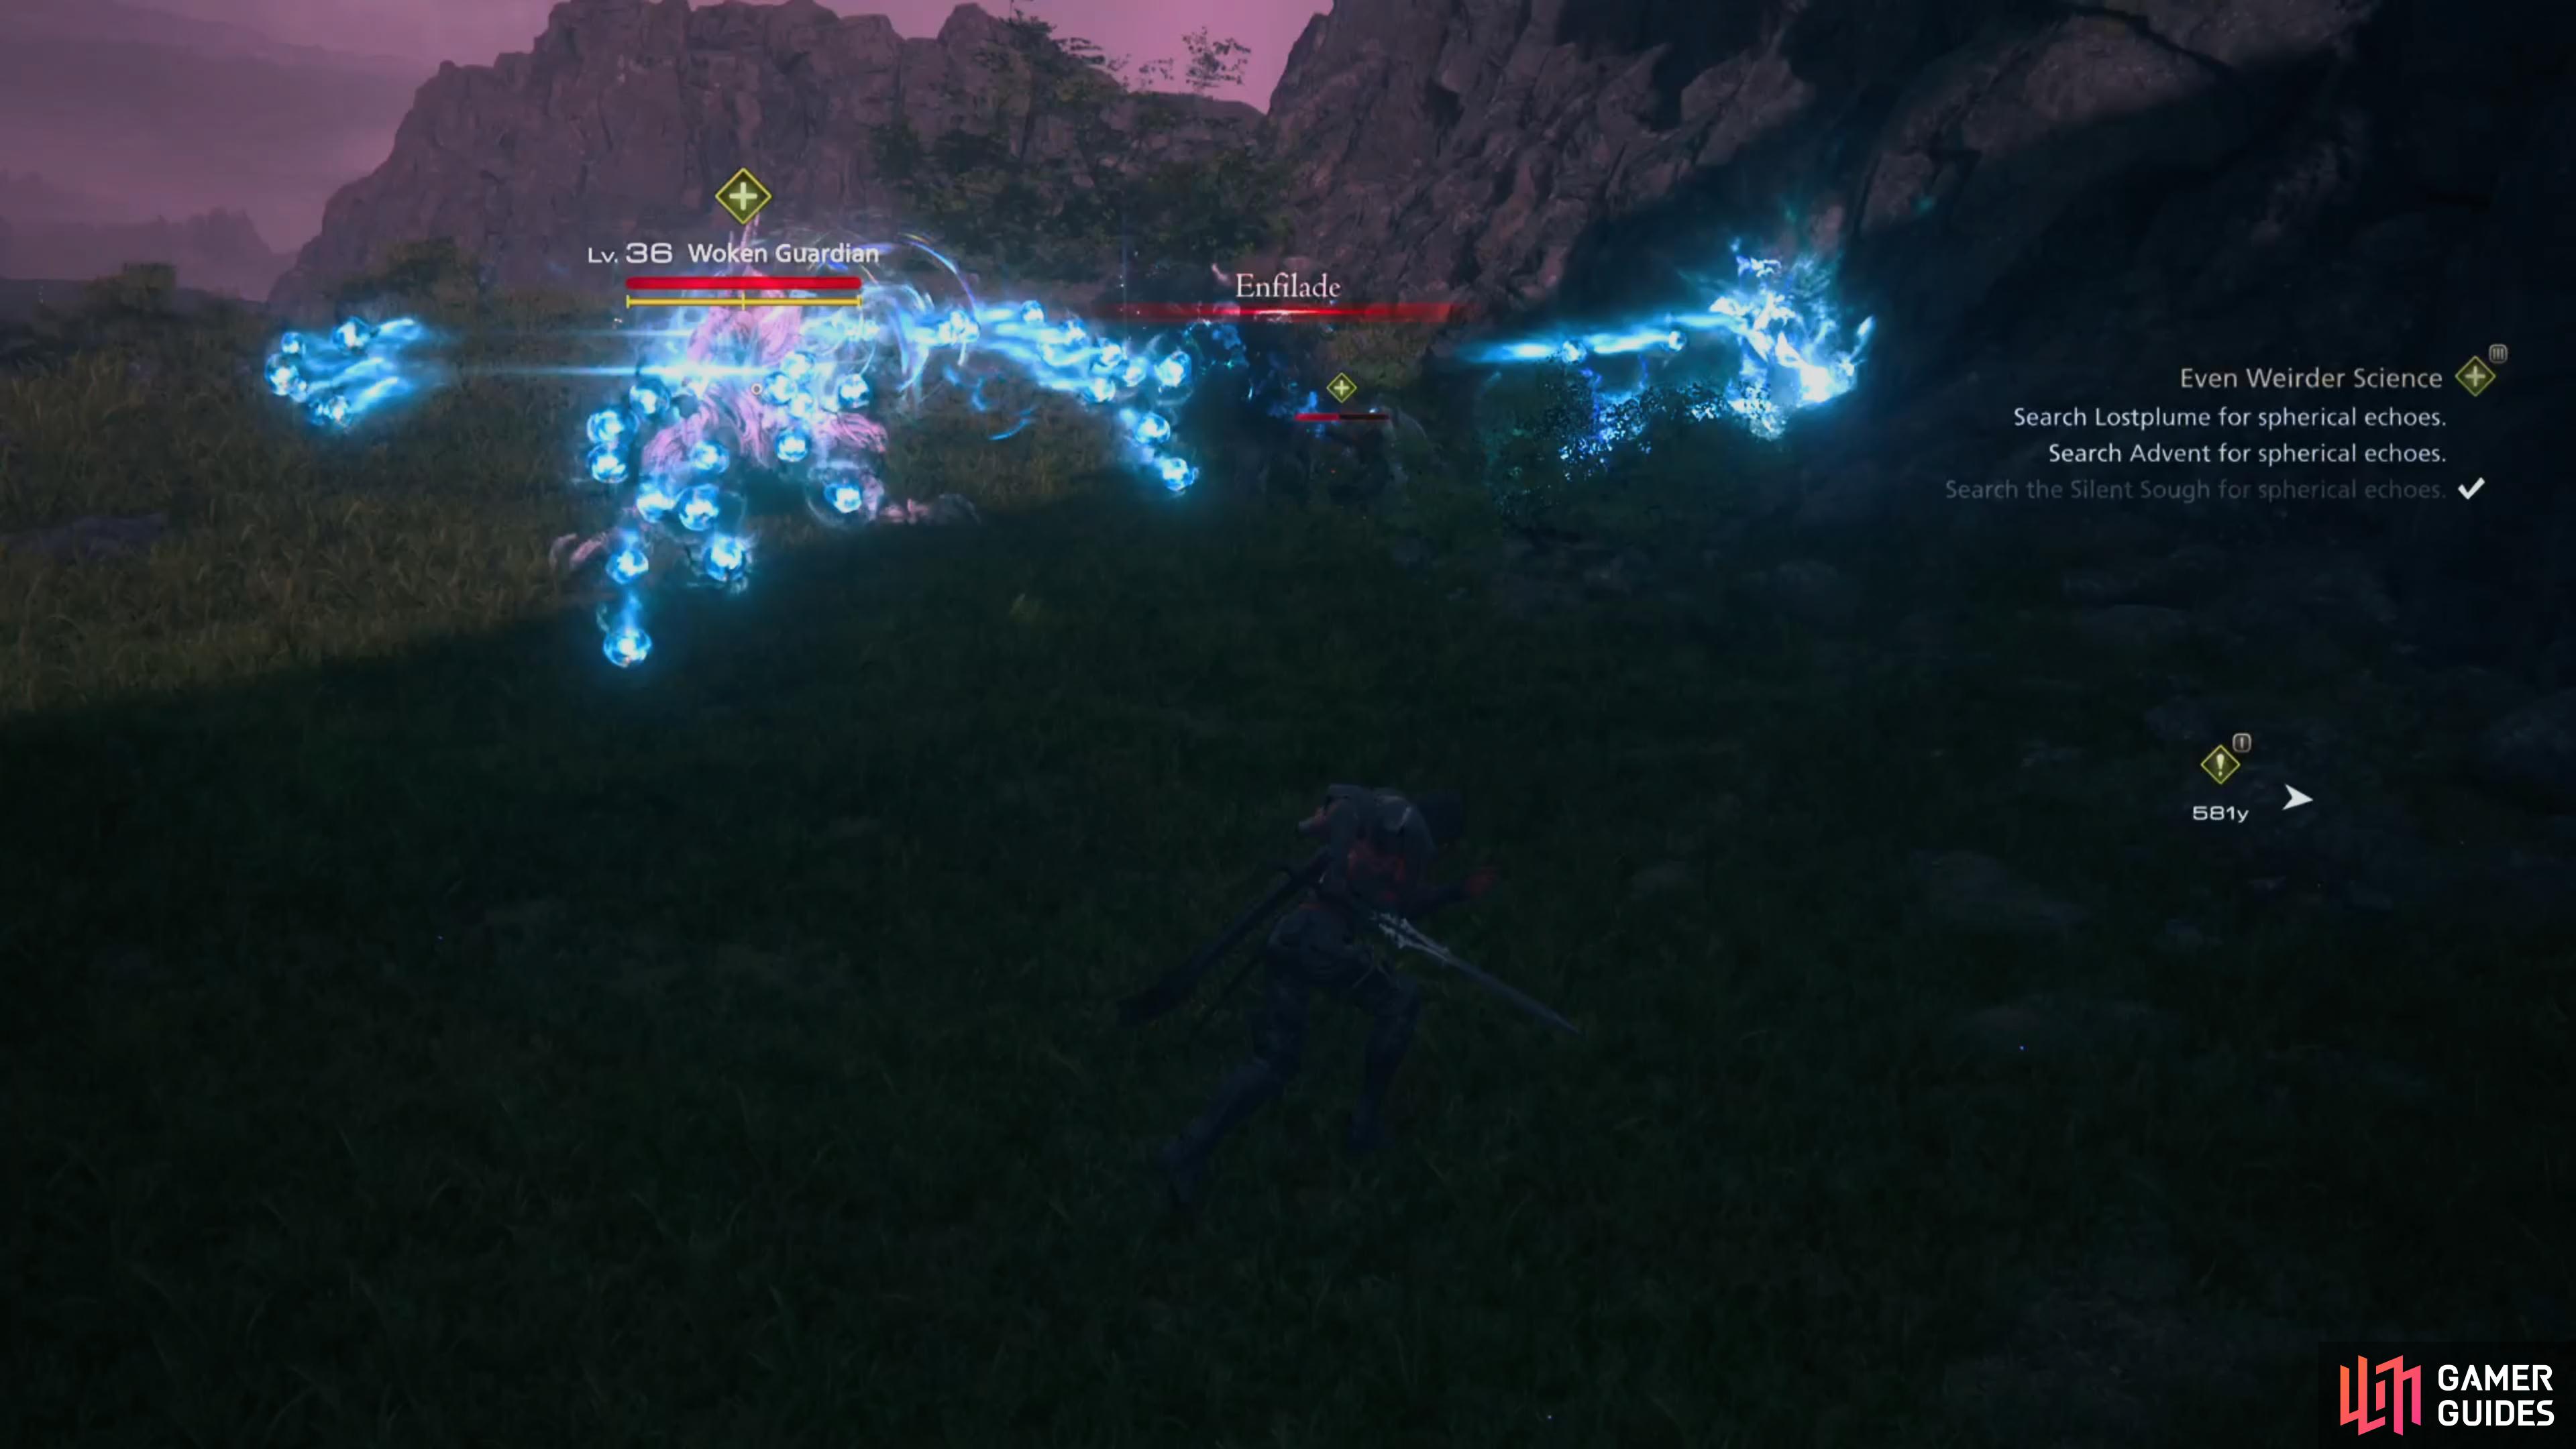
Head to this location on the map (left), and defeat the Woken Guardian. (right)
- Thunder Balls - Throughout the battle the Woken Guardian will charge up for a few seconds and then shoot out two Thunder Balls at you in quick succession. Simply keep your distance to give yourself more time to dodge.
- Enfilade - The Woken Guardian will spin around and shoot out hundreds of small orbs. Like with most of its attacks, keep your distance and you should easily avoid it.
- Wide Slice - The Woken Guardian will twist its body before unleashing a sweeping Slice with its weapon. Here you’ll want to keep your distance or continuously dodge it until it stops.
After you’ve defeated the two enemies, pick up the next Spherical Echo from the floor near the cliff edge, then move onto the third and final fallen ruin.
Where to Find the Advent Fallen Ruins

(1 of 2) Head to this location on the map
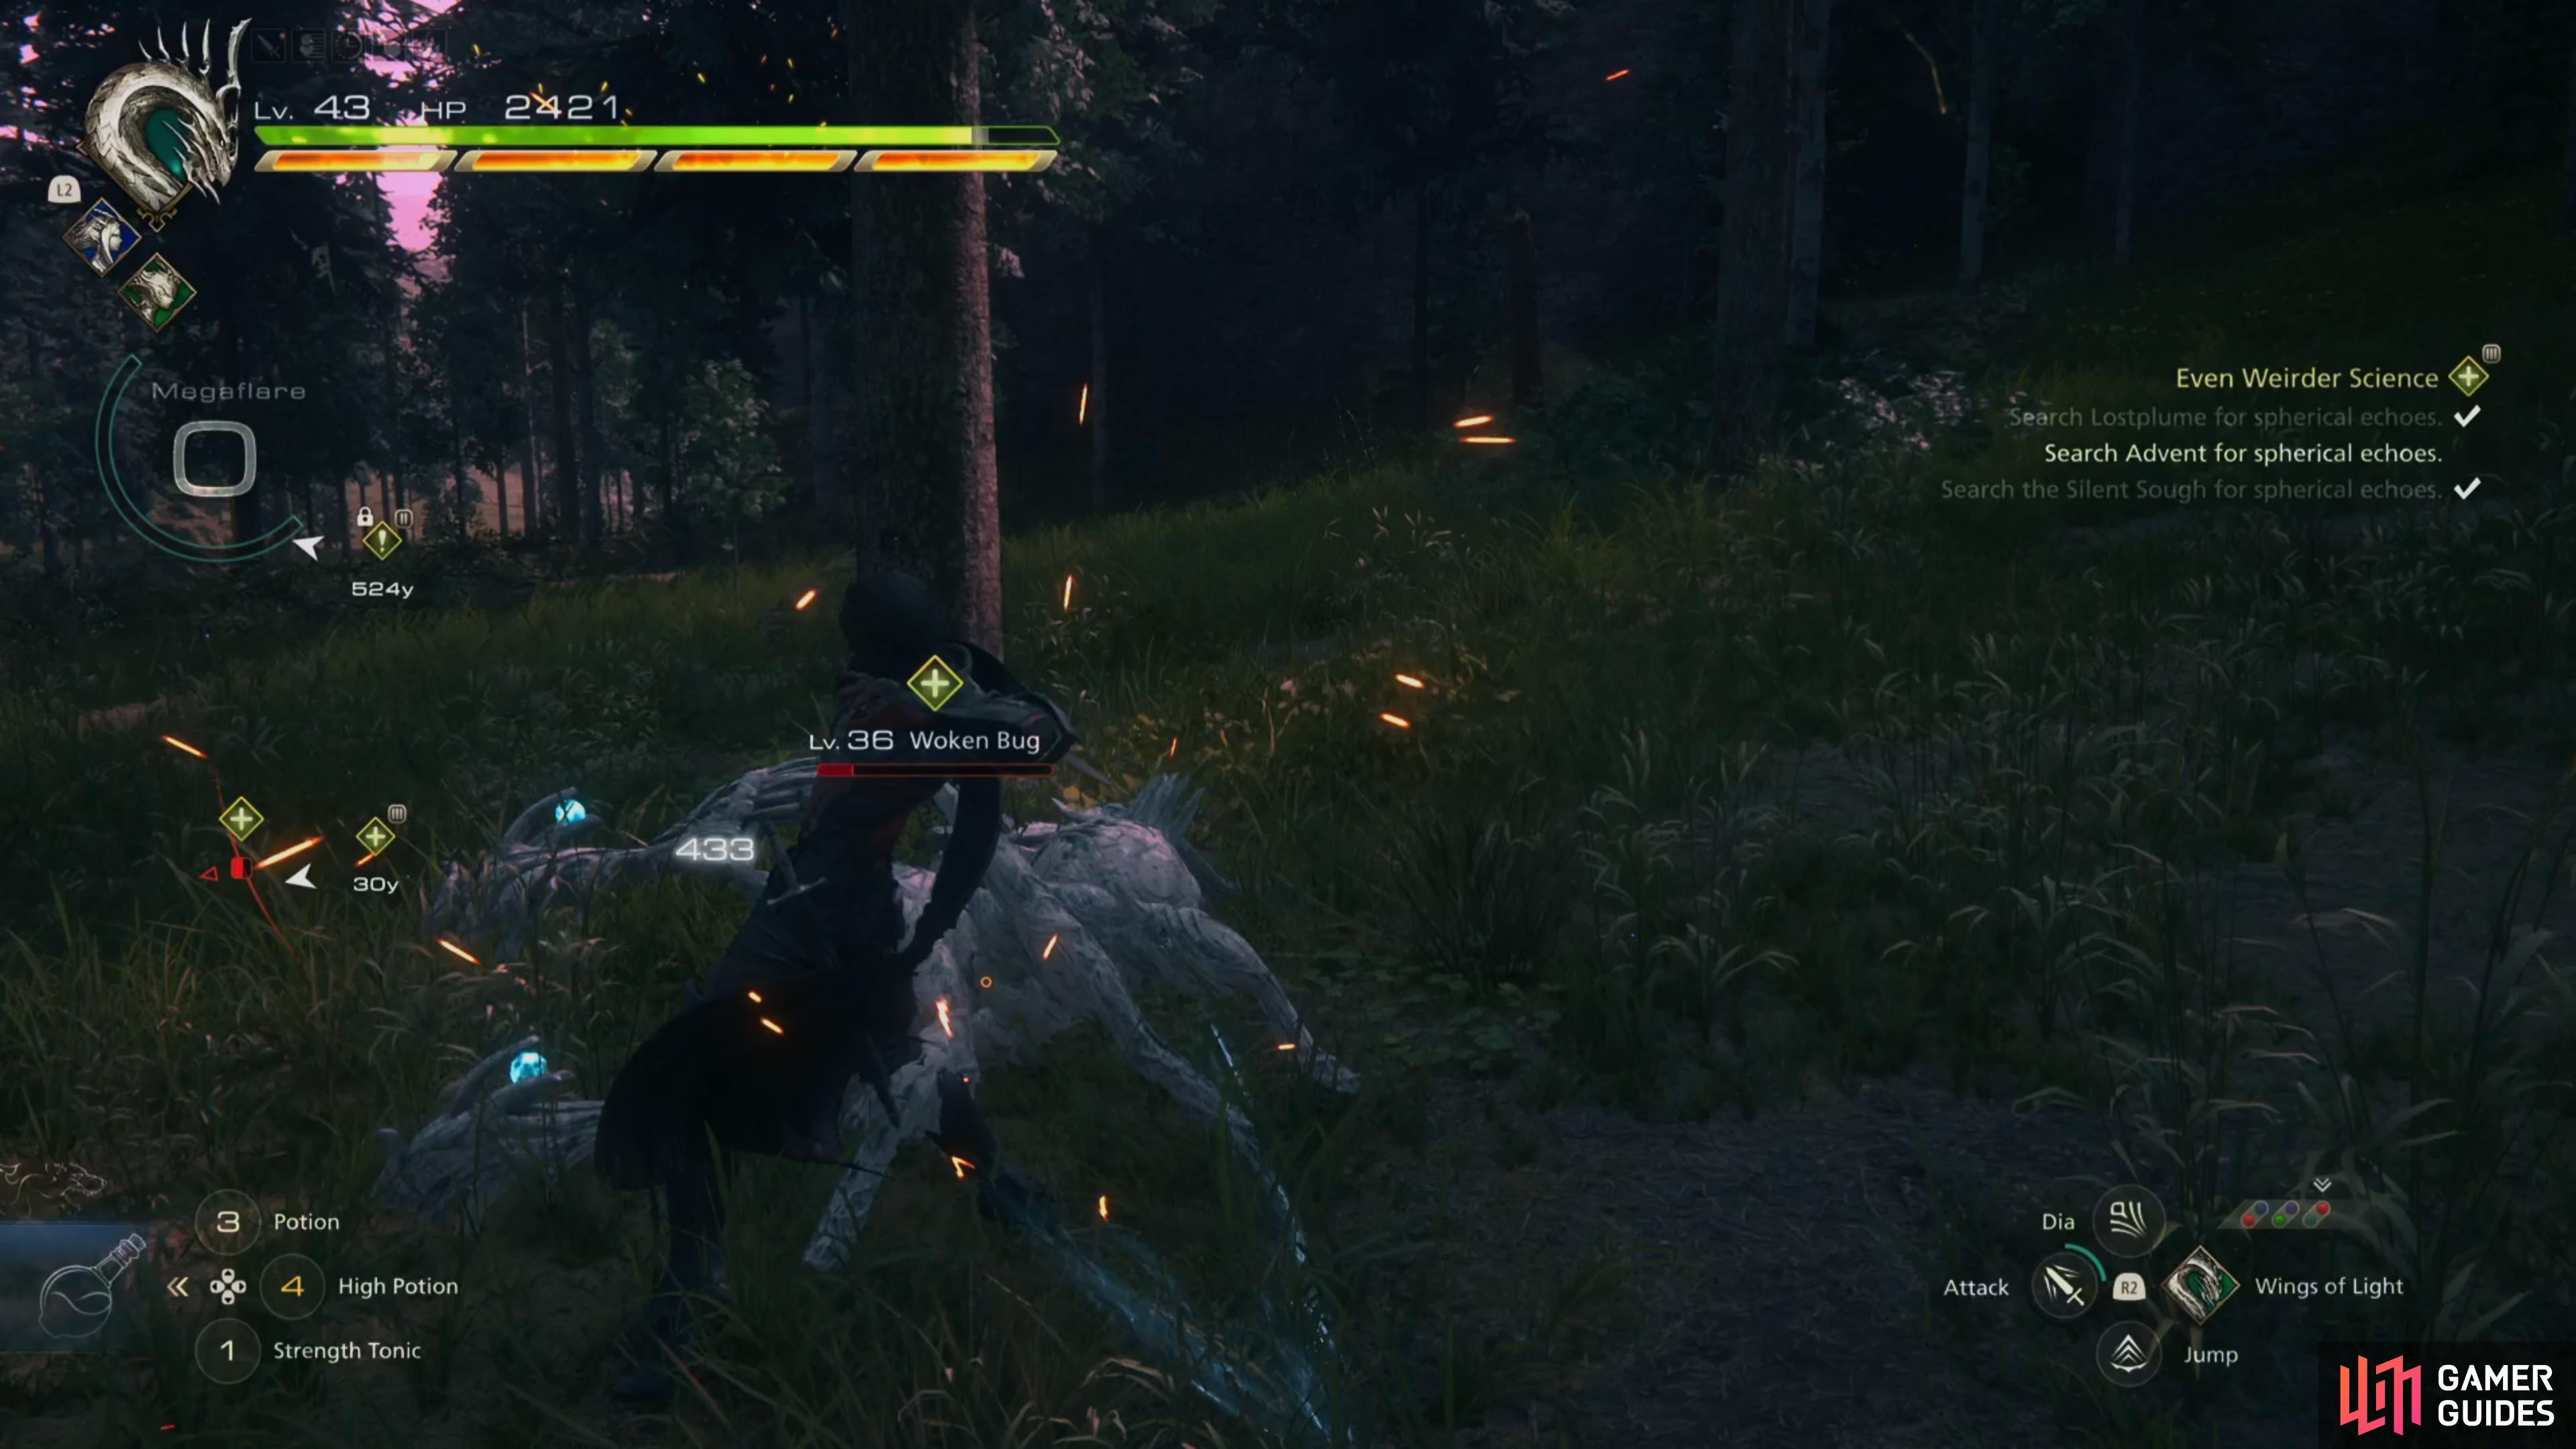
Head to this location on the map (left), and defeat the Woken Bug. (right)
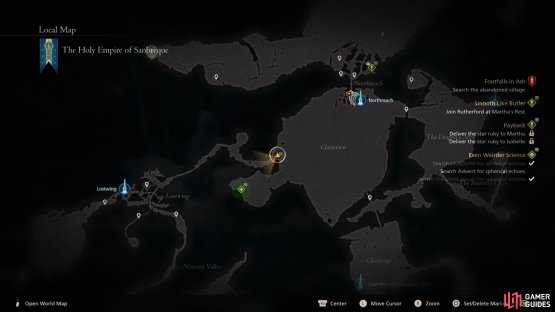
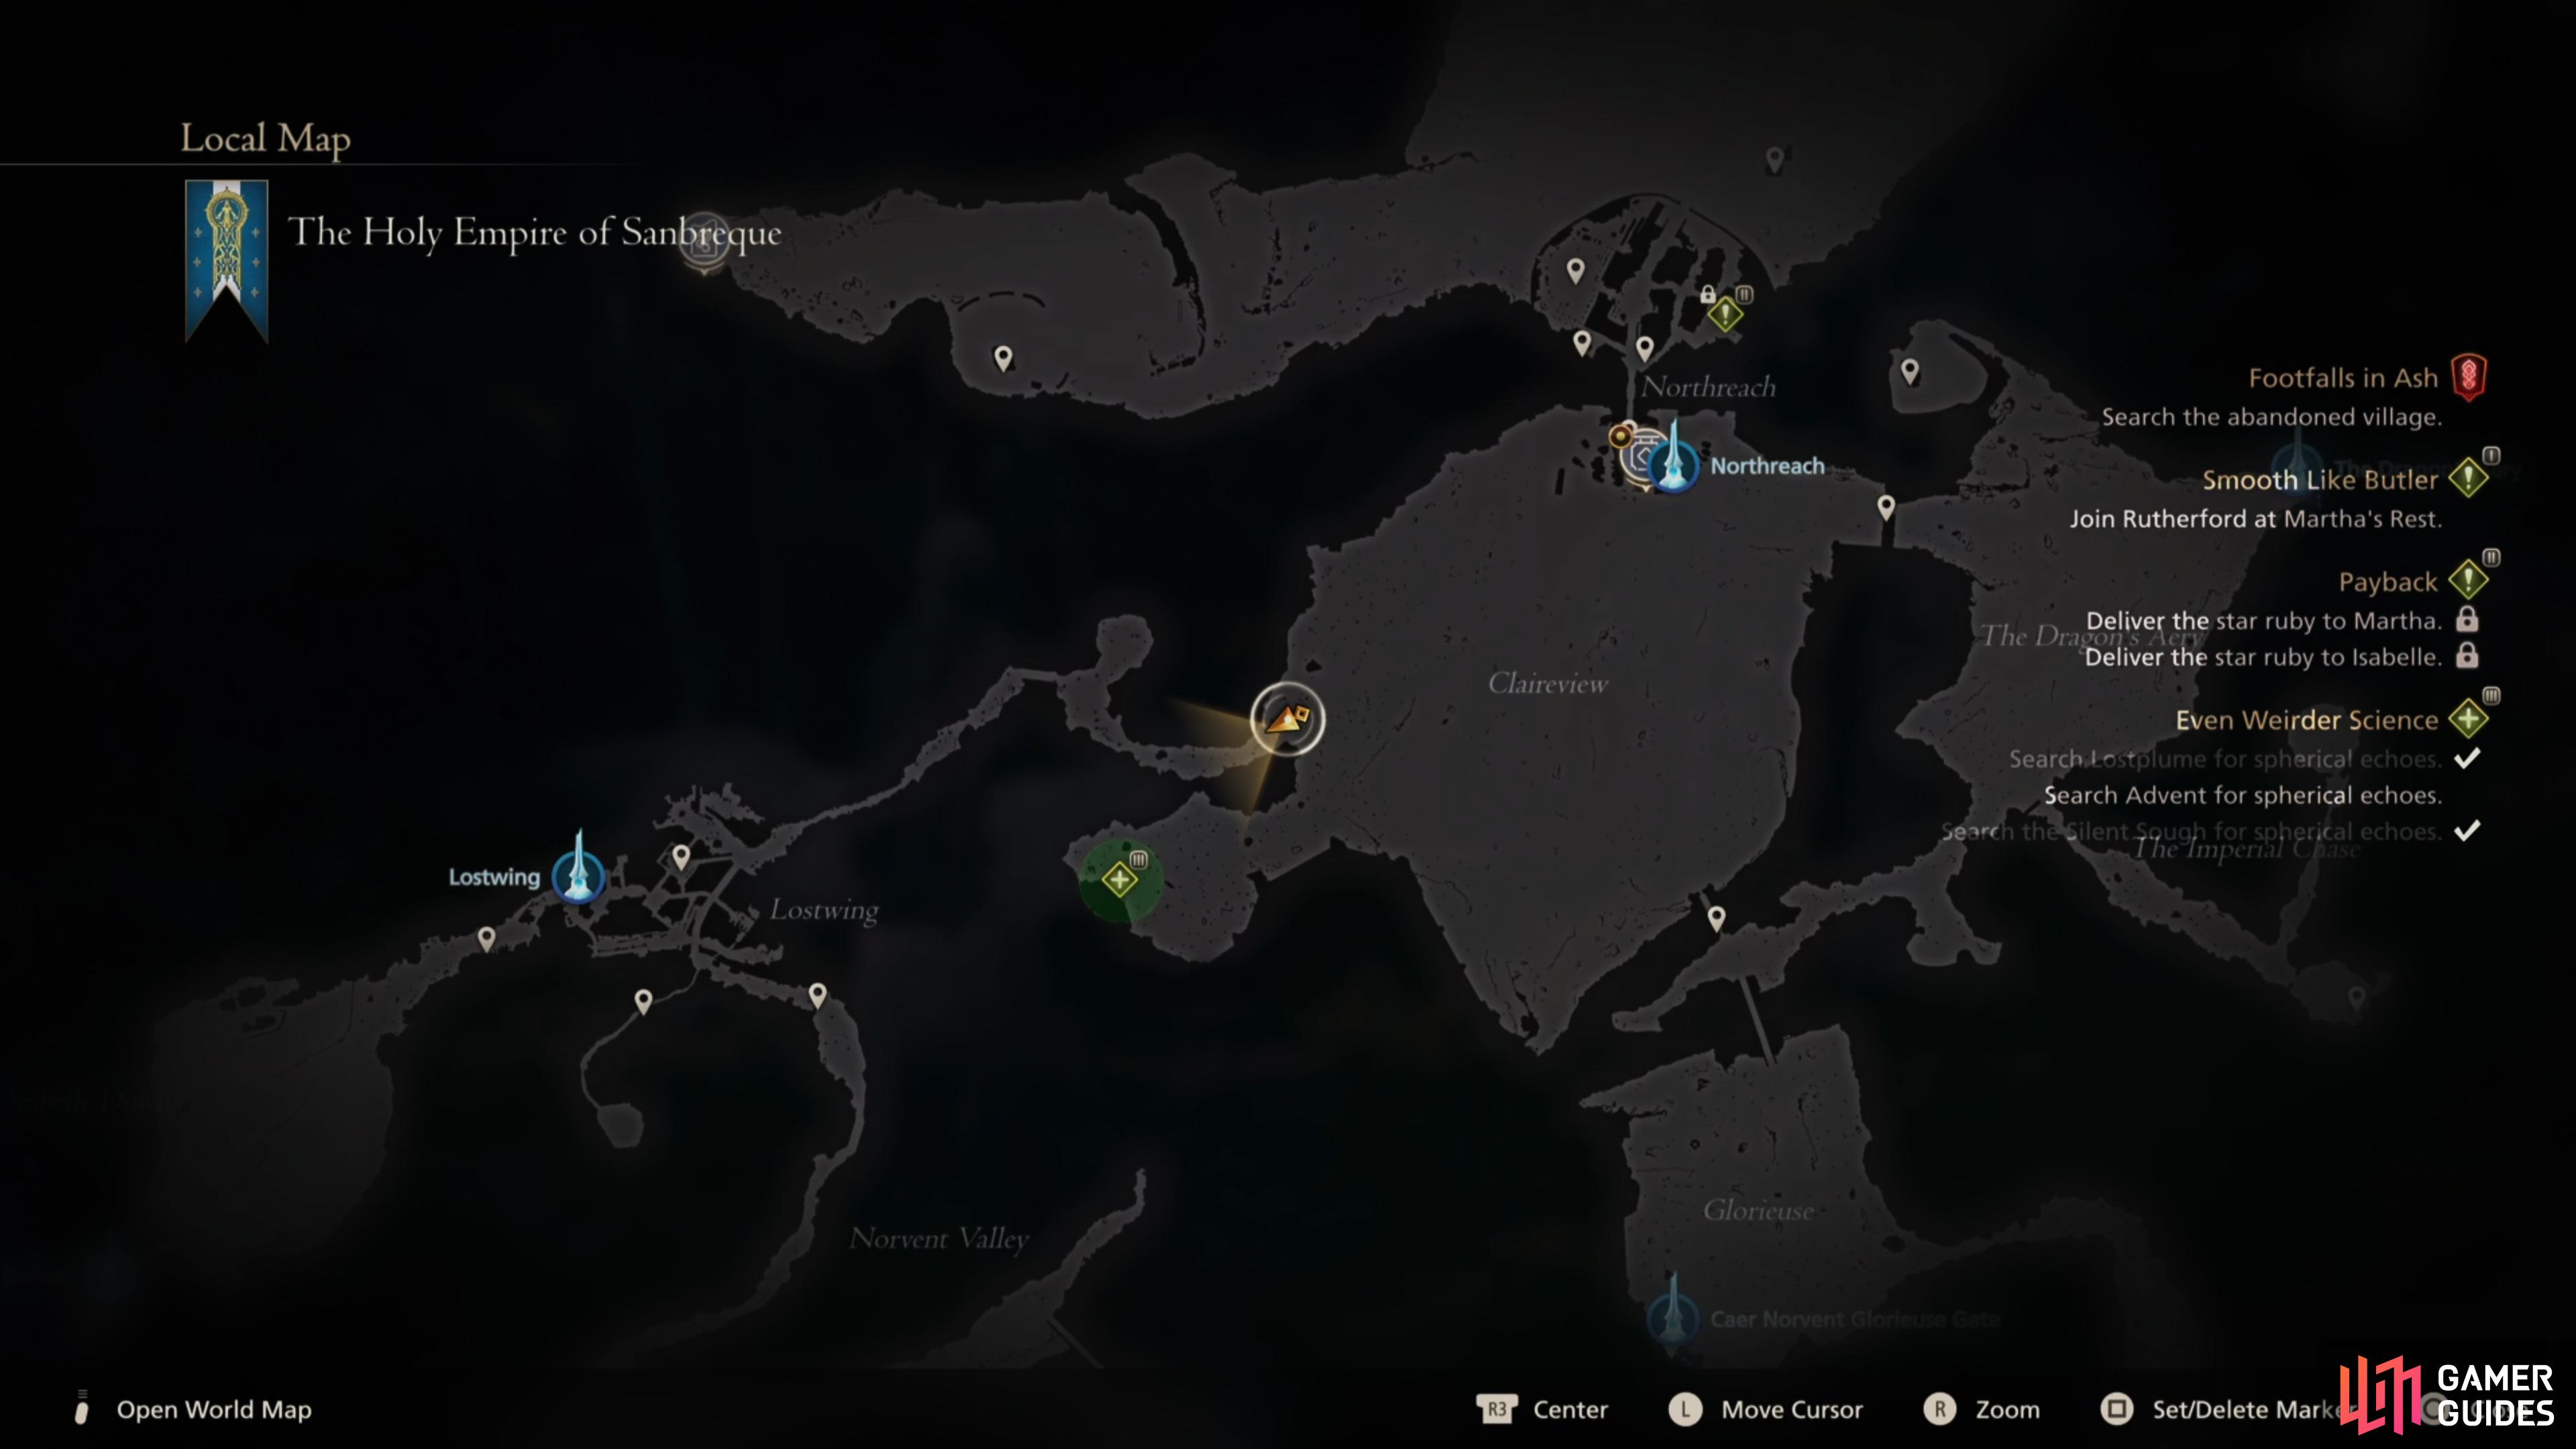
You’ll now want to fast travel to the ![]() Northreach Obelisk, then head to the southwest corner of the Claireview sub-region to reach the advent area. In this final ruin you’ll be up against multiple Woken Bugs and Woken Nodes. Simply group them up and use your strongest AoE Abilities, such as Diamond Dust. Alternatively, you can place down
Northreach Obelisk, then head to the southwest corner of the Claireview sub-region to reach the advent area. In this final ruin you’ll be up against multiple Woken Bugs and Woken Nodes. Simply group them up and use your strongest AoE Abilities, such as Diamond Dust. Alternatively, you can place down ![]() Lightning Rod and take down from a distance with
Lightning Rod and take down from a distance with ![]() Gigaflare. Pick up the last Spherical Echo and return to Owain in the Hideaway to bring this quest to a close. Here you’ll be rewarded with the
Gigaflare. Pick up the last Spherical Echo and return to Owain in the Hideaway to bring this quest to a close. Here you’ll be rewarded with the ![]() Expanded Potion Satchel. This increases the number of potions you’re able to hold.
Expanded Potion Satchel. This increases the number of potions you’re able to hold.
Other Side Quests in The Hideaway
As you’re playing through the Main Quest you’ll find more Side Quests pop up in the Hideaway, so it’s a good idea to check back often. Below is a list of all the currently available Side Quests:
| Name | Location |
|---|---|
| On Balance | The Shelves |
| Not to Be Outdone | The Ale Hall |
| Blacksmith Blues III | The Mess |
| Blacksmith Blues IV | The Mess |
No Comments