
![]() Bahamut will be encountered during the Fire in the Sky main quest. The overall encounter against Bahamut will be split into two pages, as the fights are pretty different from one another. The first skirmish alone will be different than most other bosses in the game, as you will experience some different gameplay mechanics.
Bahamut will be encountered during the Fire in the Sky main quest. The overall encounter against Bahamut will be split into two pages, as the fights are pretty different from one another. The first skirmish alone will be different than most other bosses in the game, as you will experience some different gameplay mechanics.
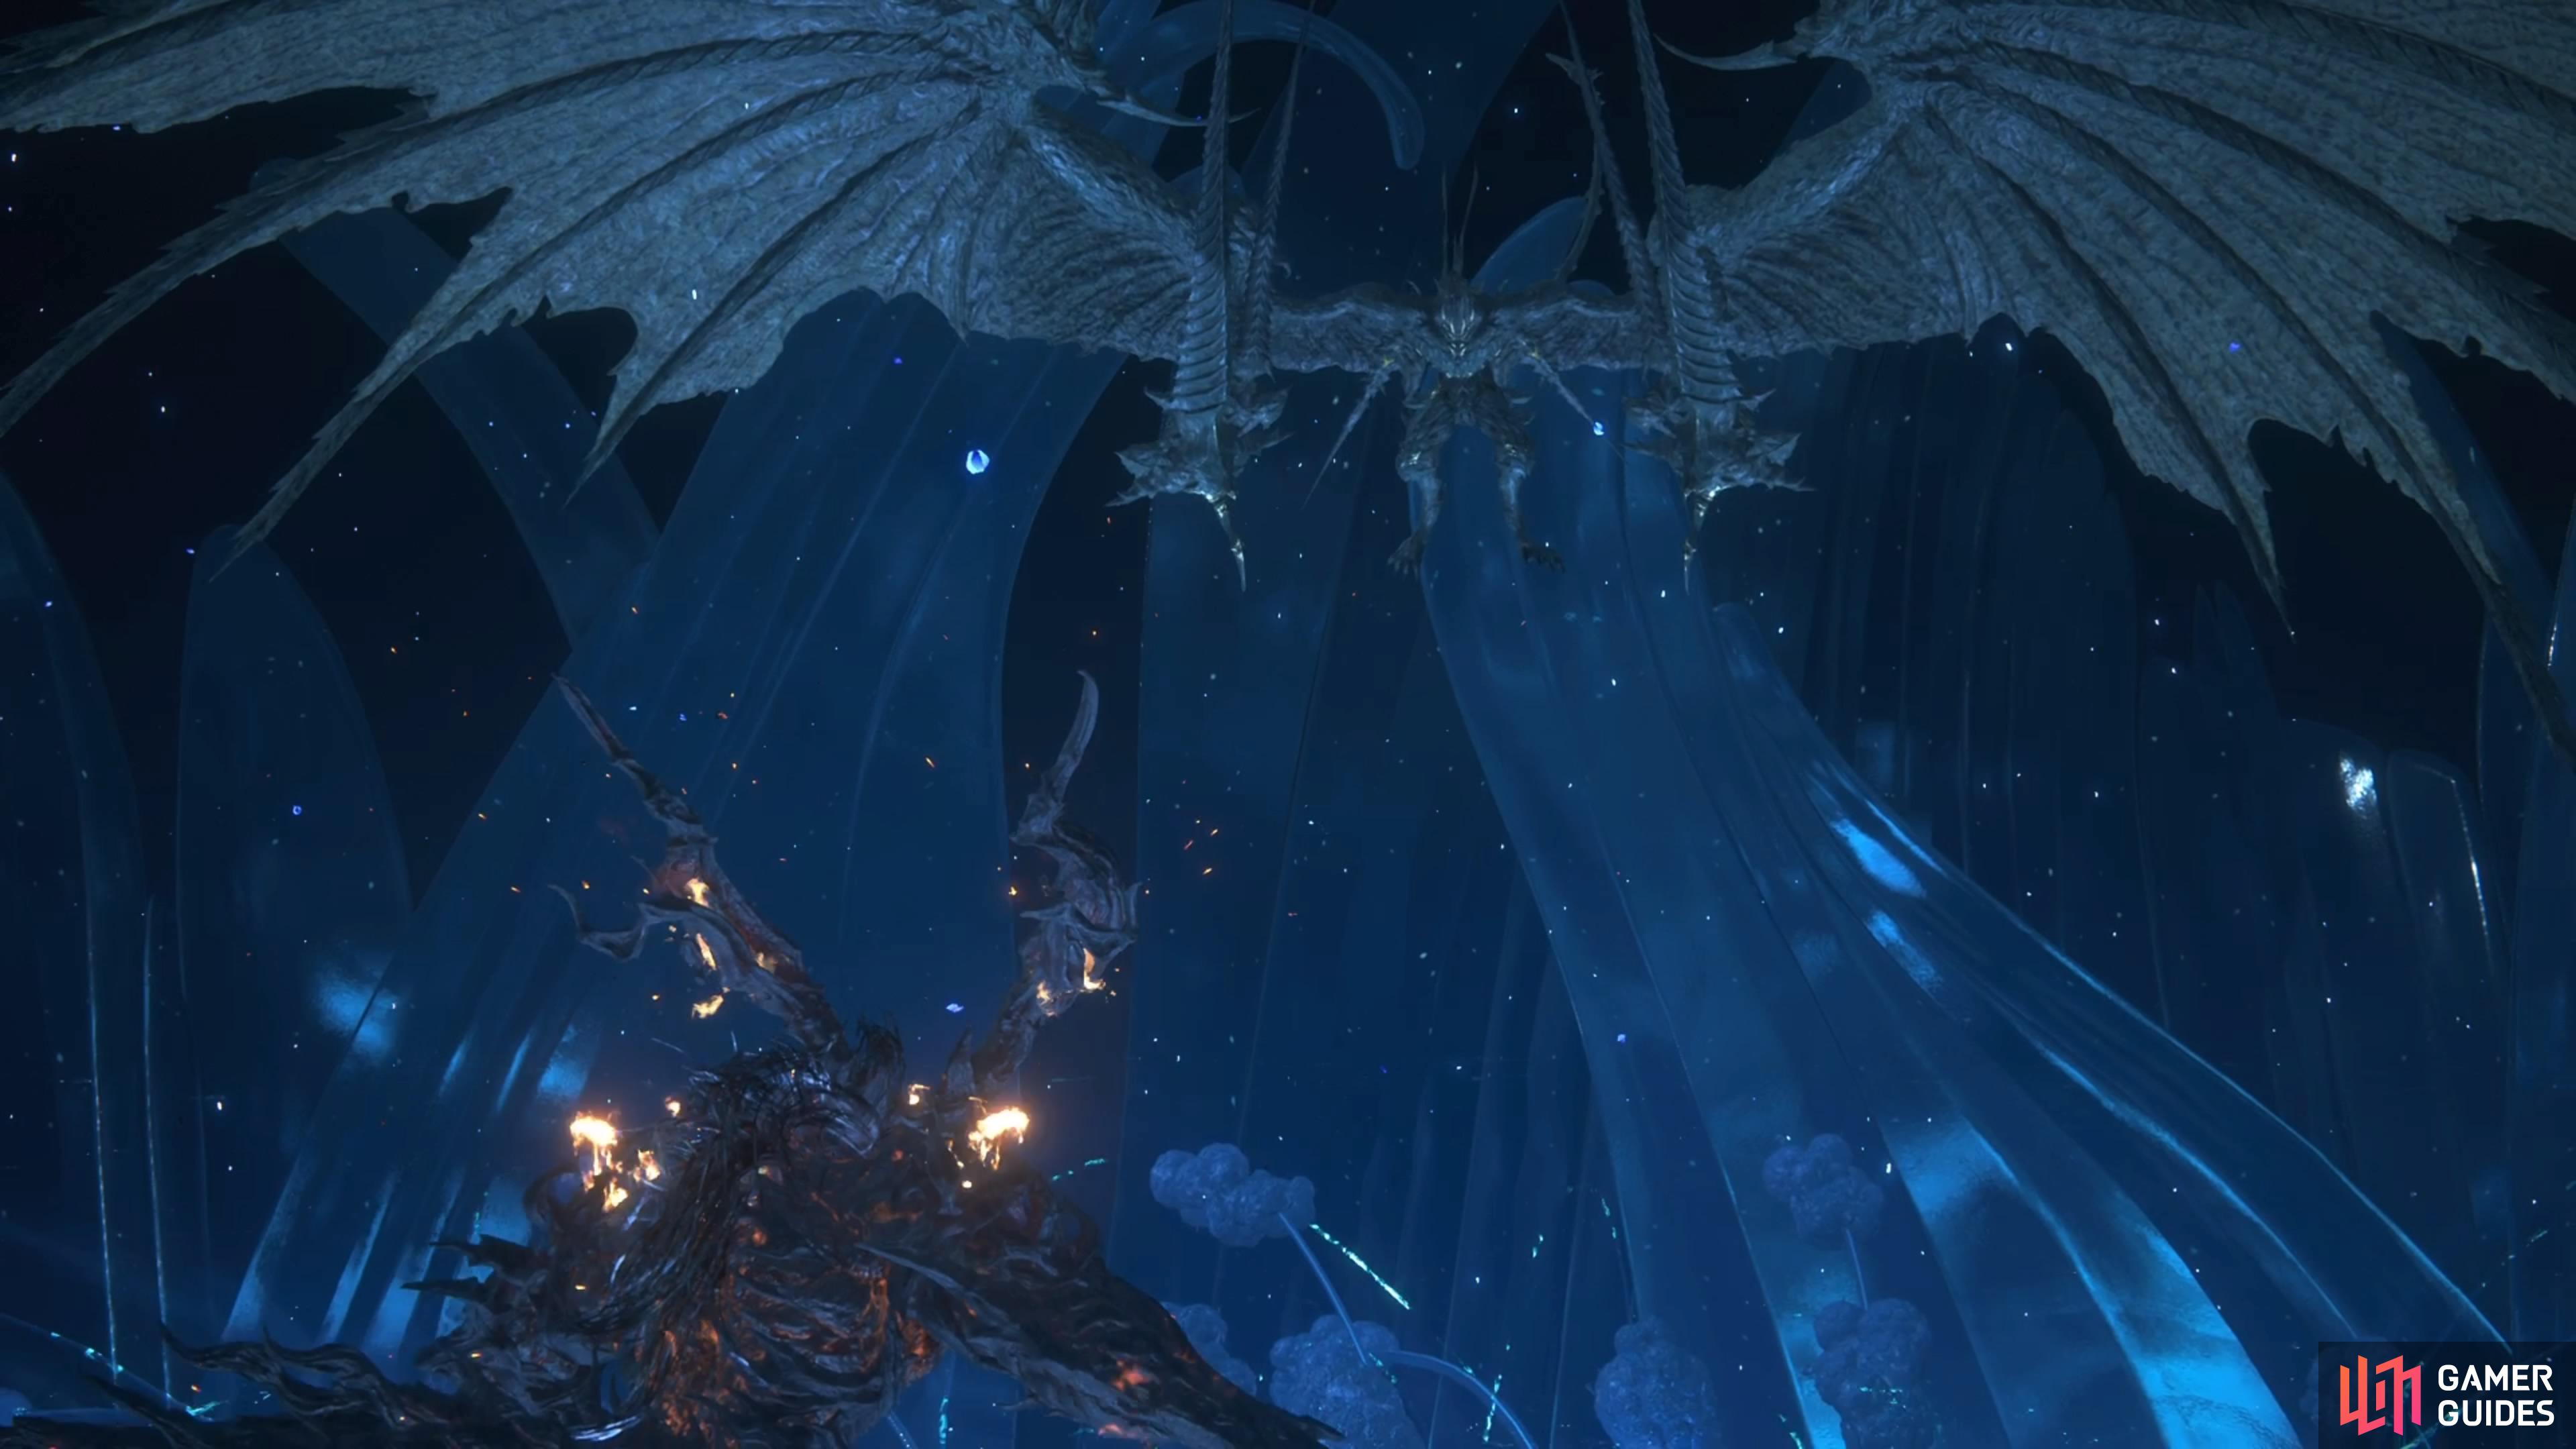
!Bahamut will be another battle against an Eikon, so you know it will be a spectacle!
How to Beat Bahamut in FF16
As mentioned above, this first battle with Bahamut is a little special, as you won’t be fighting with just Clive (as ![]() Ifrit), but with another character that will be talked about in a little bit. The fight is basically split up into three parts, with Ifrit being controllable in the first and third parts, and this other person being controllable in the second. The first and third parts will be mostly the same, with the third having more attacks from Bahamut, of course. The second part plays differently, and is similar to a certainly flying section at the beginning of the game.
Ifrit), but with another character that will be talked about in a little bit. The fight is basically split up into three parts, with Ifrit being controllable in the first and third parts, and this other person being controllable in the second. The first and third parts will be mostly the same, with the third having more attacks from Bahamut, of course. The second part plays differently, and is similar to a certainly flying section at the beginning of the game.
All Bahamut Attacks in Final Fantasy XVI
The Bahamut boss fight is one that takes place over three stages, with the second stage being considerably different than the first and third, since you will be controlling a different character. Bahamut will share a lot of attacks across the stages, though, with some new ones introduced during each portion.
Ground Shockwave
1st/3rd Stage. Bahamut will crash into the ground, sending a shockwave throughout the entirety of the arena. If you’re far enough away from him, you can time the dodge through the shockwave. Otherwise, you may need to time the dodge for Bahamut’s divebomb portion of the attack. During the third Stage, he can sometimes do this twice in a row.

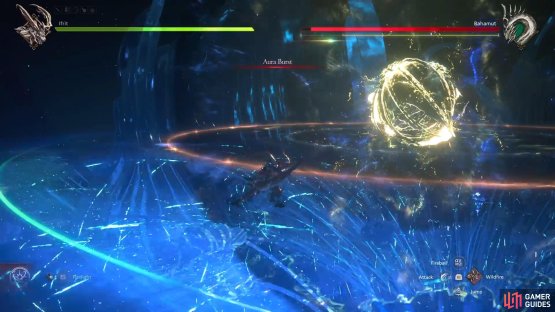
(1 of 2) Staying far away will allow you to easily dodge the Ground Shockwave.
Staying far away will allow you to easily dodge the Ground Shockwave. (left), As soon as you see Aura Burst, get away from Bahamut. (right)
Spinning Dash
1st/3rd Stage. Bahamut will just spin around and do a straight dash towards your character. There’s so many of these attacks throughout the game, that you should be able to dodge this easily.
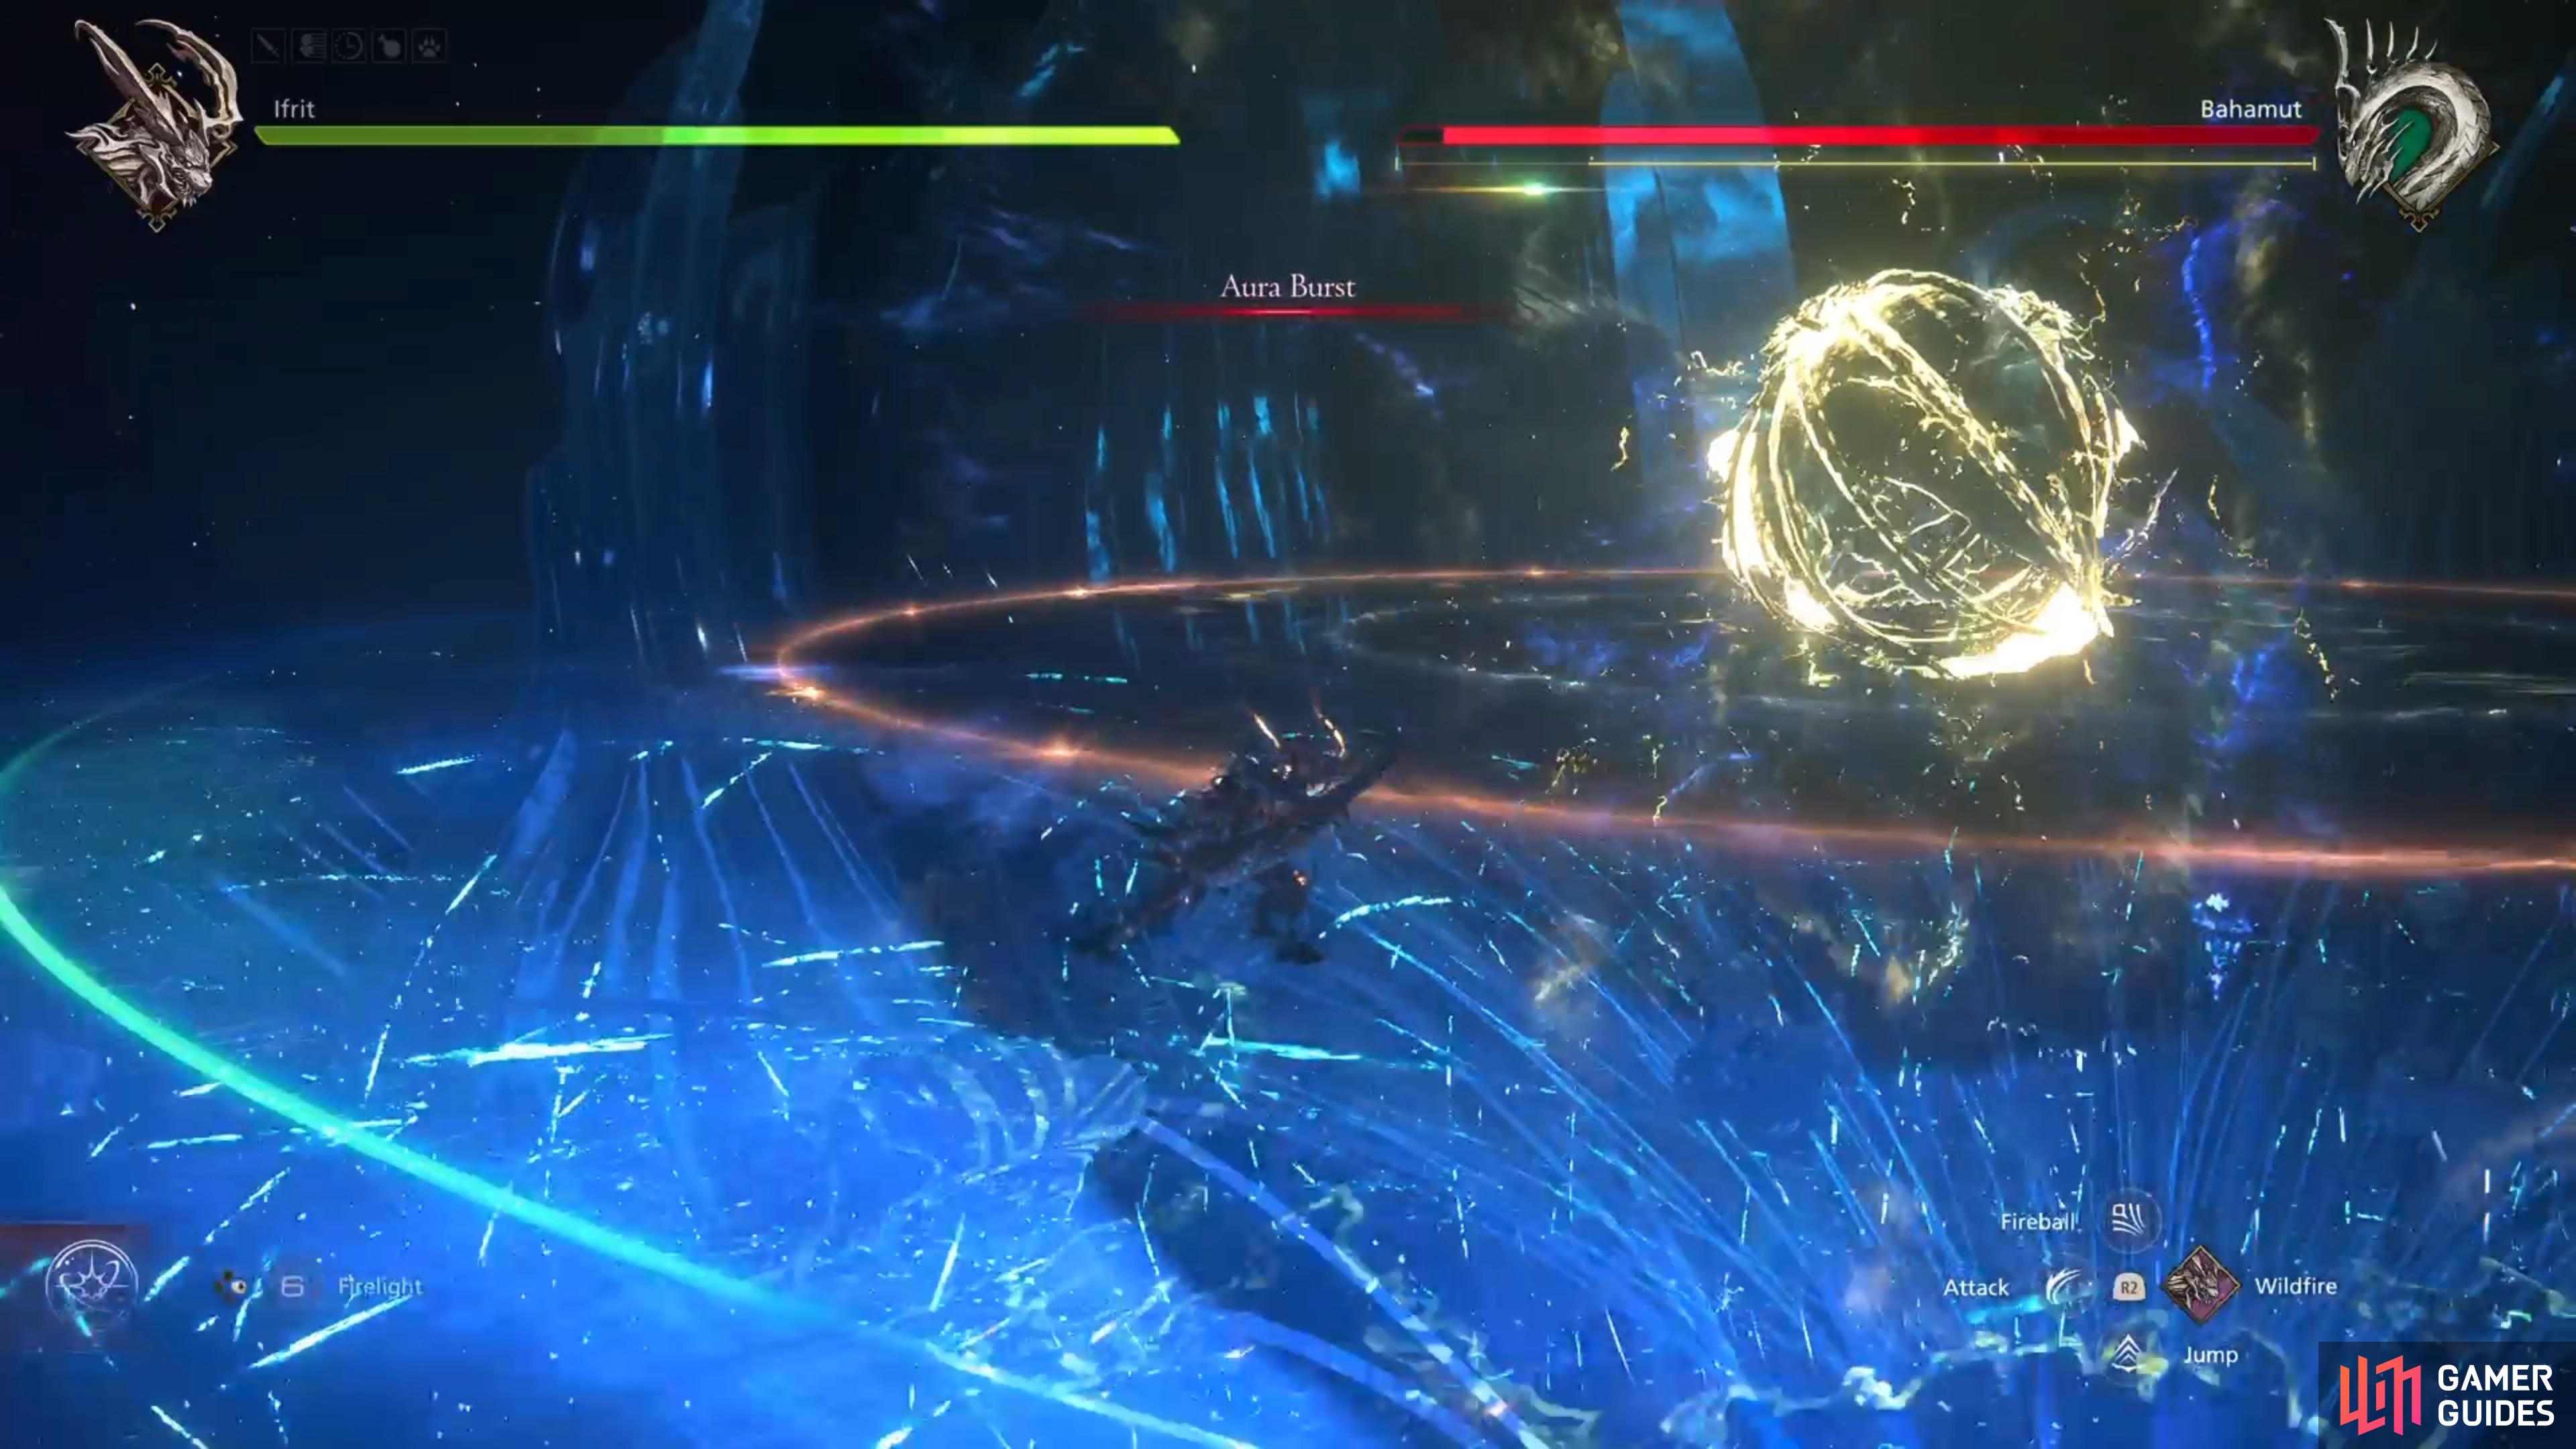
Aura Burst
1st/3rd Stage. When you’re up close to Bahamut, he will trigger this move. A huge circle will appear around him and after a few seconds, he will create a huge explosion. Your goal is to simply retreat out of the circle before the explosion happens. You should have enough time to do this, even if you’re right up against him.
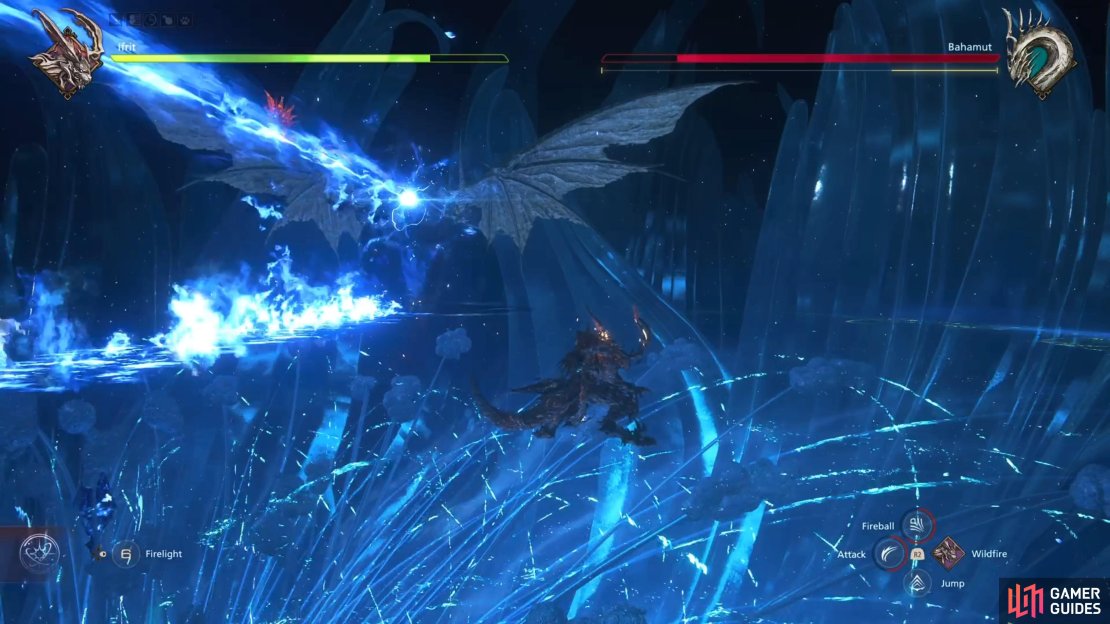
Wing Shockwaves
Bahamut will use his wings and create crescent-shaped shockwaves, which he will shoot at you. He does this more than once in a row, so be prepared to avoid them all. Of course, if you’re not up close, this is an attack you shouldn’t really get hit by at all. He will still do this in the second stage, but they are even easier to dodge there
(1 of 4) Bahamut will fire multiple Wing Shockwaves in a row.
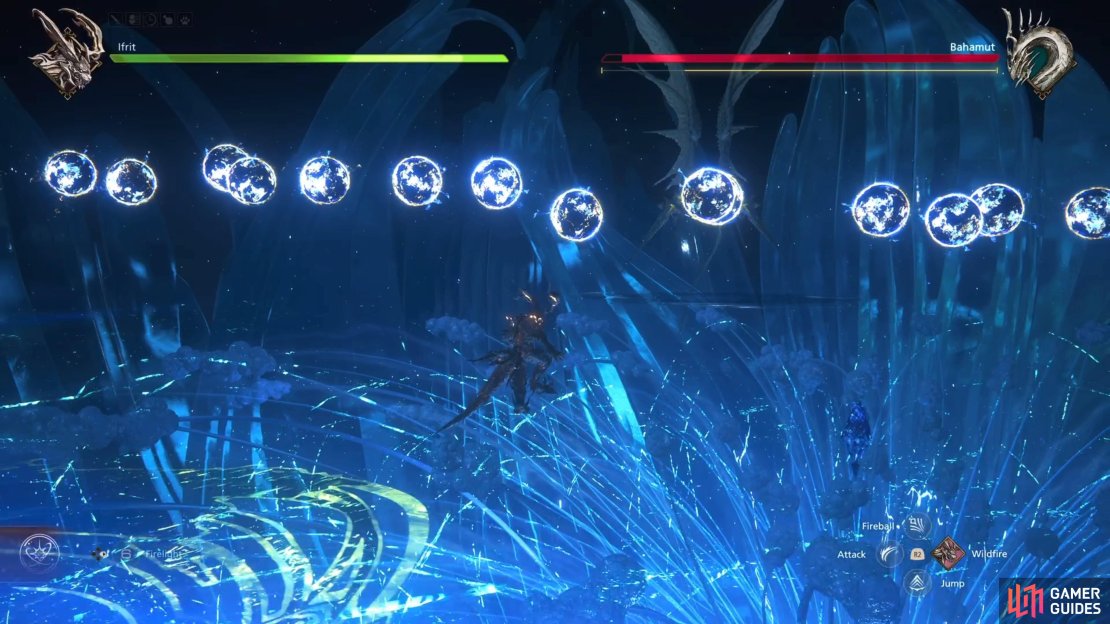
Quintessence
Seems to be the first attack that Bahamut will use after you learn Spitflare. He will summon several orbs that will slowly follow you. Note that you can actually use Spitflare here, if you want, to destroy the orbs. Otherwise, they don’t move all too quickly, so you should be able to avoid them normally.
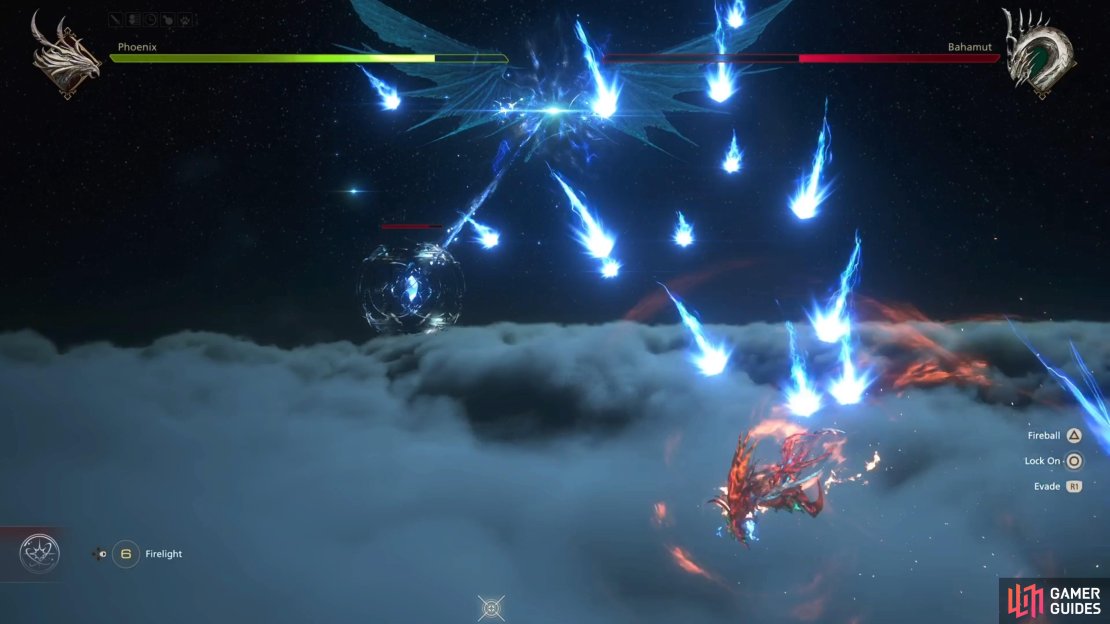
Megaflare
Bahamut charges up and shoots a bunch of arcing projectiles at you. It’s a little difficult to remain unscathed with this attack, but you might have an easier time if you try to dodge through it, instead of to the sides. During the 2nd Stage, this attack seems to last a lot longer, with more projectiles being shot your way.
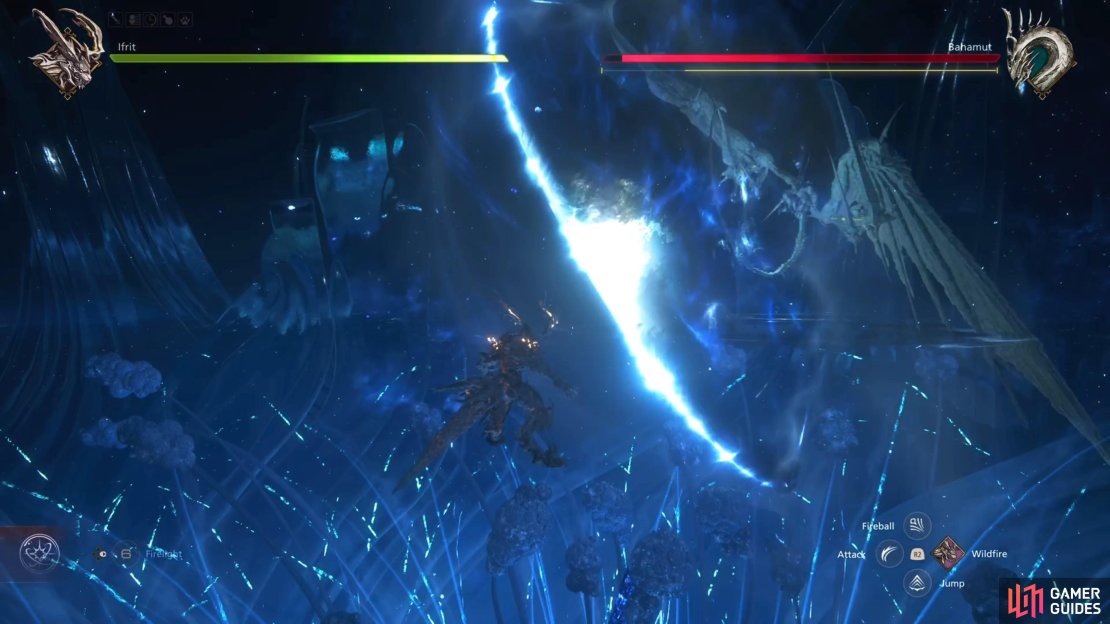
Laser Beam
Bahamut will kind of spin in place, then fire a laser beam from his mouth, which will move straight ahead. The attack takes a second or so to come out, making it very easy to avoid. In the third stage of the battle, there will be a second beam that’s fired, with that one being horizontal instead.
Homing Laser
Second Stage. Bahamut will fire a laser that will follow you around the screen. Your best bet is to simply follow the outside of the screen, while evading the entire time.


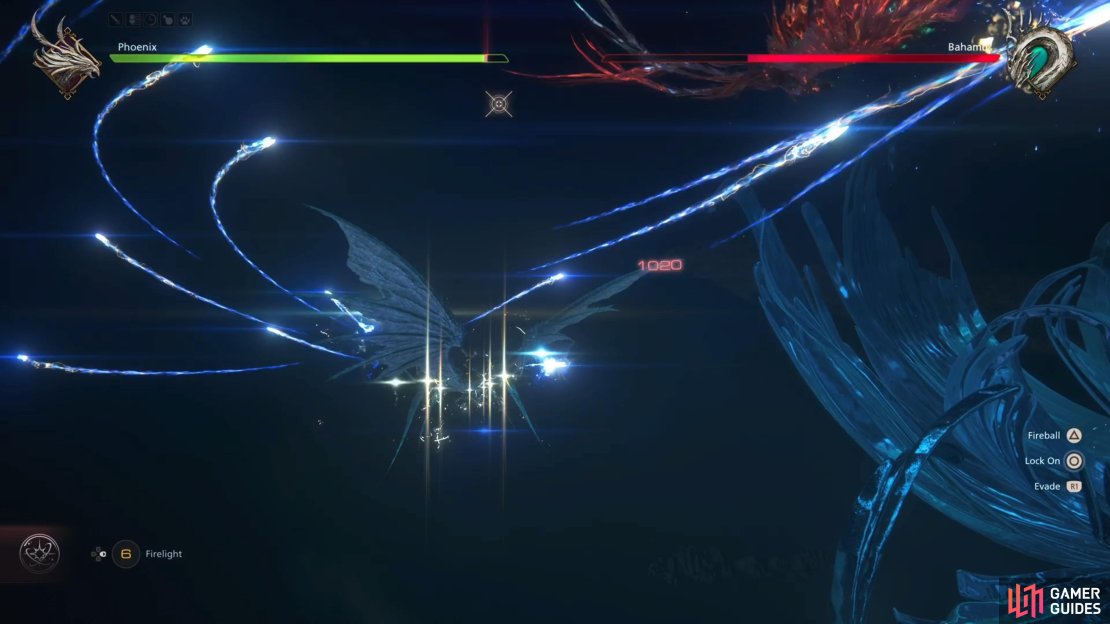
Large Orbs
Second Stage. Bahamut will conjure up a bunch of large orbs that will slowly track to your position, change color, then explode. You can use the Volley ability to lock on and destroy the orbs, as well as the Charged Flame.
Laser Orbs
Second Stage. Bahamut will summon some large orbs (two the first time), which act independently of the boss. They have their own health bars, too. The orbs will just periodically fire lasers at you, but you will also have to contend with Bahamut’s attacks while they’re still active. Charged Flames make quick work of them, though, as Volley is only able to lock onto an enemy/object once.
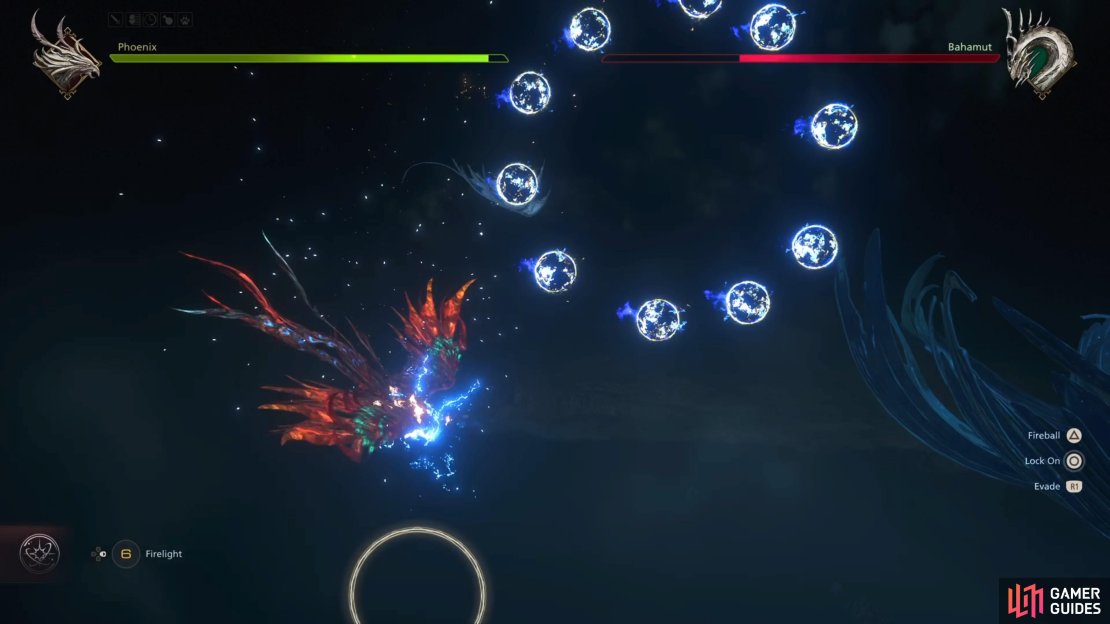
Gigaflare
Second Stage. At some point, probably around half health or so, Bahamut will summon six large orbs (complete with health bars) and begin charging up for ![]() Gigaflare. Ignore Bahamut and concentrate on destroying all of the orbs. While doing this, you will still see smaller, exploding orbs spawned, as well as other projectiles you need to dodge. Destroy all larger orbs to temporarily stun Bahamut.
Gigaflare. Ignore Bahamut and concentrate on destroying all of the orbs. While doing this, you will still see smaller, exploding orbs spawned, as well as other projectiles you need to dodge. Destroy all larger orbs to temporarily stun Bahamut.
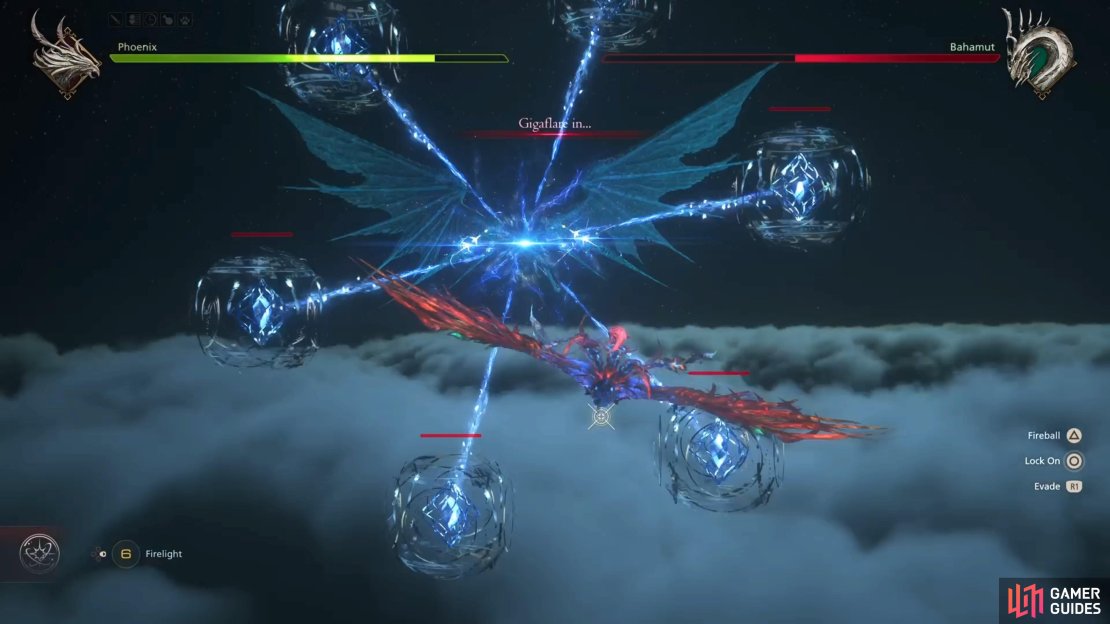

(1 of 3) Gigaflare will be the final big attack during the second stage.
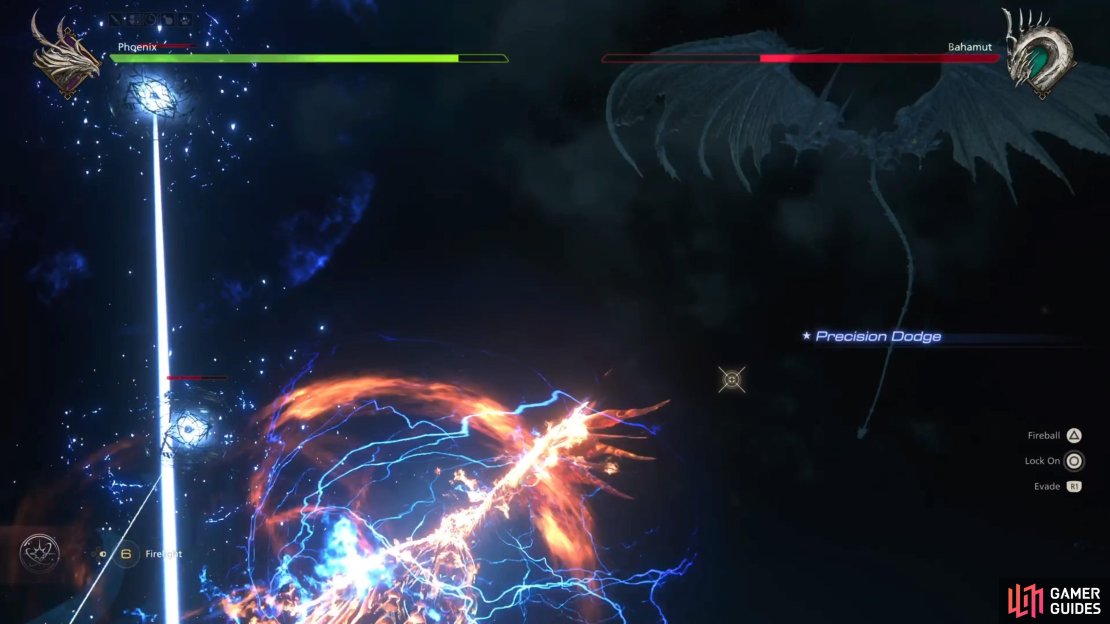
Mortal Coil
Third Stage. Bahamut shoots an orb at the ground and when it hits, a large pillar of light is erected. He will need to charge up the initial orb, though, so you should have more than enough time to easily avoid this attack. There’s a variation of this attack after the Teraflare, called Triple Coil, which is the same move, but he will fire three of them.
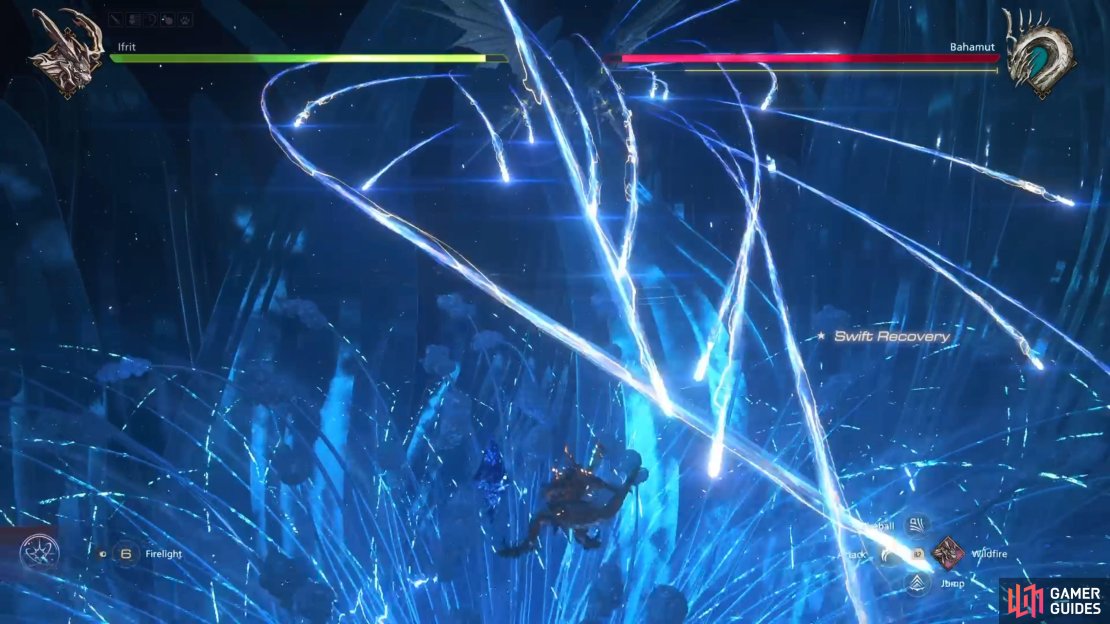
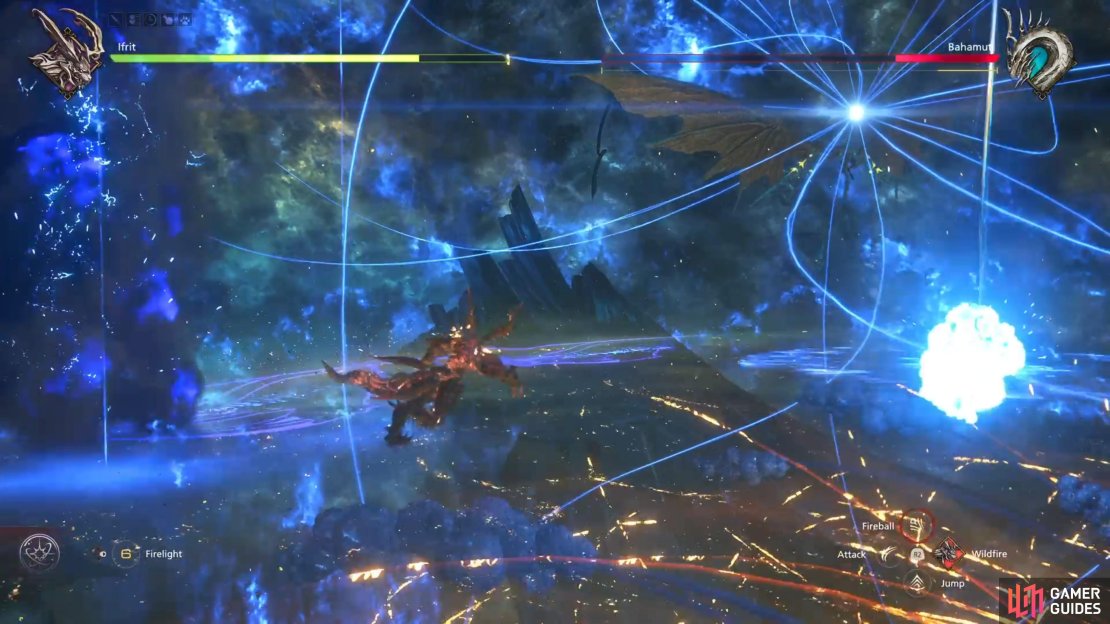
Raining Lasers
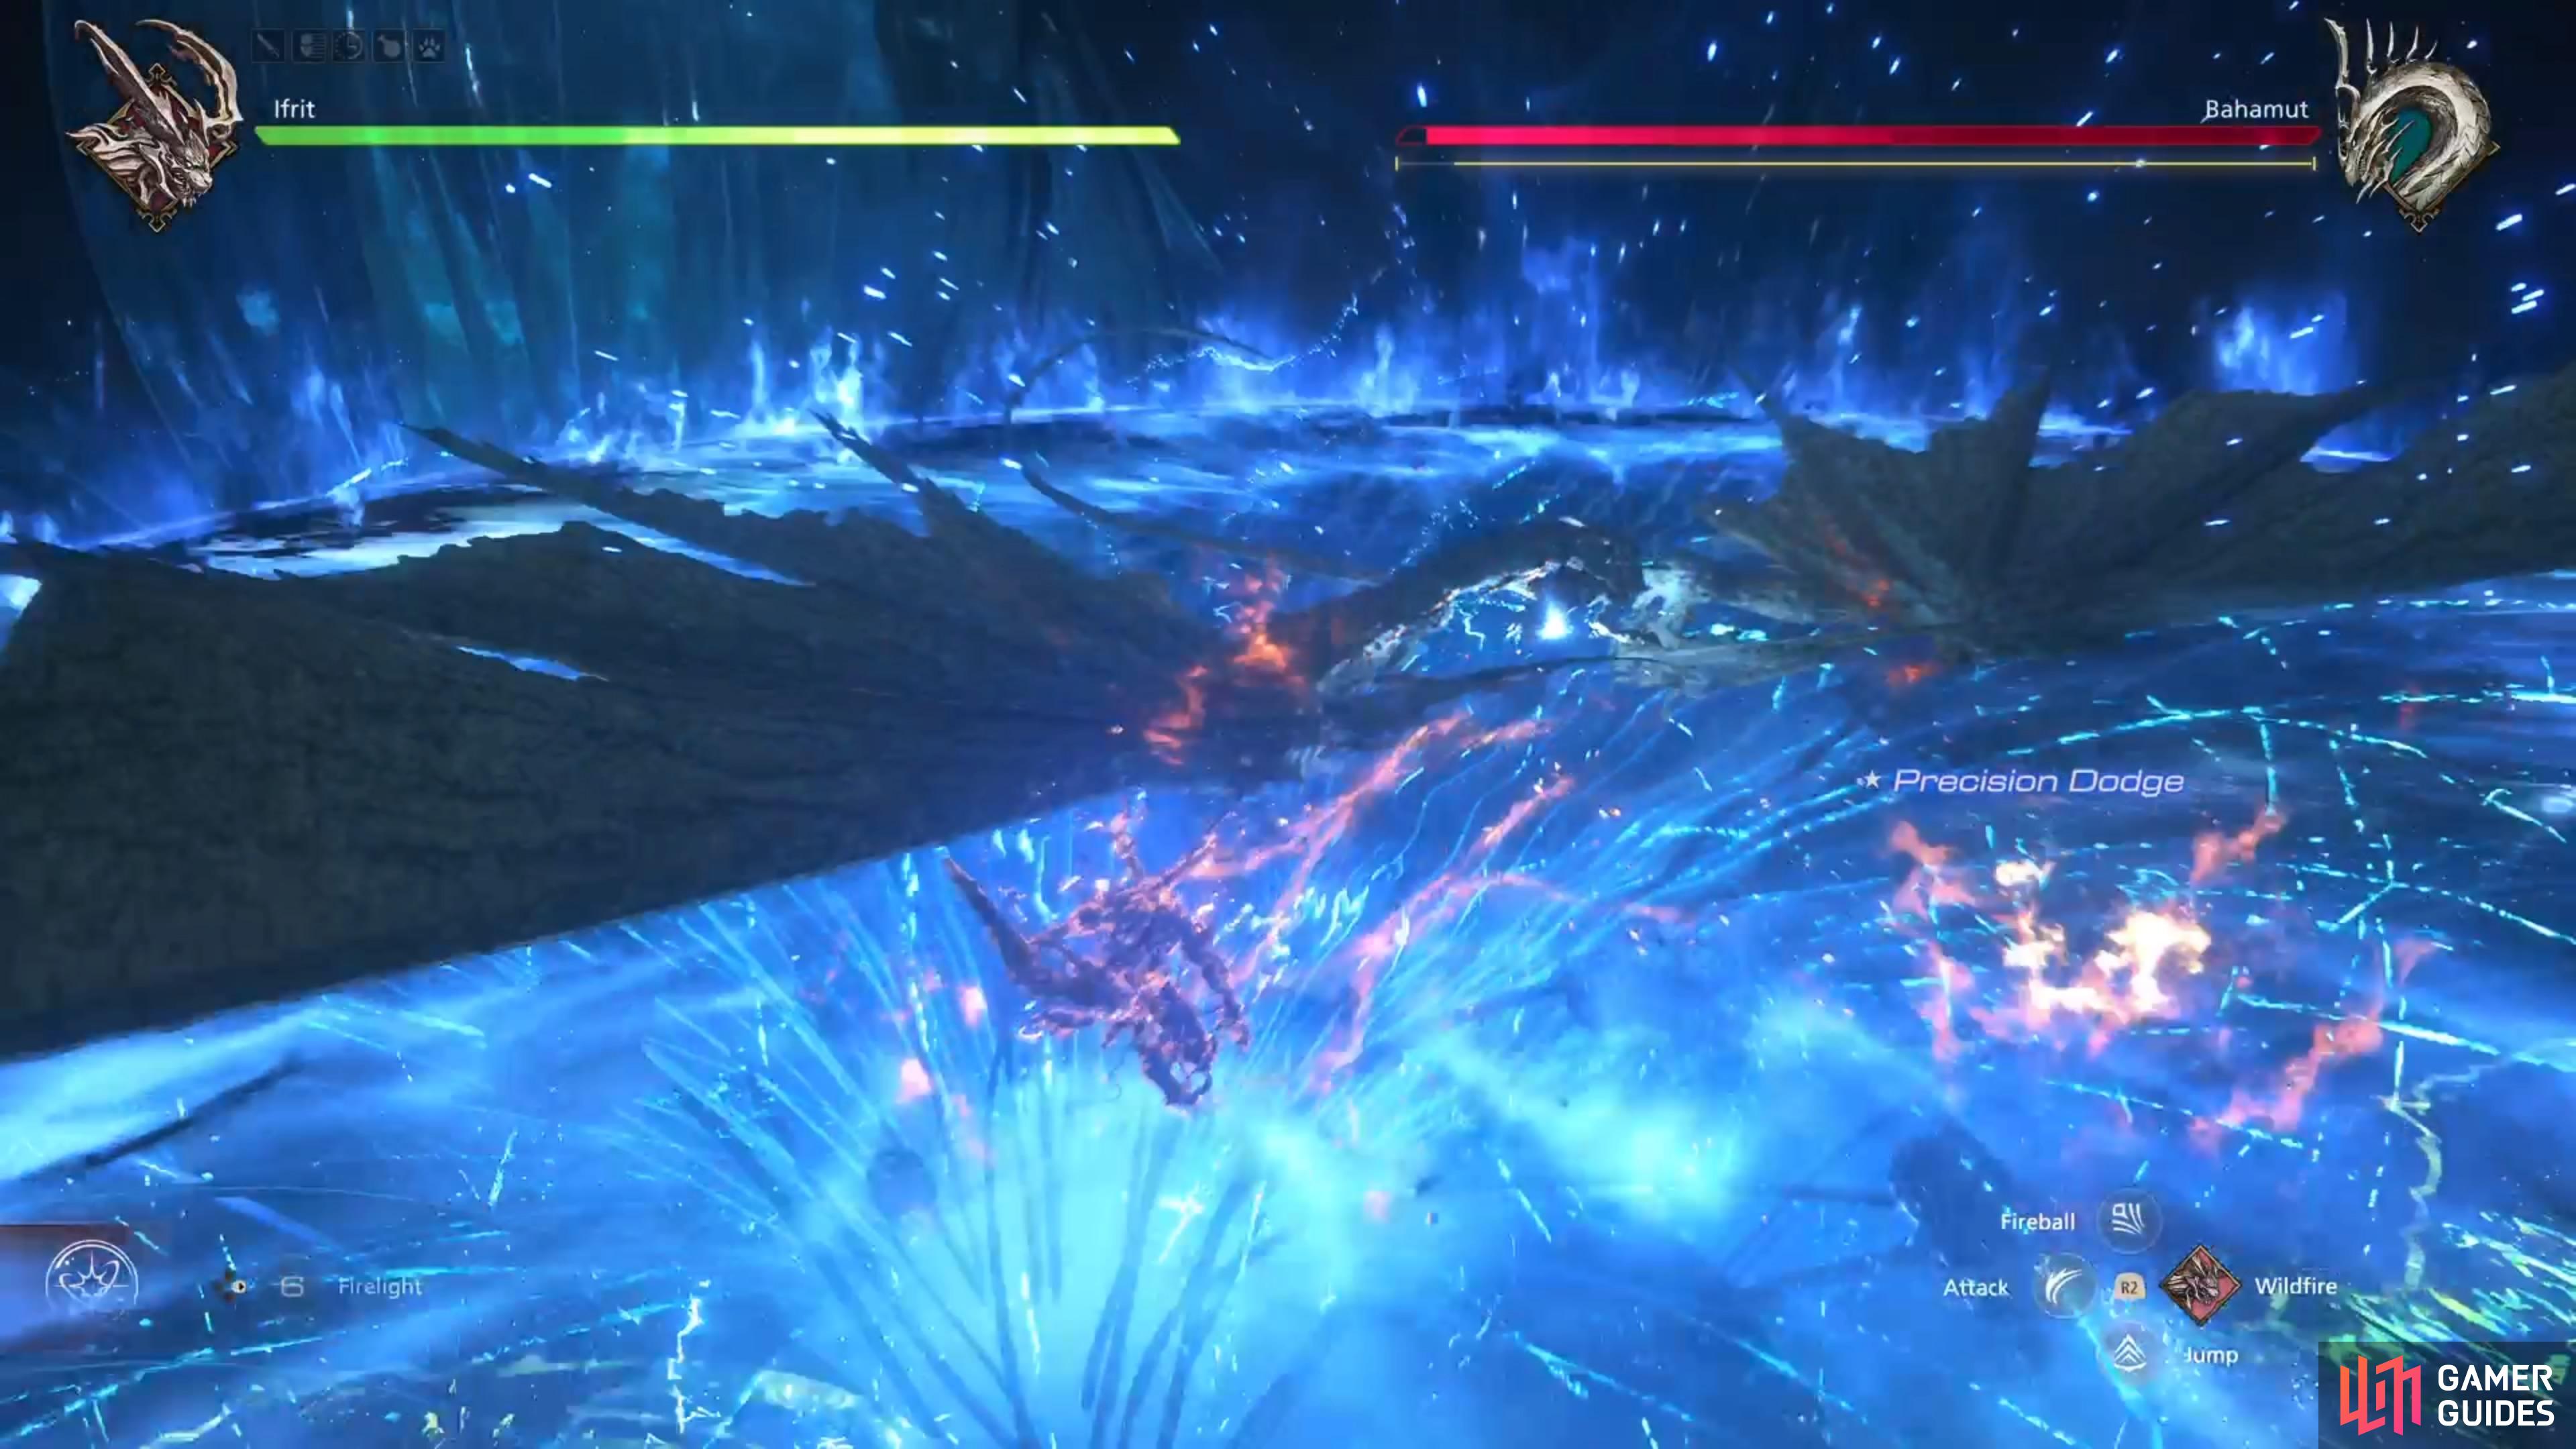
Third Stage. While dashing across the screen, Bahamut will shoot off a bunch of smaller lasers into the sky. These lasers will then hit the ground and cause a small explosion. You need to first worry about dodging the dash, which is nothing you haven’t encountered. The lasers won’t hit you on the way up, and their impact points are marked on the ground when they come back down.


(1 of 3) The orbs from Mortal Coil will erupt into a pillar of light.
Note that there is another version of this attack, which happens when the sky changes. Instead of doing the dashing move first, Bahamut will just be emitting a bunch of lasers against the new background.
Strategy for the Bahamut Boss in FFXVI
After the lengthy cutscene prior to the start, you will be thrown into another cutscene that has a Cinematic Strike and Cinematic Evasion, so be ready to hit those buttons. When those are done, there will be some more watching to do before the proper battle actually begins. Most of the attacks you see during the first part shouldn’t really give you much trouble at all, except maybe the Ground Shockwave, but that all depends on your proximity to Bahamut. If you’re far enough away from him, then you should have ample time to time a dodge through the shockwave.
Not long after the battle actually starts, there will be another cutscene and you will learn the Spitflare ability. Similar to Brimstone, this is a special ability that requires you to hold  , then hit the
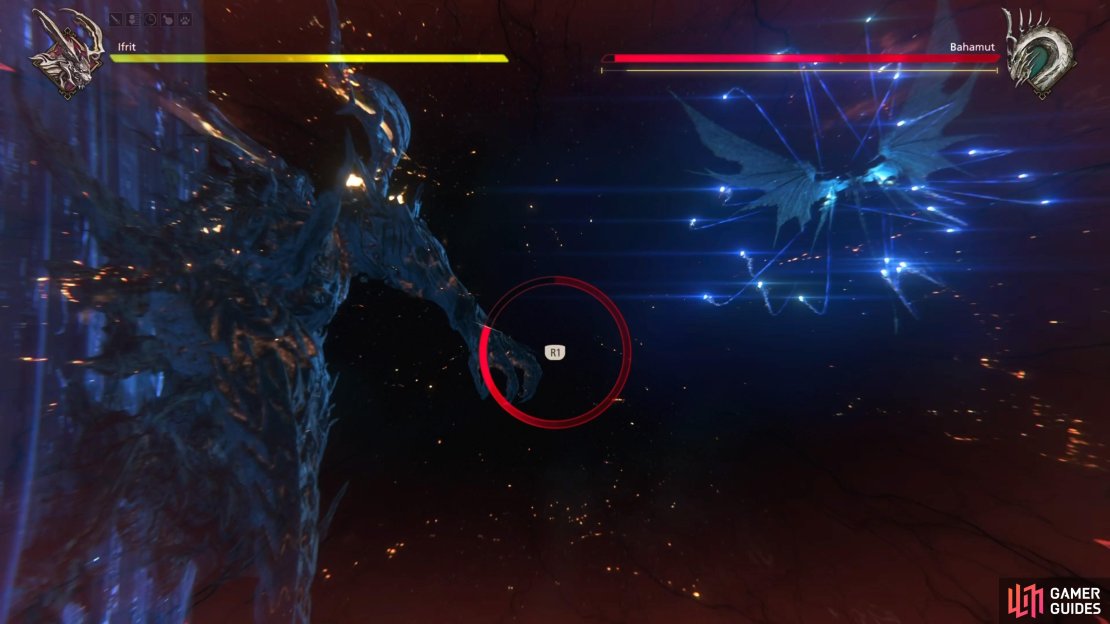
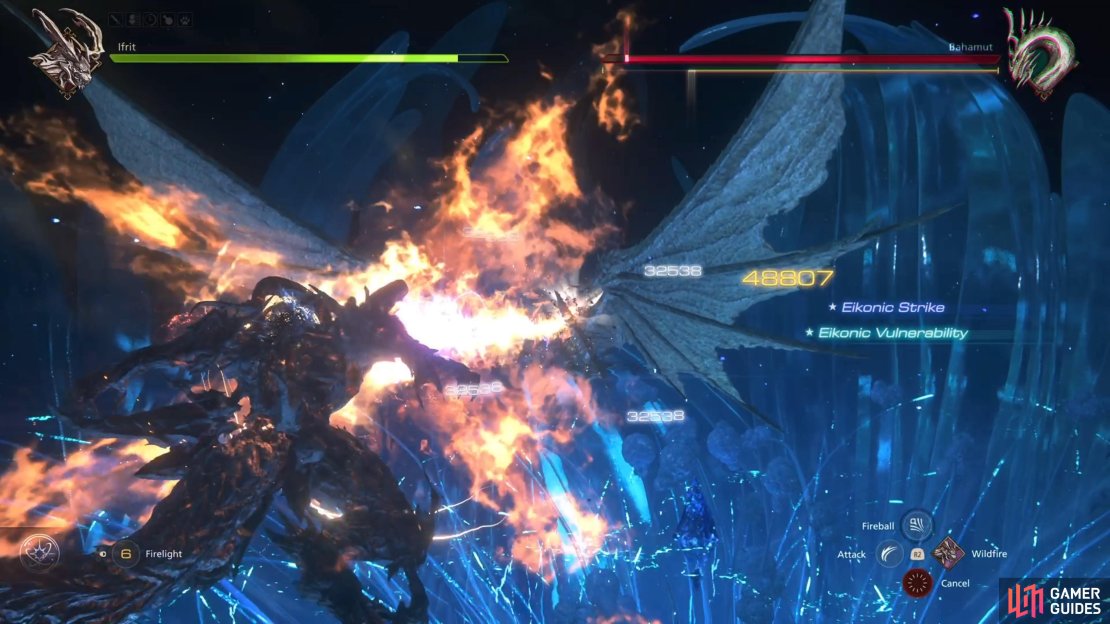
  button. It’s basically a fire beam that you can control with the left analog stick, and you can cancel it anytime with the X button. Do not be afraid to use this in place of a melee combo, as it’s quite powerful and if you keep focused on Bahamut, then he likely won’t be performing attacks. After you learn Spitflare, Bahamut will start using a few new moves.
(1 of 3) The battle opens up with a Cinematic Strike.
Quintessence is just a bunch of large orbs that follow you around for a little bit, although you can use Spitflare to destroy them, if you want. Megaflare is definitely the worst of the new moves, as it can be challenging to avoid all of the projectiles. Keep fighting Bahamut, until you see another cutscene, where he’ll cast Gigaflare and the battle will now transition to the second stage.
Second Stage
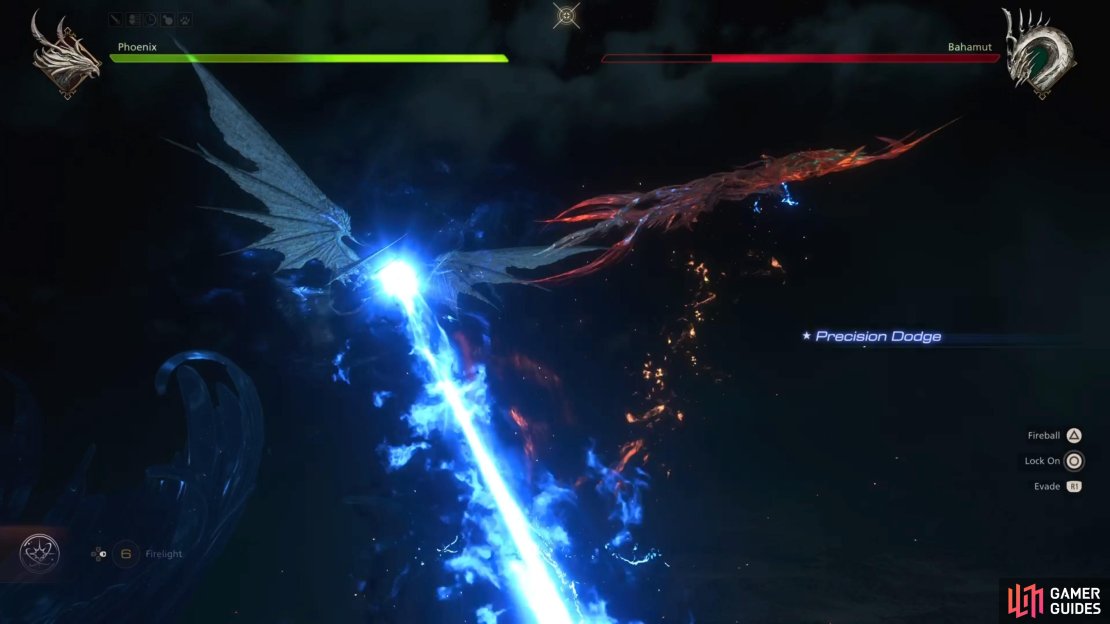
During the second stage, you will be controlling the Phoenix, so the battle will take to the skies. If you forgot the controls, then here is a quick refresher:
- Left Analog - Move/Aim
- - Fire
- Hold - Charge Fireball
 - Evade
In addition to the above, you can hold down the Circle button and aim with the left stick to lock onto multiple targets. Upon releasing the button, you will launch a volley of fireballs at all locked on targets. There will be a lot of similar attacks to the first stage, although some attacks will be unique to the second. For example, Megaflare is the same, but there will be a lot more projectiles shot at you while you’re flying. Likewise, Bahamut will fire a laser that will track your movements, which can be dodged by just spamming the evade button, while going around the edges of the screen.
Your best bet to inflict damage on Bahamut at this stage is to use the charged shots, which are more like a laser than a fireball. This move is also great for getting rid of the Laser Orbs that have their own health bar. Eventually, Bahamut will summon a large number of the bigger orbs, and begin charging Gigaflare. Your goal here is to destroy all of the orbs before the move gets executed, although Bahamut won’t let you do that without a fight. He will summon the smaller orbs, as well as shoot a bunch of projectiles at you, to try and stop your offensive maneuvers. Destroy all the orbs to stun Bahamut and after he recovers, the third phase will begin.
Third Stage
You will be in control of Ifrit once more, with Phoenix taking pot shots here and there (you don’t control Phoenix, though, at all, or give any commands to him). The majority of the attacks in this stage are the same as the first one, except he will do some of the moves twice in a row, like Megaflare, the Ground Shockwave, and the Laser Beam. He will have two new moves in this stage, though, Mortal Coil and Raining Lasers.
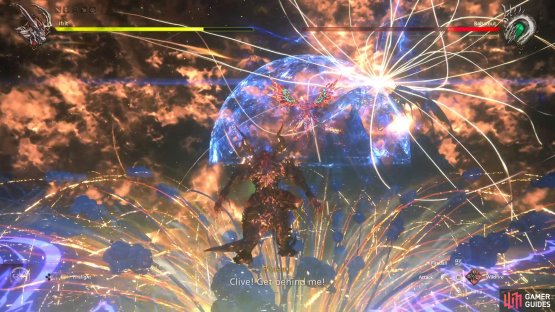

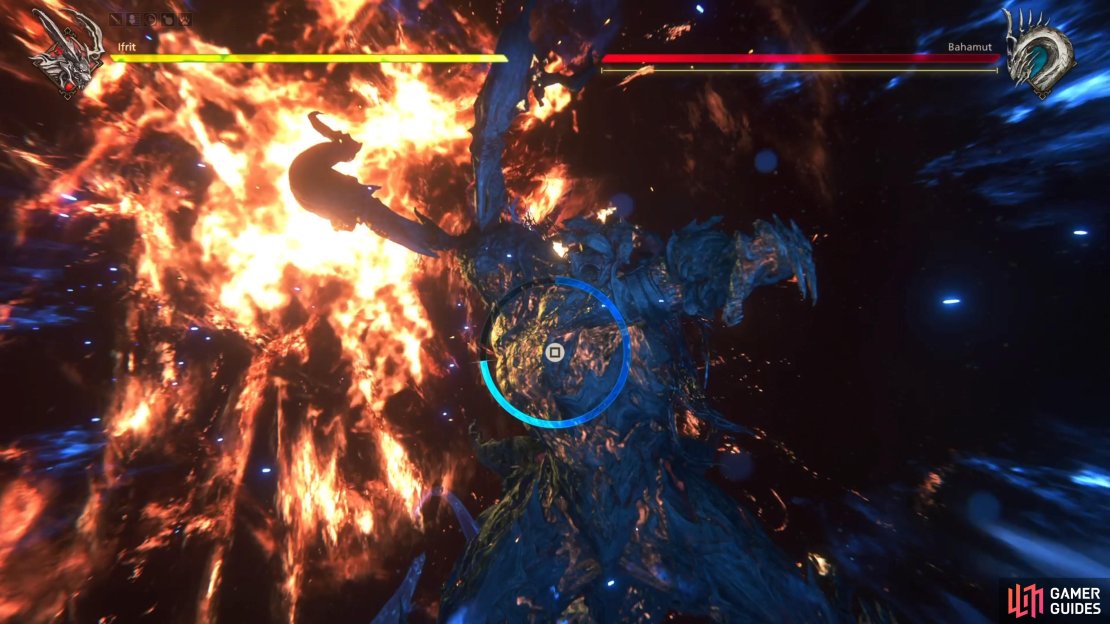
(1 of 2) You will need to hide underneath the Phoenix’s barrier when Teraflare is charging.

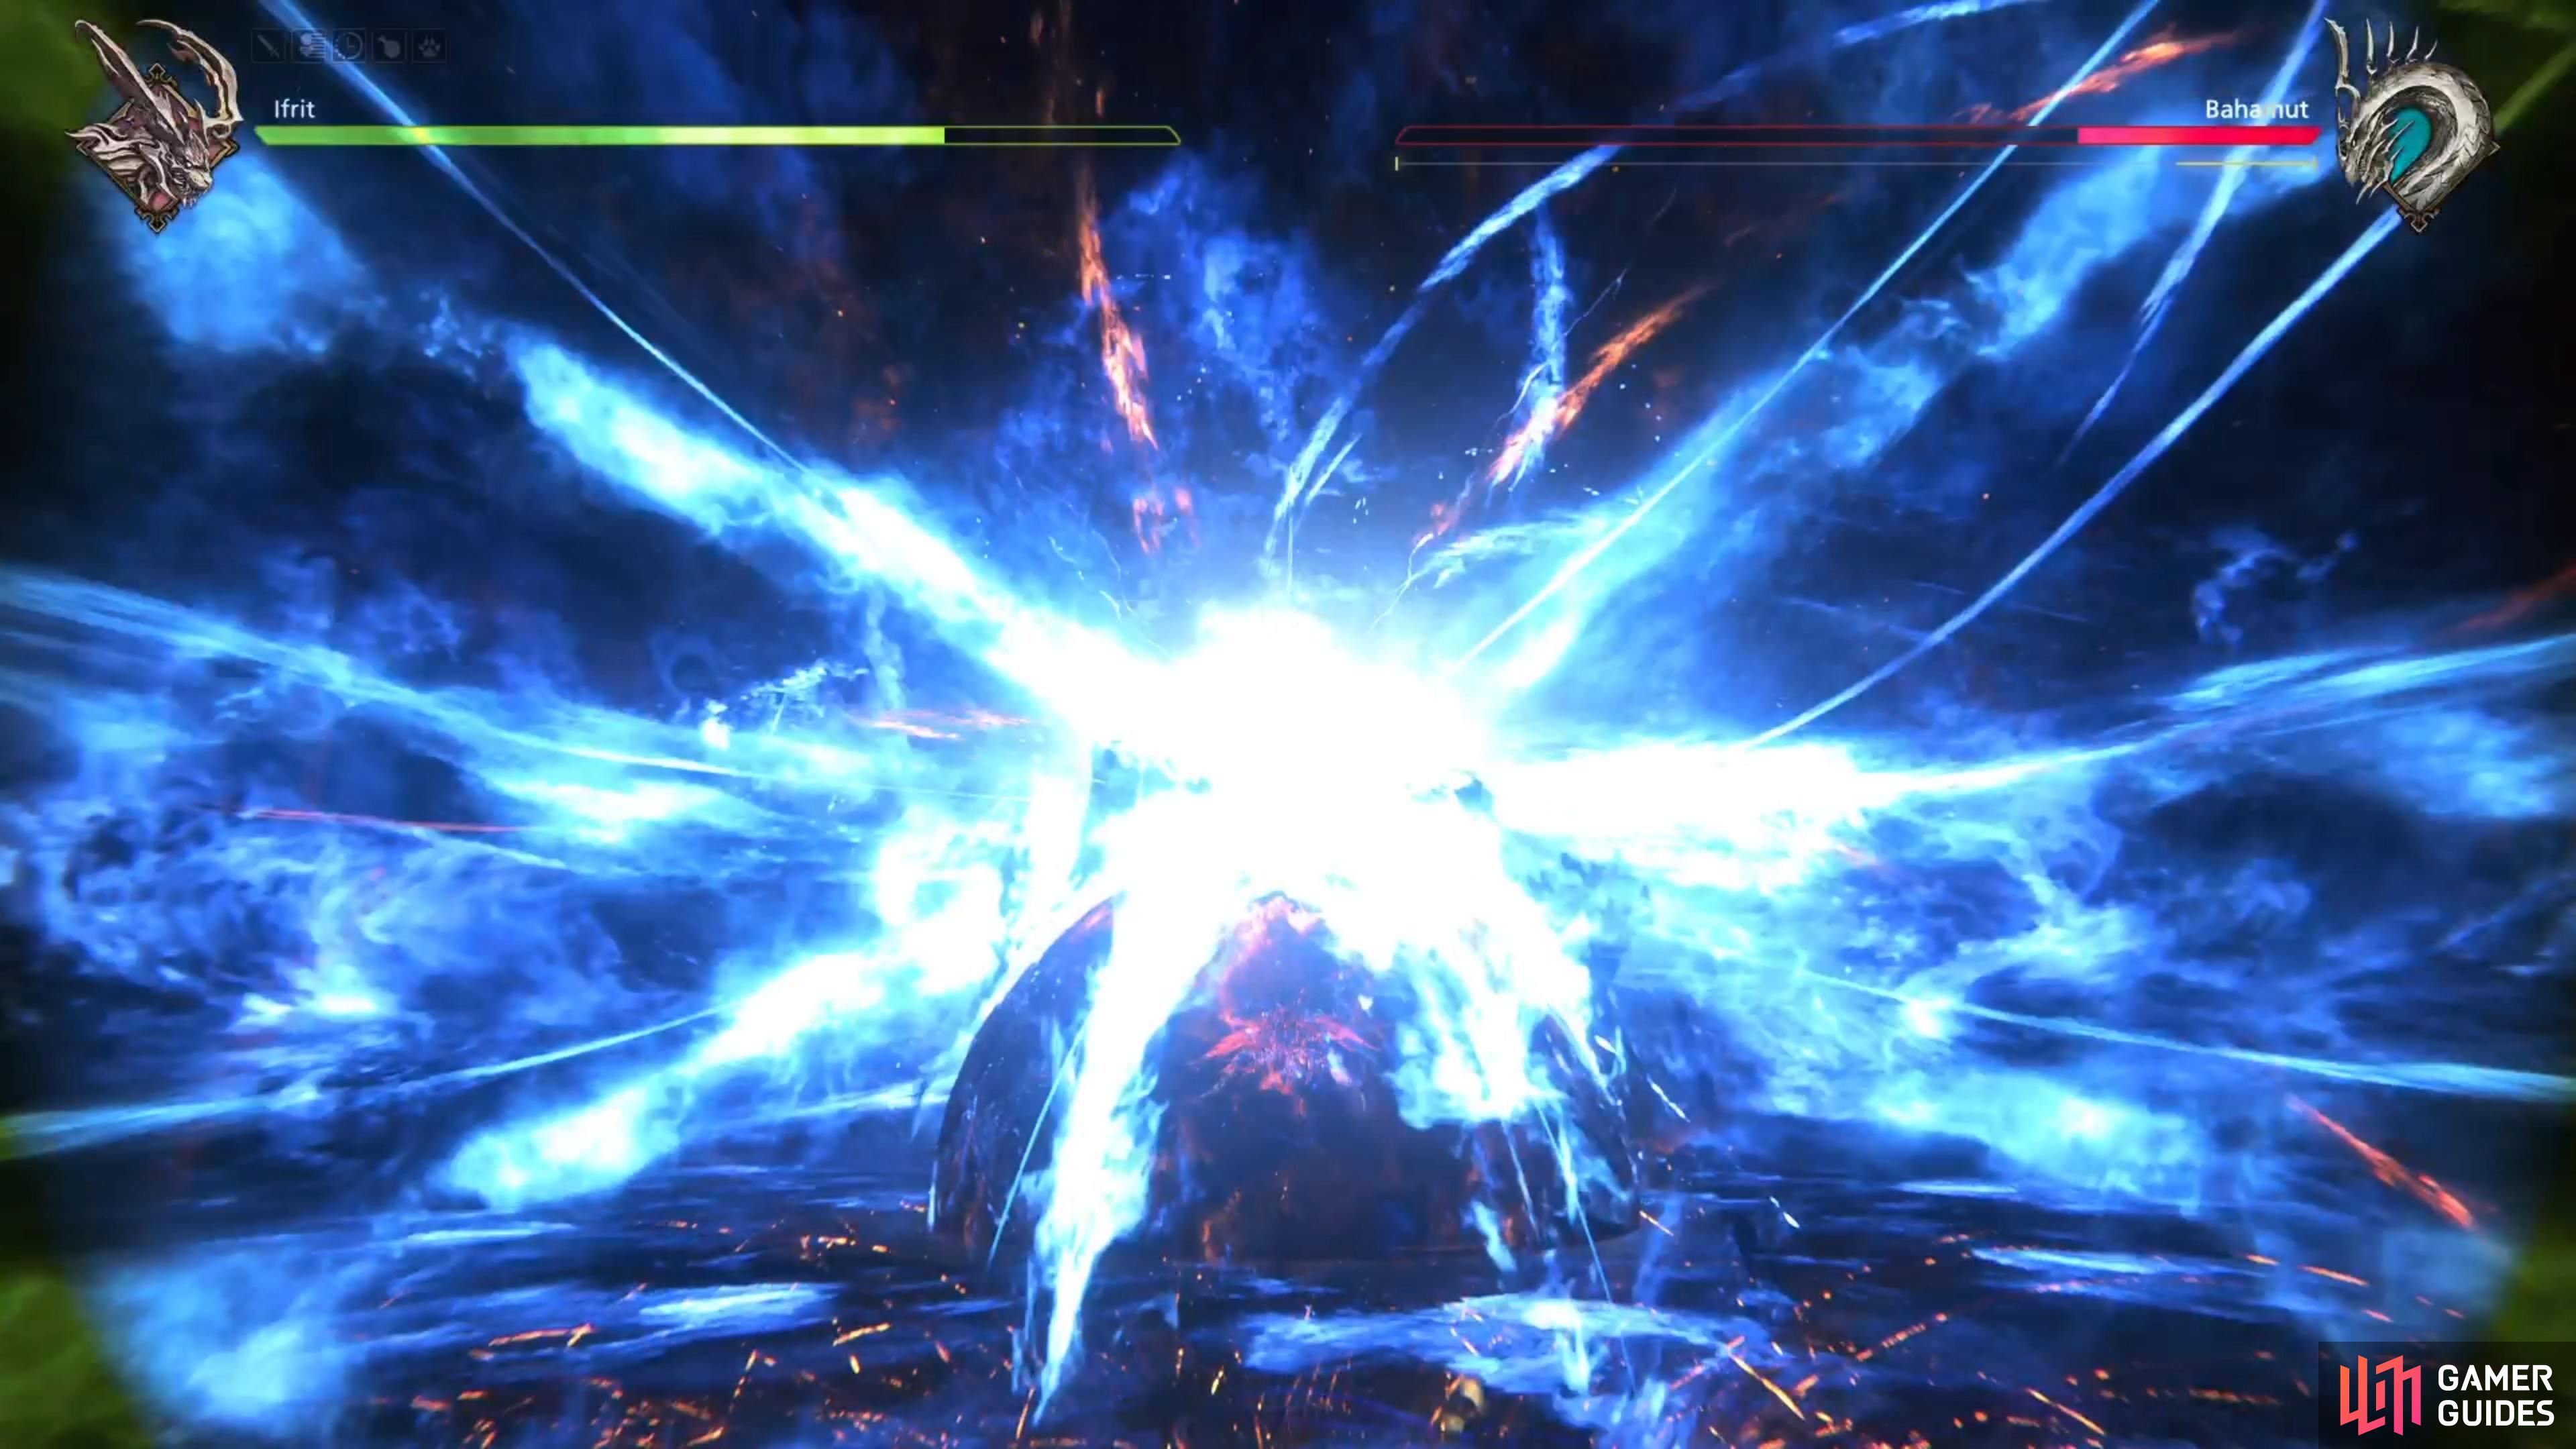
You will need to hide underneath the Phoenix’s barrier when Teraflare is charging. (left), While Teraflare is being executed, there will be a Cinematic Clash during it. (right)
Both aren’t very hard to deal with, as they are pretty easy to dodge. Eventually, the sky will change and Bahamut will stay in the air, with a bunch of lasers coming out from him. These will fall on the ground, similar to the Raining Lasers move, then after some time, he will begin charging up Teraflare. You won’t have long for the countdown on this one, but Phoenix will create a barrier and you will need to make sure you’re under this barrier when the attack is executed. Even while Teraflare is being used, you will have a Cinematic Clash to survive. Continue fighting and once you get his health to a low amount (under 10% or so), then you will have two more Cinematic Clashes to end the fight.
Unfortunately, that’s not the last you’ll see of Bahamut, as you will be put in another battle immediately after against the ![]() Eikon.
Eikon.
No Comments