
![]() Liquid Flame will be the final boss you will face during the Fire and Ice main story quest, in Final Fantasy XVI. It can be a challenging boss fight, due to all of the moves it has, with some of them being on the trickier side, too. Despite the name of the boss, you can still attack it with fire attacks, as there’s no elemental properties in the game.
Liquid Flame will be the final boss you will face during the Fire and Ice main story quest, in Final Fantasy XVI. It can be a challenging boss fight, due to all of the moves it has, with some of them being on the trickier side, too. Despite the name of the boss, you can still attack it with fire attacks, as there’s no elemental properties in the game.
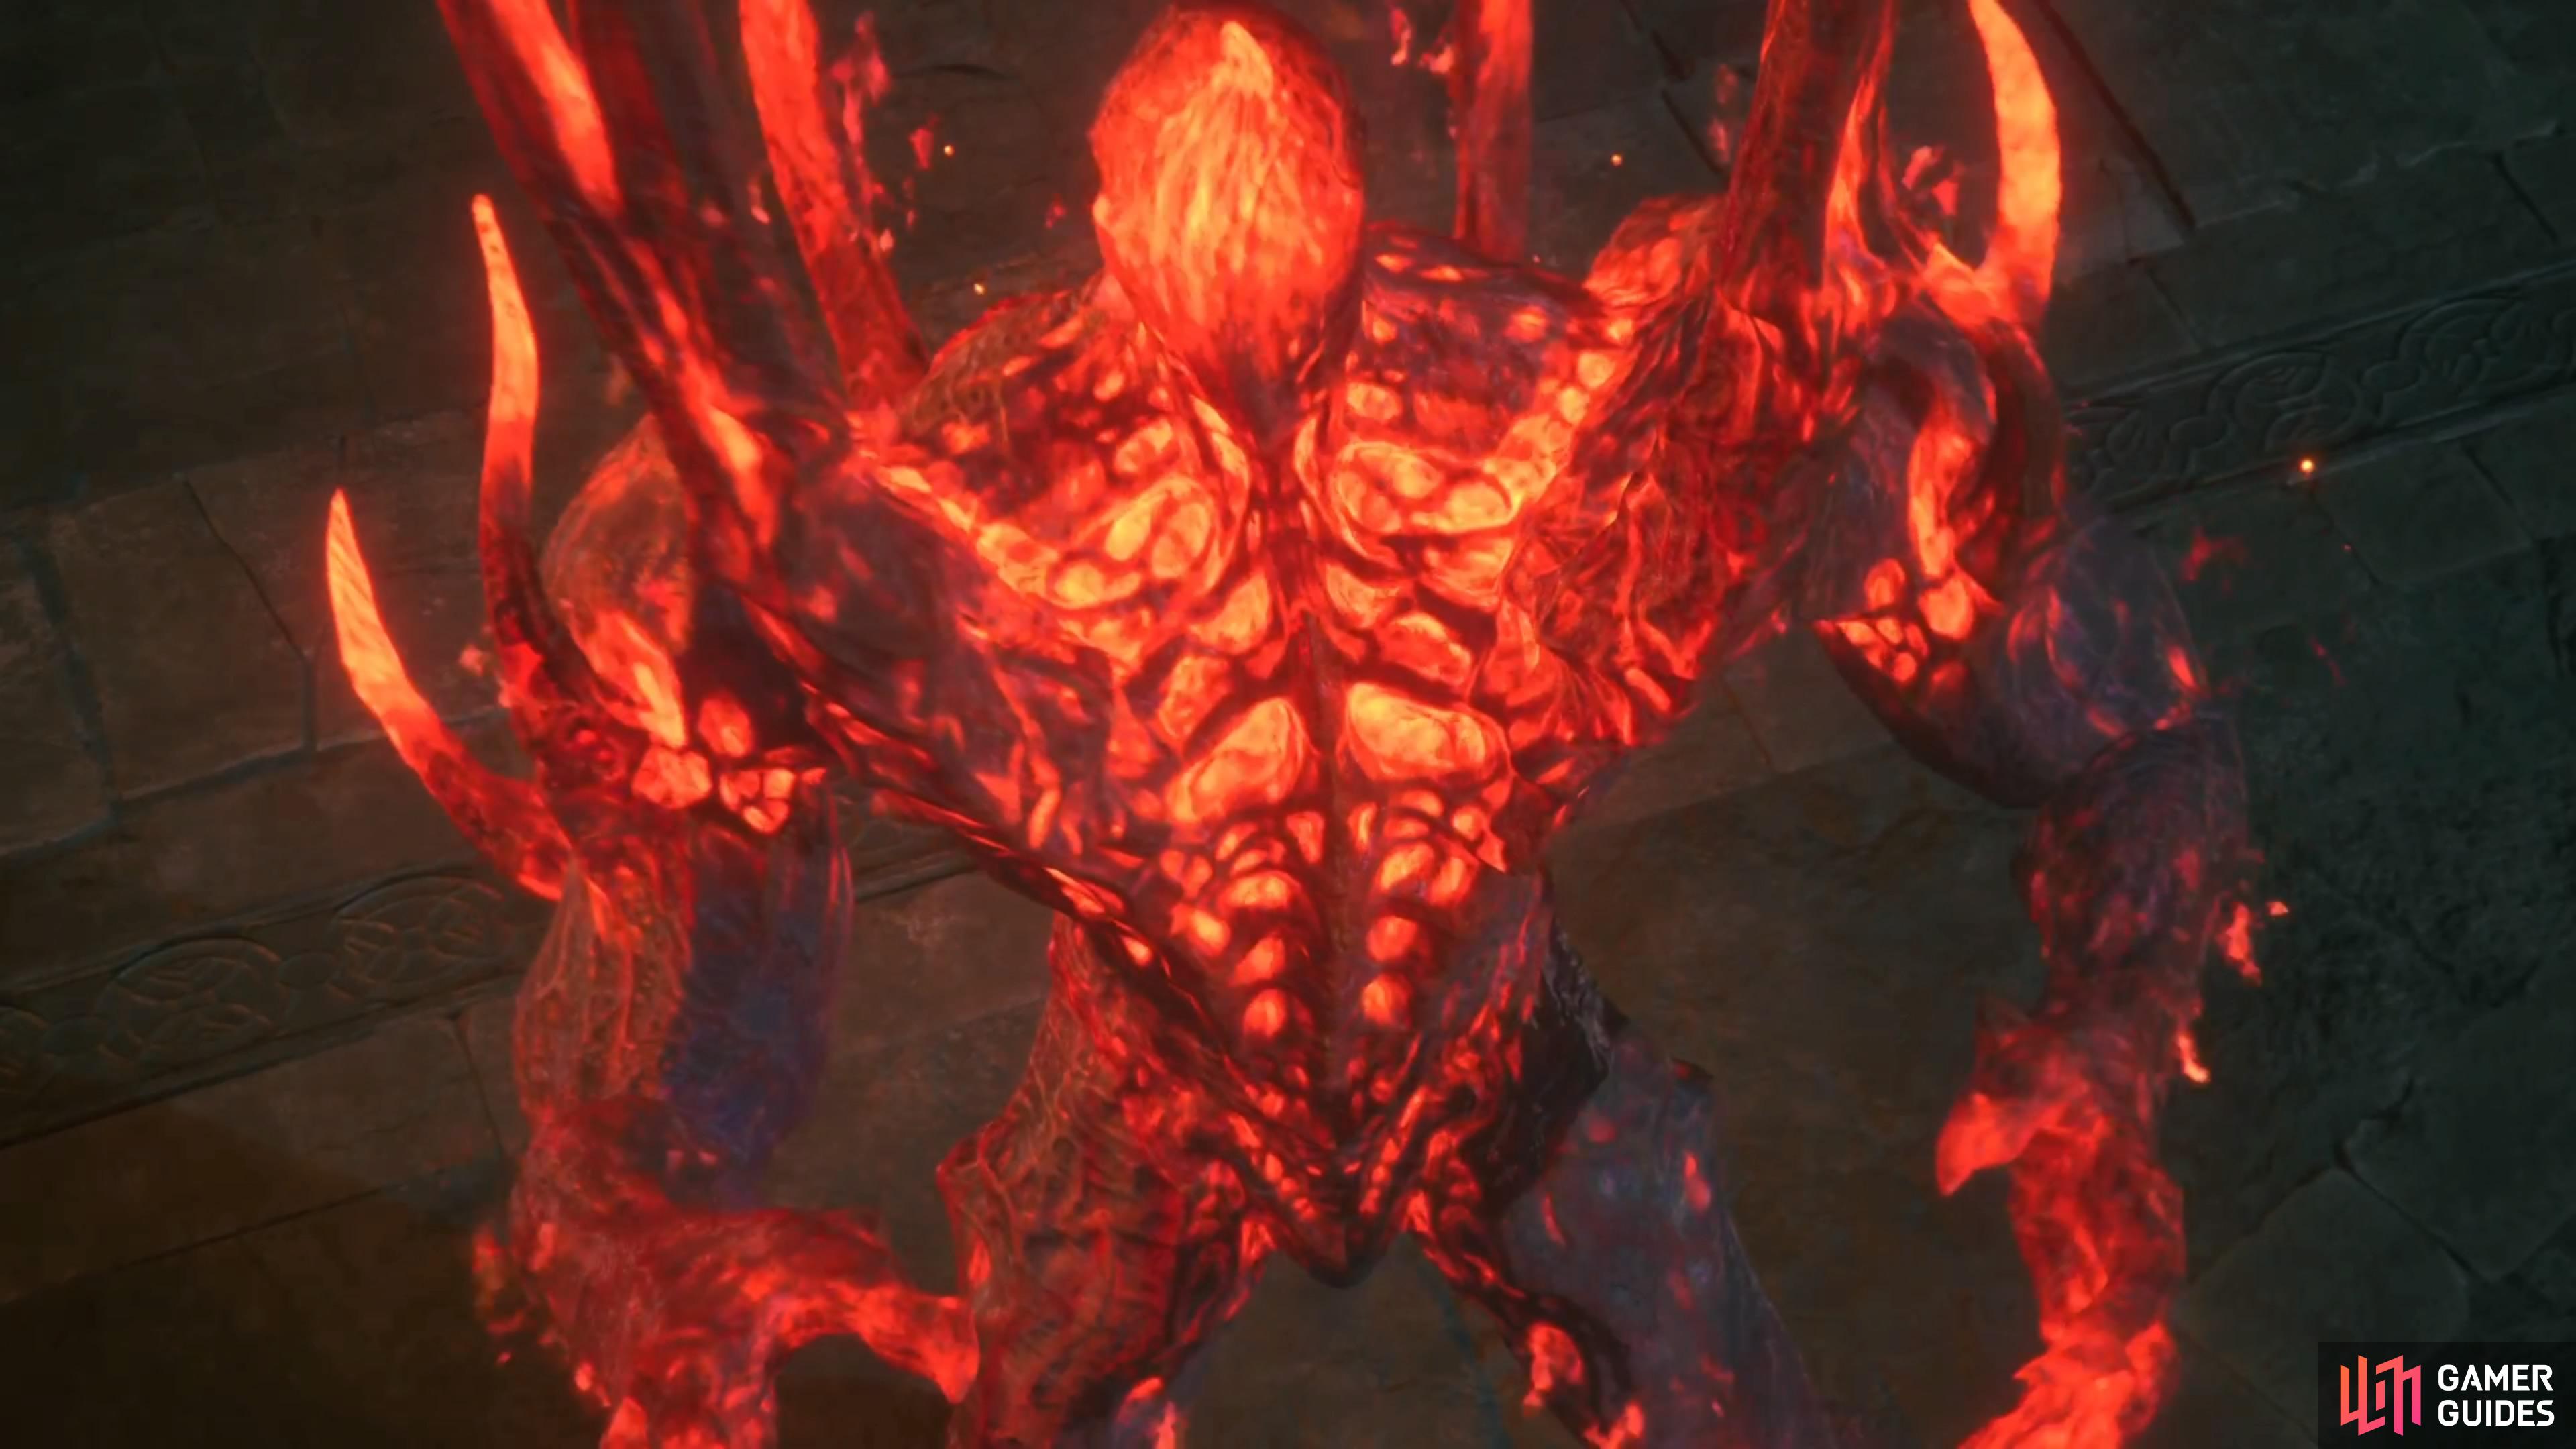
Liquid Flame will be the third boss you face during the Fire and Ice main quest.
How to Beat Liquid Flame in FF16
The Liquid Flame is definitely one of the more challenging bosses you’ve faced thus far, in the game, so keep that in mind when you’re fighting it. Playing defensively is ideal at first, so you can get used to its attacks, especially with the Fiery Impact move that follows certain combos. You’ll also have to keep track of where you’re positioned during the battle, as there is lava on the outer rim of the arena, and standing in it will actively hurt you.
All Liquid Flame Attacks in Final Fantasy XVI
The following are the attacks from the Liquid Flame boss during this encounter. There’s three phases, with each transition being pretty telegraphed.
Double Stomp
The boss will rear back and stomp the ground with one of its feet, causing a small explosion. After that, it will do the same thing with the other foot. Since there is a bit of a wind up for these attacks, you should be more than fine to dodge it, as long as you make sure you realize there’s two attacks.

Melee Combo
Liquid Flame will start this two-hit combo by doing a flaming sweep with its one arm, then it will follow that up by doing a charge attack straight ahead. Like with the previous combo, you should just wait until both attacks are completed before doing anything besides evading. Do note that during the first phase, the boss will always perform Fiery Impact after this combo.
Fiery Impact
This move is always a follow up after some other move, and is never actually used on its own. The attack will usually have the boss teleport to a close spot, then take its normal form and pound the ground with its fist, causing an explosion. It’s important to recognize when this attack will come, since you might think to go on the offensive after previous attacks, then get caught with taking damage from this.
Firaga
Liquid Flame will move away from you, then form a big fireball and launch it in your direction. Since the fireball only goes straight, you can easily avoid it, but it’s the only opportunity you have in the battle to use the ![]() Heatwave Counter to deal some great stagger damage.
Heatwave Counter to deal some great stagger damage.

Heatwave Counter on Firaga could be a great opportunity for major stagger damage.
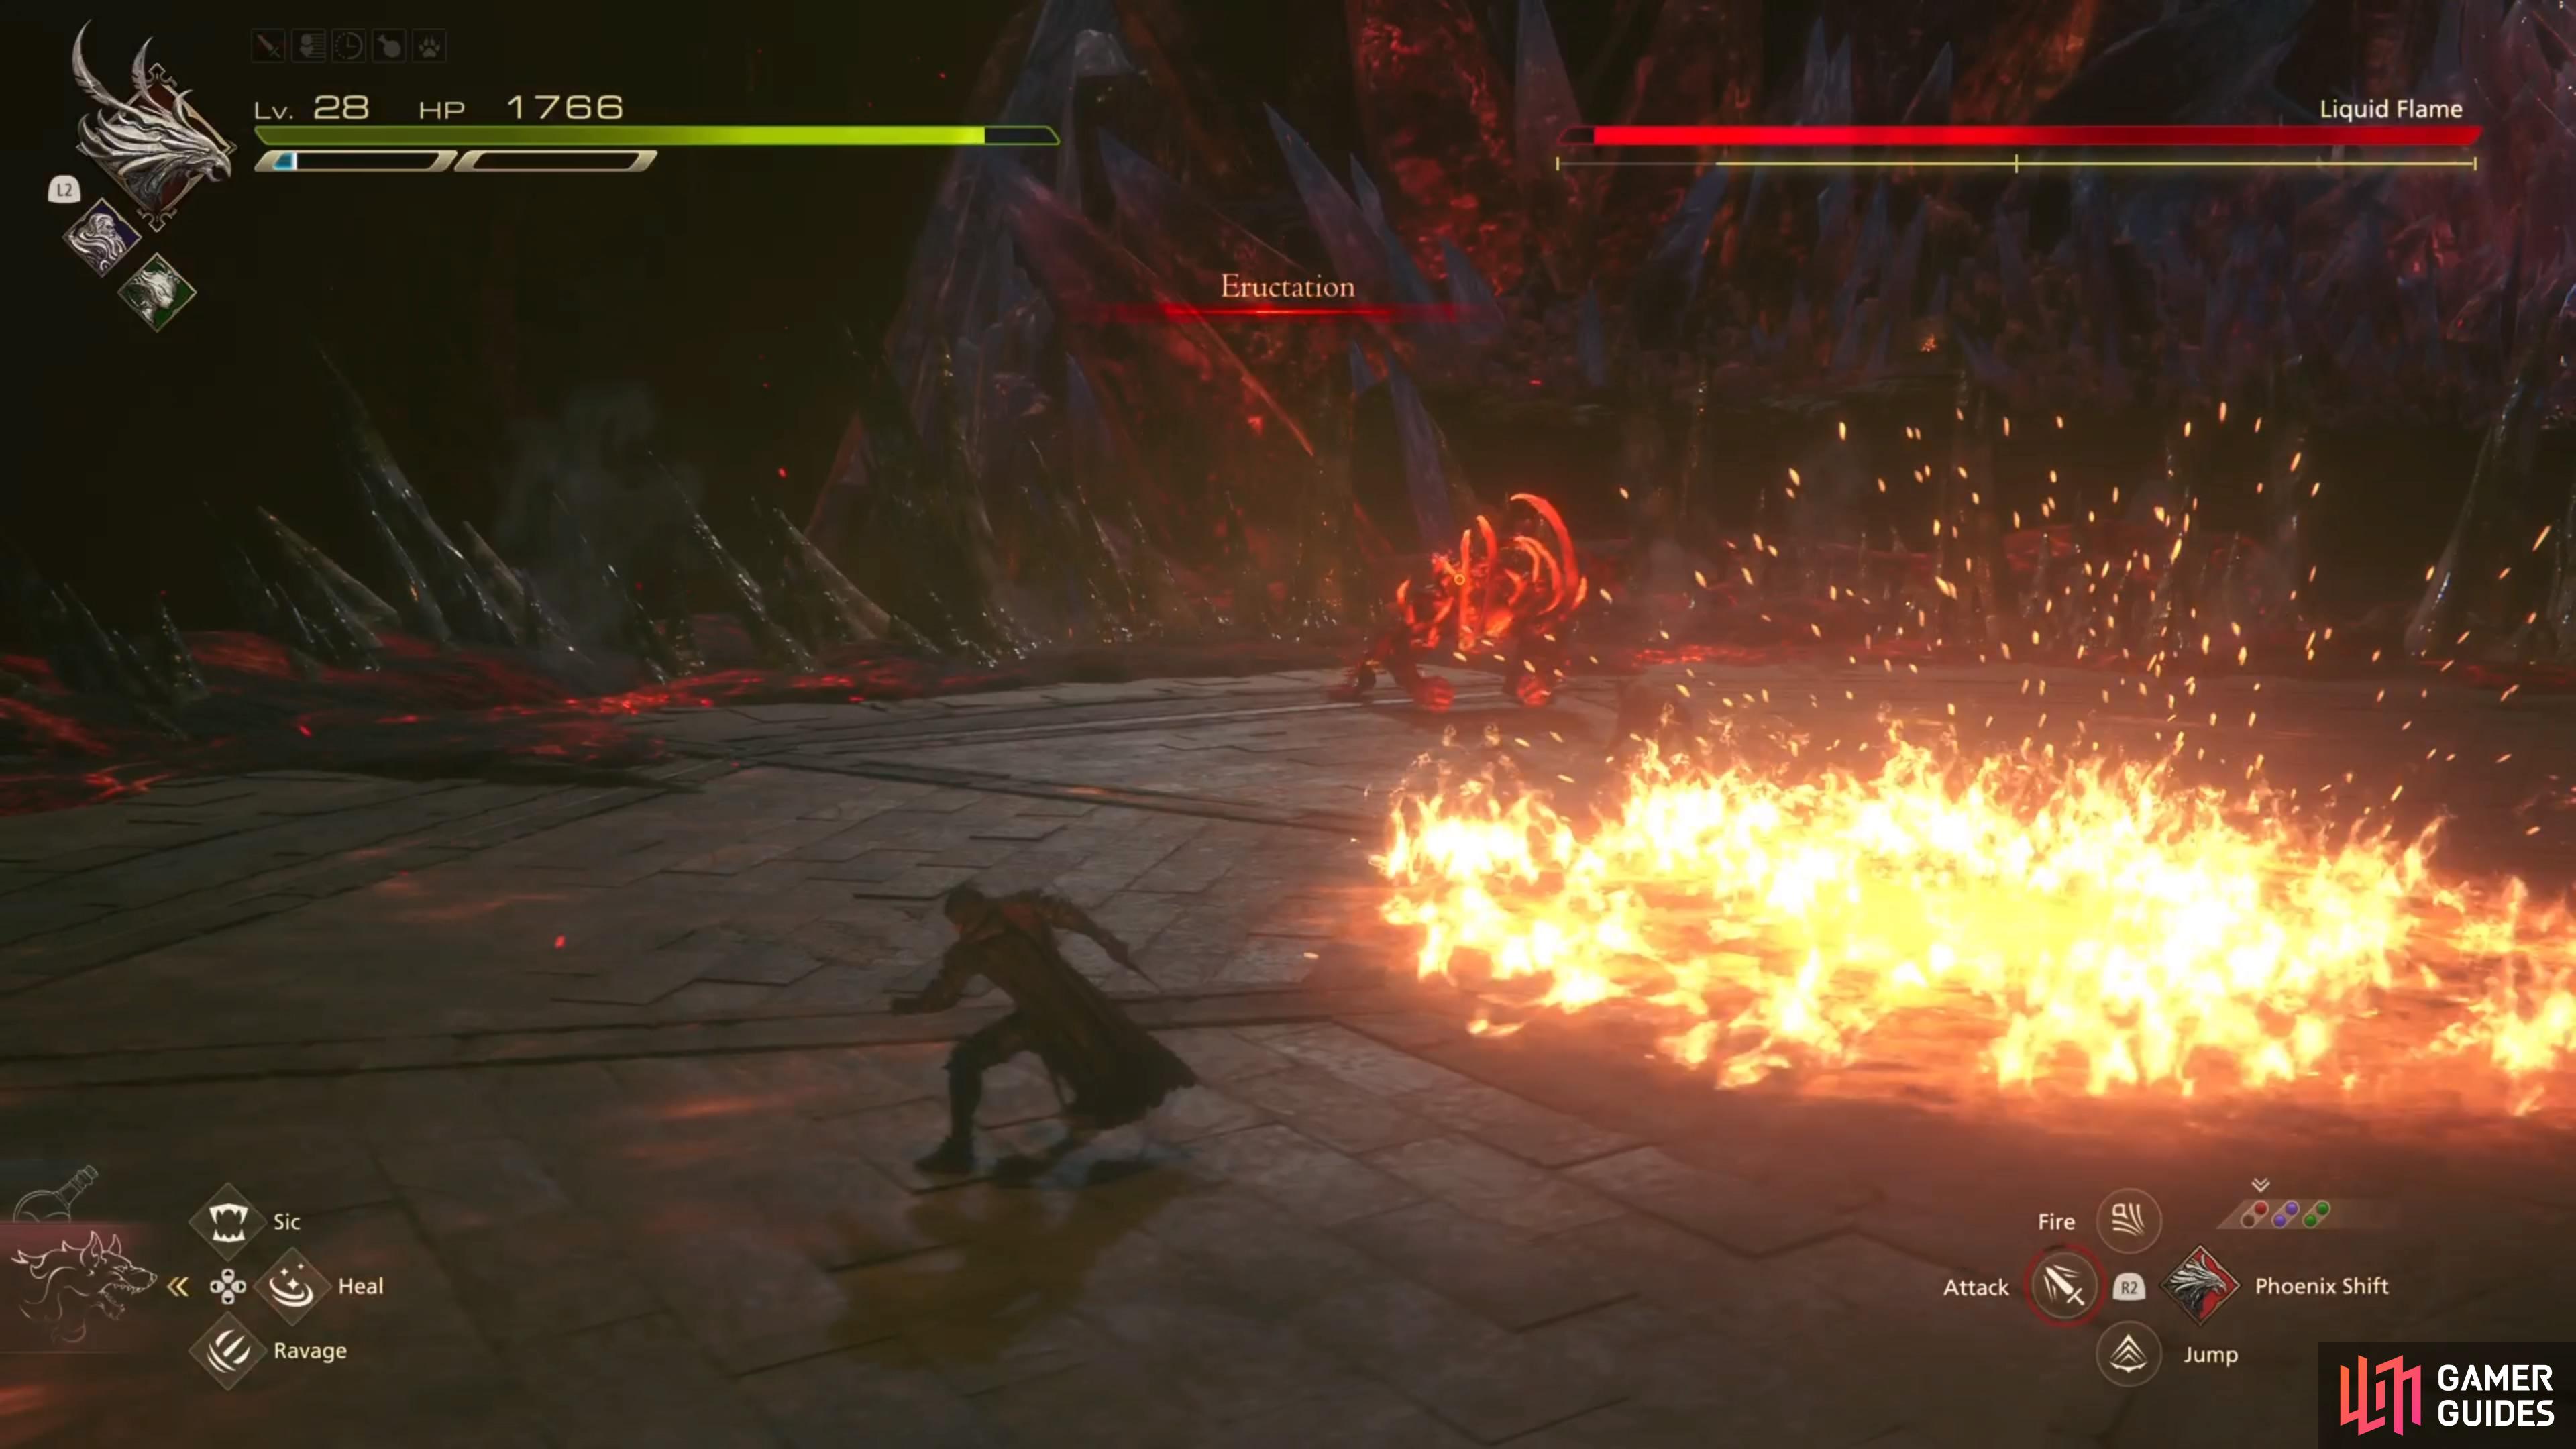
Eructation is easily dodged, due to the circle on the ground.
Eructation
The boss will move away from you, then make a circle appear near your current location, on the ground. After a second or two, some fire will spew out of the ground, which is the part that damages you. You will be able to see the circle on the ground before the move comes out, so you should have more than enough time to avoid the flames, unless you were standing in the middle of the circle. In the later phases of the battle, there will be multiple points on the ground for this move, instead of just one.
Wyvern Flamethrower
You won’t see this until after the first stagger happens. This will be used in conjunction with the Double Stomp, where the boss will transform into a wyvern after that attack. Once it changes, it will spew some flames and move towards your position. You definitely want to avoid this attack at all costs, though, as the damage piles on very quickly if you stick in the flames. During the second phase, it seems the boss will use Fiery Impact more often after this maneuver.
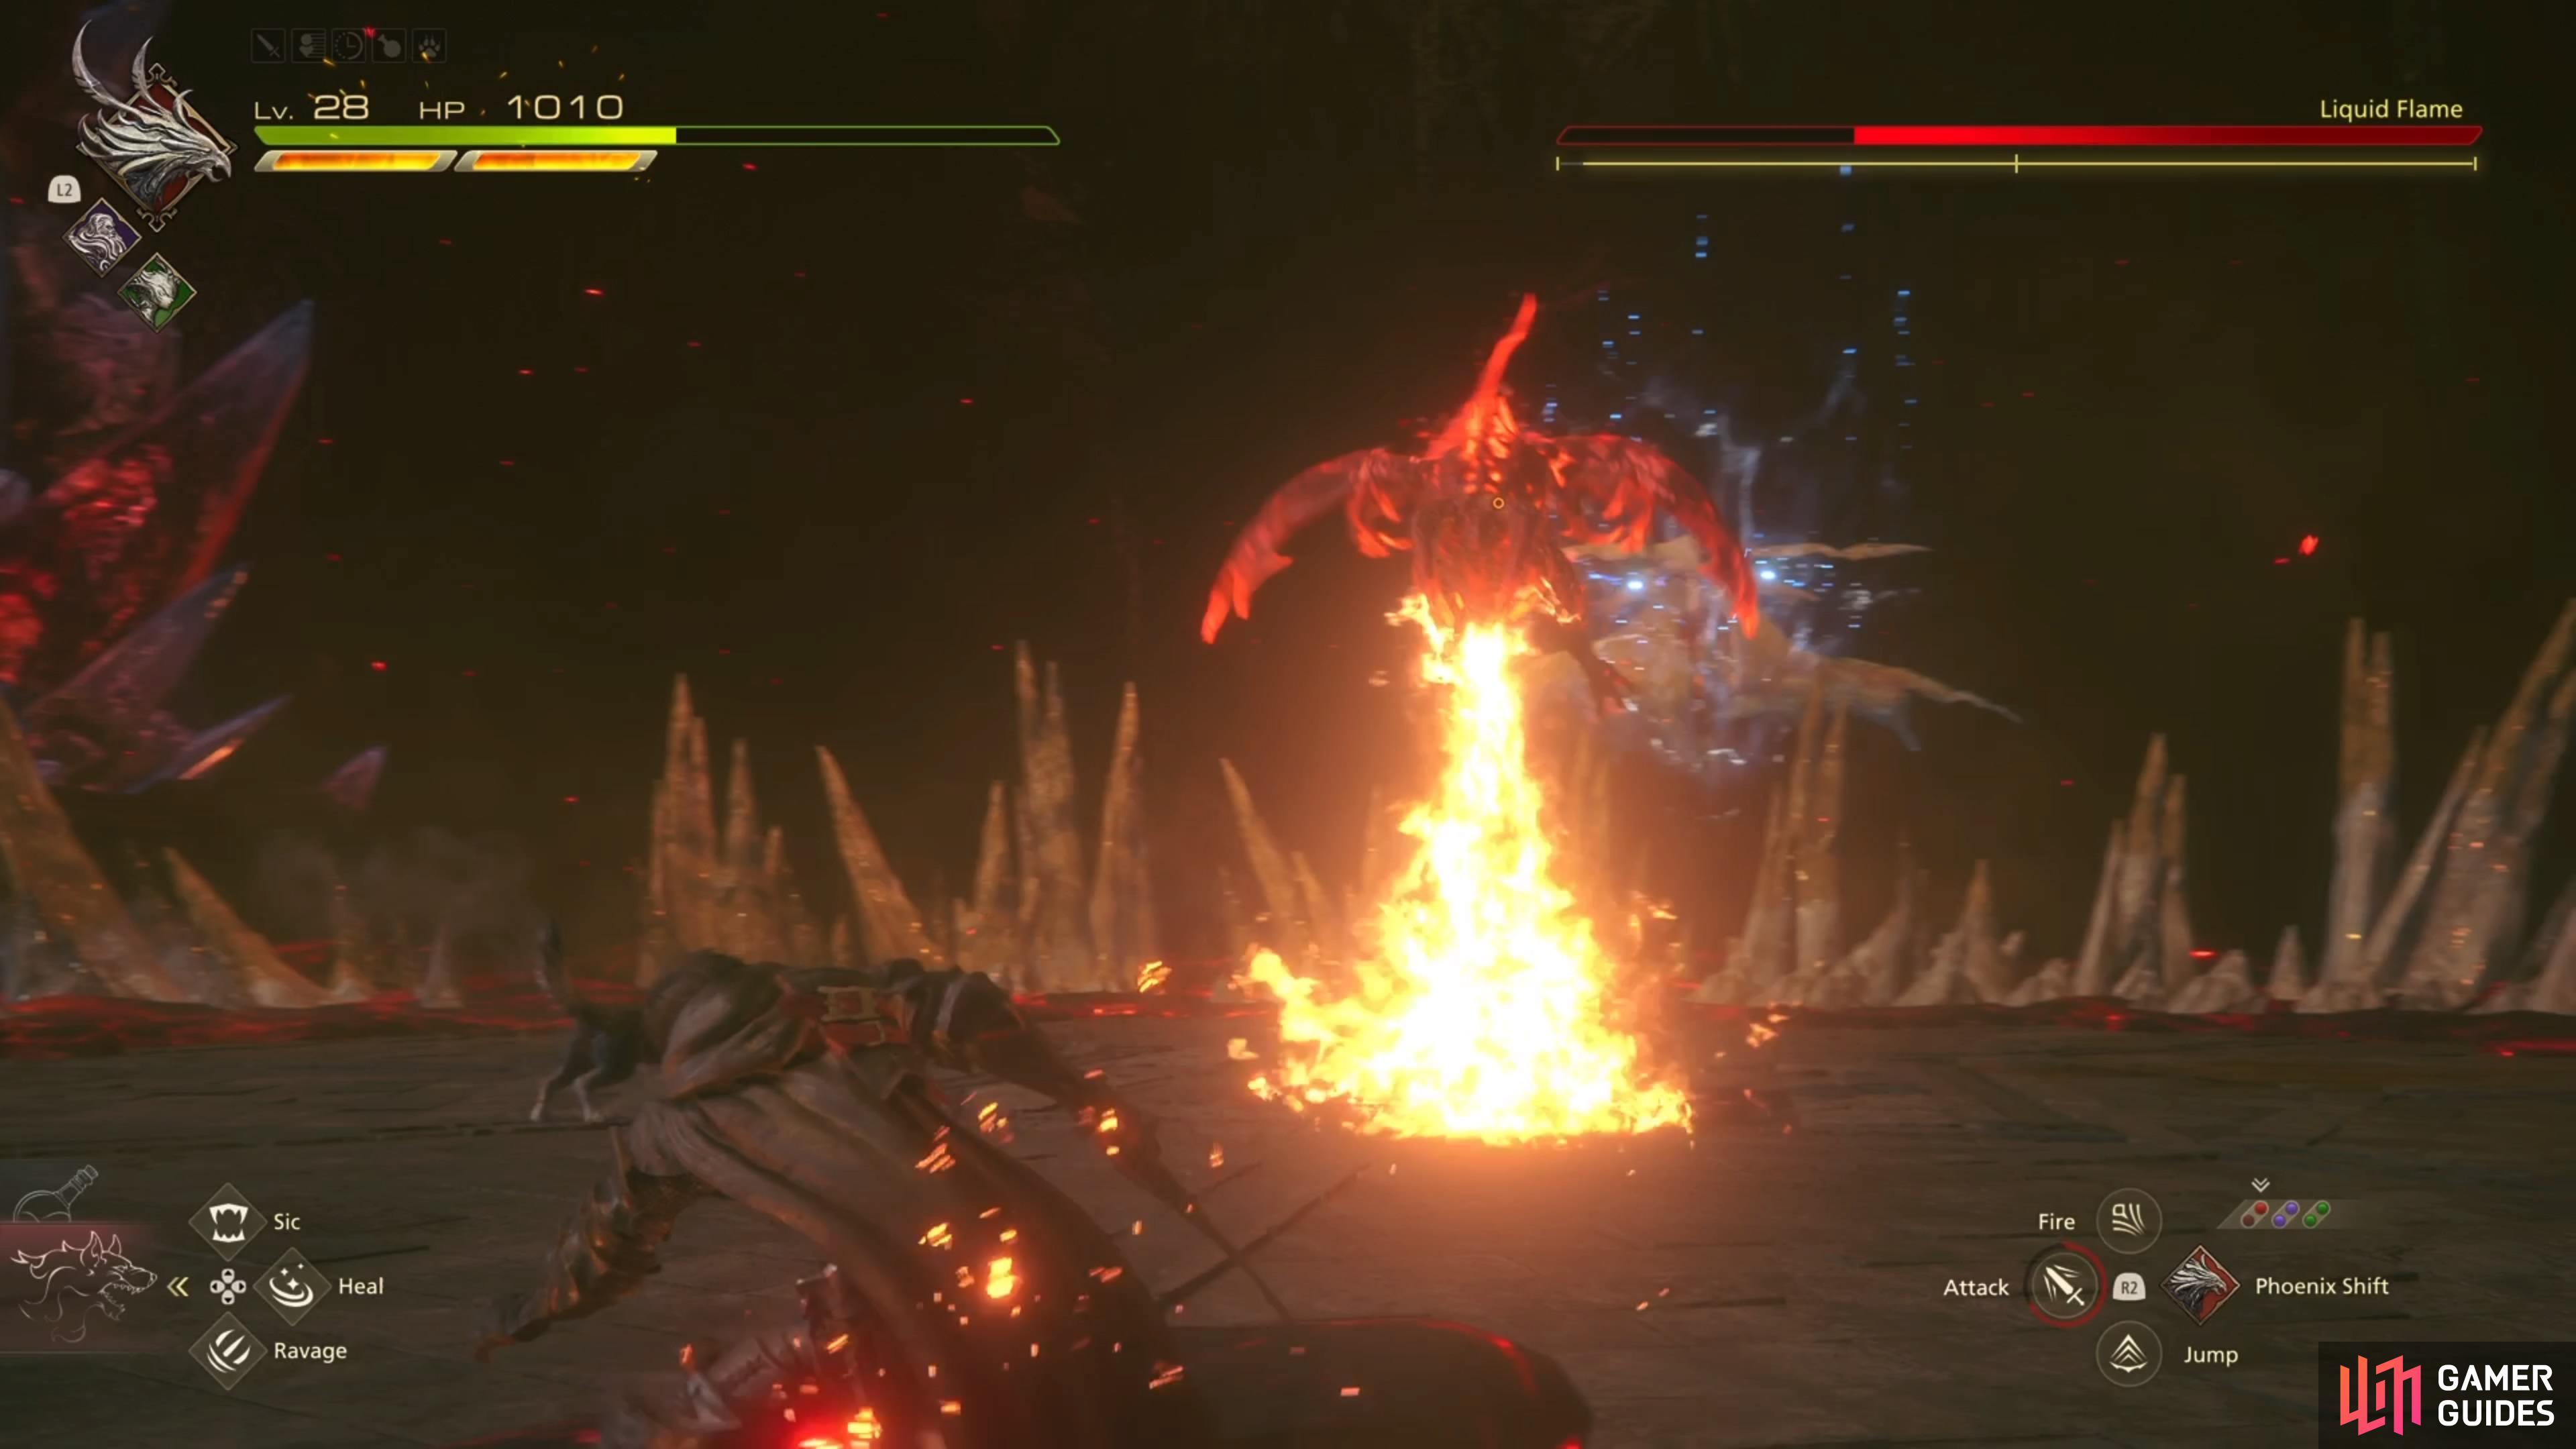
Avoid the flames at all cost during the wyvern attack.
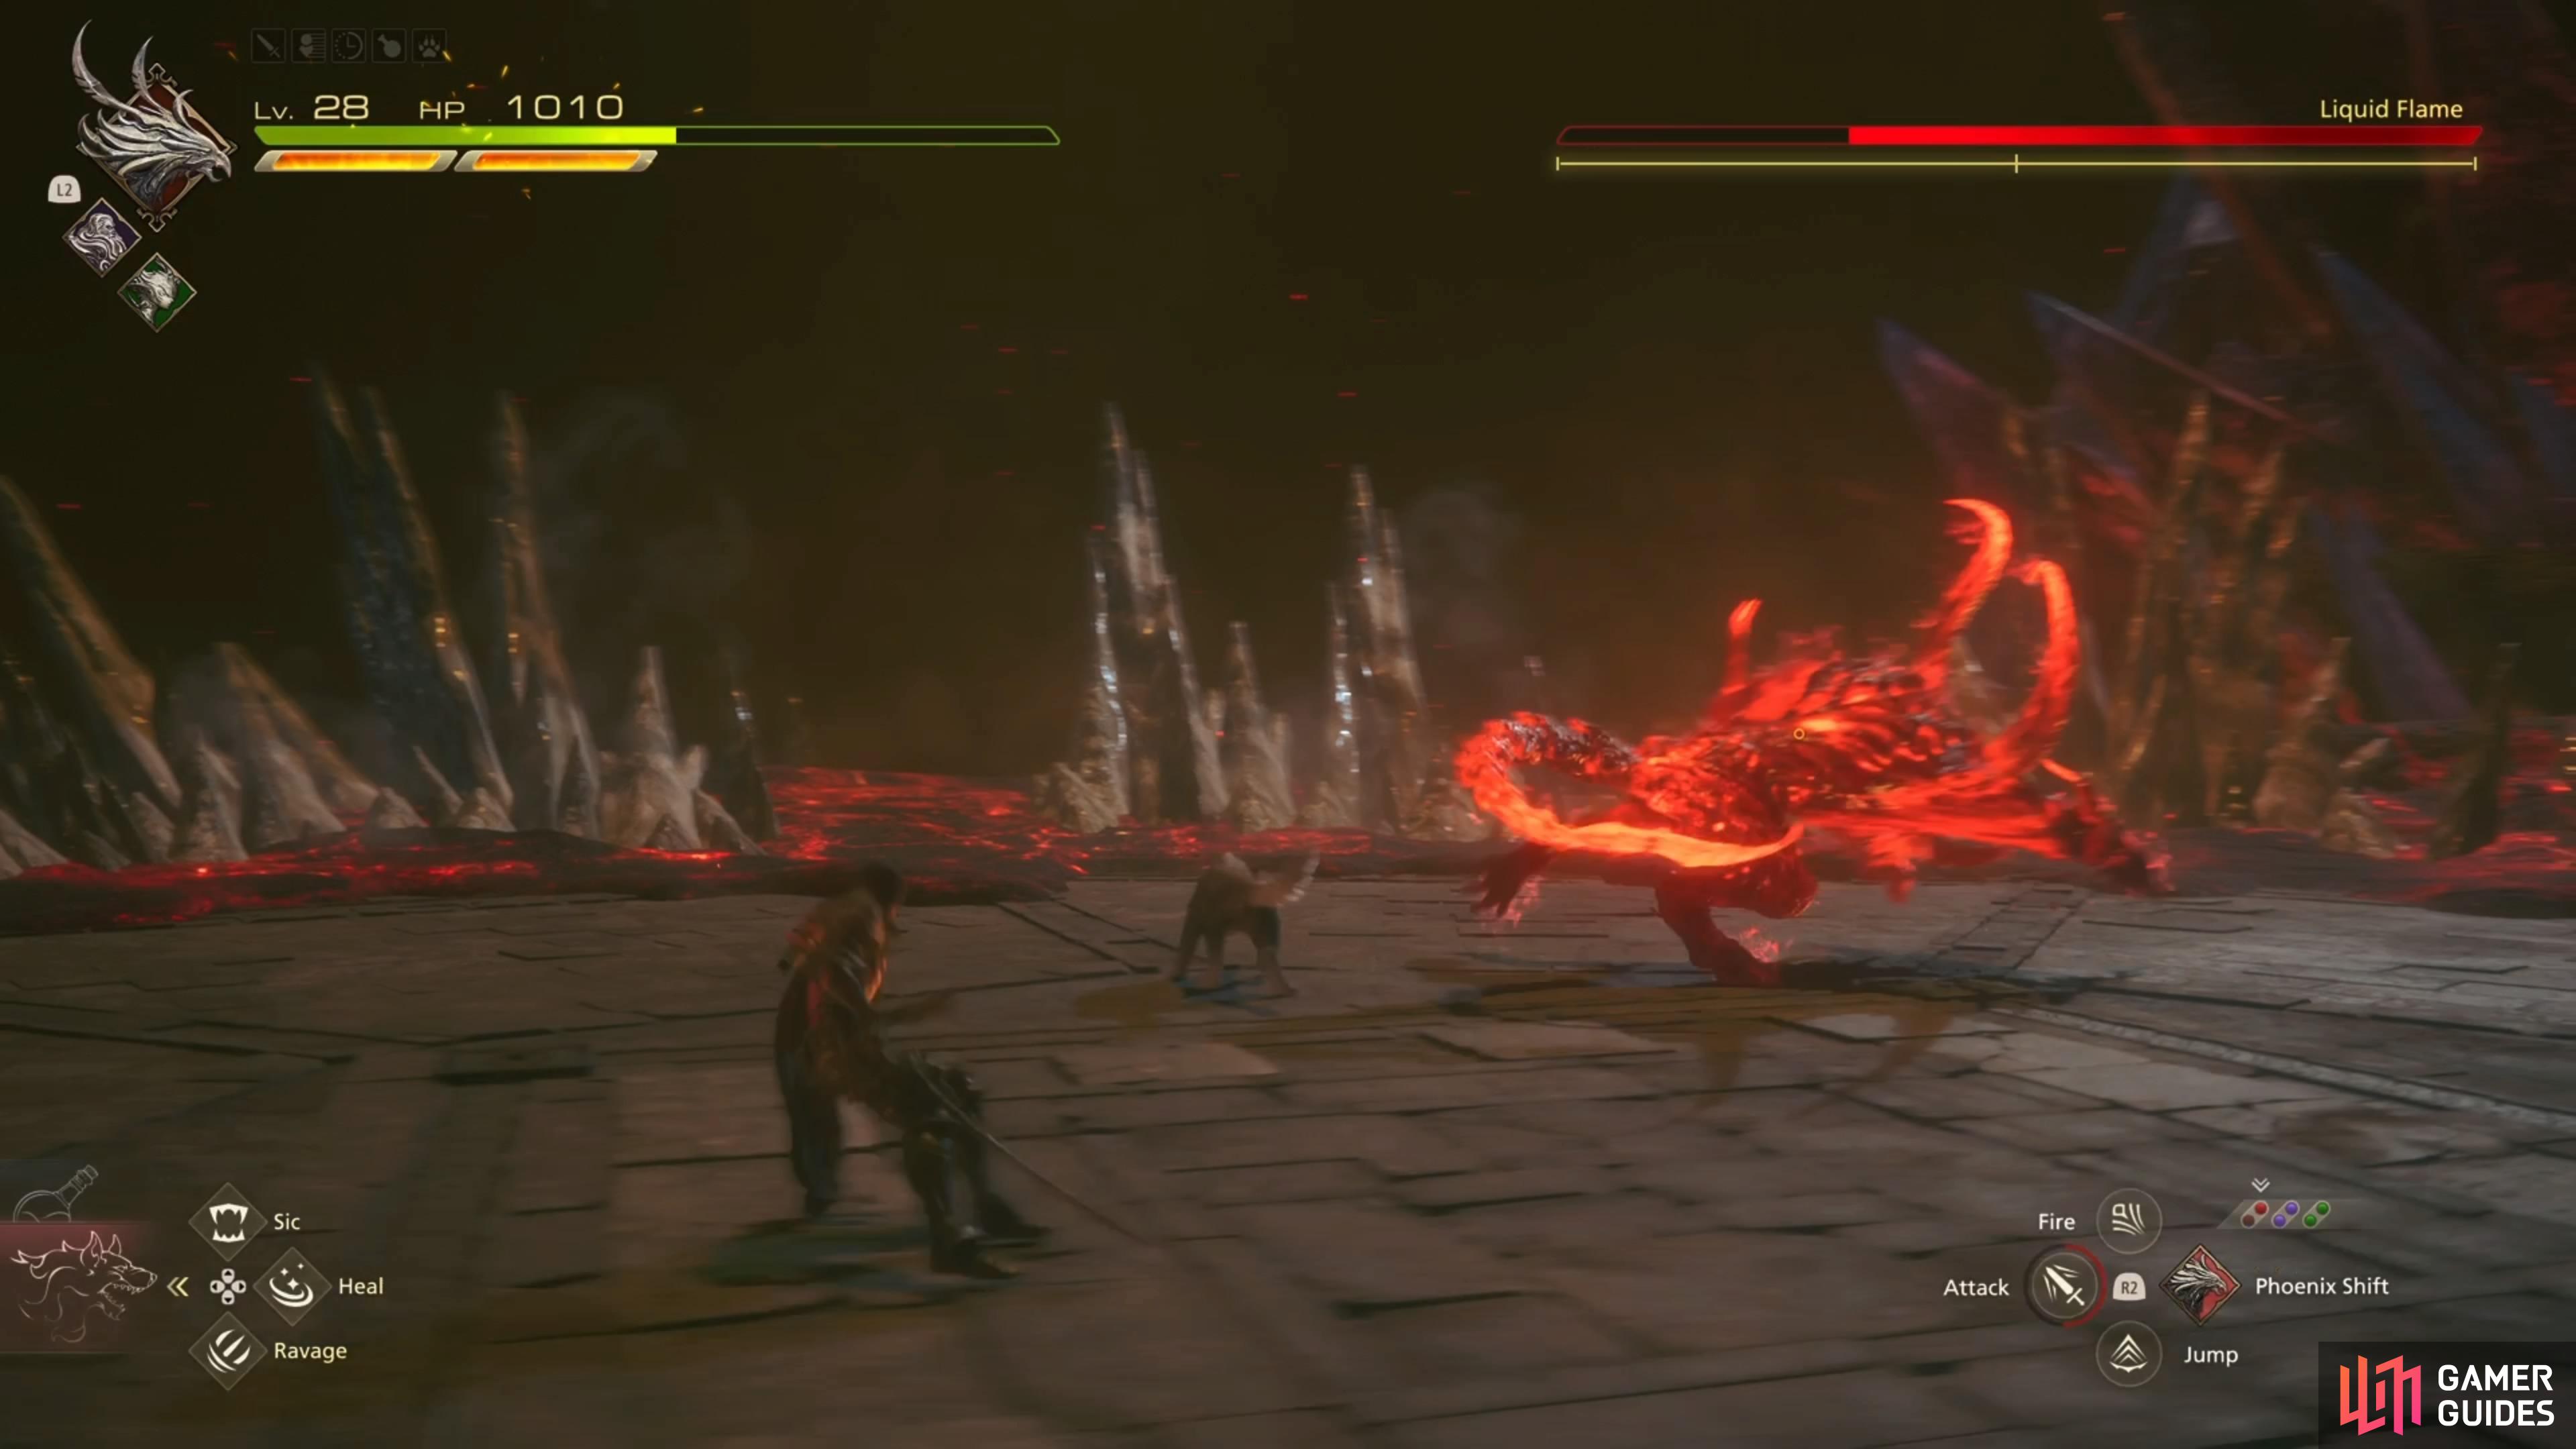
Step away when it changes into a coeurl, to not get hit by the flame spin.
Coeurl Flame Spin
Another move that you won’t see until after the first stagger, and this one happens after the Melee Combo. The boss will change into a coeurl, where it will then spin around and emit a flame circle around it that doesn’t extend too far.
Eleventh Hour
The big special attack that happens when you bring its HP to around 33% or so. It begins by splitting into a bunch of the two forms mentioned above, then will go with the Coeurls first. There will be four of these and each one will do a straight dash at you. After the coeurls will be the wyverns, with all four attacking at once. It will be the same flamethrower move as above, but they will start on the outside and move towards the center. Try to get in between them before they meet, so you are able to dodge.

Upon finishing with the wyverns, Liquid Flame will have one final bit to this total package. It will become its humanoid form once more and a large circle will appear around its feet. Once it’s fully expanded, there will be a brief moment and then there will be an eruption inside that circle. While it’s possible to dodge the explosion, it’s easier to just back away, out of the circle. It will only use Eleventh Hour once, and will be temporarily stunned after using it, for a few seconds.
Flagrant Wyvern
The third phase (after Eleventh Hour) is when you will see this attack. The boss transforms into the wyvern again, flies out of reach of melee attacks, then just divebombs towards the ground, near your position. The attack is a little quick, especially when you see it for the first time, but it’s not too hard to dodge.
Flagrant Coeurl
This is another attack that comes during the third phase, with the boss shape-shifting into a coeurl. After that, it runs to the edge of the arena, then will perform a charge straight at you, which is the same thing it did during Eleventh Hour. It’s a pretty easy move to dodge, though.
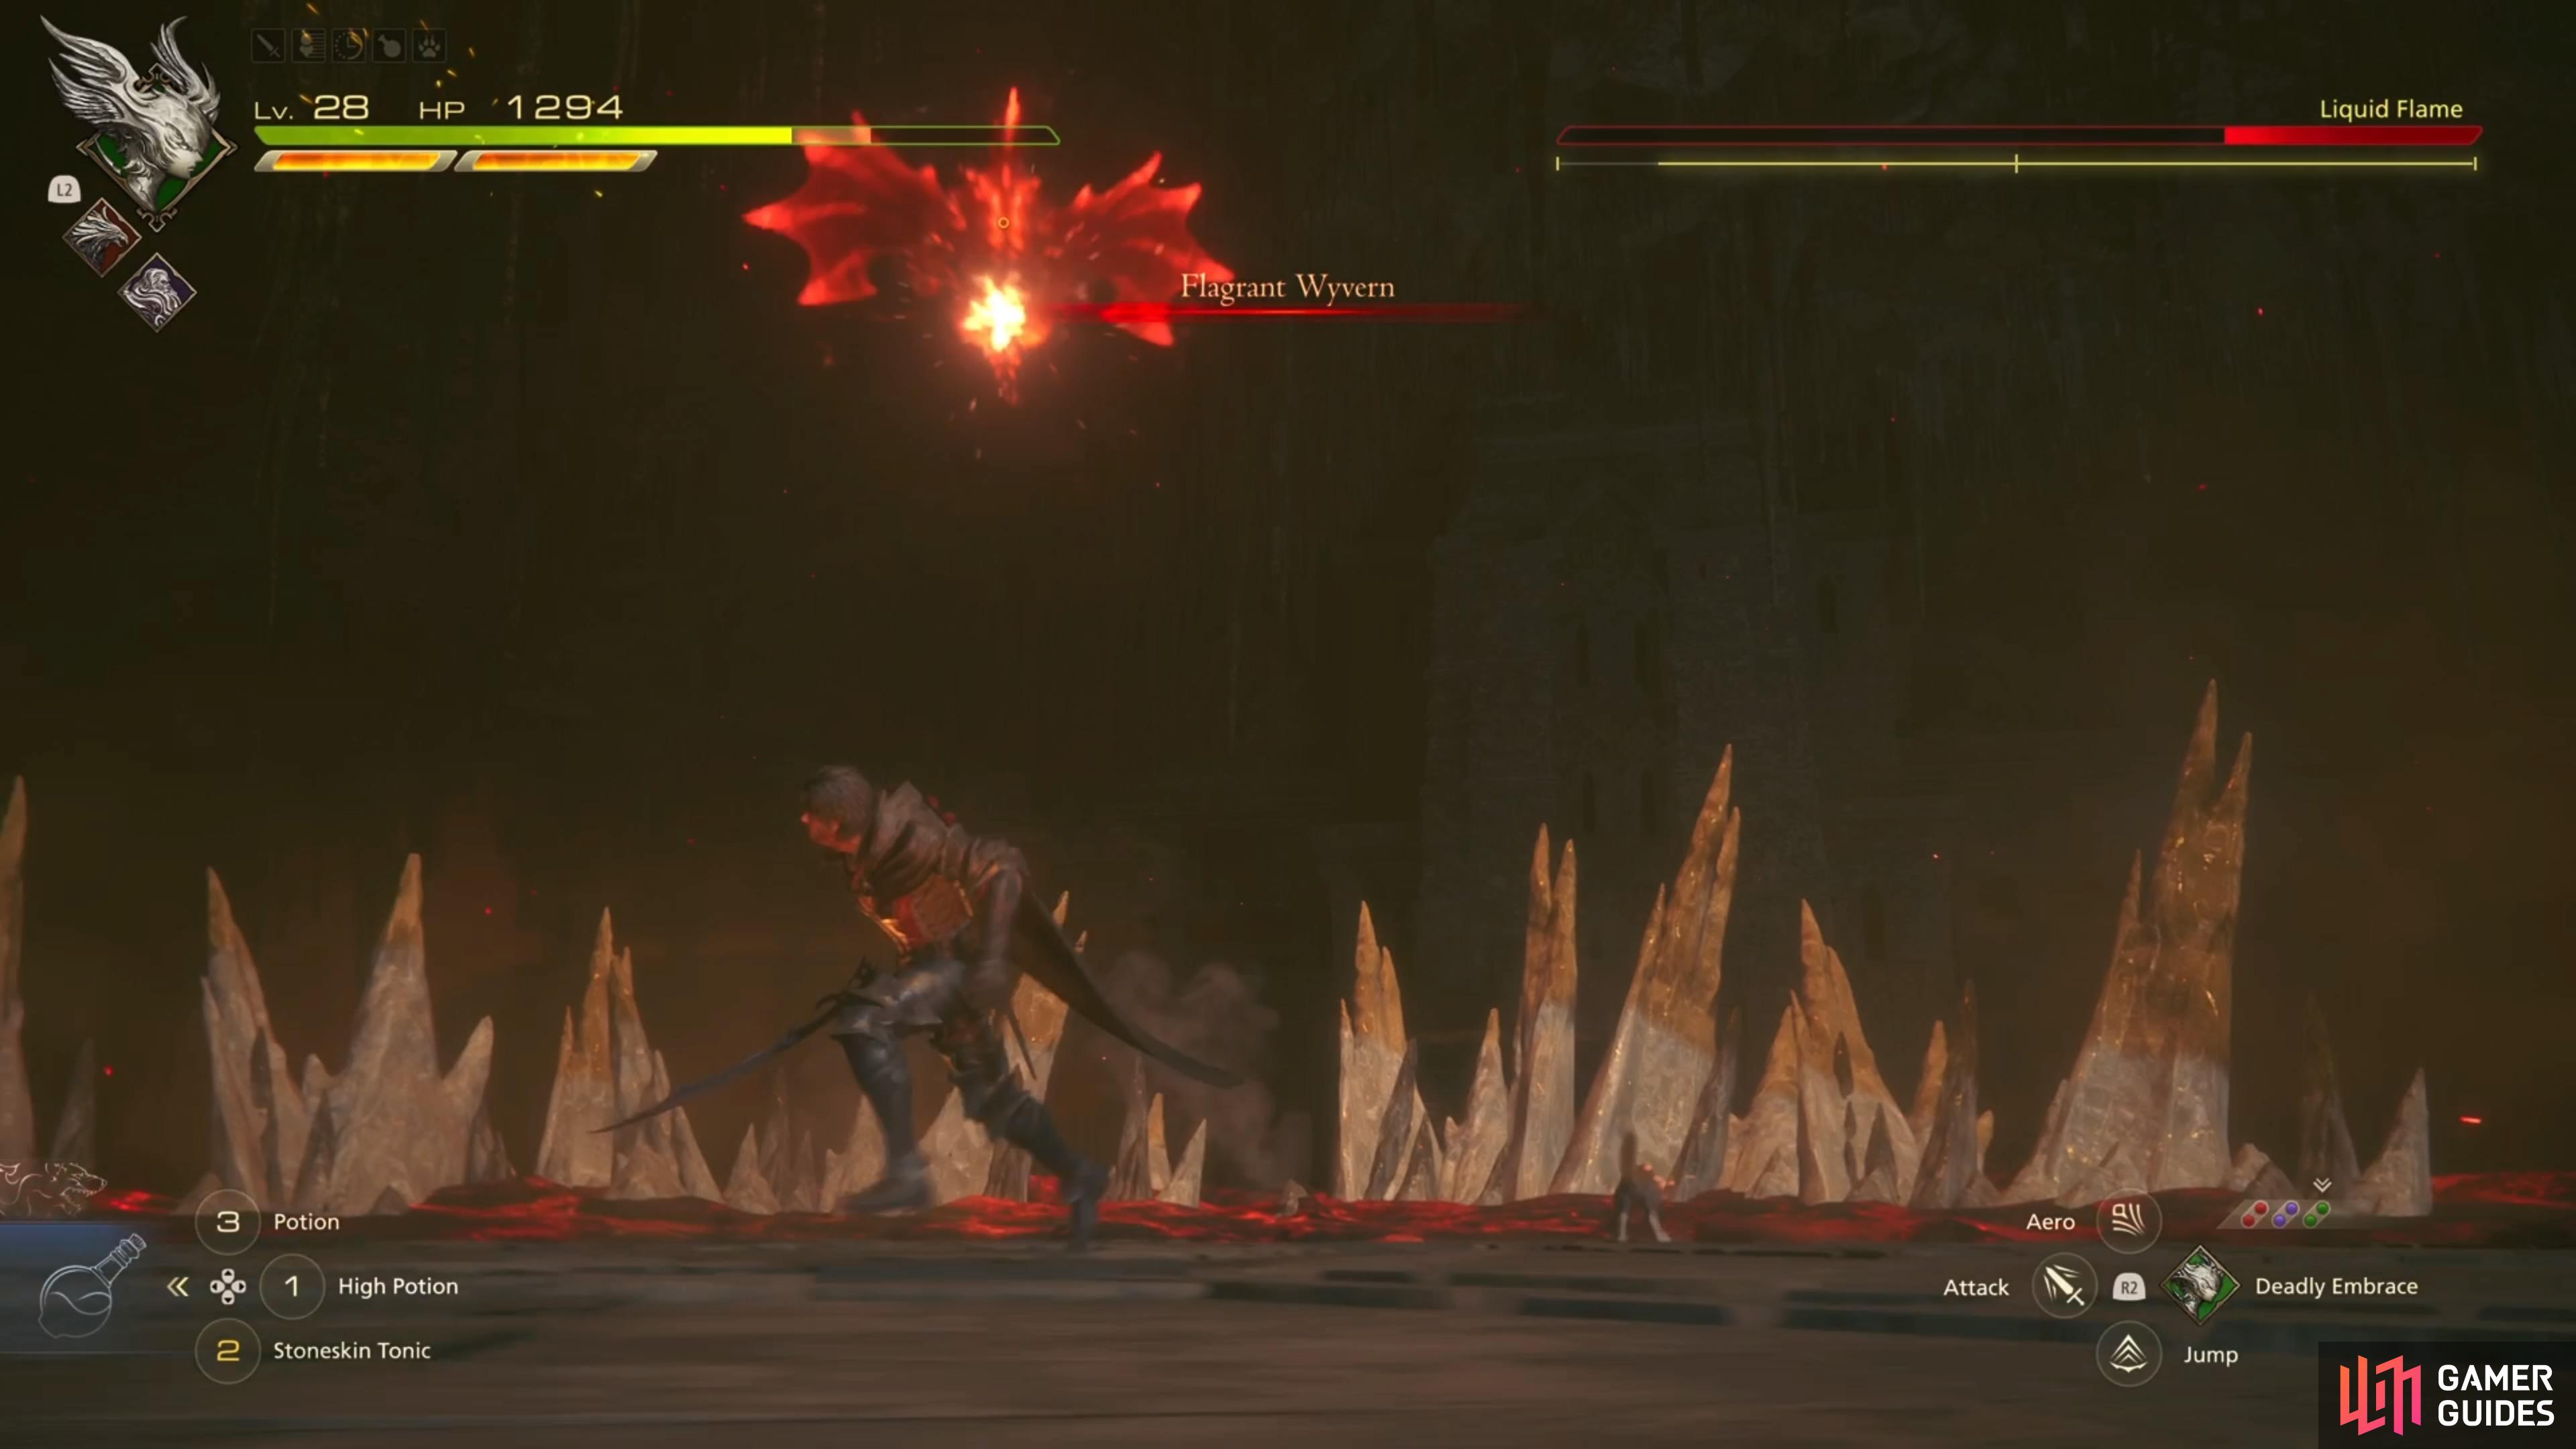
Flagrant Wyvern is just a divebomb move, so dodge accordingly.
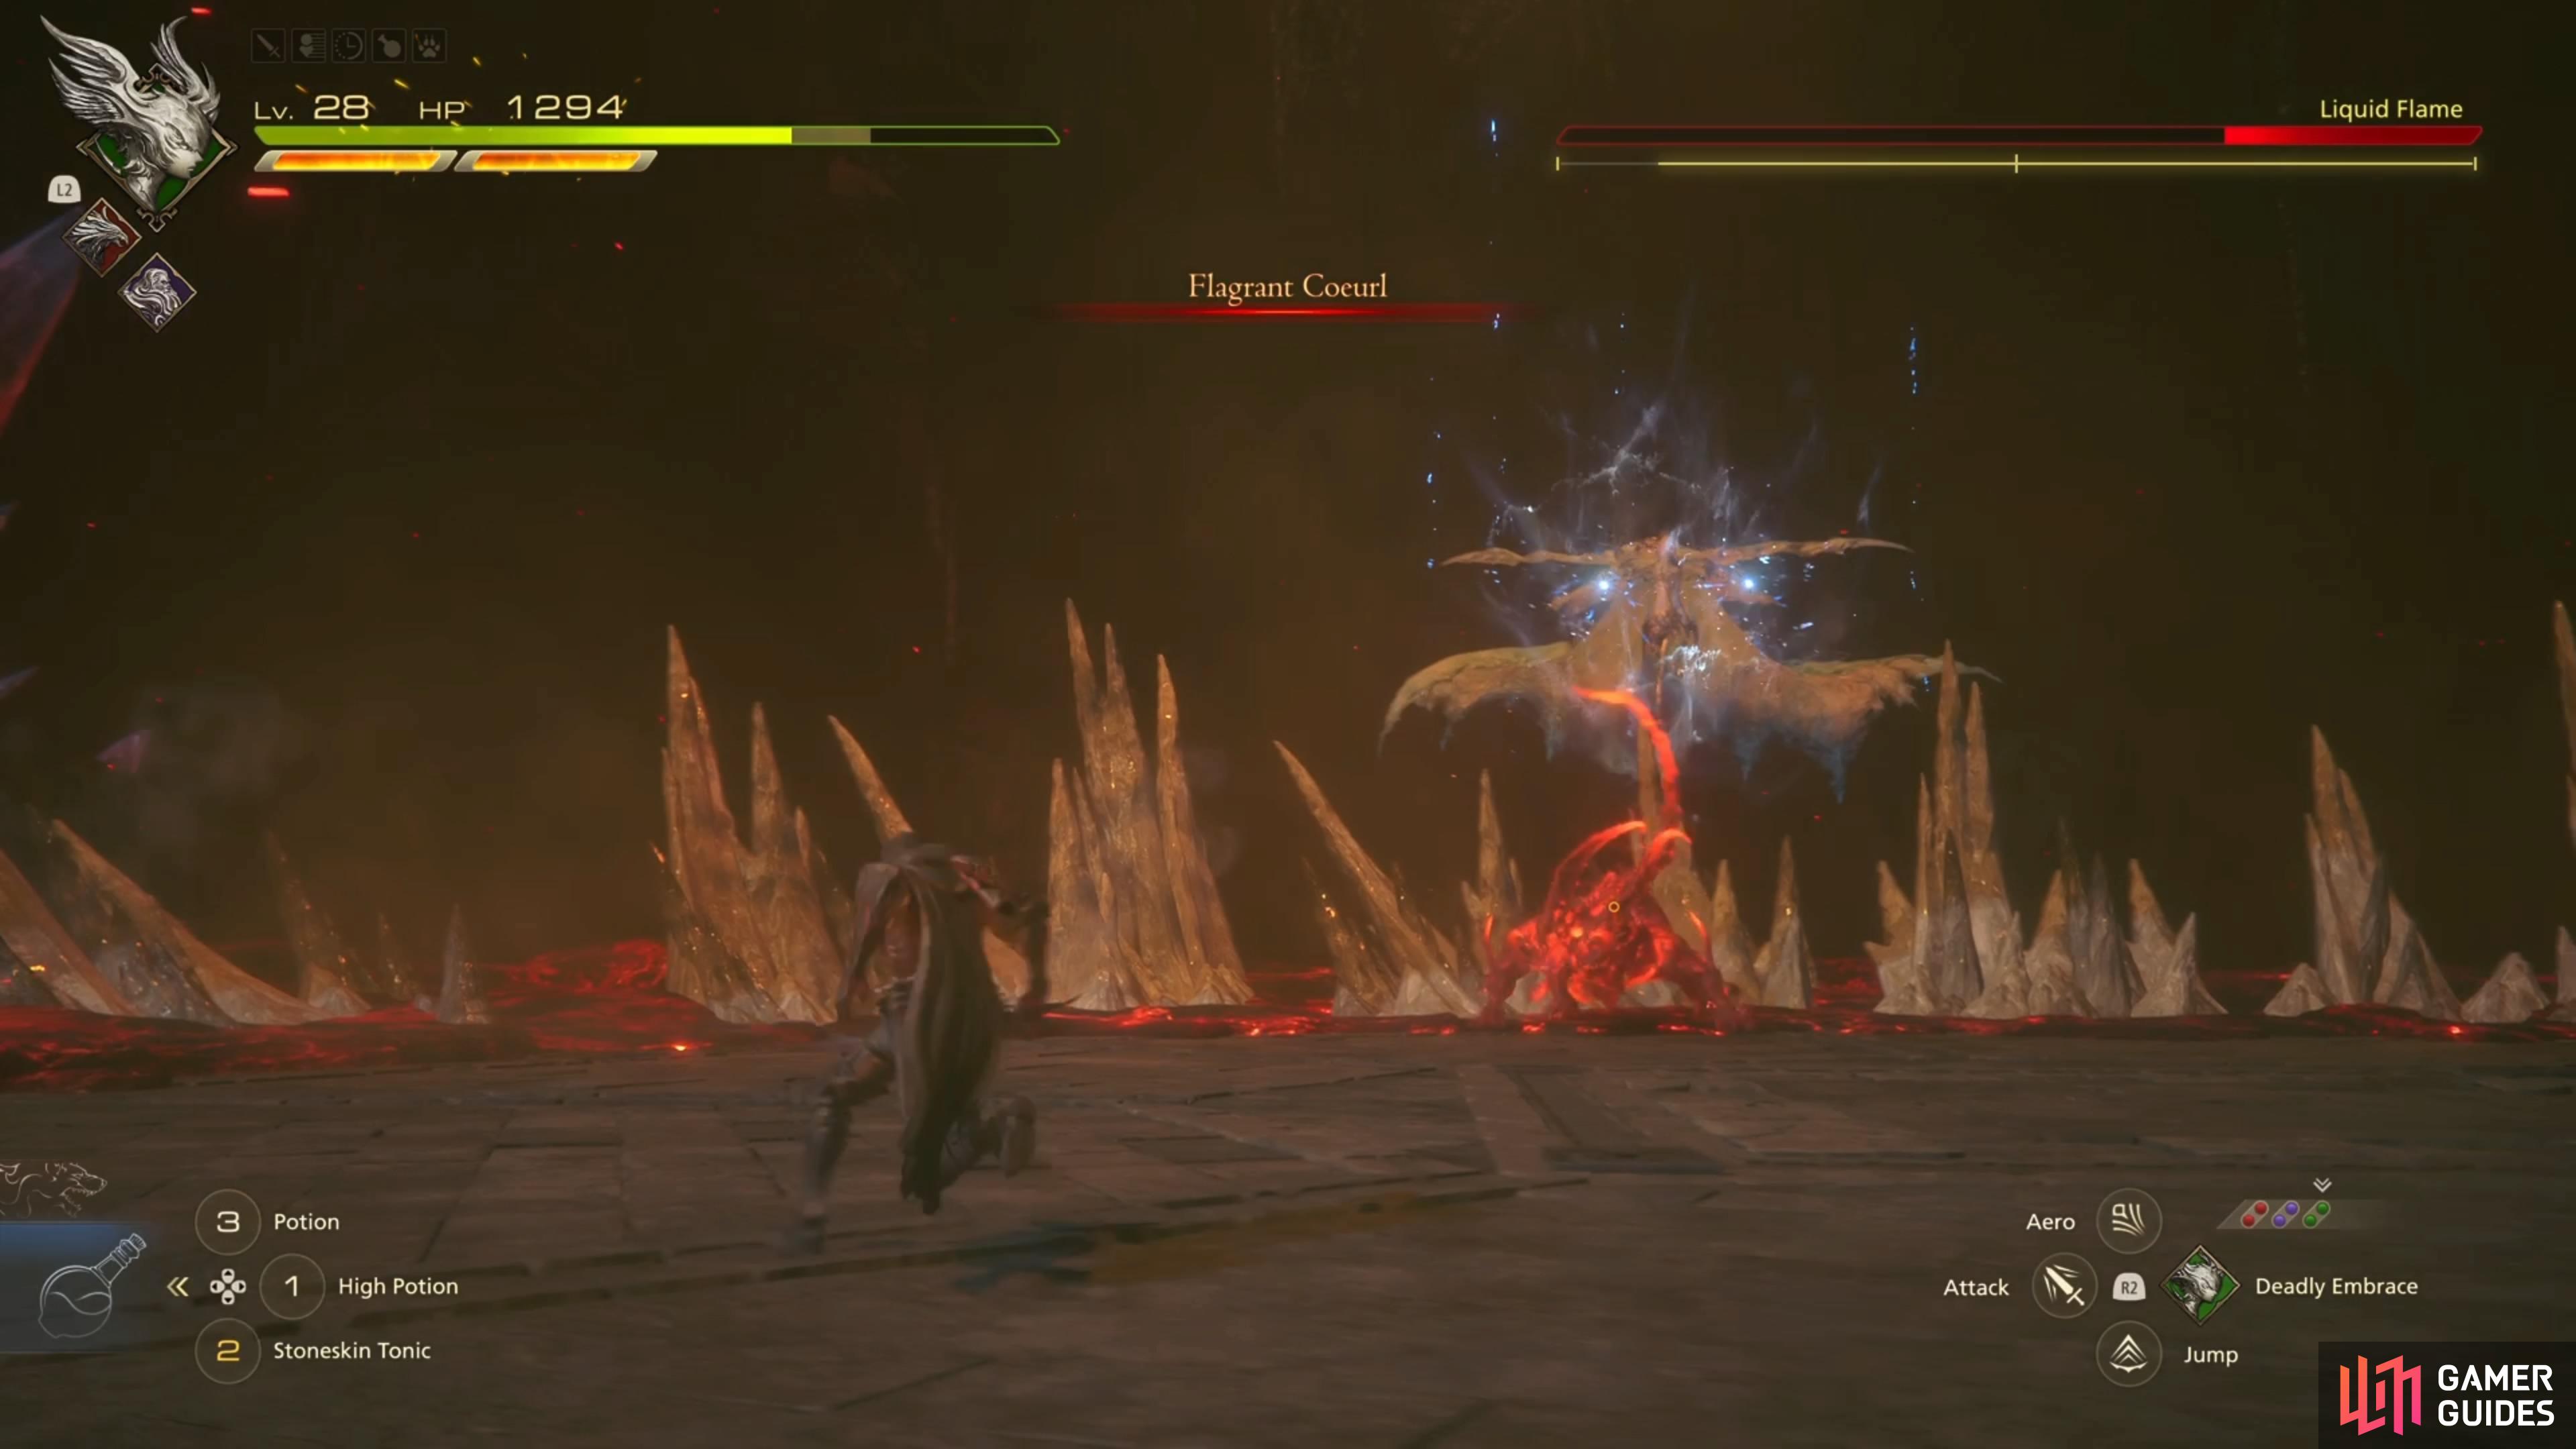
Meanwhile, Flagrant Coeurl is the same as during the Eleventh Hour attack.
Strategy for the Liquid Flame Boss in FFXVI
When you first begin the battle, you will want to be a little cautious about making the first move, as you should definitely play defensively to see the Liquid Flame’s attacks. For the first phase, it will primarily rely mostly on the two sets of combos it has, so dodge both hits (three with Fiery Impact after the melee combo) and then you can go with your offense. It should be noted that there is a good few seconds of downtime after it uses Fiery Impact, which is the perfect time to unleash some attacks. You will also want to be wary of your surroundings, as the outer edge of the area will have some lava, which will hurt you, so try and stick towards the middle, if possible.
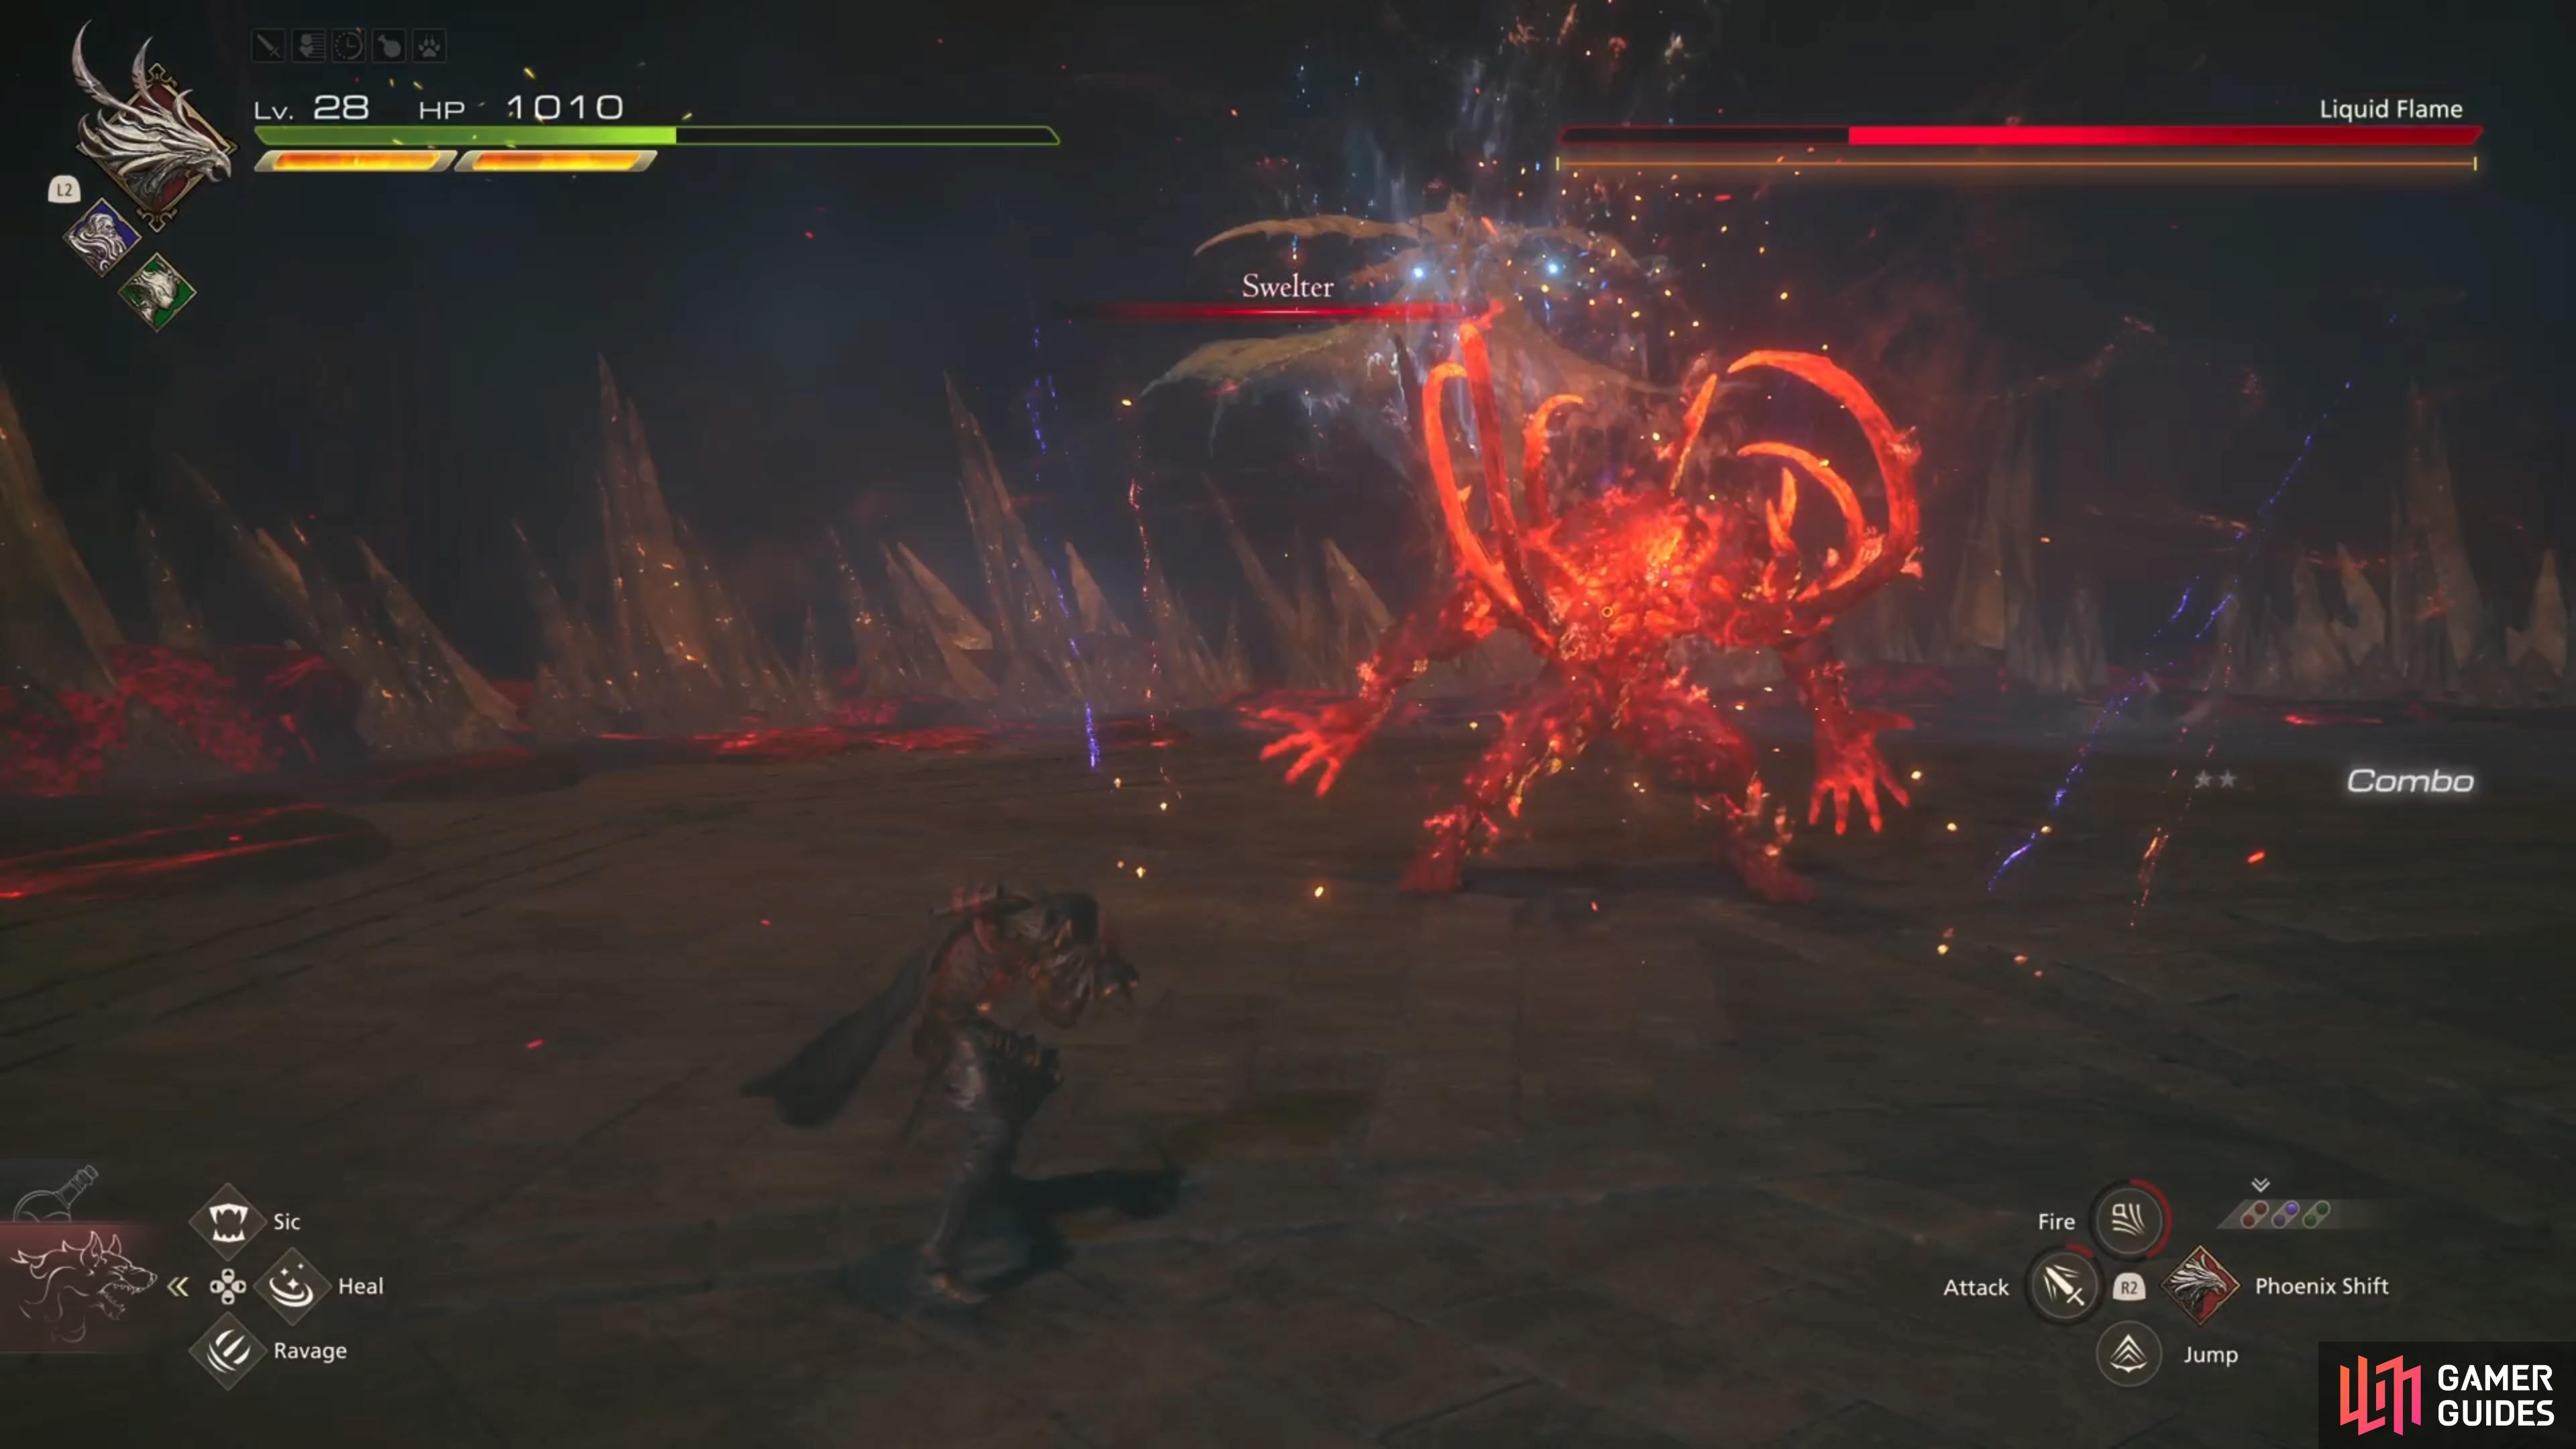
After the boss recovers from its first stagger, it will use Swelter to basically trigger a cutscene. The arena might become a little smaller after this, but it’s hard to exactly tell if it did or not. The more important thing is that this is the trigger for the second phase of the boss fight, where Liquid Flame will change things up some. After the Double Stomp, the boss will transform into a wyvern and do the flamethrower attack. Likewise, after the Melee Combo, you will see the boss transform into a coeurl, where it will spin around and emit a circle of flames. It seems to change the instance of Fiery Impact to after the wyvern in this second phase.
Upon bringing its health down to about one-third remaining, you will see the boss use Eleventh Hour. It’s described in more detail above, but just focus on avoiding all the attacks and once it’s over, you can resume slashing your way to victory. It only does it once, but the third phase will begin now. Liquid Flame adds Flagrant Wyvern/Coeurl during this final phase, and seems to use Fiery Impact just about everywhere. The best thing to do is wait for Fiery Impact, then attack, since the boss doesn’t really relent on its own and will continue chaining one move to another.
Once the boss is dead, watch the cutscenes that follow, putting an end to Fire and Ice, and starting the After the Storm main quest.
No Comments