
Sleipnir is the boss that you will fight during the Evenfall main story quest. He will be found at the end of the main quest, in the obvious large and open area. He can be a challenging opponent, too, as he has plenty of skills that can be a little difficult to dodge.
Sleipnir is the challenging boss you will face at the end of the Evenfall main quest.
How to Beat Sleipnir in FF16
Sleipnir can be a downright annoying boss, as his primary means of movement is teleporting around the arena. That means he won’t stay in place too long, so you need to get your licks in while you have the chance. There will be two phases in this battle, with Sleipnir donning a sword in the first phase, and a spear in the second. Both are pretty unique, in terms of moveset, although some of the moves will carry over from one phase to the next. Sleipnir will definitely have a few moves that are quite difficult to dodge, when you first see them, so be prepared for that.
All Sleipnir Attacks in Final Fantasy XVI
Sleipnir will have two phases to this battle, with the distinction between them being the weapon he wields. The first phase is pretty simple, in terms of moveset, but the second phase will ramp up the difficulty, as Sleipnir will have plenty of new skills.
Sword Combo
Sleipnir will hop back, then perform a thrust with his sword, which will transition to a four-hit combo, in total. Considering the size of his weapon, you really shouldn’t have any trouble with dodging this attack, especially since there’s a wind-up when he hops back.

Dark Ball
Sleipnir will fire a dark energy ball at you, which has pretty good tracking. Since it might be hard to shake it by just moving around, you will likely need to use a ![]() Precision Dodge to avoid it. This attack will carry over to the second phase.
Precision Dodge to avoid it. This attack will carry over to the second phase.
Energy Trap
You will see Sleipnir charge up quickly, then touch the ground. This will place a circle underneath Clive that will follow him. There are two different ways for this trap to be triggered: getting hit directly or after enough time passes. Either way, the result is that an explosion of energy will occur from that circle. The easiest method of avoiding the explosion is to keep moving, as the explosion doesn’t occur that quickly.
Dark Shockwave
Sleipnir will charge up his spear, then unleash a big, crescent-shaped shockwave along the ground. You can either try to dodge through it, or possibly jump over it. Don’t forget that you can dodge while in the air, to extend your time off the ground.
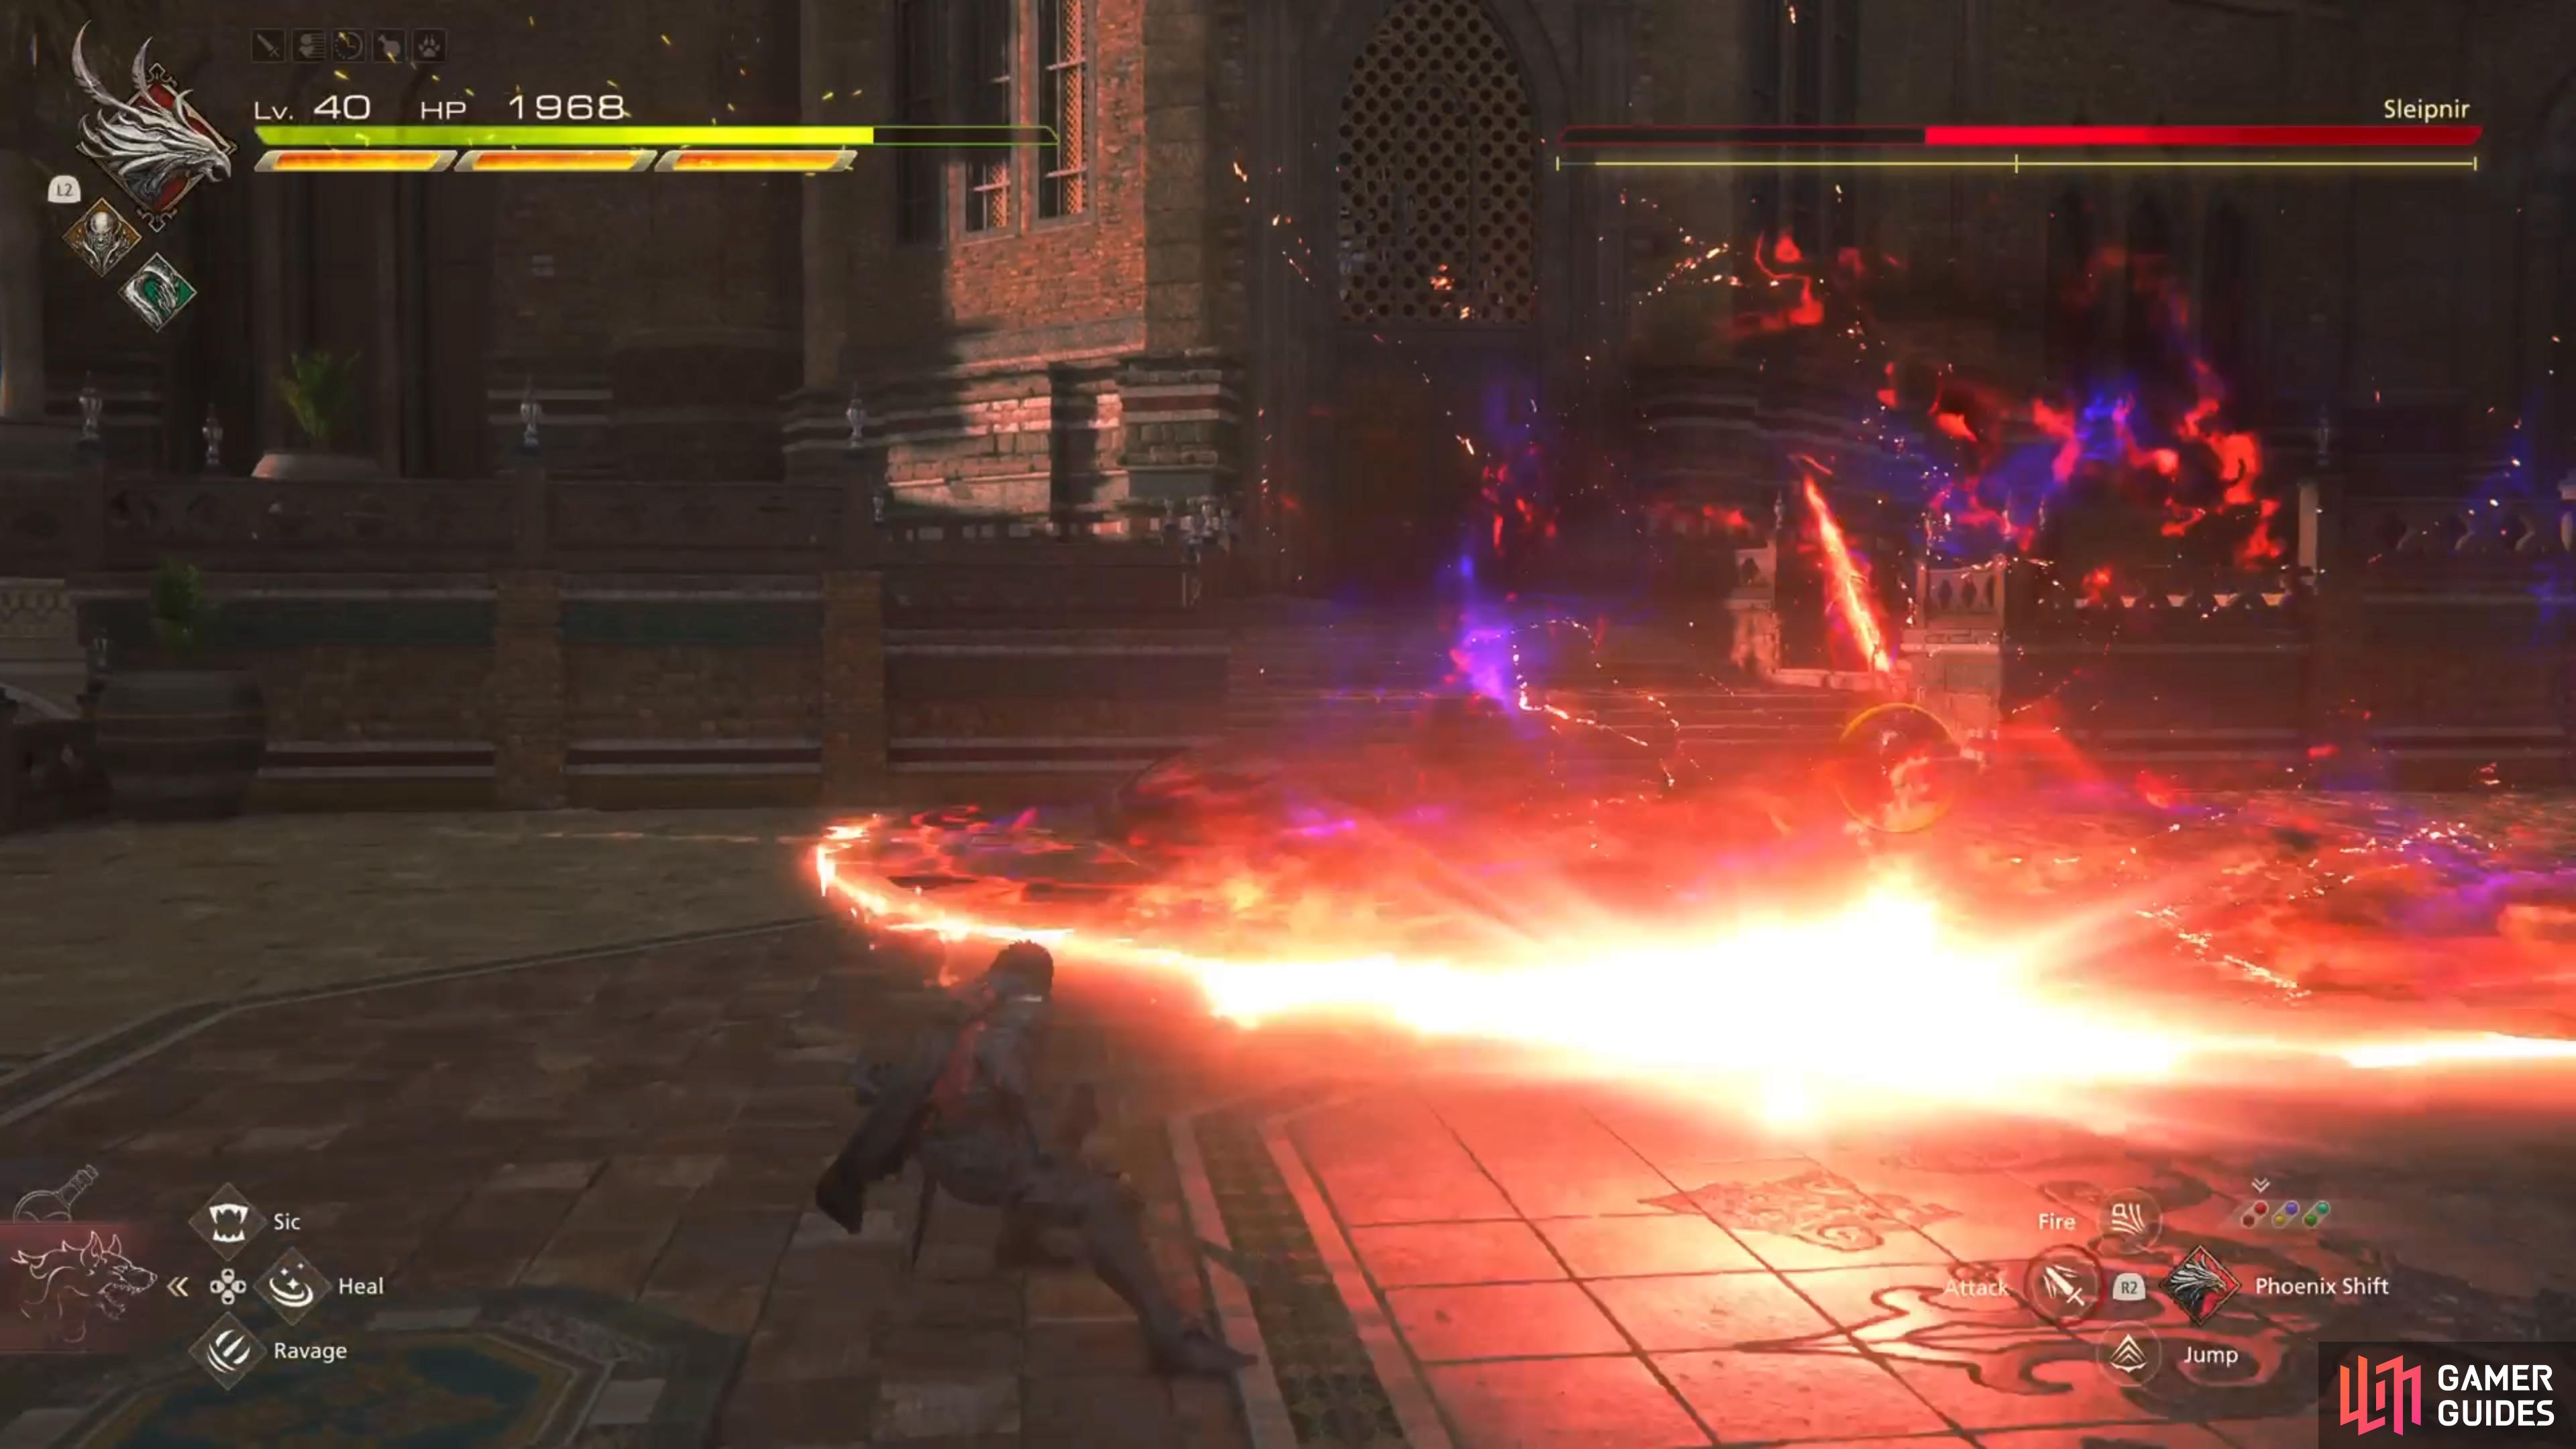
The Dark Shockwave is fairly big, so it can be hard to avoid.
Staying away from the boss while he does the Spear Slash Combo is ideal.
Spear Slash Combo
Sleipnir will perform three wide slashes with his spear, which cover a fairly large area. You will likely see this often if you stick up close to him throughout the fight. All of the attacks will have the darkness attached to it, which doesn’t really do anything for the strikes. You will likely need to dodge more than one to avoid this combo.
Flurry Combo
Sleipnir starts off by doing a normal thrust with the spear, then follows it up with a flurry of slashes, before jumping backwards and doing a stronger thrust. As long as you avoid the first hit, you should be able to get away from the other hits. Just remember after the slashes, that he will do that final thrust attack.
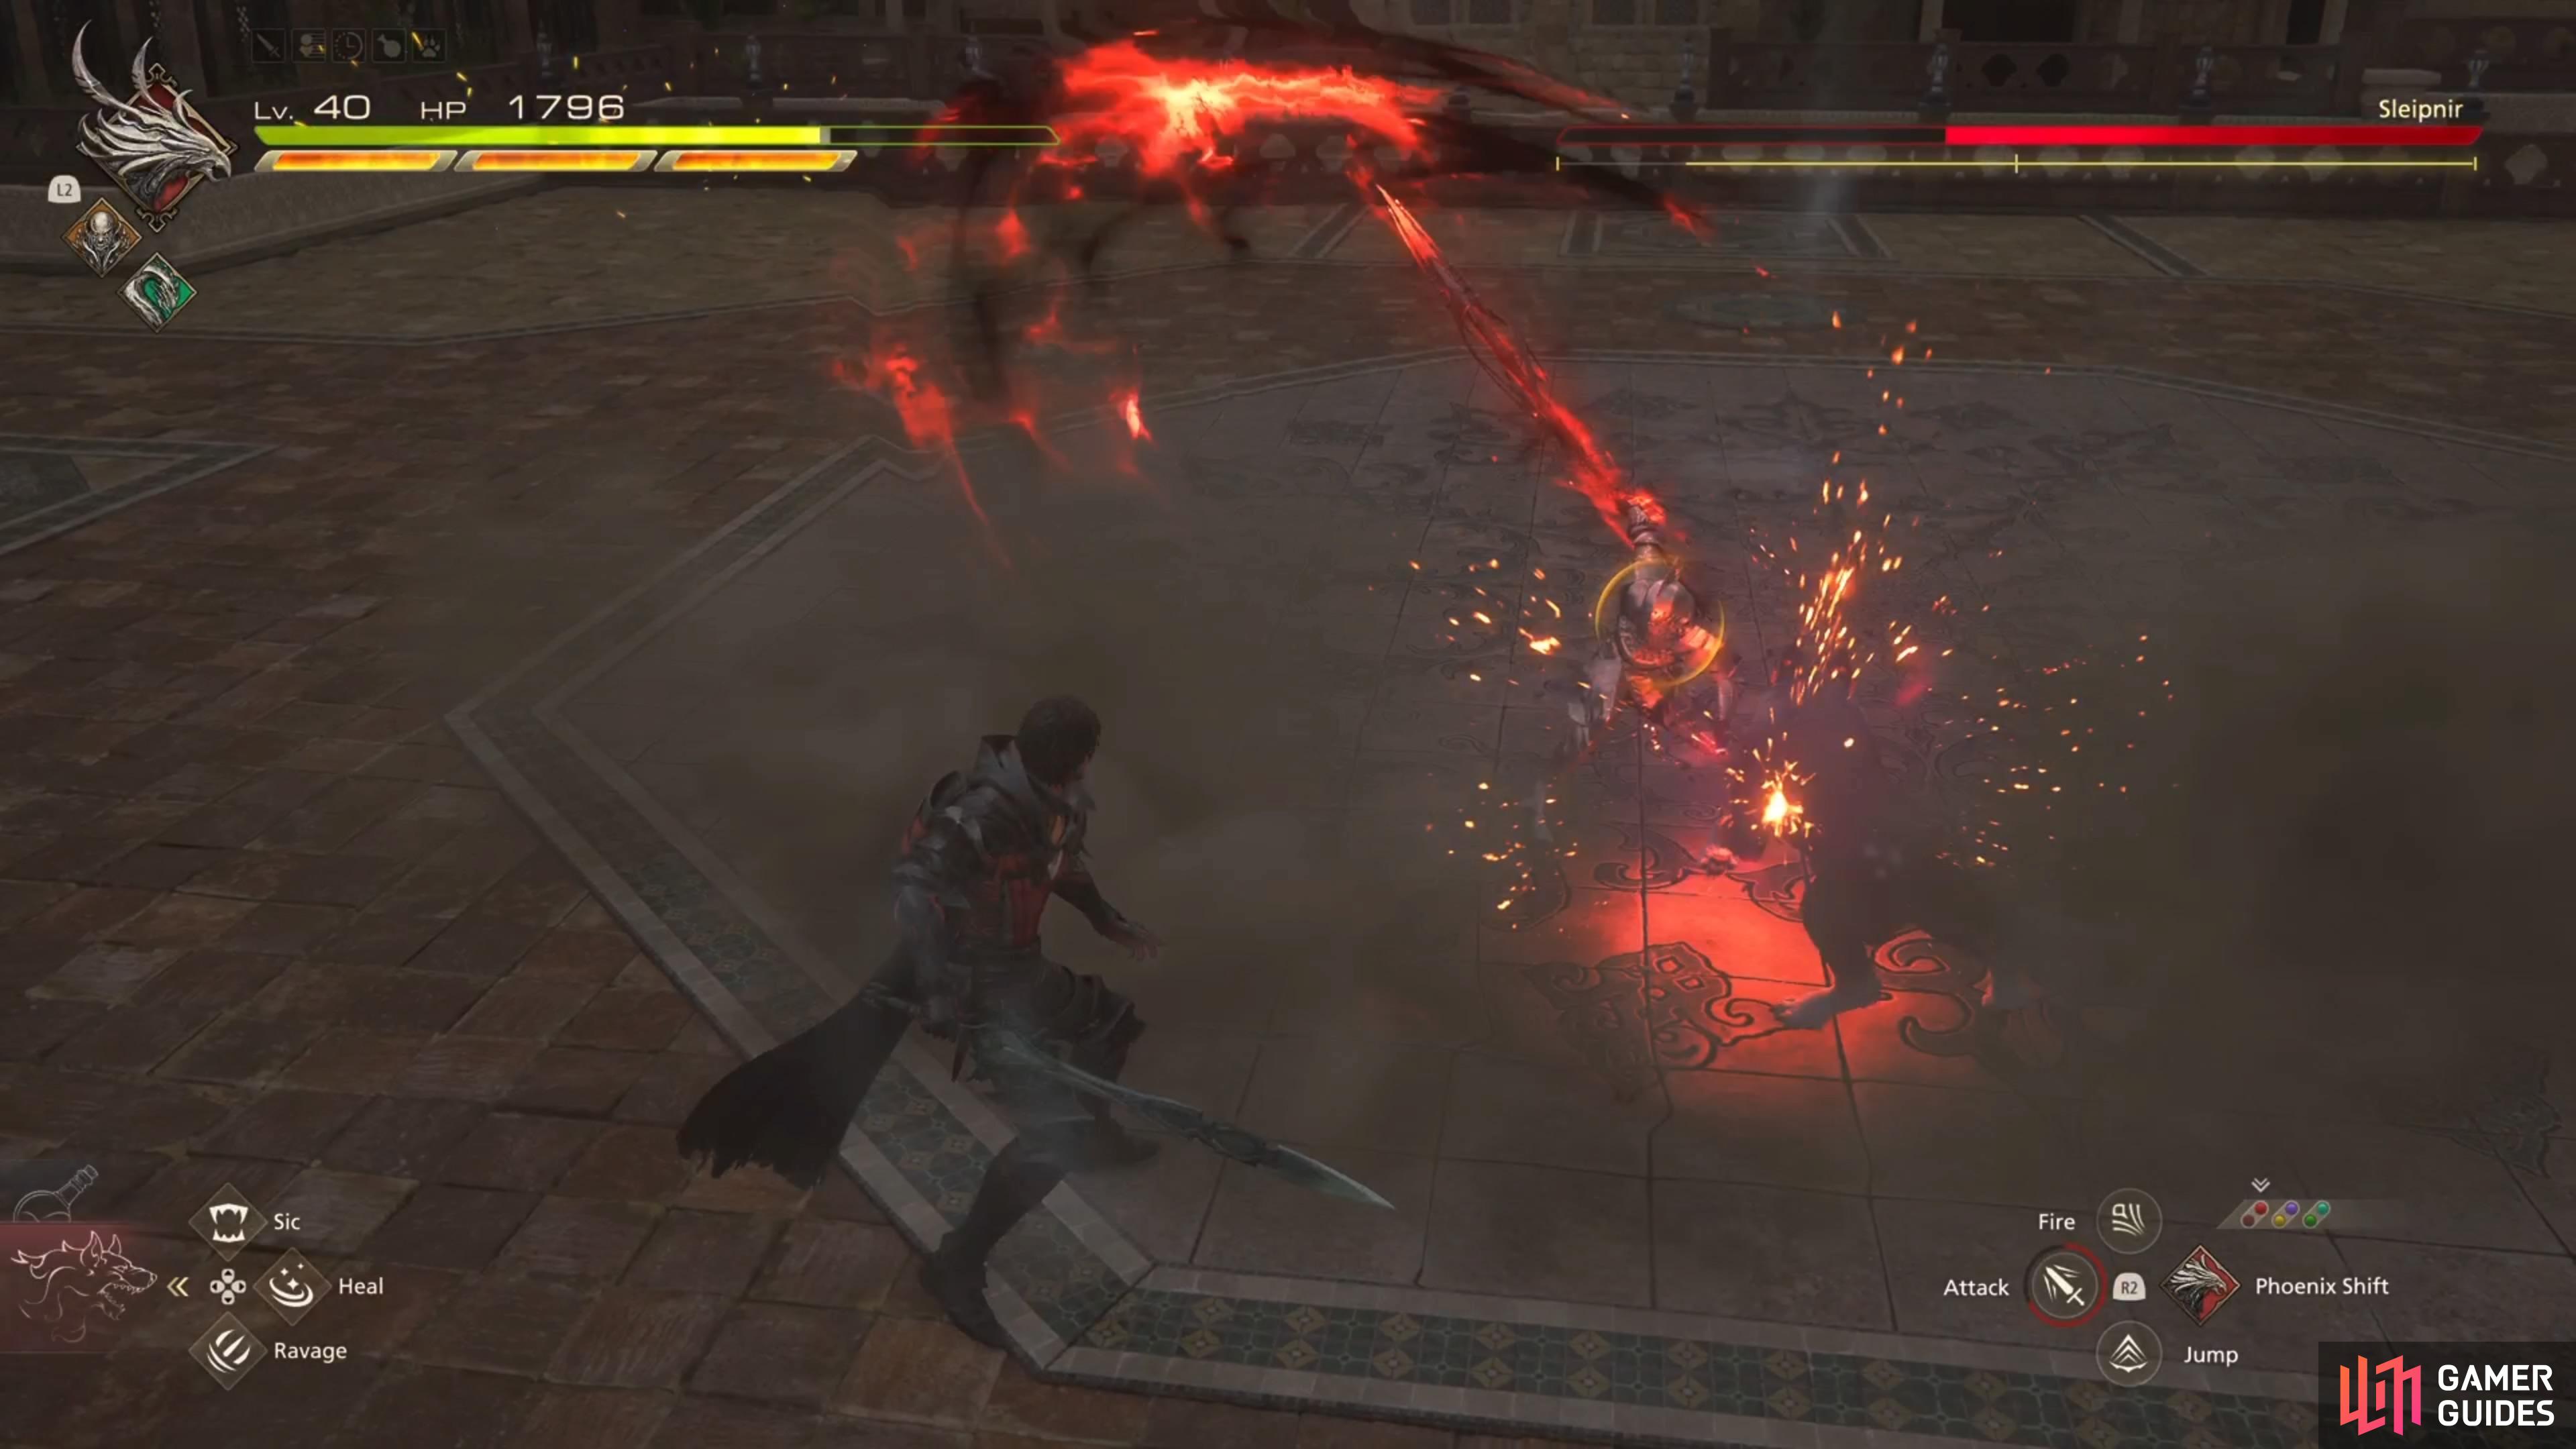
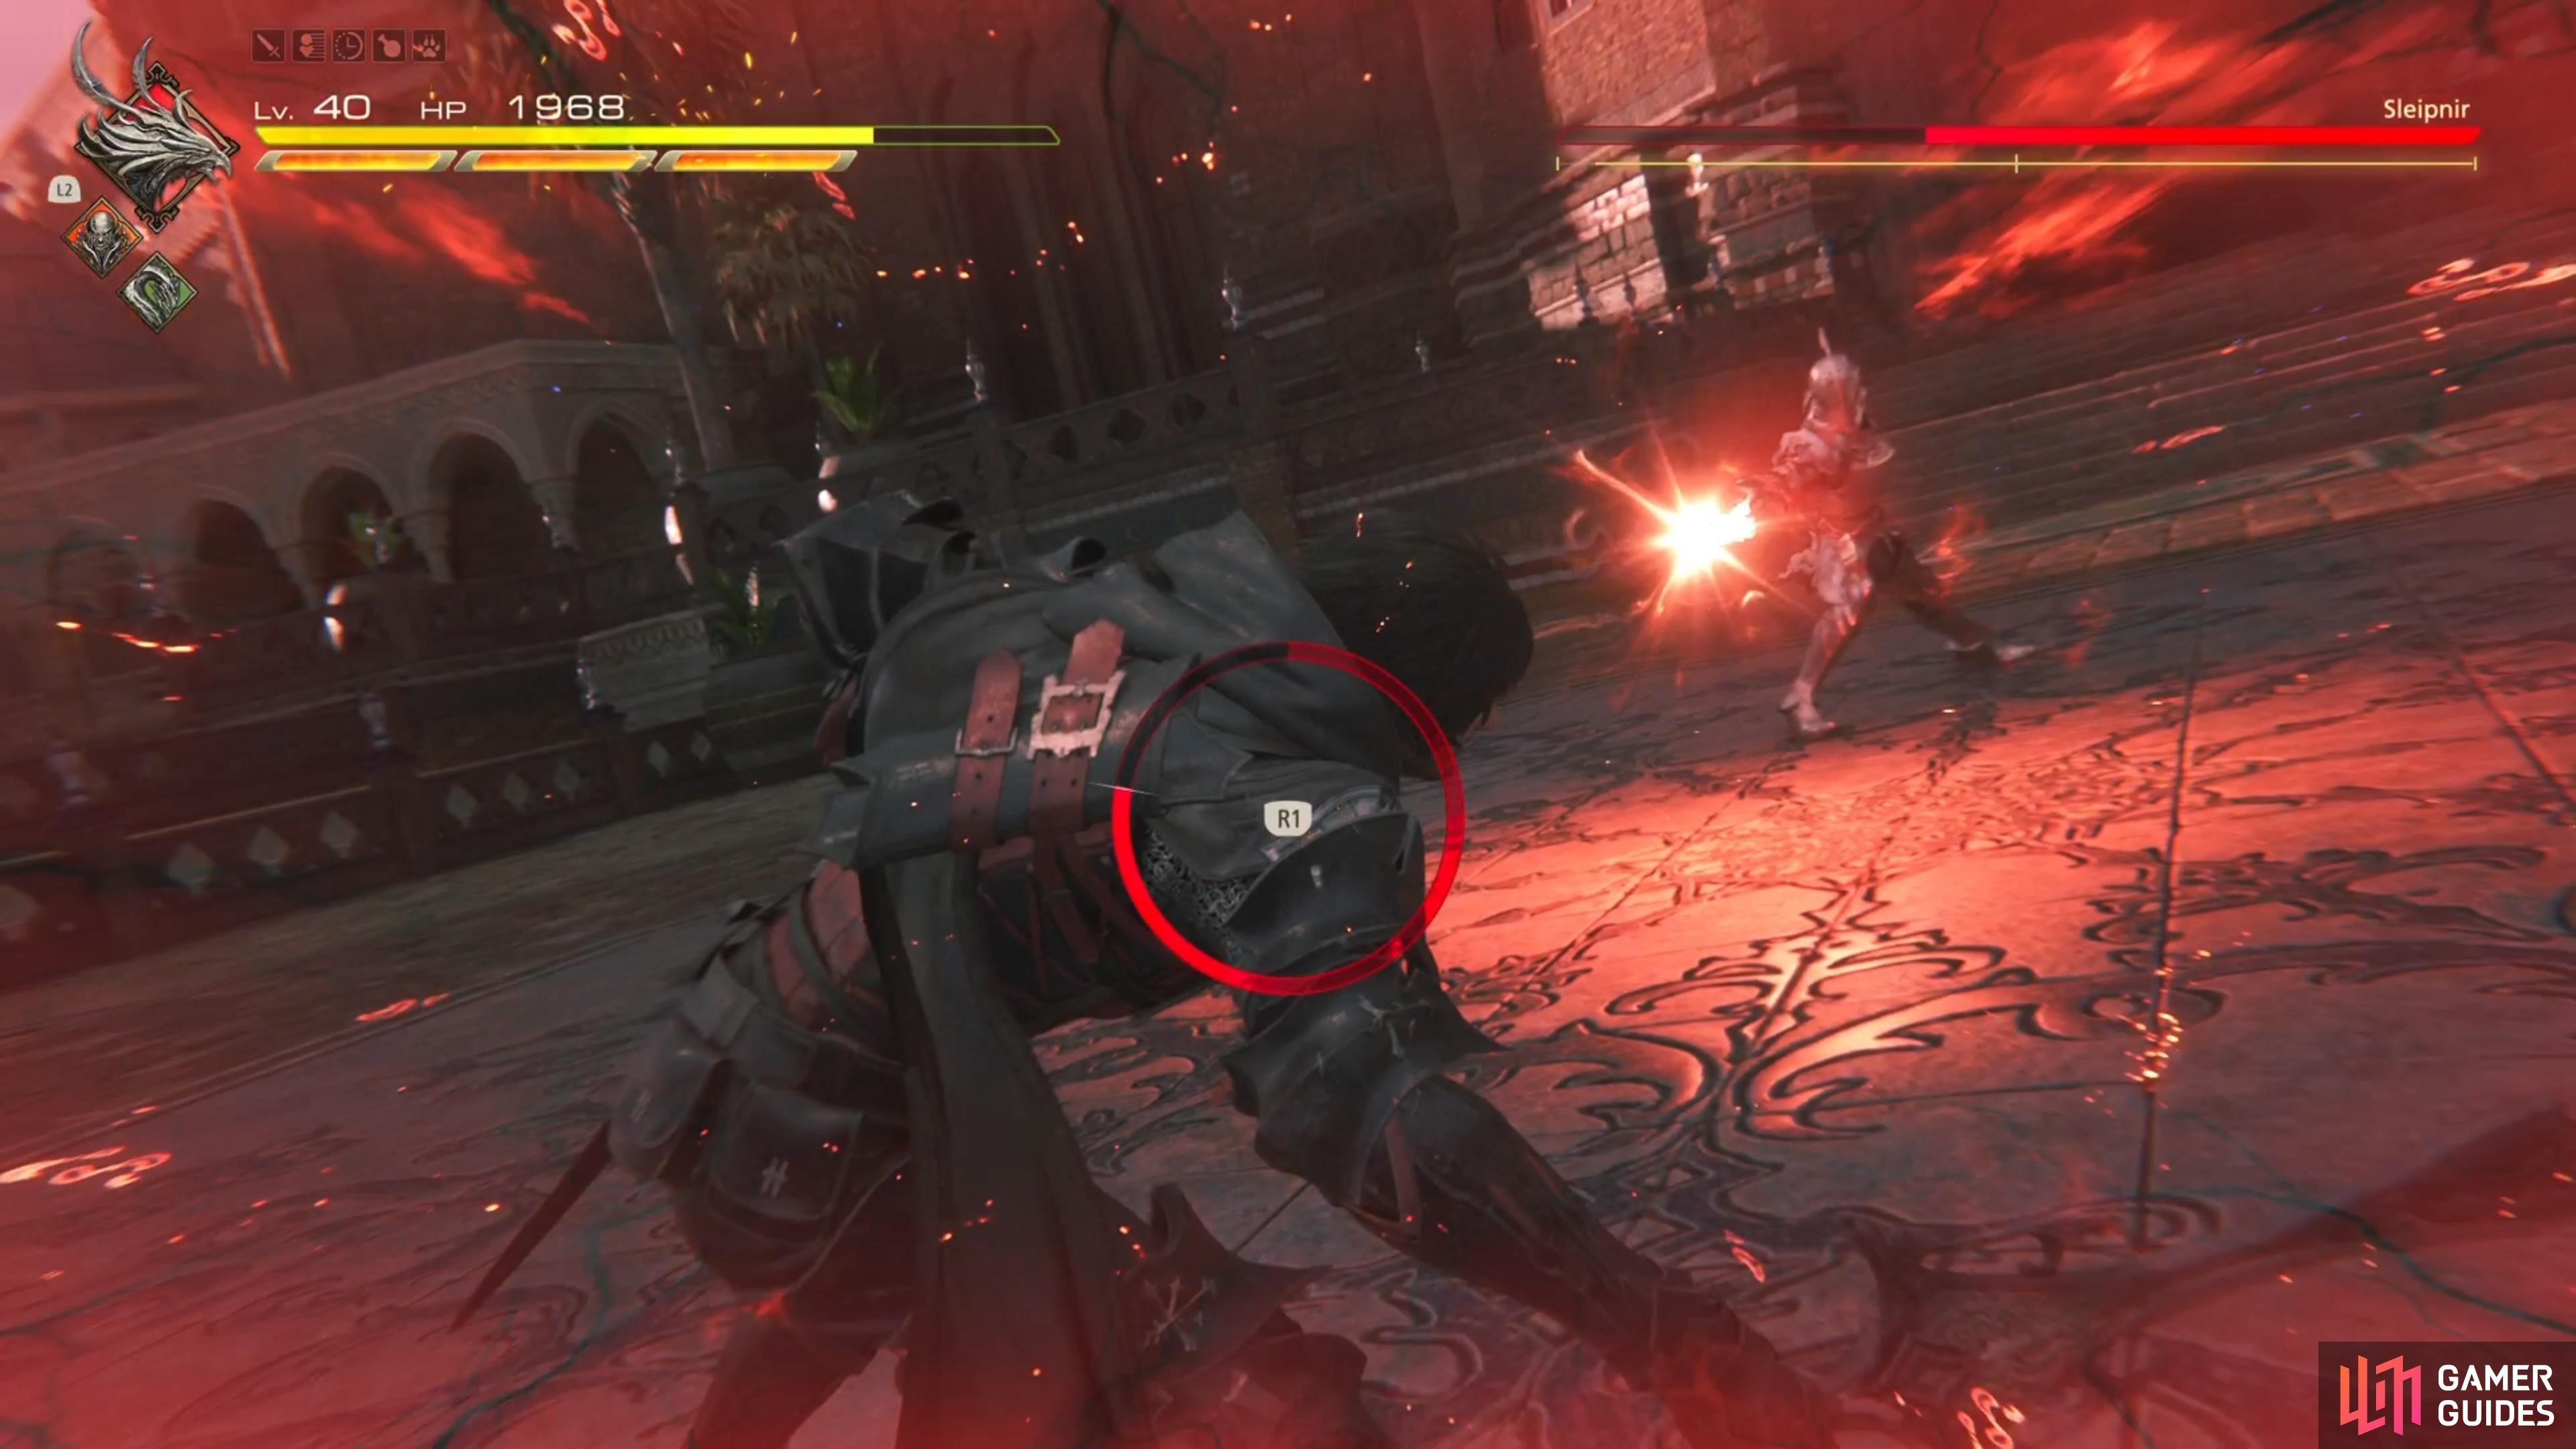
Spear Laser
Sleipnir will gather some energy, then fire a laser straight at you, similar to the one that is used in the Gungnir introductory cutscene. The laser is shot pretty quickly, so unless you can see it coming, it might prove to be a little difficult to dodge. However, the charging up of energy, especially after seeing it once, should be enough of a tell to show it’s being executed.

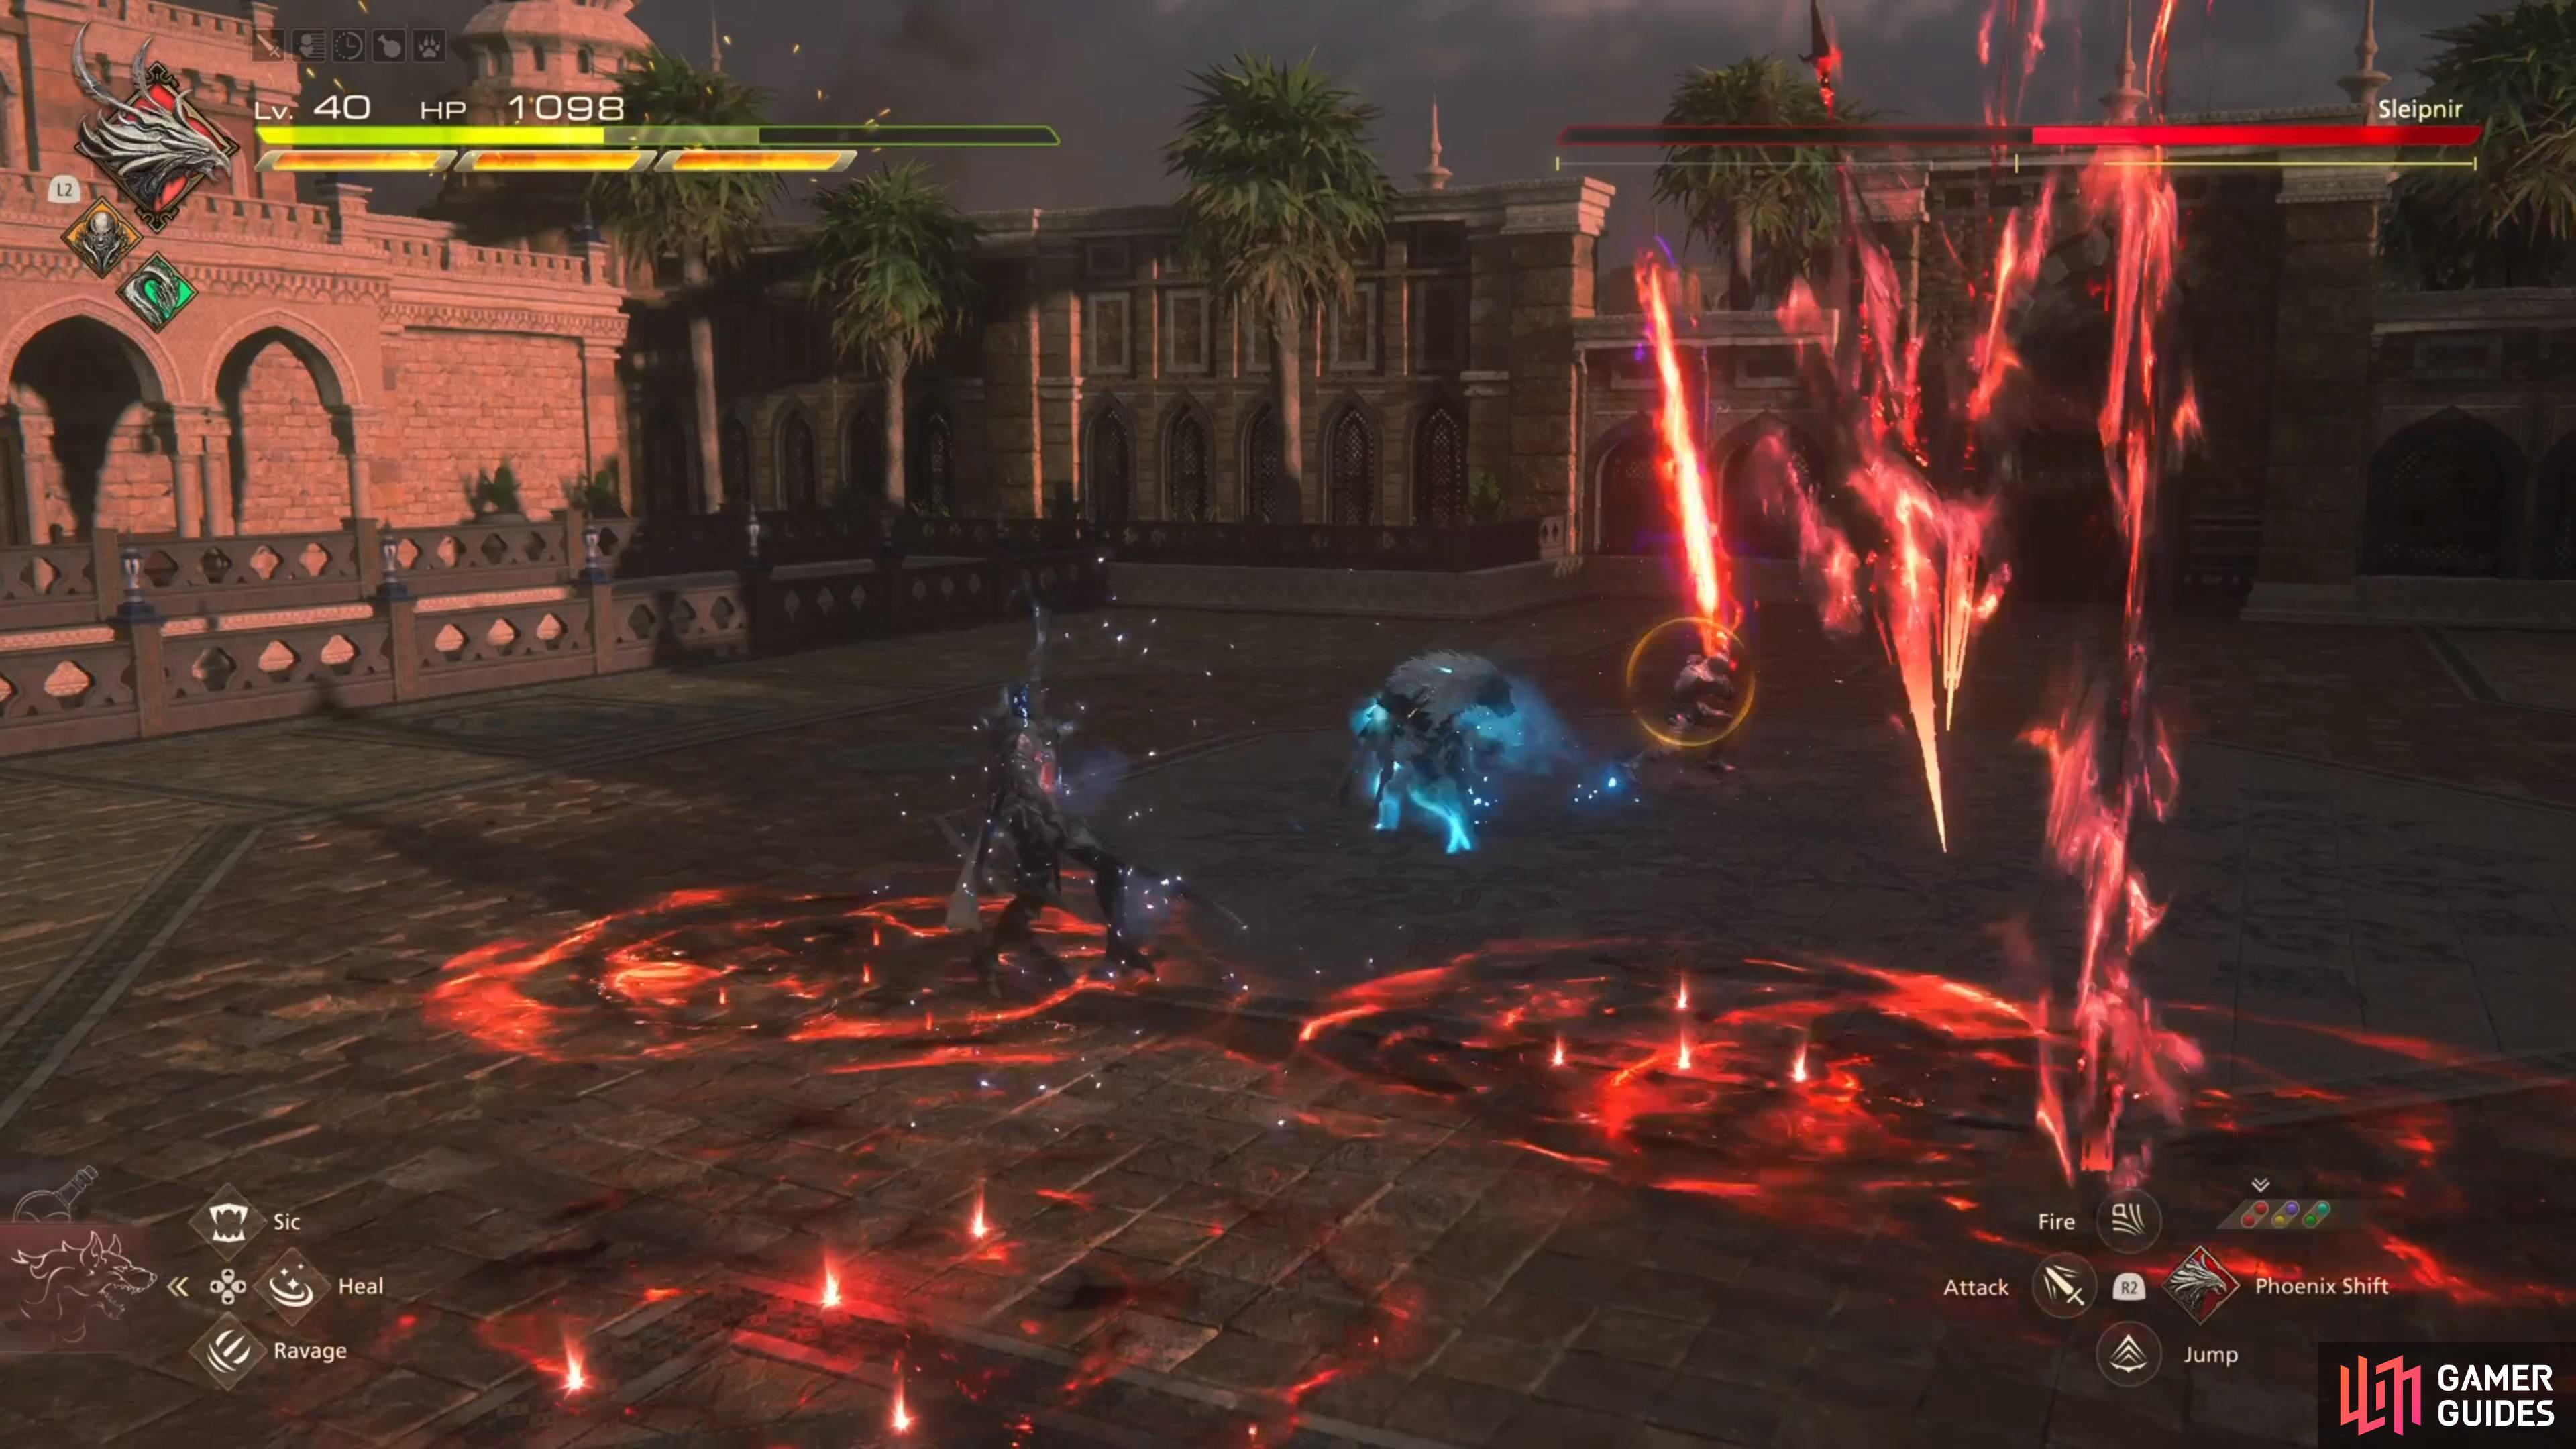
Scar of Nibelung
Sleipnir will jump into the air and slam his spear on the ground, creating a bunch of vertical shockwaves that travel along the ground. As soon as you see him jump into the air, back away from him, since each shockwave will have its own area of effect. There will be spaces in between each one, with the gap widening the further away from Sleipnir it is. That’s why getting away from him is ideal, as you have a larger window for avoiding the attack.
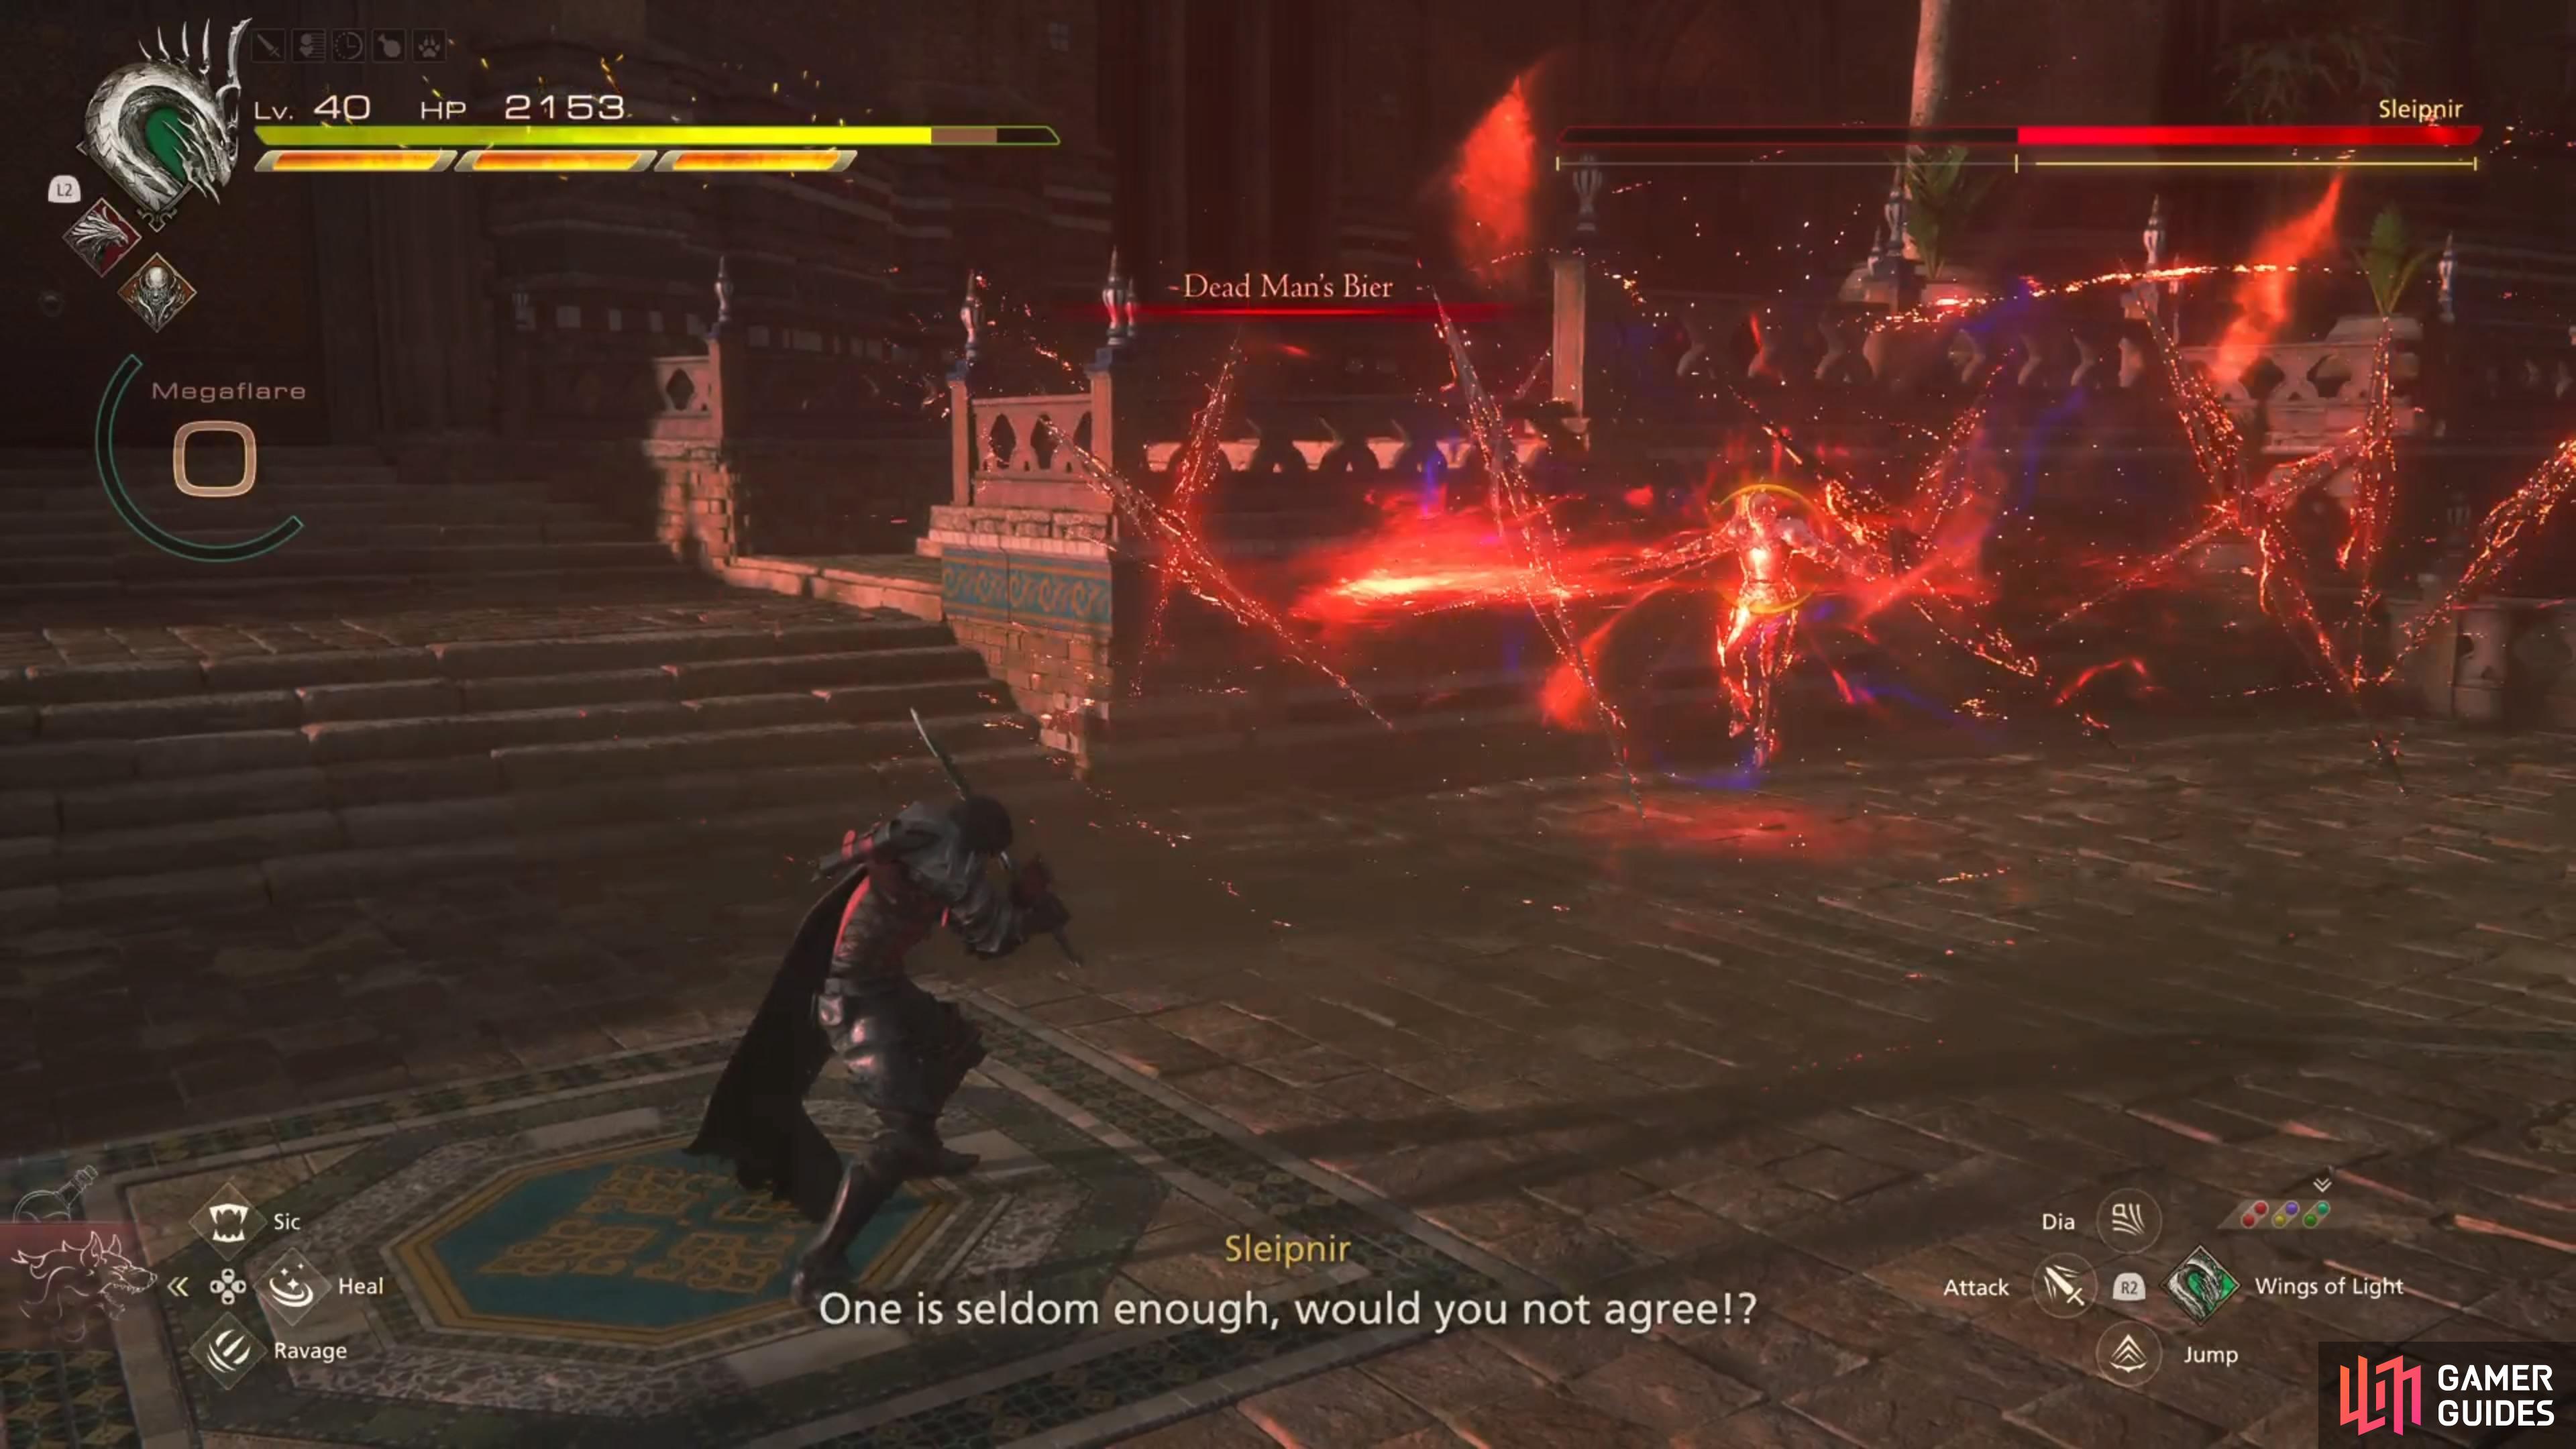
Dead Man’s Bier
This is Sleipnir’s big attack, where he’ll perform a bunch of his other moves in quick succession. You won’t see this attack until you partially stagger him in the second phase of the fight. He’ll begin by summoning a bunch of darkness swords, while floating and flying into the air. You will then see little red spots on the ground, which is where those swords will land. There will be a lot of these spots on the ground, after the initial one or two. Note that he can do this attack separately, too, and it’s called Ratatoskr.
Once all of the swords have come crashing down, you will see a thin pillar of light, with the red marker on the ground. When it hits the ground here, circular shockwaves will be sent across the arena. There will be three shockwaves in total, then two simultaneous ones after those three. As soon as the two simultaneous shockwaves are used, Sleipnir will crash down and perform the Scar of Nibelung. There is a lot to take in with the sheer variety of attacks that are performed in quick succession.
It doesn’t help that he can use this attack more than once, so you will need to keep an eye out for that later. The initial Ratatoskr attack is annoying, especially if you get cornered and have no place to run to. With the shockwaves, be sure to evade while in the air, since that gives you extra time to potentially avoid the follow-ups. If you’re far enough away when the last move hits, then you should be able to find the gap in-between the attacks.
Creeping Darkness
Sleipnir will summon a large number of dark energy orbs, which will surround you and close in on your position. Find a gap to escape, or simply time the dodge to get away from them. The only problem is that he will likely continue attacking, while you’re focused on escaping the orbs.
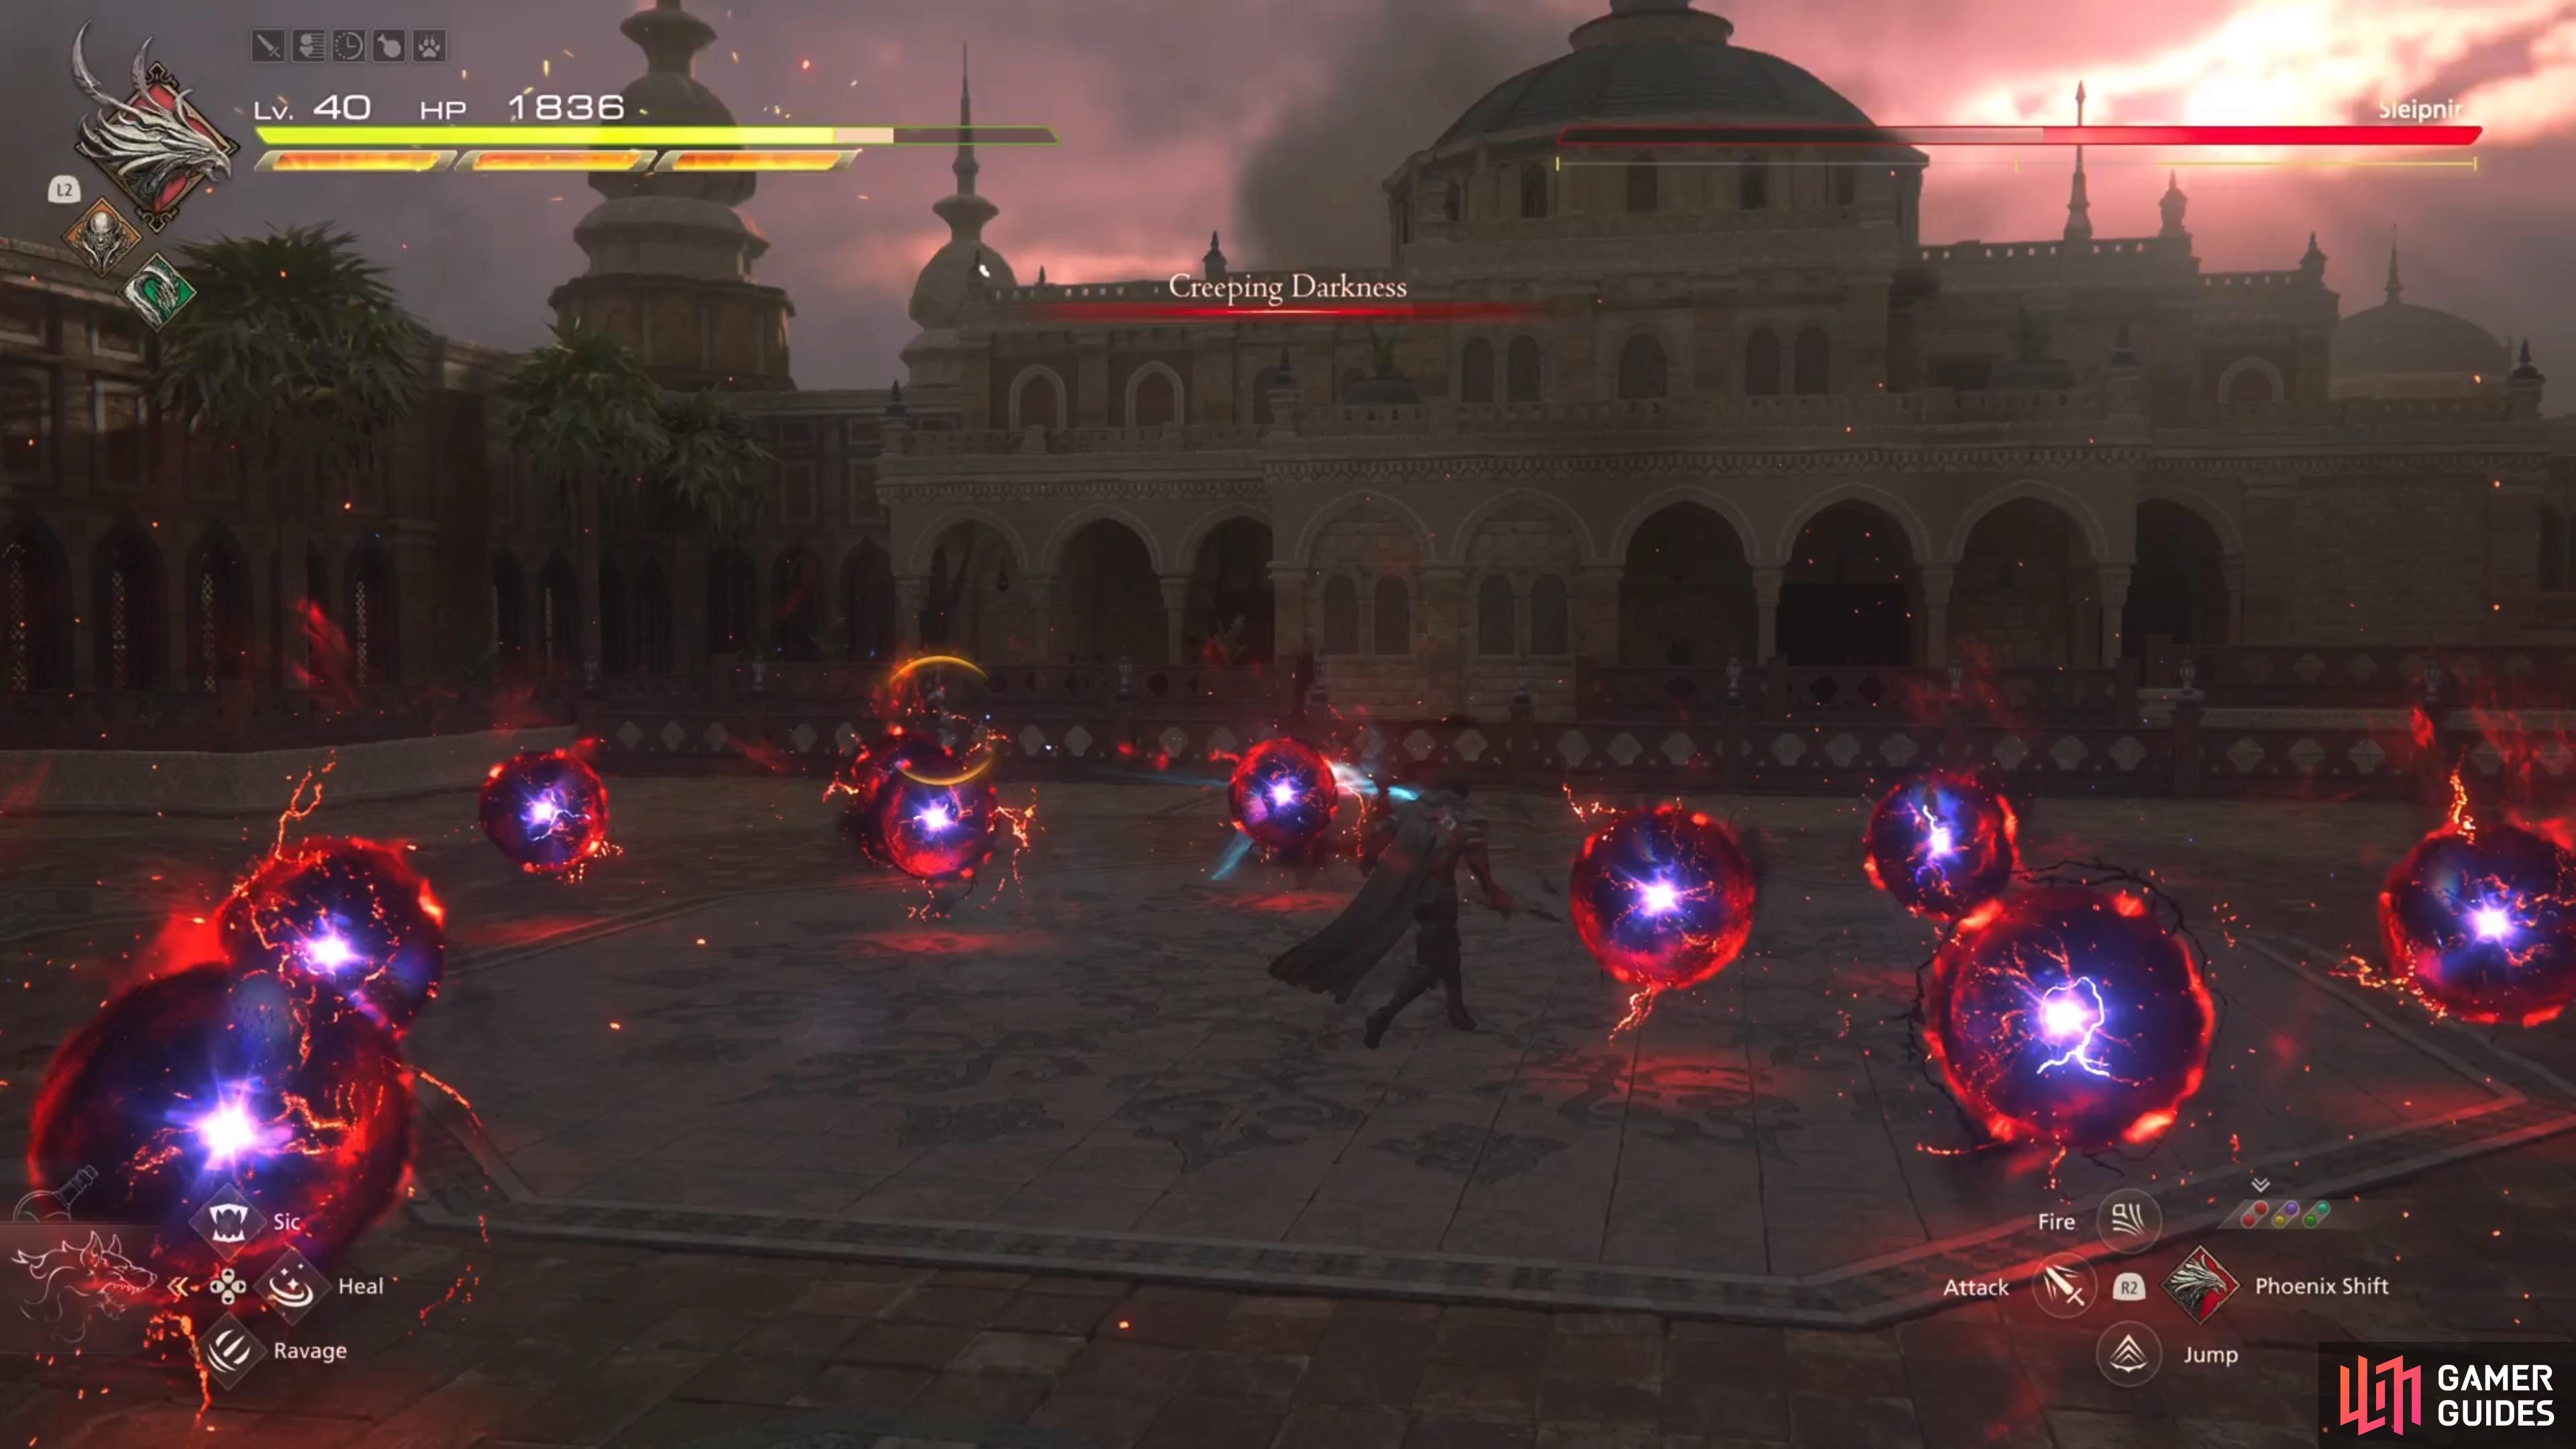
The orbs for Creeping Darkness move pretty slowly, so they’re easy enough to avoid.
Ratatoskr is the same attack as the beginning of Dead Man’s Bier, but slightly less intense.
Ratatoskr
Sleipnir will summon a large number of swords, shoot them into the air, then have them crash down to the ground. Where they come down will be marked on the ground with little red pools, so you will know where they will strike. He does seem to like following up this attack with the Dark Shockwave.
Strategy for the Sleipnir Boss in FFXVI
Sleipnir will start the battle by wielding a sword, which is his first phase. During this part, he is pretty easy, despite the constant teleporting he can do. He only has three main attacks in this section, with the only one worth mentioning here being the Energy Trap. Once you see the circle underneath your feet, you should just worry about avoiding damage and staying on the move. The explosion of energy that occurs doesn’t happen quickly; as long as you keep moving, you shouldn’t get hit by it. The battle will continue with the first three moves from above, until you stagger Sleipnir for the first time.
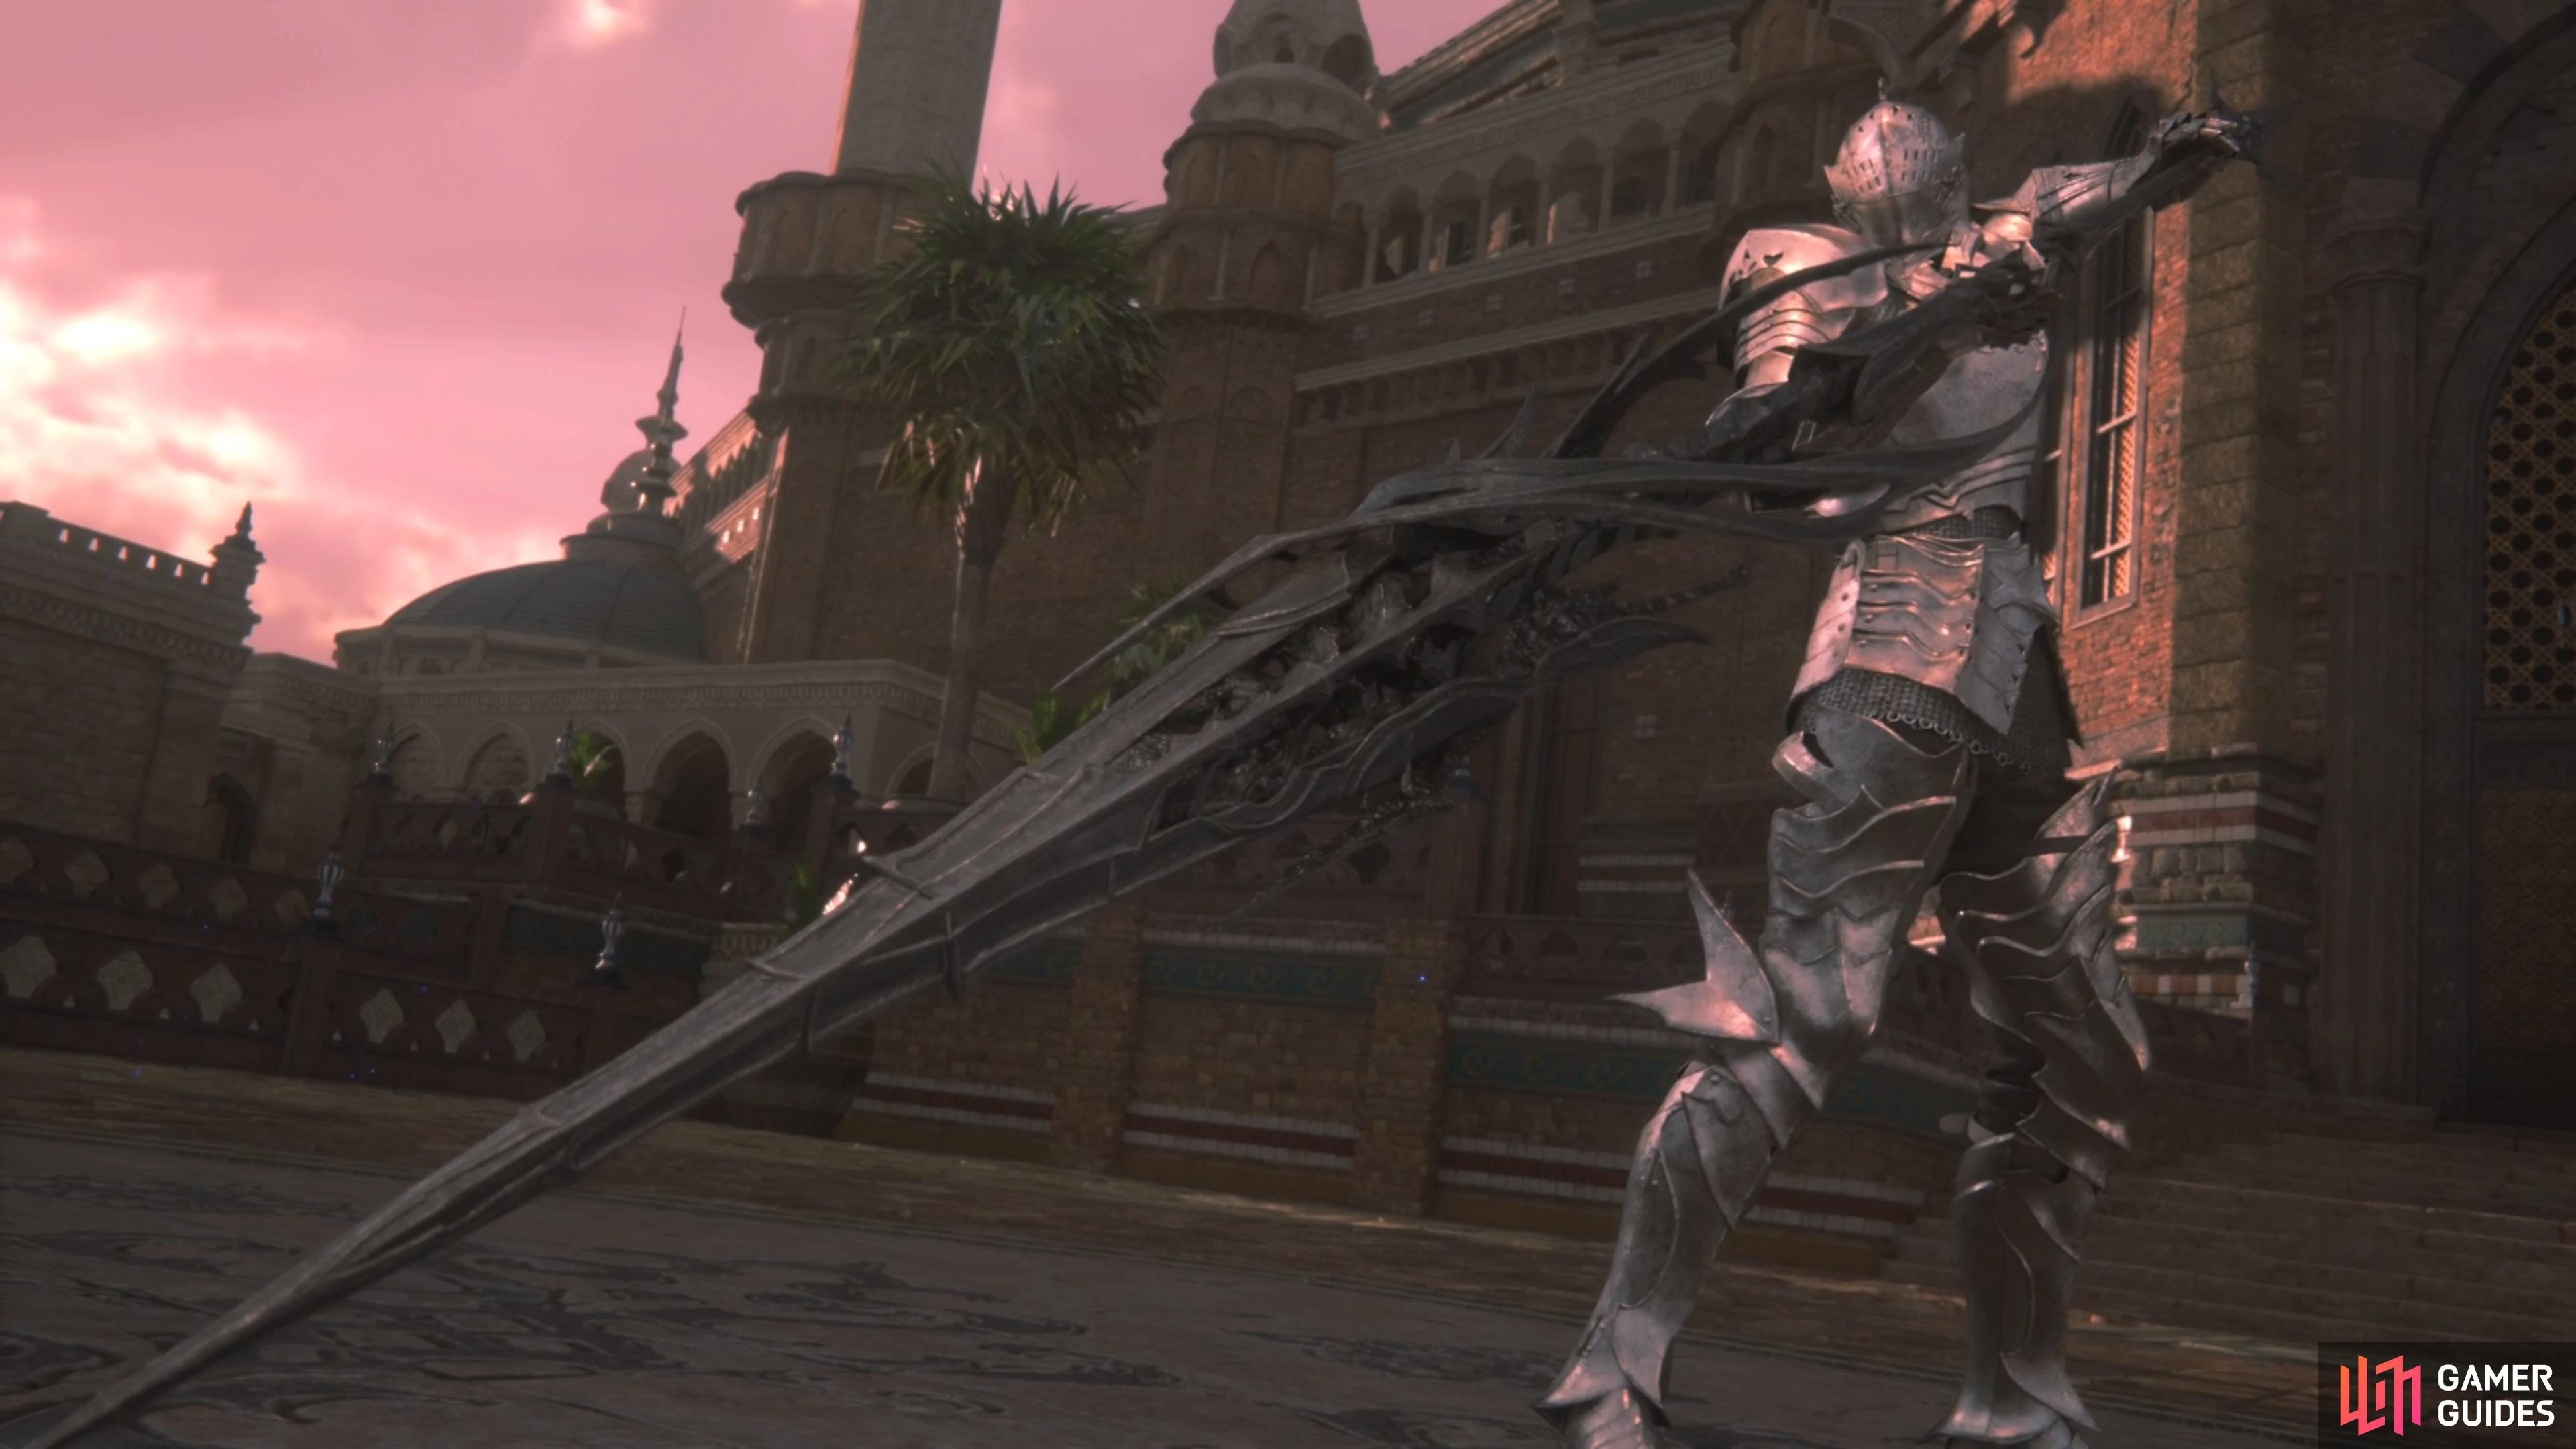
Sleipnir will summon Gungnir after you stagger him for the first time.
After bringing out the spear, watch out for the Cinematic Evasion event.
That will be when the battle will kick into high gear, as he will abandon the sword for the legendary spear, Gungnir, and start using a lot of new moves. During the cutscene where he introduces the weapon, there will be a Cinematic Evasion quick time event. Sleipnir will now begin using bigger attacks, like the Flurry Combo, the Dark Shockwave, and Spear Slash Combo. Most of these aren’t too bad, as long as you adjust accordingly. One of the more annoying attacks is Scar of Nibelung, which is much more dangerous if you’re up close when he uses it. The further away you are, the more room (and time) you have to easily dodge it.
After partially staggering him when he has his spear, Sleipnir will use Dead Man’s Bier, his most dangerous skill. This is basically his ultimate attack and he will use it more than once during the battle. He’ll start by summoning swords and sending them down to the ground, although they’ll be marked by little red pools. The only catch is that after the first or second of these, a whole lot will be summoned at once, which can make it harder to remain unscathed. After the sword rain, there will be little pillars of darkness, which is where a bigger impact will occur.
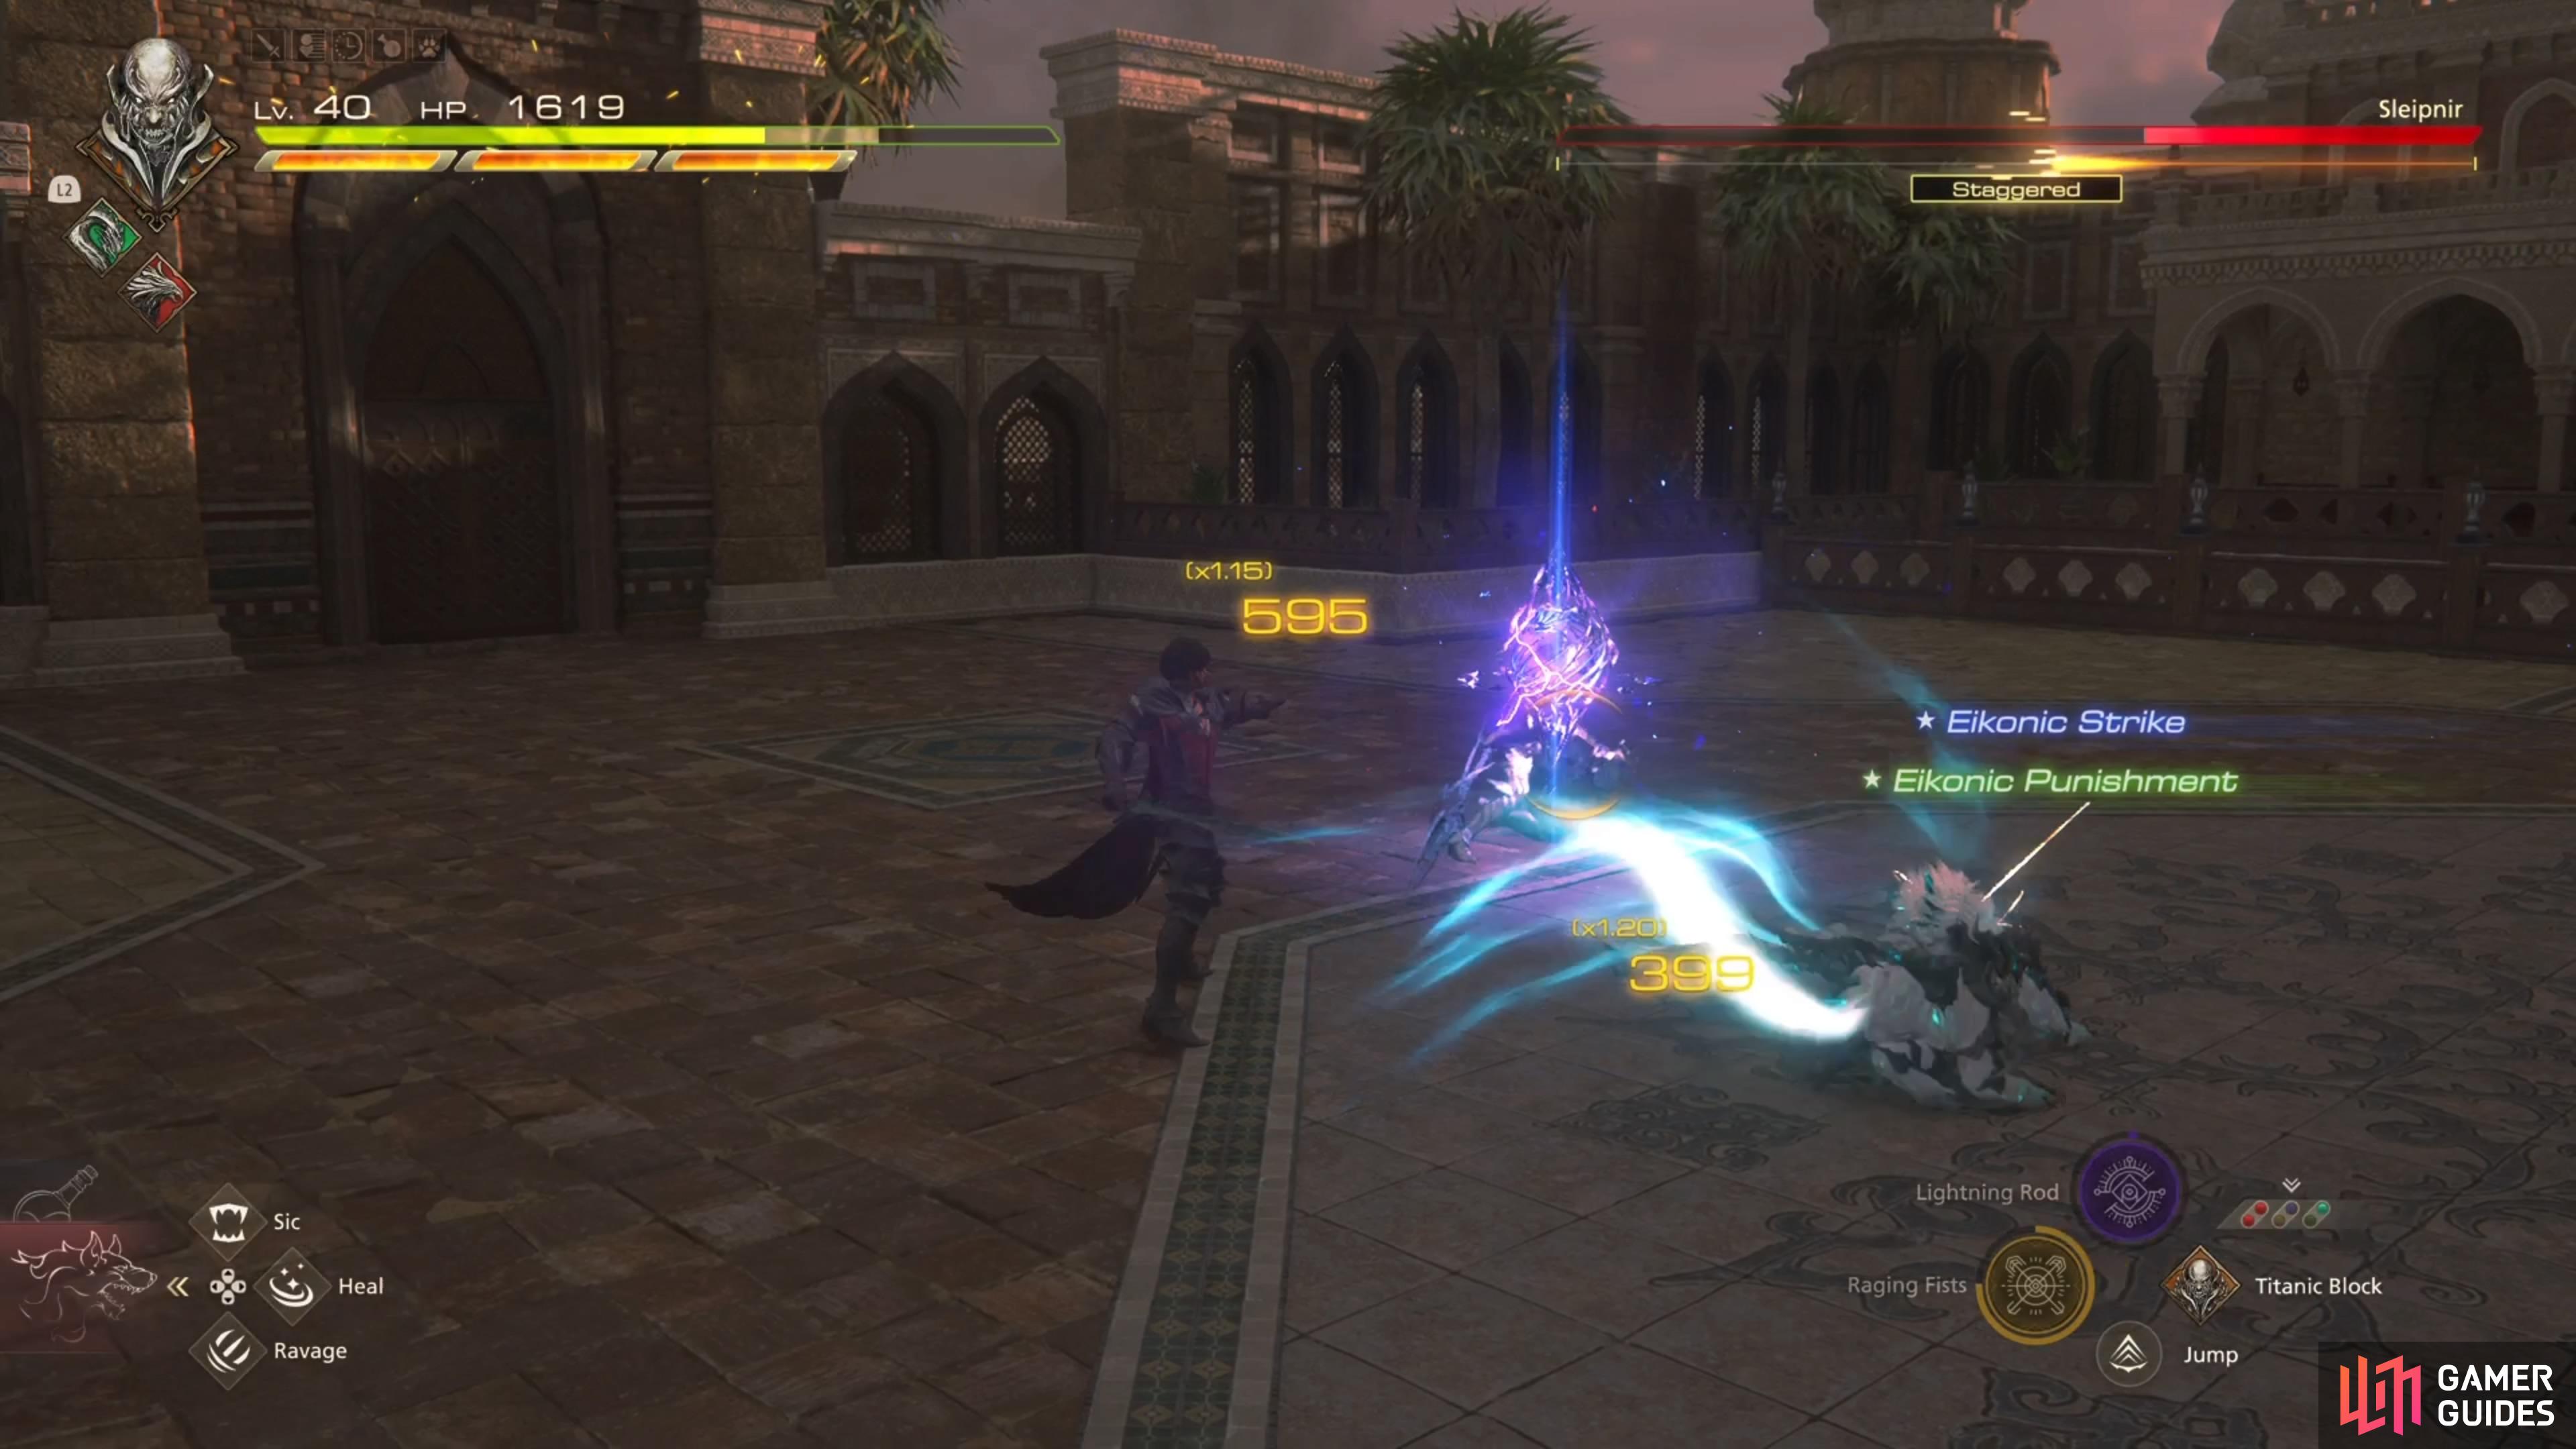
Upon staggering Sleipnir, use a Lightning Rod,
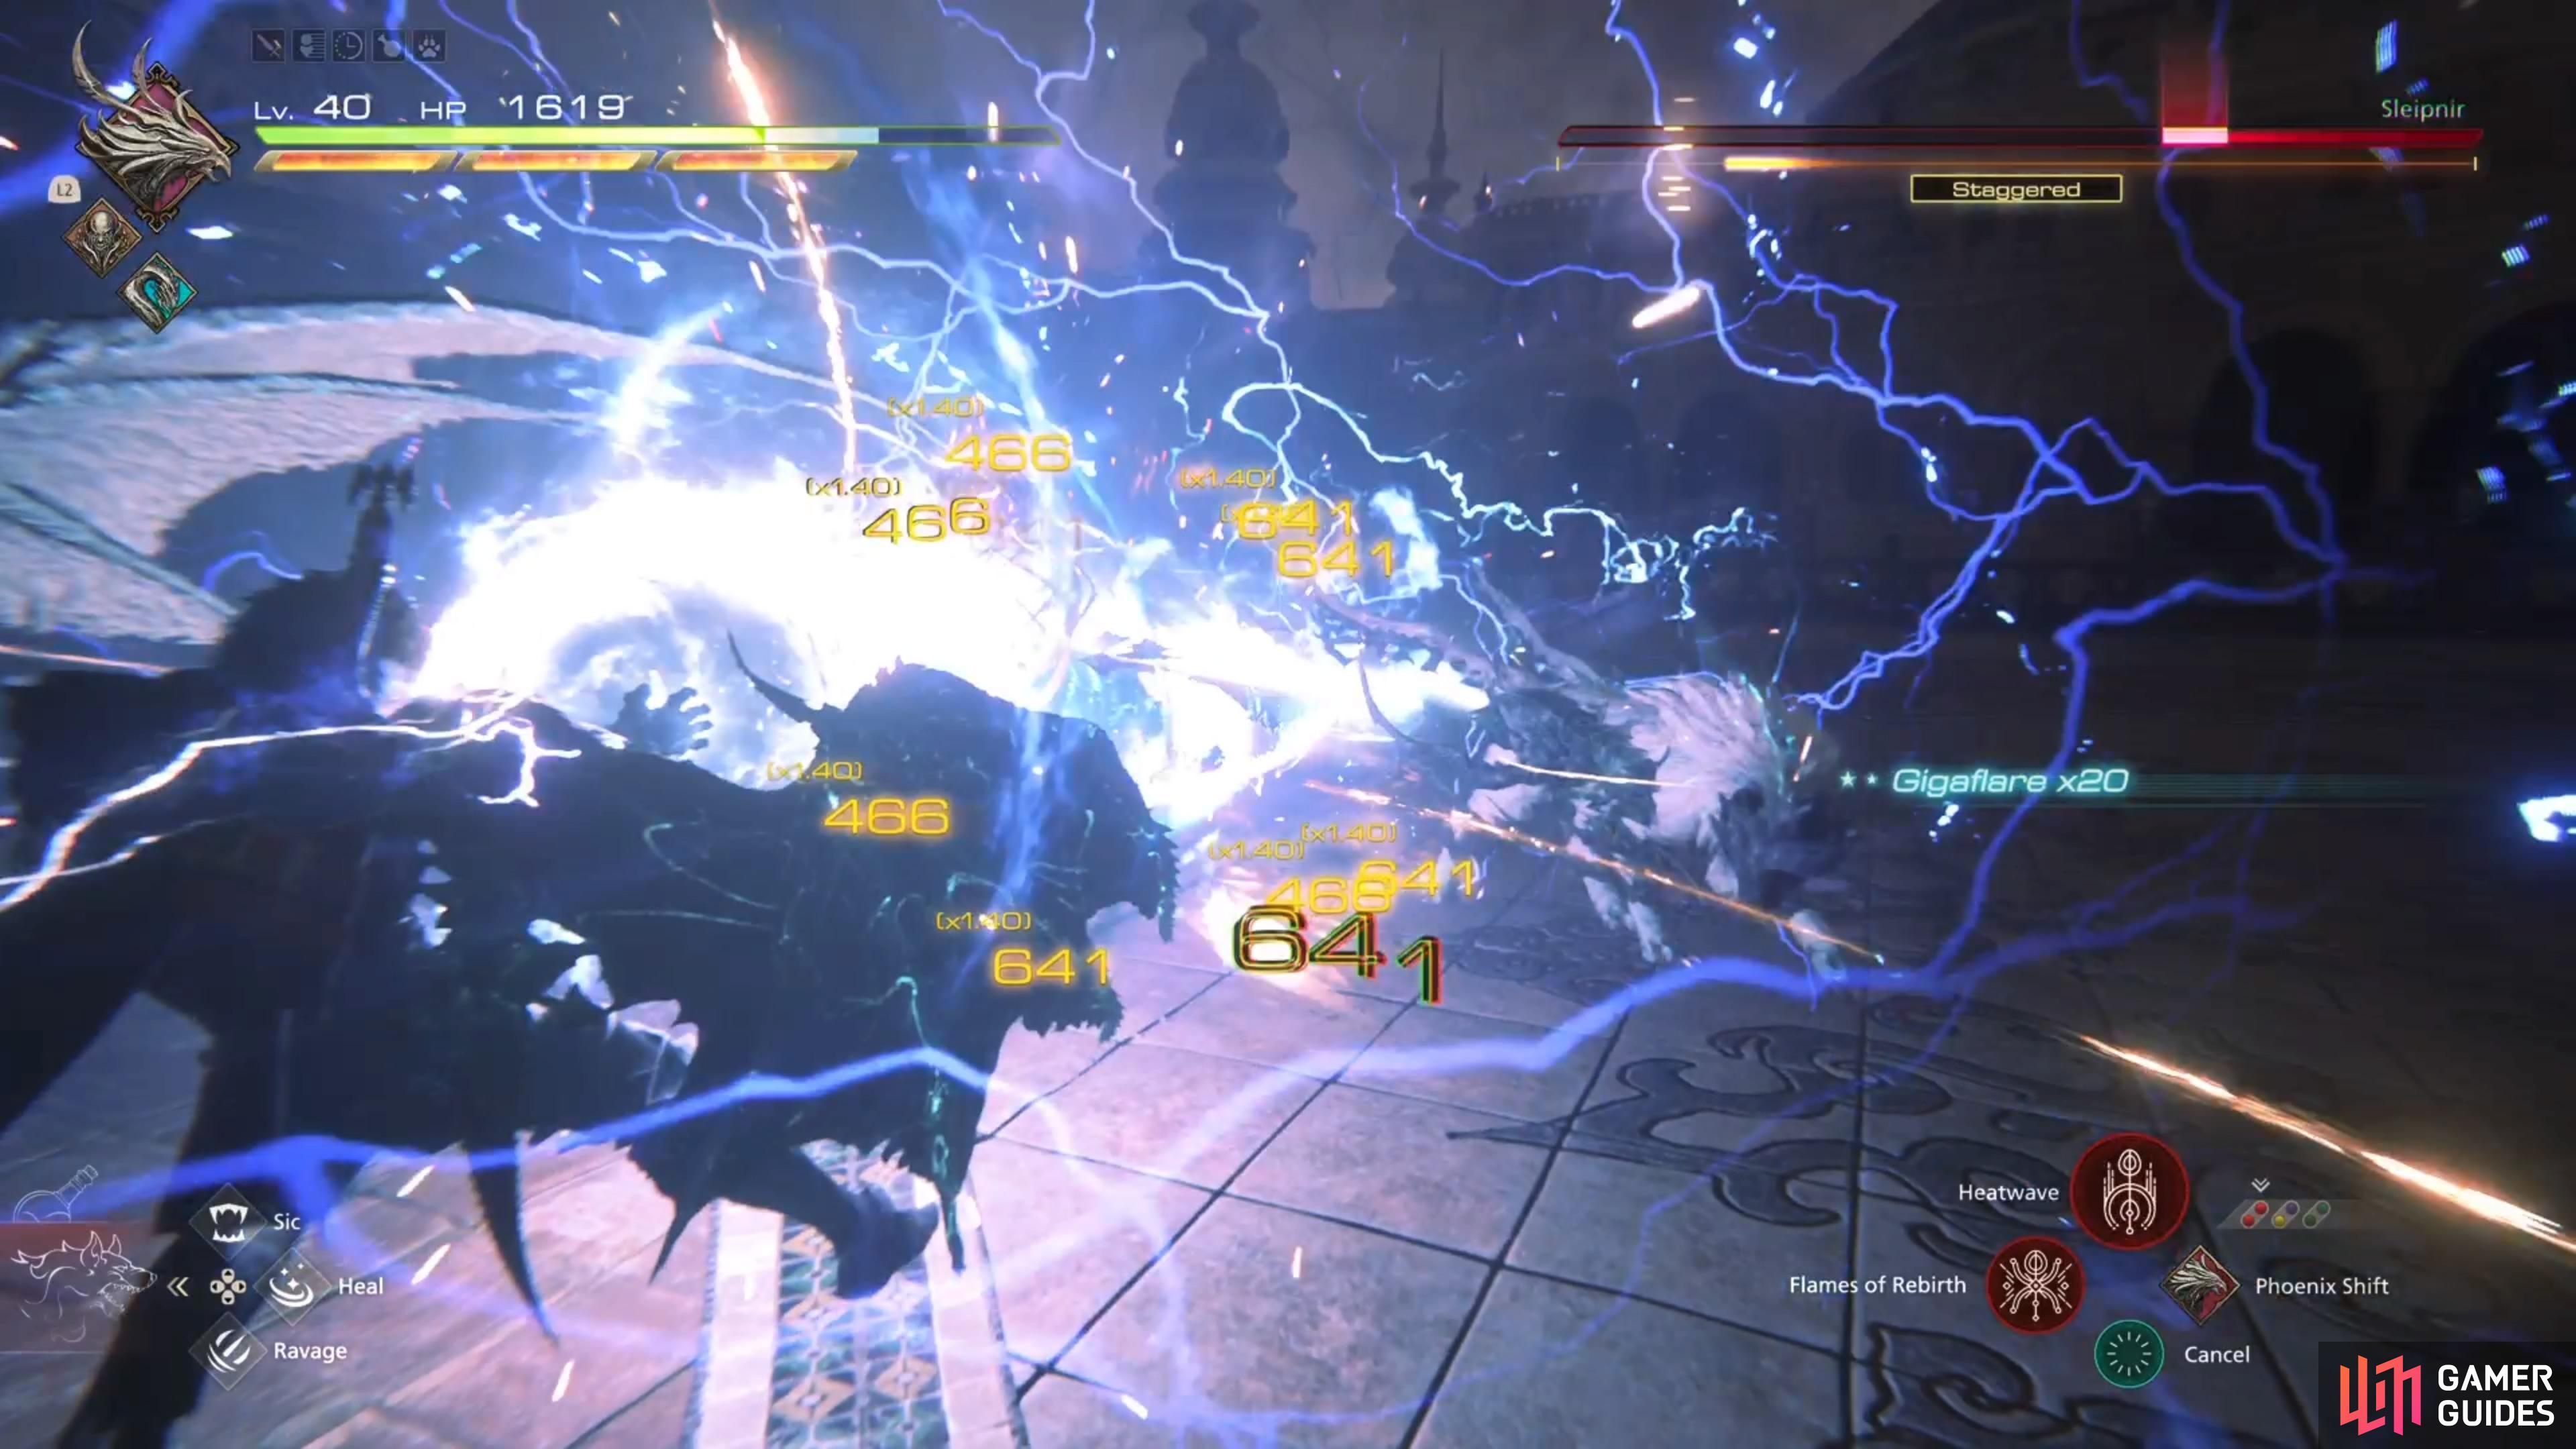
then use Gigaflare while the Lightning Rod is active to inflict some major damage.
These bigger impacts cause shockwaves that extend across the entire battlefield, with there being three in total. When the third hits, there will be two more that happen simultaneously, then Sleipnir will finish his attack off by using Scar of Nibelung. The biggest damage will come from that last attack, but if you don’t want to get hit at all, then you need to concentrate on dodging and not focus on Sleipnir (he’s up in the air, so it’s not like you can hit him). Ratatoskr is just the first part of Dead Man’s Bier, and Creeping Darkness is just a bunch of slow moving orbs that surround you.
Upon defeating Sleipnir, watch the cutscenes that follow, then you will be back on the world map. Choose to go to ![]() The Hideaway, which will start the Song of Hope main story quest.
The Hideaway, which will start the Song of Hope main story quest.
No Comments