
The twelfth main quest in Final Fantasy XVI, this quest begins as soon as you travel to ![]() Caer Norvent from
Caer Norvent from ![]() Lostwing, with a fair few scenes bridging the gap between Clive and Cid’s infiltration of Caer Norvent and Benedikta’s lurid recollections and her preparations for your arrival. This page will walk you through the main quest
Lostwing, with a fair few scenes bridging the gap between Clive and Cid’s infiltration of Caer Norvent and Benedikta’s lurid recollections and her preparations for your arrival. This page will walk you through the main quest ![]() Headwind in Final Fantasy XVI, listing all the enemies you’ll fight and all the items you can find, including
Headwind in Final Fantasy XVI, listing all the enemies you’ll fight and all the items you can find, including ![]() The Favor of Fire (Scarlet Cyclone) and
The Favor of Fire (Scarlet Cyclone) and ![]() The Favor of Fire (Heatwave) accessories.
The Favor of Fire (Heatwave) accessories.
Enemies in Caer Norvent
| Enemies in this Area |
|---|
| Royal Folkstaf |
| Royal Gandfreyr |
| Royal Mastiff |
| Royal Osfreyr |
| Royal Sigfreyr |
| Royal Tognvaldr |
Items in Caer Norvent
| Items in This Area |
|---|
| 5x Spools of |
| 2x Pinches of |
Explore !Caer Norvent until you come across a fork.
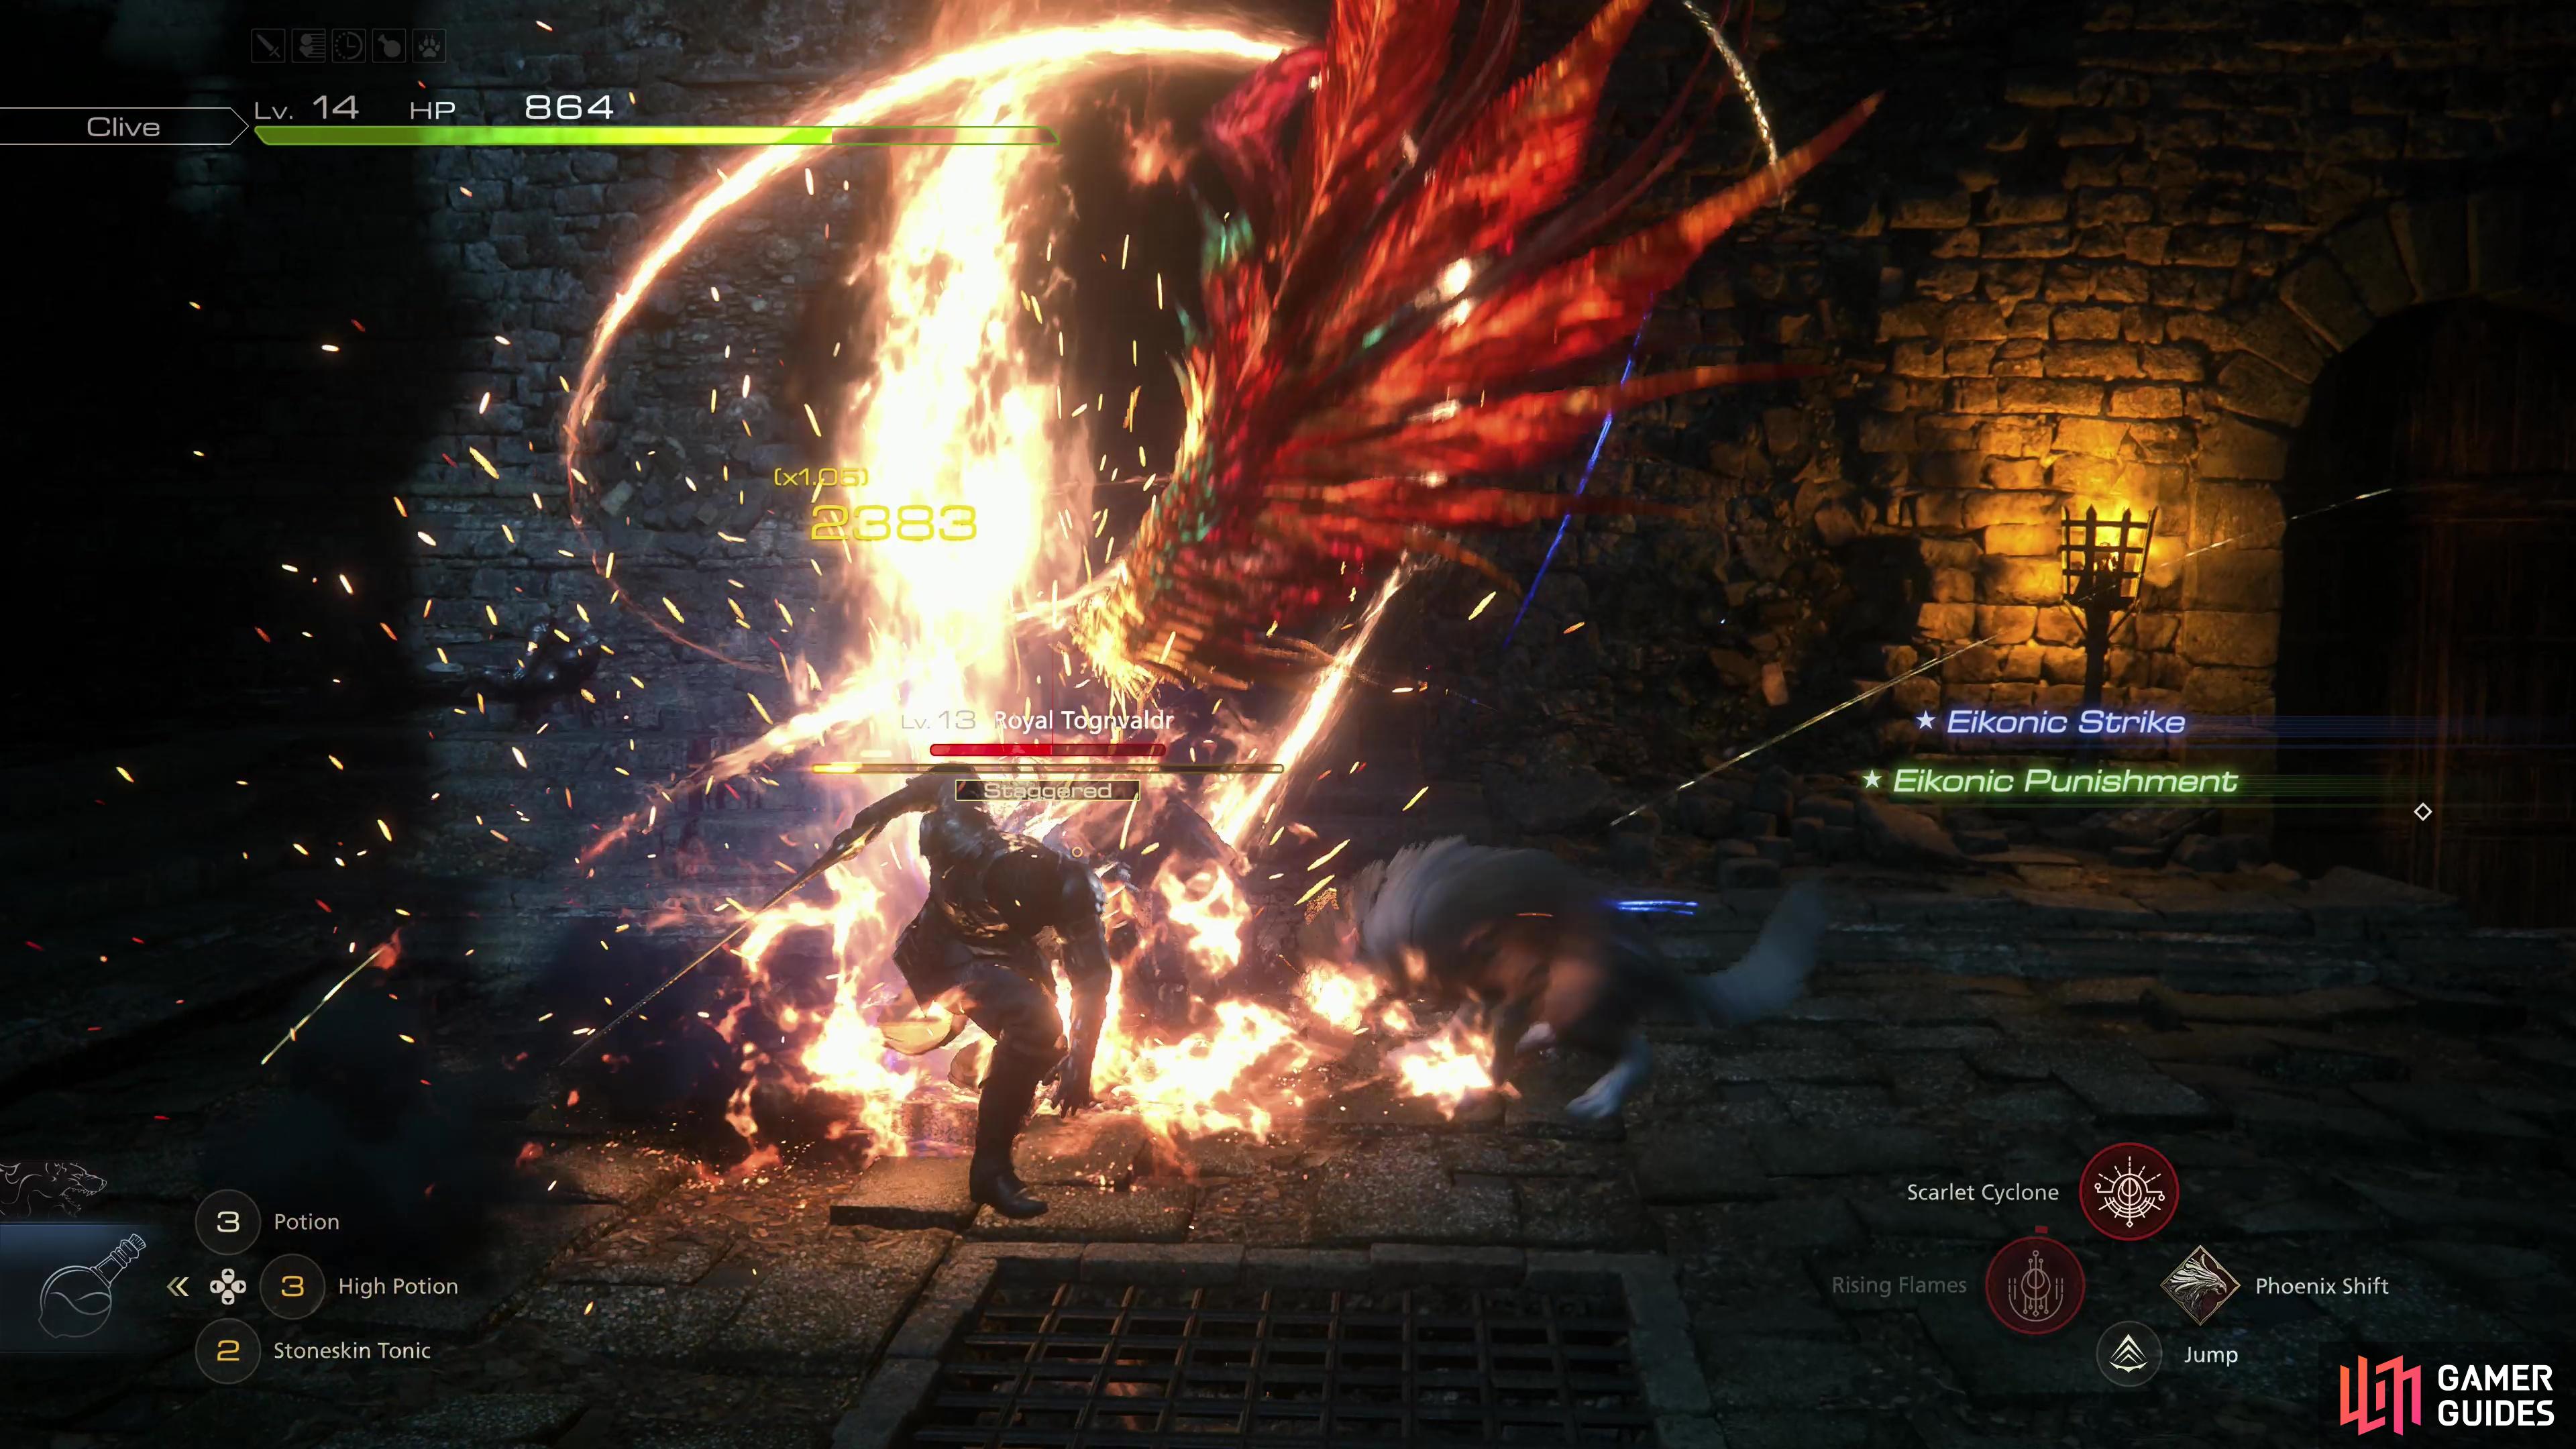
Whichever path you take, you’ll eventually end up encountering a Royal Tognvaldr miniboss.
Exploring Caer Norvent - FF16 Headwind Main Quest Walkthrough
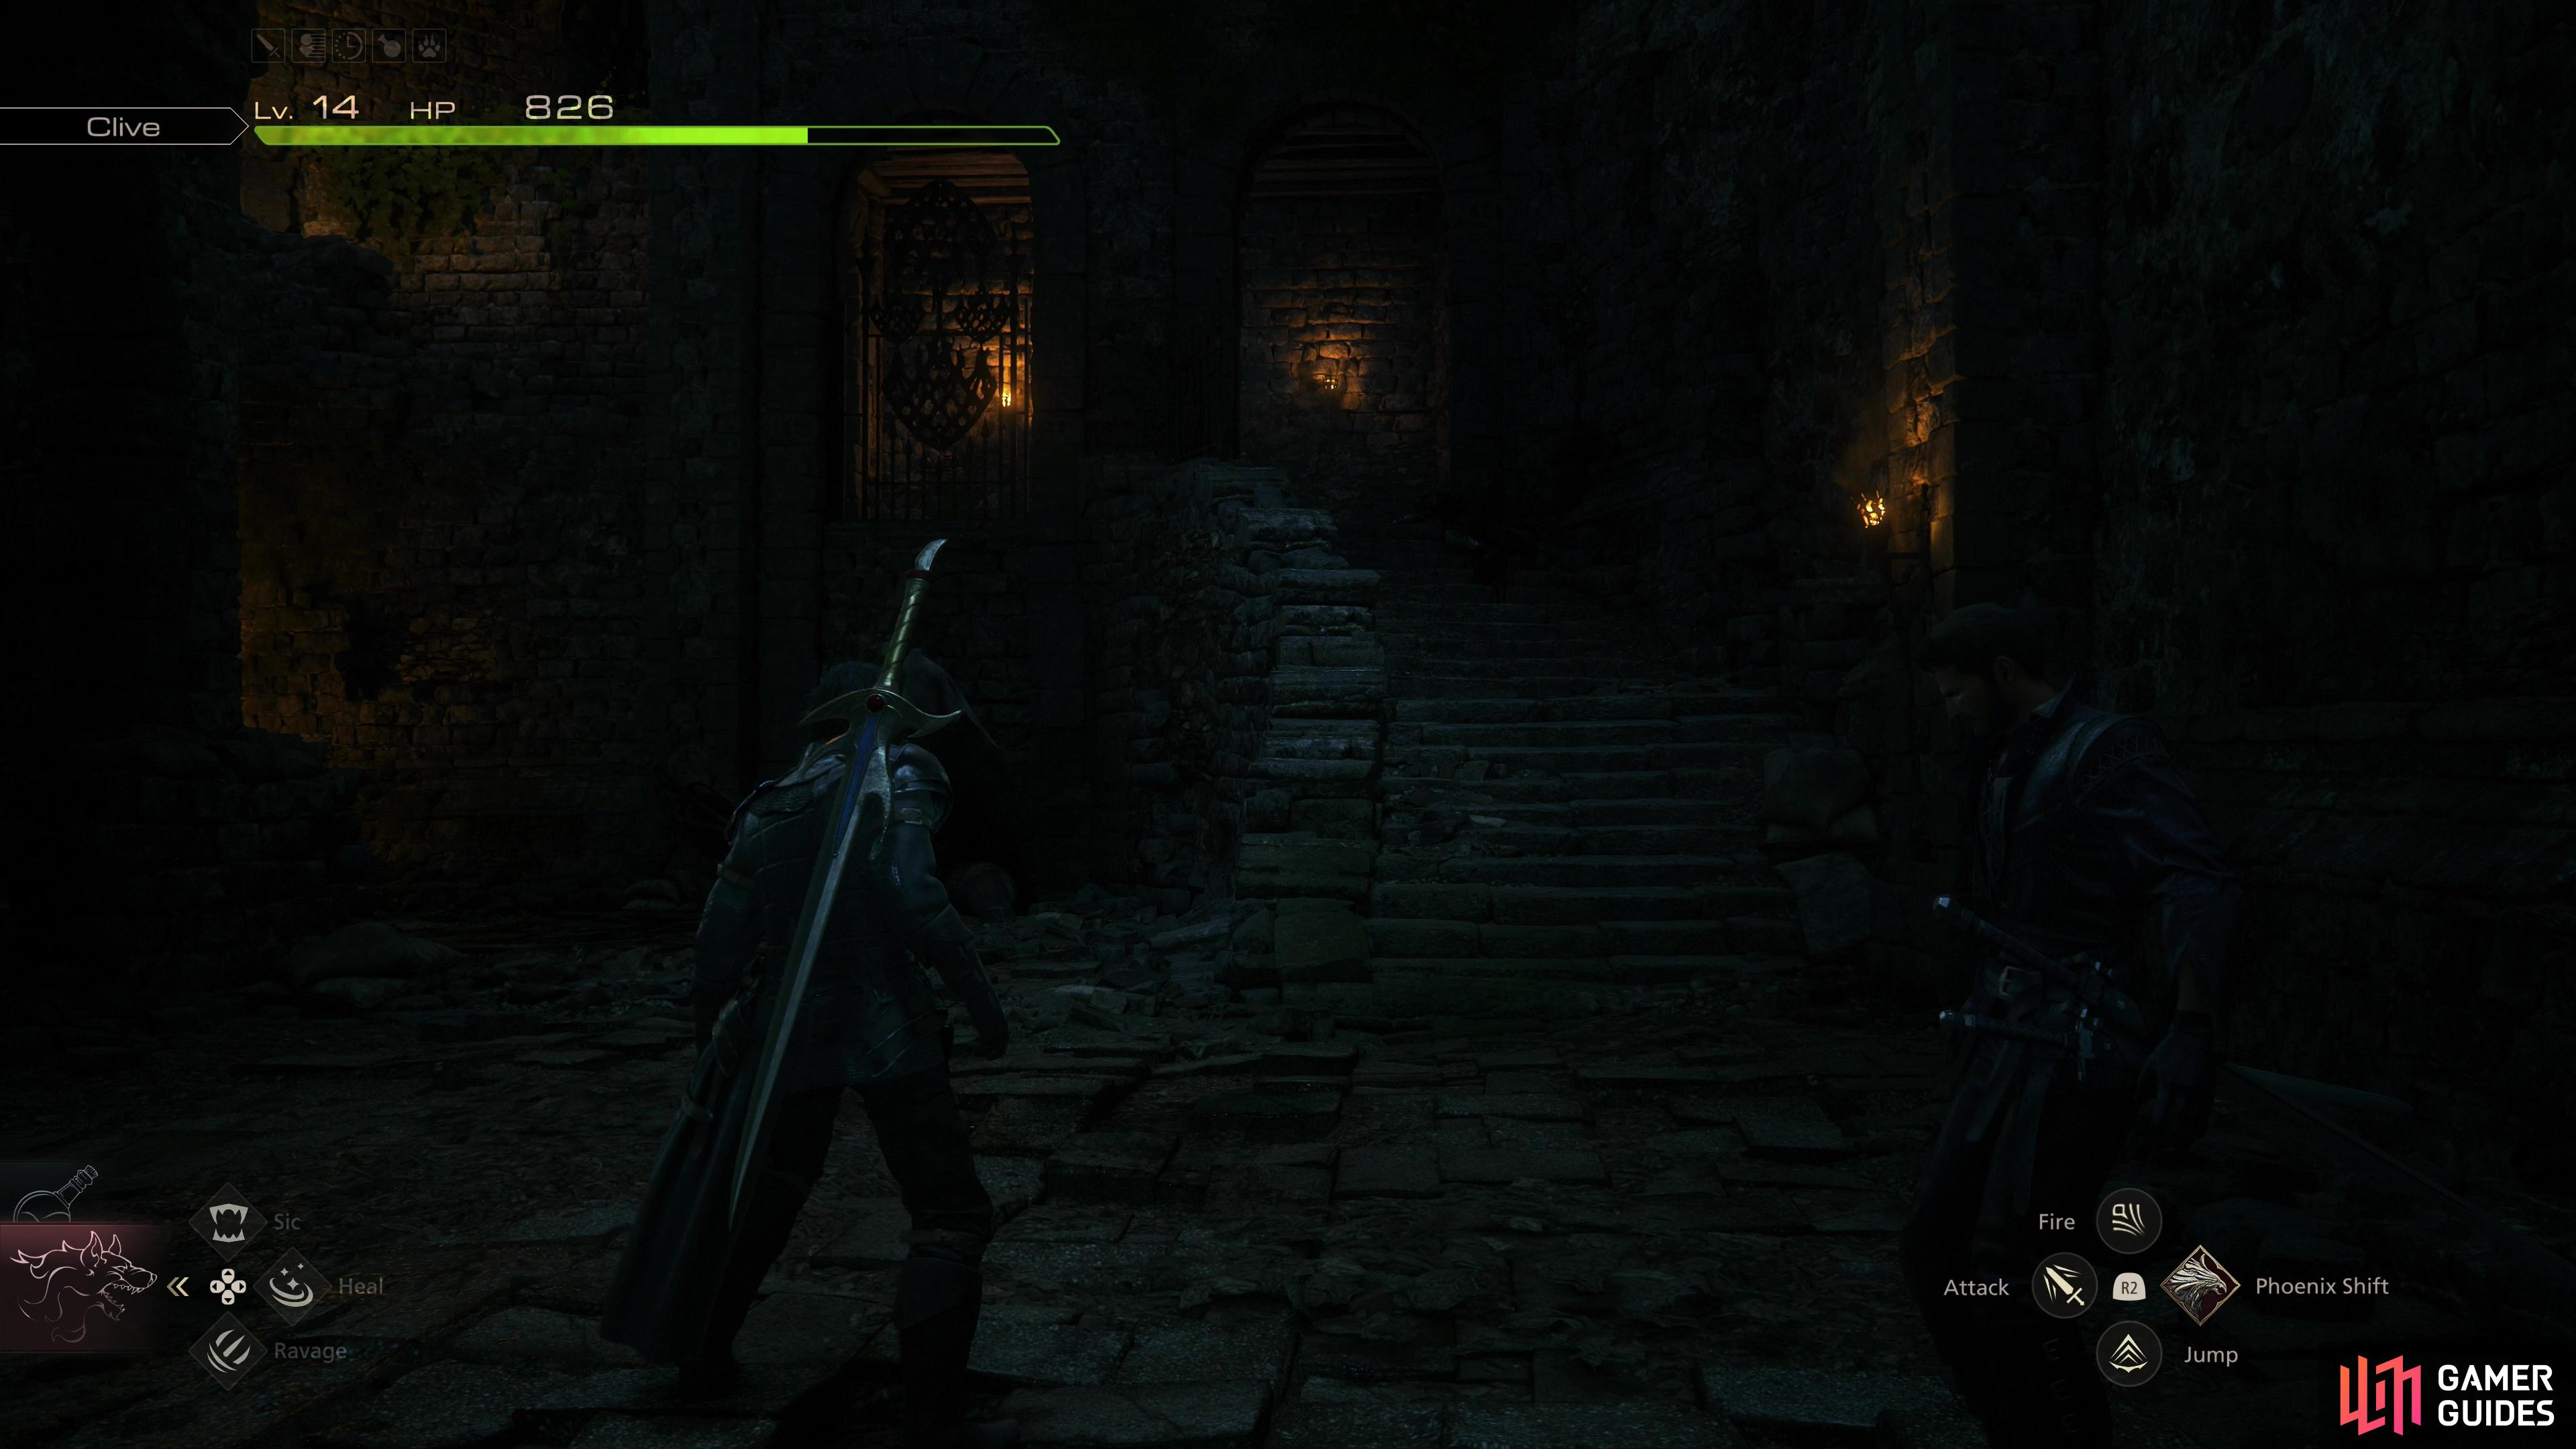
After the scenes, when you’re finally back in control of Clive, head upstairs and get out of the muck, then follow the linear path ahead until you reach the dungeon. Nothing is awaiting you here, so get Cid’s help opening a gate, then head upstairs and through a door to exit outside, where you’ll find some Royalists waiting for you. Dispatch them and continue through another door only to find that this door leads to unwanted company. Thus rebuffed, search the wall opposite the door to find a window you can jump through.
Once through the window, turn right and you’ll see some stairs leading up, and to the left of those stairs, an archway you can pass under. Both will get you to your destination, and are just alternative routes.
If you go up the stairs:
- Follow a linear route and pass through a gate to encounter more Royalists, including a Royal Gandfreyr (mage).
- Kill them, pass through another gate, head downstairs and dispatch two out-matched Royalists.
- Loot a chest beside the stairs you just descended to score a 5x Spools of Steelsilk.
- Go down some stairs opposite the chest, grabbing 2x Pinches of Magicked Ash along the way.
- Go through a door to reach a courtyard where you’ll fight a Royal Tognvaldr.
If you go through the archway:
- After the archway, turn right and grab some Wyrrite.
- Go up some stairs to reach the battlements, where you’ll find a Potion near a corpse.
- Return back down the stairs and continue forward, snagging some Steelsilk to the left.
- Climb atop a wooden platform, then drop down and defeat some Royalists. This is a rather large group including reinforcements and two Royal Gandfreyr (mages).
- Go through a doorway to the left to re-enter the keep interior, turn right and pass through some doors, stopping to grab a Bloody Hide to the left.
- You’ll find yourself out in a courtyard where you’ll fight a Royal Tognvaldr.
How to Defeat the First Royal Tognvaldr Miniboss - FF16 Headwind Main Quest Walkthrough
Either way, you’re going to come across that Royal Tognvaldr. This foe is very similar to the [Midnight Raven] boss you fought earlier, now demoted to miniboss status. This is a trend that will continue in Final Fantasy XVI, and as a general rule of thumb you should expect to encounter every midboss (and most main bosses, for that matter) again, albeit often with minor variations. As for the Royal Tognvaldr, be wary of the ninjutsu he’ll use to teleport around, conjure lightning, and shoot gouts of flame, and when he finishes such attacks, be sure to counterattack. Don’t get greedy with your regular attacks and punish the Royal Tognvaldr with Eikonic Abilities whenever they’re off cooldown (delaying only if a stagger is imminent) and you shouldn’t have much trouble with this foe.
After the Royal Tognvaldr fight, loot a chest to score The Favor of Fire accessory.
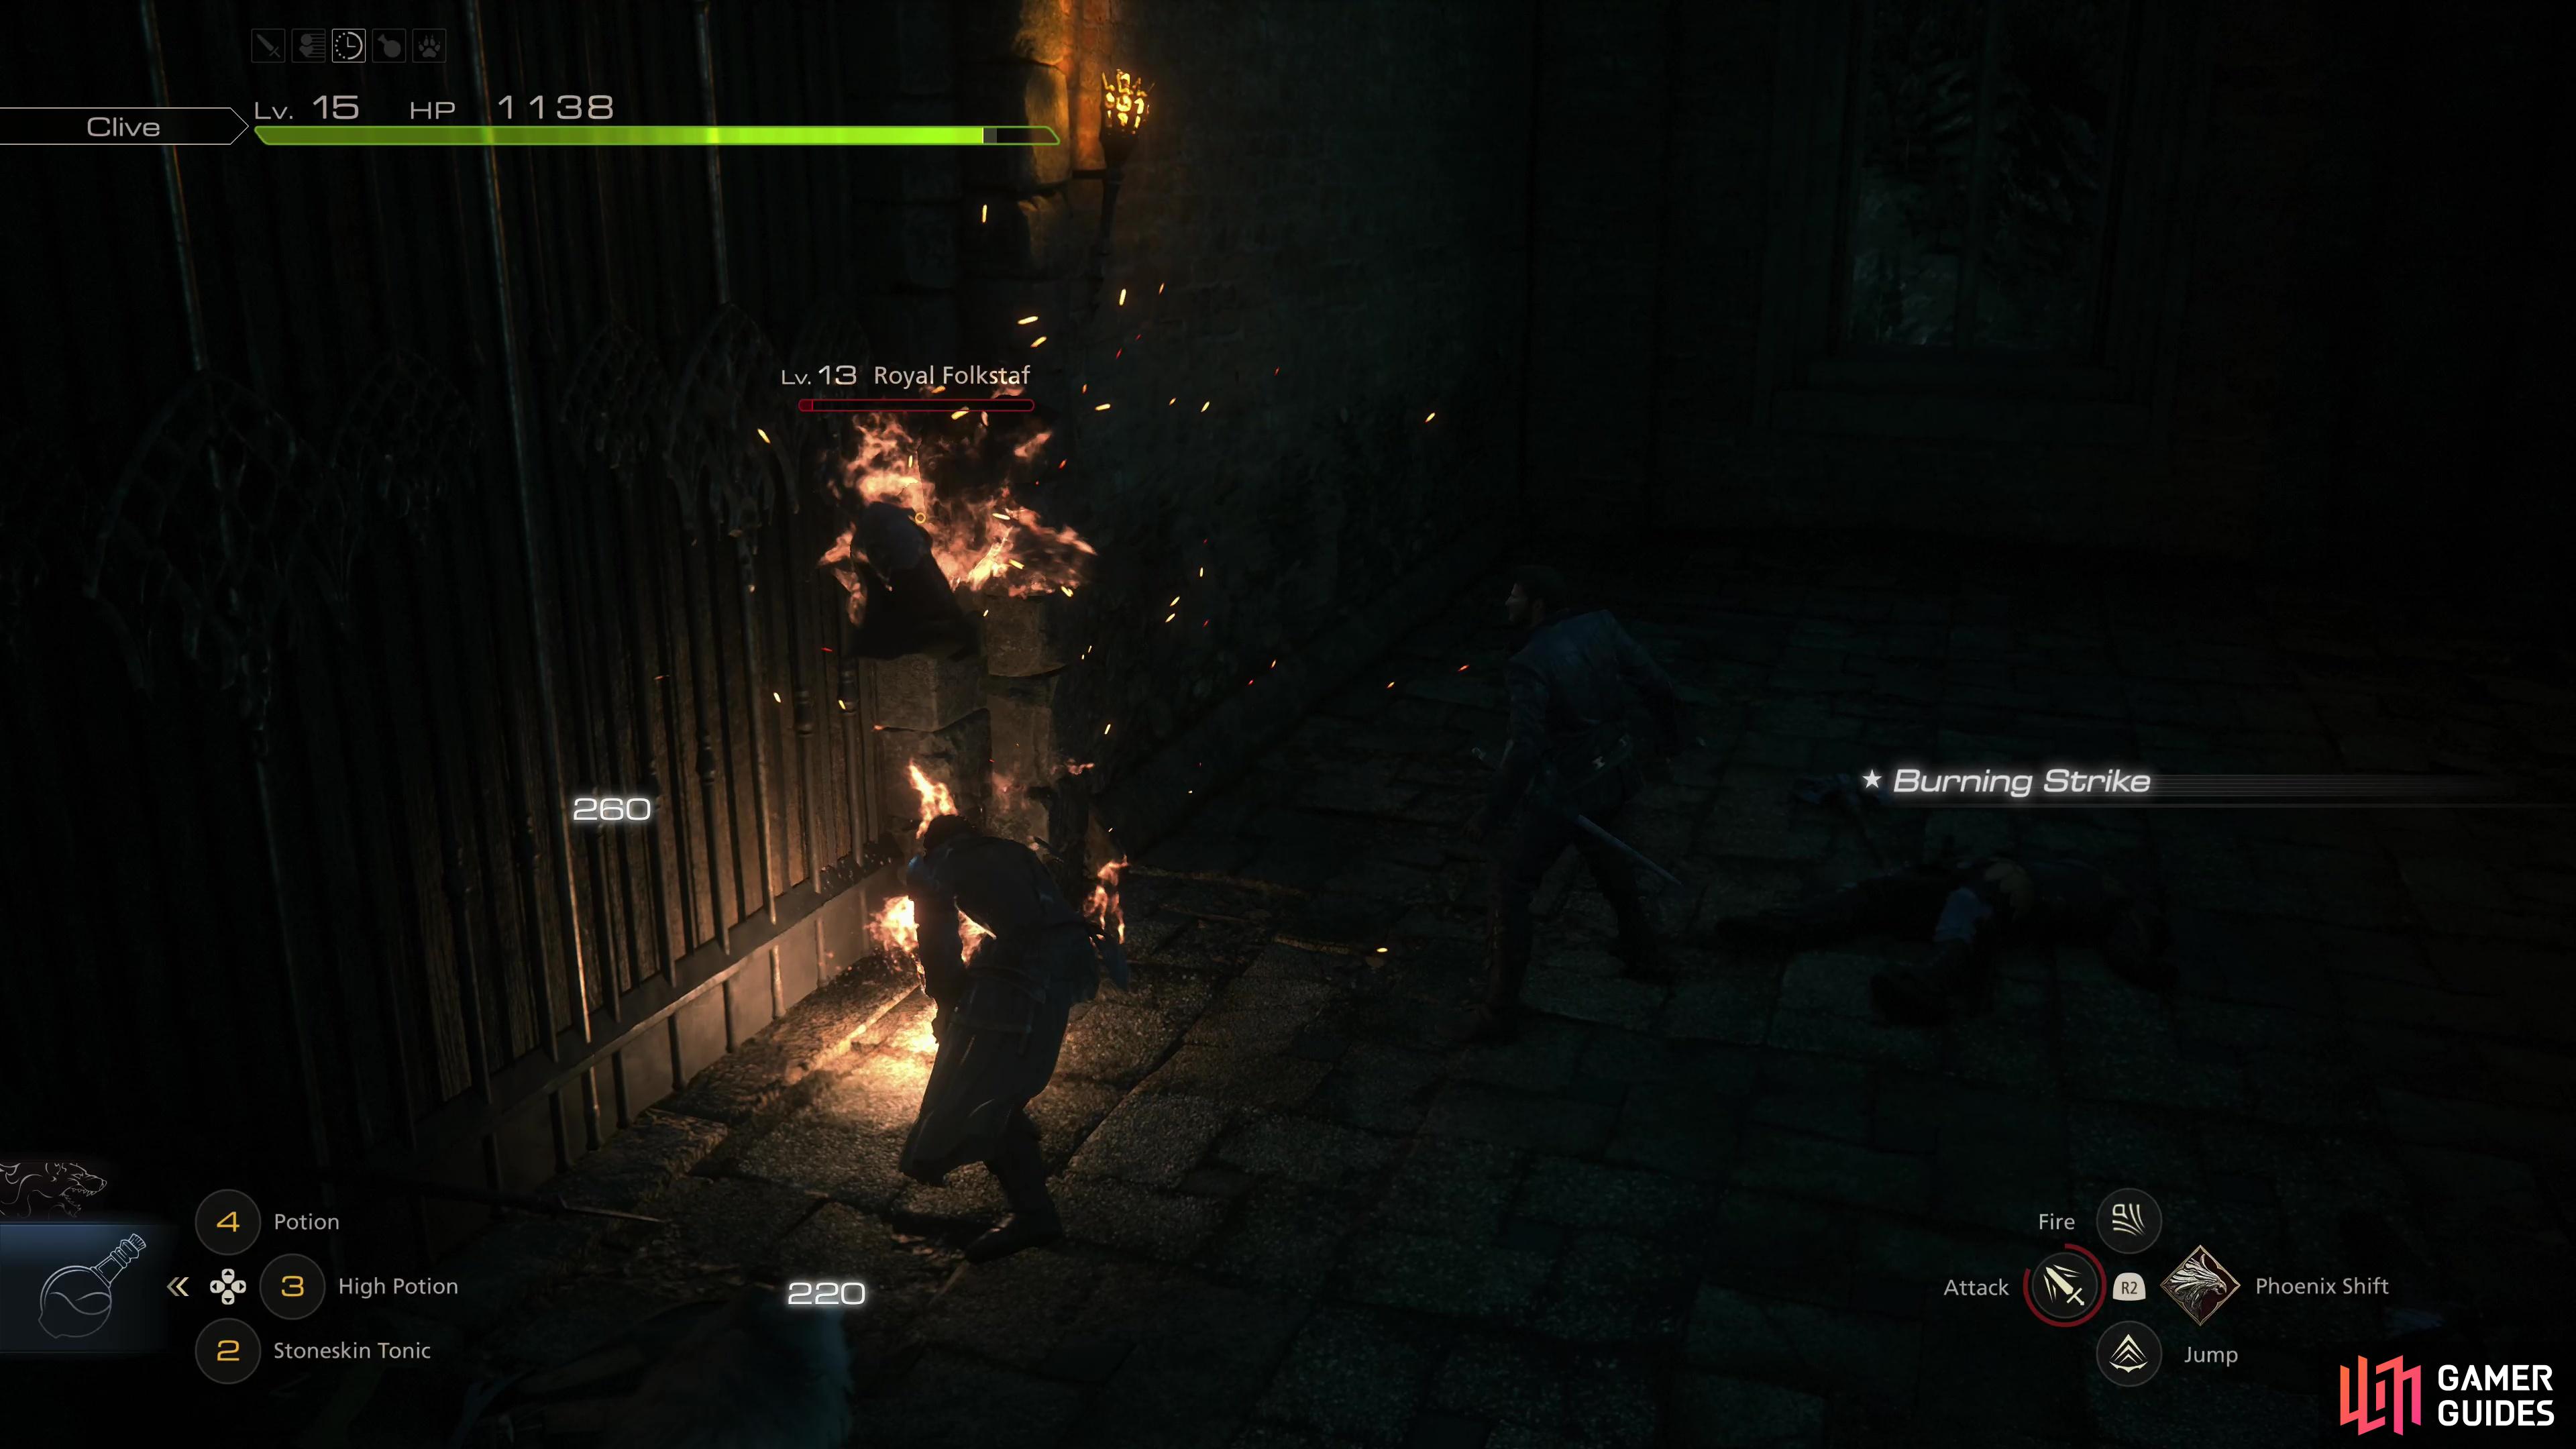
You’ll be ambushed outside the cathedral, where Royal Folkstaf will display an annoying tendency to guard against your attacks - hitting them with Burning Blade will break their guard.
| Items in This Area |
|---|
| 2x |
| 10x Blood Hides |
How to Survive the Royalist Ambush - FF16 Headwind Main Quest Walkthrough
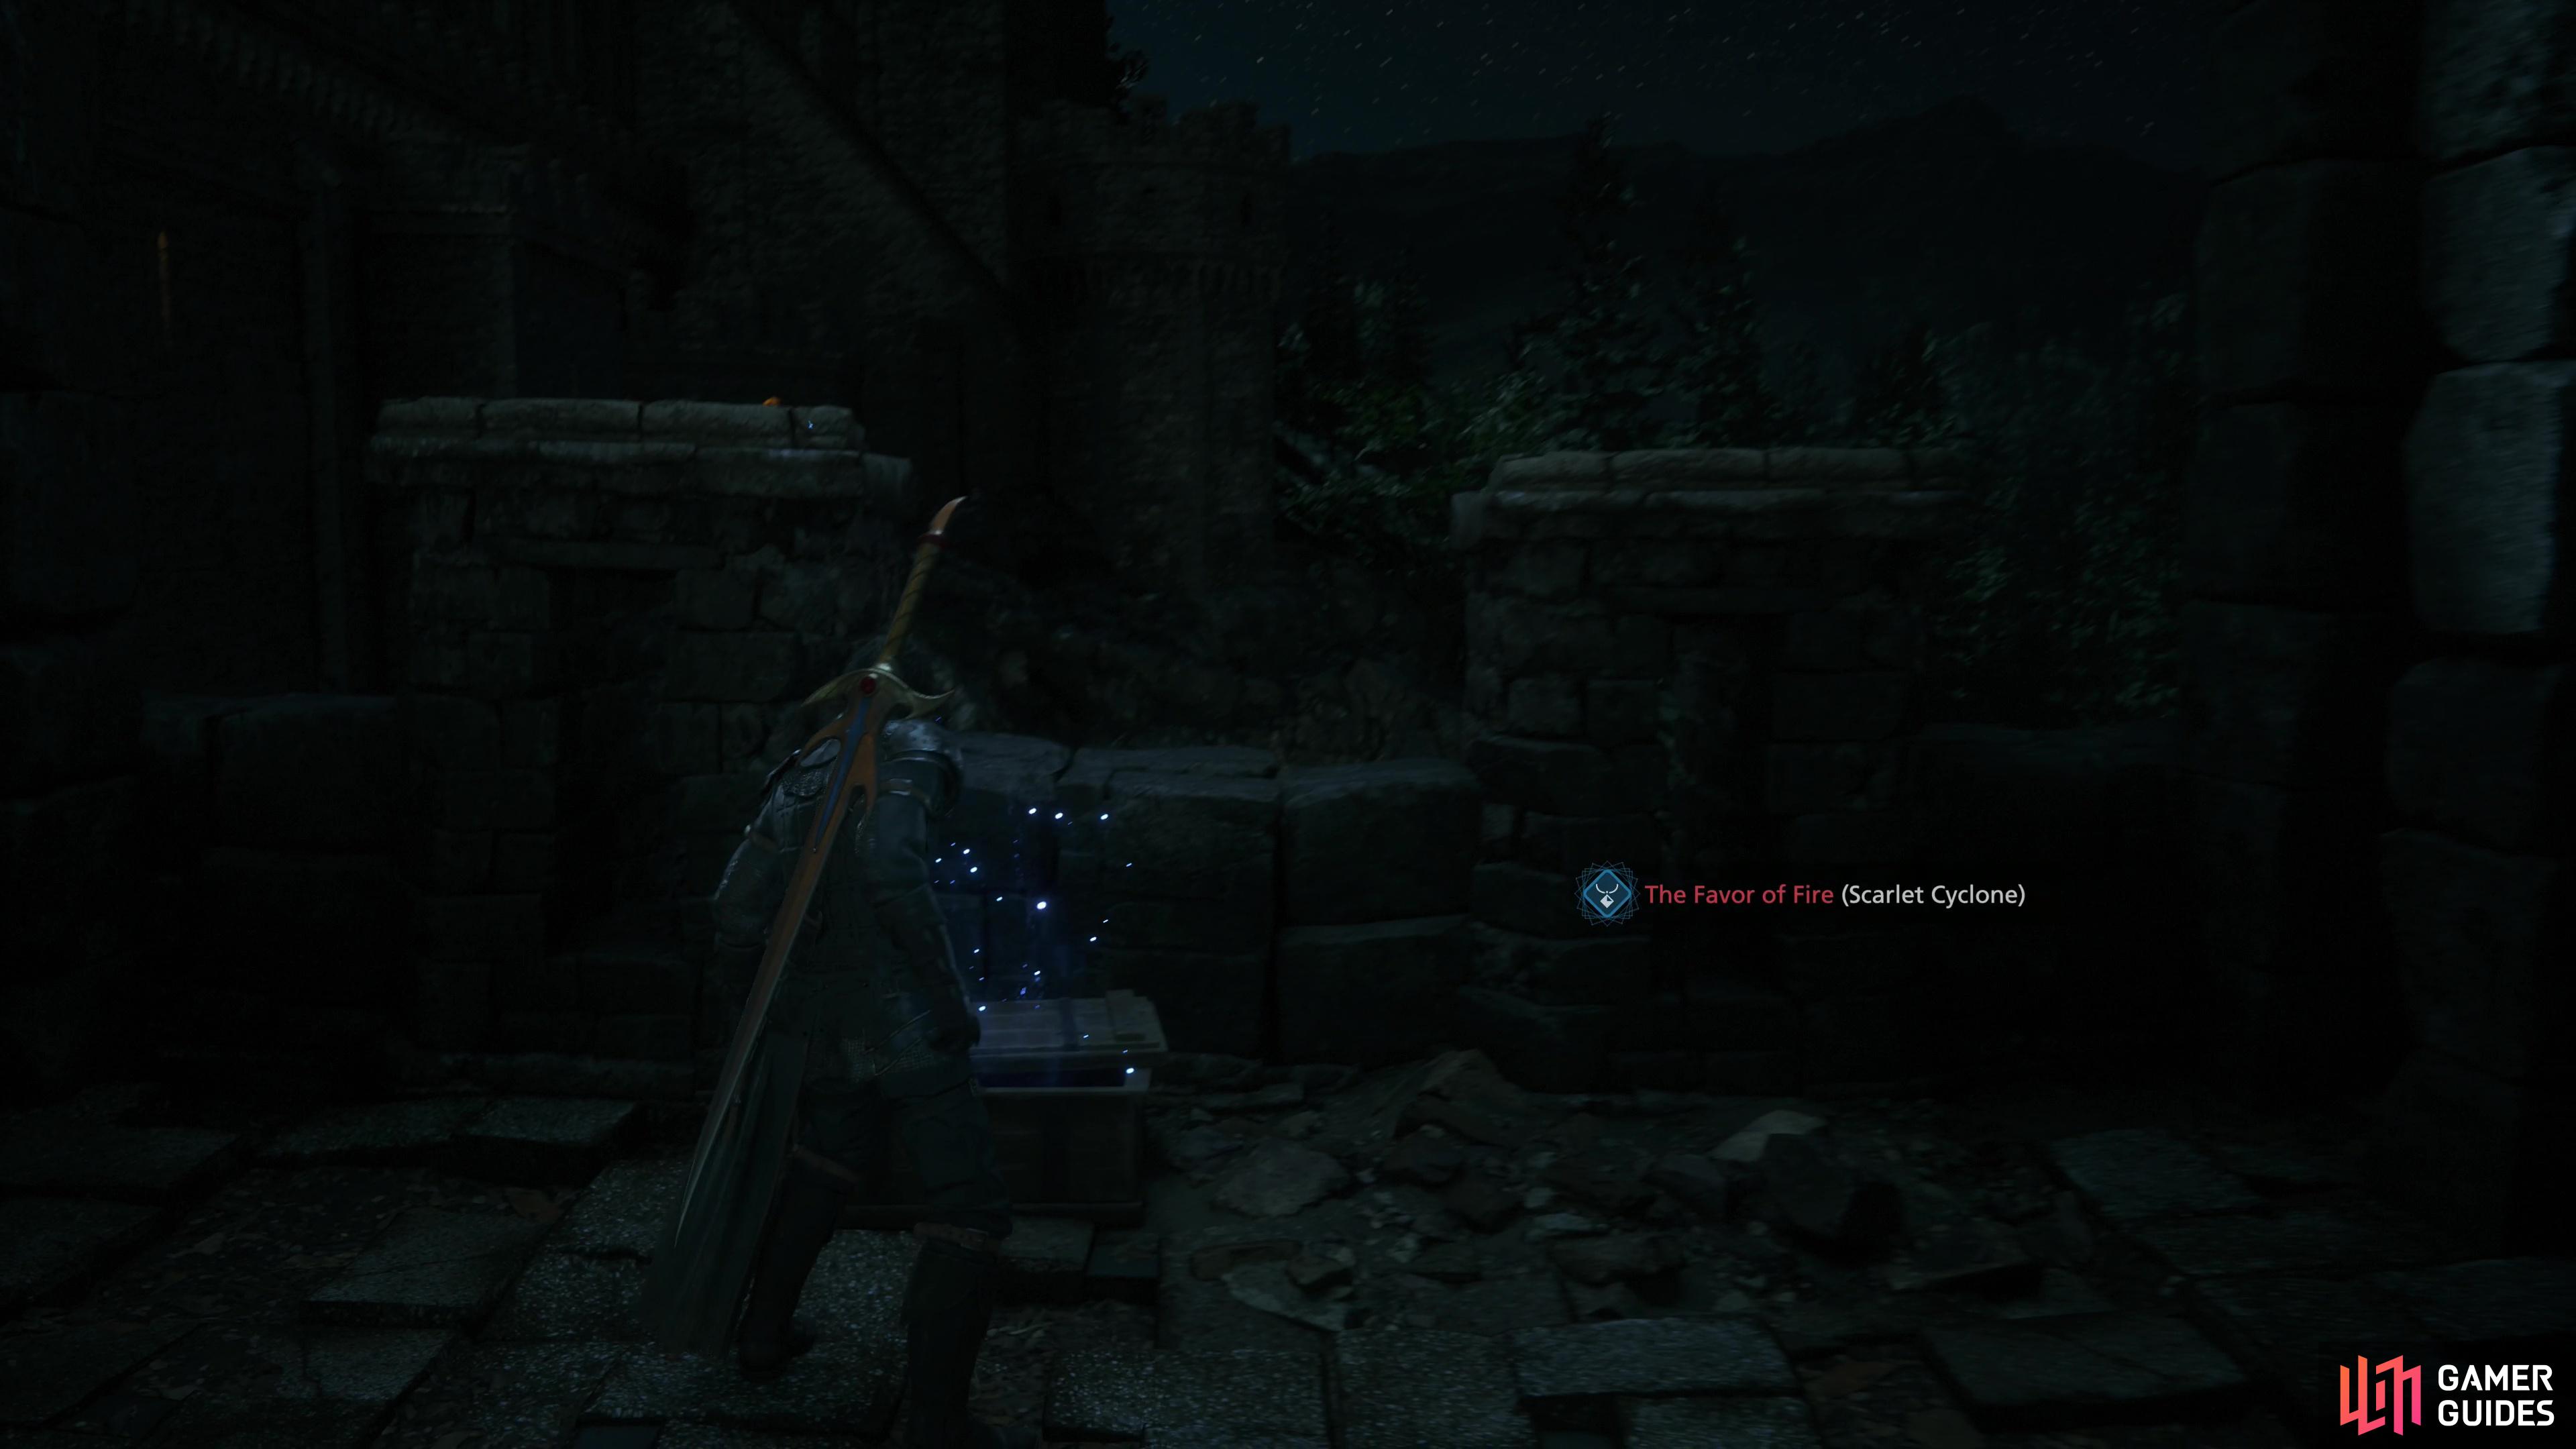
Defeat the Royal Tognvaldr then continue through a gate, go up some stairs and grab a Potion. Note some stairs to your right and promptly ignore them and go forward to plunder a chest to score The Favor of Fire (Scarlet Cyclone), an accessory that boosts the damage of ![]() Scarlet Cyclone by +8%. Go up the previously neglected stairs to snag 2x Sharp Fangs, then continue to the top of the stairs to interrupt two Royalists. Chase them up some more stairs and through a gate to find yourself in perhaps the largest encounter in the game thus far, constituting three waves of enemies.
Scarlet Cyclone by +8%. Go up the previously neglected stairs to snag 2x Sharp Fangs, then continue to the top of the stairs to interrupt two Royalists. Chase them up some more stairs and through a gate to find yourself in perhaps the largest encounter in the game thus far, constituting three waves of enemies.
Most of the foes you’ll face here are familiar, but the new Royal Folkstaf are the ones who are inclined to guard against frontal assaults. You’ll also encounter Royal Mastiffs in the second wave, which are novel to this area, at least. Scarlet Cyclone can be used to good effect against these mobs.
After defeating the ambushing enemies, continue through some arches from whence the reinforcements came and go through a large door to reach the chapel. Ahead you’ll find a a Potion gleaming to draw your attention, but through some arches to the left is a subtler prize - a treasure chest containing 10x Bloody Hides. Continue forward through a gate to proceed deeper into the chapel, where you’ll find an unwelcome ![]() Dominant waiting for you. Watch the scenes that follow and Clive will be given some busywork in the form of two more minibosses to fight…
Dominant waiting for you. Watch the scenes that follow and Clive will be given some busywork in the form of two more minibosses to fight…
(1 of 3) One of the minibosses will focus on ranged attacks - often shooting aero bolts or discharging aero bombs,
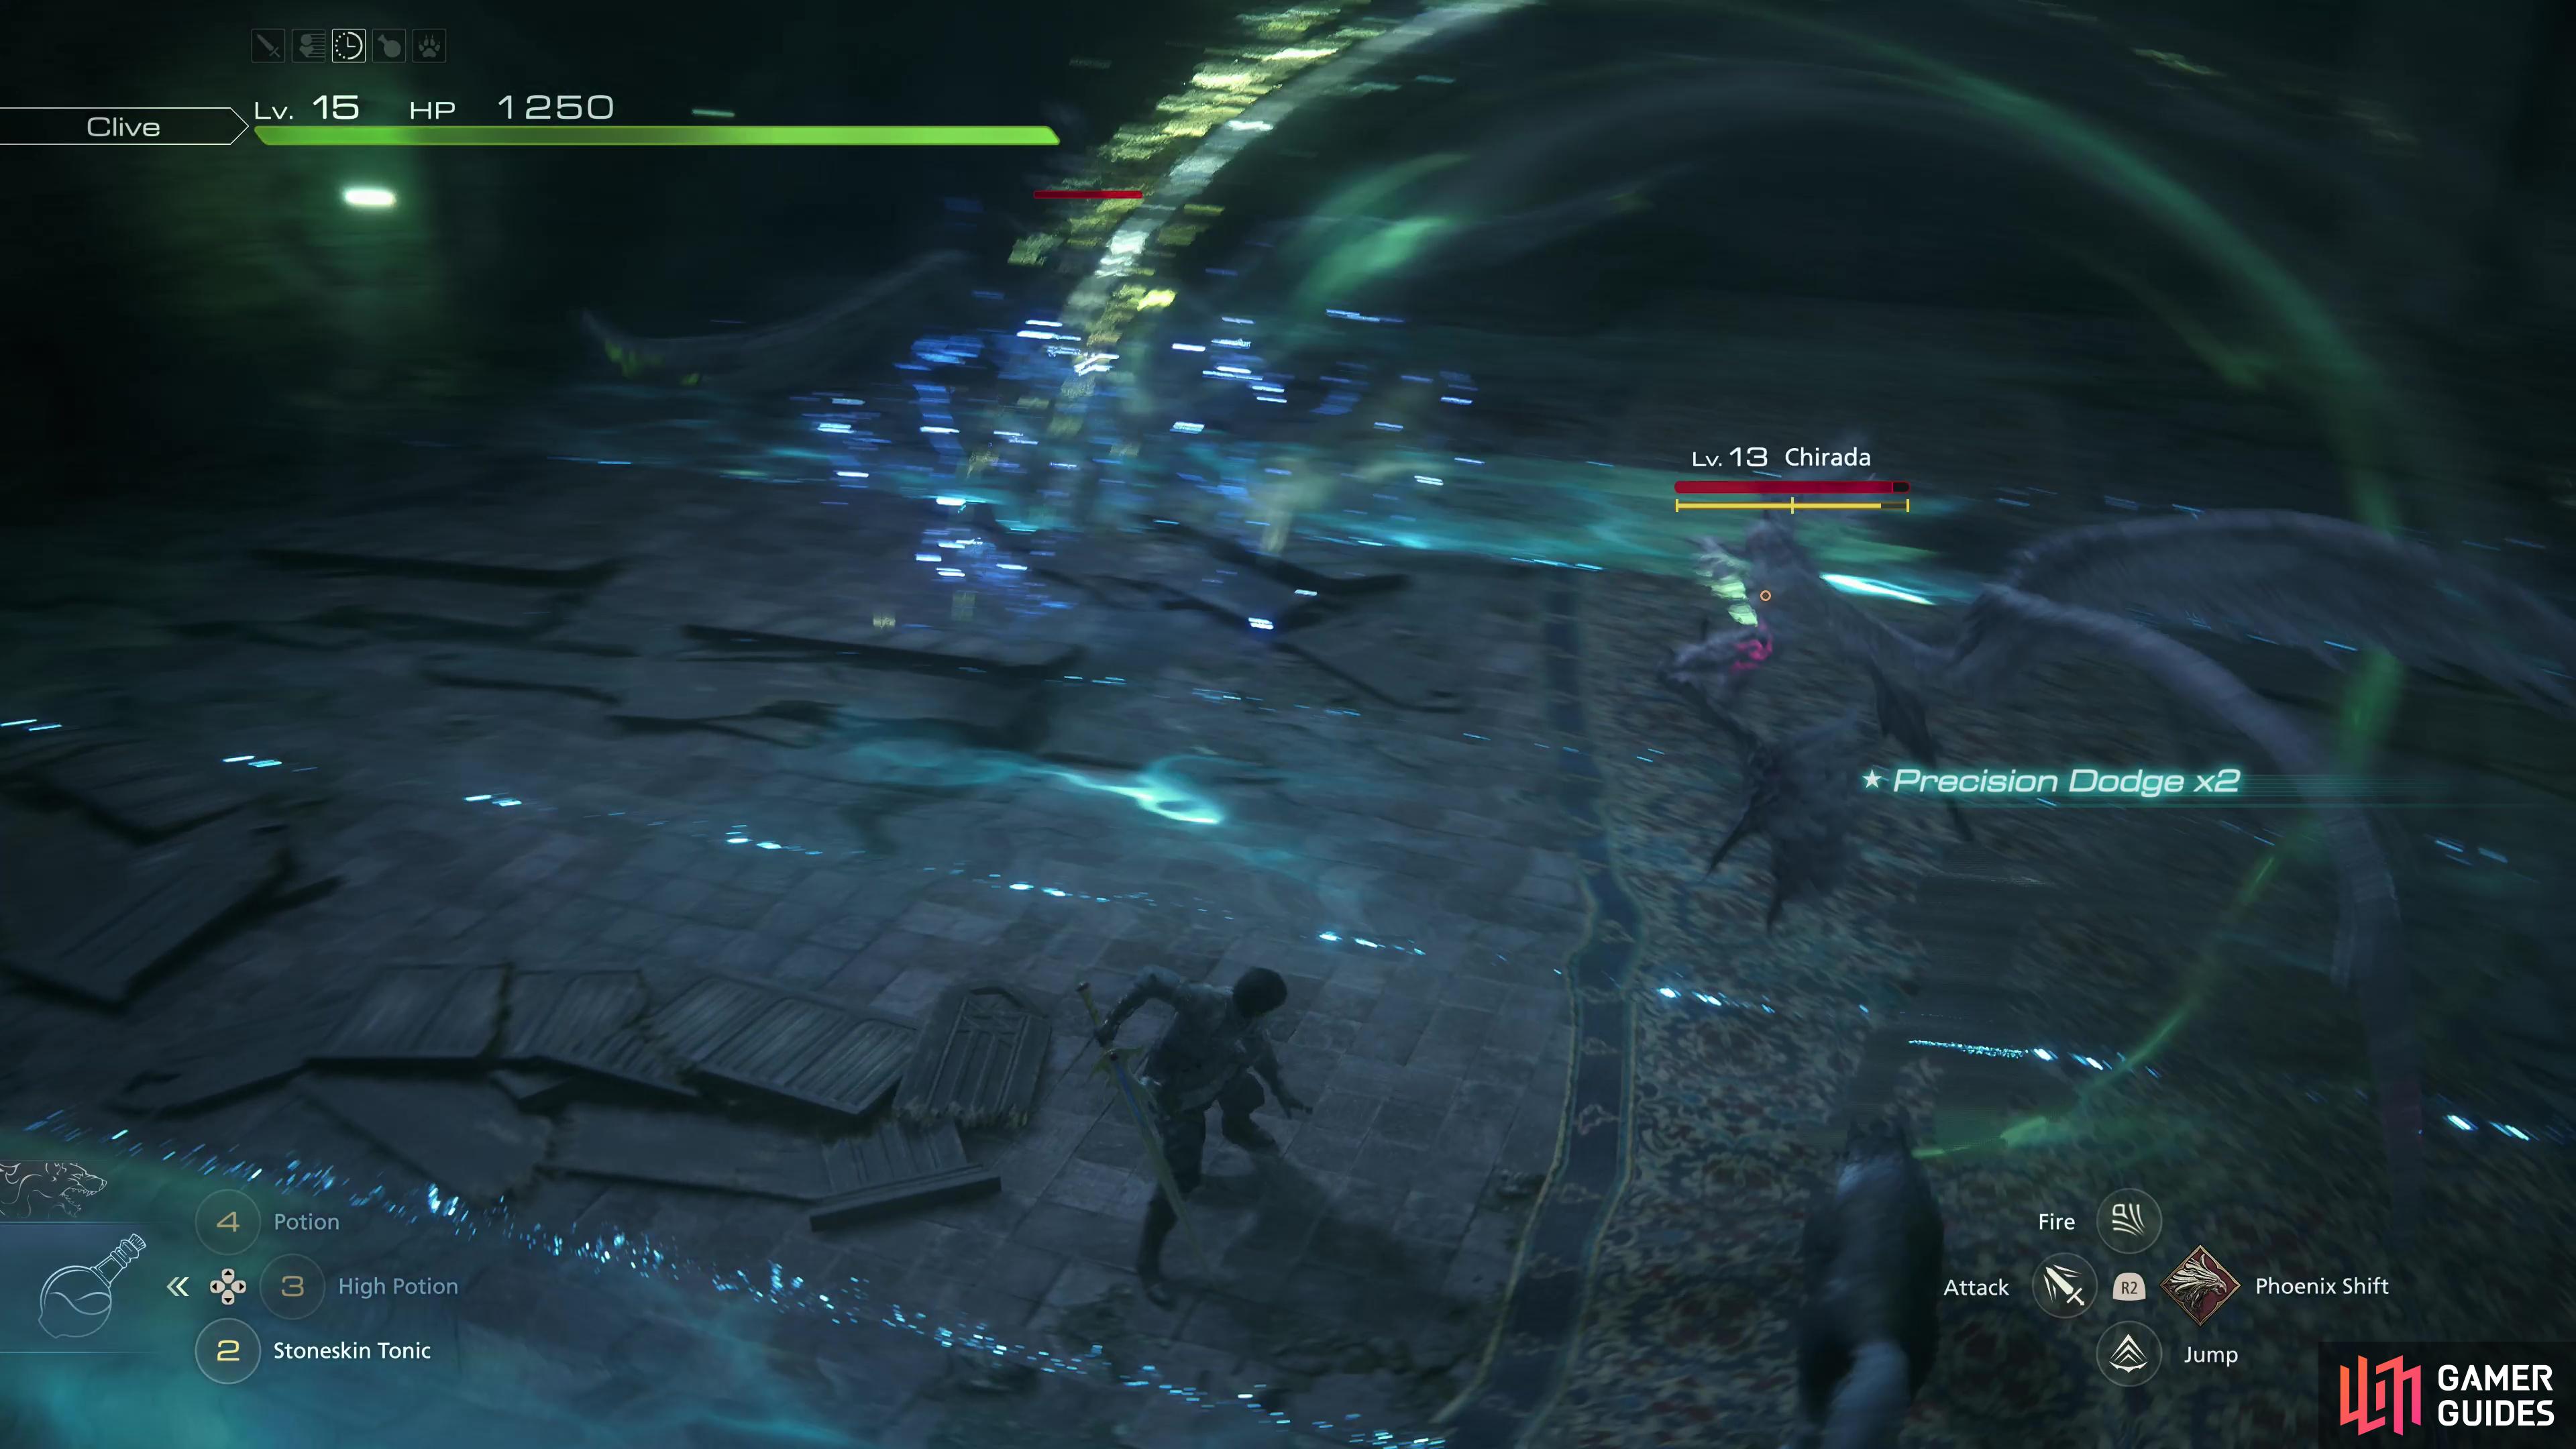
How to Defeat the Suparna & Chirada Minibosses - FF16 Headwind Main Quest Walkthrough
Once again, Clive isn’t worthy of ![]() Garuda’s time, instead having to deal with lesser wind aspects.
Garuda’s time, instead having to deal with lesser wind aspects. ![]() Chirada you should be familiar with from Louder Than Words, and she’ll employ most of the same attacks. The big difference this time is that she’s joined by
Chirada you should be familiar with from Louder Than Words, and she’ll employ most of the same attacks. The big difference this time is that she’s joined by ![]() Suparna… who also uses most of the same attacks.
Suparna… who also uses most of the same attacks.
While they can use the same attacks, they tend to adopt different roles in battle, mostly depending on Clive’s proximity. One will largely focus on melee attacks, typically using flying charge attacks and the odd claw sweep, while the other will keep its distance and shoot large aero blasts and conjure explosive aero orbs. The aero blasts can be conjured as a single bolt or by rows of bolts traveling in a parallel trajectory (both of which have their area marked by green lines on the ground) and the explosive aero orbs spawn in groups of three and explode a moment after appearing. Chirada and Suparna aren’t terribly aggressive early on and none of their attacks are hard to dodge, you just need to be wary of what both enemies are doing so you don’t get caught unawares while you’re trying to attack.
Once you weaken one to around two-thirds of its life bar they’ll perform a tandem attack, which you must dodge with  , then you have to counterattack with
  . Succeeding at this will stagger both enemies at once, and at this time you should shift your focus onto the healthier of the two enemies. If you defeat one of these minibosses, the other will inherit its powers and become much more aggressive, so try to shift your focus periodically so you can ensure that one has low health when you eliminate the other to shorten the more difficult phase of this fight.
After the aforementioned QTEs, Suparna and Chirada will perform a tandem attack called “Perfect Storm”, where one will charge at you several times while the other uses ranged attacks. It’s kind of the same thing they’ve been doing, but more coordinated and with less down time between attacks. Focus on dodging during this tandem attack, then work on sneaking in offense when they go back to their normal routine. Again, most of their attacks are easy to dodge, they’re really just waiting for you to get careless. If you’re patient and work on staggering them you should be fine.

Defeat one and the other will gain an “Inheritance” buff.
This makes the survivor more aggressive, and some of its attacks become more powerful - aero bolts now forms a grid, for example.
Defeat one and the other will “Inherit” the abilities of the other, making the survivor more aggressive (there will be less of a delay between attacks). Their only new attack is to shoot a succession of aero arcs at you, and their aero bolt attack now affects a grid, forcing you to seek shelter in squares of safety. You may have to be a bit more conservative here, as openings will appear less frequently, but if you made sure both !Charada and Suparna were near death before dispatching one, you should be able to finish off the other without much fuss.
For emerging victorious you’ll gain some ![]() Clouded Eyes,
Clouded Eyes, ![]() Sharp Fangs and
Sharp Fangs and ![]() Magicked Ash.
Magicked Ash.
| Items in This Area |
|---|
| 2 |
| 2x |
| 2x Piles of |
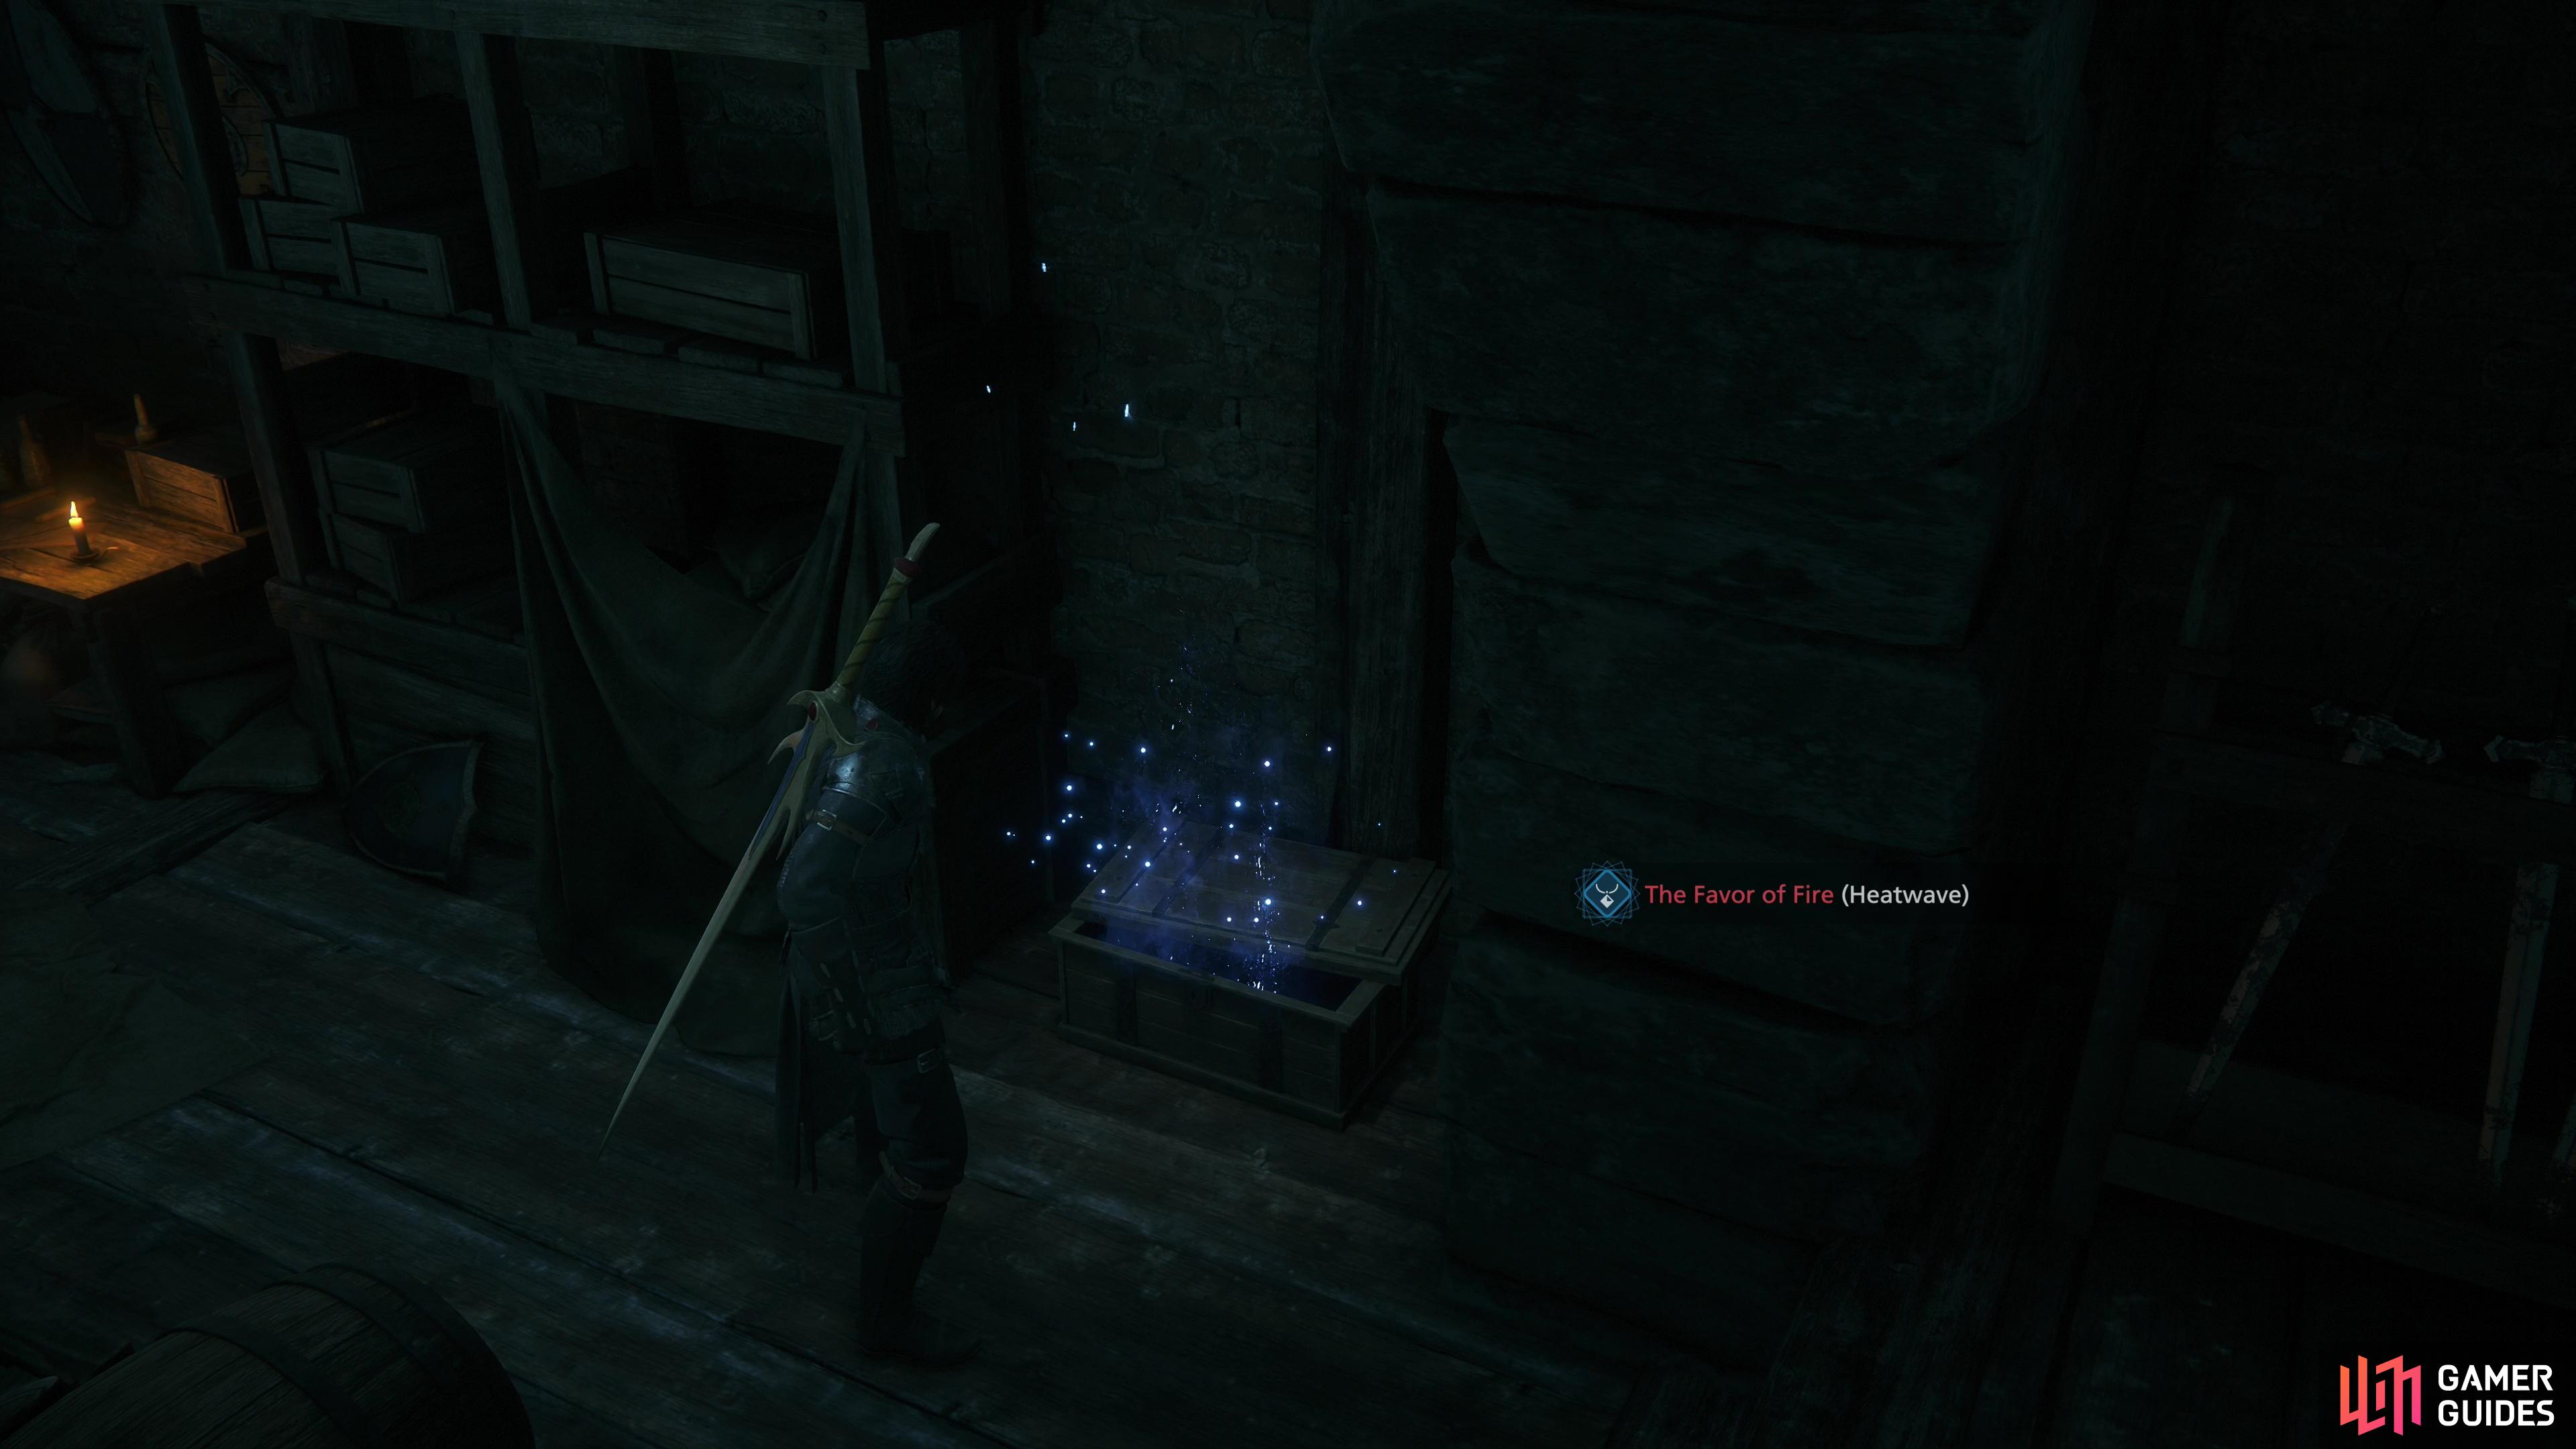
Loot a chest in a storage room to find !The Favor of Fire (Heatwave) accessory.
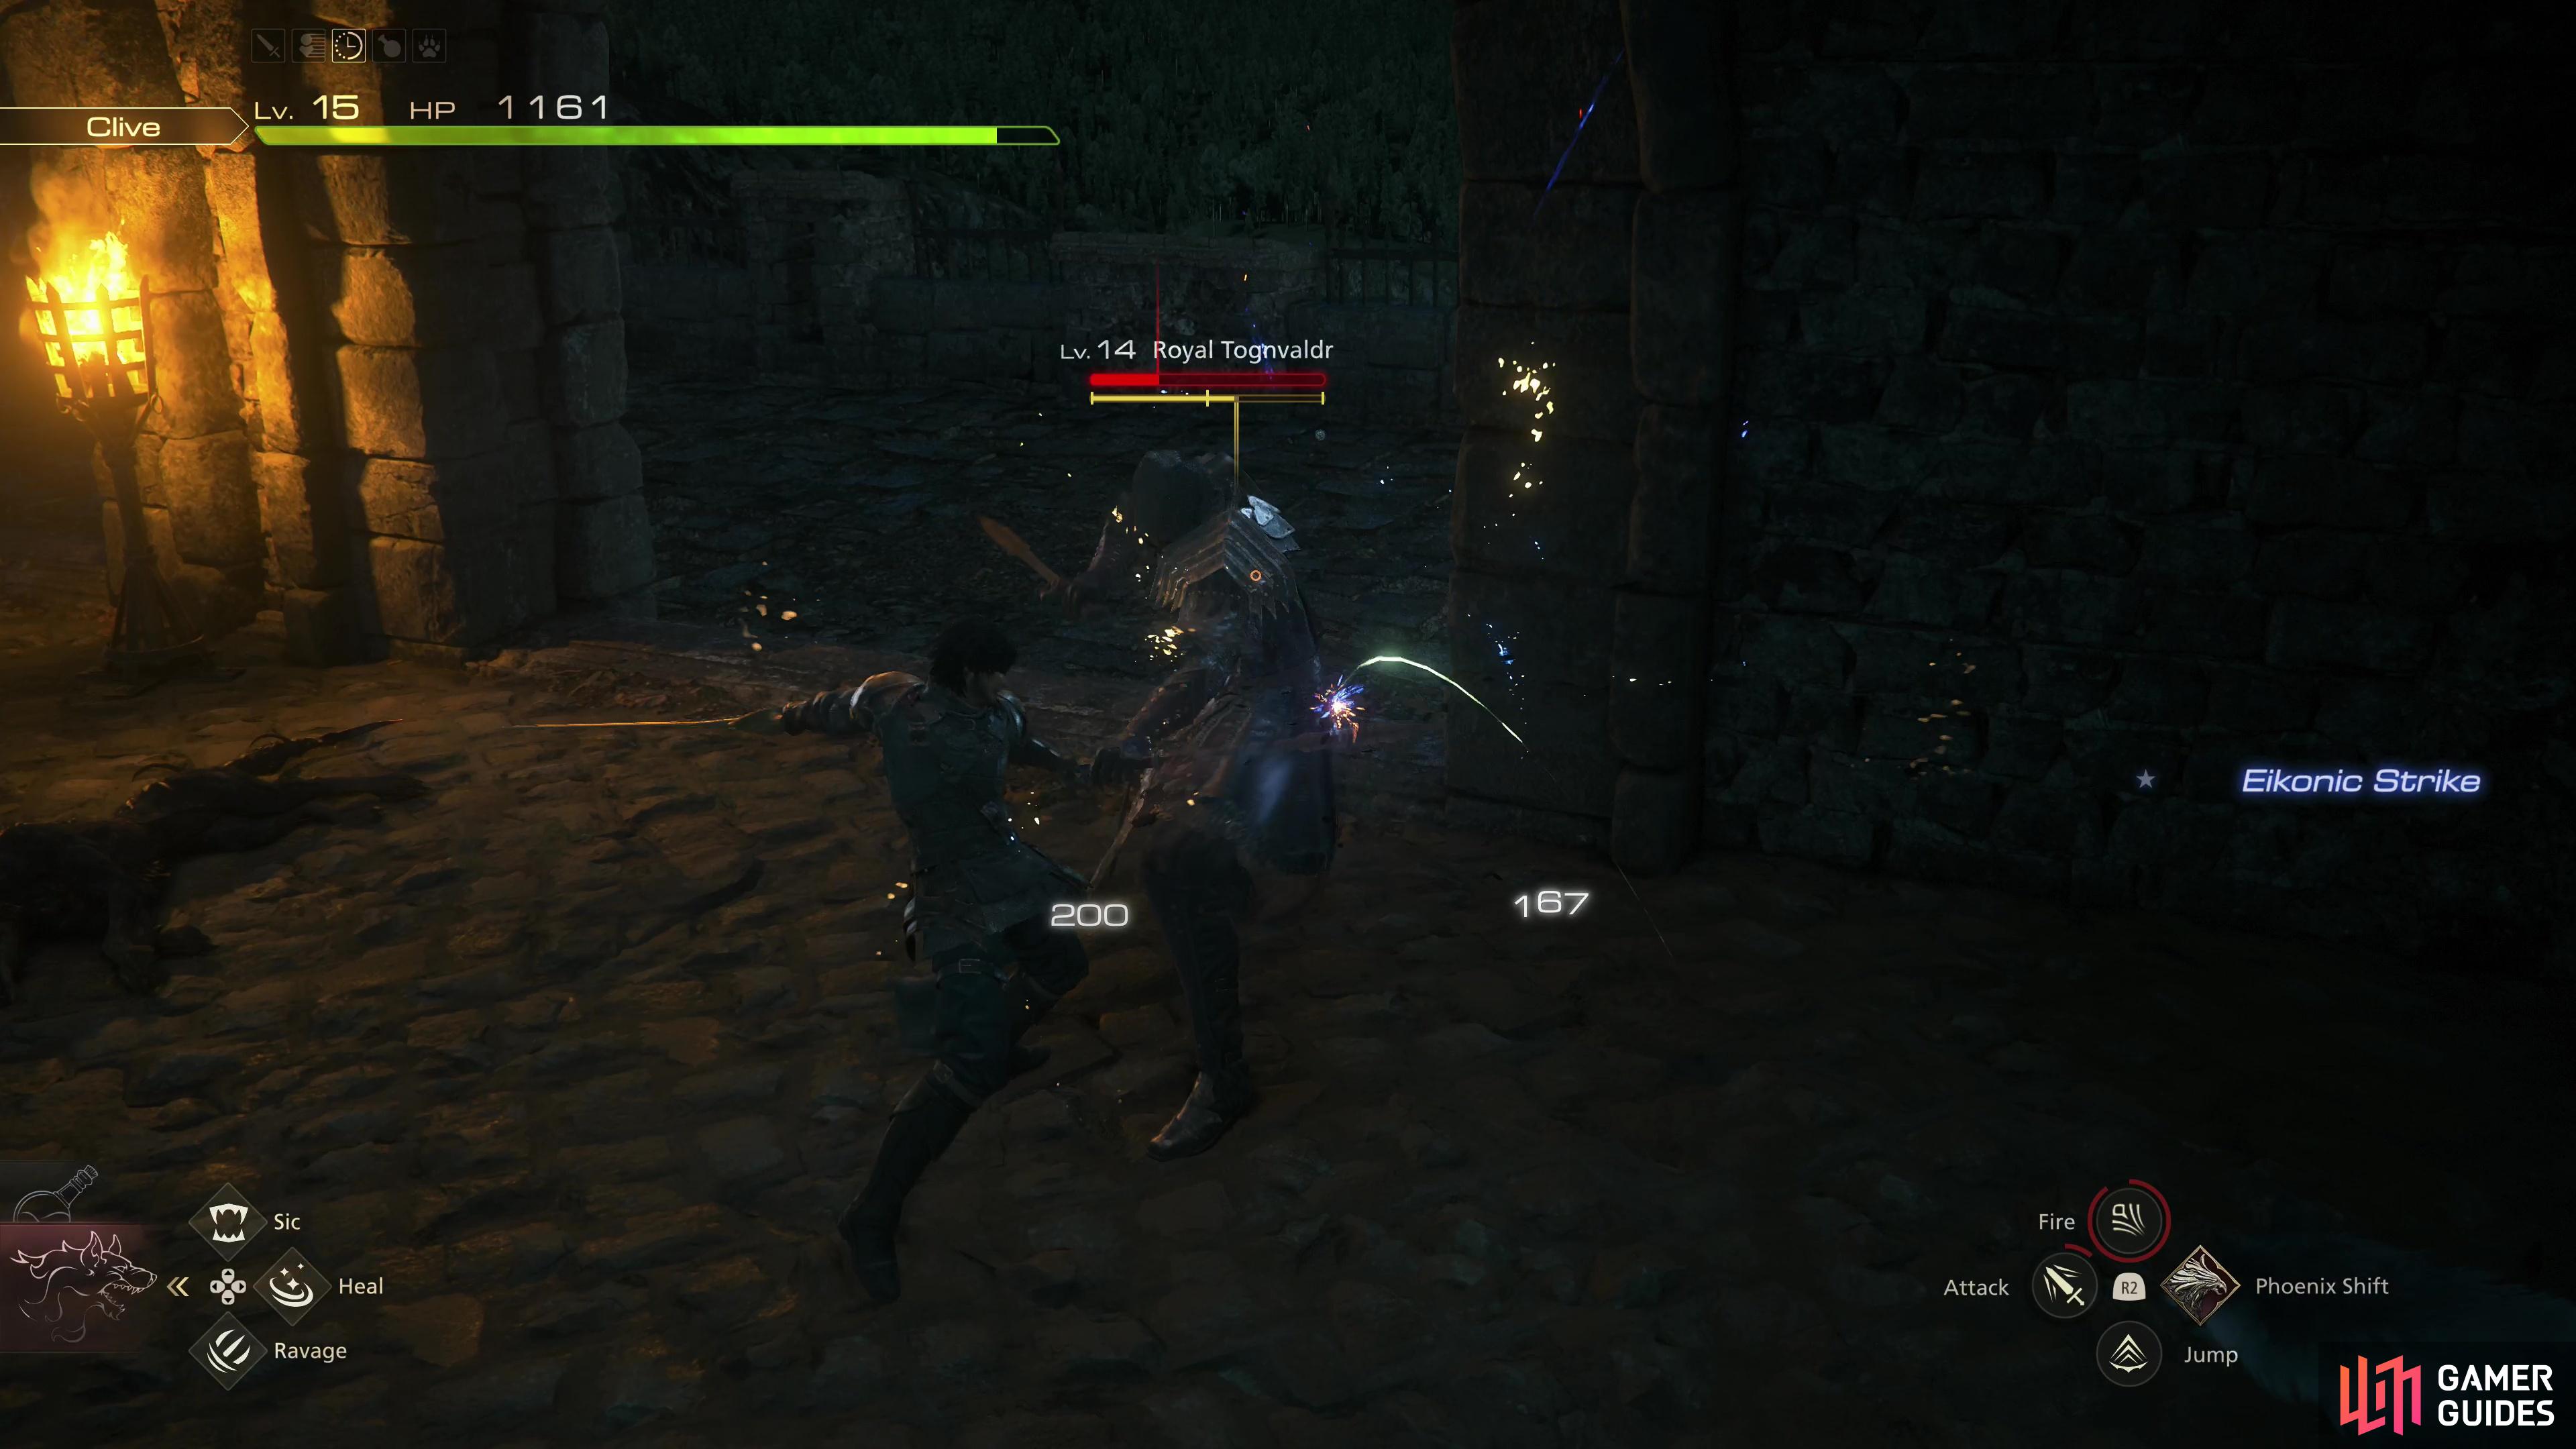
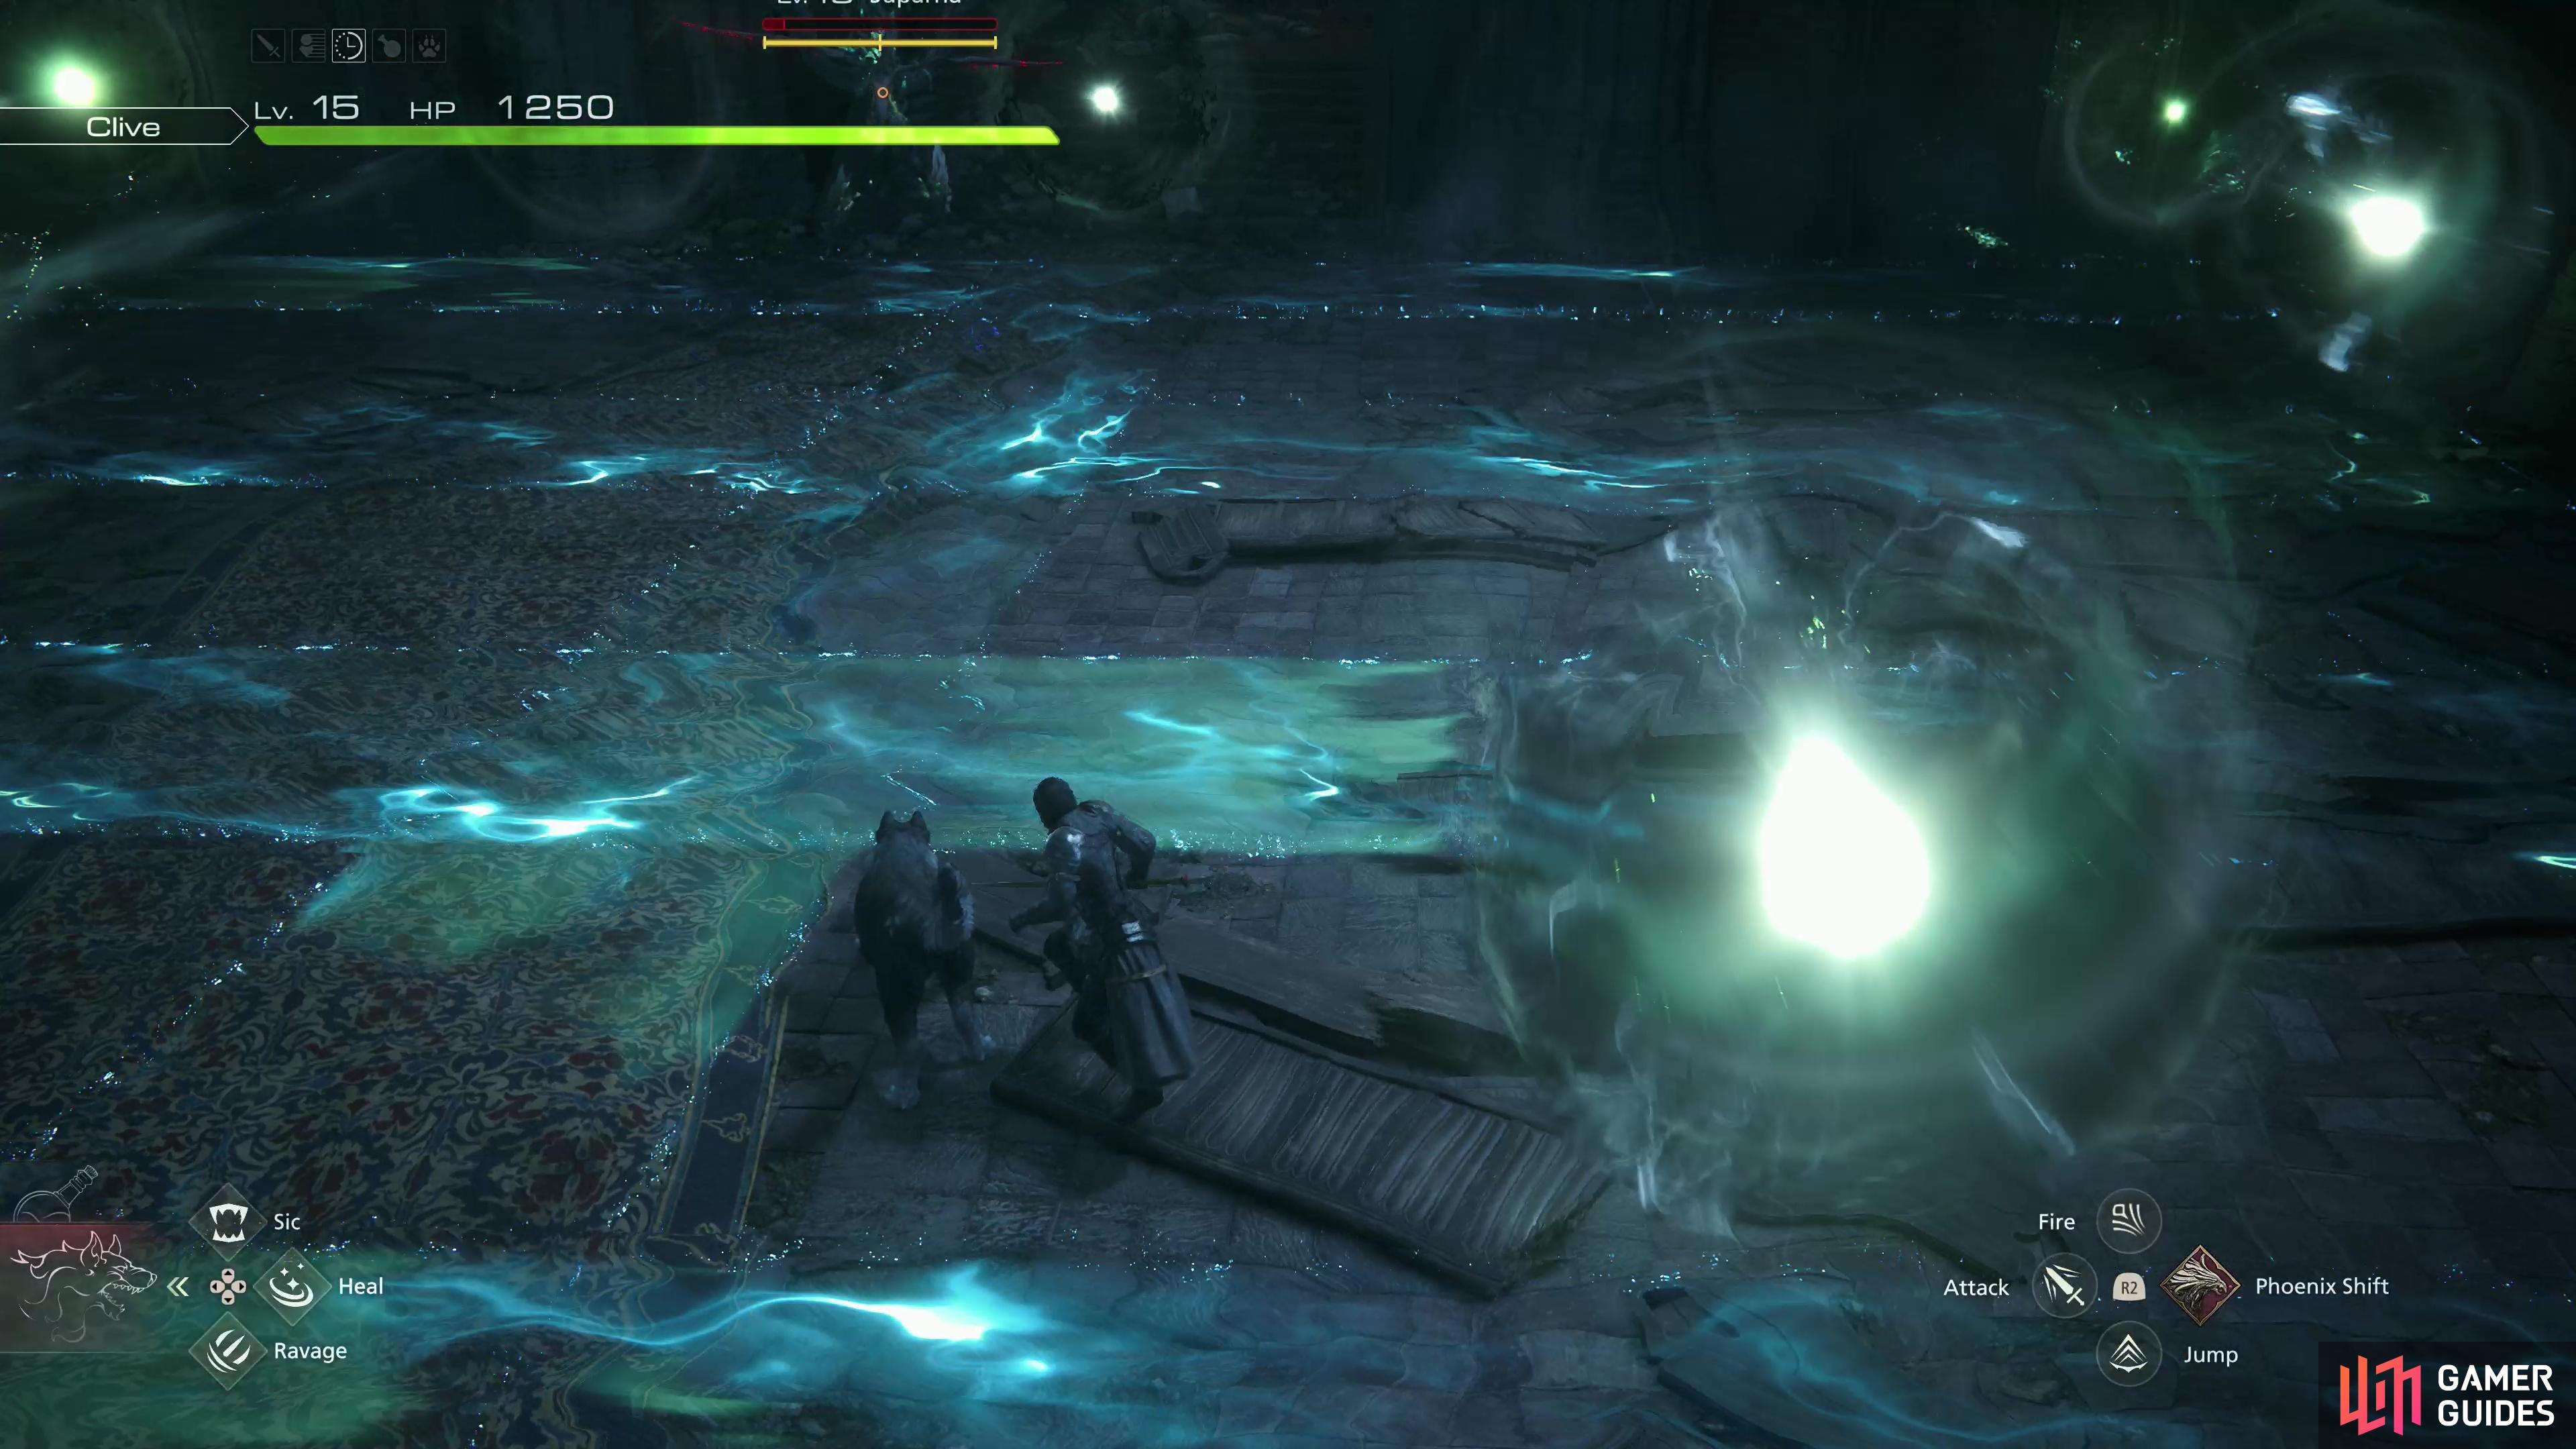
As you ascend the tower towards Benedikta, you’ll have to fight another Royal Tognvaldr.
Chasing Benedikta - FF16 Headwind Main Quest Walkthrough
After checking on Cid, you’ll be forced to advance up the nearby stairs alone. Continue up three flights of stairs, then go through a doorway to the left to reach a small room housing a chest, within which you’ll find a hunk of Meteorite. Grab it, then return to the stairs and go through a doorway to the right and cross a bridge to reach a room where you can pick up a Potion. Continue through another doorway and you’ll find some double doors in front of you and a doorway to the right.
Go through the double doors and you’ll reach a storeroom. Search around to gather a Bloody Hide and a High Potion, then loot a chest to obtain The Favor of Fire (Heatwave). Like the previous accessory, this one grants one of your Eikonic Abilities a damage buff - in this case Heatwave will deal 9% increased damage.
Exit the room and go through the neglected doorway. Turn left and you’ll pick up a Potion, then go through some double doors at the end of the hall to stumble across more Royalists. One of the Royal Gandfreyrs will use healing magic periodically, so target him and take him out to make the rest of the fight go smoother and when you’re done painting the room with Royalist blood, exit via a door to the left. Go upstairs and pick up 2 Gil, then round a corner and you’ll spot another item beyond some rubble. Don’t worry, we’ll get to it shortly.
Turn right and head up a rickety wooden walkway, ascend a ladder, then drop off to the left. Round a corner and smash another group of Royalists (and their little dogs, too), then enter the castle via a door. Once inside, note some stairs up to the right and promptly ignore them to head downstairs and snag that item that was taunting you earlier - another Potion. Backtrack and head up the stairs you neglected earlier and follow the linear path ahead until you encounter two woefully overmatched Royalists. Pummel them, then note some double doors to the left. That’s where you want to end up, but first continue forwards and pick up some Wyrrite near some corpses. Generous corpses.
Backtrack and go through the double doors to reach a war room crawling with enemies, including another healer and… well, a little bit of everything you’ve encountered in the castle thus far. Scarlet Cyclone works well here, just be sure to headhunt the healer, first. After the massacre, go through a door on the far side of the room and ascend some stairs to find 2x Sharp Fangs, then continue upstairs and through another door to find another Royal Tognvaldr.
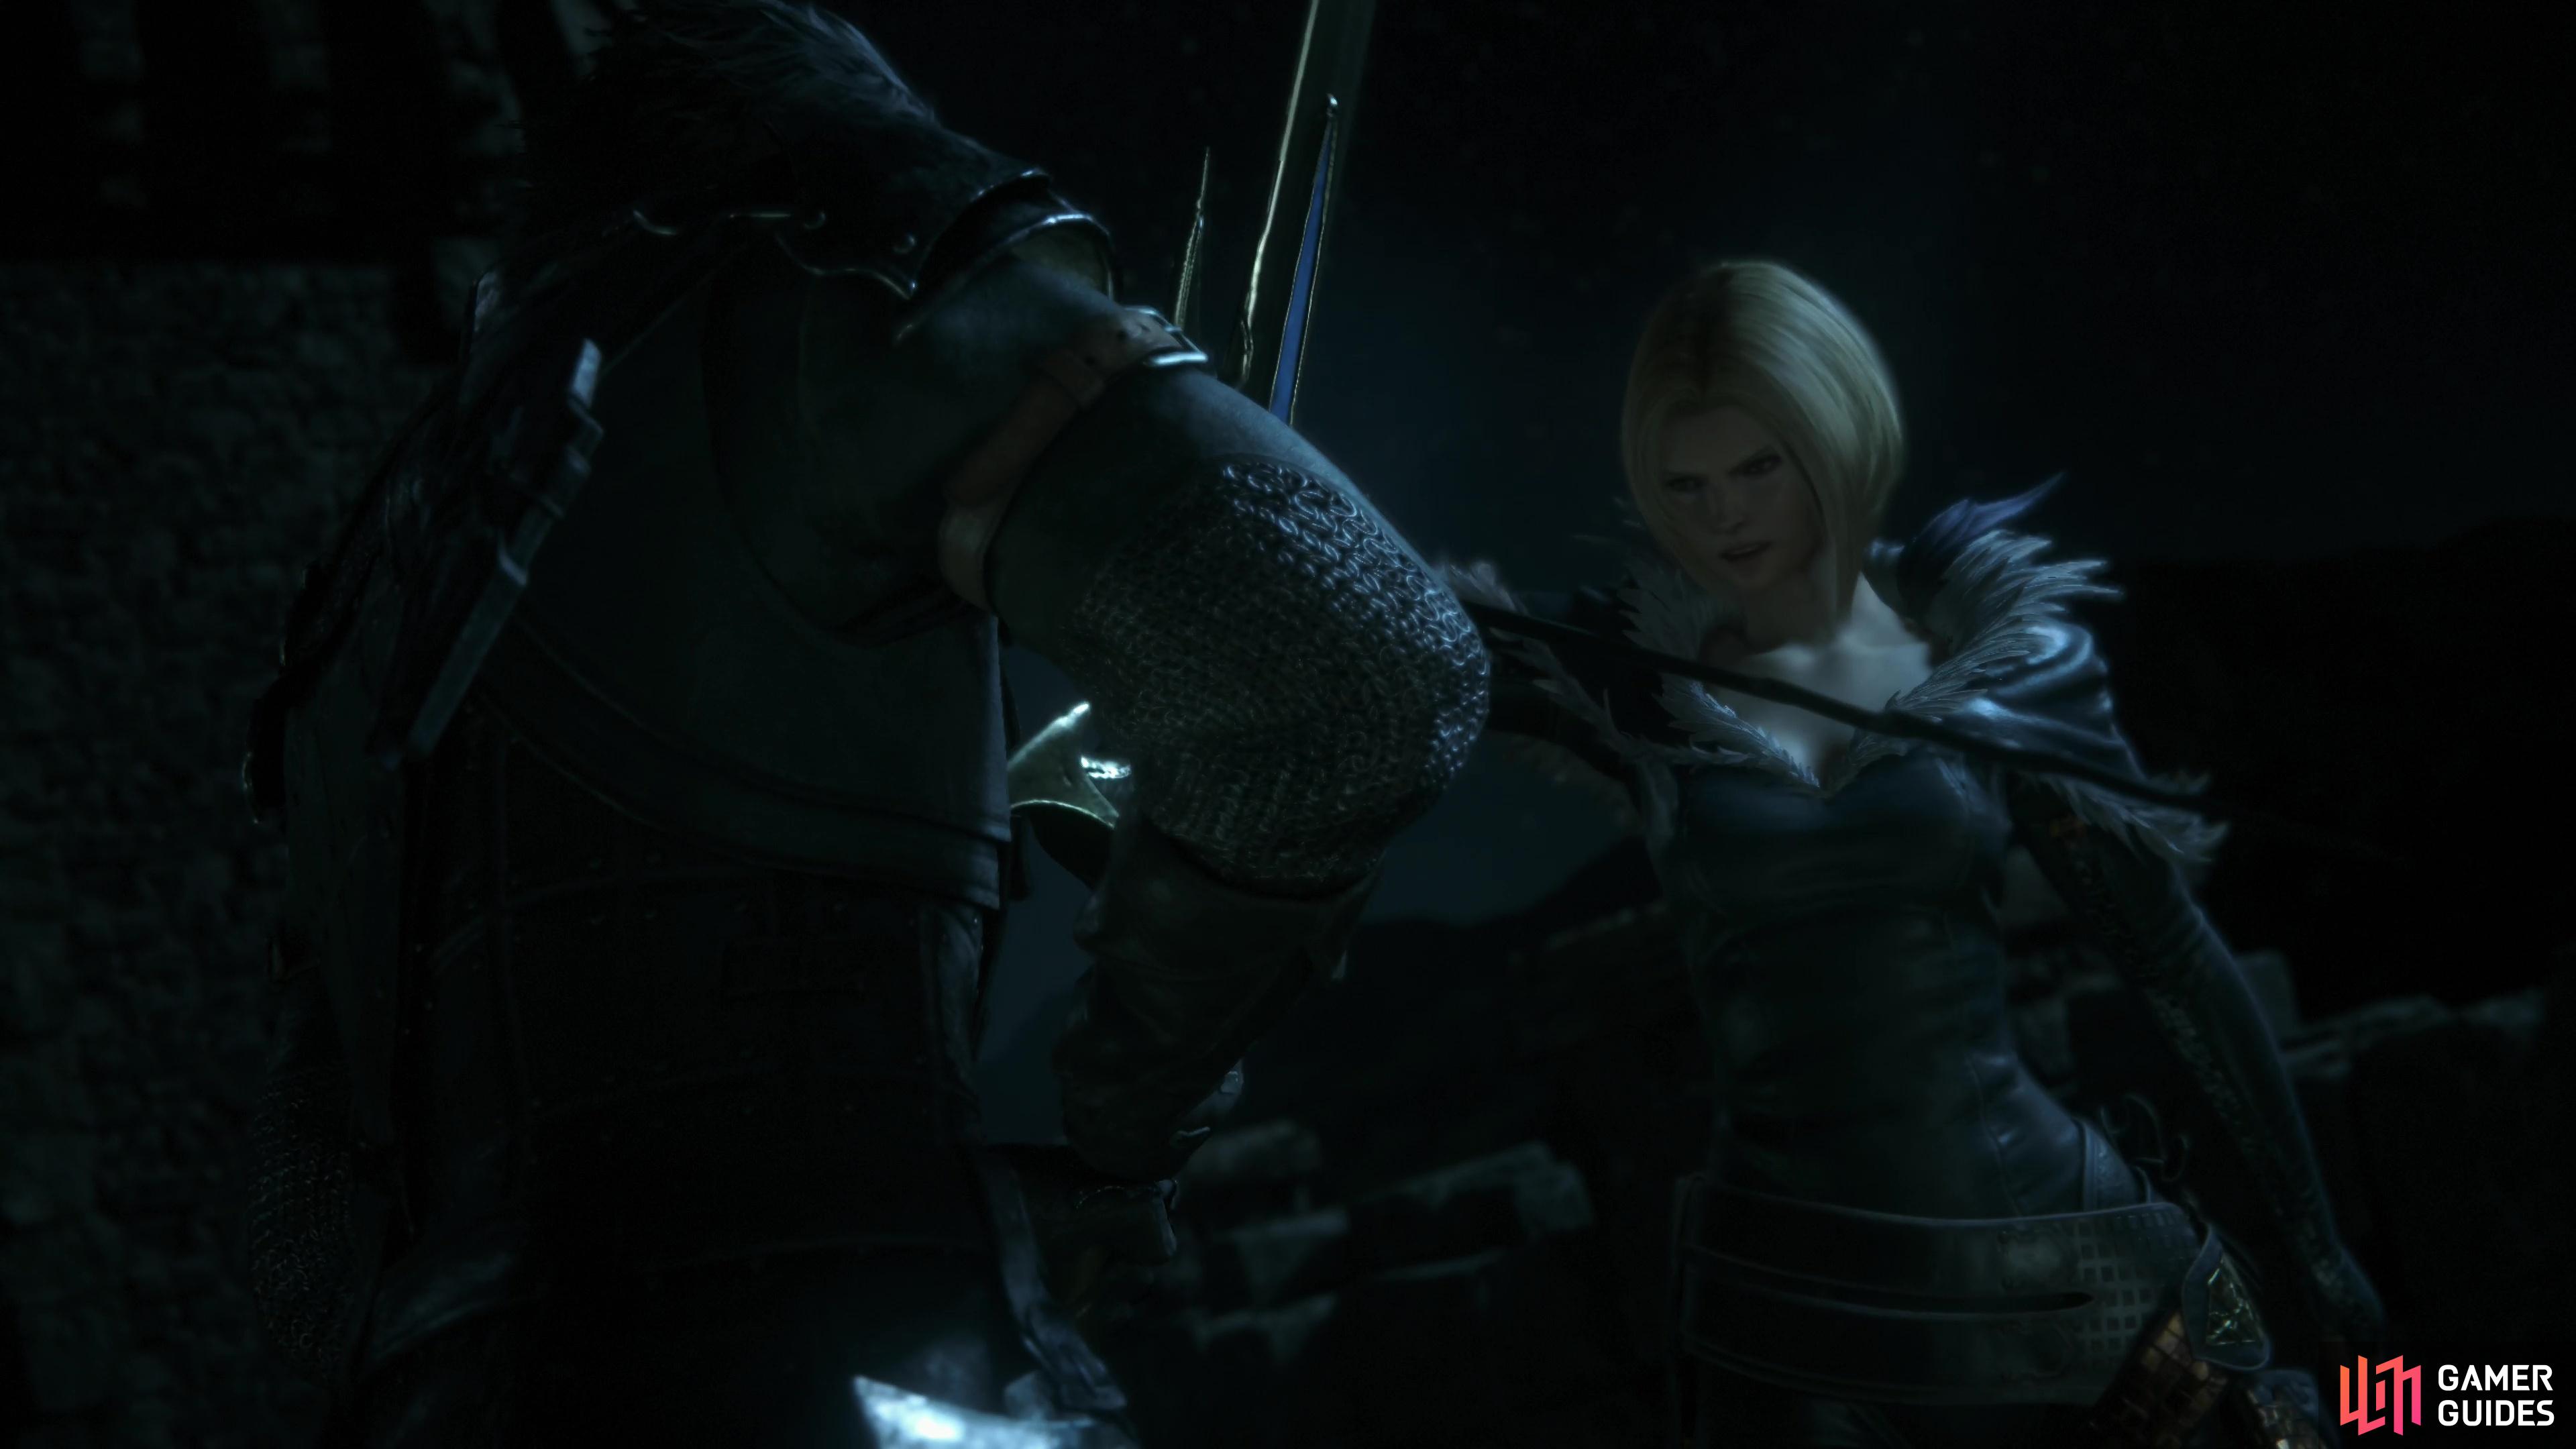
Having bested her “sisters” twice, Benedikta has no choice but to confront you herself.
This one is joined by two Royal Mastiffs, but otherwise the fight is exactly the same as before. Take out the mutts first so you can focus on the Royal Tognvaldr and once he’s defeated go through another door. Snag a High Potion on the ground right in front of you, then go through a doorway to the right and turn left to find a Potion in the corner. Go up some stairs and dispatch another pair of outclassed Royalists, snag 2x Piles of Magicked Ash as you ascend, then exit outside and press on towards the roof of the tower, picking up another Bloody Hide and a Potion before you reach some double doors.
Through these doors you’ll find Benedikta, who has no choice but to take Clive seriously now. Defeating her will end the main quest Headwind, after which the story continues with the next main quest, Wings of Change.
No Comments