
Near the end of Final Fantasy 16, you’ll unlock various side activities, and one of these activities are the Chronolith Trials. Although you can attempt them earlier in the game, you’ll want to wait until you’re at your strongest, which is during the last mission. Chronolith Trials test your understanding of each specific Eikon in a time-based mode that rewards you bonus time when using battle techniques. The last Chronolith Trial you’ll unlock in Final Fantasy 16 is Odin: Trial by Darkness. Read below to find out the best way to complete this trial, and what you’ll get as a reward for doing so.
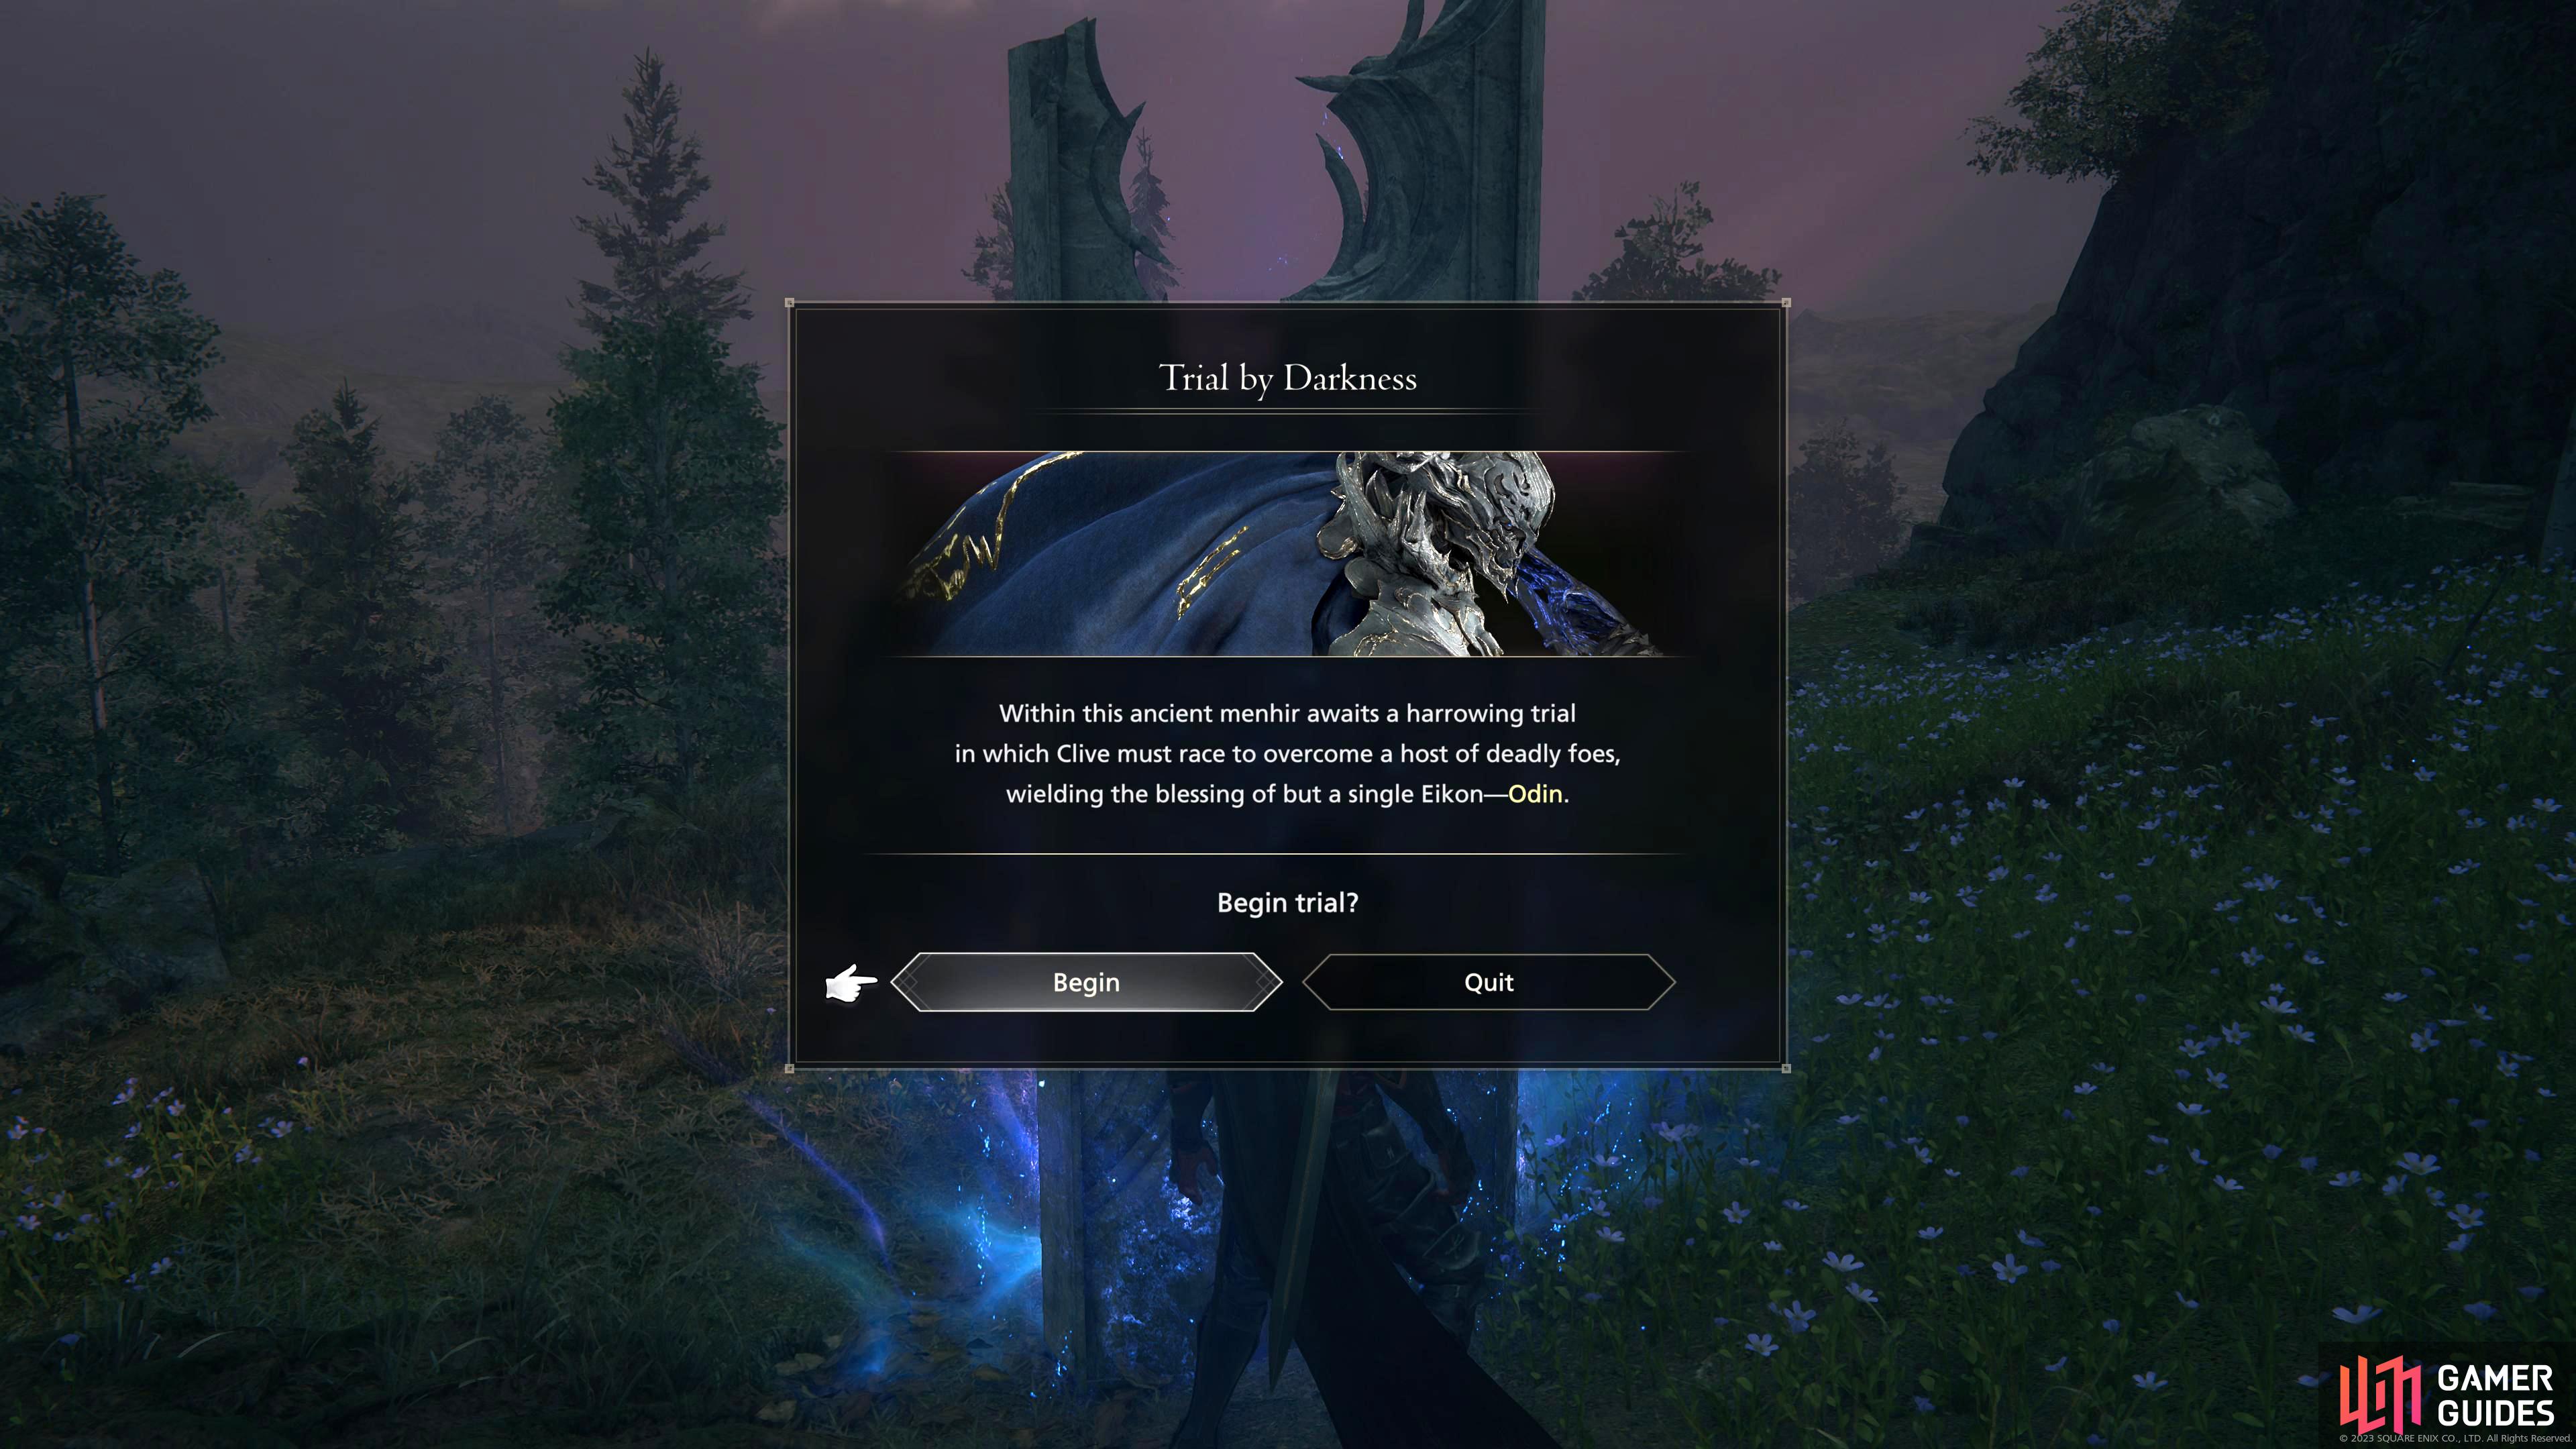
Trial by Darkness is the Odin Chronolith Trial in Final Fantasy 16.
Where to Find The Hand of Enceladus (Odin) Chronolith in FF16
There are different names for each of the Chronoliths with this one being called The Hand of Enceladus, and they are usually concealed in the region where you defeated the Eikon for that trial. Since this trial is for Odin, and you defeat him in Waloed, so it only makes sense for it to be in Waloed. The problem is, Waloed, although smaller than the other regions, is still a large place to search. Fortunately, this is where we come in, teleport to the Vidargraes Obelisk then head southeast into the Badbach Conservatory. Make your way past the church then proceed southeast once again to bring you to a small open area. At the back of this area, near the cliff edge is the Chronolith.
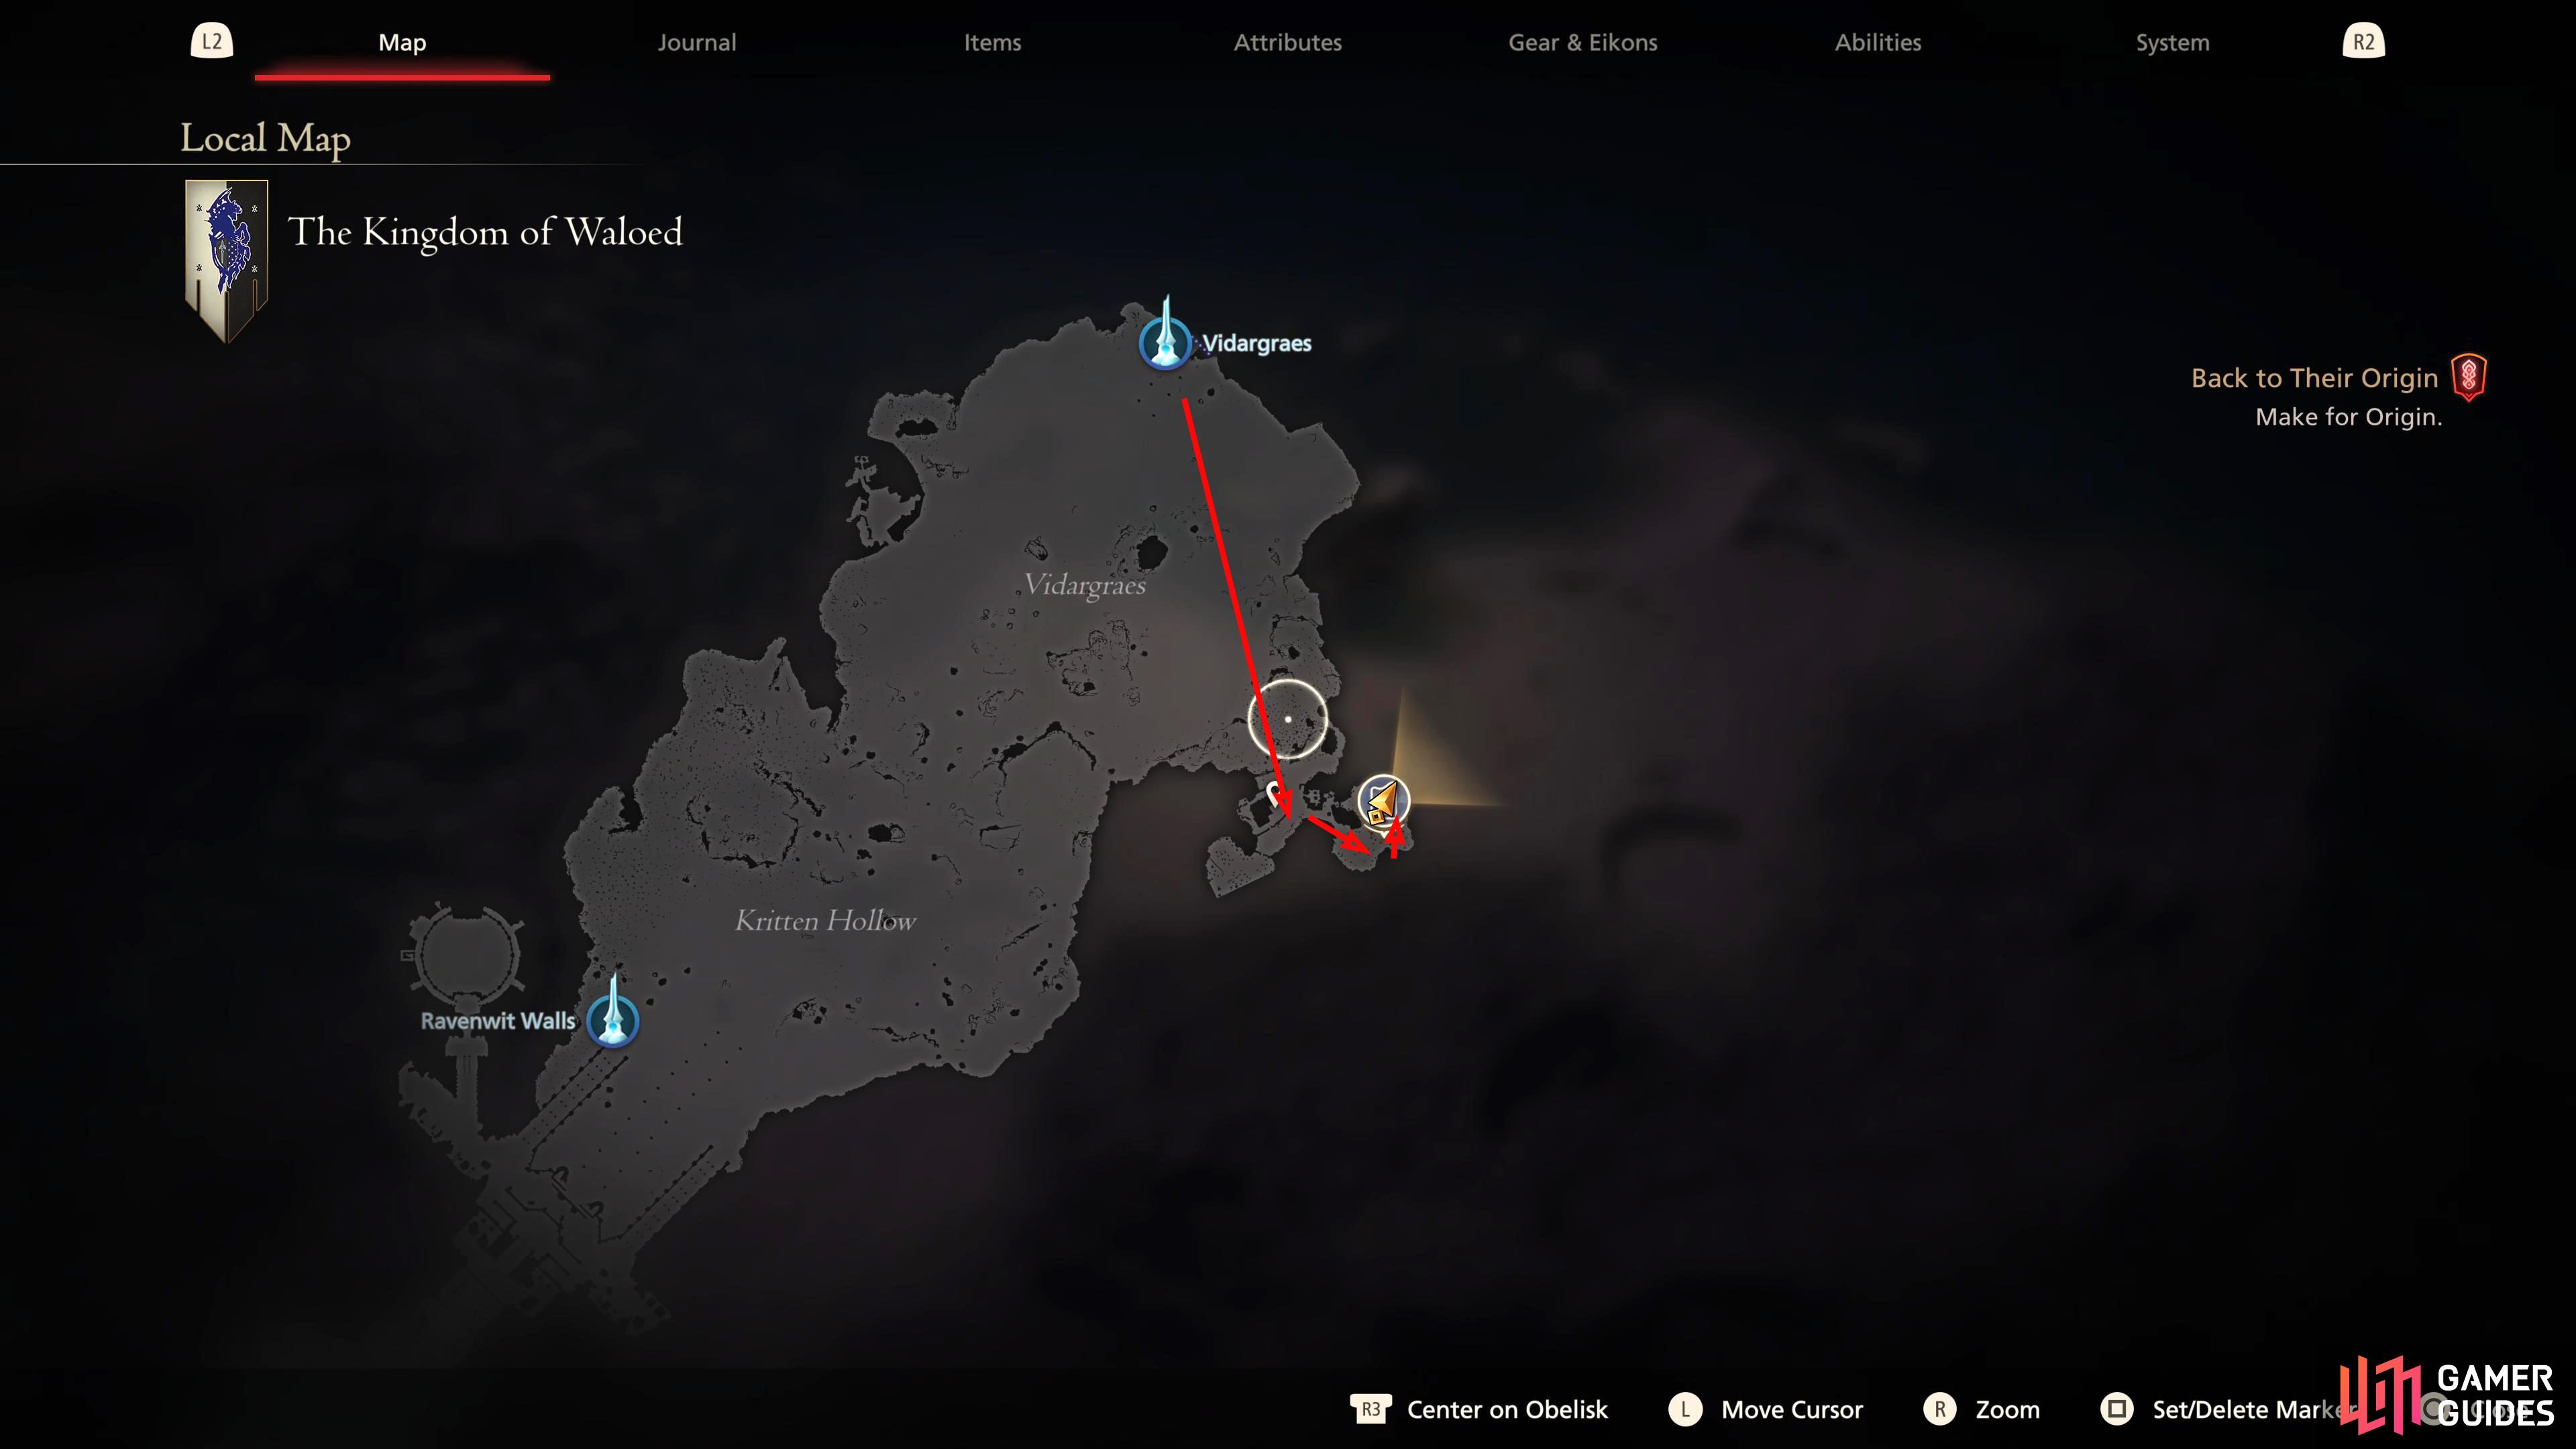
From the Vidargraes obelisk in Waloed, head southeast into Badbach Conservatory.
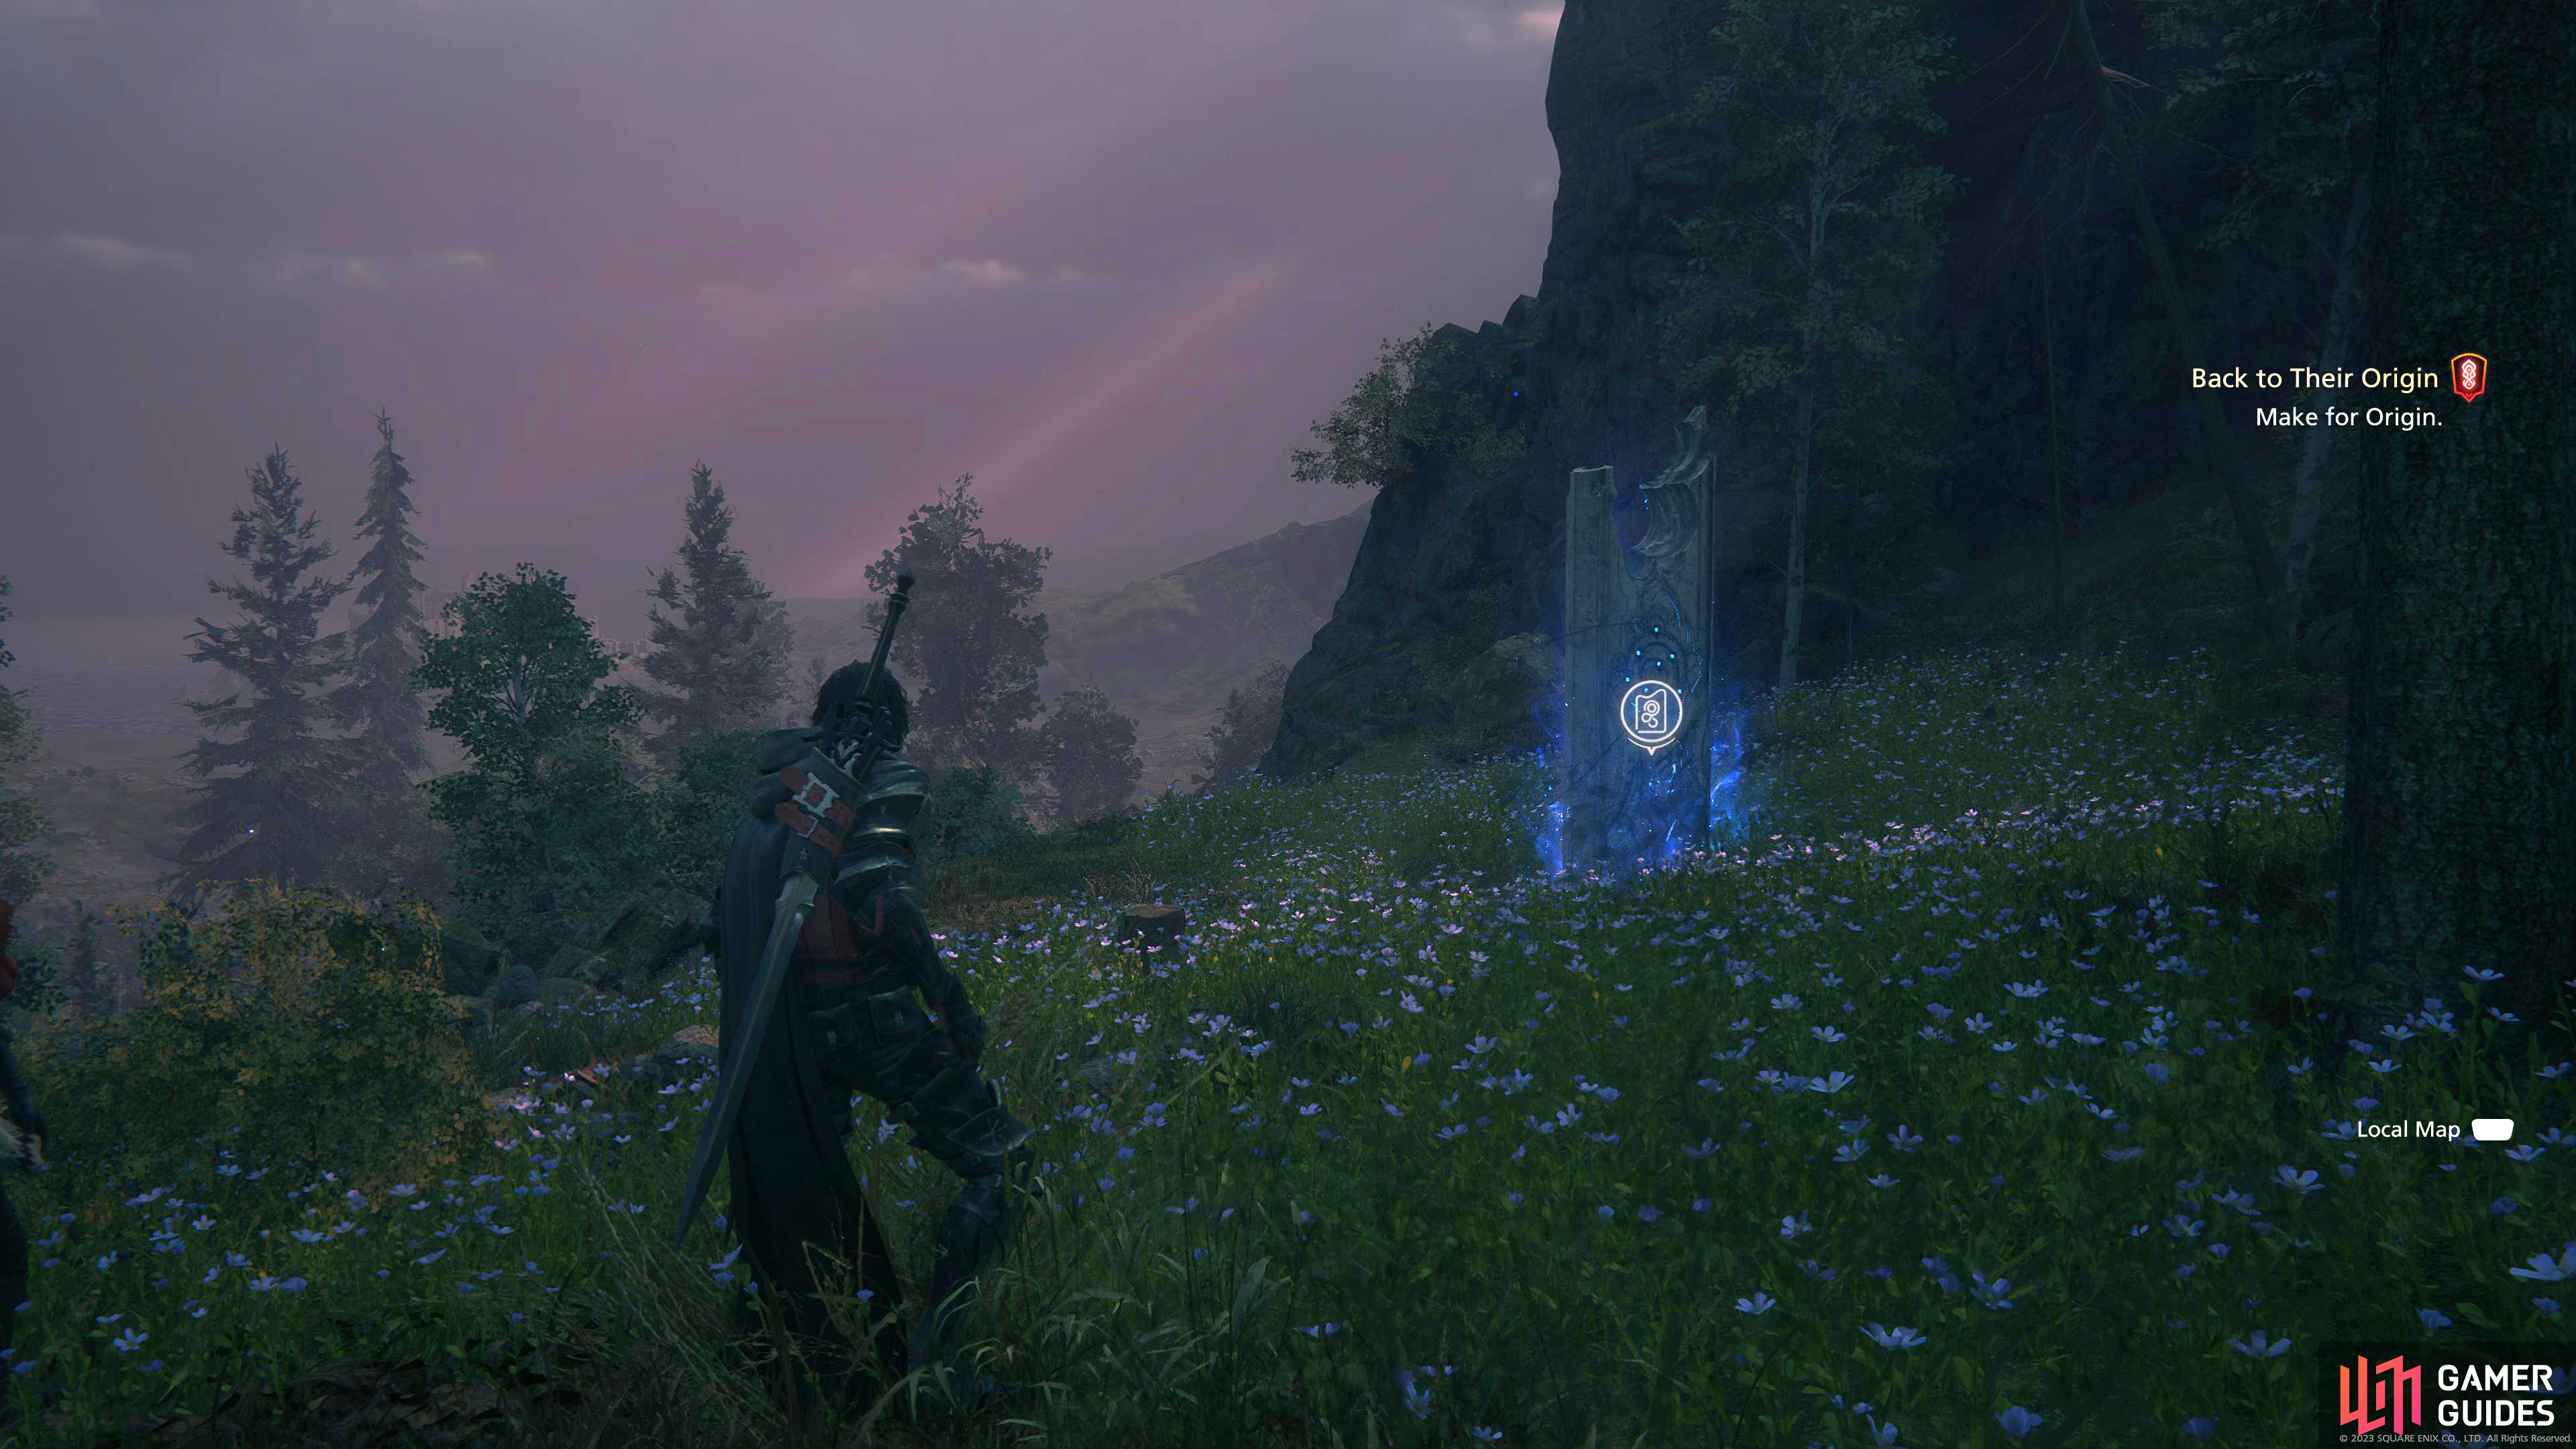
Go behind the church then head southeast again where you’ll find the Chronolith.
Odin Chronolith Trial Preparation
Preparing before the trial will make your life significantly easier which is also why it’s recommended to complete the trials at the end of the game, during the Back to Their Origin main scenario quest. This is because what you have equipped before entering the trial is what you’ll have in it. Also, you can upgrade the respective abilities for each stage which will go a long way.
Equipment
This list is going to assume you took the advice stated above, and you’re doing this during the last mission. The best sword in the game prior to New Game Plus is the Gotterdammerung before the Ultima Weapon takes over. You can only craft this weapon if you have the design (blueprint) for it which is a reward for completing the Blacksmith’s Blues IV Side Quest. Then you have the Ouroboros Belt which is crafted from the design obtained during the completion of the Blacksmith’s Blues III Side Quest. Finally, there is The Founder’s Ring which is acquired as a reward from the Where There’s a Will Side Quest. Here is an overview of the recommended equipment for the trial.
| Name | Slot | Description | Location |
|---|---|---|---|
| Weapon | +375 Attack + Stagger | Complete the Blacksmith’s Blues IV Side Quest to obtain the recipe and then craft it. | |
| Belt | +95 Defense, +32 HP | Crafted from the recipe obtained from the Blacksmith’s Blues III Side Quest. | |
| Vambraces | +94 Defense, +50 HP | Reward for completing the Where There’s a Will Side Quest. | |
| Accessory 1 | Increases attack and alters Precision Dodge | Reward for 85 Renown at the Patron of Whispers. | |
| Stage Ability Accessory | Accessory 2 | – | Multiple |
| Stage Ability Accessory | Accessory 3 | – | Multiple |
For your accessories, there isn’t much better than the Berserker Ring, but be warned that this will change the dodge animation; if you don’t like this, use the Genji Gloves for a bonus 5% damage, or the Adamantite Gauntlets for an extra 500 HP instead. The other two accessories will change from stage to stage where you’ll equip the stage specific ability accessories instead. For example, Gungnir and Heaven’s Cloud are the abilities in stage one, so you’d equip the The Favor of Darkness (![]() Heaven’s Cloud) and The Breath of Darkness (
Heaven’s Cloud) and The Breath of Darkness (![]() Gungnir) in the second and third accessory slot.
Gungnir) in the second and third accessory slot.
Odin Accessory List in Final Fantasy 16
| Name | Description | Location |
|---|---|---|
| The Favor of Darkness ( |
Increases Heaven’s Cloud will damage by 15% | Buy from the Shop at |
| The Breath of Darkness ( |
Reduces Rift Slip cooldown time by 0.5 seconds | Buy at from the Shop at the Dalimil Inn in Dhalmekia |
| The Breath of Darkness ( |
Reduces Heaven’s Cloud cooldown time by 2.5 seconds | Buy from the Shop at |
| The Pull of Darkness ( |
Increases the rate at which Dancing Steel fills Zantetsuken gauge by 25% | Drop from the boss during the Streets of Madness Main Quest |
| The Will of Darkness ( |
Increases Gungnir will damage by 30% | Buy from the |
| The Breath of Darkness ( |
Reduces Gungnir cooldown time by 2.0 seconds | Reward from the Nobody’s Tool Side Quest |
| The Will of Darkness ( |
Increases Dancing Steel will damage by 20% | Reward for completing the Odin Chronolith Trial |
Trial by Darkness - Stage 1 Walkthrough
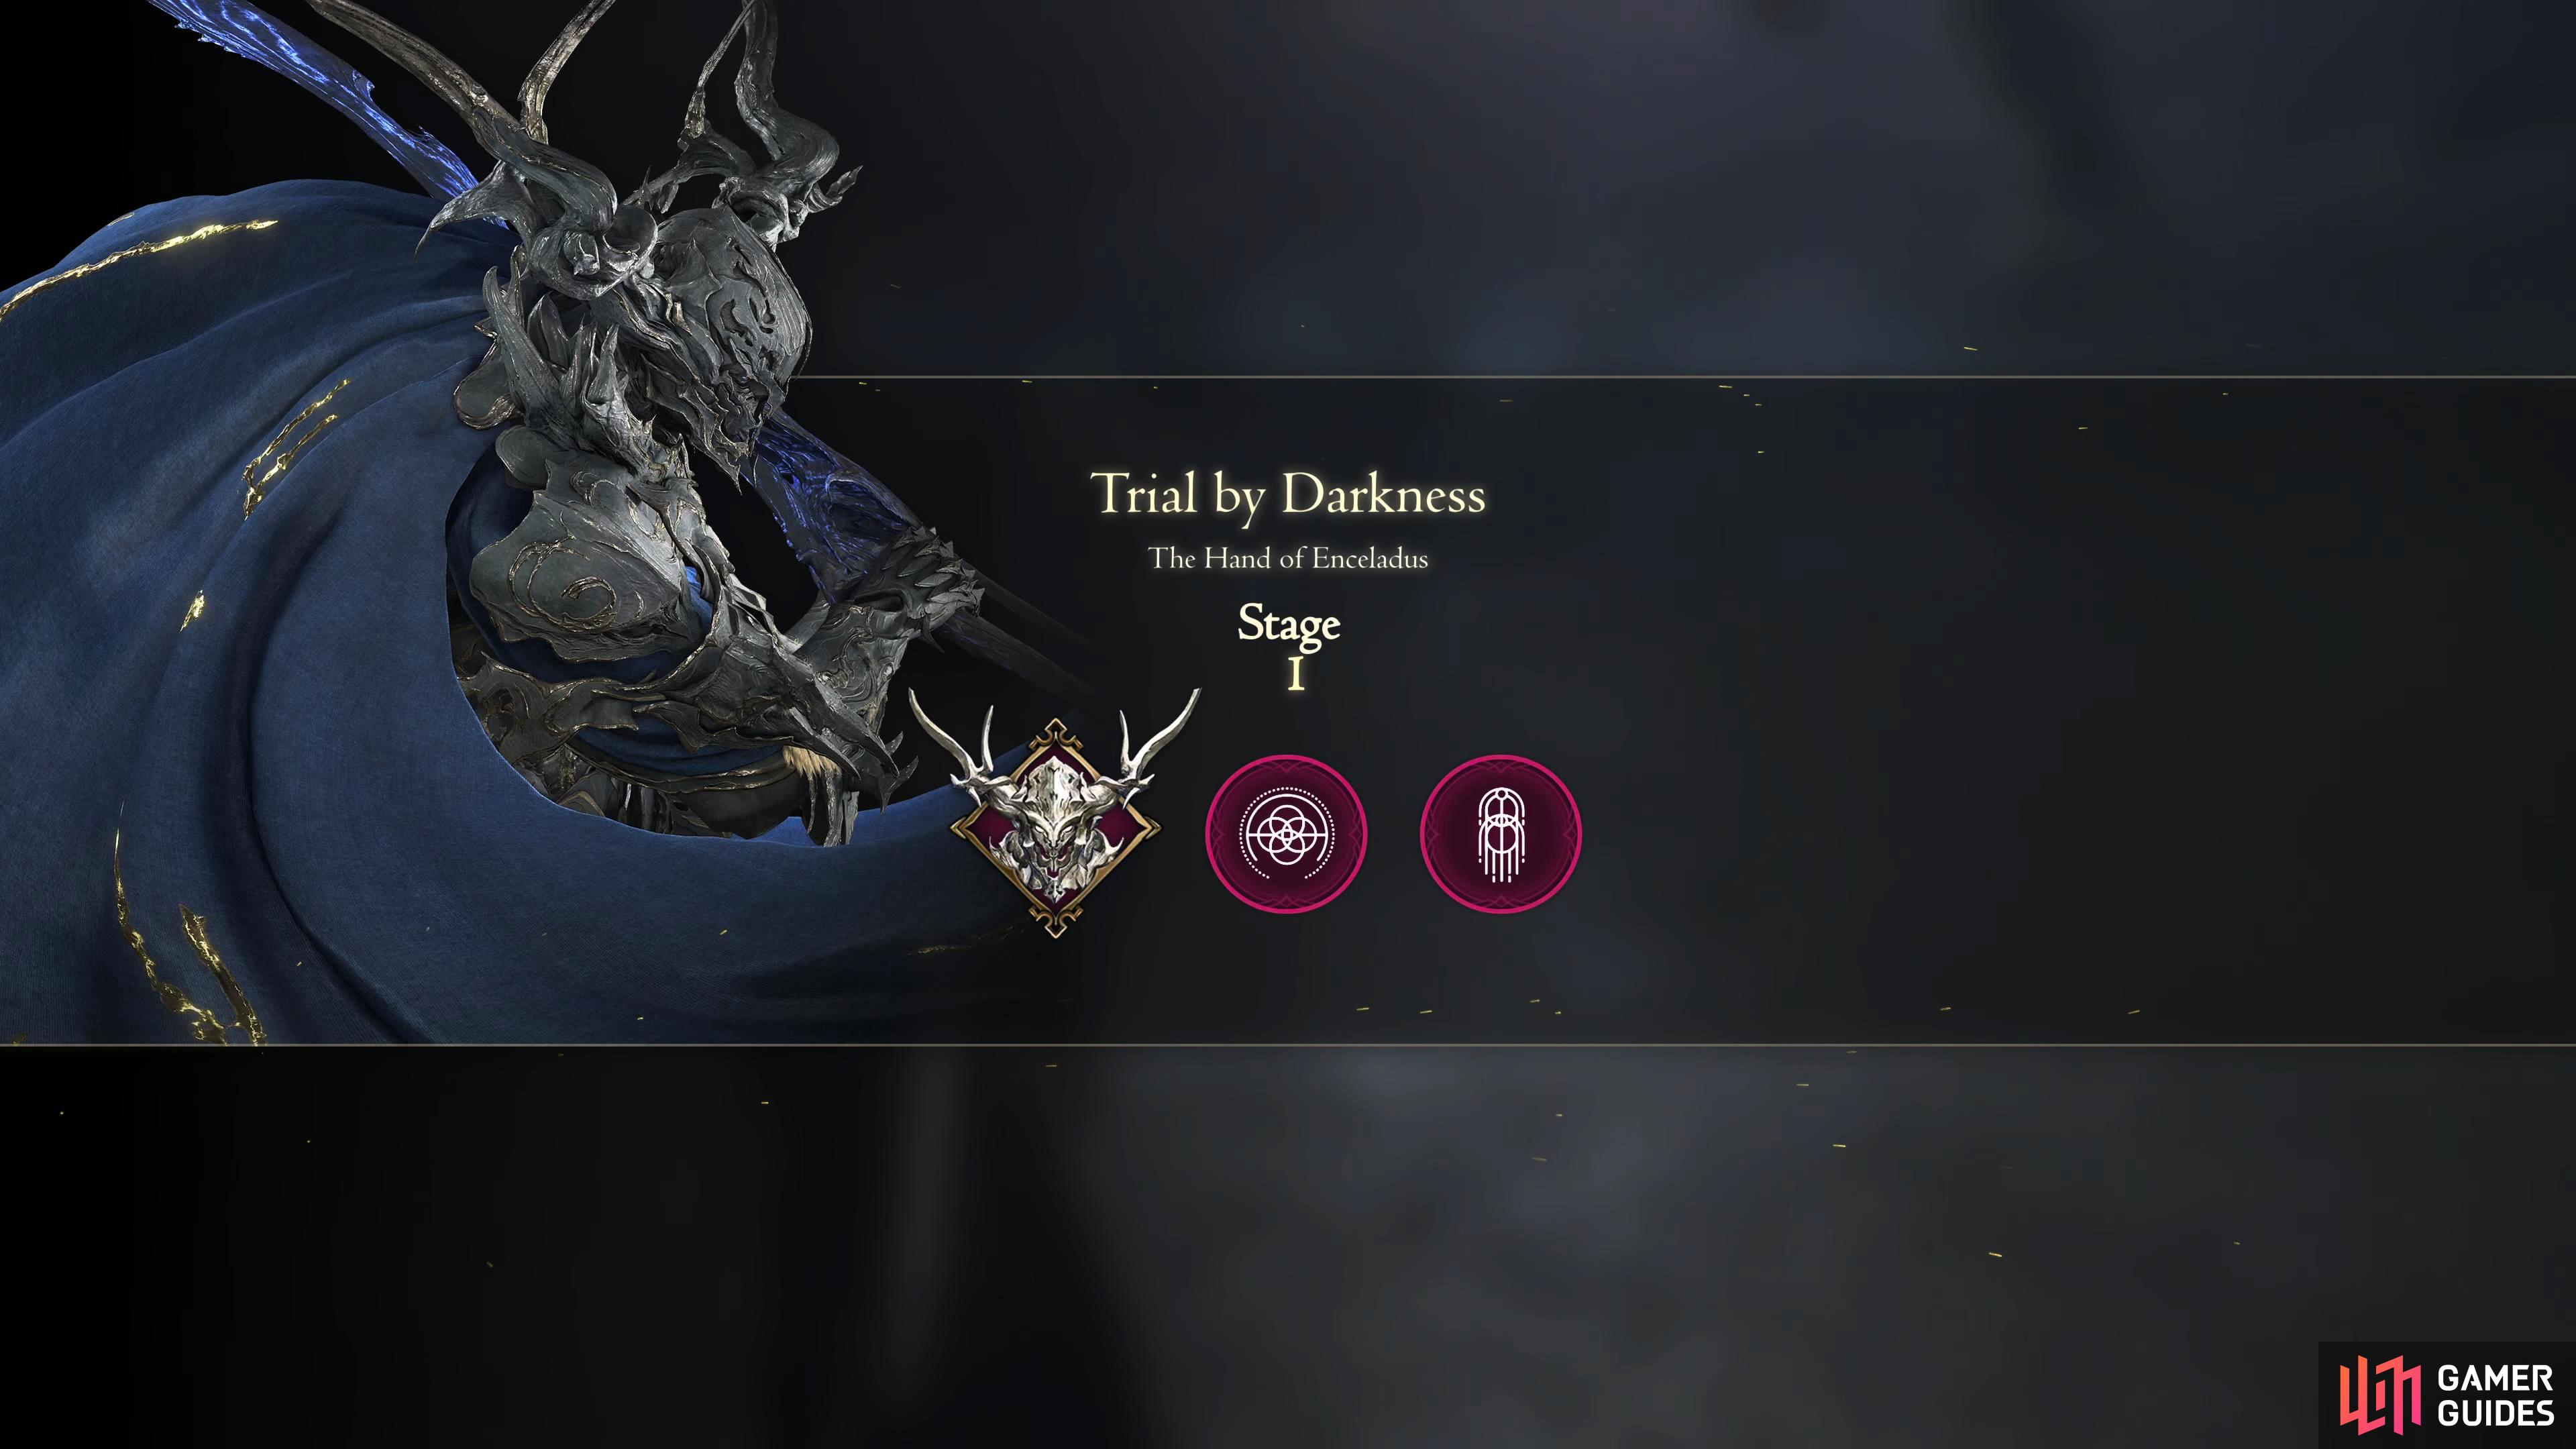
Stage 1 has Odin’s Gungnir and Heaven’s Cloud abilities.
| Ability | Suggested Accessory |
|---|---|
| The Favor of Darkness ( |
|
| The Will of Darkness ( |
Equip the above accessories either before you enter the trial, or during the stage screen. Upgrade both Heaven’s Cloud and Gungnir. If you don’t have enough ability points to do this, you can reset some of your other abilities, and then once the trial is complete, put them back on. The trial-specific battle techniques for this stage are Lv 5 Zantetsuken, Full Cloud, Full Gungnir, and Steel Counter. You’ll obtain a 15 second bonus for every fully charged Zantetsuken, 5 seconds for a successful parry with Steel Counter, and 12 seconds each for repeatedly pressing the attack button during both the Gungnir and Heaven’s Cloud abilities (attacks can be prolonged).
For the regular battle techniques available for every trial, there are: Precision Dodge which is self-explanatory, Punish that requires you to execute the enemy when they’re downed, Multi Burst, perform 10 ![]() Magic Bursts, and finally, you have Ability Finish which requires you to finish an enemy with any ability. The easiest techniques to execute are the Lv 5 Zantetsuken, Full Cloud, and Full Gungnir. You’ll be doing these without thinking. Only attempt the Steel Counter technique if you’re proficient at parrying otherwise ignore it altogether because you’ll just take unnecessary damage.
Magic Bursts, and finally, you have Ability Finish which requires you to finish an enemy with any ability. The easiest techniques to execute are the Lv 5 Zantetsuken, Full Cloud, and Full Gungnir. You’ll be doing these without thinking. Only attempt the Steel Counter technique if you’re proficient at parrying otherwise ignore it altogether because you’ll just take unnecessary damage.
Stage 1-1
The beginning stage pits you against five Darkbound Muggers, aka ![]() Goblins. Run in and immediately use Gungnir and repeatedly press
Goblins. Run in and immediately use Gungnir and repeatedly press  to prolong the attack to increase the Zantetsuken gauge as well as obtain the time bonus from Full Gungnir. If Zantetsuken is at, or near level 5, attack with the
 ![]() Arm of Darkness out to get it there. On the other hand, if you’re only at level 2 or 3, use Heaven’s Cloud, and repeatedly press for that too. Once Zantetsuken is at level 5, hold while Arm of Darkness is out to decimate the group. Get used to this, as this trial is really called the Zantetsuken trial. Note, don’t lock on to any enemy (other than a boss) while using Zantetsuken, instead, face the camera towards the group, then use it. This will make sure you hit all of them instead of just a couple.
Arm of Darkness out to get it there. On the other hand, if you’re only at level 2 or 3, use Heaven’s Cloud, and repeatedly press for that too. Once Zantetsuken is at level 5, hold while Arm of Darkness is out to decimate the group. Get used to this, as this trial is really called the Zantetsuken trial. Note, don’t lock on to any enemy (other than a boss) while using Zantetsuken, instead, face the camera towards the group, then use it. This will make sure you hit all of them instead of just a couple.

Stage 1-2
This stage begins immediately after the last. Once the previous enemies dissipate, a new group consisting of three Darkbound Hunters, and three Darkbound Wolves will appear. You can repeat the exact same strategy from stage 1-1. Gungnir > Heaven’s Cloud > Lv 5 Zantetsuken, group dead.
Stage 1-3
This is a little tougher as you’ll have to battle a Darkbound Minotaur. If you were to parry an attack, this would be the monster to do it against due to its slow, hard-hitting attacks. Once again, the goal is to get to Lv 5 Zantetsuken as soon as possible. Go into Arm of Darkness, use both Heaven’s Cloud, and Gungnir to build up the gauge while dodging any dangerous attacks, and use the +  “lunge” attack to perform a multi-slice attack to cap it. At level 5, use
 ![]() Limit Break if it’s available, and use Zantetsuken. This should outright kill the Minotaur, but if it’s still alive, repeat the above until it falls.
Limit Break if it’s available, and use Zantetsuken. This should outright kill the Minotaur, but if it’s still alive, repeat the above until it falls.
Trial by Darkness - Stage 2 Walkthrough
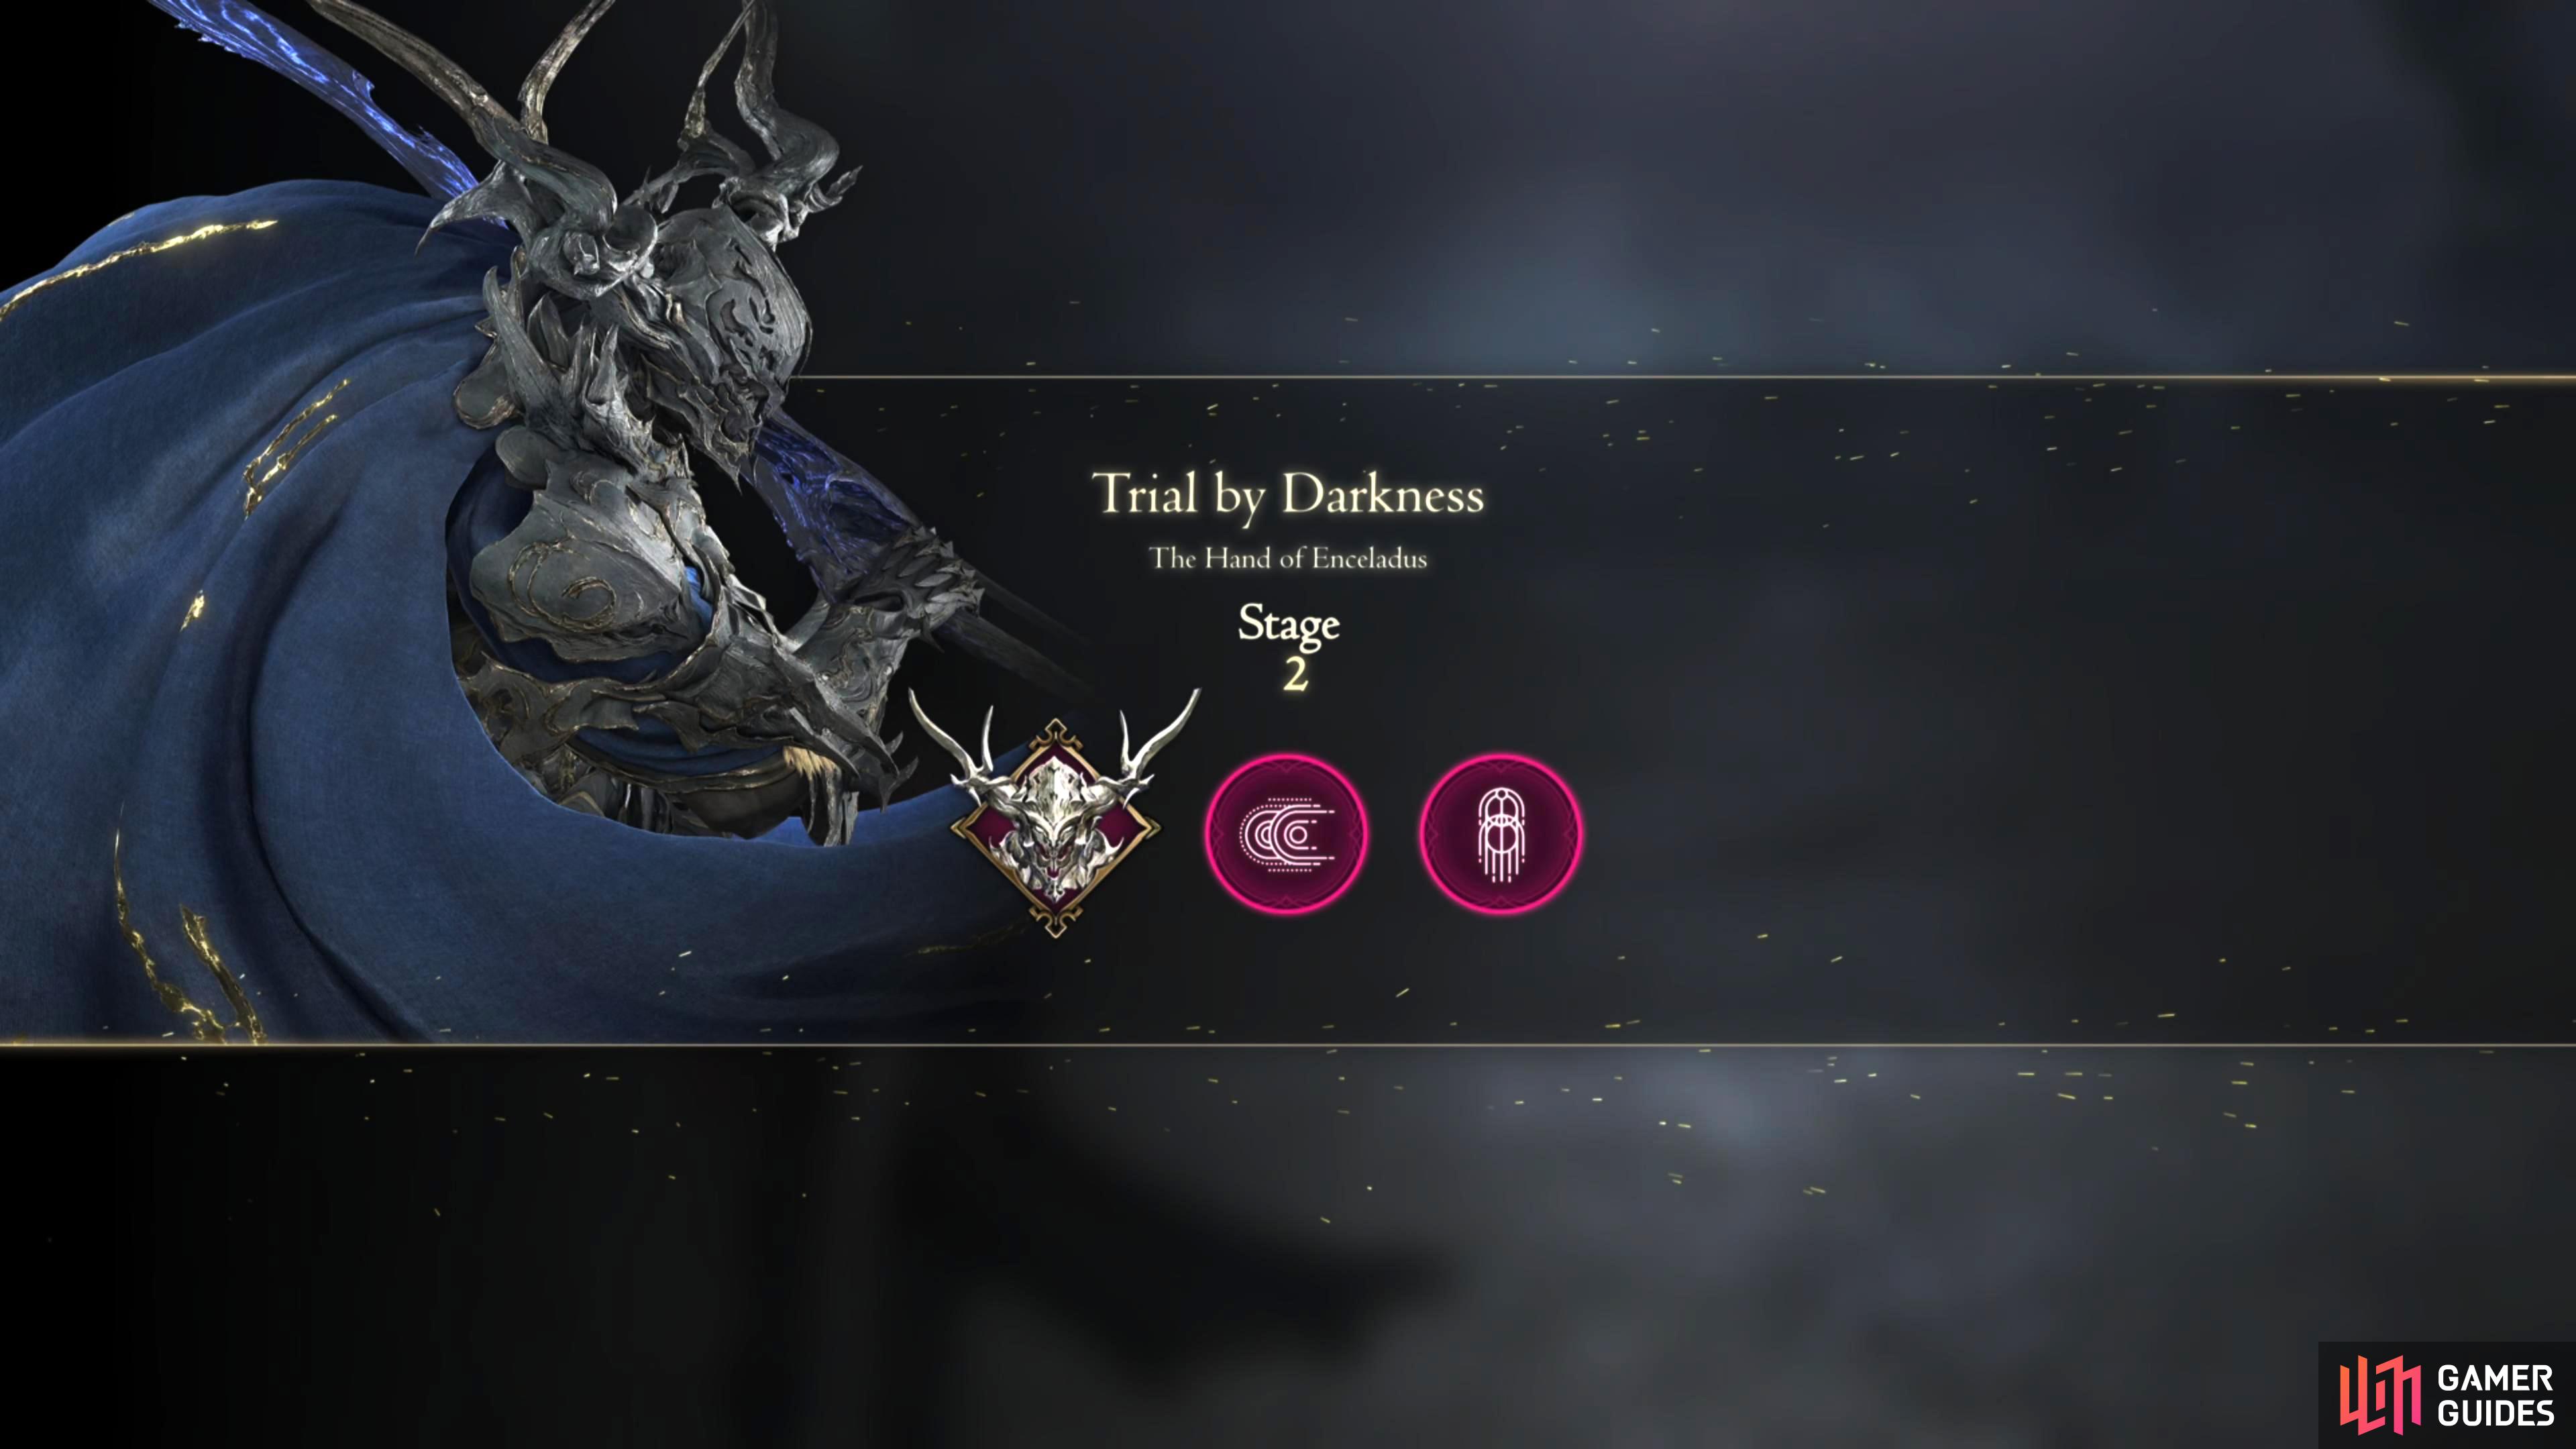
Stage 2 has Odin’s Rift Slip and Heaven’s Cloud abilities.
| Ability | Suggested Accessory |
|---|---|
| The Favor of Darkness ( |
|
| The Breath of Darkness ( |
For stage 2, you’ll lose Gungnir, but gain Rift Slip. If you’ve not used Rift Slip before, it’s a unique ability that allows you to recover immediately from an ability or action. When it’s upgraded, you can use it to slow down time briefly when used after an attack.
All the battle techniques remain the same for this stage other than Rift Combo, which will replace Full Gungnir. The Rift Combo technique requires you to use Rift Slip immediately after landing an attack. This will give you 8 bonus seconds every time you execute three of these in a row. This is relatively easy to pull off, simply use Rift Slip at the end of an ability, or combo chain.
Stage 2-1
With stage 2, the enemies become a lot more difficult, and you’ll see elite enemies enter the mix. Stage 2-1 will have you battle two Darkbound Nodes, and one Darkbound Panther. Start the battle without Arm of Darkness and jump at the Darkbound Nodes then execute a downward strike to down them. Then you can one-shot them with a mortal blow which will leave you with just the panther. Now, switch to Arm of Darkness, press + to “lunge” and then use Rift Slip to slow down time briefly, allowing you to immediately use !Heavens Cloud. Repeat this until you have Level 5 Zantetsuken, then use that to either kill, or leave the panther with barely any health. If it’s the latter, you can finish it off with some normal combos.

Stage 2-2
For stage 2-2, you’ll be facing Darkbound Orcs and Darkbound Bugs. This is an easy battle since all you need to do is group the enemies close to each other, and lunge in with + (with Arm of Darkness), use Rift Slip, and immediately follow that up with Heaven’s Cloud. This should put you near, or at level 5 Zantetsuken, if it’s the latter, use it, if not, then continue attacking with Arm of Darkness out until you do. This will defeat the whole group.
Stage 2-3
Stage 2-3 pits you against three Darkbound Legionnaires and one Darkbound Lancer aka Dragoon. You want to follow the same strategy as stage 2-2 which is to group up the enemies close to each other, lunge in with + (with Arm of Darkness) > Rift Slip, > Heaven’s Cloud > Lv 5 Zantetsuken. The problem is the Lancer doesn’t sit still, and it can deal a lot of damage if you don’t see the attacks coming, so always keep an eye on the Lancer, so you can avoid its attacks. After the first Zantetsuken, the Lancer will most likely still be alive, although low on HP. Use your abilities to get Zantetsuken to level 3 which will be enough to finish it off.
Trial by Darkness - Stage 3 Walkthrough
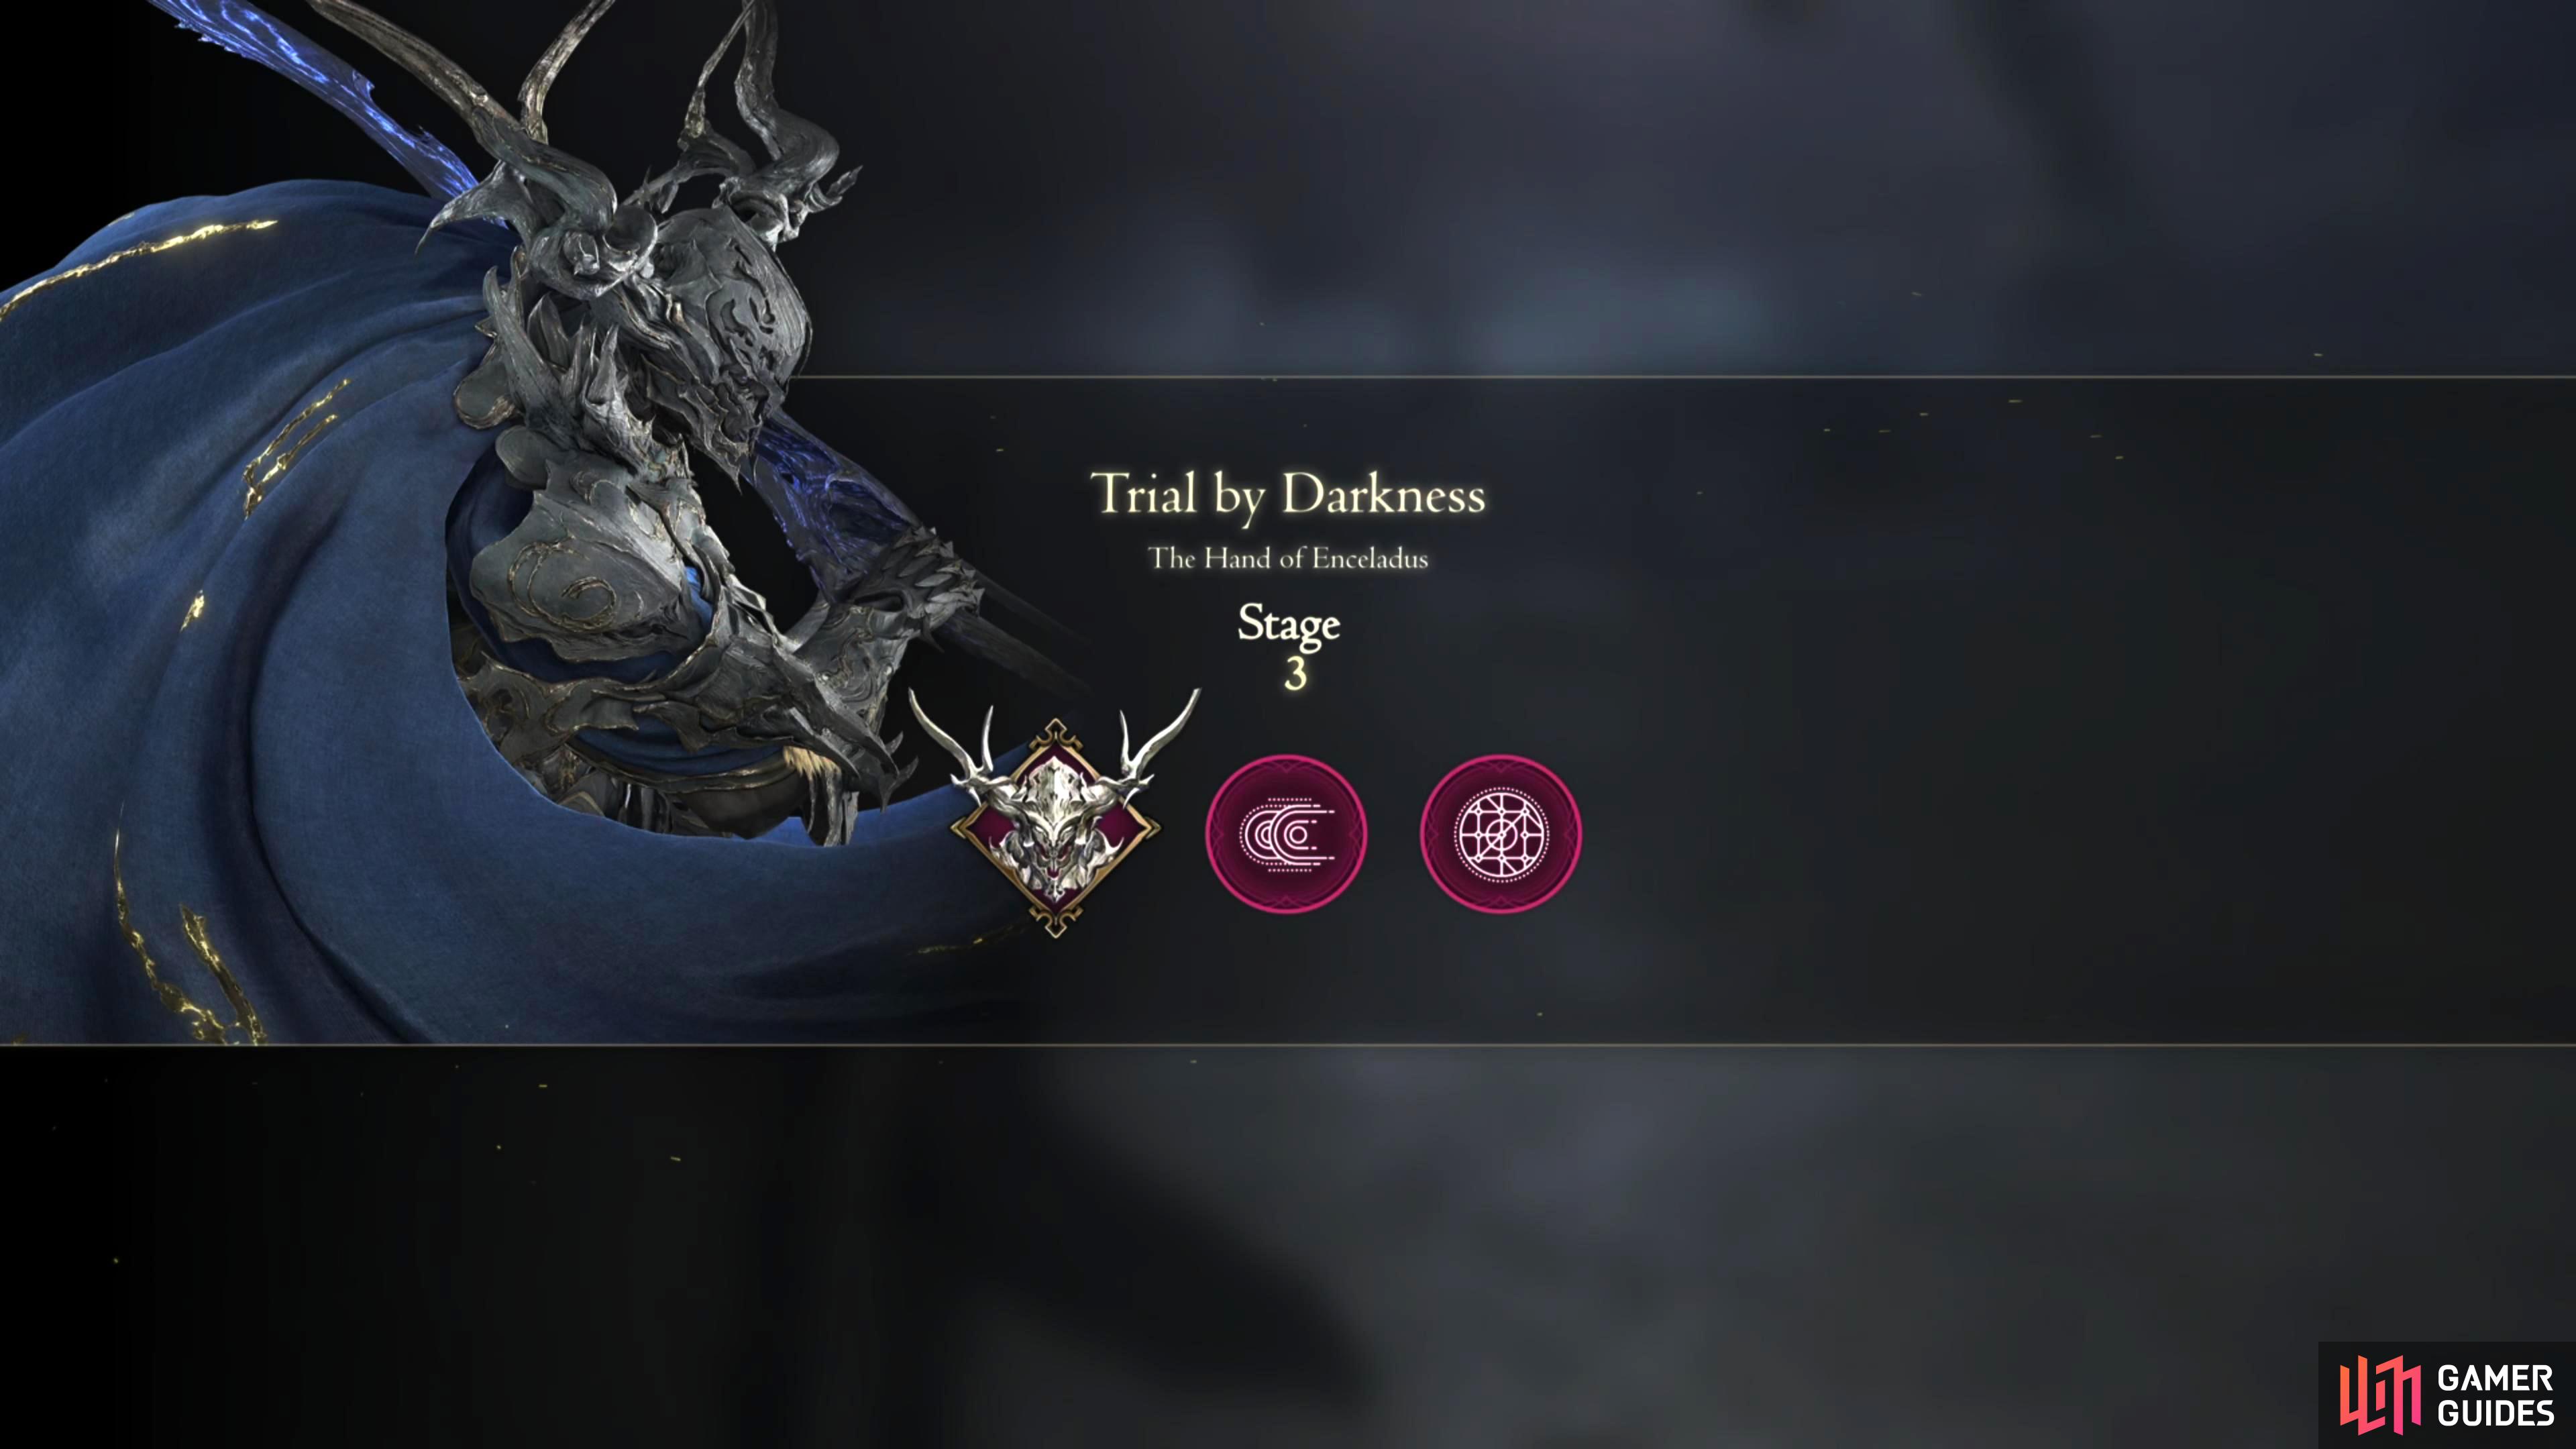
Stage 3 has Odin’s Rift Slip and Dancing Steel abilities.
| Ability | Suggested Accessory |
|---|---|
| The Pull of Darkness ( |
|
| The Breath of Darkness ( |
Now we’re talking, Dancing Steel! With the above accessory equipped, you can say goodbye to charging up Zantetsuken. Simply, attack > Rift Slip > ![]() Dancing Steel which will put you at Level 4, near to Level 5. The only downside is it takes a second or two to execute the attack which is why you use Rift Slip before it. The only battle technique which changes for this stage is Perfect Steel which replaces Full Cloud. This requires you to land every hit of Dancing Steel which is almost impossible to not do.
Dancing Steel which will put you at Level 4, near to Level 5. The only downside is it takes a second or two to execute the attack which is why you use Rift Slip before it. The only battle technique which changes for this stage is Perfect Steel which replaces Full Cloud. This requires you to land every hit of Dancing Steel which is almost impossible to not do.
Stage 3-1
This stage begins with you fighting four Darkbound Orcs and one Darkbound Guardian. The guardian can deal significant damage to you, so make sure to keep your eye on it while building up your Zantetsuken gauge. Now that you have Dancing Steel, this will take less time. Group up the enemies next to the guardian, lunge in with + (with Arm of Darkness), use Rift Slip then immediately use Dancing Steel, preferably on the guardian. This will take you to level 4/5 Zantetsuken, when it’s at level 5, use it to decimate the Orcs, and take the guardian’s health low. Now avoid its attacks until you can use another Dancing Steel, then use Zantetsuken again to take it out.

Stage 3-2
This stage is more frustrating than tough. You’ll be facing two Darkbound Raptors and four Darkbound Specters. The former will continuously leap in and peck at you, knocking you down while the latter will repeatedly use magic on you. As always, you want to get Zantetsuken to level 5, and you’ll want to use a combination of Rift Slip immediately followed by Dancing Steel to achieve it then you can finish them off with it.
Stage 3-3
The “boss” part of the stage. This time you’ll be facing one Darkbound Marshal, and one incredibly frustrating Darkbound Salamander. For this battle, you’ll want to keep the Marshal behind the Salamander and focus on that first. The reason for this is that the Salamander will continuously spew fireballs at you which will chip away at your health. Target the Salamander, close the distance then lunge in with + (with Arm of Darkness) and immediately use Rift Slip before it breathes fire at your face. Now, use Dancing Steel and attack the enemies until Zantetsuken is at level 5. Face toward both of them and use Zantetsuken which should outright kill them both.
Trial by Darkness - Final Stage Walkthrough
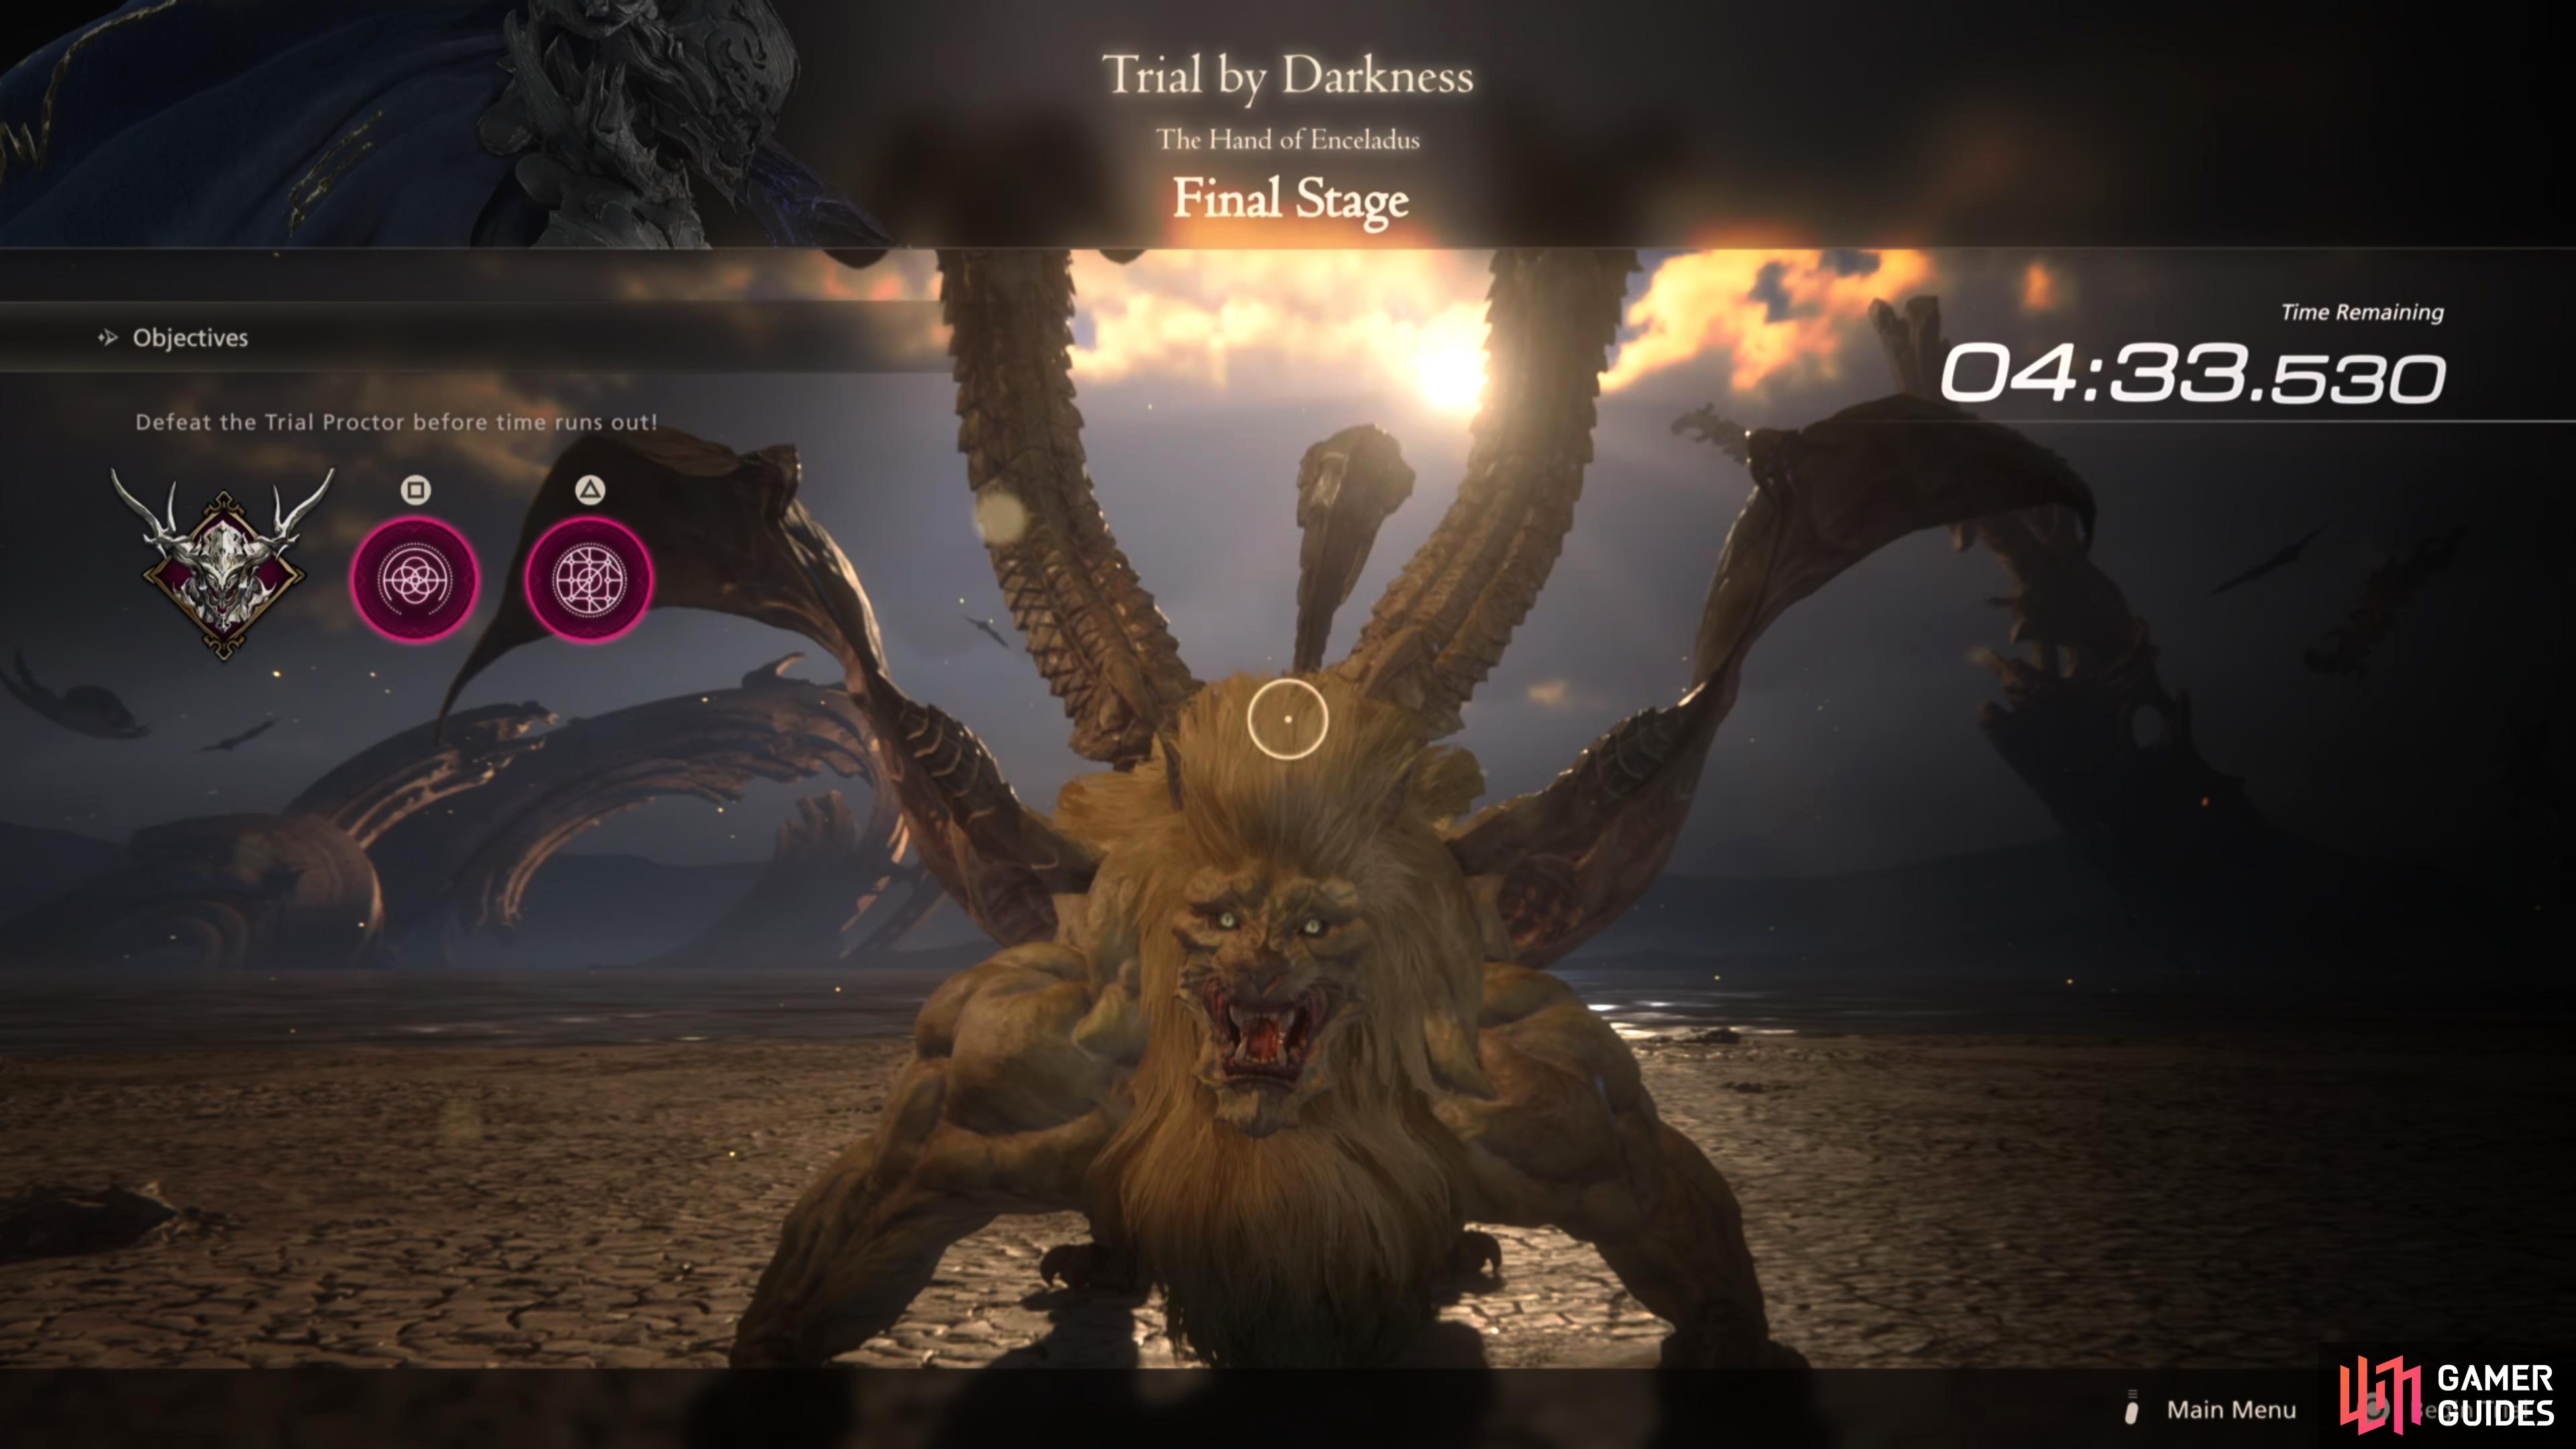
The final Stage has Odin’s Gungnir and Dancing Steel abilities.
The final boss of the trial is a Darkbound Chimera, and to defeat it, you’ll have the Gungnir and Dancing Steel abilities. You should have plenty of time left to defeat it, although your health may be suffering by now. Fortunately, this is really easy to defeat. For a list of Chimera’s attacks, click this link.
So, what you want to do for this battle is build up Zantetsuken (surprise) by using Dancing Steel when the Chimera starts to breathe fire. This will give you enough time to get the attack off successfully then hit a few more combos until it’s level 5, then use Zantetsuken. It will take approximately three Zantetsuken’s to defeat the Chimera, so depending on time, you can just keep waiting until Dancing Steel is off cooldown.

If time is a factor, you may want to use Gungnir to build up the gauge while you wait for Dancing Steel, but this will likely cost you some health. Follow the move list on the page linked above to refresh your memory of what a Chimera can do and dodge the attacks until you can finish it off with Zantetsukens. Once the Darkbound Chimera is defeated, you’ll complete the trial and obtain the The Will of Darkness (Dancing Steel), a powerful accessory that’ll increase Dancing Steel’s Will damage by 20%.
More Final Fantasy 16 Chronolith Trials
If you’re looking for help on any of the other Chronolith Trials, check out our pages below:
- Where to Find All Chronolith Trials
- How to Complete the Phoenix Trial by Fire Chronolith Trial
- How to Complete the Shiva Trial by Ice Chronolith Trial
- How to Complete the Garuda Trial by Wind Chronolith Trial
- How to Complete the Titan Trial by Earth Chronolith Trial
- How to Complete the Ramuh: Trial by Thunder - Chronolith Trial in FF16
No Comments