The Kuza Beast is one of the hardest hunts to find in the game as it’s hidden. No matter what you do, it won’t show up on the hunt board, leaving you in the dark. Once you do find the Kuza Beast, you have to worry about surviving its powerful barrage of attacks and being able to dodge around the shock waves sent out by its Comet move. The guide below goes over how to unlock the Kuza Beast Notorious Mark in Final Fantasy XVI and how to defeat it.
The Kuza Beast hunt is one of the last in the game.
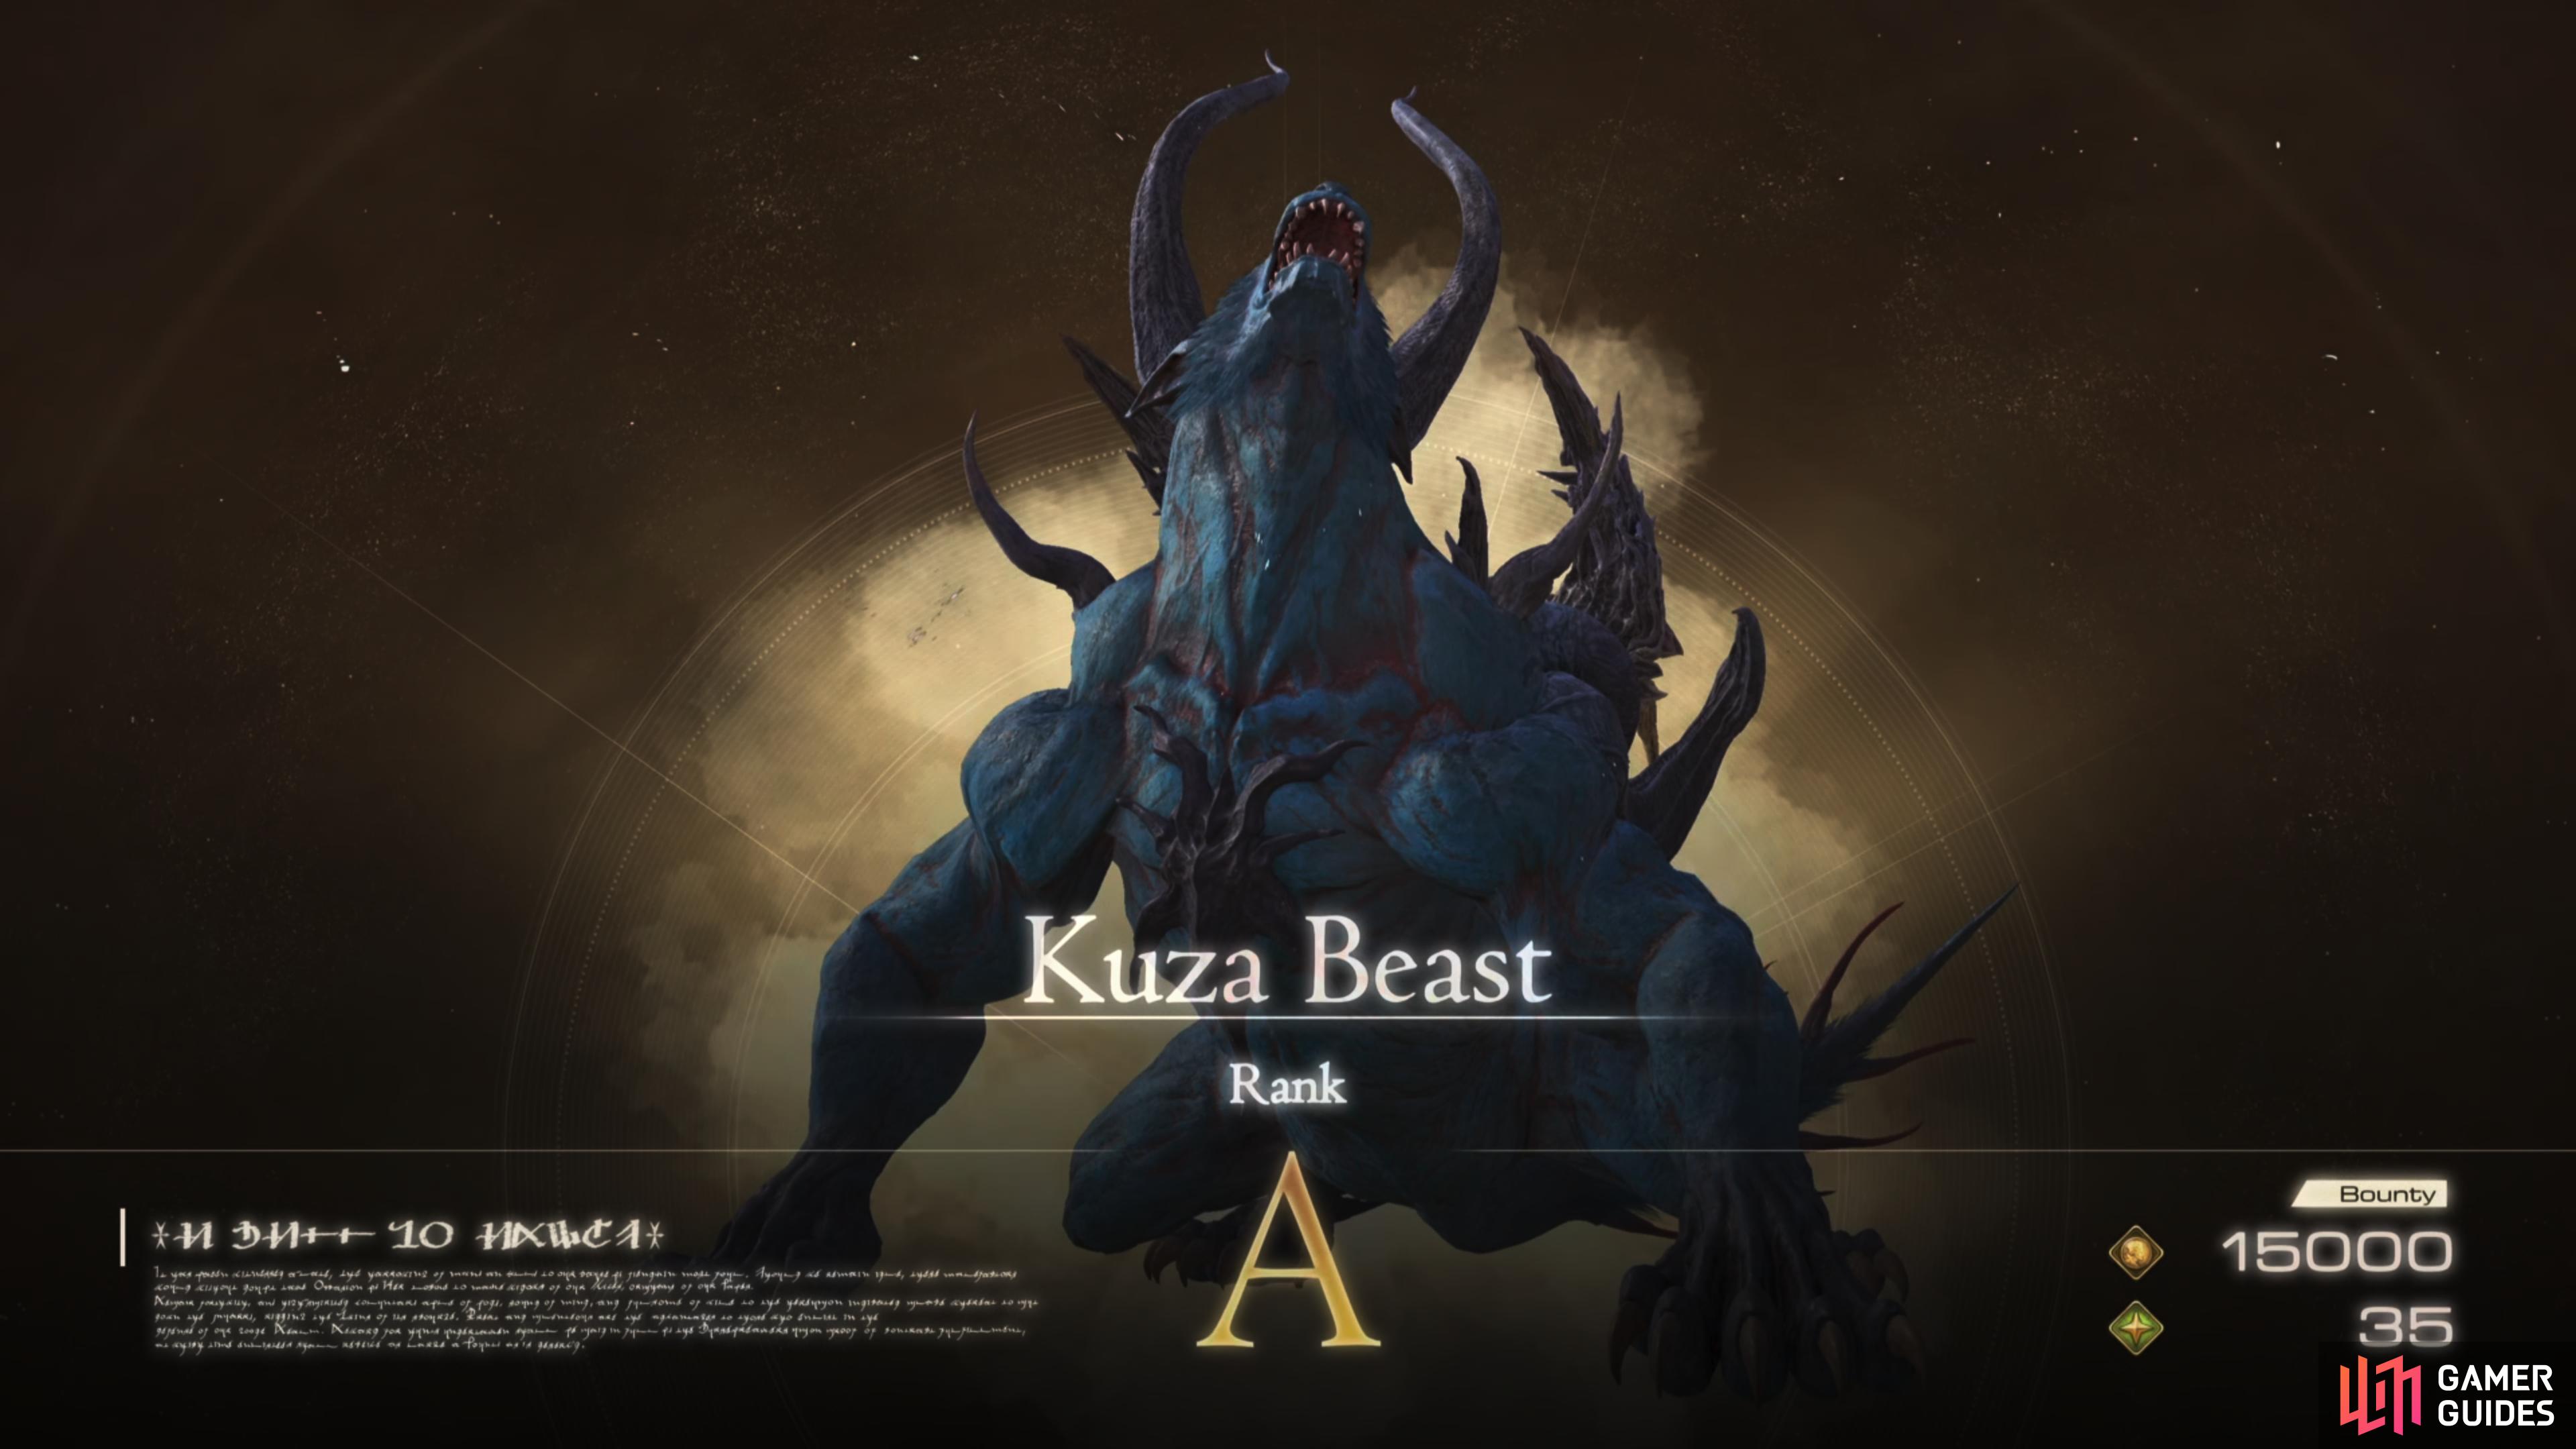
Where to Find the Kuza Beast
| Location | Level | Bounty |
|---|---|---|
| 42 | 15,000 Gil, 35 Renown |
If you want to finish every hunt in the game, then you’re going to need more than just the Hunt Board. The Kuza Beast, a Behemoth that only appears during a side quest can be irritating to find. This is due to him being locked behind a quest that won’t appear until you are on one of the very last main quests of the game, Back to Their Origin. This quest appears right before you go to the final area of the game. Be careful though, once you start the last quest you won’t be able to do quests anymore, this leaves a small window for the hunt that many players may miss.
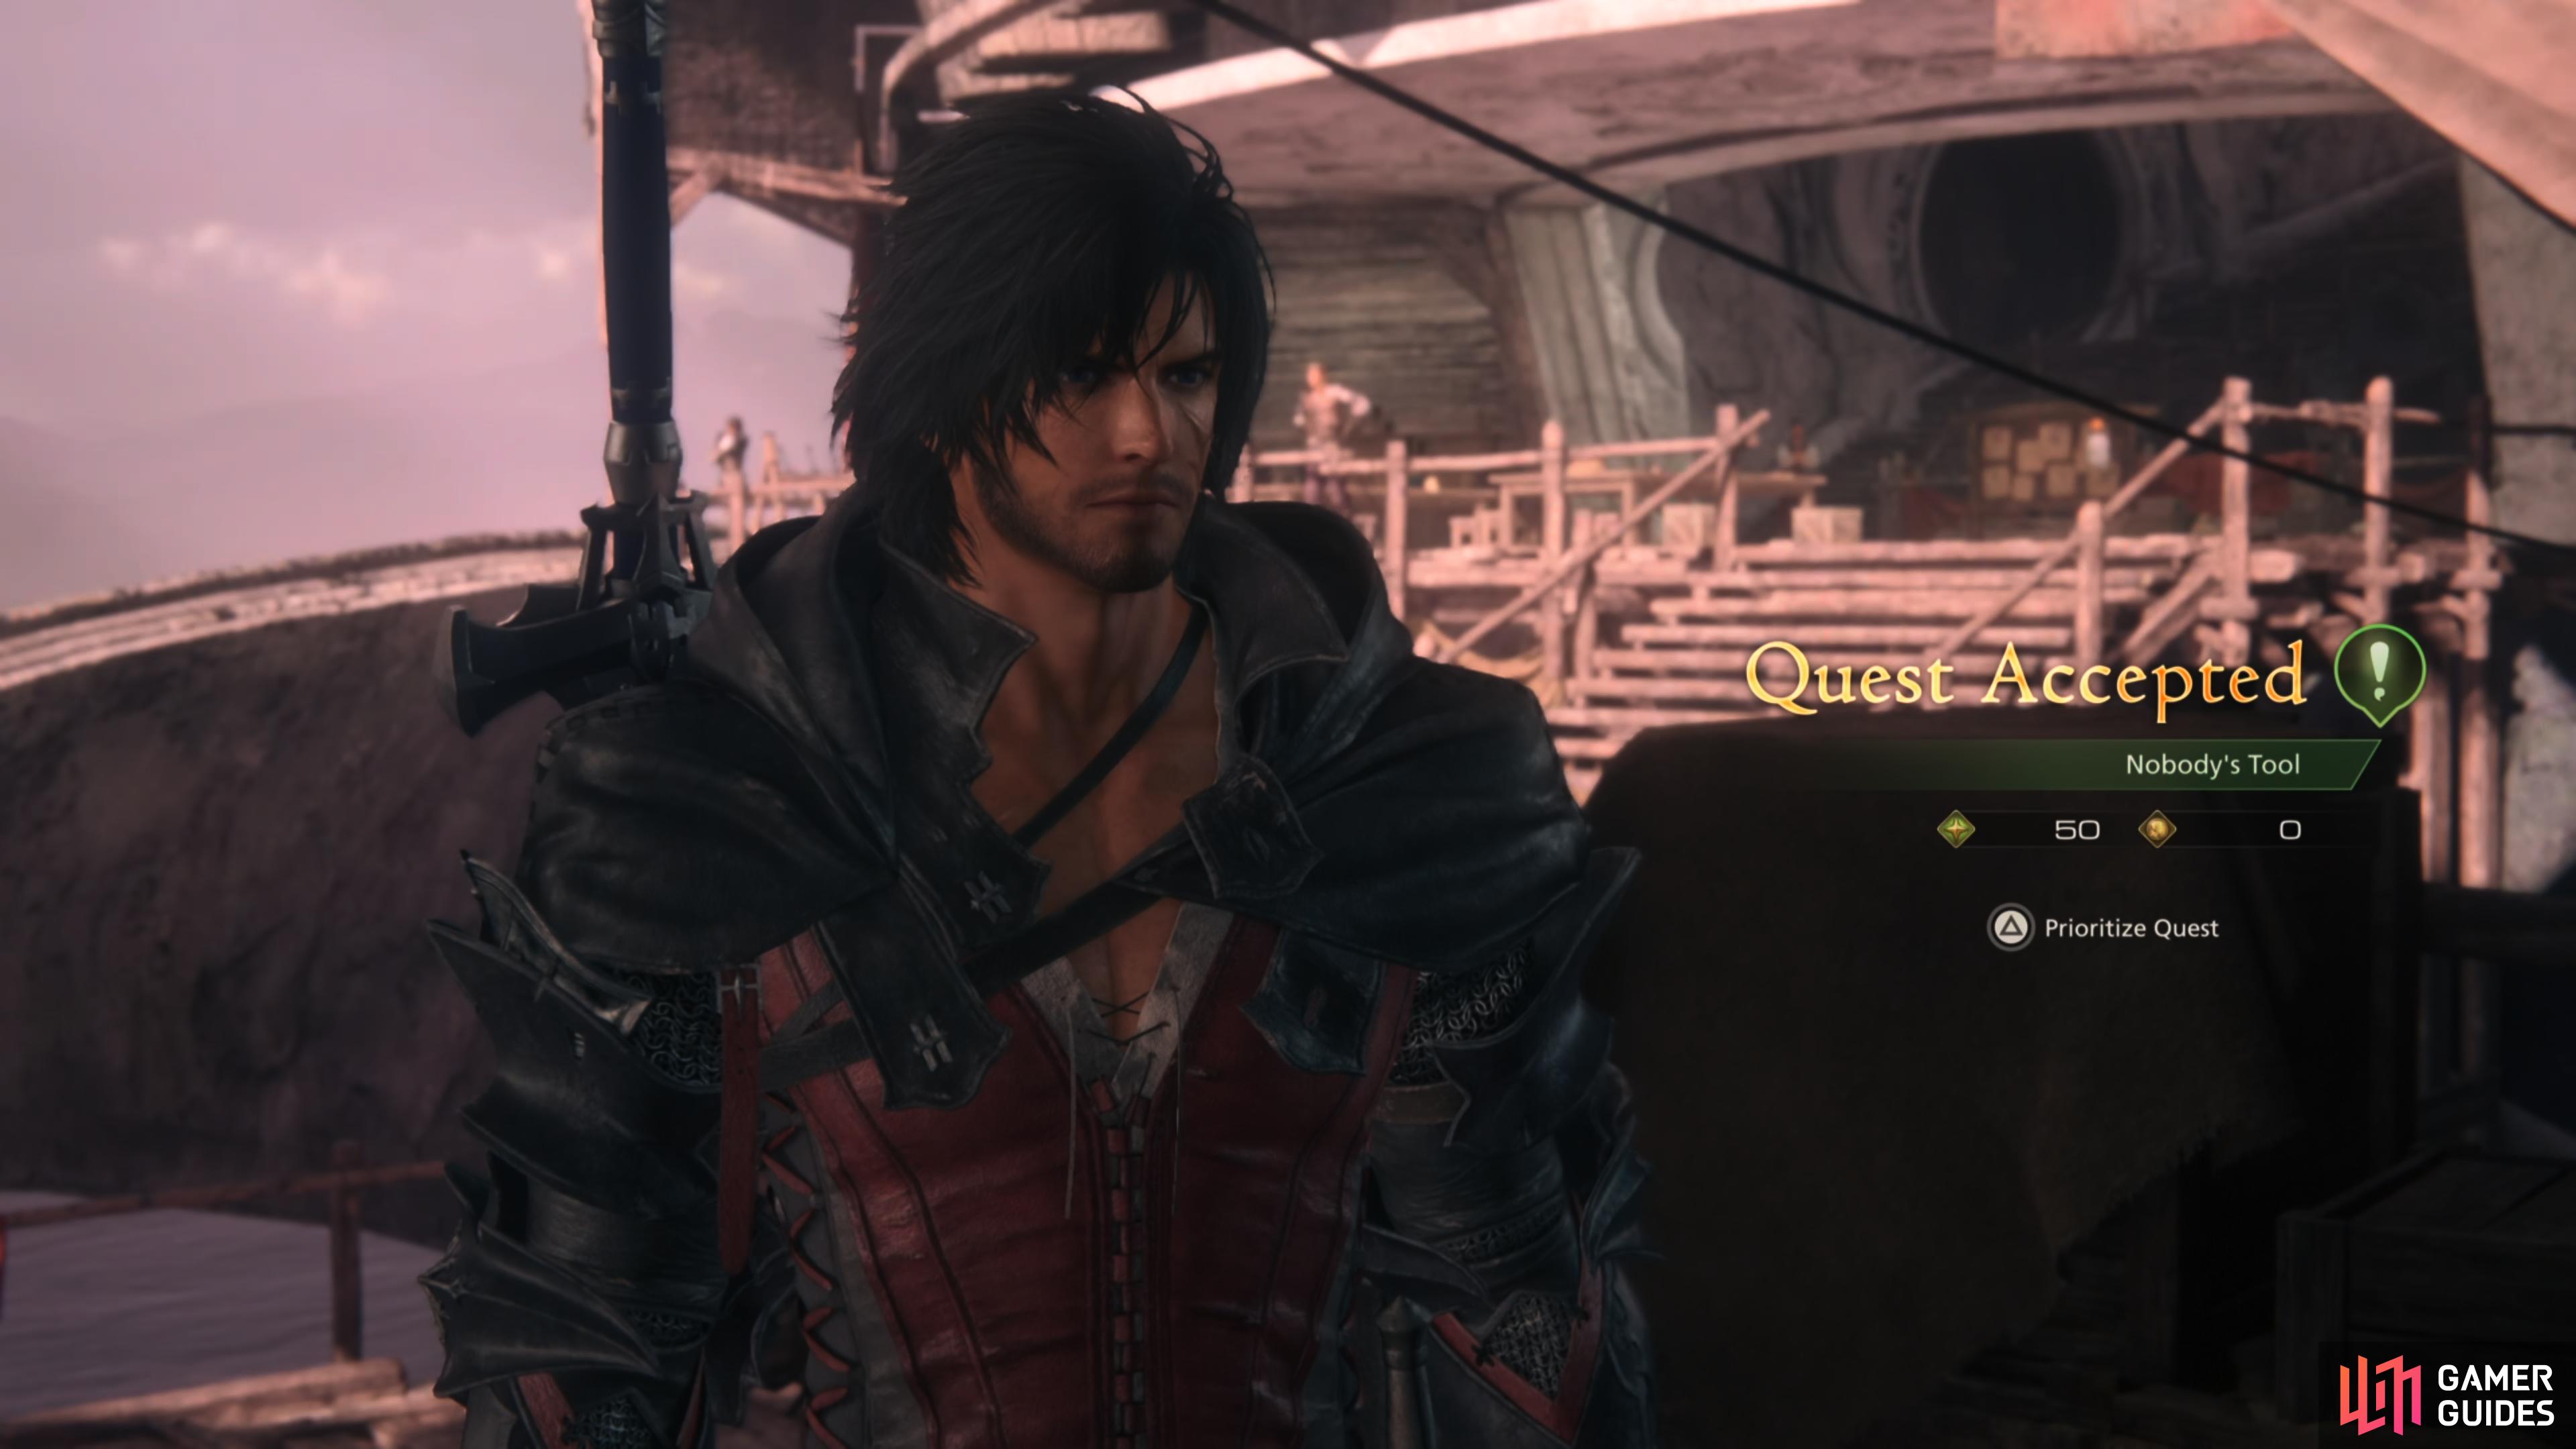
On top of the quest not appearing until the very end of the game, to find it you must first complete The Weight of Command side quest, and then the Self-Determination side quest. After this, the quest Nobody’s Tool will pop up. Just speak with ![]() Dorys to activate it at the Hideaway. This quest will take you back to Balmung Dark in Waloed.
Dorys to activate it at the Hideaway. This quest will take you back to Balmung Dark in Waloed.
You must progress in Nobody’s Tool to make Kuza appear.
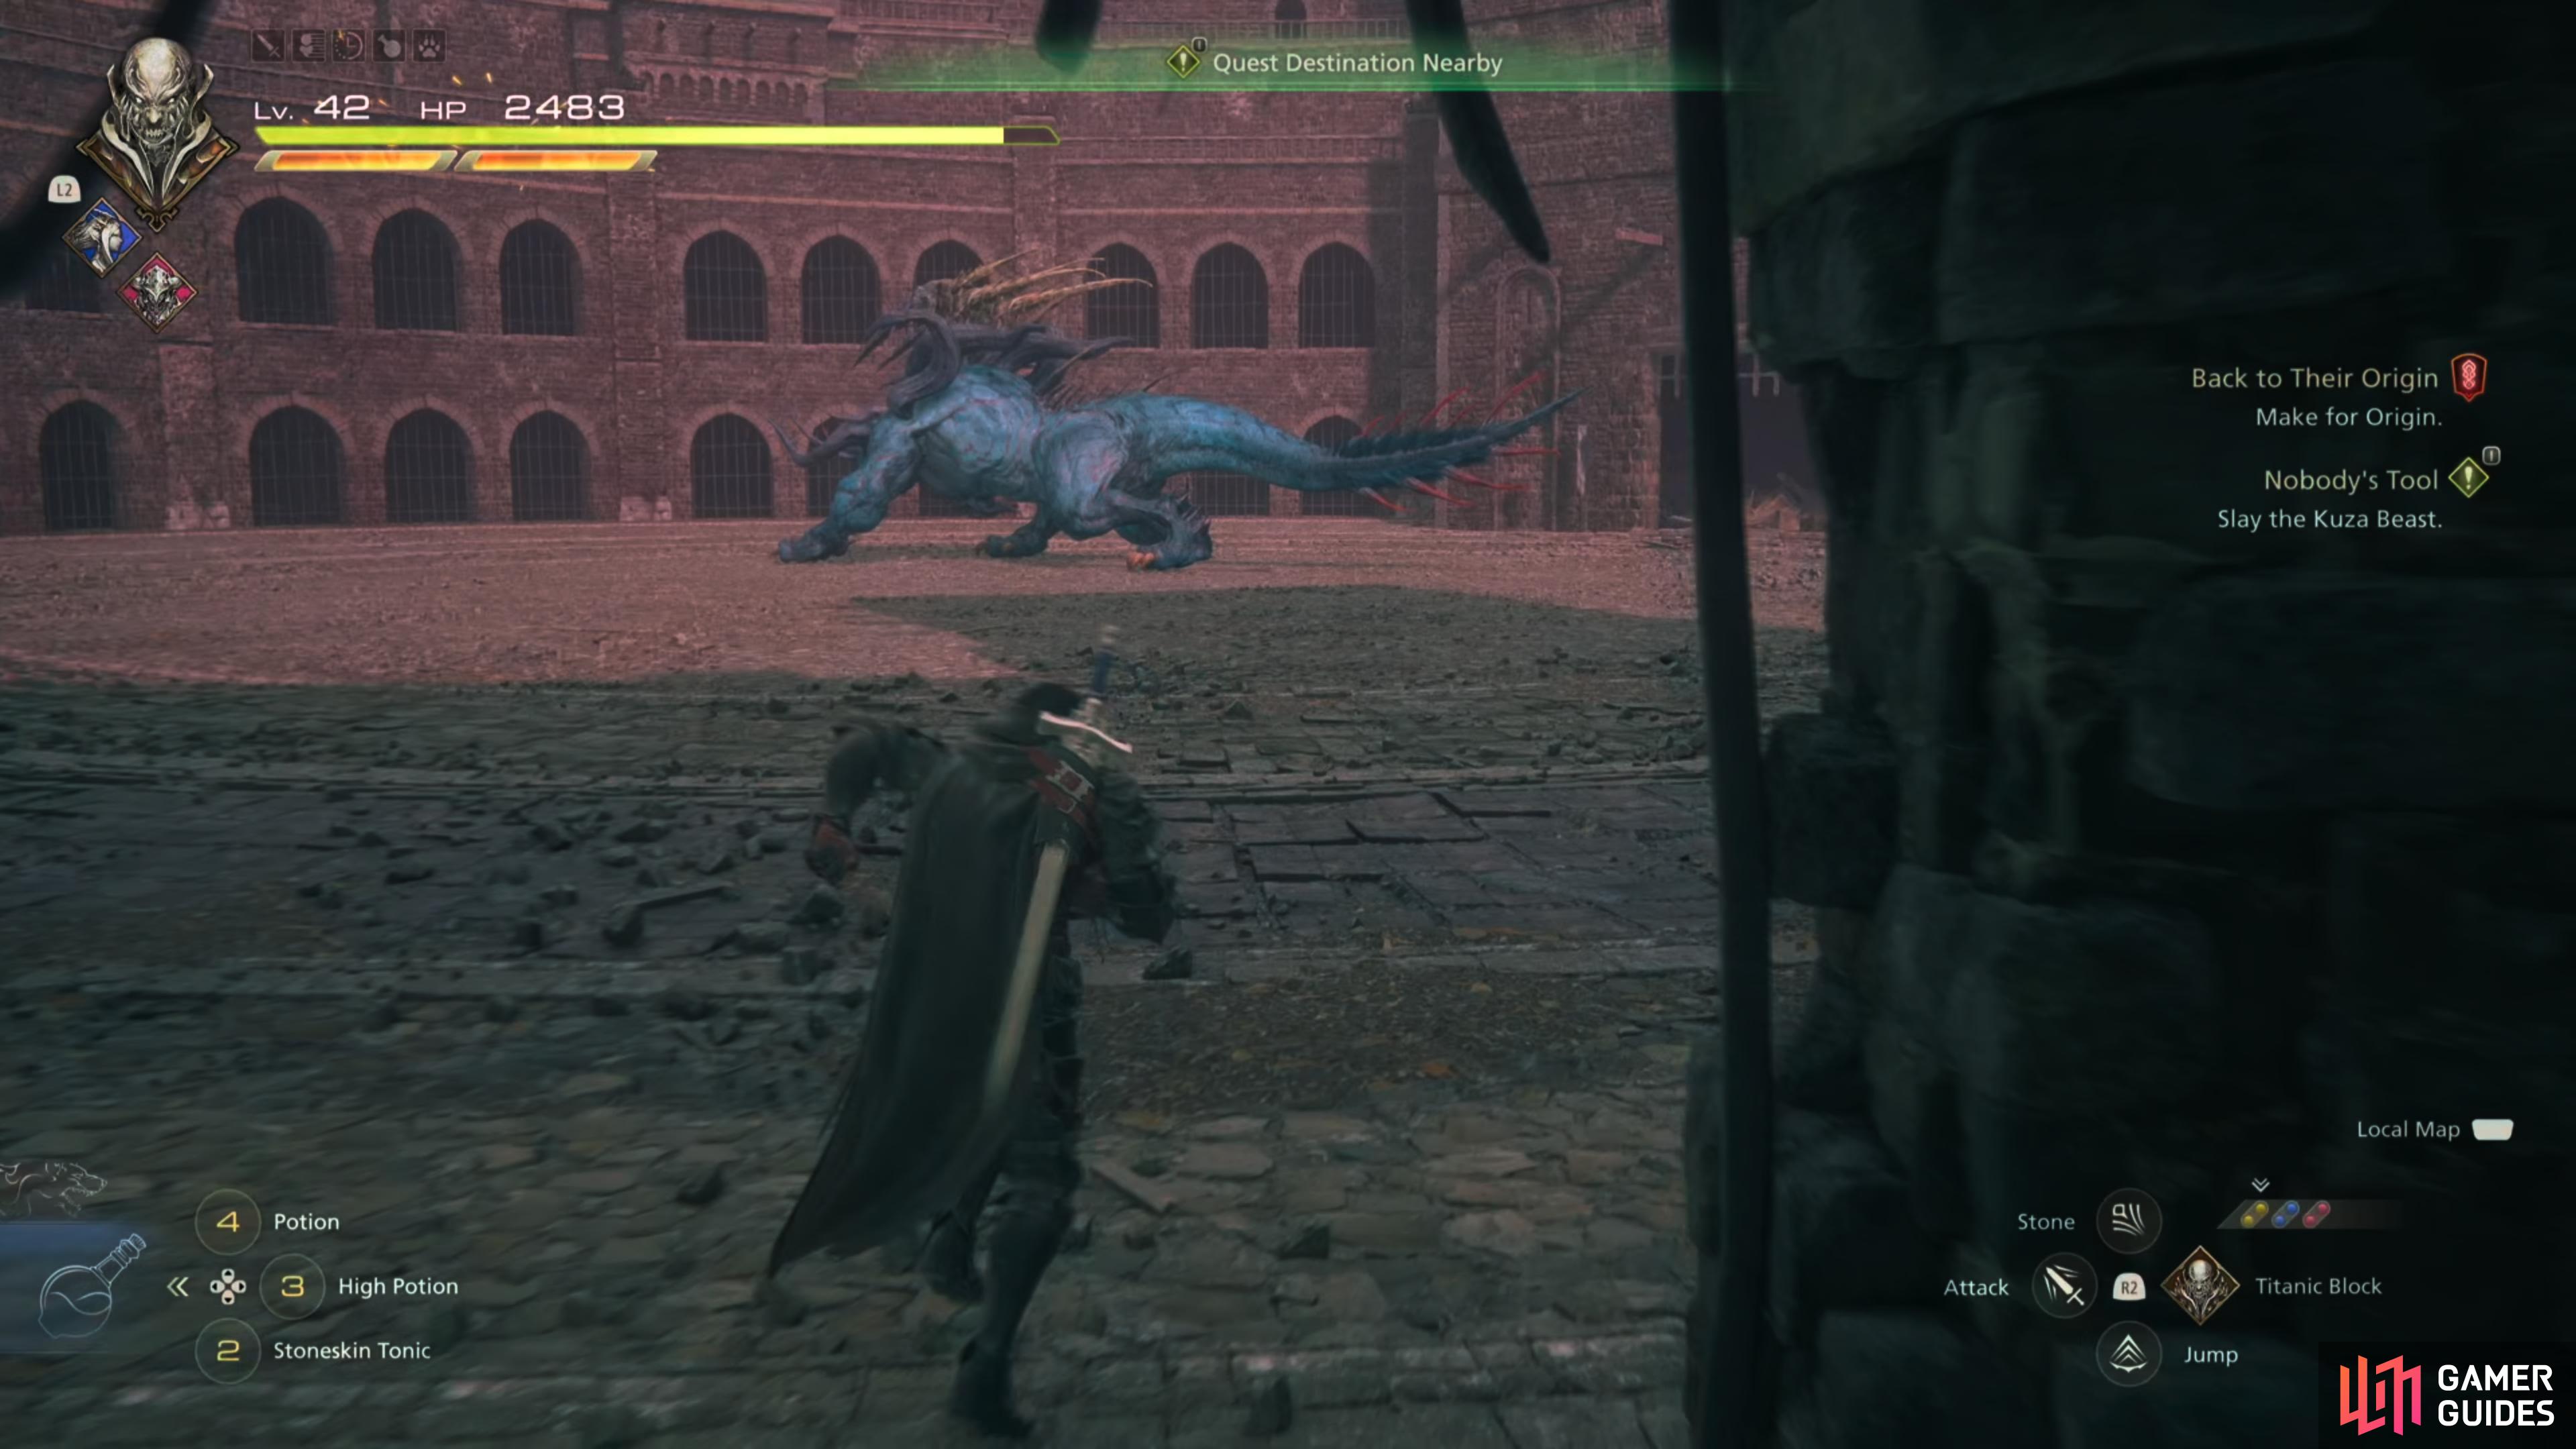
Once the quest is nearly completed the Kuza Beast will appear in the Waloed arena.
Once there you will head to the large arena near the ![]() Ravenwit Walls
Ravenwit Walls ![]() Obelisk. You will need to walk a short distance to reach the quest marker, and there are plenty of
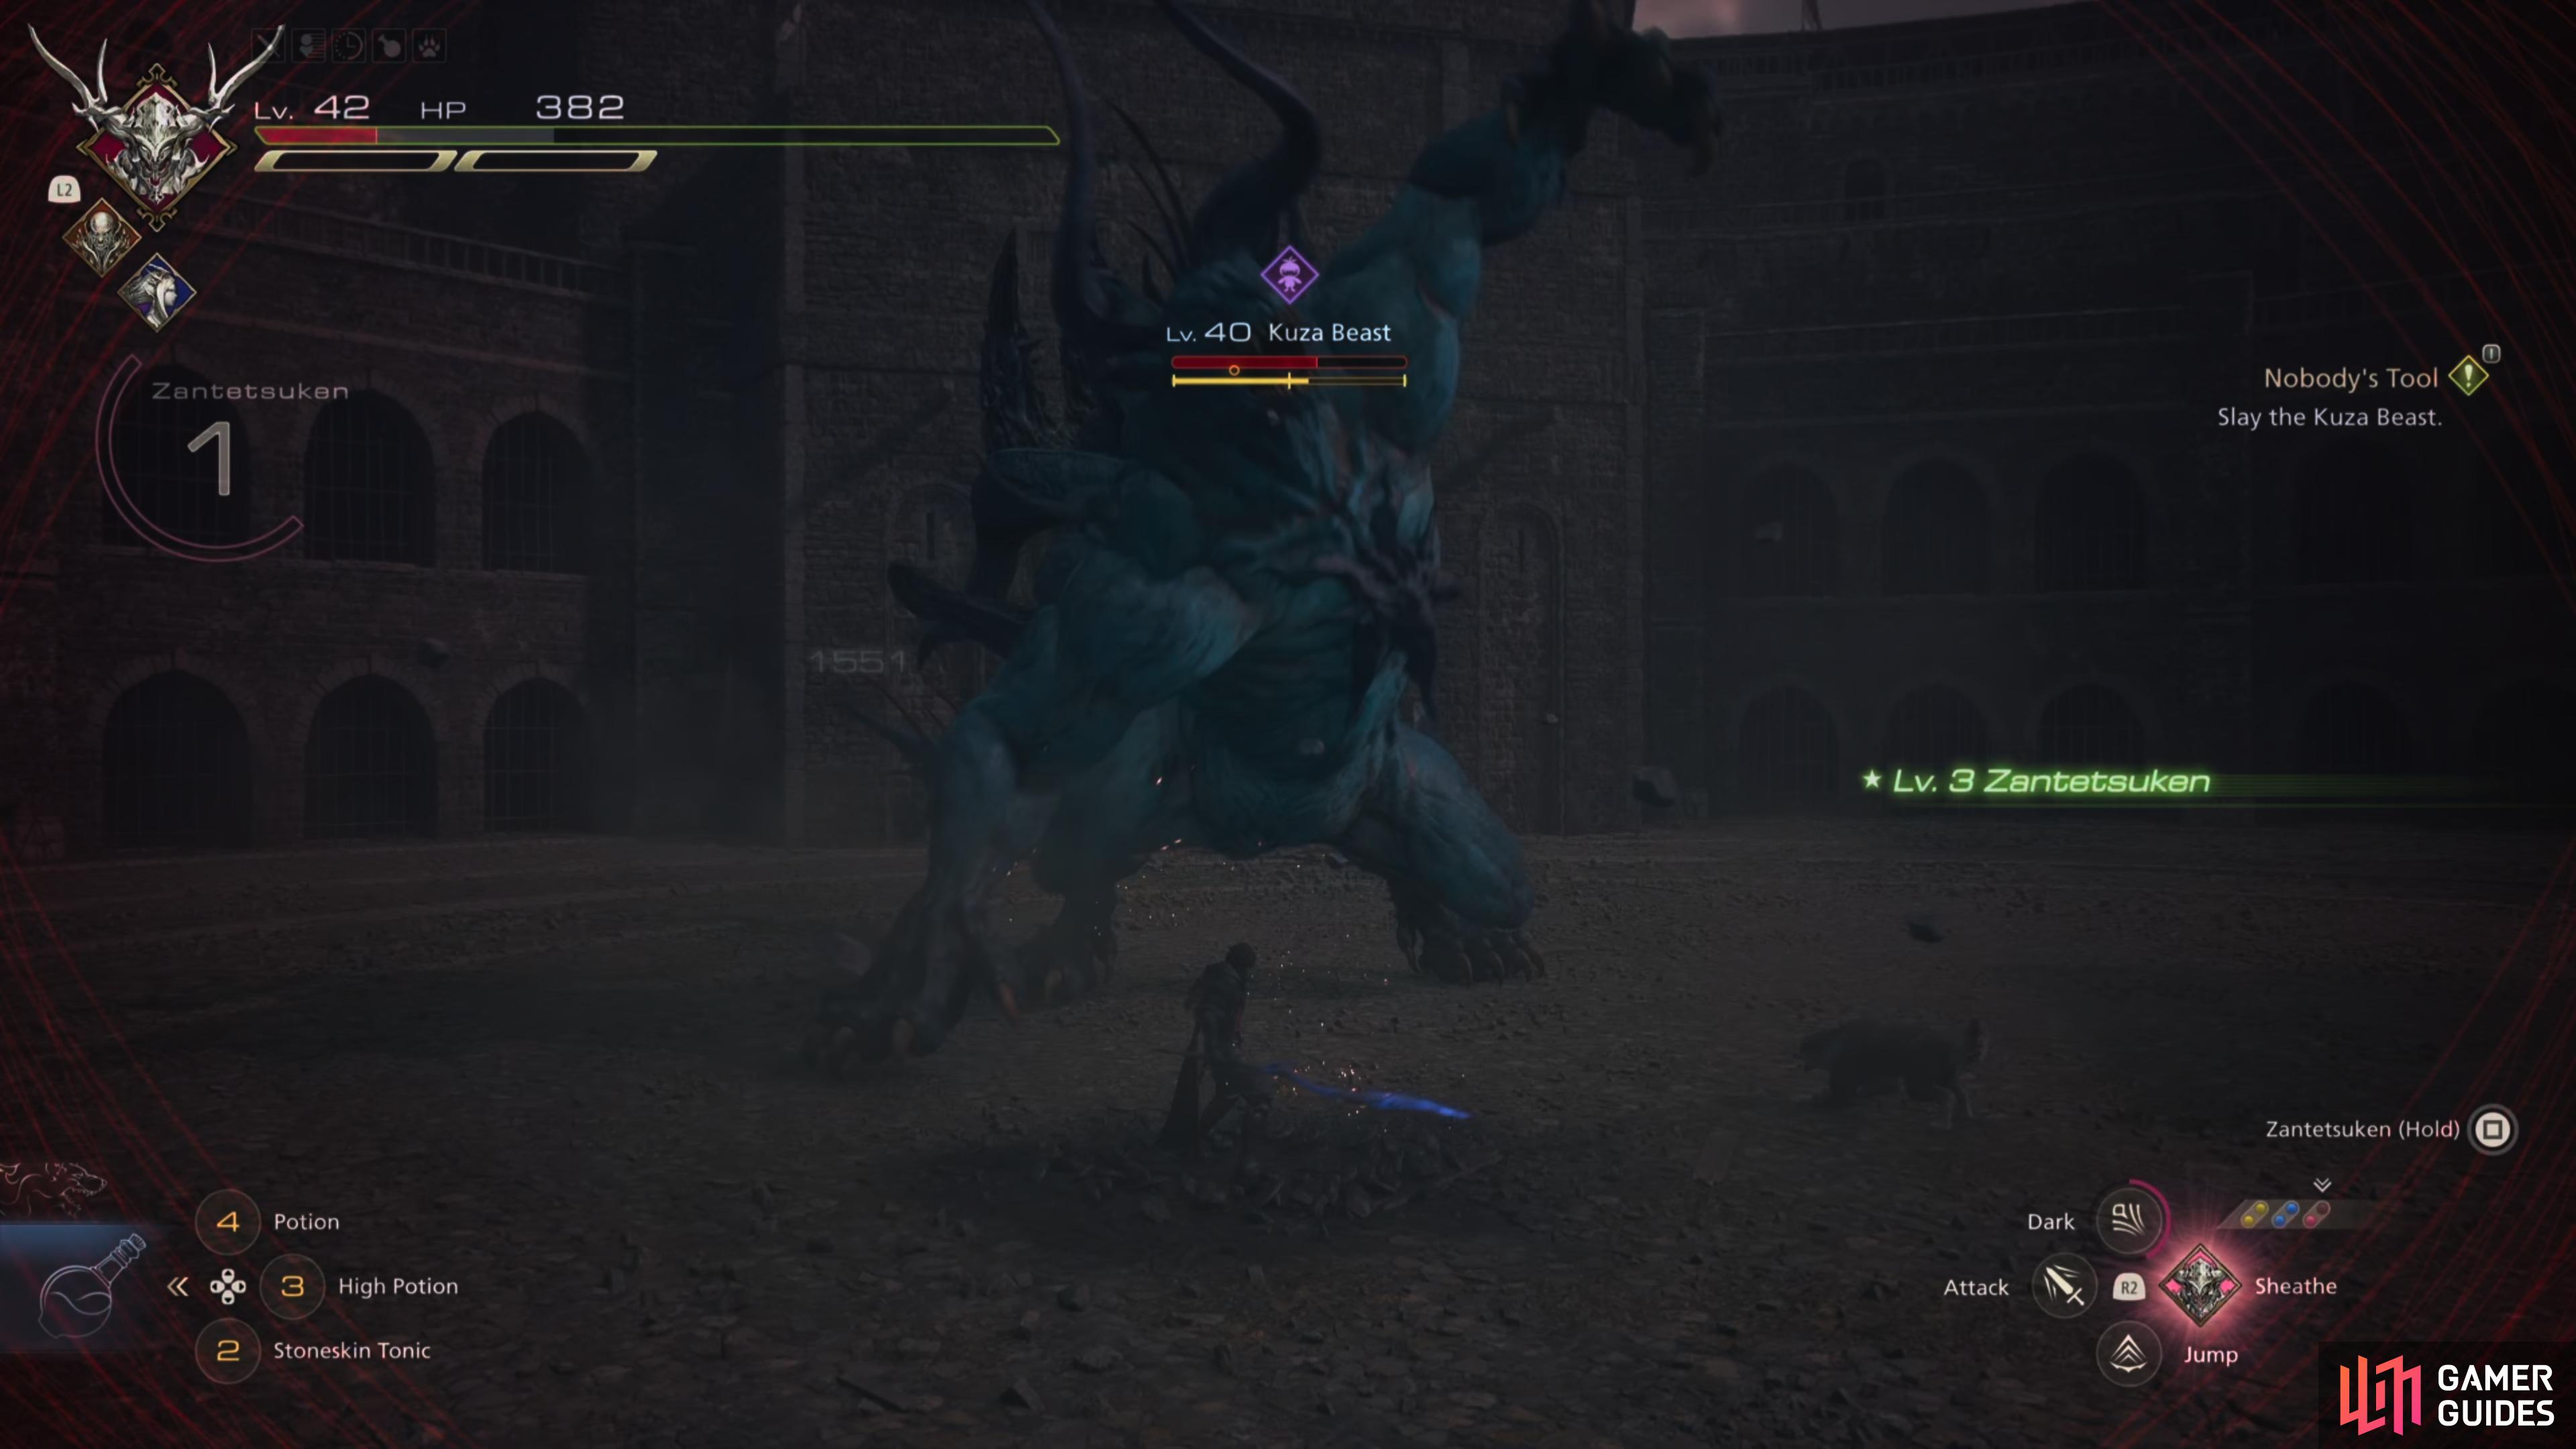
Obelisk. You will need to walk a short distance to reach the quest marker, and there are plenty of ![]() Akashic enemies around to fight or run past. There is an arena nearby that you will be headed into. After you investigate the area for the quest, The Kuza Beast will reveal itself. All you need to do to start the hunt is step into the arena to challenge it. You will quickly find that this fight is very similar to the Behemoth boss fight from Streets of Madness story quest.
Akashic enemies around to fight or run past. There is an arena nearby that you will be headed into. After you investigate the area for the quest, The Kuza Beast will reveal itself. All you need to do to start the hunt is step into the arena to challenge it. You will quickly find that this fight is very similar to the Behemoth boss fight from Streets of Madness story quest.
Kuza’s Abilities and Attacks
The Kuza Beast isn’t as hard as the Behemoth from the main story, but its three attacks can quickly drain your health bar.
| Attack | Description | Counter |
|---|---|---|
| Comet | Two comets crash onto the field, after their initial impact shockwaves are sent out. | |
| Spin | Kuza quickly whips around in a 360-degree circle. | |
| Charge | Kuza slams his shoulder into the ground and charges Clive in a straight line. | Run or dodge out of the path. |
| Swipe | Swipes its claws directly in front of itself. | Dodge or use Titanic Block. |
| Lunge | Step or Dodge to the side. | |
| Tail Whip | Whips its tail from side to side. | Step backward to Dodge. |
Recommended Abilities for the Kuza Beast
These are some of the abilities that went well in our various fights against this hunt.
| Eikon | Ability | Damage Type |
|---|---|---|
| Blocks damage when used. | ||
| Damage (4 Stars) |
||
| Damage (3 Stars), |
||
| Damage (5 Stars), |
||
| Recover immediately after using an ability. | ||
| Damage (1 Stars), |
Ideally, you will want to master Bahamut’s Gigaflare to put his moves on Shiva or Titan, but Odin is the real star here. By using his set you can both quickly damage Kuza with Dancing Steel, and then have an immediate recovery by using Rift Slip. After those two moves are launched, you can use ![]() Arm of Darkness for an additional bit of damage before getting out of the way of Kuza’s next attack.
Arm of Darkness for an additional bit of damage before getting out of the way of Kuza’s next attack.
Another ![]() Eikon we highly recommend is Shiva. Not only does she have Diamond Dust, the strongest move will-wise in the game, but
Eikon we highly recommend is Shiva. Not only does she have Diamond Dust, the strongest move will-wise in the game, but ![]() Cold Snap will allow you to freeze Kuza for a short amount of time. This gives you an extra few seconds to launch another attack or move out of the way from tail spin. Combine this with
Cold Snap will allow you to freeze Kuza for a short amount of time. This gives you an extra few seconds to launch another attack or move out of the way from tail spin. Combine this with ![]() Gigaflare on Shiva to hold Kuza in place for some extra damage.
Gigaflare on Shiva to hold Kuza in place for some extra damage.

Finally, you may want to consider using Titan in the fight as Titanic Block will likely save Clive’s life. The shockwaves from Comet can easily halve your health and are honestly tricky to dodge even when you have the pattern down. By using Titanic Block you take the guesswork out of the equation and ensure that Clive won’t take a ton of damage.
Recommended Items and Equipment for the Kuza Beast
Gear
We recommend the same gear for the Kuza Beast as we do for the Masterless Marauder, Behemoth King. You want to bolster your defense from the heavy attacks and have a strong sword to protect you.
| Weapon | Belt | Vambraces |
|---|---|---|
The items above offer some of the highest stats in the game. You will need to craft the Ouroboros and grab The Sons of Ouroboros from the Where There’s a Will side quest. Once these are paired with the Defender +2 you will have a great defense against this Behemoth.
Accessories
Once again the accessories you choose will vary significantly on the Eikonic abilities you are using and your play style. The chart below shows the accessories that we fared well with while fighting the Kuza Beast.
| Accessory 1 | Accessory 2 | Accessory 3 |
|---|---|---|
| Shiva’s Kiss (Reduces Diamond Dust cooldown by 7.5 seconds) | Berserker’s Ring (Increase attack proficiency with each “ |
The Favor of Light (Gigaflare) (Increases |
To obtain Shiva’s Kiss you must complete the Shiva Chronolith Trial. As for the Favor of Light (Gigaflare), you can obtain it by completing the Bahamut Chronolith Trial. The Berserker Ring is the reward for having 85 Renown.
Items
You can see the items we used when fighting the Kuza Beast in the chart below.
| Shortcut 1 | Shortcut 2 | Shortcut 3 |
|---|---|---|
Potions and High Potion are a must when fighting any strong enemy as ![]() Torgal isn’t going to be able to heal you very fast. You should also include a
Torgal isn’t going to be able to heal you very fast. You should also include a ![]() Strength Tonic in your item rotation as it boosts your attack by 10% for 60 seconds.
Strength Tonic in your item rotation as it boosts your attack by 10% for 60 seconds.
Kuza Beast Hunt Strategy
The Kuza Beast is a simpler version of the Behemoth you faced earlier in the story. You only really have a small set of moves to contend with a few close-range attacks and the most deadly move, Comet. Kuza can still easily deplete your health bar in a few hits if you aren’t careful though. You will want to stagger him as soon as possible and prepare for when he decides to use Comet. For the most part swipe, lunge, spin, and charge are incredibly easy to dodge, you will also notice that after the Kuza Beast uses an attack, he takes a few seconds to launch into another, giving you an opening. This is when you should unleash your arsenal of attacks to drain his health and stagger bar. When he’s staggered you can rain down !Giga Flare on him to make a dent in his health bar.
If you want to make an opening for yourself, you can also use Cold Snap, this will momentarily freeze Kuza for some extra hits. You will also notice that his health bar goes down pretty fast when you’re using combos. As long as you can safely dodge, the whole fight won’t take more than a few minutes. The biggest threat is Comet, which is hard to perfectly dodge. The shock waves can take around half of your health bar. So if you’re not sure about moving around them at the right second, use Titanic Block to ensure you won’t be taking a ton of damage.
If you’re skilled with ![]() Garuda’s moveset, there is also the possibility of using
Garuda’s moveset, there is also the possibility of using ![]() Deadly Embrace to make your way around the shockwaves or Phoenix’s
Deadly Embrace to make your way around the shockwaves or Phoenix’s ![]() Phoenix Shift. No matter what you choose, just make sure you avoid those shockwaves. When you finish the battle you will be awarded 5,500 XP, 90 AP, 35 Renown, 15,000 Gil, a
Phoenix Shift. No matter what you choose, just make sure you avoid those shockwaves. When you finish the battle you will be awarded 5,500 XP, 90 AP, 35 Renown, 15,000 Gil, a ![]() Behemoth Shackle, and a
Behemoth Shackle, and a ![]() Meteorite
Meteorite
More Final Fantasy 16 Hunts
For information on some of the other ![]() Notorious Marks you can take on in Final Fantasy XVI, check out these pages below:
Notorious Marks you can take on in Final Fantasy XVI, check out these pages below:
No Comments