
After the climactic showdown with Garuda and the revelations that accompanied it, Clive will indulge in a bout of self-loathing. Watch the scenes and you’ll be back at ![]() The Hideaway and when you’re back in control of Clive, talk to Cid, after which you’ll be tasked with ”Journeying to the Kingsfall”. All of this comprises a blink-and-you’ll-miss-it quest named
The Hideaway and when you’re back in control of Clive, talk to Cid, after which you’ll be tasked with ”Journeying to the Kingsfall”. All of this comprises a blink-and-you’ll-miss-it quest named ![]() The Wages of Guilt.
The Wages of Guilt.
A more substantial main quest, ![]() The Hunter and the Hunted, will start as soon as you travel to
The Hunter and the Hunted, will start as soon as you travel to ![]() The Kingsfall on the world map. This page will provide a walkthrough for The Hunter and the Hunted in Final Fantasy XVI… and technically The Wages of Guilt, although that’s essentially all confined to cutscenes and chatter. In addition, this page will cover all the enemies you’ll encounter in The Kingsfall all all items you’ll find in The Kingsfall.
The Kingsfall on the world map. This page will provide a walkthrough for The Hunter and the Hunted in Final Fantasy XVI… and technically The Wages of Guilt, although that’s essentially all confined to cutscenes and chatter. In addition, this page will cover all the enemies you’ll encounter in The Kingsfall all all items you’ll find in The Kingsfall.
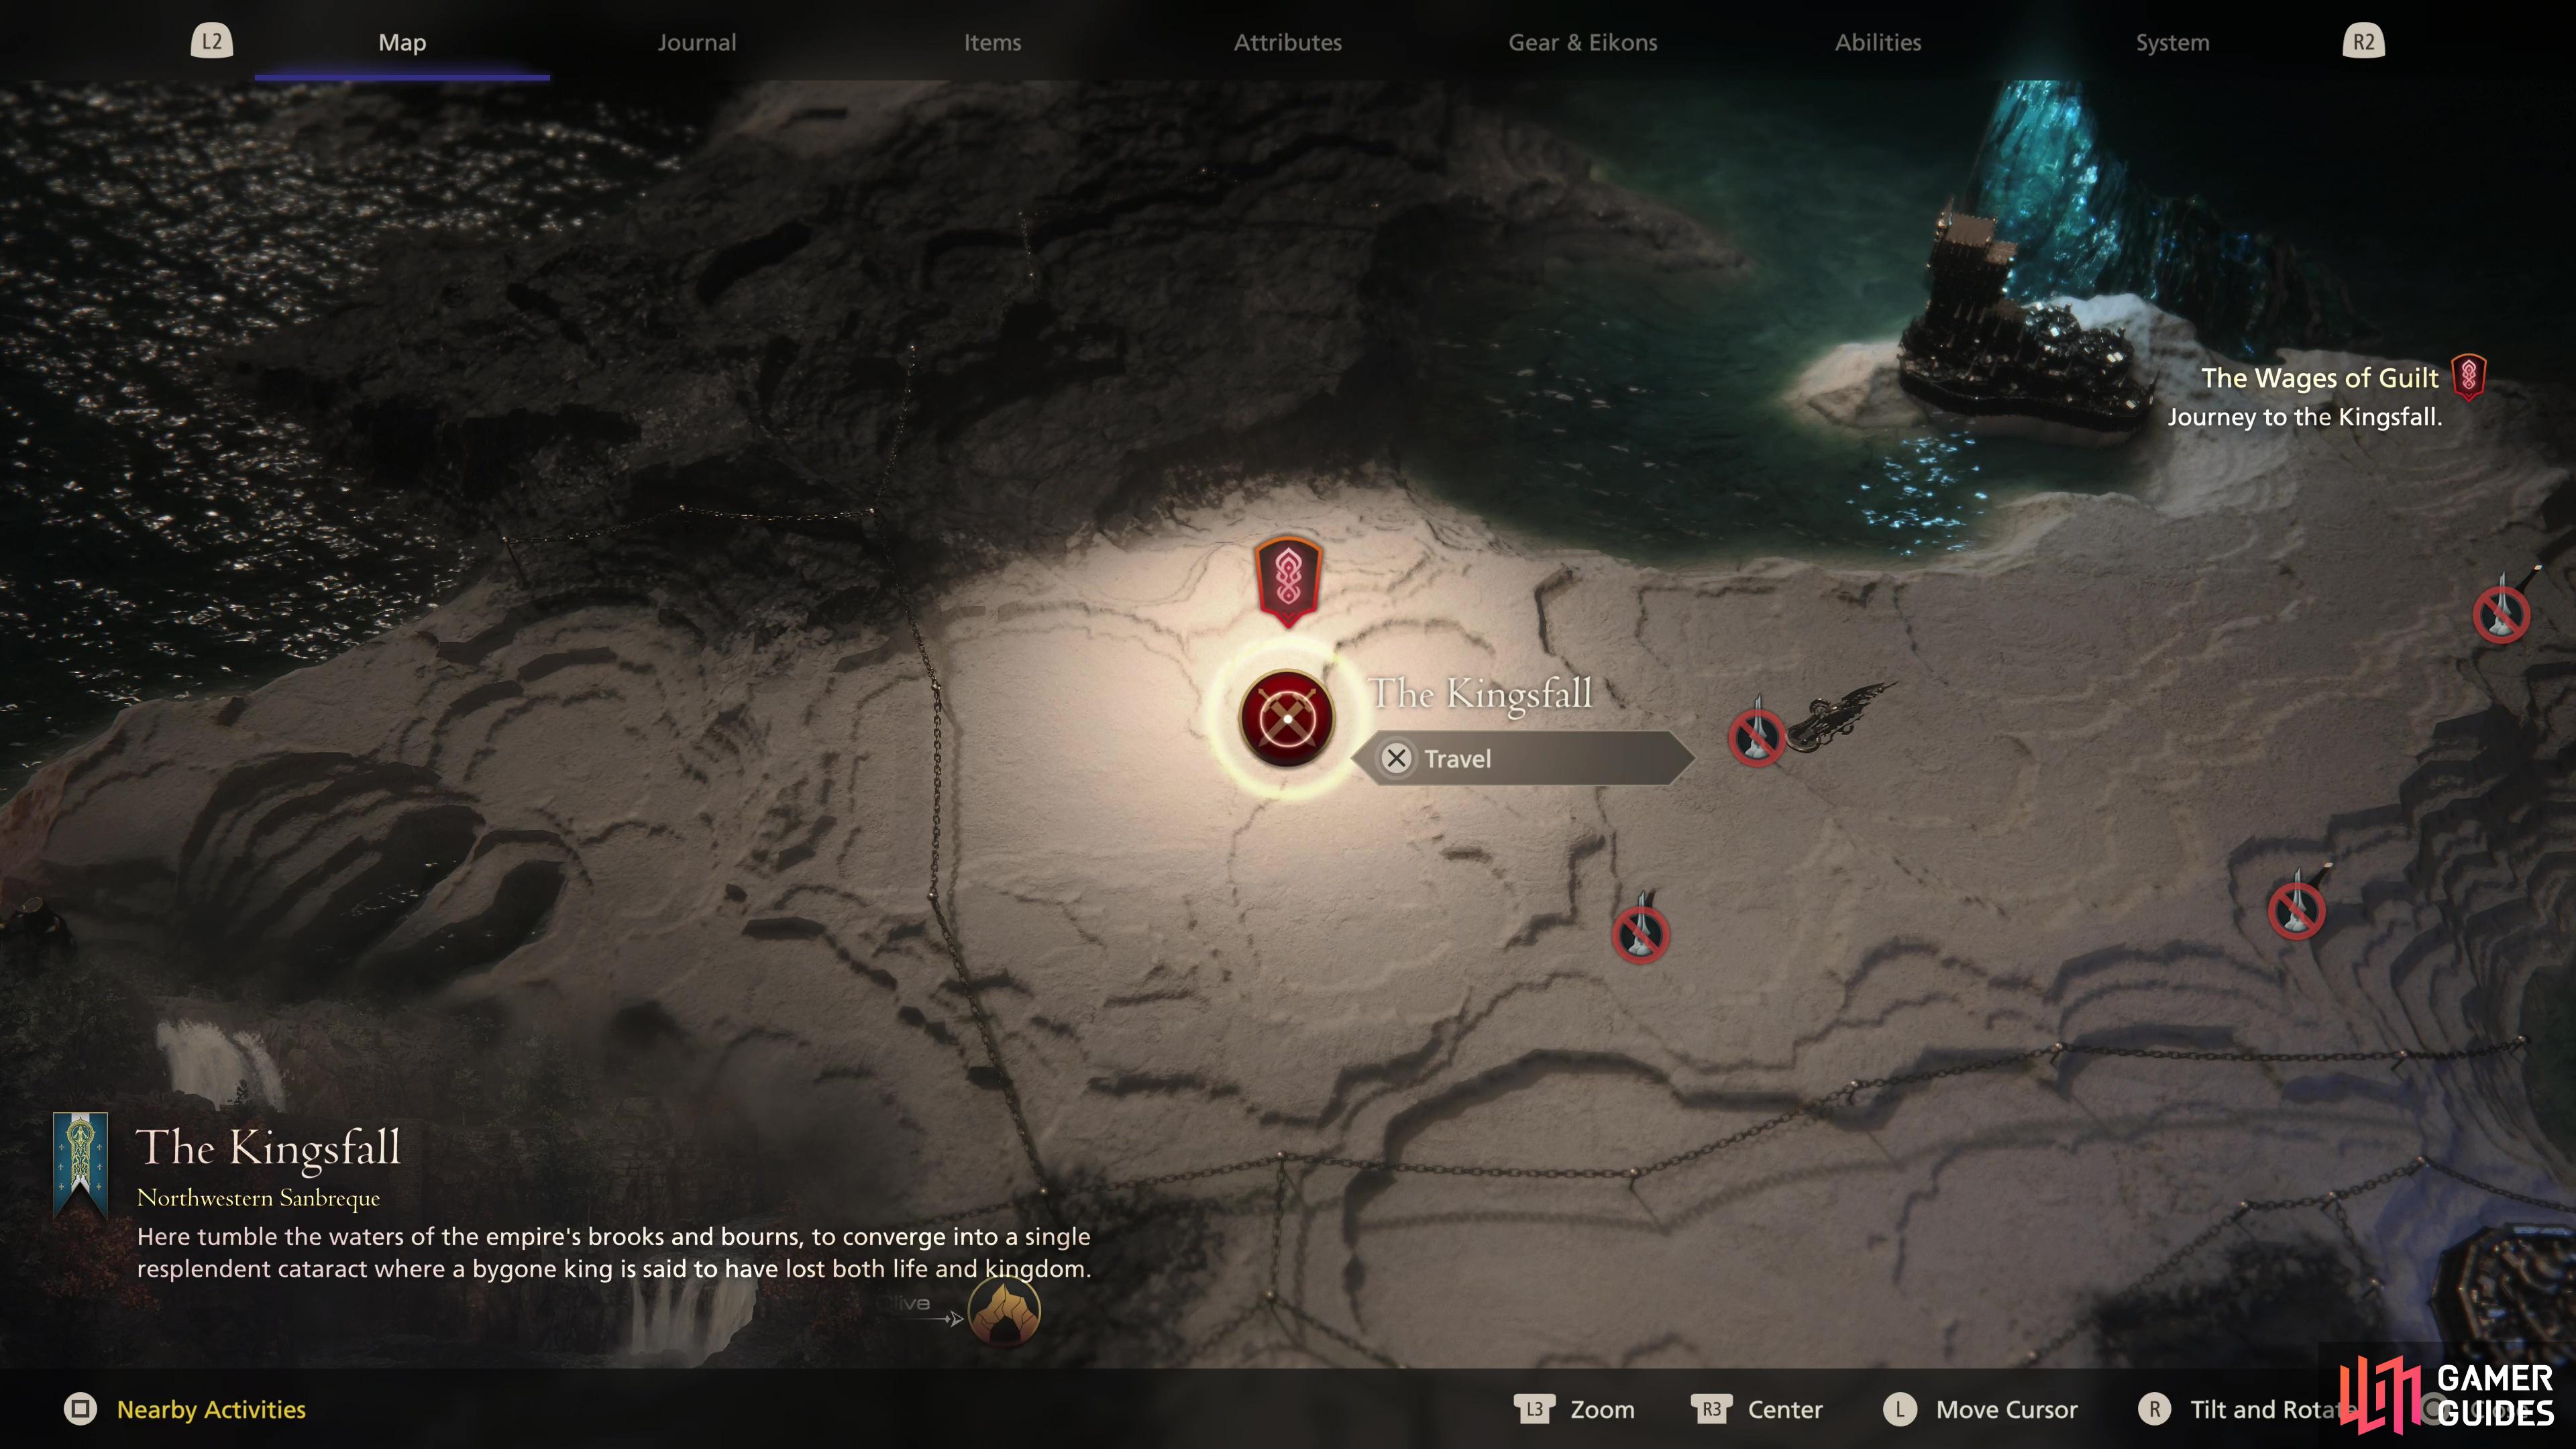
This quest will begin when you enter The Kingsfall.
Fast travel to The Kingsfall and when when you arrive, bit of chatter will break you into this area, after which Clive will be left to explore this short outdoor dungeon at his leisure. There’s not much to this dungeon; you’ll follow a linear path, defeat enemies every time the terrain opens up a bit, and grab the odd loot marked by motes of light. Let’s get to it.
| Enemies in this Area |
|---|
| Arachne |
| Black Widow |
| Hornet |
| Imperial |
| Imperial Captain |
| Imperial Legionnaire |
| Imperial War Aevis |
| Knight of the Dying Sun |
| Minotaur |
| Items in This Area |
|---|
Head forward until you reach a cliff, where you’ll find an item (4x Wyrrite), then drop down the cliff to the left. The low ground here is foul with spiders - several Black Widows - and more will arrive as reinforcements. They’re uninspired enemies, so thrash them and jump across the river in search of more formidable prey. On the other side of the river, follow the linear path and snag another item (3x S!harp Fangs) before ducking under a fallen tree. A roar in the distance will alert you that something lies ahead, and this foe is more than mere vermin: a Minotaur.
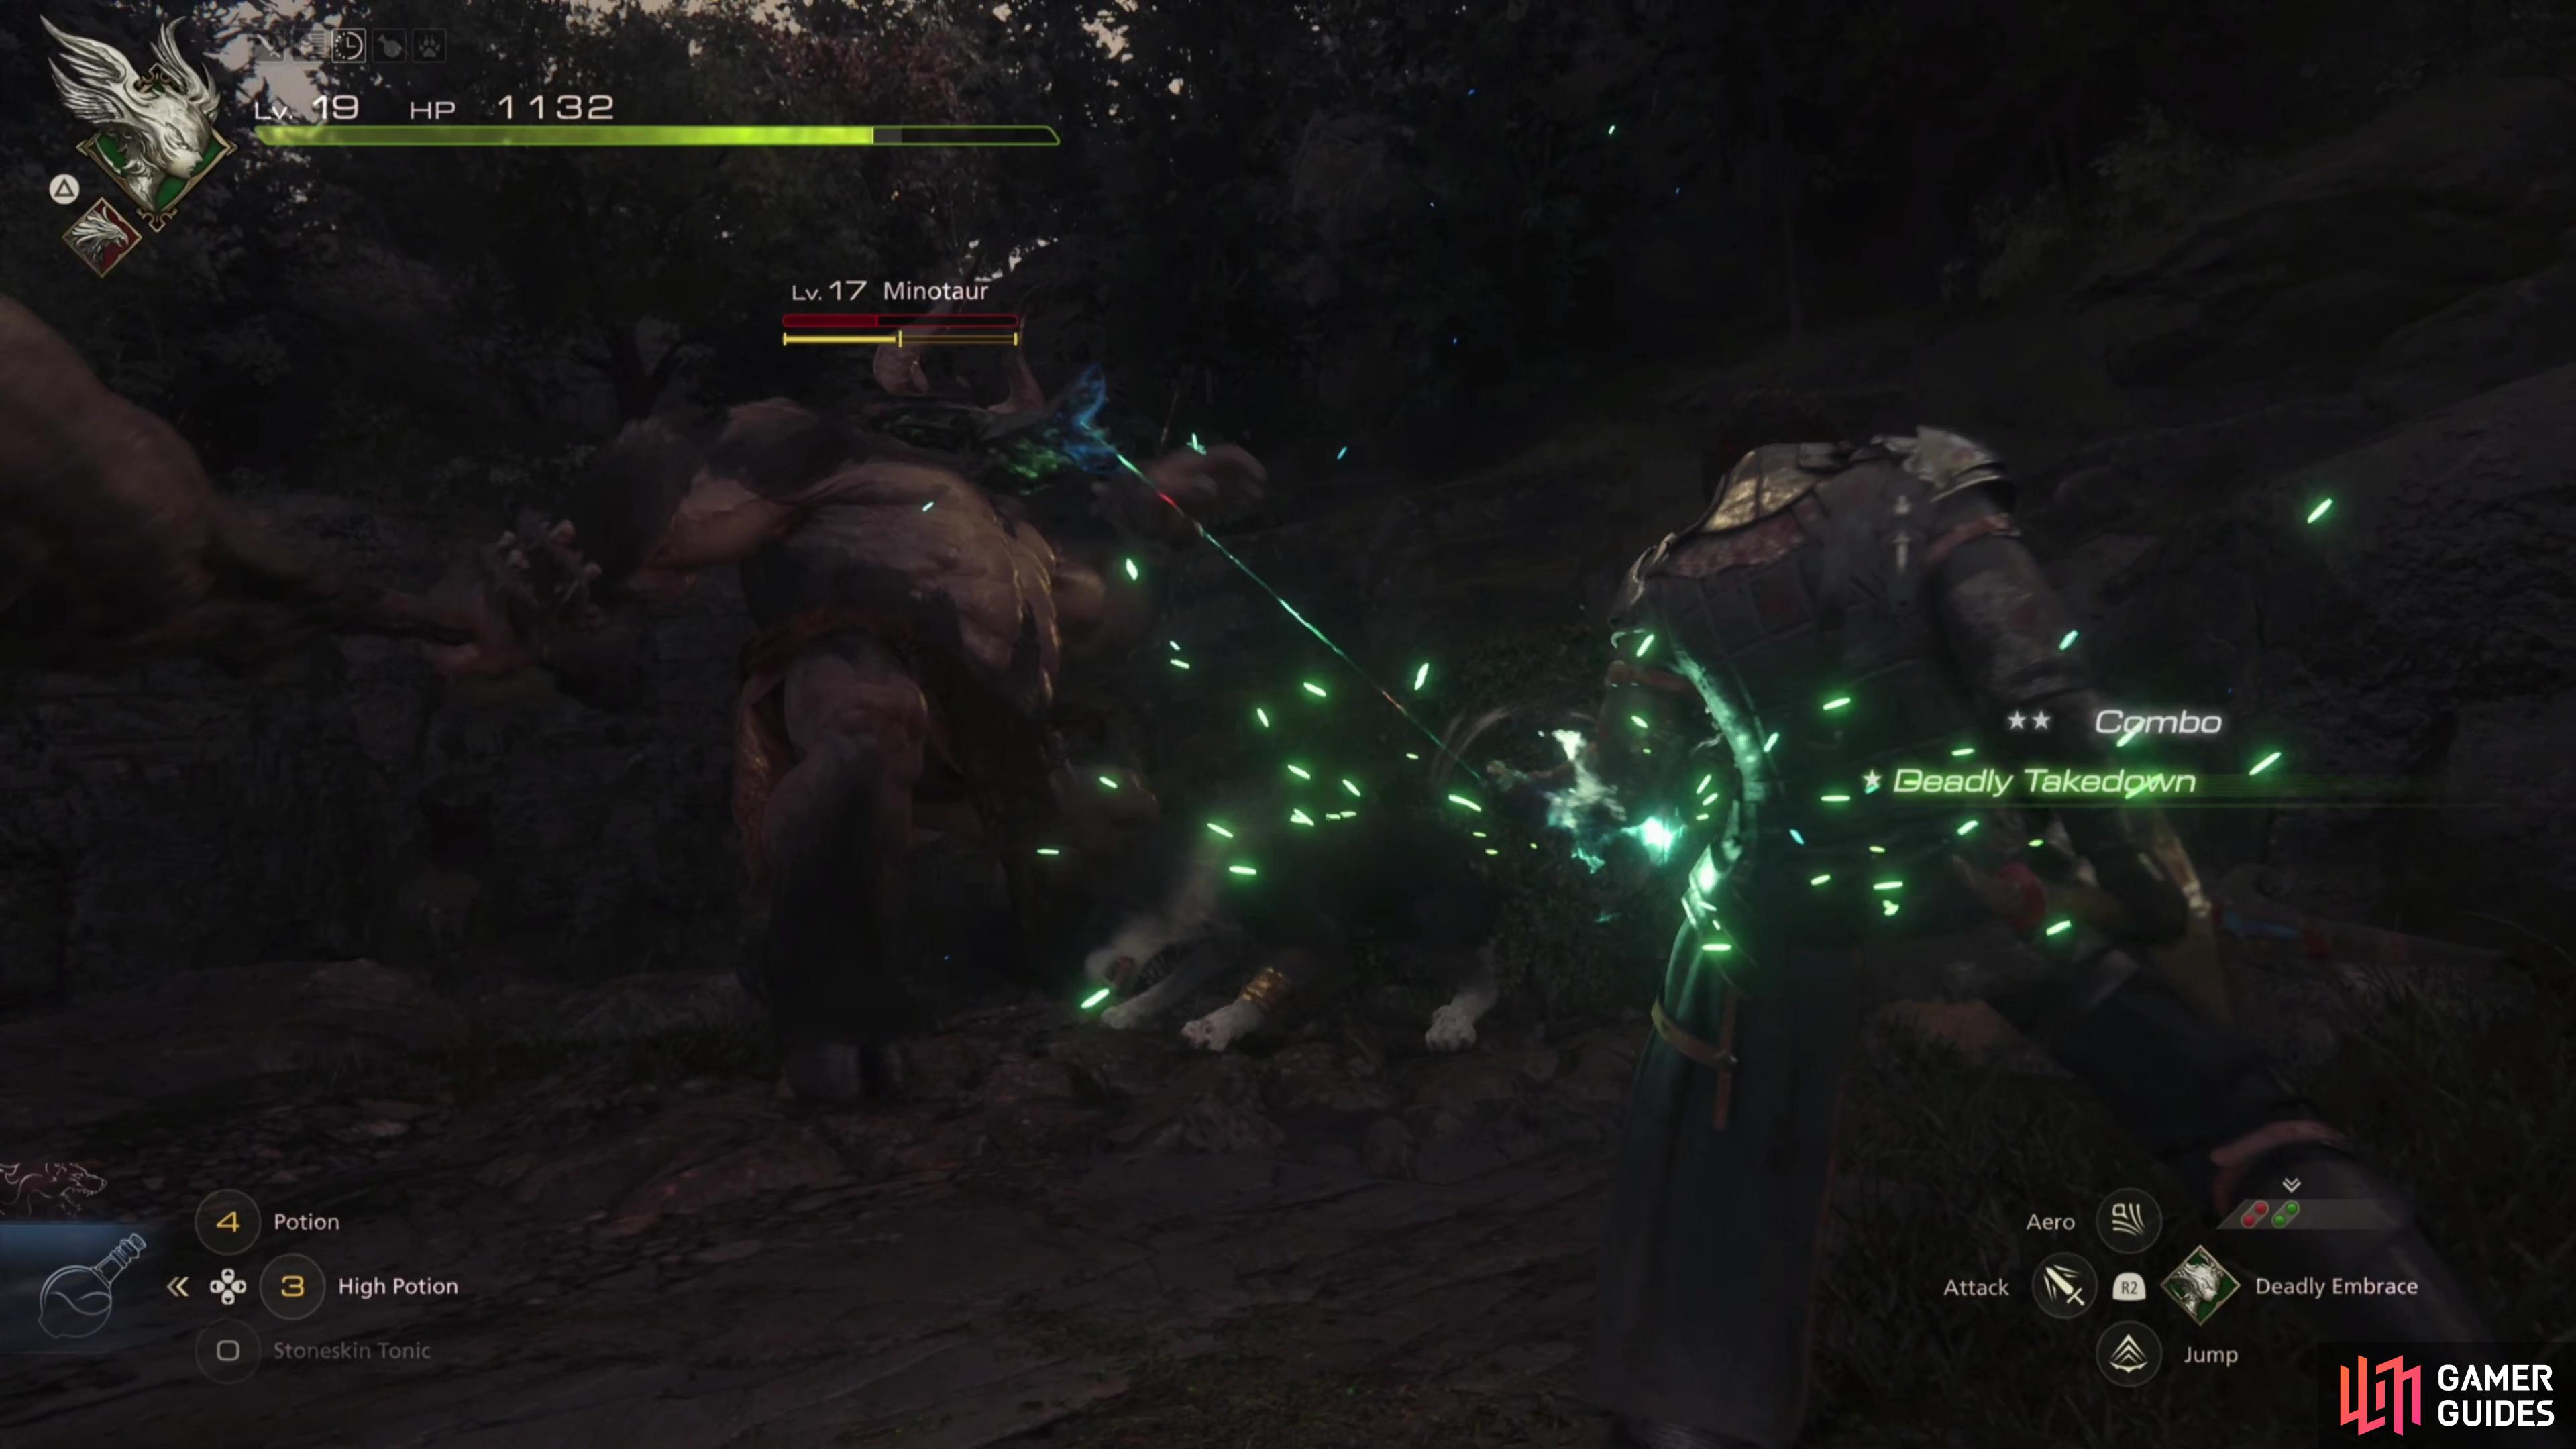
The first noteworthy enemy you’ll face is a Minotaur, who is more of a damage sponge you’ll need to spend time staggering.
How to Defeat the Minotaur - FF16 The Hunter and the Hunted Main Quest Walkthrough
The Minotaur is a bit more of a worthy foe than the Black Widows were, but for all its size, the beastman is more of a test of your patience than your prowess. He’s liable to perform a variety of swings with his massive club, including a vicious sweep that can catch you even if you dodge and an upswing attack, but he’ll also break up the monotony of club strikes by lowering his head and charging. A fairly traditional rendition of the Minotaur, all things told. What this miniboss lacks in finesse he makes up for in fortitude, being durable enough to survive a few staggers. He has no answer for ranged attacks, however, allowing you to pelt him with magic any time you see fit (following charges is a fine time to let loose, until the Minotaur closes the gap again). All in all, this fight boils down to following what’s become a routine formula: dodge enemy attacks, use staggering Eikonic Abilities (![]() Gouge,
Gouge, ![]() Wicked Wheel,
Wicked Wheel, ![]() Scarlet Cyclone) then when the enemy is staggered use damage-dealing Eikonic Abilities (
Scarlet Cyclone) then when the enemy is staggered use damage-dealing Eikonic Abilities (![]() Rising Flames) and busy yourself with ranged and melee filler while you’re not dodging and your Eikonic Abilities are on cooldown. For felling this foe you’ll find a
Rising Flames) and busy yourself with ranged and melee filler while you’re not dodging and your Eikonic Abilities are on cooldown. For felling this foe you’ll find a ![]() Minotaur Mane, a crafting material you’ll be able to put to use shortly.
Minotaur Mane, a crafting material you’ll be able to put to use shortly.
Crawl under an obstruction caused by collapsed trees and rocks, nab another item (Potion) follow the path until you’re forced to jump a gap, beyond which you’ll find a second item (2x Magicked Ash). Turn left and walk off a cliff to reach some lower ground and continue uphill to get a third item (3x Bloody Hides}, then turn right to find some more bugs to fight - Hornets and Black Widows.
When you’re done being glorified pest control, run along a narrow walkway and drop down to two lower ledges, where you’ll find another Minotaur joined by some Arachne - more spiders. This fight is substantively no different from the last Minotaur battle once the bugs are done, so cull them first, then focus on spending the next few minutes whittling down the Minotaur’s stagger and health bars.
Defeat the second Minotaur and climb a cliff and head to a bridge, stopping to grab an item (High Potion) along the way. Once you reach the bridge, turn around to find another item (4x Steelsilk) near some boulders and trees blocking the road. Cross the bridge to trigger a scene. Seems you’ve found ![]() Gav, and you’re not the only one.
Gav, and you’re not the only one.
When the scene ends you’ll be in a fight against some Imperials, including an Imperial Captain (can guard against frontal attacks) an Imperial Astrologer (mage) and some Imperial Legionnaires. After they’re defeated, more formidable Imperial opposition will show up in the form of another ![]() Dragoon - the Knight of the Dying Sun and an Imperial War Aevis.
Dragoon - the Knight of the Dying Sun and an Imperial War Aevis.
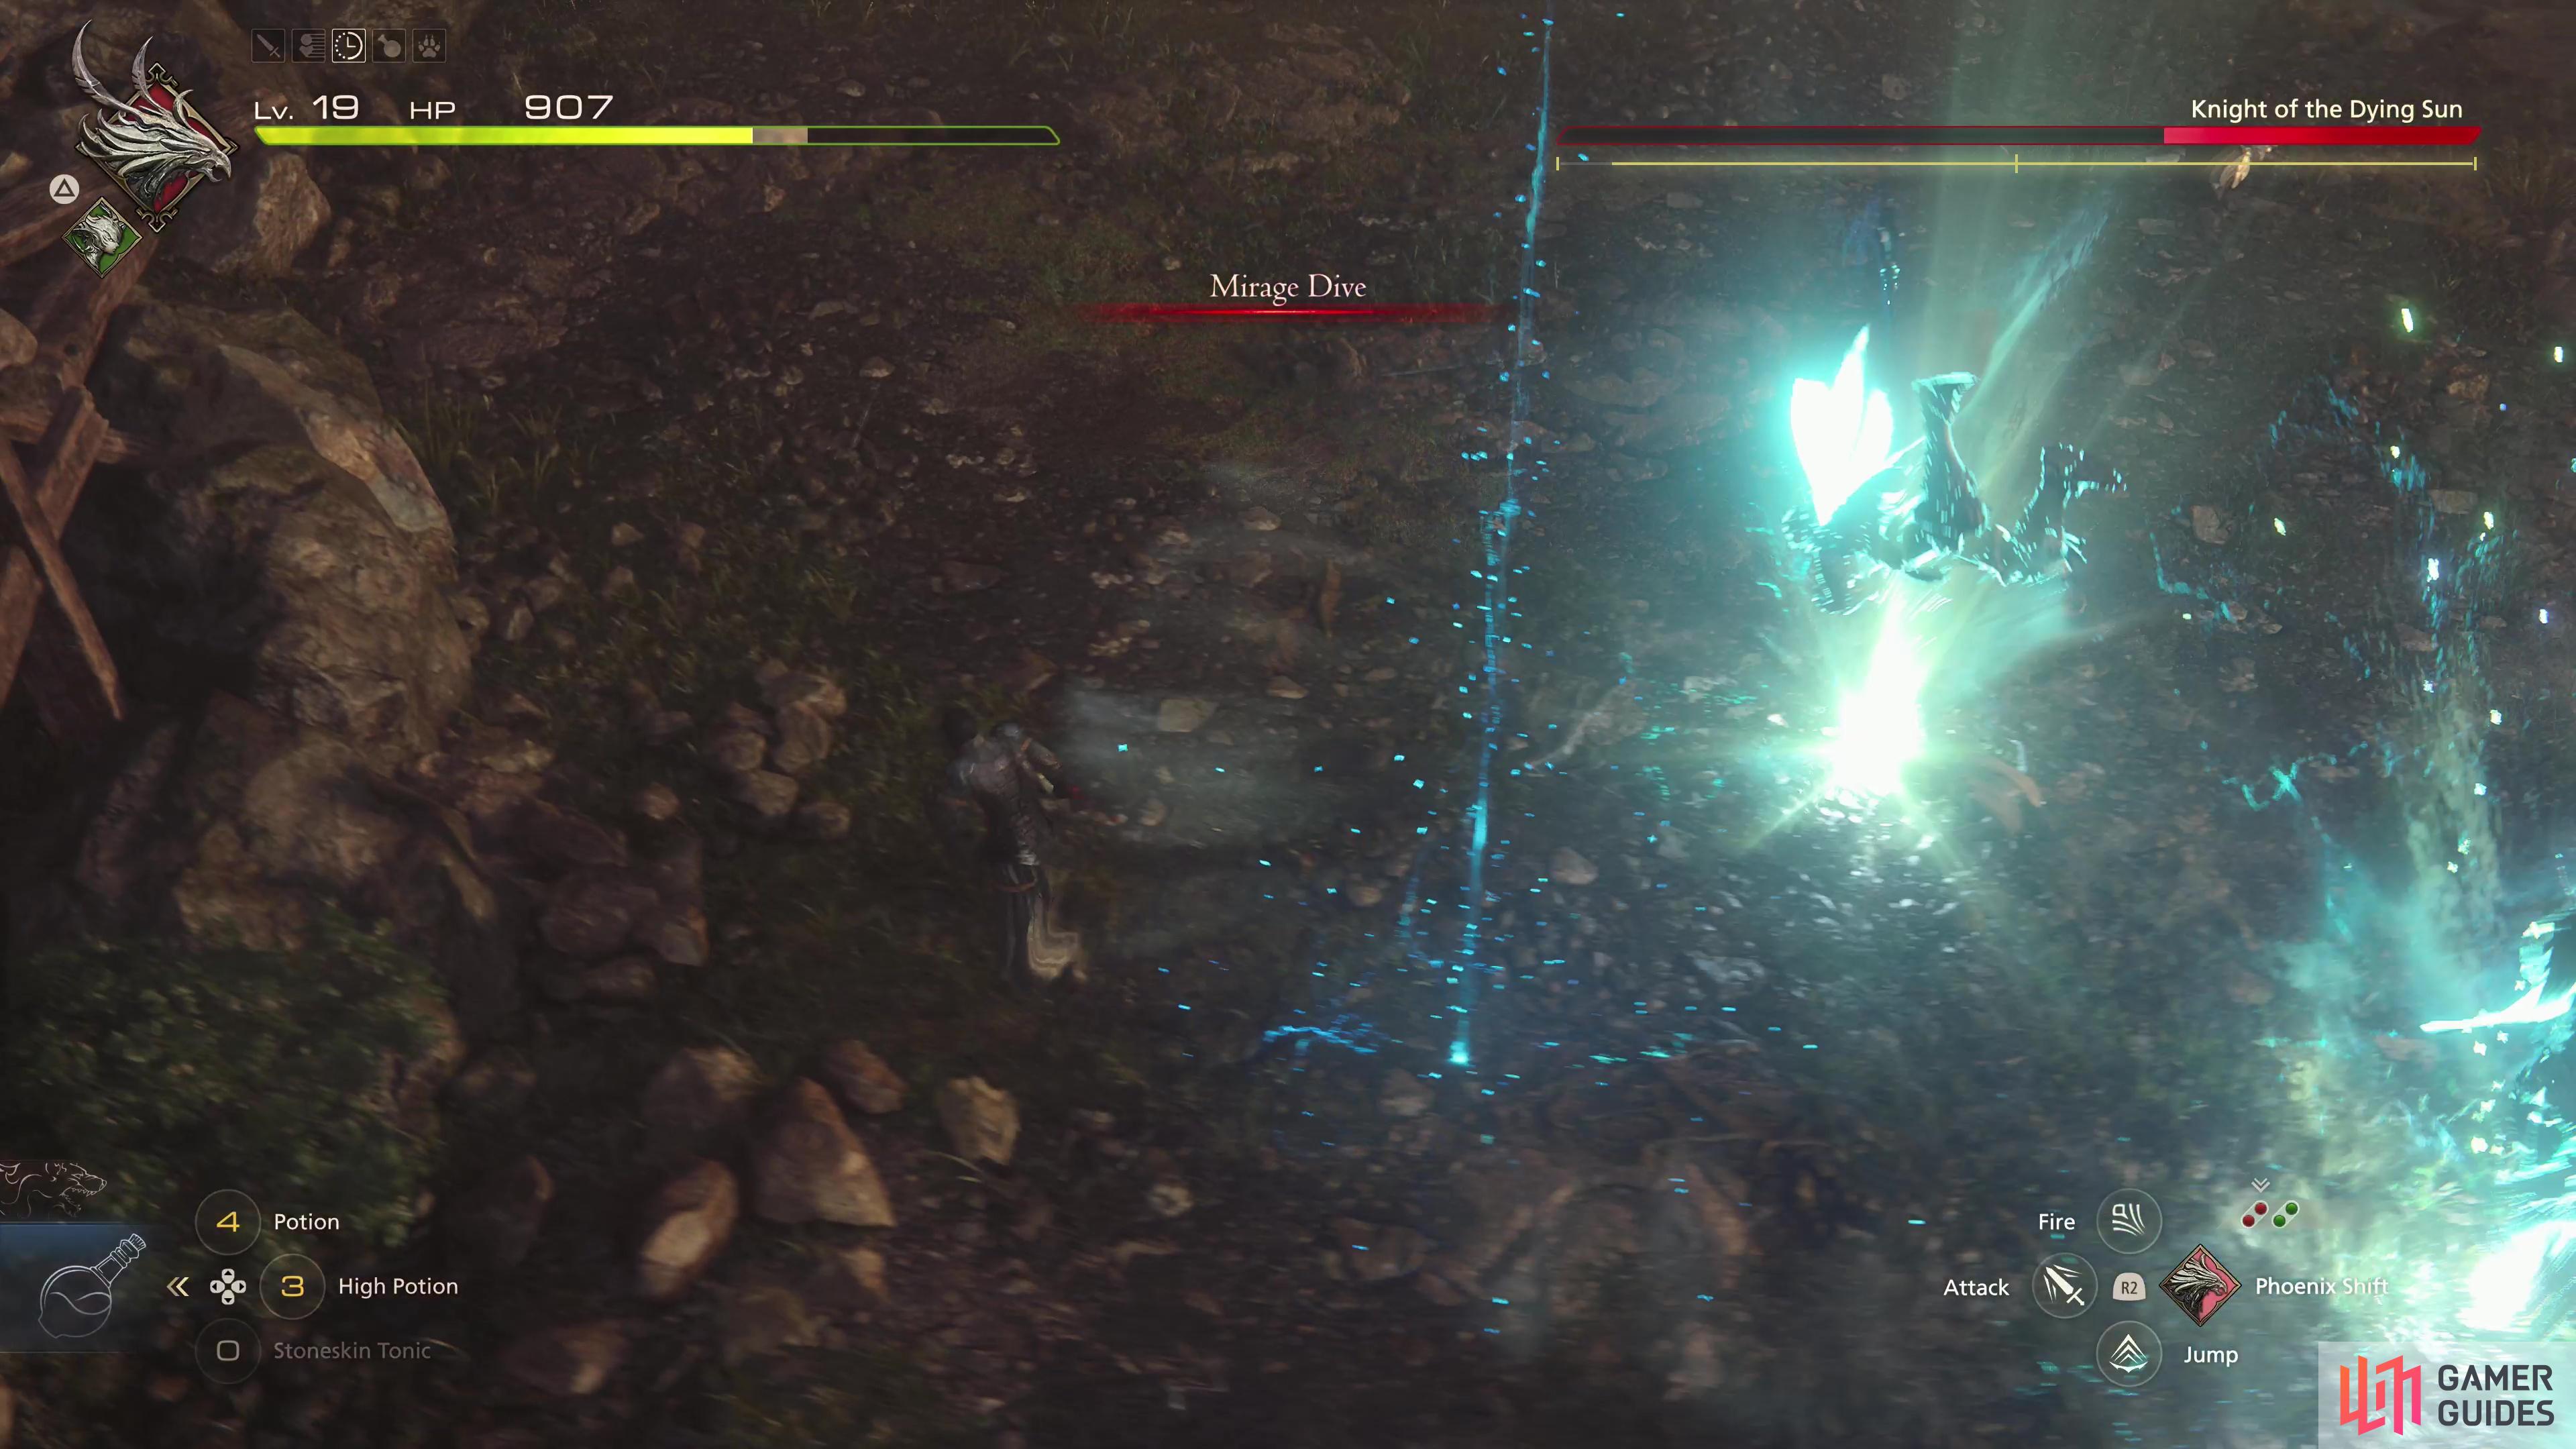
At the end of the quest you’ll encounter another Dragoon - the Knight of the Dying Sun. When his health is low he’ll use a new “Mirage Dive” attack, but otherwise he fights identically to the Knight of the Blinding Dawn.
How to Defeat the Knight of the Dying Sun Dragoon - FF16 The Hunter and the Hunted Main Quest Walkthrough
Due to the timely intervention of Cid, you won’t have to worry about any trash mobs, and if you play your cards right, he’ll take care of the Imperial War Aevis, too. The Dragoon will focus on Clive (something you can further encourage by pelting him with magic), and if you keep your distance the Imperial War Aevis won’t bother you, instead engaging in a doomed effort against Cid. If you get too close to the Aevis, however, you may take incidental damage from its attacks.
The Knight of the Dying Sun has been properly demoted to a miniboss for this fight, mostly using the same attacks as the Knight of the Blinding Dawn you faced back in the prologue. He’ll use ![]() Jump, Lance Thrust, Spin Shockwave, the Jump and Spin Combo and, when his health is reduced to around two-thirds, he’ll replace Jump with Double Jump, which is what it says on the tin.
Jump, Lance Thrust, Spin Shockwave, the Jump and Spin Combo and, when his health is reduced to around two-thirds, he’ll replace Jump with Double Jump, which is what it says on the tin.
Once reduced to one-third his health, however, the dragoon will enter phase three - something the Knight of the Blinding Dawn didn’t have. In this phase the Knight of the Dying Sun will use “Mirage Drive”, an even more lethal form of Jump in that he’ll perform numerous Jump drives in succession, but will also seed the ground with numerous fake reticles so you don’t know exactly where he’ll strike. That said, you can avoid this attack simply by running around, and you don’t really have any other option besides taking hits, and what good will that do? You can’t land any meaningful attacks yourself, so just run around and avoid glowing spots until Cid gets fed up with the dragoon’s antics and strike him out of the sky. This will net you a free stagger which should all but end the fight.
After the battle you’ll get more scenes and when those are done you’ll need to head back to The Hideout. Once there, head up to the Infirmary to trigger another scene, after which you’ll need to talk to ![]() Charon and Gav before yet another scene plays. You’ve now got a new companion and a new goal, and this quest will end once you travel to the
Charon and Gav before yet another scene plays. You’ve now got a new companion and a new goal, and this quest will end once you travel to the ![]() Three Reeds on the world map. It’s worth noting, however, that you can busy yourself with two new side quests before you move on: A Place for Everyone and Moving Heaven and Earth. You can also buy/craft new gear, but you’ll be getting superior equipment for free, so you might as well just hold onto your gil and resources.
Three Reeds on the world map. It’s worth noting, however, that you can busy yourself with two new side quests before you move on: A Place for Everyone and Moving Heaven and Earth. You can also buy/craft new gear, but you’ll be getting superior equipment for free, so you might as well just hold onto your gil and resources.
When you’re ready, travel to the Three Reeds to start the next main quest: Homecoming.
No Comments