
During the previous main quest Footfalls in Ash Clive and a dwindling cast of companions will trek across ![]() Ash en route to
Ash en route to ![]() Drake’s Spine, only to have their progress impeded by
Drake’s Spine, only to have their progress impeded by ![]() Odin, who deems it necessary to whip you into shape before you’re fit to meet with his master. This page will provide a walkthrough for the main quest The Last King in Final Fantasy 16, including what enemies you’ll encounter and what treasure you can find during you trek through Waloed.
Odin, who deems it necessary to whip you into shape before you’re fit to meet with his master. This page will provide a walkthrough for the main quest The Last King in Final Fantasy 16, including what enemies you’ll encounter and what treasure you can find during you trek through Waloed.
How to Start The Last King Quest in Final Fantasy 16
The main quest Footfalls in Ash is rather anticlimactic, being full of trash mobs and requiring you to cover quite a bit of ground. During that quest your progress (generally to the northeast) will be stalled by Odin, who will force you to take a detour to the southeastern corner of the map - more specifically to a region named The Edge of Infinity. Approach the southeastern edge of the map to zone out back to the world map, unlocking a new fast travel point, ![]() Reverie, in the process. This quest will begin as soon as you zone into Reverie.
Reverie, in the process. This quest will begin as soon as you zone into Reverie.
All Enemies Encountered During The Last King Quest in FF16
| Enemies in this Area |
|---|
| Aurum Giant |
| Control Panel |
| Defense Node |
| Fallen Bug |
| Fallen Guardian |
| Fallen Hunter |
| Purobolos |
| Purple Bavarois |
| Soultaker |
All Items Found During The Last King Quest in FF16
| Items in This Area |
|---|
| 4x |
| 5x |
| 5x |
| 4x |
| 5x |
| The Favor of Ice ( |
| The Will of Ice ( |
| 3x |
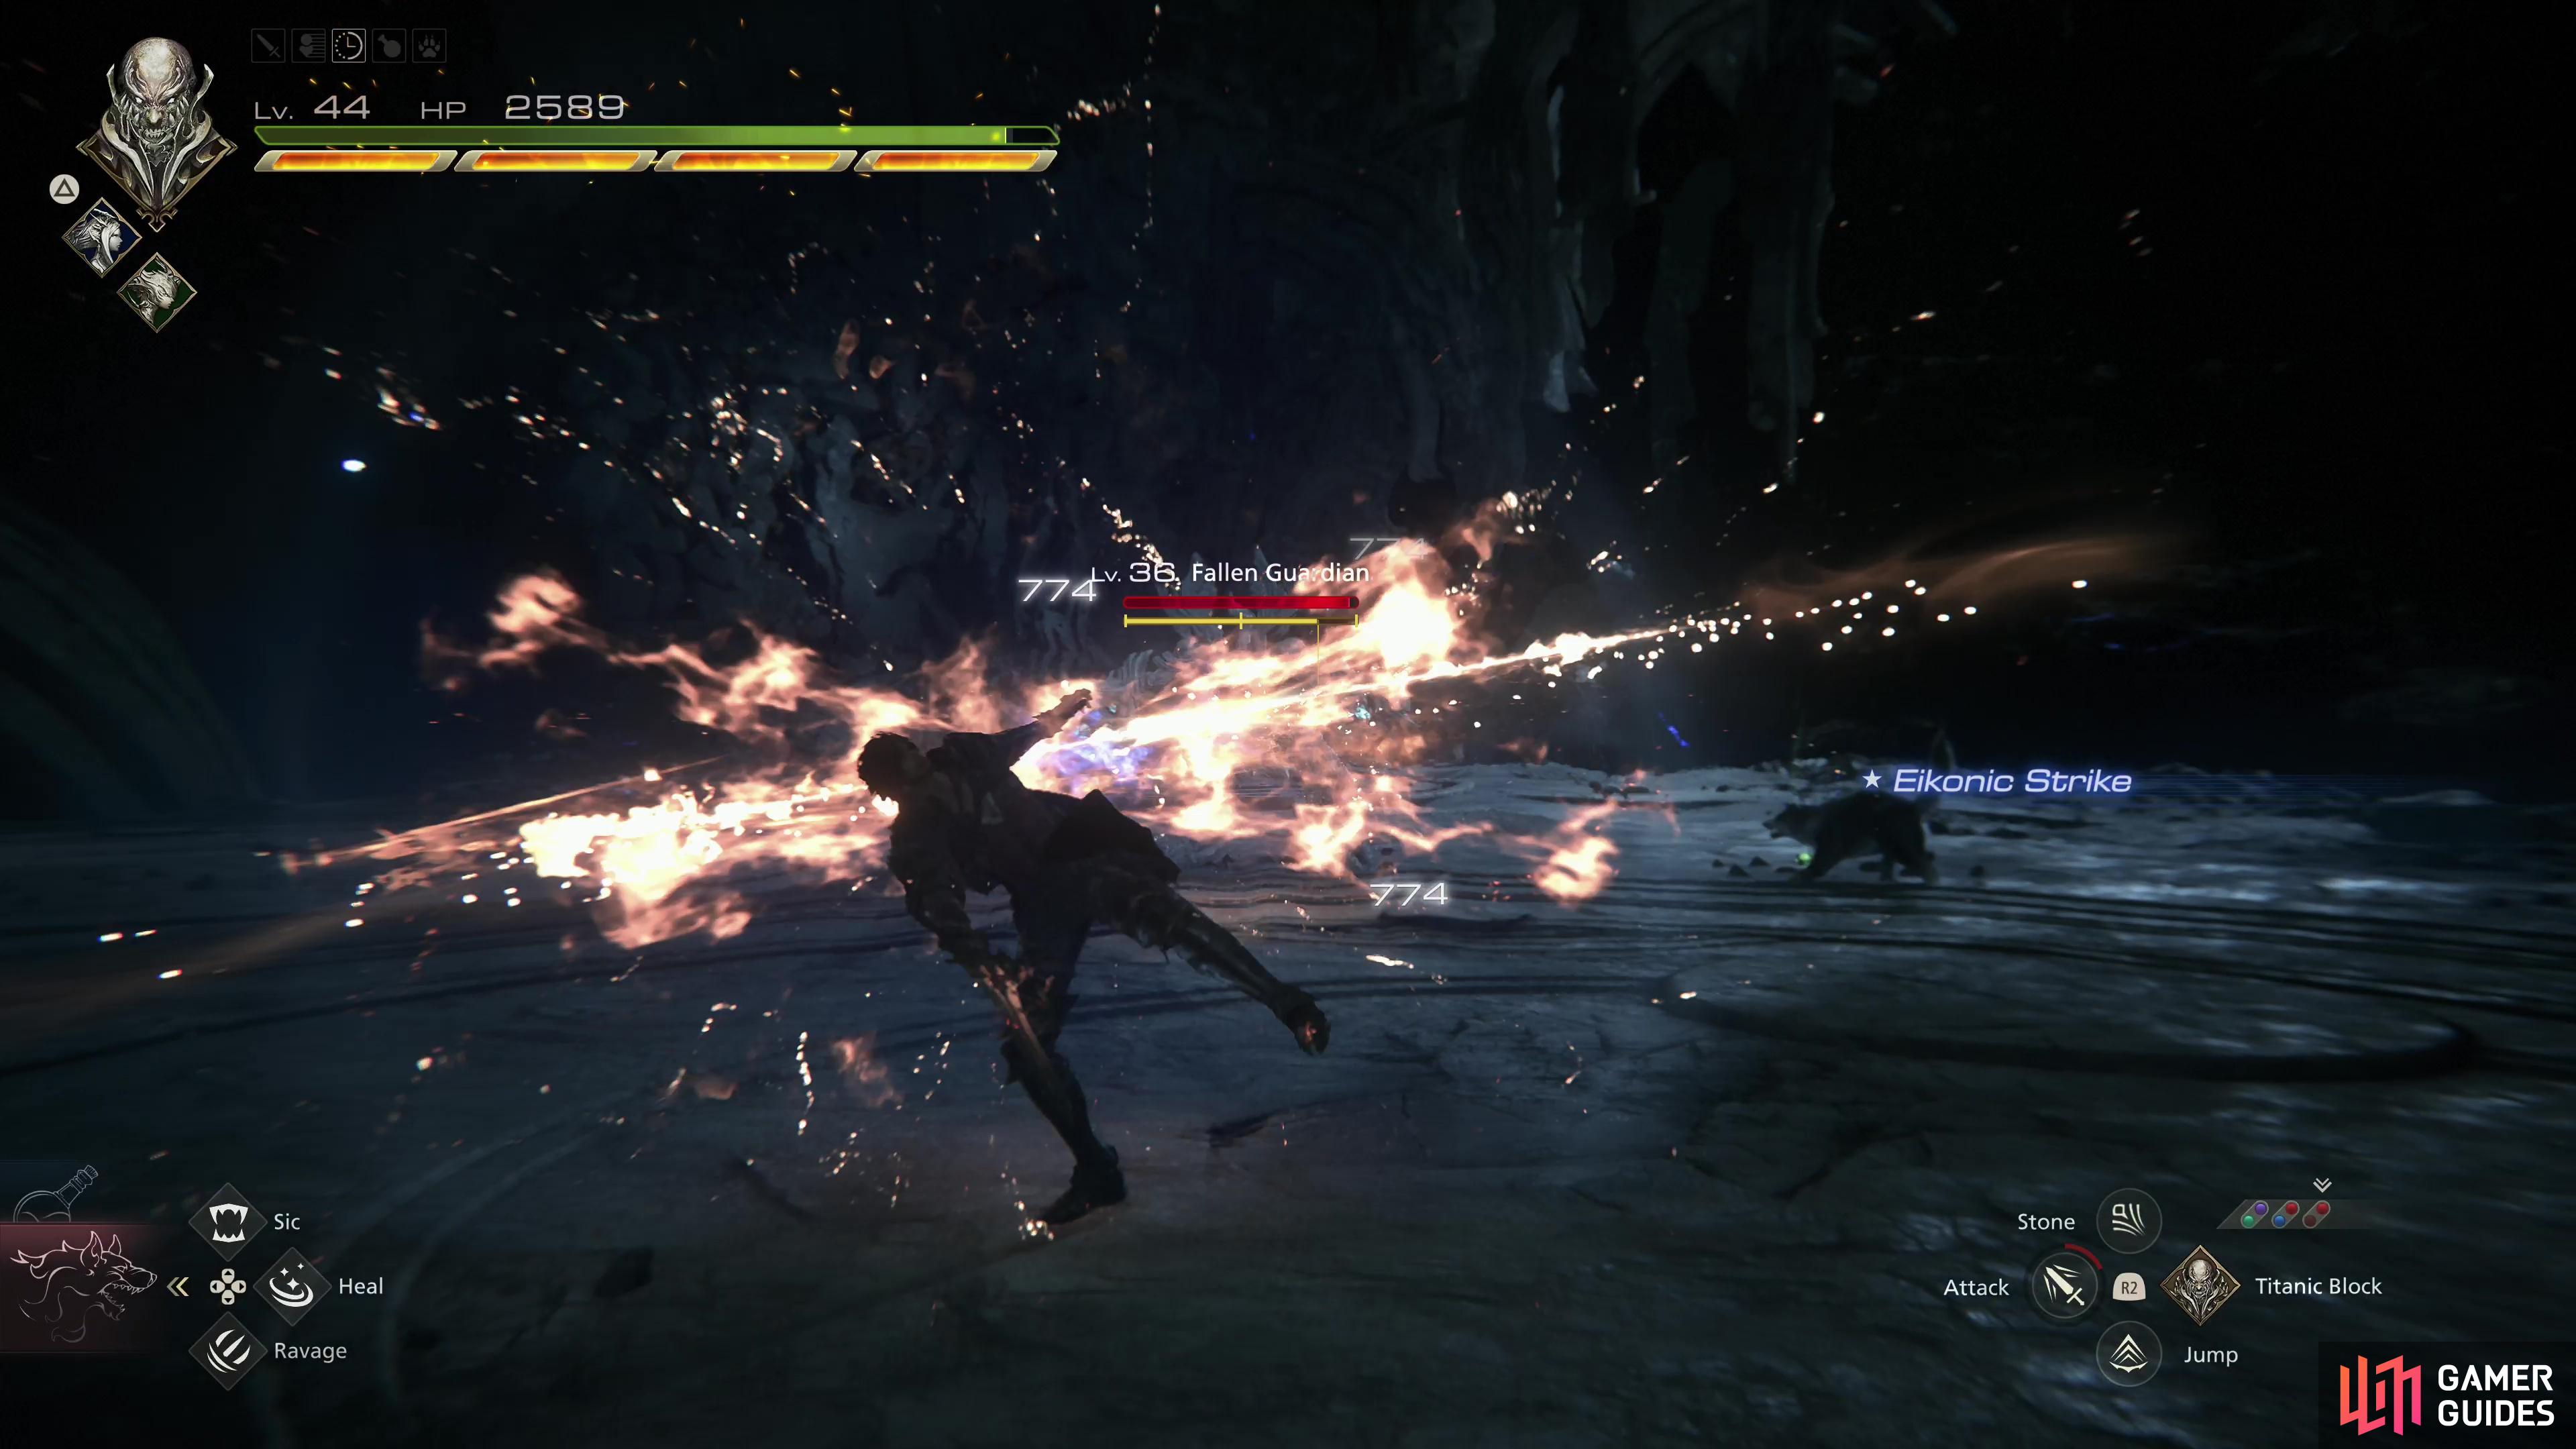
The first miniboss in this dungeon is a Fallen Guardian - by now a familiar and unworthy foe.
How to Defeat the Fallen Guardian - The Last King Main Quest Walkthrough in FF16
After a short introductory scene you’ll find yourself in control inside the tower. Ascend a ramp to find yourself in a room very similar to the ruins under ![]() Phoenix Gate, and sure enough, you’ll have to fend off a squad of Fallen Hunters and Defense Nodes. Deconstruct them, then head through a door to reach a larger circular room, where you’ll snag 5x Magicked Ash. Stand in the center of the room to ride an elevator up, and when it stops you’ll need to fend off a trio of Purobolos enemies - a variant of the Bomb. Defeat them, then go through another door and continue to the next circular platform, grabbing a Potion and 5x Steelsilk before engaging a Fallen Guardian and a pair of Purobolos enemies. Emerge victorious, then sniff out a new door, grabbing 5x Sharp Fangs when you approach.
Phoenix Gate, and sure enough, you’ll have to fend off a squad of Fallen Hunters and Defense Nodes. Deconstruct them, then head through a door to reach a larger circular room, where you’ll snag 5x Magicked Ash. Stand in the center of the room to ride an elevator up, and when it stops you’ll need to fend off a trio of Purobolos enemies - a variant of the Bomb. Defeat them, then go through another door and continue to the next circular platform, grabbing a Potion and 5x Steelsilk before engaging a Fallen Guardian and a pair of Purobolos enemies. Emerge victorious, then sniff out a new door, grabbing 5x Sharp Fangs when you approach.
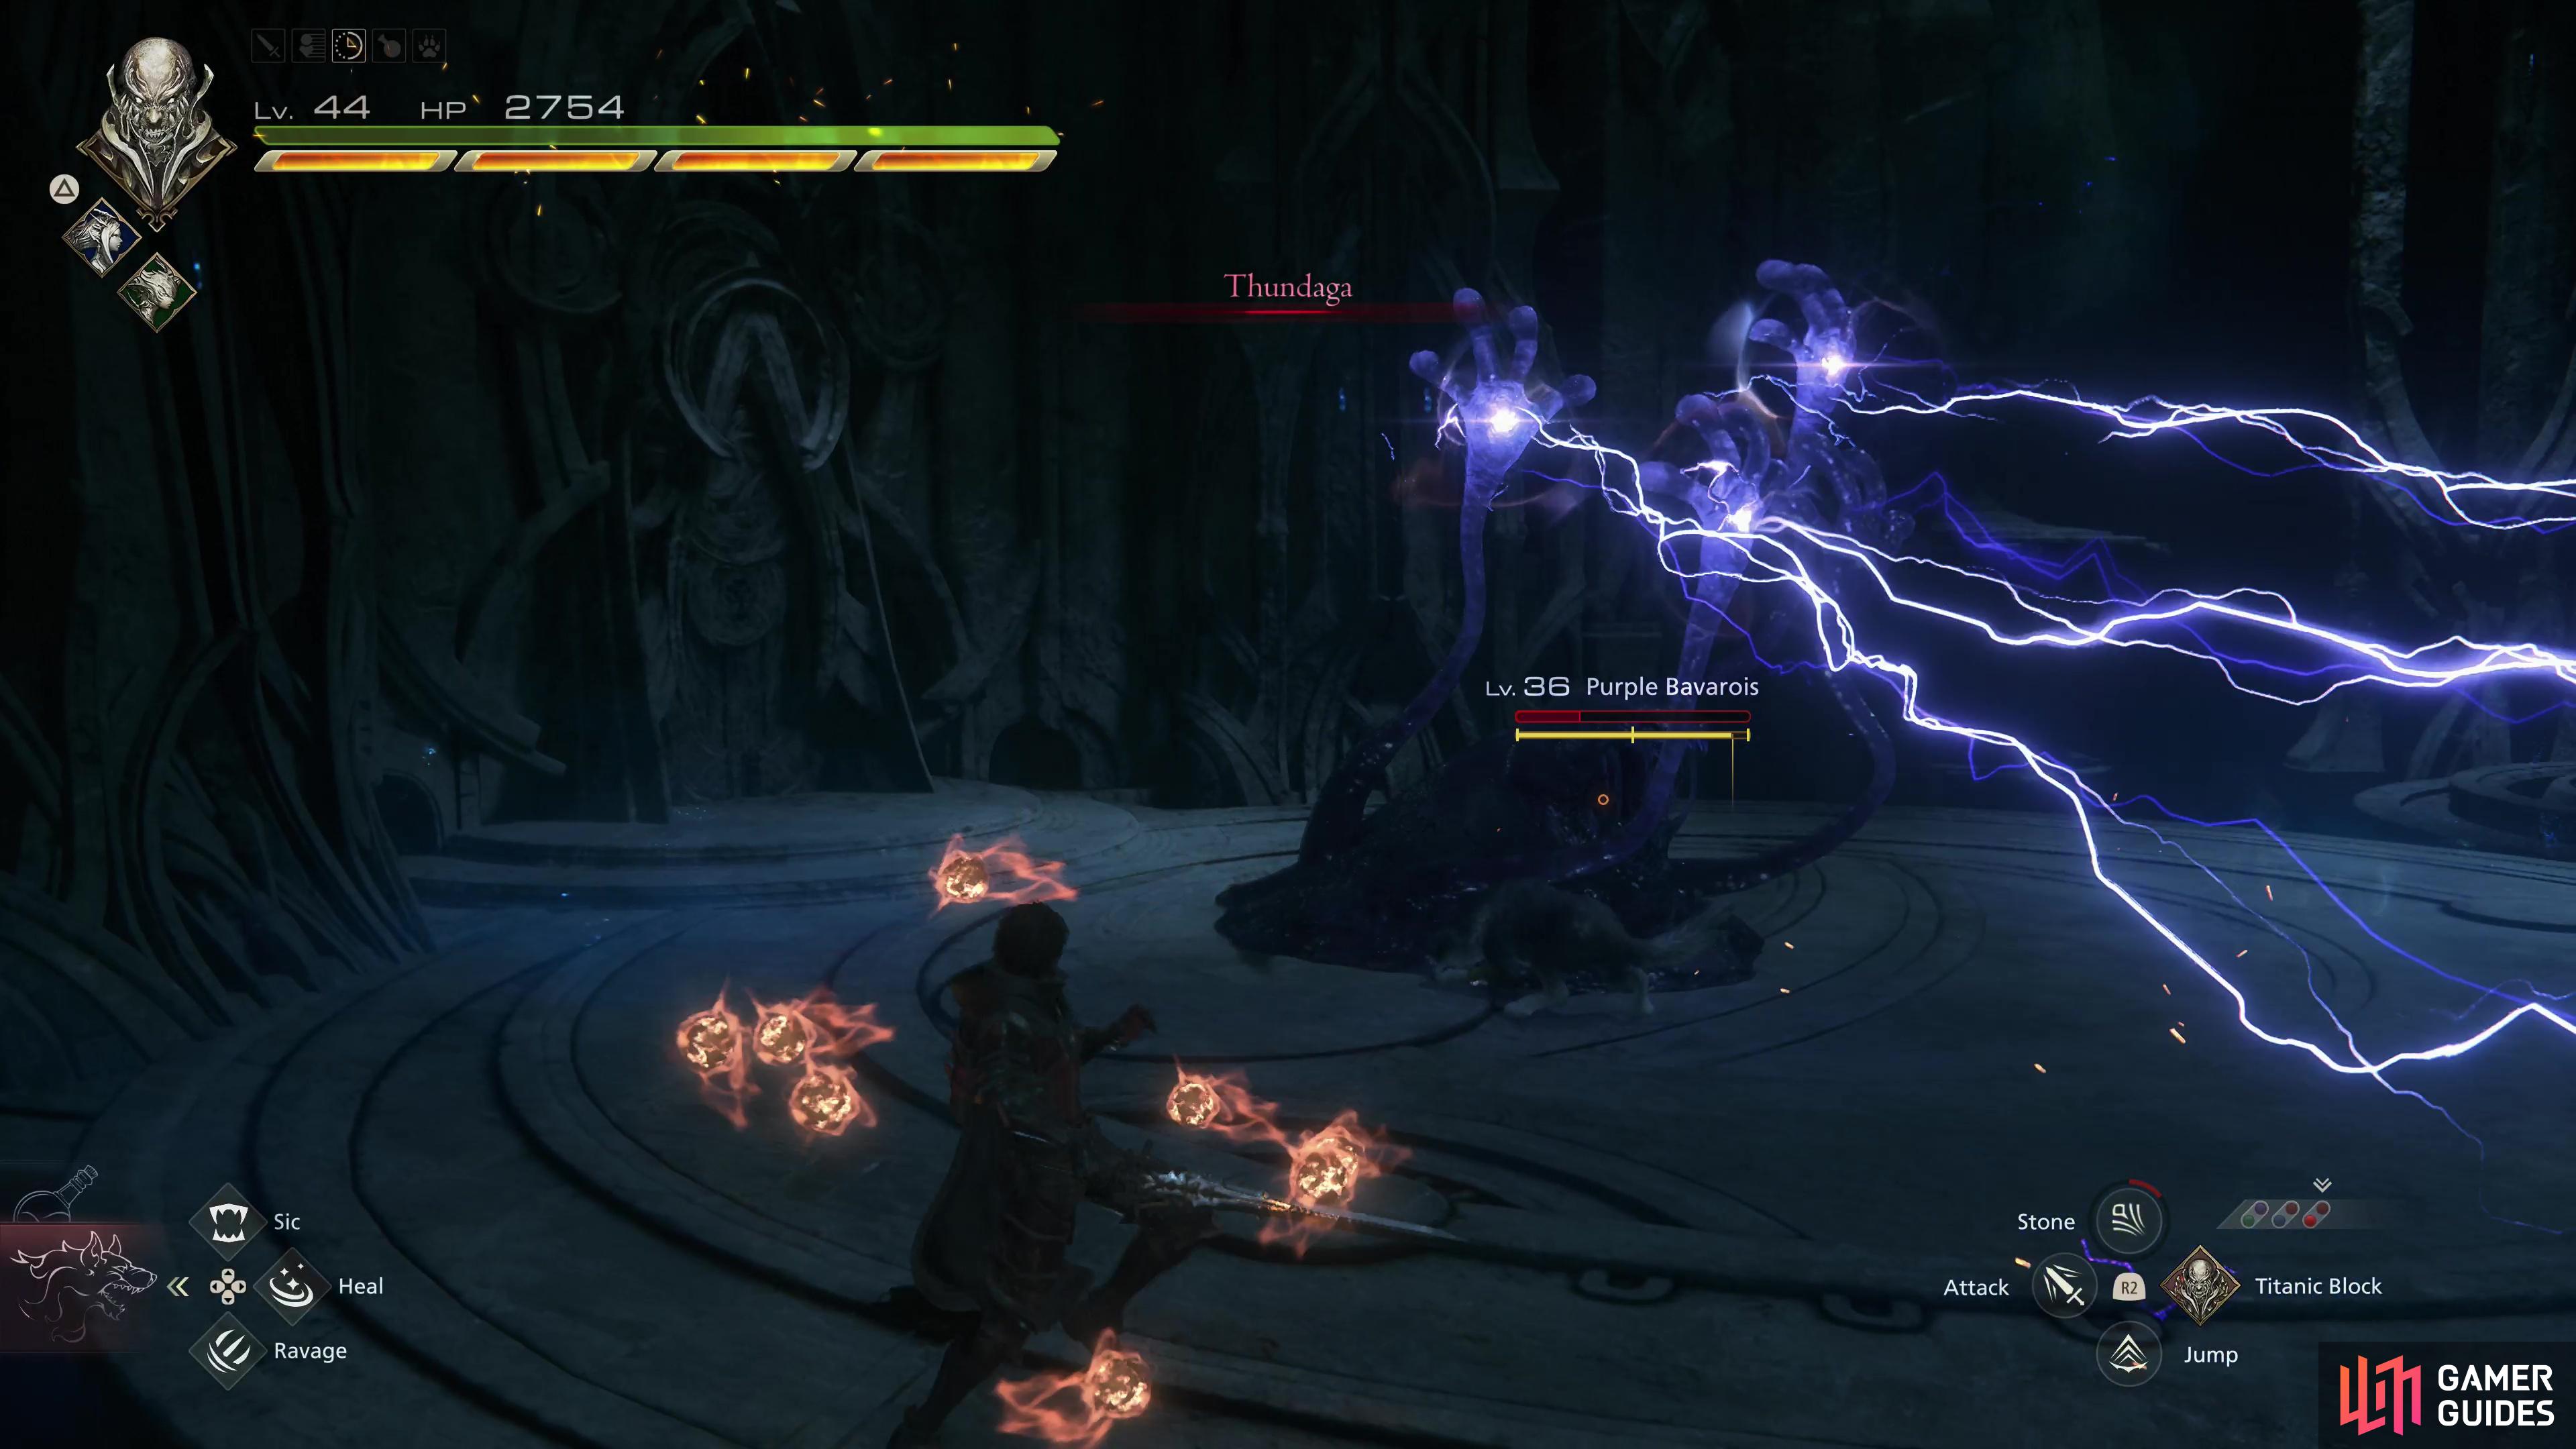
Further on you’ll encounter a Purple Bavarois, who, while technically new, is just another slime enemy, albeit one charged with thunder.
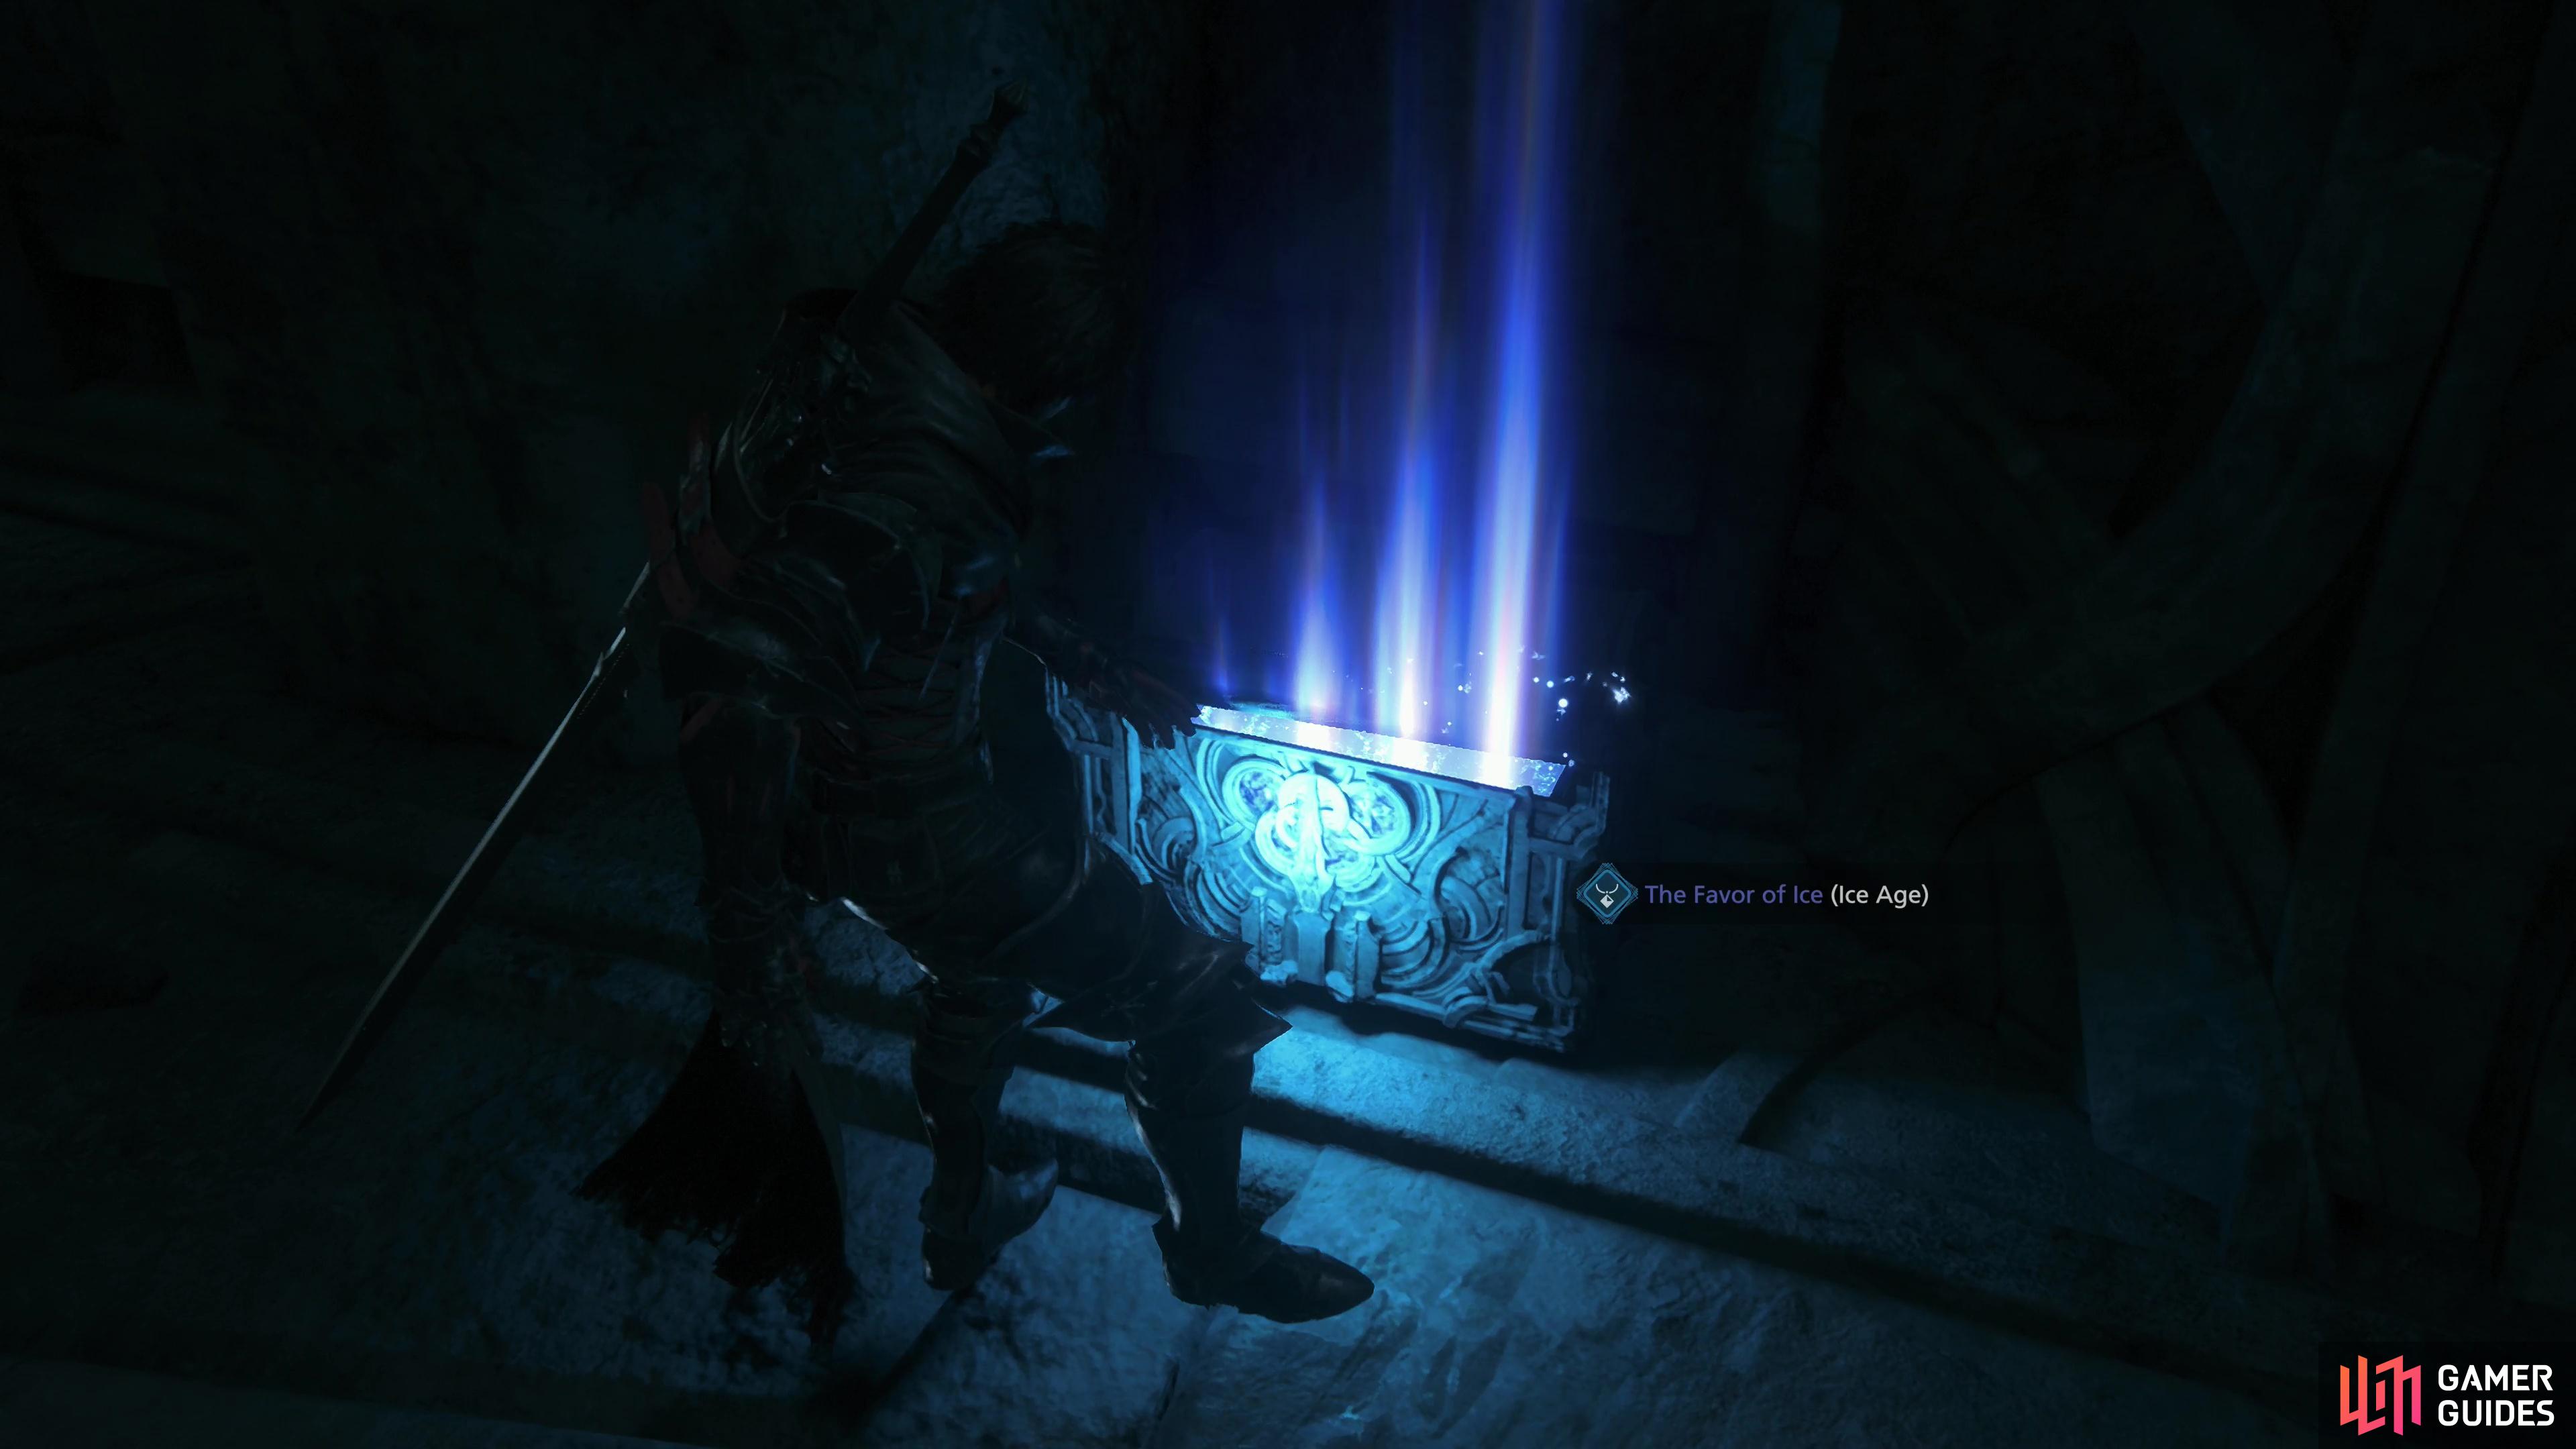
Defeat the Purple Bavarois, then loot a chest in the following hallway to score The Favor of Ice (!Ice Age).
How to Defeat the Purple Bavarios - The Last King Main Quest Walkthrough in FF16
You’ll largely be repeating this routine for a while: Ride up another elevator, nab 3x Wyrrite and a Potion at the top, then head into a hallway and eradicate a pair of Fallen Bugs and another Defense Node. Continue to another circular platform to find 4x Bloody Hides and the second miniboss: a Purple Bavarois. This slime monster is a lightning elemental, and will lash out with amoebic tentacles in various ways and cast Thundaga. Disperse this gelatinous foe and enter the hallway it guarded, snagging another pile of 5x Magicked Ash, then loot a chest to score The Favor of Ice (Ice Age). Through another door you’ll find a small circular chamber, deserted save for a High Potion and a Potion; signs that a big fight lies ahead. Enter a larger, adjacent, circular chamber to find another elevator, which will take you up and over to a chamber protected by three Fallen Hunters. Defeat them and snag 3x Wyrrite and go through another door to reach a large chamber where you’ll fight two large waves of trash mobs instead of a proper boss, as follows:
- 6x Fallen Bug, 2x Defense Node
- 6x Fallen Hunter, 2x Purobolos
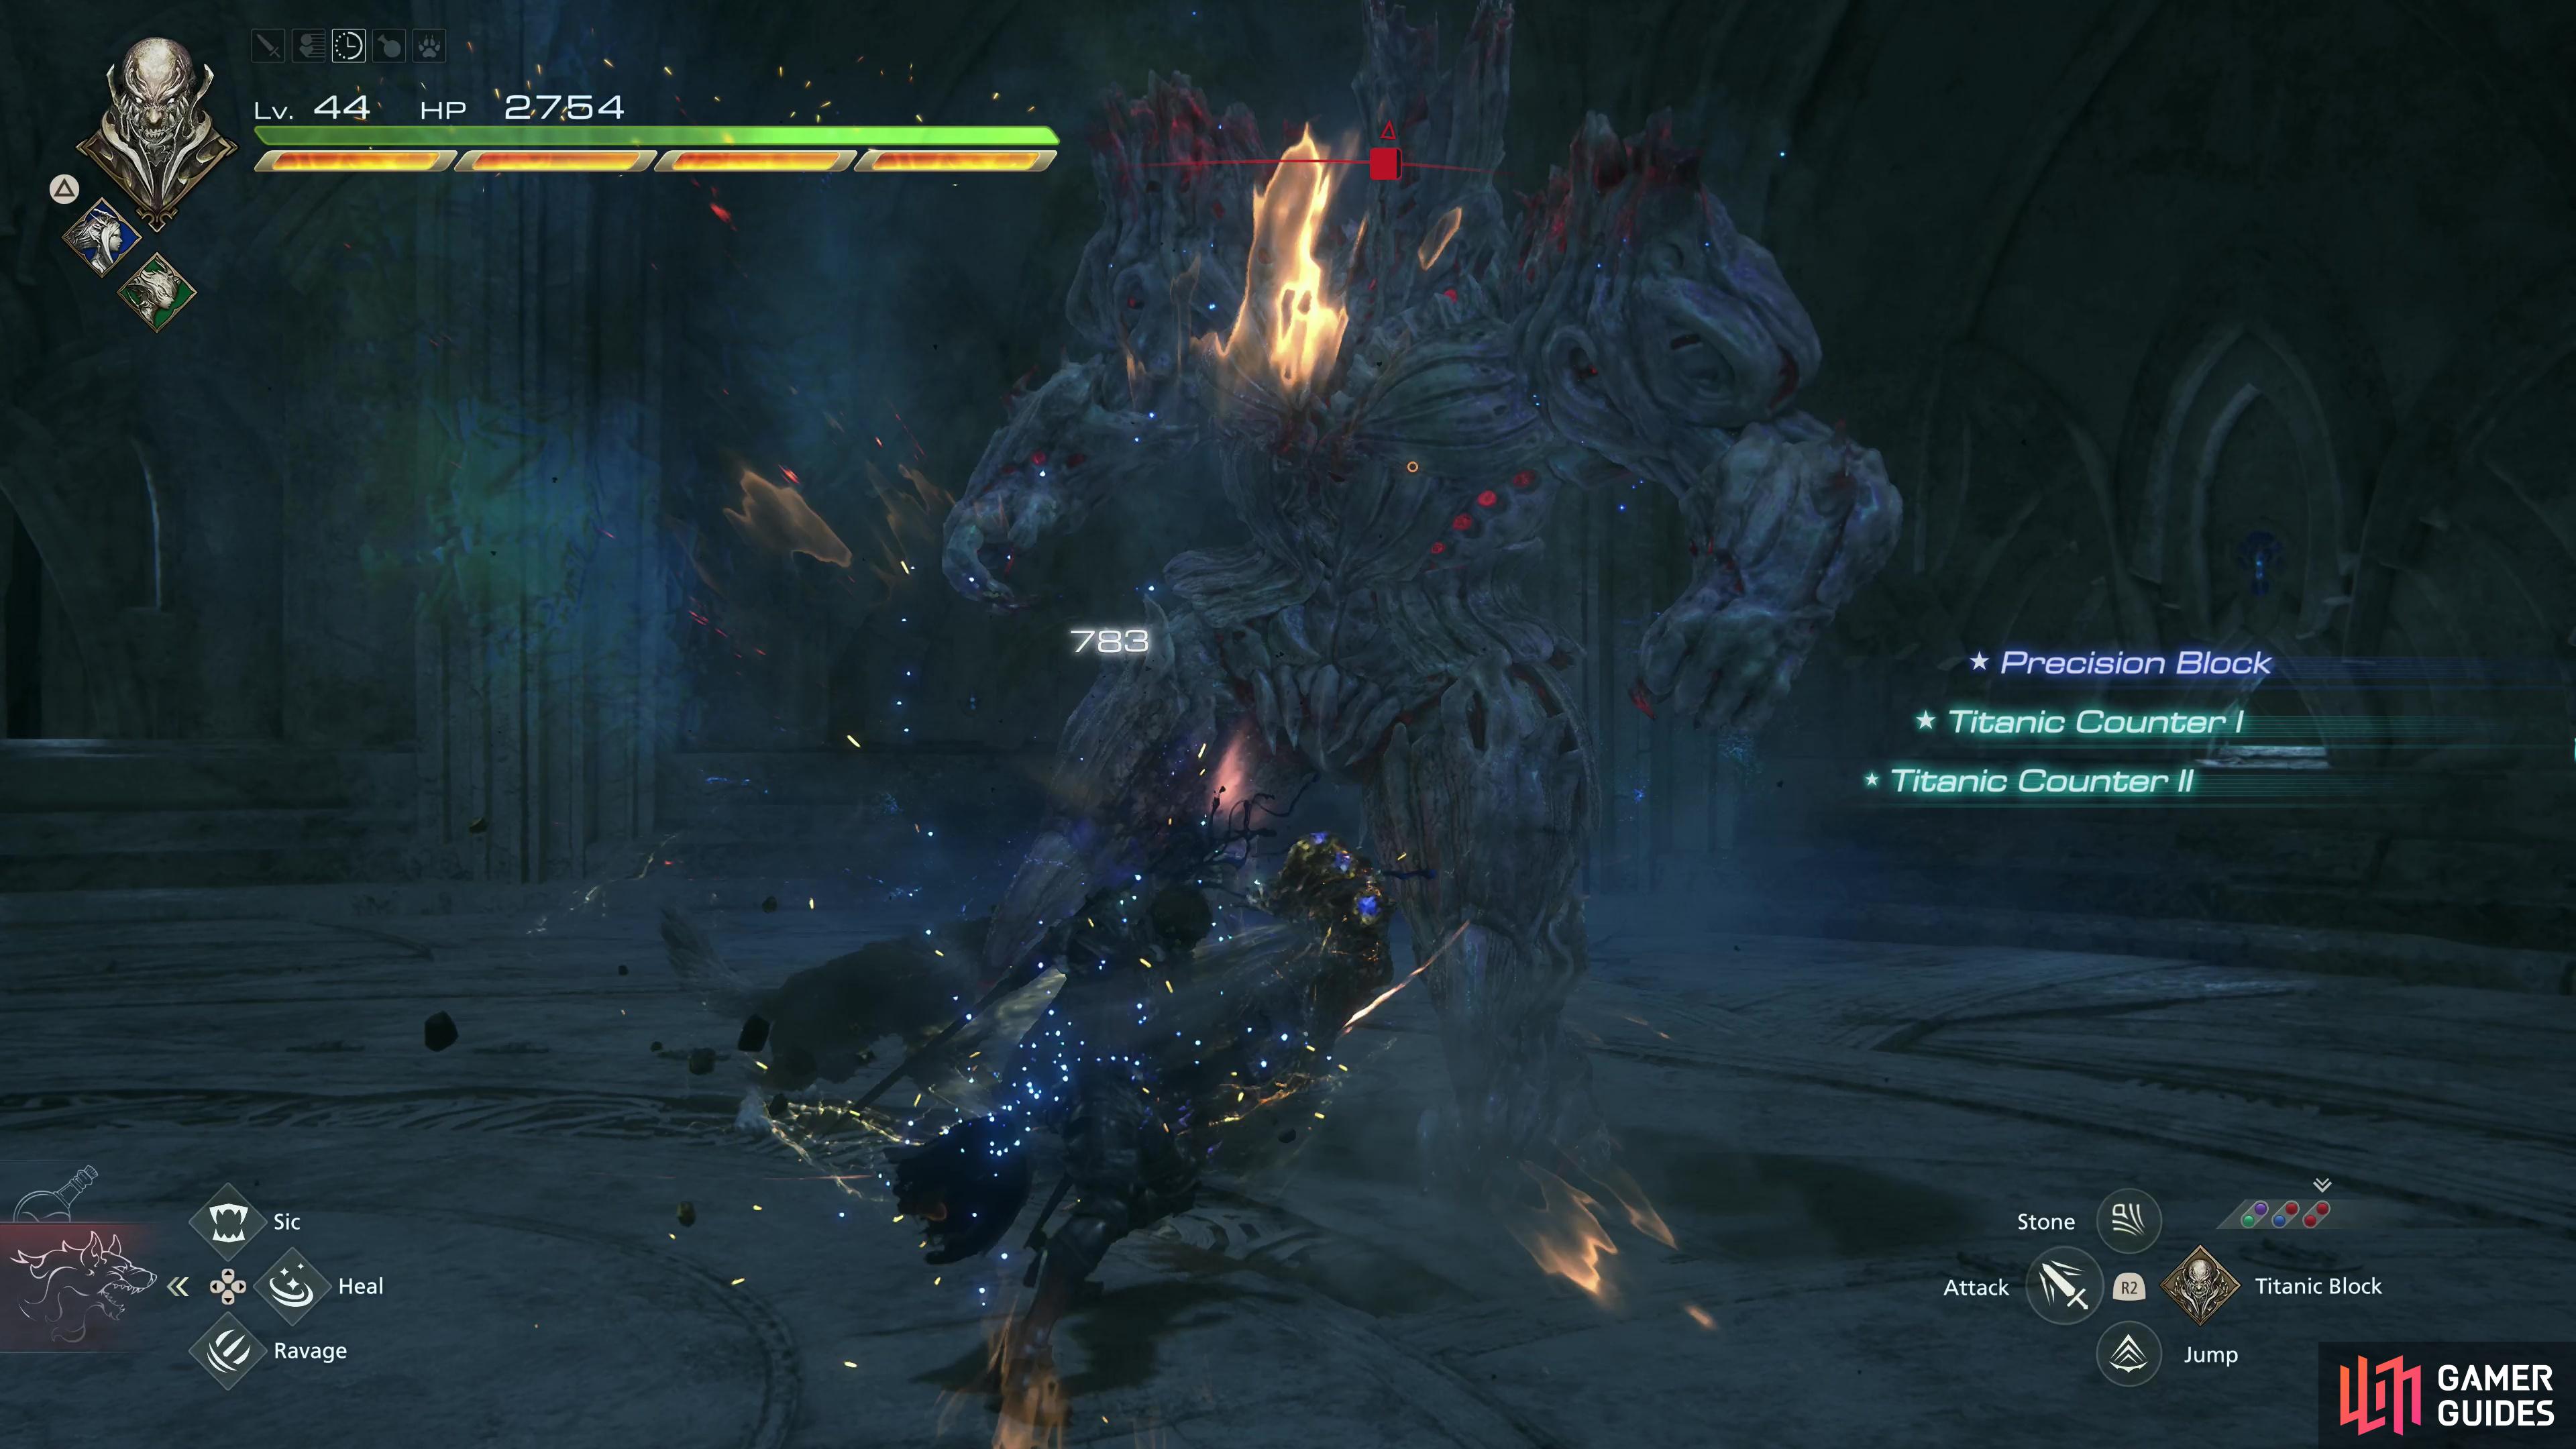
The final miniboss in this dungeon is the Soultaker, a variant of the Undertaker who is just as easy to bully with !Titanic Block as its predecessor.
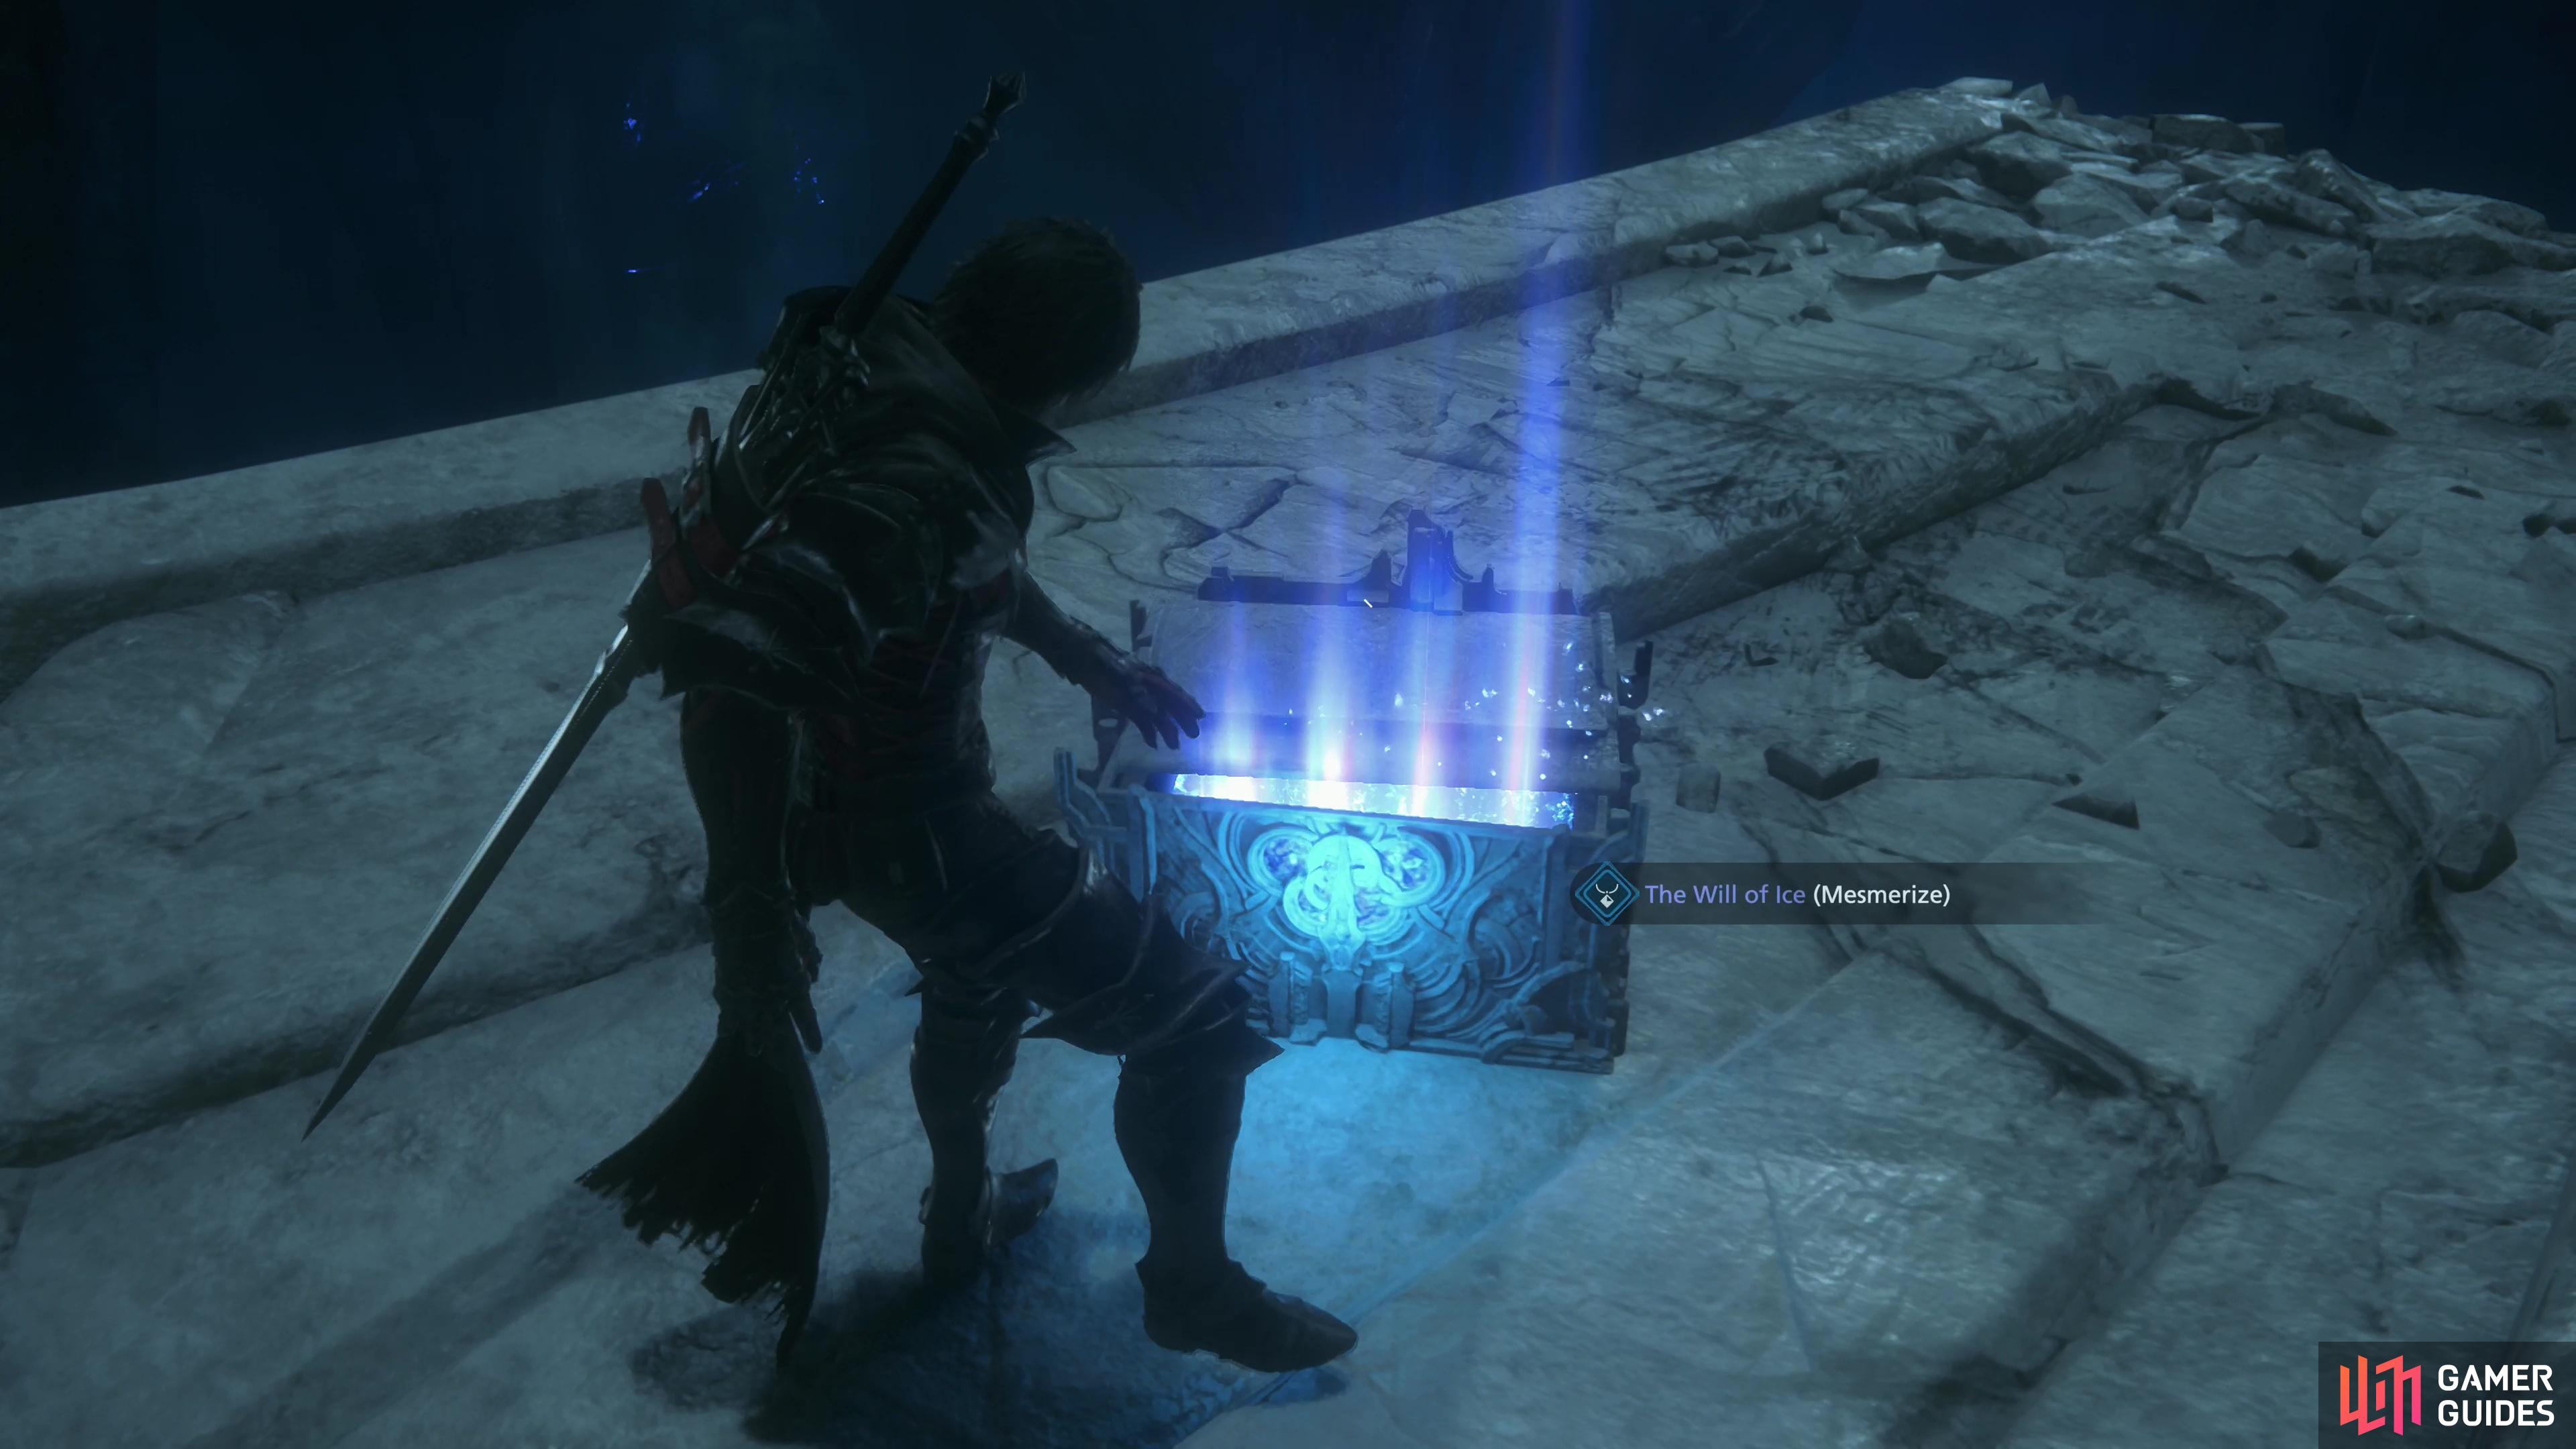
Conquer the Soultaker, then cross a bridge to find a chest containing The !Will of Ice (!Mesmerize).
How to Defeat the Soultaker - The Last King Main Quest Walkthrough in FF16
Quell these ruined hordes, go through a door and snag a Potion, then ride another elevator to reach this quest’s third miniboss - a Soultaker, which is just an Undertaker with a more pretentious name. This critter uses the same moves as the Undertaker, and has the same weakness: most of its attacks are easily countered with ![]() Titanic Block. Bully it and when it falls you’ll score 25x Wyrrite, 25x Magicked Ash and 5x Meteorite.
Titanic Block. Bully it and when it falls you’ll score 25x Wyrrite, 25x Magicked Ash and 5x Meteorite.
After vanquishing the Soultaker, climb a ledge to reach a ramp and ascend, claiming a Potion, 4x Steelsilk and a High Potion as you go, ultimately turning right to reach a bridge guarded by three Fallen Hunters. Smash them, then cross the bridge and plunder a chest at the far end of the bridge to obtain The Will of Ice (Mesmerize). Go down the left fork and score 3x Wyrrite, then go through the door to find an elevator.
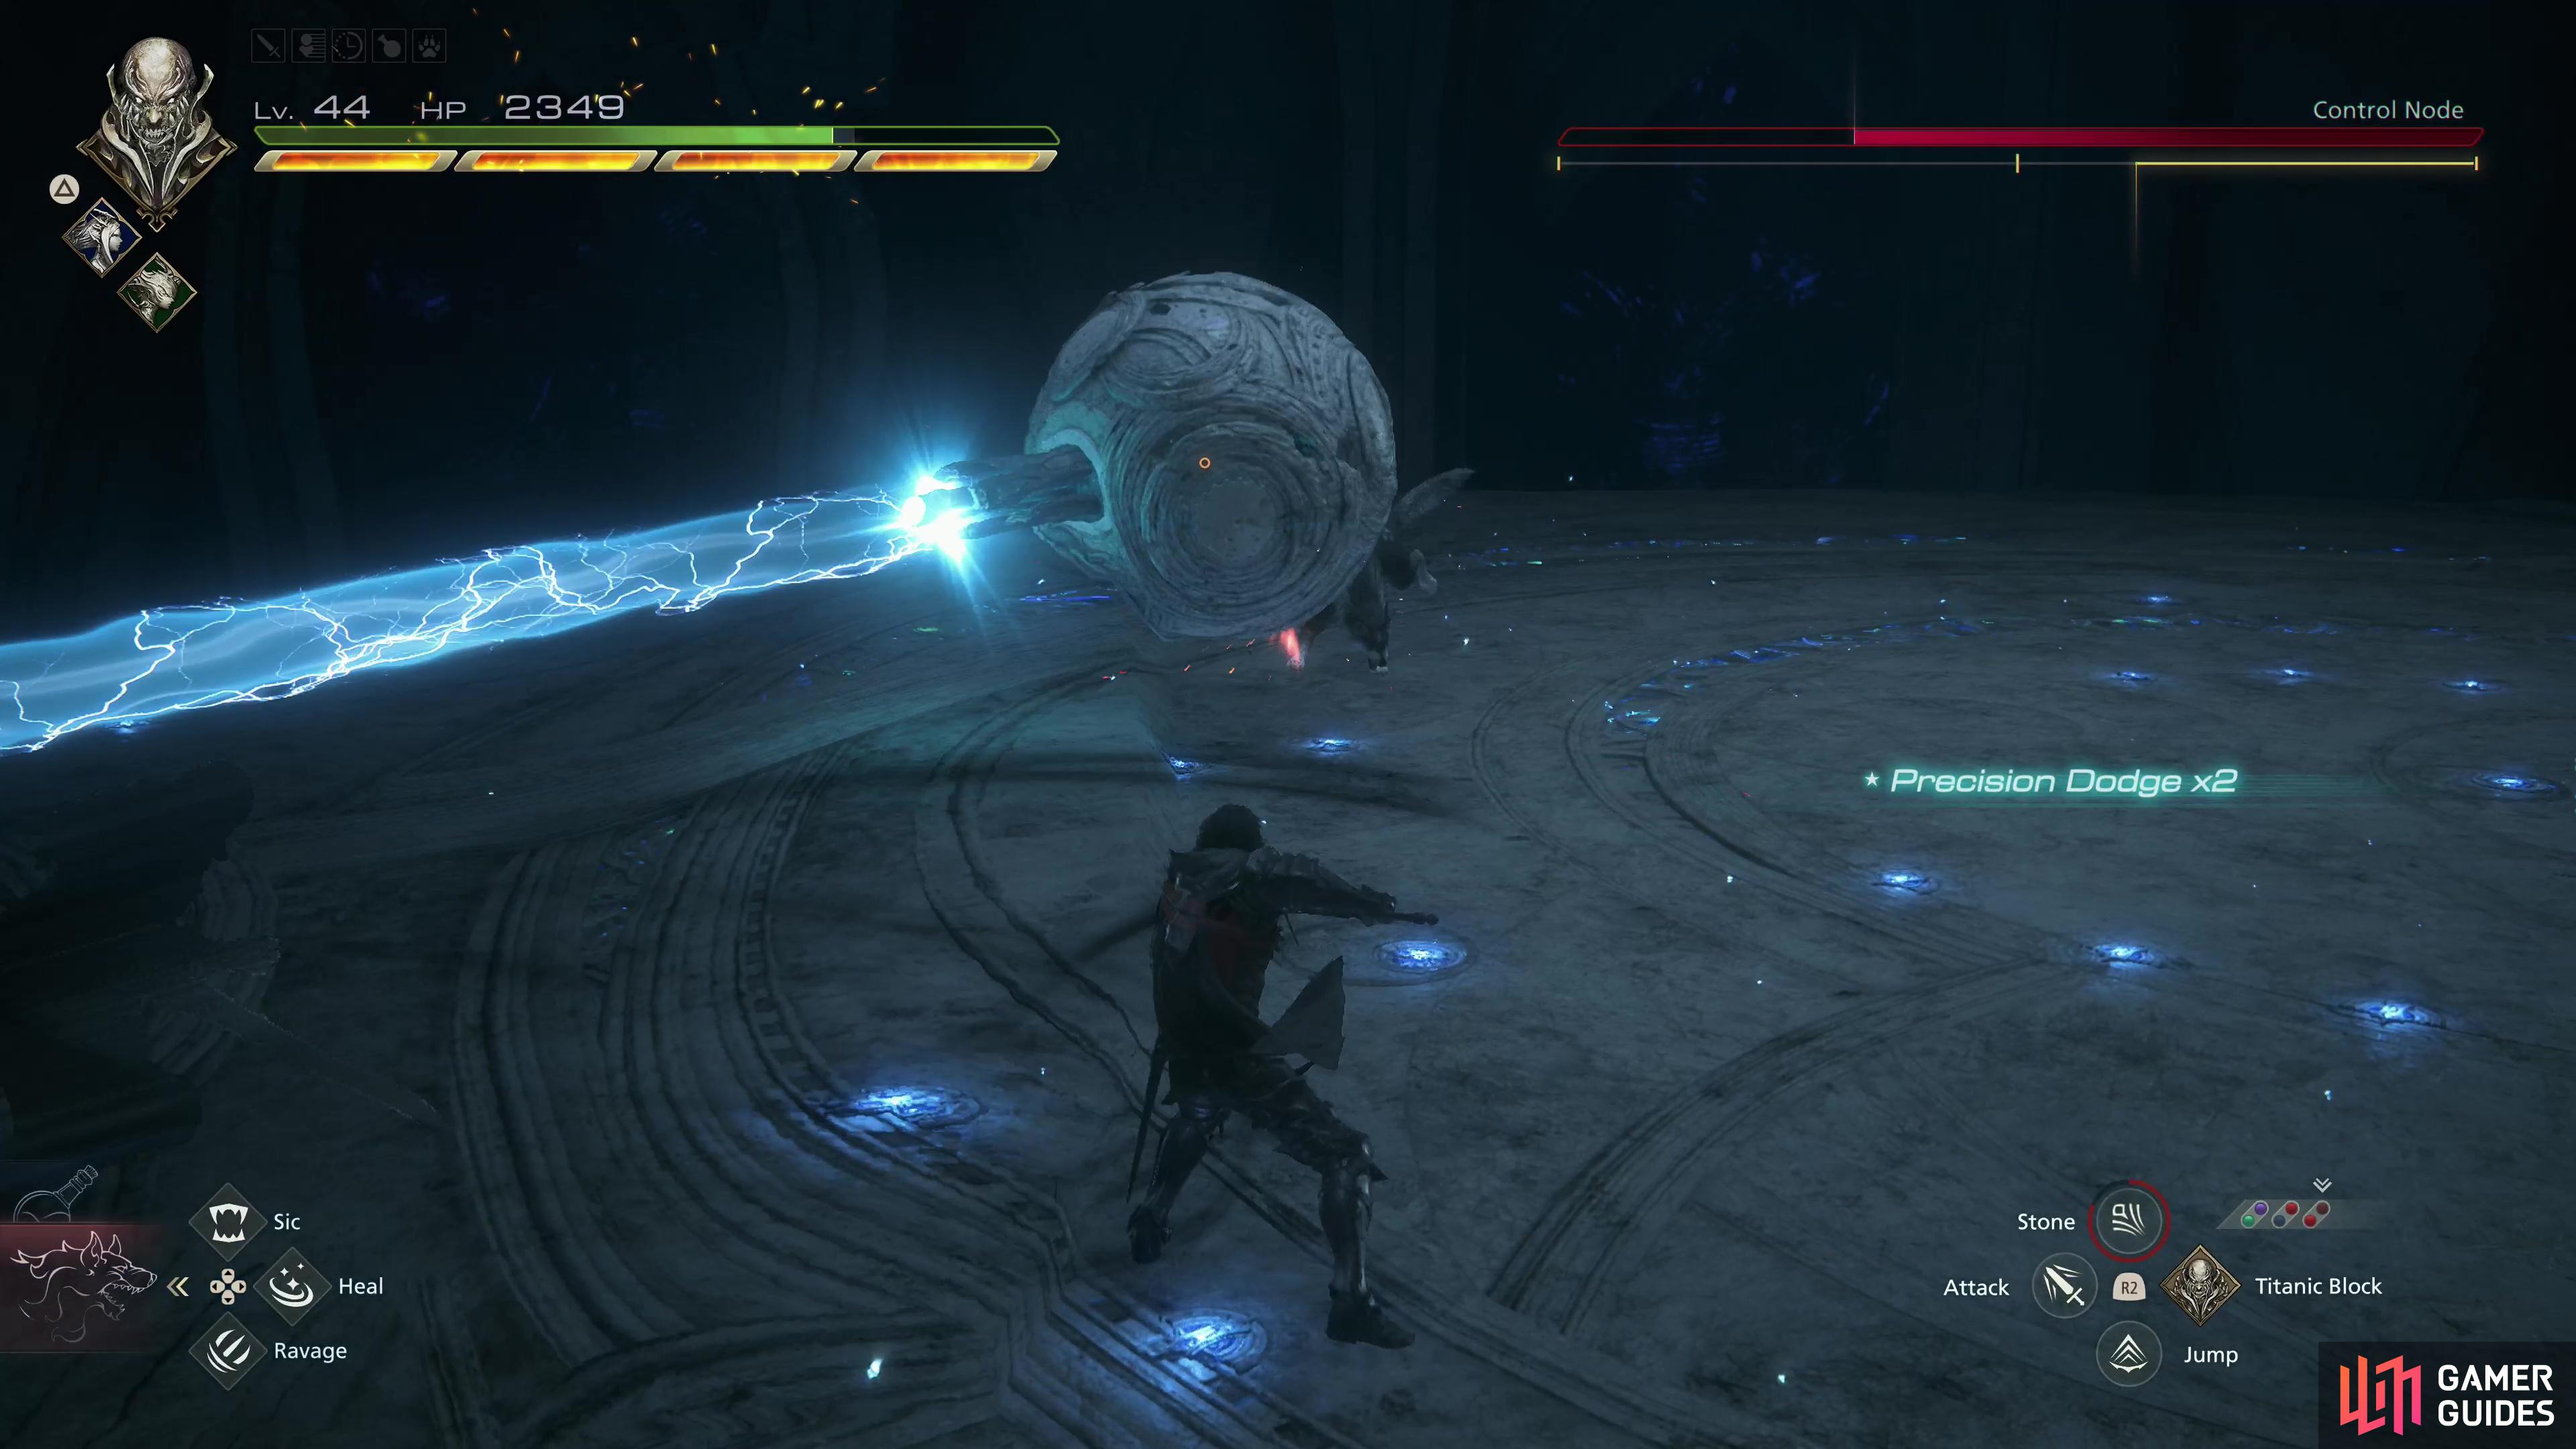
Shortly after crossing the bridge you’ll find the final elevator in this dungeon. During your ride up you’ll confront the Control Node boss,
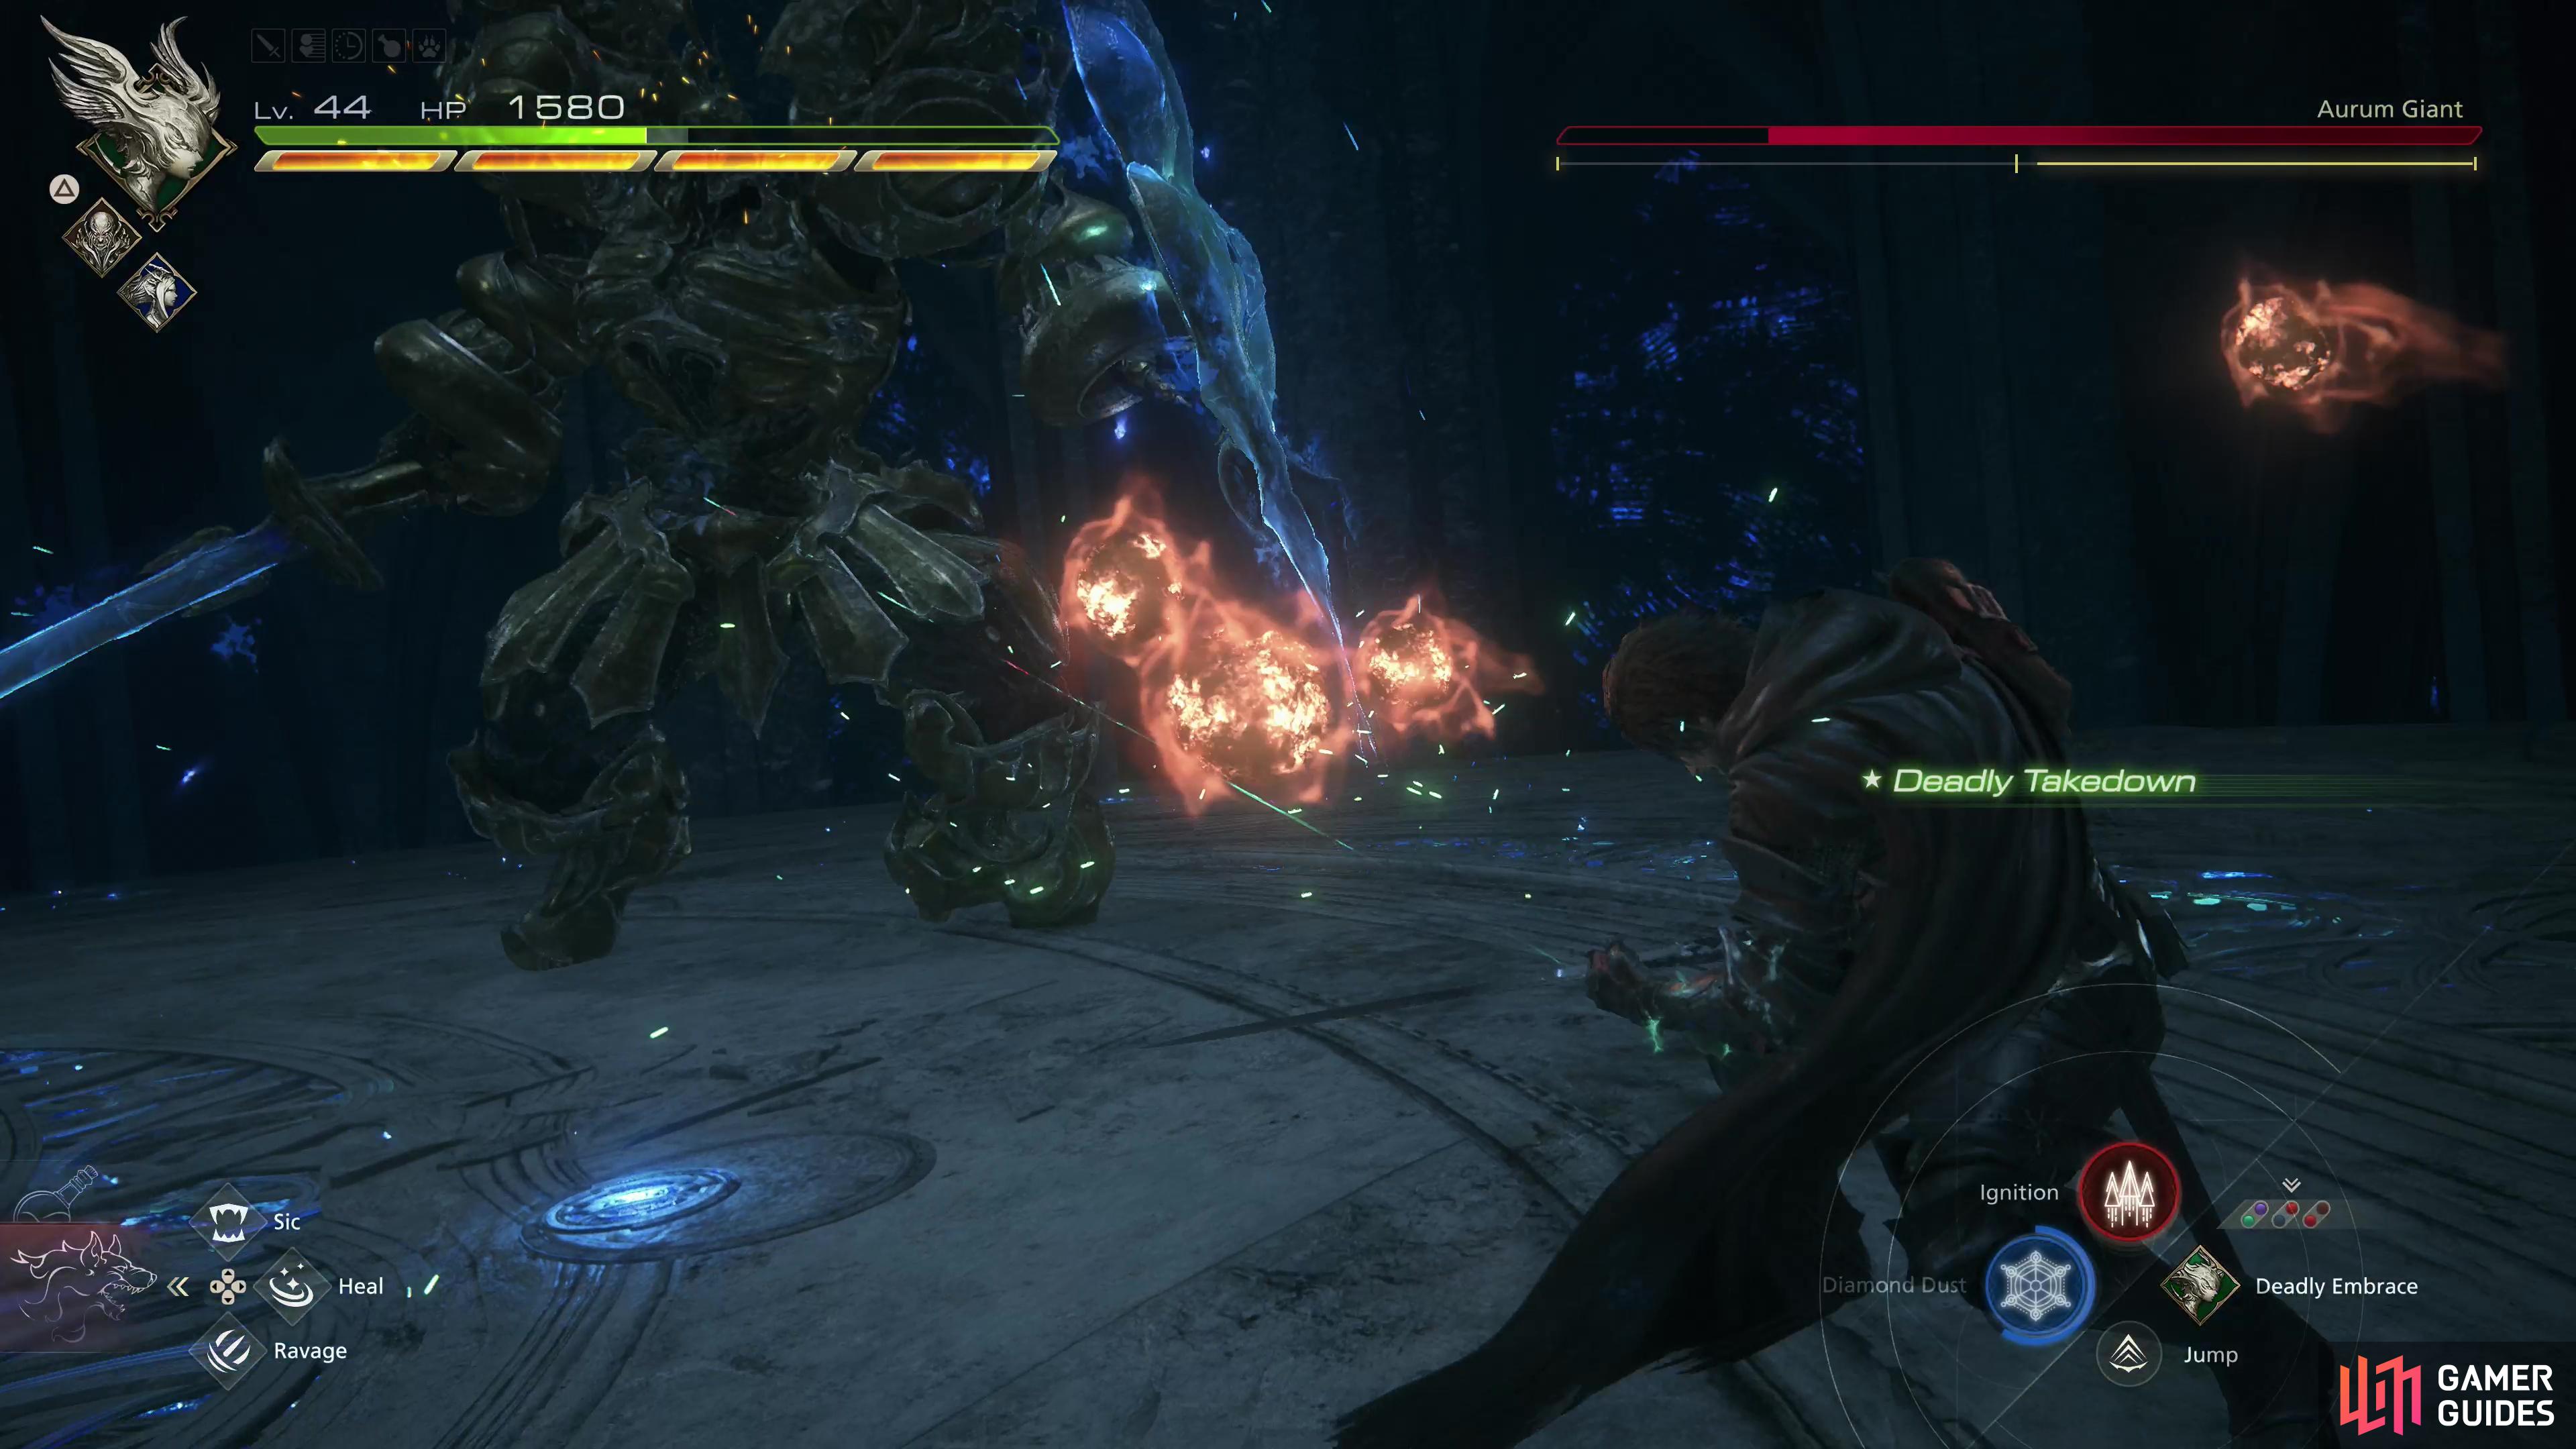
and the Aurum Giant in succession, with no breaks or reprieve between the two fight.
Control Node and the Aurum Giant - The Last King Main Quest Walkthrough in FF16
Be sure you’re prepared before you ascend this elevator, as riding it up will lead to a series of proper boss battles, which consume the rest of this main quest. First you’ll have to defeat the Control Node boss, followed by Aurum Giant, the latter of which is a variant of the Iron Giant. You’ll fight these enemies back-to-back without reprieve, but on the plus side they’re not quite as durable as many previous bosses. Between using ![]() Diamond Dust to blast away enemy Will Gauges and the tremendous
Diamond Dust to blast away enemy Will Gauges and the tremendous ![]() Lightning Rod +
Lightning Rod + ![]() Gigaflare combo you can quickly shred through these bosses.
Gigaflare combo you can quickly shred through these bosses.
Check out the pages FF16 - Control Node Main Quest Boss Strategy and FF16 - Aurum Giant Main Quest Boss Strategy for detailed walkthroughs on these bosses.
After defeating these two bosses, the elevator will complete its journey. Snoop around for an item pickup to score a High Potion and a Potion, Continue up a ramp and you’ll further restock your stores by snagging 5x Magicked Ash and another High Potion and a Potion. Other than these last few items, there’s little left to do besides pressing onto the end of the quest, where you’ll encounter a familiar foe… Defeat this boss, after which the next main quest, Brotherhood, will begin.
No Comments