
Once you complete Brotherhood the fourty-fifth main story quest, Streets of Madness is the last dungeon in Final Fantasy XVI and it’s a huge one. There are several bosses that you will need to take on while playing through the map. You will have to navigate your way through the ![]() Akashic-filled city and make your way to the last mother crystal. The guide below goes over how to defeat all the enemies, grab all the chests at
Akashic-filled city and make your way to the last mother crystal. The guide below goes over how to defeat all the enemies, grab all the chests at ![]() Drake’s Spine, and make your way through Final Fantasy XVI’s final dungeon.
Drake’s Spine, and make your way through Final Fantasy XVI’s final dungeon.
Enemies Encountered at Drake’s Spine
| Enemies in this Area |
|---|
| Akashic Chocobos |
| Akashic Coursers |
| Akashic Folkstafs |
| Akashic Gunnvaldr |
| Akashic Mastiffs |
| Akashic Osfreyrs |
| Akashic Sigfreysr |
| Akashic Tognvaldrs |
| Akashic Warlord |
| Akashic Worgens |
| Orchish Fodder |
| Orcish Mesmerizer |
| Behemoth |
| Wraiths |
| Akashic Coeurl |
| Undertaker |
Items at Drake’s Spine
| Items in This Area |
|---|
| The |
| The Pull of Darkness ( |
Joshua and Clive combining to fight Behemoth.
How to Defeat Behemoth at Drake’s Spine In FF16
Before starting this quest make sure to return to the Hideaway and fill up on supplies. Streets of Madness will have you fighting one boss after another, and you will want to have ![]() Potions and
Potions and ![]() High Potions ready. There are quite a few of these items lying around, but this is a long dungeon, so you will need to take all the help you can. Be sure to speak with
High Potions ready. There are quite a few of these items lying around, but this is a long dungeon, so you will need to take all the help you can. Be sure to speak with ![]() Blackthorne as well to make or upgrade any equipment that you have. The better your gear, the easier it will be to make it through the boss onslaught. Finally, check to make sure that you’ve spent all your AP and decide which
Blackthorne as well to make or upgrade any equipment that you have. The better your gear, the easier it will be to make it through the boss onslaught. Finally, check to make sure that you’ve spent all your AP and decide which ![]() Eikons you want to take into battle, they can make all the difference in this main quest.
Eikons you want to take into battle, they can make all the difference in this main quest. ![]() Shiva,
Shiva, ![]() Garuda, and
Garuda, and ![]() Odin are all three solid picks for the mission ahead. To be extra safe, you might even want to do a few hunts to level up before proceeding ahead.
Odin are all three solid picks for the mission ahead. To be extra safe, you might even want to do a few hunts to level up before proceeding ahead.
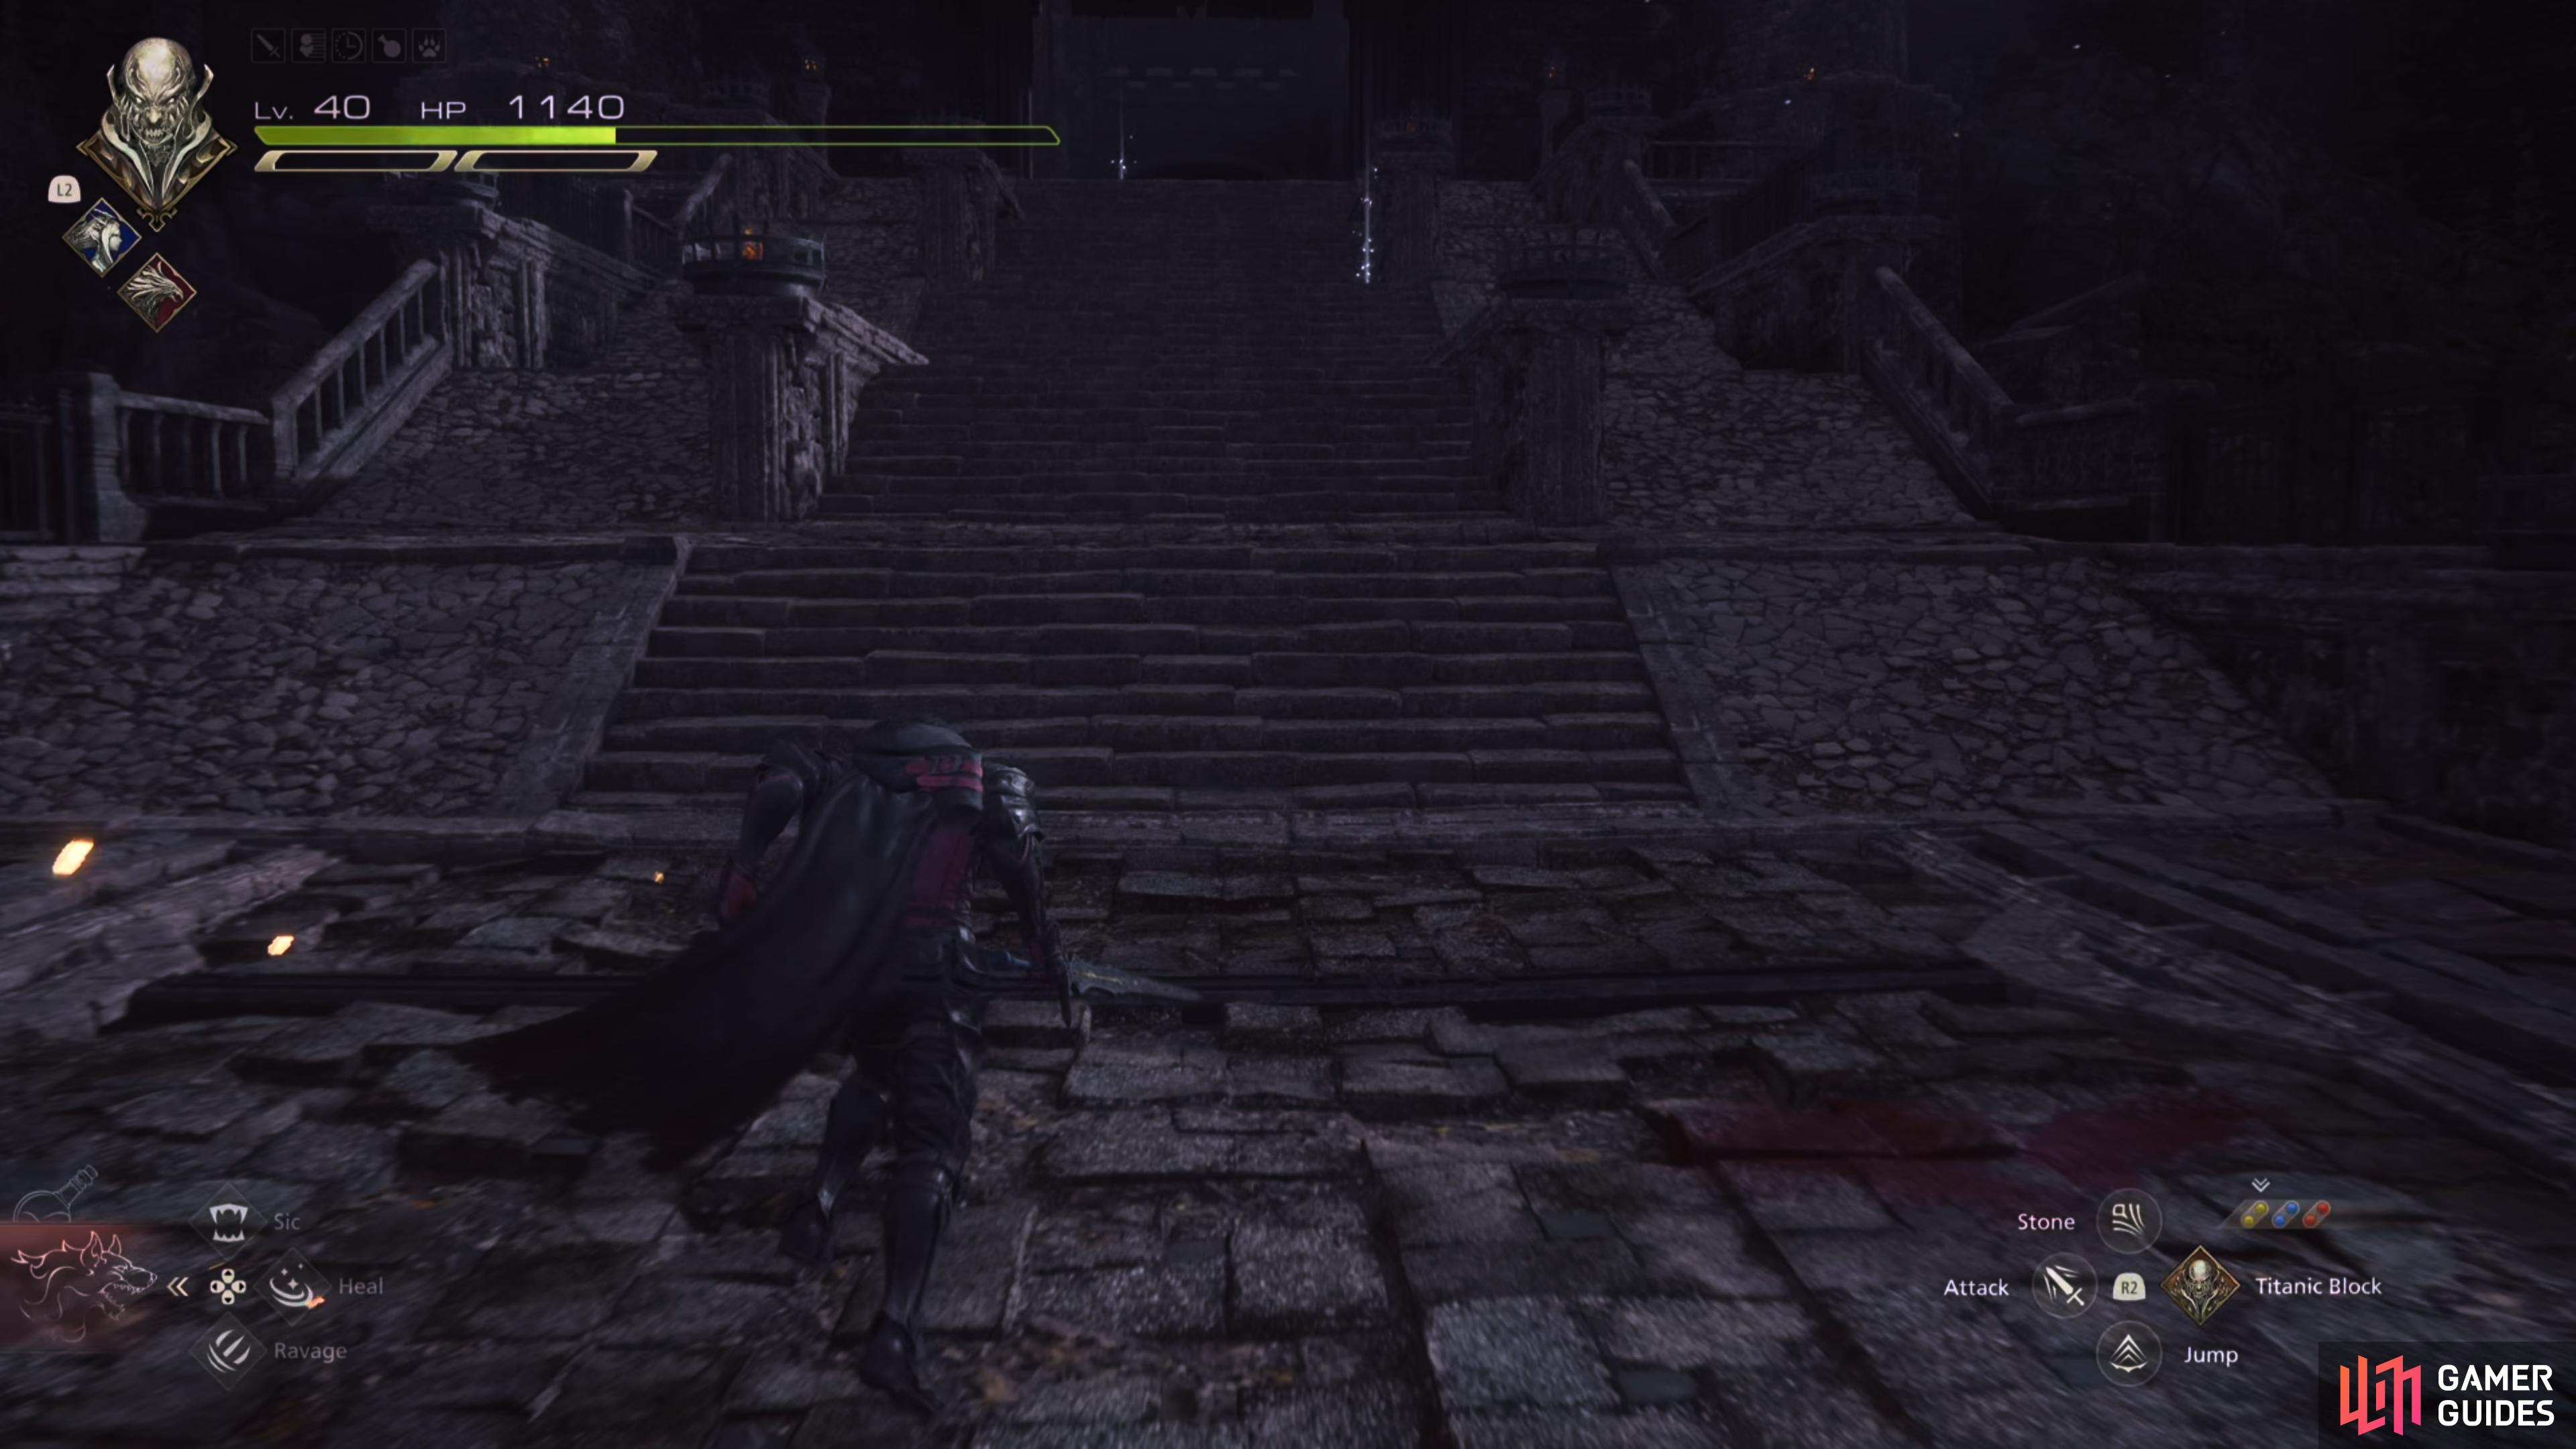
Once you get to Drake’s Spine you will soon find yourself face to face with several enemies. Here you will be fighting Akashic Osfreyrs. Once you defeat them go through the large gate, here is where you will face Behemoth. This is a series staple and one of the harder enemies to defeat. Despite the gargantuan size of Behemoth, he is rather good at moving around and will start things off by leaping toward Clive. You will want to dodge this and use the opening to land a few good hits before giving yourself some distance. The Behemoth will swipe at Clive and stomp if you stay too close. It can also spin, knocking you back and dealing a decent amount of damage.
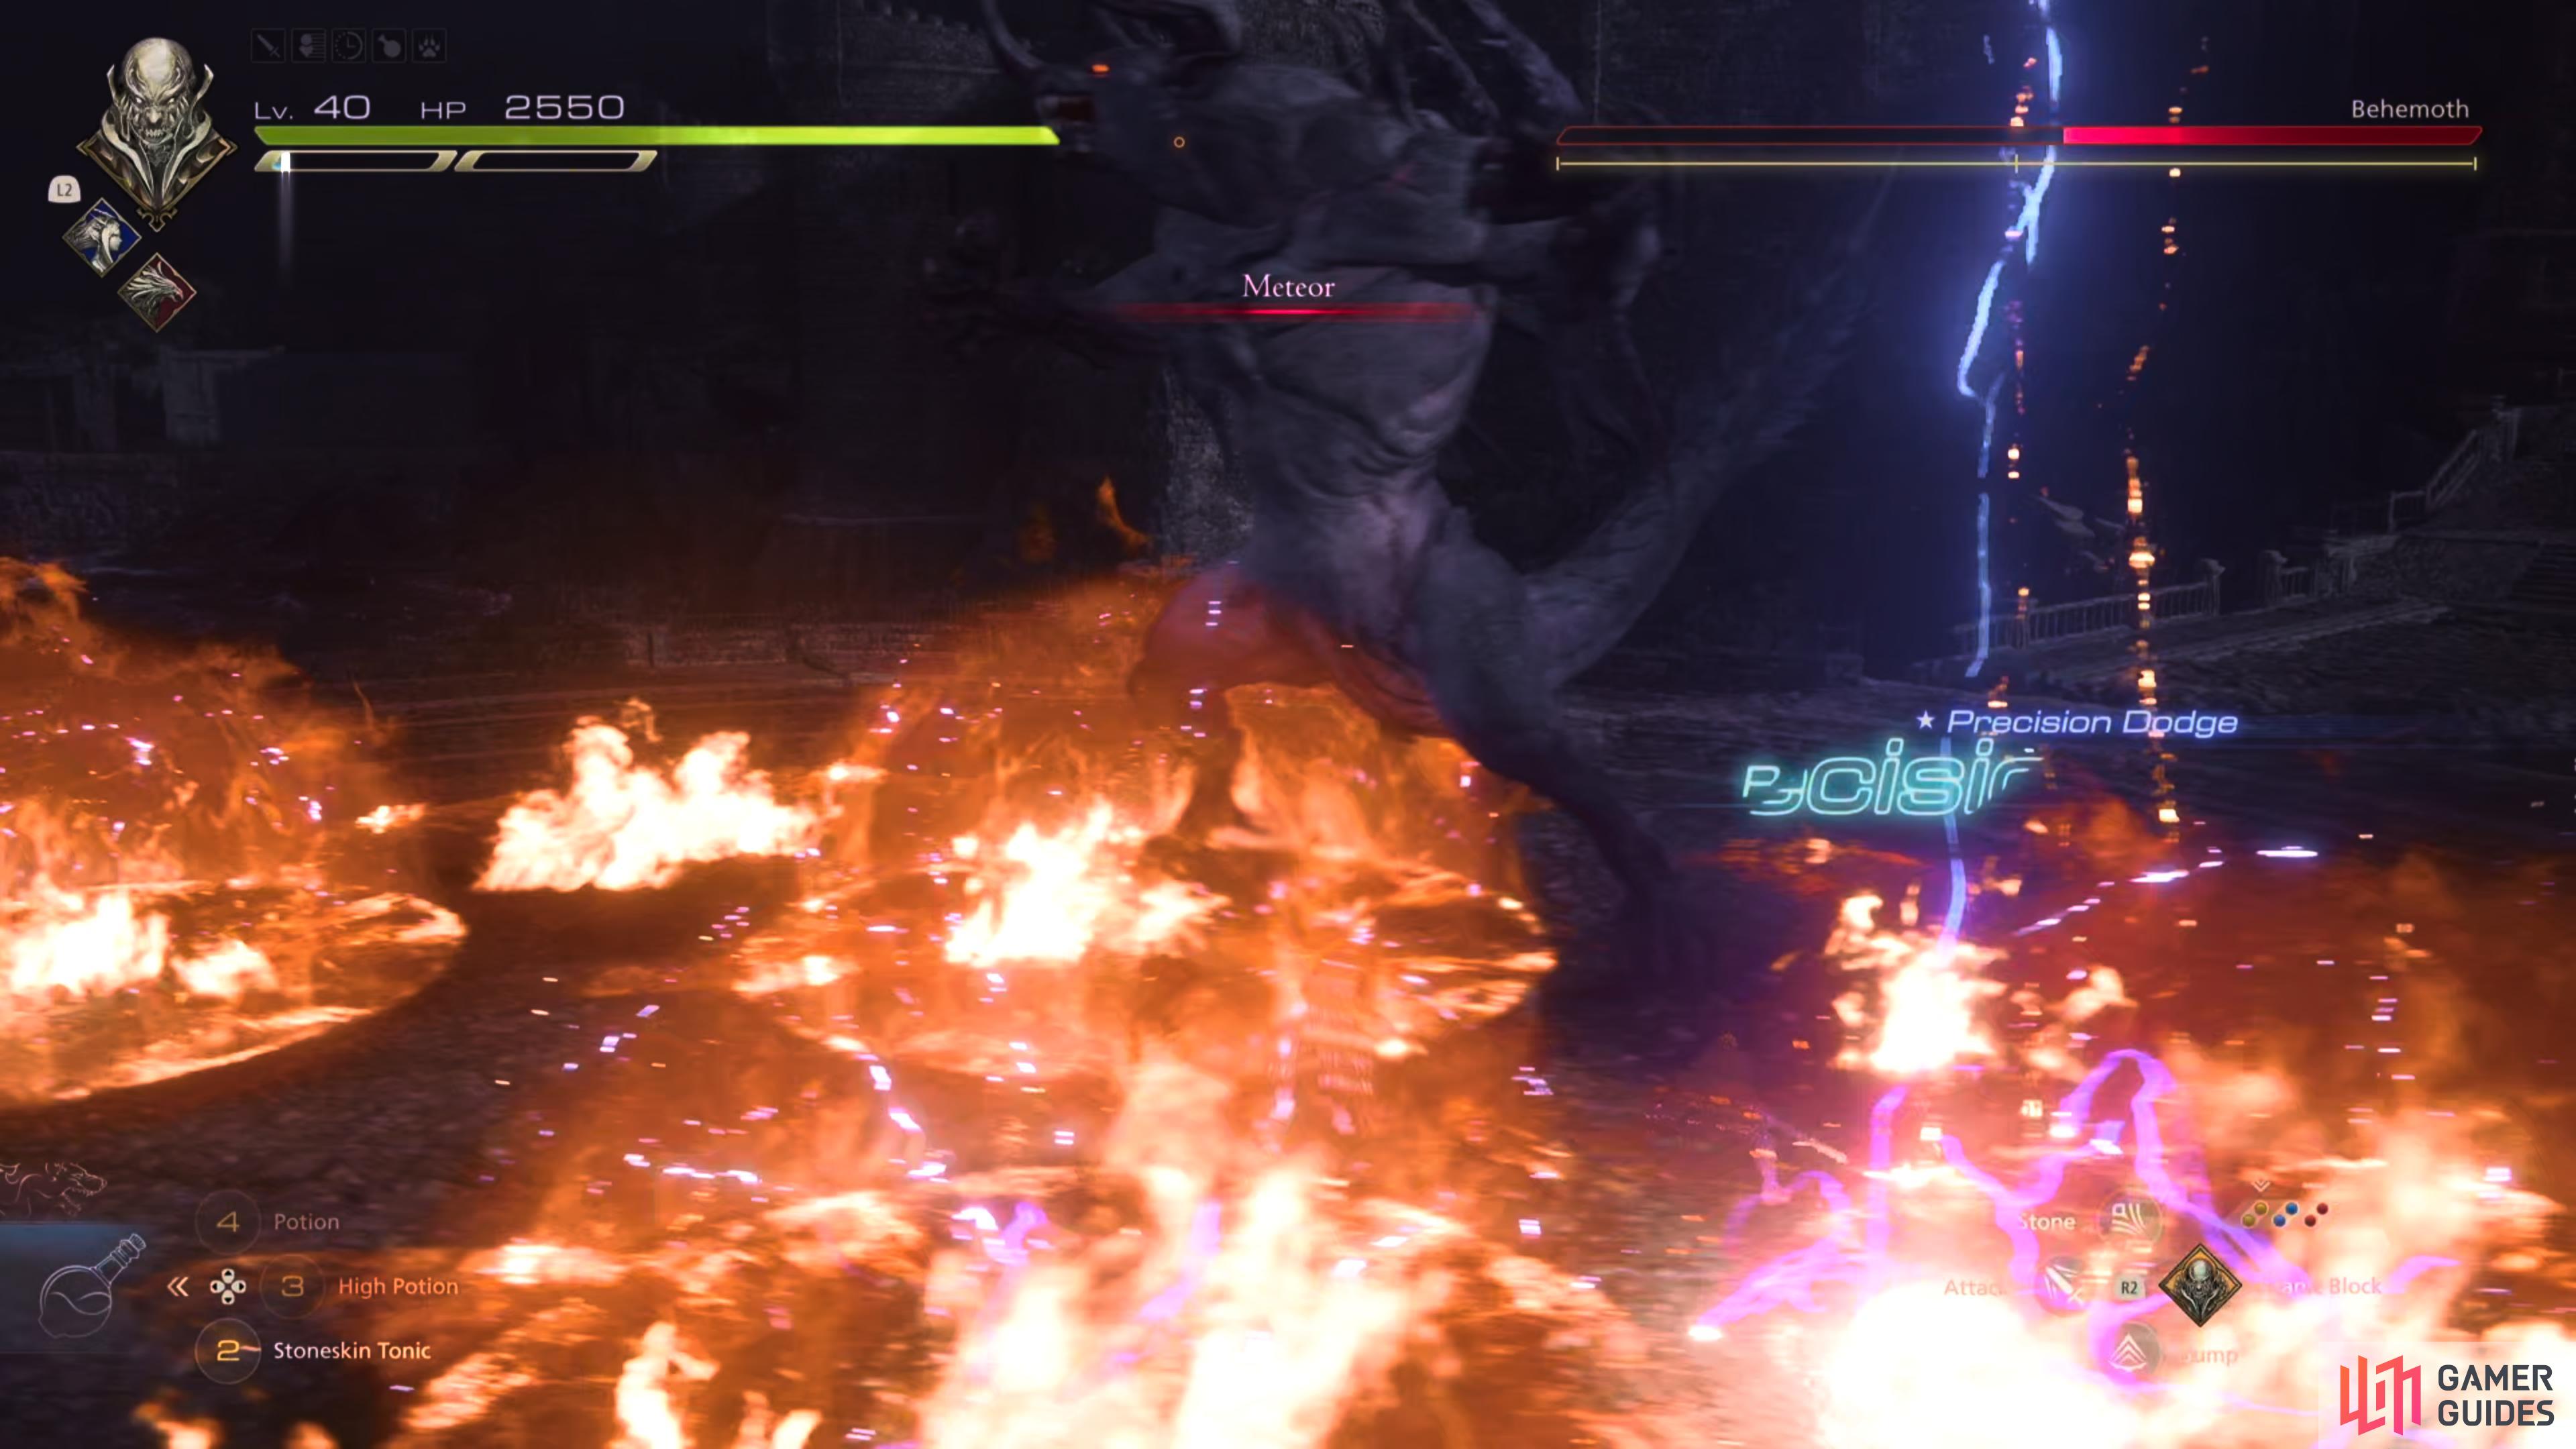
One of its signature moves is slamming half of its body into the ground and then rushing across the field; this can only be stopped by a well-timed dodge or by using ![]() Titanic Block at the right moment. Behemoth can also shoot fireballs from the edge of the field. When these hit the ground and explode so stay a safe distance away. You will also have to contend with Comet, this is where Behemoth summons a large meteorite to hit the field sending out a shock wave after it lands. This is a massive attack that can take a chunk out of your health so be sure to dodge or block it.
Titanic Block at the right moment. Behemoth can also shoot fireballs from the edge of the field. When these hit the ground and explode so stay a safe distance away. You will also have to contend with Comet, this is where Behemoth summons a large meteorite to hit the field sending out a shock wave after it lands. This is a massive attack that can take a chunk out of your health so be sure to dodge or block it.
A cinematic will play after you stagger Behemoth where you must mash square  repeatedly to deflect Ecliptic Meteor, after this you will go back to the normal battle. Once Behemoth is near half-health, he will enter his second phase. During the second phase, Behemoth will have a few new moves for you to contend with. Behemoth is now able to summon three comets instead of two, as well as, charge up with electricity. When this happens, small parts of the field will become electrified making it harder to make your way around the arena.
Maelstrom is another named attack, during this, you will be surrounded by a black cloud. You will want to wait for it to stop moving and dodge outside of it to avoid being caught in a tornado. Meteor will also be in Behemoth roster now, and during this move meteors will rain down on the battlefield causing fiery explosions. When this happens concentrate on just dodging, you won’t have an opening to attack here. Wait until in between these attacks to unleash your Eikonic abilities on Behemoth. Be aware though, another event will play out right before Behemoth is defeated. This is called Extinction and causes a massive meteor to fall from the sky, just move outside of the red ring and you will survive. After this attack finishes, Behemoth will fall over dead.
How to Defeat The Boss Rush at Drake’s Spine In FF16
Once you have defeated Behemoth, follow the path forward, once you are in the large courtyard, you will find yourself being attacked by two waves of enemies. These will be made up of both Akashic Osfreyrs and Akashic Sigfreyrs. Once again, these are easy to deal with just wipe them out. There is a chest nearby that contains The Will of Ice (Rime), be sure to grab it before continuing on. The next set of enemies you run into is far more annoying, this group is made up of Akashic Osfreyrs, Akashic Worgen, and Vultures. You will want to take out the vultures first as they will attack you from above, and then wipe out the rest of the enemies. You can use Garuda’s ![]() Deadly Embrace to drag them to you. Like in the last battle, there are two waves here, so wipe them both out and then head through the gate up ahead.
Deadly Embrace to drag them to you. Like in the last battle, there are two waves here, so wipe them both out and then head through the gate up ahead.
There are two paths you can take. The right side has a treasure chest on it containing x15 ![]() Bloody Hides, x15
Bloody Hides, x15 ![]() Steelsilk, and x15
Steelsilk, and x15 ![]() Sharp Fangs. Once you grab it keep following the path down you will have to defeat more Akashic enemies along the way. At the bottom of both paths, you will find more enemies including an Akashic Gandfreyr and Akashic Sigfreyr. Take out the Gandfreyr first as they will cast Protect if you don’t. Next target the smaller enemies before finally taking on the Sigfreyr. Proceed to the dock, here you’re going to fight your first mini-boss an Akashic Gunnvaldr. Take out the Orcish Fodder that surrounds him, and then focus in on the Gunnvaldr. If you remember fighting the Imperial Cannonier in the Crystal’s Curse then this should be easier for you. Essentially, you will want to watch out for the beam that the enemy shoots out of the large canon.
Sharp Fangs. Once you grab it keep following the path down you will have to defeat more Akashic enemies along the way. At the bottom of both paths, you will find more enemies including an Akashic Gandfreyr and Akashic Sigfreyr. Take out the Gandfreyr first as they will cast Protect if you don’t. Next target the smaller enemies before finally taking on the Sigfreyr. Proceed to the dock, here you’re going to fight your first mini-boss an Akashic Gunnvaldr. Take out the Orcish Fodder that surrounds him, and then focus in on the Gunnvaldr. If you remember fighting the Imperial Cannonier in the Crystal’s Curse then this should be easier for you. Essentially, you will want to watch out for the beam that the enemy shoots out of the large canon.
The Gunnvaldr’s main attack is shooting fire out of its huge cannon. You will want to avoid standing in front of it to avoid being hit. If you stand behind him, you should be able to do a decent amount of damage, just be aware that he can swing his canon around knocking Clive back. He can also perform an attack where he shoots energy out of the canon in an AoE that sends him flying backward to safety. For more information on defeating this enemy check out our full Imperial Cannonier guide.
Once you are done with the fights, head through the gates ahead. Here you will be taking on Orcish Mesmerizers and Orcish Fodder. Take the Mesmerizers out first and then the Fodder. Continue on the path forward until you run into the Undertaker. Take out the Spectars around him to make the fight easier. This boss comes from the Into The Darkness main quest. The Undertaker uses a lot of close-range moves, so if you can give yourself range with Eikonic abilities like ![]() Upheaval to give yourself a little bit of room. All in all, Undertaker is pretty easy to take down as long as you dodge when he starts to wind up a move, if you need more help, check out our Undertaker guide.
Upheaval to give yourself a little bit of room. All in all, Undertaker is pretty easy to take down as long as you dodge when he starts to wind up a move, if you need more help, check out our Undertaker guide.
Go through the door up ahead and you will be attacked by several Wraiths. This is the first of two waves, the second will spawn in Revenants. Defeat them and keep pressing on up the steps, here you will fight another old boss, the Akashic Coeurl. Defeat the Revenants around it and then focus on the Coeurl. This boss was originally fought during the main quest, Capital Punishment. This is an agile enemy who channels electricity and will pounce and swipe at Clive. It can cut off part of the field with electricity and will dash at you while electrified.
This time it’s much weaker than Clive so dodge these attacks and then unleash your ability rotation on it. If you find that the Coeurl is moving around too much then use Shiva’s ![]() Cold Snap to freeze the enemy briefly in place. Use this to get a few good hits in, and then reuse the move to once again freeze the Coeurl in place. If you want more help with this boss check out our full Coeurl fight guide. Once you have bested the Coeurl, grab the treasure chest with 2,400 Gil in it and head through the gates, head to the next large area where you will be fighting Orcish Mesmerizers, Orchish Fodder, Akashic Osfreyrs and another Akashic Sigfreyr. Take out the Mesmerizers and then deal with the rest. Up ahead are more of the same enemy types, plus a Revenant.
Cold Snap to freeze the enemy briefly in place. Use this to get a few good hits in, and then reuse the move to once again freeze the Coeurl in place. If you want more help with this boss check out our full Coeurl fight guide. Once you have bested the Coeurl, grab the treasure chest with 2,400 Gil in it and head through the gates, head to the next large area where you will be fighting Orcish Mesmerizers, Orchish Fodder, Akashic Osfreyrs and another Akashic Sigfreyr. Take out the Mesmerizers and then deal with the rest. Up ahead are more of the same enemy types, plus a Revenant.
Finish this set of enemies off and then interact with the nearby lever to open the path forward you will now be dealing with two Akashic Tognvaldrs. This is a bit of an annoying fight as these enemies jump around a fair amount, and their fire attack can still take a good chunk from Clive’s health bar. Ideally, you will want to focus on one Tognvald at a time while leaving yourself enough room to dodge the second one. Use moves like Cold Snap to freeze the Tognvaldr in place, this makes them much easier to deal with as they can’t jump around. Another wave of enemies will pop up once you’ve defeated the Tognvaldrs. Defeat the Wraiths, Akashic Osfreyrs, and Akashic Gandfreyrs. Once again work on the Gandfreyrs first to keep them from using Protect, and then ready yourself for the third wave of enemies.

This time you will be fighting more Gandfreyrs, Sigfreyr’s, and Akashic Fodder. These are easy to take out, and once defeated you will be taking on the final mini-boss. This is the Akashic Warlord. You have already fought this enemy a couple of times by this point. Just watch him as he teleports around a fair bit, and has decently powerful ranged attacks. After defeating the Warlord, a cutscene will play where the rest of the party arrives to help Clive and Joshua. Once done, you will be able to shop with ![]() Goetz before moving on to the next segment of Streets of Madness. We highly recommend doing so and stocking back up on any potions you may need. Once you’re ready to proceed ahead, speak with Jill and another cutscene will play. During this, Ultima transports the brother to an alternate dimension.
Goetz before moving on to the next segment of Streets of Madness. We highly recommend doing so and stocking back up on any potions you may need. Once you’re ready to proceed ahead, speak with Jill and another cutscene will play. During this, Ultima transports the brother to an alternate dimension.
Here you will be slowly walking to different points where Ultima will explain the history of man. This dialogue goes on for quite some time so be prepared for a large and interesting info dump that pulls back the curtain on Final Fantasy XVI’s secrets. Once you are at the end of Ultima’s history lesson, the Ultima boss battle will begin. After his defeat, you will head back to ![]() The Hideaway to speak with your party and the final mission of the game, Back to Their Origin will pop up. Keep in mind that this is the point of no return, once you start travel to the last area you won’t be able to return to The Hideaway and the game will wrap up. Make a save before proceeding and keep in mind that Final Fantasy mode will unlock after this allowing you to play through the game again with all your abilities.
The Hideaway to speak with your party and the final mission of the game, Back to Their Origin will pop up. Keep in mind that this is the point of no return, once you start travel to the last area you won’t be able to return to The Hideaway and the game will wrap up. Make a save before proceeding and keep in mind that Final Fantasy mode will unlock after this allowing you to play through the game again with all your abilities.
No Comments