
![]() Benedikta Harman will definitely be the most challenging boss you’ve faced so far in the game. She will be fought during the Headwind main story quest. Of course, that is to be expected, as she is a major character in the story, as well as the
Benedikta Harman will definitely be the most challenging boss you’ve faced so far in the game. She will be fought during the Headwind main story quest. Of course, that is to be expected, as she is a major character in the story, as well as the ![]() Eikon of Wind. It can be a fairly long battle, too, due to the multiple phases of the fight and all of the skills/moves which with you have to deal.
Eikon of Wind. It can be a fairly long battle, too, due to the multiple phases of the fight and all of the skills/moves which with you have to deal.
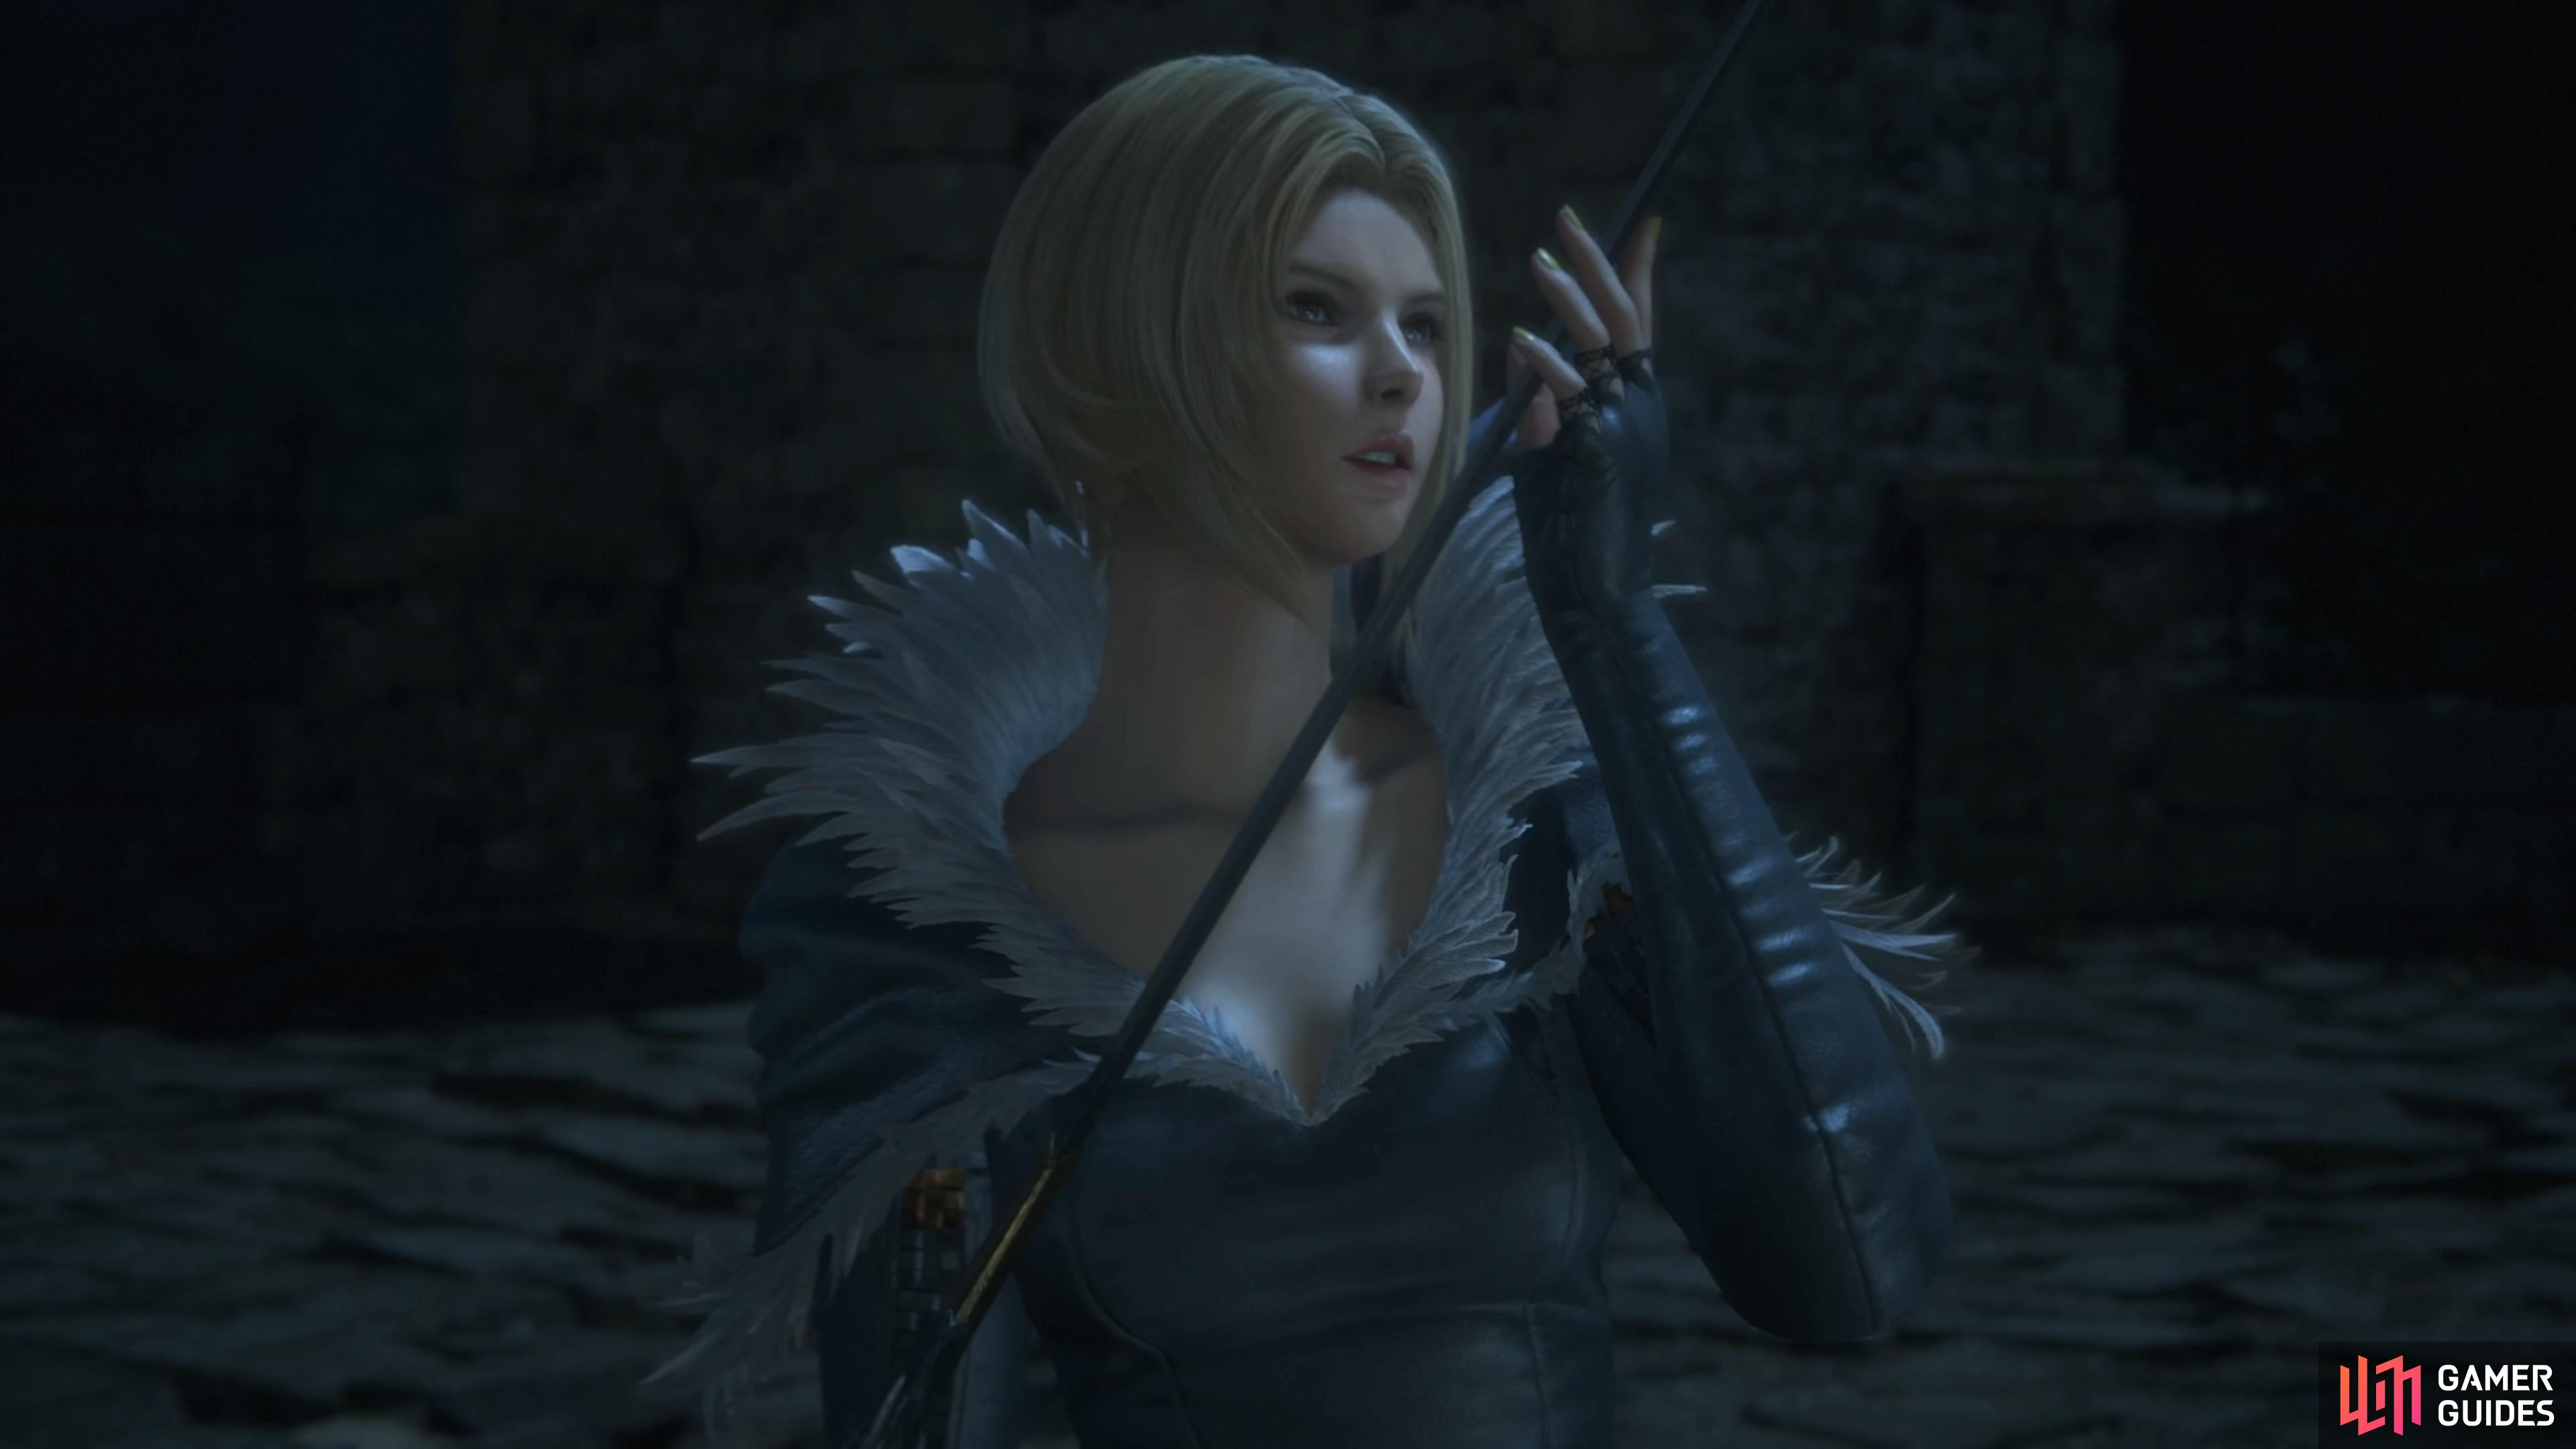
Benedikta will be the very first major boss of the game.
How to Beat Benedikta in FF16
You will fight Benedikta at the top of ![]() Caer Norvent and is definitely the toughest challenge this far in the game. There’s three phrases to the fight, although the first phase is fairly easy. It is the second and third phases where the battle will really pick up, though, so make sure you come in prepared. By that, you want to have your weapons and armors upgraded, as well as a full stock of healing items. If you haven’t spent your AP on abilities yet, now is a good time to do that.
Caer Norvent and is definitely the toughest challenge this far in the game. There’s three phrases to the fight, although the first phase is fairly easy. It is the second and third phases where the battle will really pick up, though, so make sure you come in prepared. By that, you want to have your weapons and armors upgraded, as well as a full stock of healing items. If you haven’t spent your AP on abilities yet, now is a good time to do that. ![]() Heatwave will be pretty good in this battle, so it’s a good idea to get that, if you haven’t already.
Heatwave will be pretty good in this battle, so it’s a good idea to get that, if you haven’t already.
All Benedikta Attacks (Phase 1) in Final Fantasy XVI
As mentioned above, this is a long boss fight, with three distinct phases. To make things a little clearer, the normal boss strategies will be changed here to reflect that. Benedikta does use some attacks across all three phases, although they are a little different. This section contains all of the attacks you will see in the first phase.
Multiple Projectiles
Benedikta will shoot out five projectiles at once, in a fan-like pattern. Despite the multiple projectiles, it’s pretty easy to dodge, as long as you aren’t too close whenever she shoots them at you. She will almost always follow this up with Aerora.
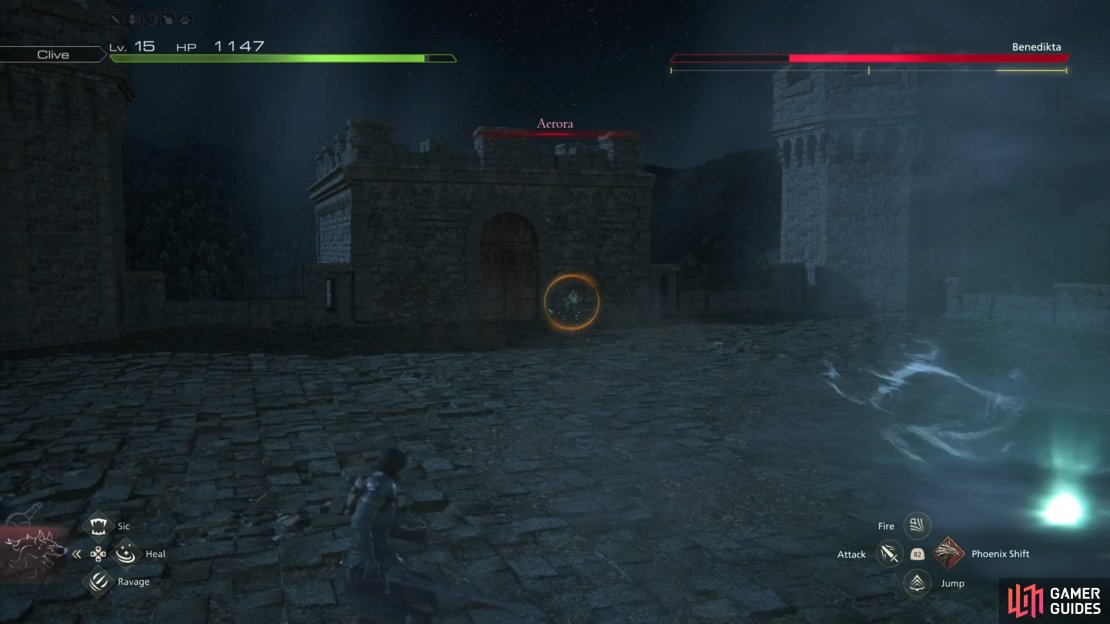
Aerora
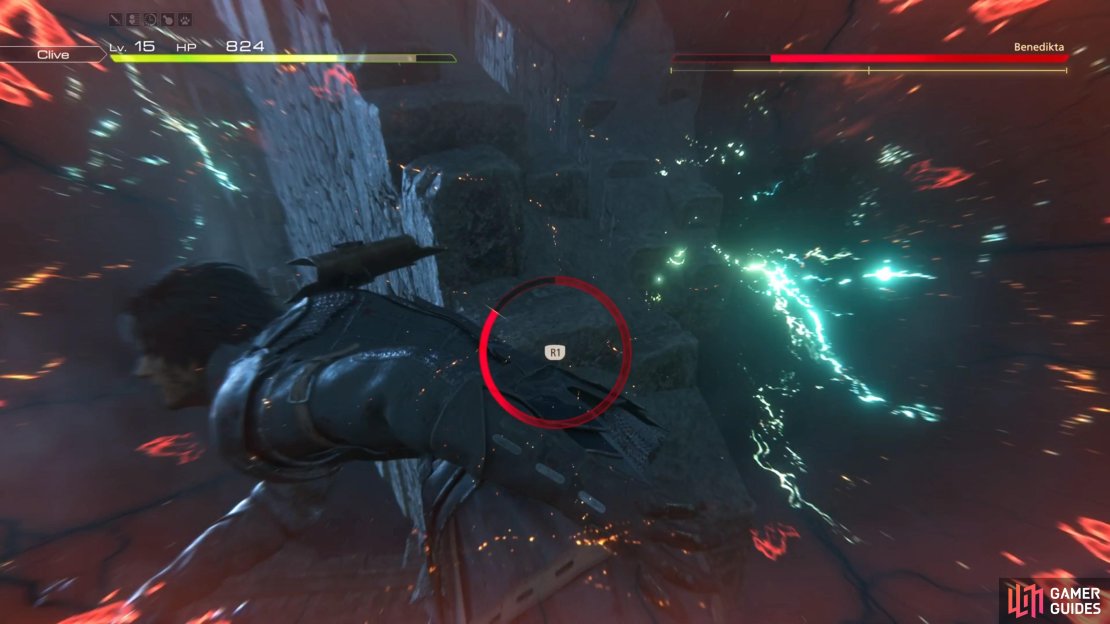
You will almost always see this attack coming after the multiple projectiles move above. This is just a single projectile, though, so it’s even easier to dodge. It’s likely more powerful than the single shot fired in the above attack, though. This attack is prime fuel for using Heatwave, since it’s easier to time. During the second phase, she will shoot two projectiles, back to back.
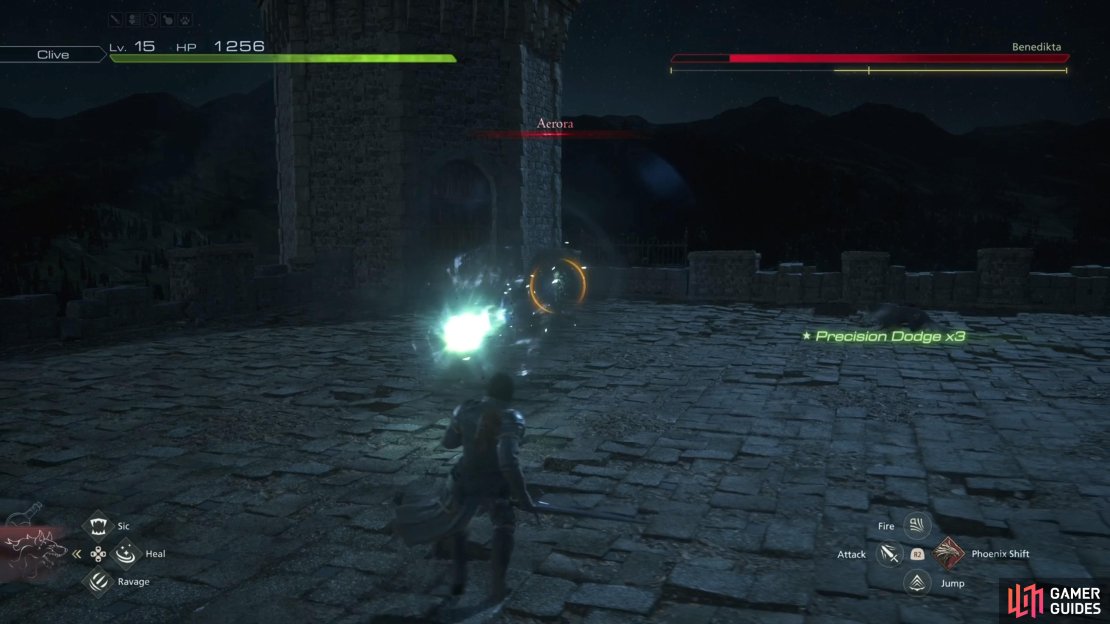
(1 of 4) Aerora is just a single, straight projectile.
Aeroga
She will sometimes do this after Aerora, but it can sometimes come by itself. Aeroga is a stronger version of Aerora, as it’s a single projectile, but whenever it hits the ground, a wind residue will be left behind, which can damage you should you touch it. If you decide not to use Heatwave on the previous attack, it’s probably a lot better to use it on this one. During the second phase, there will now be three orbs of magic she’ll shoot, but they still function the same.
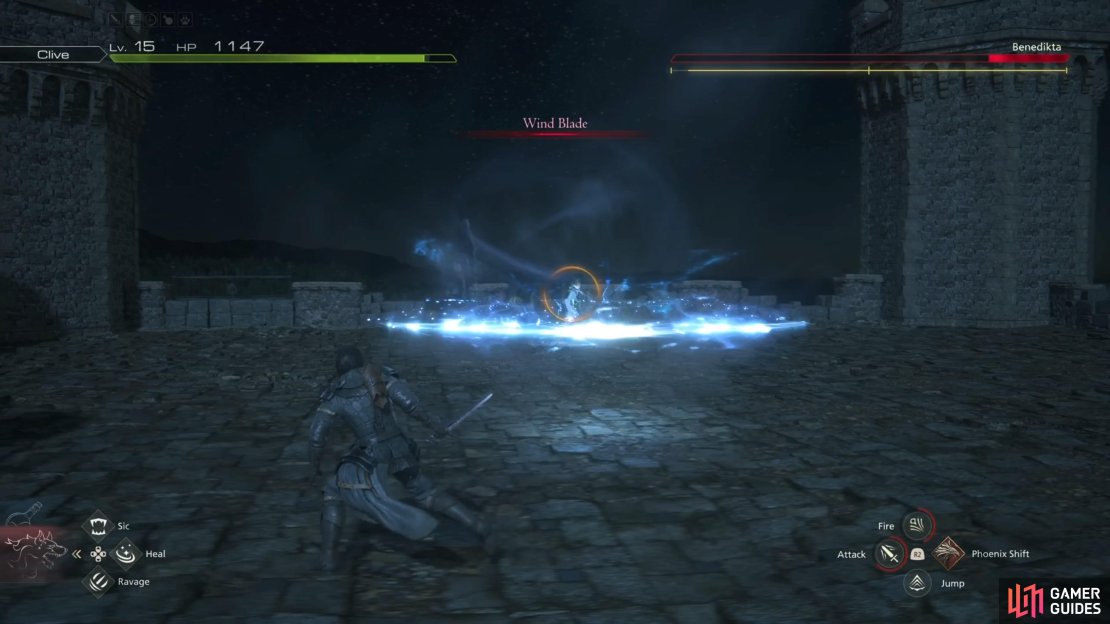
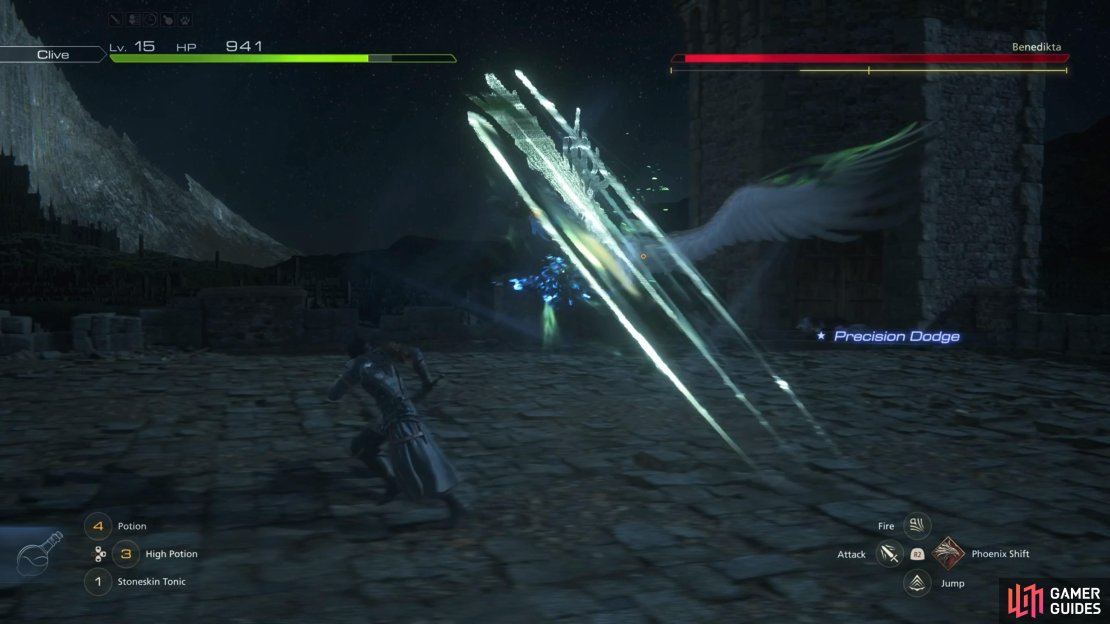
Wind Blade
This might not appear until after the first stagger (or a health threshold), but Benedikta will shoot two beams of wind magic at you, in succession. They aren’t anything special, though, and can be easily dodged. This attack is like a prelude to the Aerial Slash move later in the battle.
Dashing Thrust Attack
Benedikta will float up into the air for a brief second, then quickly dash towards you to try and stab with her sword. Considering the little bit of wind-up with the floating, you will know it’s coming, making it easy to avoid.
Strategy for the Benedikta (Phase 1) Boss Fight in Final Fantasy XVI
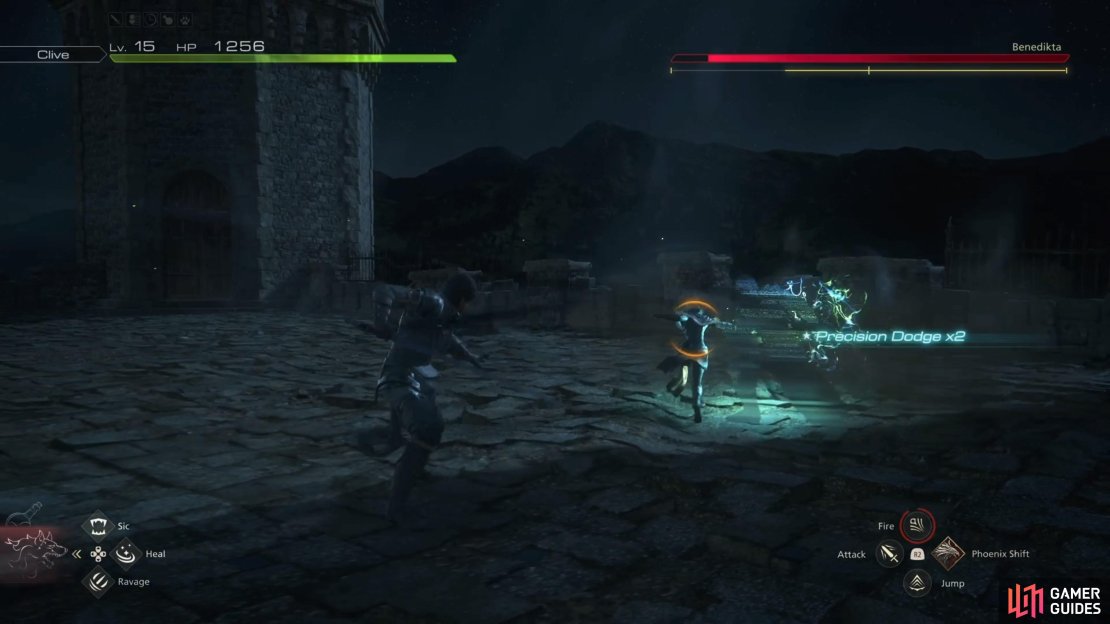
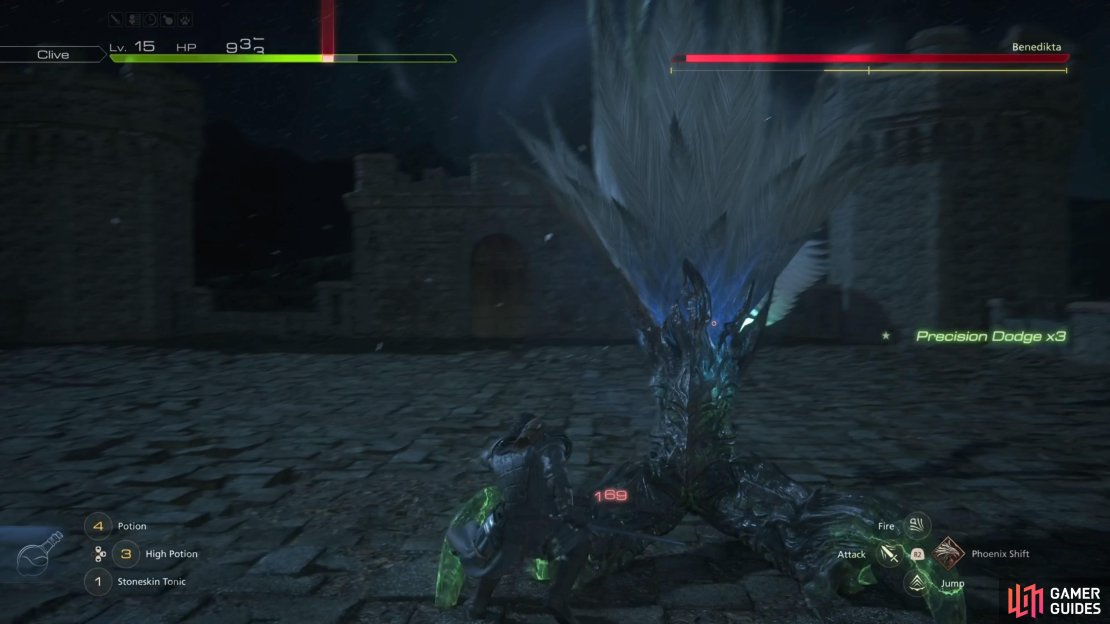
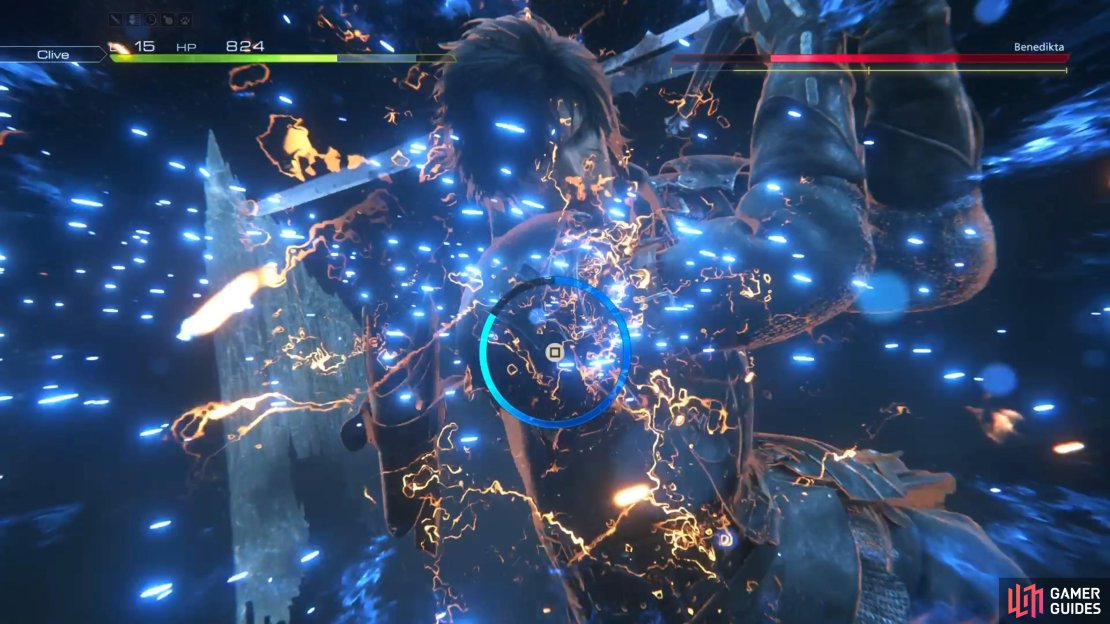
The first phase of this boss fight is very simple, since three of the four moves she has are projectiles. That makes Heatwave very good here, since you can dispel the spells and inflict some great damage to her stagger bar. Also, should you get a Heatwave Counter, then it seems the cooldown is a lot less than using it normally. The dashing attack has a tell, too, so you will know it’s about to be used, which means you should never really get hit by it at all. There’s really not much to say about this phase, as it’s simple and it seems Benedikta doesn’t have a whole lot of health.

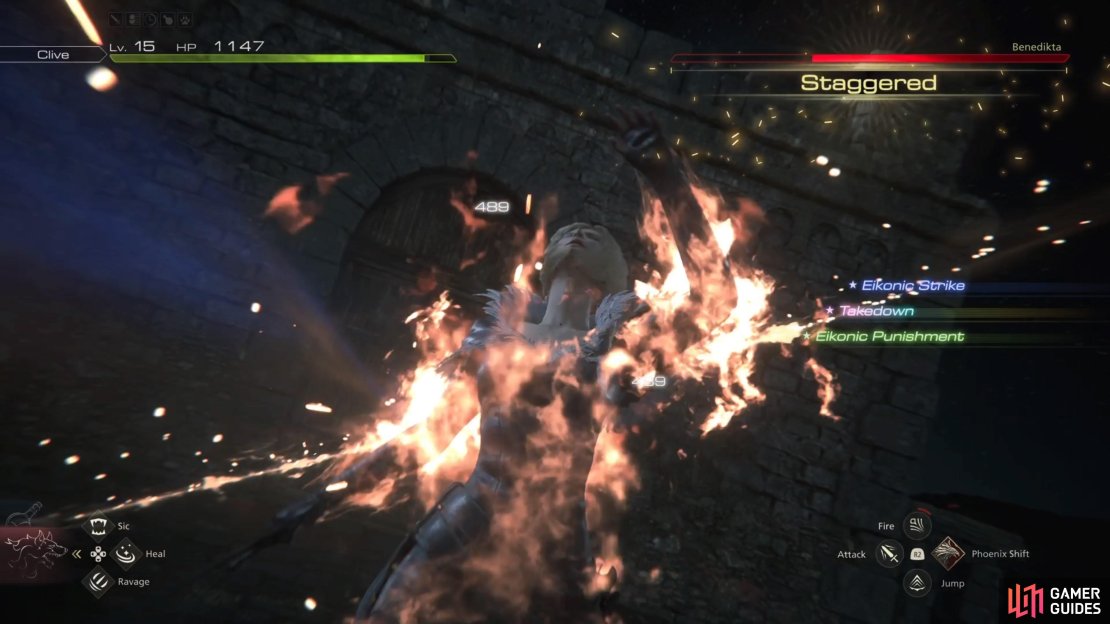
(1 of 3) Heatwave Counter is great for the first phase.
Once you get her health low enough, a cutscene will occur, with there being a Cinematic Evasion happening during it. Note that you won’t have the use of Torgal during the second phase.
All Benedikta Attacks (Phase 2) in Final Fantasy XVI
The fight will really take a step up in difficulty now, as Benedikta will add a bunch of new attacks during this phase, while keeping a few from the previous one. As mentioned above, you will not have use of ![]() Torgal during this phase.
Torgal during this phase.
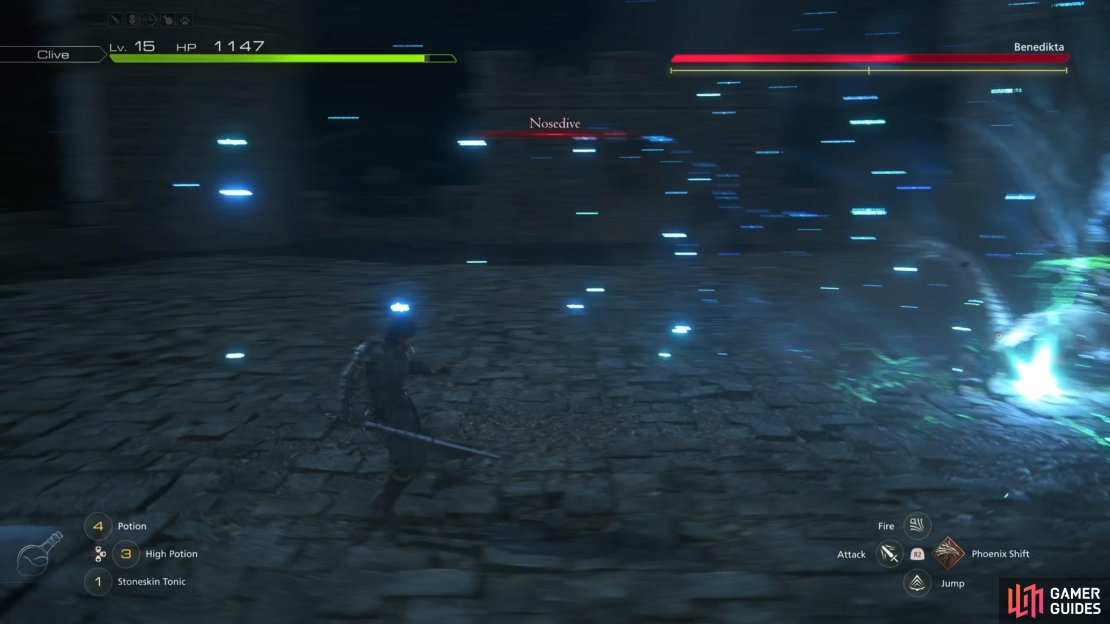
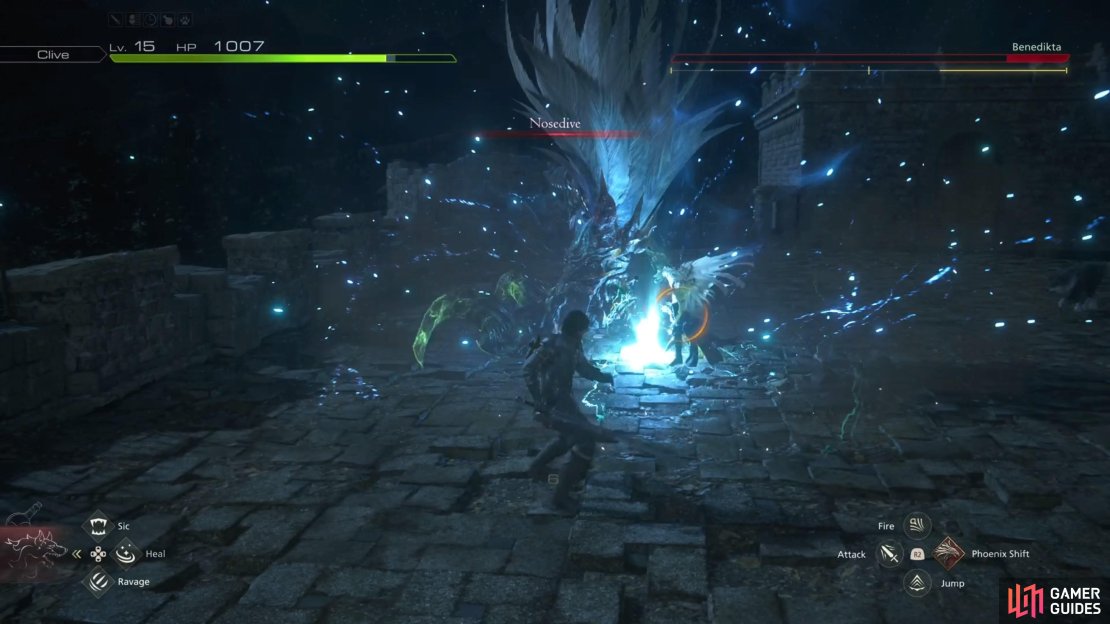
Nosedive
Benedikta will likely start with this move during the second phase, where she’ll jump into the air, then come crashing down to the ground. Similar to the ![]() Dragoon’s Jump attack, there will be a blue marker on the ground, where she’ll land, so it’s easy to not get hit. As should be the case, the impact upon landing is bigger than it looks, so don’t be too close.
Dragoon’s Jump attack, there will be a blue marker on the ground, where she’ll land, so it’s easy to not get hit. As should be the case, the impact upon landing is bigger than it looks, so don’t be too close.
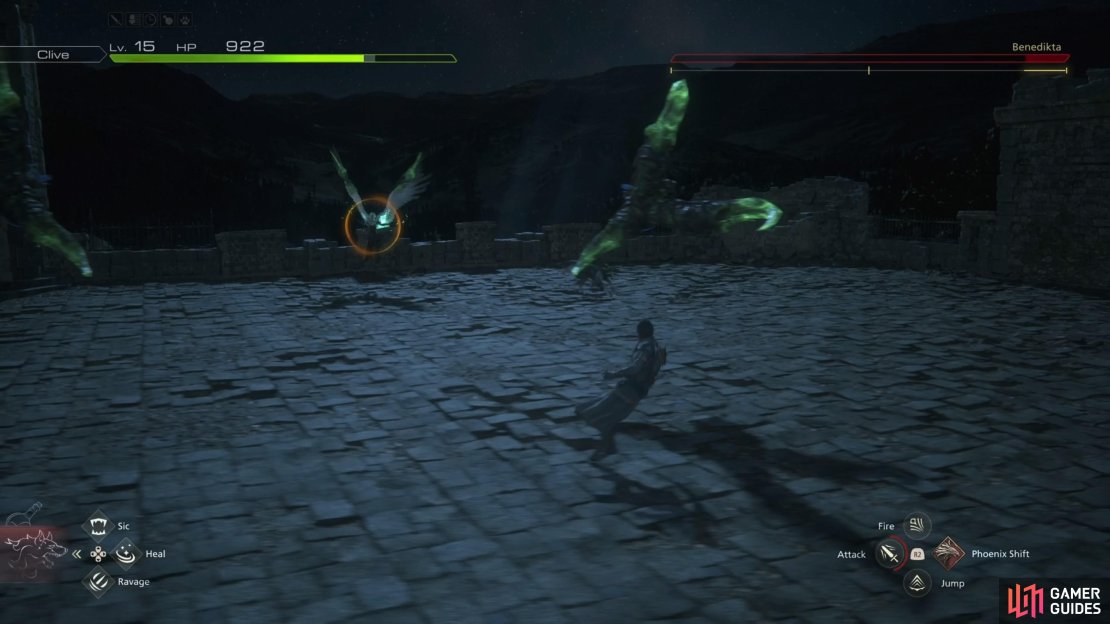
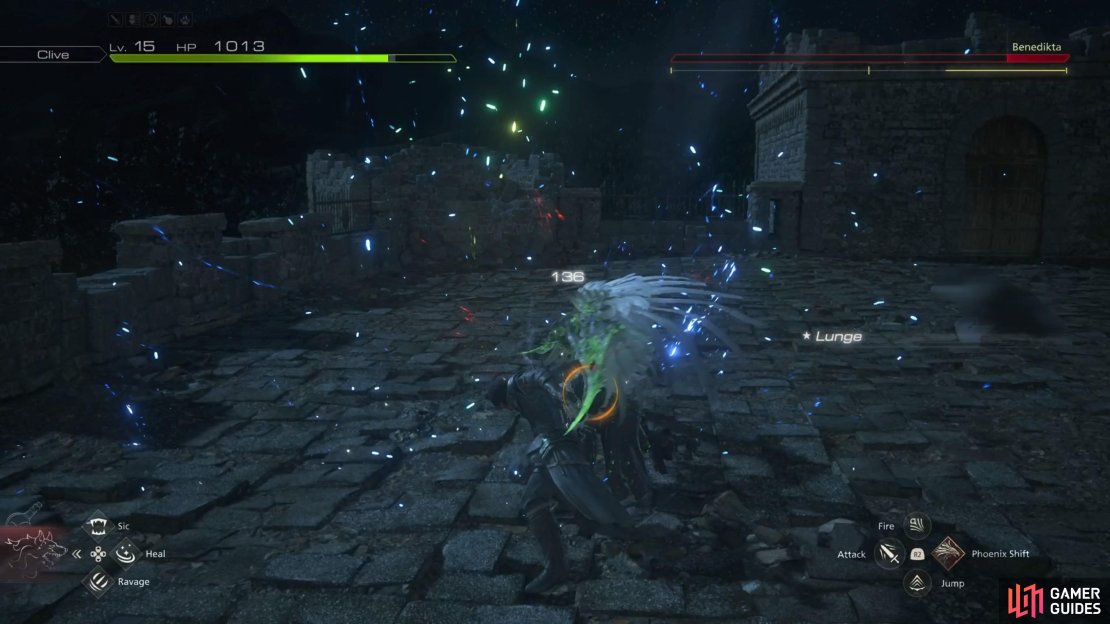
Flight and Melee Combo

You will see Benedikta start circling you, where she will shoot two normal projectiles while moving (simple to dodge). After the second projectile, she will delay the next attack a bit, then swoop in with a melee strike. Note the melee strike is quickly followed up by a spinning attack, then she will rise into the air and slam the ground with an overgrown talon. You are most likely to be hit during the melee attacks, until you get used to them, especially since the final hit is a bit deceptive with its impact. Note that she can still use the melee combo on its own, without using the flight portion first.
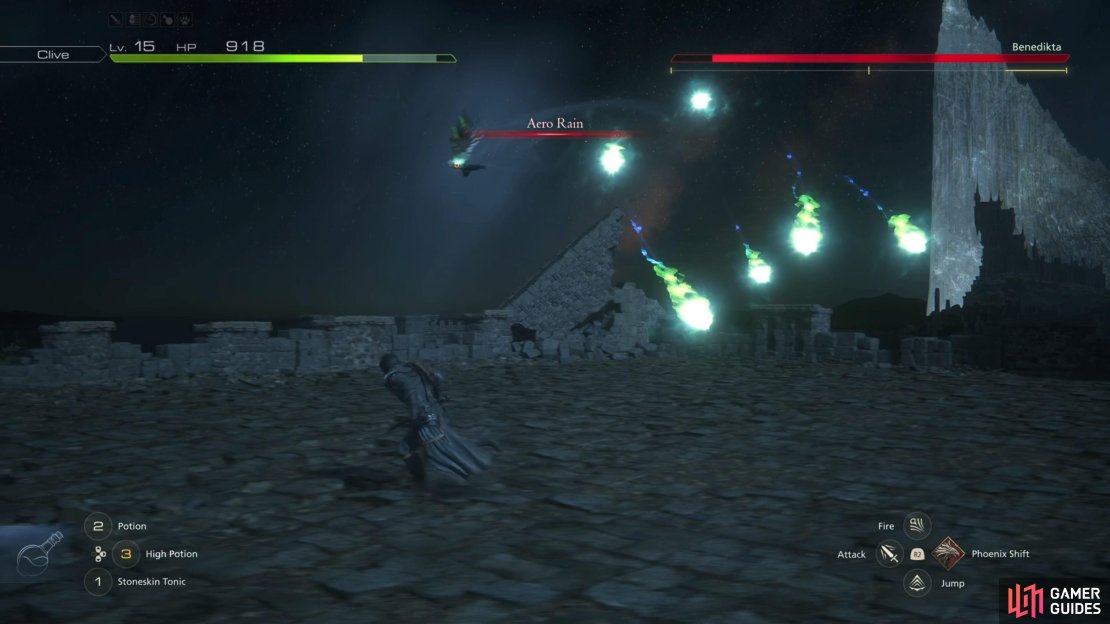
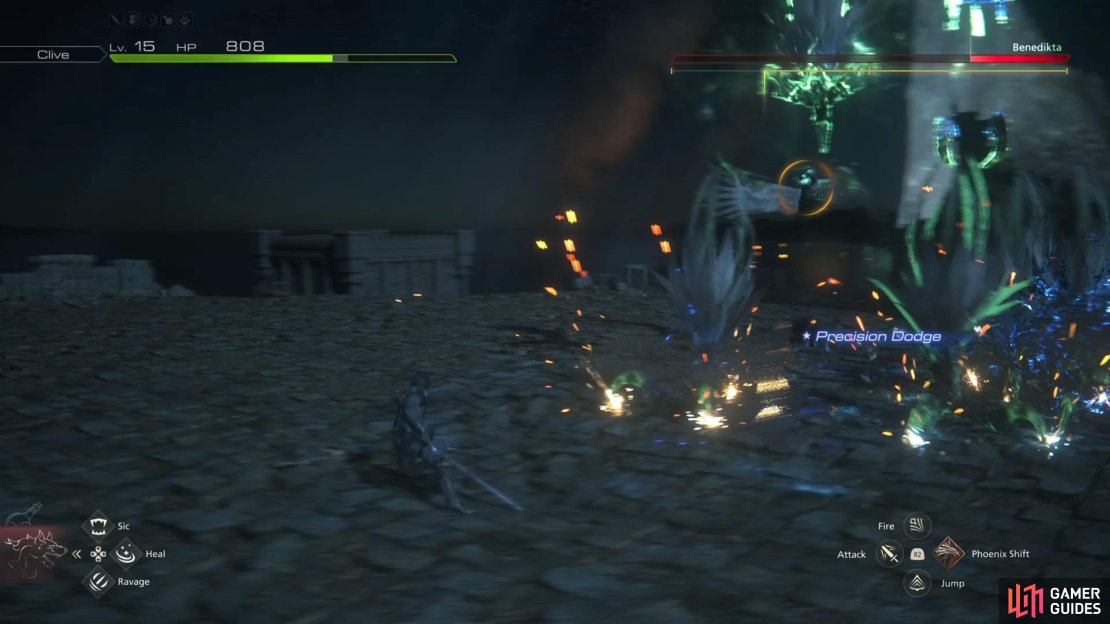
Aero Rain
At some point, Benedikta will fly out of range and circle the battle arena. While she’s doing this, she’ll shoot off a bundle of projectiles that target your last known position. There’s really nothing you can do about this, other than dodge the shots. You could try to shoot magic at her, but she’s moving quite quickly and said magic will probably miss.
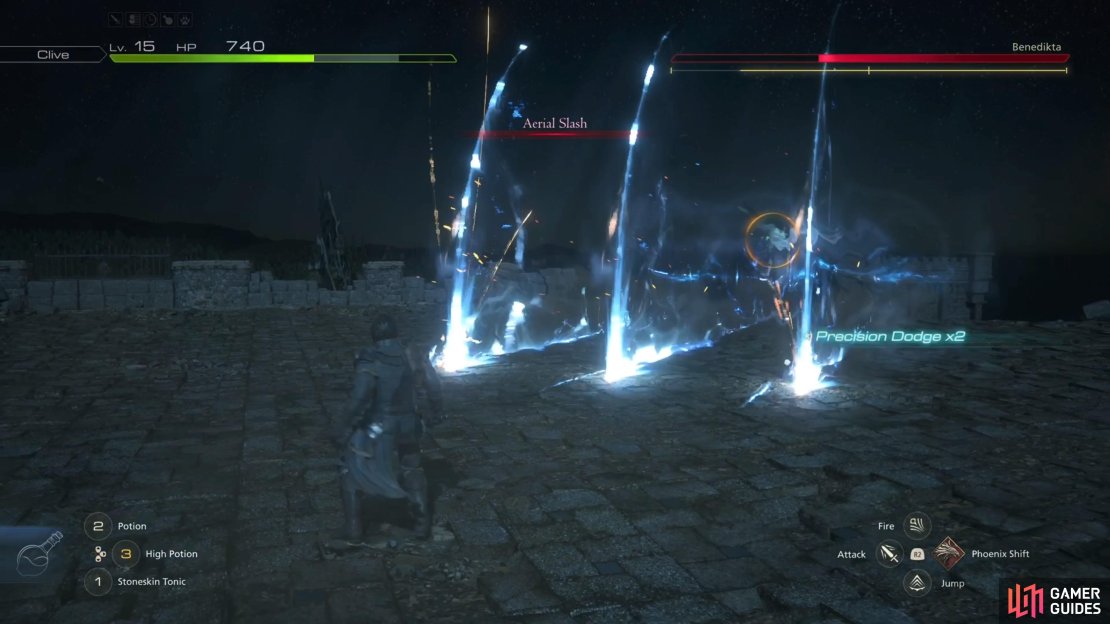
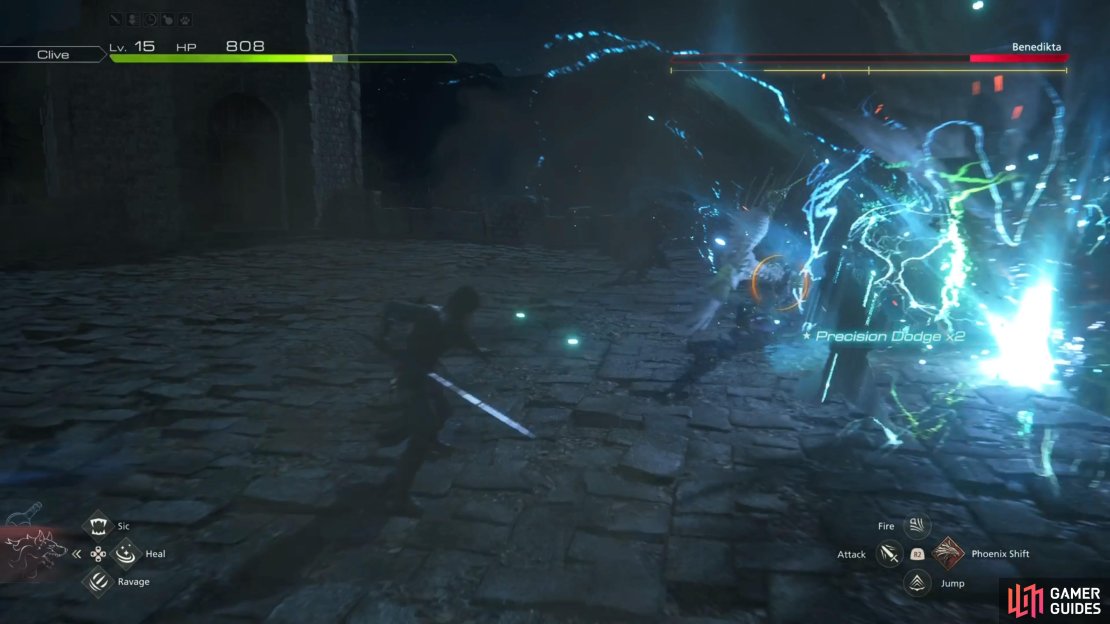
Aerial Slash
She will rise into the air and shoot three crescent-shaped shockwaves in your direction. It seems the first will be ground level, while the second is more in the air, then the third will be ground level again. It’s best to dodge the first two, then use Heatwave on the third one. Doing it this way will make you avoid taking damage from the follow-up shockwaves.
After the first stagger, and throughout the rest of the fight, Aerial Slash will be slightly different. Instead of just the three horizontal shockwaves, she will vertical ones to start (kind of like talons), then follow up those with the horizontal ones. Each vertical slash will contain three beams, and she will shoot off three sets of them. It also seems like she’ll do an Aeroga after the horizontal slashes, too, so keep a lookout for that.
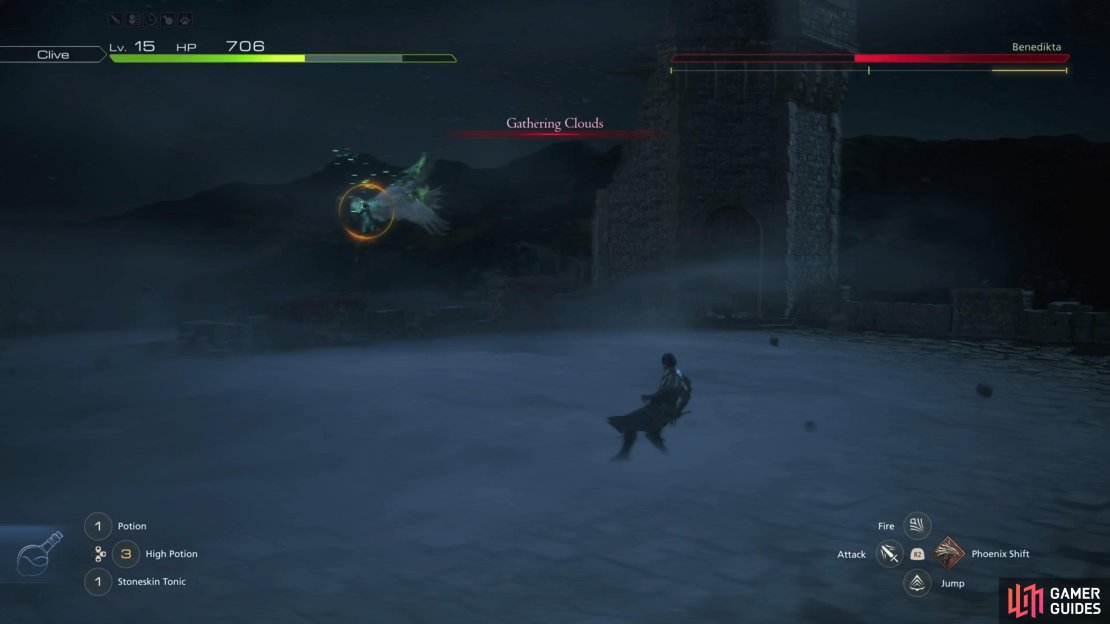
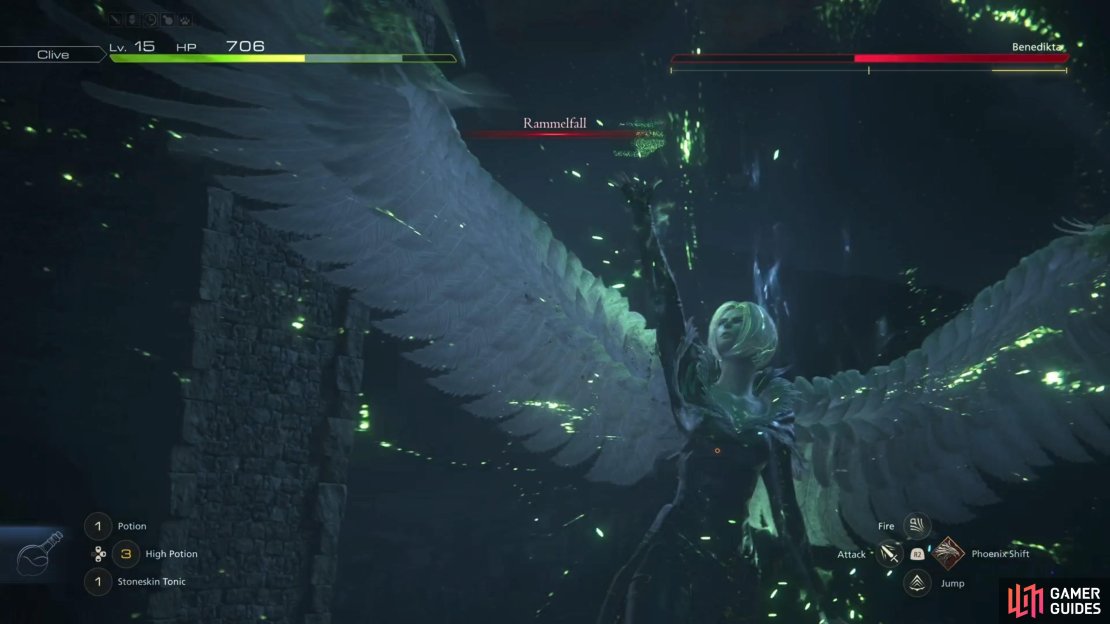

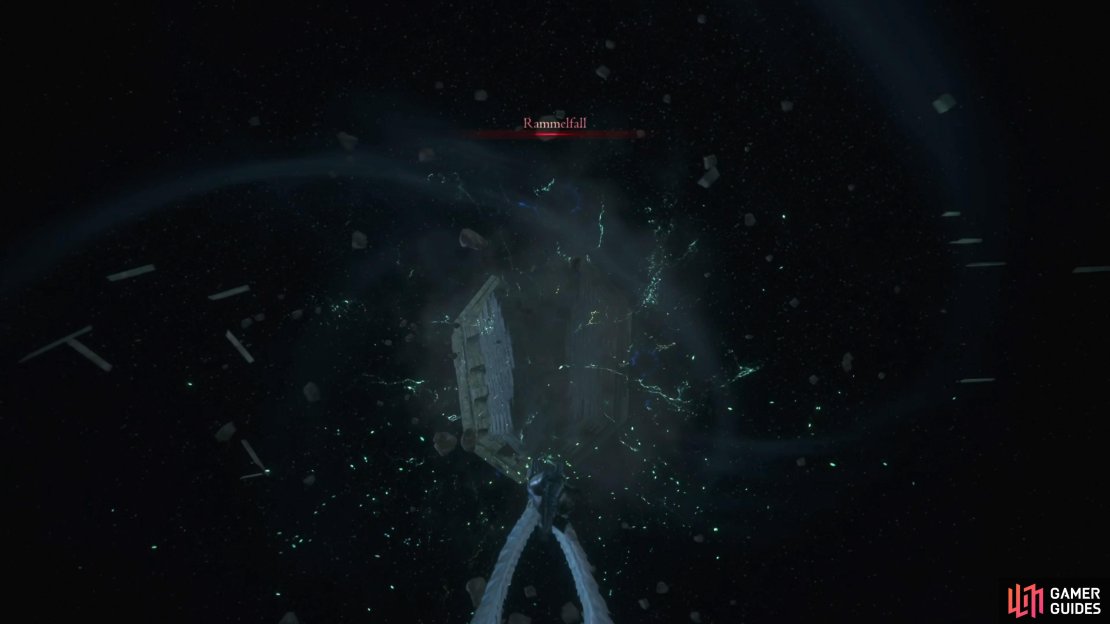
Rammelfall
The first time you see this maneuver, it’s during a cinematic moment, but she can still use it after that part. She will always precede this Gathering Clouds, and you will need to manually dodge Rammelfall after the initial use of it. This attack is really nothing more than a large projectile, so dodge out of the way to avoid the impact.
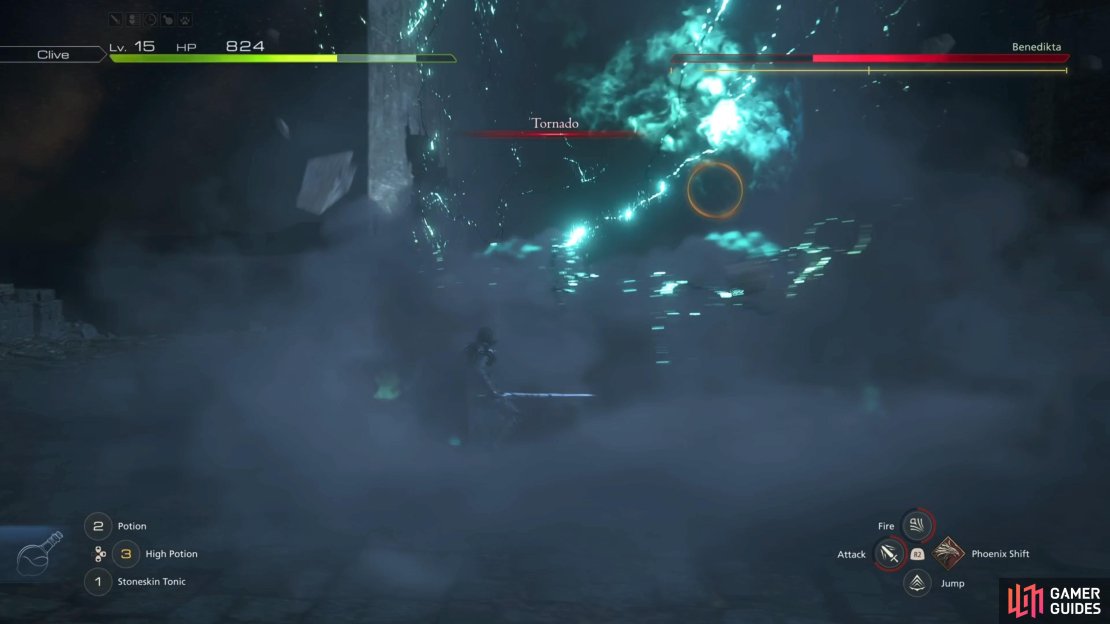
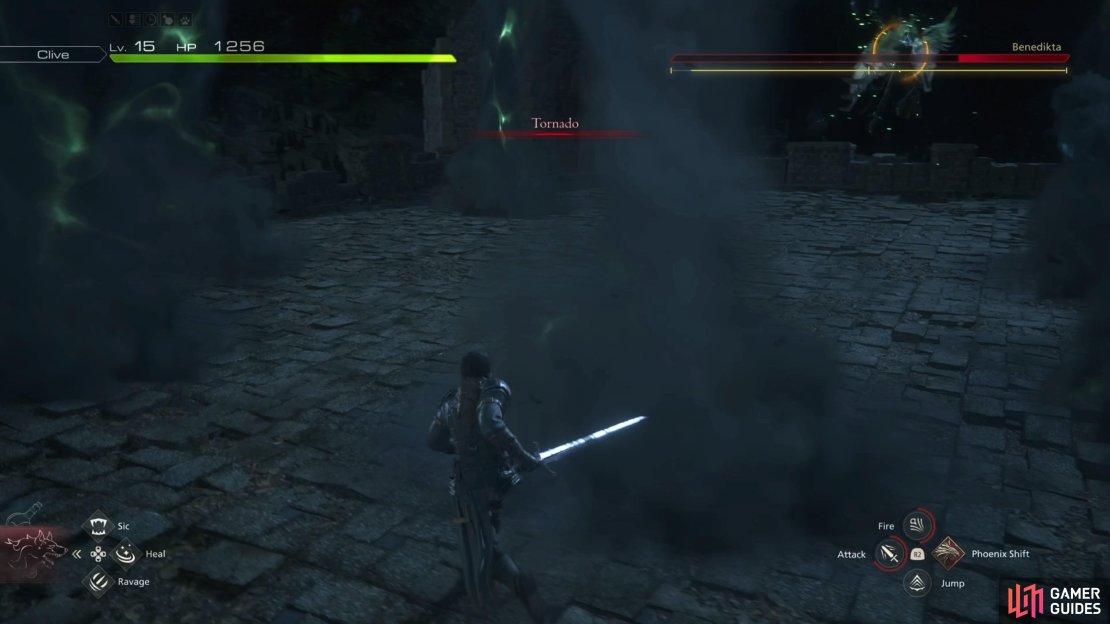
Tornado
After the first stagger, Benedikta will summon a large vortex on the battlefield. It will follow you a little bit, before dissipating after a few seconds. Note that she will always perform a spinning claw attack after summoning a Tornado. While the Tornado is super easy to avoid, it’s probably more of a smokescreen for the claw move.
Upon reaching the third phase of the fight, Tornado will change a bit. Instead of summoning one giant whirlwind, she will conjure up a bunch of smaller ones, so the arena will be filled with them. However, they don’t last very long, so keep moving to avoid getting hit.
Strategy for the Benedikta Boss Fight (Phase 2) in Final Fantasy XVI
Things are definitely more difficult during the second phase, as you can see Benedikta gains a lot of new attacks. Playing defensively at first is highly recommended, just so you can get used to the attacks and learn how to avoid taking damage. By far, the most dangerous attack during the second phase is the melee combo, since the claw finishing move is a lot bigger than it shows, so there’s the biggest possibility of getting hit during that. You can’t do anything during Aero Rain, so just focus on evading the projectiles there.
(1 of 5) The scripted Rammelfall attack will signal a change in attacks, with some new ones.
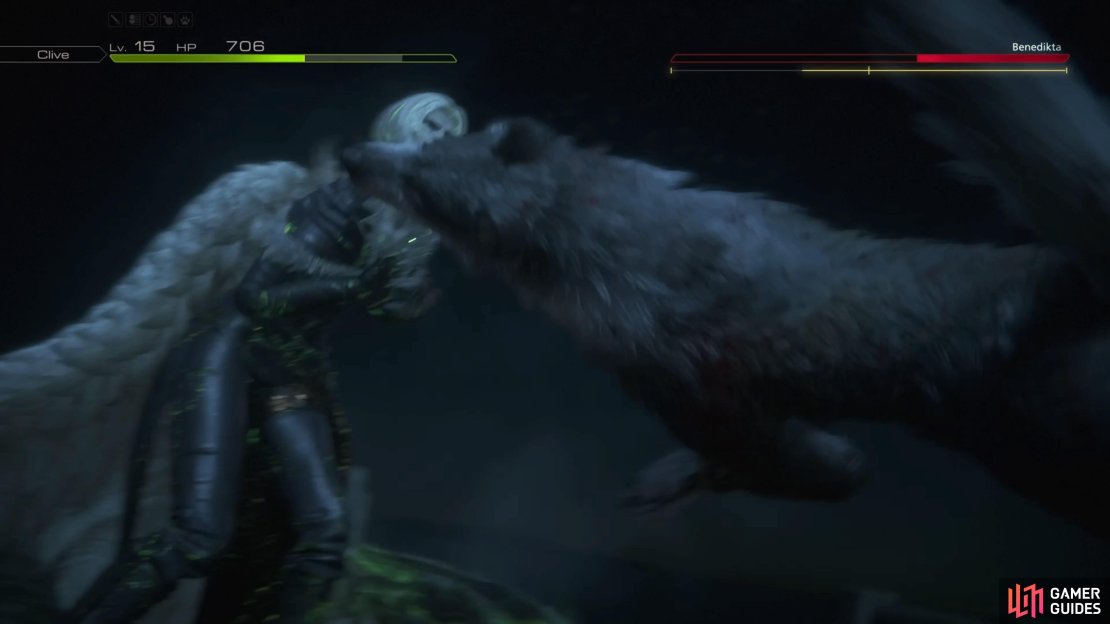
Once you stagger her for the first time, she will use a cinematic version of Rammelfall, which triggers both a Cinematic Evasion and Cinematic Strike during it. Succeeding at both will cause another stagger to occur, which means free damage to the boss. After this happens, she will add the normal version of Rammelfall to her arsenal, as well as Tornado. Just watch for the dash move after the Tornado, as the actual whirlwind is simple to avoid. The best times to attack are after a Nosedive, as she will remain motionless for a few seconds.
Upon getting her health low enough, there will be another cutscene, where Torgal comes back and triggering two more Cinematic Strikes. This will stagger Benedikta once more, so get in your hits and get ready for the third phase.
All Benedikta Attacks (Phase 3) in Final Fantasy XVI
This is definitely the hardest part of the battle, as she has one move that can deal an insane amount of damage. If you didn’t use any potions prior to this, that’s a good thing, as you might need them here. Some of her previous attacks will still be used, although some of them will have new properties, or even be changed.
Talon Combo
(1 of 3) The Talon Combo will start off with the claws like this.
Benedikta will go crazy with her claws in this phase, with one use being a combo that involves them. She’ll start the combo by placing two claws in front of her, then launching them forward to attack. She’ll follow this up by going into the air a little bit, then smashing the ground with both claws. From there, she’ll summon a bunch of claws and just stomp the ground crazily. The final hit of the combo is one final smack of the ground, with something similar to her Nosedive (a small area of effect). Keep moving to try and avoid all of the attacks.
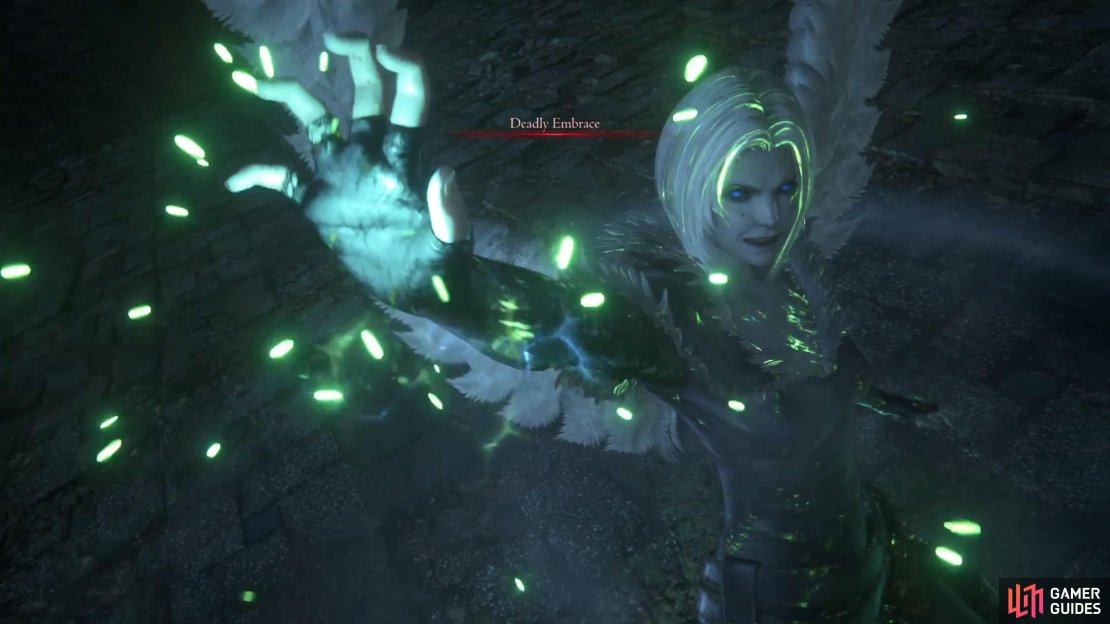
Deadly Embrace
You saw this during the cutscene, but she will utilize it during the actual fight, too. Benedikta will launch a claw forward, very quickly, which will grab you if it hits. The move doesn’t deal any damage, but you’ll be brought to her, after which, she will summon a bigger Tornado. Despite being annoying, the whirlwind is very easy to dodge and since the grab doesn’t do any damage, this is really nothing to worry about.
Twister Combo


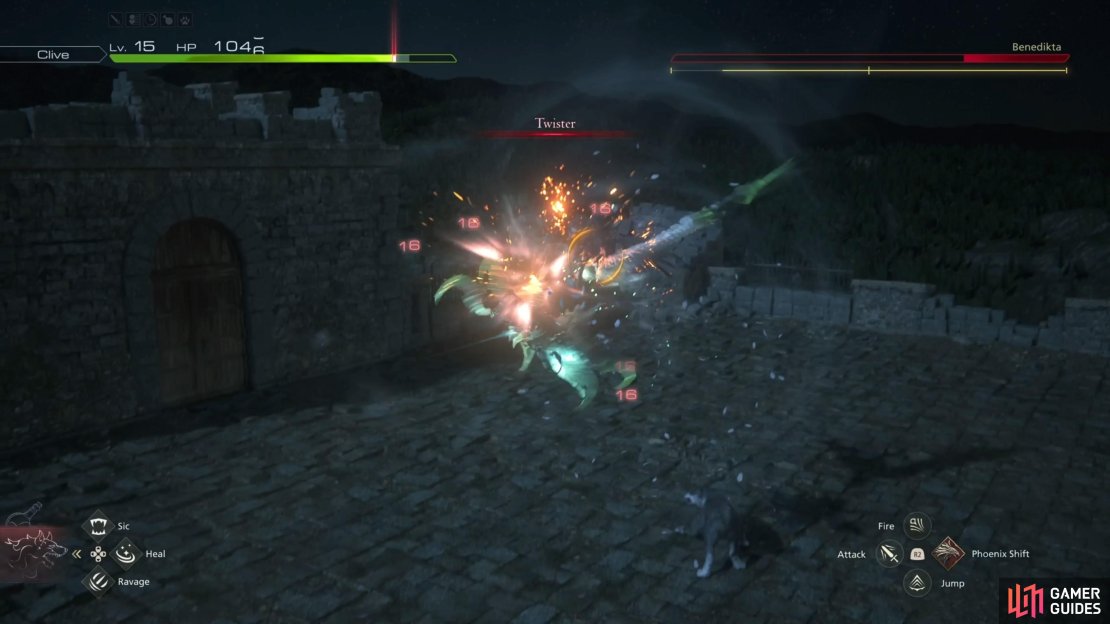
(1 of 3) !Deadly Embrace will grab you, but it doesn’t do any damage.
This is the move that can hurt a lot, should it connect. First, Benedikta will rush you and try a strike, which is nothing. However, after this, she will try to grab you with a claw and if she does, then she’ll perform Twister. She’ll just keep you in the air and pummel you with her claws. If the grab misses, though, she won’t perform that maneuver, but will follow it up with another dash and quick two swipes of the claws. You just want to make sure you dodge the claw grab, or else you will take some major damage.
Strategy for the Benedikta Boss Fight (Phase 3) in Final Fantasy XVI
This is where things can get hairy, especially with the Twister combo, as the actual named portion can do a lot of damage, should the grab connect. That means if you see the dash attack, you want to be ready to dodge to avoid the grab. ![]() Deadly Embrace, though, is nothing, as she will always follow this with a large Tornado, which is not difficult to avoid. The Talon Combo can be bad, too, although staying on the move can help with dodging some of the attacks.
Deadly Embrace, though, is nothing, as she will always follow this with a large Tornado, which is not difficult to avoid. The Talon Combo can be bad, too, although staying on the move can help with dodging some of the attacks.
(1 of 3) Tornado becomes a little more challenging to dodge when she changes over to the smaller ones.
With all of that out of the way, when is the best time to go on the offensive? Well, you have some time after Nosedive, which she’ll still use here, as well as after some of the combos. Should you see any projectiles, you can try the Heatwave Counter, followed by another use of the move, which will really put a hurting on the ![]() Will Gauge. You probably don’t want to be too aggressive, though, just to be on the safe side. She won’t pull any more tricks out of her hat in this final phase, so what you see above, in addition to some of her other moves, is what you’ll get.
Will Gauge. You probably don’t want to be too aggressive, though, just to be on the safe side. She won’t pull any more tricks out of her hat in this final phase, so what you see above, in addition to some of her other moves, is what you’ll get.
Keep at it and she’ll eventually go down, so enjoy the cutscenes after the battle.
No Comments