
The Blacksmith Blue IV side quest can be acquired in ![]() The Hideaway once you reach the Across the Narrow main quest. Here you’ll find a person named August and he needs help solving more of Blackthornes issues. We’ll take you through the necessary steps to completion and to defeating the elite enemies.
The Hideaway once you reach the Across the Narrow main quest. Here you’ll find a person named August and he needs help solving more of Blackthornes issues. We’ll take you through the necessary steps to completion and to defeating the elite enemies.
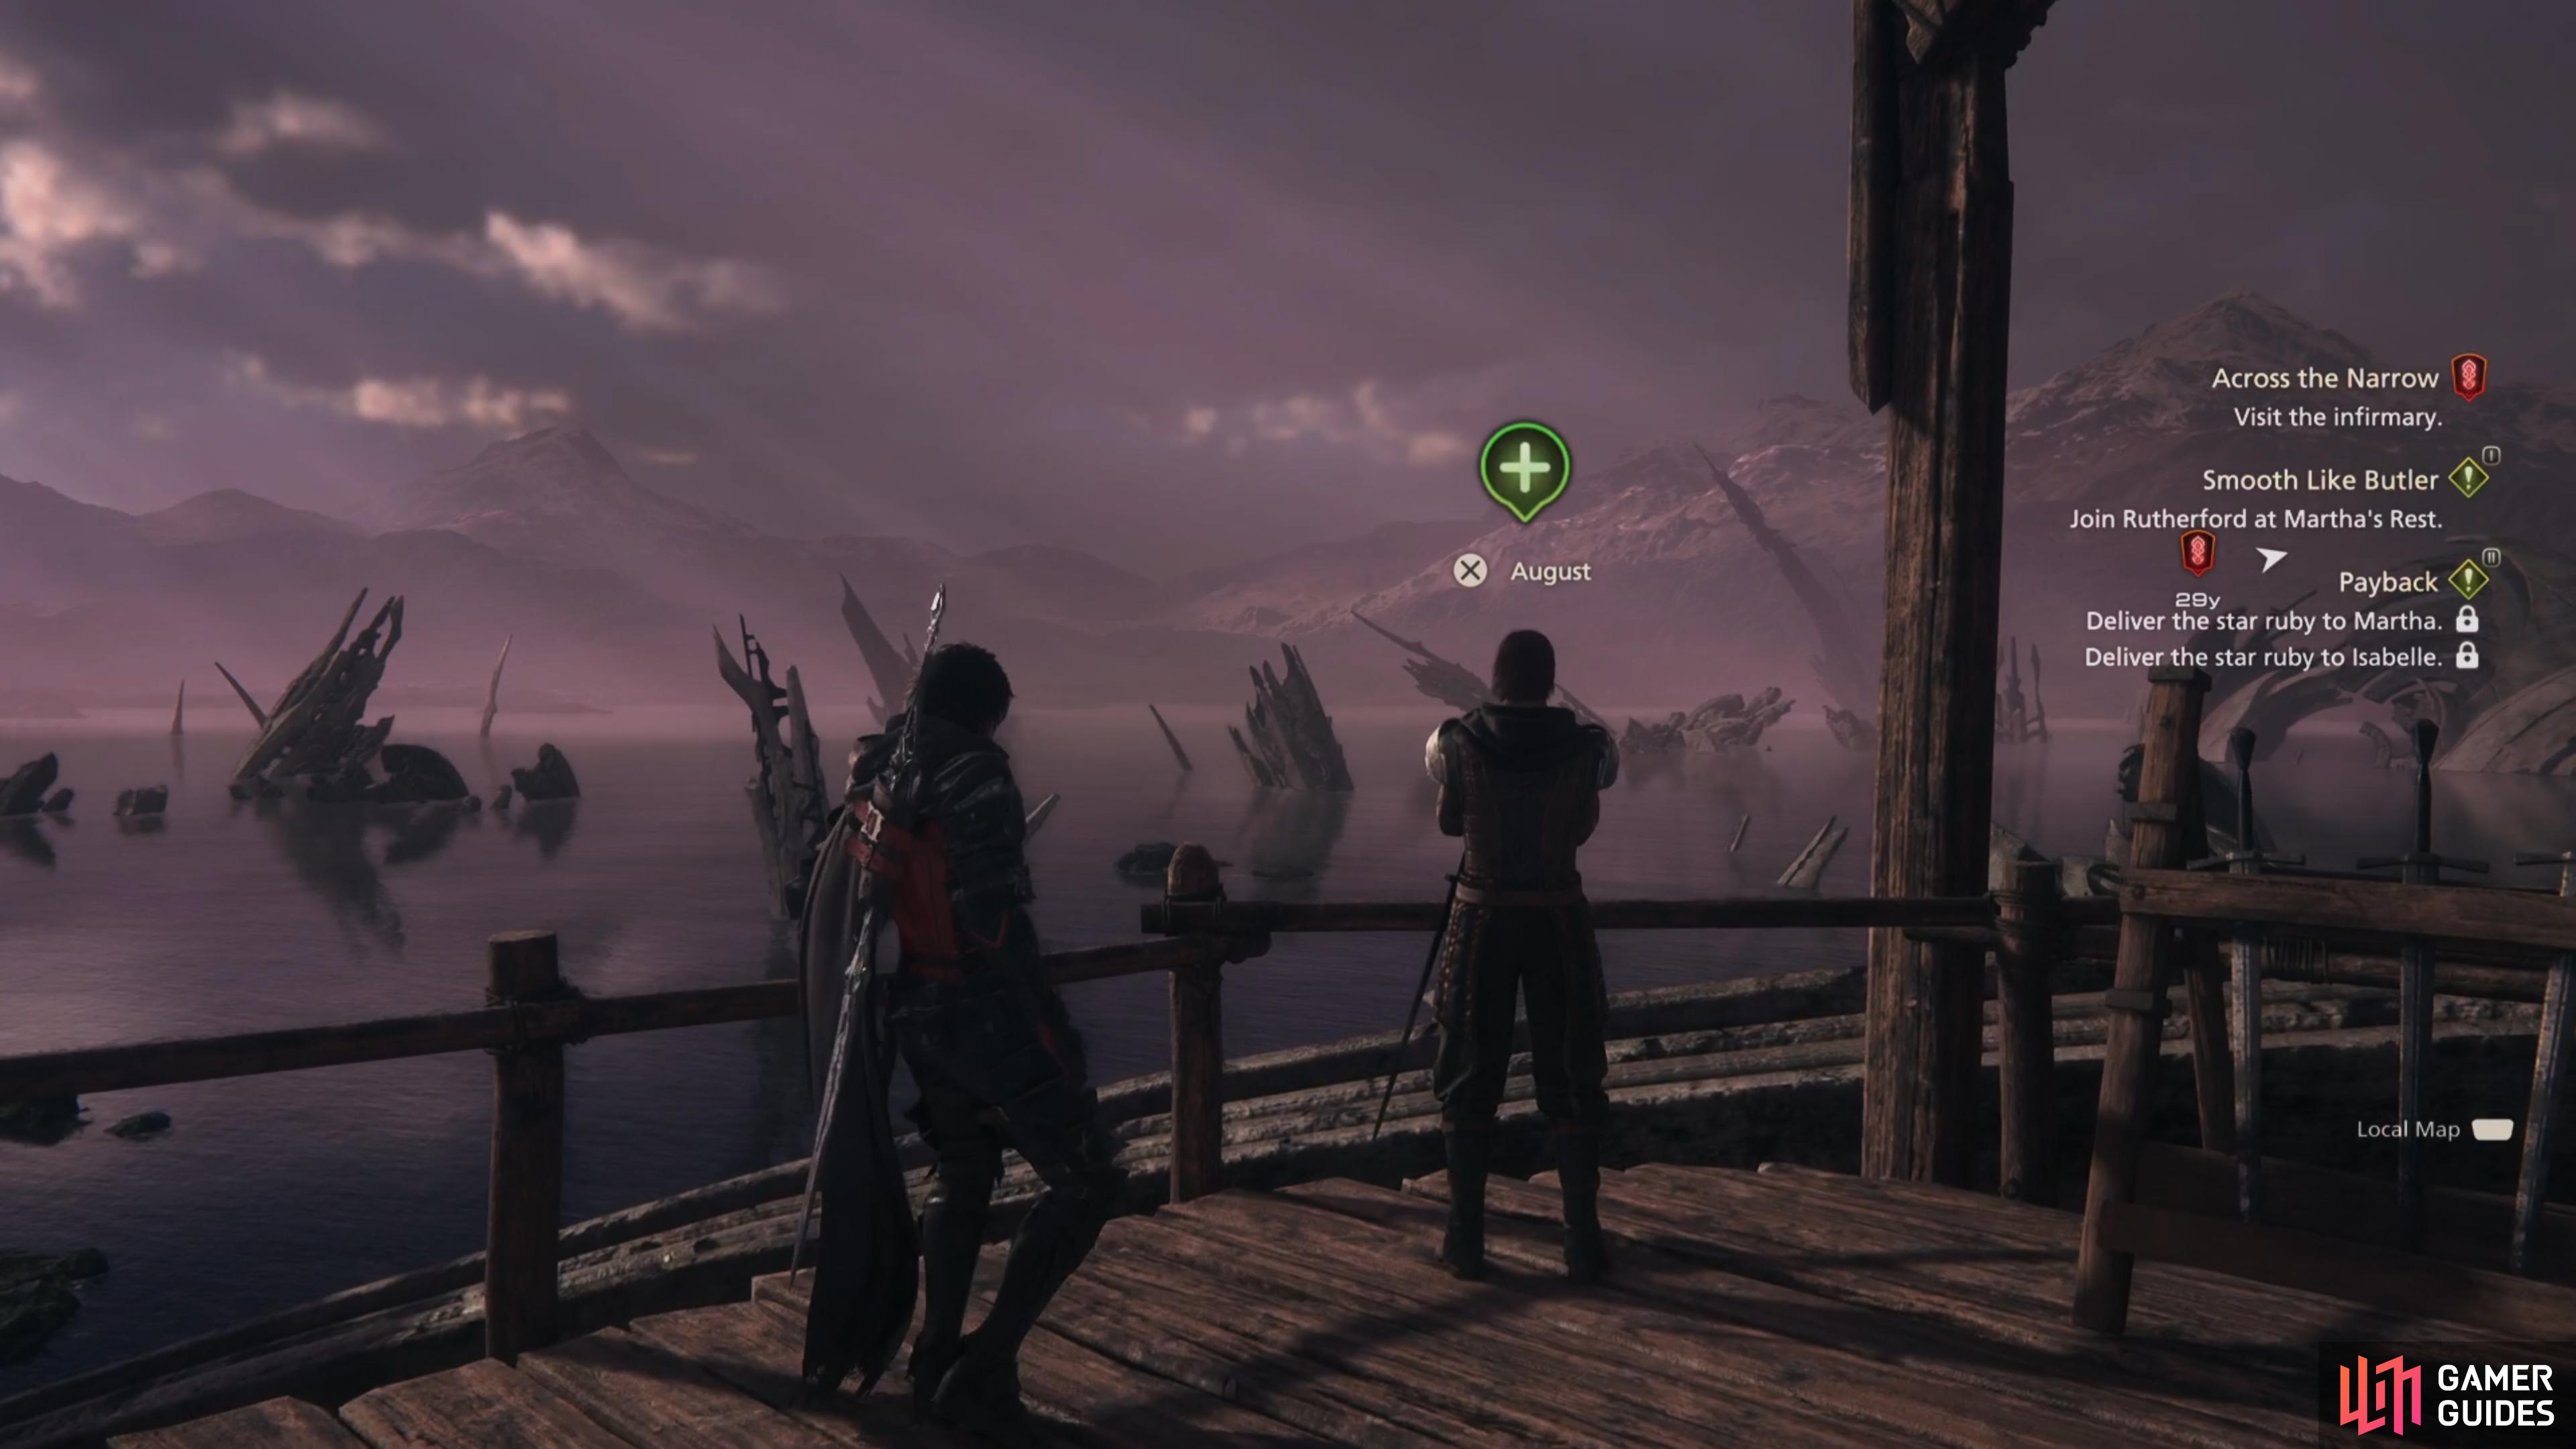
Speak with August in the Mess to begin this quest.
August collars Clive again, this time to help with Akashic invasion in Dravozd, Blackthorne’s hometown is in trouble, and only Clive can help.
How to Start the Blacksmith Blues IV Side Quest in Final Fantasy 16
First things first, you’ll need to have completed the main story mission Through the Maelstrom, and be on Across the Narrow. When those requirements have been met, head over to ![]() August who can be found in The Mess area of the Hideaway. Speak with him and you’ll learn that
August who can be found in The Mess area of the Hideaway. Speak with him and you’ll learn that ![]() Blackthorne’s old village is being overrun by
Blackthorne’s old village is being overrun by ![]() Akashic and he wants you to help clear them out before everyone turns.
Akashic and he wants you to help clear them out before everyone turns.
How to Defeat The Akashic Bighorn
Once you’ve finished speaking with August, fast travel over to ![]() Tabor which is in
Tabor which is in ![]() The Dhalmekian Republic Region, then follow the path along to the west until you reach The Field of Corava Sub-Region. Here you’ll want to head into
The Dhalmekian Republic Region, then follow the path along to the west until you reach The Field of Corava Sub-Region. Here you’ll want to head into ![]() Dravozd which is located to the north and speak with August who can be found in the center of the village to trigger a short scene where
Dravozd which is located to the north and speak with August who can be found in the center of the village to trigger a short scene where ![]() Zoltan and Blackthorne will finally reunite. Unfortunately, the conversation is cut short as there’s loads of Akashic outside to deal with.
Zoltan and Blackthorne will finally reunite. Unfortunately, the conversation is cut short as there’s loads of Akashic outside to deal with.
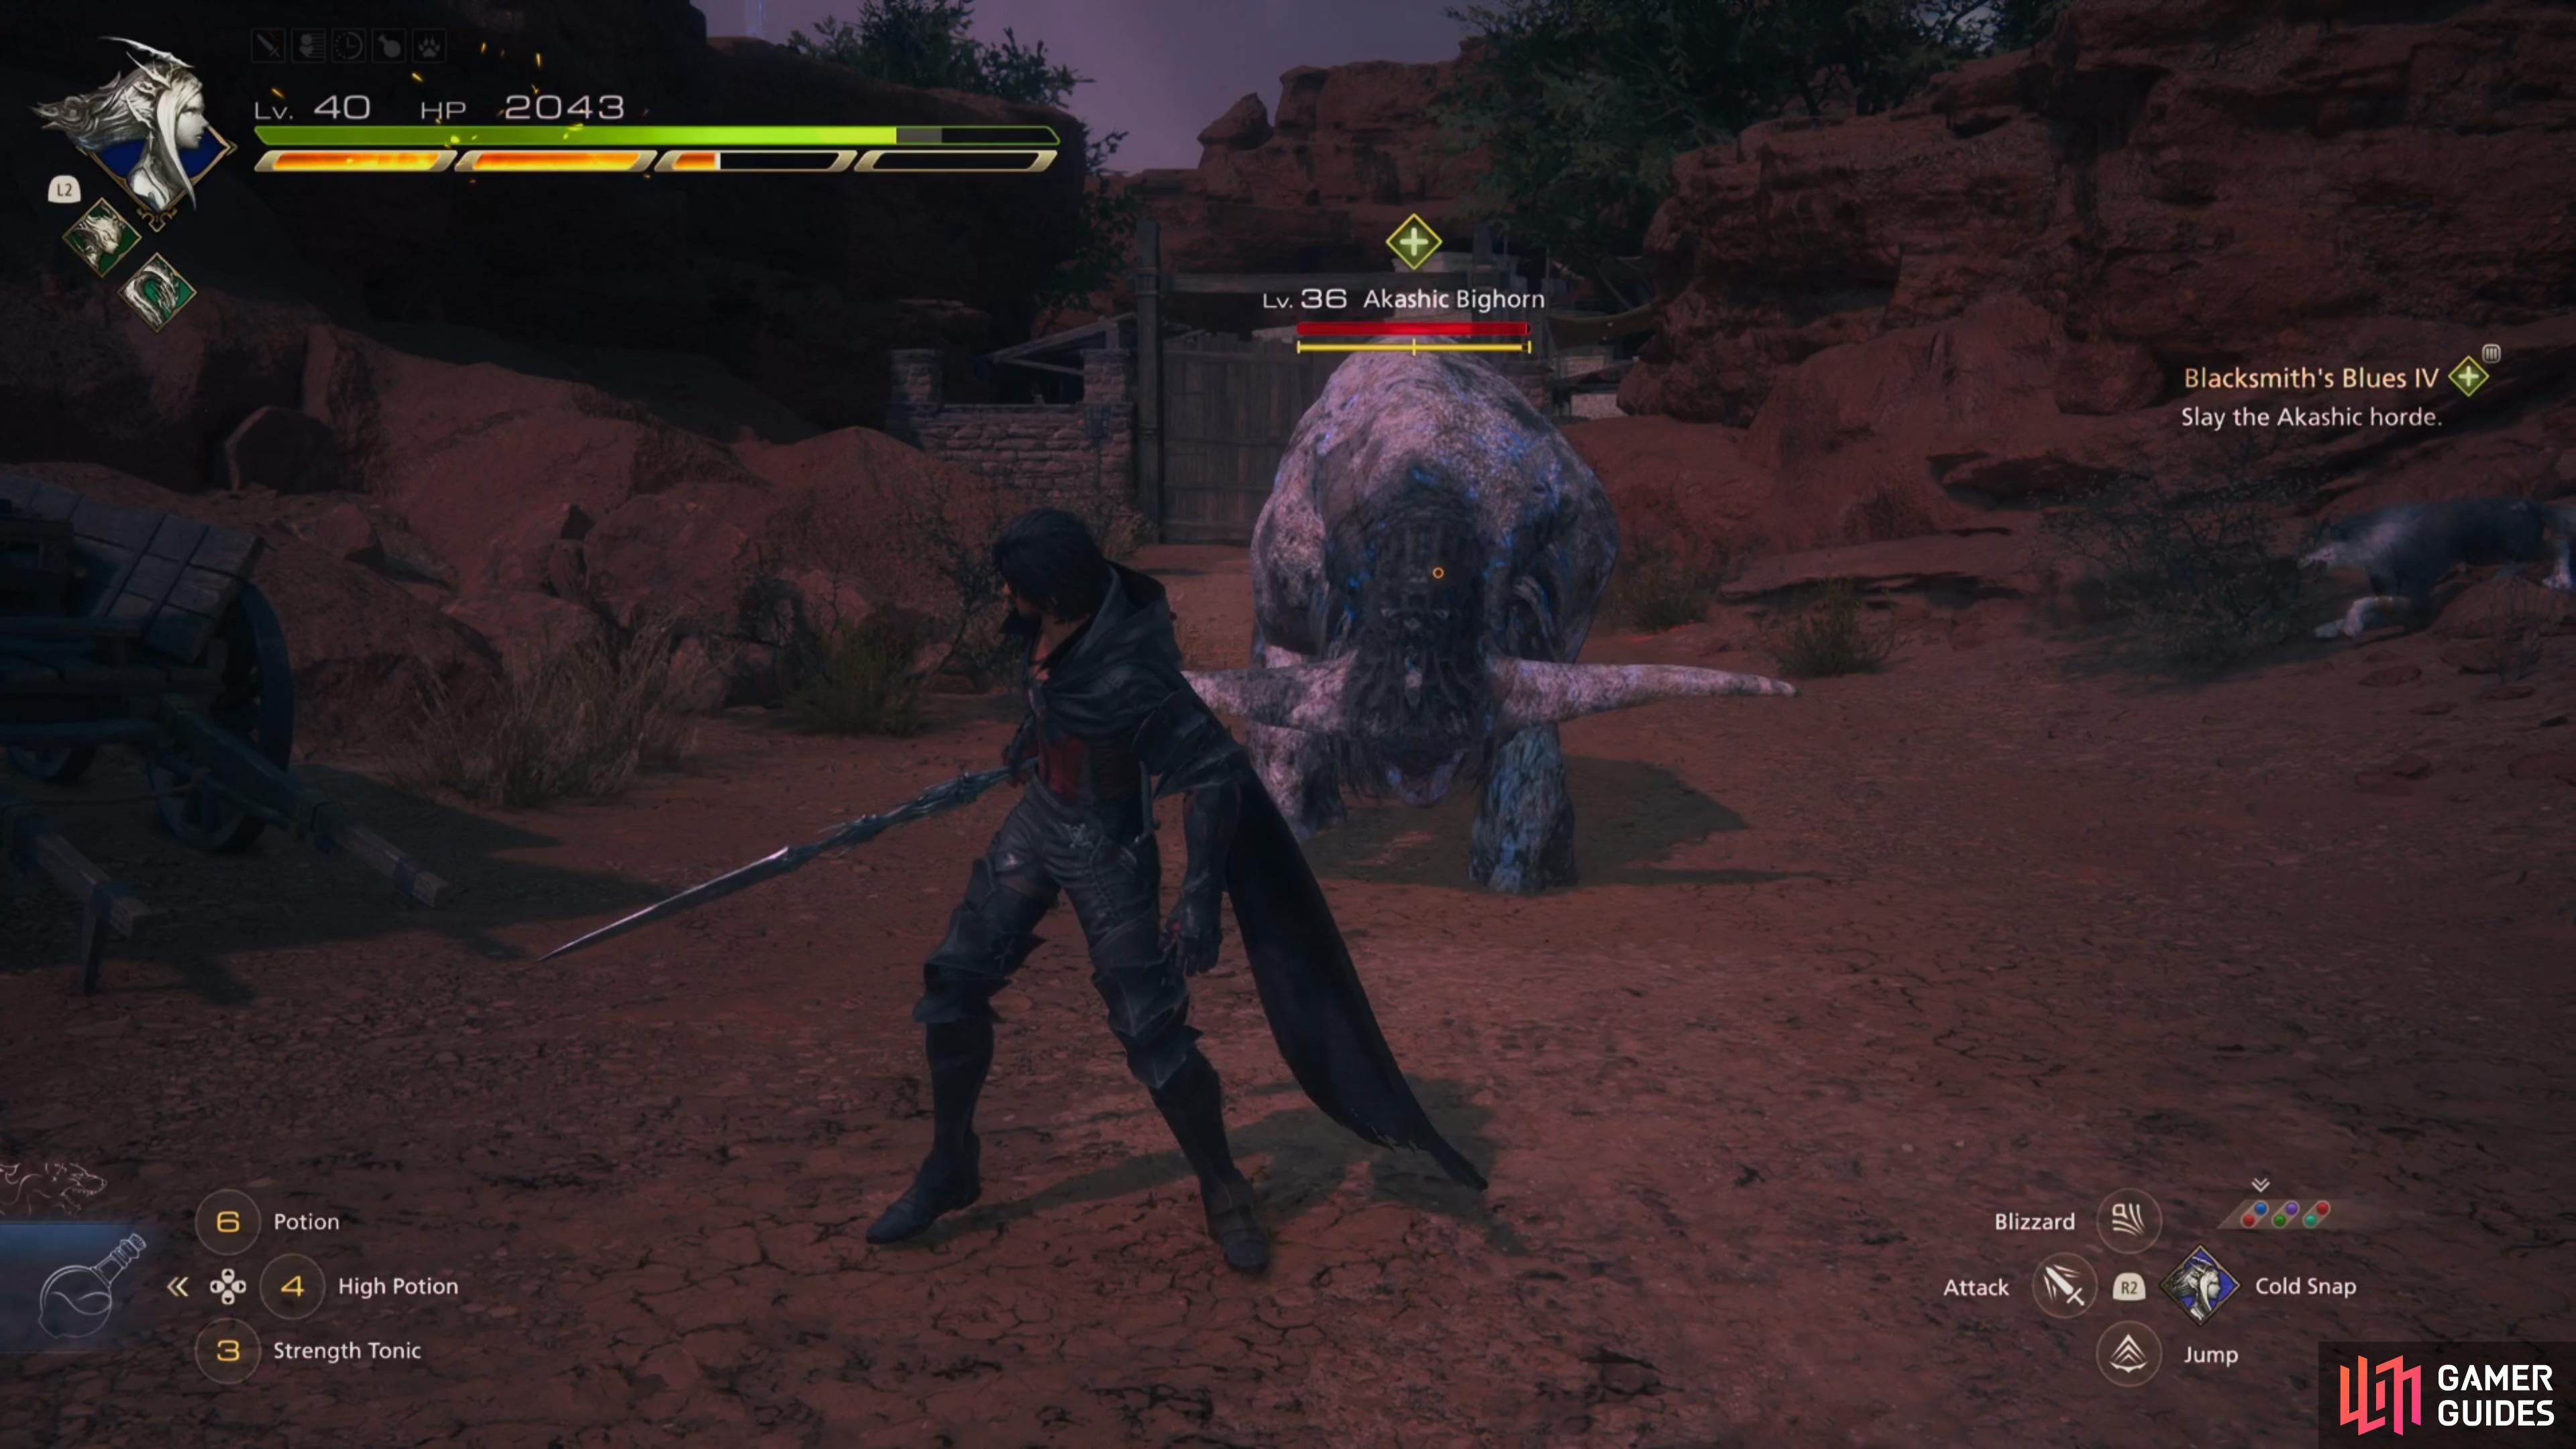
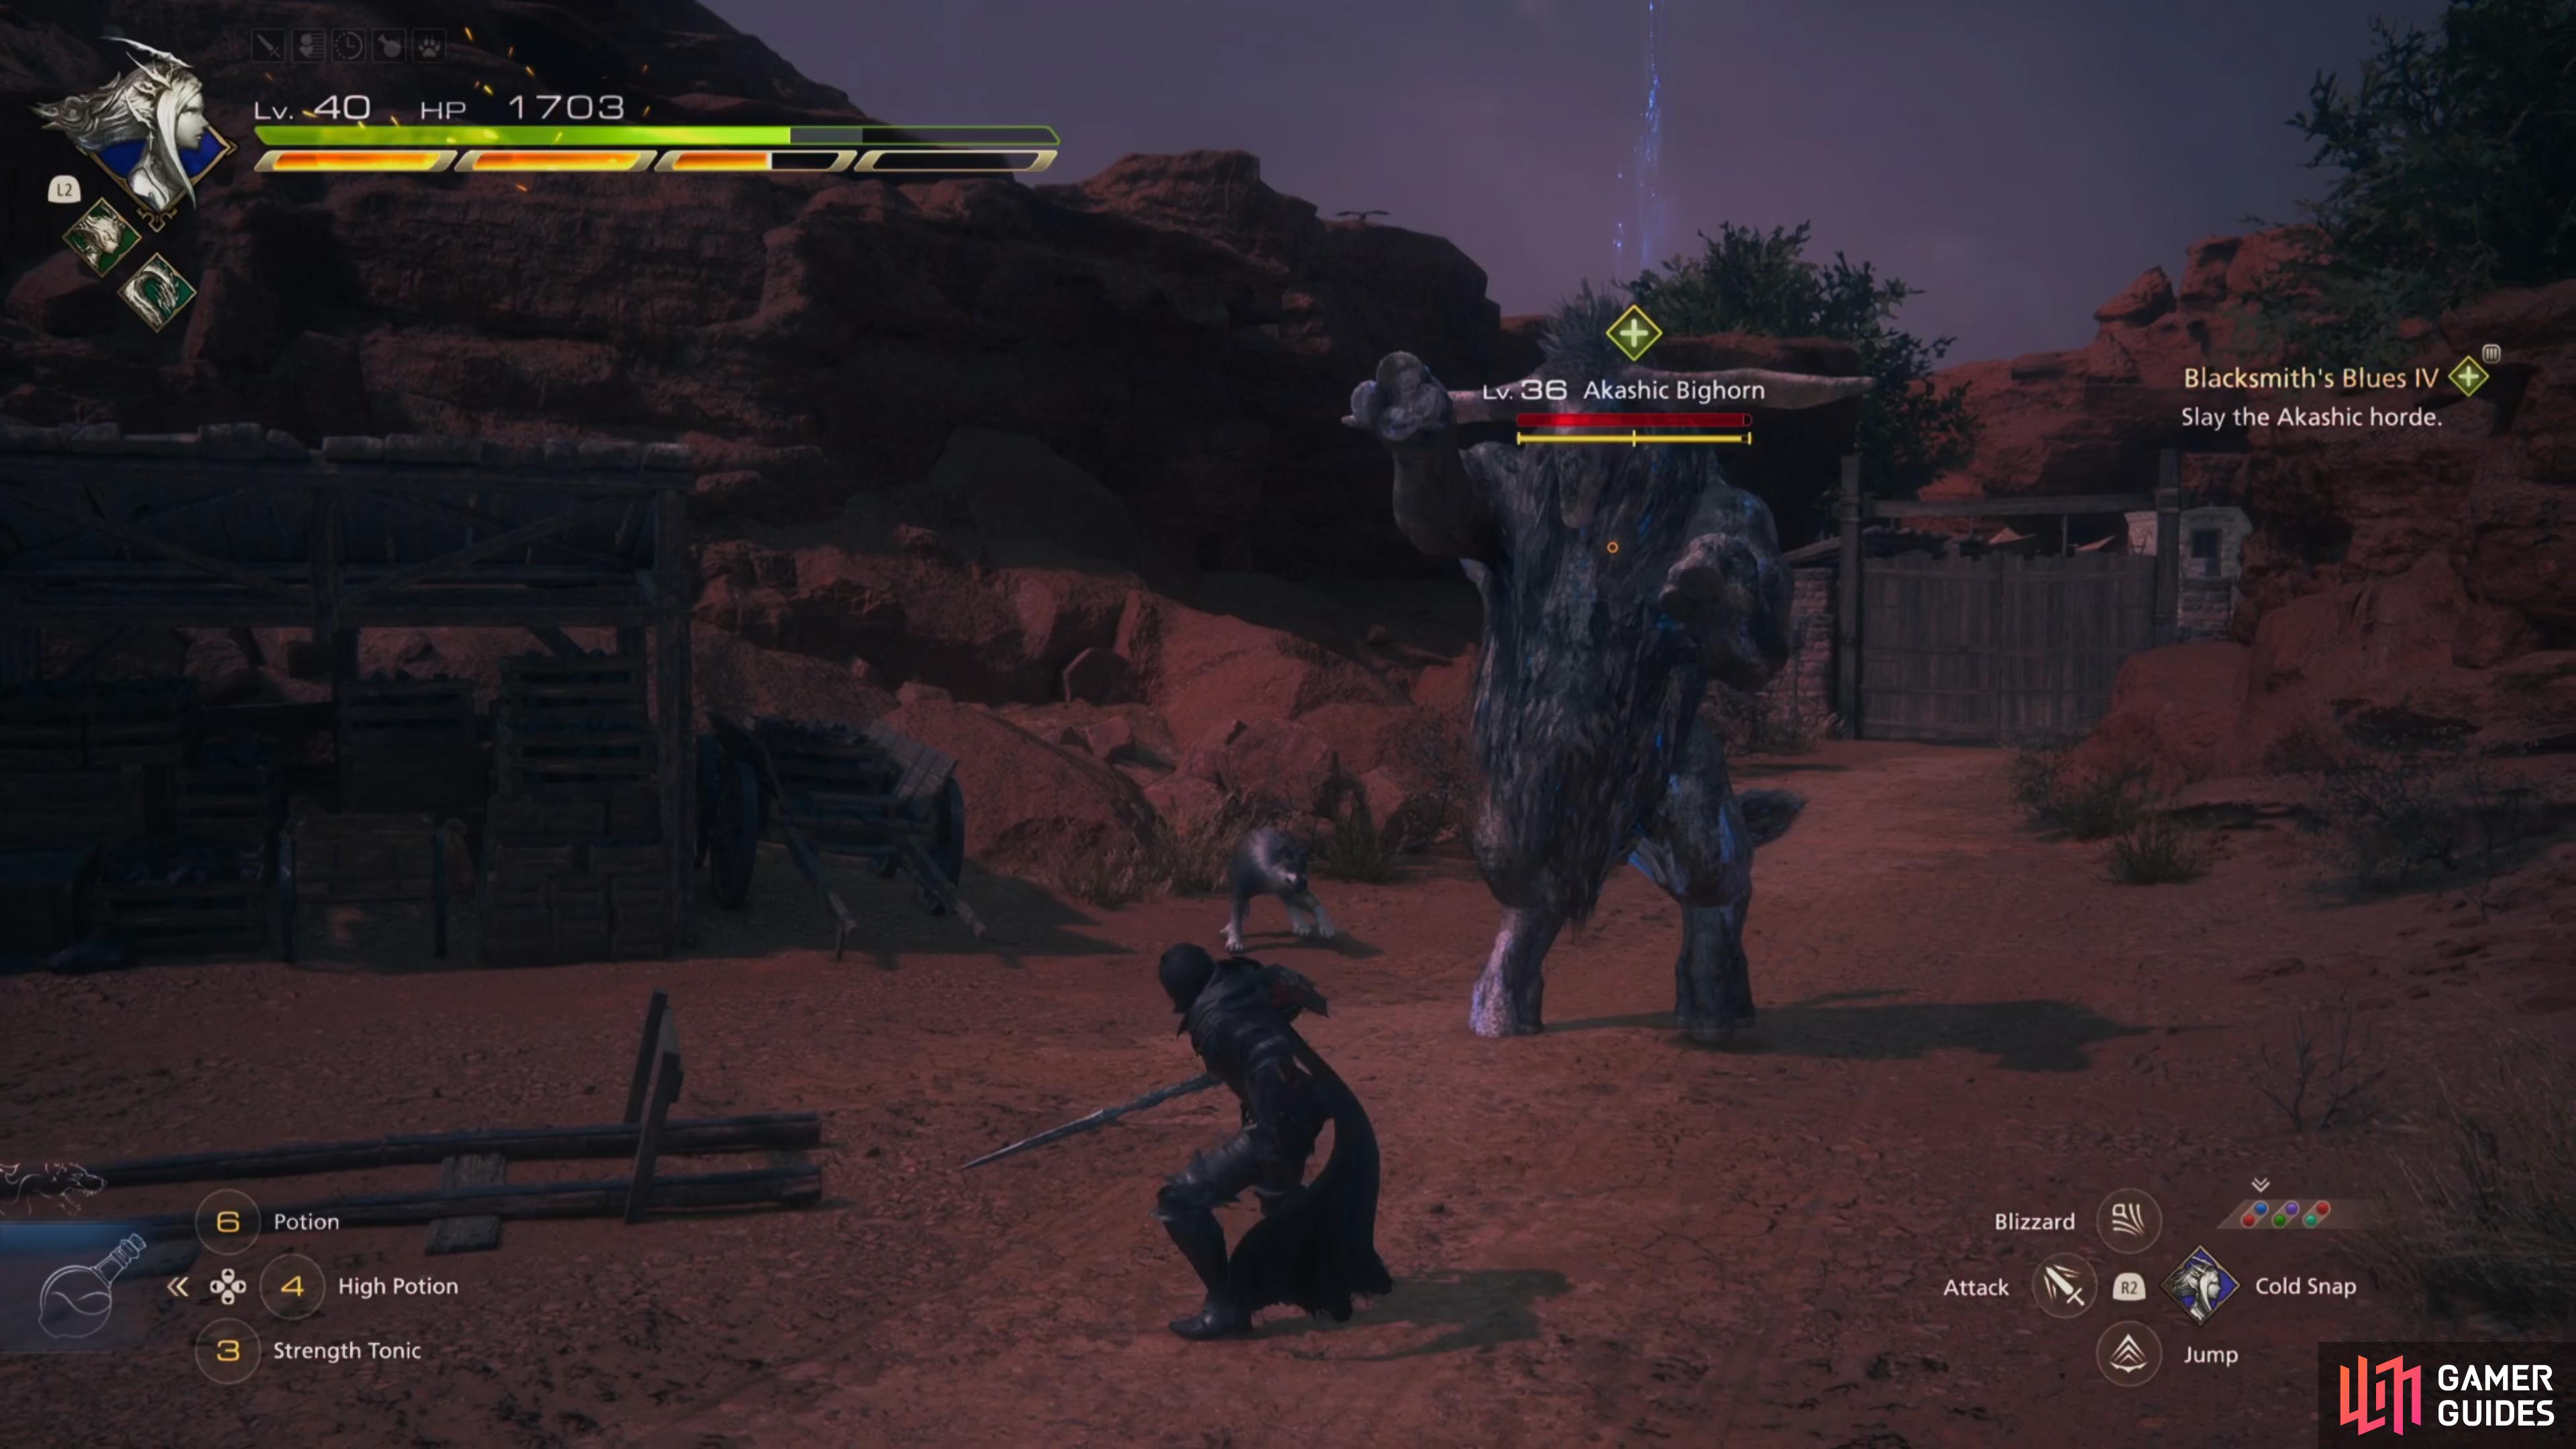
When you go outside you’ll come across two Akashic Wolfs and a Akashic Bighorn. Here you’ll want to take down the two wolves first, then focus all of your attention onto the Bighorn. This is an elite enemy so you’ll want to bring its stagger it by making use of abilities such as ![]() Diamond Dust and
Diamond Dust and ![]() Gouge, then you’ll want to place down
Gouge, then you’ll want to place down ![]() Lightning Rod directly in front of it before activating your
Lightning Rod directly in front of it before activating your ![]() Limit Break and unleashing
Limit Break and unleashing ![]() Gigaflare into it to deplete its health massively. Additionally, if you manage to pull off a level 4 Megaflare at the same time, then there’s a good chance you’ll one shot it.
Gigaflare into it to deplete its health massively. Additionally, if you manage to pull off a level 4 Megaflare at the same time, then there’s a good chance you’ll one shot it.
Whilst you’re trying to stagger the Akashic Bighorn it will be trying to defend itself with some strong attacks, so below you’ll find what they are and how to best avoid them:
!Dodge to the side to avoid the Charge Attack.
Keep your distance to avoid the Ground Slam.
- Ram - One of the most common attacks you’ll see from the Akashic Bighorn is that it’ll charge towards you, so simply keep your distance and dodge to the side before it reaches you.
- Ground Slam - If you’re standing too close to the Bighorn it’ll lift its front legs up and slam back down into the ground. The best way to avoid this is to dodge to the side and avoid standing too close for too long.
How to Defeat The Akashic Griffin
Once you’ve defeated the Akashic Bighorn you’ll need to clear out some more regular enemies which can be easily done with Diamond Dust, then a Akashic Griffin will spawn. Like the Bighorn this is also an elite enemy, so repeat the steps you used to take the Bighorn down whilst watching out for the following attacks:

- Charge - Similar to the Bighorn, the Griffin will start flying and charge straight towards you. Simply try and pull of a precision dodge with
 Cold Snap to temporarily freeze it.
 - Dive Bomb - If you stand too far way the Akashic Griffin will fly up into sky and perform a dive bomb on your location. Here you’ll want to keep dodging to the side to avoid it.
- Tornado - Once the Akashic Griffin gets close to death it’ll start shooting out small tornadoes, so you’ll want to lure it away to avoid get caught in it.
How to Defeat The Canyon Chimera
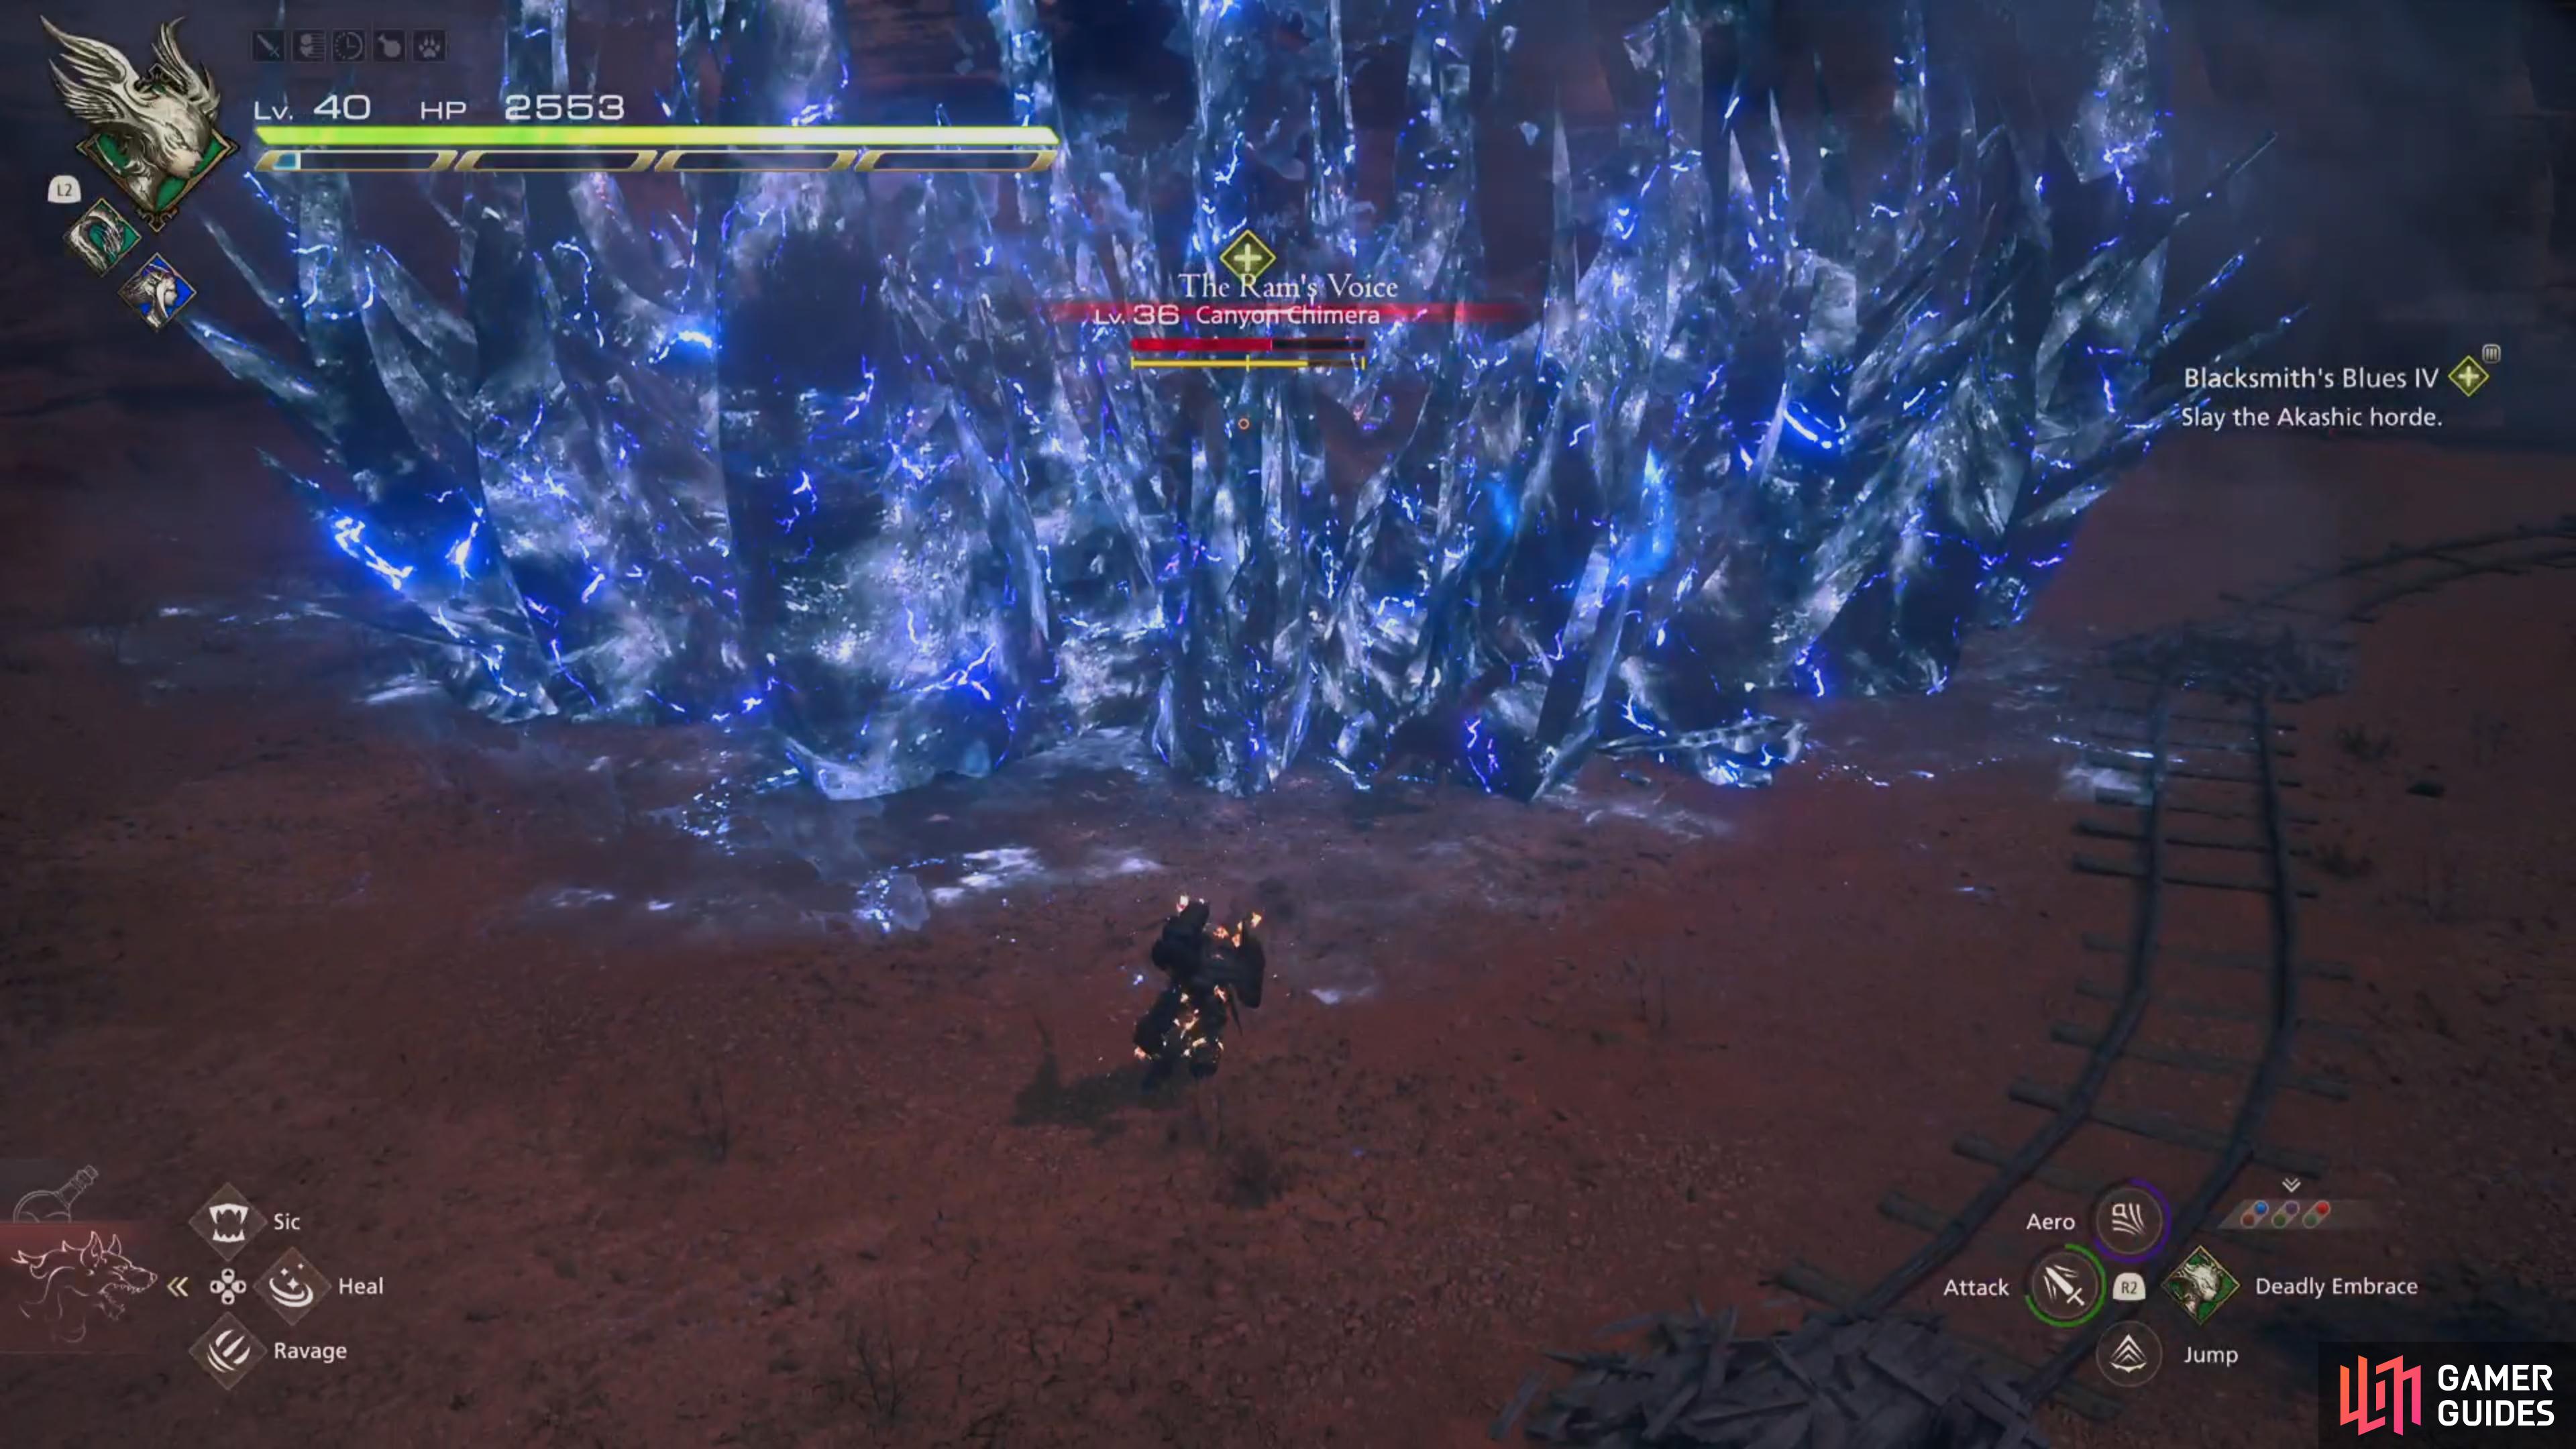
After the Akashic Griffin has been taken care of, the fight still isn’t over as a Canyon Chimera decides to get involved. Unlike the previous encounters this opponent is more of a proper boss, so it has a lot more health which will take multiple staggers to take it down and it has several attacks which are harder to avoid as it’ll combine them in quick succession. However, you’ll want to repeat the same steps as before but with just a little bit more caution. Below are the attacks you’ll come across:
- Fire Breath - The Canyon Chimera will shoot out fire breath for a few seconds and it has quite a bit of range on it, so dodge to the side to prevent getting stuck in it. Additionally, avoid fighting the Canyon Chimera by standing directly in front of it otherwise it’ll be hard to get away.
- Lightning Strike - Throughout the fight it’ll place multiple AoE markers and unleash lighting strikes down onto it, so stay far away until its finished.
- Ice Node - The Canyon Chimera will shoot out a single ice node which will create an AoE for a few seconds. Avoid standing in it otherwise your health will gradually deplete.
- Dive Bomb - Similar to the Griffin it’ll jump into the air and dive down on where you’re standing, so keep on the move until it lands.
- The Dragon’s Voice - This attack is essentially Lightning Strike but on a much larger scale, as it’ll summon multiple large AoEs all around it and shoot down lightning from above. Avoid standing anywhere near the AoE markers otherwise you’ll lose a large chunk of HP.
- The Ram’s Voice - This attack will cause the Chimera to explode into a large block of ice, so avoid standing anywhere near it until it disappears.
Once all the enemies have finally been slain, return to Dravozd and speak with Zoltan to inform him the village is safe for now, then return to the Hideaway and talk to Blackthorne to bring the quest to a close. Here you’ll be rewarded with the ![]() Ragnarok Sword and the
Ragnarok Sword and the ![]() Gotterdammerung Design Draft which is the strongest weapon in the game.
Gotterdammerung Design Draft which is the strongest weapon in the game.
Other Side Quests in The Hideaway
As you’re playing through the Main Quest you’ll find more Side Quests pop up in the Hideaway, so it’s a good idea to check back often. Below is a list of all the currently available Side Quests:
| Name | Location |
|---|---|
| On Balance | The Shelves |
| Not to Be Outdone | The Ale Hall |
| Blacksmith Blues III | The Mess |
No Comments