
After felling the Aurum Giant, you will be able to ascend the rest of the tower and reach the top. It is there that you will find Barnabas waiting for you. Once the lengthy cutscene is over, you will be doing battle with him and unlike your previous encounter, you will be able to win. Be prepared for a long battle, though, since there’s going to be some cutscenes throughout it. Here are tips and tricks to help you with the Barnabas boss fight, as well as a list of all moves he can do during it.
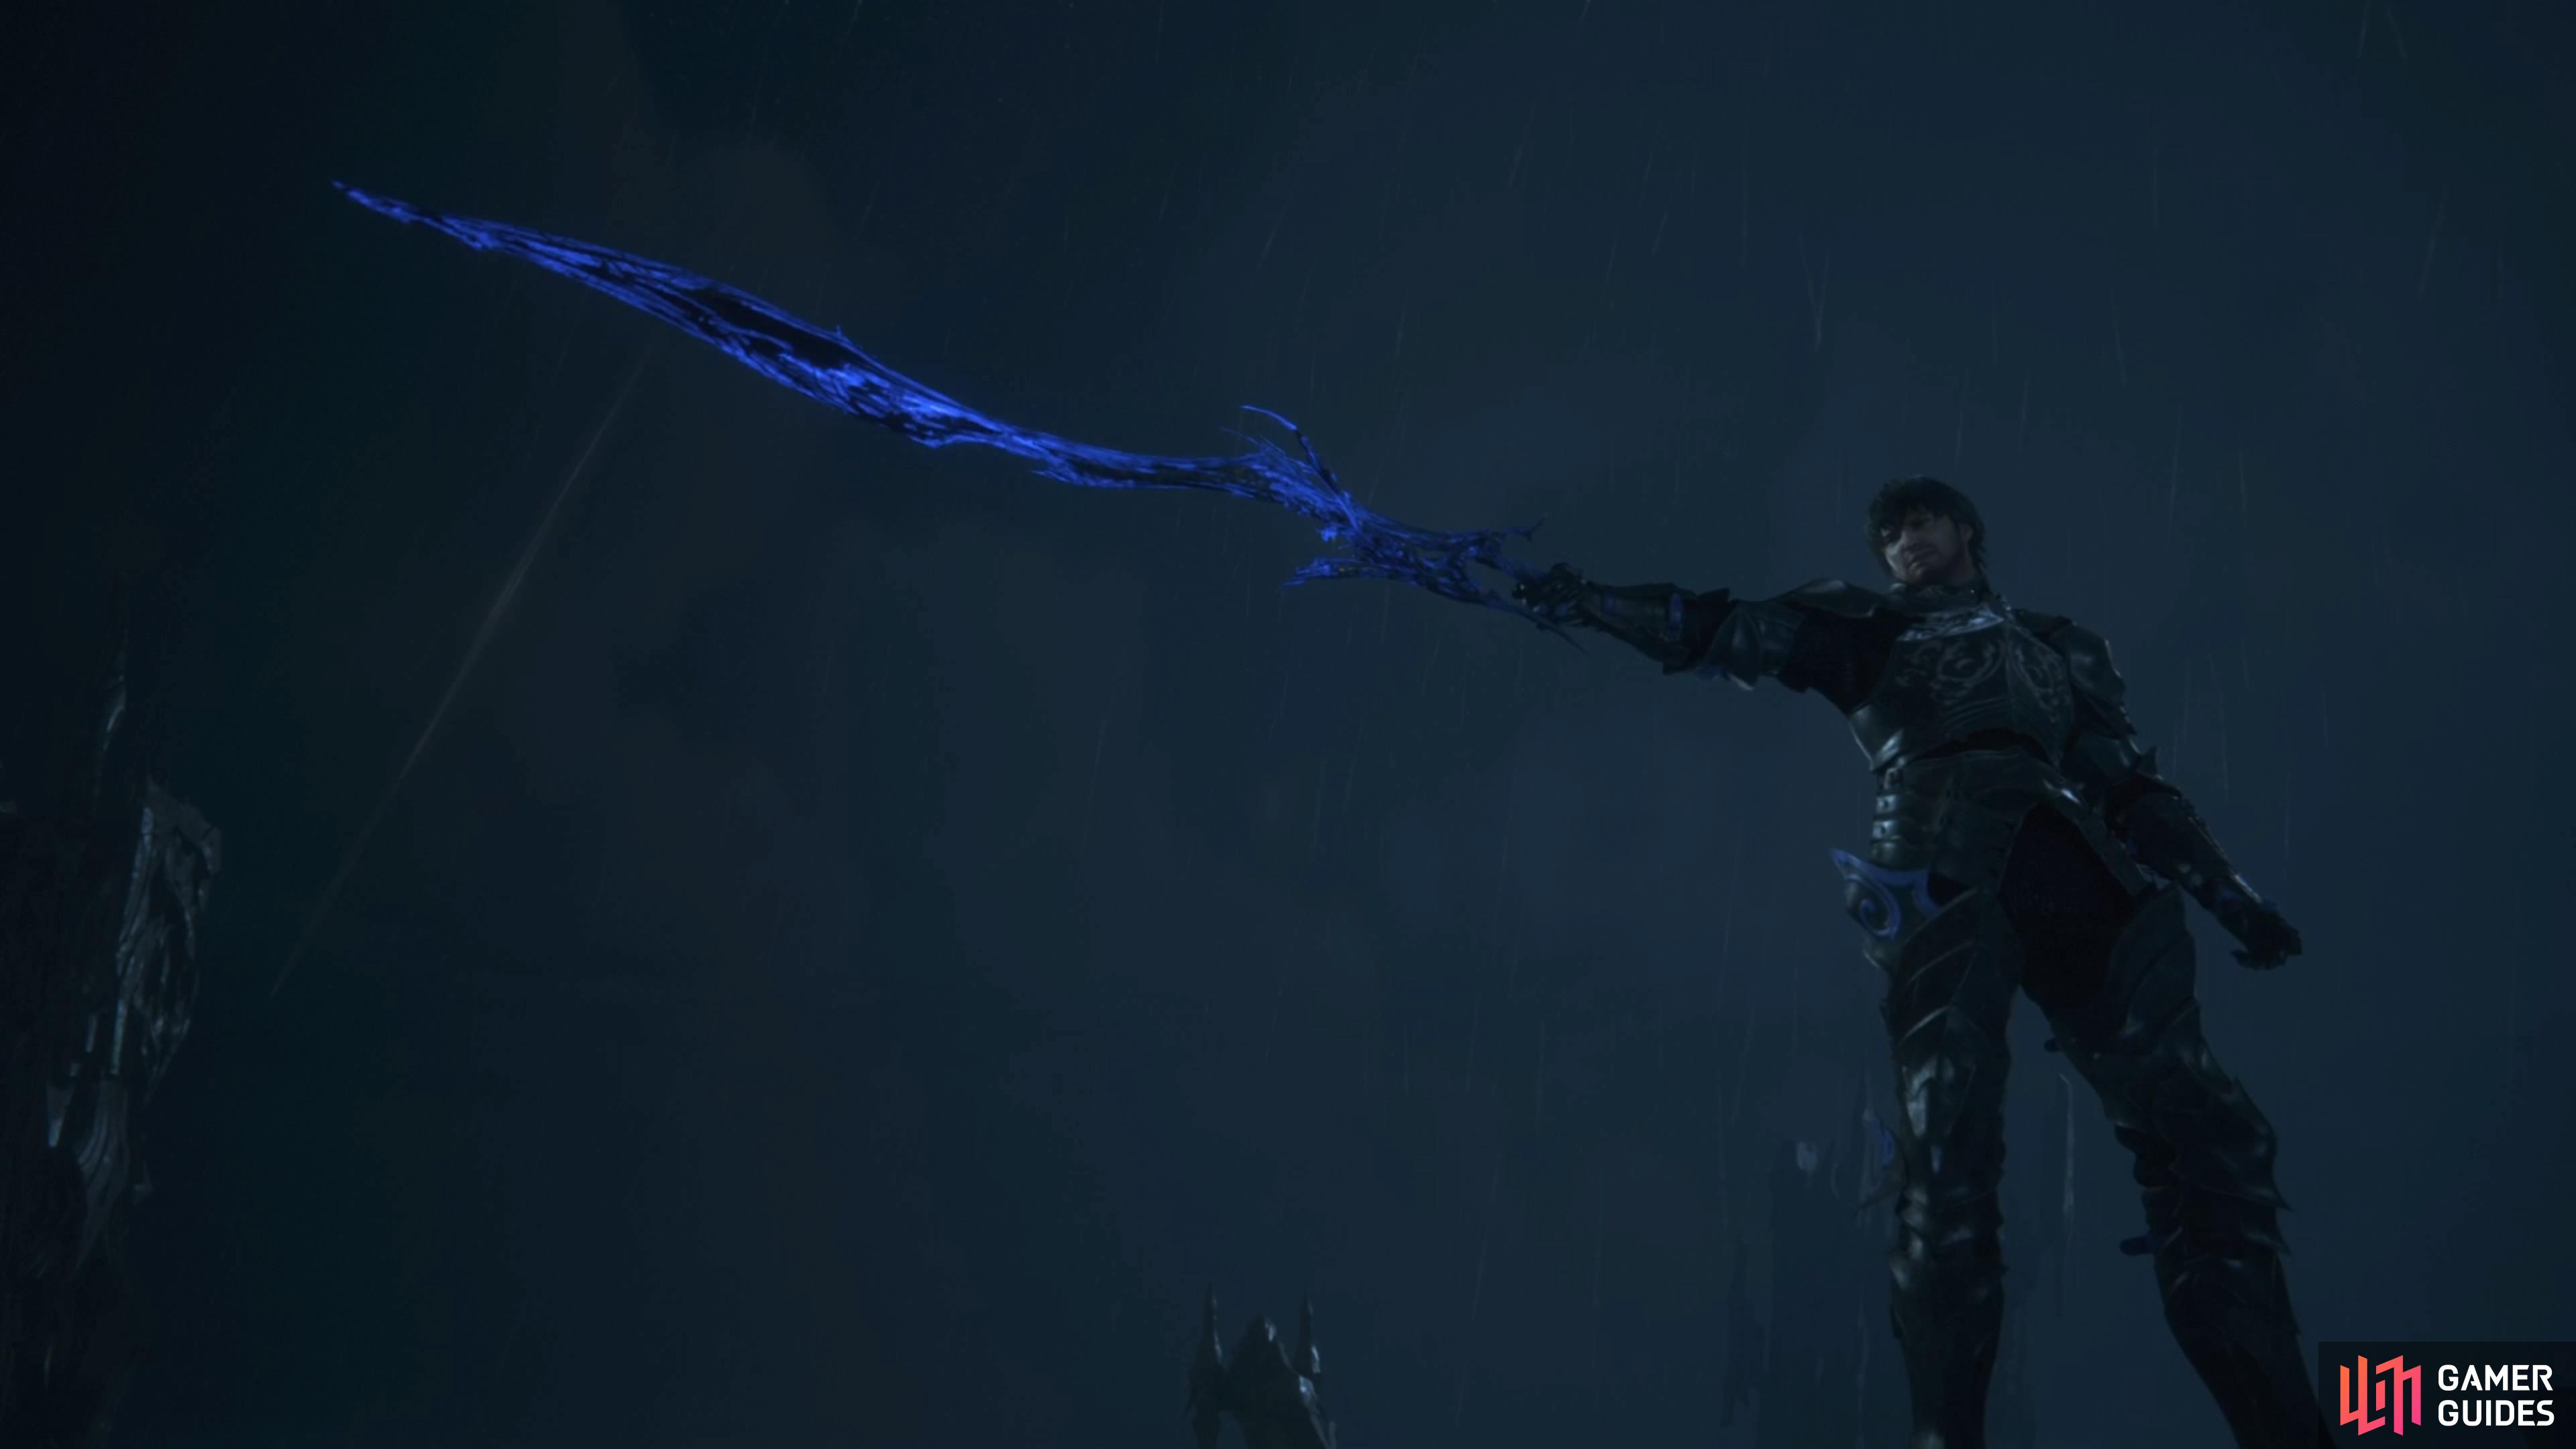
Barnabas is the third, and final, boss you will face in The Last King story quest.
How to Beat Barnabas in FF16
The fight against Barnabas is a long one, due to having three phases, as well as some cutscenes in between them. He is also an incredibly annoying boss, as similar to Sleipnir, he will be teleporting as his main means of movement. That means he won’t be staying in one place for too long, so you will need to make the most out of your offense. Barnabas also has some moves that are quite powerful, with a few that are capable of taking a good chunk of your health.
All Barnabas Attacks in Final Fantasy XVI
Barnabas will be fought across three phases, with each one gaining some new moves. This will be a lengthy battle, so remember to try and stay alive.
Cleave
This will be the first move that Barnabas will use in the battle. He charges up his sword slightly, then will perform an overhead swing, sending out a shockwave. Since it doesn’t cover a lot of area, you should be able to get away with an easy dodge. Later on in the battle, from the second phase onwards, Barnabas will add a horizontal shockwave after the initial cleave.
Double Slash
Barnabas will perform a quick horizontal slash, then follow up with another one in the opposite direction. This can be difficult to dodge, but just remember that it’s two hits. If you can dodge the first time, be aware that the second slash is pretty much right after it.
Sword Flurry
Barnabas will charge up his sword slightly, then perform a slash in front of him. A dome will appear that will have slashes rapidly happening inside it. When you see the slight sword charge, then you want to go to the sides or back away from him.
Gungnir
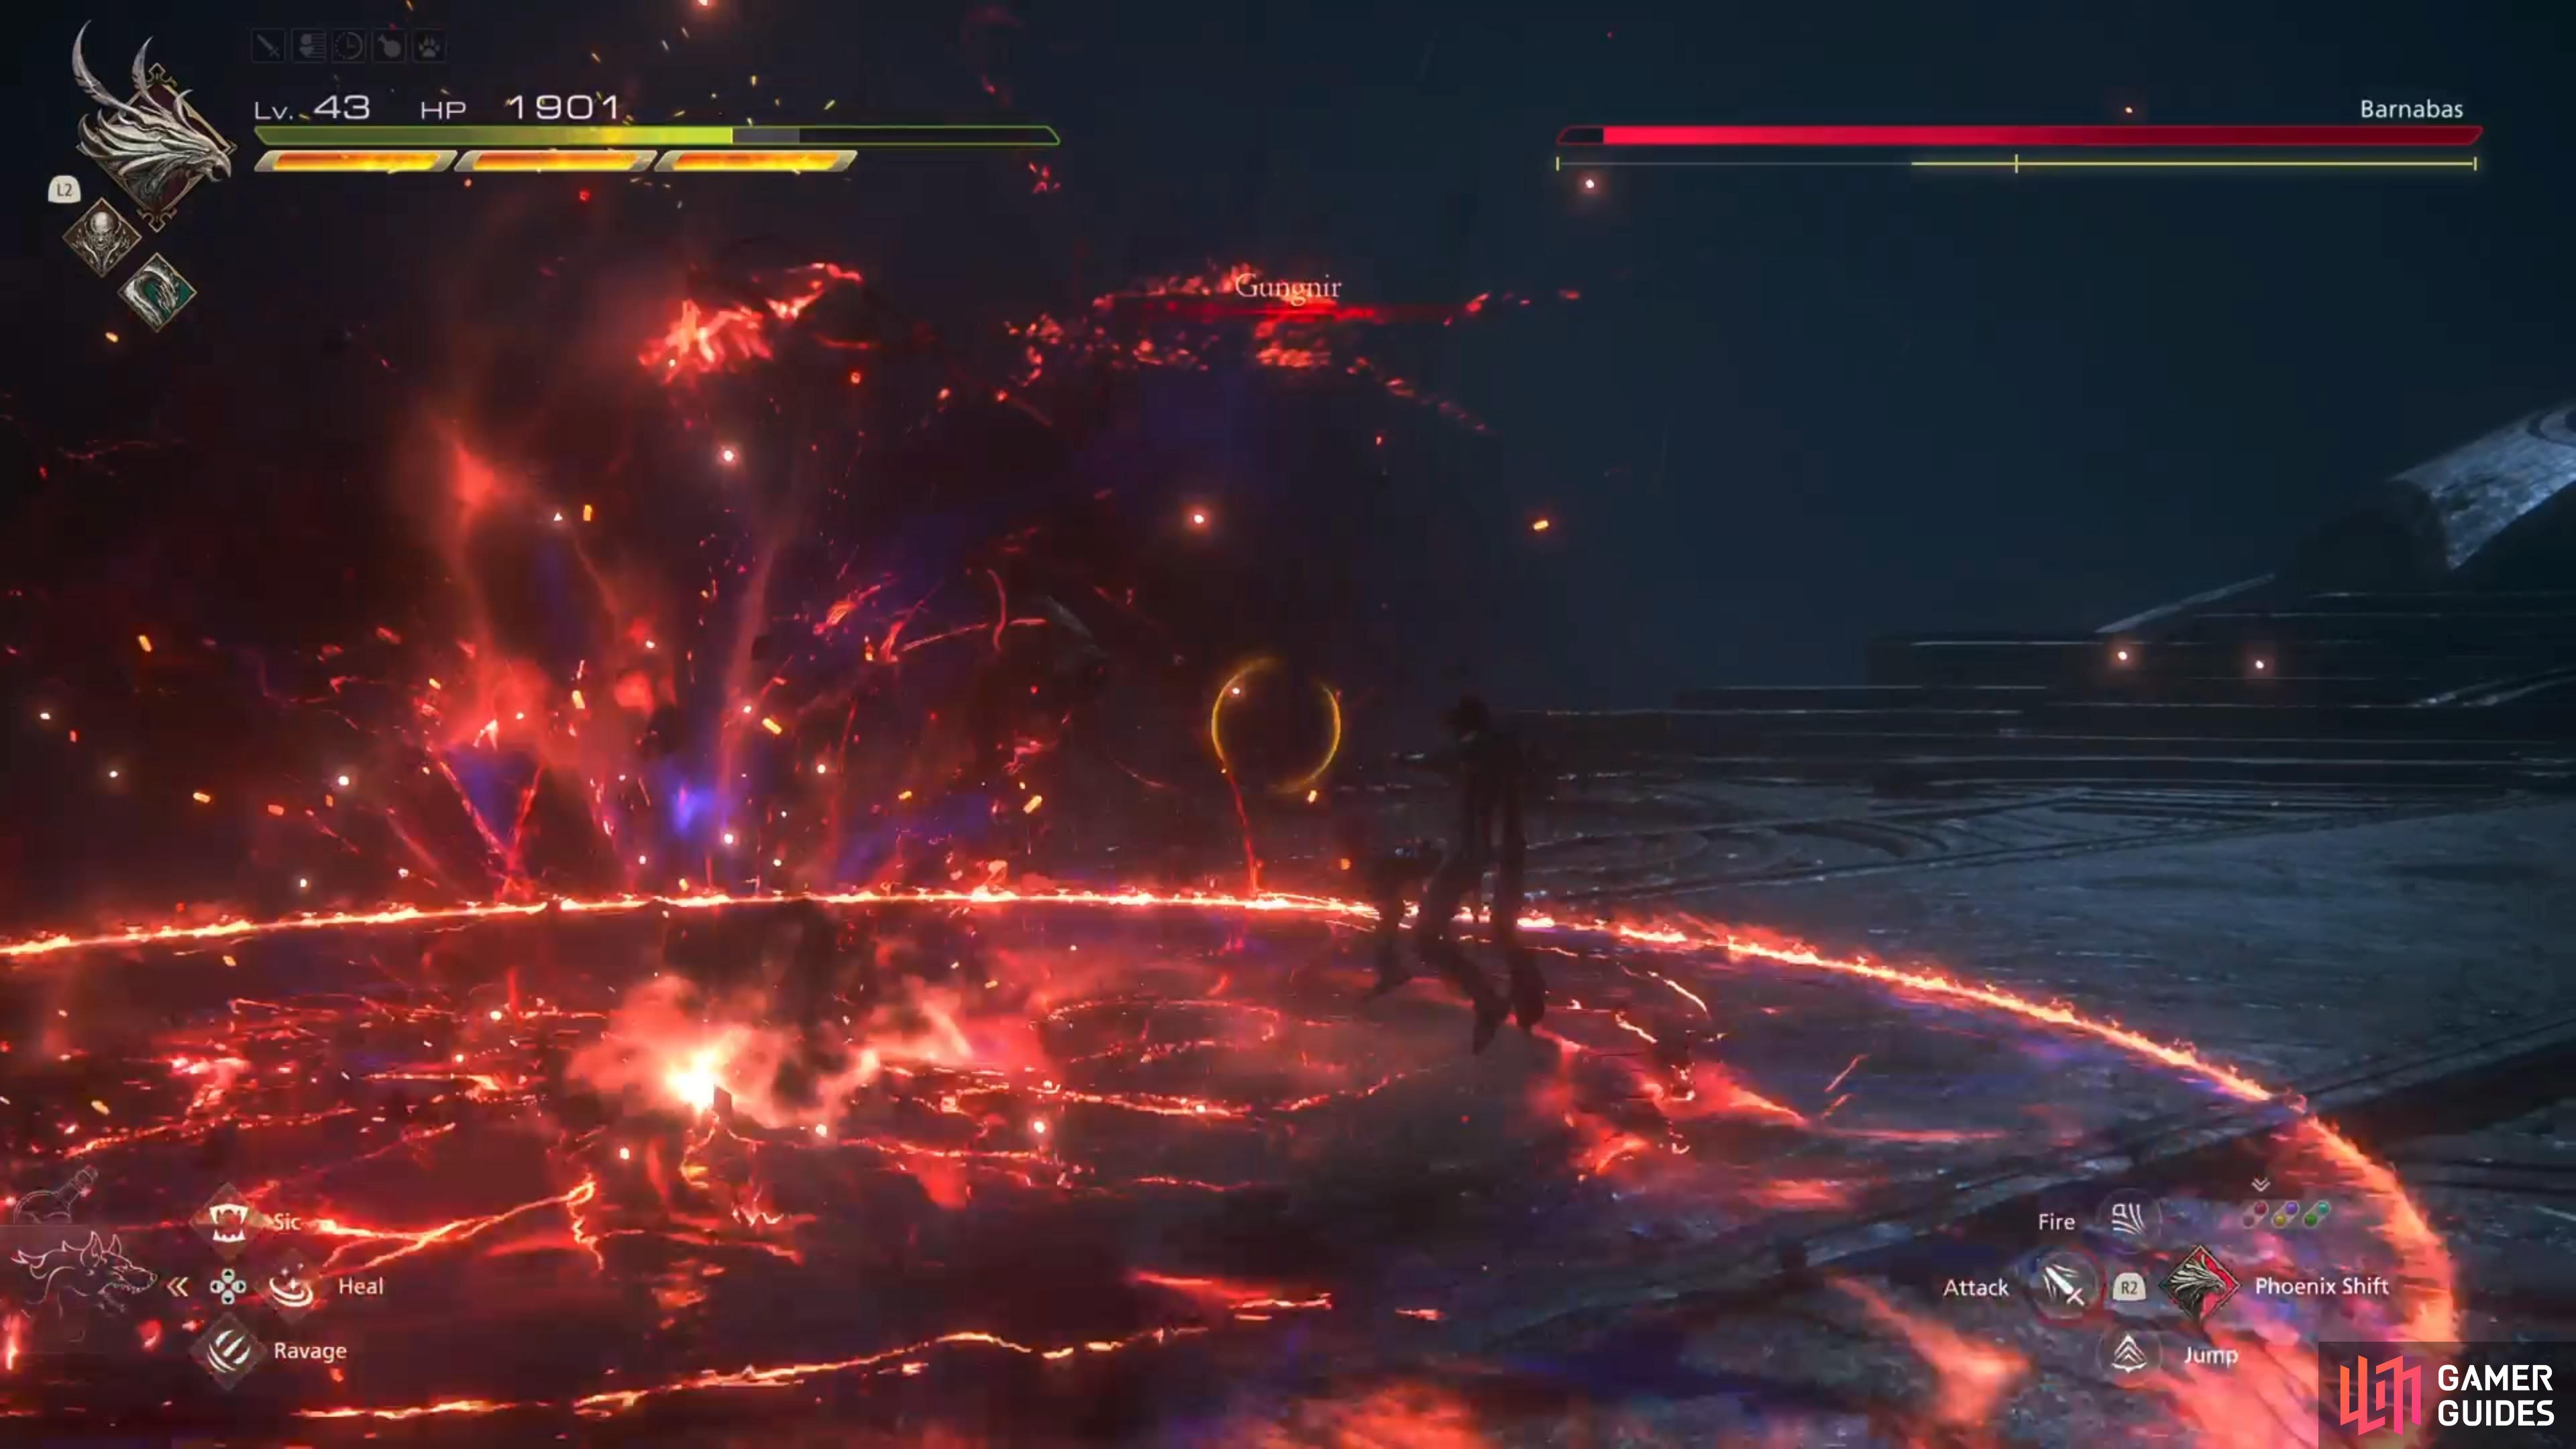
Barnabas will summon a spear, jump into the air, then toss it right at you. Upon hitting the ground, there will be a small explosion and a shockwave will be sent out in all directions. Also, a dark pool will remain where the spear hit the ground, which will pulsate with energy a few seconds after forming; this energy will hurt you if you’re in the pool. When you know the spear will hit the ground, you can jump and use the evade button, mid-air, to dodge the shockwave.
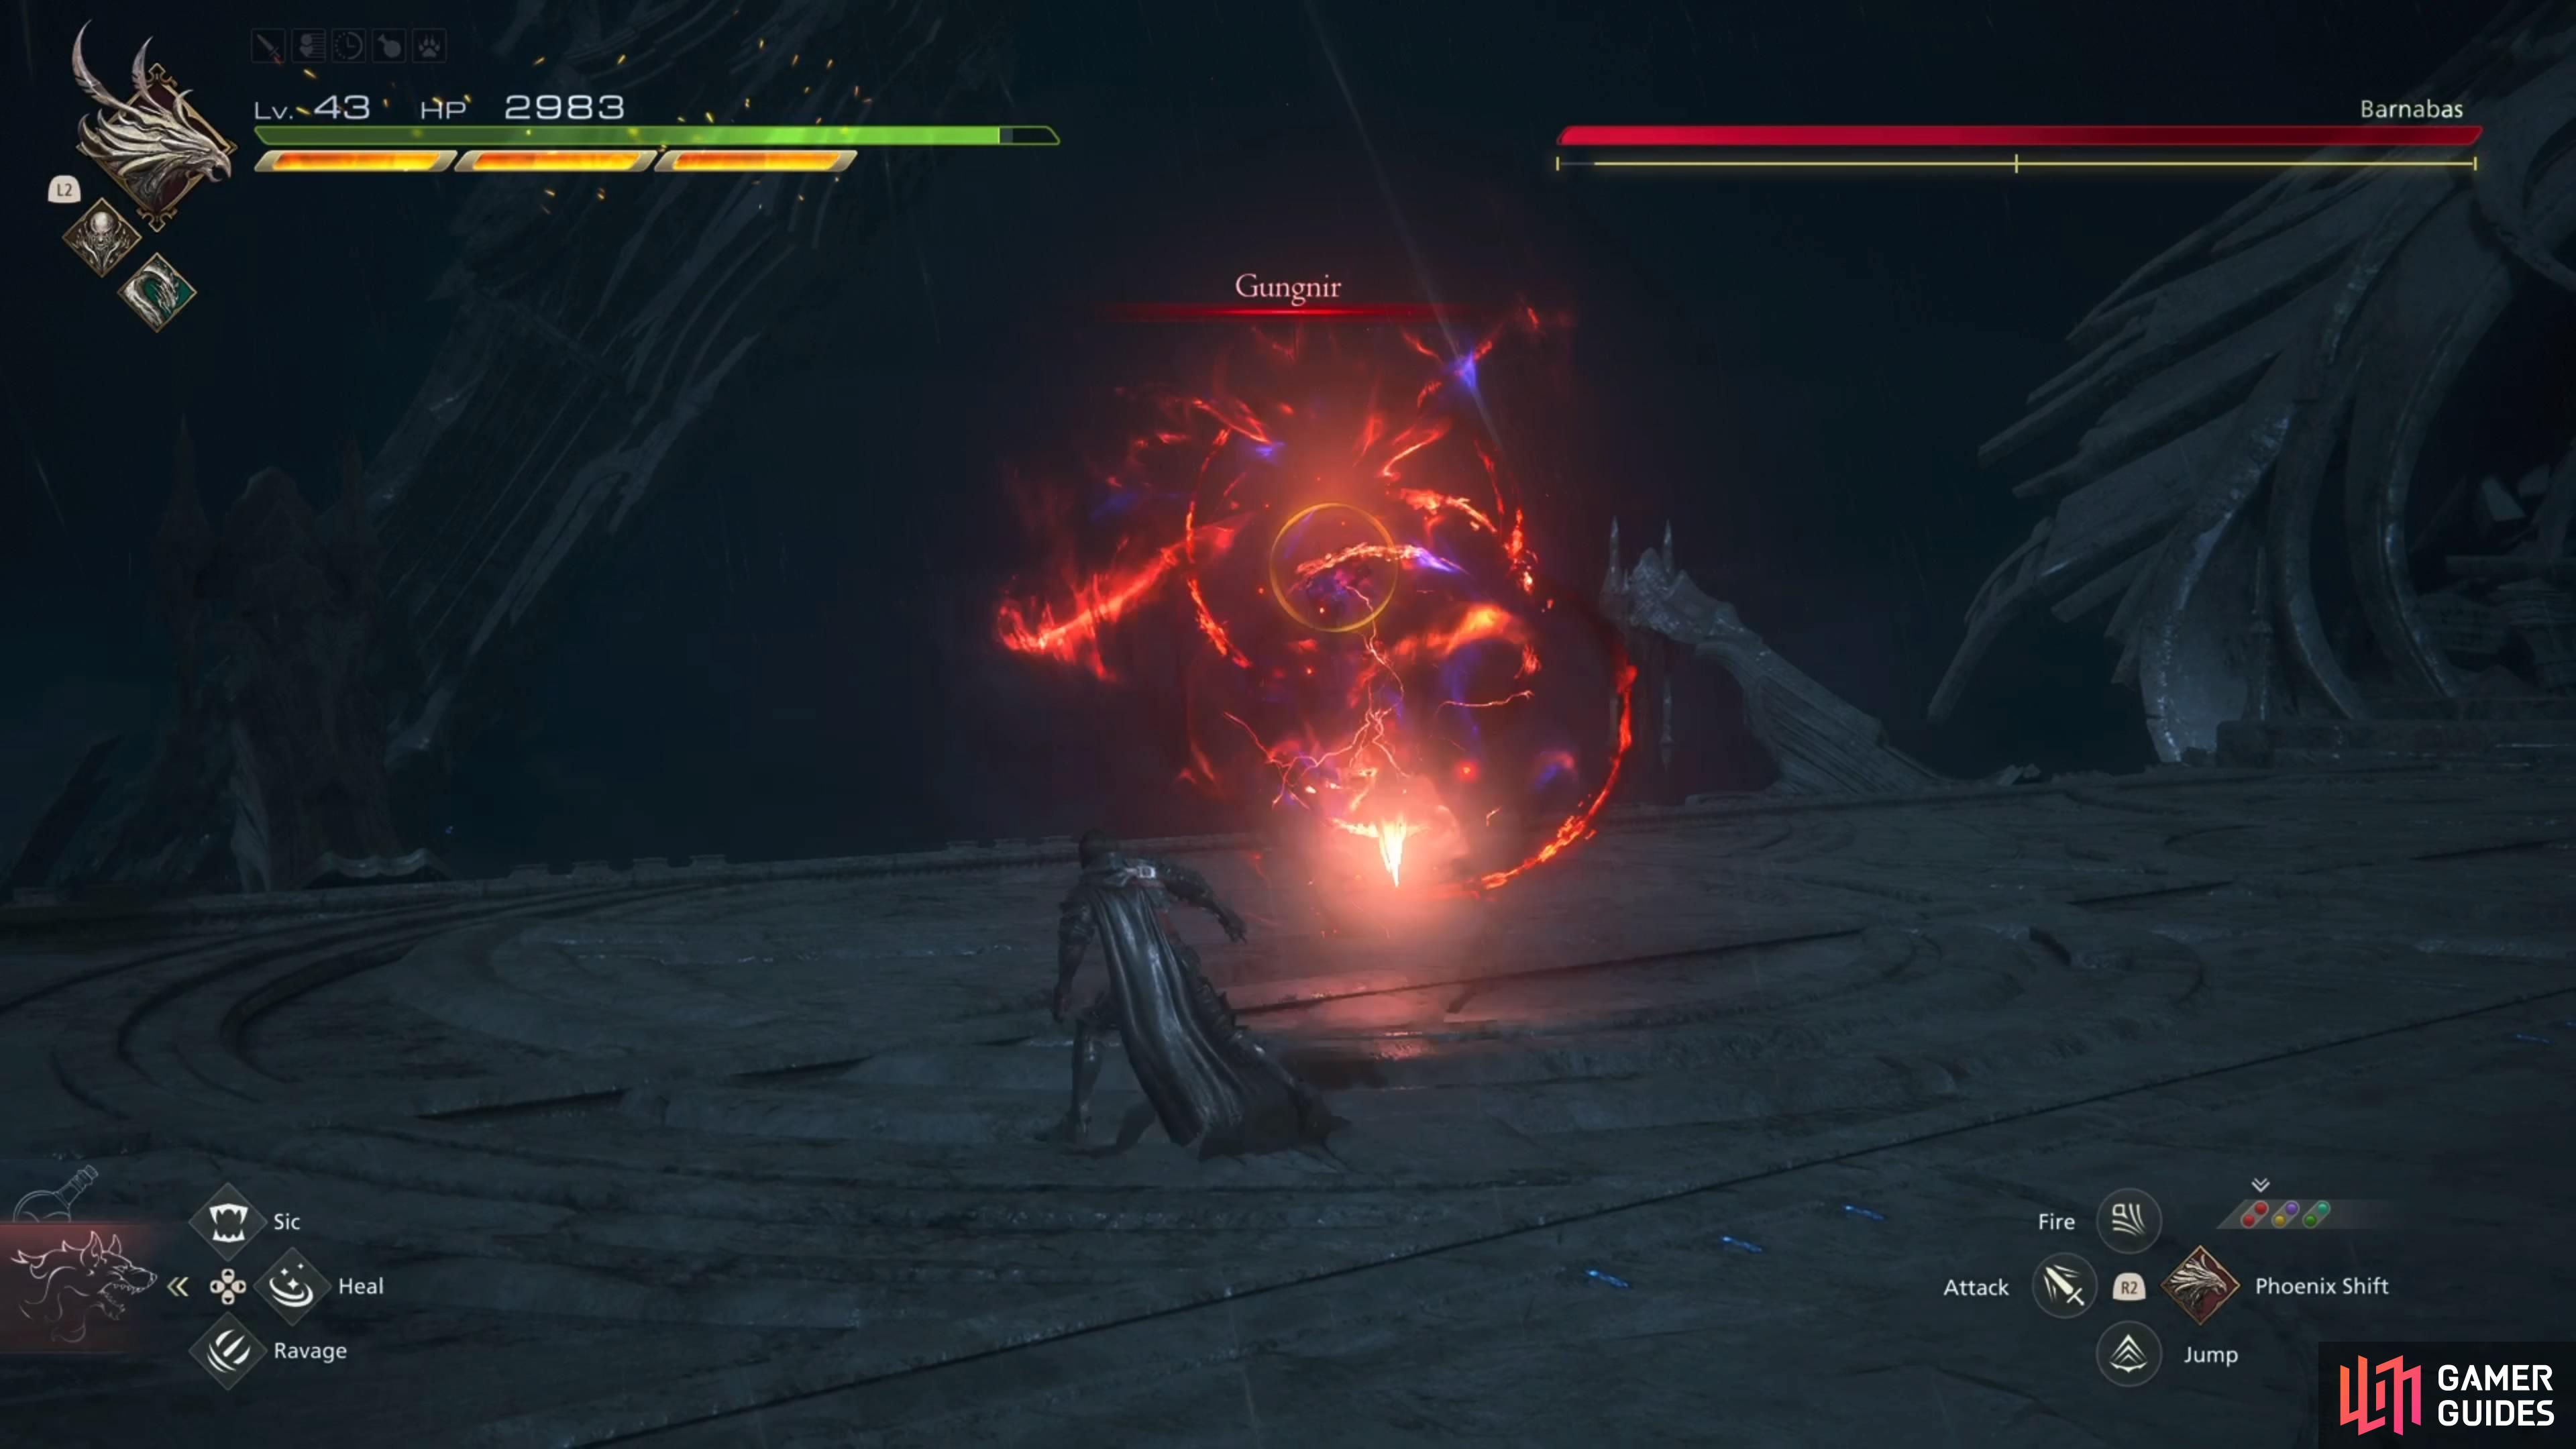
Gungnir can be difficult to dodge because of the shockwave.
Jumping and evading in the air is the best way to go about it.
Stab and Slash
Another two-hit melee combo by Barnabas, where he will do a quick stab forward, then follow it up with a diagonal slash. The stab move is easy to avoid, but you need to remember the follow-up move, since it has a little more range.
The Lord’s Measure
Some lines will appear on the screen, usually in the shape of an “X” on the ground, as well as one vertically. After a second or two, Barnabas will perform some quick slashes in front of him, which will cause some dark energy to emerge from those lines. Stay away from the boss, as well as the lines, to avoid this attack. Note that later on in the battle, there will be a lot more lines, so you will need to find the safe spot in between the lines.
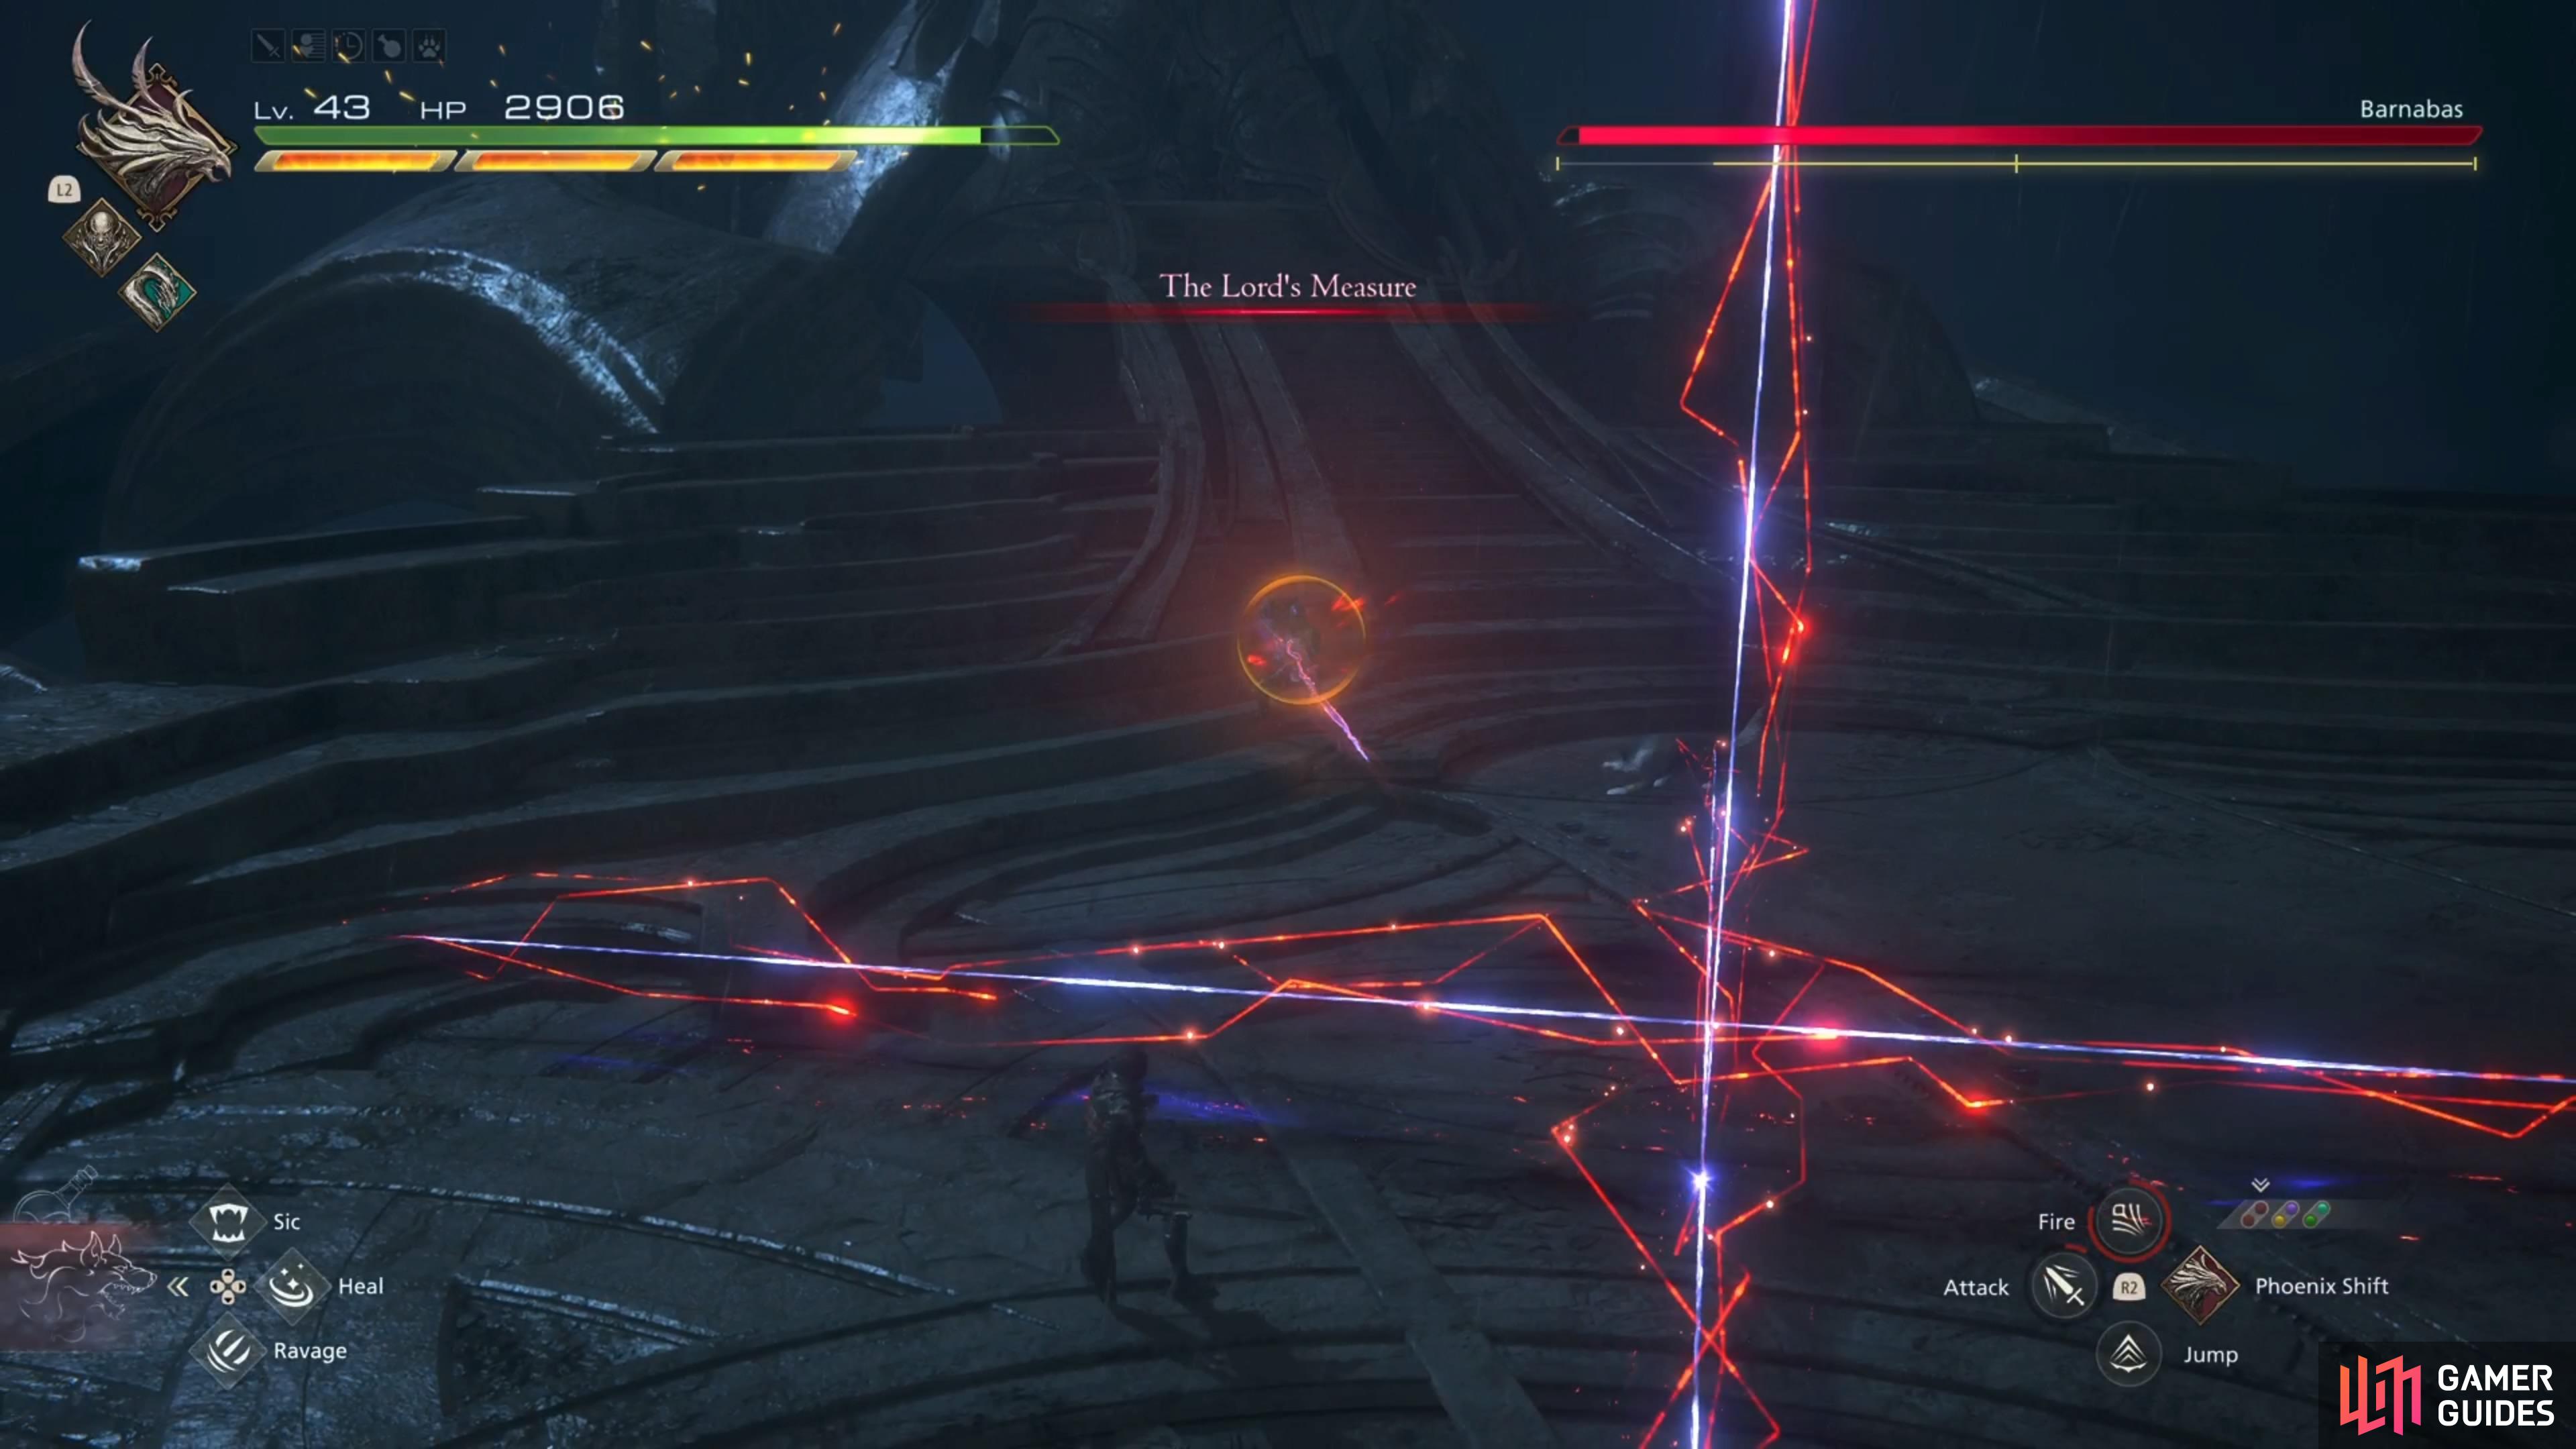
The Lord’s Measure starts out relatively tame

but it ramps up as the battle reaches the later phases.
Counter Slash
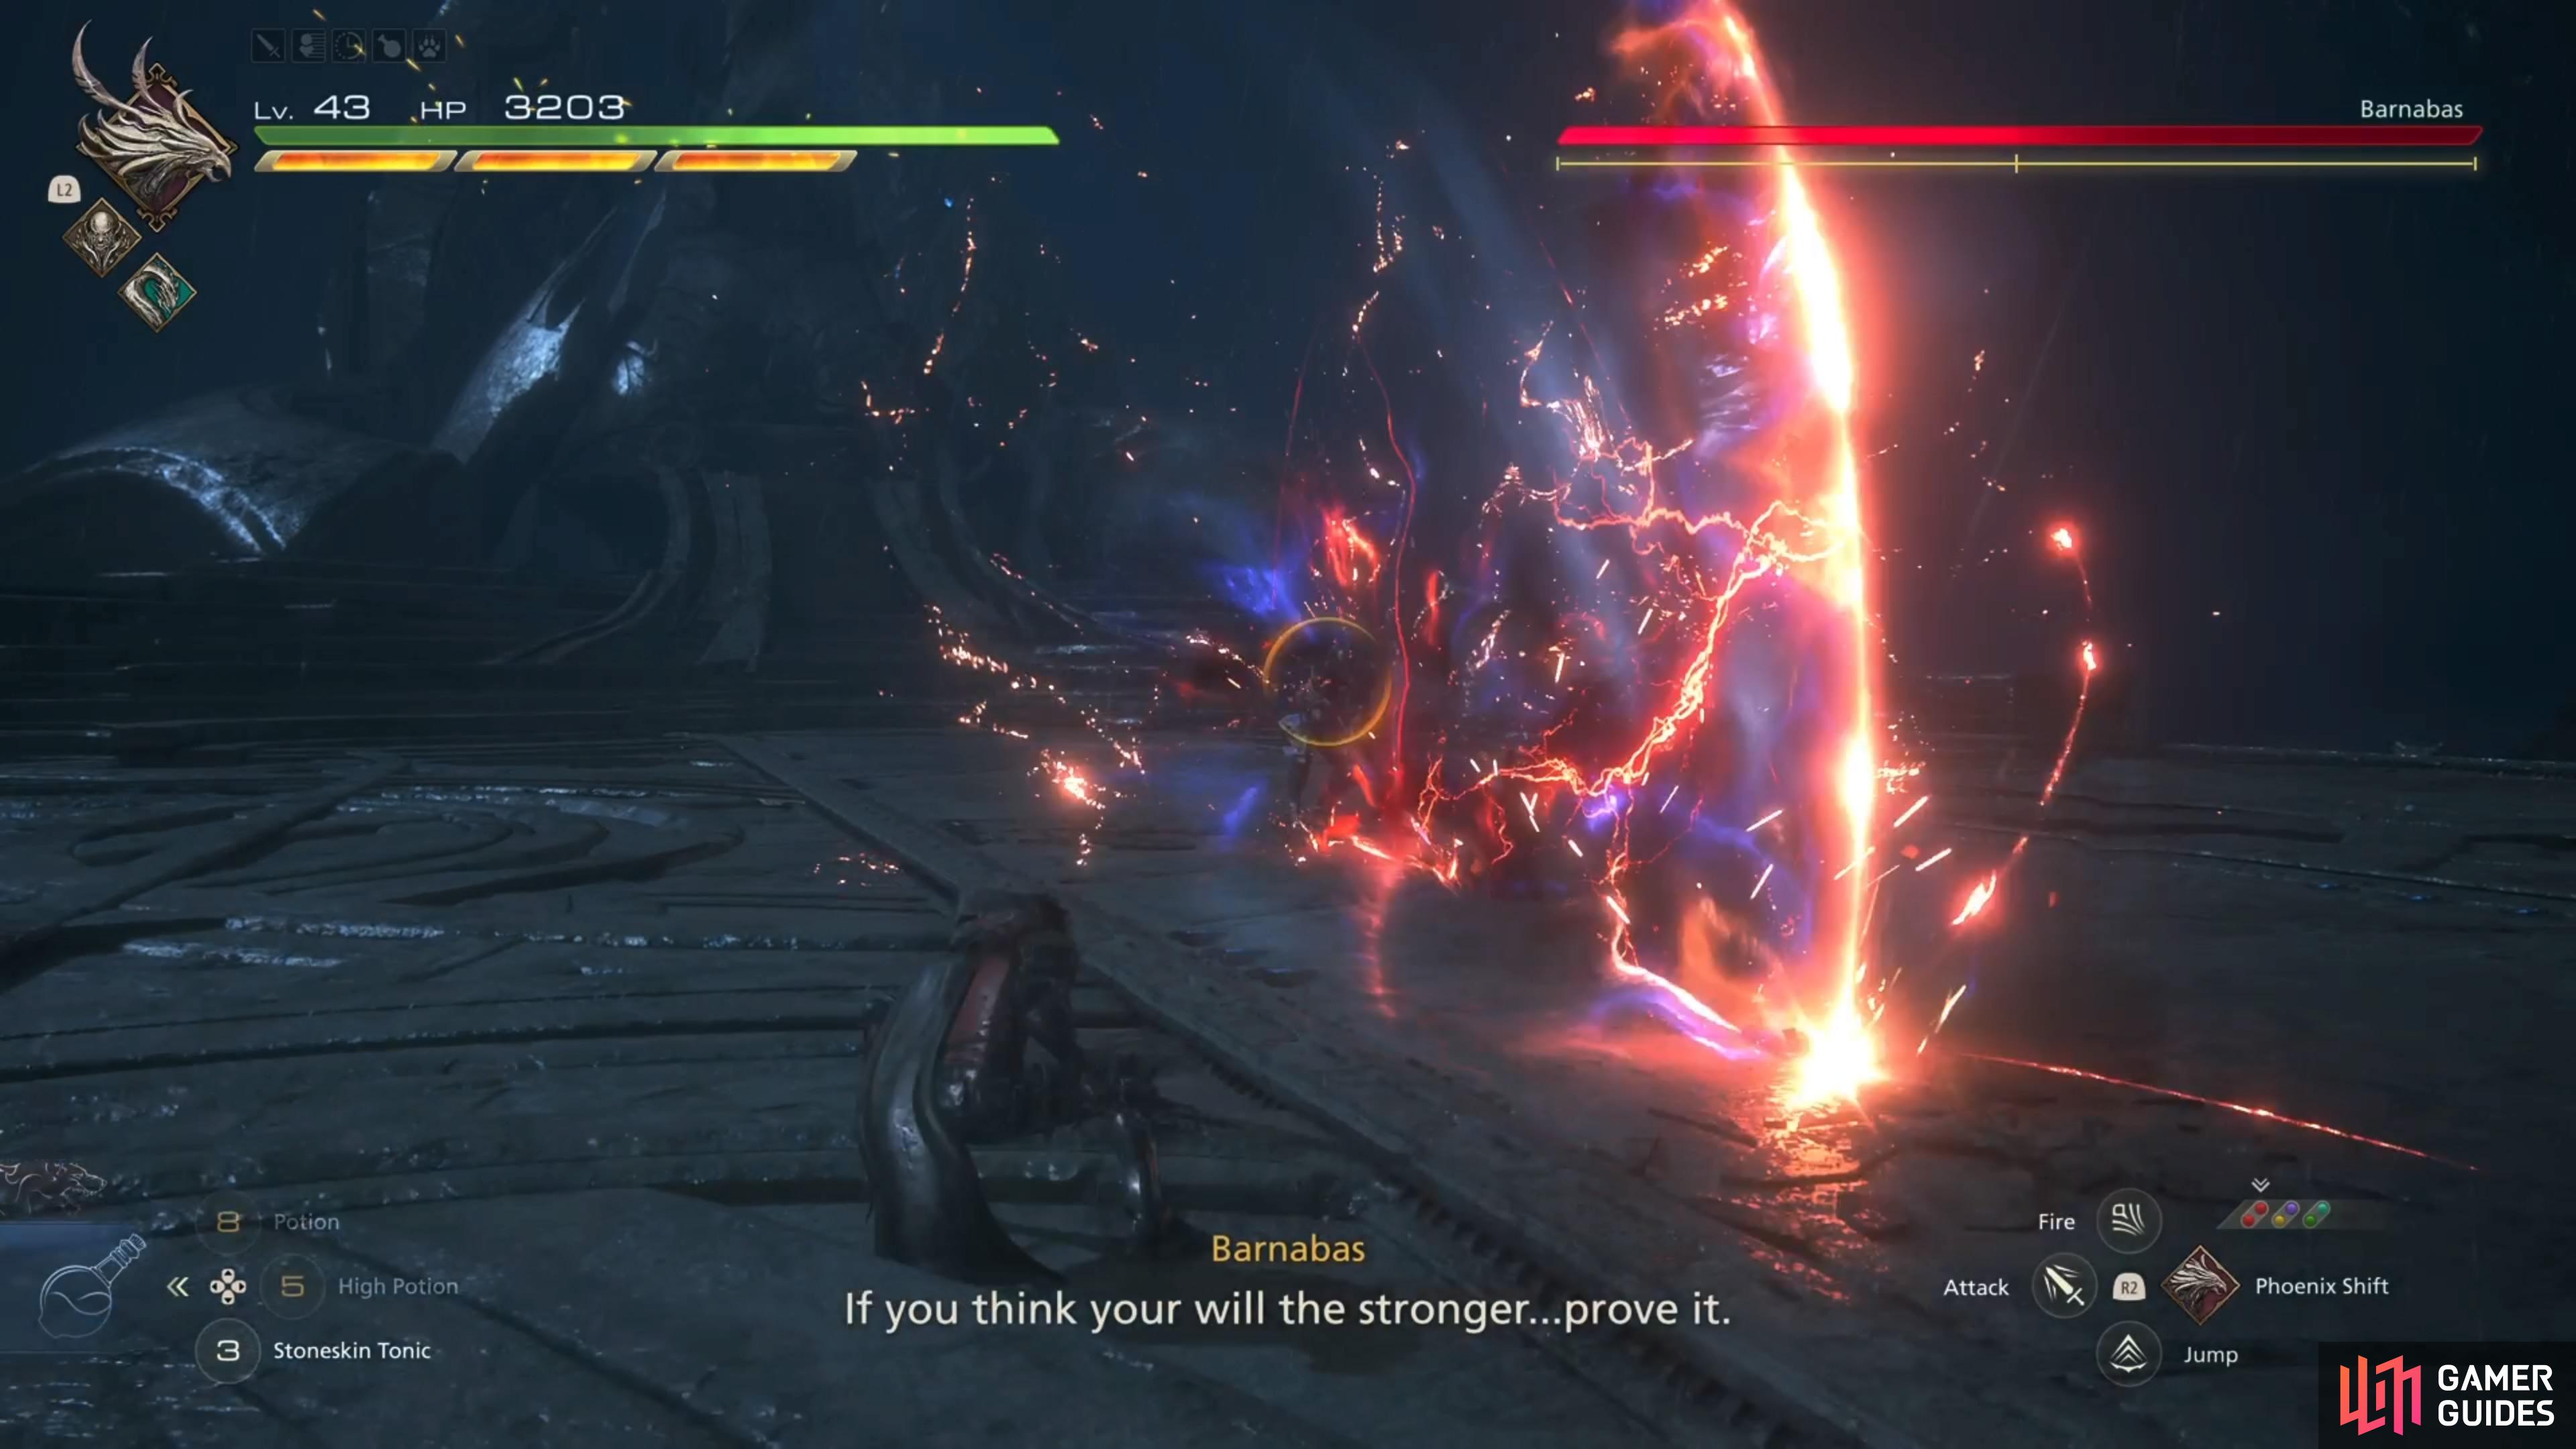
Barnabas likes to block your attacks quite often during the battle. You can see this happening when you do no damage at all to his health or stagger. If he blocks three hits in a small timeframe, then he will counter with a very wide, horizontal slash. If you see him blocking, either stop attacking or use an ![]() Eikon ability.
Eikon ability.
Blinding Steel
You will see this attack during the second phase, which occurs after staggering him once. This is a very dangerous move that inflicts a lot of damage, should you get caught in it. At the start, a red horizontal line will appear right in front of Barnabas, after which, he will swing his sword and make a beam shoot out from that line. A good portion of the area in front of him will be covered and this hits multiple times. If you time a ![]() Precision Dodge at the start of the move, you will need to continue doing those. Sticking close to the boss and moving behind him is the easiest way to avoid this attack.
Precision Dodge at the start of the move, you will need to continue doing those. Sticking close to the boss and moving behind him is the easiest way to avoid this attack.
Ultimate Zantetsuken
Once you reach the third phase (around 50% health), Barnabas will begin charging up for a big move, complete with the purple bar. He will have full reign of his abilities during the charging up portion, so you still need to play normally here. At some point, he will go into the middle of the arena and start counting down. If you fail to deplete the purple bar, then he will unleash this move and you will likely die, as the final hit does a lot of damage.
Great Divide
The first normal attack of the third phase, Barnabas will use Quieting to buff himself before using this. There are two attacks for Great Divide, the first of which is just an overhead sword strike. Note that his sword will be much bigger than normal, though, so the area of effect will be larger. After the first hit, he’ll switch his sword over to a side position, then perform a horizontal slash with it. You might be able to jump over this, but doing a dodge through it isn’t so bad, either. The next attack will immediately this…
The All-wielder
This attack will follow the Great Divide, which is really nothing more than another overhead strike. The only difference is that it will be bigger than the previous one. Just make sure to time your dodge right before the impact happens, as that should net you the Precision Dodge.
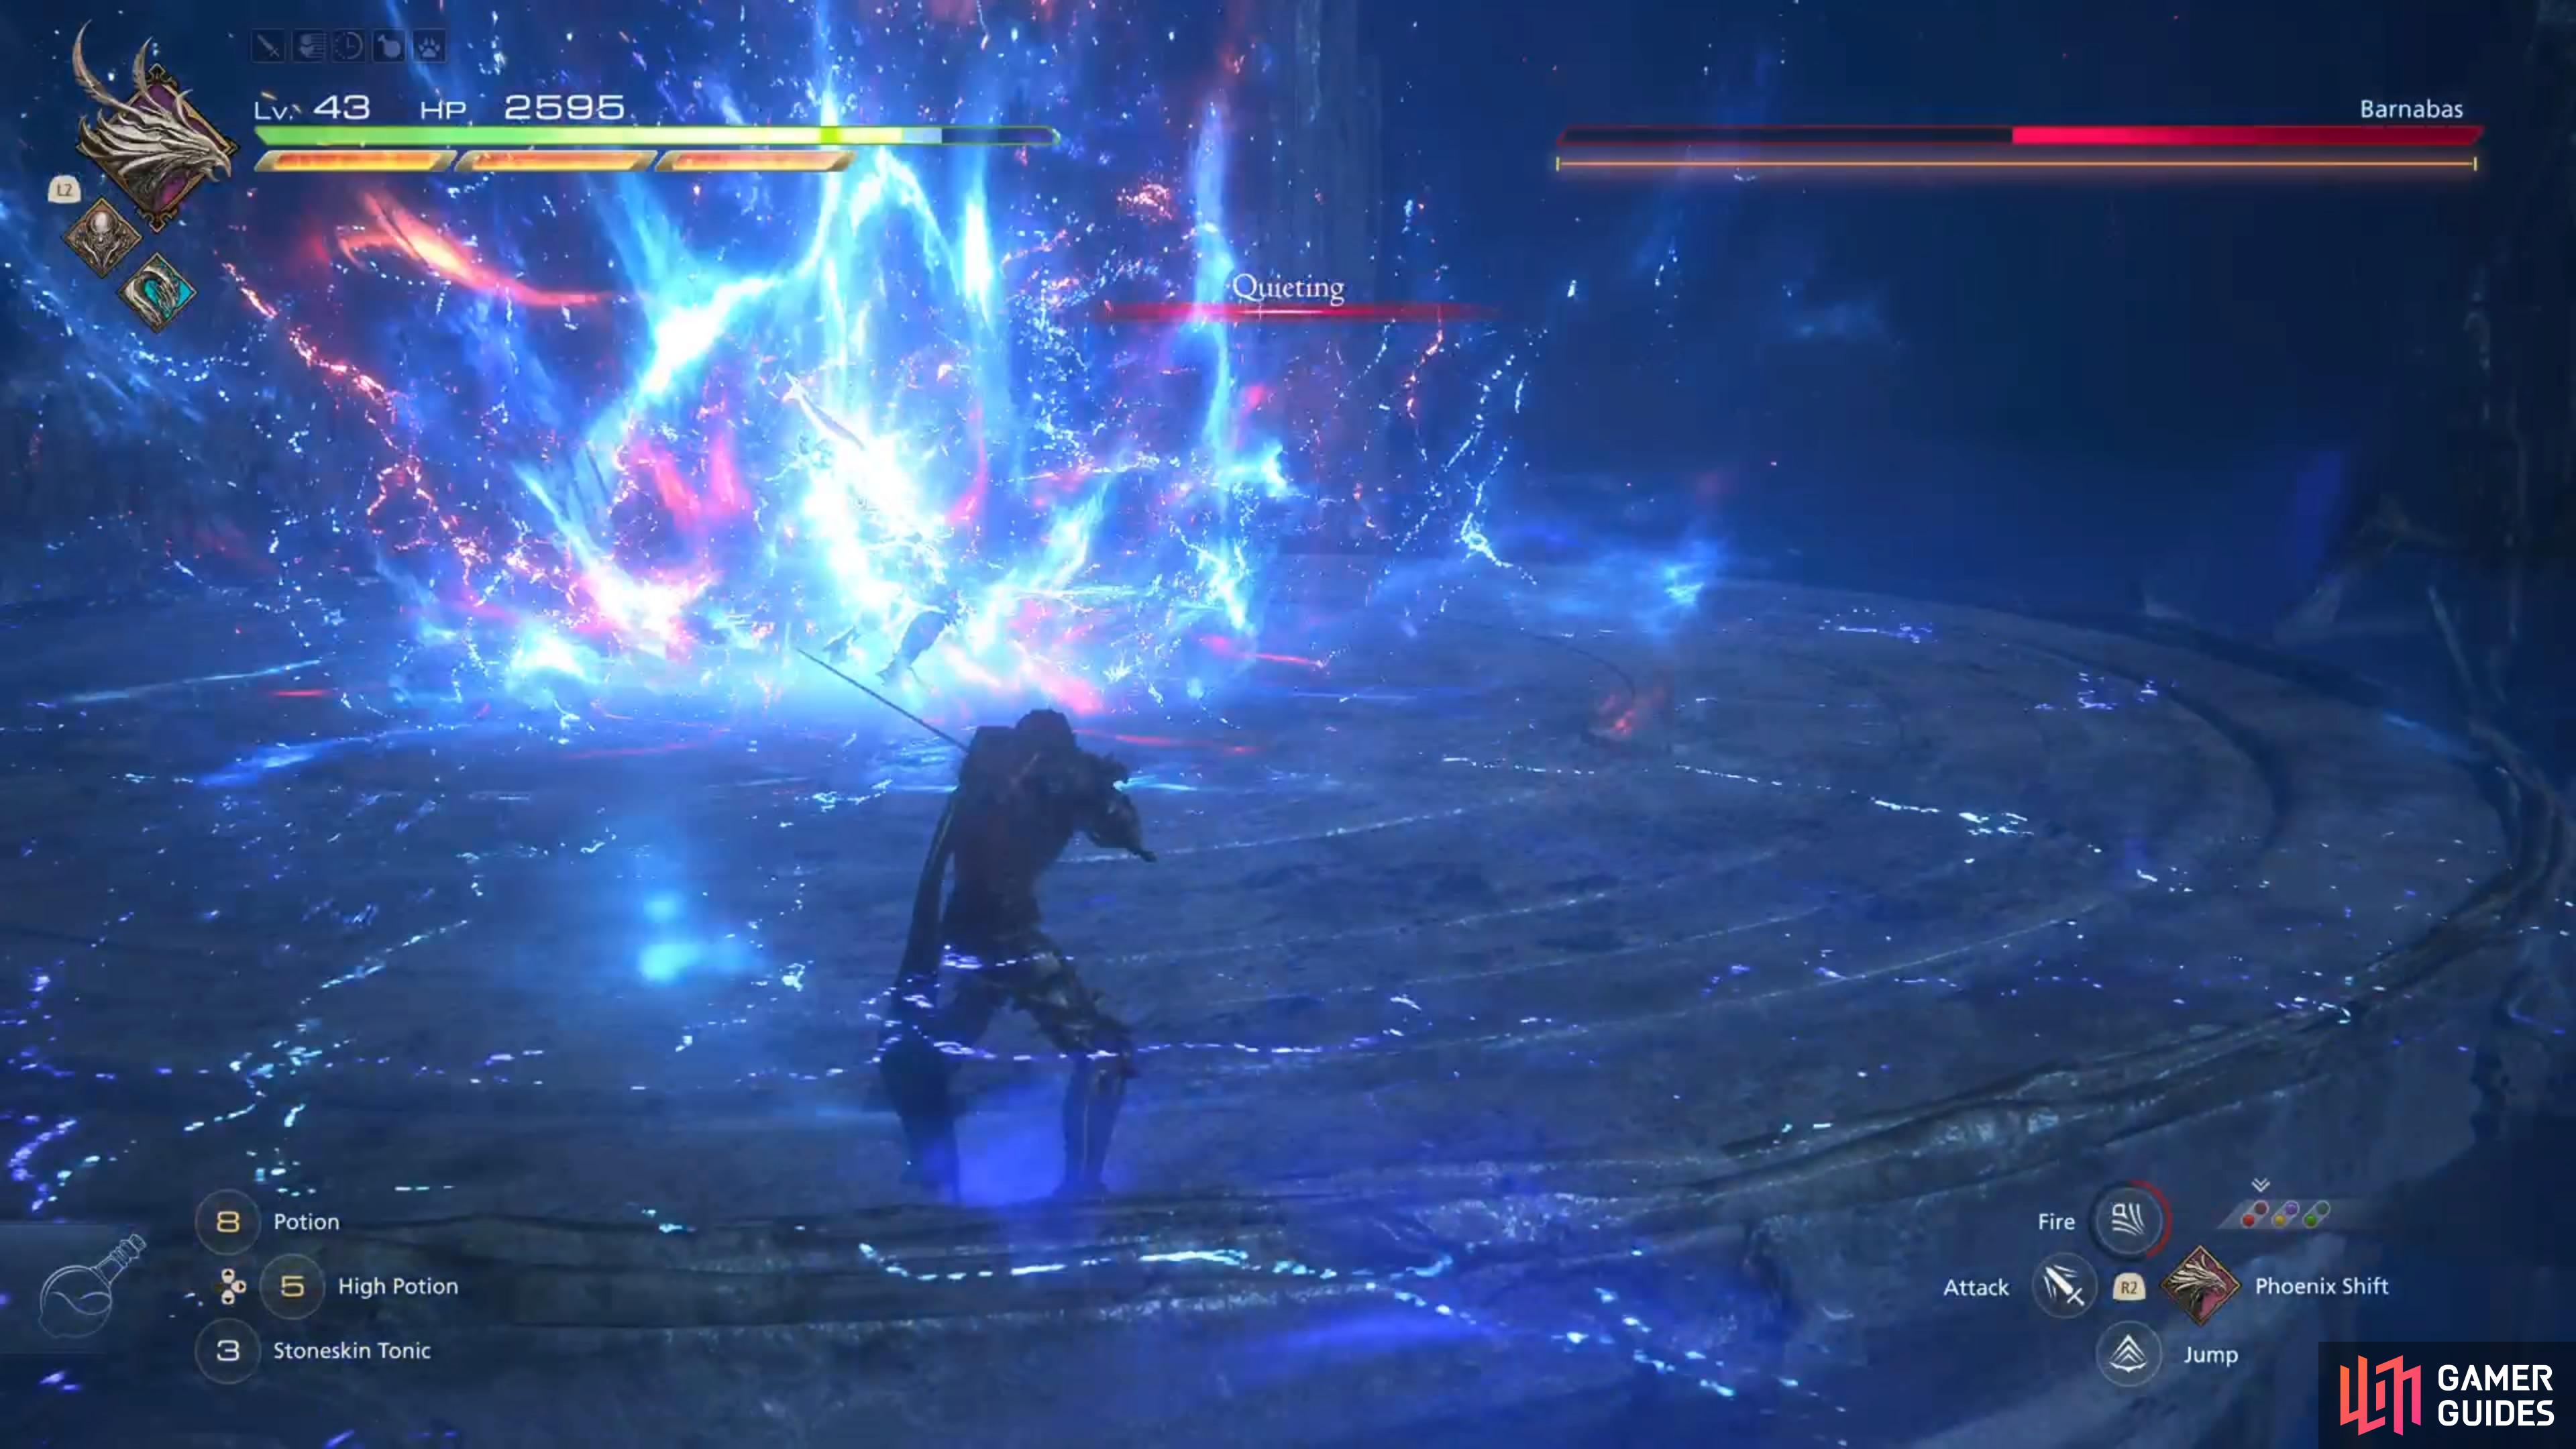
(1 of 4) The Quieting move is a buff that will send Barnabas into the last phase of the fight.
Woden Worhte Weos
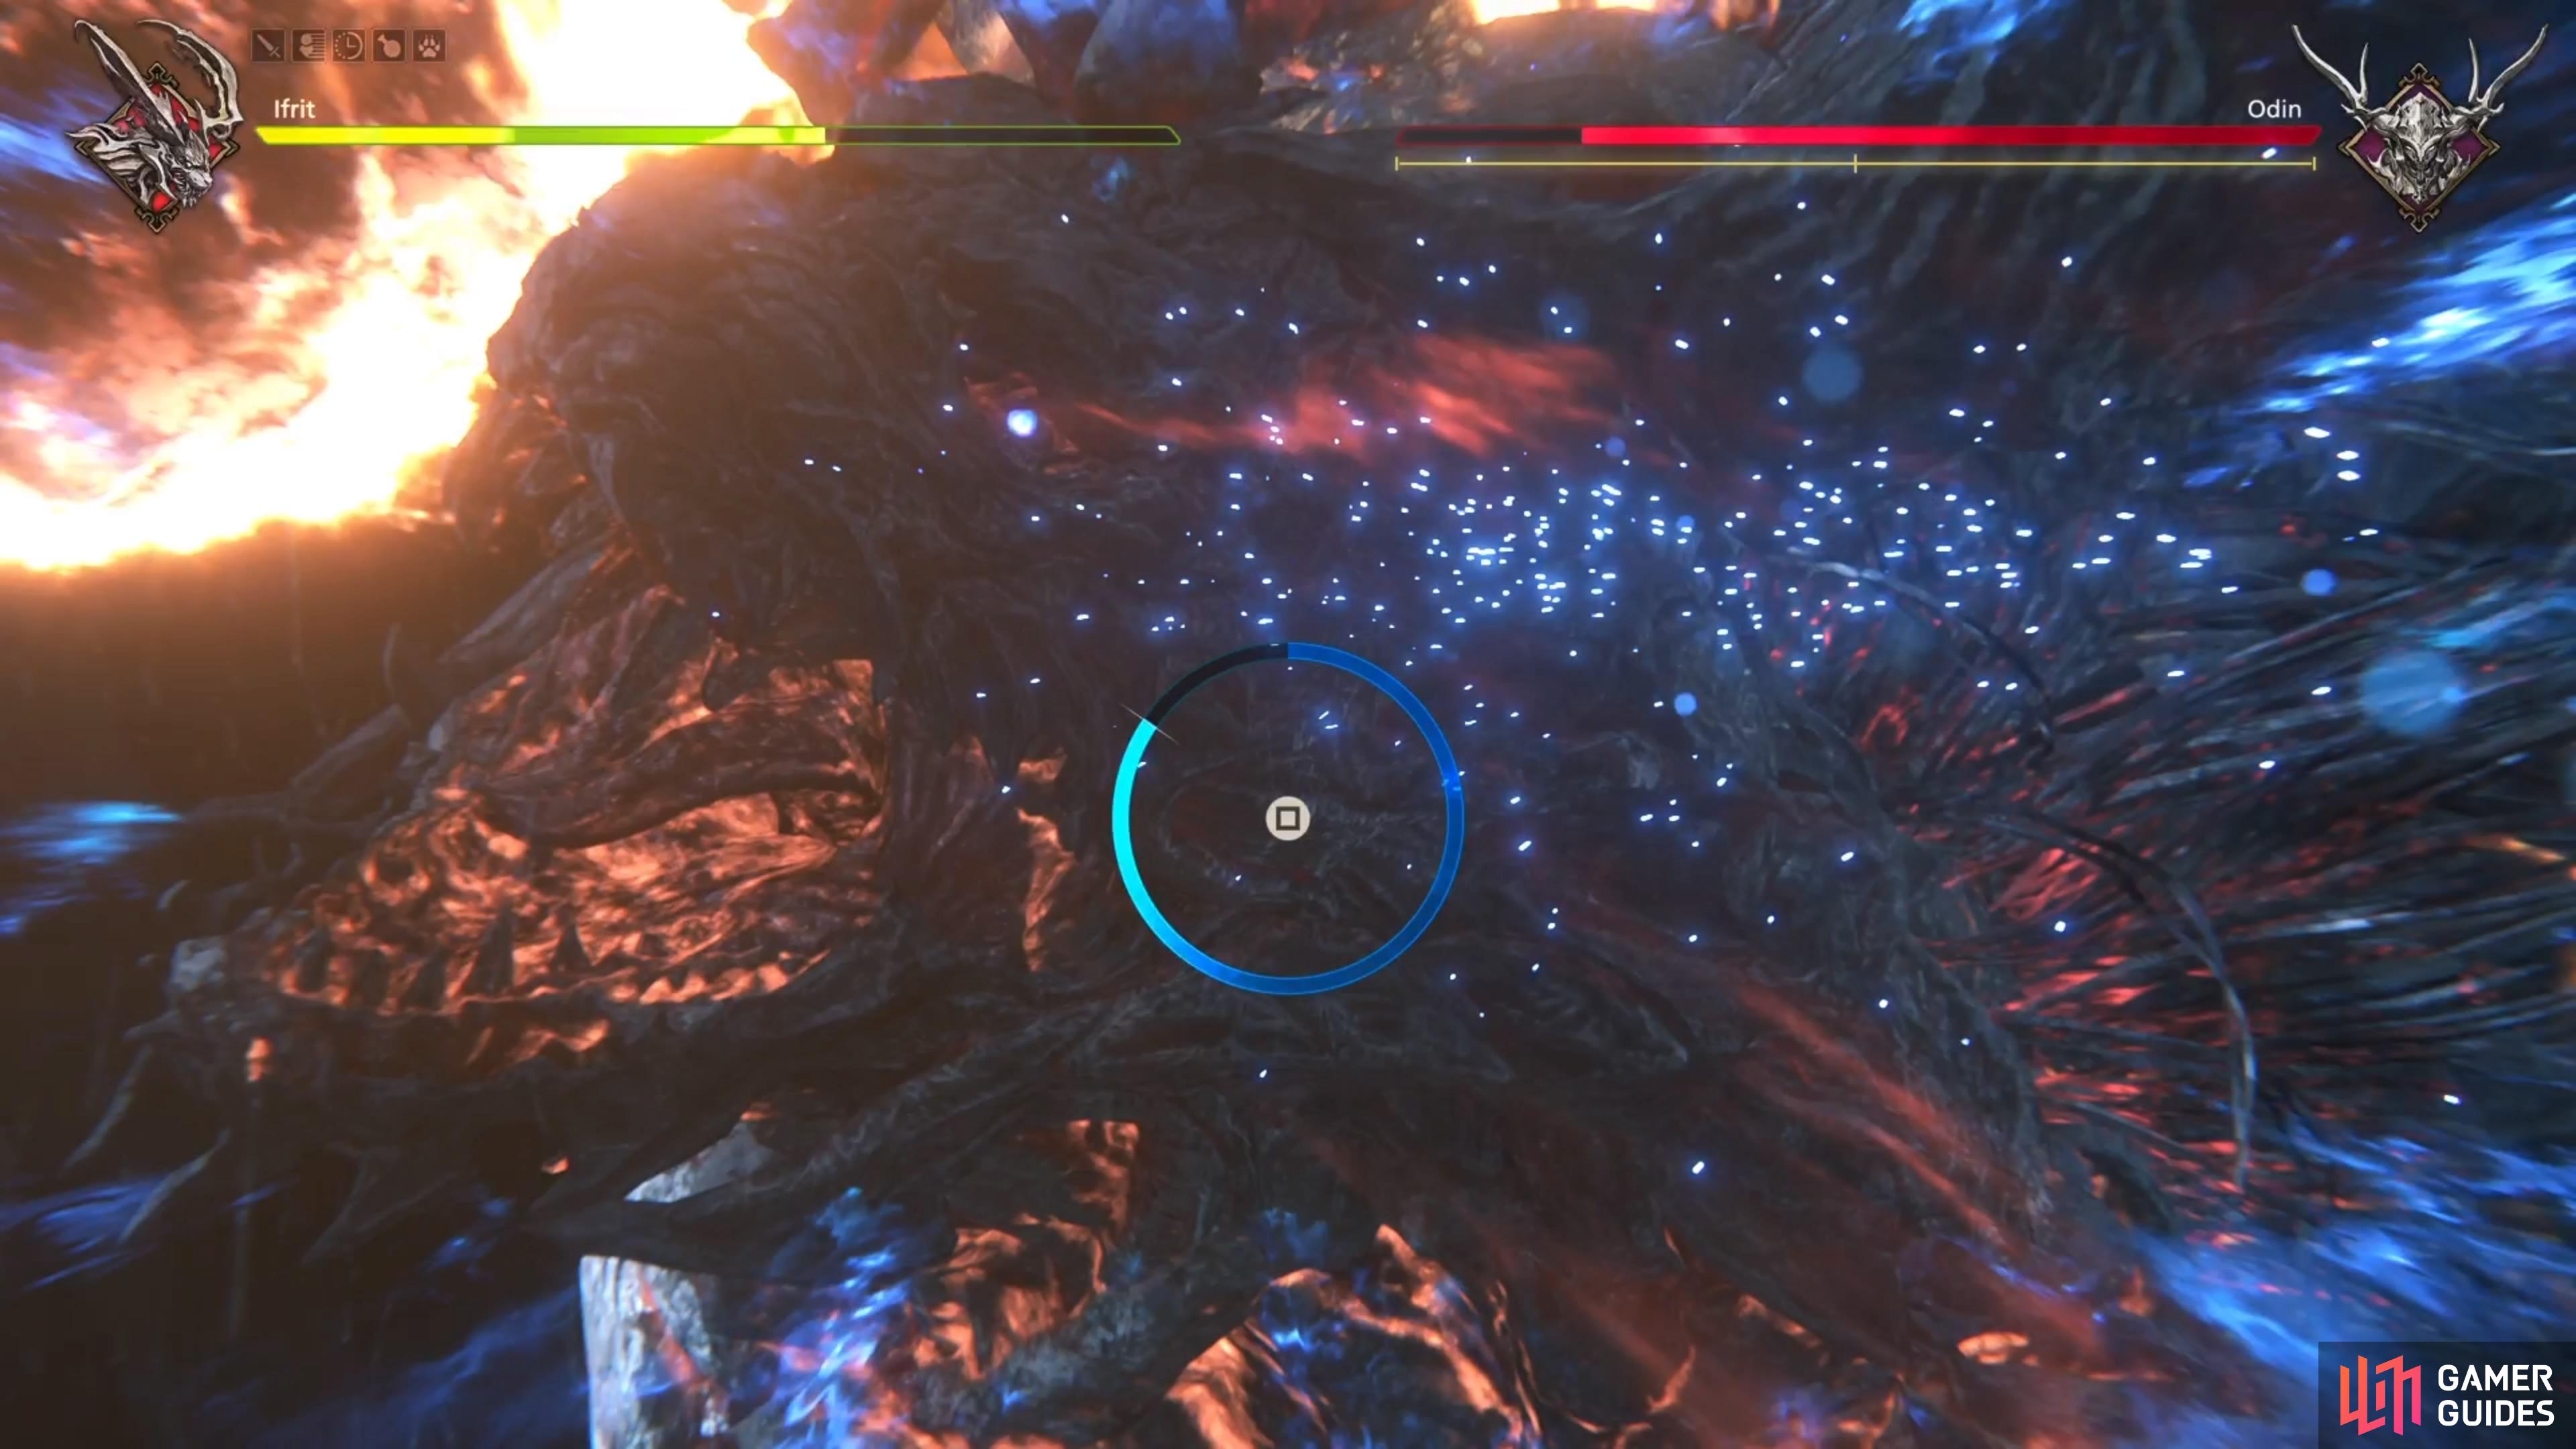
Either occurs after the first stagger in the third phase, or some hidden health threshold. Barnabas transforms into ![]() Odin and will tower over the arena, on the side of it. He’ll do a horizontal sword slash (can jump or dodge), then a stab maneuver. After that will be another horizontal slash from the opposite direction, then an overhead strike. For the stab/overhead strike, you should be able to go to the edges to avoid these altogether. After all of those, he will slam his swordless hand on the ground, then try for one final strike. However, this fizzles out before it happens, and he’ll return to normal.
Odin and will tower over the arena, on the side of it. He’ll do a horizontal sword slash (can jump or dodge), then a stab maneuver. After that will be another horizontal slash from the opposite direction, then an overhead strike. For the stab/overhead strike, you should be able to go to the edges to avoid these altogether. After all of those, he will slam his swordless hand on the ground, then try for one final strike. However, this fizzles out before it happens, and he’ll return to normal.
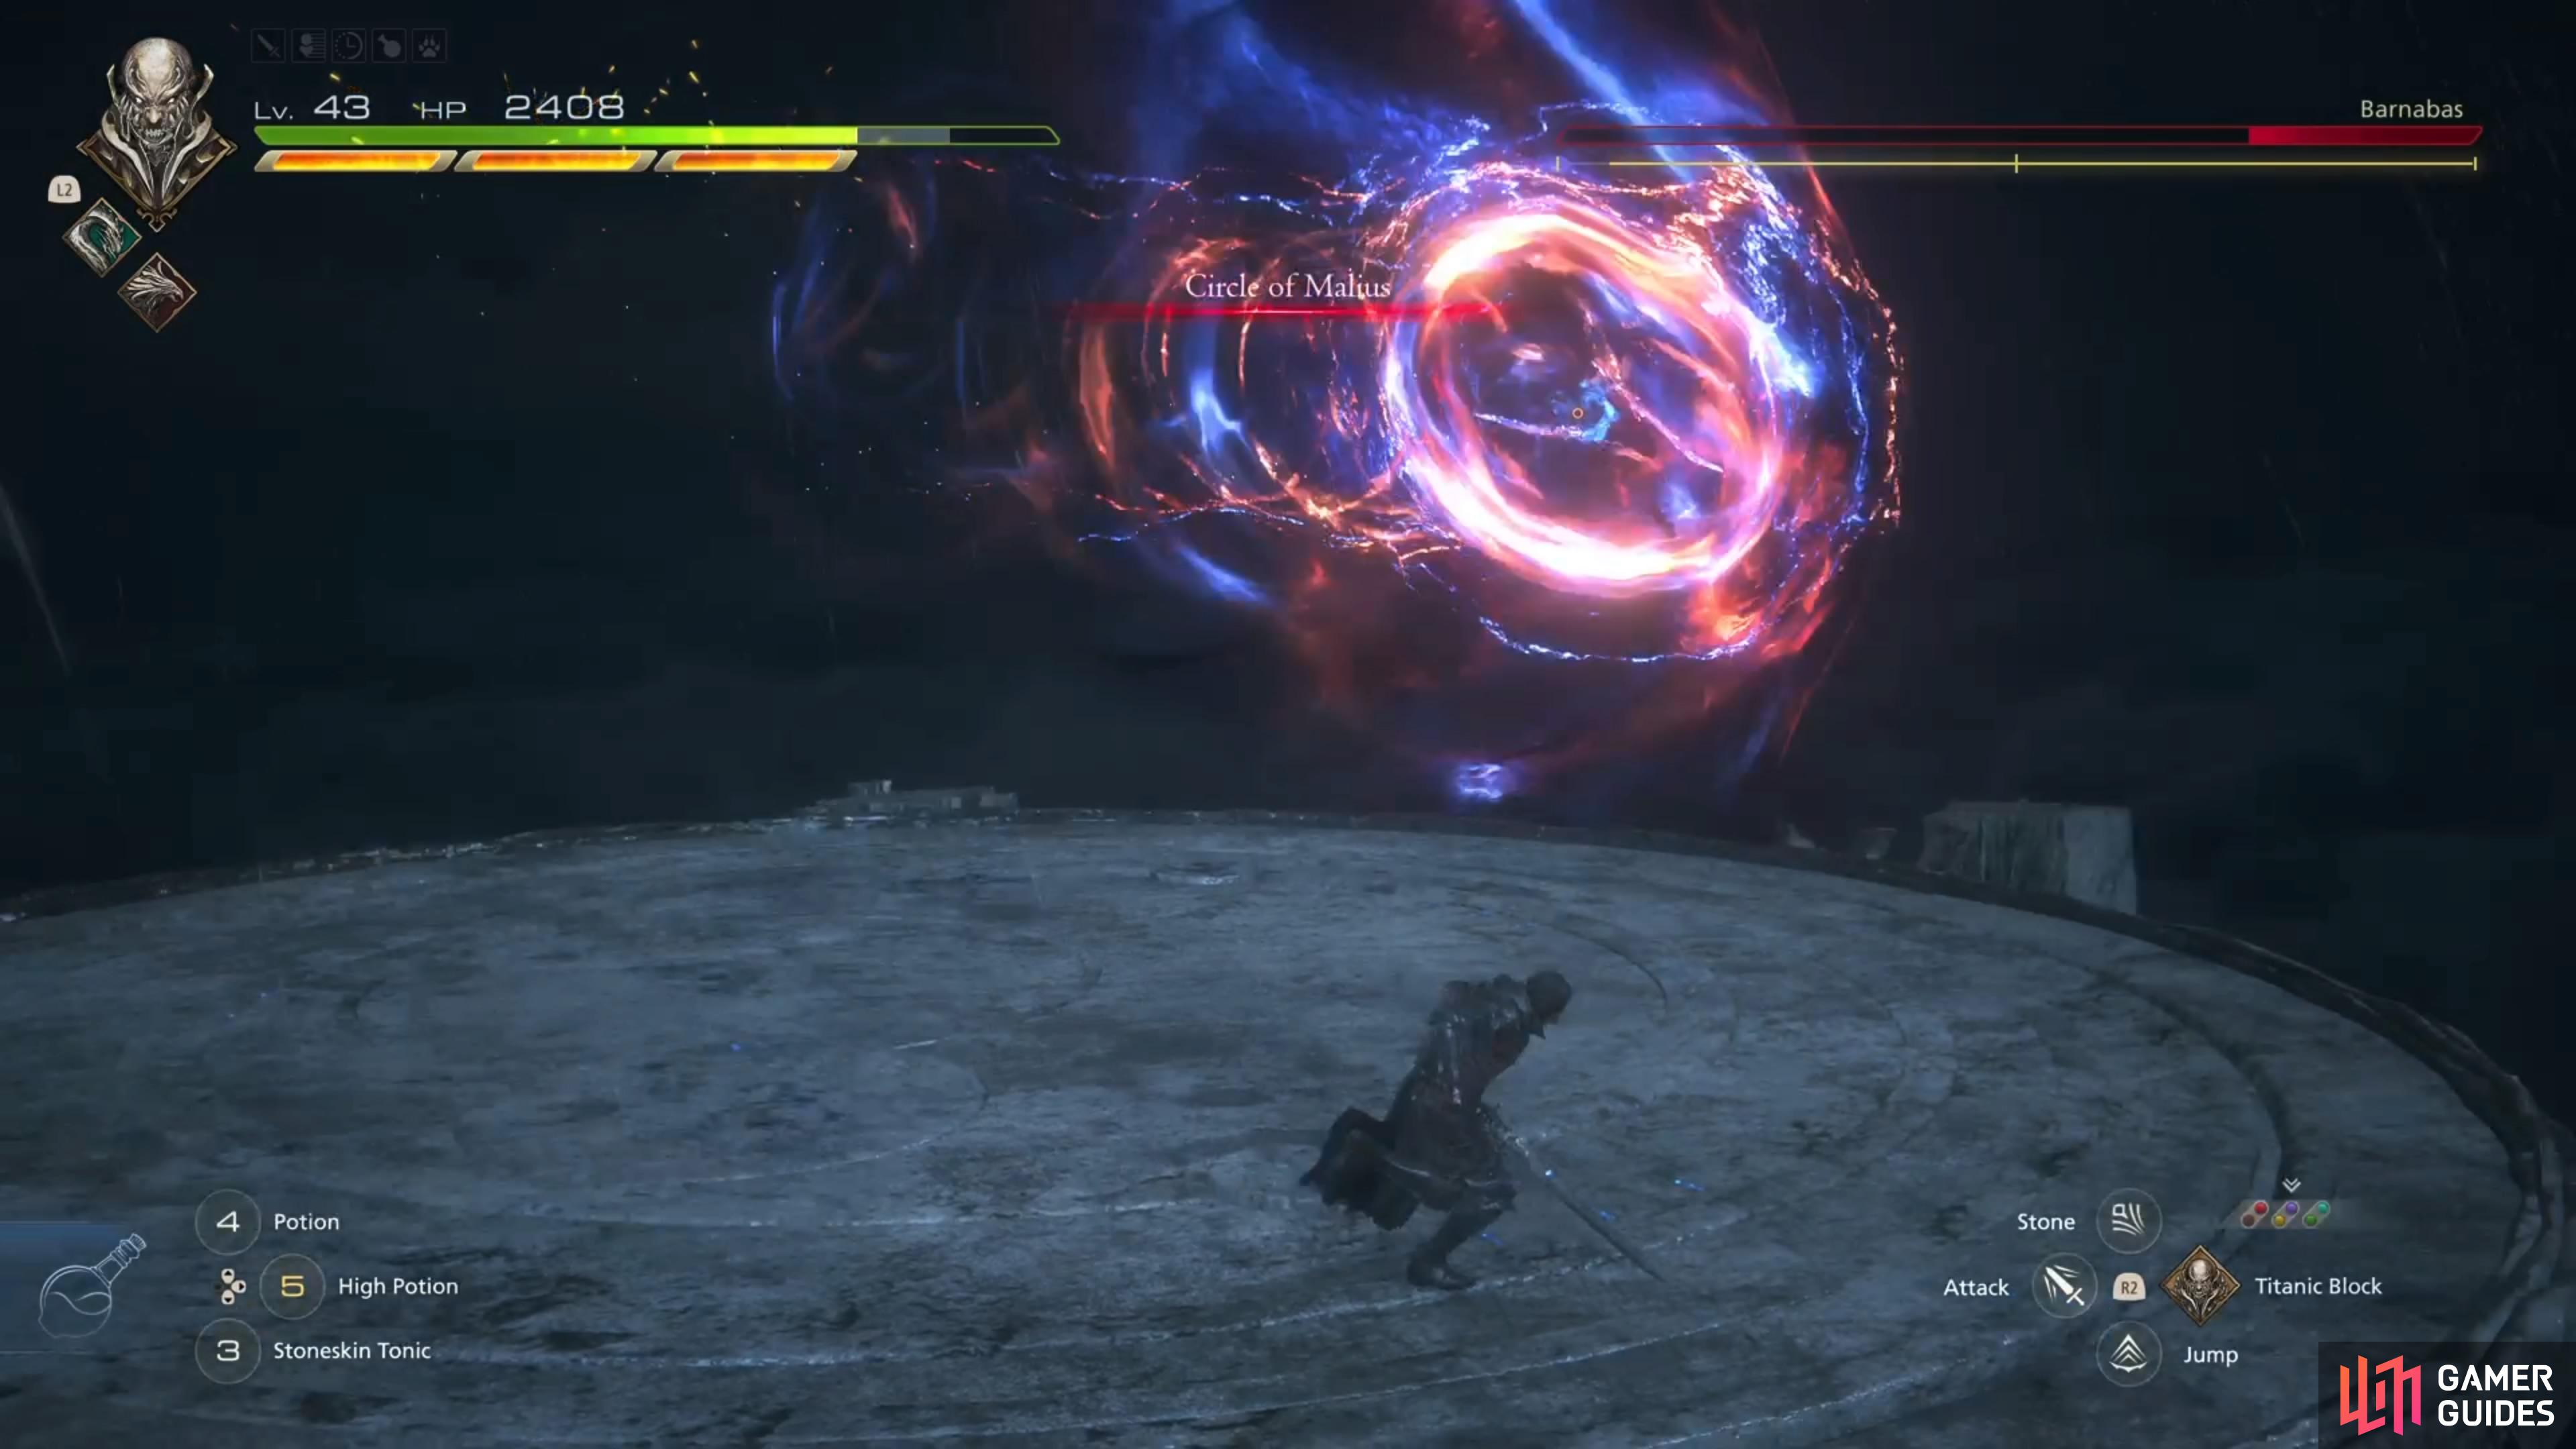
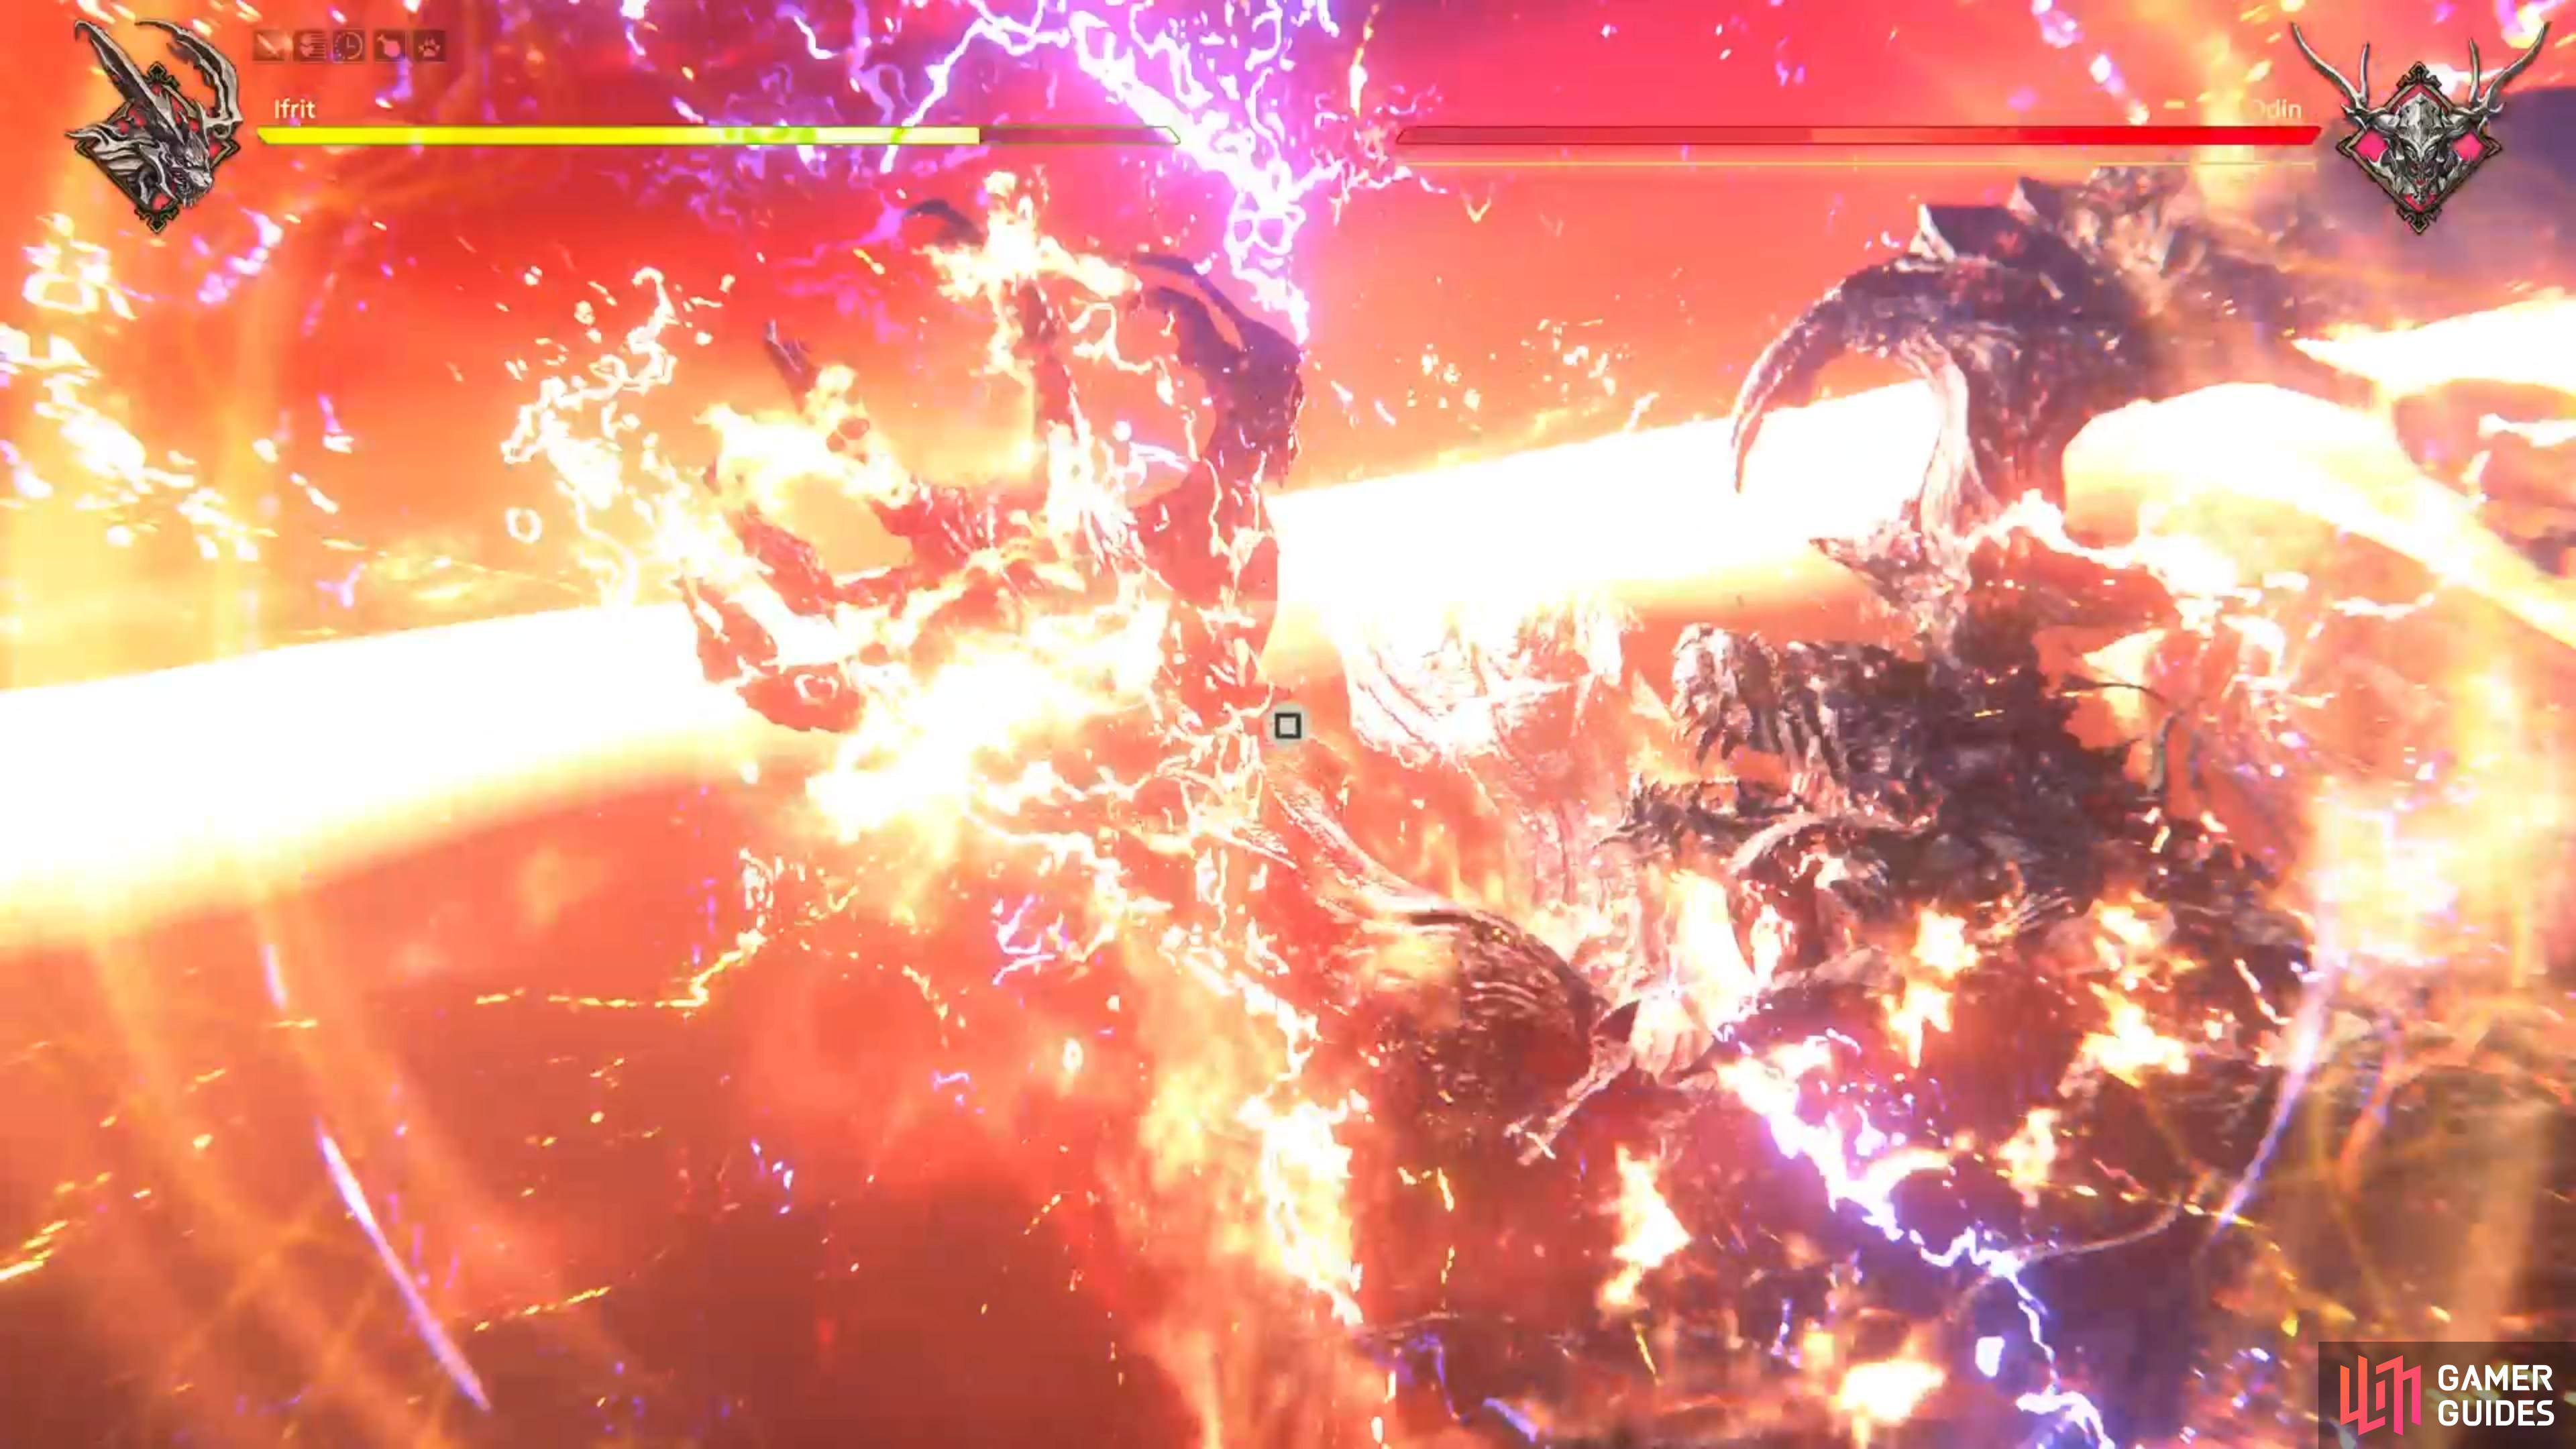
Circle of Malius
After Barnabas does the Woden Worhte Weos and recovering from that attack, he will summon a second sword and begin spinning like crazy. He’ll start coming after you and will begin with a vertical position, then go around the arena once, before coming after you in a horizontal position. You will need to dodge/block this one, as the area he covers is bigger. From there, it looks like he’ll do another pass, but will stop short and disappear, before appearing above you and slamming his swords into the ground. The last attack will be a short dash forward and performing two diagonal slashes. He will return to one sword after this, but will add this attack to his normal rotation now.
Strategy for the Barnabas Boss in FFXVI
As should be expected, the first phase of the battle with Barnabas is the simplest, especially in terms of what moves he does. Barnabas will use teleportation as his main method of movement, similar to Sleipnir, which means that getting attacks on him can be a bit difficult. The only two moves during the first phase that spell trouble are the Double Slash and Gungnir. The former is tough, since the attacks come out rather quickly and they are horizontal slashes, so you’ll need to time dodges. ![]() Gungnir is a little more annoying, since there’s a shockwave upon the initial impact.
Gungnir is a little more annoying, since there’s a shockwave upon the initial impact.
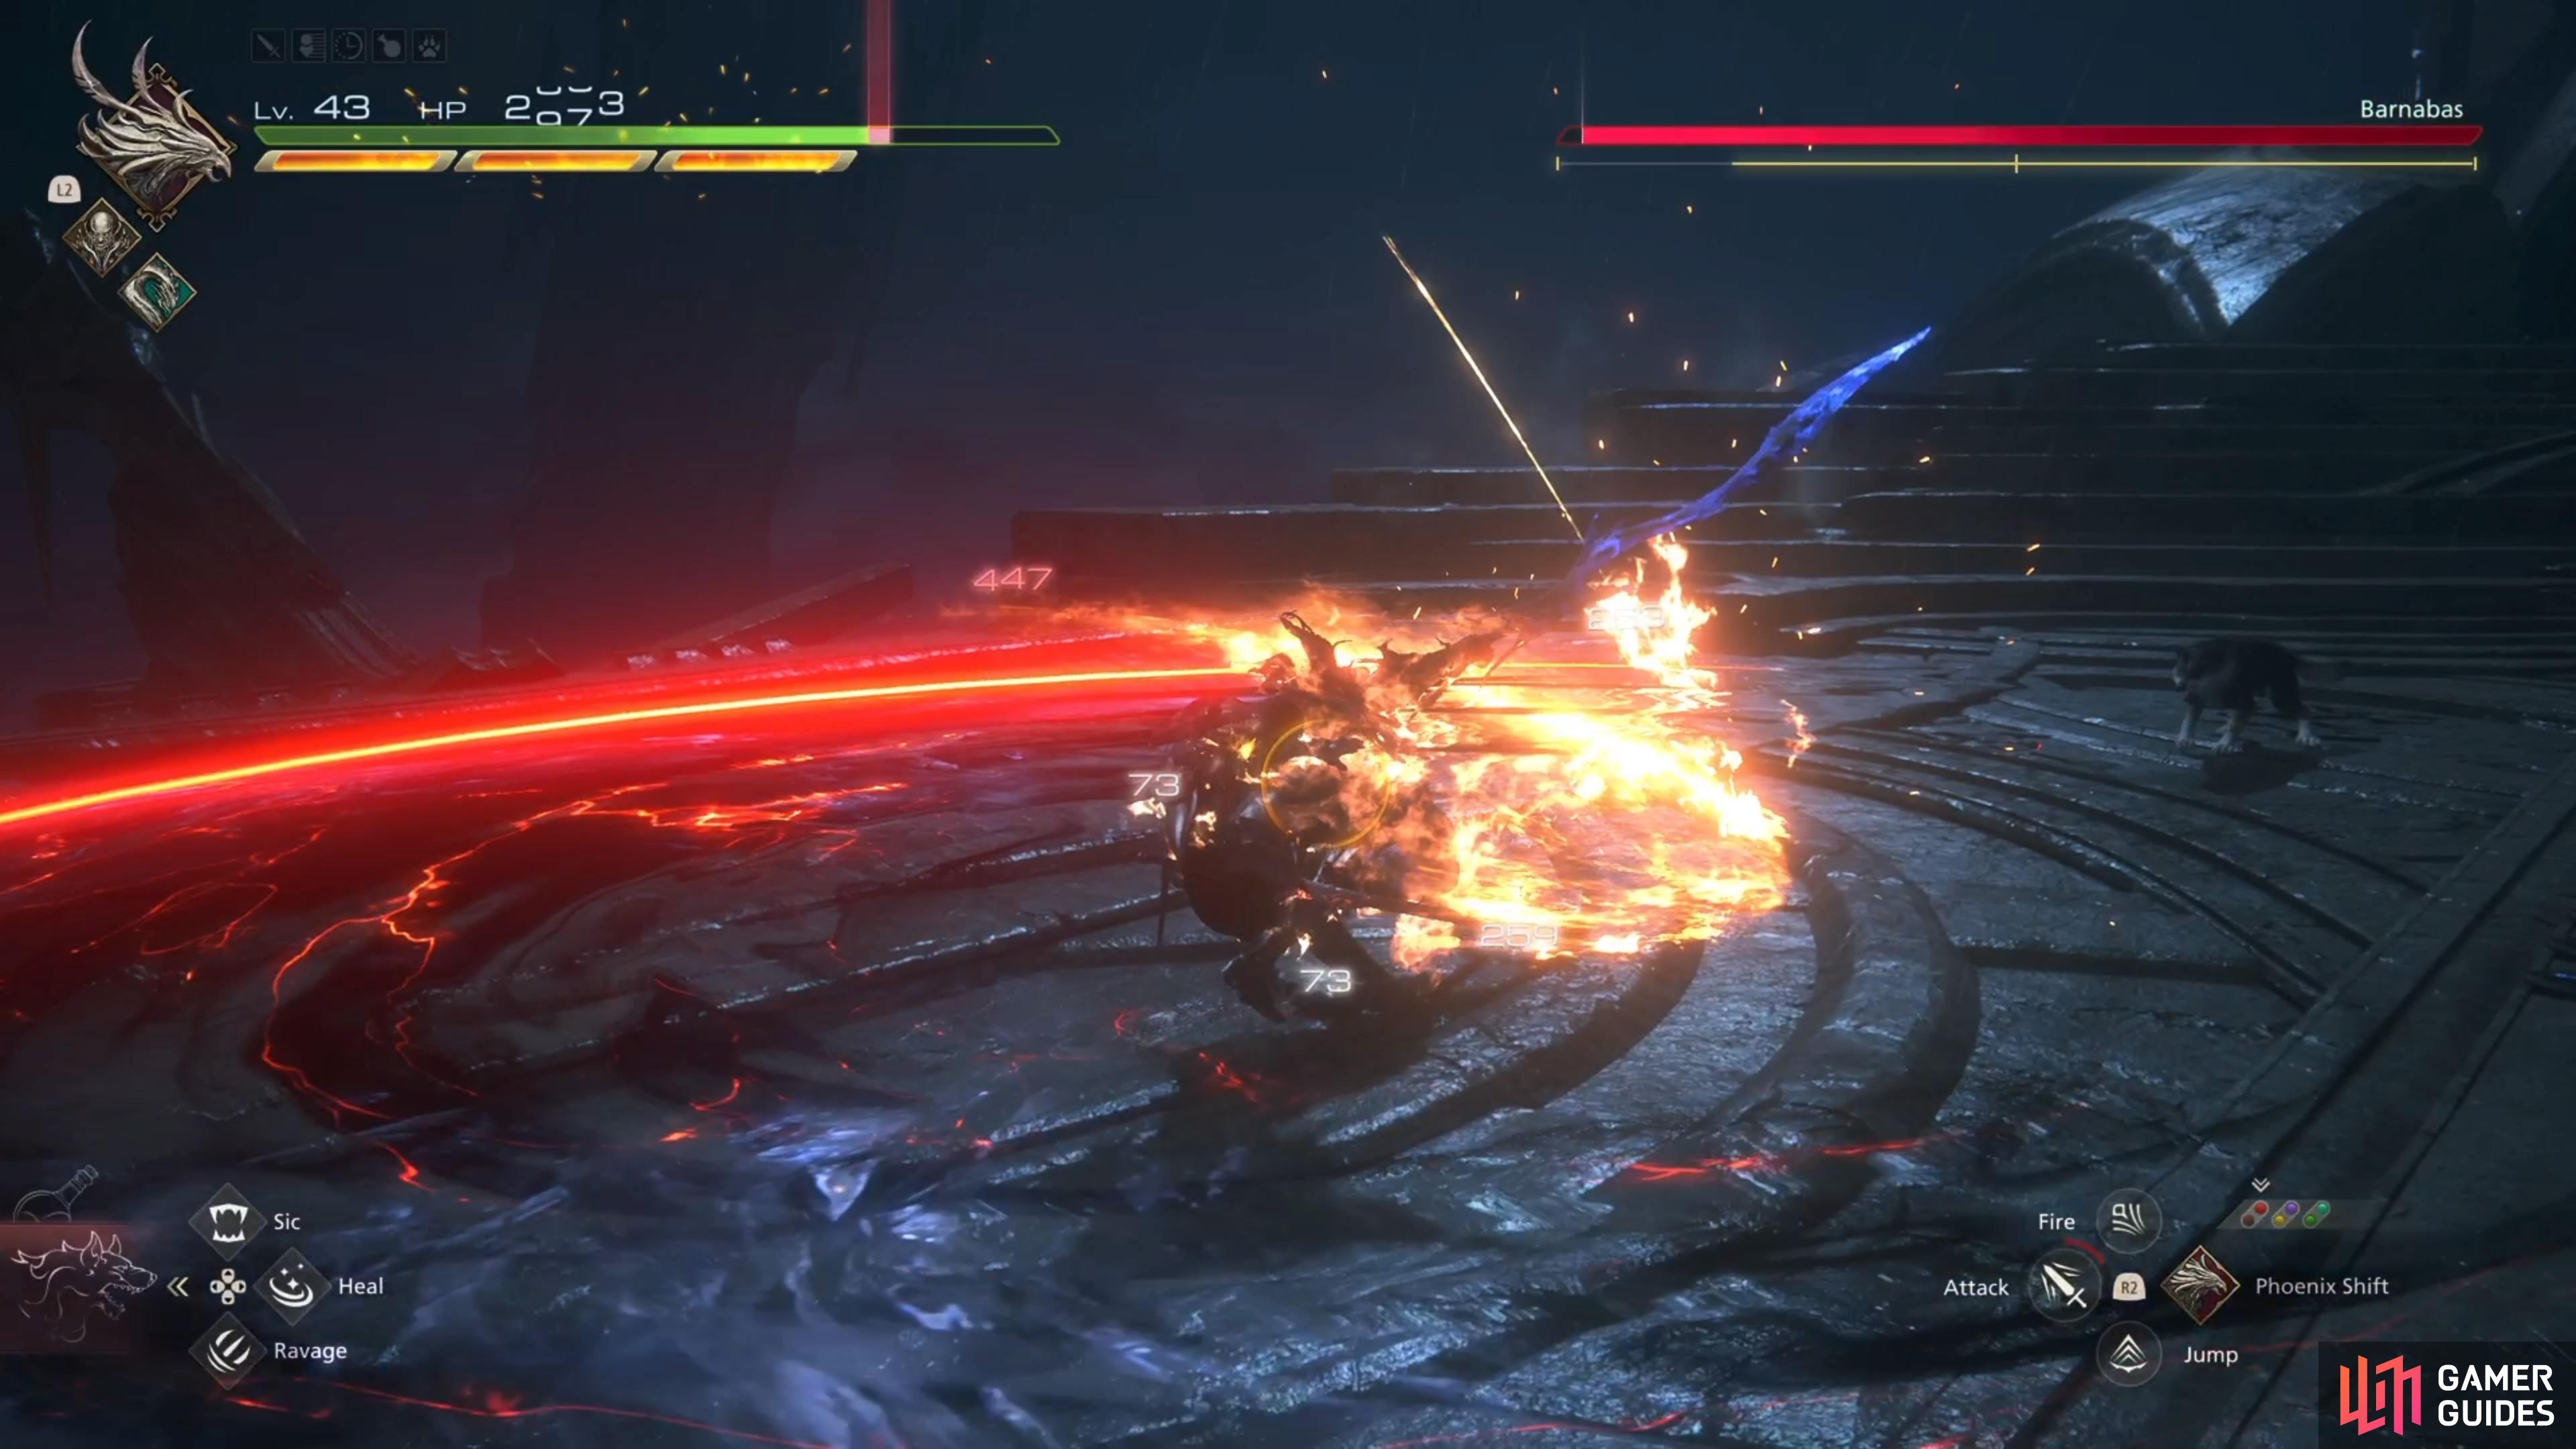
The best way to go about the shockwave is to jump and air dodge, whenever you see the spear about to make contact with the ground. You will also want to dodge away from the impact point, as the pool left behind can still damage you once it pulsates (it doesn’t damage right away). If you do have Titan equipped, then you can use the block and Raging Fists to counter the melee attacks, which should help in chipping away at the stagger bar. Barnabas can also block your attacks, which might be hard to distinguish, but always keep an eye out on his health/stagger bar.
There will be a Cinematic Strike after the first stagger.
If they aren’t moving at all while you’re on the offensive, then that means he’s blocking. If he blocks too many attacks in a row, he will push you back slightly, then deliver a horizontal slash counter. The best way around this is to just avoid getting too greedy with your attacks and limit them. Once you do stagger him for the first time, there will be a cutscene that is triggered, with a Cinematic Strike occuring during it, which will bring you to the second phase.
Second Phase
The second phase is more of the same, with one or two things changing, plus you’ll be on a narrower area. That means you won’t have as much room to maneuver, so you’ll need to be more careful. One new move he can do here is Blinding Steel, which hurts quite a lot, should you get hit. While you could try to time a Precision Dodge here, it’s not exactly easy and you will need to time more after the first period is over. The best way to avoid this attack altogether, is to stick close to Barnabas and get behind him, before he has a chance to execute it.
A Cinematic Clash will occur at the end of the second phase.
Other than that, Barnabas can extend his Cleave attack to include a horizontal shockwave after the initial vertical one. Also, his counter that he can do if you hit him too many times while blocking, seems to change from a slash to a stabbing move. The next phase change seems to be health based, with it taking place at around 50% HP or so. There will be another cutscene at this point, along with a Cinematic Clash, with the battle transitioning to a new arena not long after that.
Third Phase
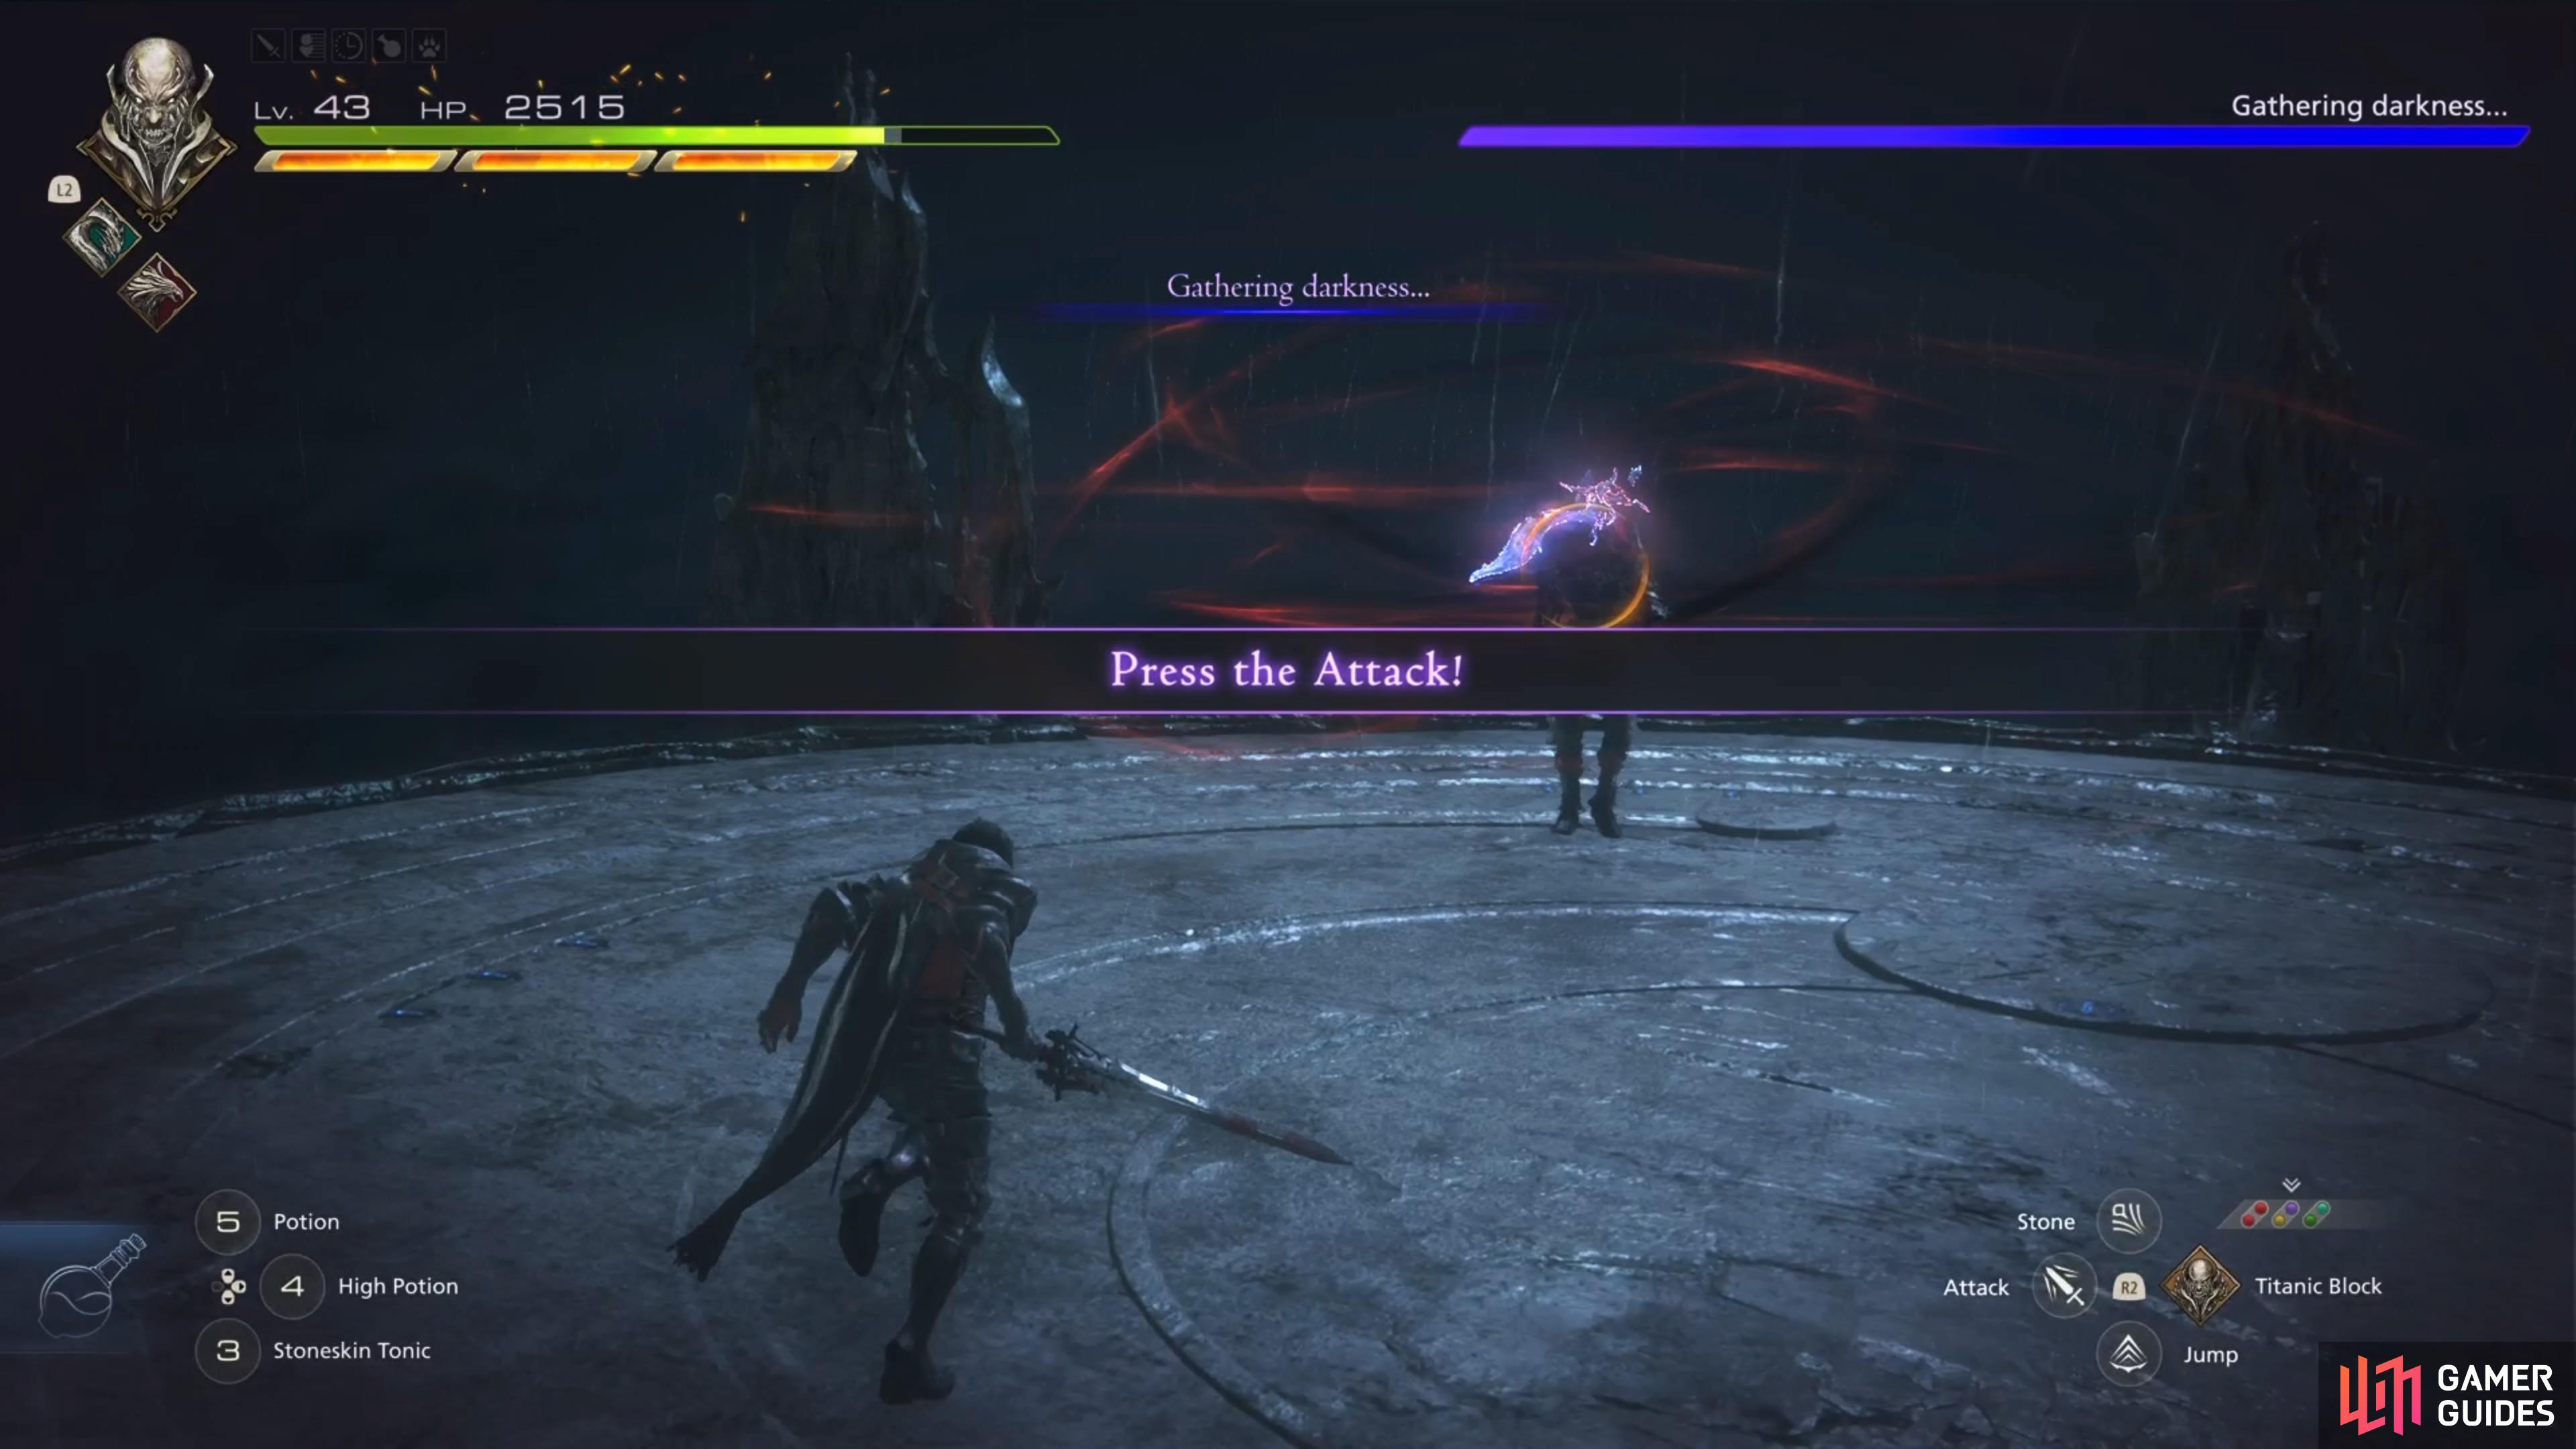
The third phase will begin with Barnabas gathering darkness, which means he will be charging up for a big attack. Unlike most other bosses, which didn’t do much of anything while charging their moves, Barnabas will still use his full arsenal of moves. That means you won’t be able to go crazy with your offense here, while dodging the occasional indirect attack. Pretty much every move from the previous two phases will be here, so whenever you do get a chance to get damage, it might be a good idea to use an Eikon ability, so the purple bar will deplete faster.
(1 of 4) Barnabas will begin charging for Ultimate Zantetsuken at the beginning of the third phase.
Eventually, at some point, he will go into the middle of the arena and start the countdown timer for his Ultimate Zantetsuken, which is the powerful move in question. This is when he stops attacking and you need to go all out, as this attack will pretty much kill you, should you let it happen (the final hit did 5,700 damage to us). Upon being successful, though, Barnabas will be stunned for a few seconds and the third phase will truly begin.
He will begin by using something call Quieting, which is nothing more than a buff, as it doesn’t do any damage. This will be followed up with the Great Divide and The All-wielder moves, which should give you too much trouble. Note that these moves aren’t just a one-off, either, as he can use them later on, too. When you escape those, the normal fight will ensue, with nothing changing too much. Barnabas might start chaining attacks together, though, like going from The Lord’s Measure, to Gungnir. His one melee combo also seems to change, with him perform a jumping overhead strike after one of the horizontal slashes. He can also do that same jumping strike after the Cleave move.
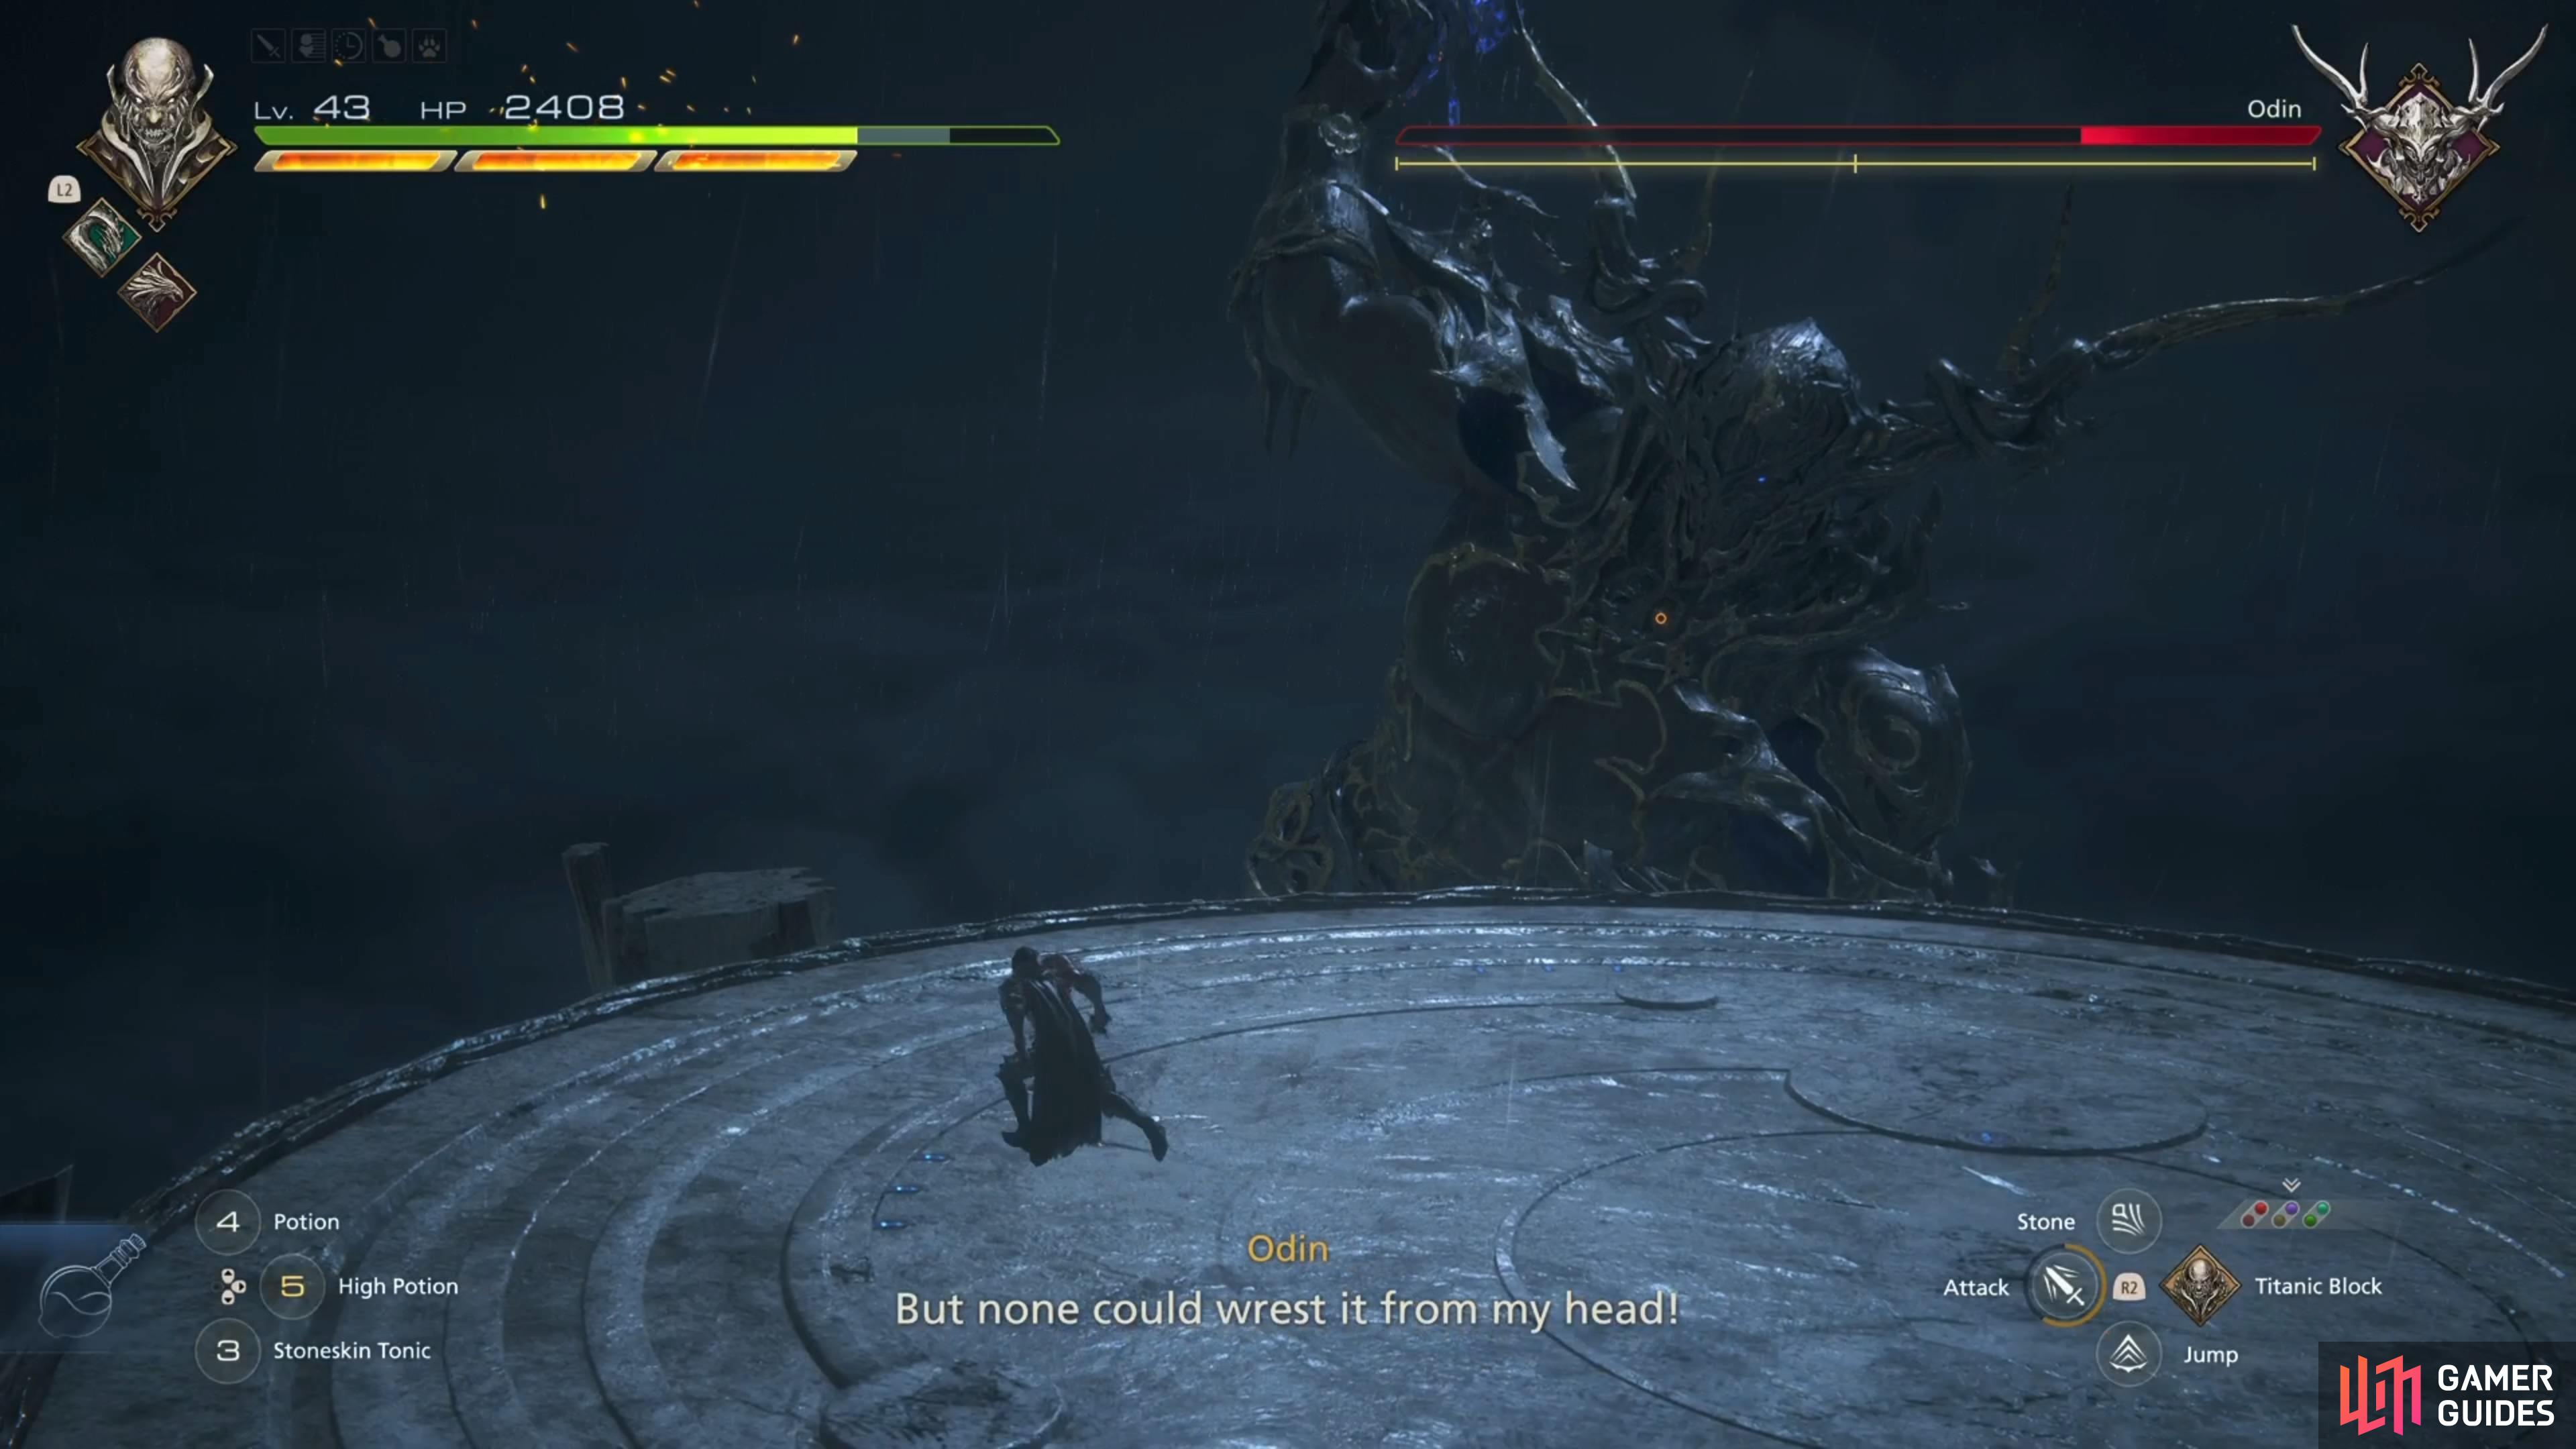
During the fight, either at a health threshold and after you stagger him for the first time in the third phase, Barnabas will float above the arena, right on the edge of it. He will use Woden Worhte Weos, where he’ll transform into Odin and perform a couple of attacks. It will be a horizontal sword slash, a stab, another slash from the opposite direction, and an overhead strike, in that order. You only have to dodge the slashes, as the other two attacks don’t seem to track you, so those will be right down the middle. After that, he will slam his one hand on the ground, with one more attack that fizzles out before being executed.
Barnabas will be motionless for a few seconds, so get in some offensive before he starts moving again. Once he does, he’ll conjure a second sword and use the Circle of Malius maneuver. He basically transforms into something akin to a giant wheel, and will come after you. First, he will do so vertically, then fly around the arena once, before coming at you horizontally. He’ll finish the attack by doing an air smash with the swords, then a cross slash right in front of him. After the double slash, he will return to using one sword, but Circle of Malius is added to the rotation. The fight continues using the same moves as before, although you will want to watch out for Blinding Steel after the one Lord’s Measure.
Recommended Abilities for the Barnabas Boss
The following list is our recommended abilities to do this fight effectively:
| Eikon | Ability |
|---|---|
| Phoenix / |
|
| Phoenix/ |
|
| Titan | |
| Bahamut |
Similar to Aurum Giant, Barnabas has a decent number of melee attacks, which makes him susceptible to Titan’s block (the  move) and any other moves that can counter him. That means you will probably want to equip Raging Fists and Rook’s Gambit. All of his teleporting around doesn’t exactly warrant putting on moves that require charging up, like
 ![]() Windup. If you have
Windup. If you have ![]() Diamond Dust mastered, you will probably want to put that in place of Rook’s Gambit, as that move is amazing for the stagger bar. Likewise,
Diamond Dust mastered, you will probably want to put that in place of Rook’s Gambit, as that move is amazing for the stagger bar. Likewise, ![]() Judgment Bolt is fantastic for damage and stagger.
Judgment Bolt is fantastic for damage and stagger.
Upon Barnabas’ defeat, there will be a number of scenes, then you will be thrust right into the Brotherhood main story quest.
No Comments