
The combat system in Final Fantasy XVI offers a lot of variation which allows you to pick and choose the best abilities to fit your playstyle. A large part of this comes in the form of ![]() Eikon abilities, which represent powers that are bestowed upon Clive as someone who can embody aspects of different
Eikon abilities, which represent powers that are bestowed upon Clive as someone who can embody aspects of different ![]() Dominants. The
Dominants. The ![]() Garuda Eikon form comes with three basic abilities by default:
Garuda Eikon form comes with three basic abilities by default: ![]() Deadly Embrace,
Deadly Embrace, ![]() Gouge, and
Gouge, and ![]() Wicked Wheel, but you can also purchase
Wicked Wheel, but you can also purchase ![]() Rook’s Gambit and
Rook’s Gambit and ![]() Aerial Blast. Each have effects that can be upgraded and used in different combat scenarios, and we’ll help you to understand how all of them work on this page.
Aerial Blast. Each have effects that can be upgraded and used in different combat scenarios, and we’ll help you to understand how all of them work on this page.
!Garuda !Eikon Abilities, Final Fantasy XVI.
Garuda Ability Effects & Costs in Final Fantasy 16
There are a total of five Garuda abilities that you can choose from, and three of these - Deadly Embrace, Gouge, and Wicked Wheel - are available to use as soon as you acquire the Garuda Eikon form after the Benedikta Boss Fight. The other two, Rook’s Gambit and Aerial Blast, will need to be purchased using AP (Ability Points) before you can assign them to your Eikon ability rotation. We’ll breakdown the effects of each ability in detail below, including how you can improve their effectiveness by upgrading and mastering them.
| Ability | Description | AP Cost | Upgrade Cost | Mastery Cost |
|---|---|---|---|---|
| Send a grappling claw out to grab an enemy and pull it toward Clive. Grappling heavier enemies will launch Clive into the air. | - | - | 450 | |
| Summon twin claws that relentlessly tear at a target. Can be used in midair. | - | 575 | 1000 | |
| Perform a rising attack, striking all enemies within range and lifting them from the ground. Can be used in midair. | - | 525 | 1000 | |
| Jump back, then deliver a punishing counter. If the jump evades an attack, counter potency is increased. Can be used in midair. | 120 | 660 | 1000 | |
| Summon a tornado that slowly hunts down nearby enemies and, upon ensnaring them, inflicts multiple hits. | 1540 | 2005 | 4000 |
Best Garuda Abilities Ranked in FF16
If you’re just looking for a brief overview of which Garuda abilities we think are the best to invest in, we’ve provided our own personal view with the list below. Note that your own choices may differ depending on your playstyle, so we encourage you to try each ability to see what they’re capable of for yourself. We haven’t included Deadly Embrace in the list, since this ability is available to you by default by pressing  whenever you switch to the Garuda form. It’s essentially the equivalent of Phoenix Shift from the Phoenix abilities, but instead of causing Clive to swiftly teleport towards an enemy, it grapples them and pulls them closer.
- Aerial Blast
- Gouge
- Rook’s Gambit
- Wicked Wheel
Garuda Abilities Breakdown
If you’re looking for a brief overview for what each Garuda ability is capable of in combat, and how to use it, we’ve got explanations for them all below.
Deadly Embrace
As mentioned above, Deadly Embrace is essentially the Garuda equivalent to the Phoenix Shift ability. You should be familiar with this ability by the time you gain access to Garuda abilities, since it’s assigned to the button by default. Instead of swiftly teleporting you within melee range of an enemy like you do with Phoenix Shift, Deadly Embrace will fire a grappling claw to grab an enemy and pull it toward Clive. For most weaker enemies this will work as intended, but for heavier ones Clive will be pulled toward them instead.
This ability is useful for singling out a specific enemy to take them down with a combo while keeping your distance from others in a group. You’ll need to be quick to do the damage necessary, but since there is no cooldown you can effectively spam this as much as you want, while kiting other enemies around an area. It’s the perfect skill to use if you prefer attacking from a distance in general, while reserving melee attacks for just one enemy that you want to focus on without being harassed by the others. However, you can also use it to pull airborne enemies back down to the ground, or to pull those on the ground in midair if you’re airborne yourself.
Use !Deadly Embrace to pull an enemy closer to you, or stagger a larger one when its will is below 50%.
If you’re fighting a larger enemy that can’t be pulled towards you, Deadly Embrace will transform into an attack called Deadly Leap, which inflicts damage while launching Clive into the air. You can use this as an initiating move before following it up with an airborne combo. Note that some abilities, such as Downthrust, will inflict more damage the higher you are in the air, so you can optimize the amount of damage inflicted from airborne combos by efficiently chaining relevant abilities. There are other combos that you can use with Deadly Embrace which alter its effects, such as the following:
Deadly Chain
Use Deadly Embrace on an enemy between attacks.
Deadly Combo
Land a 4-hit Combo on a single target on the ground after pulling it with Deadly Embrace.
Deadly Aerial Combo
Land a 3-hit Aerial Combo on a single target in the air after pulling it with Deadly Embrace.
Deadly Leap Chain
Execute a Deadly Leap on an enemy between attacks.
In addition to the above there’s also the Deadly Takedown technique, which can be executed by using Deadly Embrace on a larger enemy once its stagger bar (will) has been reduced to 50%. This will inflict the partially staggered status, giving you a window of opportunity to grapple the enemy with Deadly Embrace so that you can topple it to the ground and stagger it for a brief period, allowing you to get some free hits in. Ultimately, Deadly Embrace is one of the most versatile abilities in the game, and even if you don’t like the other abilities that the Garuda Eikon has to offer, you’ll probably find yourself switching to use it alongside other Eikon ability trees regardless.
Gouge
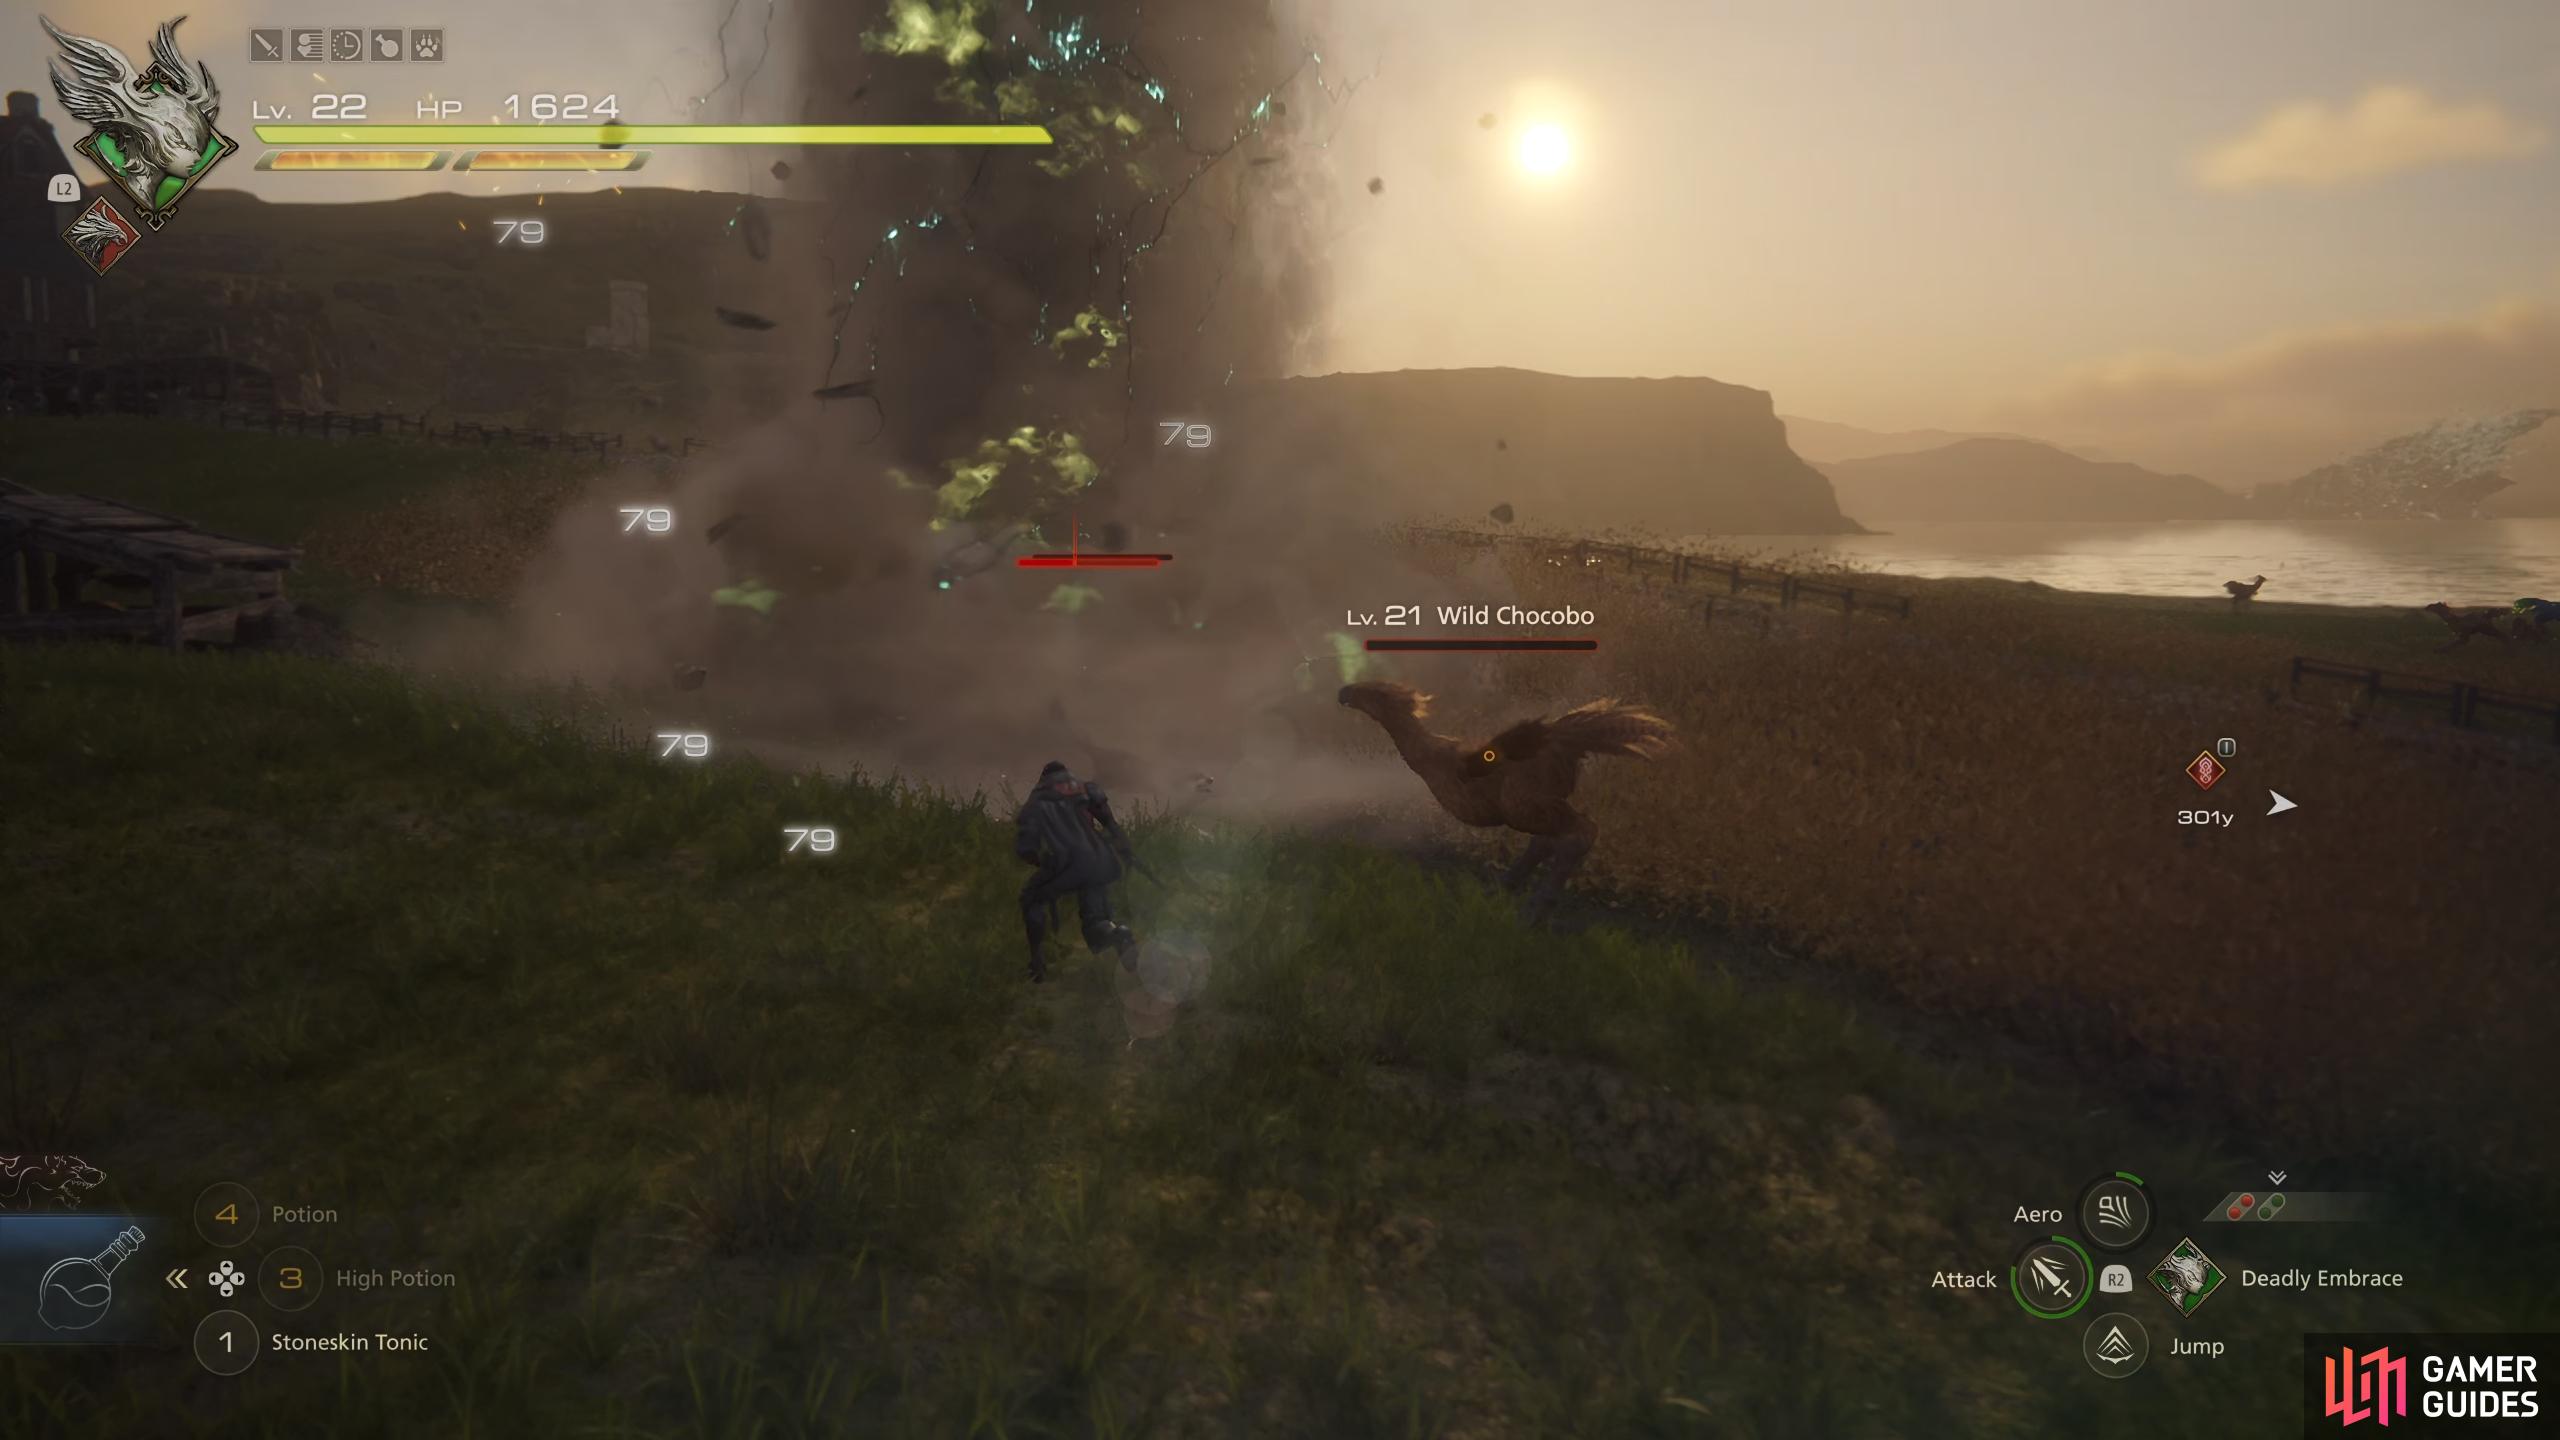
Gouge is one of the default Garuda abilities that are available to you as soon as you acquire the ability tree. It also happens to be one of our favorites, since it can inflict a massive amount of damage in a short period of time, whether to a single target or multiple enemies in a group. Although each strike doesn’t inflict as much damage per hit as some other abilities, it’s the stagger damage that it inflicts which really makes it valuable. For this reason it’s best to reserve the skill for use against any enemy that has a large Will Gauge.
The enemies with the largest Will Gauge will come in many forms, from minibosses such as Minotaur to Imperial Knights. It goes without saying that most bosses also have a lot of will to break through, so Gouge can be ideal to use at the beginning of a boss fight, and then as often as possible whenever it comes off coodldown, to stagger the boss as quickly as possible and maximize the amount of time that it will remain staggered. The only catch here is that most larger enemies and bosses will have scripted attacks that they use frequently, and if you’re hit by one of these it will break the chain of Gouge strikes, so you’ll need to time when you use Gouge carefully.
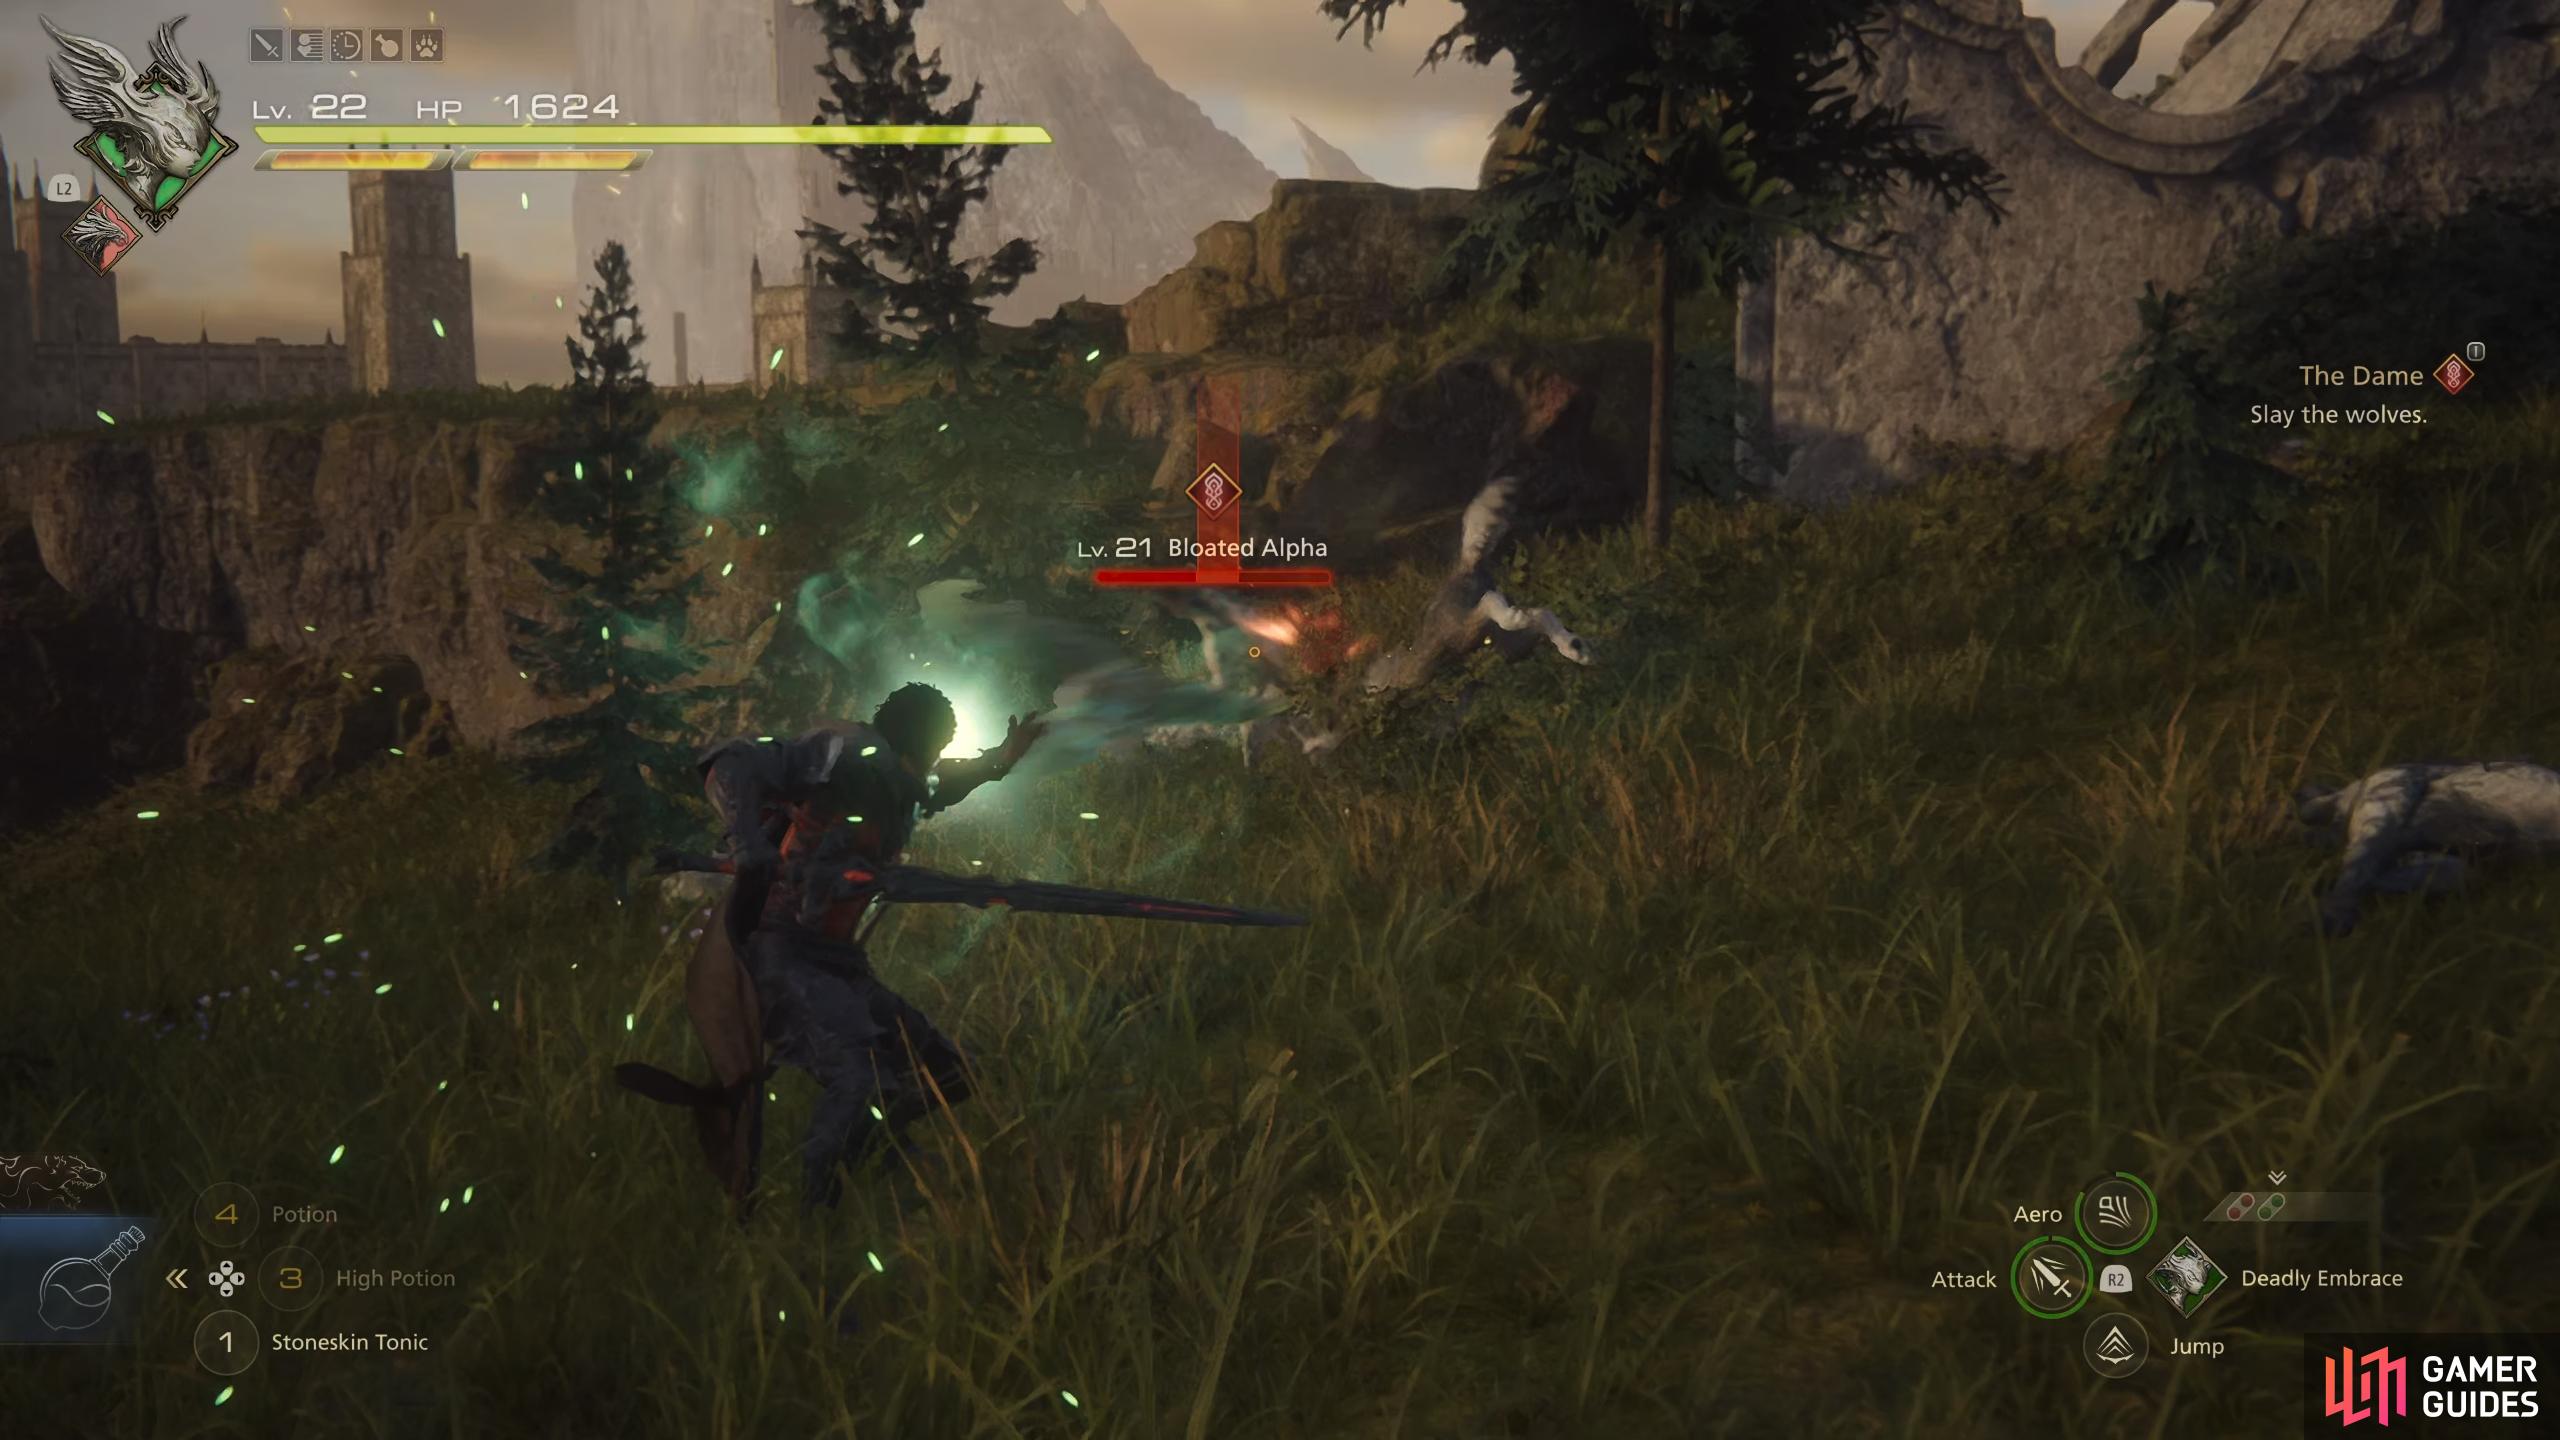
You can inflict multiple strikes with the base form of !Gouge.
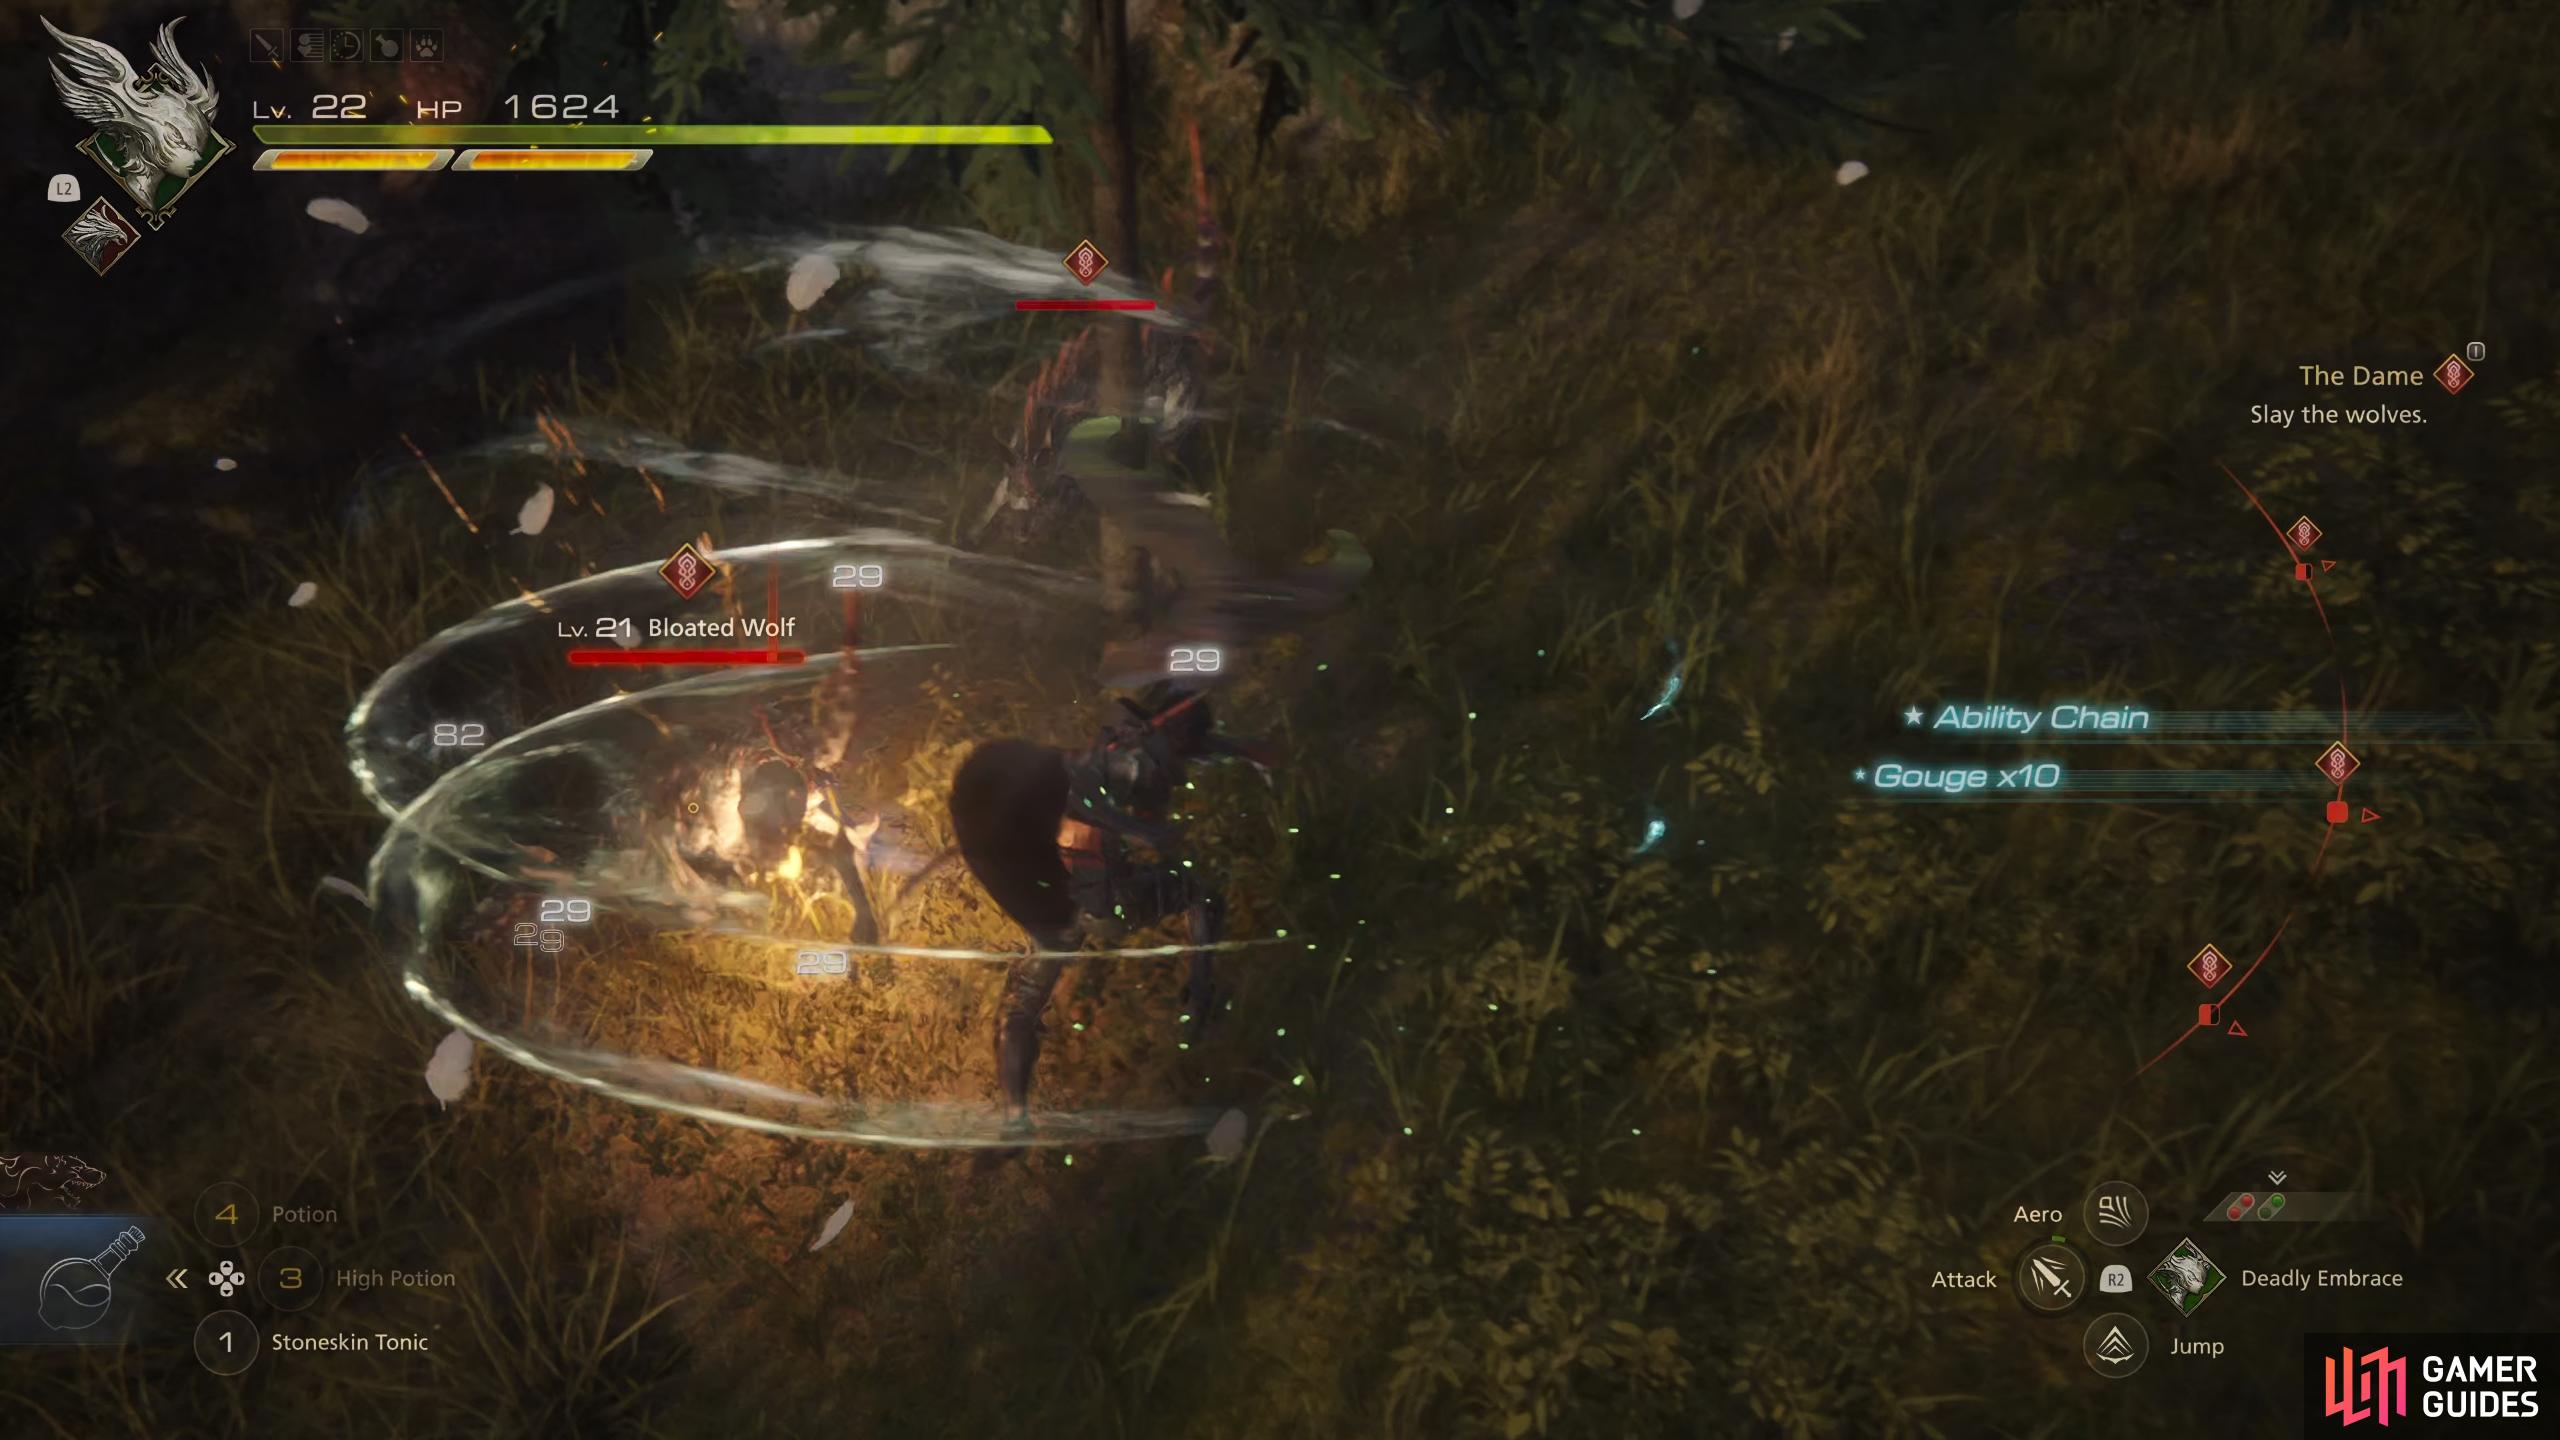
Upgrading !Gouge allows you to chain even more attacks by pressing square at the end of the base attack.
The other thing to note about Gouge is that you can follow up the initial attack chain with multiple strikes by continuously pressing  . This will inflict significantly more damage to both health and will, and you can upgrade the skill to increase the speed at which these follow up strikes are executed. The upgrade is important if you want to get as many hits in as possible before a scripted attack is launched against you, but it can also be useful for finishing off a group of weaker enemies quickly. It may take some practice to get the timing right and it will be different for each type of enemy, but once you’ve got the hang of it this skill will become invaluable.
Wicked Wheel
The Wicked Wheel ability is another that you’ll have access to as soon as you acquire the Garuda form. The use of this skill thrives in midair combat, so if you enjoy using combos in the air it’ll be among the most useful. The skill will not only execute a spinning chain of attacks as you become airborne, but it will also lift all enemies within range into the air as well, making them susceptible to follow up attacks that utilize airborne combos.
There are some abilities which are specifically intended to be used while airborne to maximize their effectiveness, such as Downthrust. This is one of the basic abilities that you can acquire early on for relatively few Ability Points, and it’ll inflict more damage the higher up in the air that you are when it’s executed. However, you can also use more basic combos that don’t require the use of an ability by combining melee and ranged attacks with and  respectively, and if you pull one of these off it will result in a Wicked Combo to inflict more damage at the end of the chain.
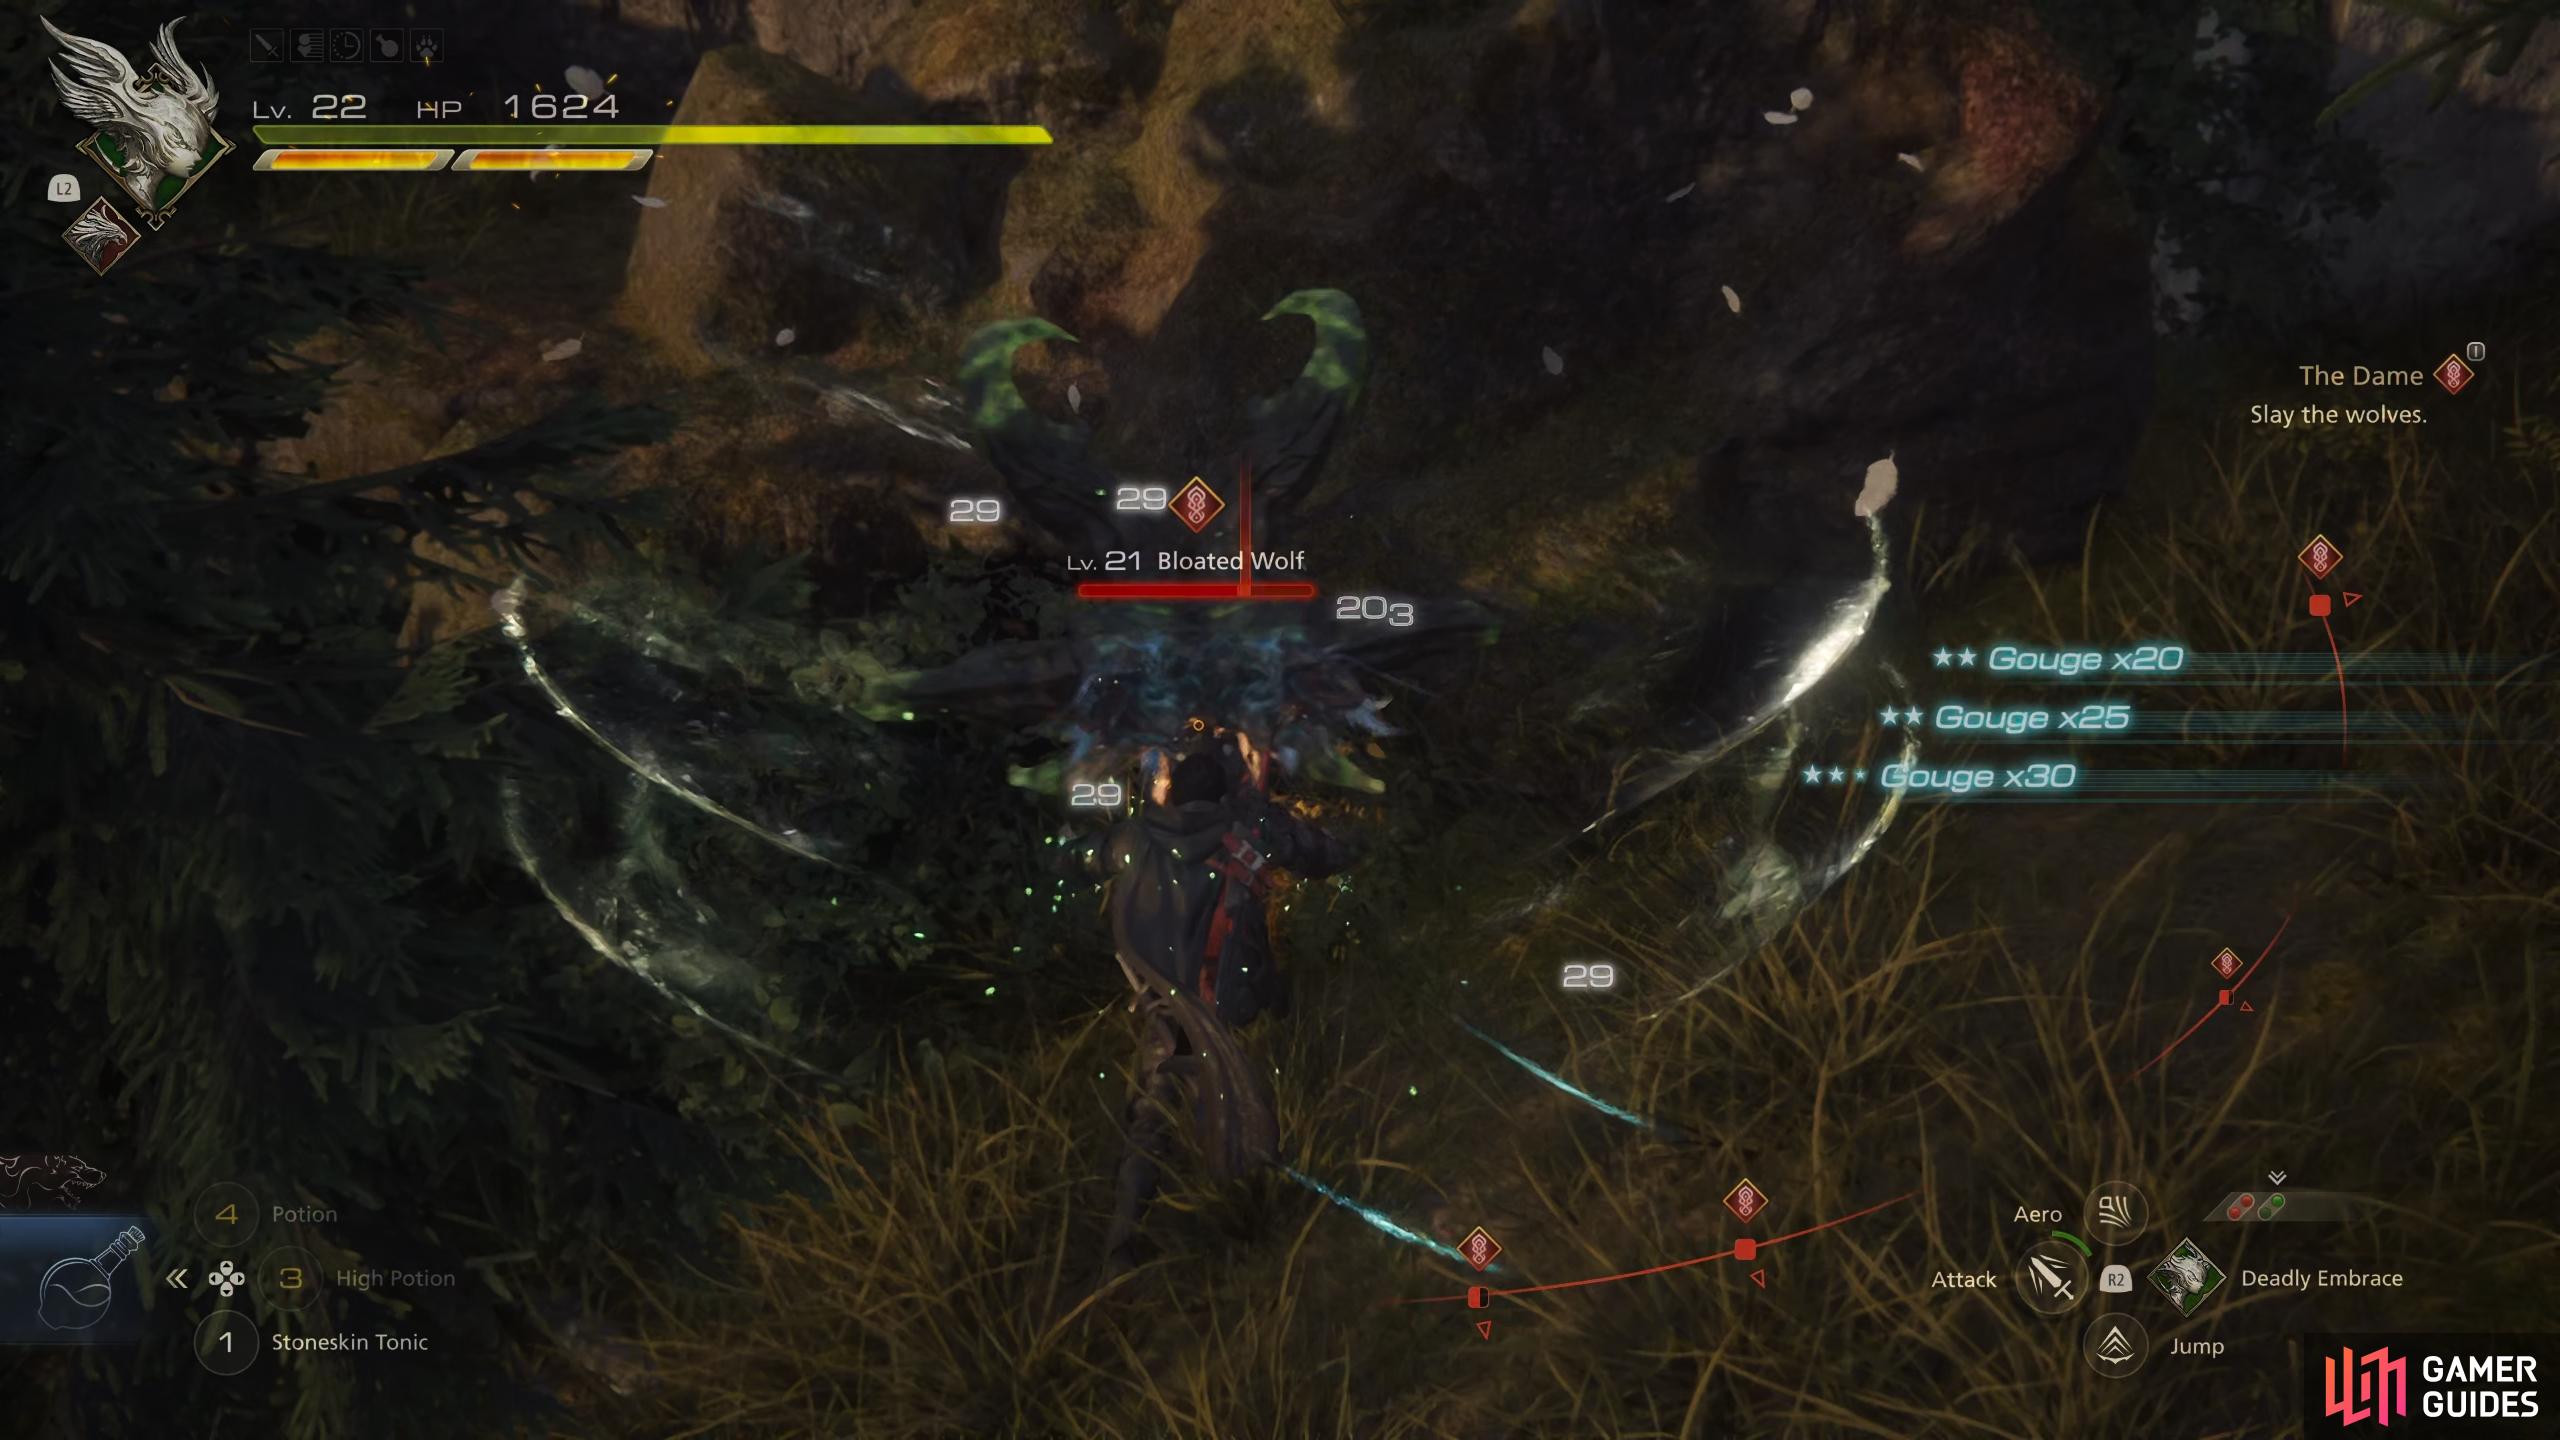
If you upgrade the Wicked Wheel ability you can increase the number of hits inflicted by the initial animation. This makes it more viable as a generic Area of Effect attack to inflict damage to multiple enemies in an area, while briefly staggering them as they fall back to the ground, even if you don’t follow it up with an aerial combo. The main downside to this skill is that it’s not as useful against larger elite enemies and bosses, since you won’t be able to lift them into the air in the same way that you can with weaker enemies.
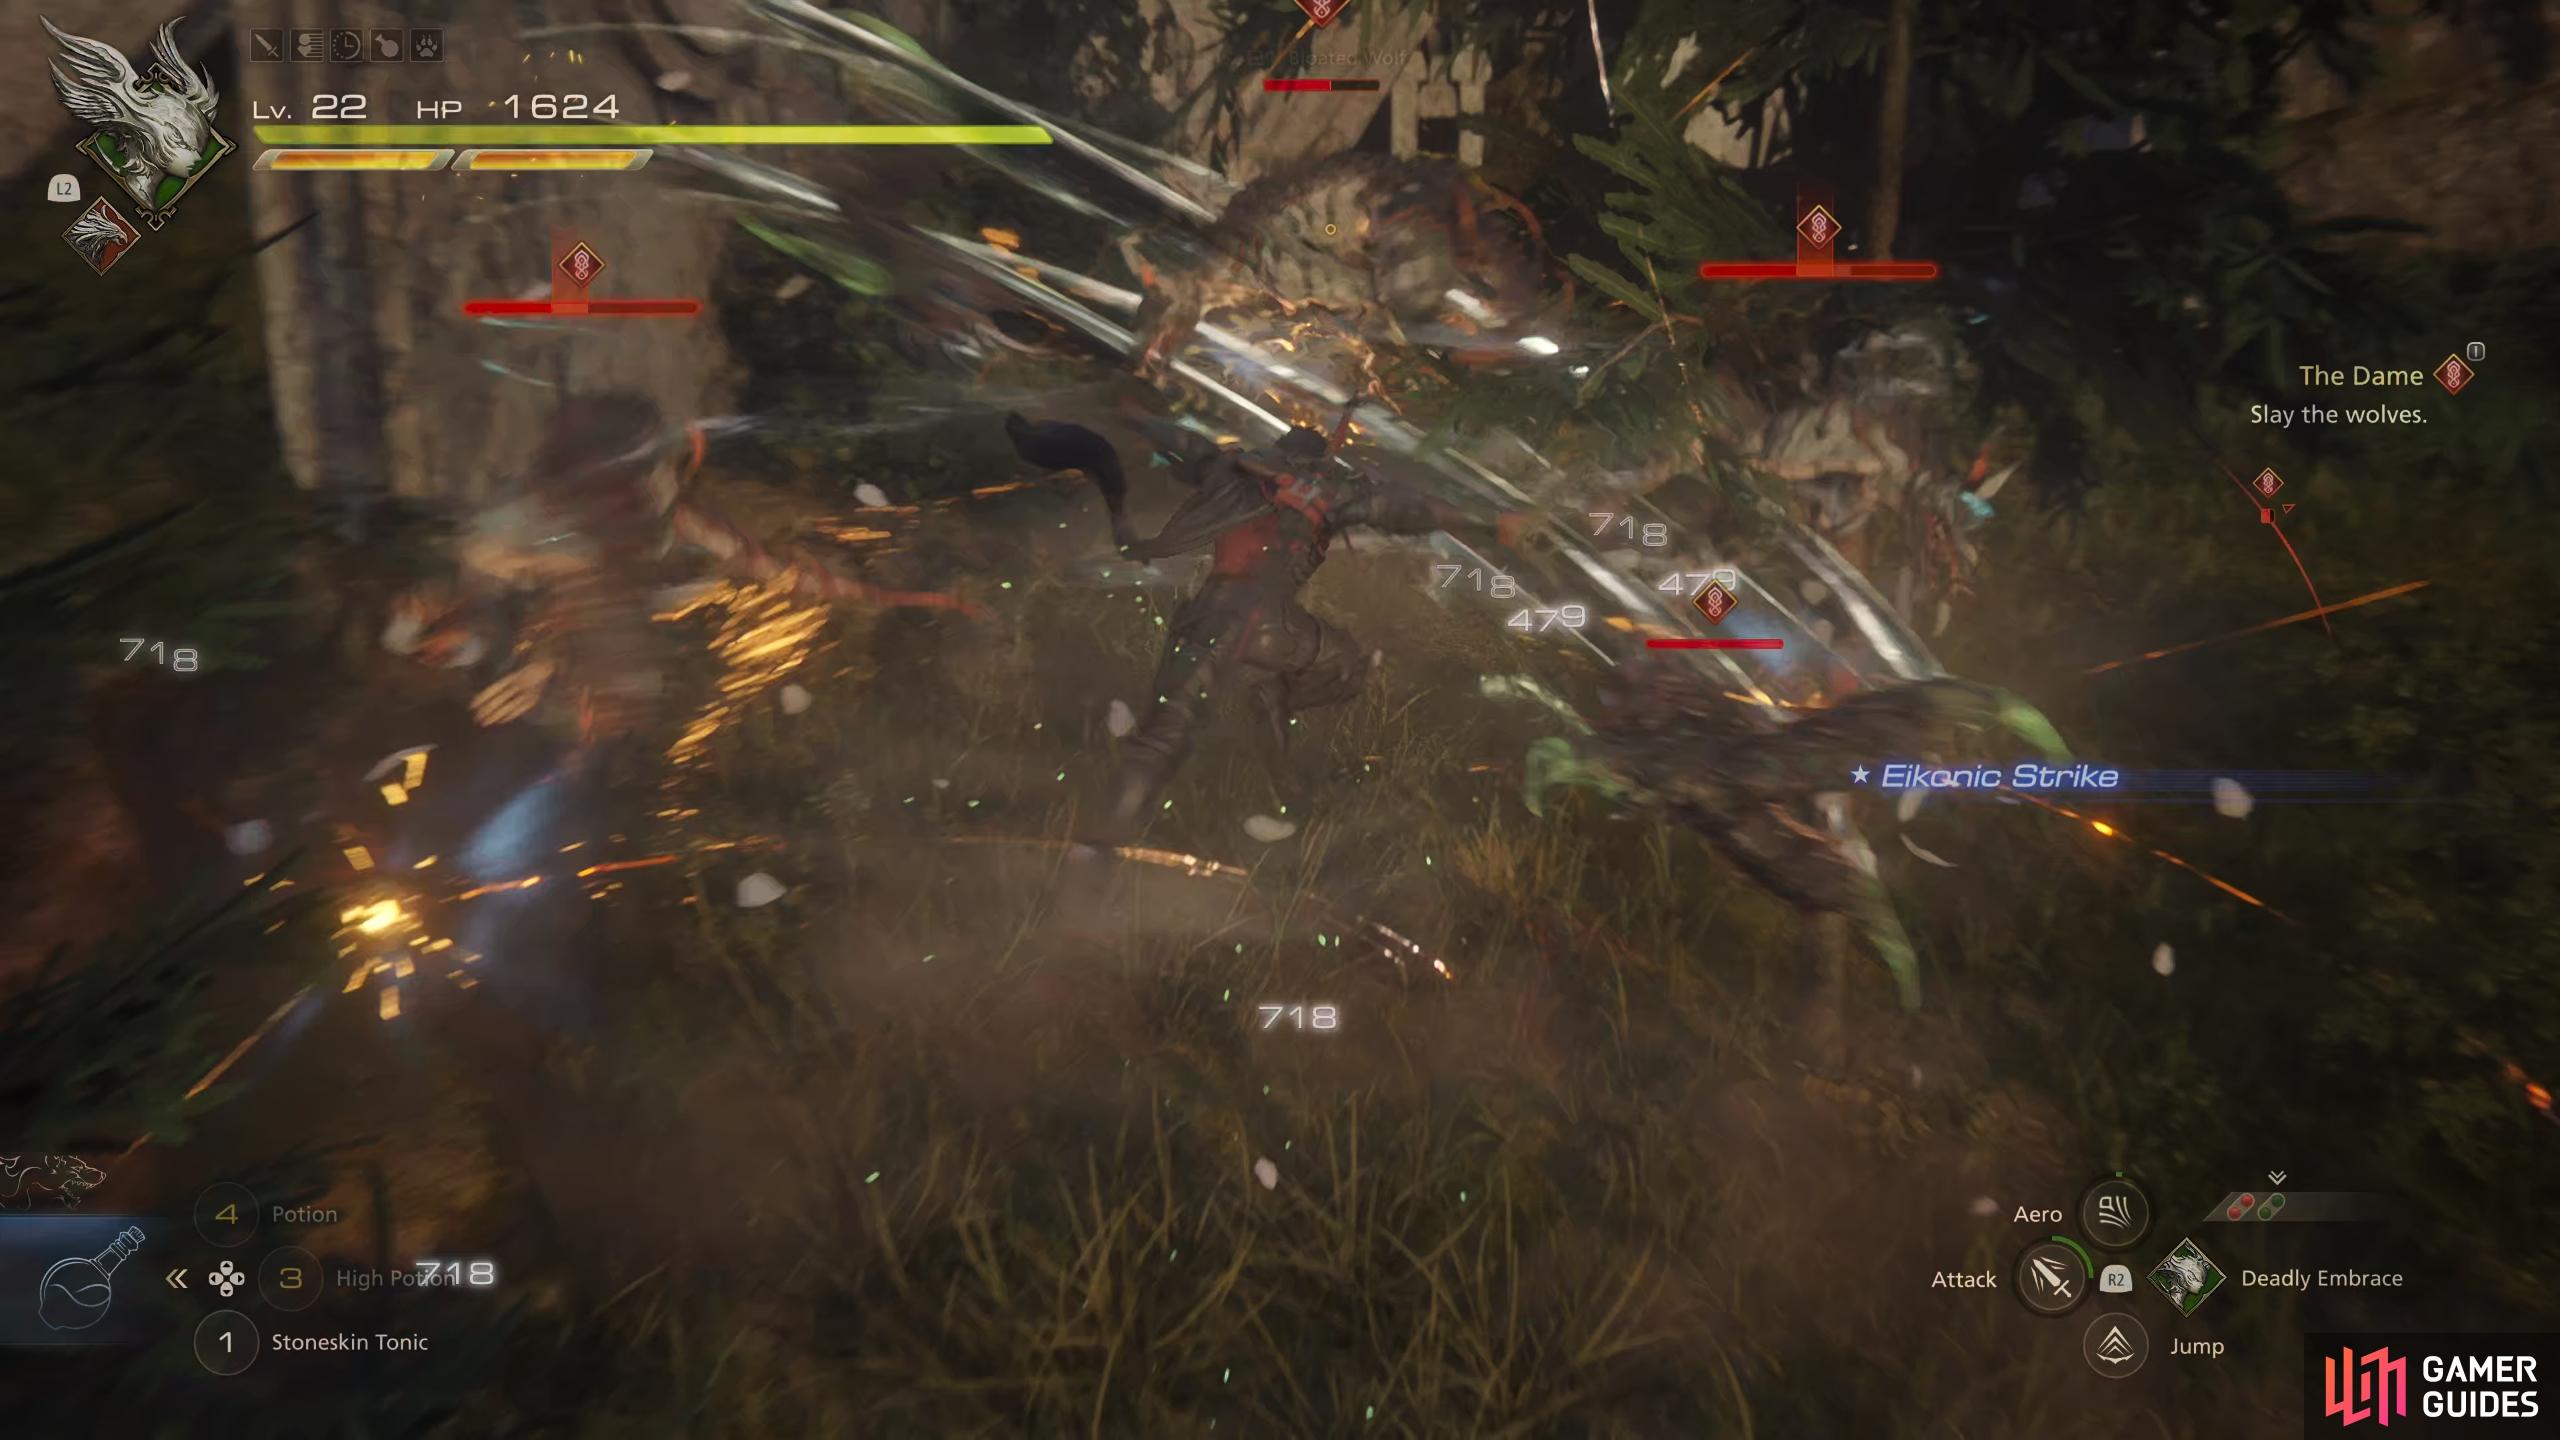
!Wicked Wheel can be used to strike upwards into the air, bringing weaker enemies with you.
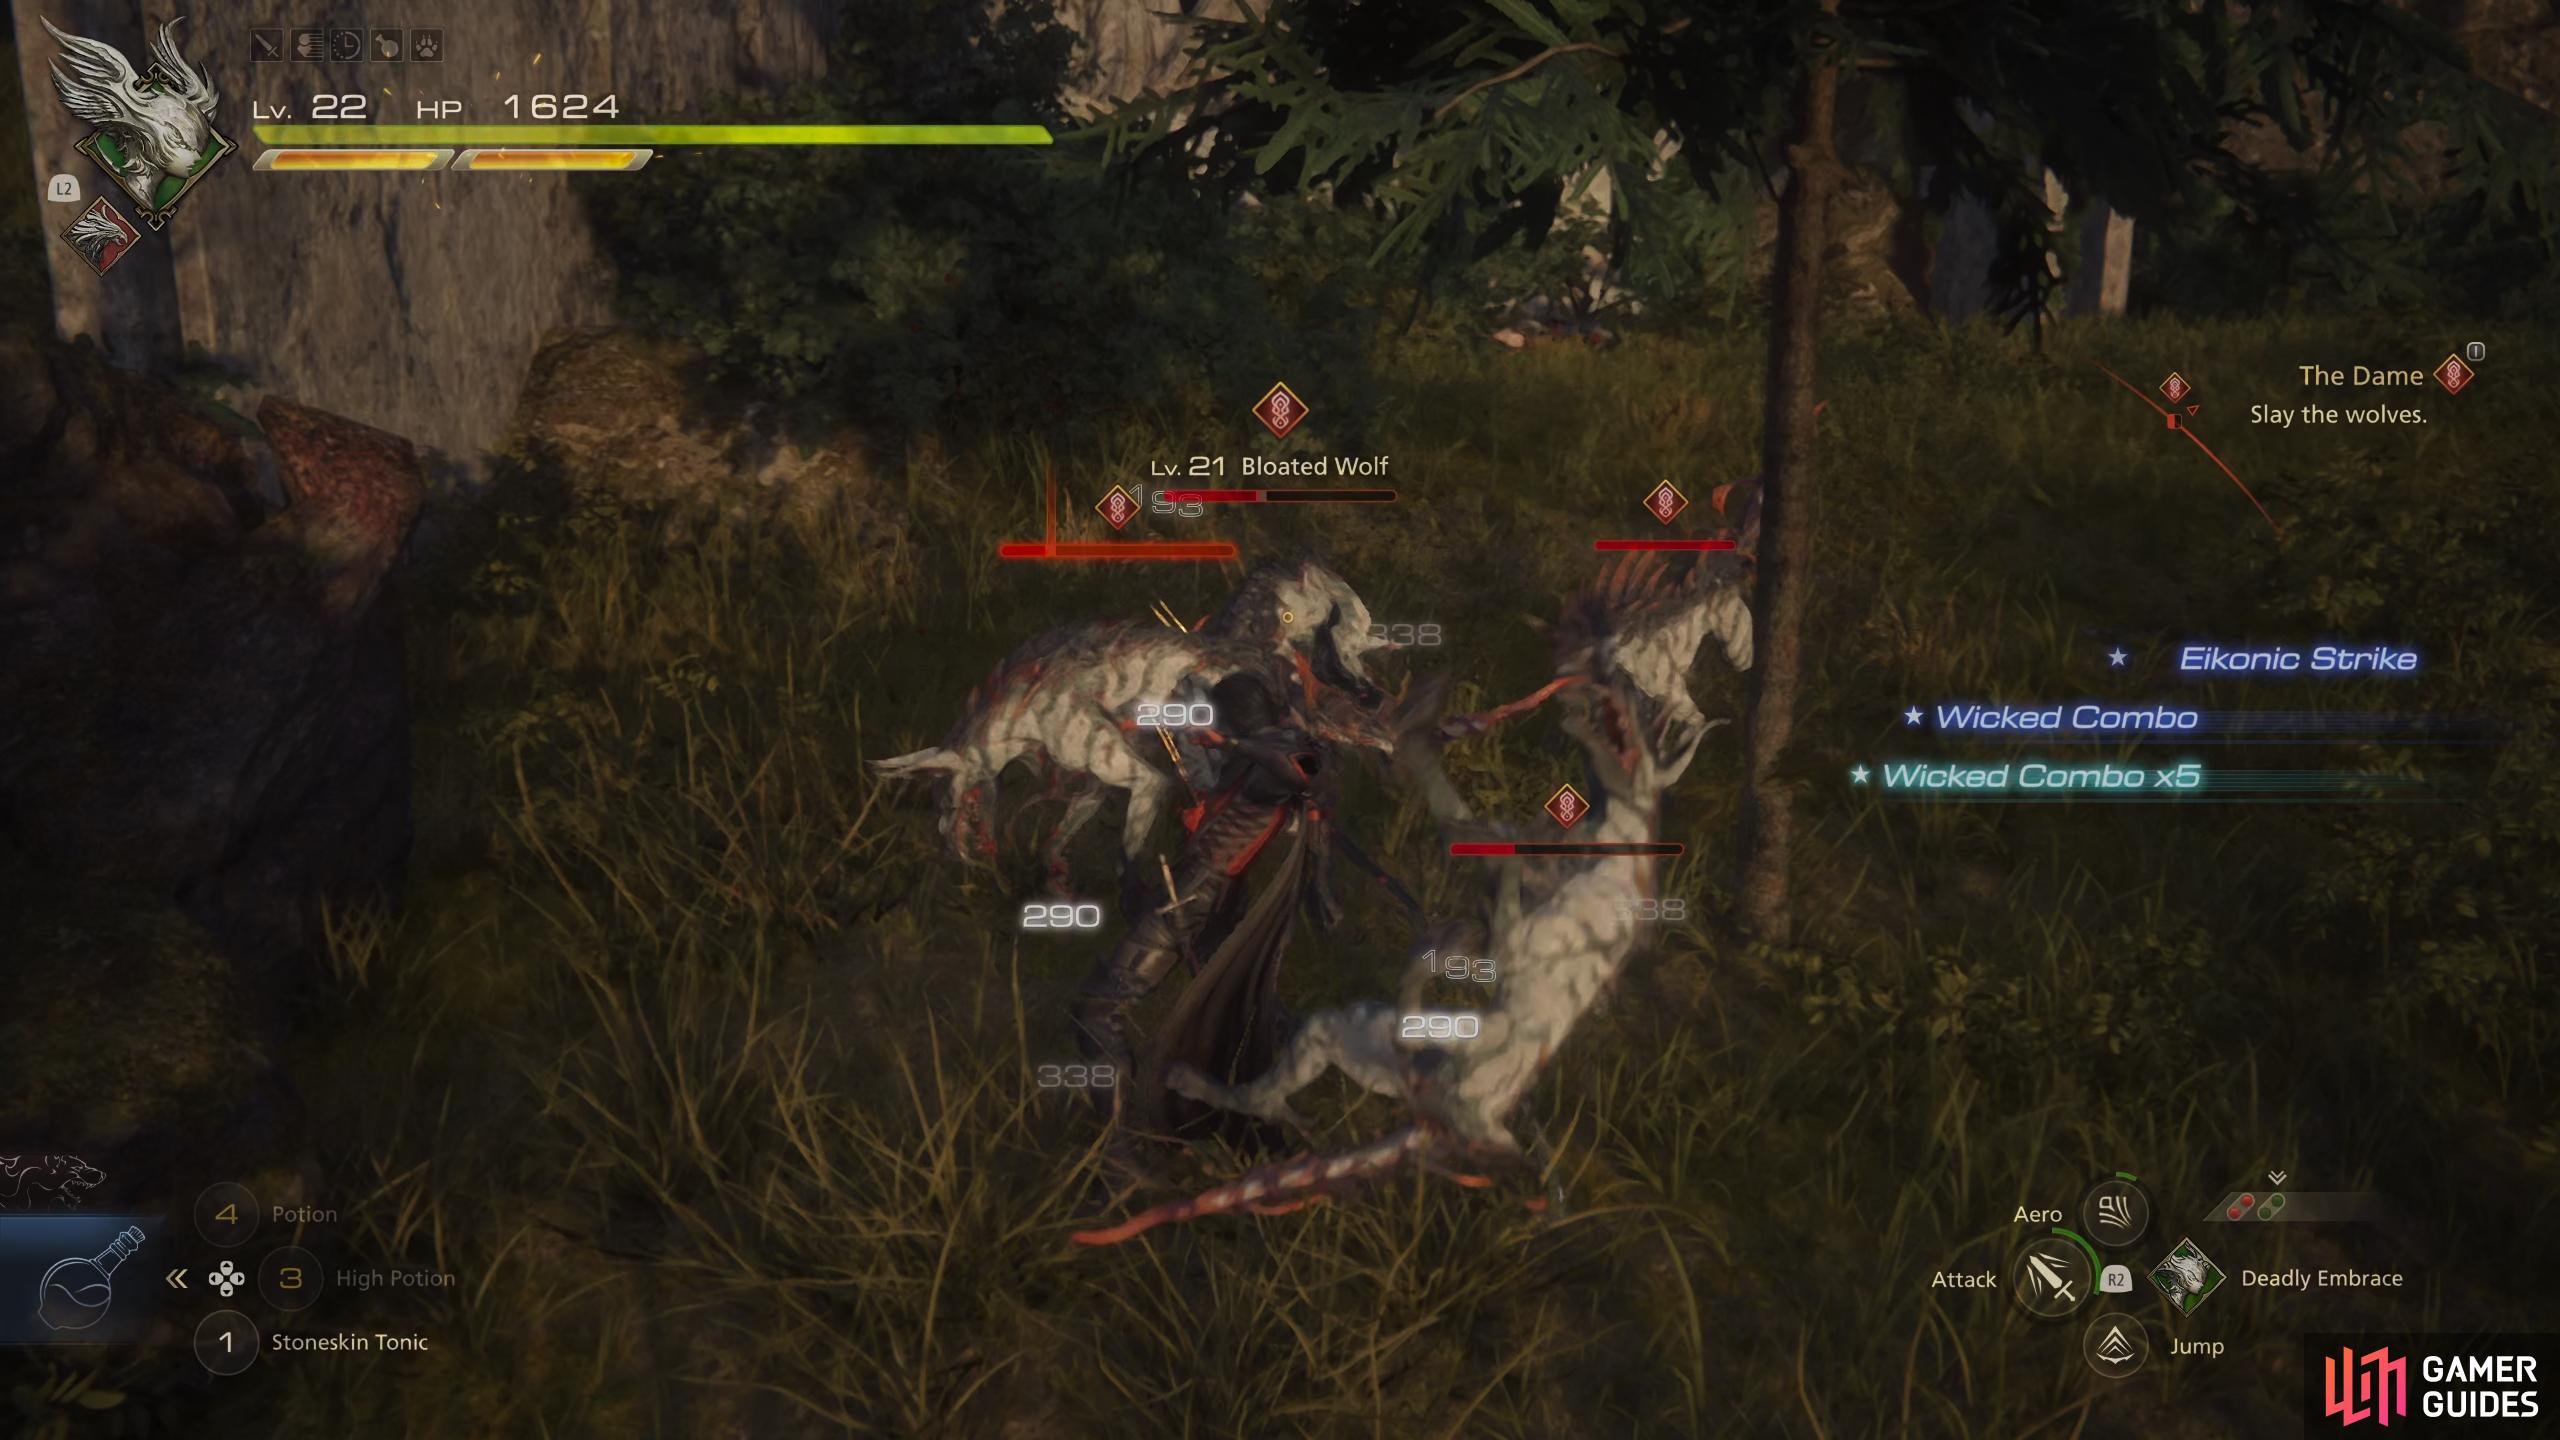
You can hit the enemies while in the air to execute a Wicked Combo.
Rook’s Gambit
Rook’s Gambit is one of the cheaper abilities that you can purchase, costing only 120 Ability Points for the base version. This is a bargain considering the usefulness of the skill when fighting both weaker enemies and elites or bosses, but you’ll need to get the timing right if you want to take full advantage of what it has to offer. If you use the skill in its most basic form, you will jump backwards and then quickly lunge forward to execute a strike. However, if you time it right so that you execute the skill just before an enemy is about to hit you, in the same way that you do with a Parry or a Counterattack, it will inflict much more damage and the ability cooldown will be reduced by one third.
In essence, Rook’s Gambit is just a fancy counterattack skill, which allows you to inflict much more damage than you would with a counterattack that utilizes a basic melee or ranged attack with or after executing a ![]() Precision Dodge by pressing
Precision Dodge by pressing  . In this case you don’t need to execute a dodge, but at the precise moment that you would, use Rook’s Gambit instead. If you upgrade the skill you’ll increase the number of hits executed upon landing a strike. Each time you perform the attack successfully you’ll see it logged as a Gambit Counter.
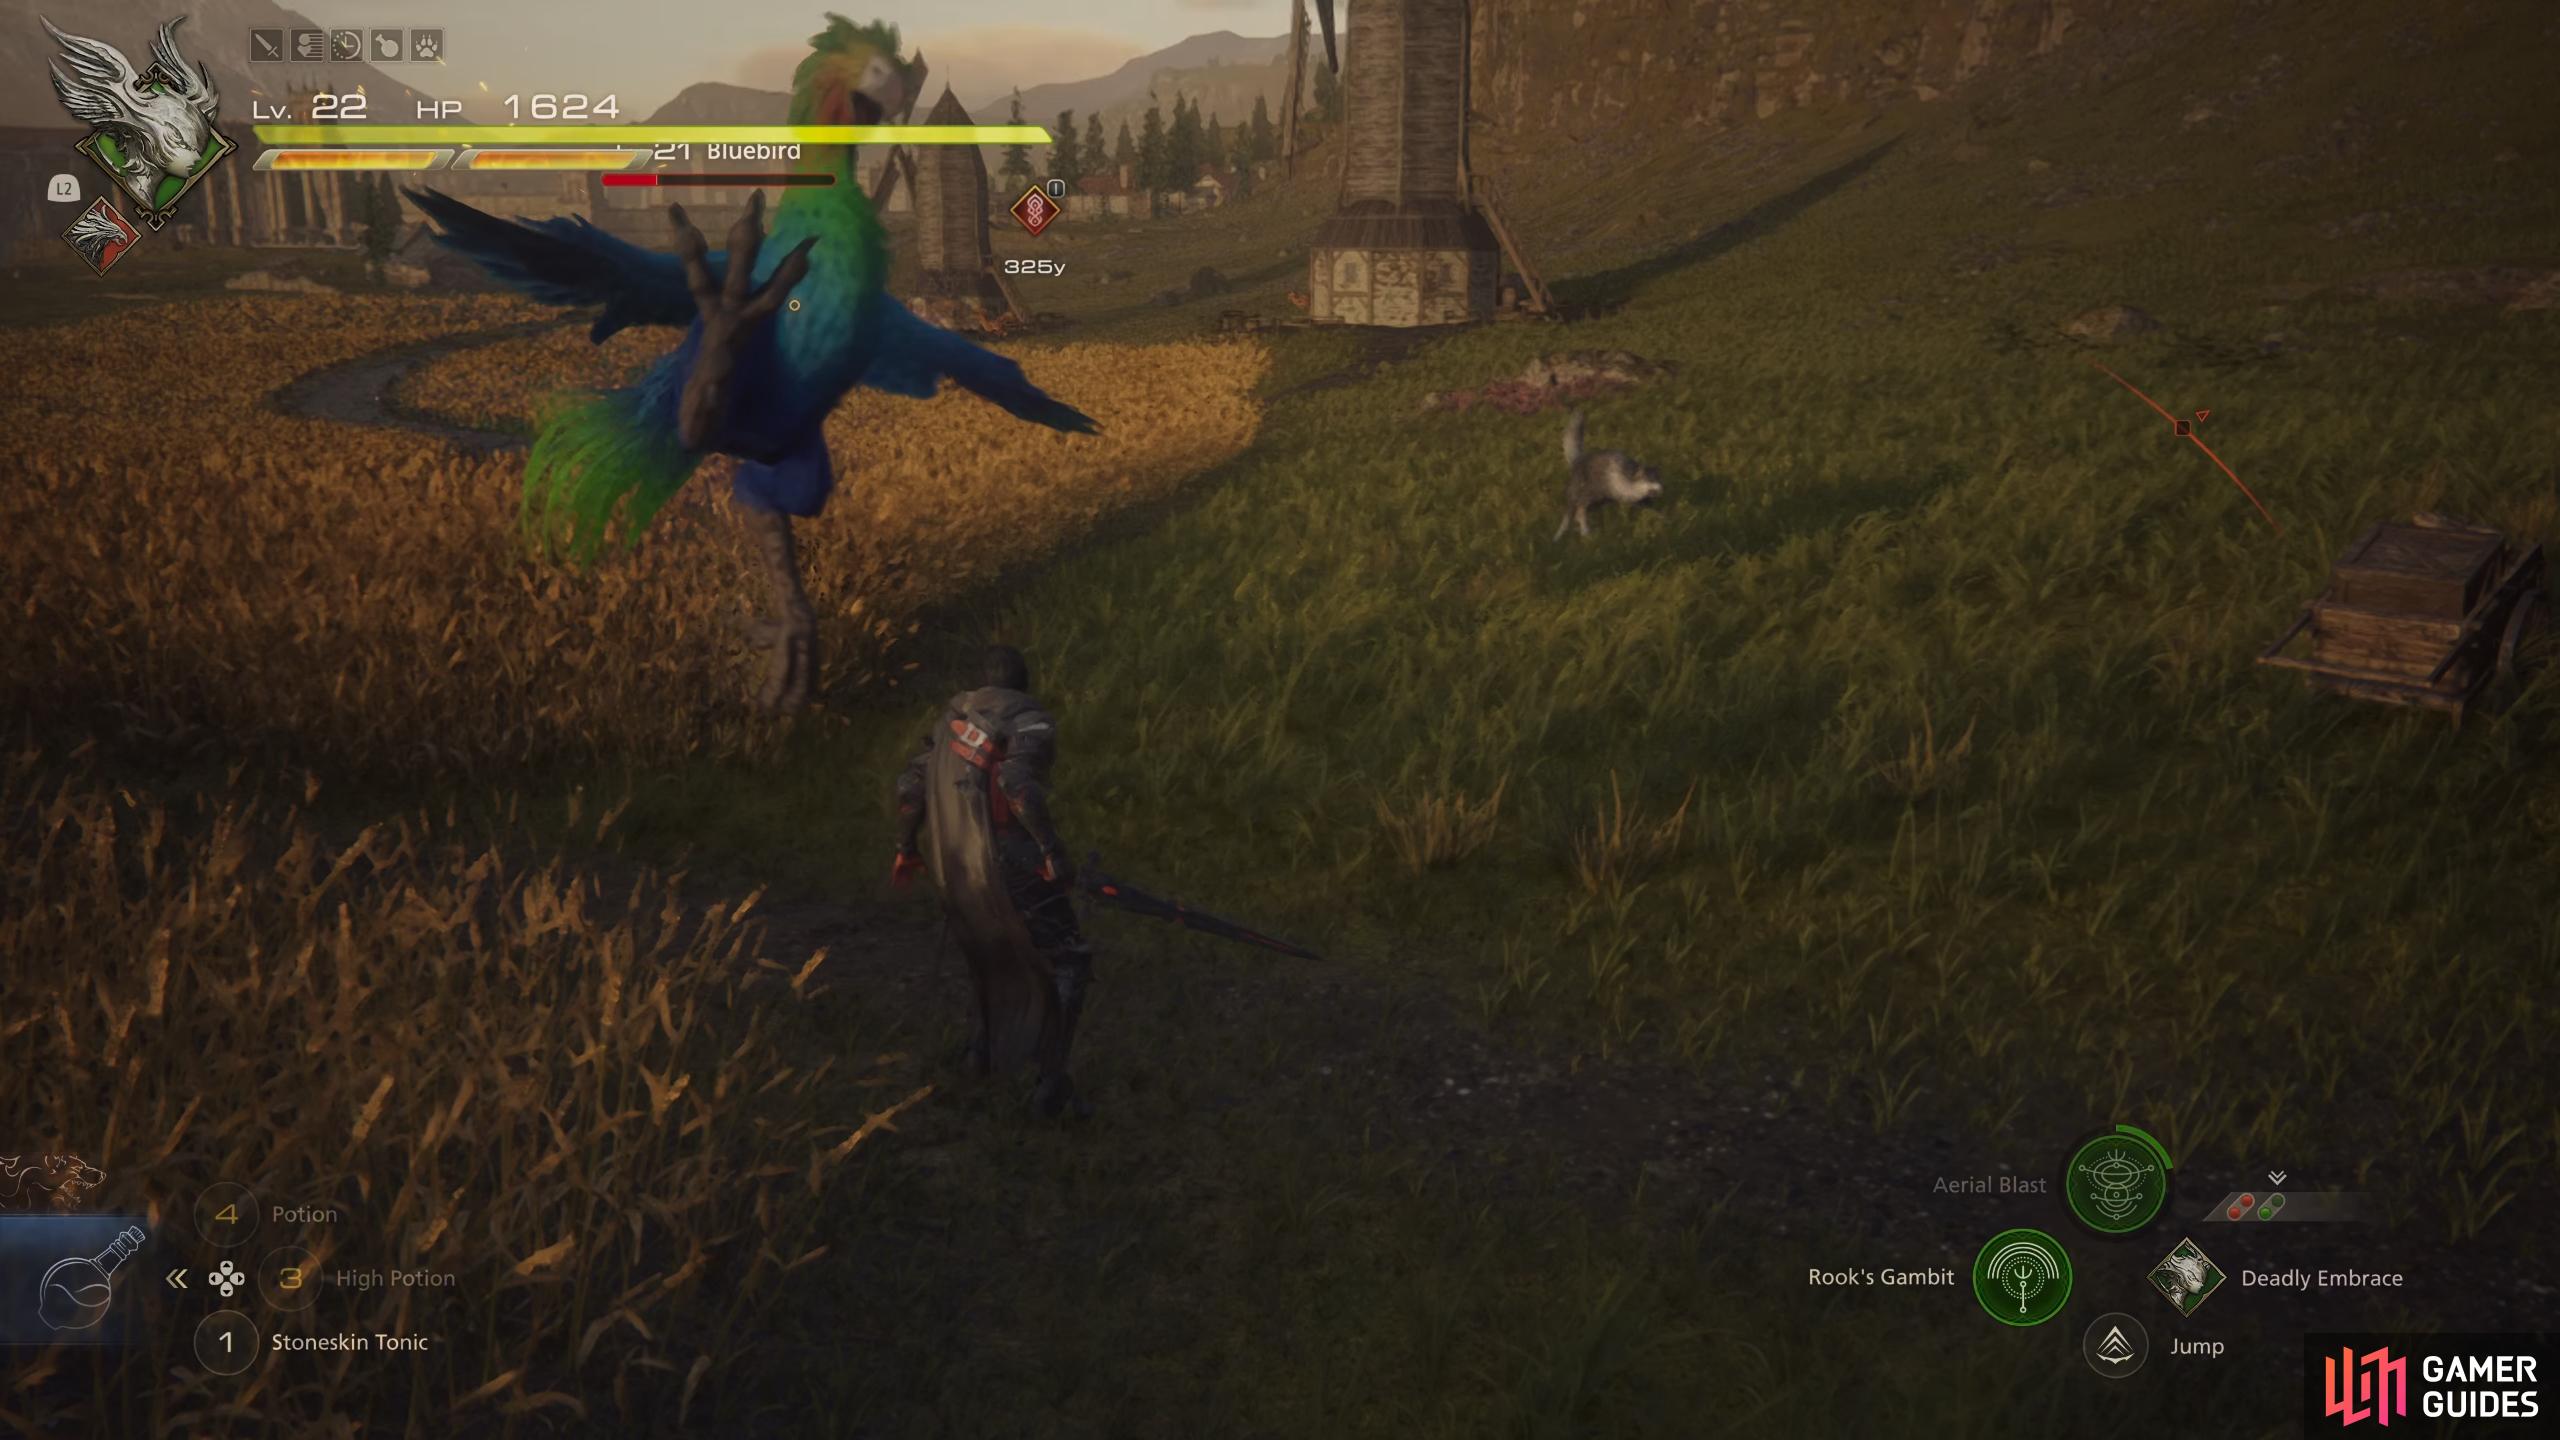
You need to use !Rook’s Gambit just before an enemy attack hits you.
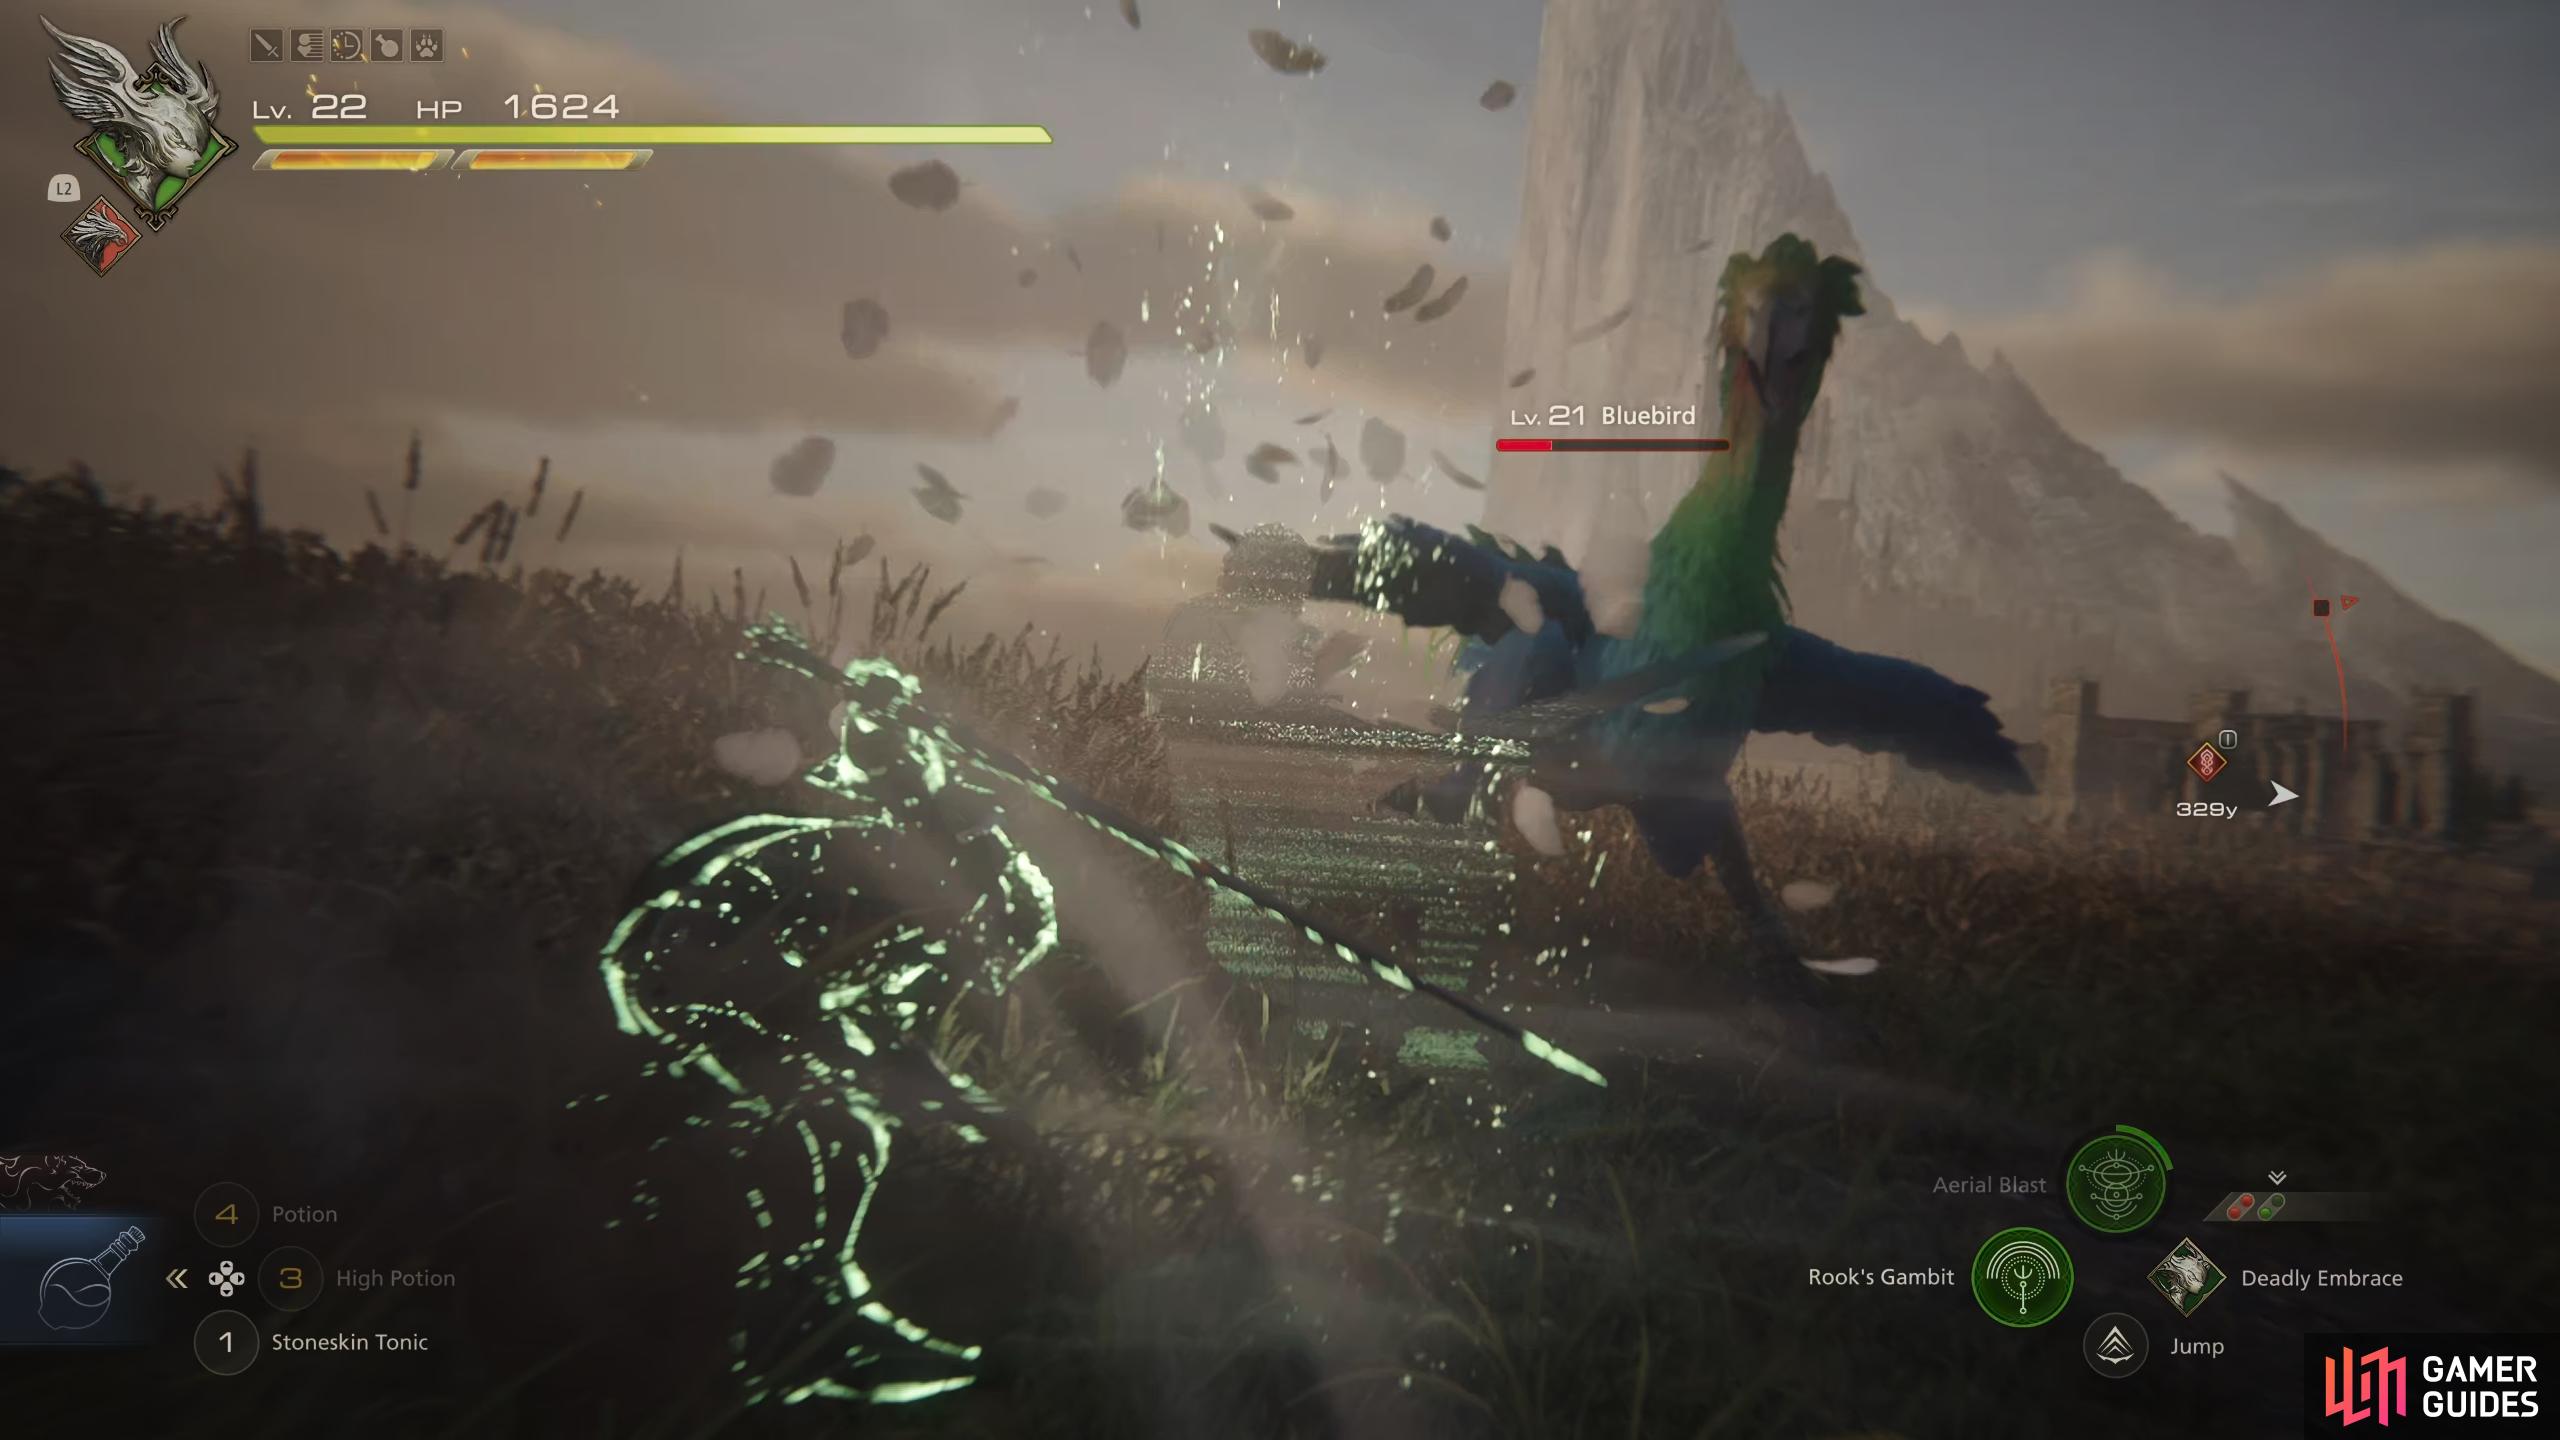
You’ll shift backwards just before the counter from !Rook’s Gambit is executed if you time it properly.
It may be one of the most basic abilities, but it’s also one of the most useful for getting a few quick hits in after avoiding damage from a scripted attack. The only thing you need to look out for is when not to use it, such as when an elite enemy or boss executes a chain of attacks that cannot be interrupted. If you try using it in this scenario, it will only bring you closer to their attack and put you in harms way. Note that the ability can be used either on the ground or in midair.
Aerial Blast
Aerial Blast is one of the easiest abilities to use across all Eikon forms, and arguably the best among those that the Garuda form has to offer. This is because all you need to do to execute it is cast it at a group of enemies or a single powerful one, then watch it do its work. It isn’t the most damaging ability in terms of health, but it inflicts a massive amount of damage to the Will Gauge, and is therefore extremely useful to passively erode the will of an elite or boss. The attack comes in the form of a tornado that slowly follows an enemy for about 15 seconds, and it will continuously damage them for that duration. You don’t need to do anything after casting the ability, so it gives you plenty of time to execute different attacks and combos at the same time.
Aside from using Aerial Blast as a way of passively eroding the will of tougher enemies, you can also use it against groups of weaker enemies. If you do this it will lift most of these into the air while damaging them, rendering them completely useless while being vulnerable to airborne combos. In most cases it can easily kill a group of enemies without you needing to do anything else in addition, especially once you’ve upgraded the skill which will increase the duration of the tornado.
Although it’s one of the most expensive skills to purchase and upgrade, it’s easily worth it if you’re looking for a skill that doesn’t require much in the way of practice to make use of, and it’s perfect for those who aren’t confident with the timing required for some of the other abilities.
!Aerial Blast is one of the easiest and most useful abilities to master, but it’s also among the most expensive.
Garuda Ability Accessories
There are a number of accessories that you can acquire to improve the various Garuda Eikon abilities in different ways. These can be acquired either as rewards for specific main or side quests, found in chests that you’ll encounter during quests, or purchased from shops. There’s also one in this case which is acquired from the Garuda Chronolith. The improvements to the abilities come in the form of reducing their cooldowns slightly, or improving their damage by a reasonable percentage. You’ll want to equip these only if you find yourself using a particular ability more often than those from other Eikons, since accessory slots are fairly limited.
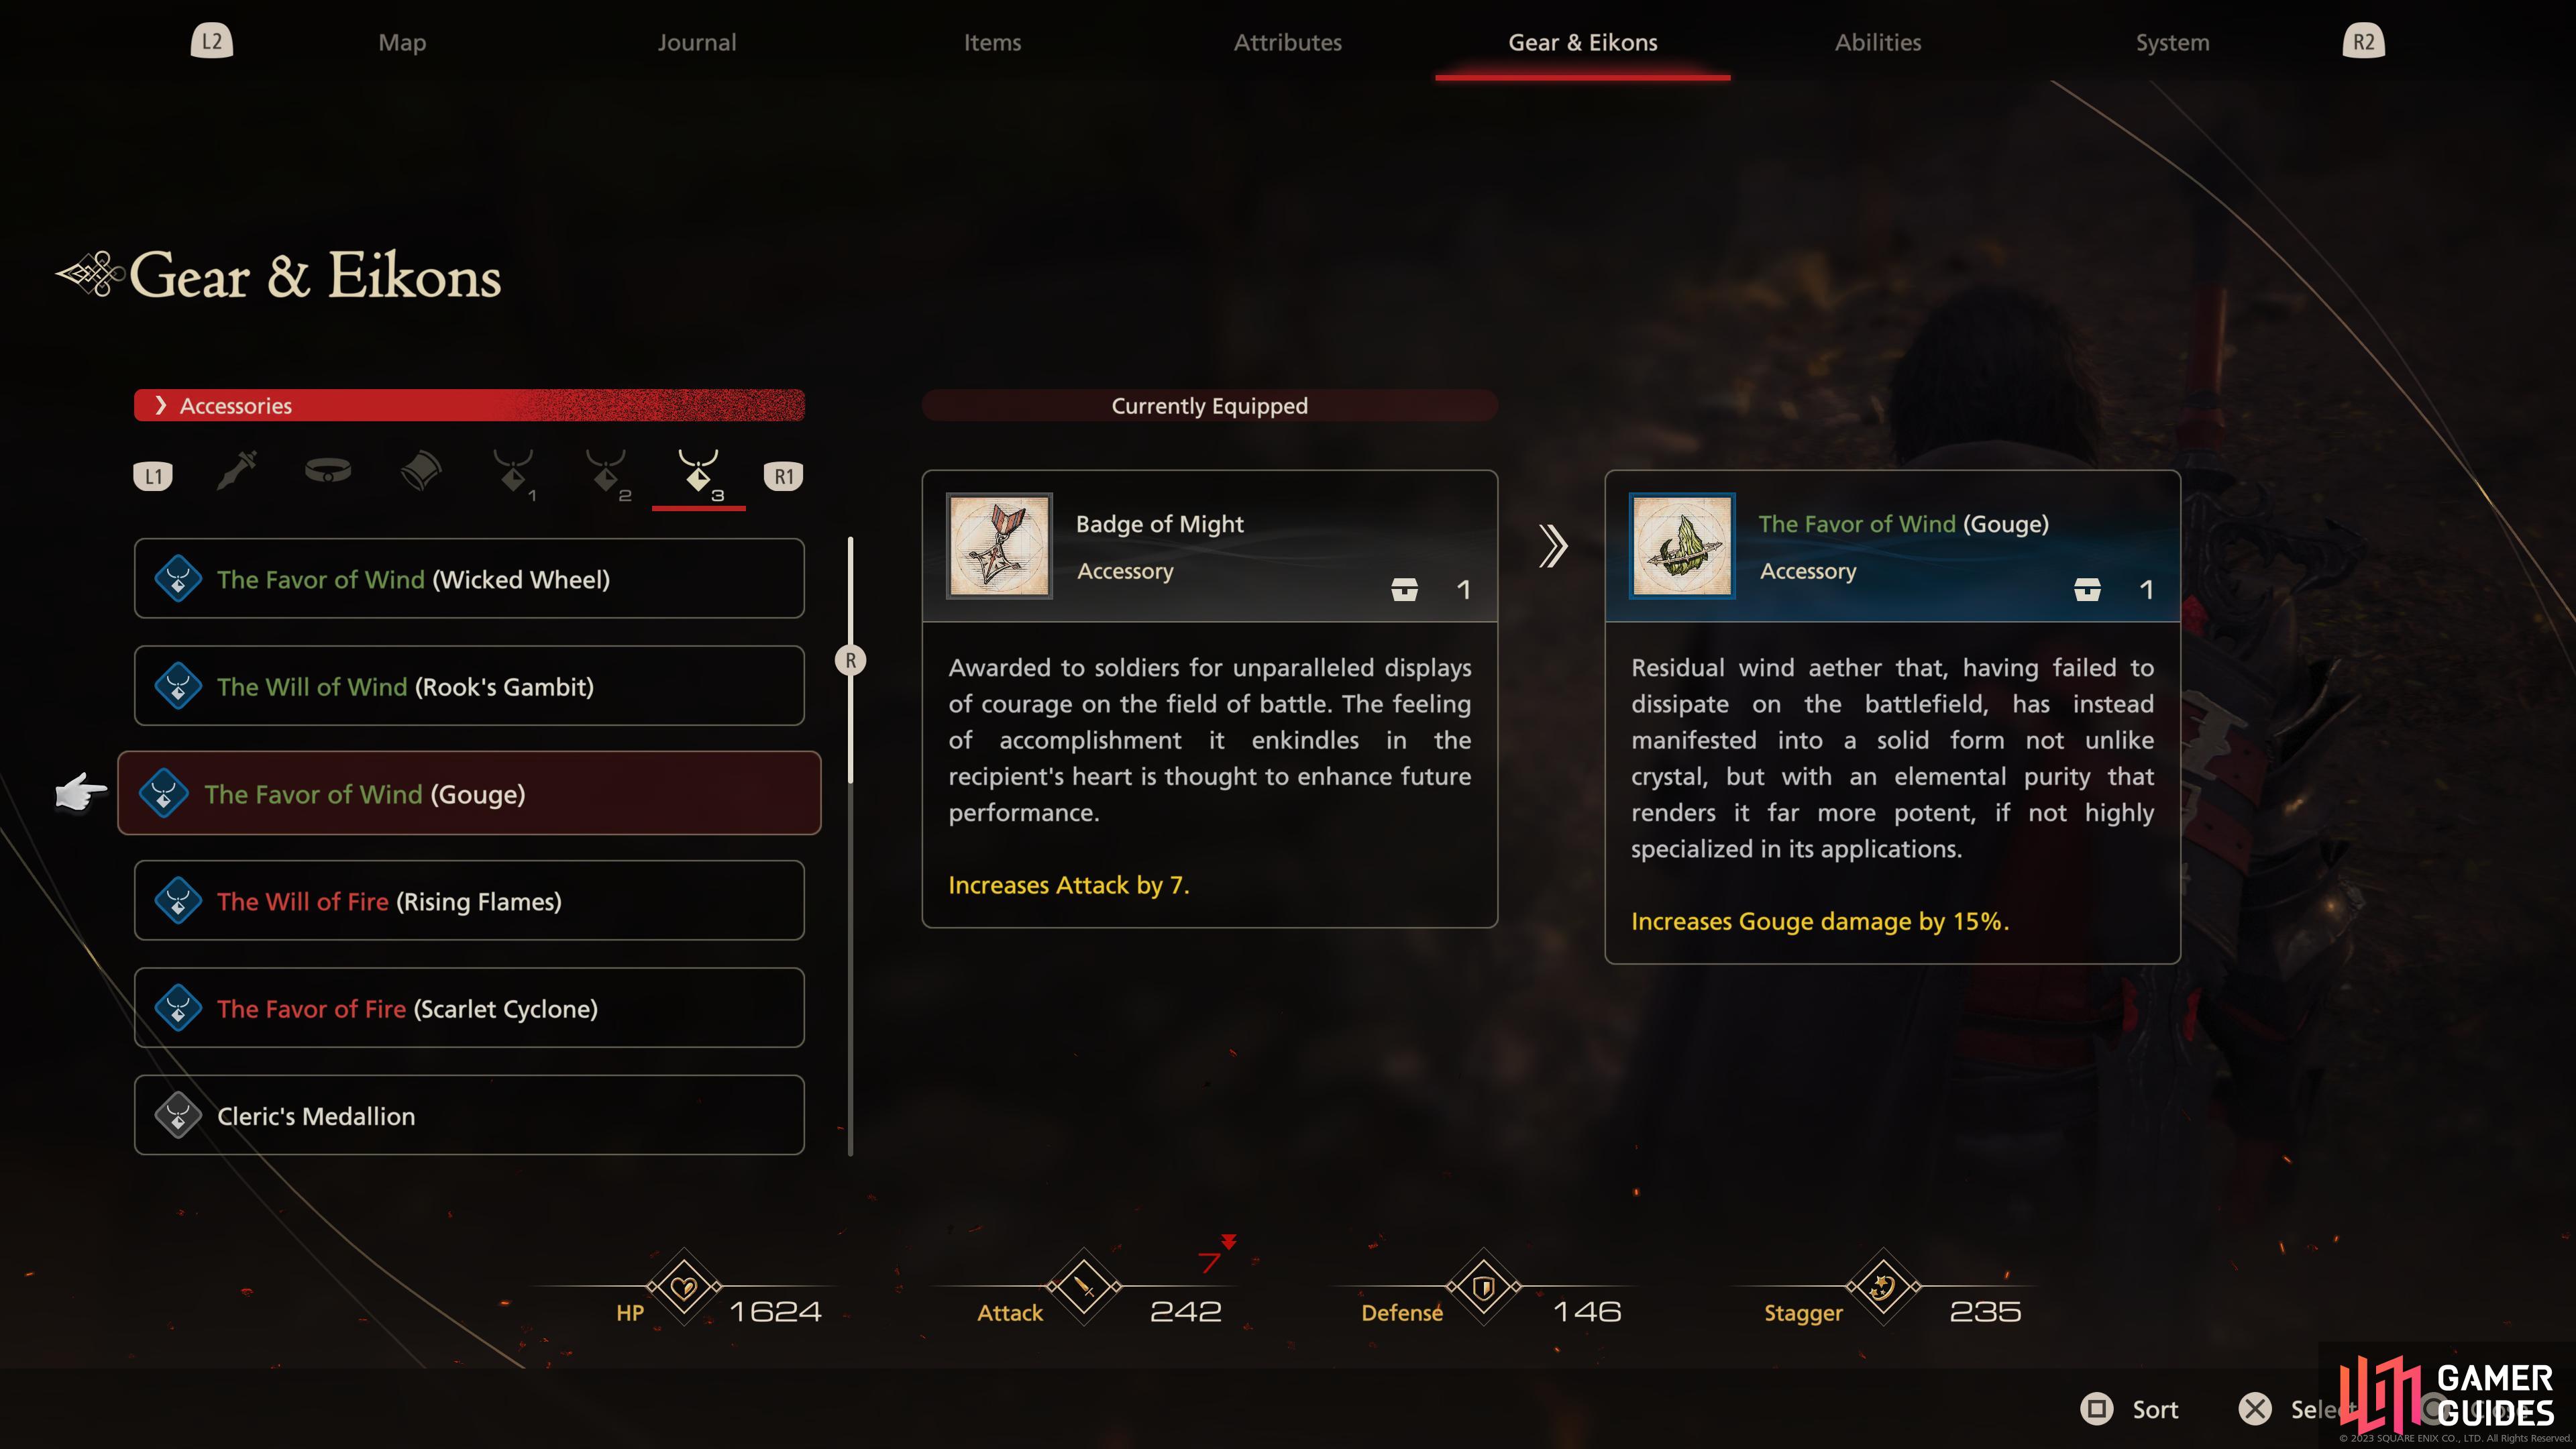
You’ll find numerous accessories which can be used to improve !Garuda abilities, such as this one which increases !Gouge damage by +15%.
| Accessory | Effect | Location |
|---|---|---|
| Reduces cooldown of Aerial Blast by -11 seconds | Found in a chest during the Fire and Ice main quest | |
| The Will of Wind (Aerial Blast) | Increases Aerial Blast will damage by +12% | Acquired as a reward after completing the Garuda Chronolith |
| Reduces cooldown of Rook’s Gambit by -2.7 seconds | Purchased from Charon’s Toll shop at the Hideaway | |
| The Will of Wind ( |
Increases Rook’s Gambit damage by +10% | Found in a chest during the |
| Increases Wicked Wheel damage by +10% | Found in a chest during the |
|
| The Break of Wind (Wicked Wheel) | Reduces cooldown of |
Acquired as a reward from the For Great Justice II side quest |
| Increases Gouge damage by +15% | Found in a chest during the |
|
| Reduces Gouge cooldown by -2.7 seconds | Acquired as a reward for completing the Dark Clouds Gather main quest |
If you want to see each of the above Garuda Eikon abilities in action, take a look at the video below!
More FF16 Combat Guides
There’s a lot more to learn about the combat system in Final Fantasy XVI, so be sure to check the links below for more info:
No Comments