
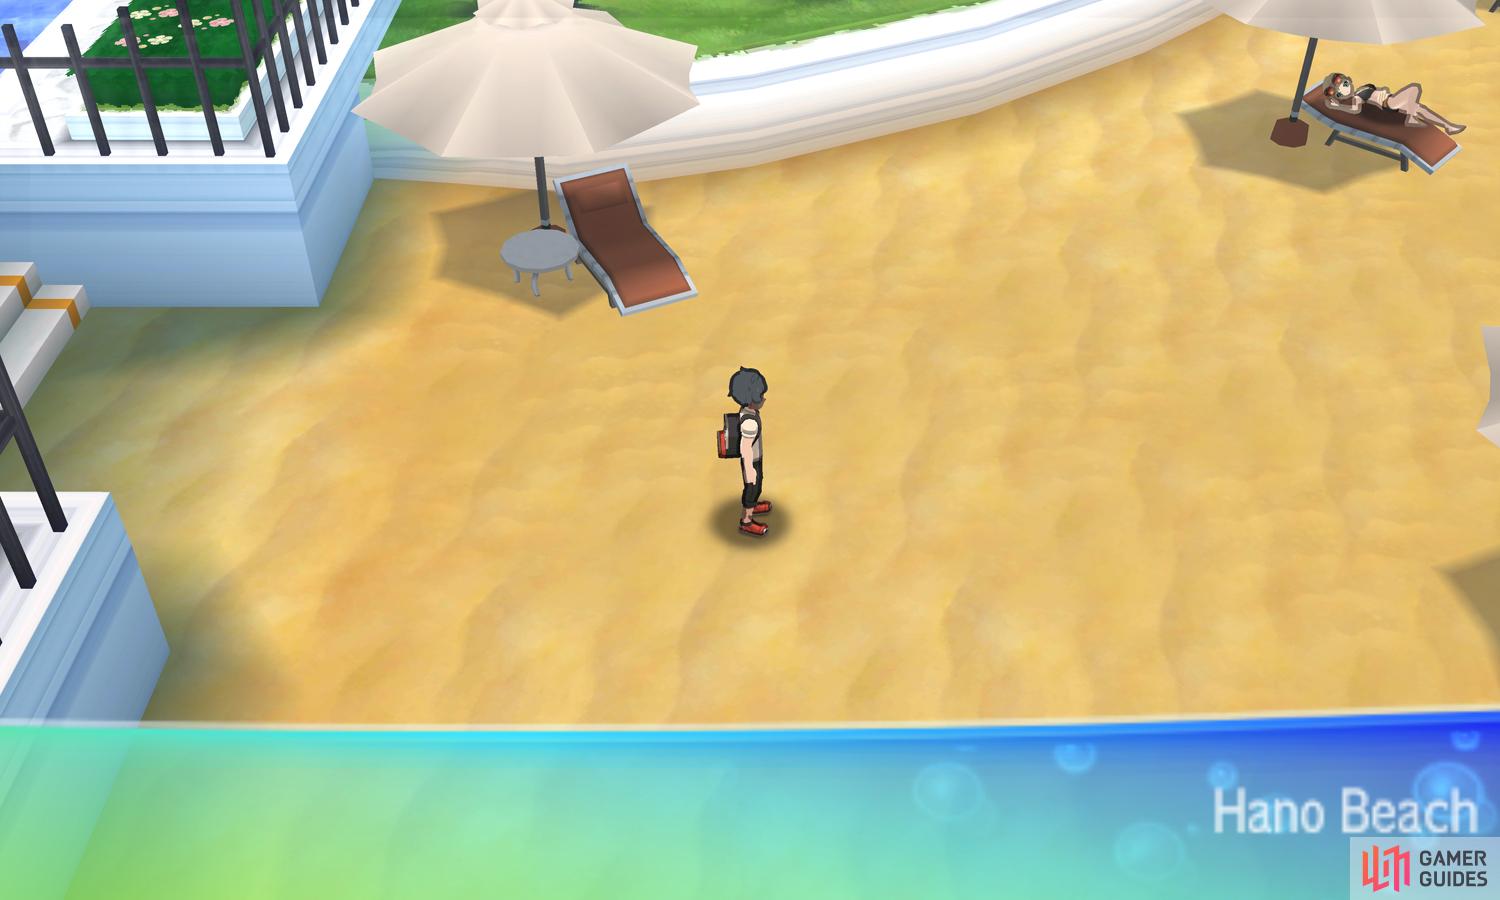
What treasures will we find on this beach?

Pokemon Encounters - Hano Beach
| Name | Type(s) | Location (Rate) |
|---|---|---|
 Staryu Staryu |
Water | Rustling spots (70%) |
 Starmie Starmie |
Water/Psychic | SOS from Staryu |
 Sandygast Sandygast |
Ghost/Ground | Rustling spots (30%) |
Pokemon Encounters - Surfing
| Name | Type(s) | Location (Rate) |
|---|---|---|
 Pyukumuku Pyukumuku |
Water | Surfing everywhere (30%) |
 Finneon Finneon |
Water | Surfing everywhere (30%) |
 Tentacool Tentacool |
Water/Poison | Surfing everywhere (30%), rustling surfing spots (100%) |
 Wingull Wingull |
Water/Flying | Surfing everywhere (10%) |
As you step foot in the beach, you may want to call  Stoutland, as people have dropped a bunch of items around here. In fact, from the entrance, go north-east a few paces. Check the side of the deckchair for a a hidden Soda Pop. From here, dash south-east towards the shoreline. Around here is the lifeguard surveying the seas.
Search the shallow water a few paces to his south-west to dig up a Pearl. Afterwards, follow the beach north-west until you reach the last couple of parasols. There should be three parasols in a triangle shape; sniff around the center of the triangle for another Pearl. Next, head directly west towards the wall between two parasols.
Stuck on the wall is Totem Sticker #048, partially obscured by the parasol below.
In any case, search the corner behind the nearby lifeguard tower. Somehow a Pearl has managed to hide here.
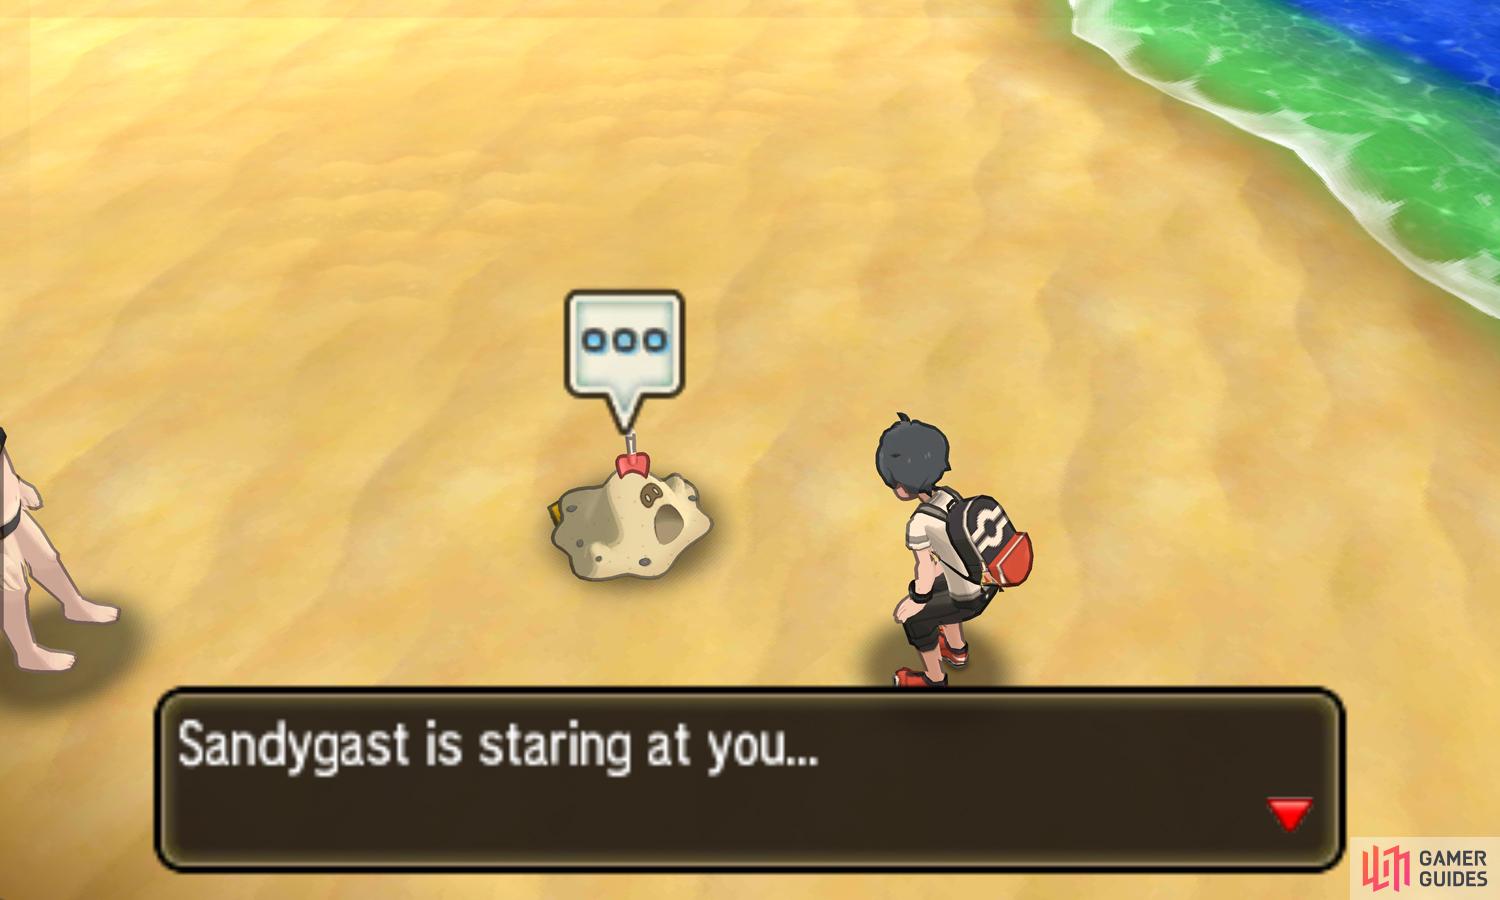
It might help to face away from Sandygast while trying to grab the sticker, in case you accidentally interact with Sandygast instead.

Moving on, continue following the beach north into a slightly secluded area. Here, there’s a female swimmer and a Sandygast that you can play with. Chat to the swimmer to receive a free Soda Pop. Also, try to get Sandygast to follow you. Underneath the ghastly sand castle is Totem Sticker #049 that is very easy to miss.
After grabbing the sticker, go east a few paces. Check the sand just before the shallow water for a hidden Heart Scale. To the north-west are a pair of burrowing wild Pokémon. If you search the edge of the sand west from the Pokémon, you can find a second hidden Heart Scale. That’s everything that can be found on dry land.
For the next part, don your swimming trunks (optional) and call  Lapras from the shoreline to the north. Towards the far north of the enclosed sea is a submerged item with two splashes on either side. If you try to get close, be careful as you’ll be ambushed by the Pokémon making the splashes. Grab the item to learn it’s a Pearl String.
Now follow the water in a south-easterly direction. After a while, there’s a swimmer bobbing up and down on the water, looking north.
Swimmer Alicia
| Pokémon | Level | Type |
|---|---|---|
 Pelipper Pelipper |
25 | Water/Flying |
An evolved Wingull. This one has the Drizzle ability, which summons rain at the start of battle, enhancing the power of Water-type moves. Electric-types are ideal as their moves deal 4x damage, which should be an easy KO. You could also counter Drizzle with your own weather.
Next, paddle directly south from Alicia. Very soon, you’ll come across a small, sandy island. In the very center is a very cool pair of Black Glasses. When held by a Pokémon, their Dark-type moves receive a boost. Return to the waters and start to paddle south from the island. To the south-east is a swimmer facing west.
Swimmer Lawrence
Two pure Water-types, so perfect for Grass and Electric-types.  Basculin is a deceptively strong fish that can deal high damage with Aqua Tail and Crunch. Thankfully its defenses are fairly poor.
  Poliwhirl is the middle evolution of
  Poliwag. This one can use Rain Dance to boost Water and weaken Fire.
From Lawrence’s position, swim directly south-west. Along the way, there’s a female swimmer towards the north-west, looking east and south.
Swimmer Laura

Another pair of pure Water-types. This time, they’re both unevolved and don’t know any moves that you should stress over. Knock them out with your best Grass and Electric-types, then move onto the next unsuspecting trainer.
Swim directly south from where Laura is. Soon, there should be a submerged item nearby to the west. Immediately to the west of the Dive Ball is a swimmer looking north and east. Pick up the item to discover it’s a Dive Ball. Perhaps somebody tried (and failed) to catch a water Pokémon earlier?
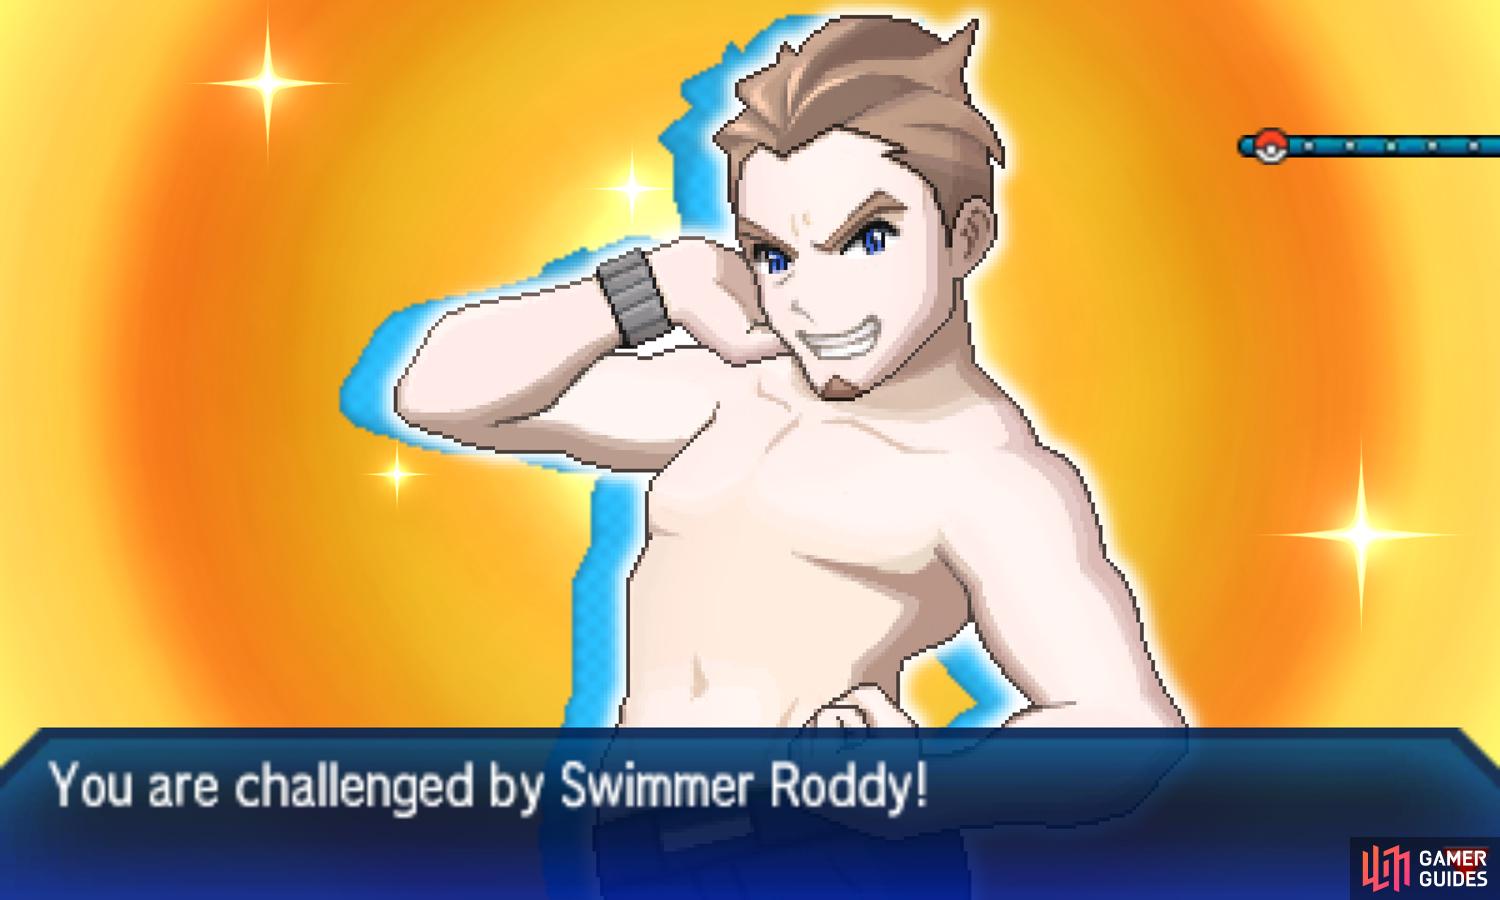
Swimmer Roddy
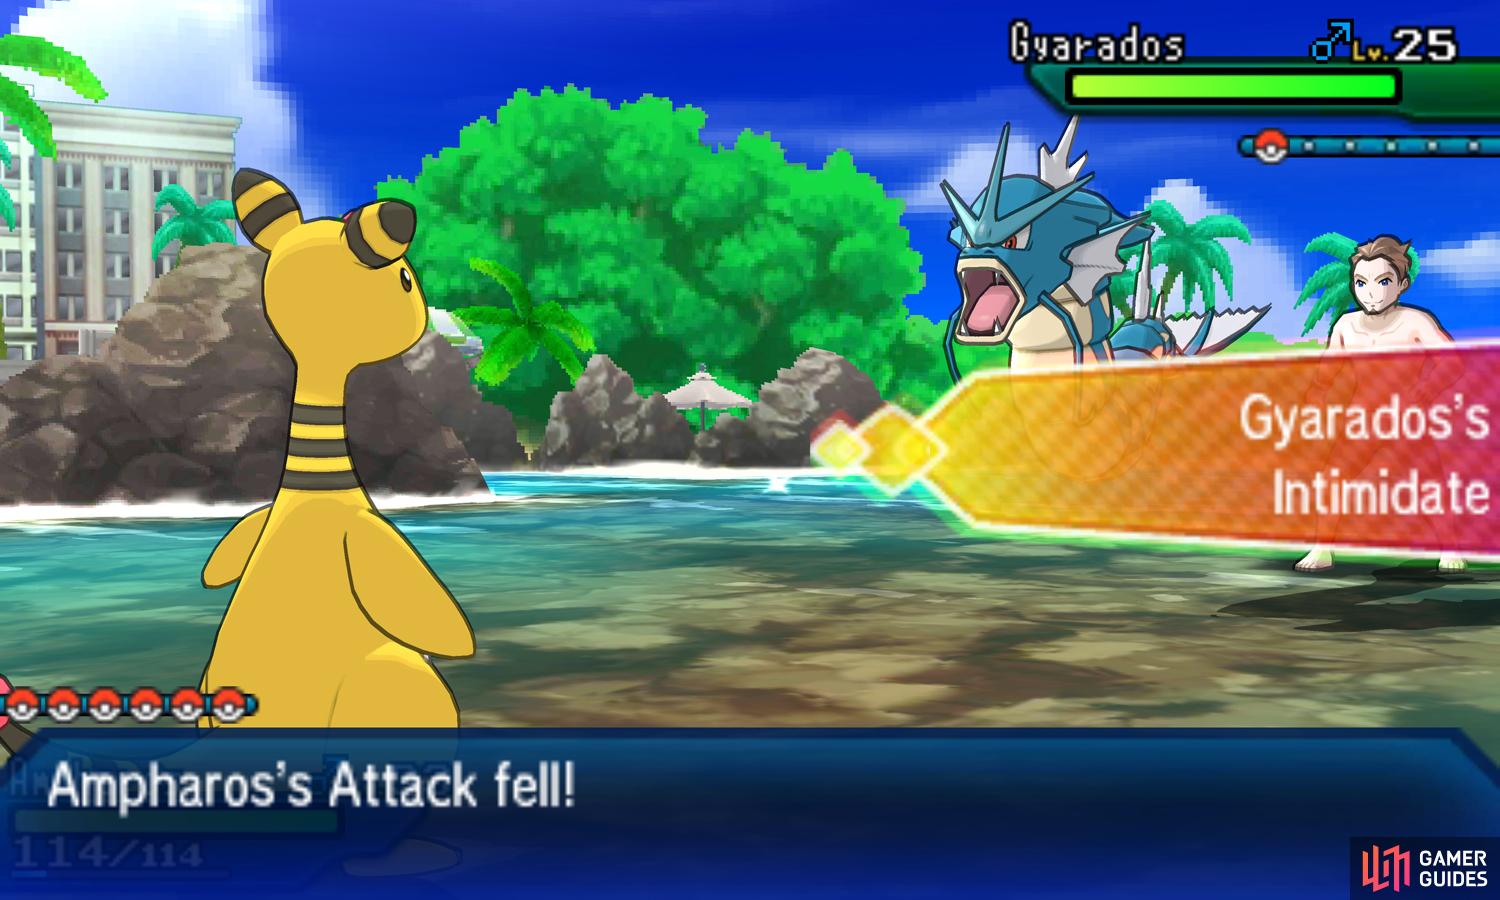
| Pokémon | Level | Type |
|---|---|---|
 Gyarados Gyarados |
25 | Water/Flying |
 Magikarp’s evolved form can be a monster, but Roddy’s is a bit too low Level to scare anybody. Just like Pelipper, Electric-type moves deal 4x damage, which is usually enough to deter the sea monster. Rock-types are also super-effective and don’t need to be afraid since this Gyarados doesn’t carry Water-type moves.
After that little scare, carry on south-west from Roddy. Before long, you’ll reach another submerged item being watched over by a swimmer. If you’re quick, you can try to grab the item while she’s staring west. Either way, it’s just an Antidote.
Swimmer Chelsea
| Pokémon | Level | Type |
|---|---|---|
| Pyukumuku |
26 | Water |
This Pokémon cannot attack, but is ironically the Pokémon most likely to inflict a KO in this area. For starters, it can use Counter to return double the damage from a physical move. Therefore use special moves if possible. It also has the Innards Out ability, causing damage equal to its previous HP when KO’d.
And that’s everything you can find in the sea. Once you’ve had enough fun, paddle north or north-west to return to the shore. From here, you should go back to the hotel lobby and speak to Faba, who must have been twiddling his thumbs for quite some time. He’ll take you straight to Aether Paradise, via his private ferry.
Star-crossed Lovers
If you accepted the part-time job as a Pyukumuku thrower, the next time you visit Hano Beach, there will be a lone Pyukumuku halfway along the eastern shoreline. Interact with it and a swimmer will ask you to look for its lost sweetheart. You’ll find her in the northernmost part of the beach, near the playful Sandygast. Reunite the pair and you’ll receive a Big Pearl.
No Comments