
(1 of 2) There’s always a weather condition in the desert.
There’s always a weather condition in the desert. (left), (right)
Pokemon Encounters - Haina Desert
| Name | Type(s) | Location (Rate) |
|---|---|---|
 Krokorok Krokorok |
Ground/Dark | Walking everywhere (70%), rustling spots (70%) |
 Golett Golett |
Ground/Ghost | [Ultra Sun] SOS from Krokorok |
 Baltoy Baltoy |
Ground/Psychic | [Ultra Moon] SOS from Krokorok |
 Dugtrio (Alolan) Dugtrio (Alolan) |
Ground/Steel | Walking everywhere (30%), rustling spots (20%) |
 Trapinch Trapinch |
Ground | Rustling spots (10%) |
 Gabite Gabite |
Dragon/Ground | SOS in a sandstorm |
 Castform Castform |
Normal | SOS in rain, sun, hail, or sandstorm |
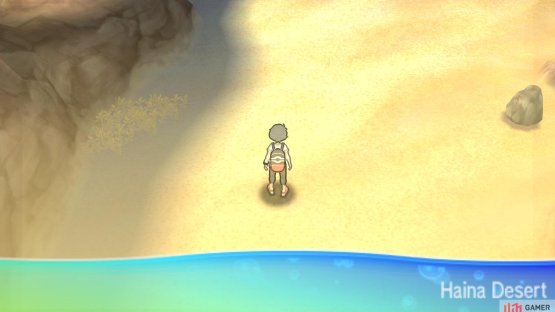
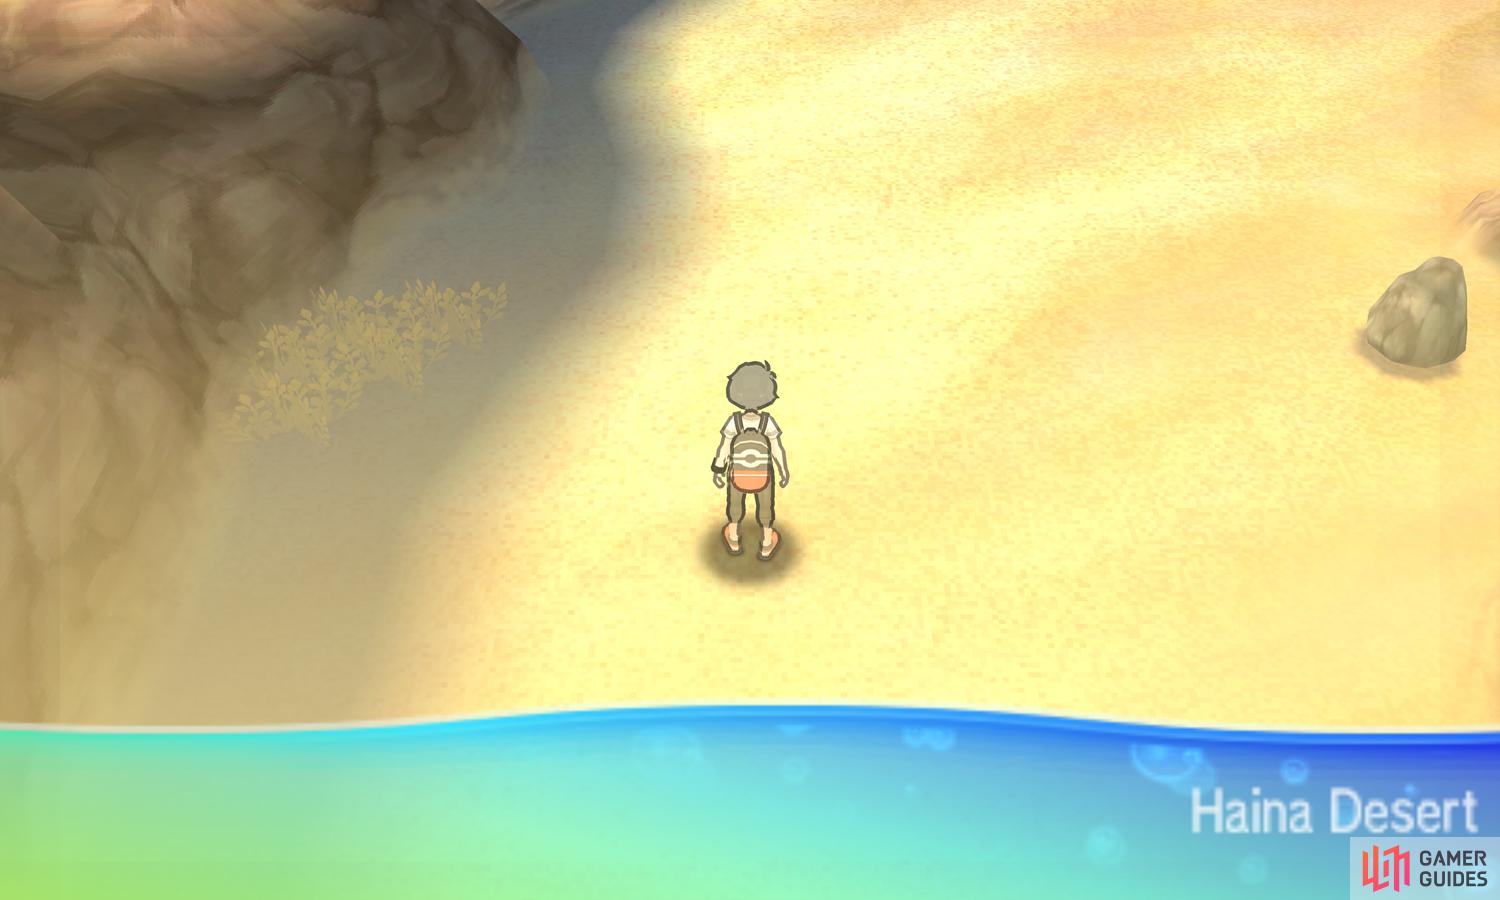
This area is easy to miss or simply forget about. After receiving Ghostium Z, make your way to Route 13, east from Tapu Village. Once there, go towards the north of the route, where the captain’s barricade is. Upon seeing your spooky Z-Crystal, the trial guide will remove the barrier, allowing you access to the Haina Desert.
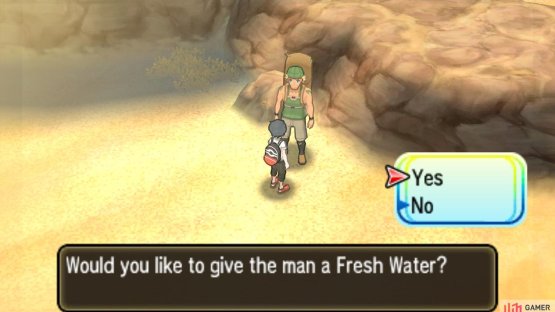
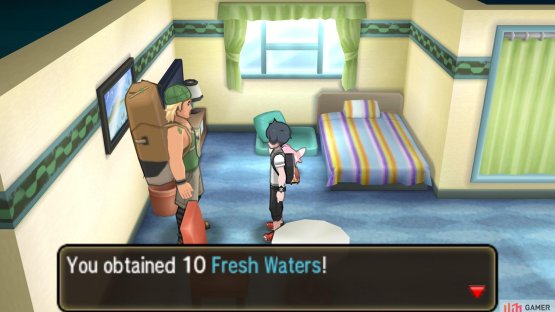
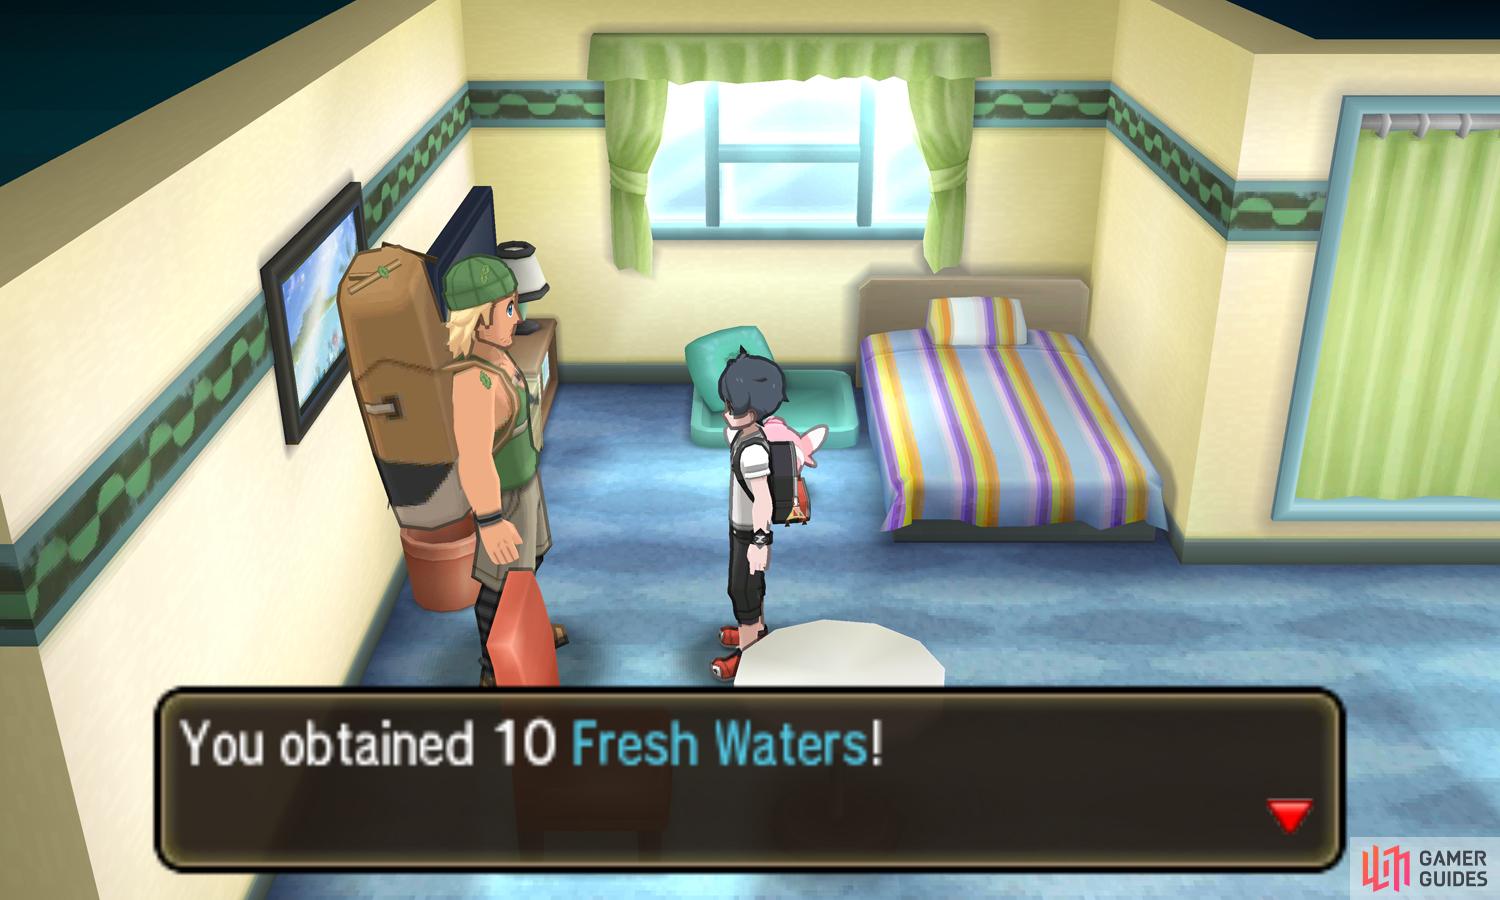
Before letting you go, the trial guide will also give you a Fresh Water and Adrenaline Orb. Afterwards, don’t run off just yet. First, head to the right of the entrance and speak to the old man with the  Gastrodon. He’ll give you an important clue to reach the end of the desert: 2-1-4-3. With that piece of information, enter the desert.
While exploring the desert, you should know two things. Firstly, the desert is an extremely harsh environment. On occasions, a sandstorm will blowing across the desert, which reduces visibility and also causes a sandstorm in battle. If there isn’t a sandstorm, lucky you. However, it will be extremely sunny in battle instead.
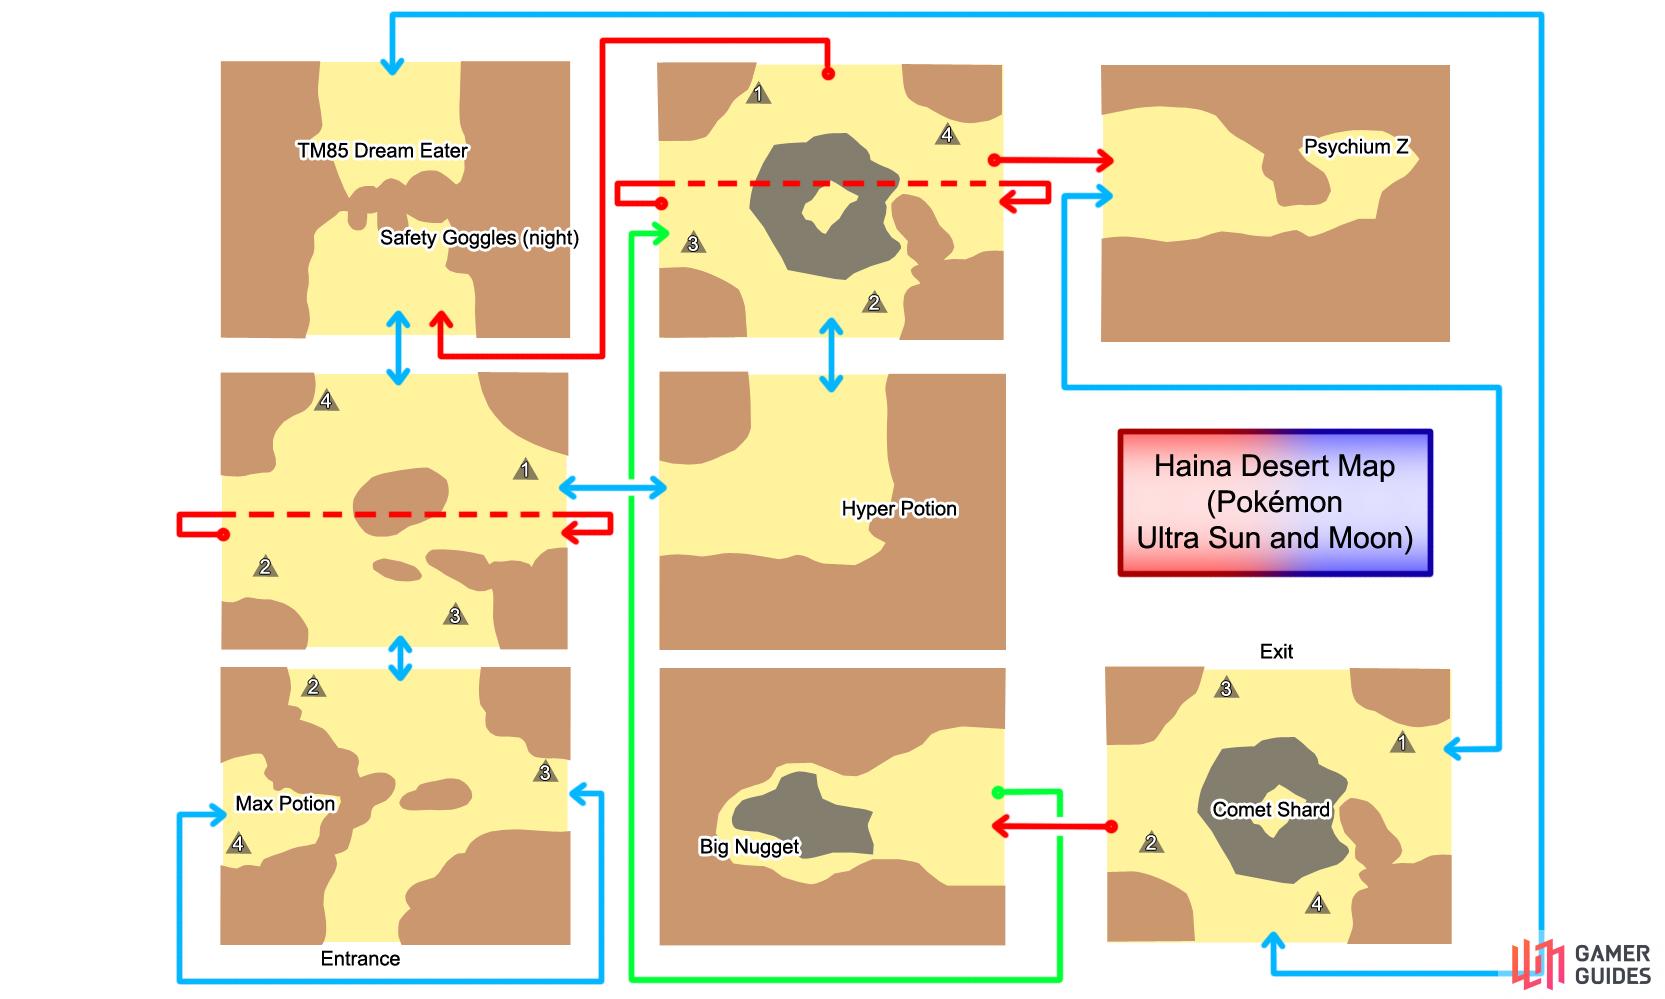
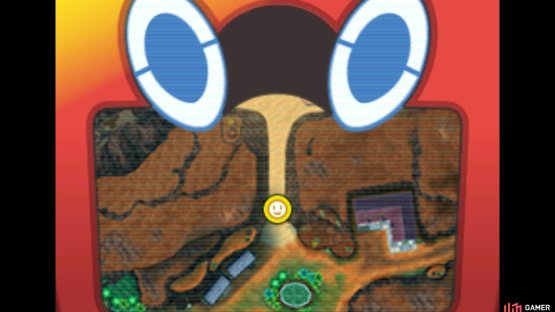
Secondly–and perhaps most importantly–the desert is trapped in a strange psychic field, where the exits do not necessarily take you to where you’d expect. If you’ve played the “Legend of Zelda” series, it’s basically like the Lost Woods. So if you travel around blindly, it’s possible for you to lose your bearings or, worse, get stuck in a loop.
Thankfully you were given a clue before you came in–and, of course, you’ll be receiving our expert guidance as always. Not to mention, we’ve also provided a map above. As soon as you enter the desert, there’s a burrowing Pokémon moving in a wide ellipse up ahead. Cautiously head north-east, being mindful of another burrowing Pokémon coming from the north.
Stop when you reach the exit to the east. To the north, there should be three stones stacked on top of one other. Recall the clue from earlier. The numbers refer to the number of stones next to an exit. To reach the end of the desert, you therefore need to go through the exit with two stones, one stone, four stones and finally three stones.
But wait, the exit you’re standing next to has three stones, not two. Indeed, but to explore the entirety of the desert, you must occasionally stray from the intended path. With that said, proceed east to the next area.
(1 of 2) What comes around, goes around!
What comes around, goes around! (left), (right)
For now, grab the Max Potion lying in the sand to the right. Afterwards, head west back to the previous area, then travel north-west.
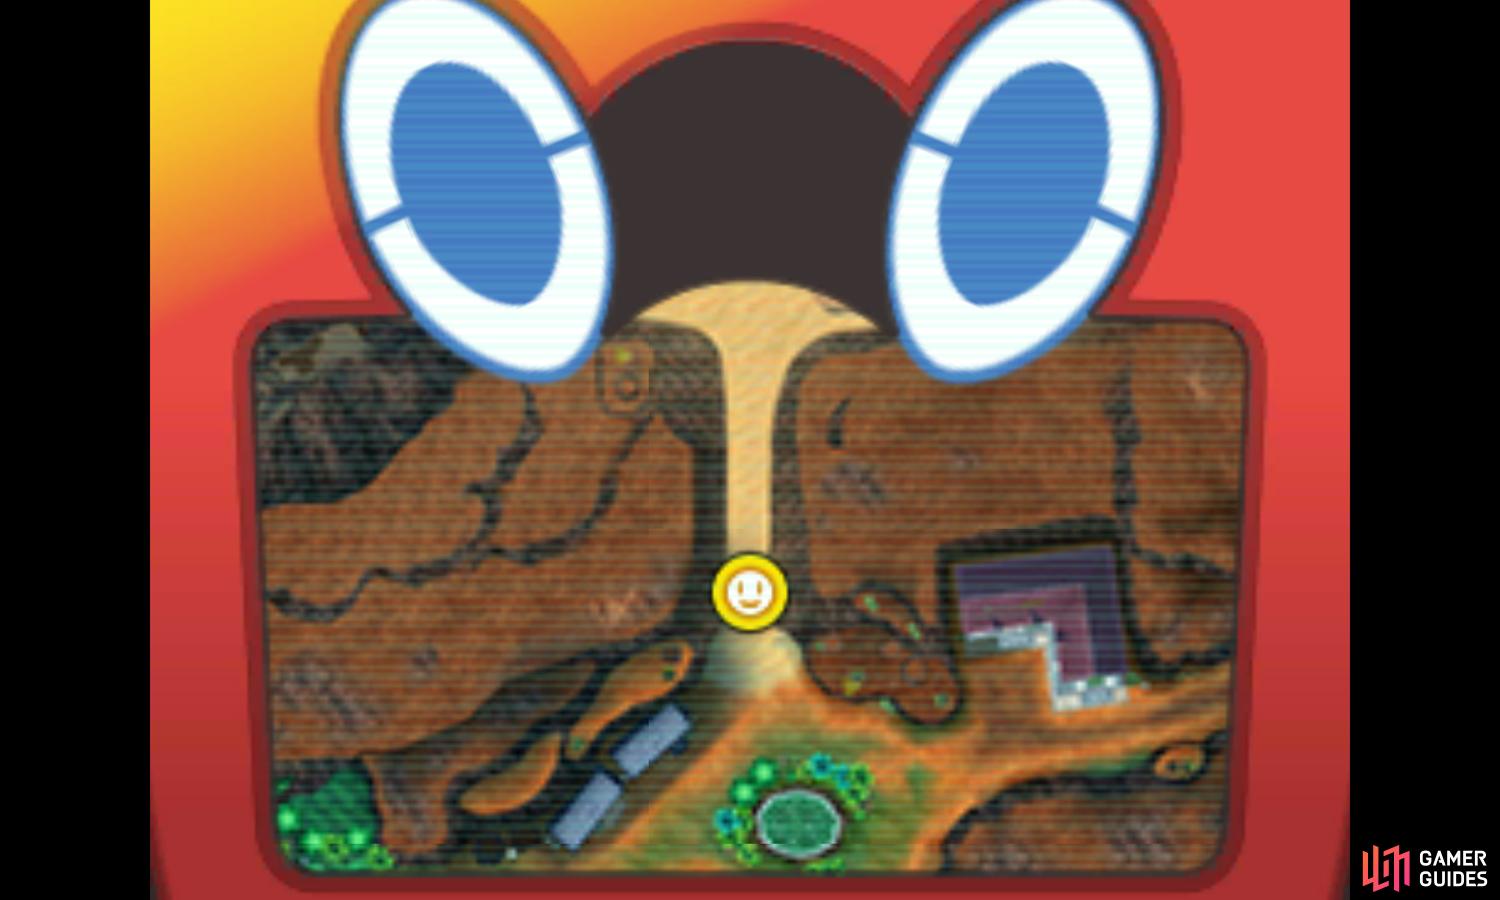
When you reach the exit to the north, don’t go through it just yet. Carry on west until you find the stack of stones, this time with the number you want: two. Having verified you’re on the correct path, proceed north. In the next area, there are three stones stacked together nearby. This isn’t terribly important, so pay it no heed.
Make your way north through this area, while keeping towards the west. This allows you to avoid the burrowing Pokémon near the center. But try not to accidentally exit via the west, or you’ll be taken to the east side of this area. If that happens, it’s not a huge problem. You can simply continue north as normal.
Upon reaching the exit to the north, again look for the stack of stones, located near the west. There are four stones in this stack, which is wrong, since the next number in the sequence is one. Despite this, continue north anyway.
Once you’ve donned your goggles or otherwise, return to the previous area, then head south-east towards the eastern exit. Along the north, there should be a singular stone, which indicates you’re going the right way. After putting your worries aside, carry on east to the next area. Here, you’ll find a wide open area with a bush in the center.
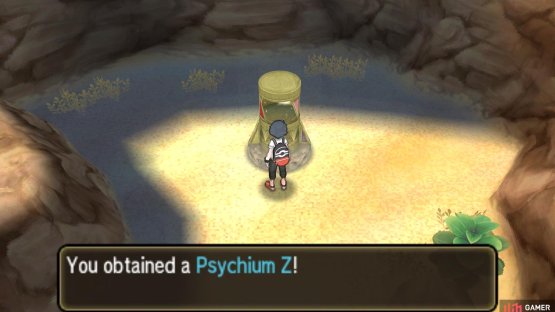
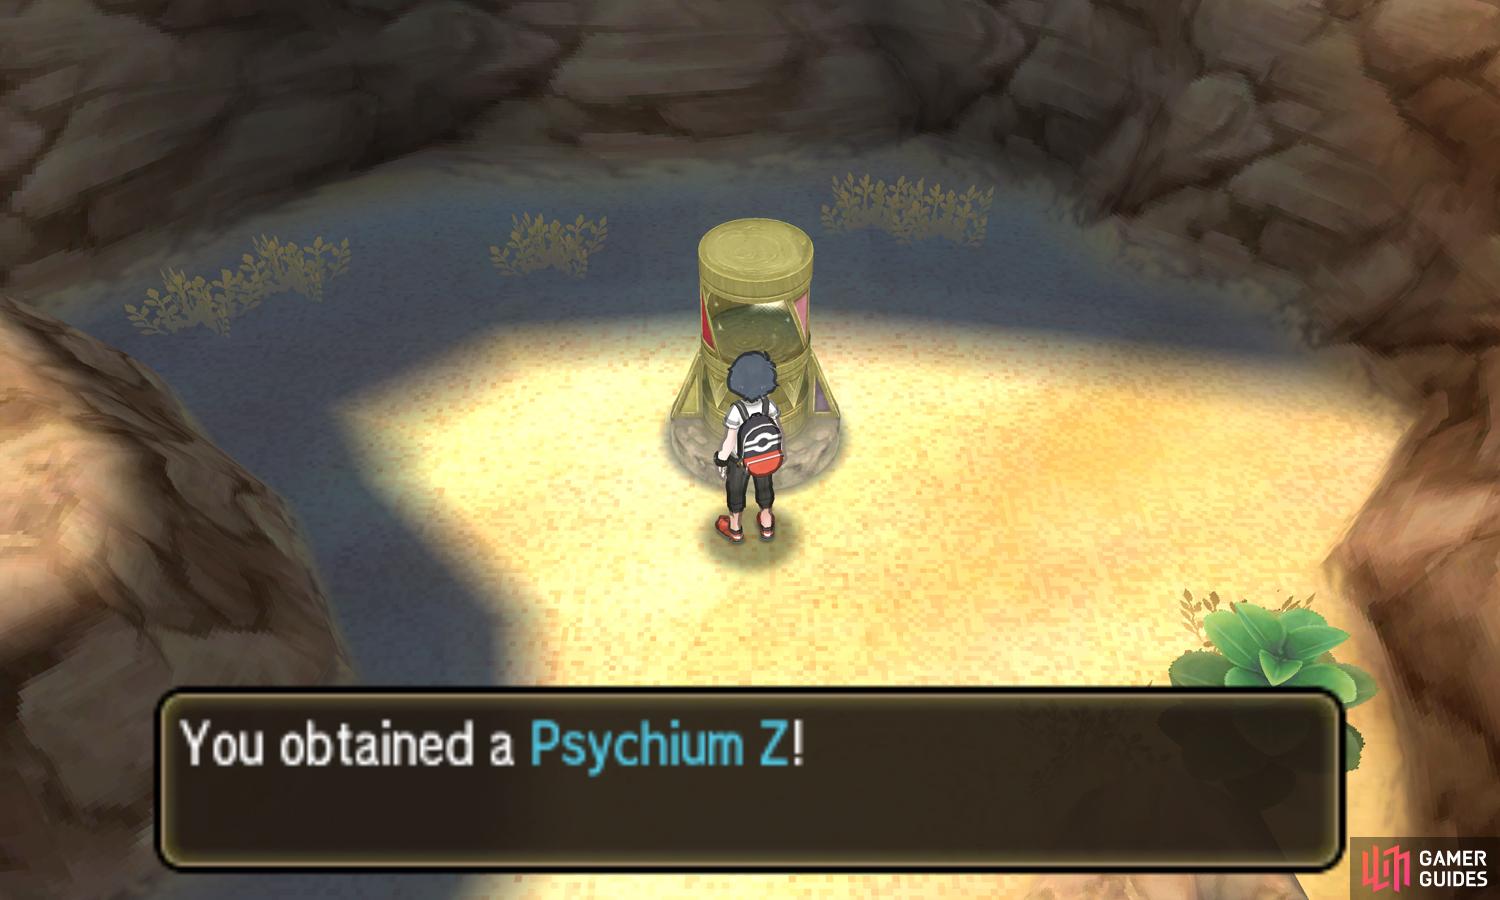
To the far east is a Hyper Potion that somehow hasn’t sunken into the sand. Moving on, head north to reach the next area. For reference, there aren’t any stones near this exit, nor the entrance. On the other side, there’s a stretch of rocky terrain directly ahead and a stack of two stones to the right. Now this stack is worth remembering.
So you managed to obtain a cool Z-Crystal, but where does this leave you in relation to the clues? There should be one more number left–three–but there are no other exits in this area. For now, exit the way you came from, towards the west. On the other side, you may notice something odd. There’s only one stone nearby, rather than four.
That means you’ve arrived in a different area, even though it looks very similar. Anyway, gallop west towards the center of this area. You’ll reach a very familiar stretch of rocky terrain, but this time there’s an item in the center–a Comet Shard. Yes, this is without a doubt a different area. Next, travel south across the the rocky terrain.
(1 of 2) Psychic-types benefit the most from this trip to the desert.
Psychic-types benefit the most from this trip to the desert. (left), (right)
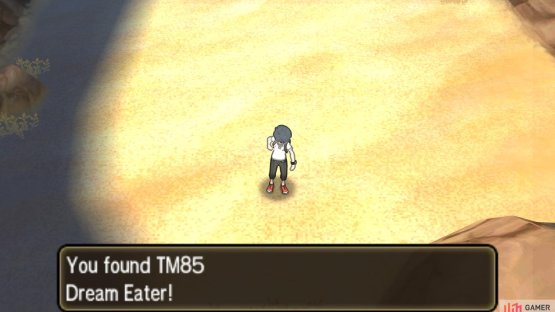
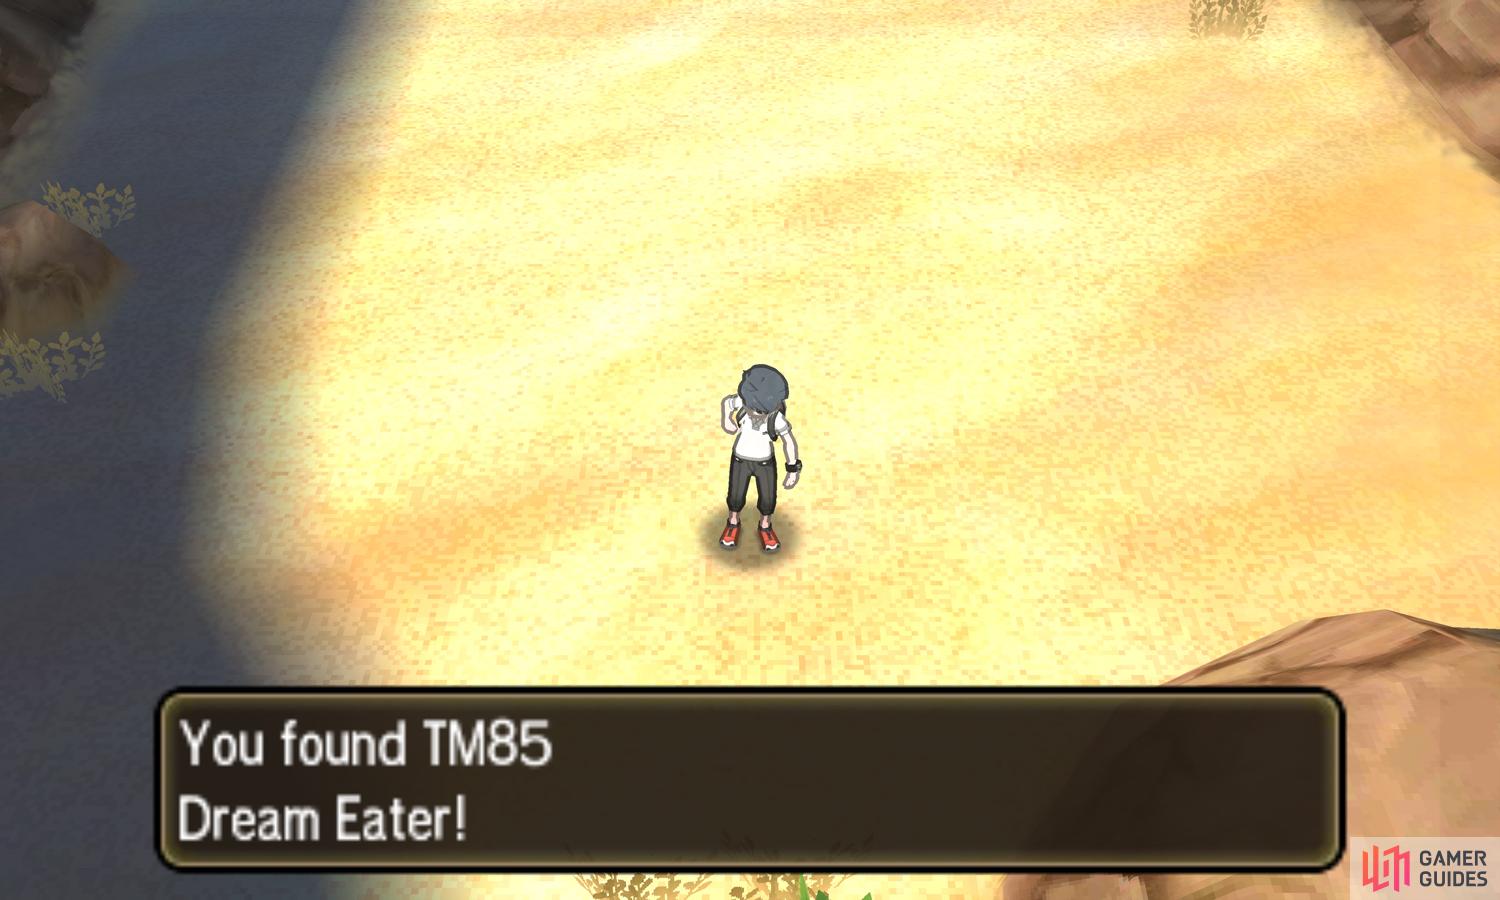
Above the southern exit is a stack of four stones. Never mind that number and press on through the exit. You’ll arrive in the northern half of the area with the hiker who gives you the Safety Goggles. Down below, pick up TM85 Dream Eater. If you think about it, this place is kind of like a weird dream, right?
Before your mind gets boggled, return north to the previous area, then head north-west for the western exit. Outside, there should be a stack of two stones. Don’t worry too much about it and continue west to wherever the desert takes you. You’ll come to a passageway that requires Mudsdale to traverse. At the far end is a Big Nugget.
Making sure your treasure is safely secured, exit the passageway the way you came. At this point, it’s very easy to lose track of where you are. For your information, you’ll arrive back in the first area with rocky terrain. Therefore, head for the east exit, which will take you back to the area with the Psychium-Z pedestal.
From there, immediately step backwards to reach the second area with rocky terrain. Now there should only be one more exit remaining–and that’s the one that leads to the end of the desert. So without a moment to waste, head north-west for the northern exit. Near the west, you can find the guiding stack of stones, this time with three stones.
Not only that, but near the east, there’s even a tapu statue. Well, it looks like you finally made it to the right place! With bated breath, head north to see what lies ahead.
Ruins of Abundance
This is the home of  Tapu Bulu, the guardian deity of Ula’ula Island. Although you did well to make it this far, there actually isn’t anything you can do here. Not until you’ve completed the game at least. That said, you didn’t come here in vain. If you use
  Charizard Glide, you can now return to these ruins at any time!
No Comments