


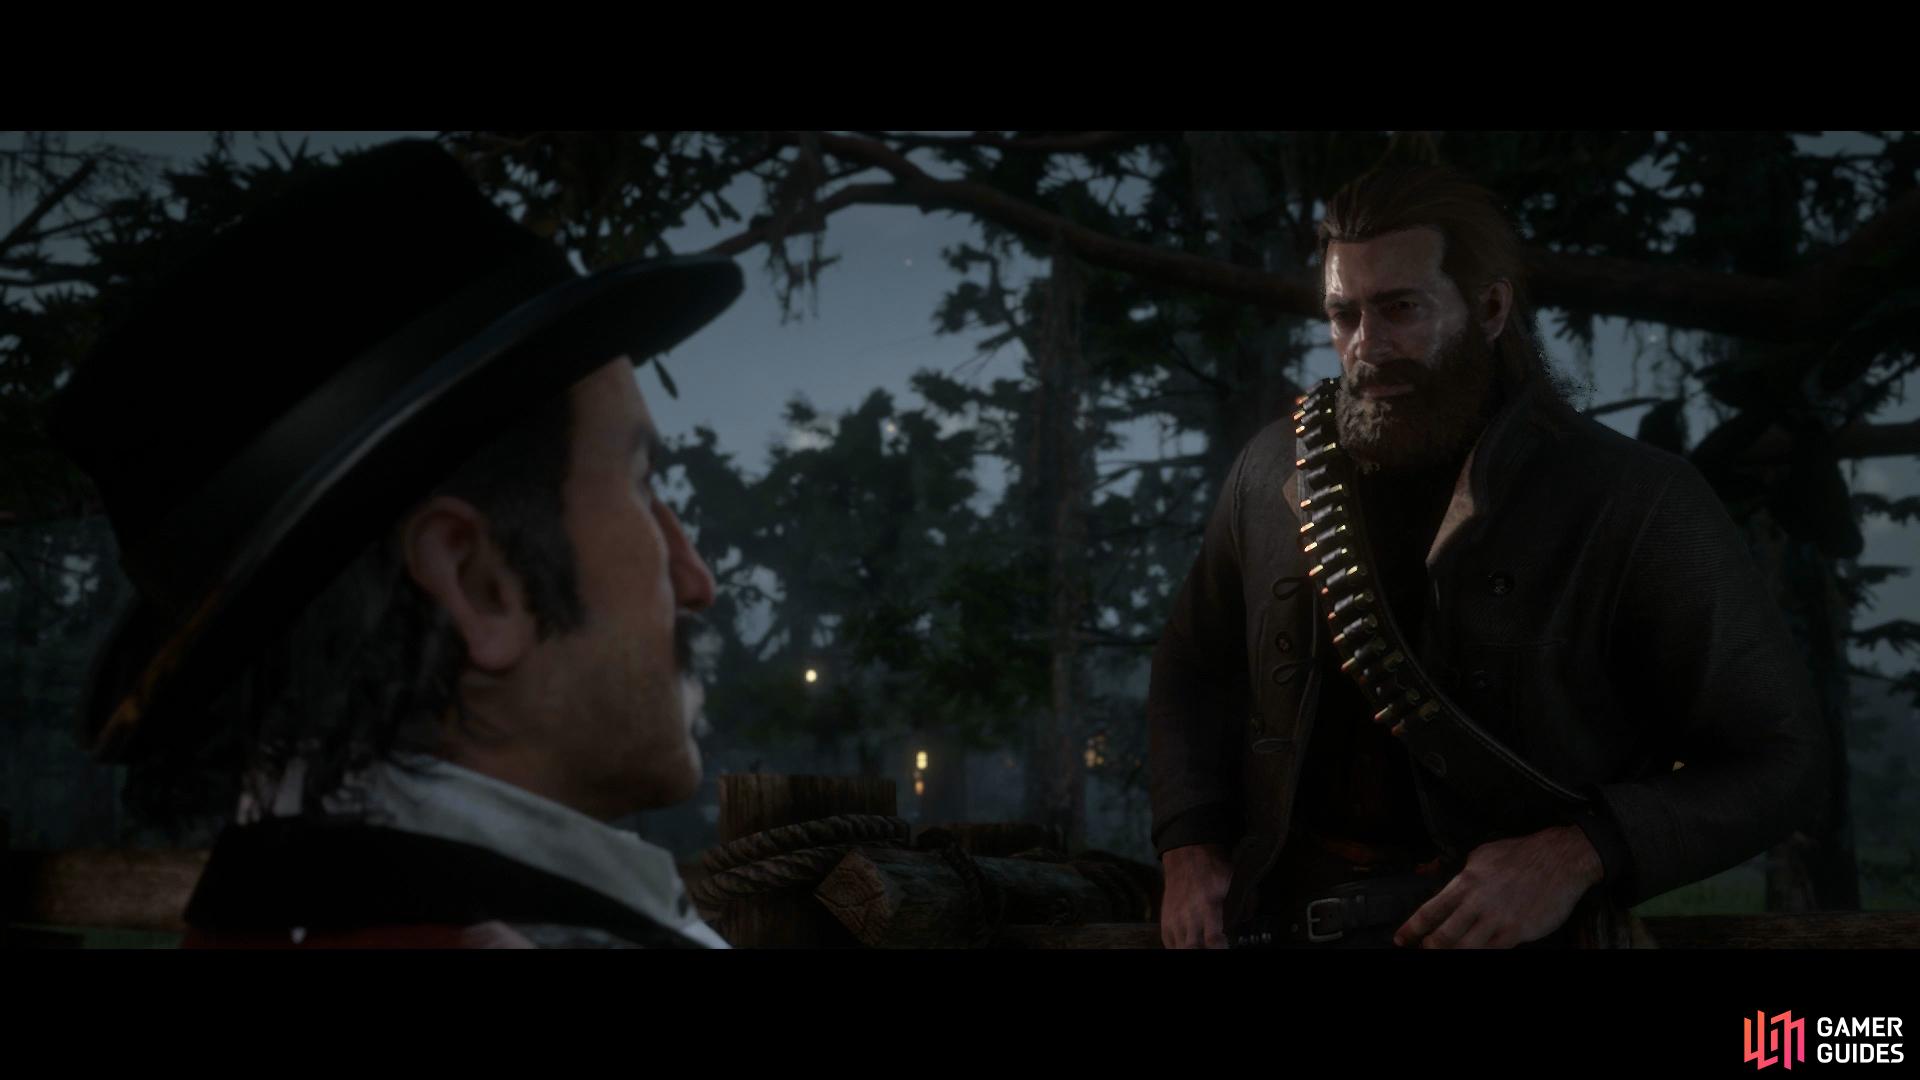
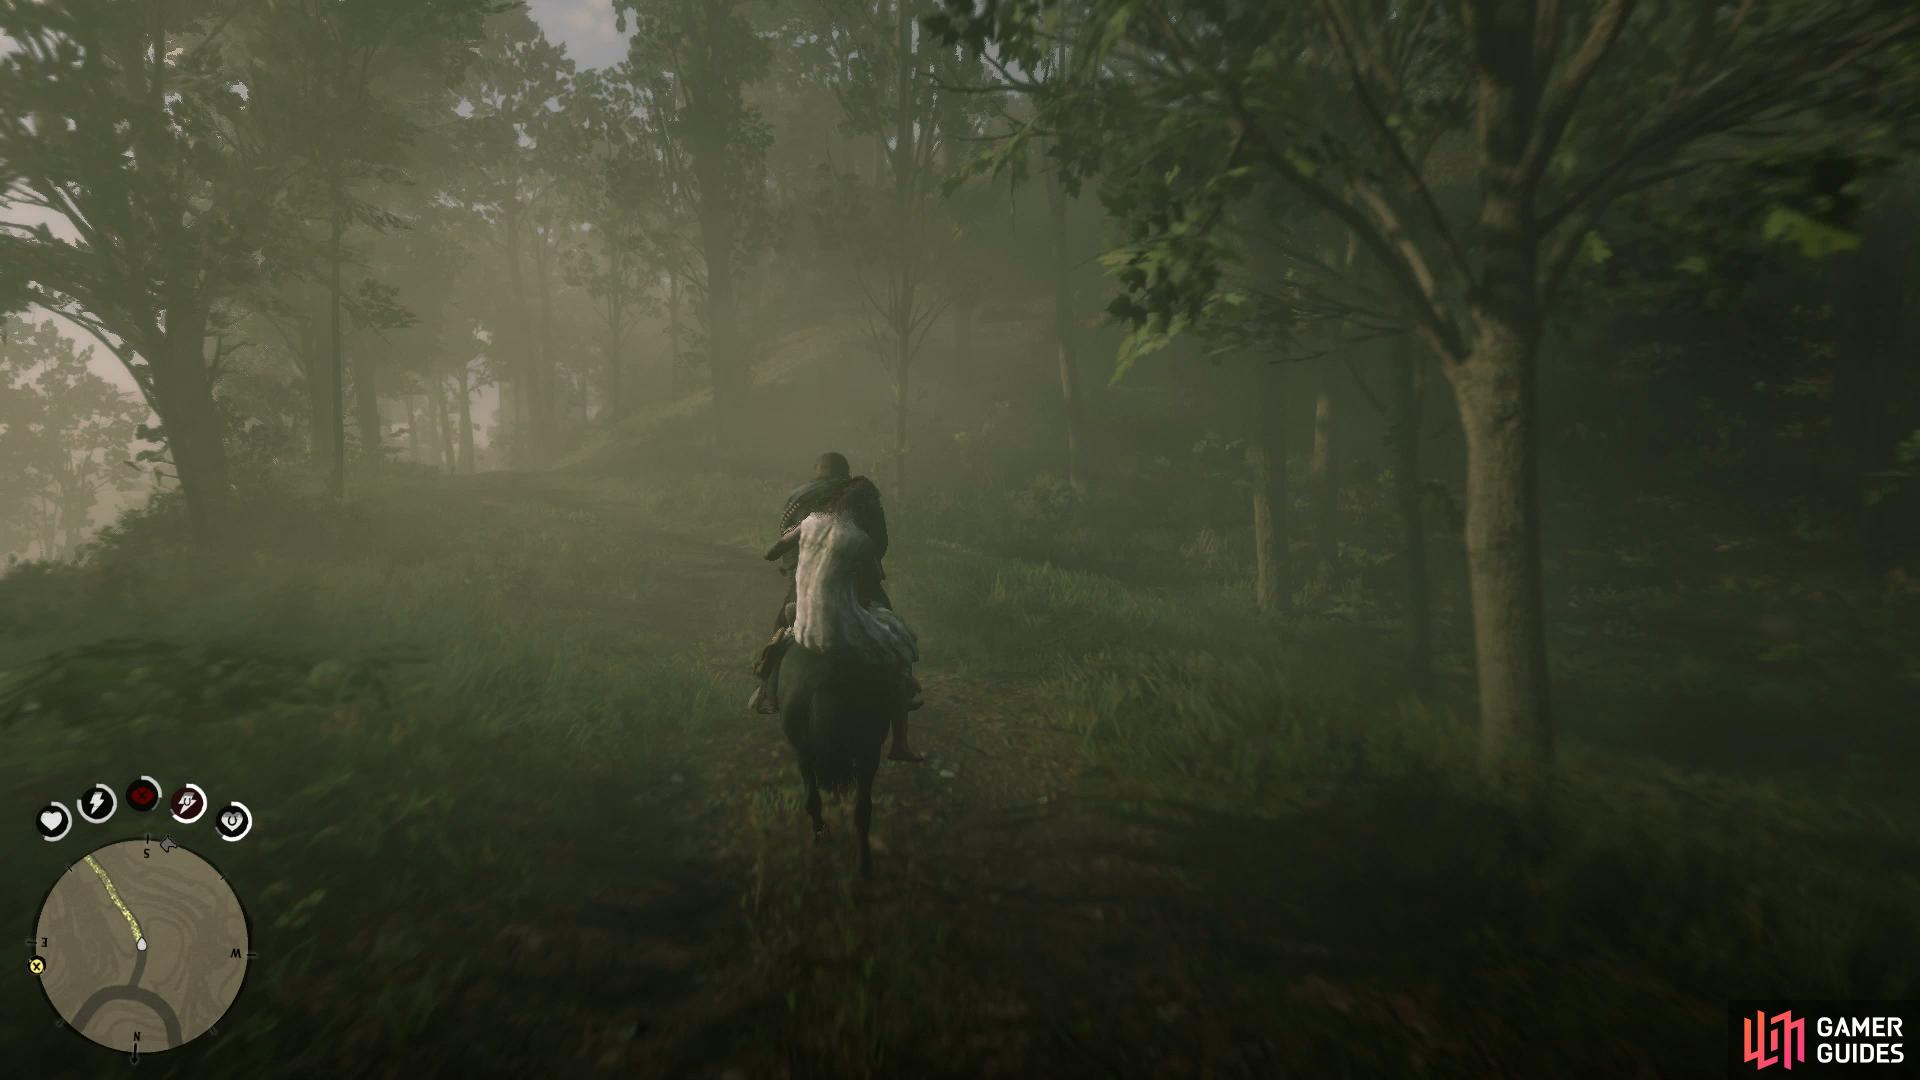
Head to Dutch and speak to him to begin the final mission of Chapter 5. You’re to head to Beaver Hollow to find a new location for the gang to hide at. When you’re given the option to go via canoes or horse, choose to go by horse, you’ll want access to your saddle. Follow the marker and eventually the game will take over as you head to the north.
Once Charles spots some activity up ahead, pull over to the side and dismount from your horse, remembering to take your bow and some useful revolvers or pistols with you. Keep crouched and follow Charles up the hill to spot a pair of Murfree boys, get out your bow and score a headshot on the left one while Charles takes out the right one. Continue towards the entrance of the cave where you’ll be prompted for another choice, this time on how you wish to enter the cave.
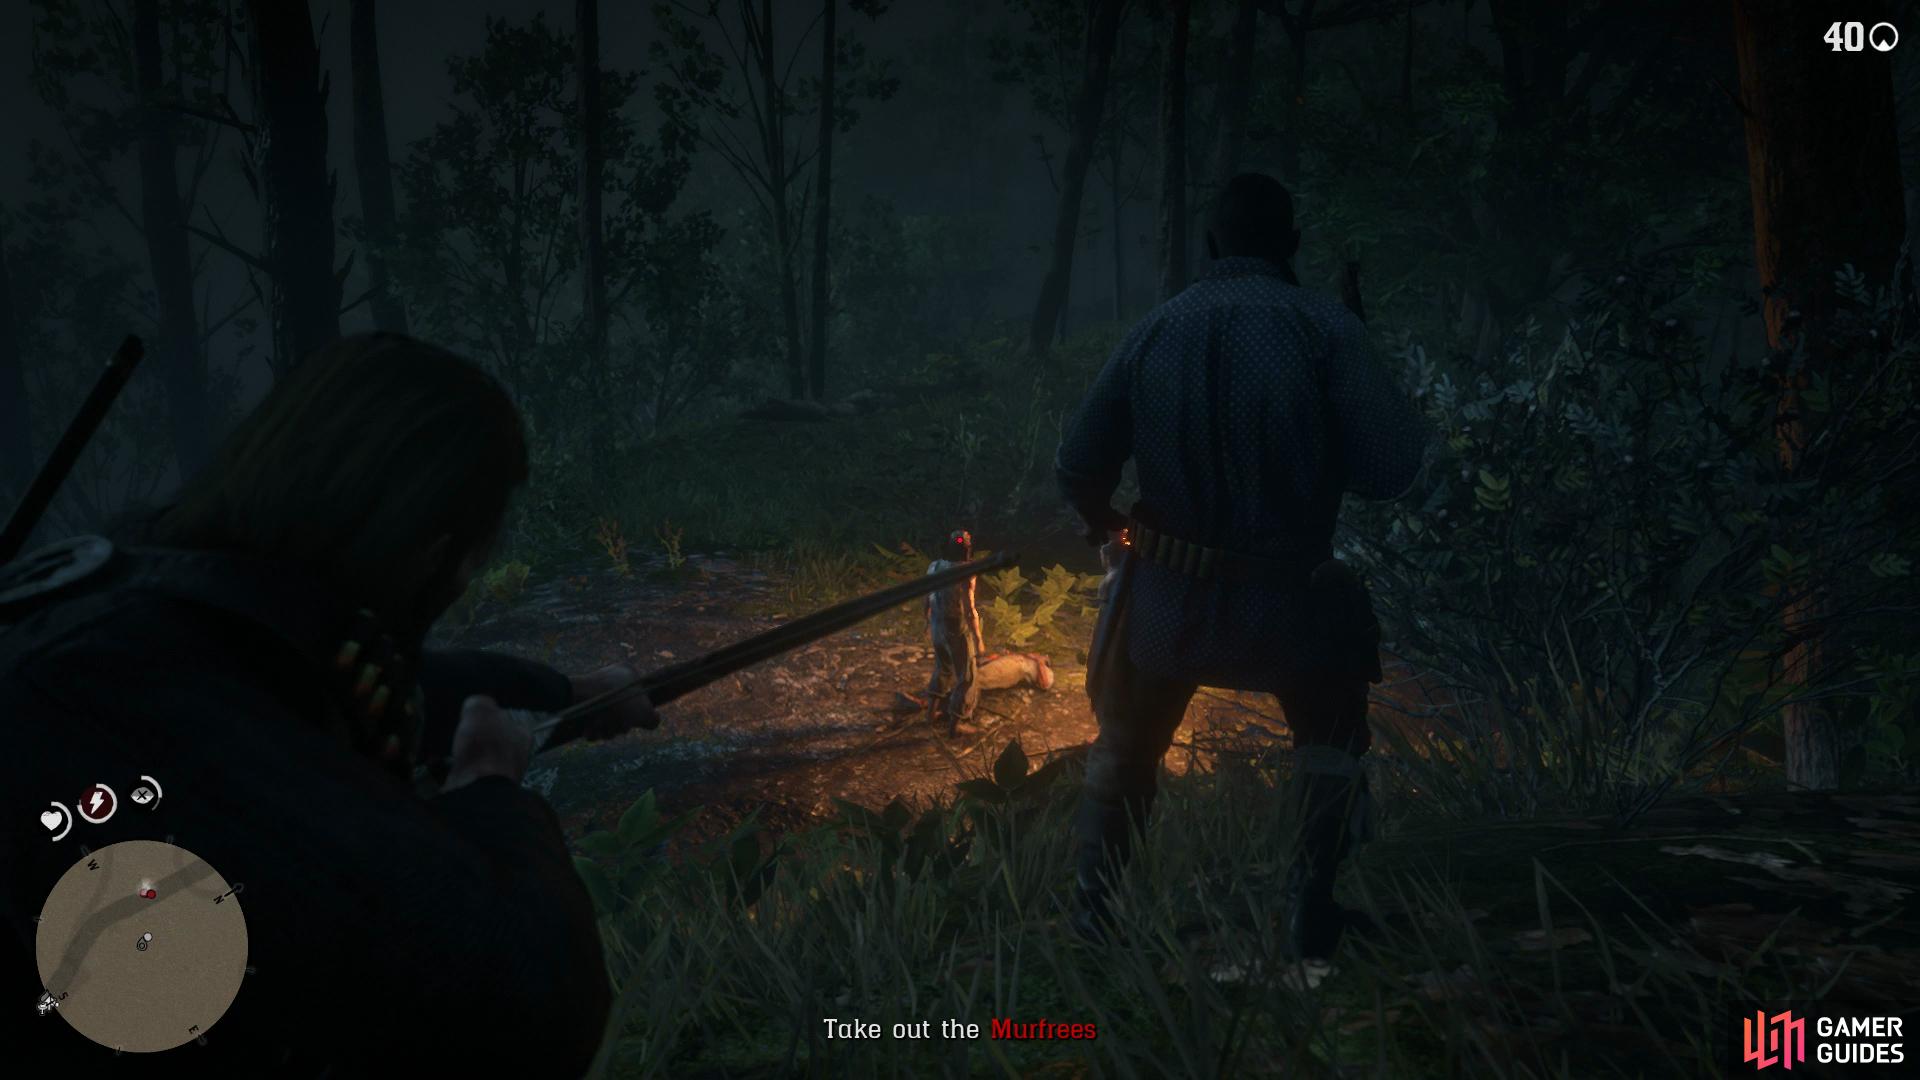
Use your bow to score some silent headshots.
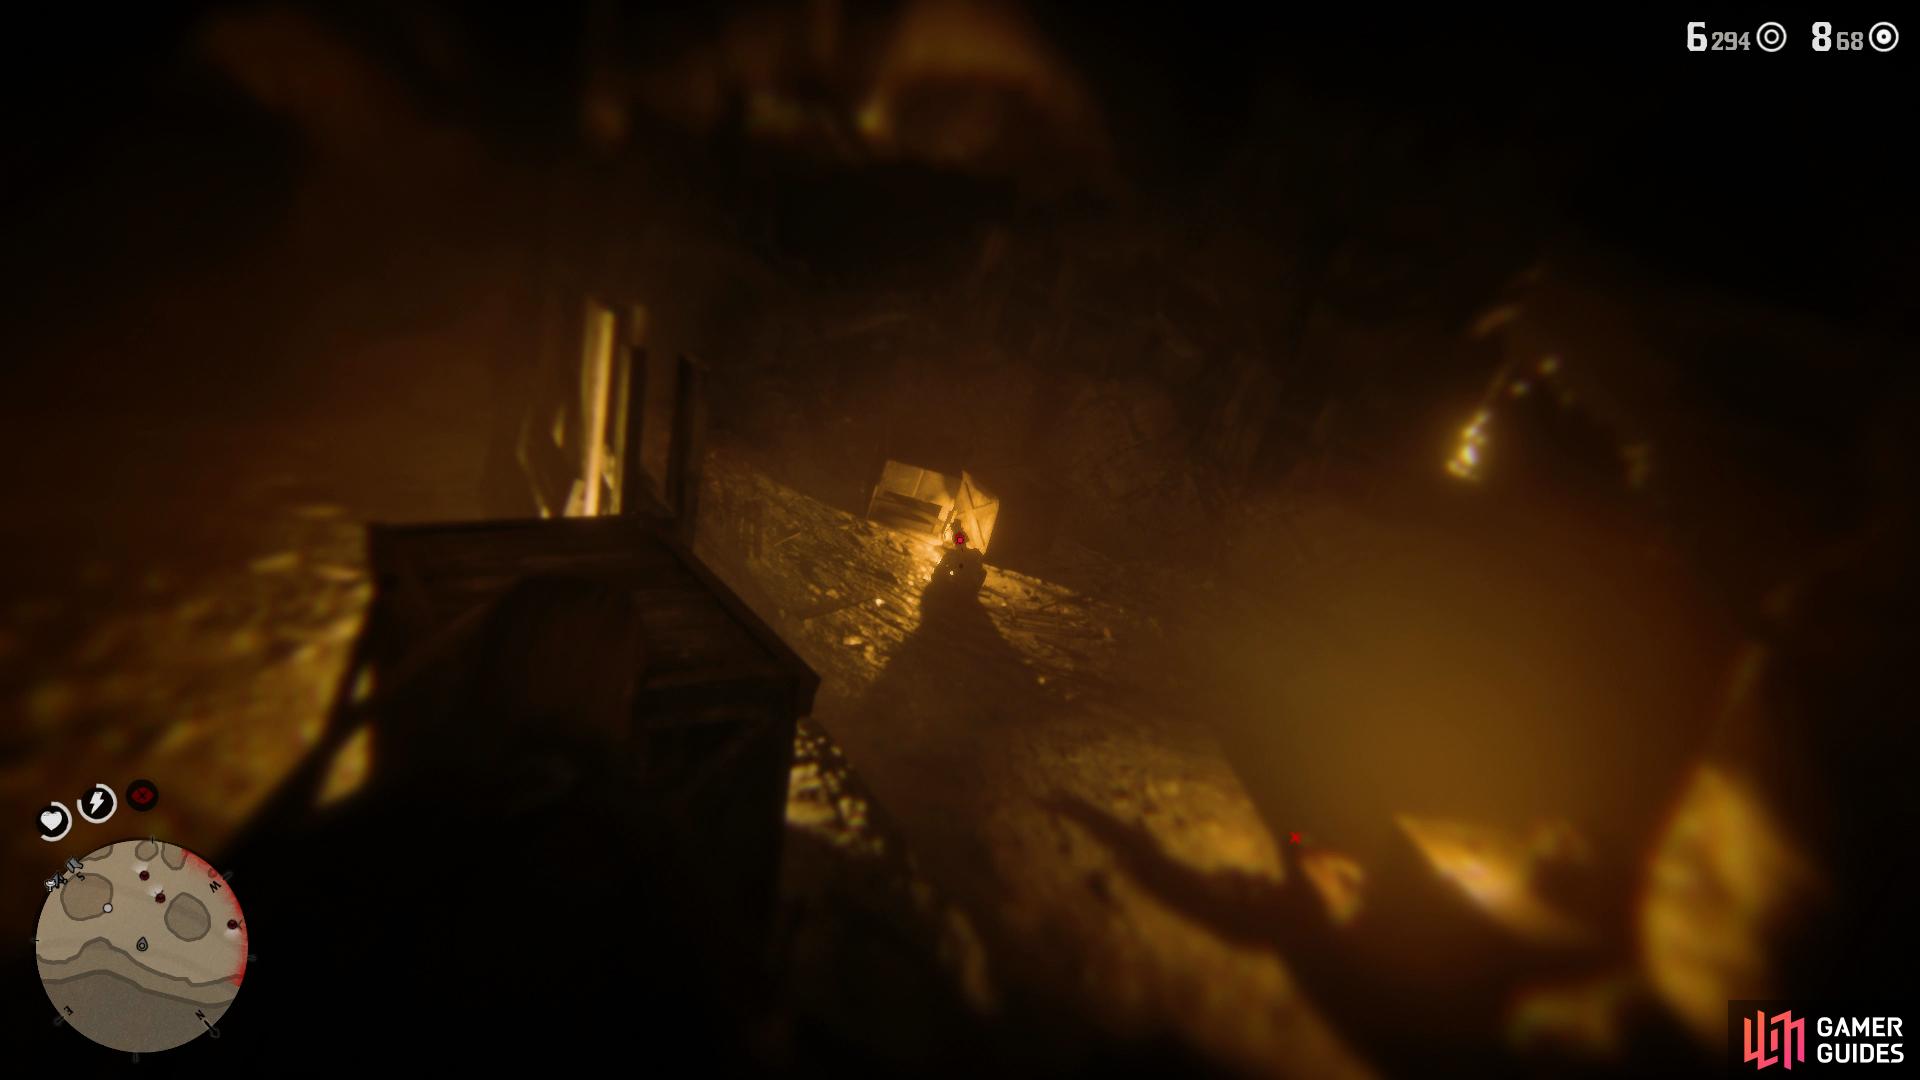
Select to sneak into the cave and then use your bow for another headshot on the Murfree near the entrance to the cave. You can then continue to sneak ahead and headshot the next Murfree with a bow. As you delve deeper into the cave, you’ll be above two Murfrees, once you take one of them out you’ll be involved in a shootout, there’s no way out of this.
For this reason, head to the right near the crate and switch to your pistols/revolvers and use Dead Eye to score another two easy headshots. This will alert the cave and Murfree’s will come running at you, this is a good spot to hang back and use Dead Eye to score headshots as they come up one after the other to try and melee you. Note that you’ll need to ensure that every kill is a headshot and that you get to them before Charles does.
Start the shootout by using Dead Eye on the two Murfrees from above
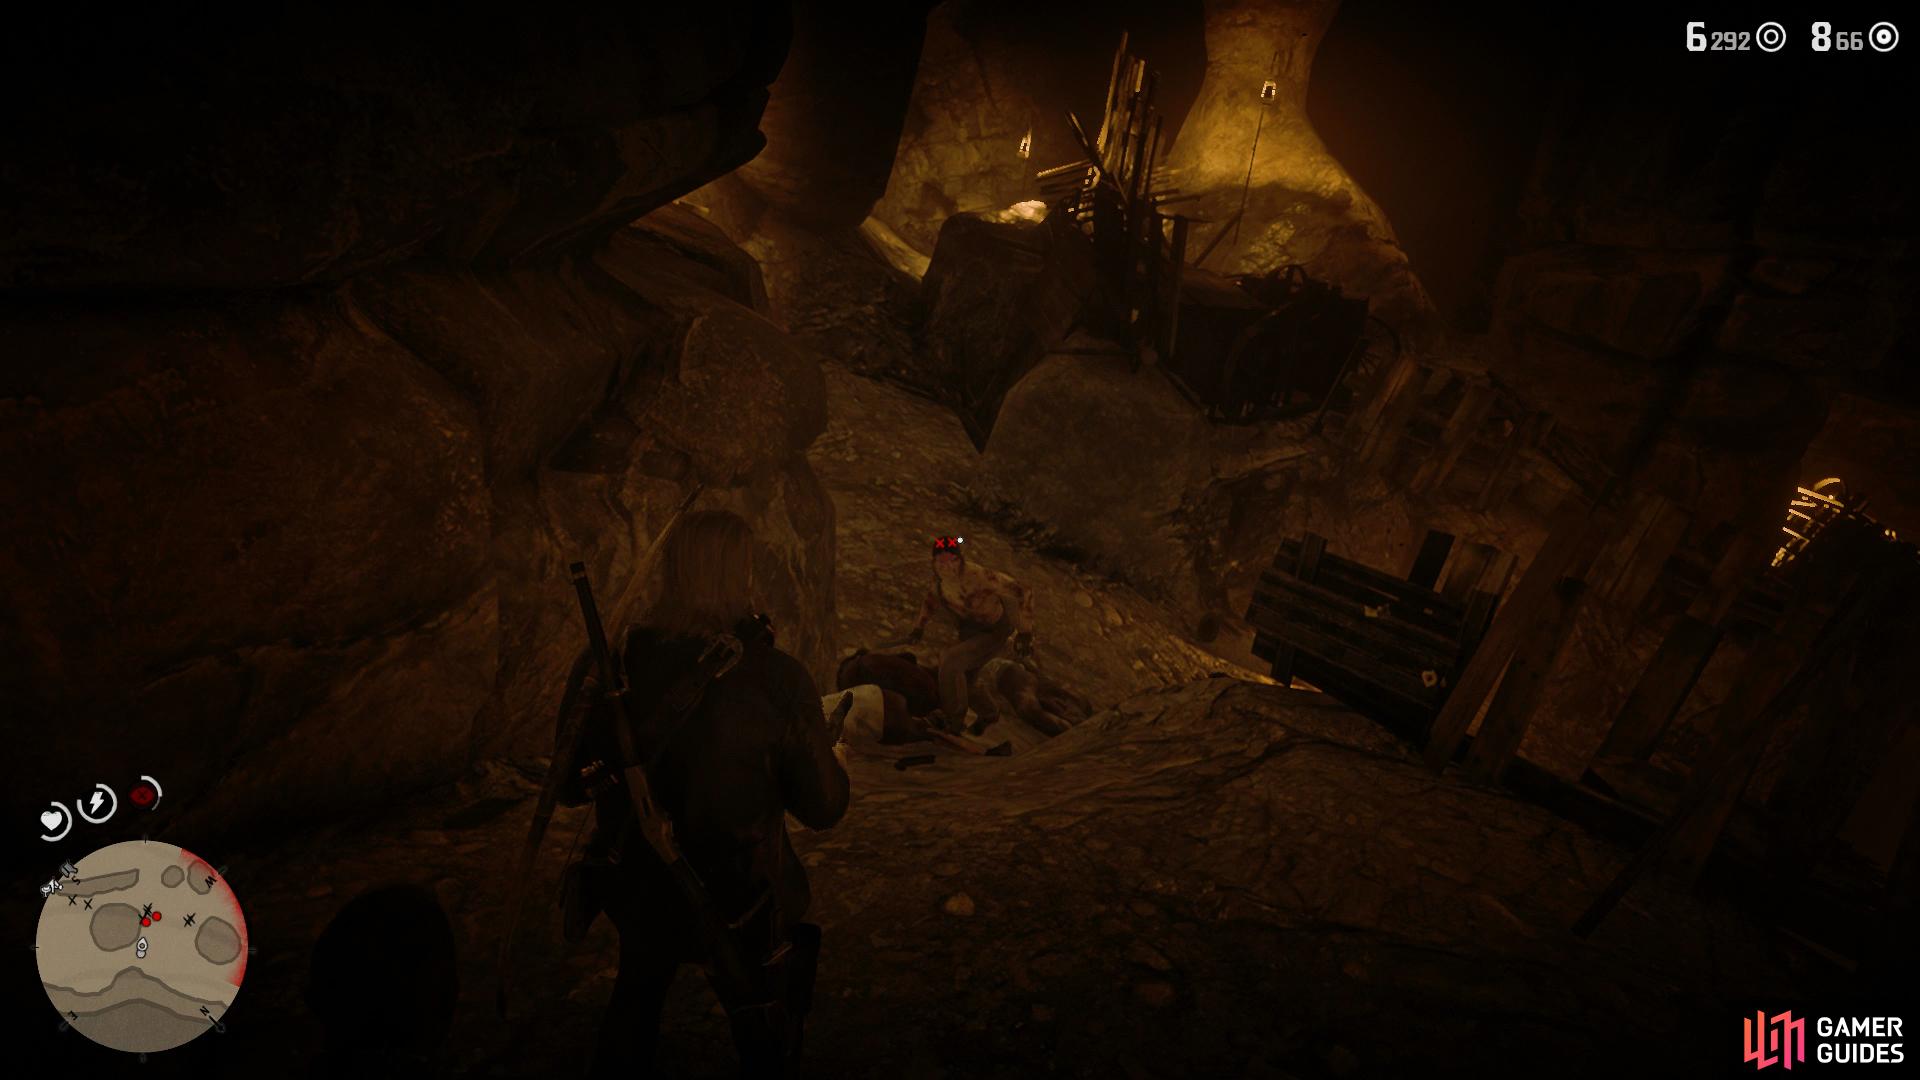
you can then use this location to bottleneck the rest for easy headshots.
Once the initial wave of Murfrees are dead, slowly head deeper into the cave and use Dead Eye for another couple of easy headshots. If you take it slow as you head deeper, you’ll never have to deal with being overwhelmed and score easy headshots. Once the final Murfree falls, head over to the cage and Defuse the situation with the [L2]/[LT] button before opening the cage.
If you’re going for the Gold Medal, you’ll need to skip this next cutscene to save yourself some time. Once on the horse, follow the marker as quickly as possible back to Annesburg. the 2 minute timer is more than enough provided you gallop as fast as possible and take no detours. Once at Annesburg, head to the marker to drop off Meredith where her mother will offer money as way of thanks, respond how you wish knowing that you won’t lost Honor for taking the money.
You have more than enough time to get Meredith home provided you gallop the whole journey.


No Comments