


You’ll find Sadie northwest of Sisika Penitentiary following the completion of Icarus and Friends at the end of Chapter 5 or start of Chapter 6. This is a tough mission to obtain a Gold Medal on due to needing high accuracy while also being as quick as possible. You’ll need to skip all cutscenes if you wish to complete this mission within the 9 minutes required.
Once Arthur and Sadie reach the shore, stay crouched and make your way to the guard tower and stealth kill him. You’ll find a Rare Rolling Block Rifle on the ground here, pick it up and look to the right to find a barn with a group of prisoners. You need to score a headshot on both of the guards here for the Gold Medal, take aim at the mounted guard first and then the stationary one following his demise. You’ll get a few attempts if you miss the first shot but as accuracy is key in this mission, try to nail headshots on the first attempt.
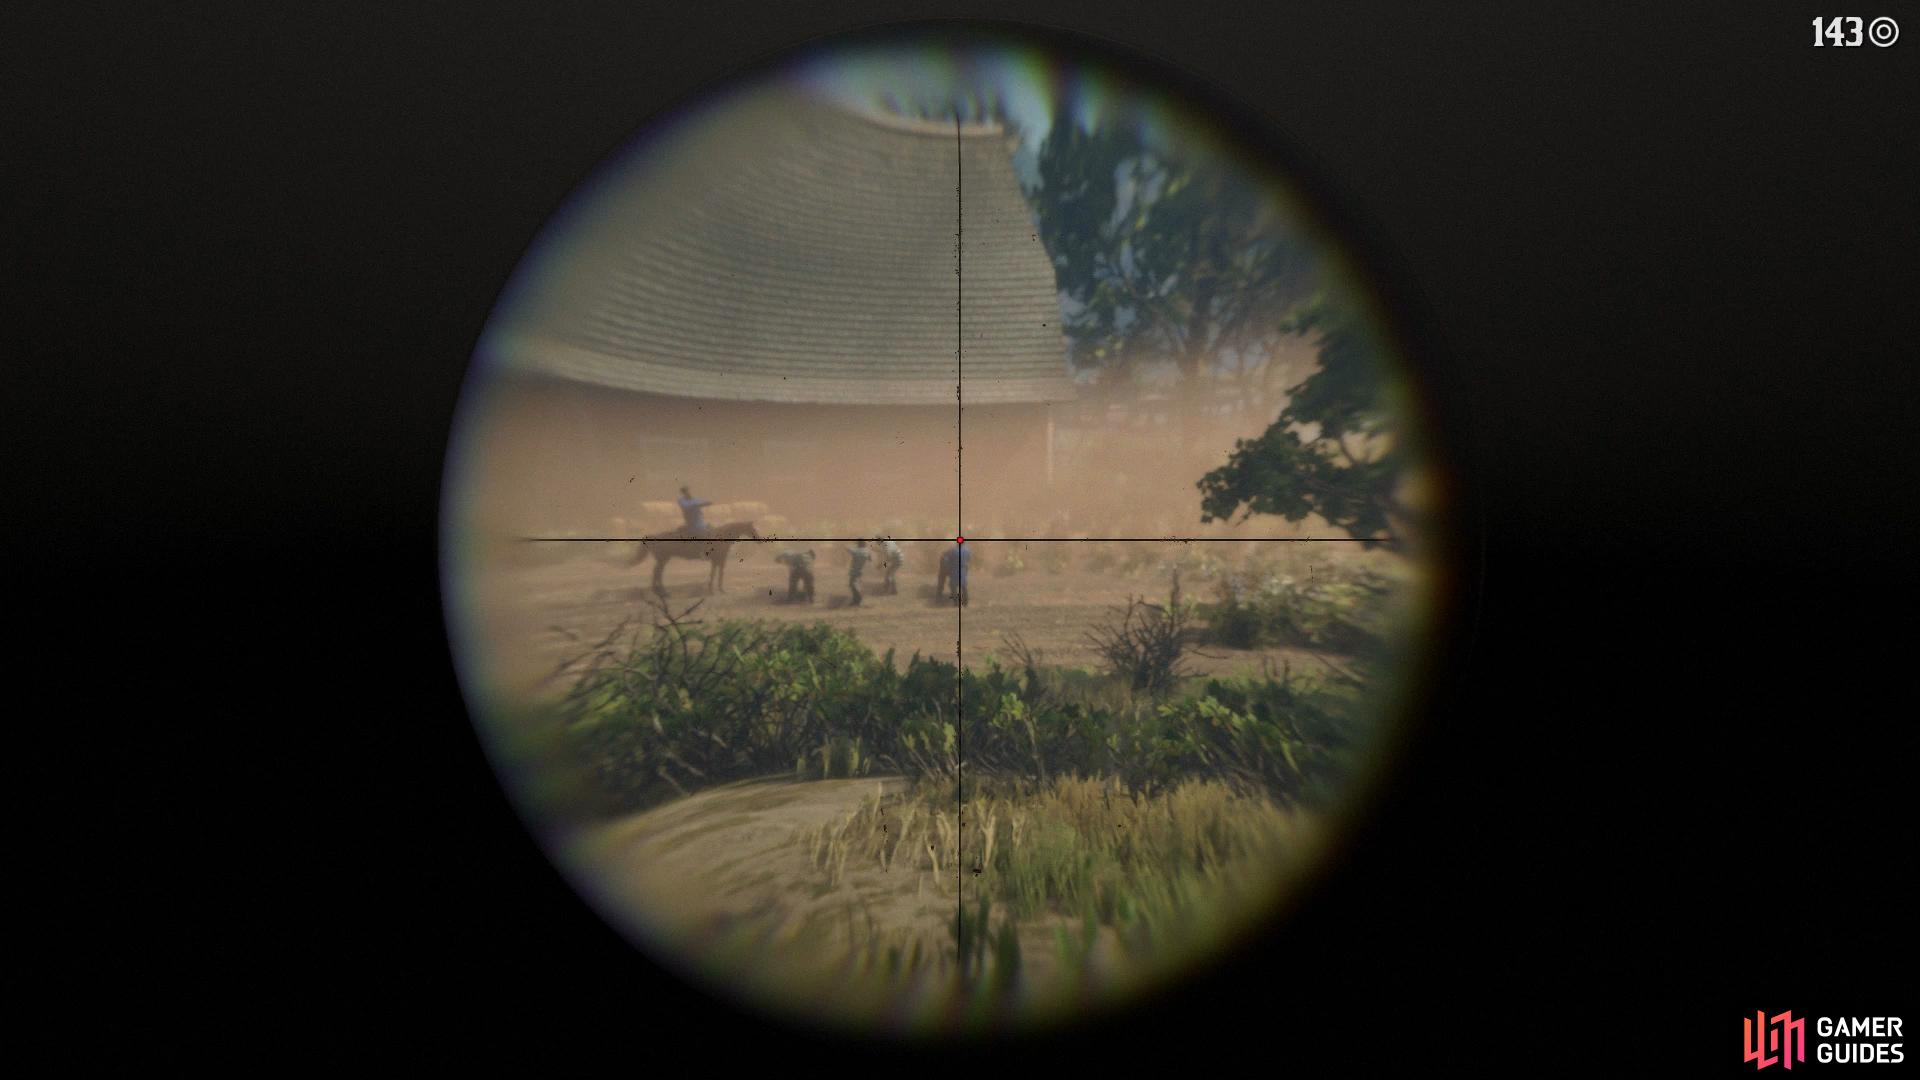
Be sure to nail the headshots on your first attempt.
Quickly climb down the ladder and follow Sadie over to the guards you just took down, there’s a survivor who you can press for more information. Following the cutscene you’ll have a hostage, keep walking forward and across the bridge until you reach the entrance to coerce the guards into releasing John.
The shootout begins at this point and you’re also on the clock, you need to make your escape within 2 minutes 45 seconds which isn’t much time at all. You’ll need to be precise with your shots and quick so headshots are the name of the game here. Once the guards come rushing out of the gate, focus on them to get John and Sadie moving again, any time they move you should move with them.
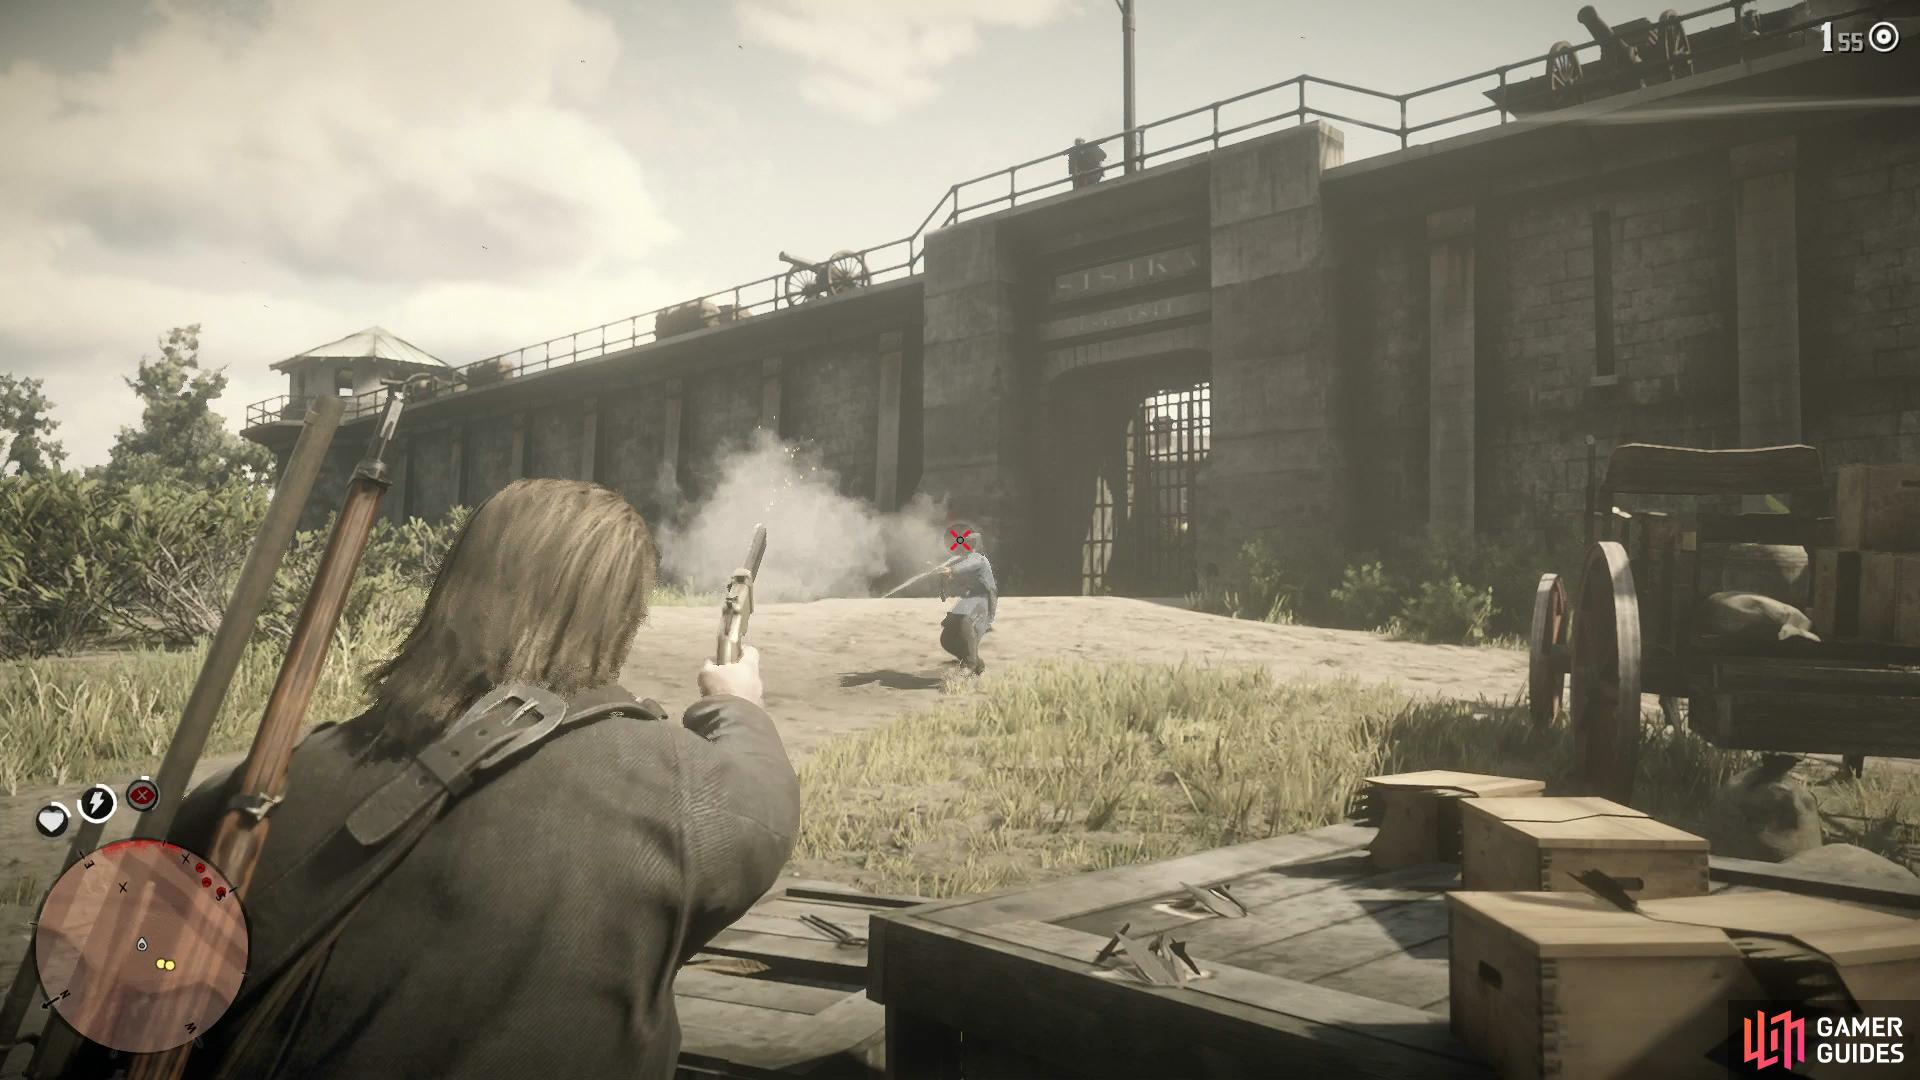
Make the guards rushing from the gate your main priority

ignore the group of mounted horsemen and get in cover behind the crates.
Once you find yourself at the end of the bridge, again focus on the guards on the ground, defeating enough of them will cause John and Sadie to flee into the fields. As you make your way across them, more mounted guards will arrive, ignore them and follow John and Sadie to the crates to take cover once more. Take out any guards that get too close and then when John and Sadie begin moving again, ignore the rest regardless of Sadie’s remarks and follow them to the boat.

Once John and Sadie move for the final time, ignore the guards and follow them.
As you begin rowing away from the shore, enter Dead Eye if you can and take out as many of the guards close to you to prevent being killed, there are many guards in close proximity here. The final part of this mission involves following Sadie back to Beaver Hollow, gallop as fast as possible to return John and complete the mission.
No Comments