


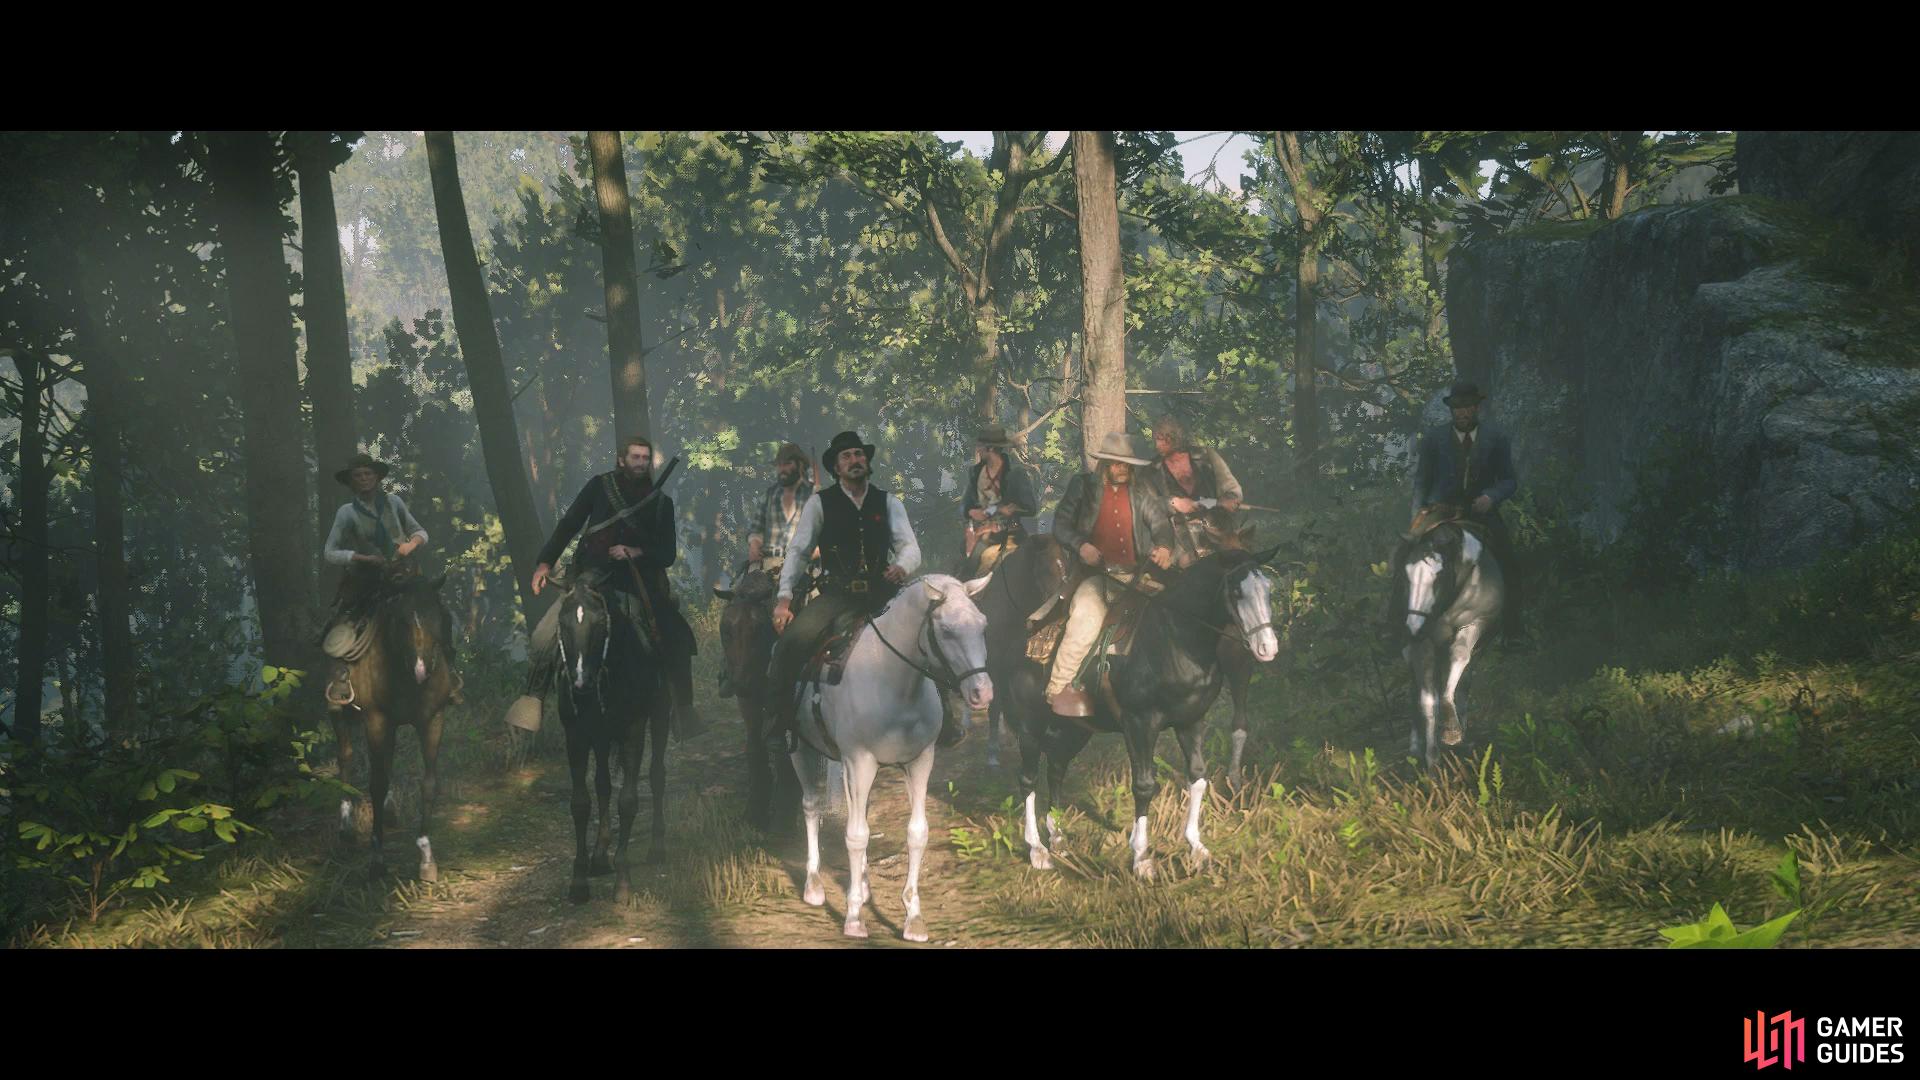
This mission begins automatically following the completion of Our Best Selves and serves as the game’s final Story Mission. Once Arthur and Sadie learn of Abigail being taken by the Pinkertons, they decide to make for Van Horn to stage a rescue. Follow Sadie to the marker while making sure to configure your loadout on your horse during the journey.
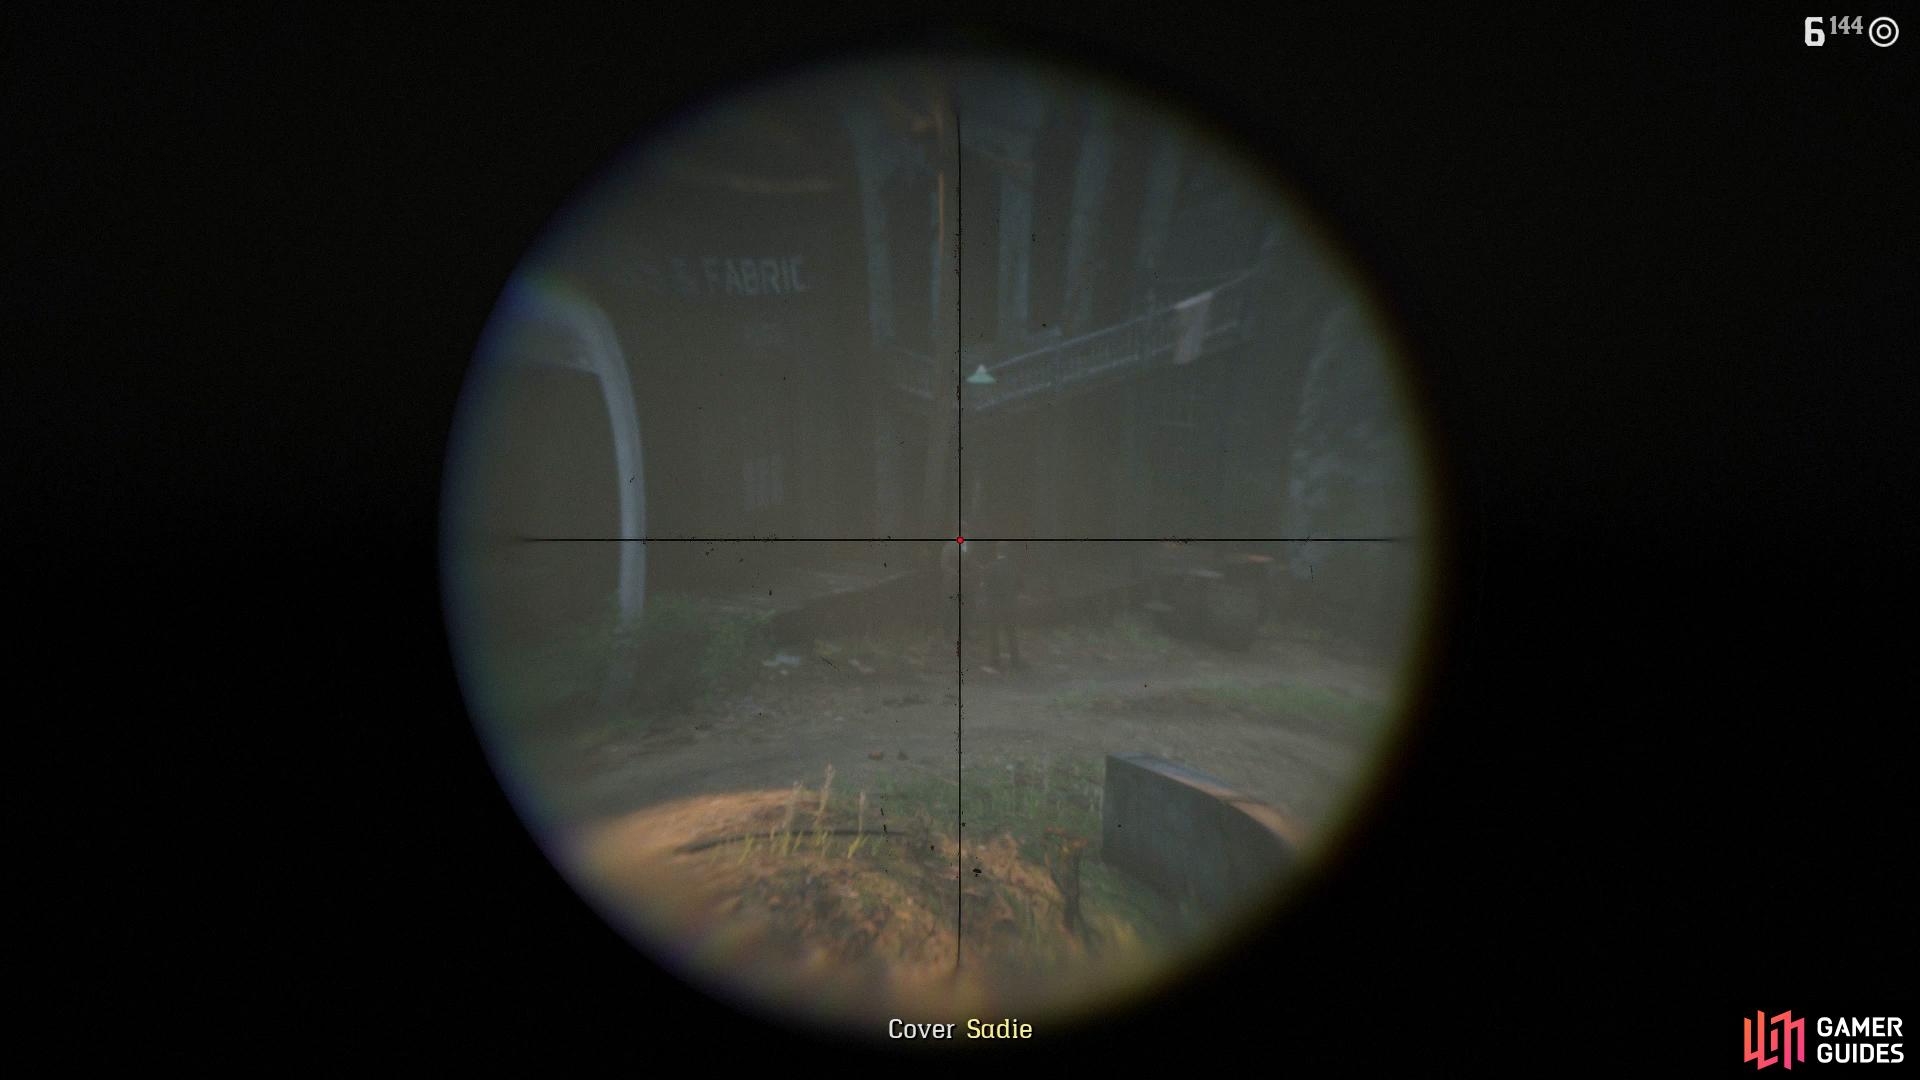
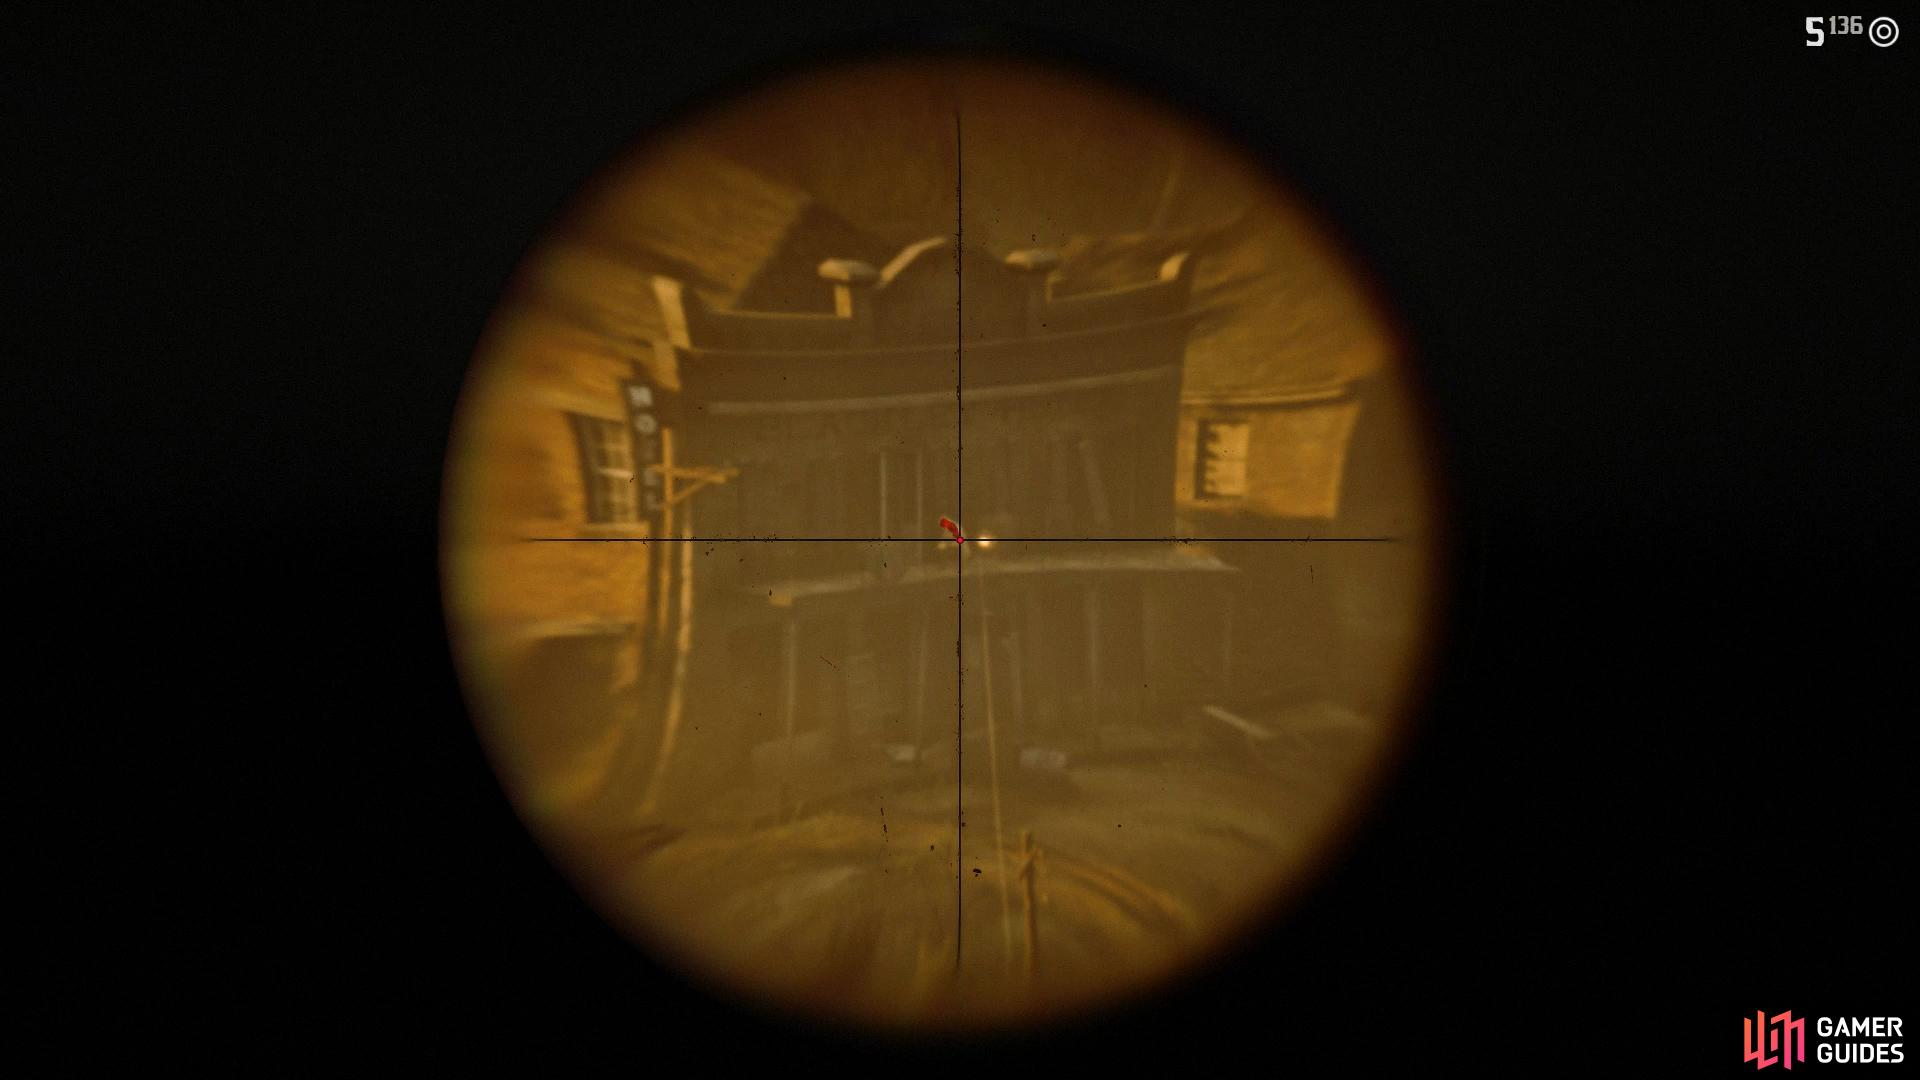
Once you reach the lighthouse, head up to the top and Arthur will pull out a scoped rifle to begin covering Sadie. For the Gold Medal, you’ll need to ensure you score at least 7 headshots all the while ensuring that you don’t miss any shots due to the need of having at least 70% accuracy. This is a very difficult task and you’ll want to use Dead Eye to help you line up the headshots.
You have time to pick off the first target
use Dead Eye on the snipers on the balcony.
From Sadie’s starting position, you’ll see two Pinkertons to her right, take aim at one of them and pull the trigger before switching to Dead Eye to finish the second off. The next Pinkerton will come running down the street, this should be an easy target that you shouldn’t need to use Dead Eye before Sadie makes a run to the right and down towards the docks. You’ll find another two Pinkertons in cover at the end here, followed by two snipers on the balconies of the nearby houses to the left, these are good candidates for Dead Eye. You should have the 7 headshots by this point so focus on just killing the remaining Pinkertons rather than aiming for the head and missing.
Once Sadie reaches the building, she’ll be knocked down and Arthur will decide to come to her rescue. You have one minute to get to the building that Sadie and Abigail are in so you’ll need to keep on the move as you make your way down the street. Switch to a rifle or shotgun and only kill the Pinkertons in your direct path, ignore the sniper on the balcony and keep moving. After you kill the mounted Pinkerton, head right and make a run for the door, taking out any Pinkerton that tries to block your path. Once you reach the building, kick the door to trigger a Dead Eye sequence where there’s more than enough time to headshot both Pinkertons. Once you regain control, repeatedly hit the [Circle]/[B] button to attempt to break free until Abigail comes to your rescue.
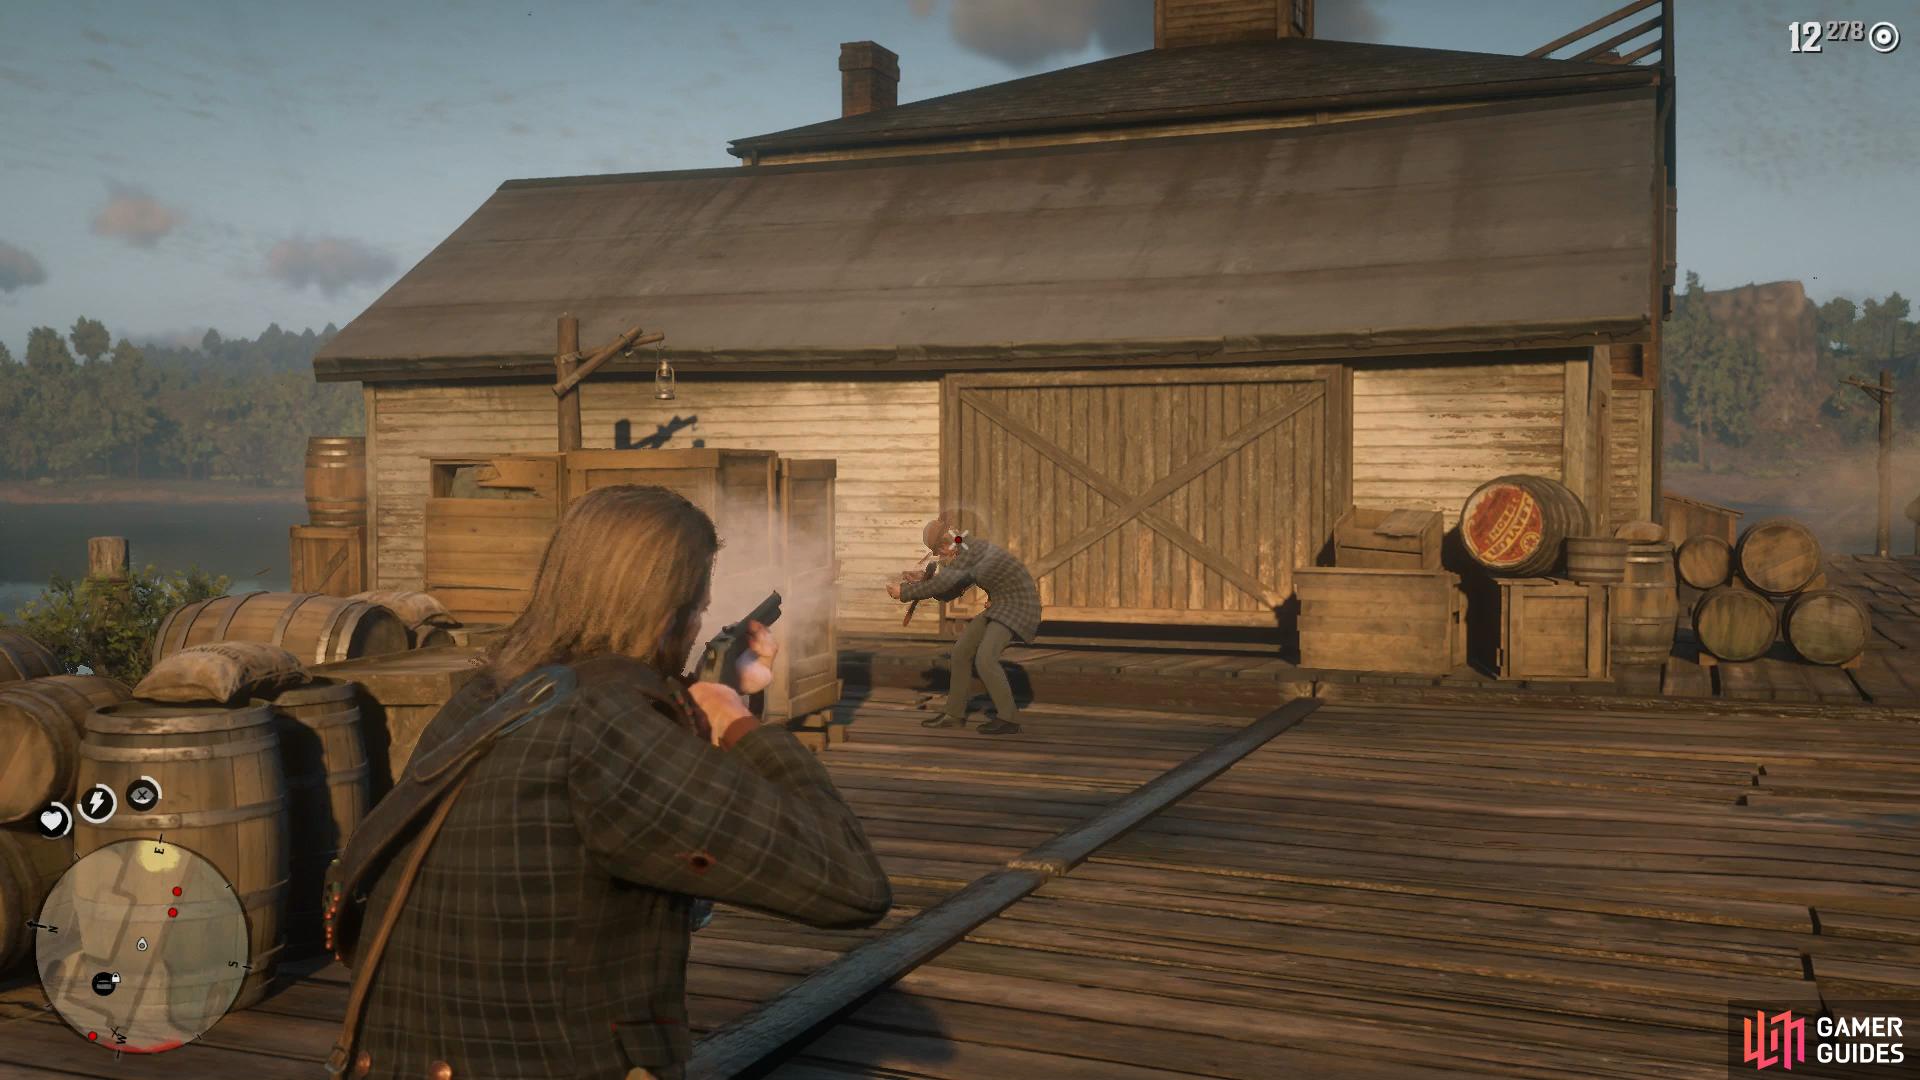
Only kill the Pinkertons in your direct path when trying to save Sadie and Abigail.
You’ll now need to cover the girls as they make for the horses, you’ll only need to take out one or two of them before they’re mounted up and Arthur mounts up with Sadie. Switch to a sidearm here and fend off any of your mounted pursuers that get too close. Eventually, you’ll pull over to the side as Arthur urges Abigail and Sadie to escape, leaving Arthur to return to camp and inform Dutch of the information he just learned. During this dream like sequence, hold the [X]/[A] button in as Arthur makes his way back to camp to confront Dutch and Micah.
Following the developments at camp, you’ll find yourself under siege from Pinkertons as the rest of the gang leaves Arthur and John to fend for themselves. Keep to cover and use Dead Eye to kill as many of the Pinkertons as you can until John makes a run for the cave behind you. At this point, ignore everything else and run through the cave with John to the back. You’ll find some ledges to climb and ladders that will take you back out to the surface and your horses.
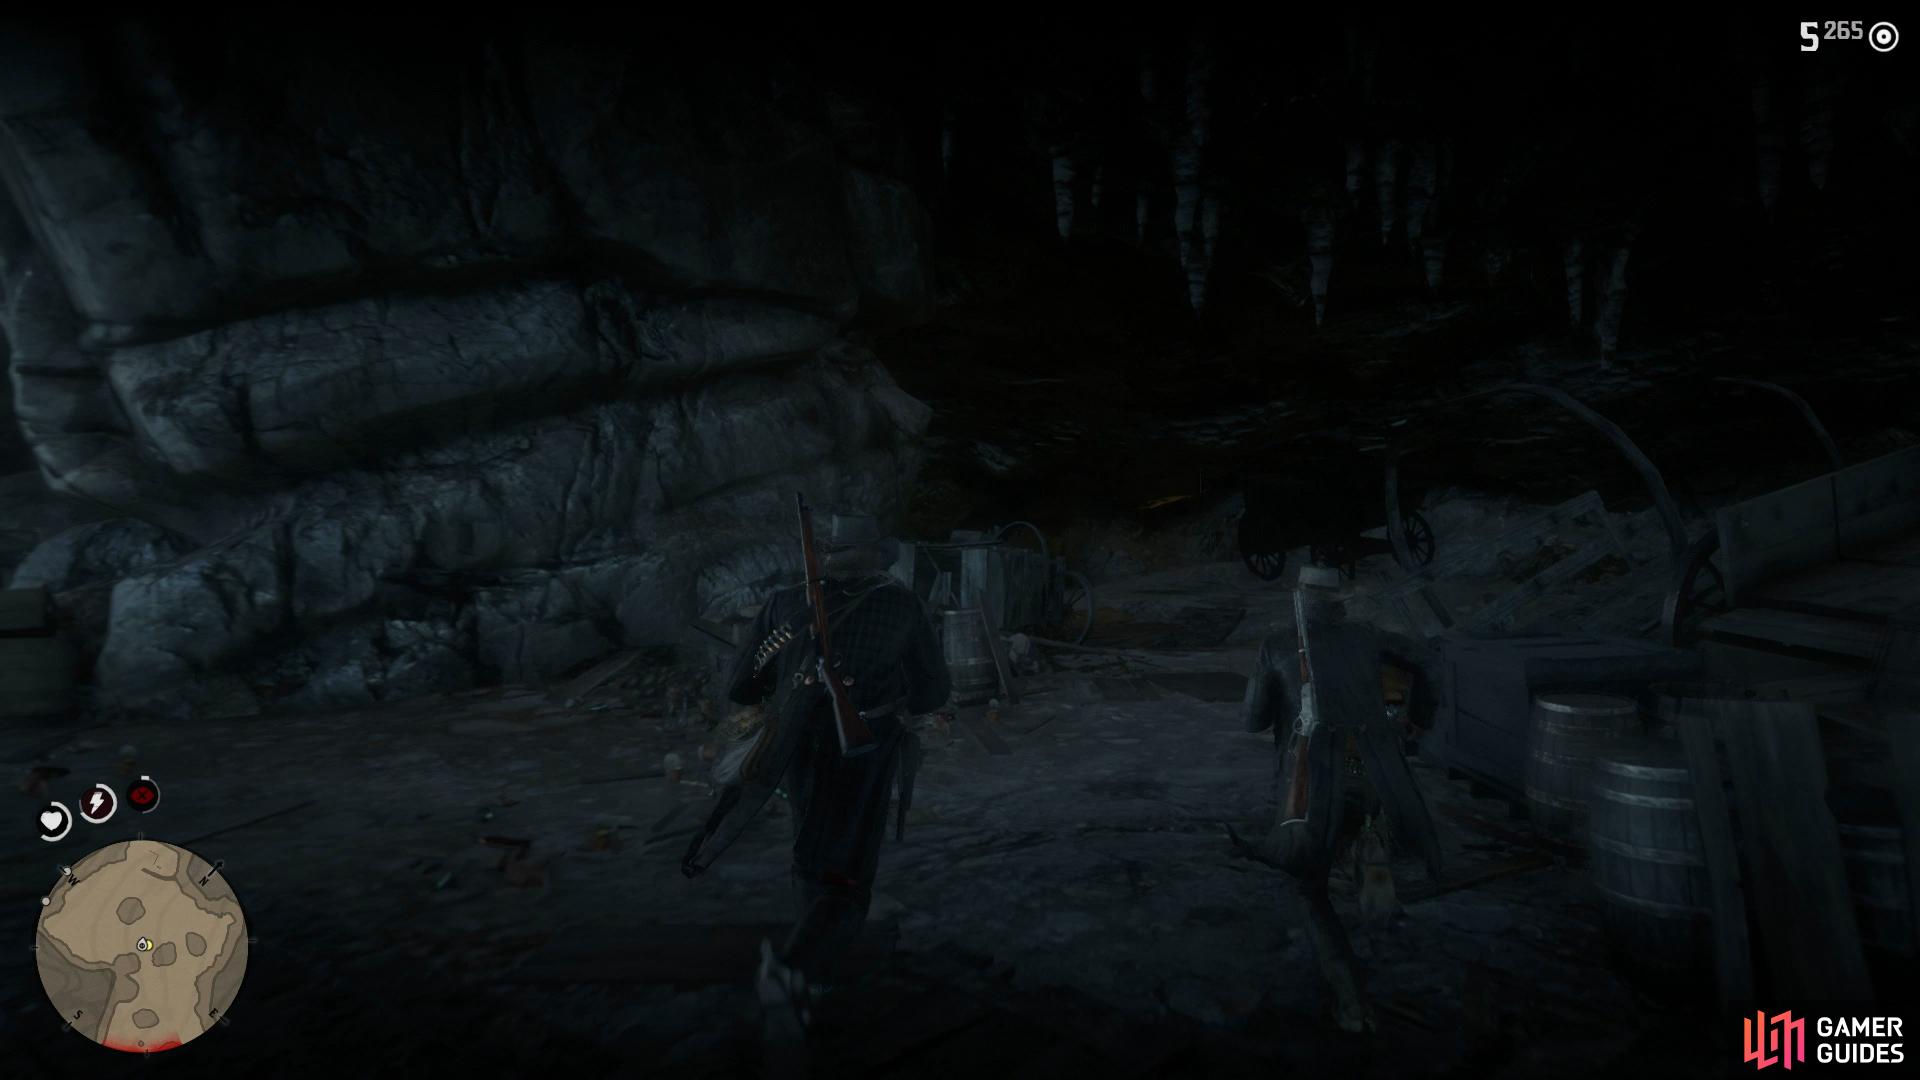
Ignore the Pinkertons and make for the back of the cave once John starts running

choose to help John for the Honor boost.
You’ll still be pursued by Pinkertons during this next sequence but as long as you stick with John, you shouldn’t have to kill too many of them. Eventually you’ll come to a stop by two on the path, activate Dead Eye and headshot both before continuing to follow John. Unfortunately, Arthur’s horse takes a tumble and you have to continue on foot up the hill. Take out the nearby Pinkertons and you’ll be presented with a choice, help John escape or go back for the money. This choice affects how the mission will play out and for the sake of this Gold Medal, choose to help John. Not only will you get a boost in Honor but you’ll also avoid a difficult shootout at the camp which could plummet your accuracy.
Follow John up the ridge and take cover when he does, picking off a few more Pinkertons from this position with the aid of Dead Eye should you have it. Eventually, Arthur and John need to part ways, Arthur knows he’s not long for this world and hands over his hat and satchel to John while he stays to cover him. Focus on the nearby path as three Pinkertons make their way up to you and are easy targets even for the ailing Arthur, Micah however has other plans.
Once Micah and Arthur tussle and fall to the cliff below, the final brawl begins between the two men. Micah is a tough adversary and Arthur’s deteriorating health makes it that much harder. Do not go on the offfensive against Micah, block his blows and counter with a single punch, any more and you’re likely to be caught in a flurry of blows from Micah. You’ll wear him down eventually and Arthur will go for the gun, repeatedly press the [X]/[A] button to attempt to reach it. This will begin the final cinematics of the mission as Chapter 6 comes to a close and Epilogue 1 begins following it.
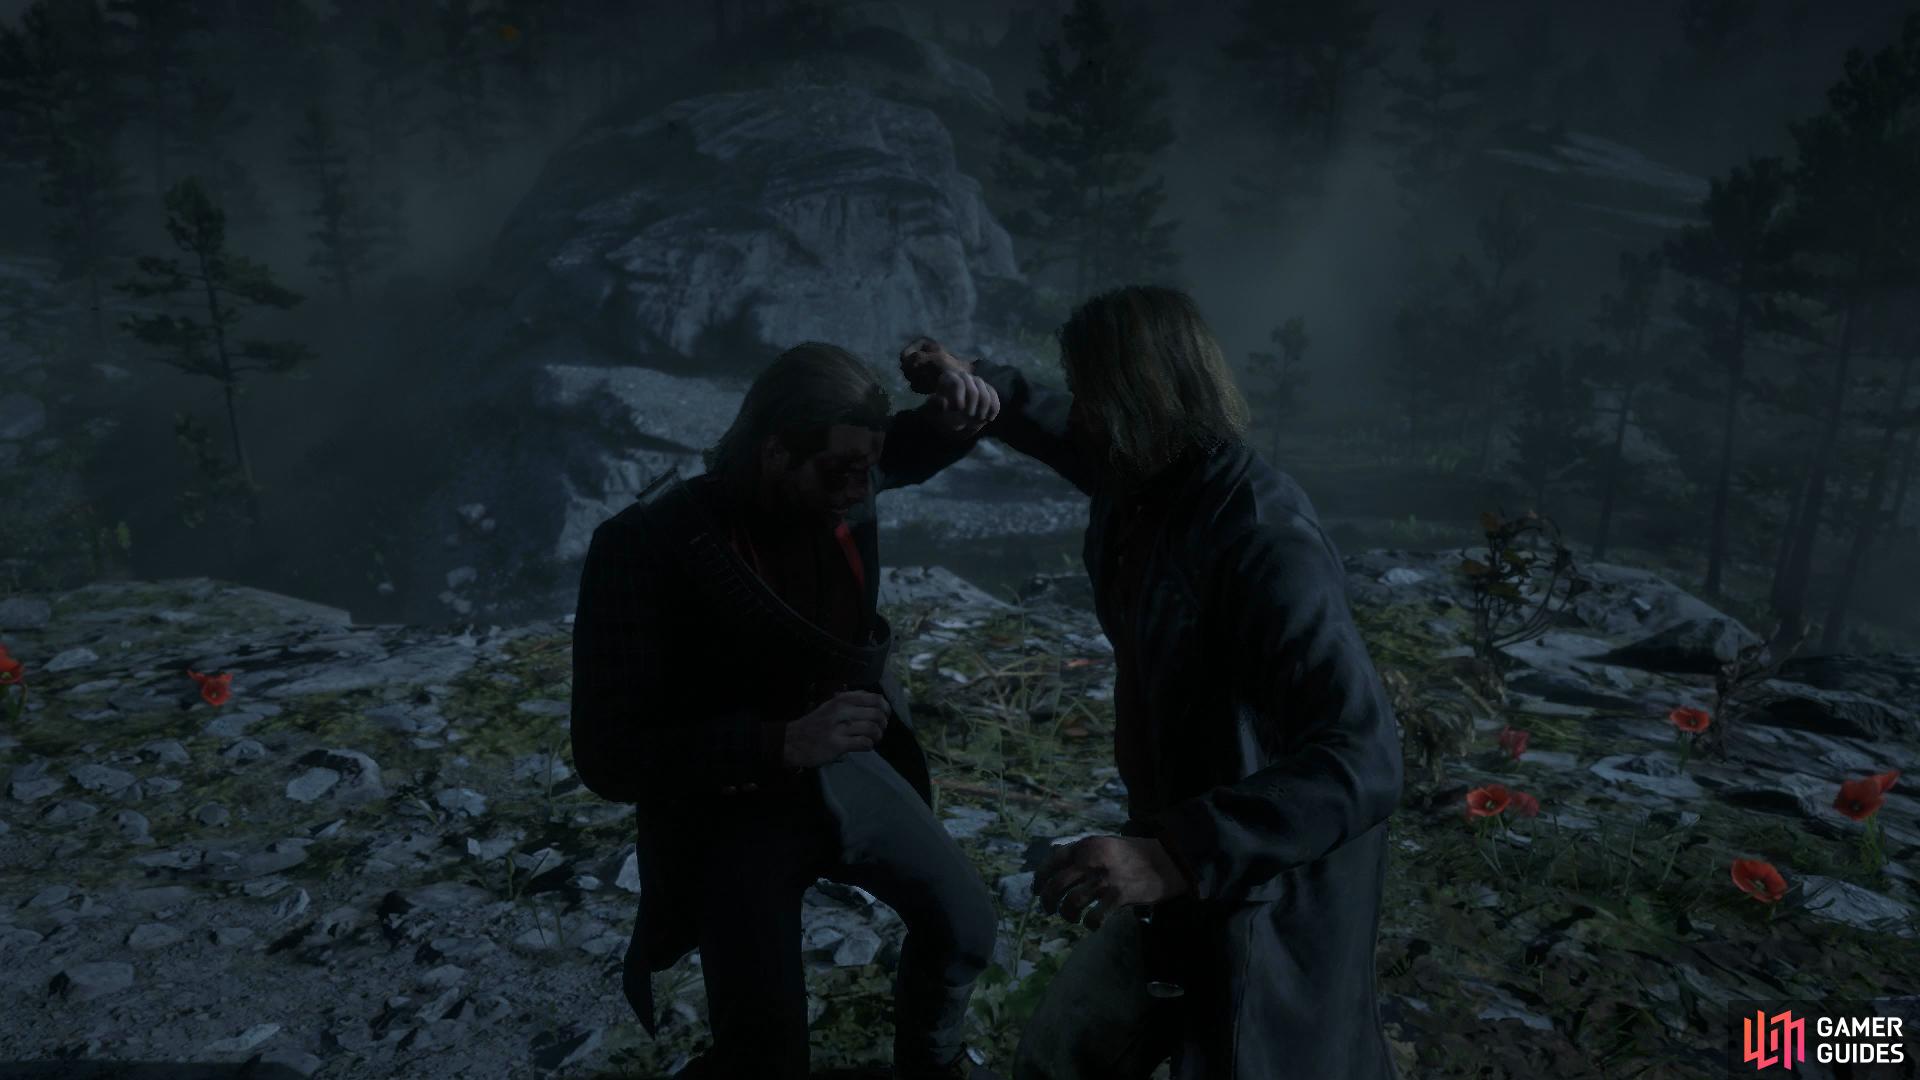
Block Micah’s blows before countering with a single punch.


No Comments