


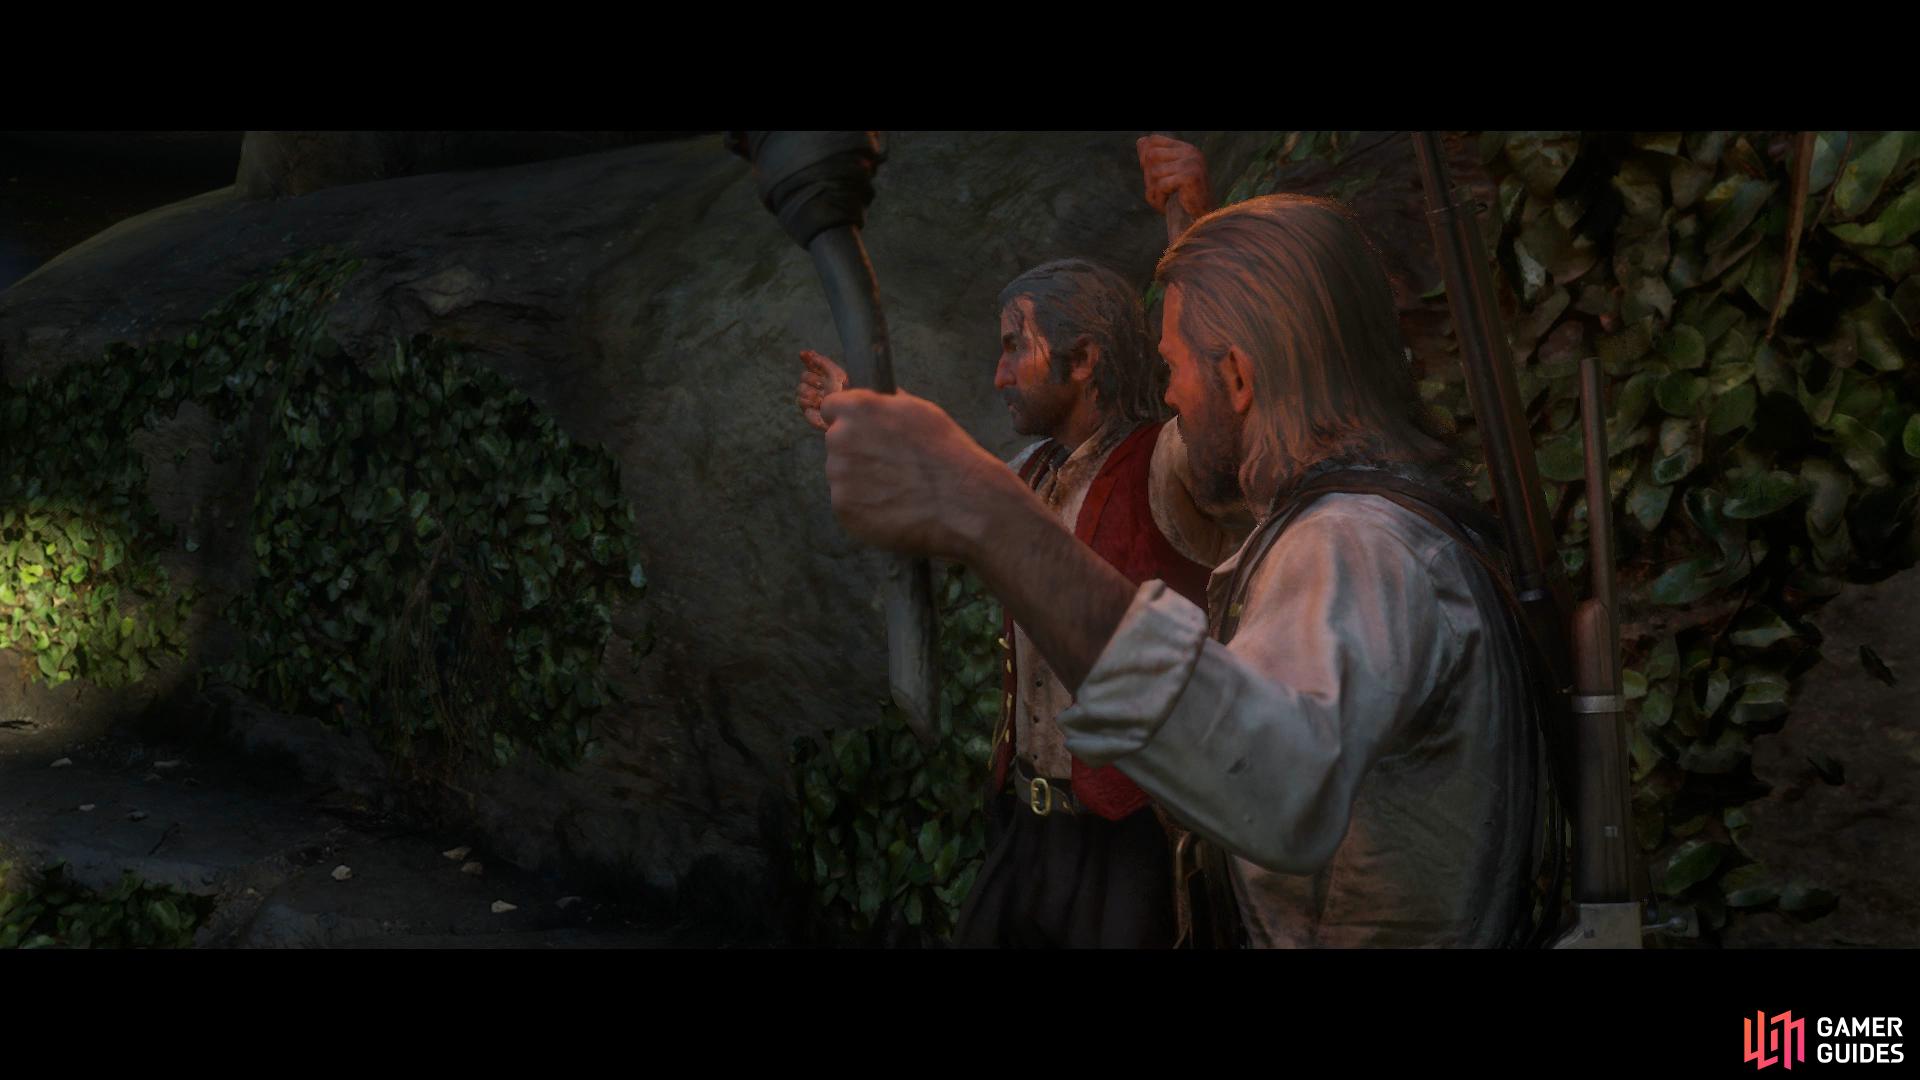
Head to the right from the camp and down to the river, following the path to the end where you can find some ledges to climb and reach Dutch. Follow Dutch through the caves until you reach the compound and then follow him again as you make your way to a nearby building.
Stay crouched and approach the right guard, wait for Dutch to strike the left guard before stealth killing the right. Pick up the guard now and toss him in the nearby grass before continuing to follow Dutch’s lead. You’ll reach a larger storehouse here full with sugar, sneak around to the guard on the left and stealth kill him while Dutch handles the right one.
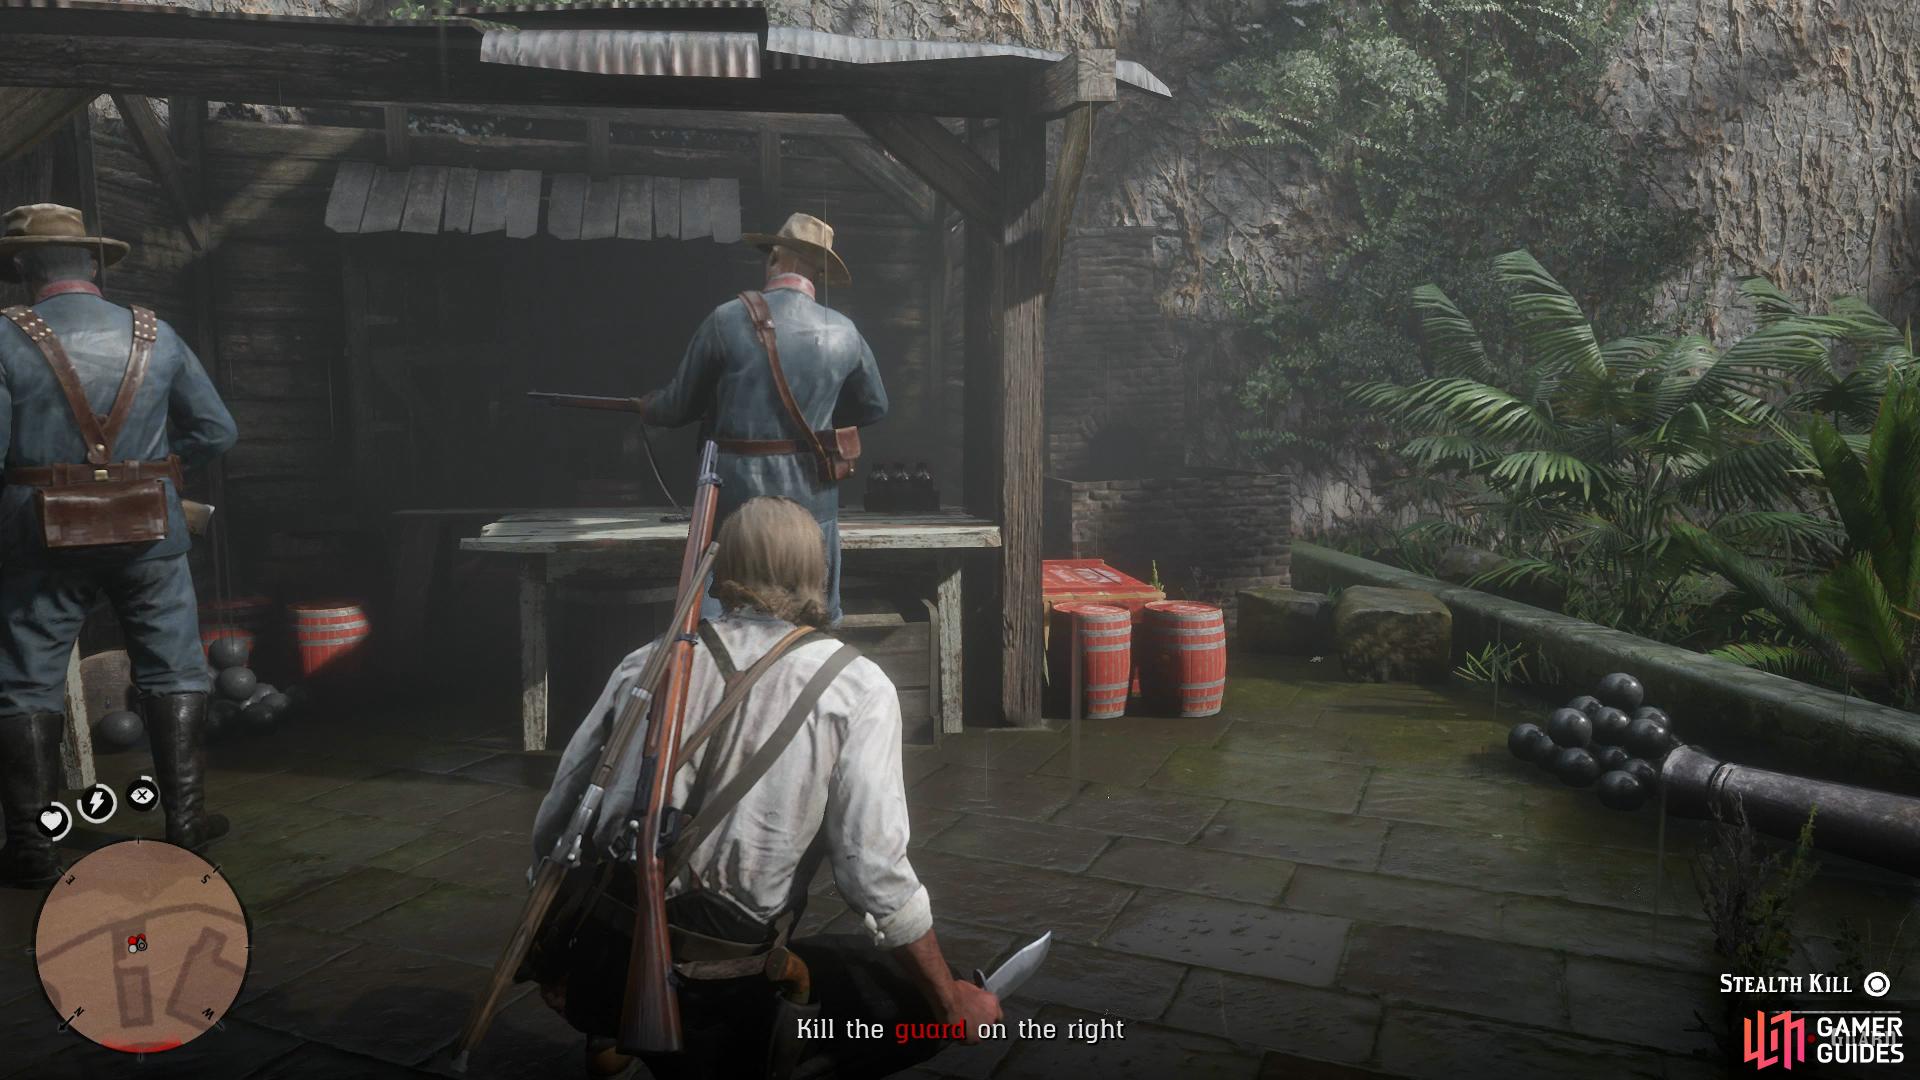
Wait for Dutch to strike first before killing the right guard.
Dutch now has a plan to raze the storehouse to create a diversion for Javier. Follow the markers around the storehouse as you help Dutch prepare and then head out the door, following him to the nearby well. Once the building goes up, dash over to where Javier is caged up and Dutch will set him free, beginning the next phase of this mission.
You have under two minutes to get Javier to safety while also providing cover fire. You’ll need to be on top of your game to handle headshots here, resisting the urge to go into Dead Eye unless absolutely necessary. Stick close to Dutch and Javier and they’ll continue to move towards the back of the compound, taking out any guards in your path with headshots.
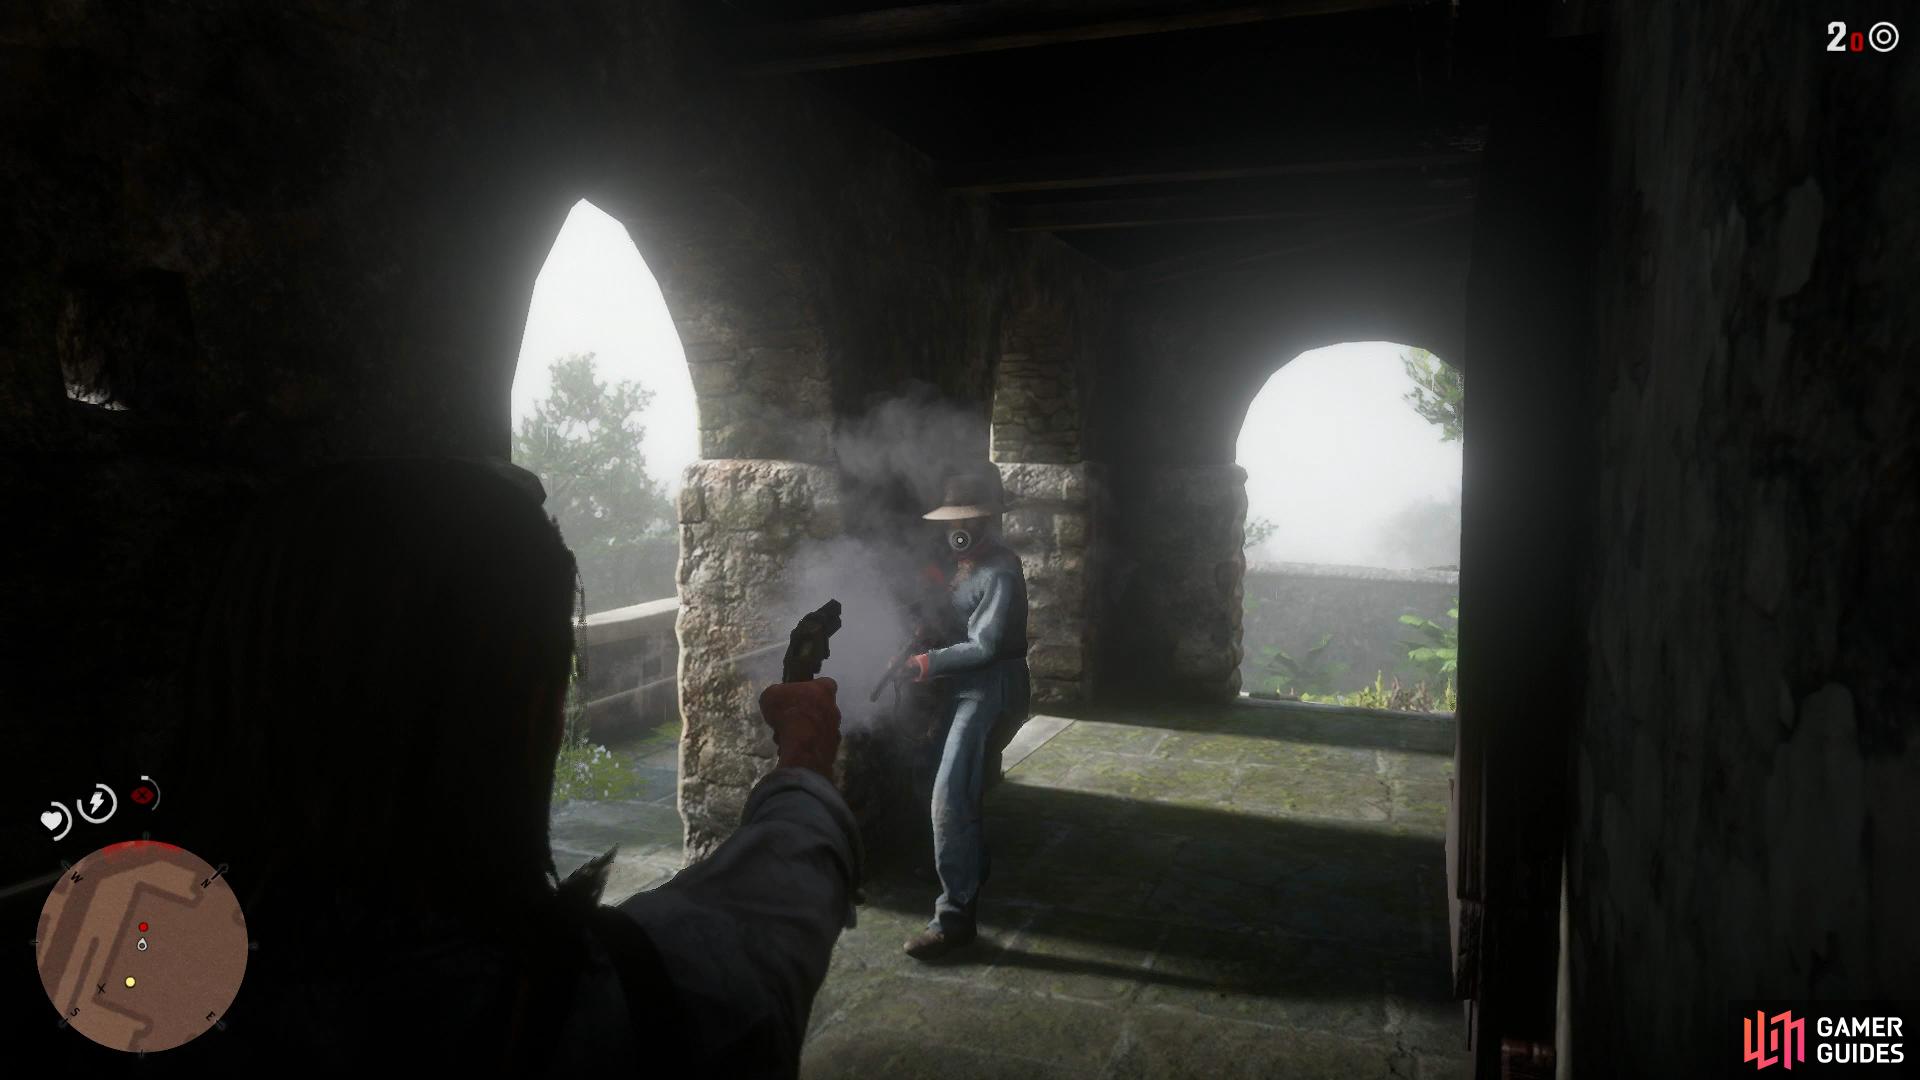
Keep moving alongside Dutch and only shoot the guards in your direct path
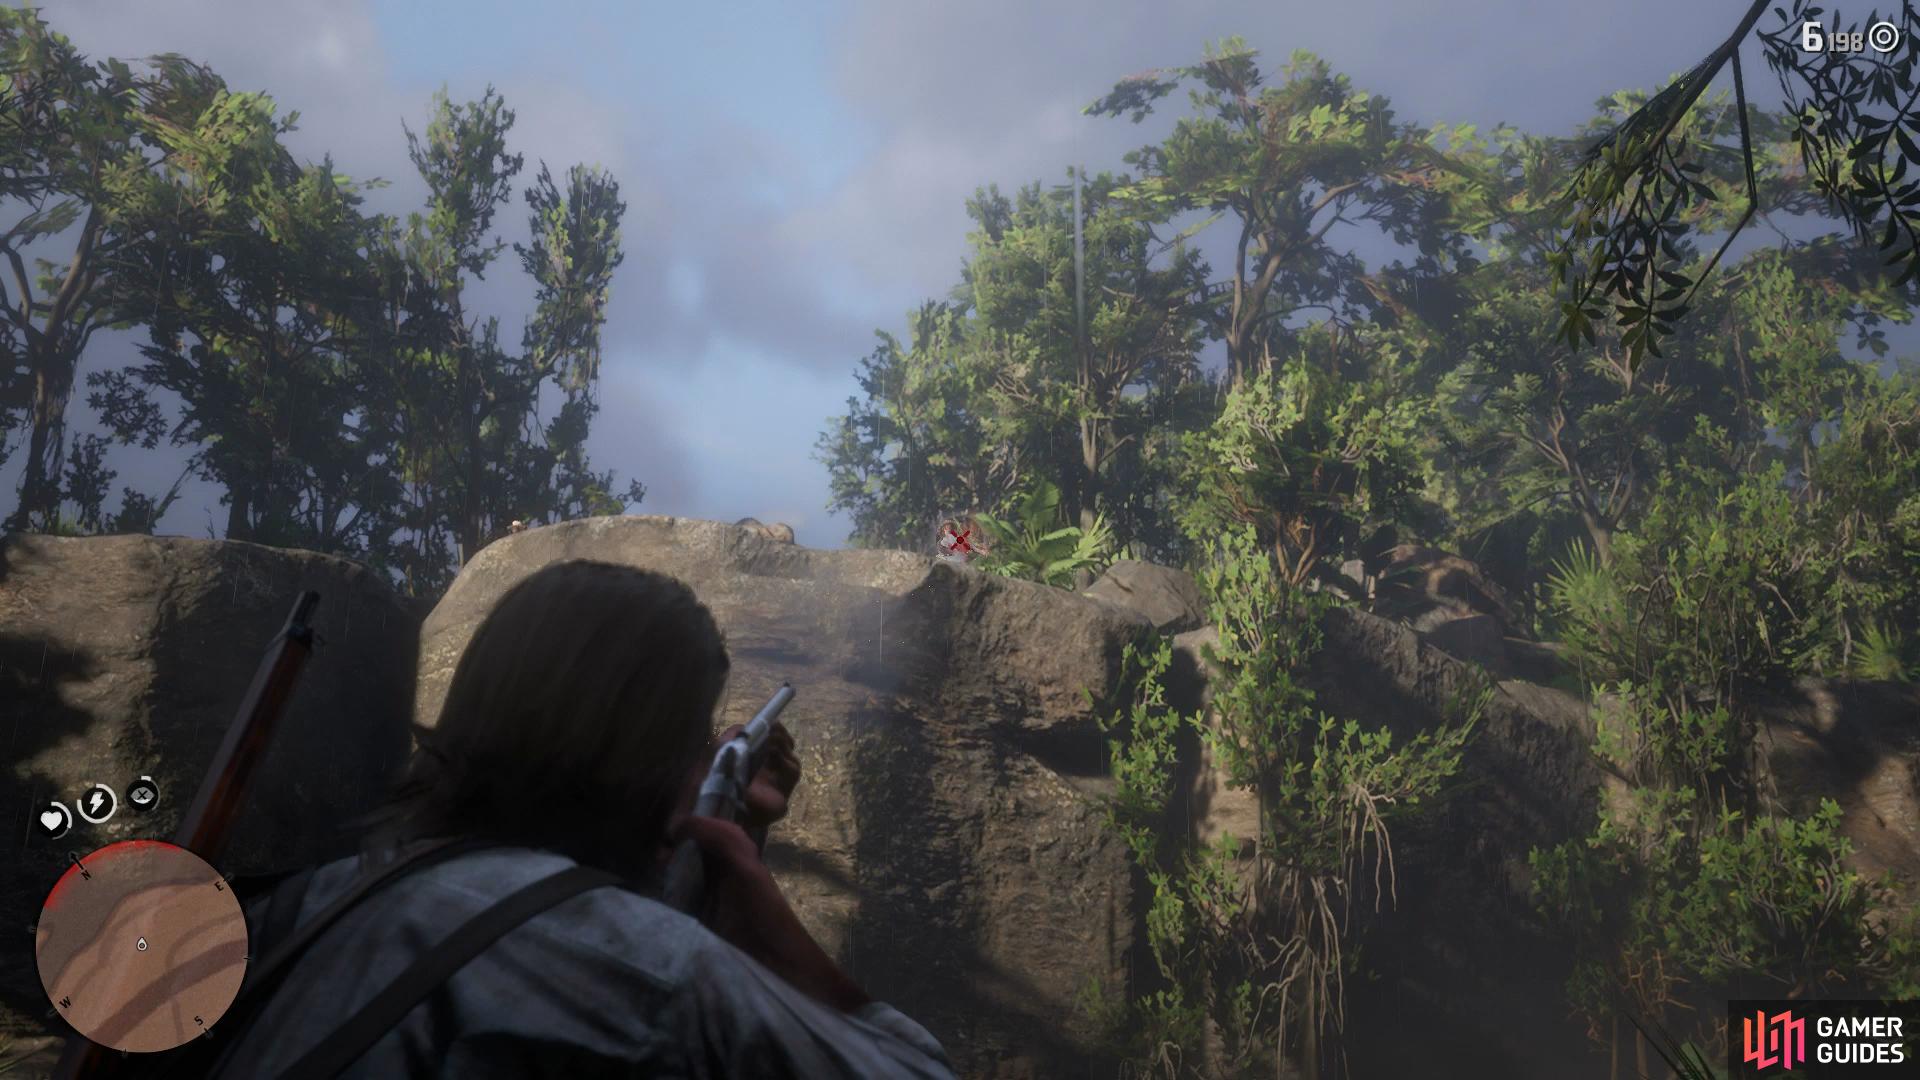
look to the cliff to the right when holding off the reinforcements at the end.
Once you exit out the back of the compound, continue to move with Javier and Dutch rather than sticking around for a shootout. Use the sugar fields to shield your cover and take fire at any that get too close. Eventually, you’ll cross the river and Dutch will take off with Javier, leaving you to hold of the reinforcements. You now have time to take these guards out as Javier is already to safety so now is a good time to make use of Dead Eye to land the remaining headshots you need. Pay special attention to the guards up on the cliff to your right, they’ll be able to hit you even though you’re behind cover.
No Comments