
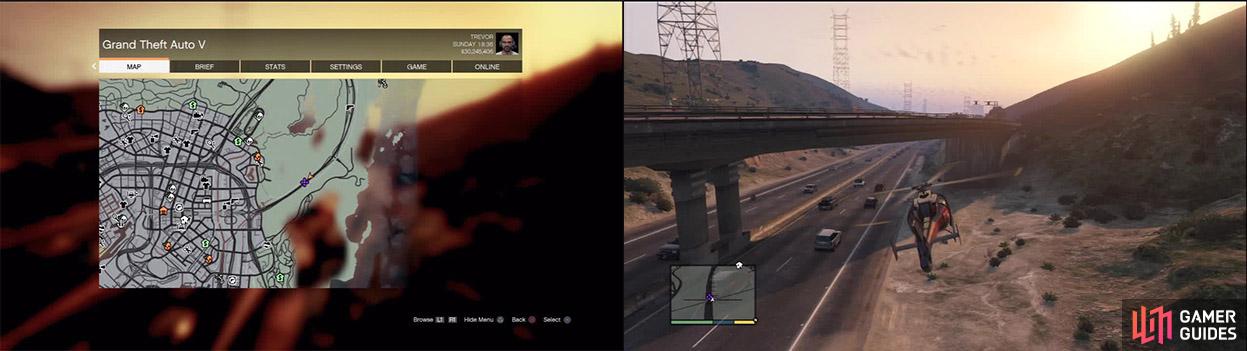
Helicopters are some of the best aircraft to use for these challenges as you can control their height and speed a lot easier than planes. Once Trevor obtains the Sandy Shores airfield, you can get a Frogger there all the time. You will probably go through a few of these while you complete these challenges so if you do damage it, simply return to the airfield for a fresh one.
Make sure not to touch the ground or the sides of the bridges in order to complete the challenge. Otherwise, it won’t count.
Trevor is obviously the best choice because of his flying skills. It just makes sense to use him. You only need to complete 25 of the 50 challenges to count towards the 100% but to get the “Close Shave” achievement/trophy, you need to complete them all and the 15 knife flights.
Bridge 1
You have a lot of clearance for this bridge.
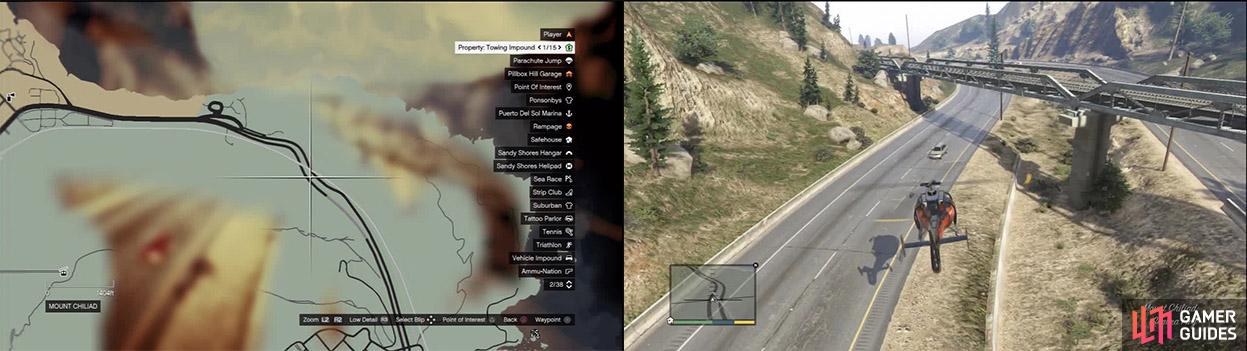
- Rail Bridge over Highway 1, Mount Chiliad
You can use a slow plane for this bridge if you don’t have a helicopter because you have plenty of space to fly under it. Helicopters do just as well though. You can pass under the bridge from either direction and either side.
Bridge 2
Be careful with this one as it is quite easy to misjudge the width.
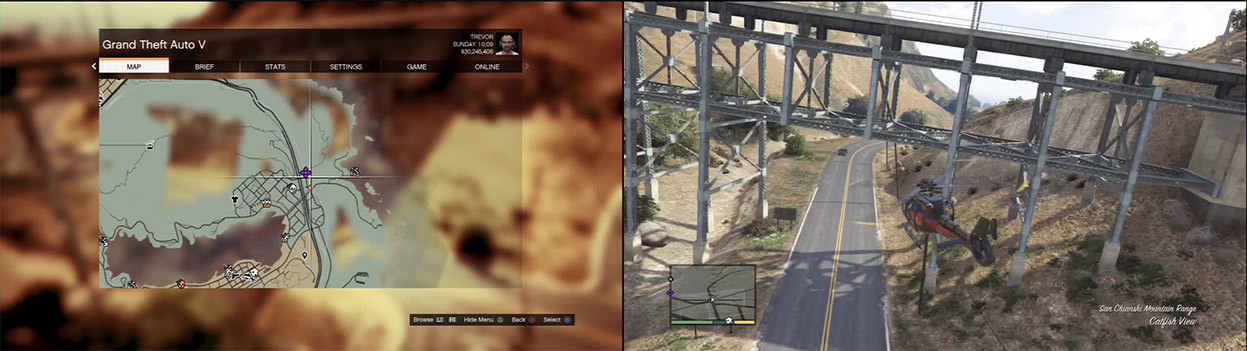
- Rail Bridge over Grapeseed Avenue, San Chianski Mountain Range
You may be better with a plane because you can keep it nice and straight through the hole. The bridge supports can easily be smacked into if you aren’t careful. Watch out for the telephone poles as well!
Bridge 3
The gap is quite tight so you must keep level with the road and straight as you fly through.
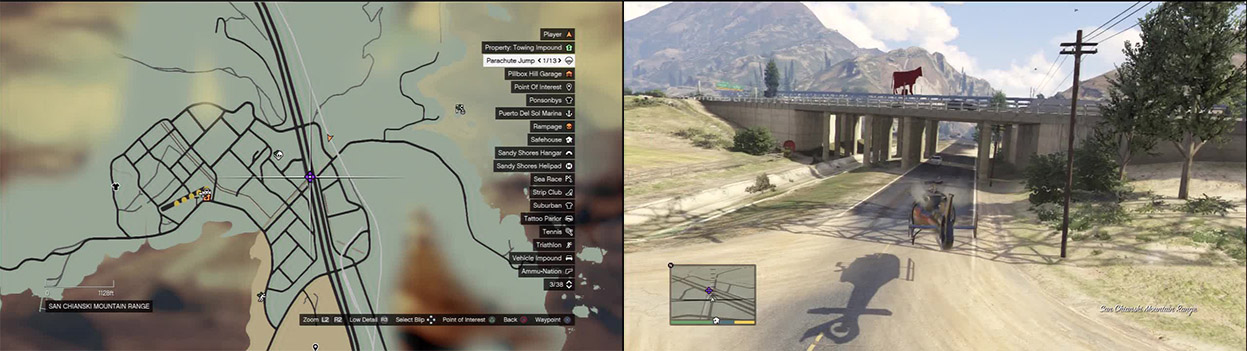
- Highway 1 Overpass, Grapeseed Avenue, Grapeseed
The Mallard or Cuban 800 may be best for this. A helicopter can make it but there is more of a risk that you will hit the sides or floor while trying to tilt it enough to get enough speed to go all the way through.
Bridge 4

Try and avoid traffic as you fly under.
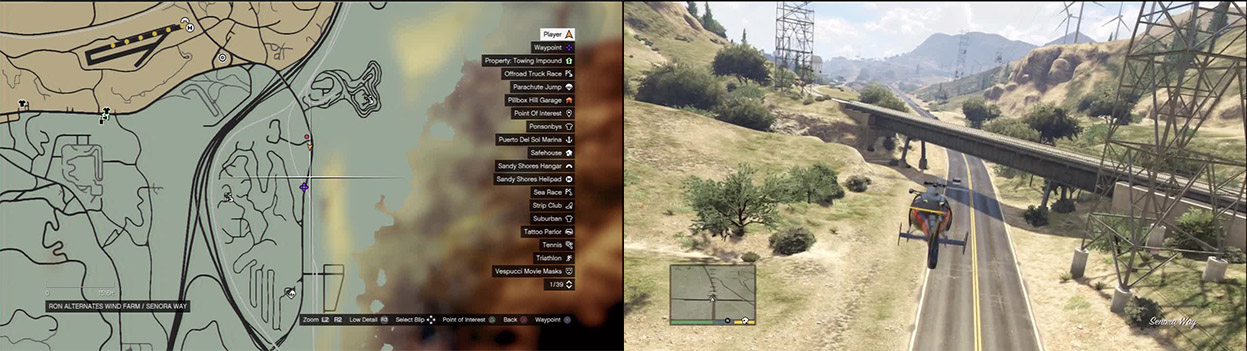
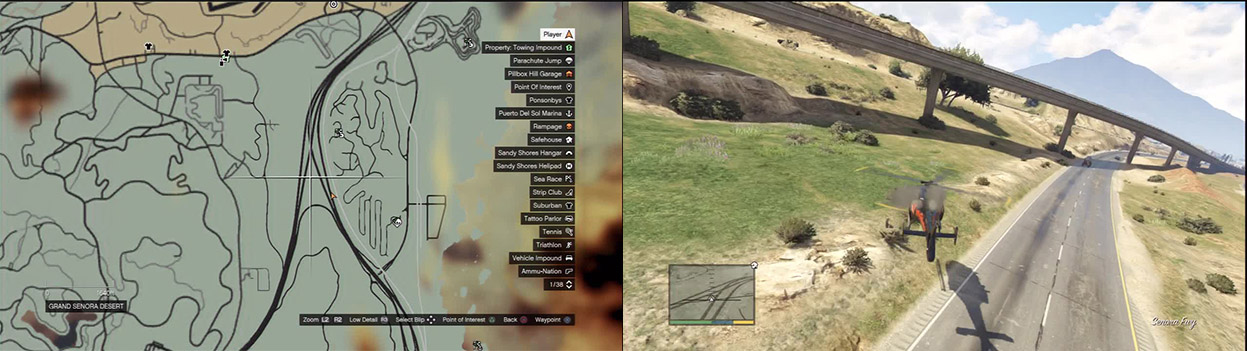
- Senora Freeway Overpass, Grand Senora Desert
Choose a nice empty side of the road to fly under, preferably one without any tall trucks. You may clang into a few as you try and fly under so try and find an opening in the traffic. The bridge is pretty low too, so a nice light plane with no landing gear may be a good idea if you can’t make it with a helicopter.
Bridge 5
There is a fair amount of clearance for this one.
- Rail Bridge Senora Way, Wind Farm
The helicopter can make it through here easily as you have plenty of room underneath and either side. Approach from the north to give you a little more room.
Bridge 6
This is another nice and tall overpass.
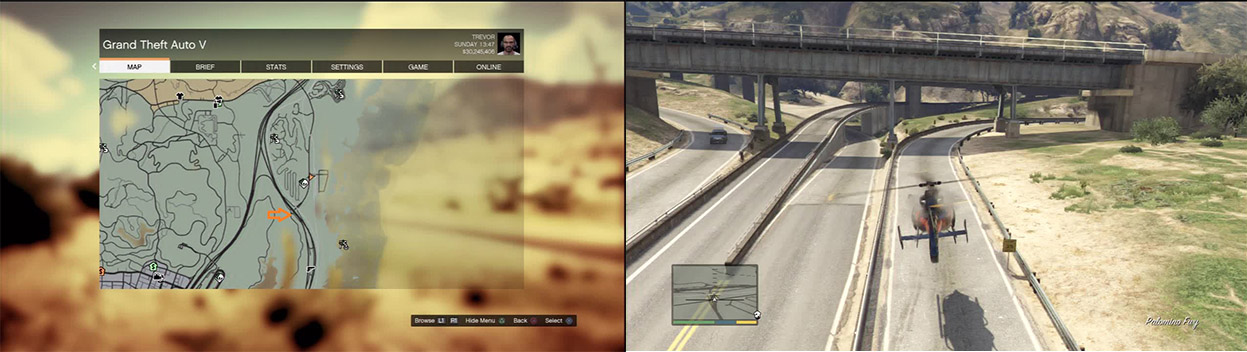
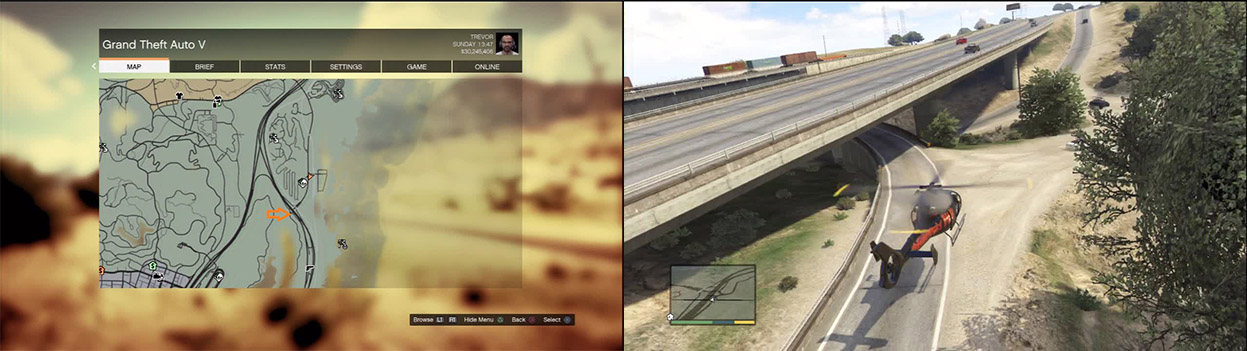
- Interstate 13 Overpass, Grand Senora Desert
Any aircraft can easily fit under here and you can approach from either direction. There is plenty of room between bridge supports also.
Bridge 7
There are two challenges in close proximity here. The next one is behind this one.
- Rail Bridge Senora Way,South Wind Farm
Be aware of the telephone poles as you approach this bridge. If you are comfortable with a plane in a fairly tight space, use one here as a helicopter is not the easiest aircraft to use. If you do use a helicopter, gain some speed so you don’t have to dip the nose too much. Continue down the freeway and fly under the next overpass to complete the next challenge.
Bridge 8
This bridge is just pass the last bridge on the same freeway.
- Palomino Freeway Overpass, South Wind Farm
After flying under the previous bridge, simply carry on the same way and fly under this overpass to complete two challenges in quick succession. Be careful of the roads off to the side as it is easy to get caught up in them especially if you are in a helicopter.
Bridge 9

You may remember this cave from the sea race nearby. Not quite as easy fitting an aircraft through it.
- Pacific Coast Land Bridge, Tatavium Mountains
To help you judge your distance from the water, keep an eye on it. The spray will increase the closer you get to it so you will know when you’re about to hit the drink so adjust accordingly. A helicopter or plane can pass through here but it is a tricky one either way.
Bridge 10
Stay in the middle to avoid the street lights. They damage helicopters propellers badly so avoid them!
- Rail Bridge, Tatavium Mountains
Fly under the rail bridge from the southeast. Stay in the middle and fly under the following underpass to get out easily. That one doesn’t count as a challenge so don’t get mixed up.
Bridge 11
A light plane is easier than a helicopter for this one but helicopters can still manage.
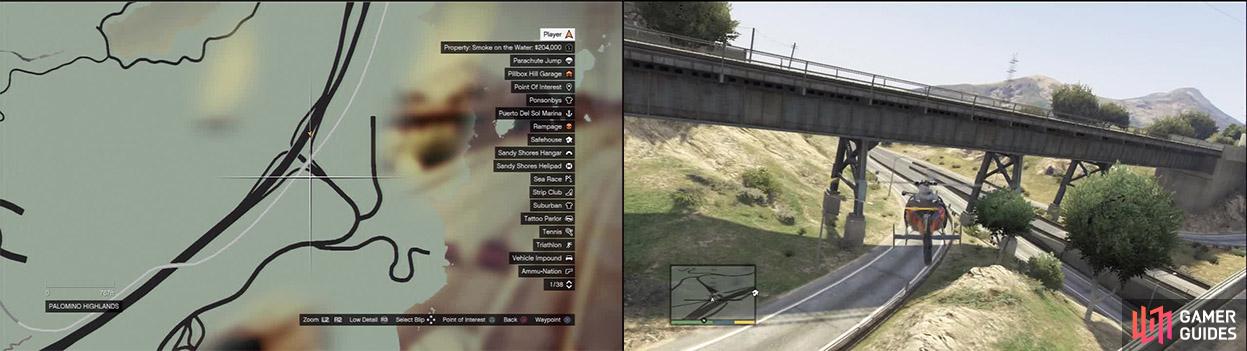
- Rail Bridge over Palomino Freeway, Palomino Highlands
If you use a light plane, you won’t have to worry about the traffic passing underneath because the bridge is quite tall thankfully. Helicopters will need to watch out so wait for an opening before you make your move.
Bridge 12
This is the first of two identical flood control bridges. They are a tight squeeze.
- Highway 18 Flood Control Overpass, East Vinewood
You will need a small chopper here because a plane is too wide to fit between the bridge supports. You must pass through without touching the ground or the top of the bridge. You can touch the sides of the supports with your propellers though so just take it easy. Your propellers may snap off if you keep trying to pass under it though.
Bridge 13

This overpass is just down from the last one. It is identical to the last one.
- Flood Control Overpass, Mirror Park
The only difference between this one and the last one is that the support beams are slightly further apart so it is slightly easier but it is still a difficult pass.
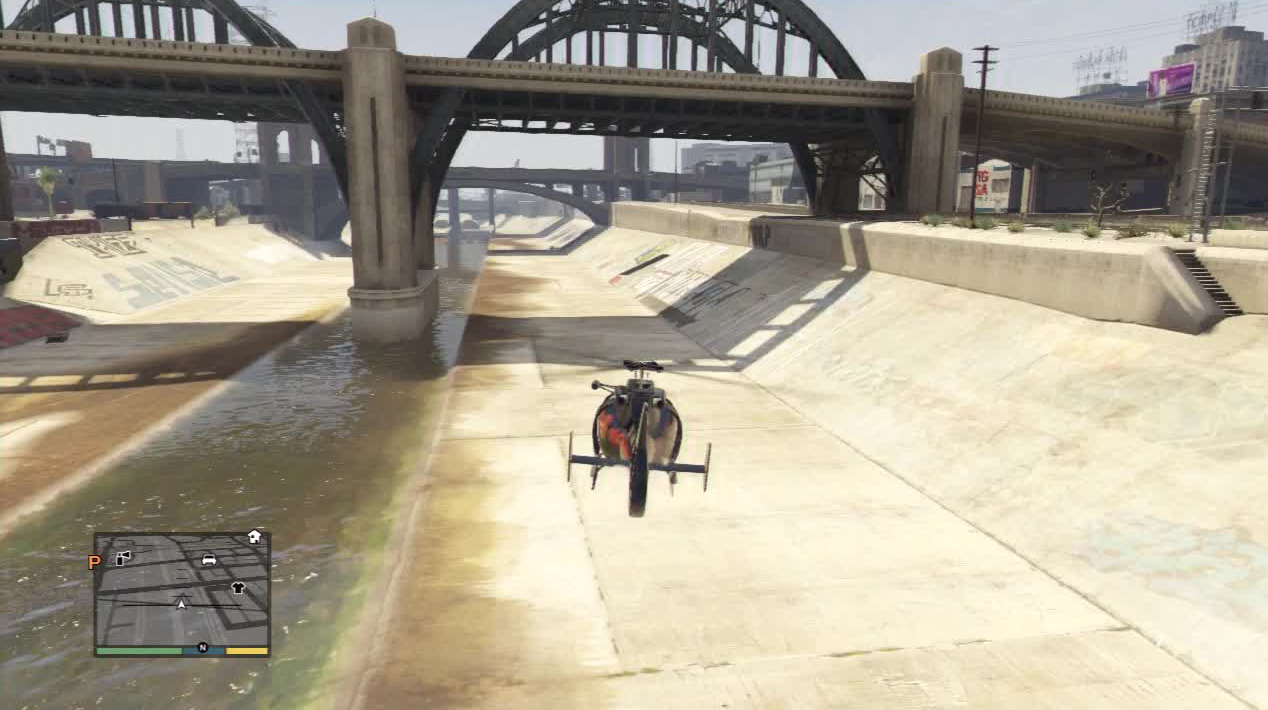
Bridge 14
You will be heading down the canal for the next few so use a helicopter because it can be more versatile.
- Highway 17 Flood Control Overpass, East Vinewood
This is one of the easier bridges to pass under because it has plenty of space and no obstacles.
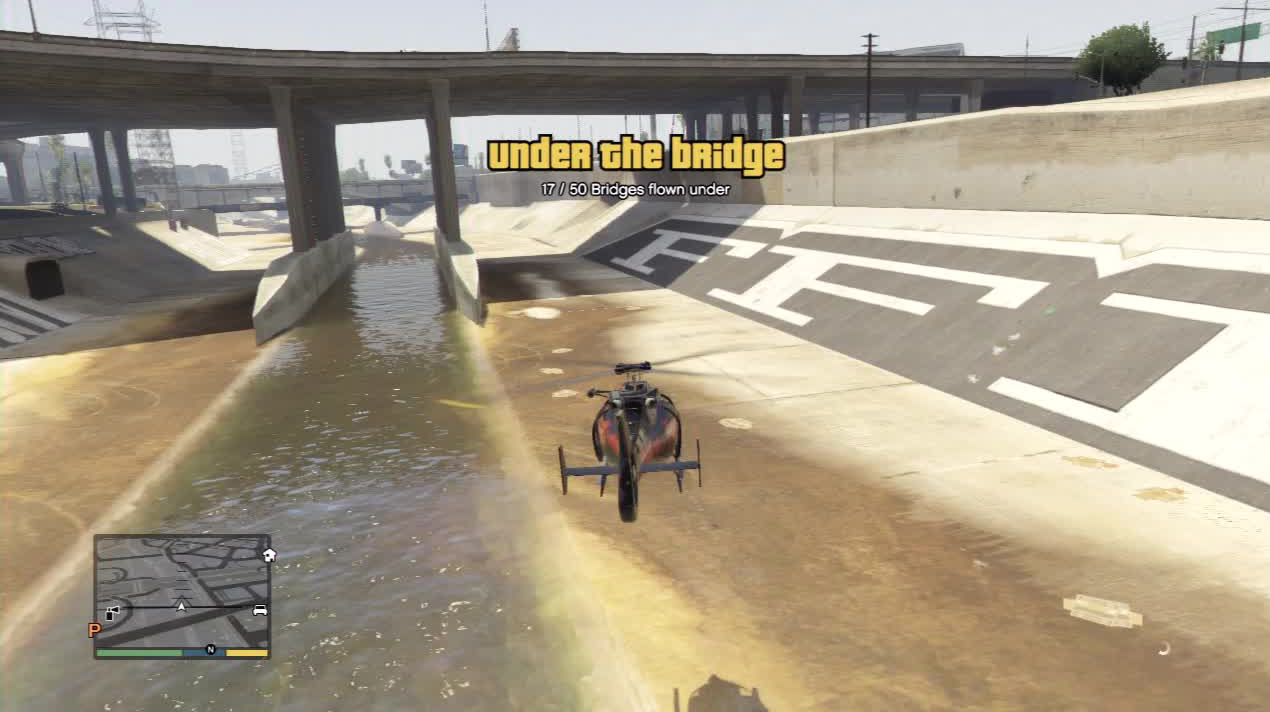
Bridge 15

Even though there are three bridges in one, it only counts as one challenge.
- Del Perro Freeway Flood Control Overpass, East Vinewood
Stay in the helicopter as you make your way down the canal to this next bridge. The bridge is surprisingly low and there isn’t as much space to get under so take it slowly and cautiously.
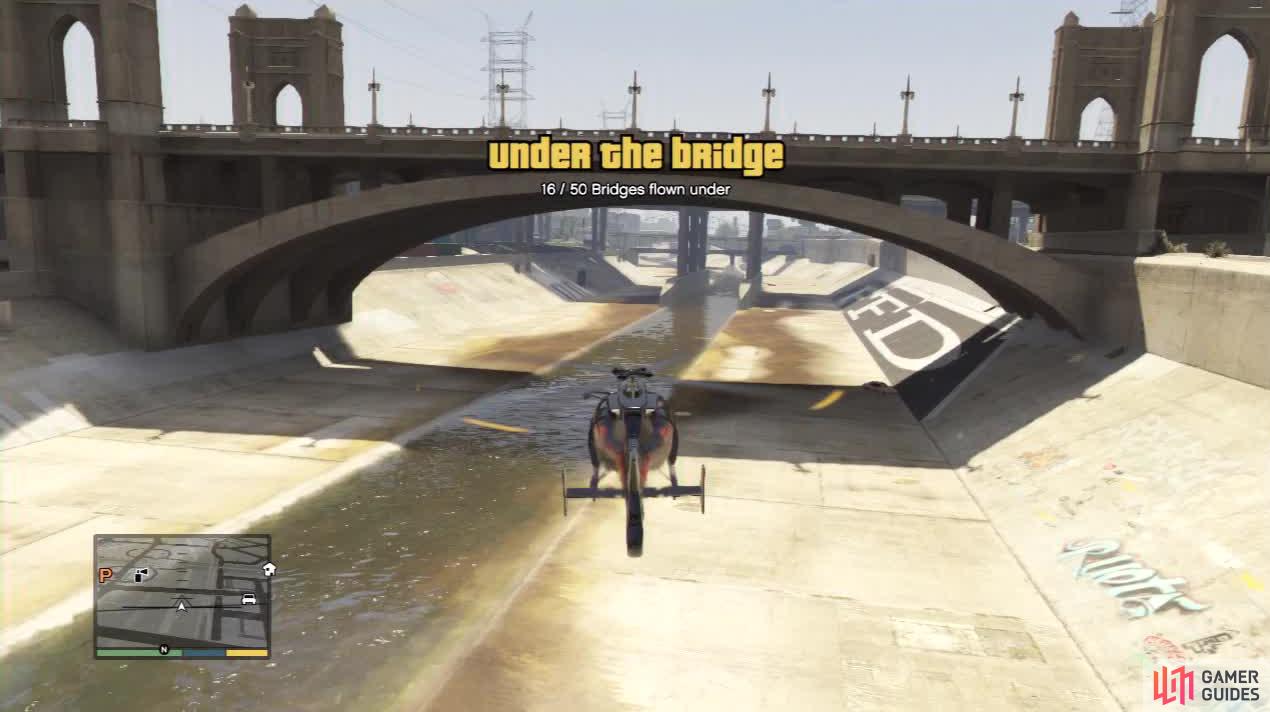
Bridge 16
You could practically fit a jumbo jet under here.
- San Andreas Avenue Flood Control Overpass, La Mesa
Continuing on down the canal you will come to this giant bridge. You will barely have to reduce speed to fit under it and it should pose you no problem at all.
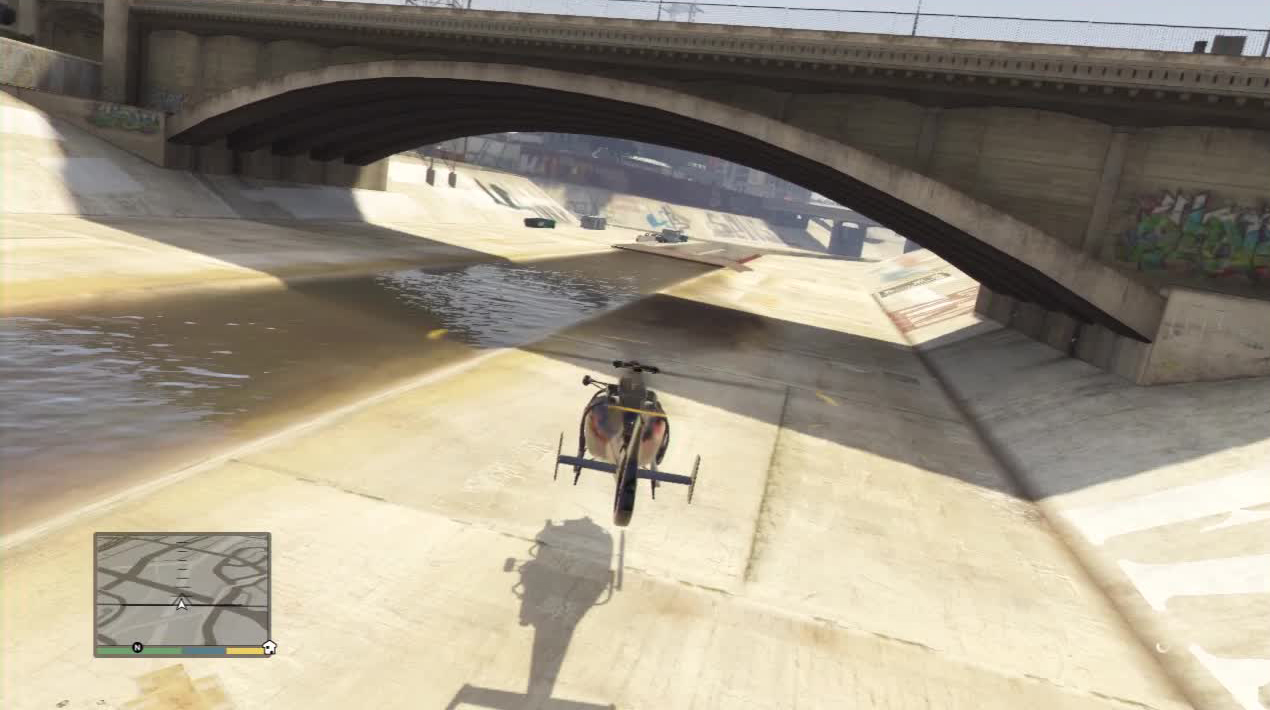
Bridge 17
Pass under the middle of the arch here.
- Vespucci Boulevard Flood Control Overpass, La Mesa
Most of the flood control overpasses are pretty eaay to pass under. Stick with your helicopter and keep following the canal.
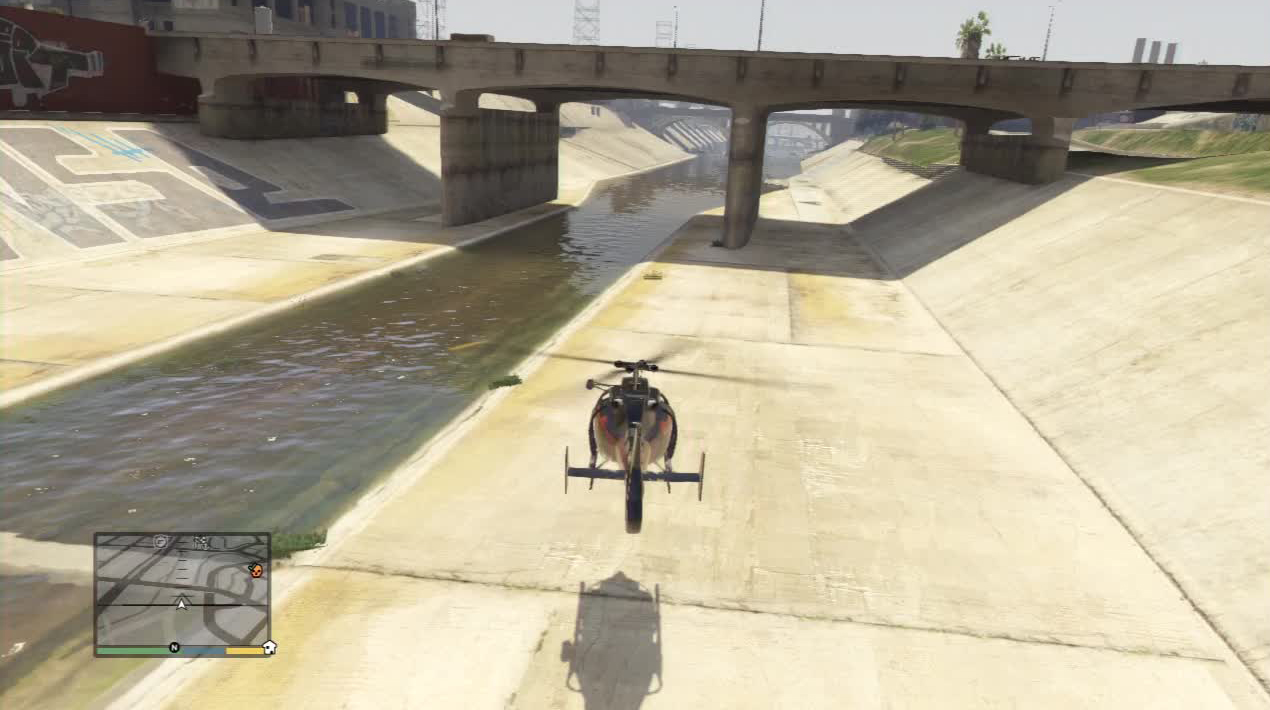
Bridge 18
This bridge is quite tall but you must avoid the supports in the middle.
- Olympic Freeway Flood Control Overpass, La Mesa
Head for one of the sides because the middle is too risky. You will have plenty of room to pass under then.
Bridge 19
Another arched bridge that most any aircraft can get under.
- Capital Boulevard Flood Control Overpass, La Mesa
Head for the top of the arch because it provides the most clearance. A helicopter will allow you to sail straight through with barely a let up.
Bridge 20
Watch out for the support beams!
- Innocence Boulevard Flood Control Overpass, La Mesa
Head between the central supports so you have more space. Stick with the helicopter as you keep on heading down the canal.
No Comments