
There are over 100 Collection Chests for Wizards and Witches to find in ![]() Hogwarts Grounds,
Hogwarts Grounds, ![]() Hogsmeade and
Hogsmeade and ![]() The Highlands. Collection Chests can contain either Wand Handles or Recipes for your Room of Requirement. This page will navigate you through the necessary steps to finding all 8 Collection Chests in
The Highlands. Collection Chests can contain either Wand Handles or Recipes for your Room of Requirement. This page will navigate you through the necessary steps to finding all 8 Collection Chests in ![]() Hogsmeade Valley.
Hogsmeade Valley.
Overview
| Name | Map Marker |
|---|---|
| Collection Chest #1 | Map Marker |
| Collection Chest #2 | Map Marker |
| Collection Chest #3 | Map Marker |
| Collection Chest #4 | Map Marker |
| Collection Chest #5 | Map Marker |
| Collection Chest #6 | Map Marker |
| Collection Chest #7 | Map Marker |
| Collection Chest #8 | Map Marker |
Collection Chest #1 - Upper Hogsfield
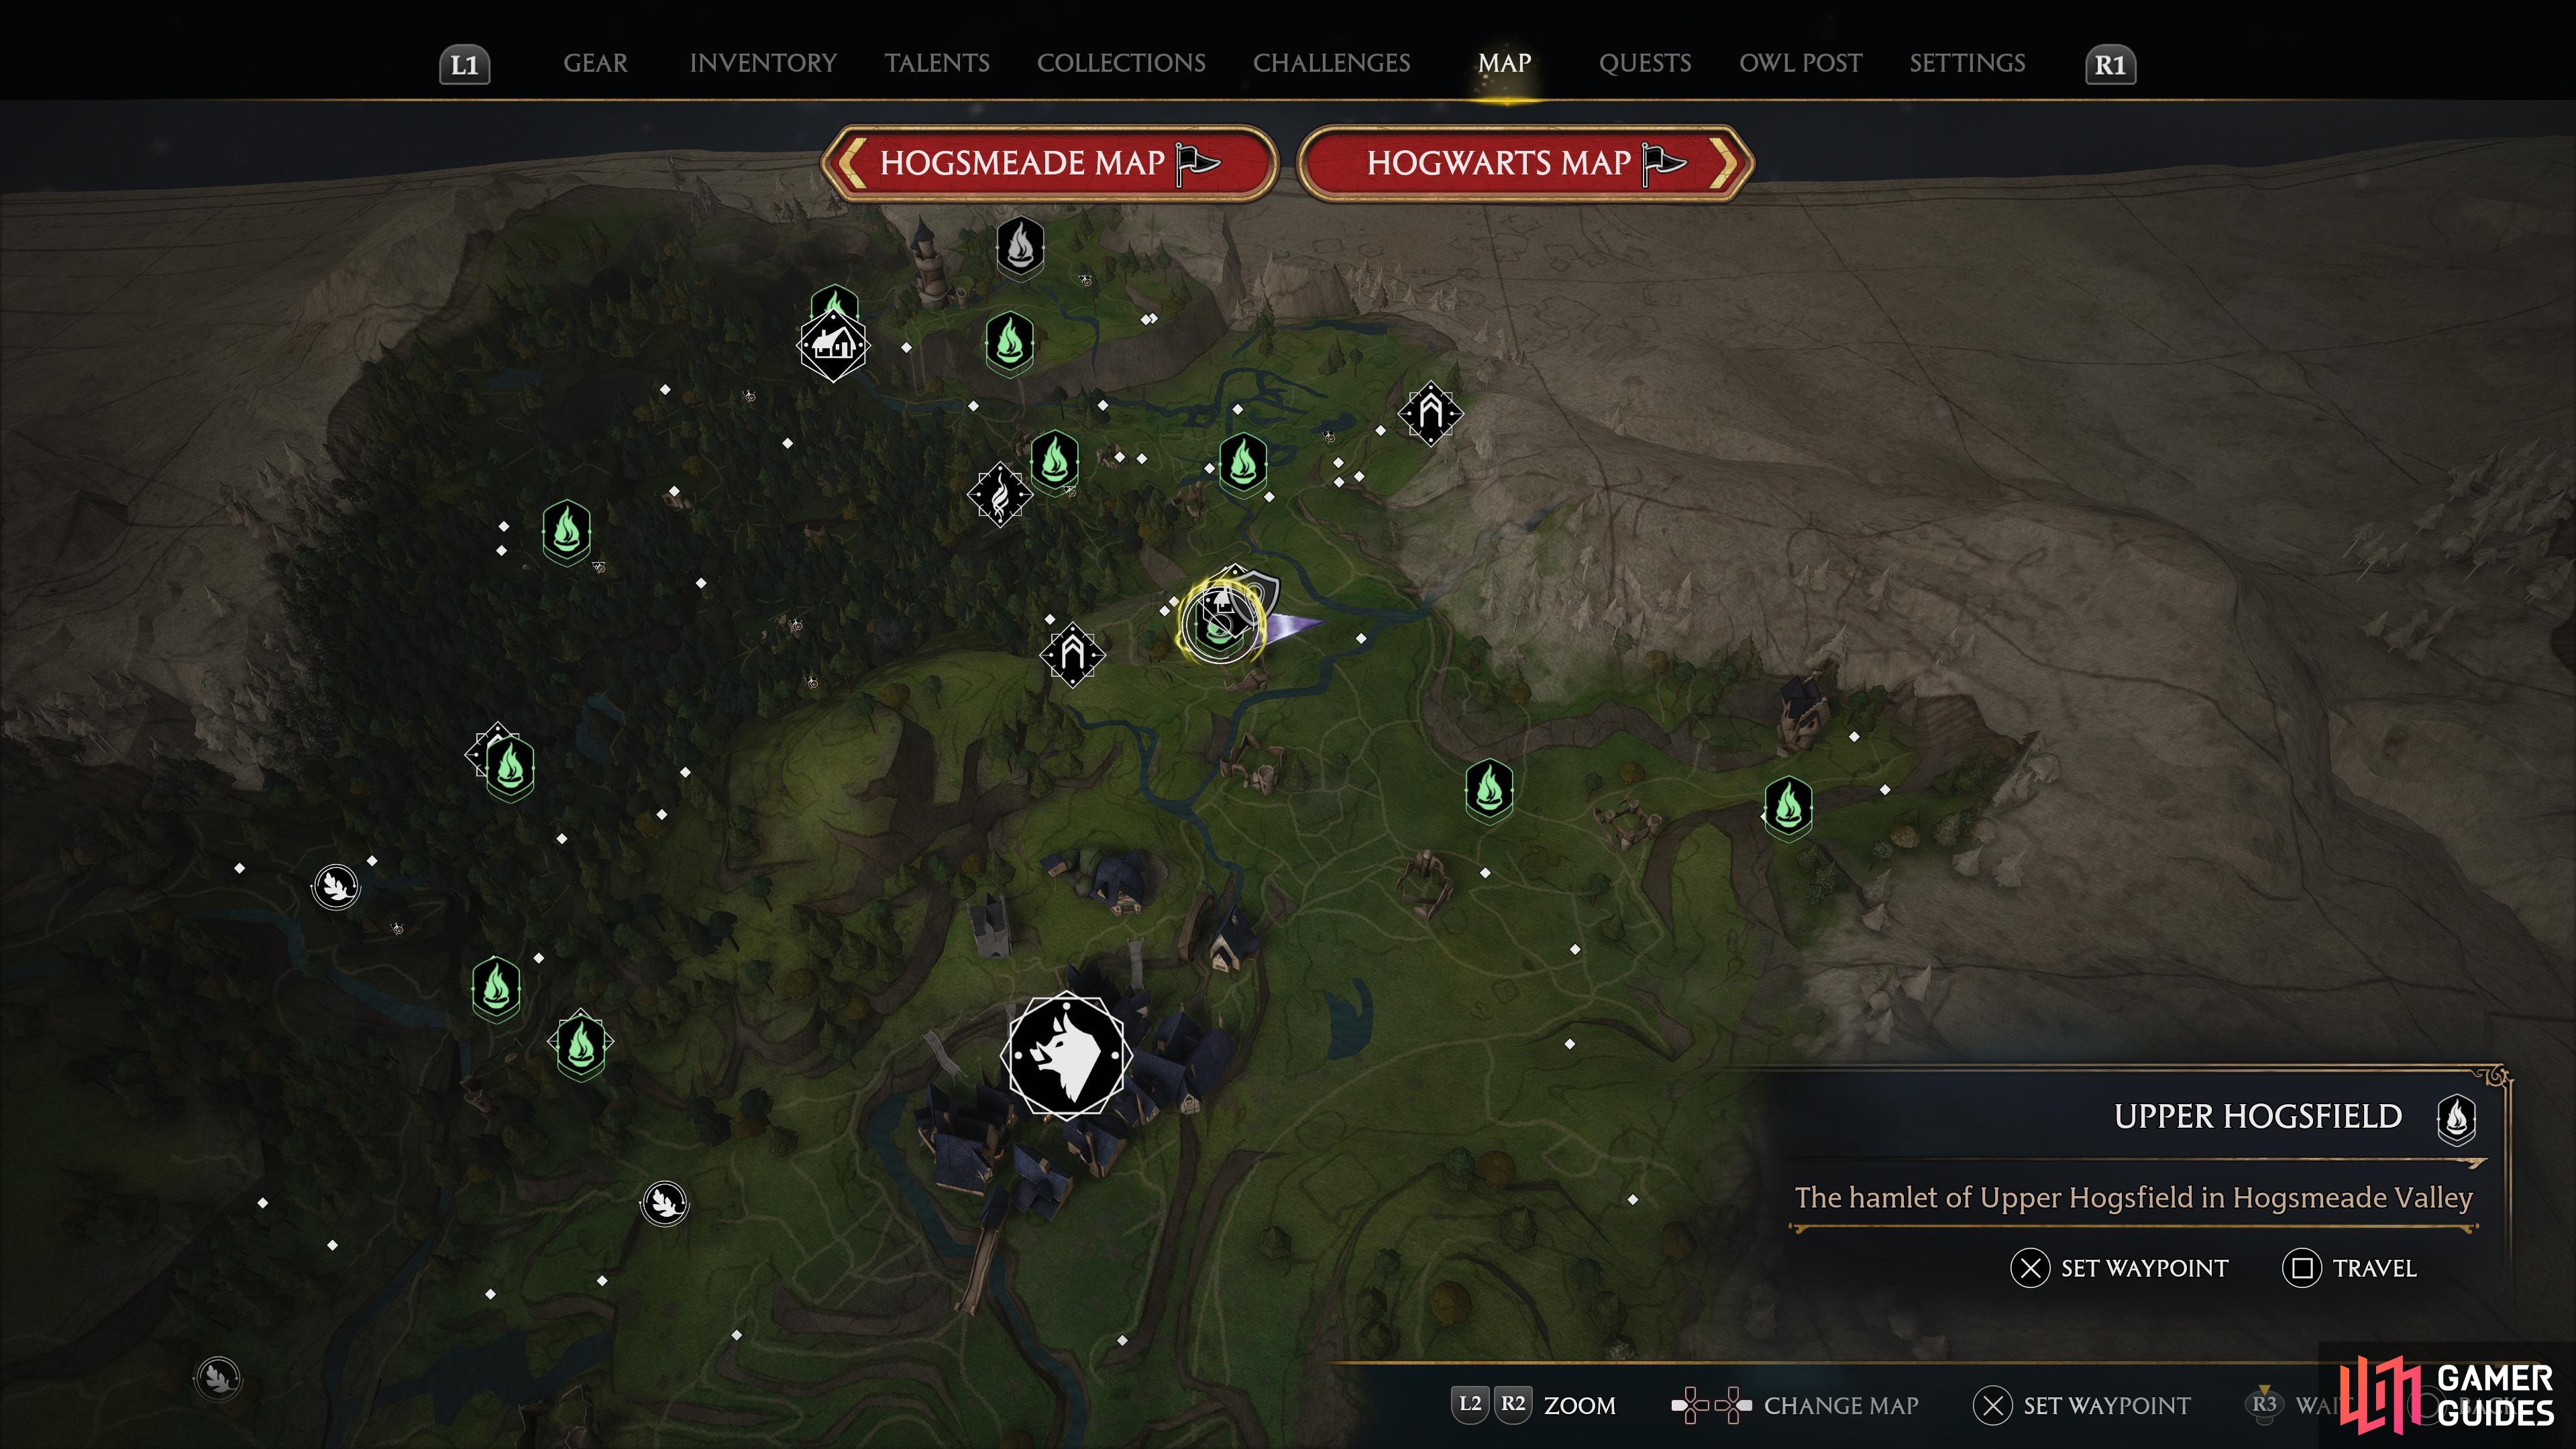
Head to this location on the map
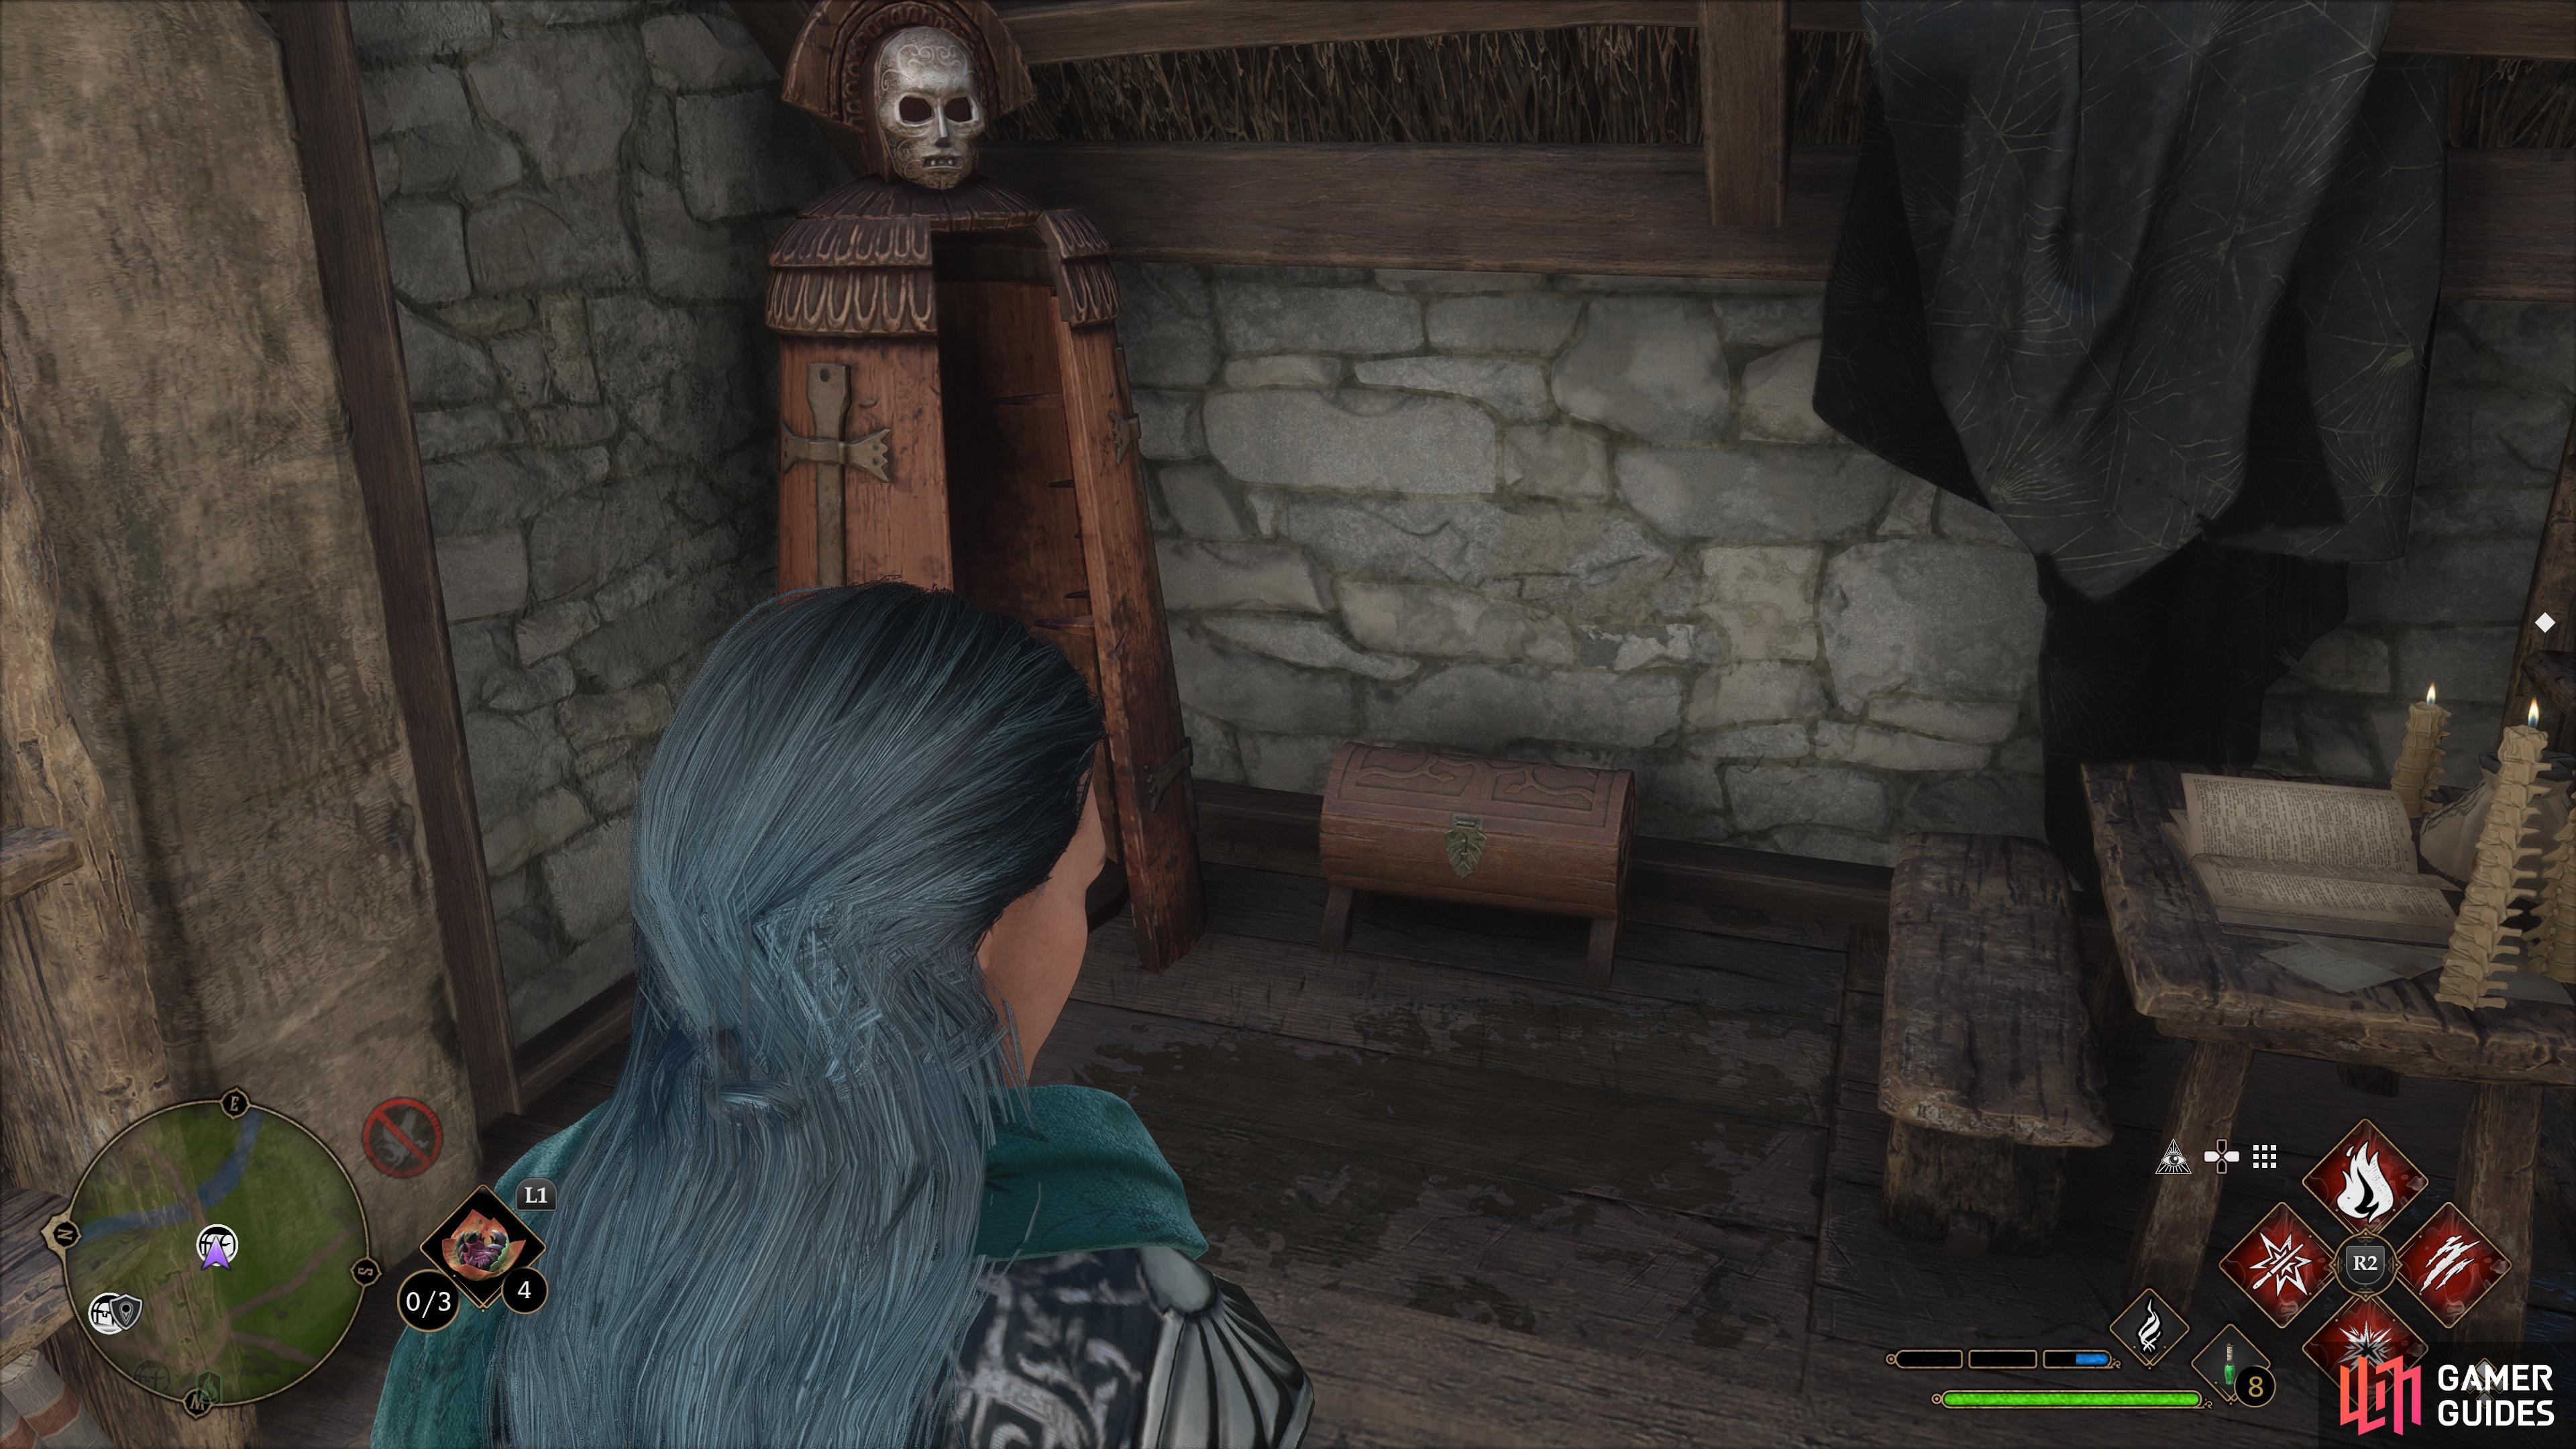
to find the Collection Chest in a Storage Room
Start at the ![]() Upper Hogsfield Floo Flame and walk east to find a lone storage room. Inside you’ll find a Collection Chest containing a Wand Handle.
Upper Hogsfield Floo Flame and walk east to find a lone storage room. Inside you’ll find a Collection Chest containing a Wand Handle.
Collection Chest #2 - Upper Hogsfield
Head to this location on the map
to find the Collection Chest inside a house to the north.
Start at the Upper Hogsfield Floo Flame and enter the first house to the north to find the Collection Chest hiding behind a screen. Inside you’ll be given a Wand Handle.
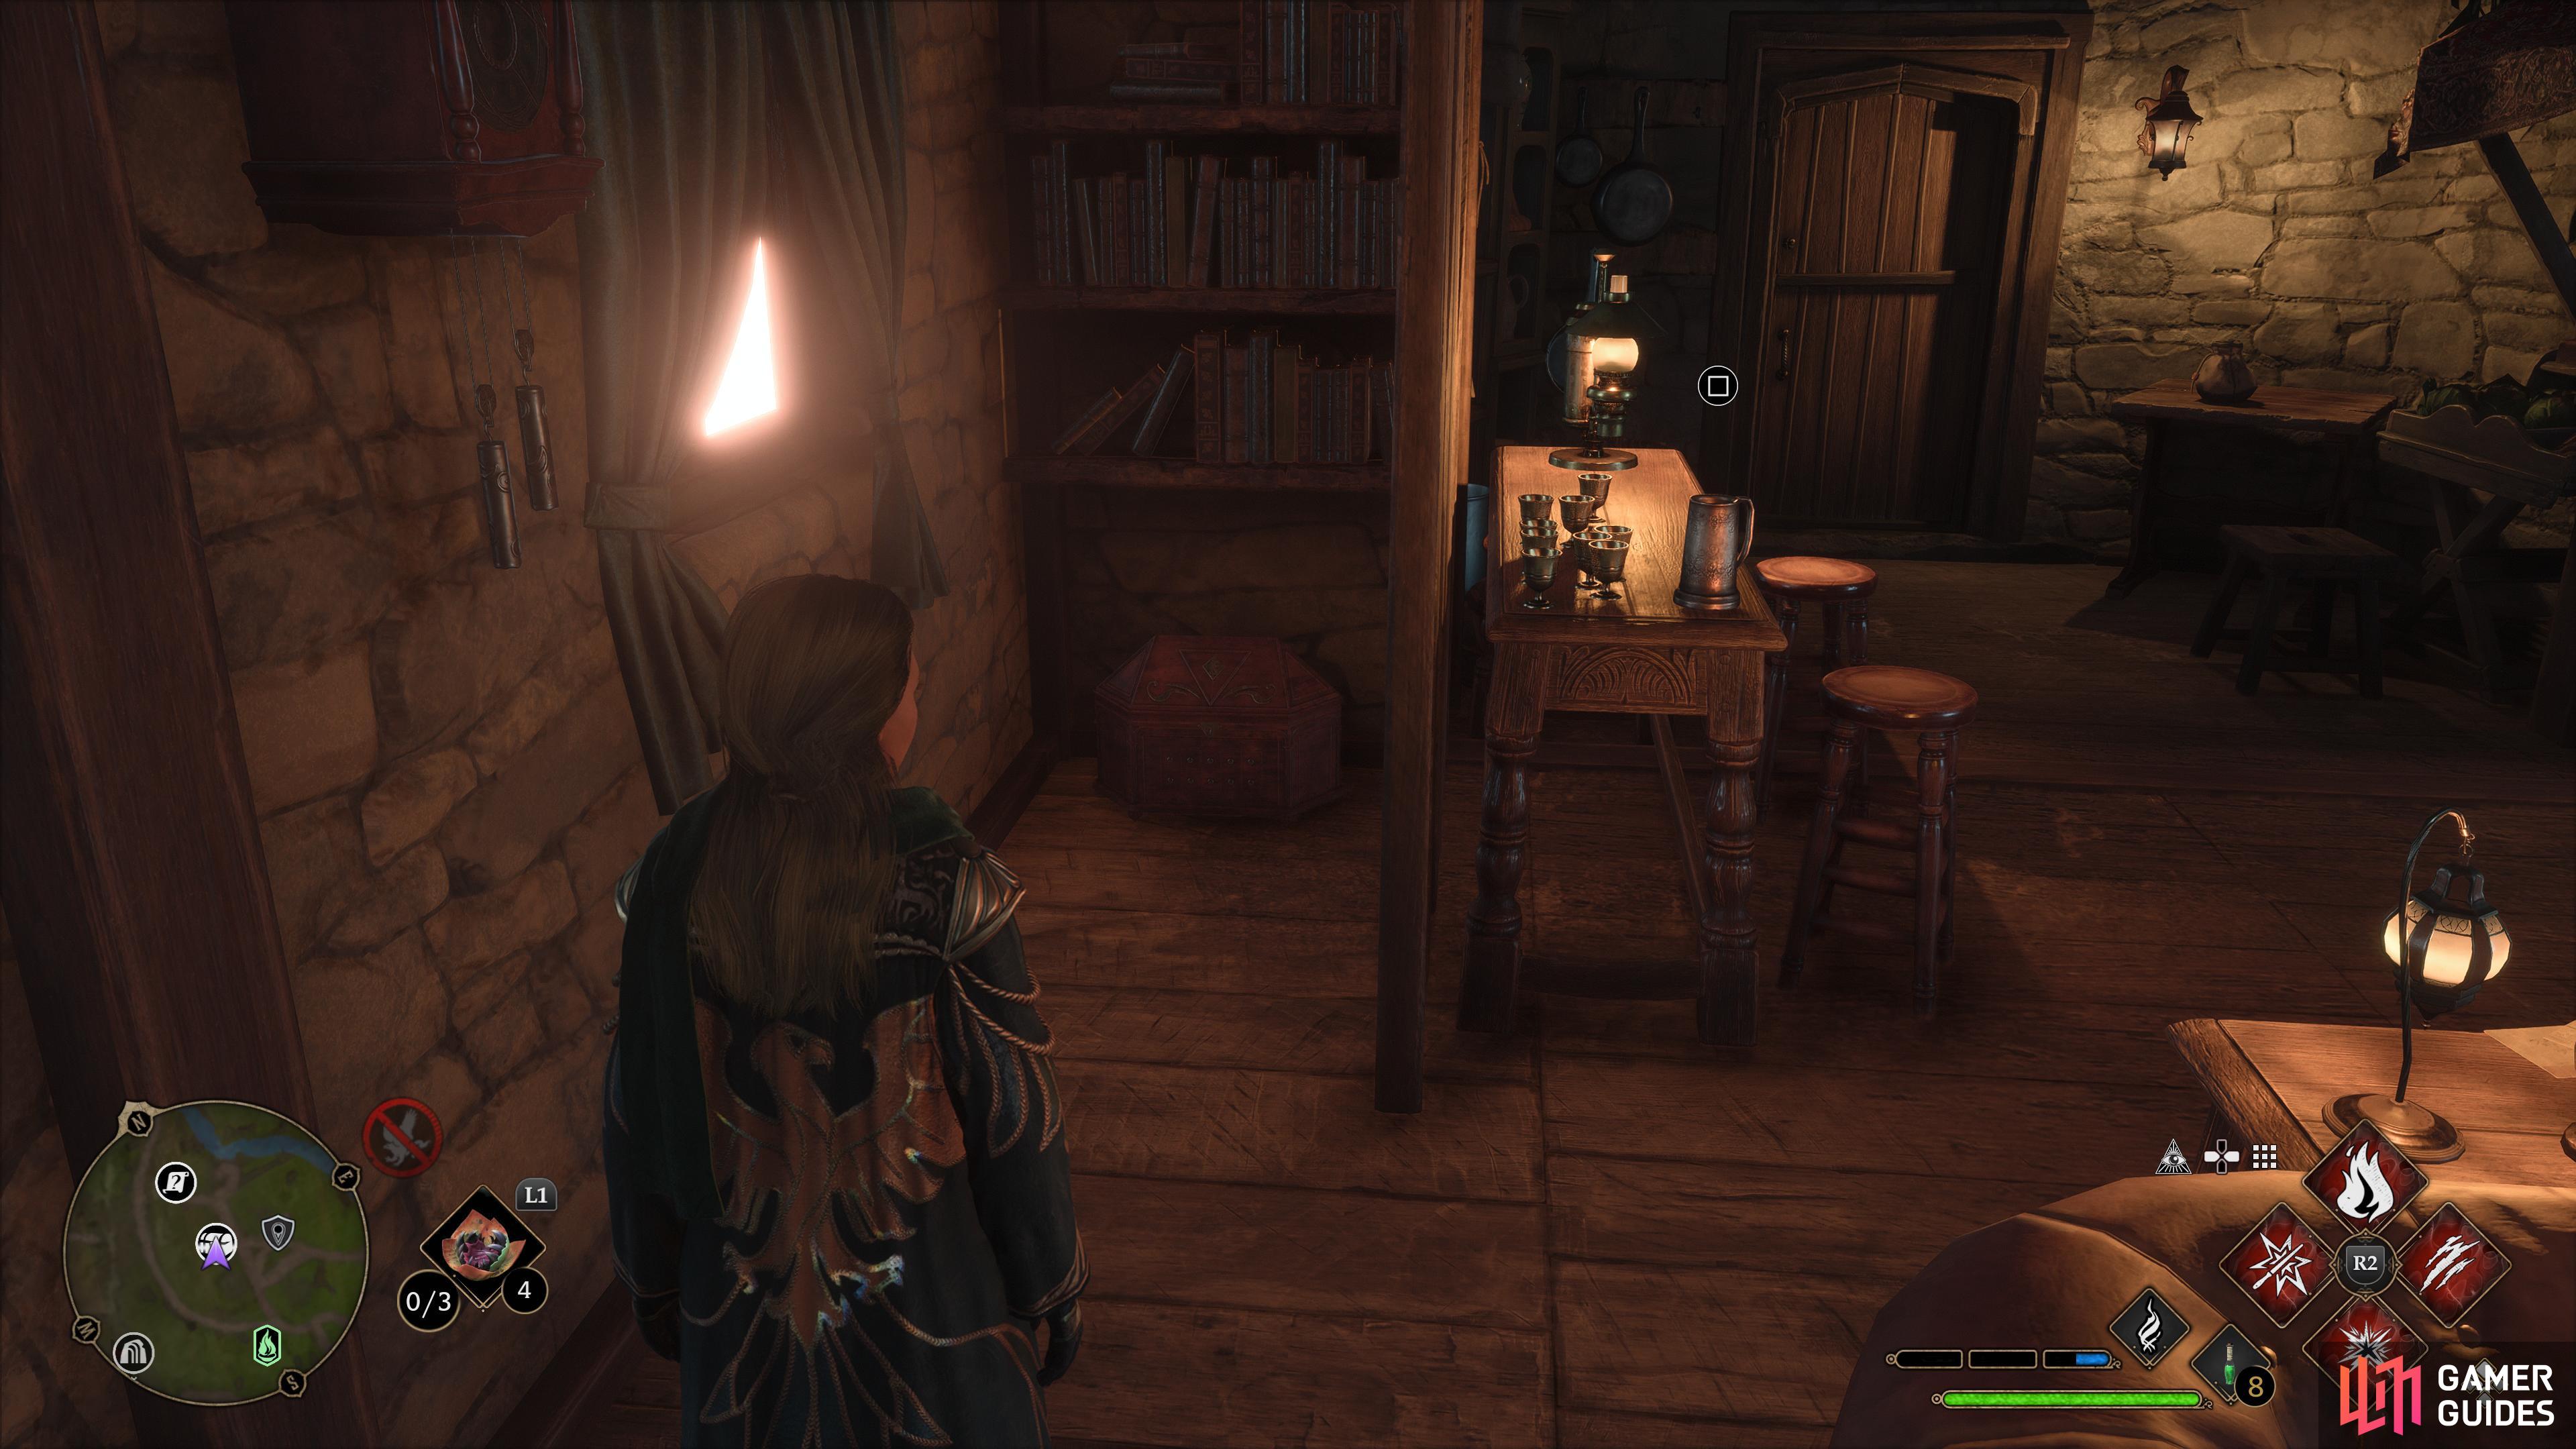
Collection Chest #3 - Upper Hogsfield
Head to this location on the map

to find the Collection Chest sitting in a house behind Claire.
Start at the Upper Hogsfield Floo Flame and enter the house to the northeast (behind ![]() Claire Beaumont). It has a Level 1 Lock on it, so you’ll need the
Claire Beaumont). It has a Level 1 Lock on it, so you’ll need the ![]() Alohomora Spell which is unlocked via the “The Caretaker’s Lunar Lament“ Main Quest. You’ll find the Collection Chest containing a Conjuration to the right of the door.
Alohomora Spell which is unlocked via the “The Caretaker’s Lunar Lament“ Main Quest. You’ll find the Collection Chest containing a Conjuration to the right of the door.
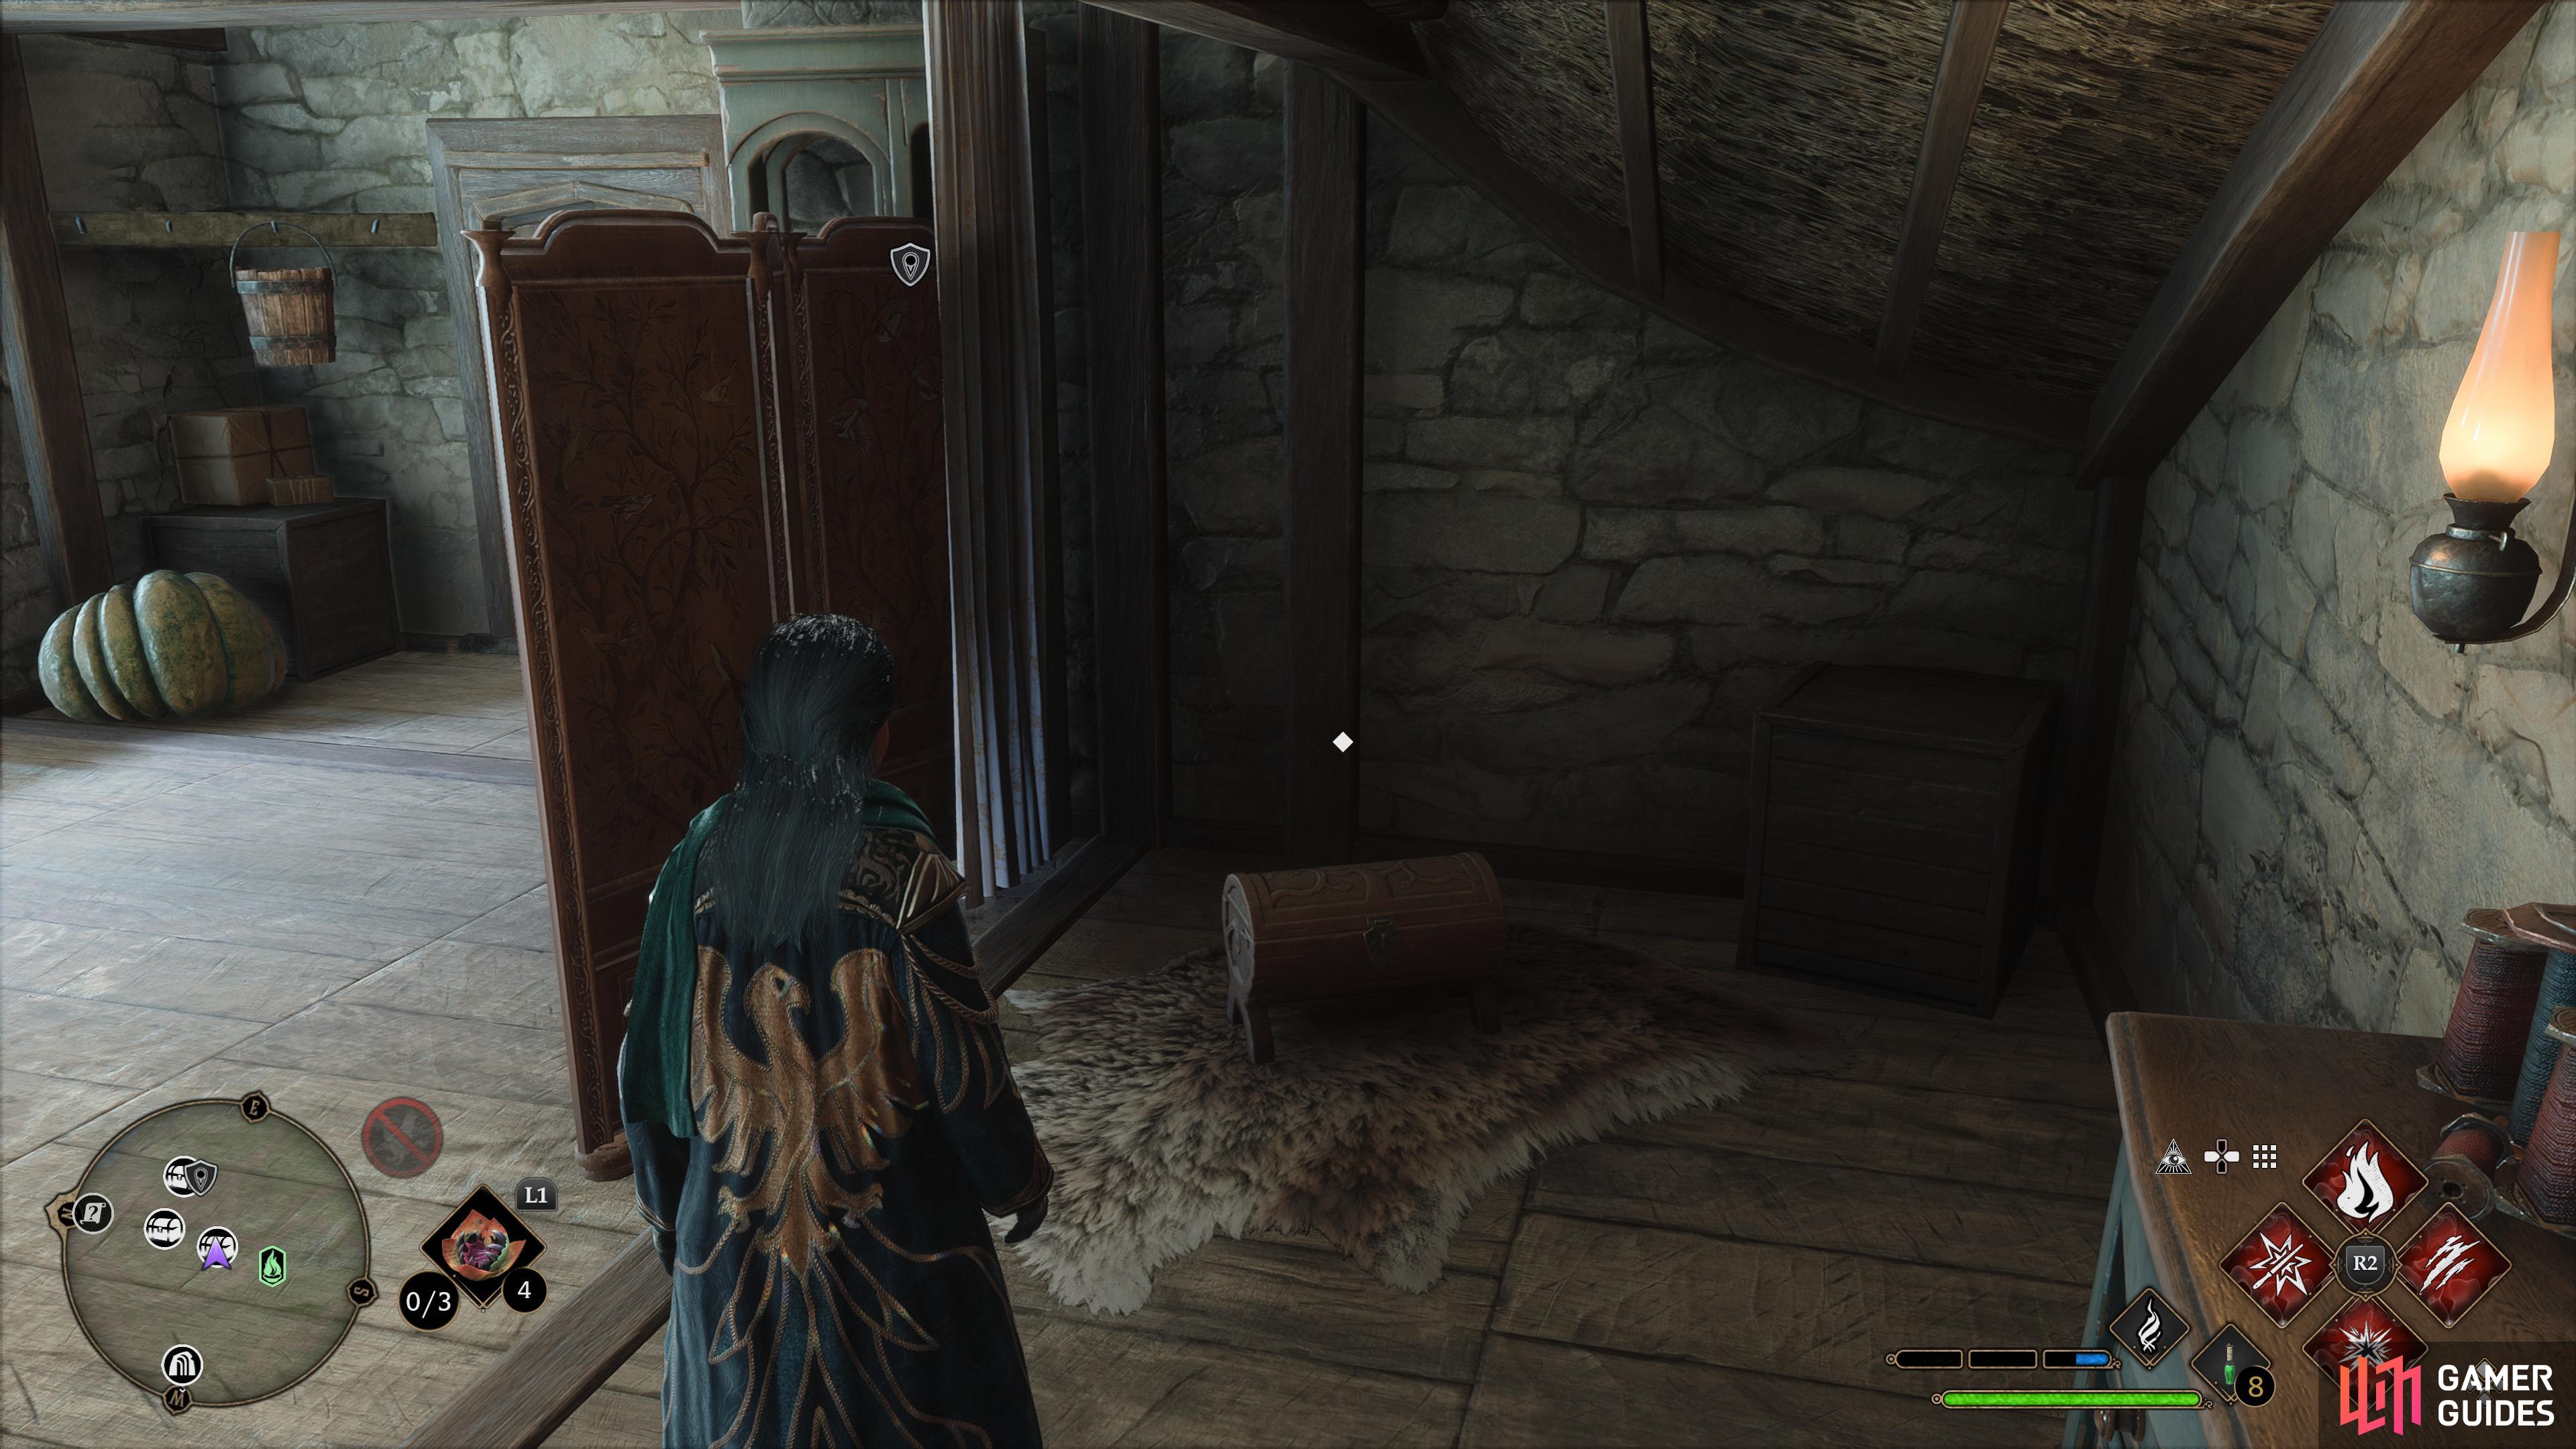
Collection Chest #4 - Upper Hogsfield
Head to this location on the map
to find the Collection Chest sitting behind a wall.
Start at the Upper Hogsfield Floo Flame and enter the second house to the north. It has a Level 1 Lock on it, so you’ll need the Alohomora Spell which is unlocked via the “The Caretaker’s Lunar Lament“ Main Quest. You’ll find the Collection Chest containing a Conjuration sitting behind a wall.
Collection Chest #5 - East North Ford Bog
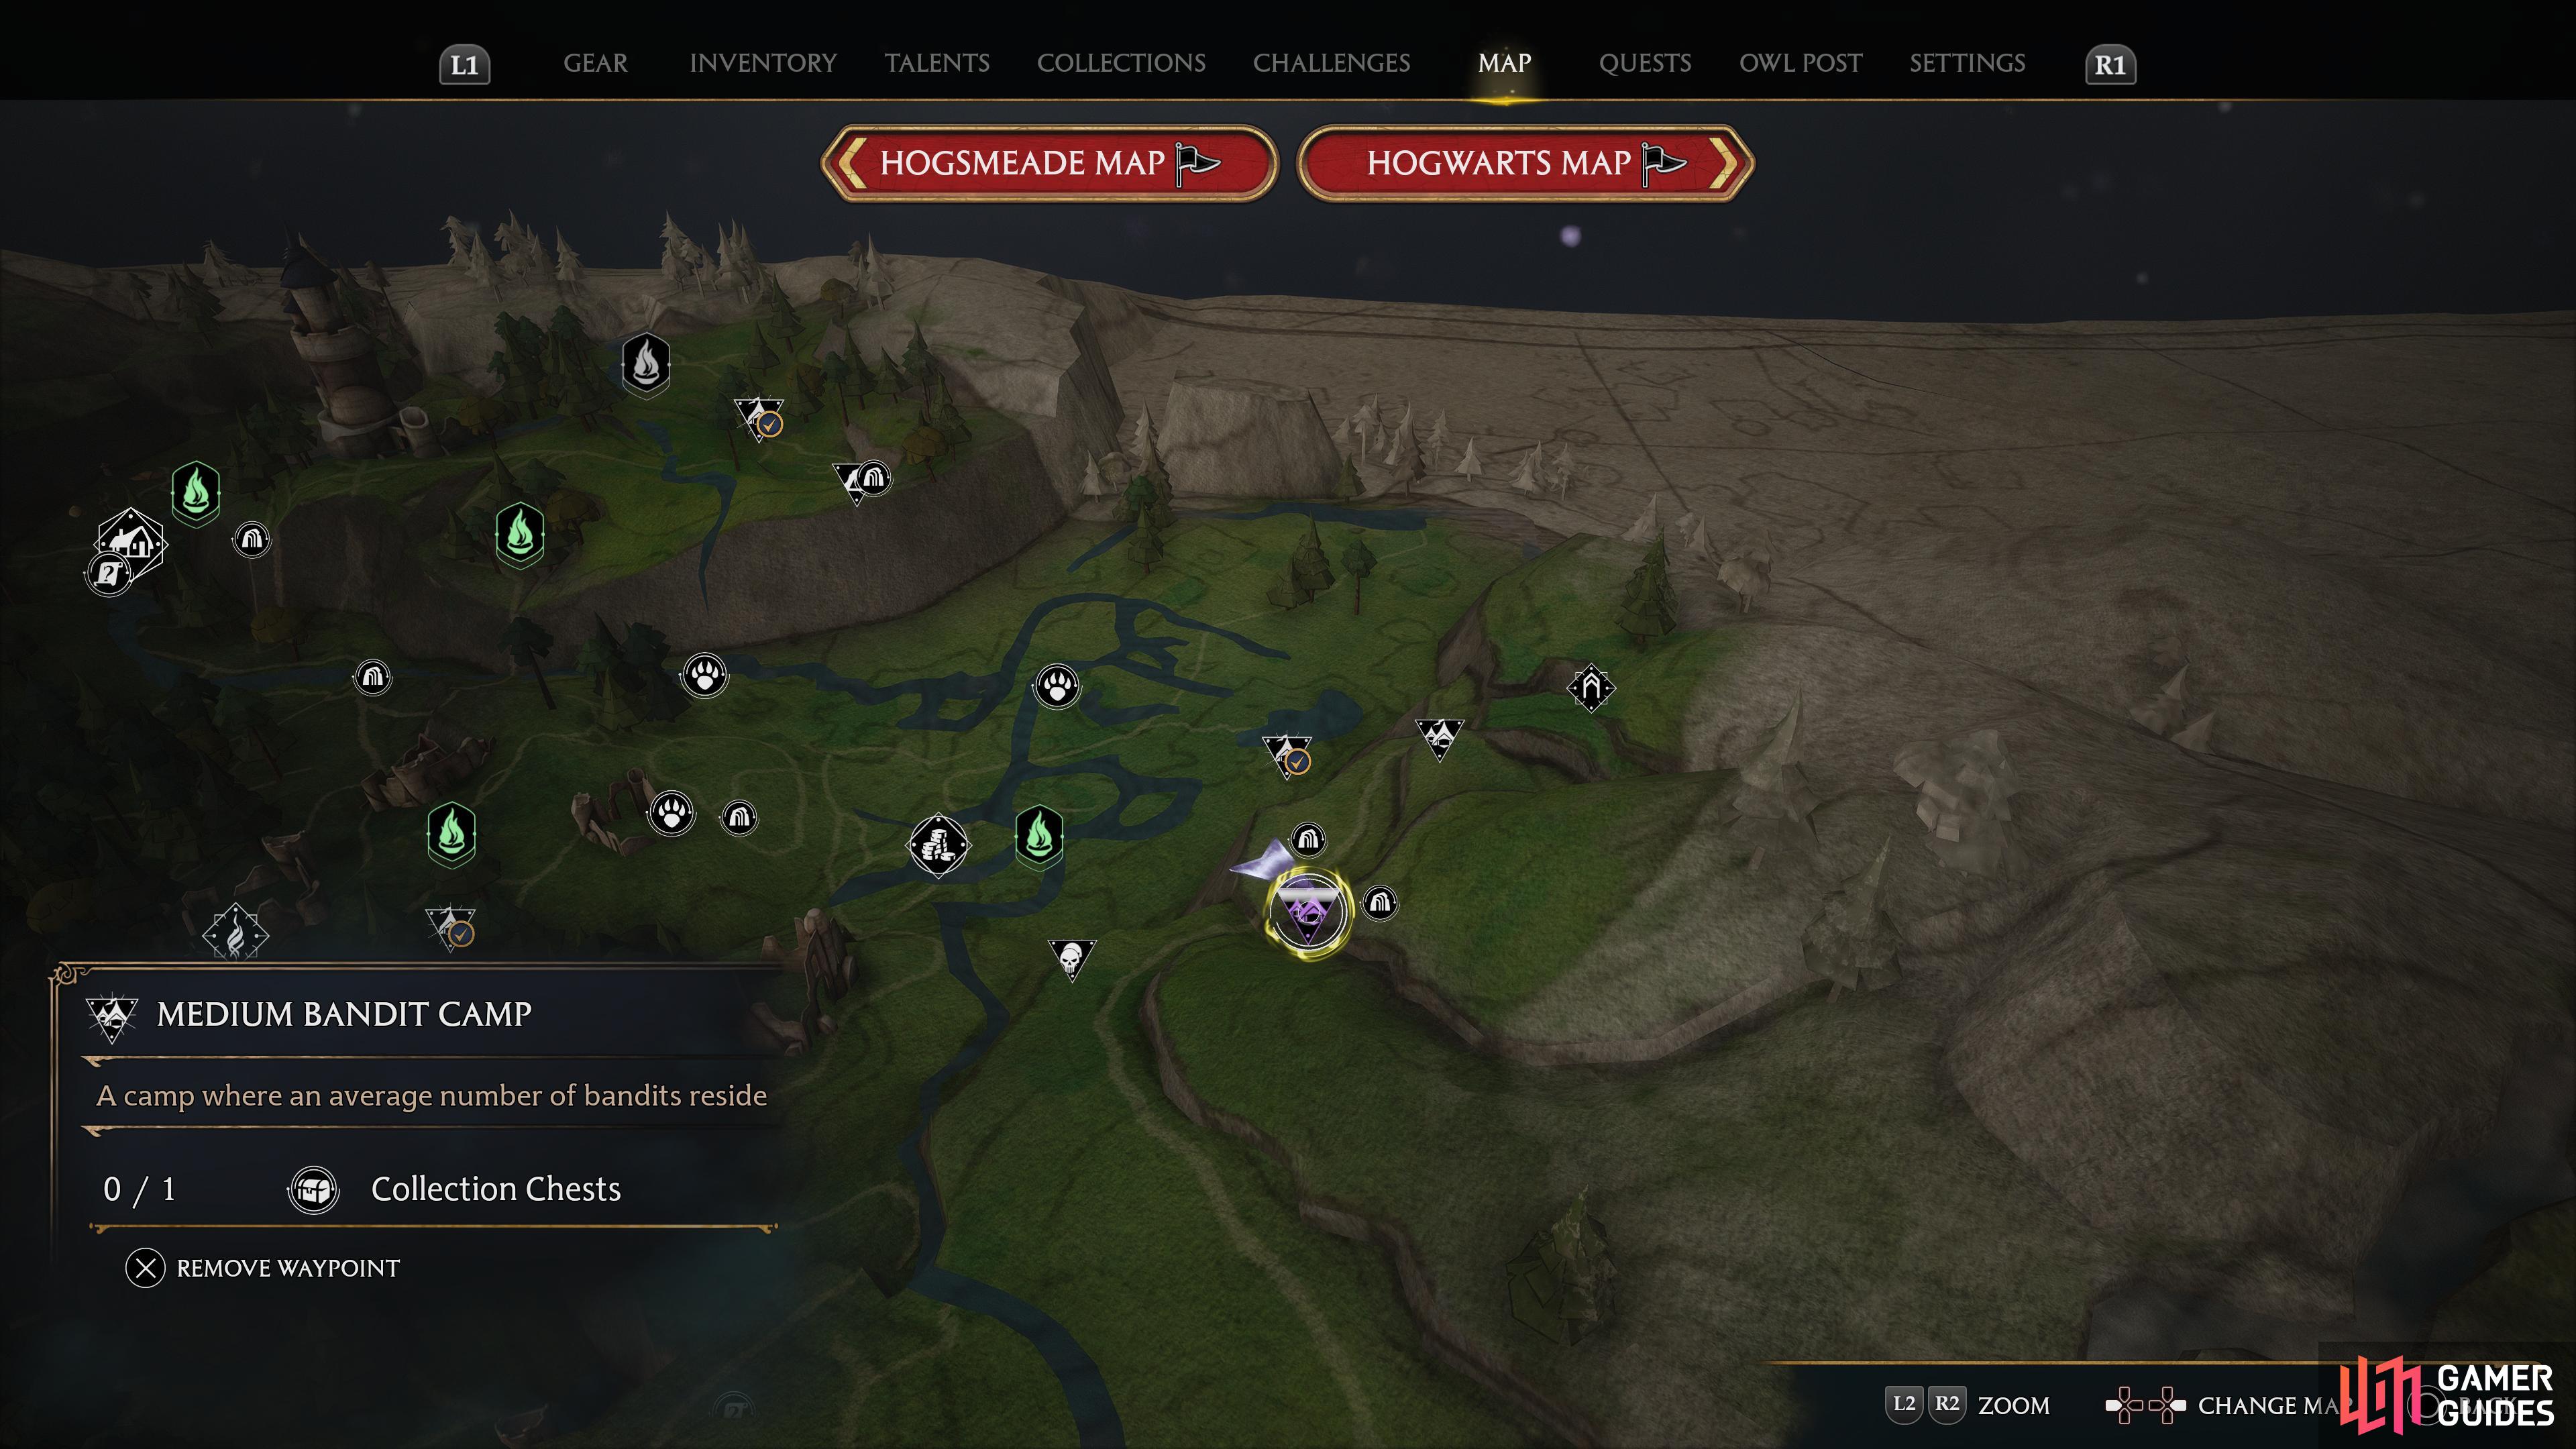
Head to this location on the map
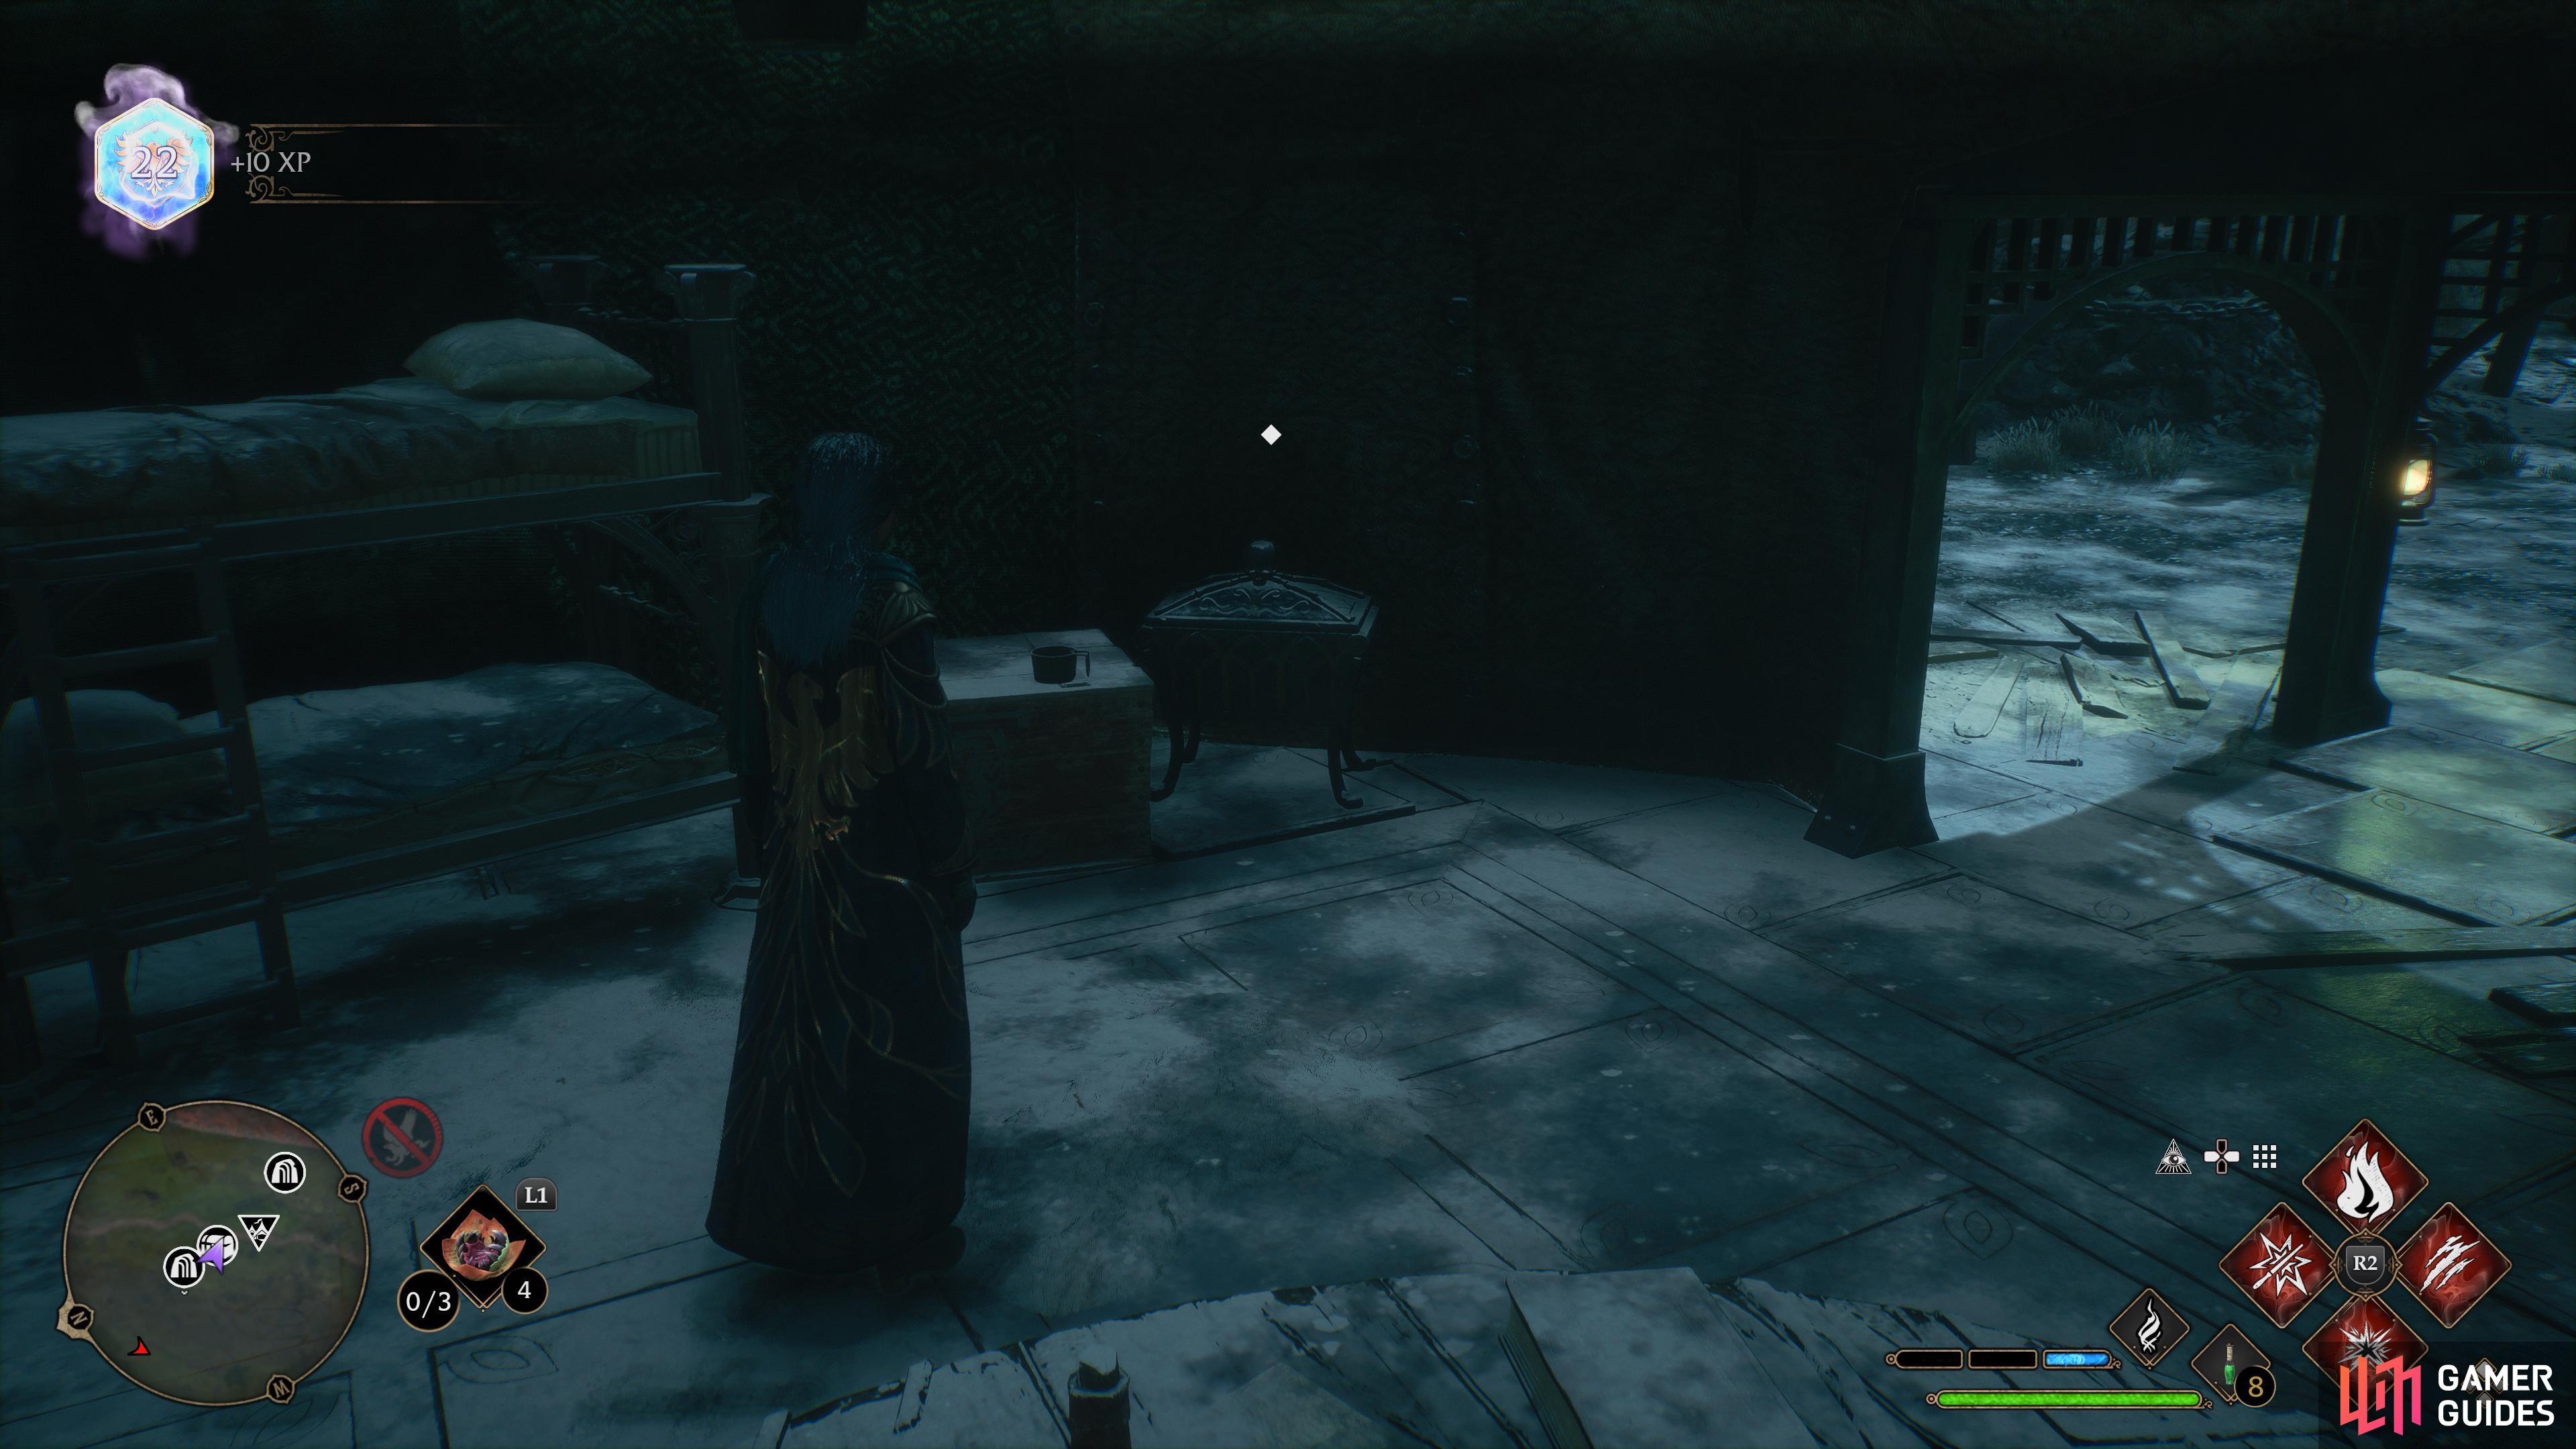
to find the Collection Chest in a tent.
Start at the East ![]() North Ford Bog Floo Flame and fly southeast until you reach a Medium Bandit Camp. Here you’ll find the Collection Chest containing a Trait sitting inside a tent.
North Ford Bog Floo Flame and fly southeast until you reach a Medium Bandit Camp. Here you’ll find the Collection Chest containing a Trait sitting inside a tent.
Collection Chest #6 - East North Ford Bog
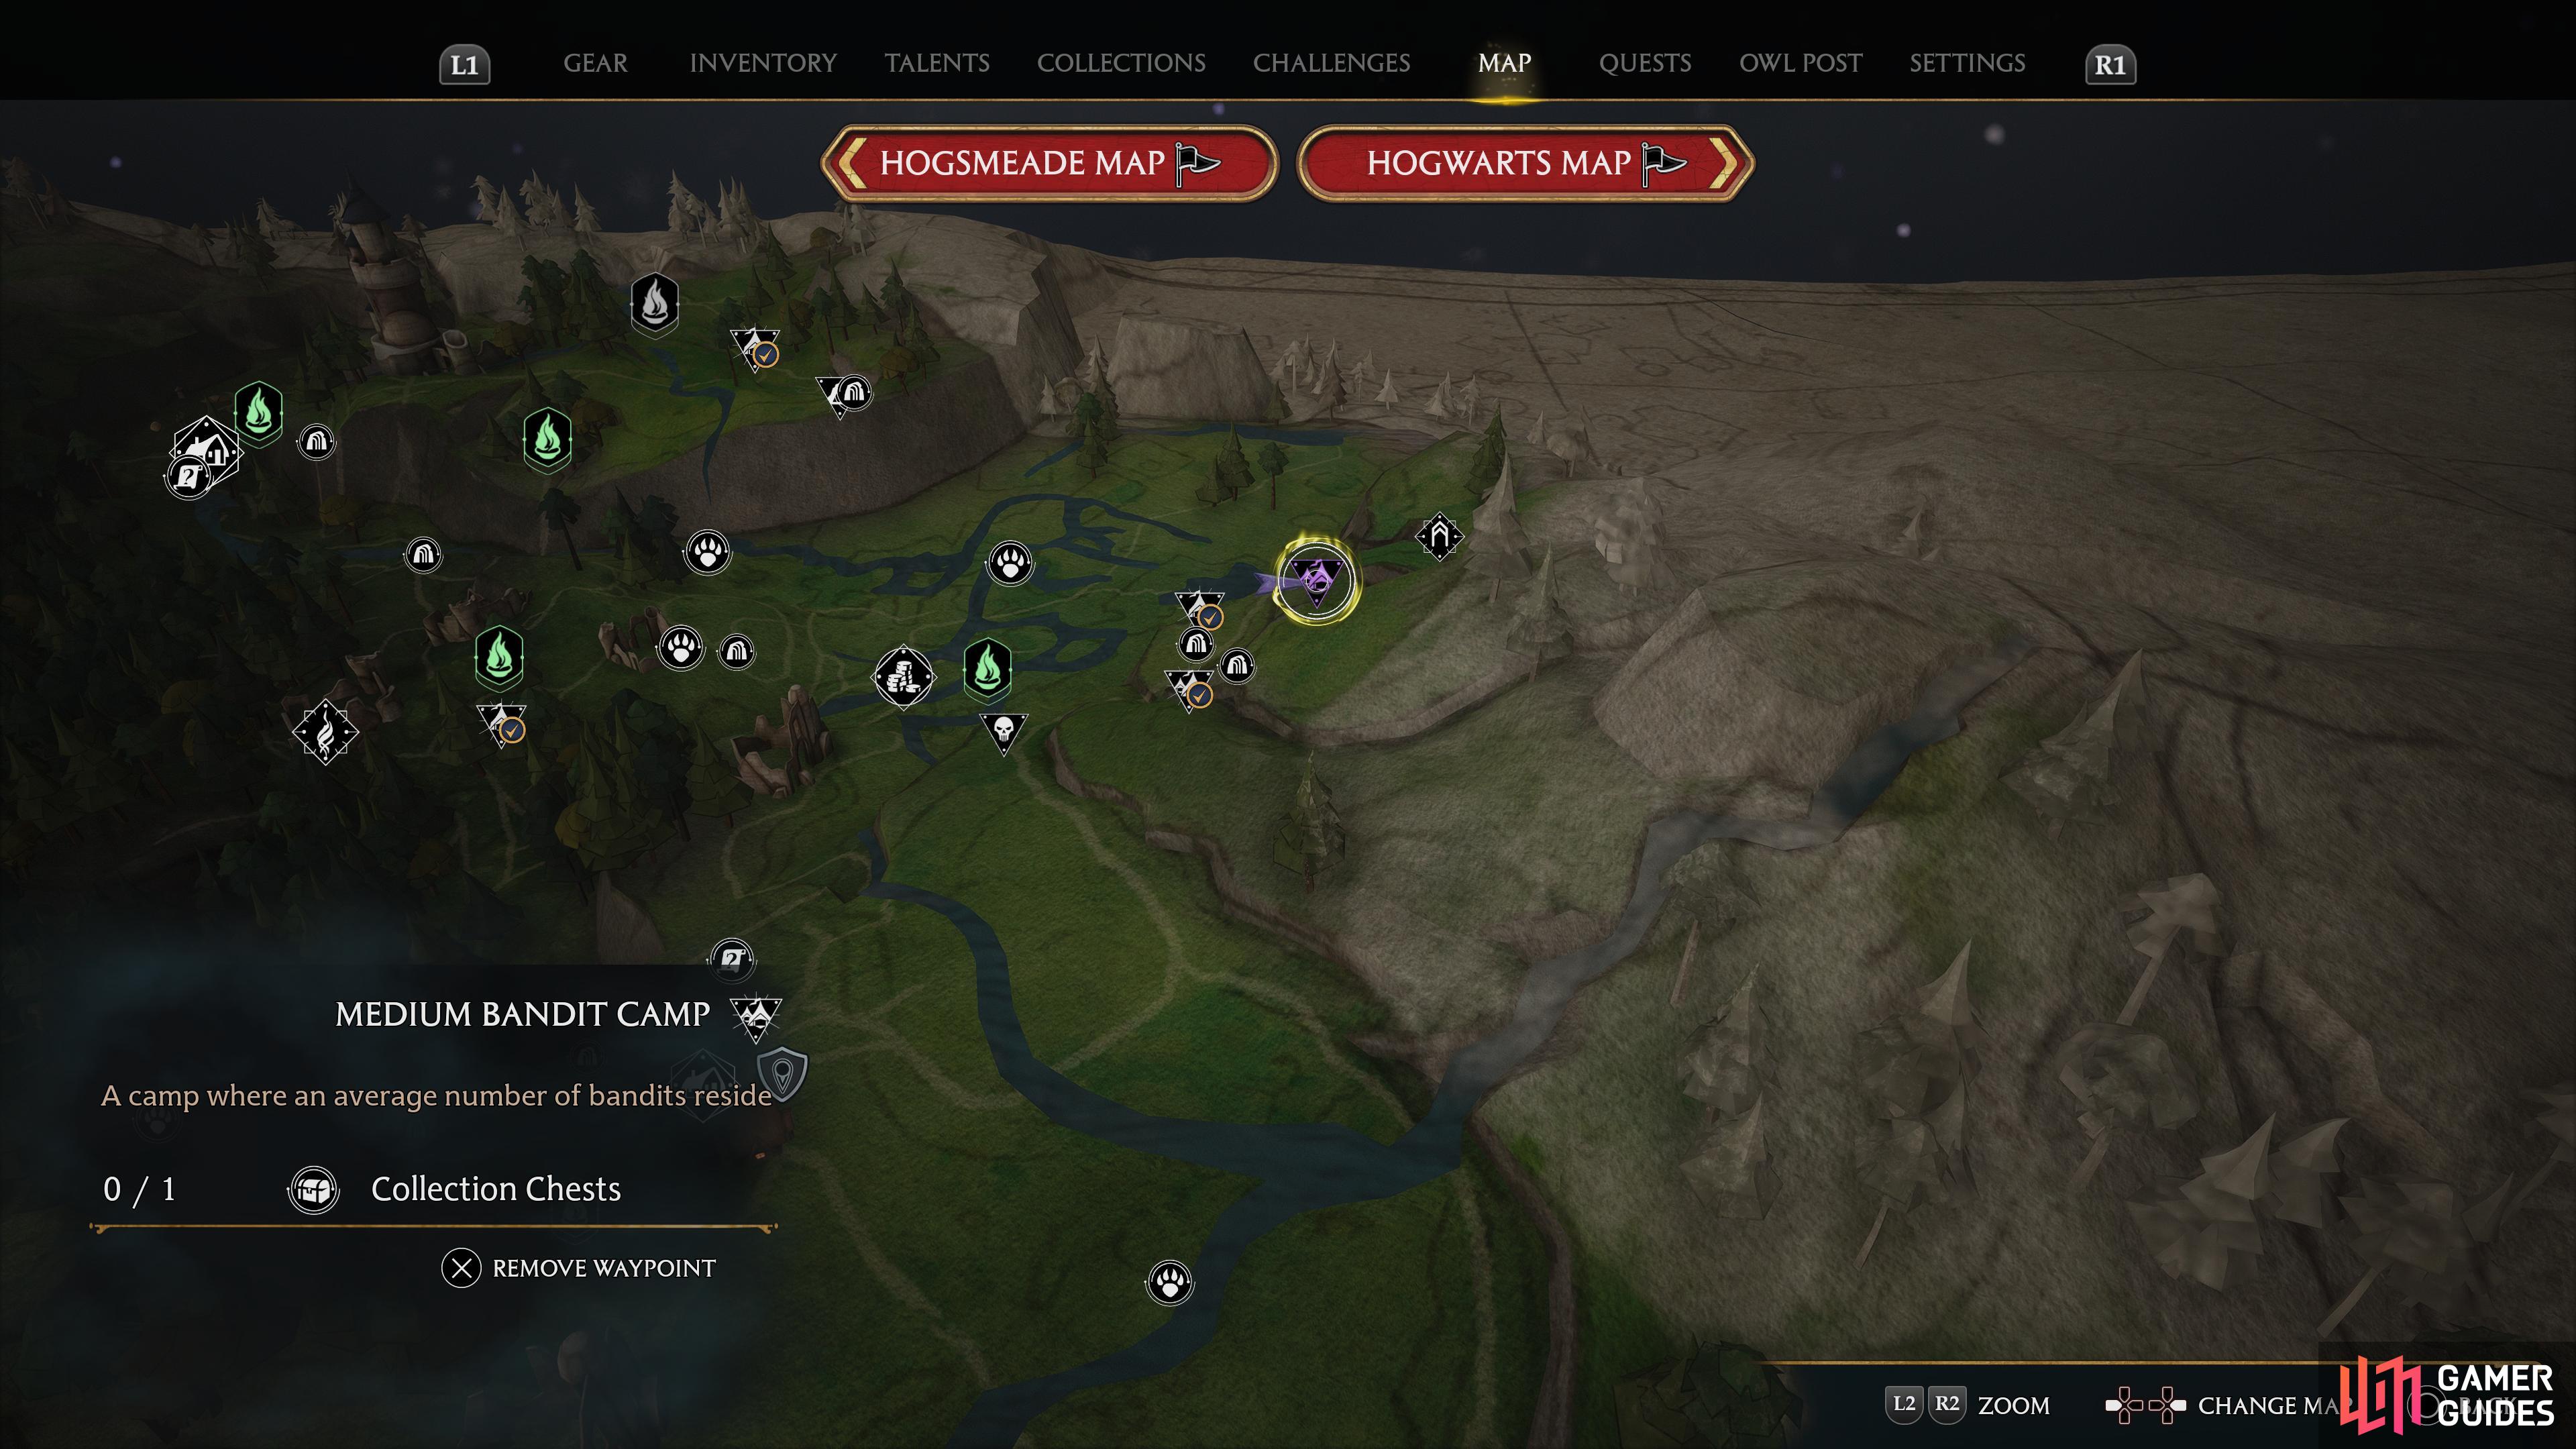
Head to this location on the map
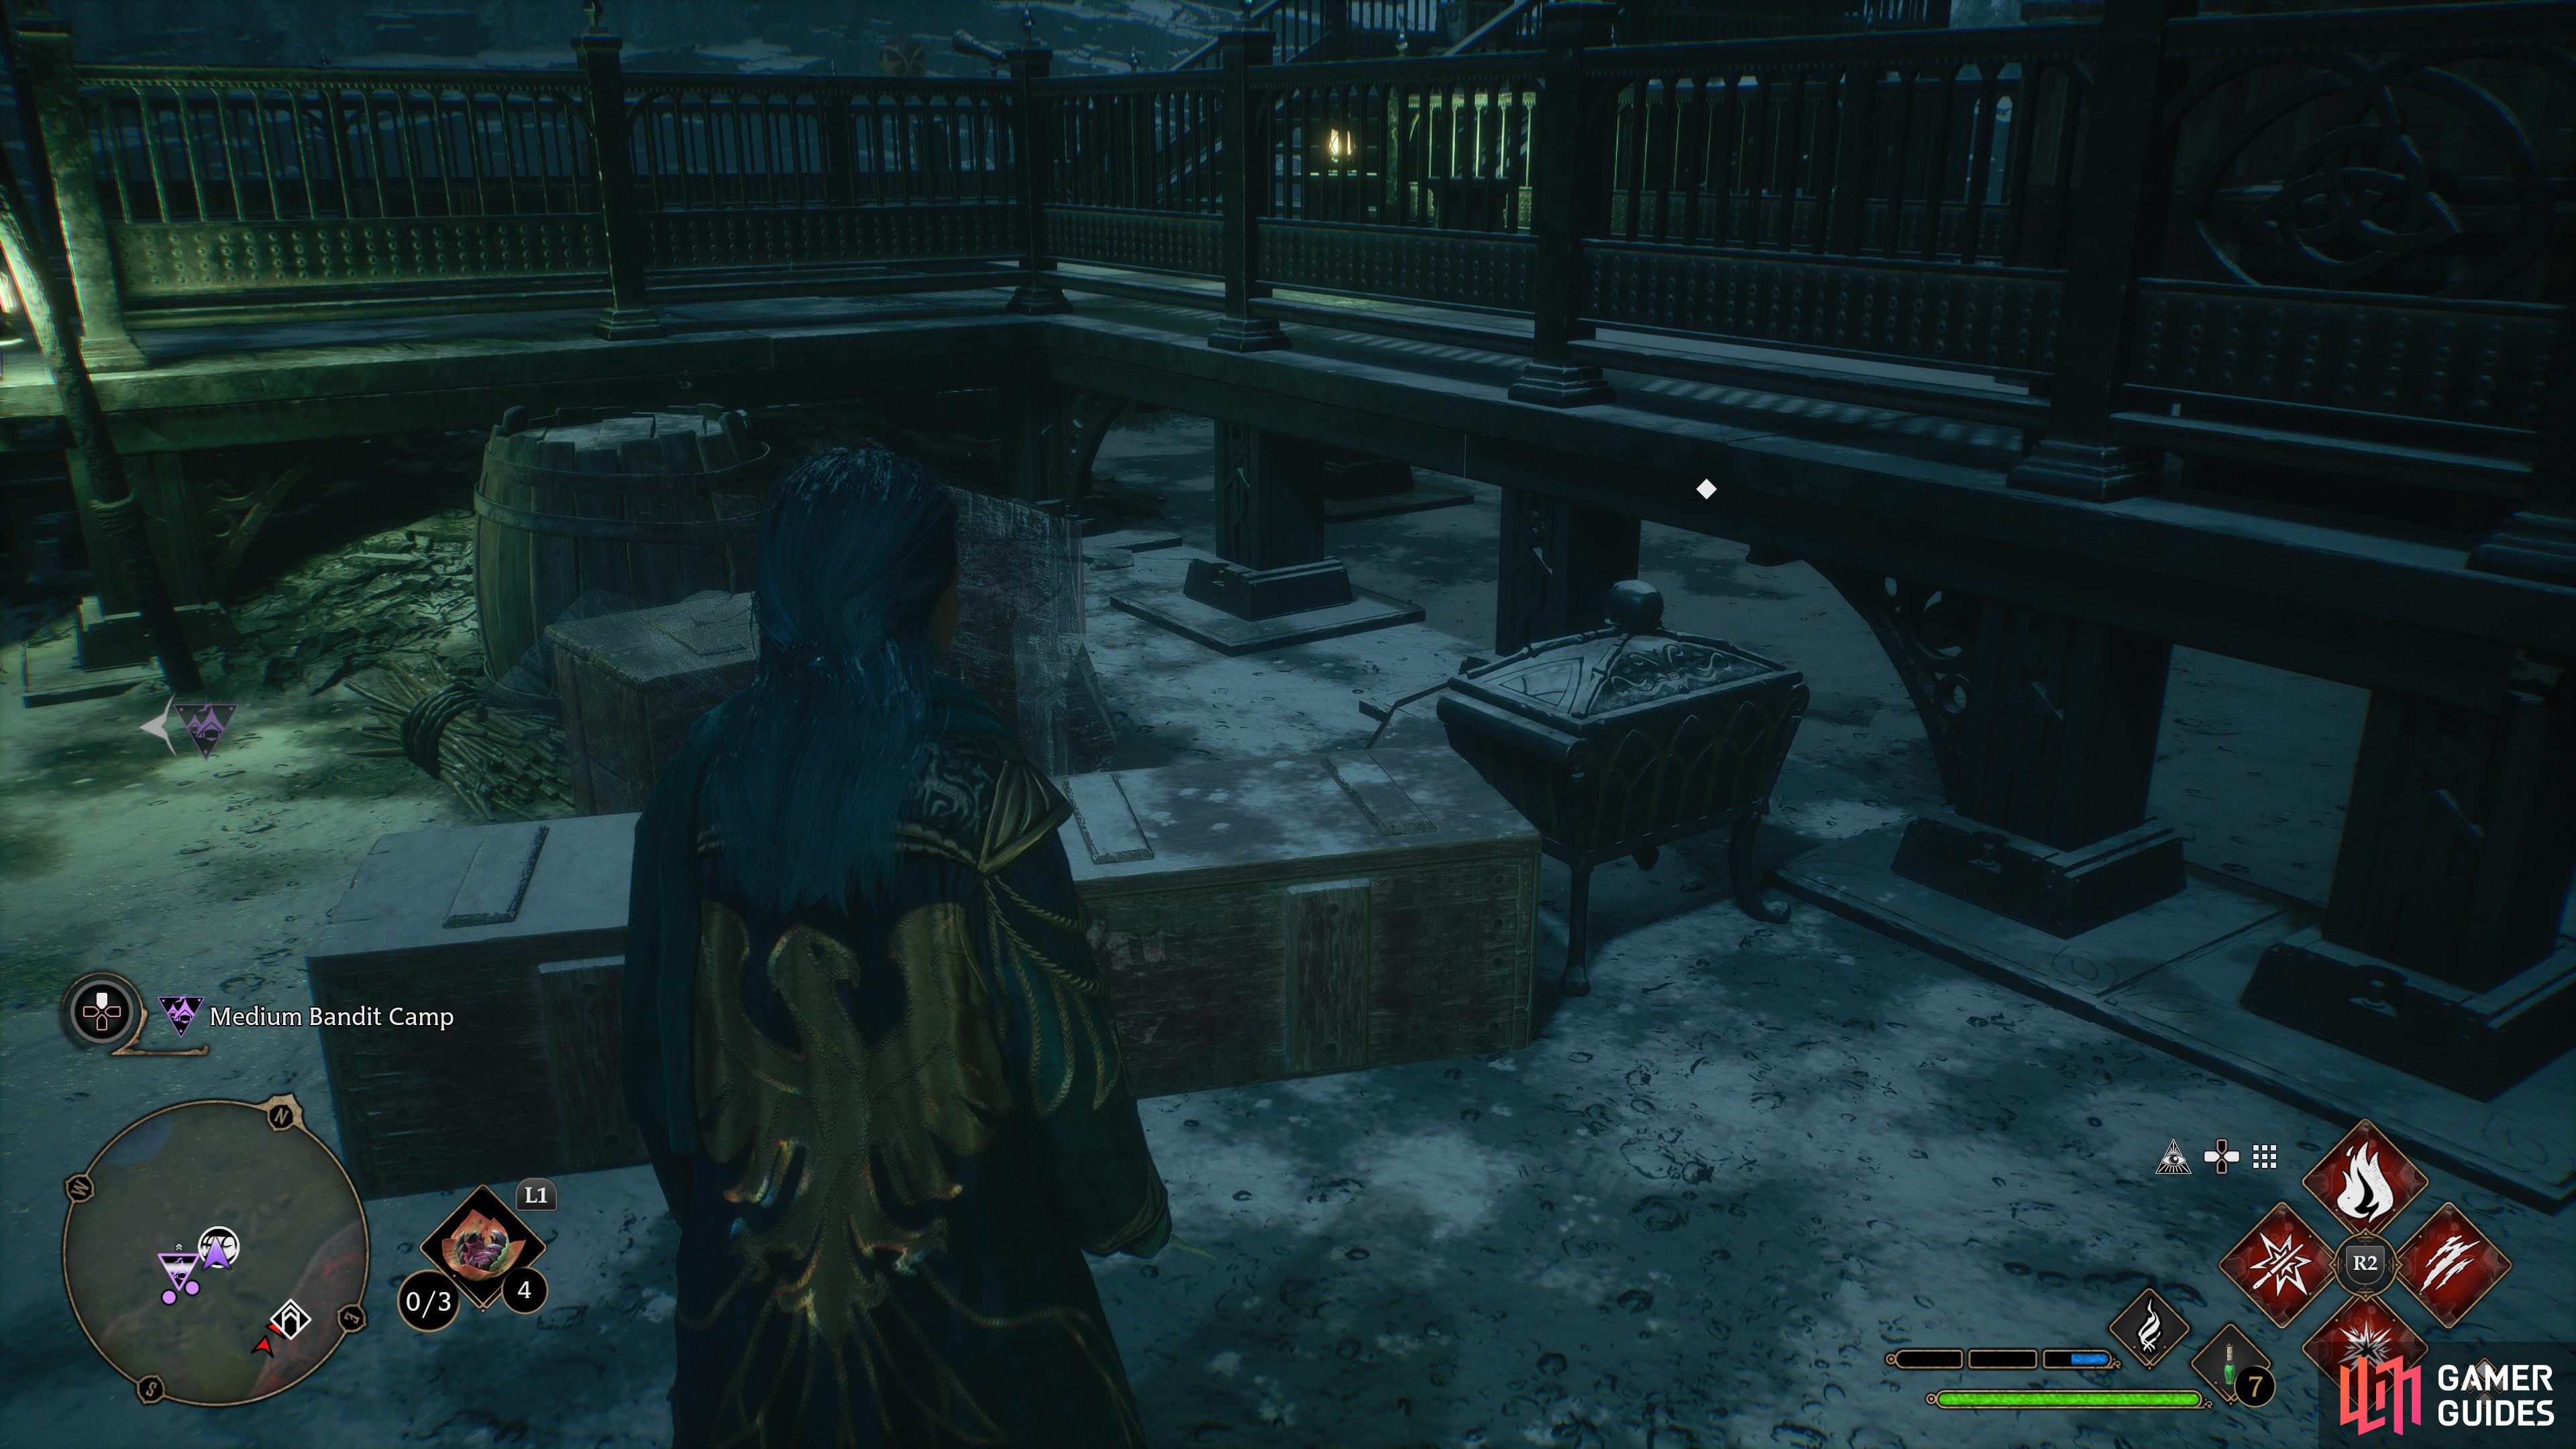
to find the Collection Chest sitting behind some crates.
Start at the East North Ford Bog Floo Flame and fly east until you reach a Medium Bandit Camp. Here you’ll find the Collection Chest containing a Trait sitting behind some creates to the left of the tent.
Collection Chest #7 - Overlook Mine
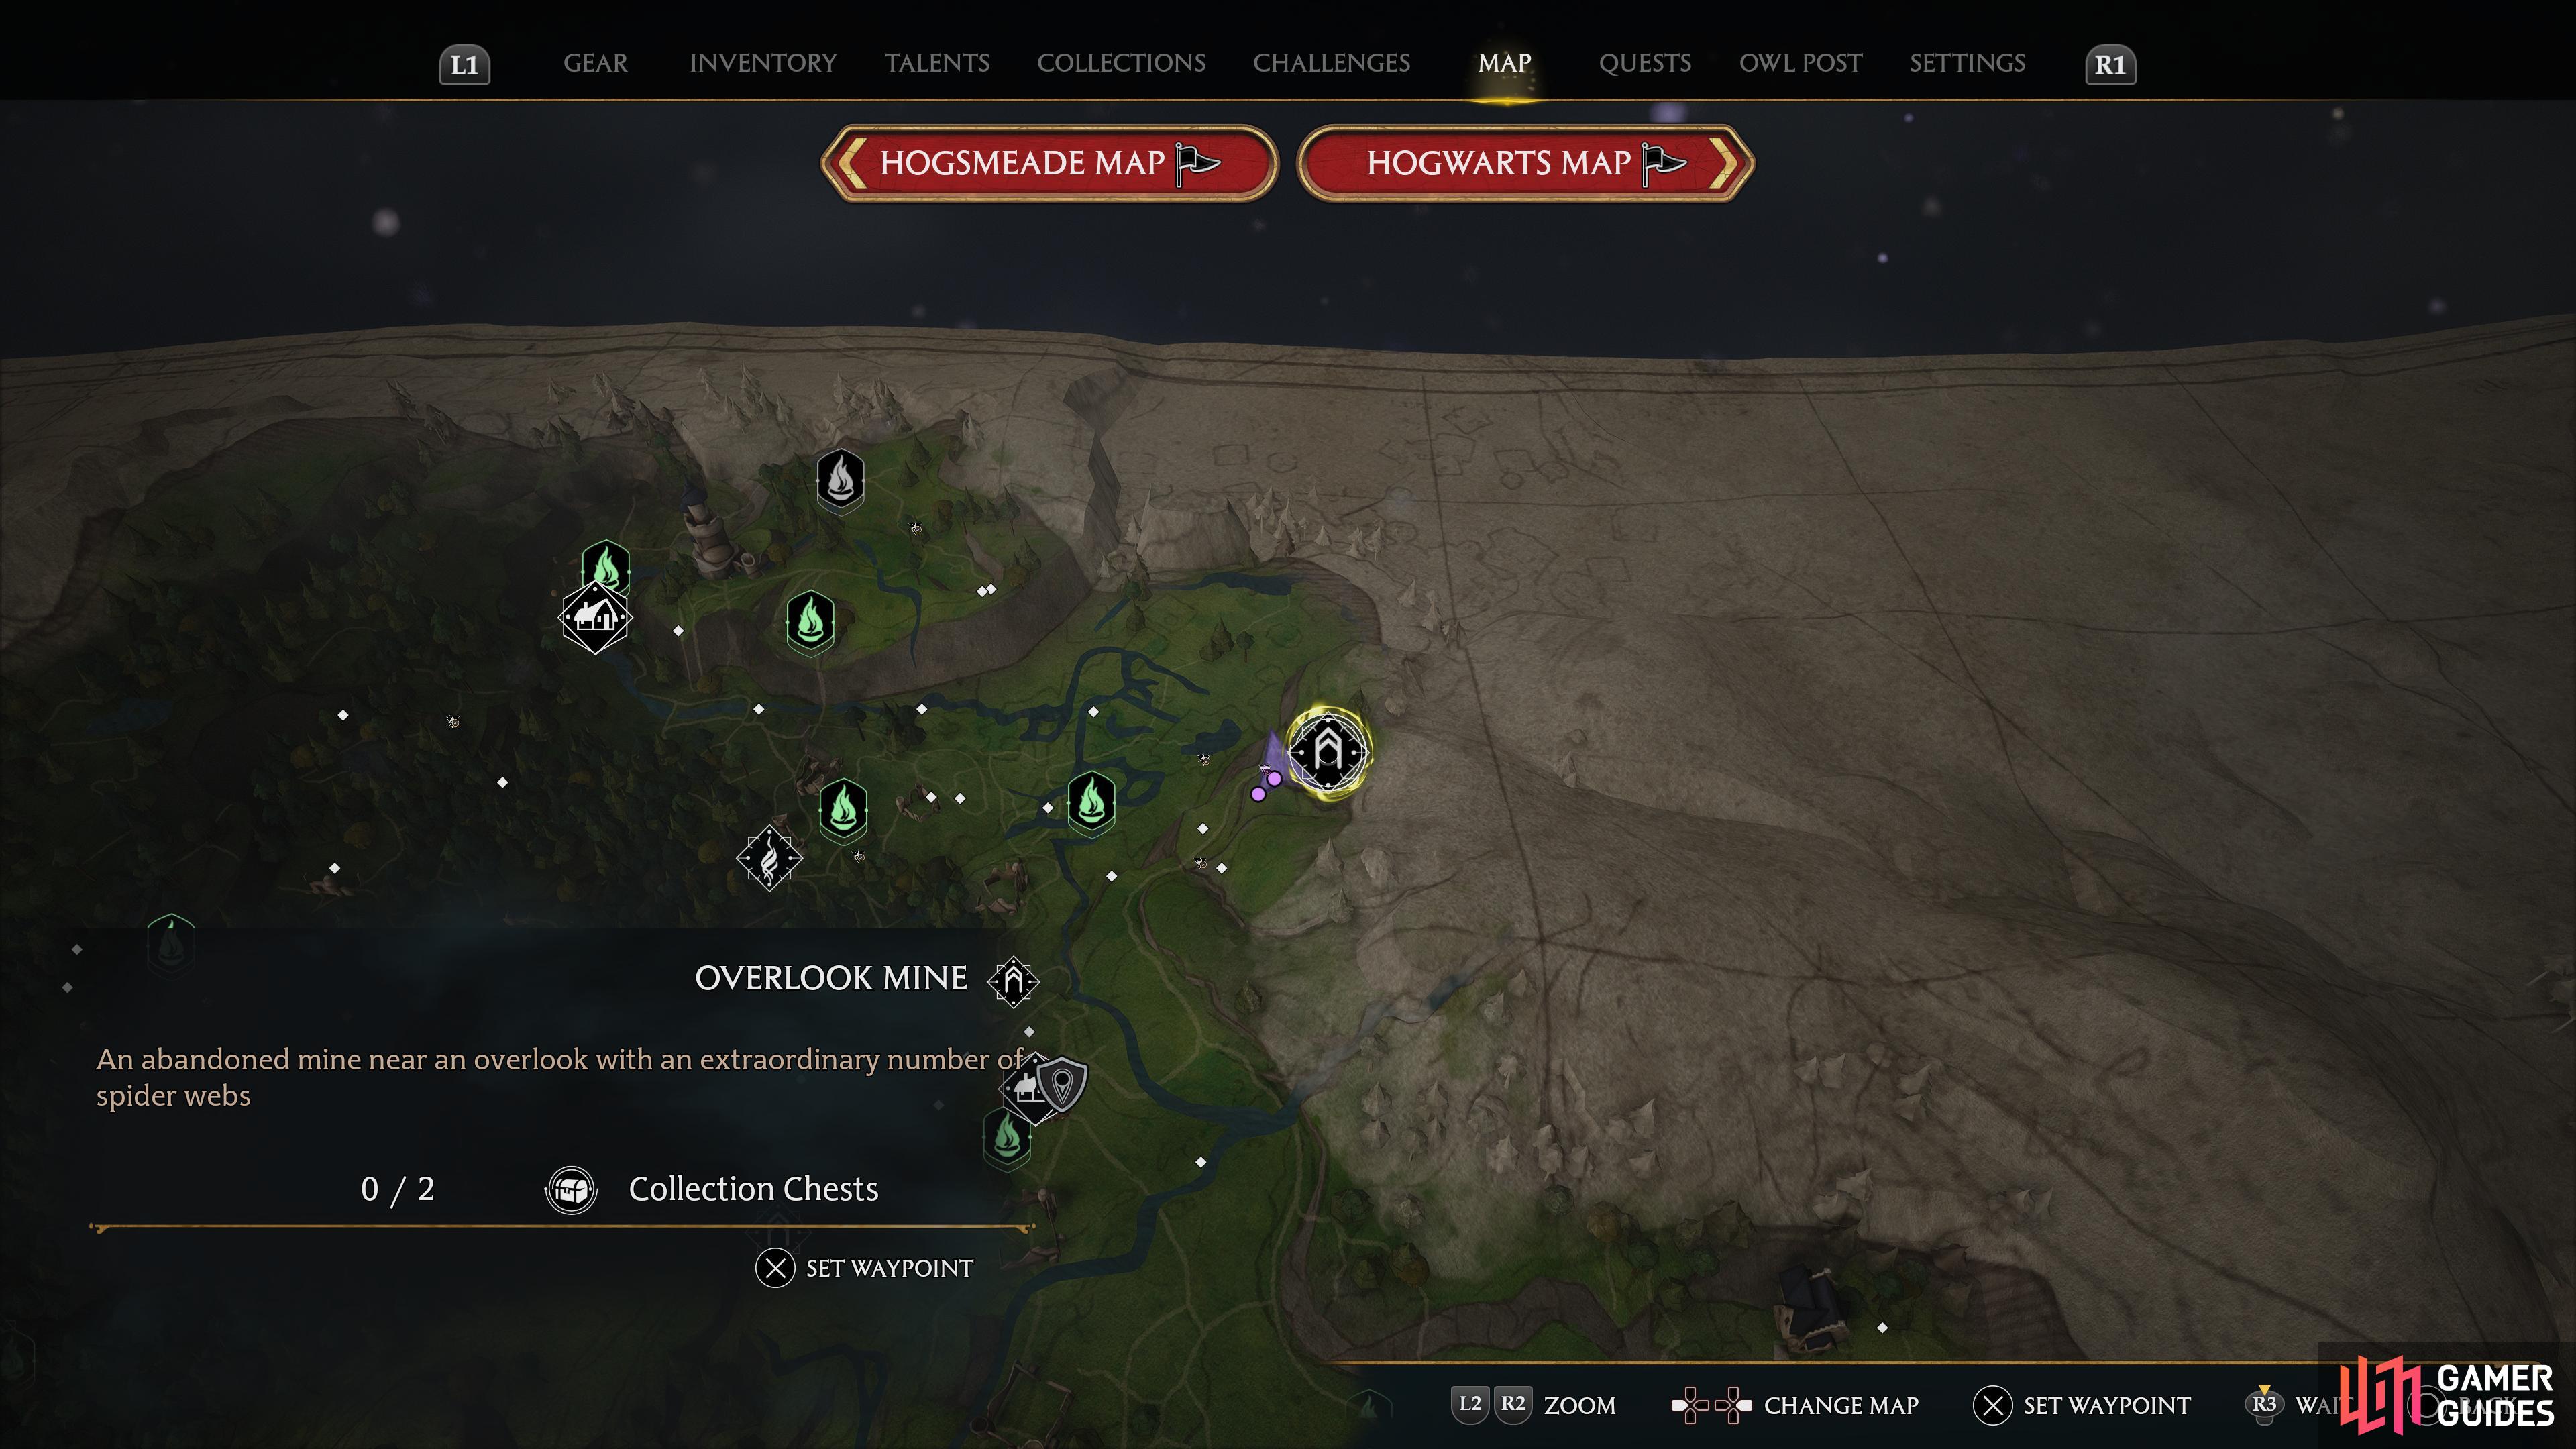
Head to this location on the map
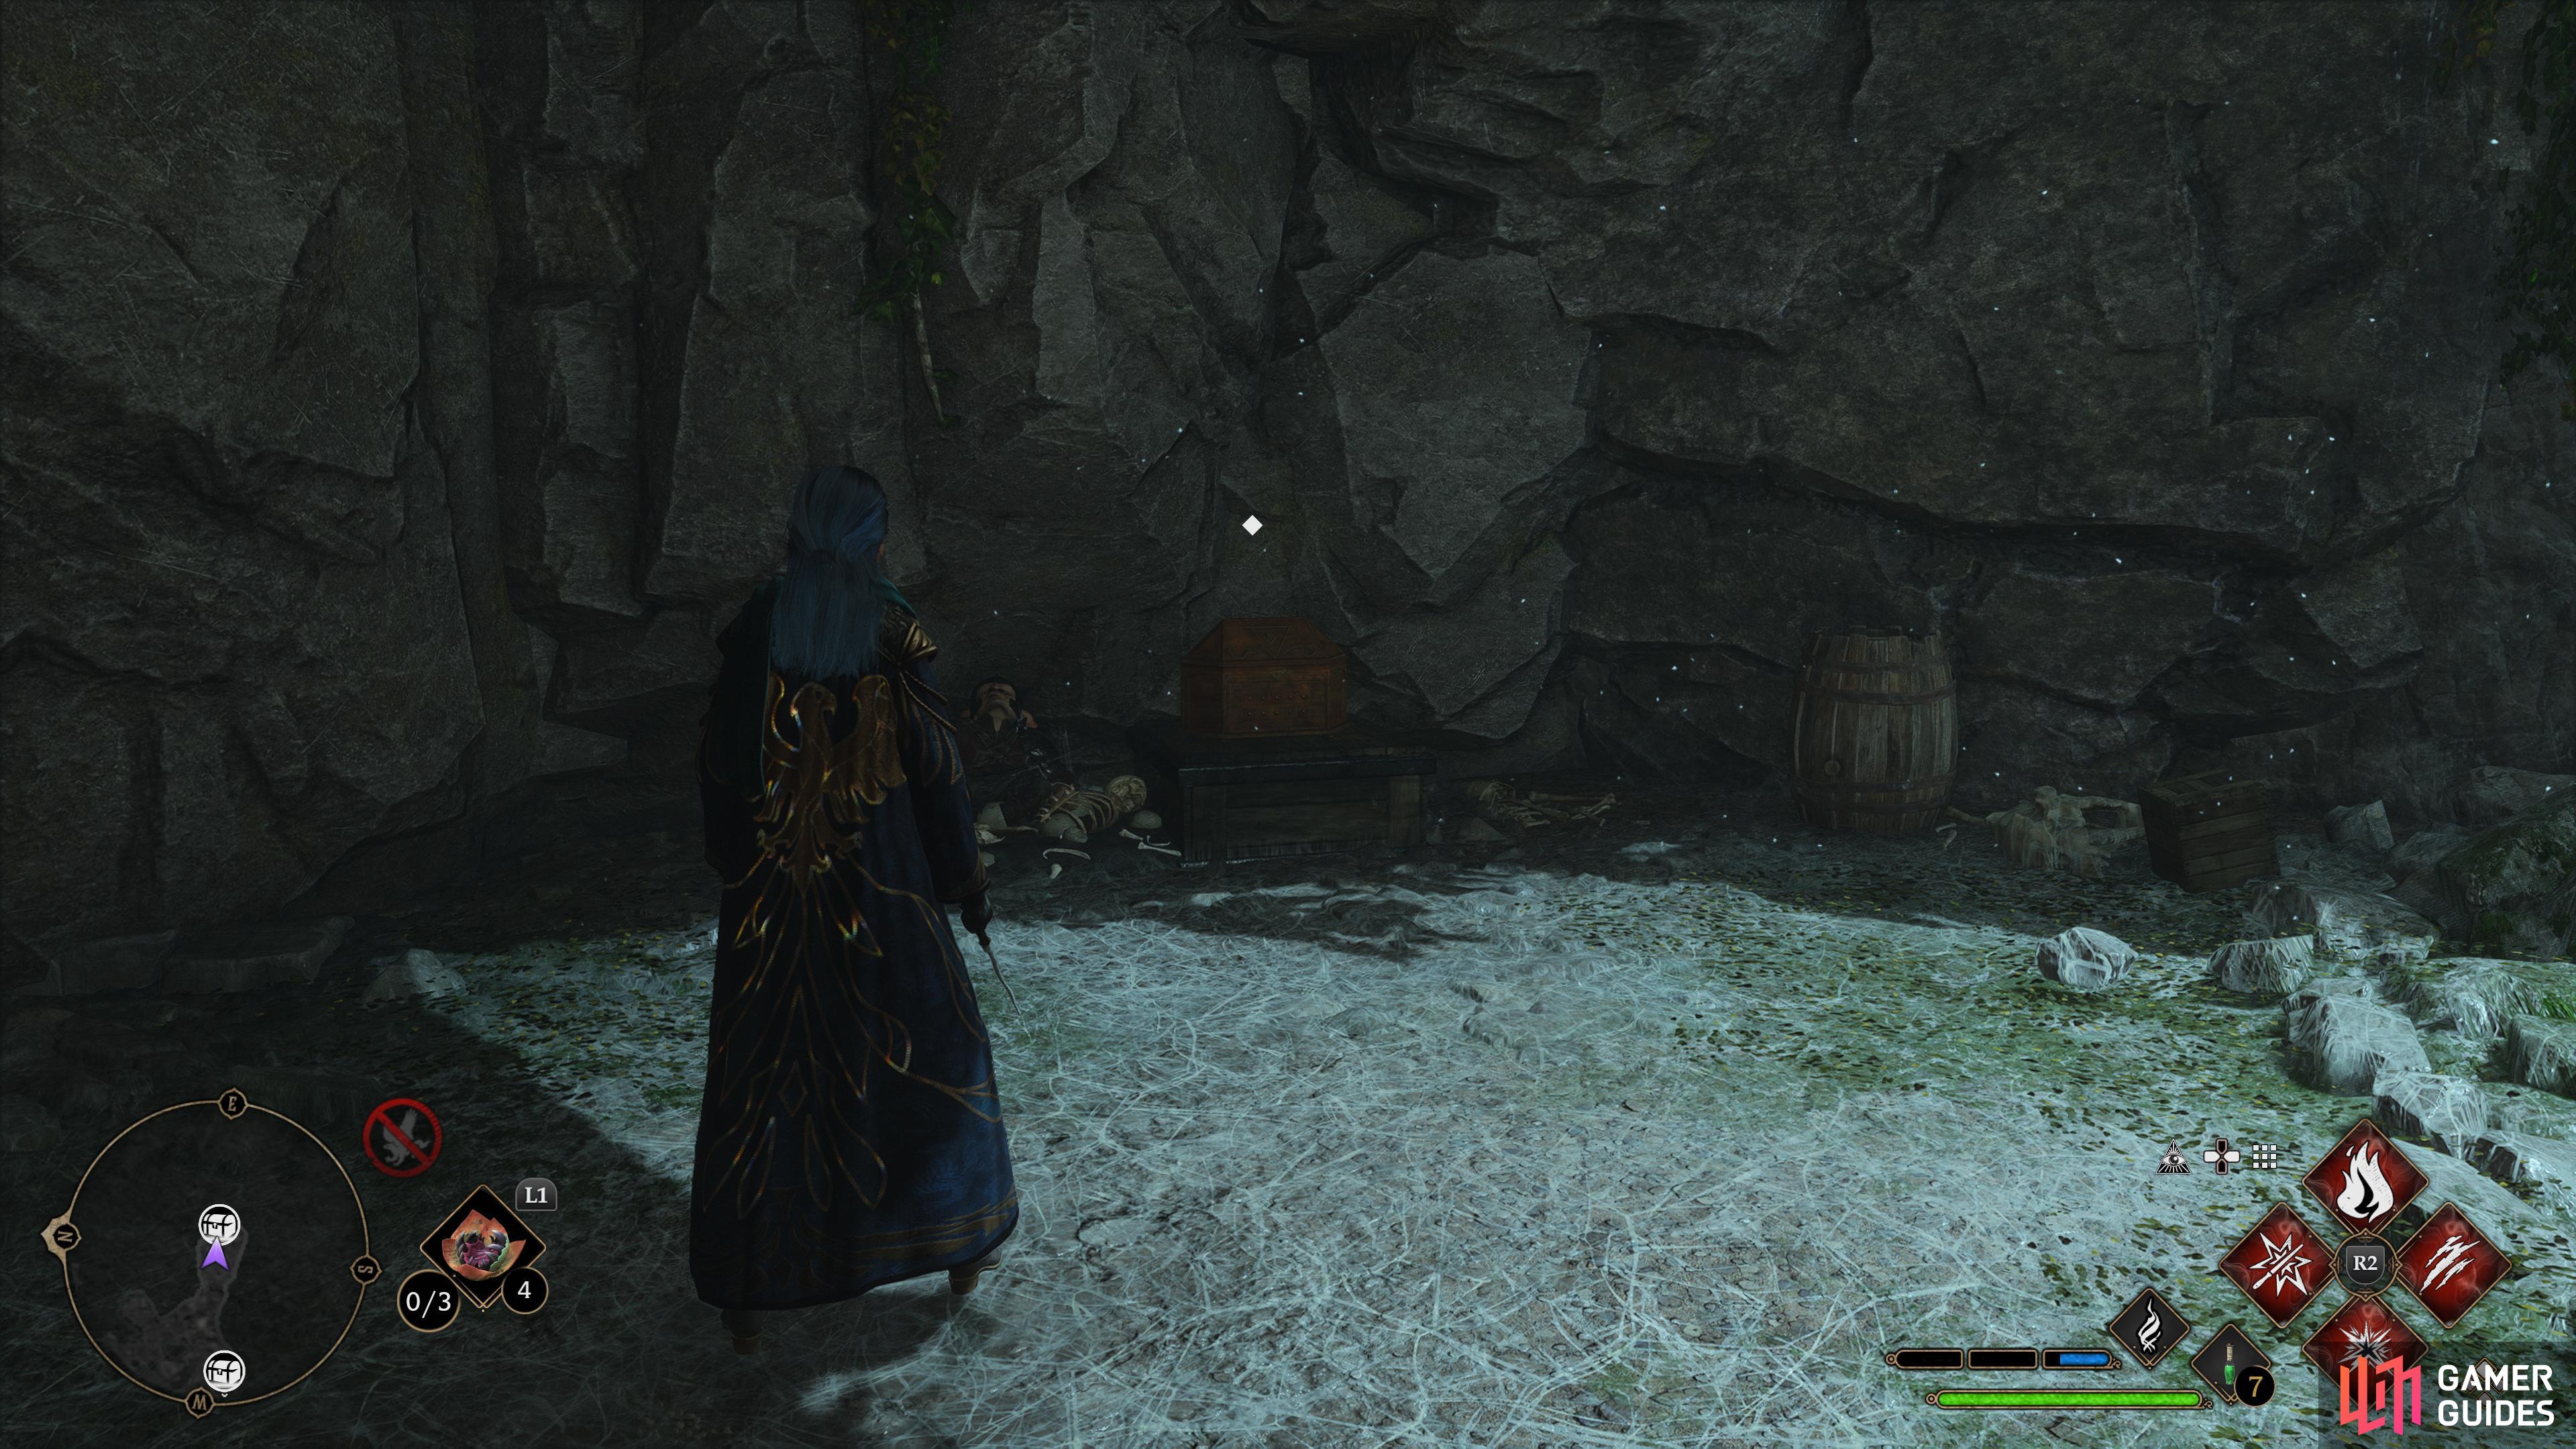
to find the Collection Chest sitting behind a wall of webs.
Head to the Overlook Mine, then work your way through the area until you reach a room where you need to move a crate. Ignore it for now and instead look to the left and burn the wall of webs with ![]() Incendio and you’ll find the Collection Chest containing a Conjuration inside.
Incendio and you’ll find the Collection Chest containing a Conjuration inside.
Collection Chest #8 - Overlook Mine
Head to this location on the map
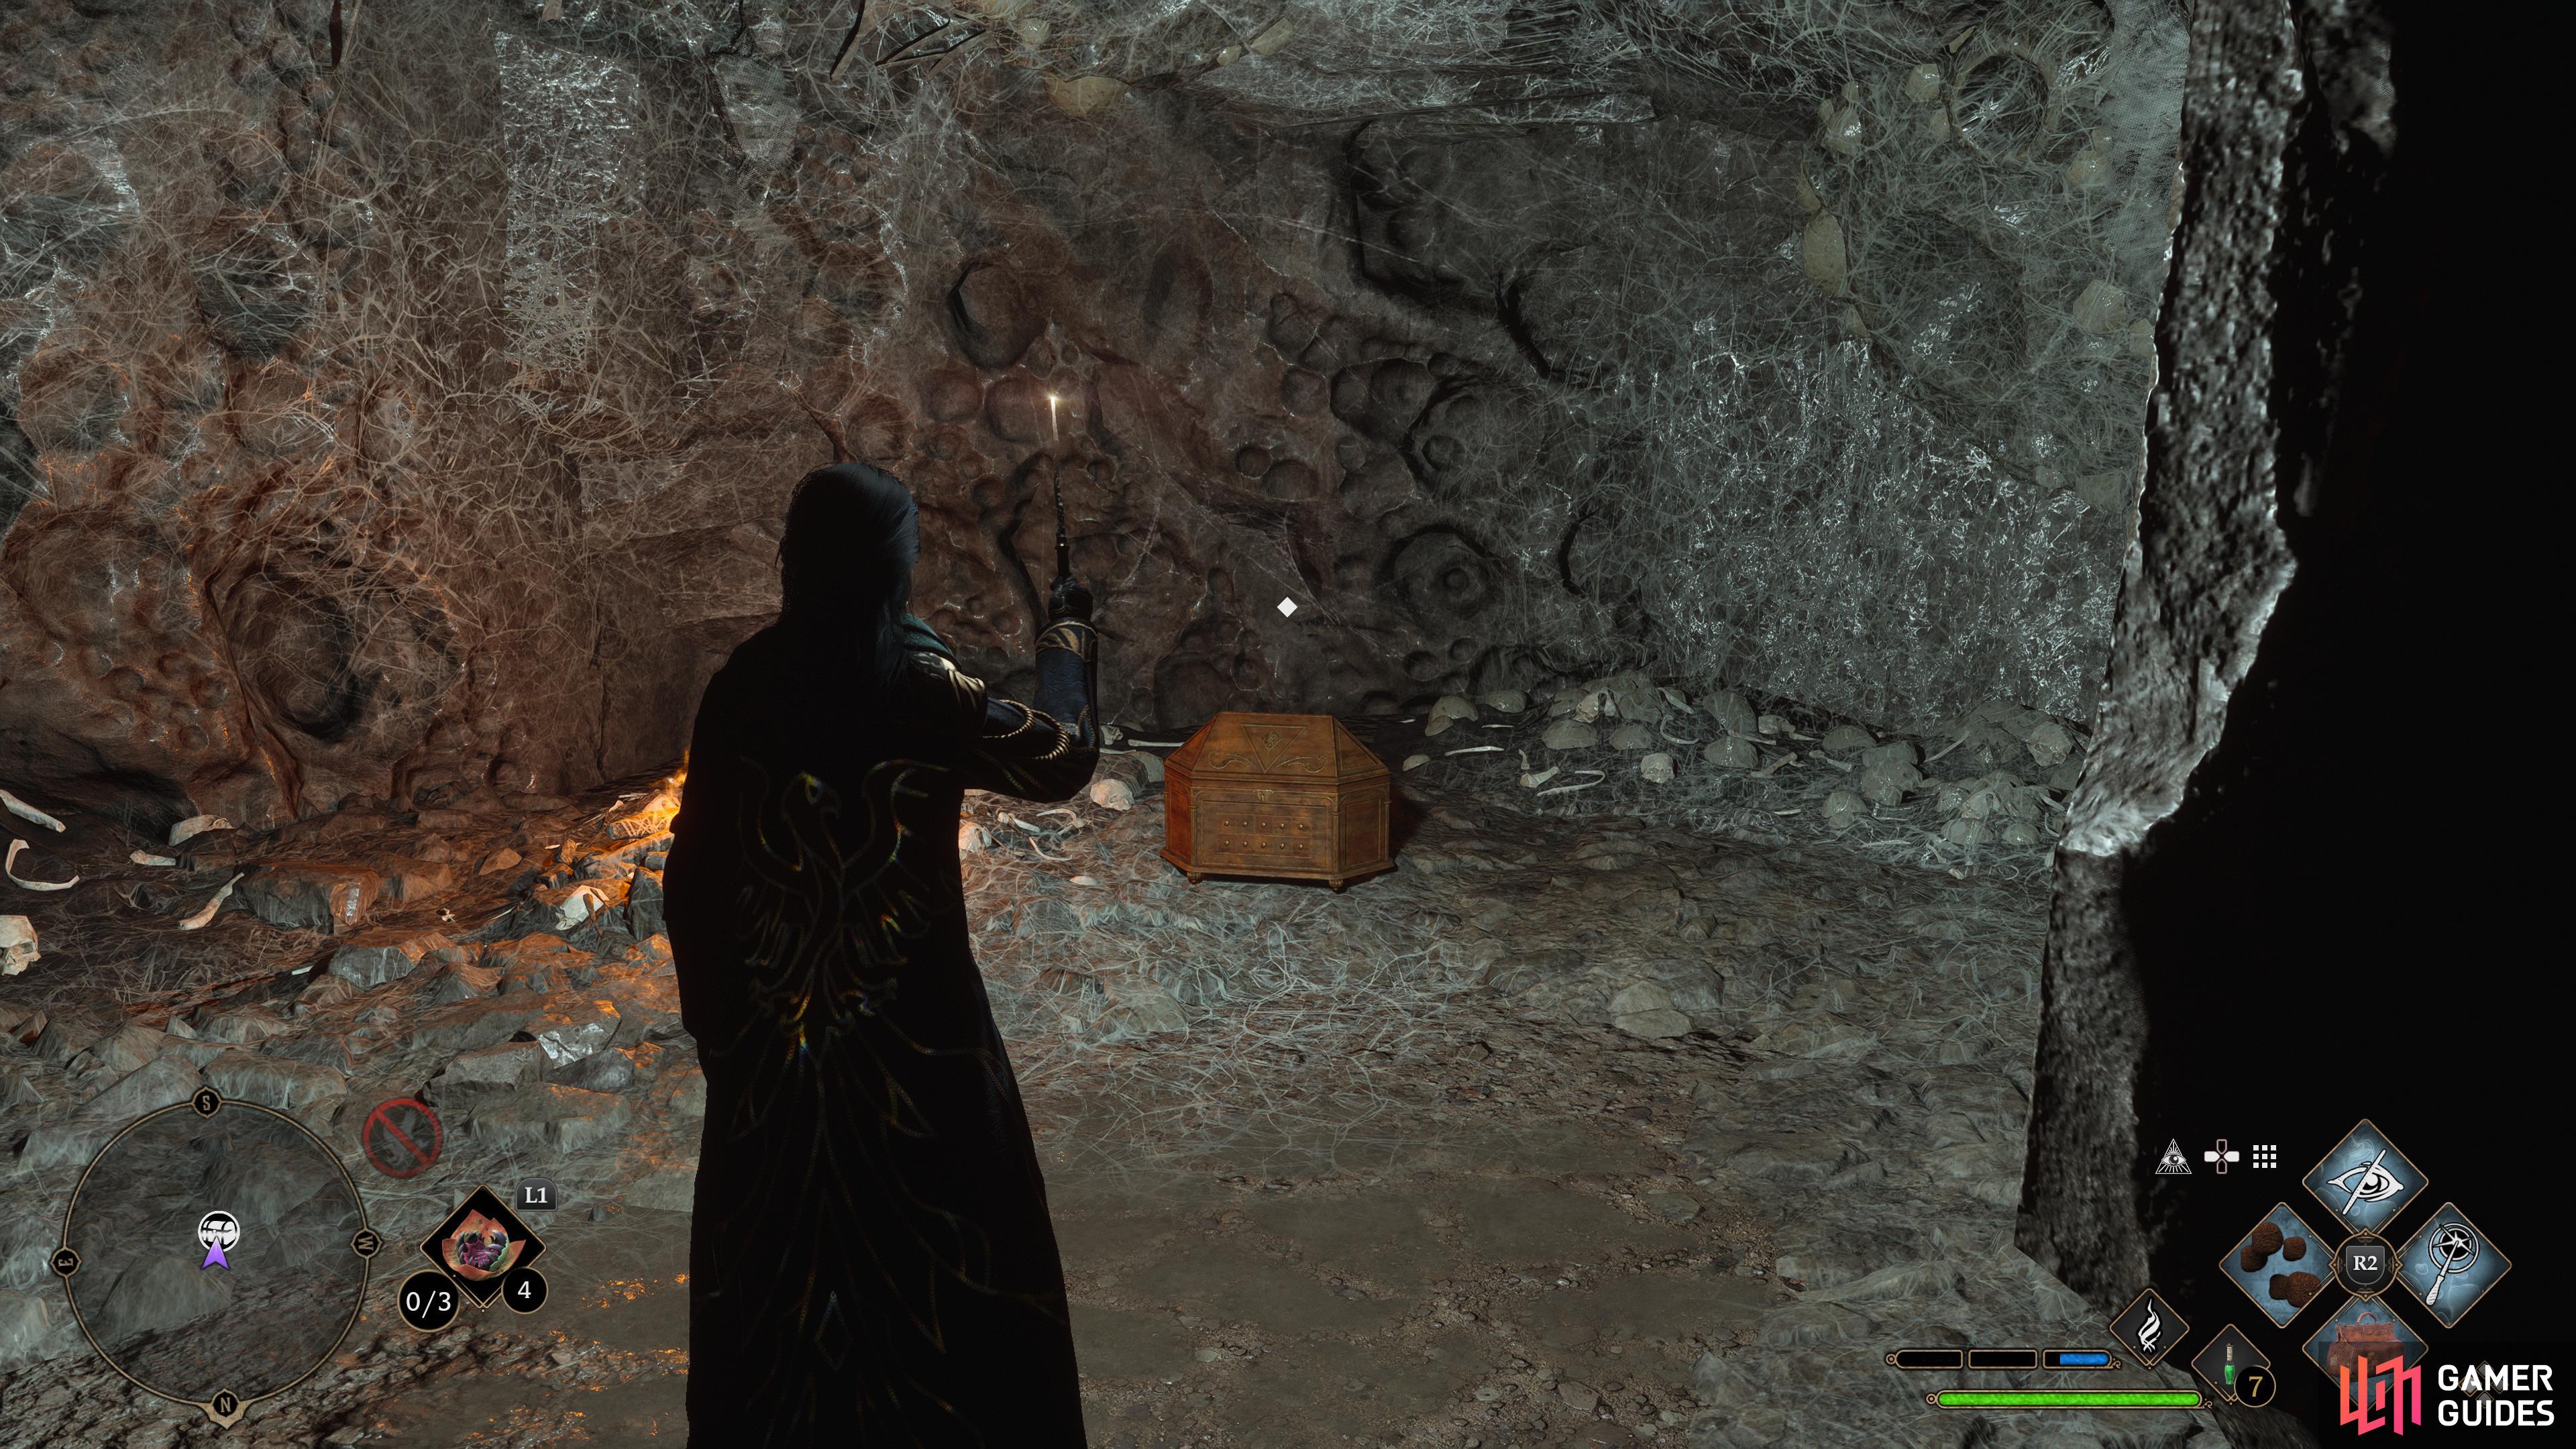
and you’ll find the Collection Chest down a path of Devil Snares.
Continue progressing through the Overlook Mine until you have to repair a broken bridge, then head to the next fork and take right down a path that is covered in Devil’s Snare. Here you’ll need to use ![]() Lumos to cause them to retract, then take another right to find a Collection Chest containing a Conjuration.
Lumos to cause them to retract, then take another right to find a Collection Chest containing a Conjuration.
No Comments