
There are 23 ![]() Revelio Field Guide Pages to be found in The South Wing of Hogwarts Castle, in Hogwarts Legacy. We’ll show you how and where to find all of them on this page.
Revelio Field Guide Pages to be found in The South Wing of Hogwarts Castle, in Hogwarts Legacy. We’ll show you how and where to find all of them on this page.
All Revelio Field Guide Page Locations in The South Wing of Hogwarts
Note that the location described next to each page header generally refers to the nearest Floo Flame for it. The complex nature of the castle means that it may not be located in that exact area, but we’ll provide a more precise description in the main text. You will benefit from following this guide from the beginning as it takes you through different parts of the castle in the easiest way possible.
The Well of Four Beasts - Clock Tower Courtyard
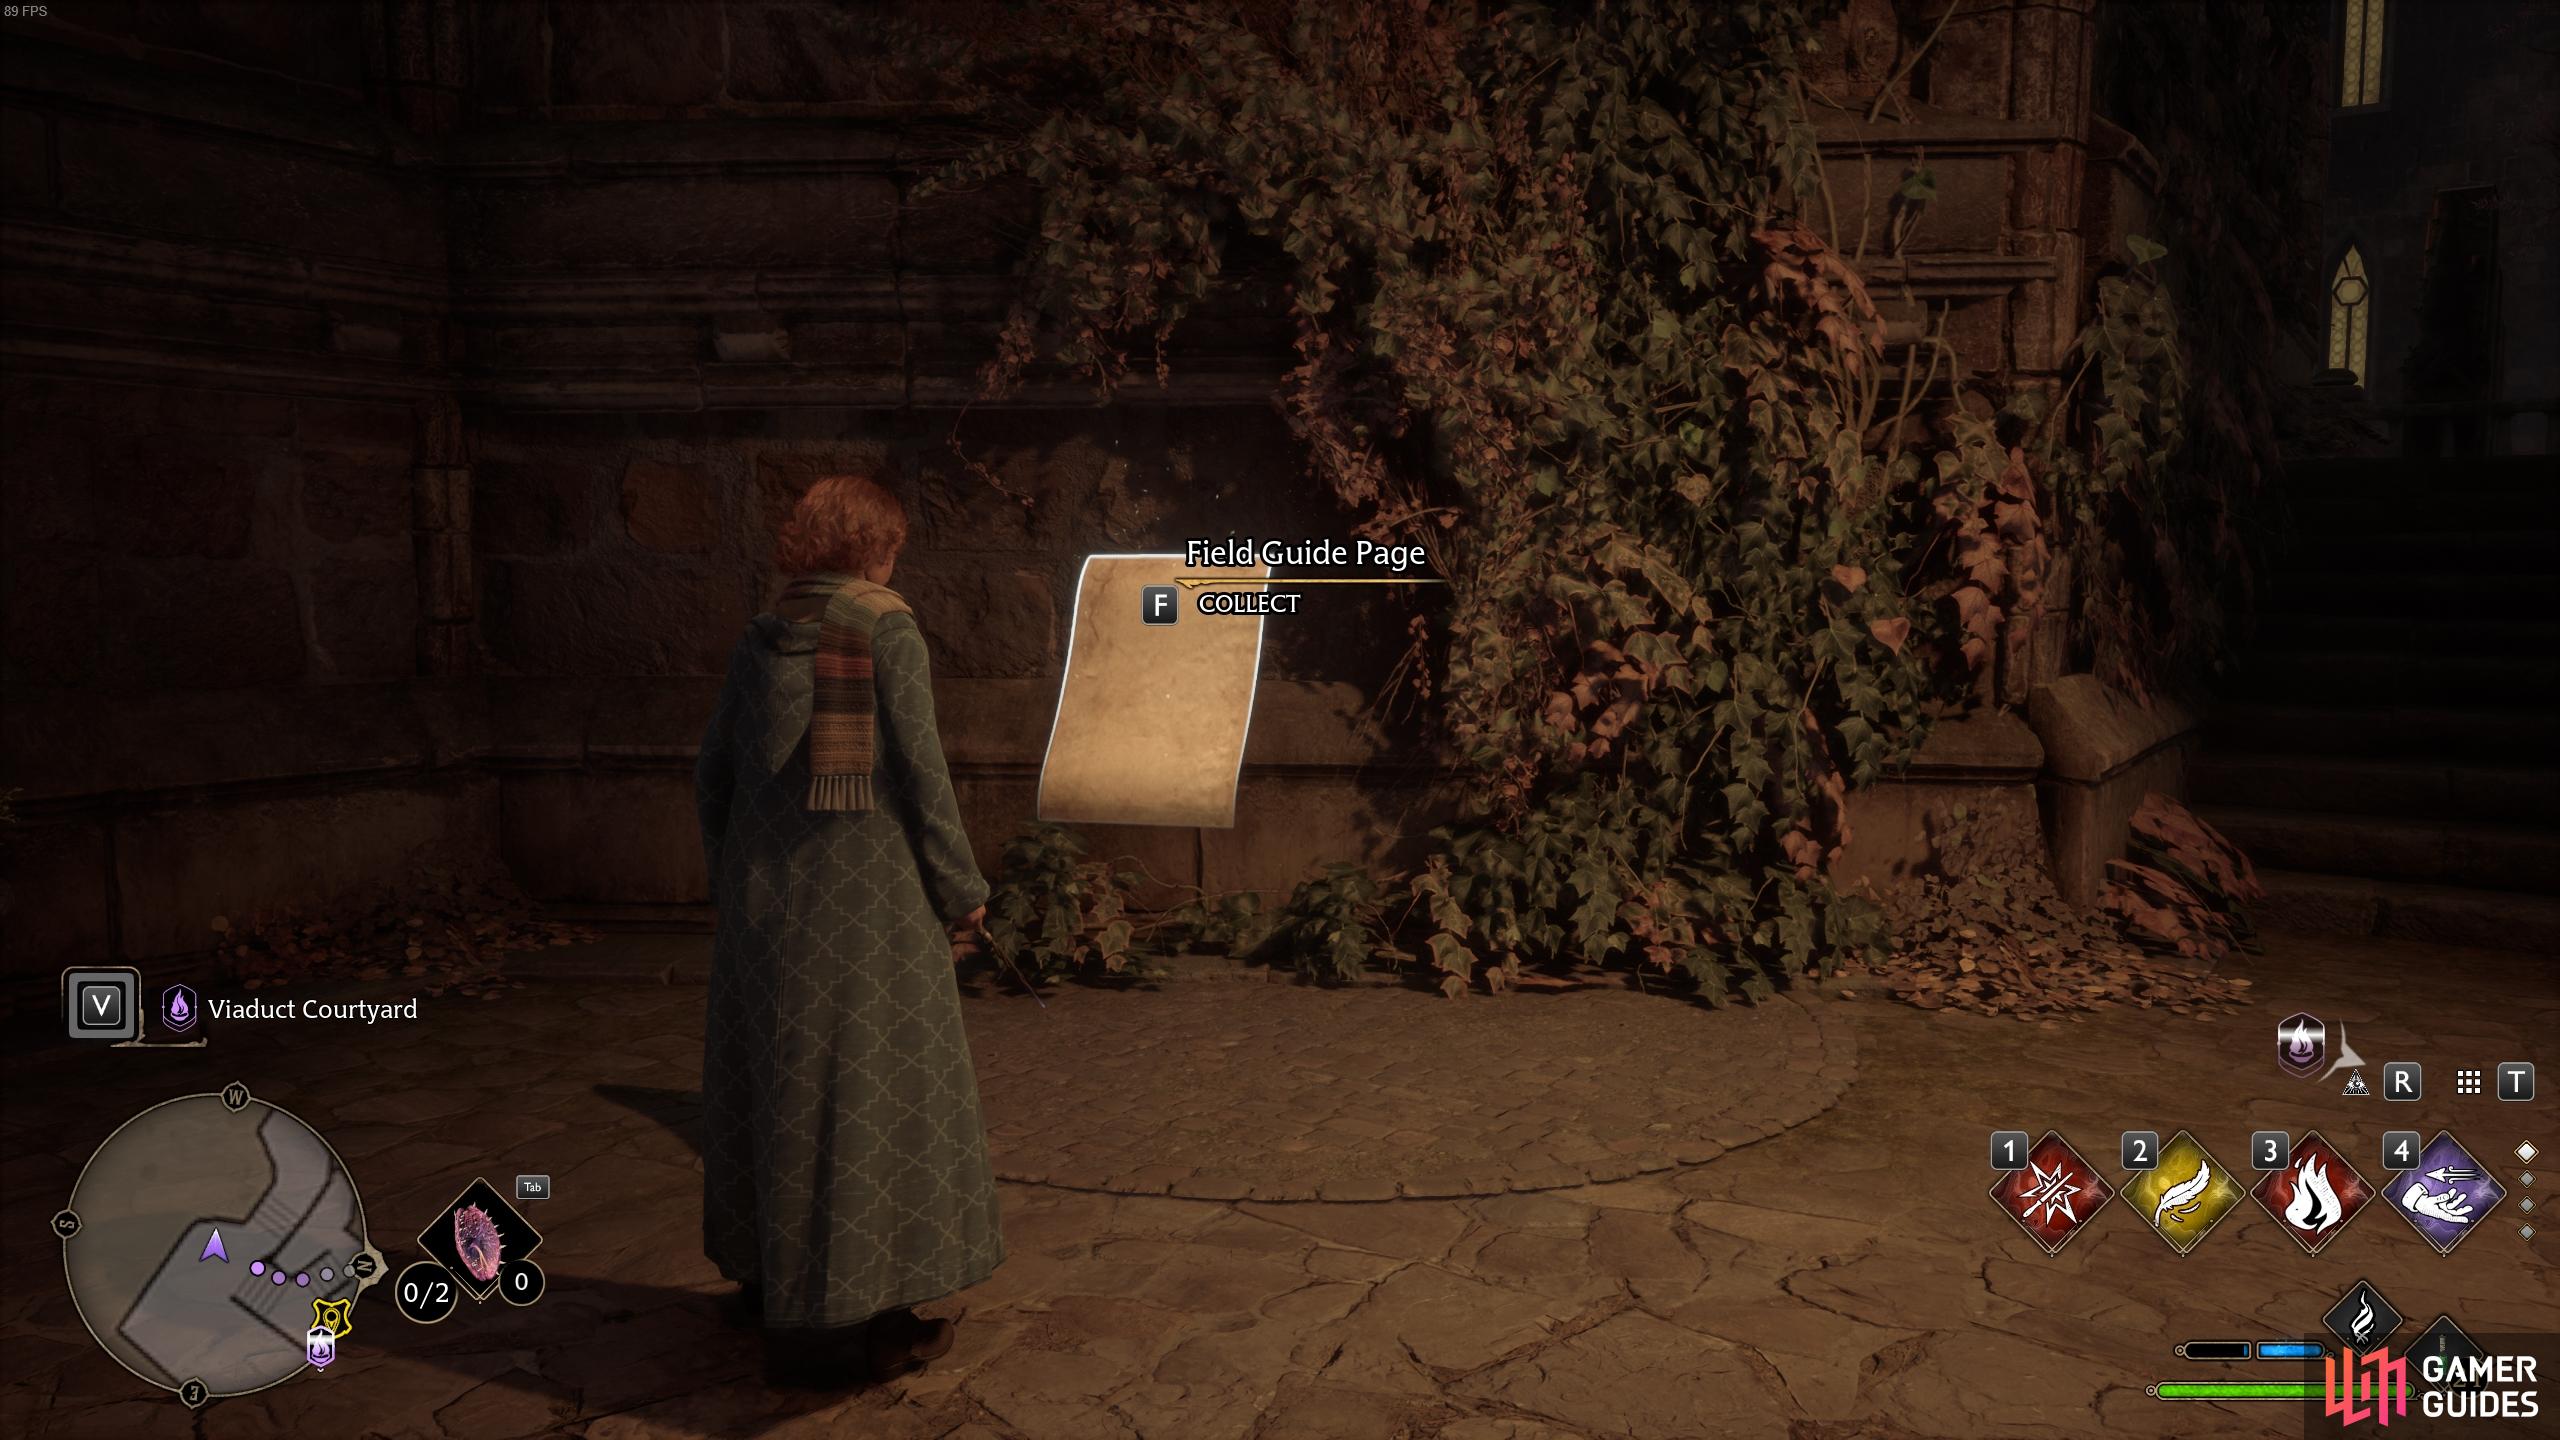
The first Revelio Field Guide Page that we’ll cover can be found in the Clock Tower Courtyard. You can fast travel to the Floo Flame here, then head outside into the courtyard to find the page on the southern side of the Well of Four Beasts.
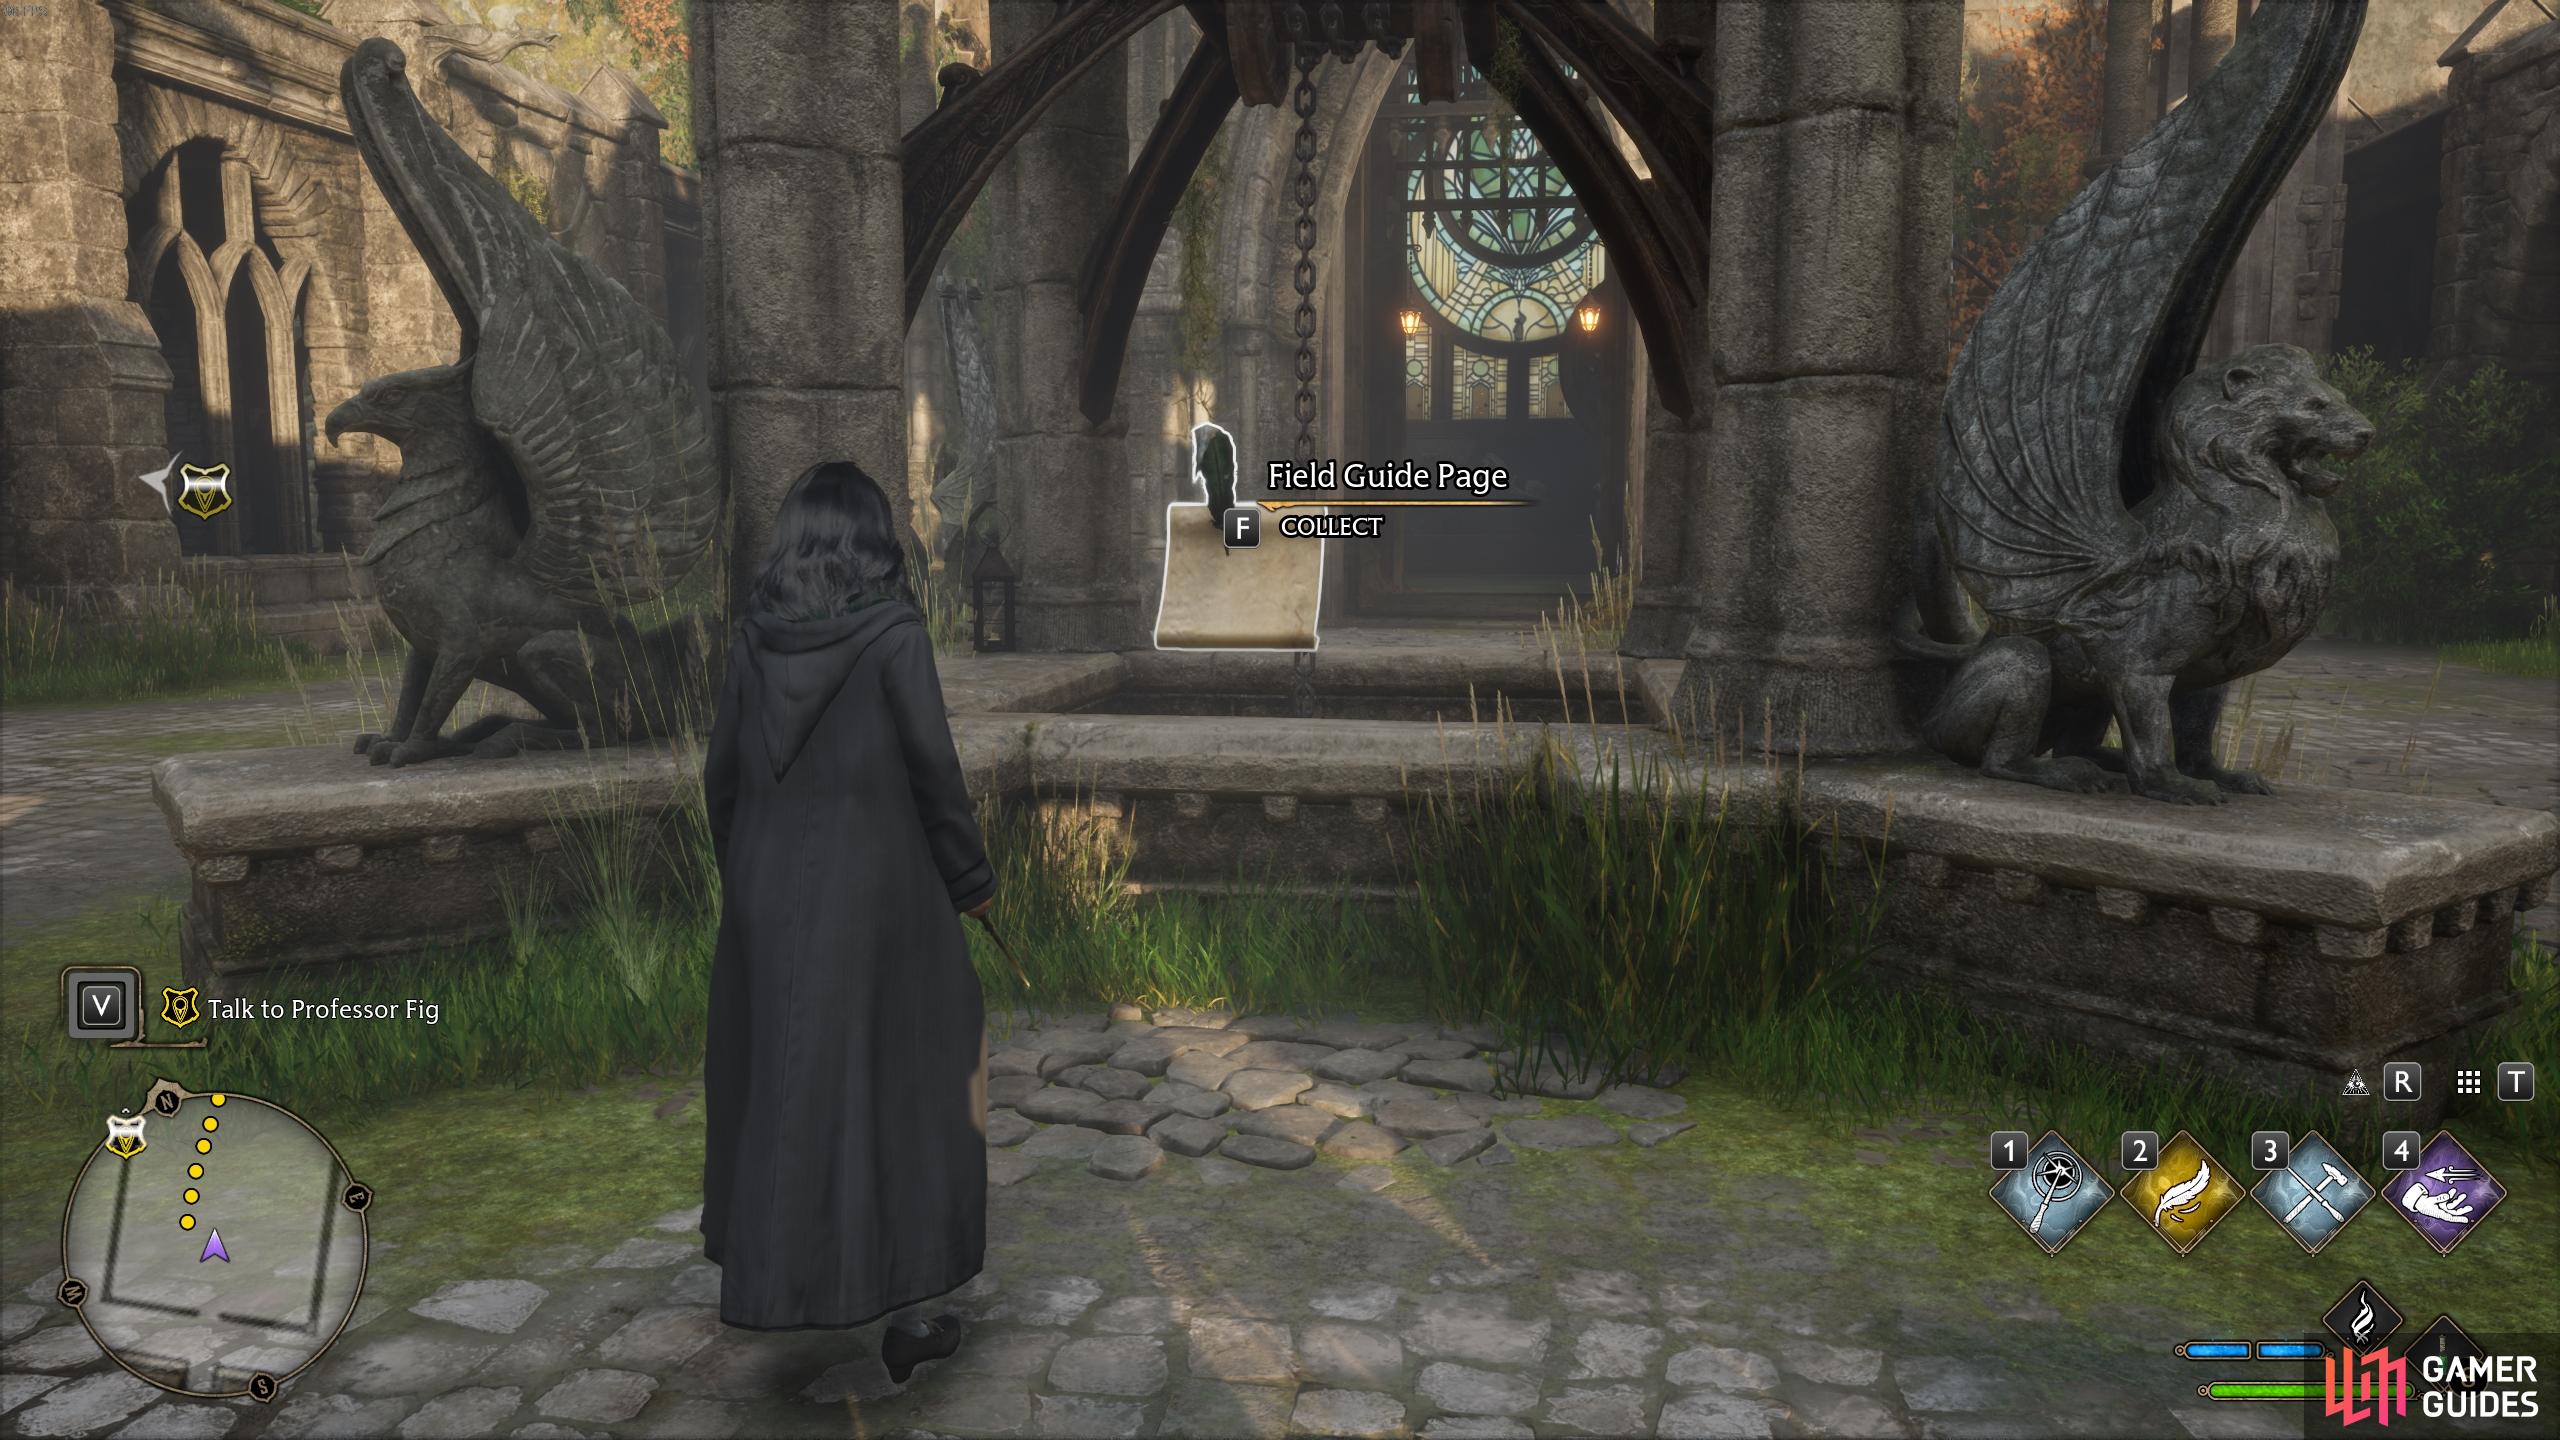
You’ll find the page on the southern side of the well after casting Revelio.

The description for The Well of Four Beasts.
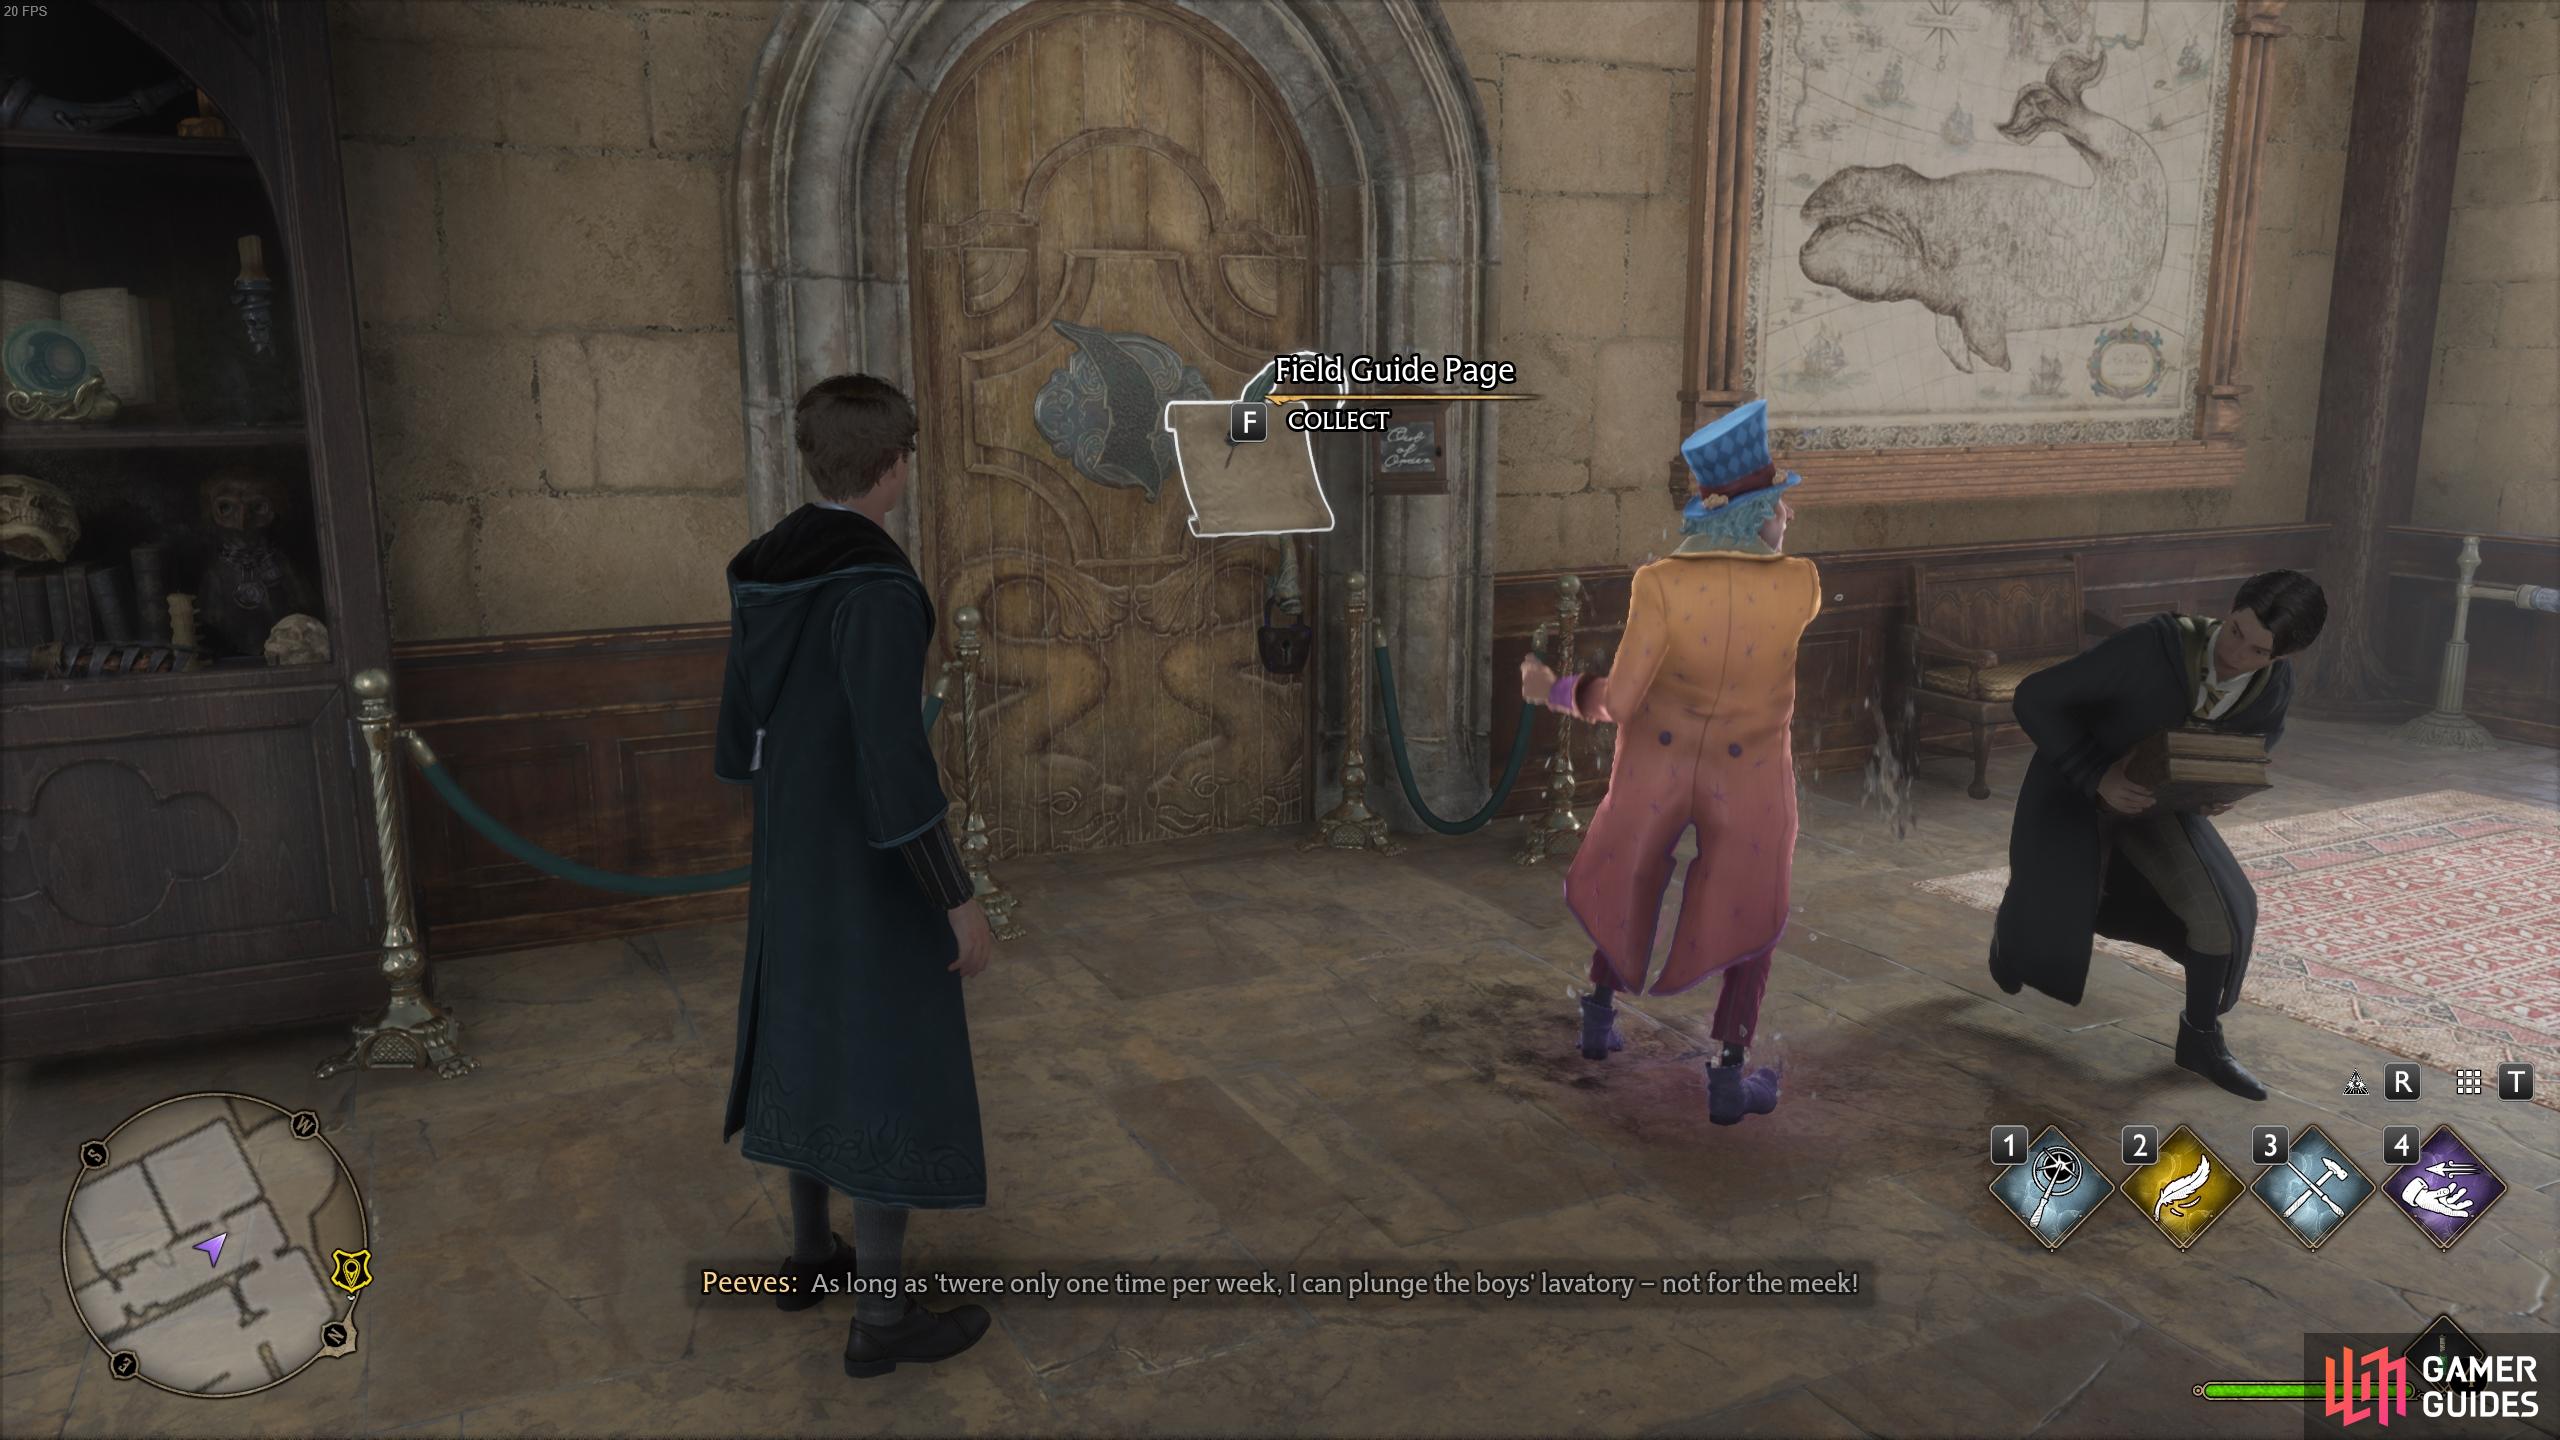
Moth Field Guide Page - Clock Tower Courtyard
This one doesn’t require the Revelio spell to discover, but you will need the ![]() Lumos spell and at least Level I for the
Lumos spell and at least Level I for the ![]() Alohomora spell. To find it, travel to the Clock Tower Courtyard Floo Flame and open the door on the western side of the room using Alohomora. Once inside, cast Lumos next to the black mirror to reveal the location of its associated moth. To find the moth, head into the courtyard outside and turn right (northwest). Go around the corner here to find the moth on the wall, then cast Lumos next to it and bring the moth back to the mirror while Lumos is still cast. You will need to decast Lumos only once you reach the mirror with the moth. The Filed Guide Page will then be revealed to you.
Alohomora spell. To find it, travel to the Clock Tower Courtyard Floo Flame and open the door on the western side of the room using Alohomora. Once inside, cast Lumos next to the black mirror to reveal the location of its associated moth. To find the moth, head into the courtyard outside and turn right (northwest). Go around the corner here to find the moth on the wall, then cast Lumos next to it and bring the moth back to the mirror while Lumos is still cast. You will need to decast Lumos only once you reach the mirror with the moth. The Filed Guide Page will then be revealed to you.
Flying Field Guide Page - Clock Tower Courtyard
You’ll find this Field Guide Page just above you inside the clock tower. From the bottom floor, look up at the clock tower mechanism to see it flying there. You need to cast ![]() Accio to acquire it.
Accio to acquire it.
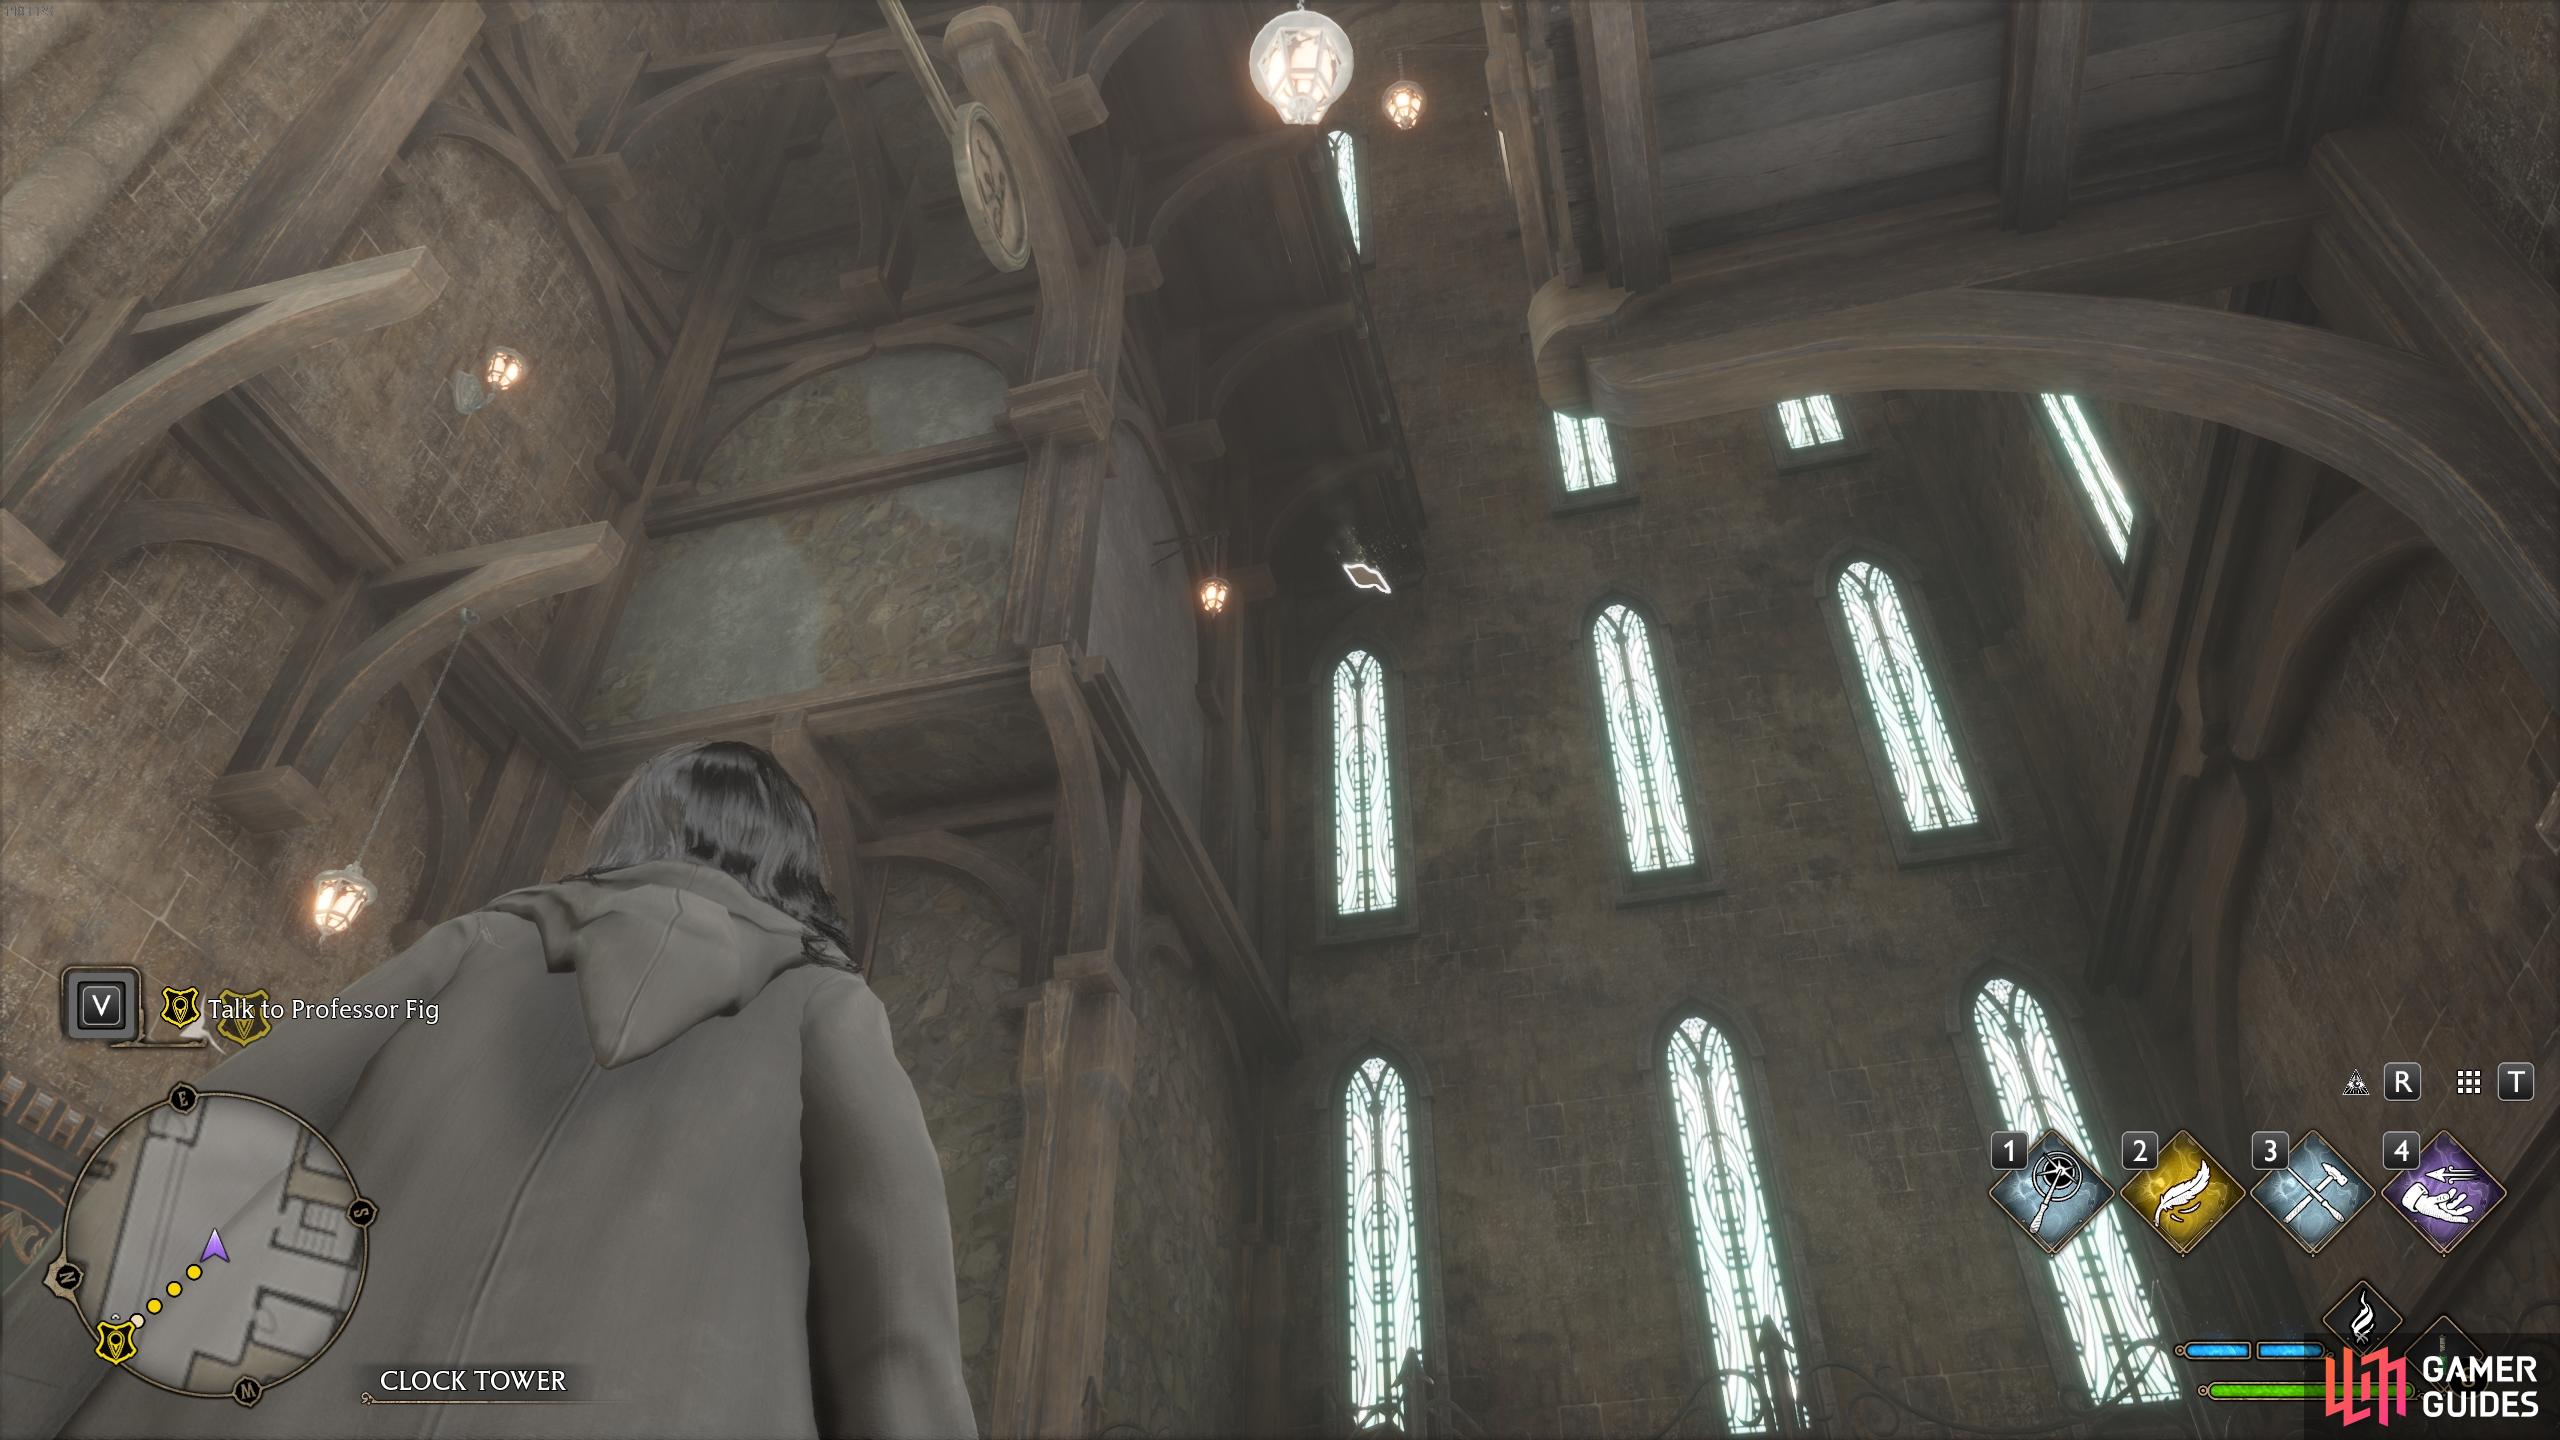
Cast Accio to grab this page flying in the Clock Tower.
Statue Field Guide Page - Clock Tower Courtyard
Another one in the Clock Tower, but this one is on the western side of the area where you just caught the flying Field Guide Page. You’ll see a statue here holding up a sphere, and you need to cast ![]() Levioso on it to acquire the Field Guide Page within.
Levioso on it to acquire the Field Guide Page within.

Cast Levioso on this statue to acquire the page within.
The statue will disappear when you cast Levioso and you’ll be able to loot the page.
Brazier Field Guide Page - Clock Tower Courtyard
For this next one, you’ll need to unlock the door on the left facing the Clock Tower Courtyard, then go up the stairs to the top of the clock tower. You’ll reach a point where there are branching stairways, with one going down to the southwest, and one going up to the east. You can take either of these to reach a point near the southern side of the clock tower where you’ll see an unlit brazier on the wall. You need to cast a fire-based spell here, such as ![]() Confringo, to light the brazier and reveal the Field Guide Page. You can then cast Accio to acquire the page as the brazier disappears.
Confringo, to light the brazier and reveal the Field Guide Page. You can then cast Accio to acquire the page as the brazier disappears.
(1 of 3) Go through the door to the left of the courtyard entrance to reach the top of the clock tower.
Clock Mechanics - Clock Tower Courtyard
There’s another Revelio page nearby here which you can reach by taking the aforementioned stairs going down to the southwest. This will lead you to a point where you’re standing between the clock mechanics and the stained glass window.
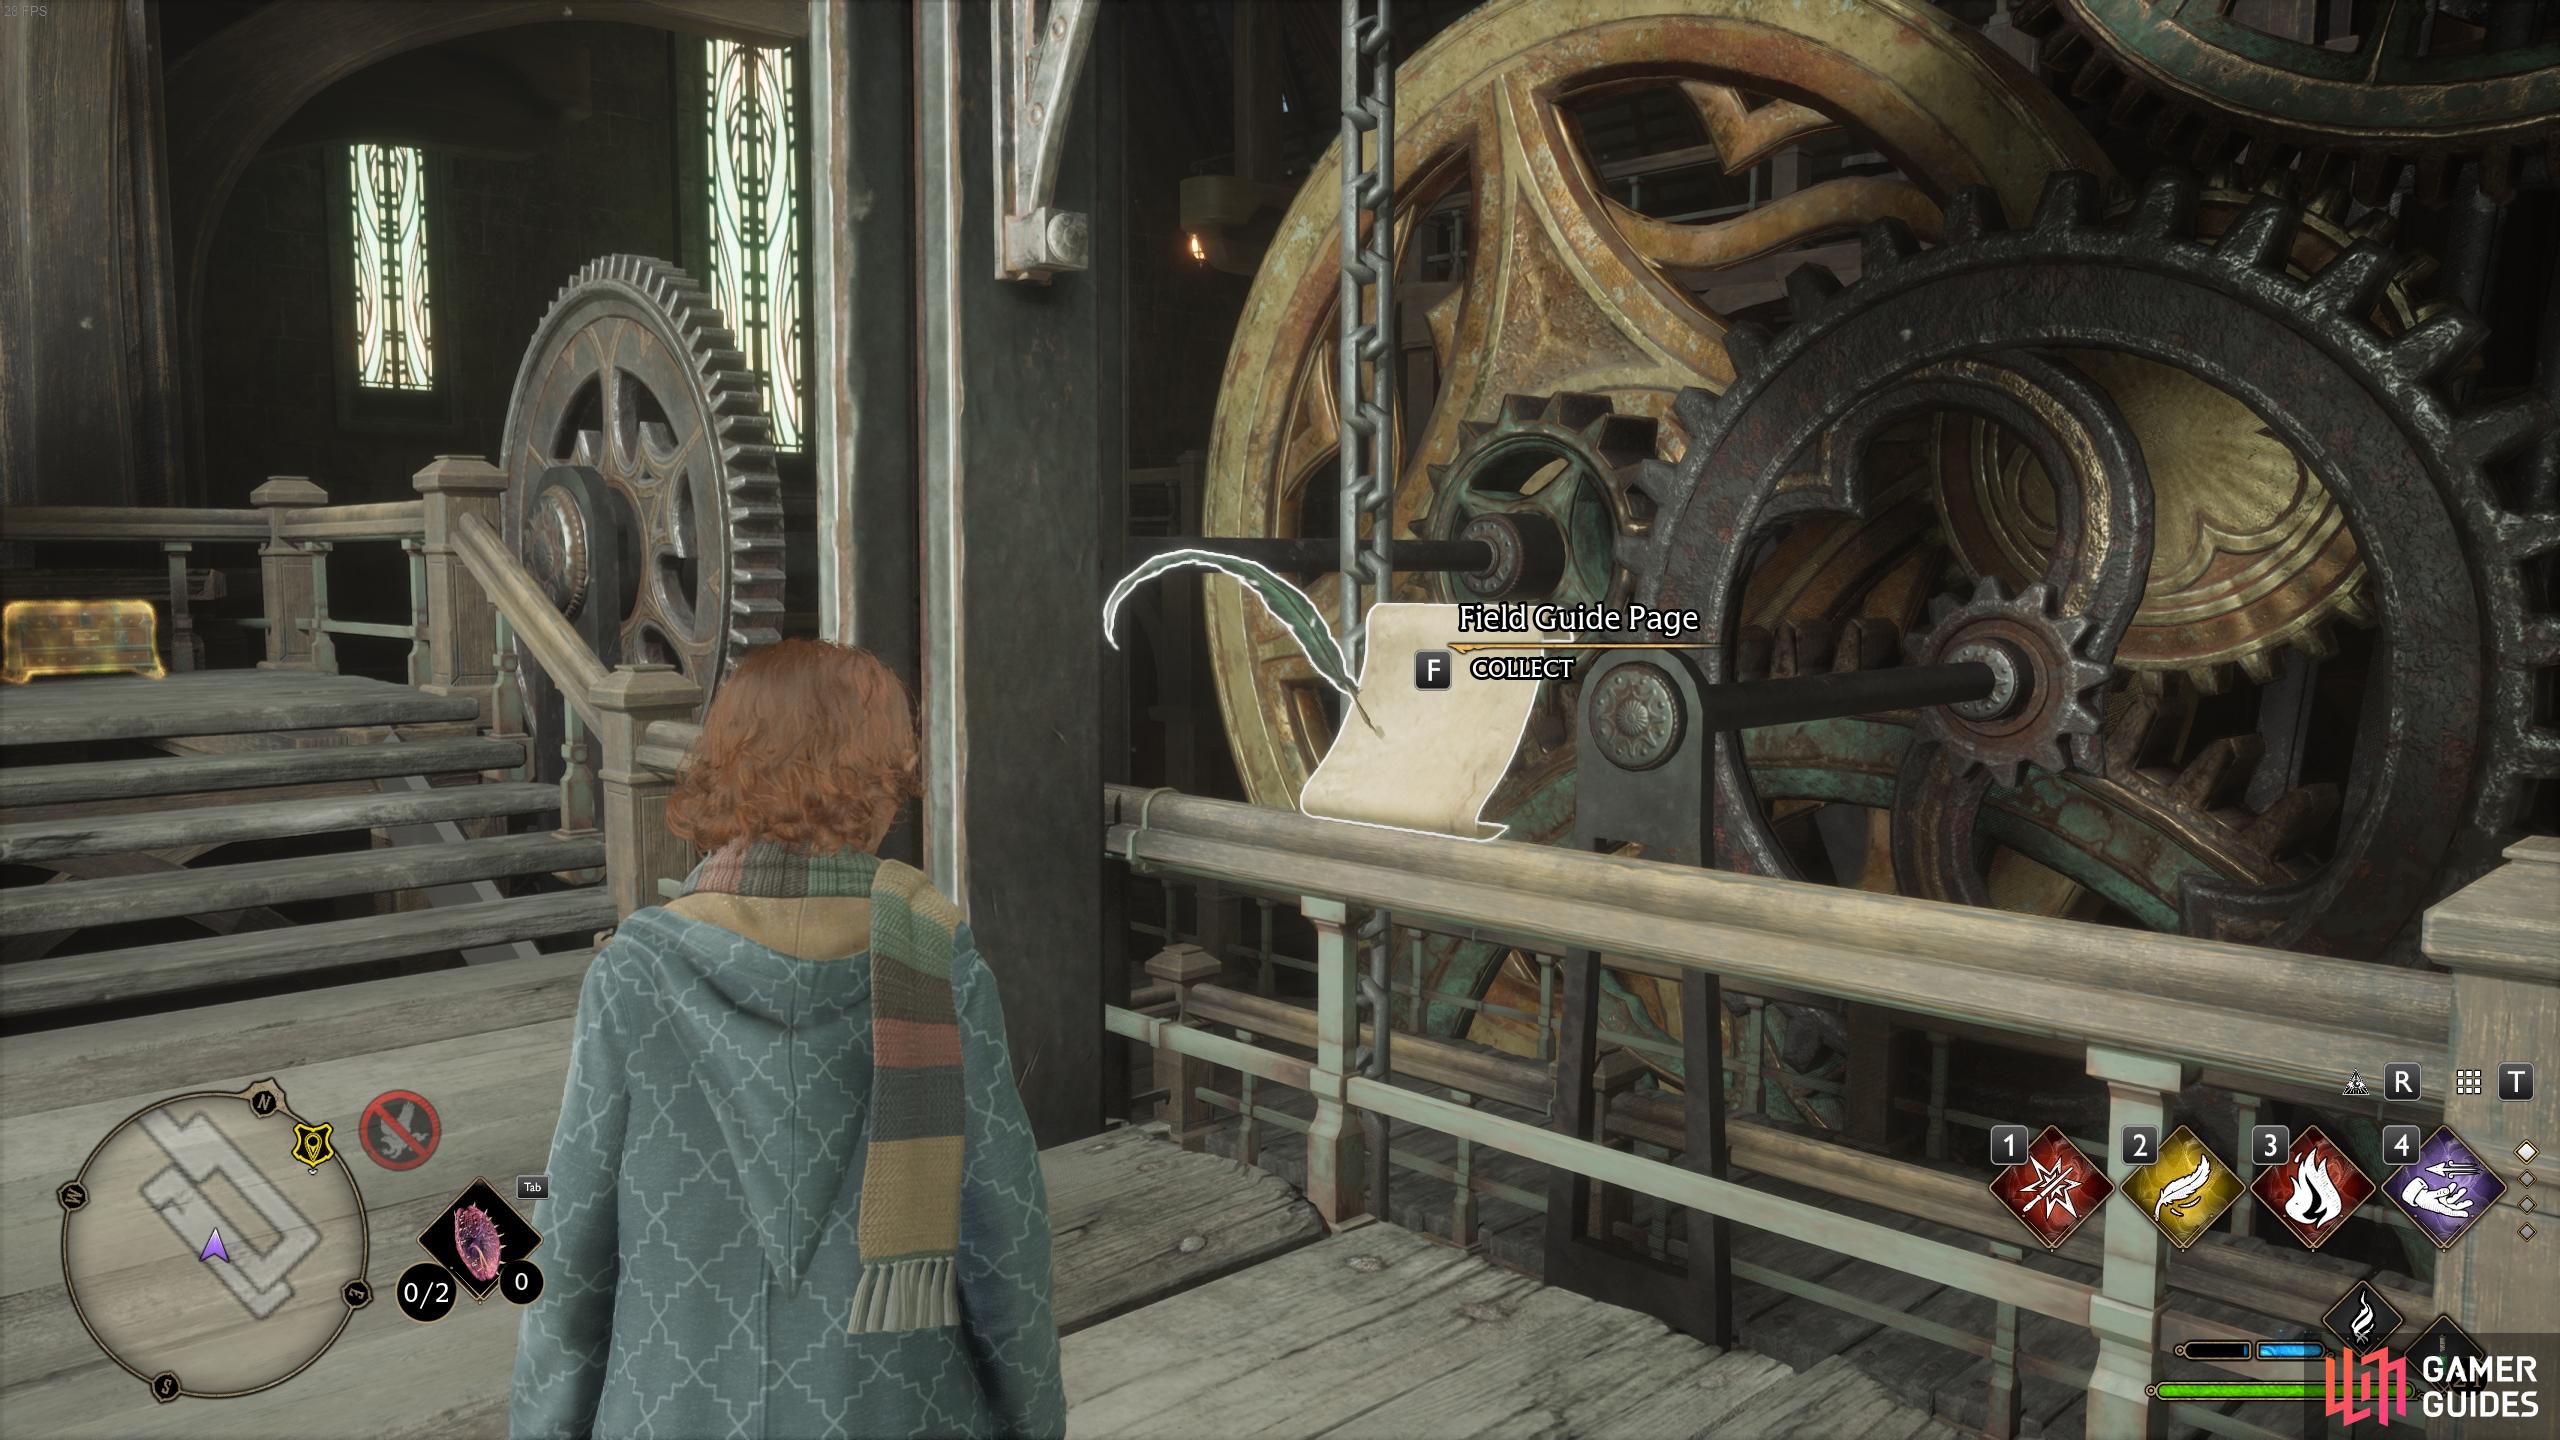
You need to stand in front of the mechanism when you cast Revelio to discover the page.
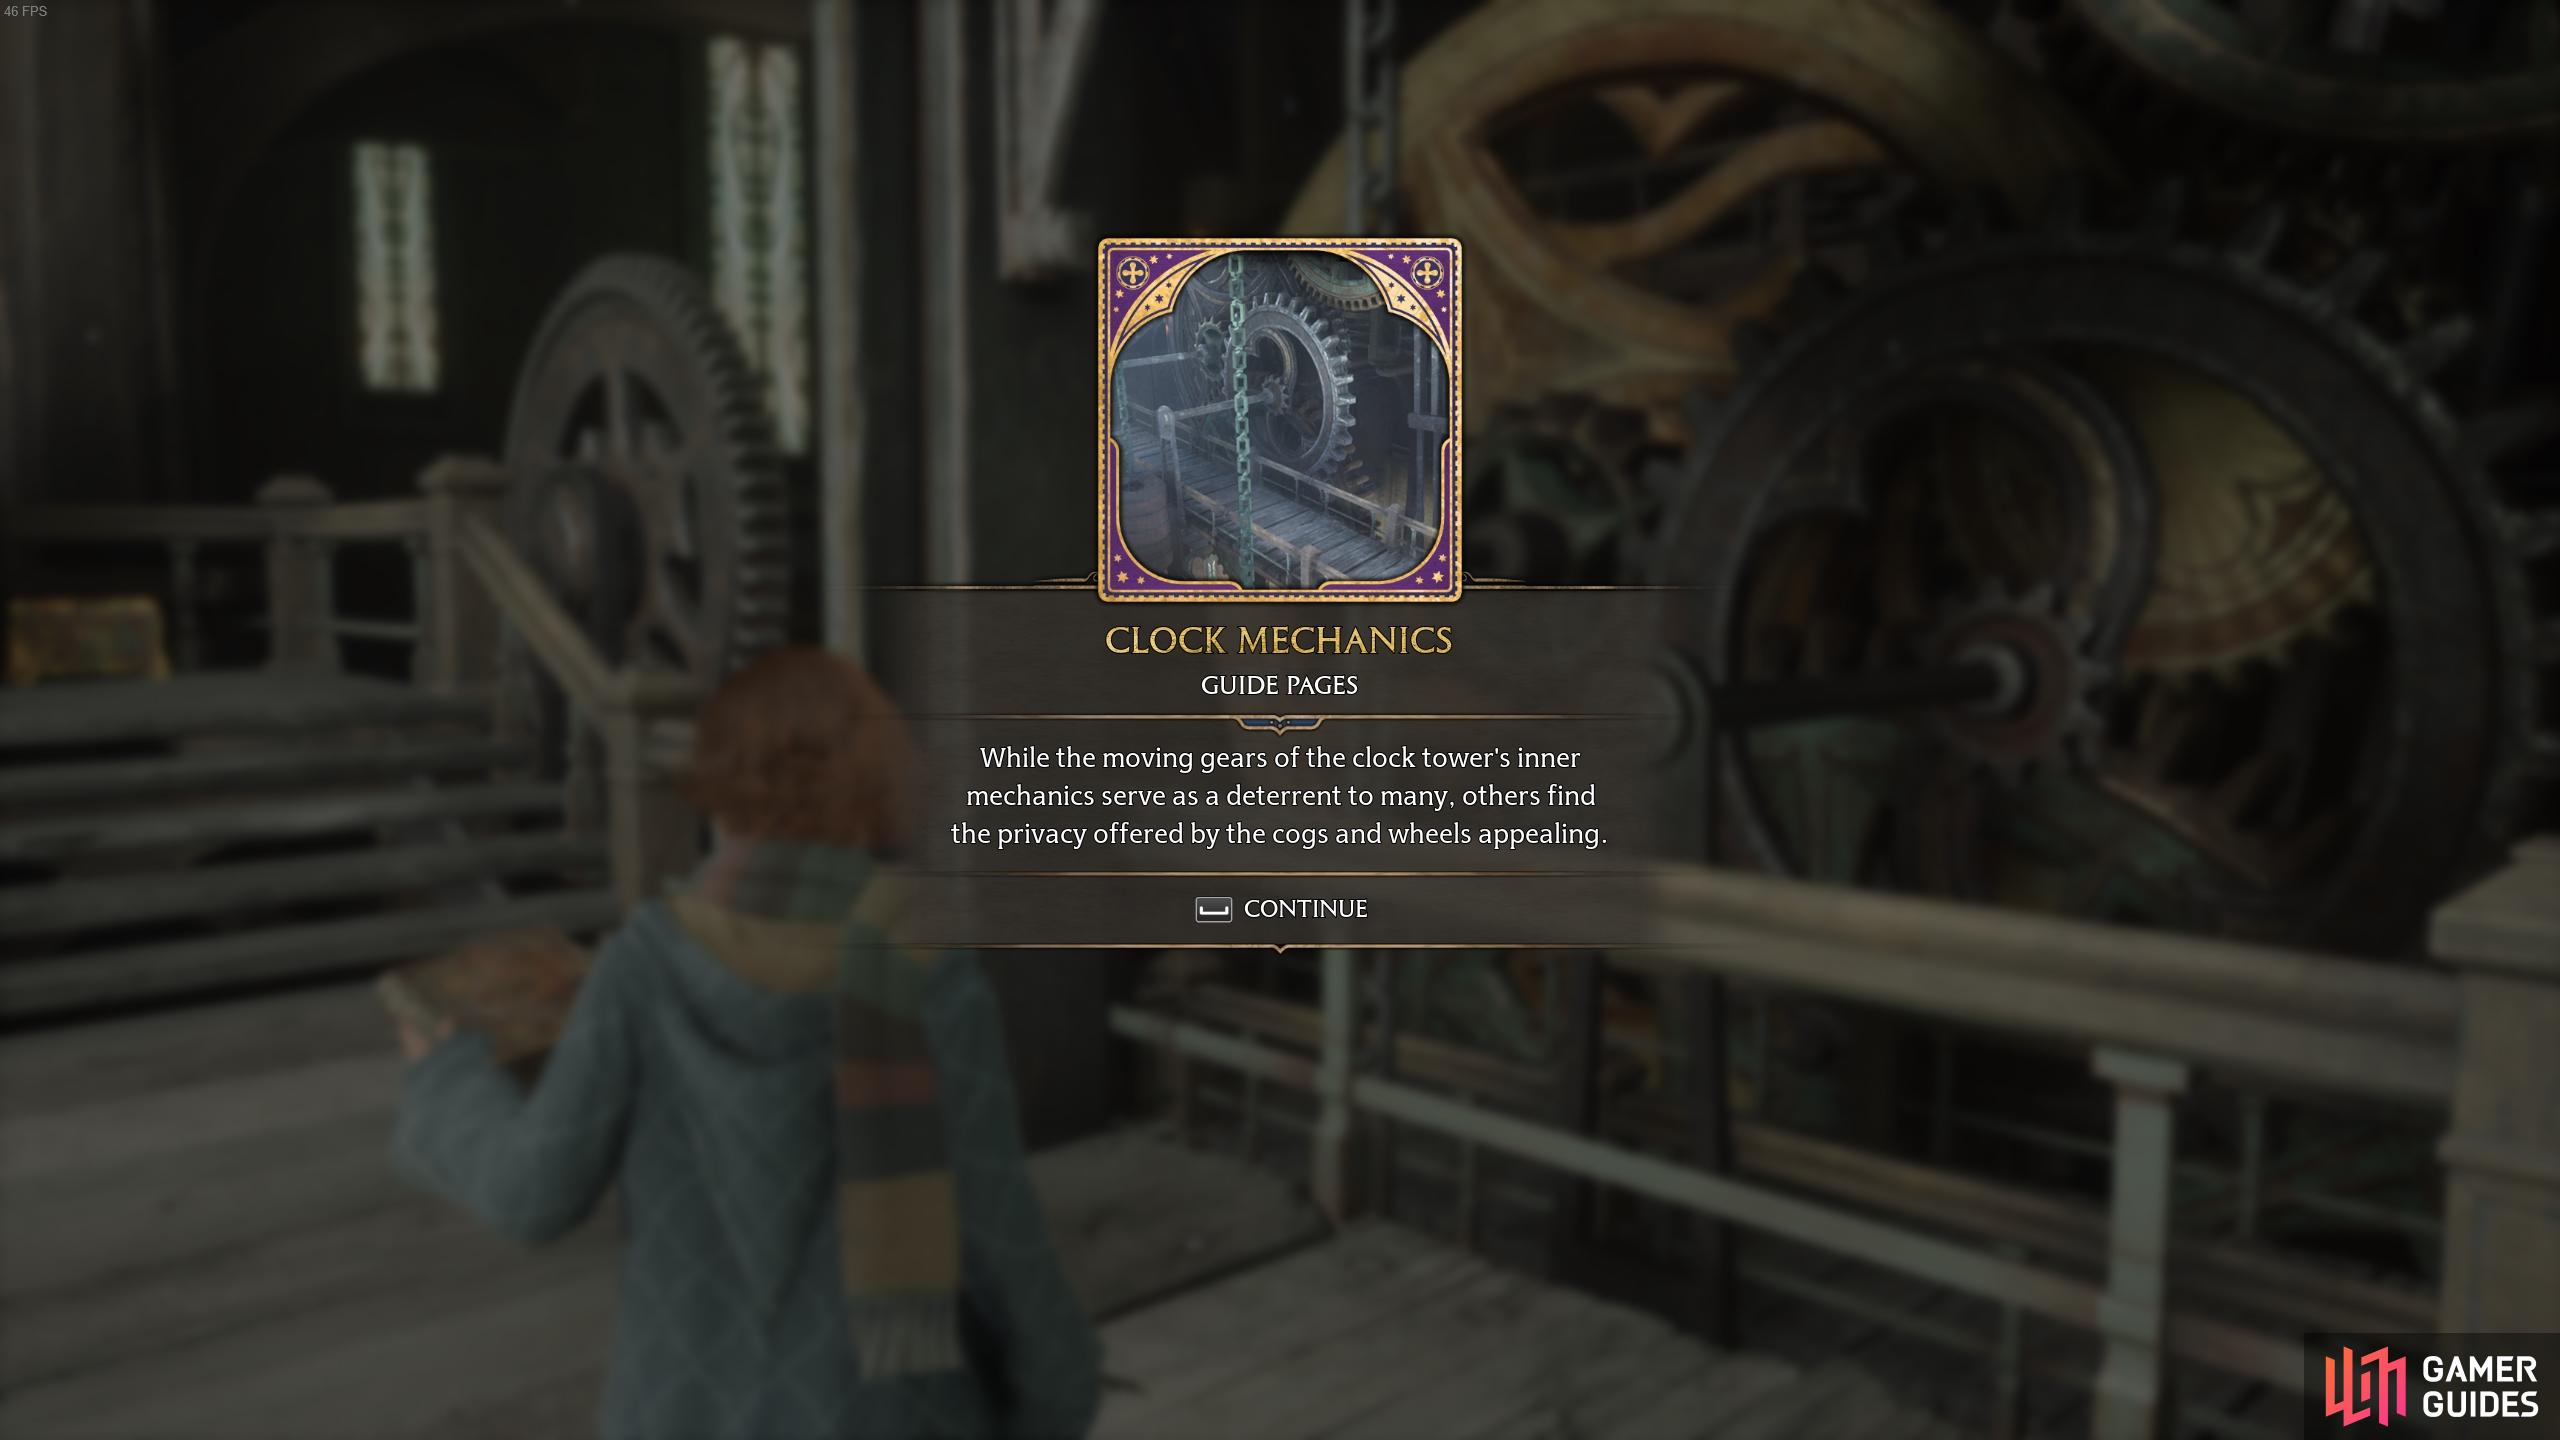
The description of the Clock Mechanics page.
Unicorn Fountain - Hospital Wing
To find the ![]() Unicorn Fountain Revelio Field Guide Page, you need to fast travel to the Hospital Wing Floo Flame, which you can also reach by heading to the northeast from where you discovered the last
Unicorn Fountain Revelio Field Guide Page, you need to fast travel to the Hospital Wing Floo Flame, which you can also reach by heading to the northeast from where you discovered the last ![]() Clock Mechanics page. Once here, you can’t miss the statue to the east. Just cast Revelio to reveal the page and read it.
Clock Mechanics page. Once here, you can’t miss the statue to the east. Just cast Revelio to reveal the page and read it.
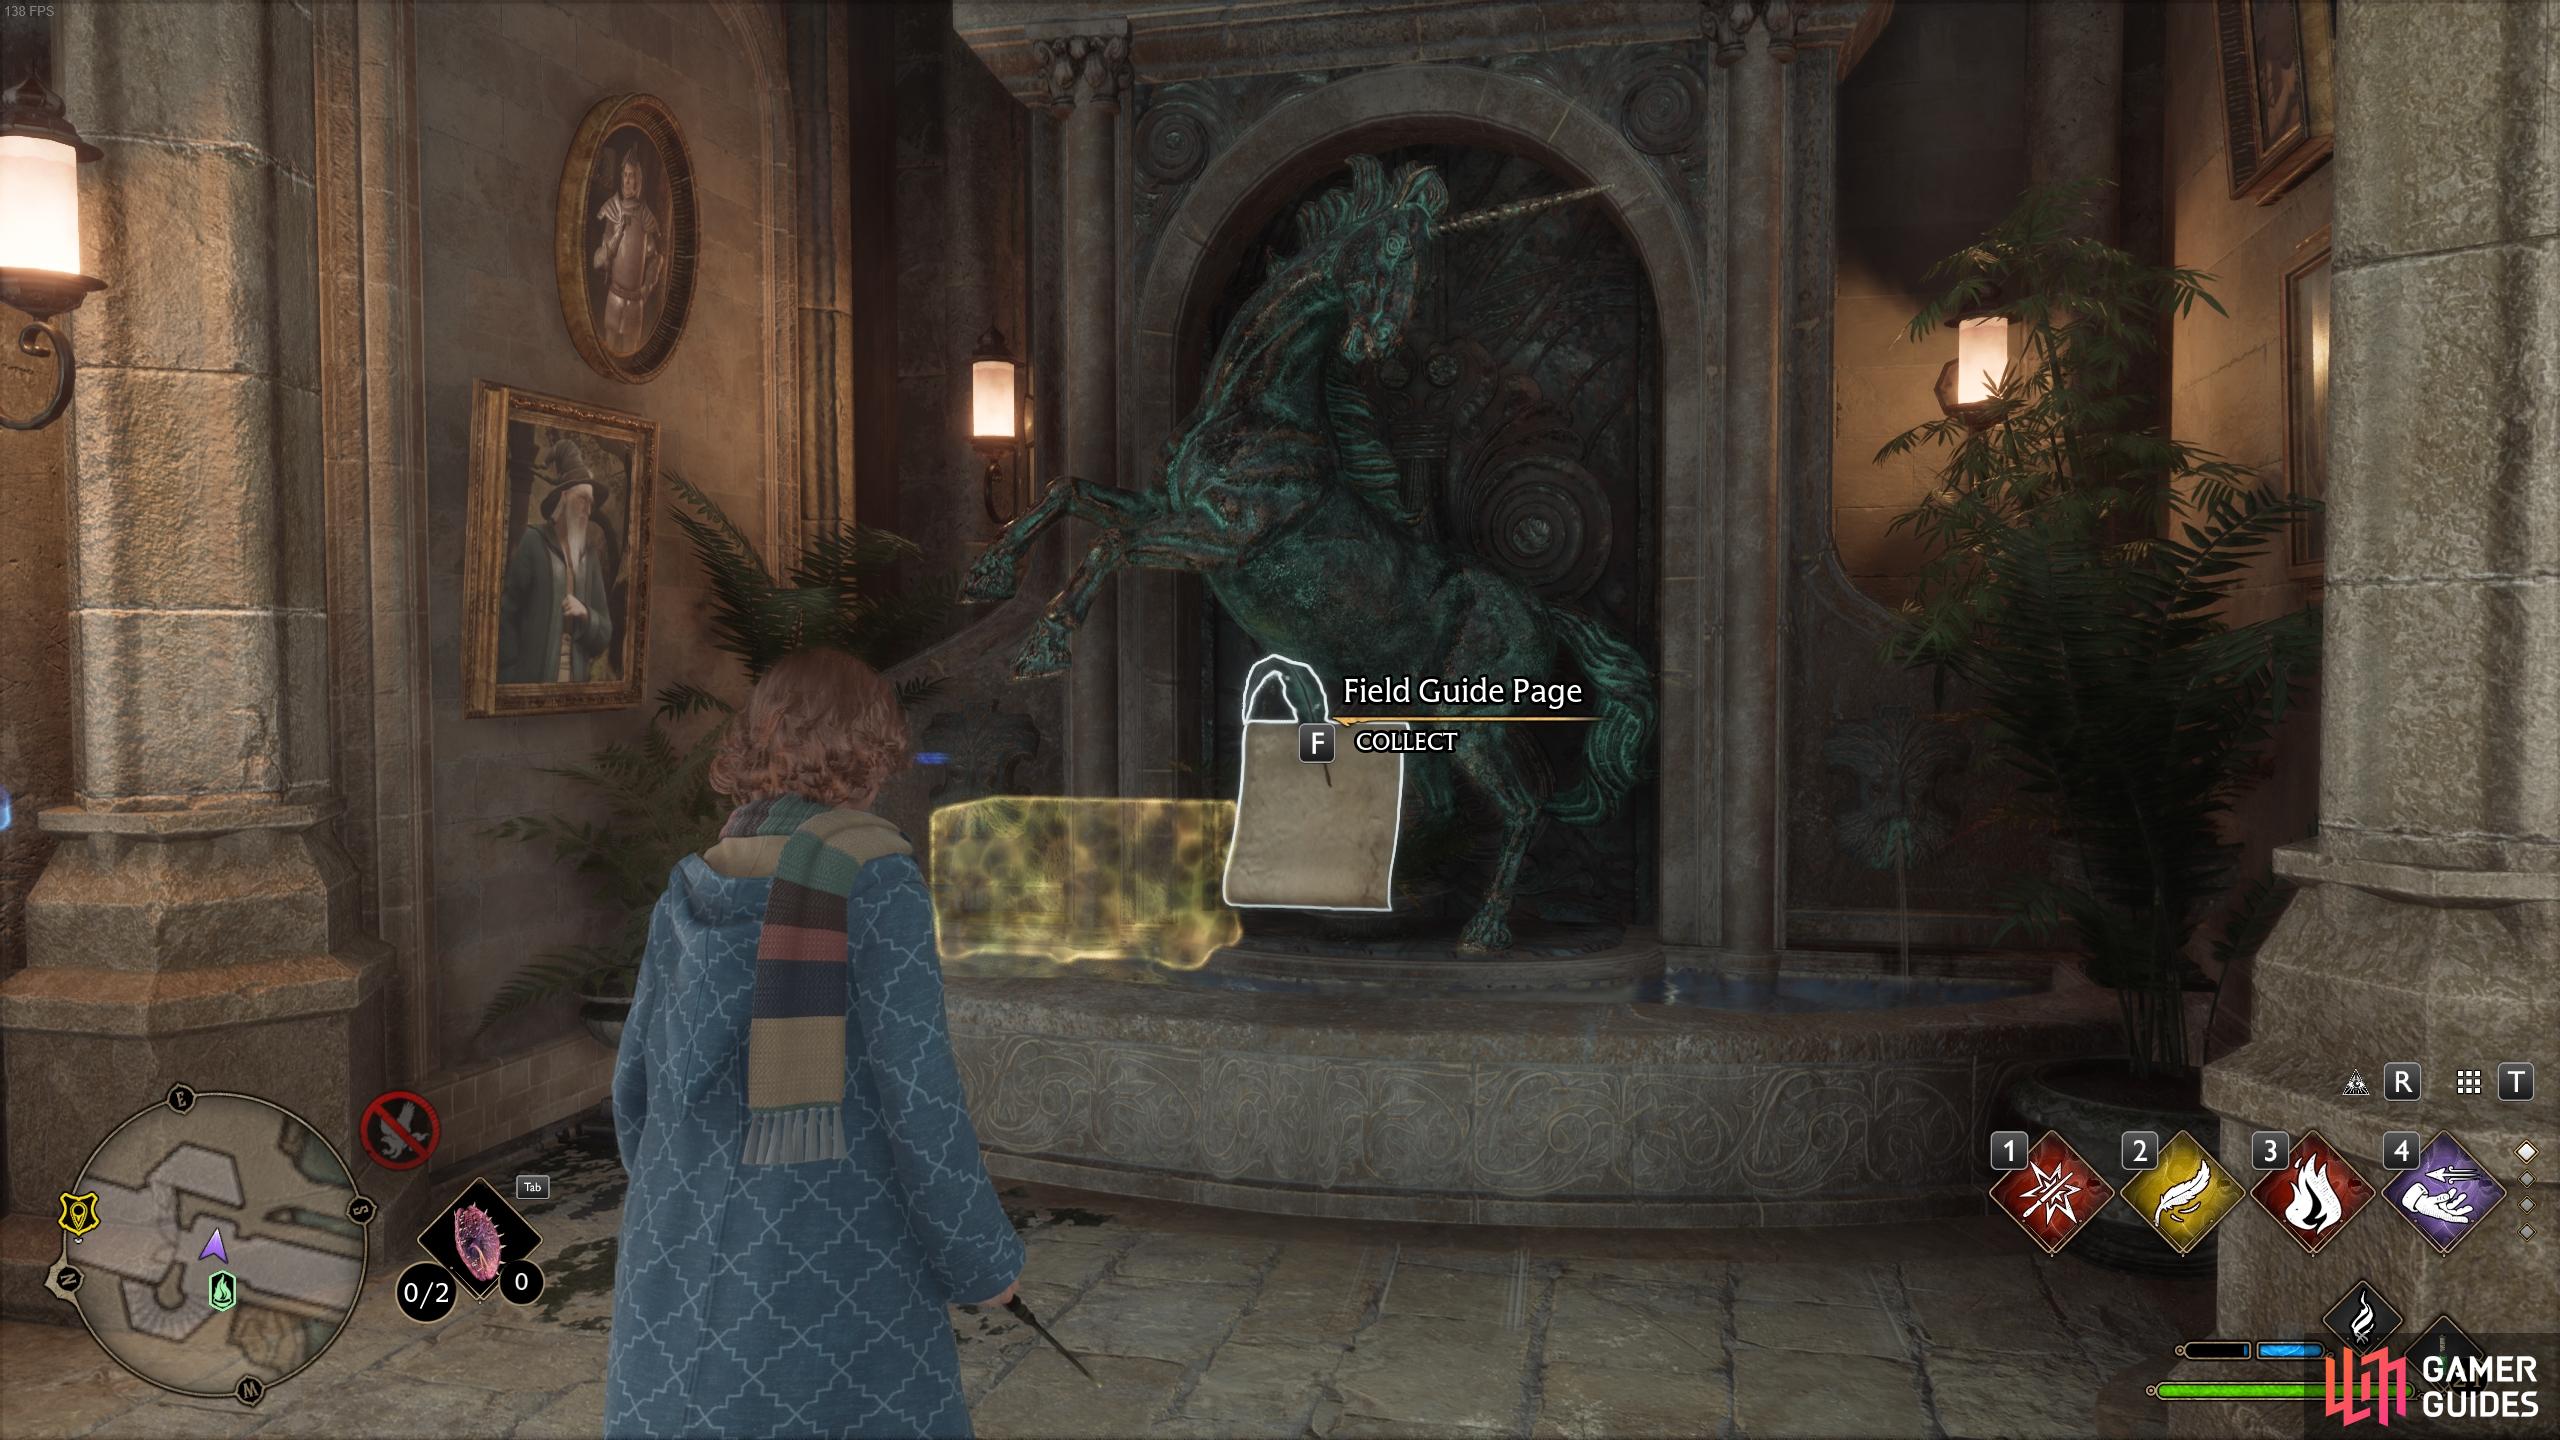
Cast Revelio to discover the page in front of the statue.
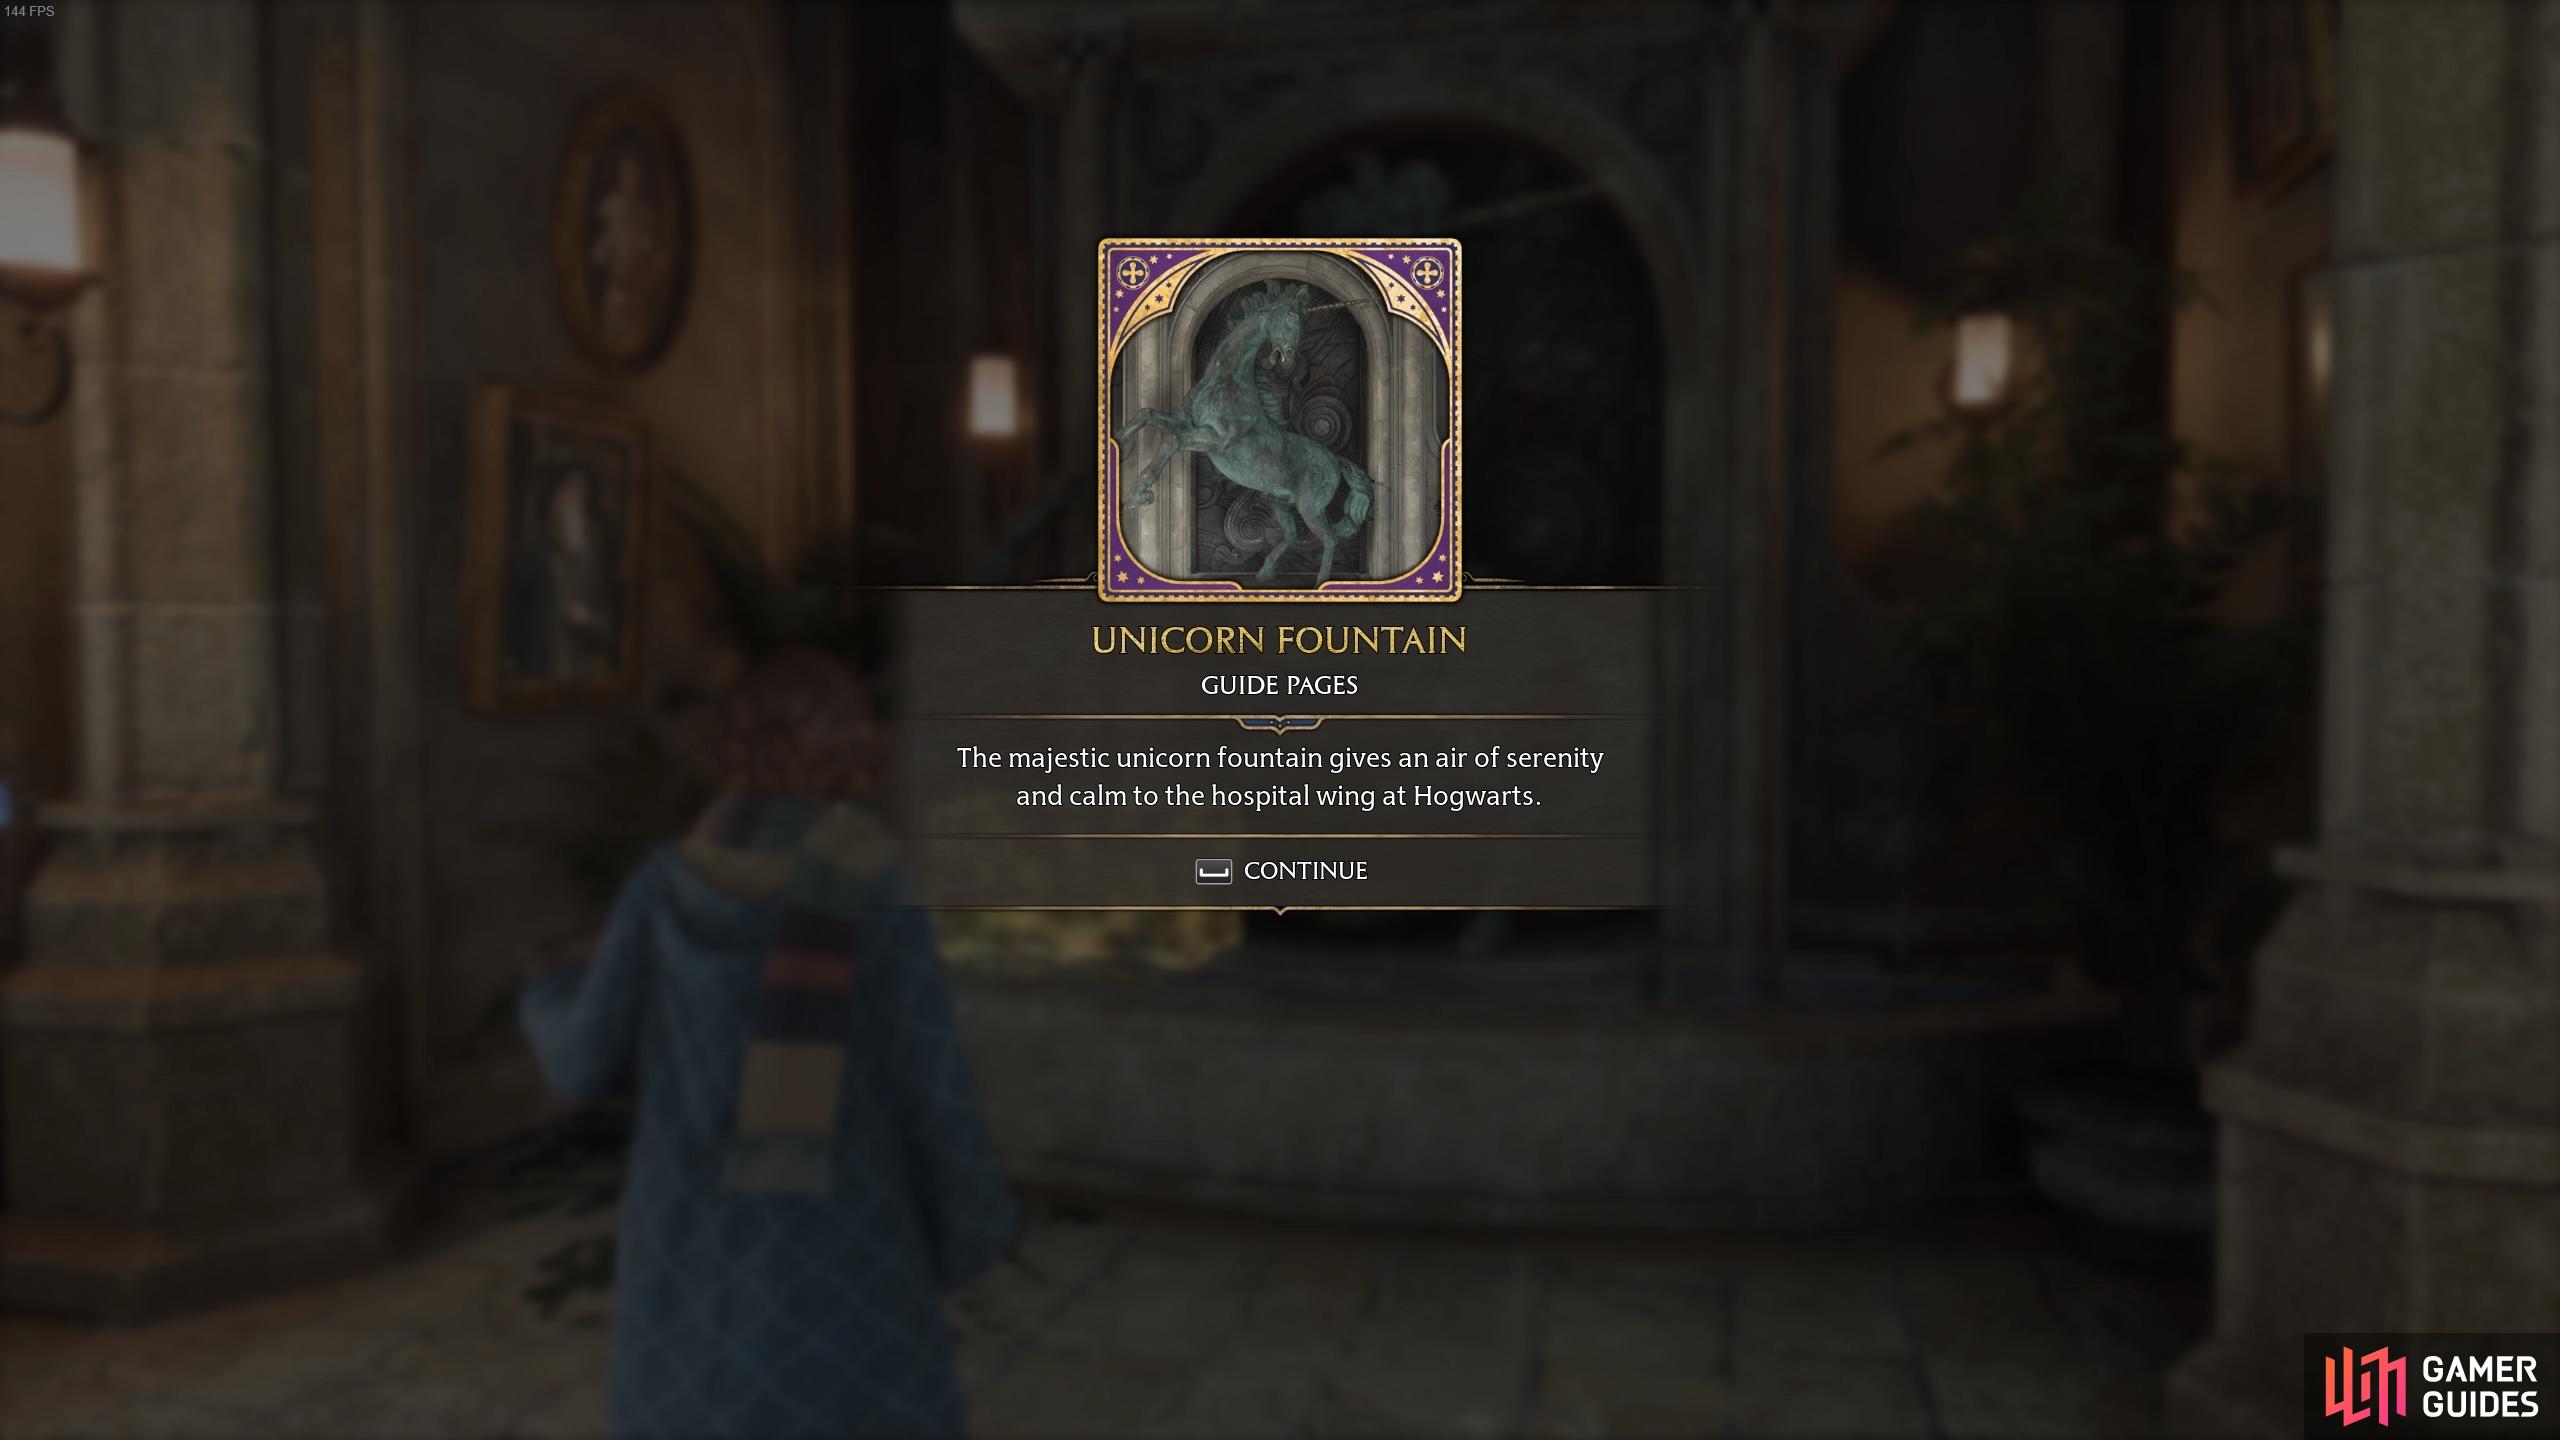
The description for the Unicorn Fountain page.
Flying Field Guide Page - Hospital Wing
This one can be found in the Hospital Wing itself, accessed as you head north from the Unicorn Fountain. You’ll see it flying in the air in this room, and you may encounter it during The Man Behind the Moons side quest, as we did.

You’ll see this flying page in the Hospital Wing.
Statue Field Guide Page - Hospital Wing
For this one, you’ll need to go back to the Hospital Wing Floo Flame, then head down the stairs to the north. At the bottom of this spiral staircase, you’ll find a statue containing a Field Guide Page. Use the Levioso spell to extract it.
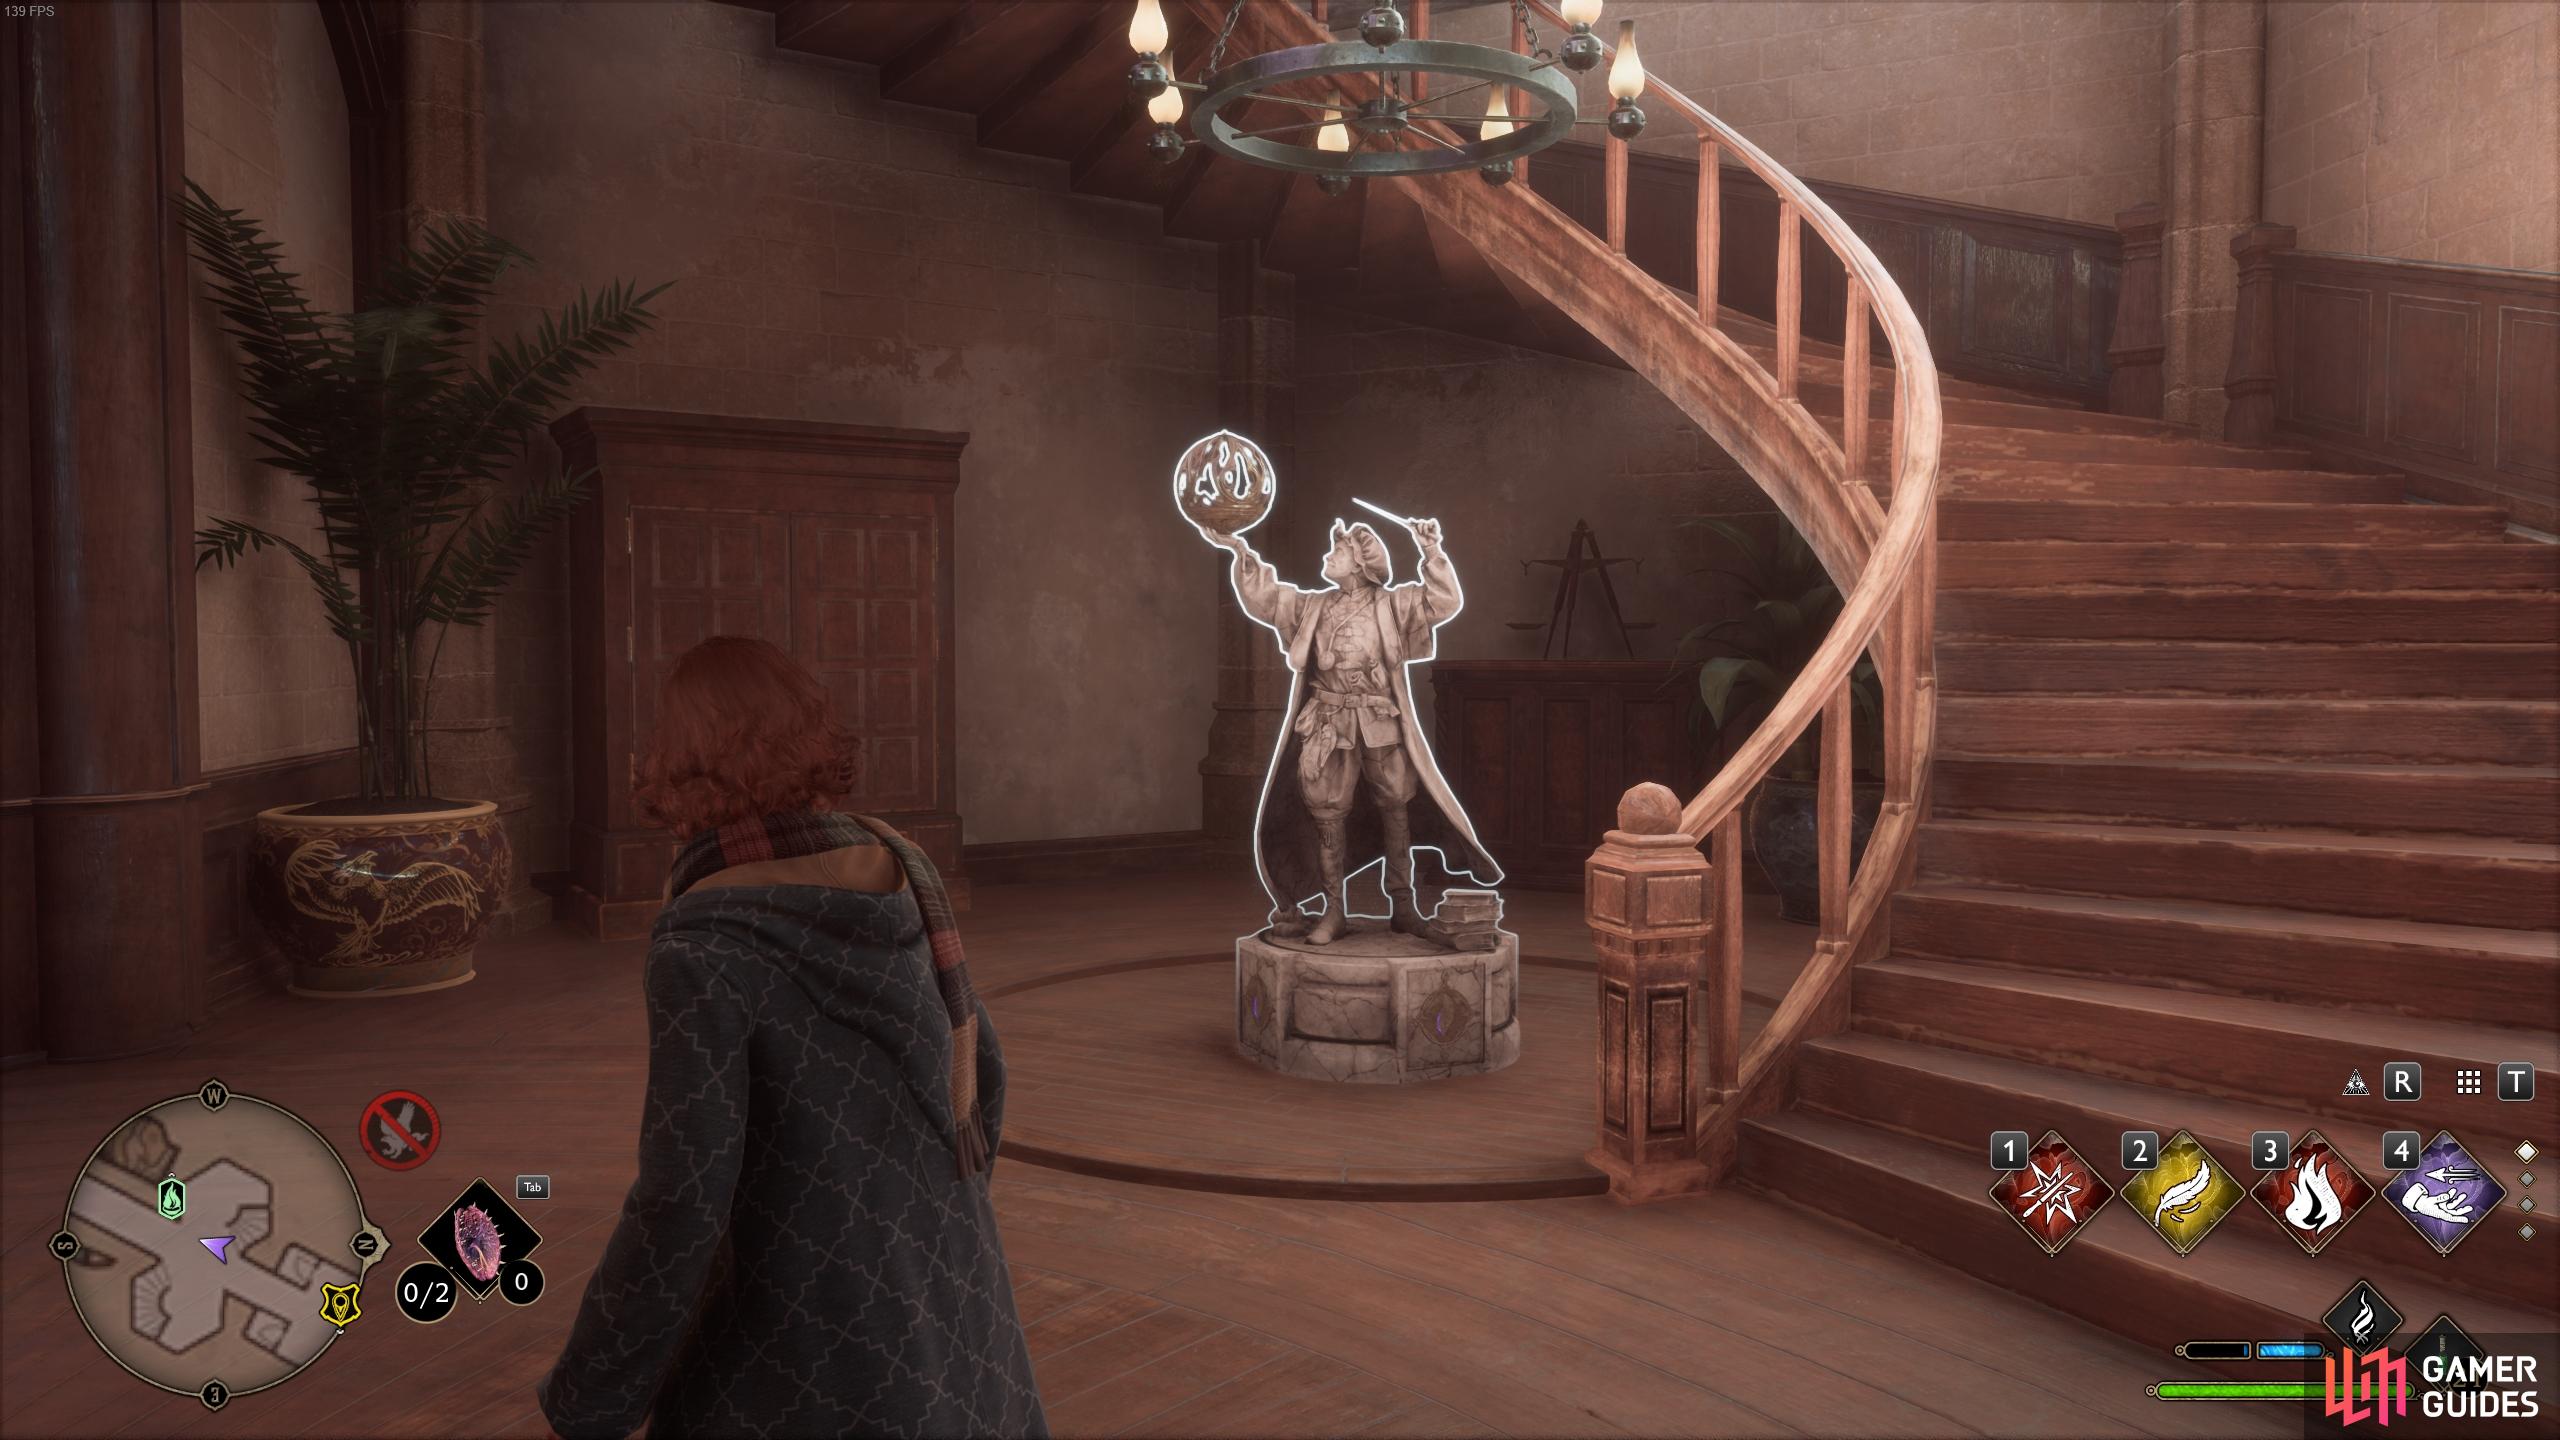
Use Levioso on the statue at the bottom of the stairs to extract the page.
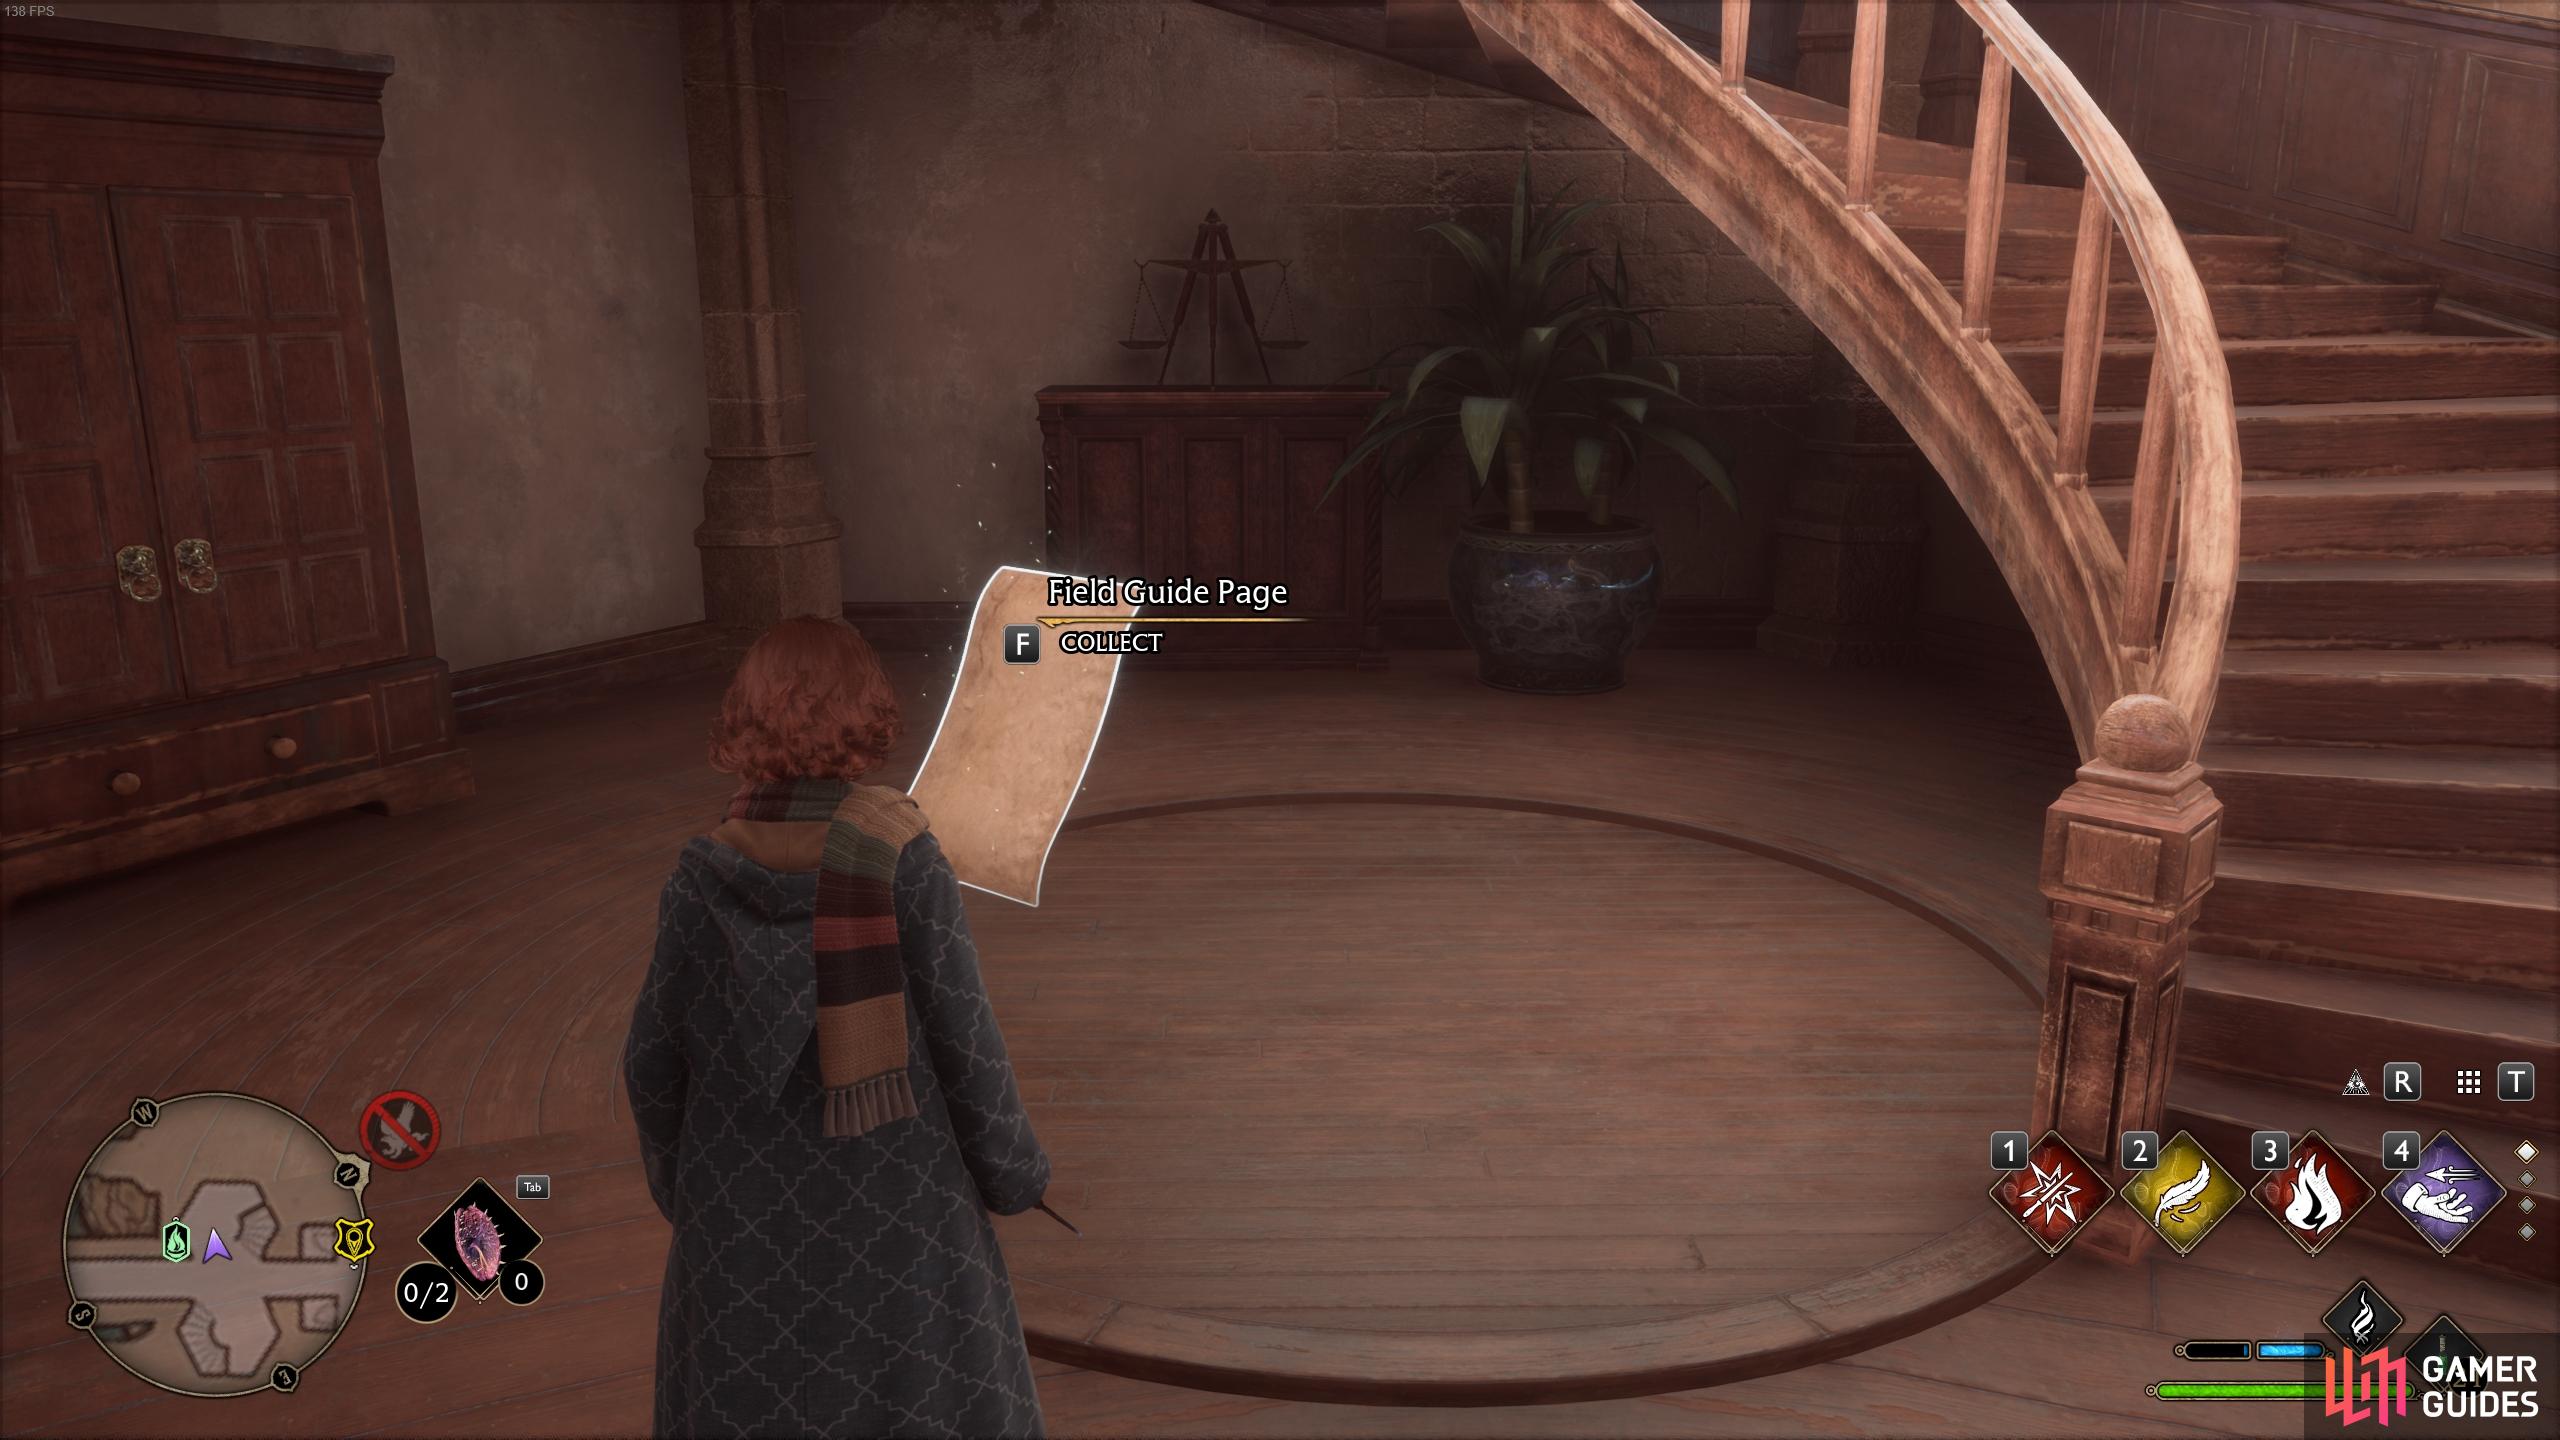
Once extracted, the statue will disappear and you can read the page.
Boris the Bewildered - Hospital Wing
While you’re in the same area where you extracted the page from the statue, turn around and look to the southeast to find another statue which you can cast Revelio on to reveal the Boris the Bewildered Revelio Field Guide Page.
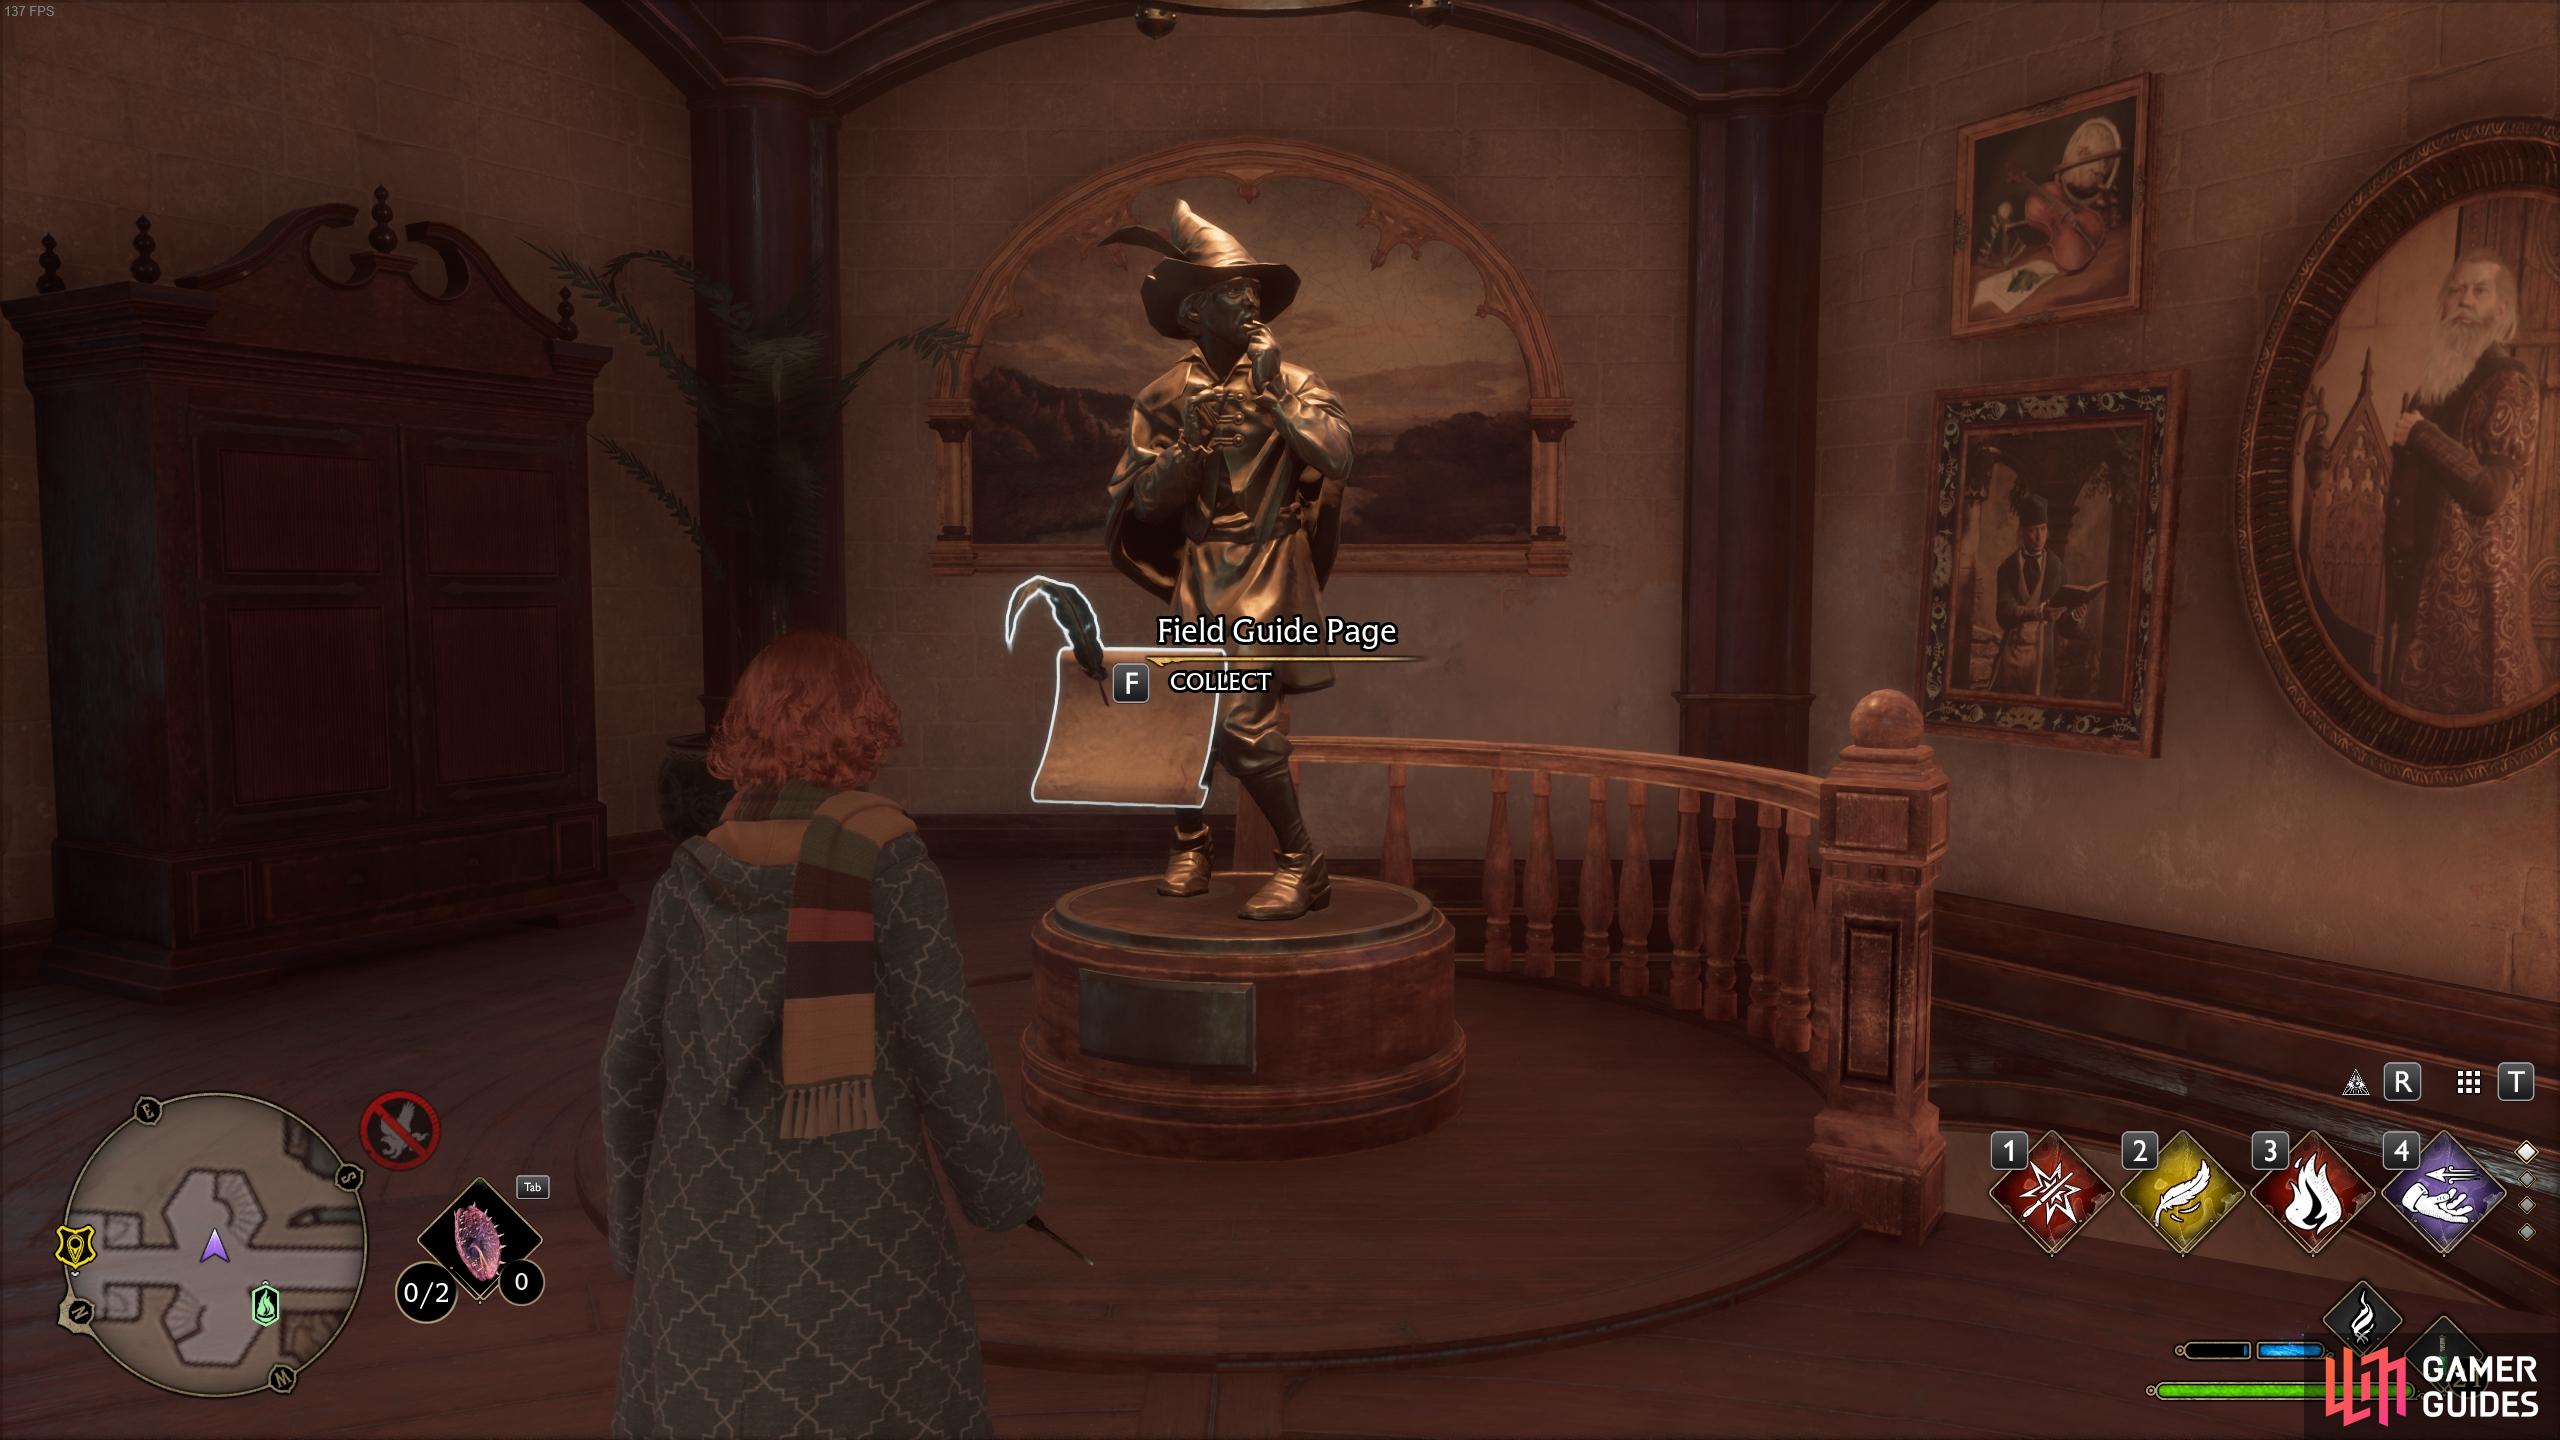
Use Revelio to discover the Boris the Bewildered Field Guide Page.
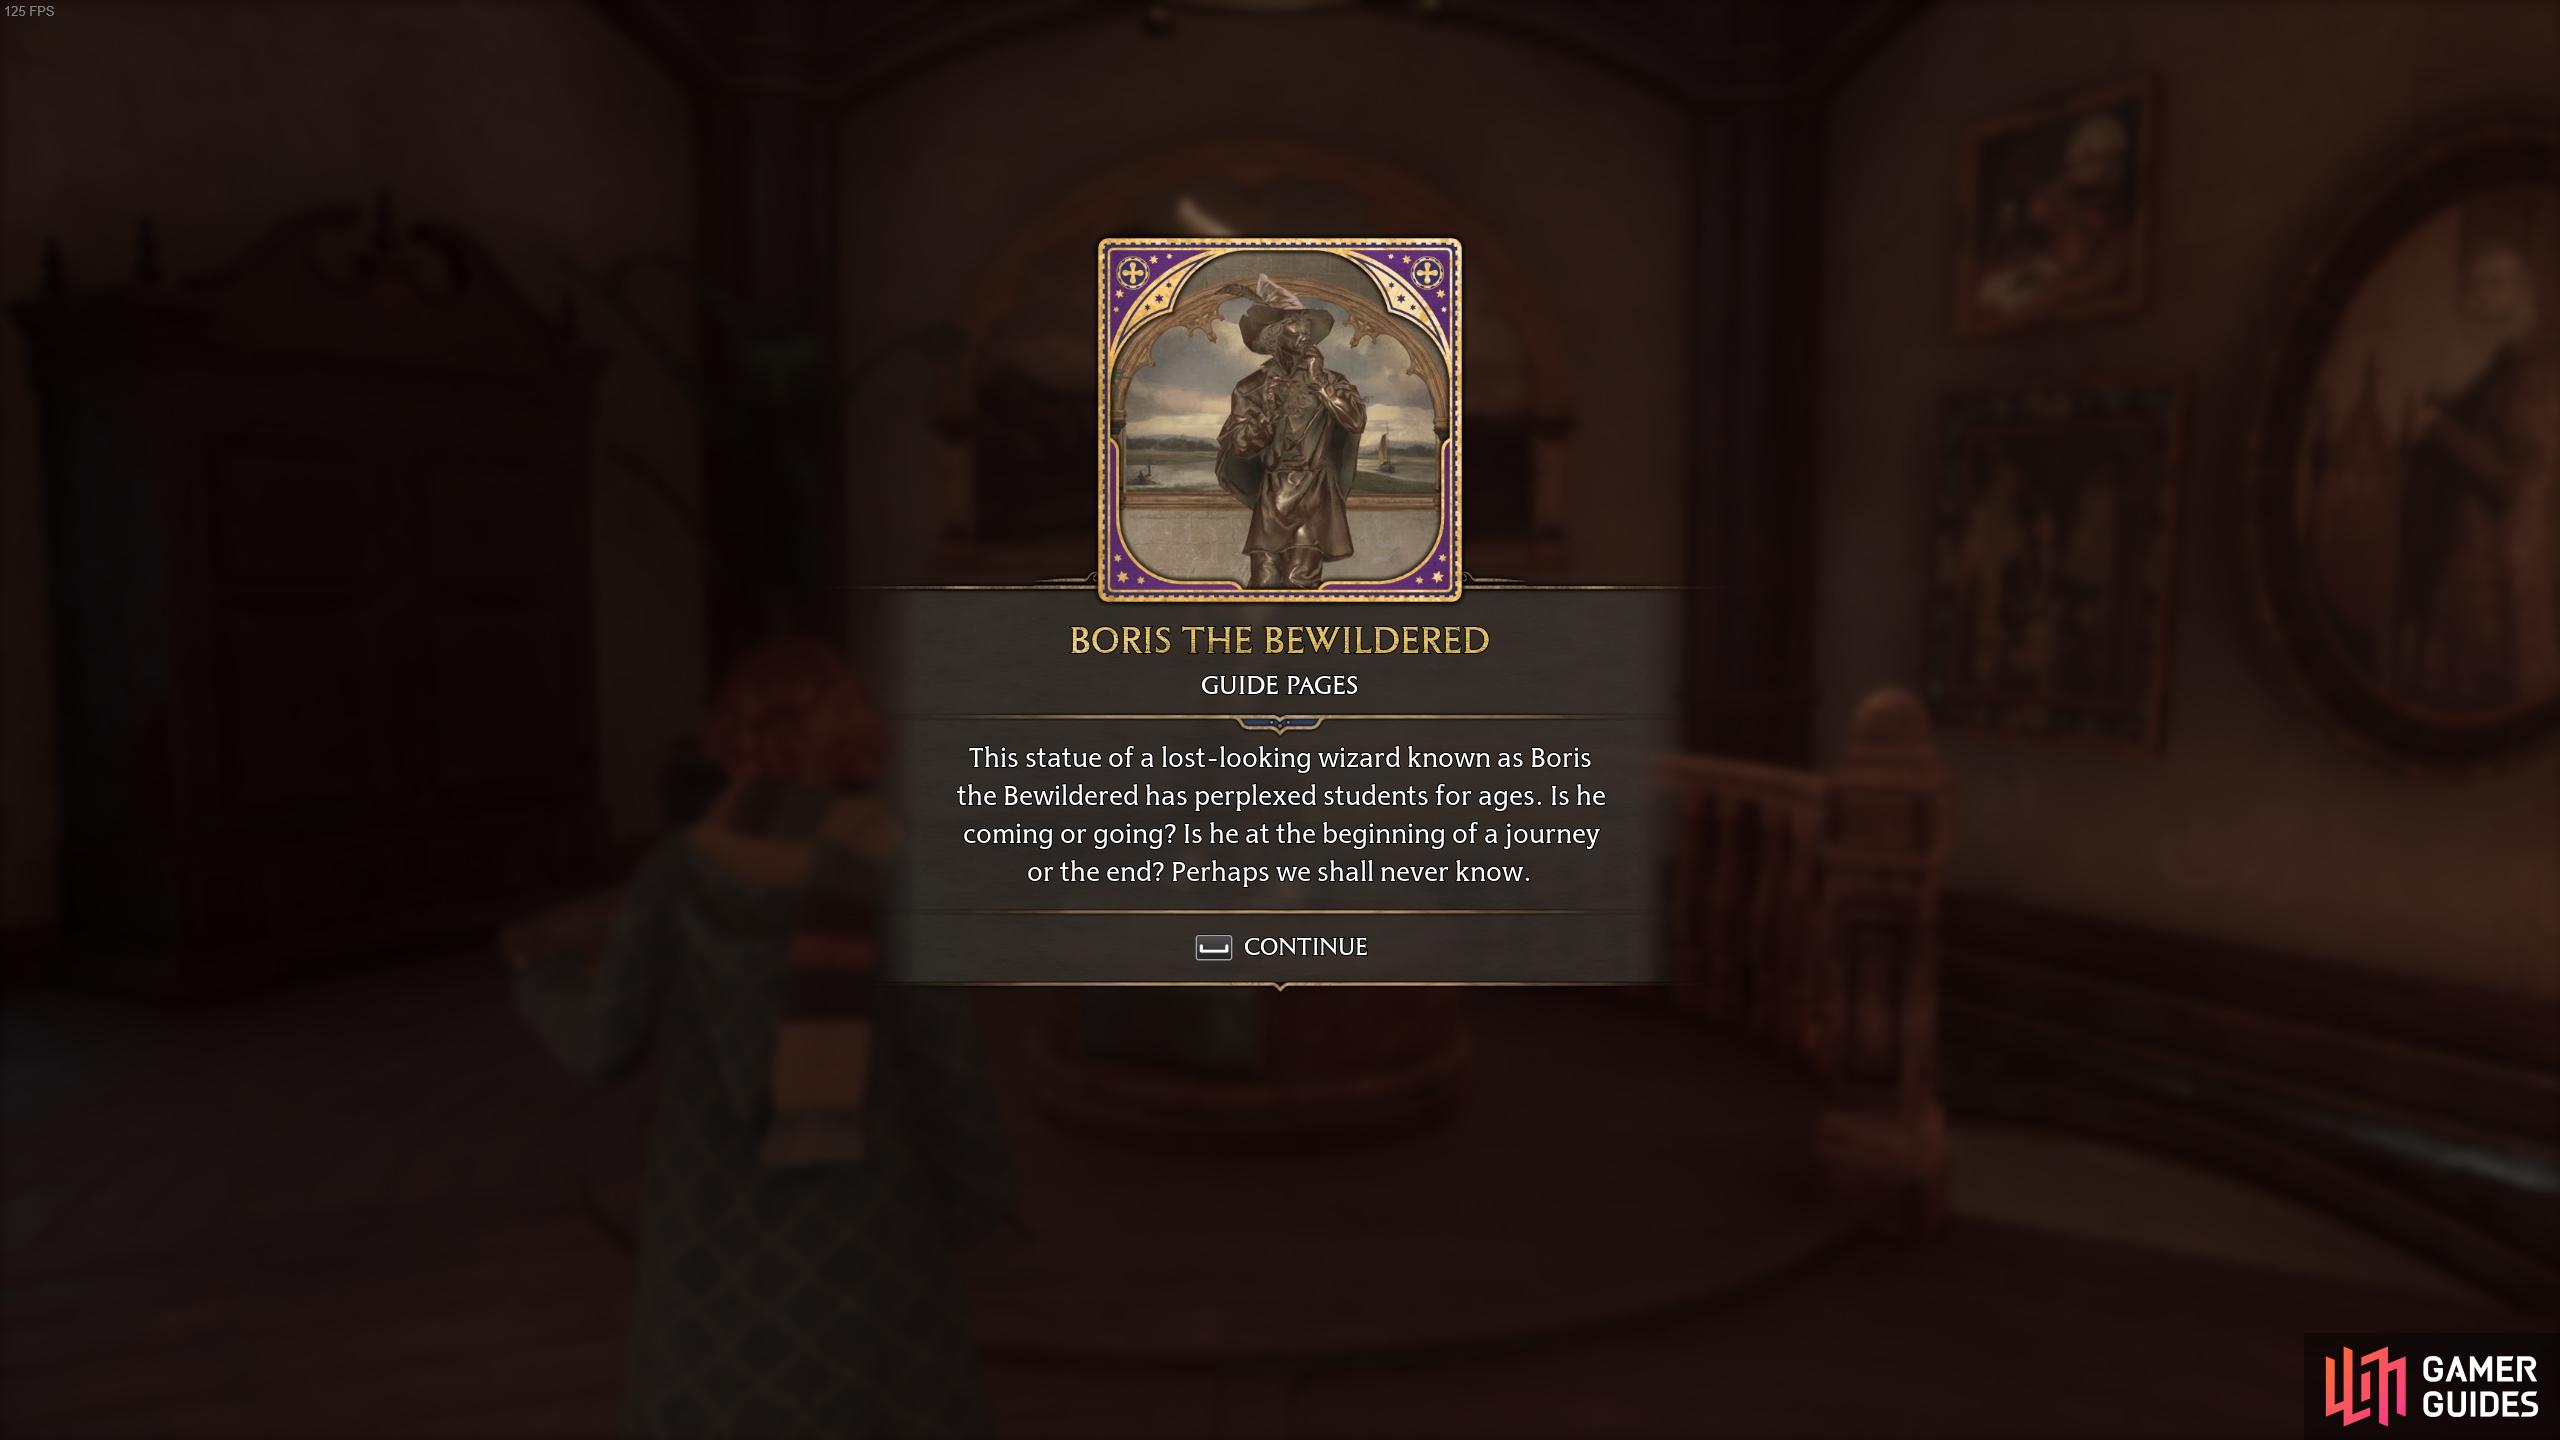
The description for Boris the Bewildered.
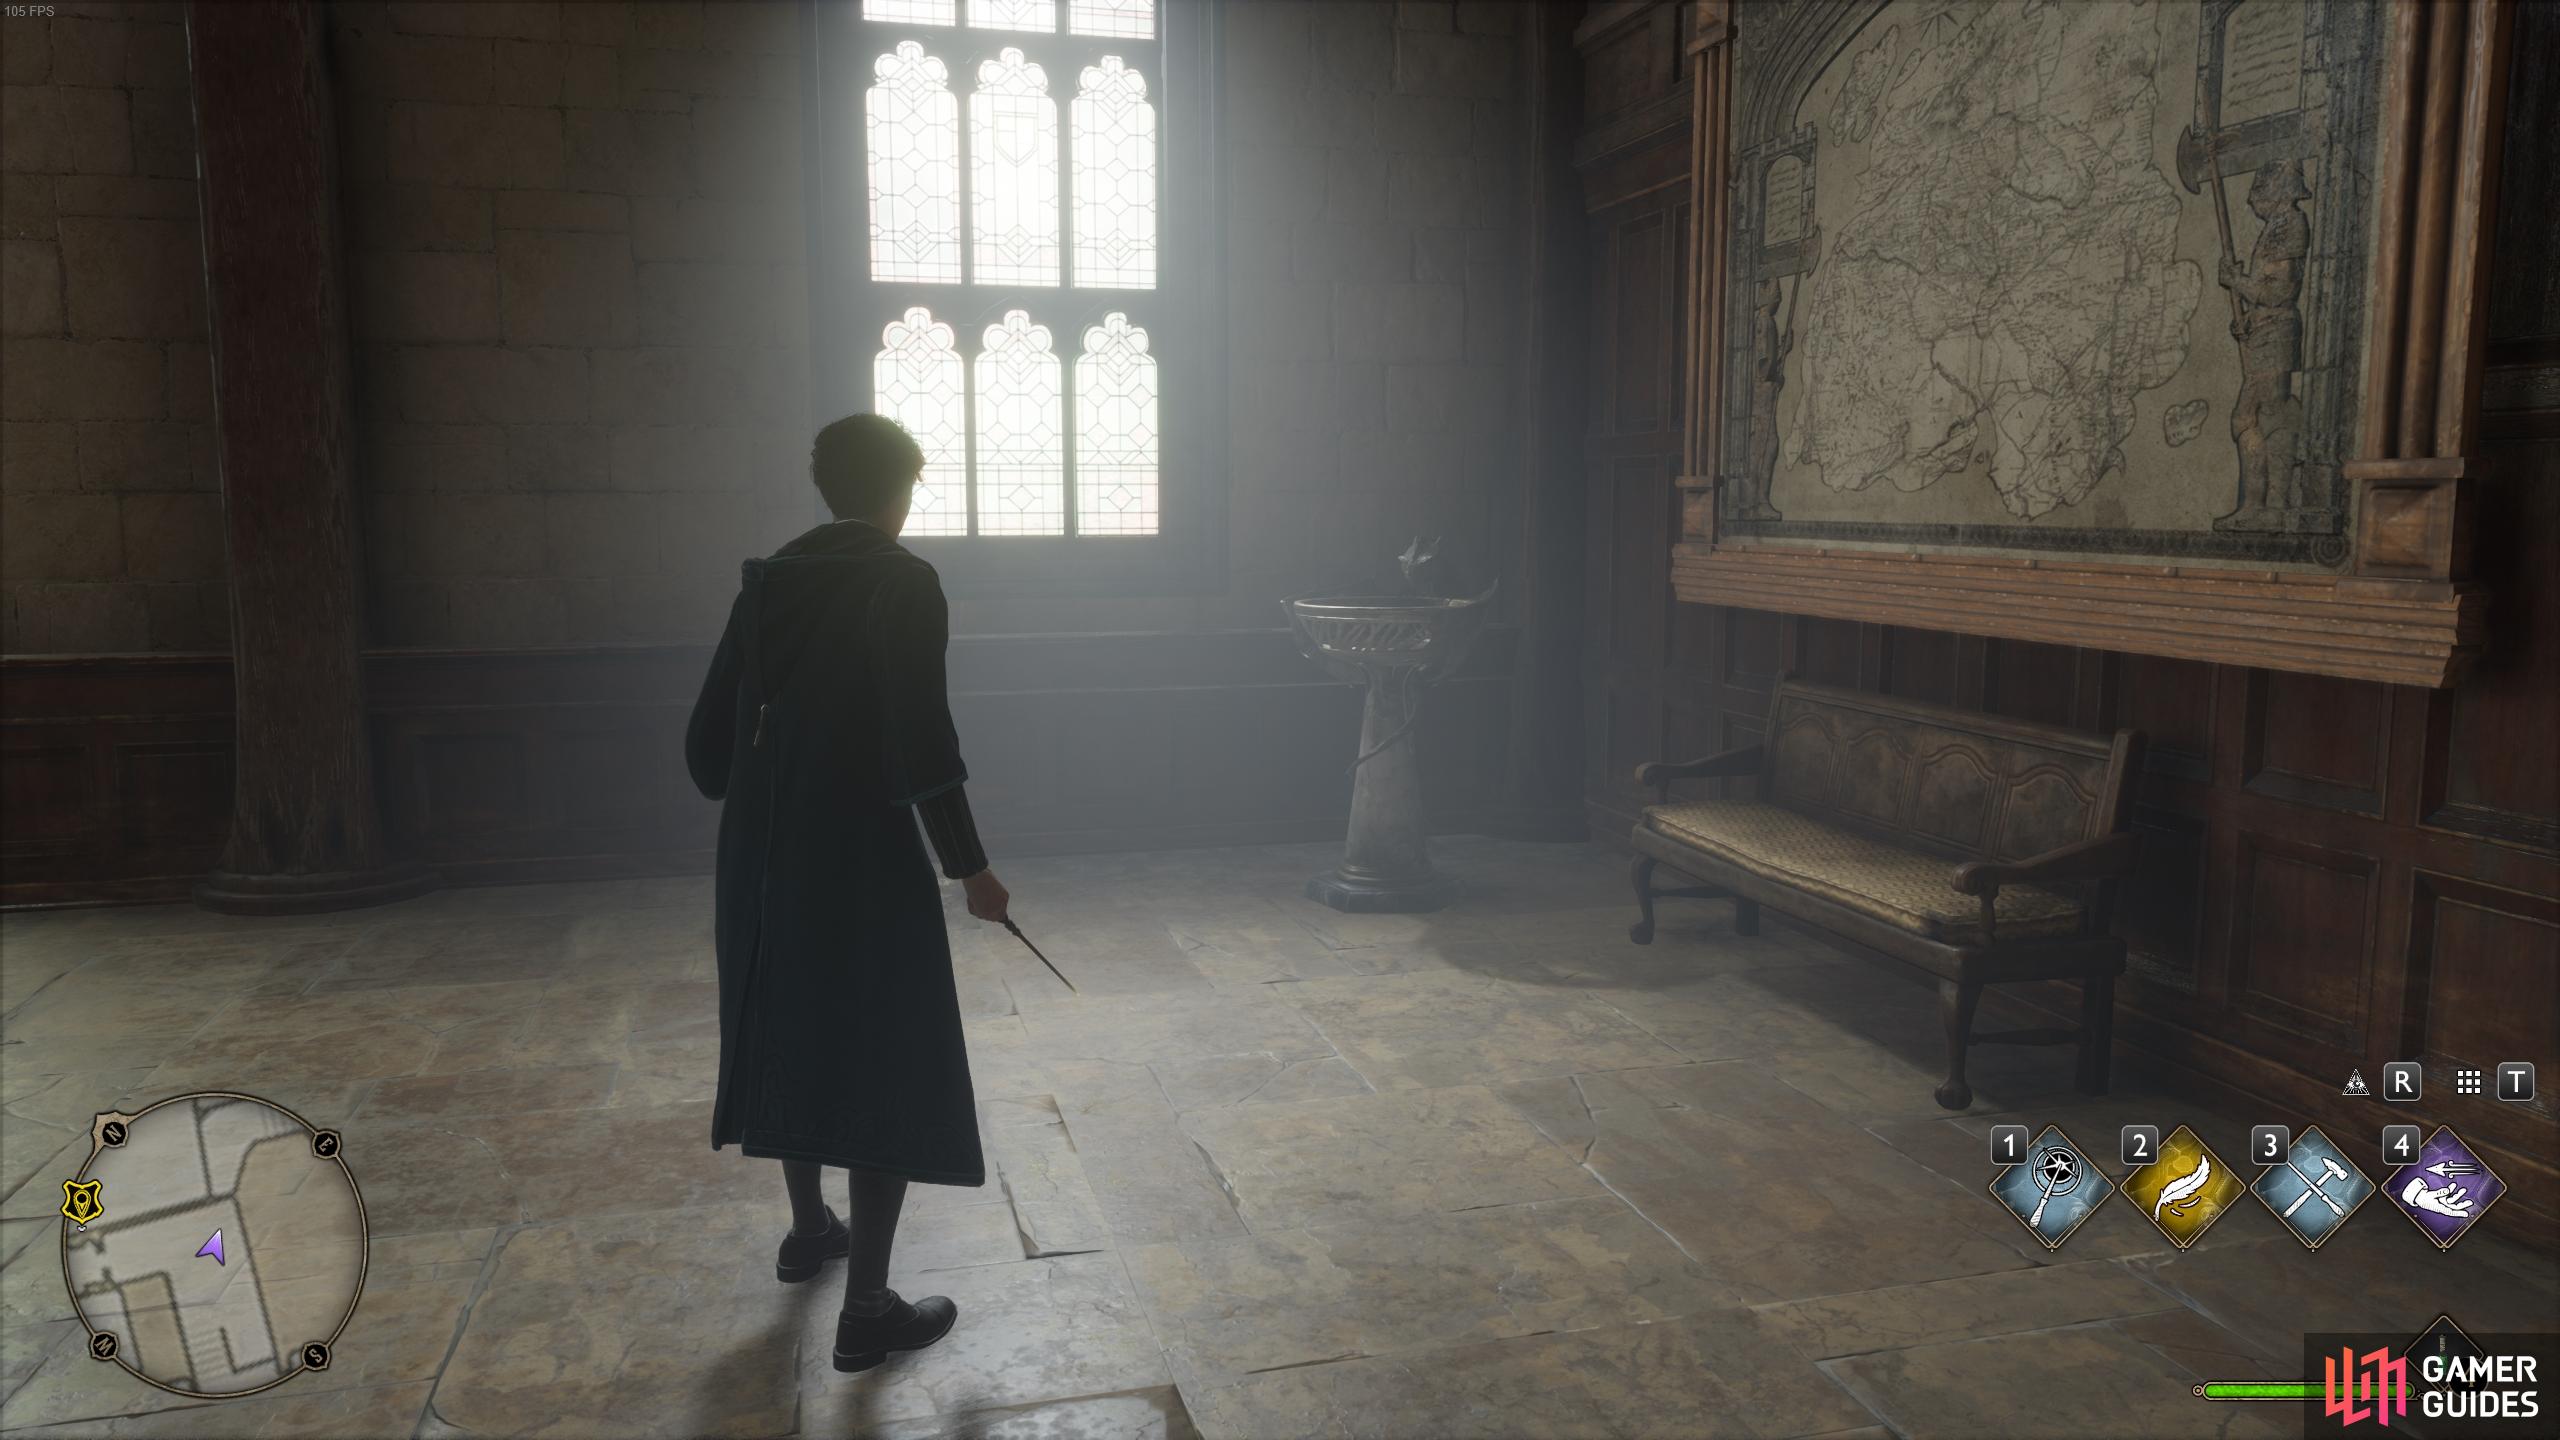
Prefect’s Bathroom - Hospital Wing
After obtaining the Boris the Bewildered Field Guide Page, look north to see a door leading into the Prefect’s Bathroom. Once inside, look to the northwest wall to find a painted mural of a mermaid. You need to cast Revelio in front of this to reveal the page.
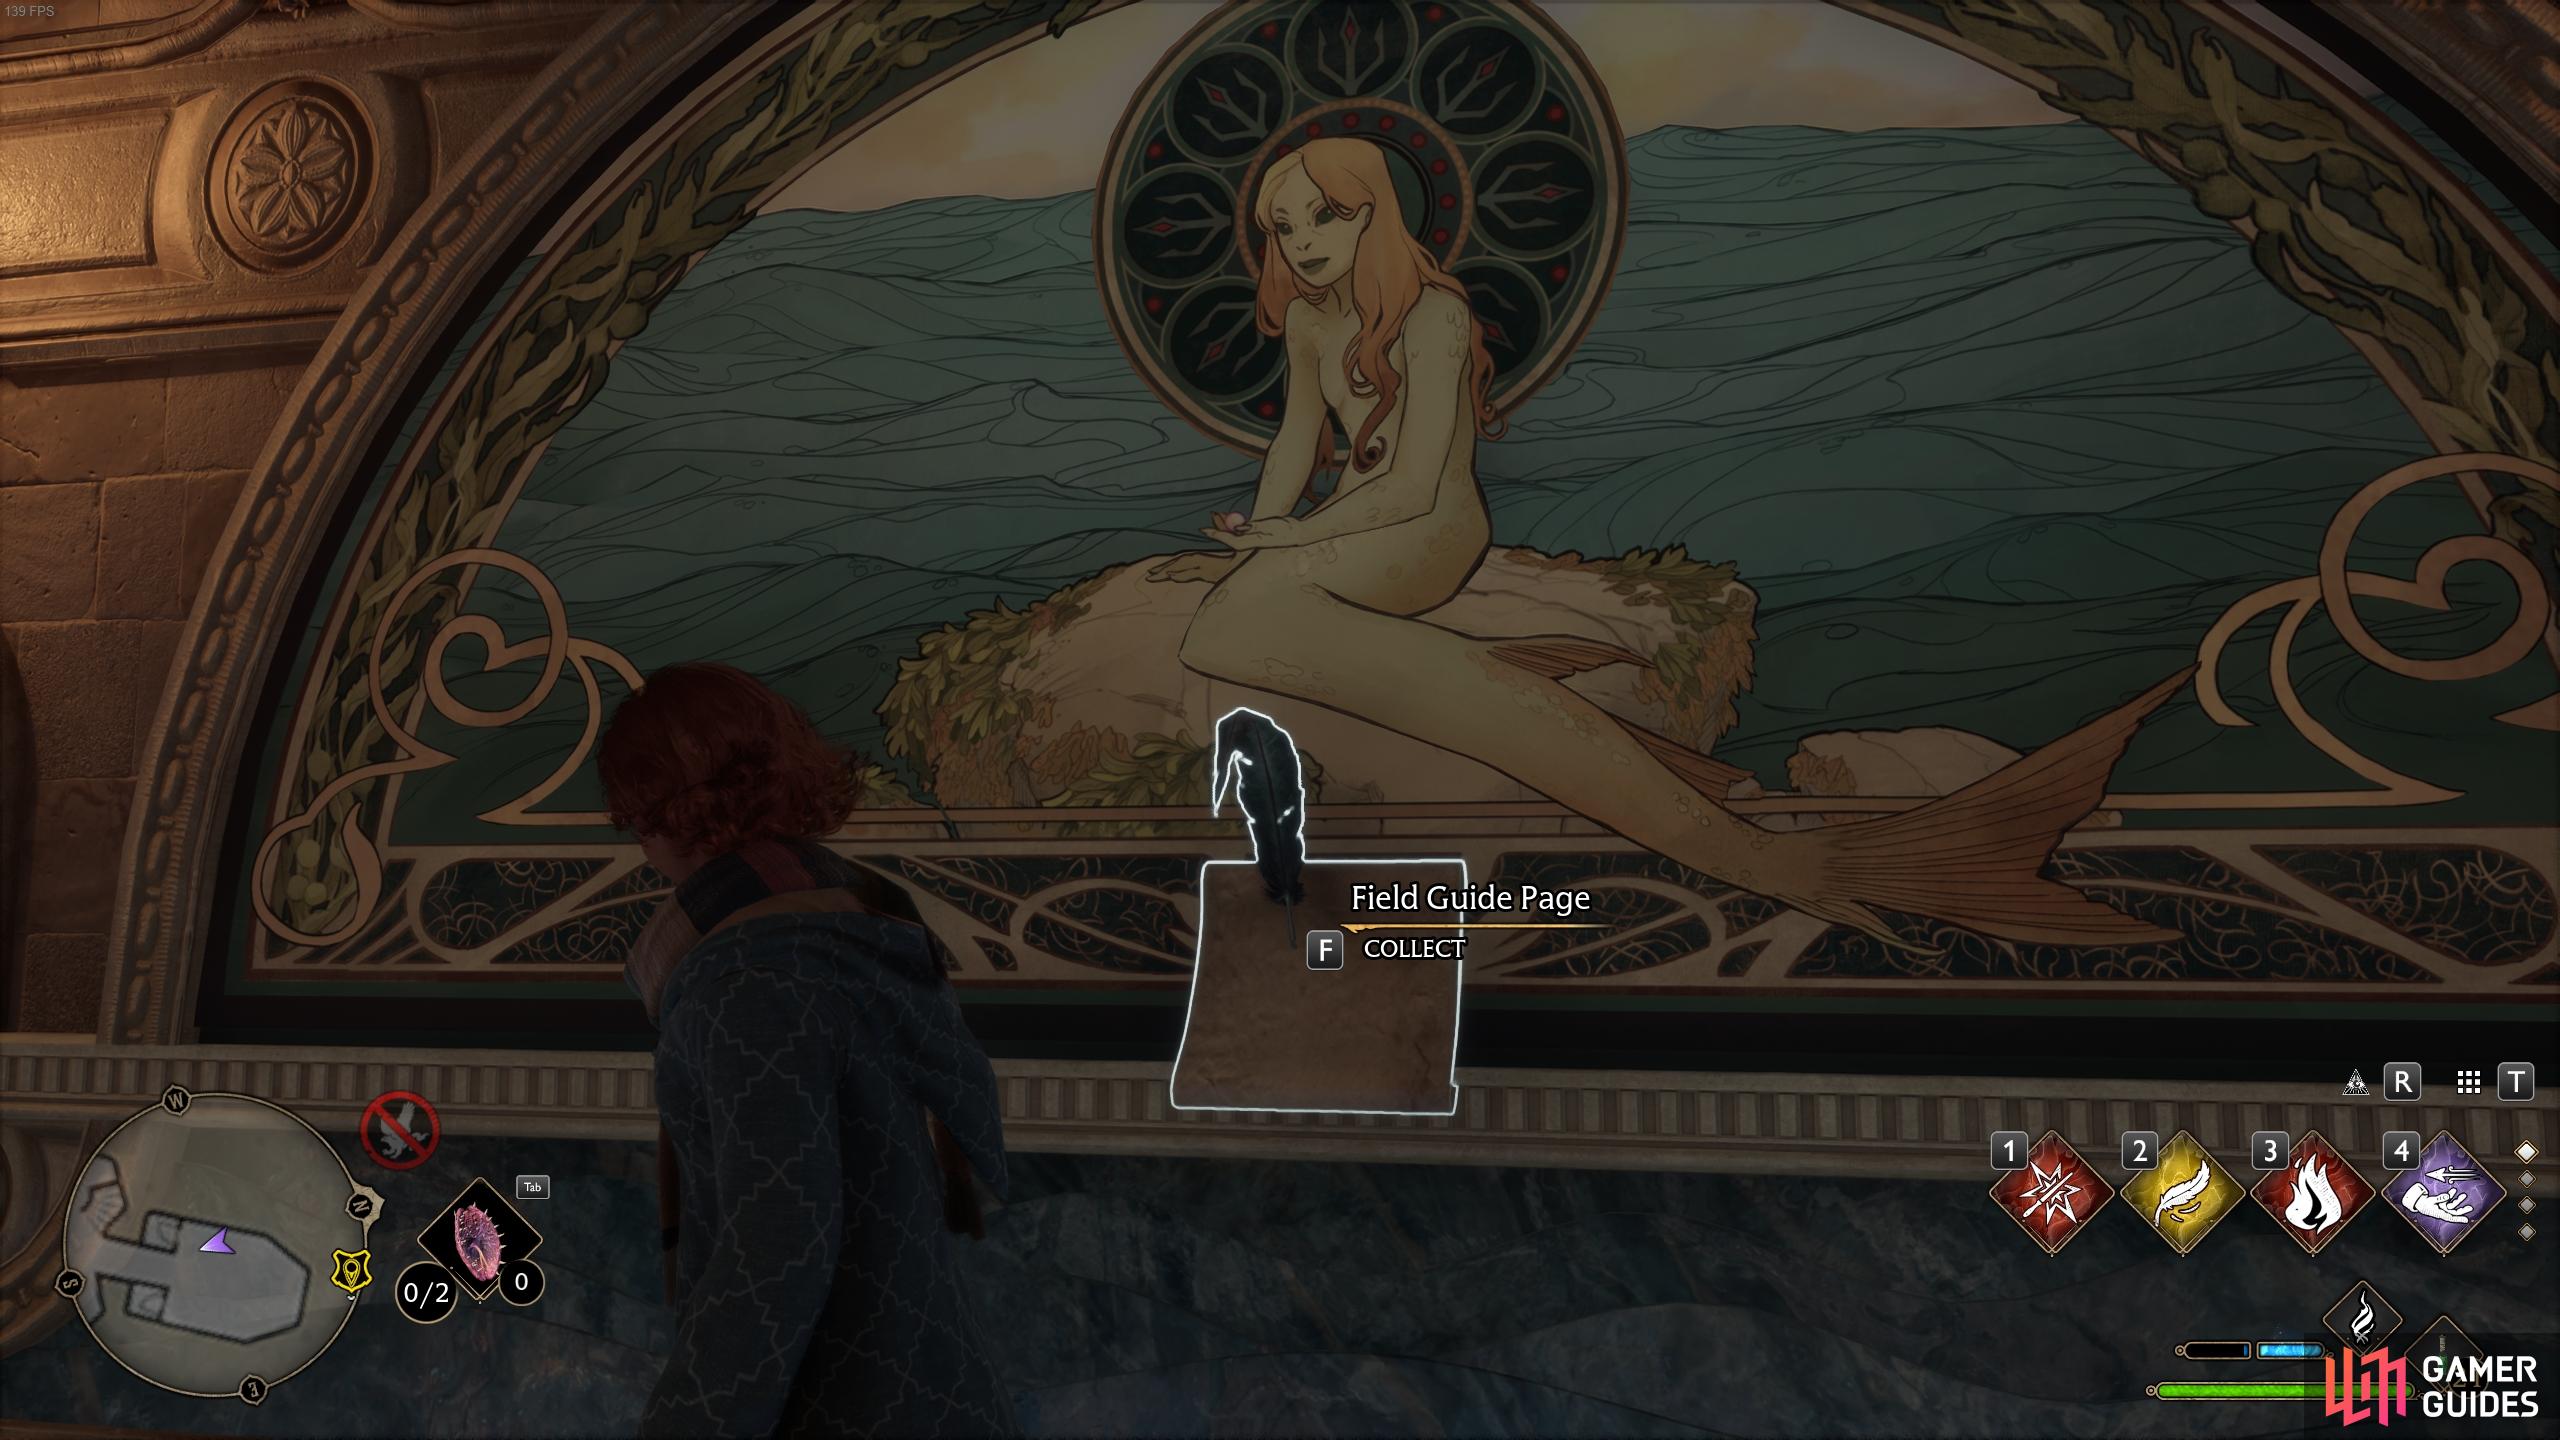
Cast Revelio in front of the mural of the mermaid to reveal the Field Guide Page.
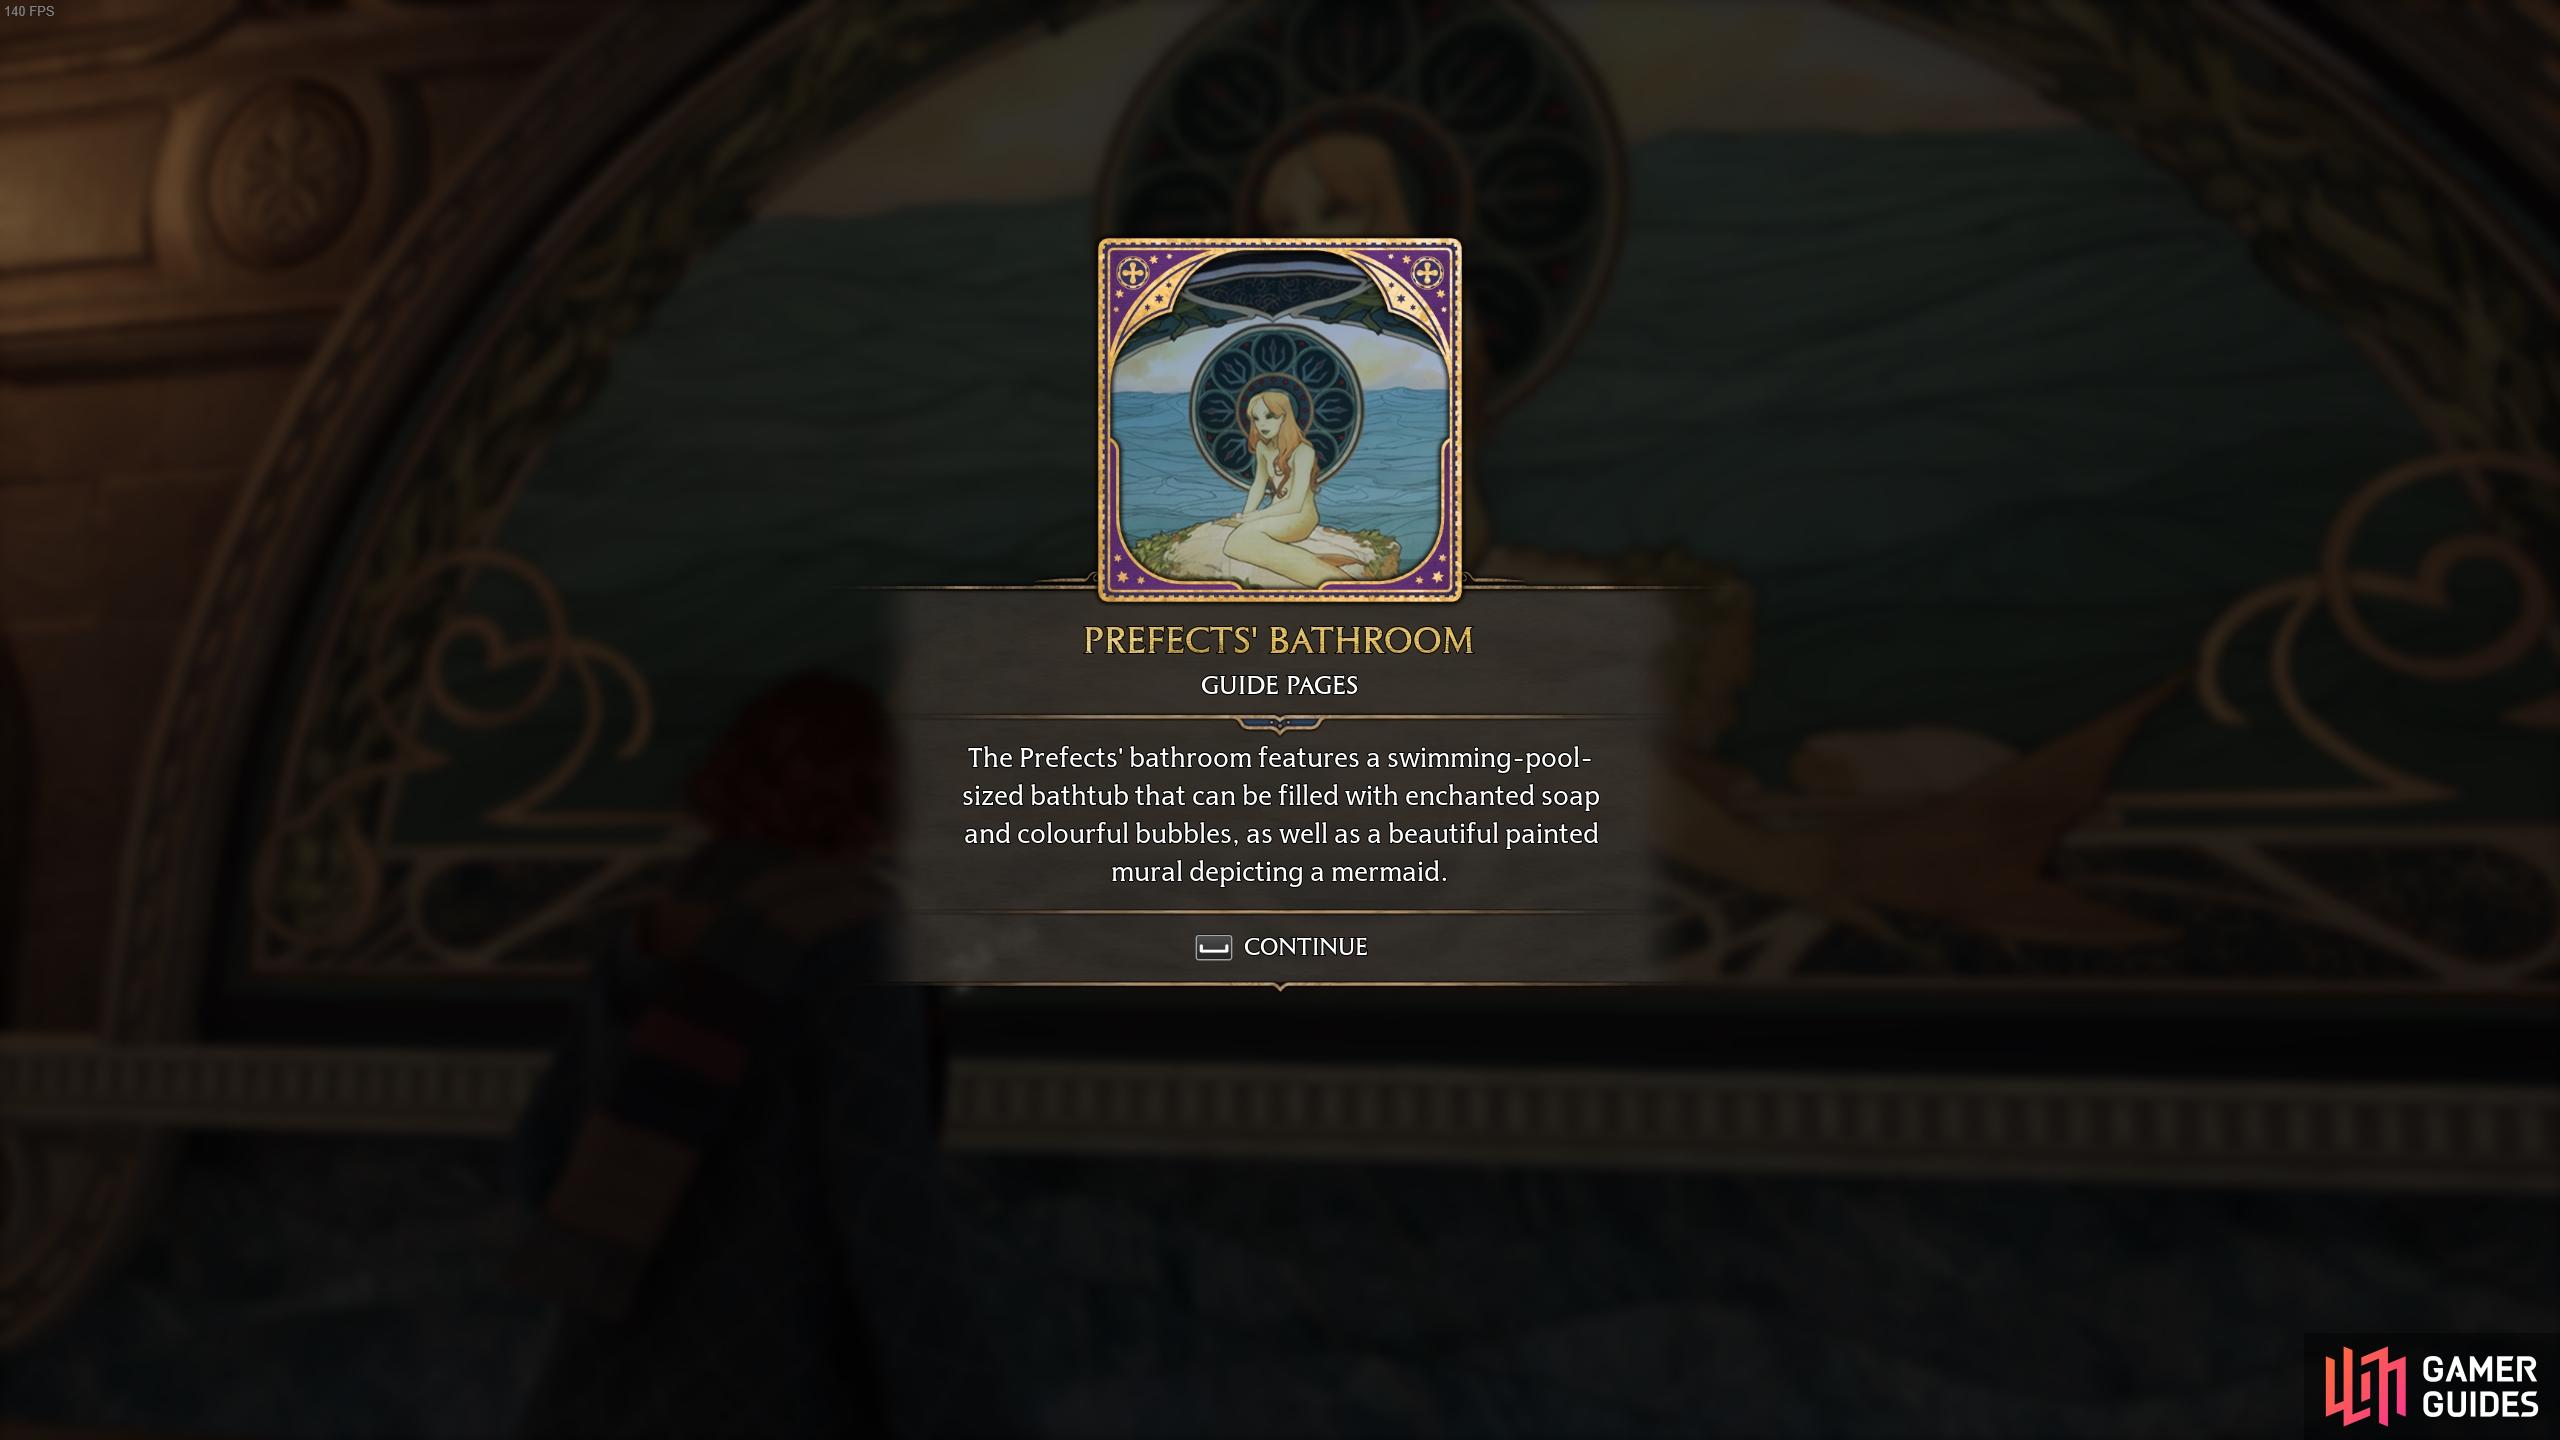
The description for the Prefect’s Bathroom Field Guide Page.
Jewel-Encrusted Tortoise Shell - Hospital Wing
Go back to the statue of Boris the Bewildered, and take the stairs down just to the right of it. You’ll be going down a spiral staircase and then a straight one. At the end of the latter you’ll see a display case next to a cabinet of curiosities, which contains the ![]() Jewel-Encrusted Tortoise Shell. Use Revelio to discover the associated page.
Jewel-Encrusted Tortoise Shell. Use Revelio to discover the associated page.
Use Revelio to discover the Field Guide Page.
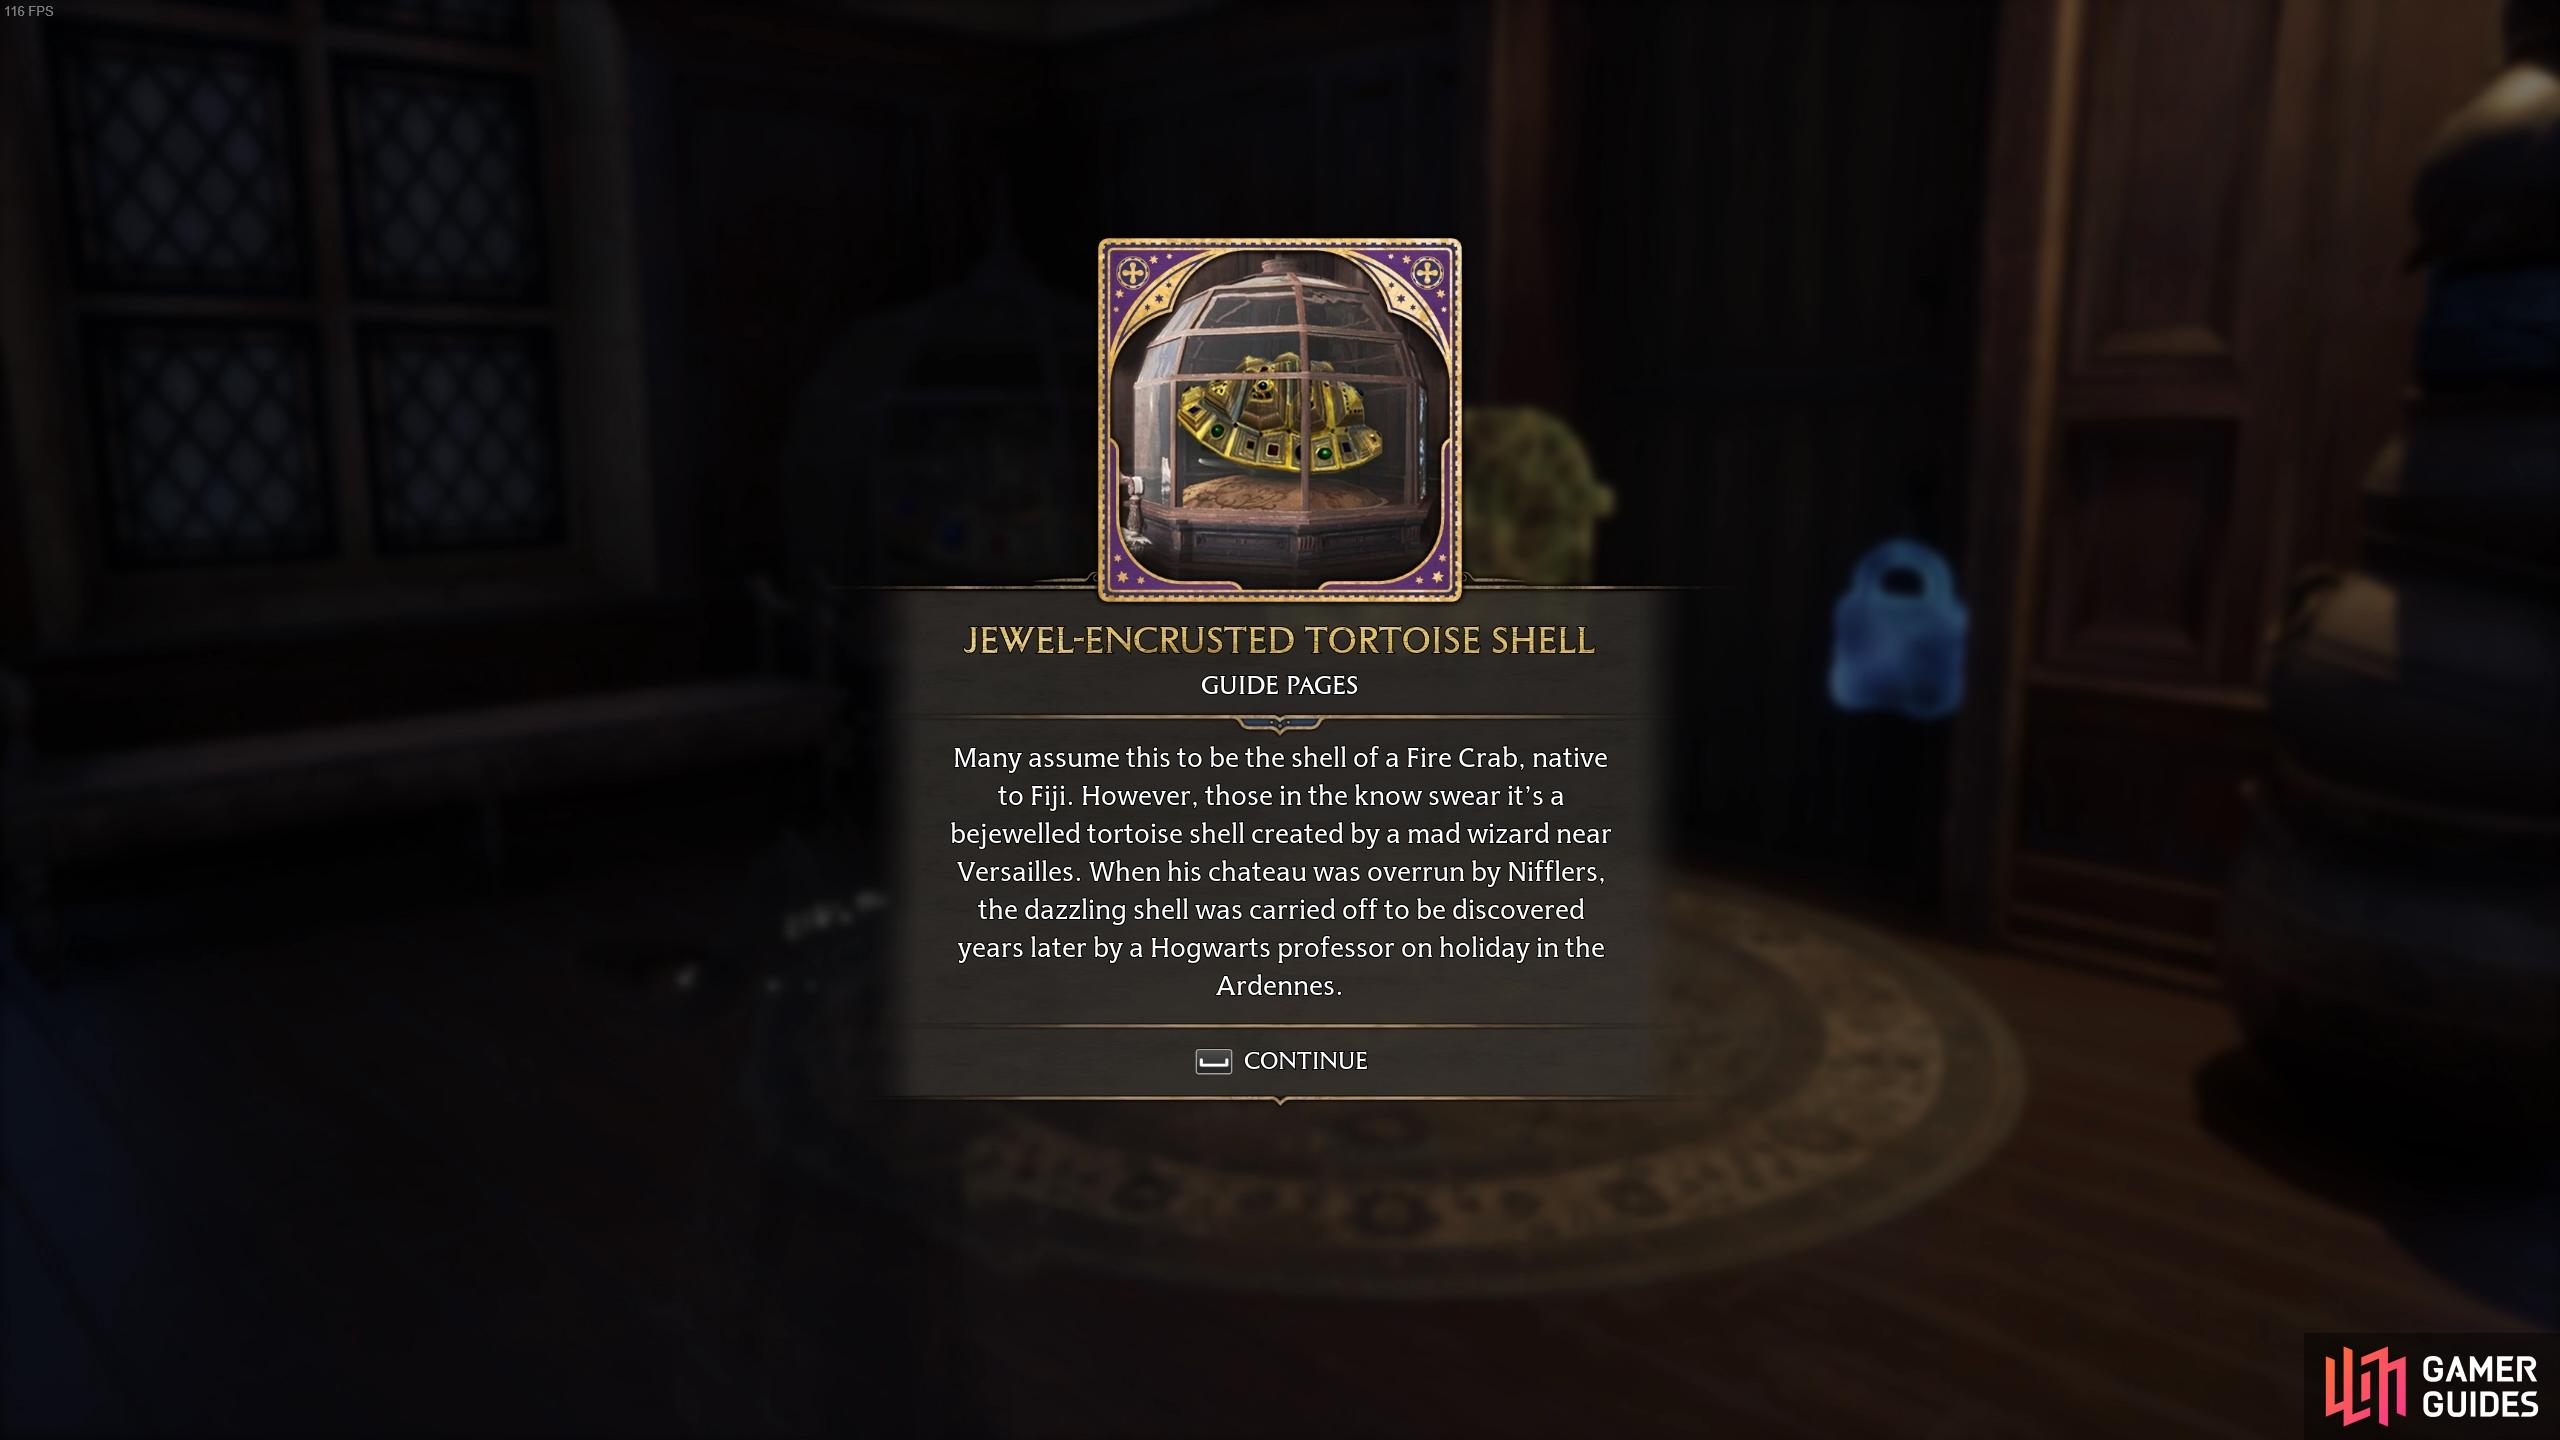
The description for the Jewel-Encrusted Tortoise Shell.
Flying Field Guide Page - Hospital Wing 2
In the same area as the Jewel-Encrusted Tortoise Shell you’ll find a flying page just above you, the second one for this area.
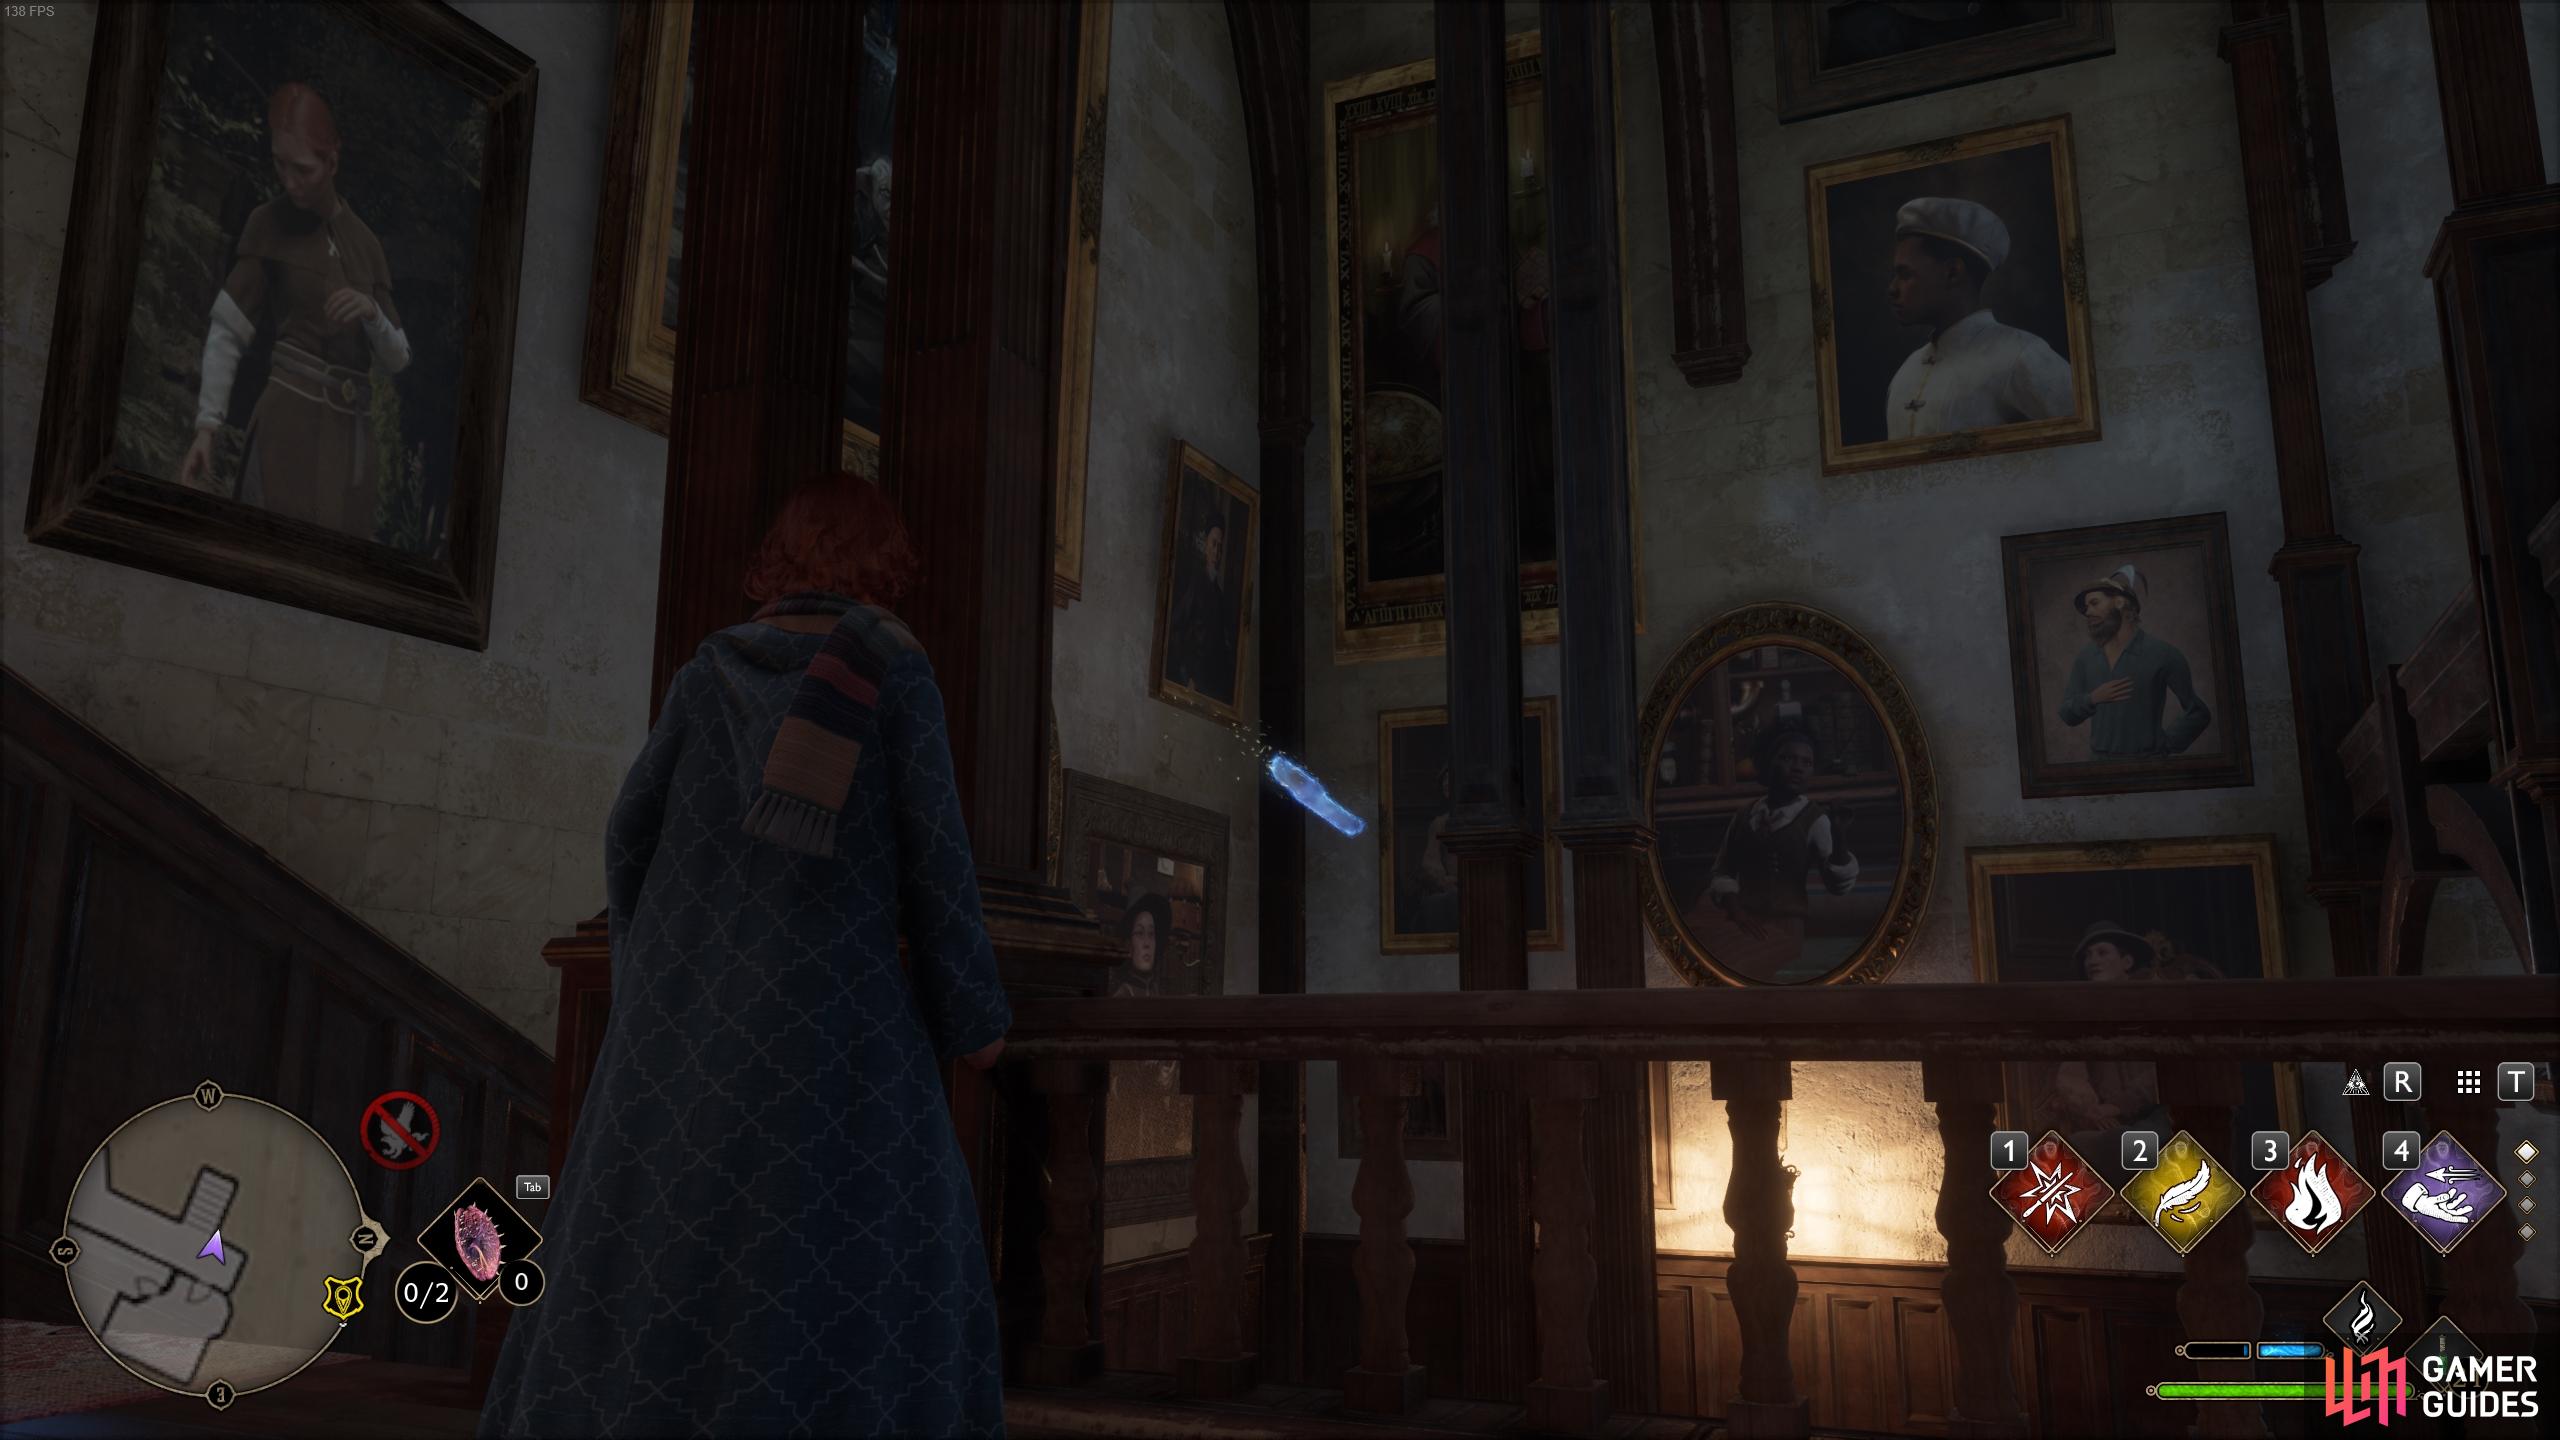
You’ll spot the flying Field Guide Page just above you here.
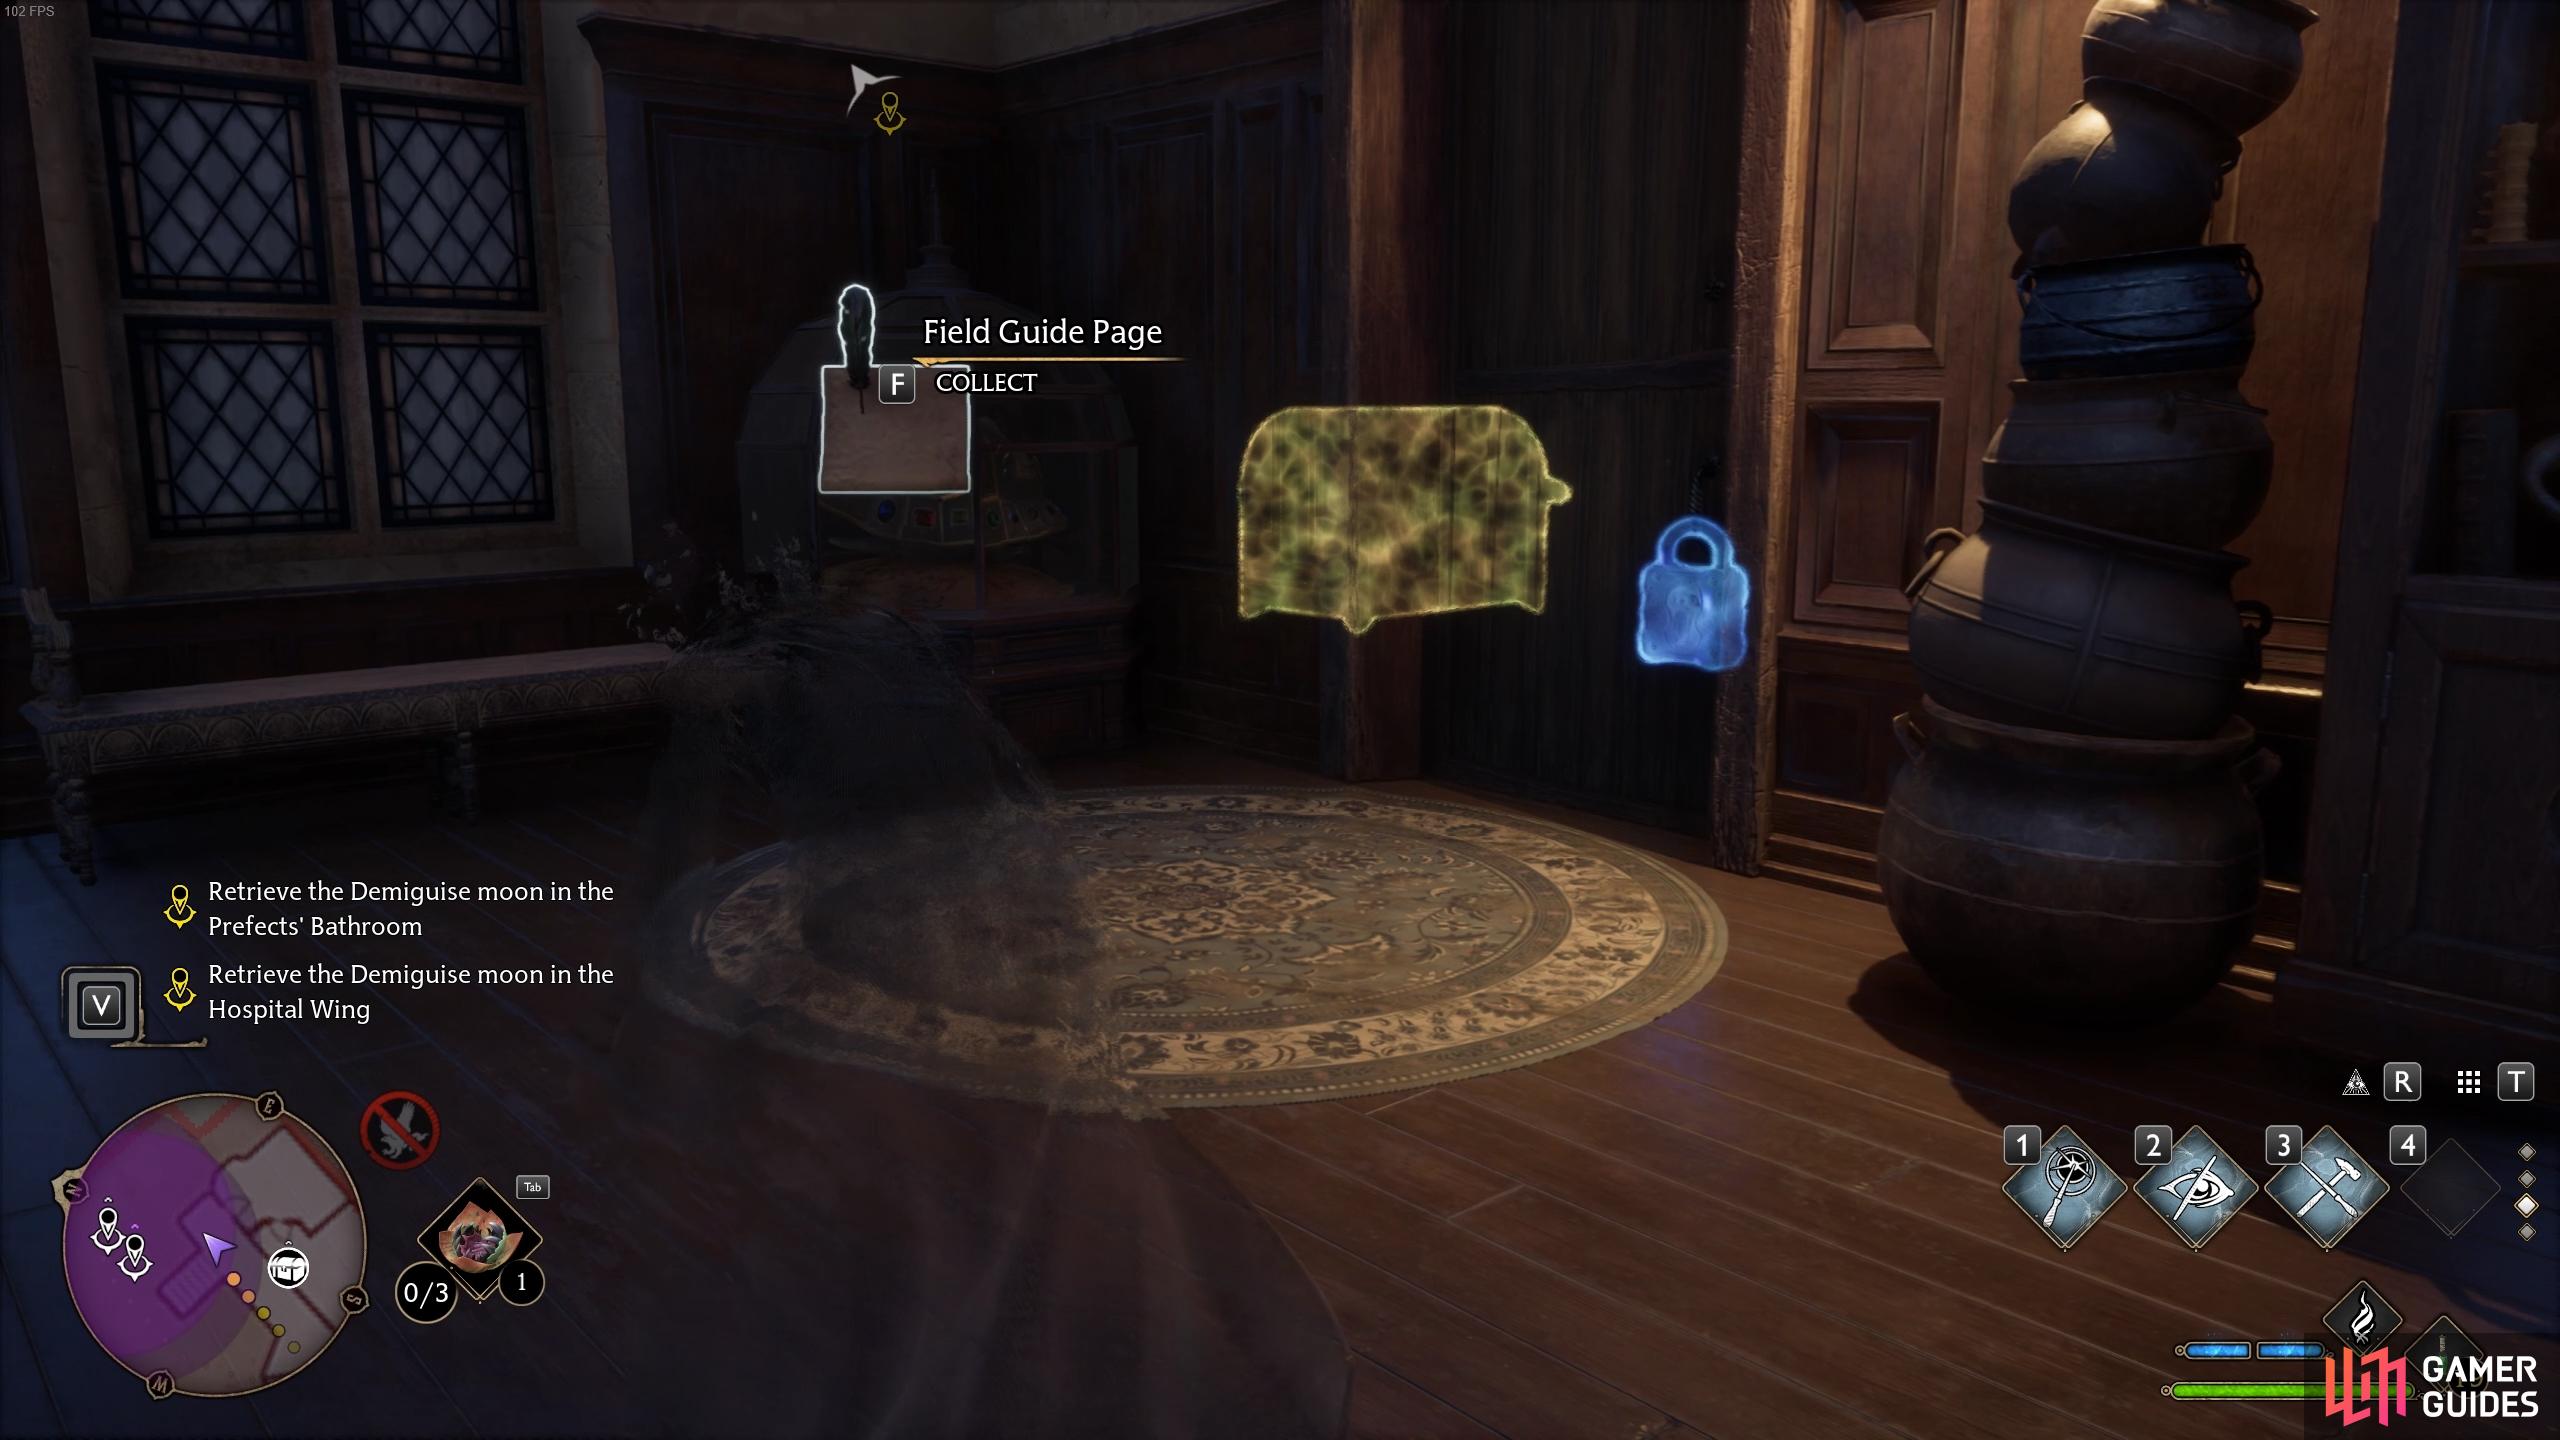
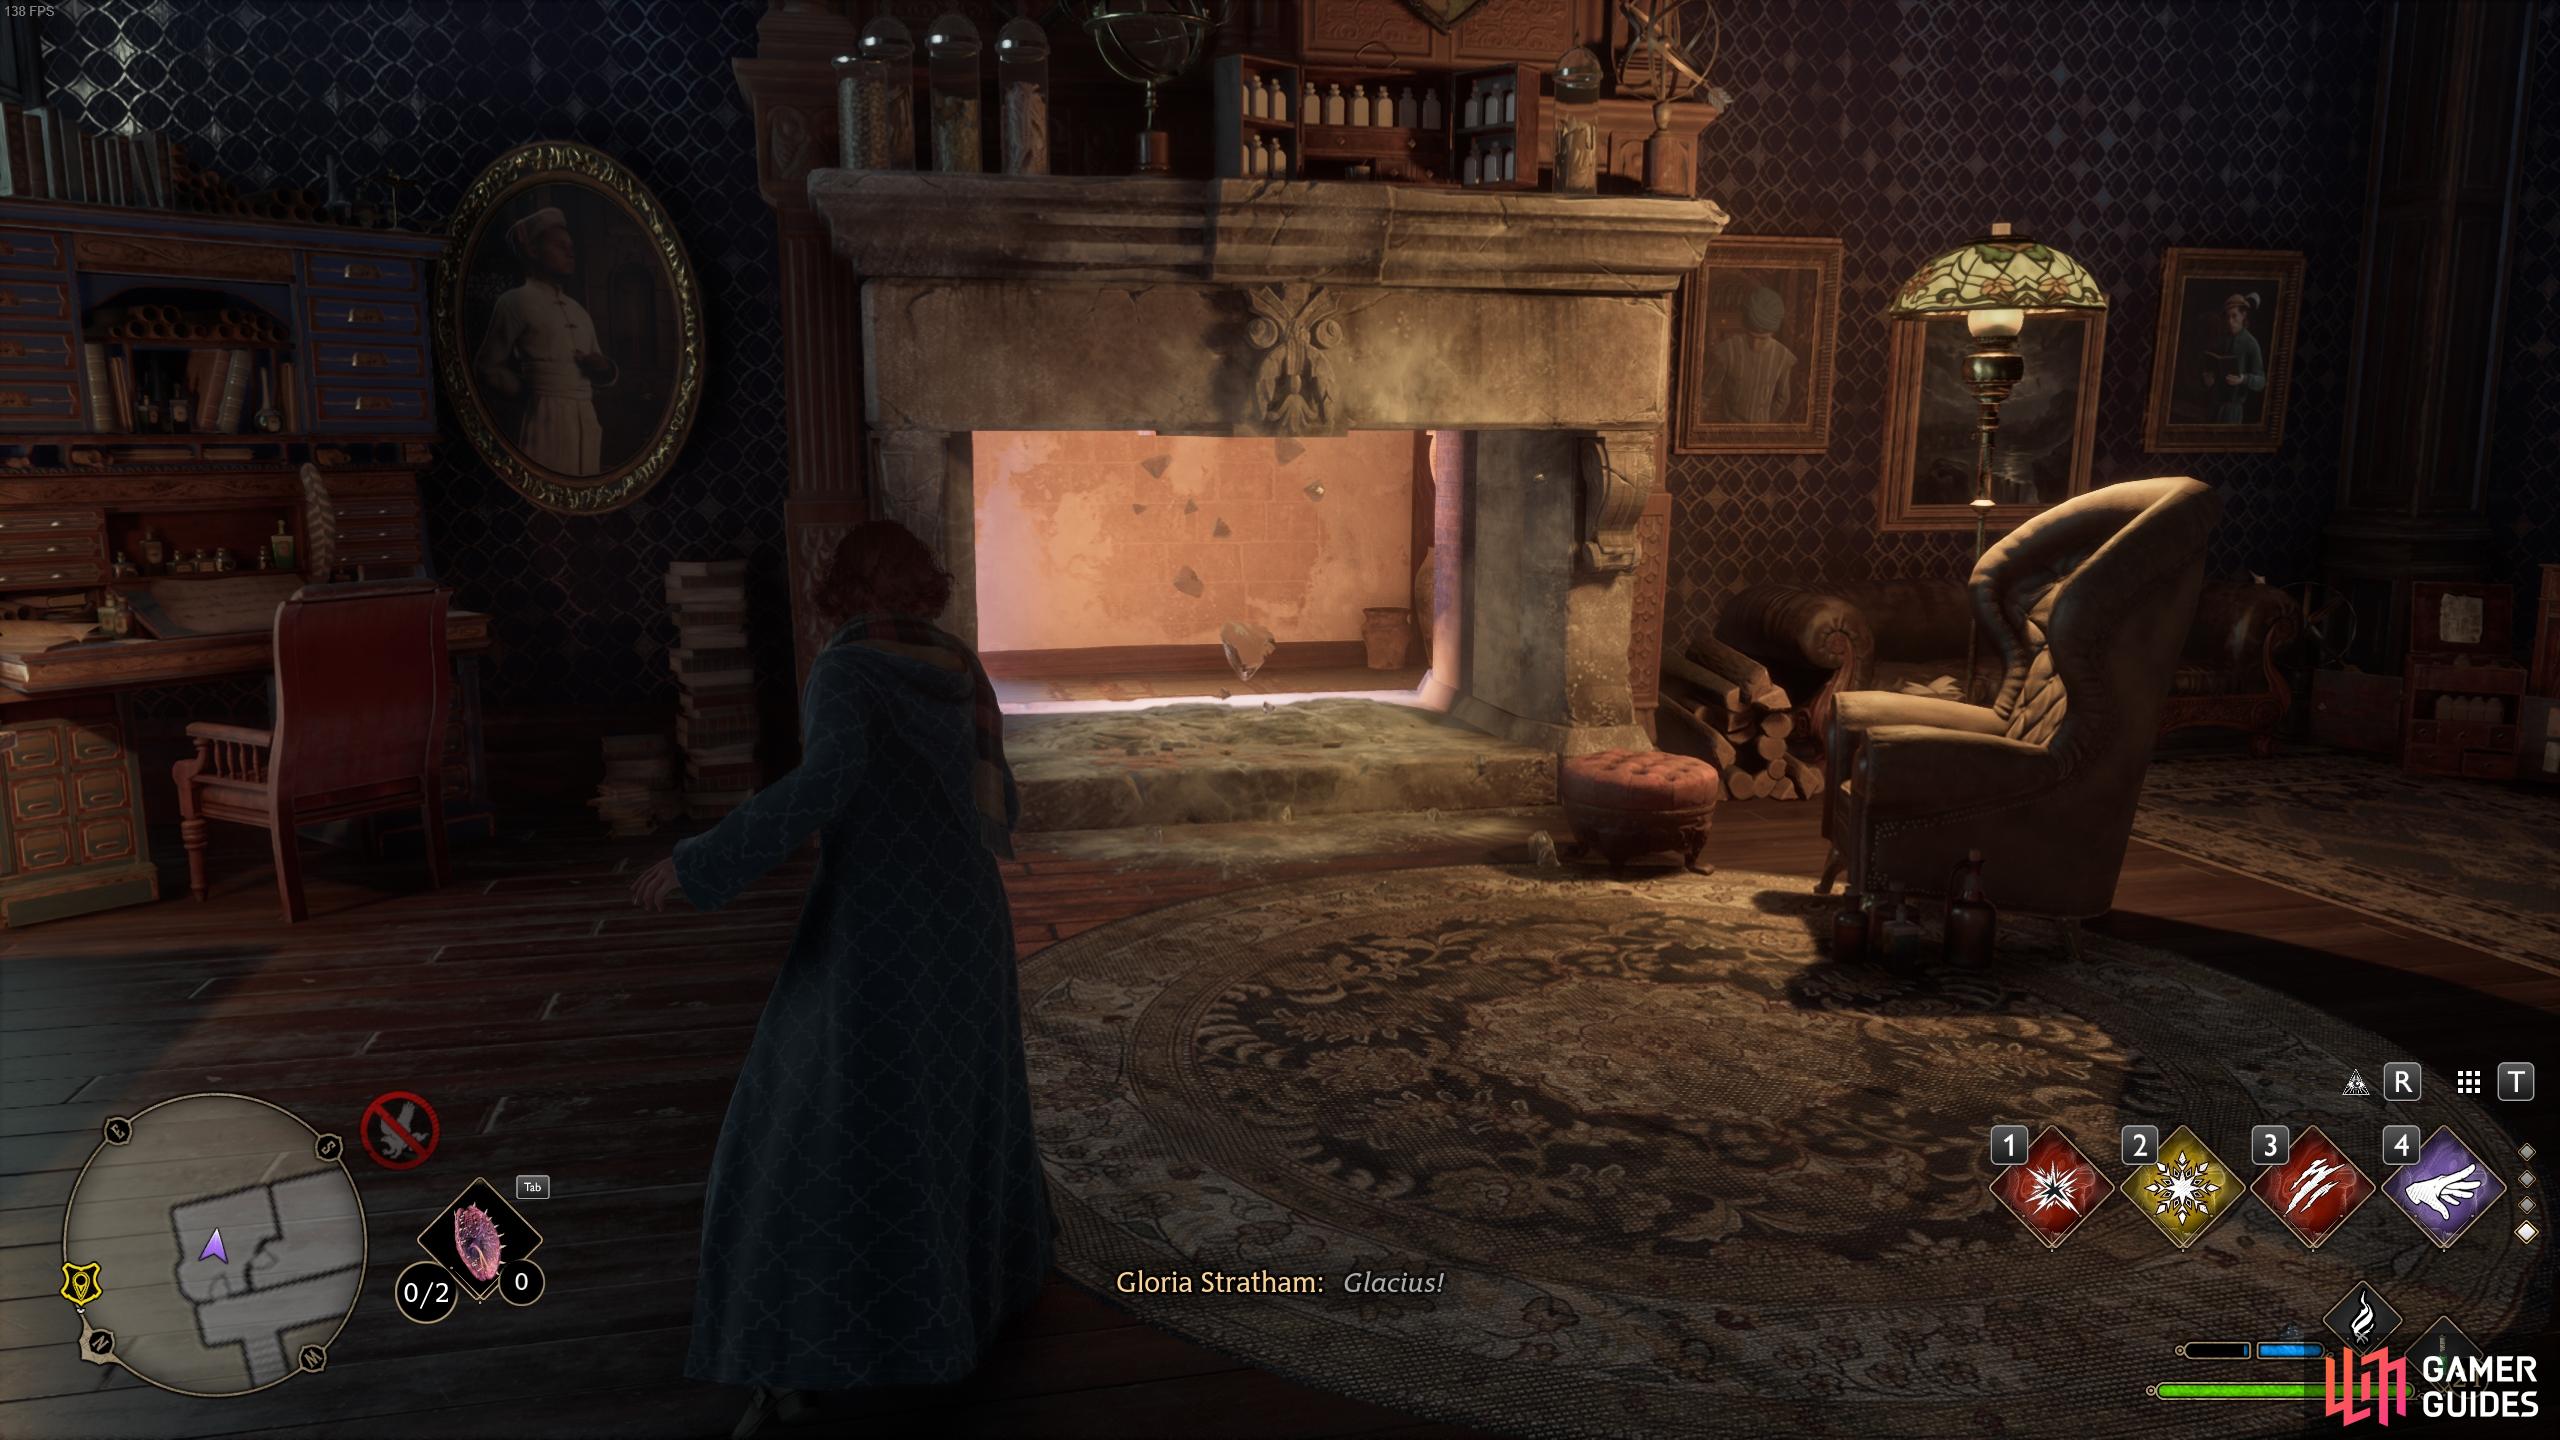
Brazier Field Guide Page - Hospital Wing
If you have Level III Alohomora spell, you can open the door next to the Jewel-Encrusted Tortoise Shell to enter a room with a fireplace directly in front of you. You need to cast ![]() Glacius on this to douse the fire, then go through the hole to the back of the fireplace, and up the stairs to another room. At the end of this room you’ll see an unlit brazier on a balcony, which you can light using a fire-based spell such as Confringo or
Glacius on this to douse the fire, then go through the hole to the back of the fireplace, and up the stairs to another room. At the end of this room you’ll see an unlit brazier on a balcony, which you can light using a fire-based spell such as Confringo or ![]() Incendio. You will then be able to acquire the page from it.
Incendio. You will then be able to acquire the page from it.
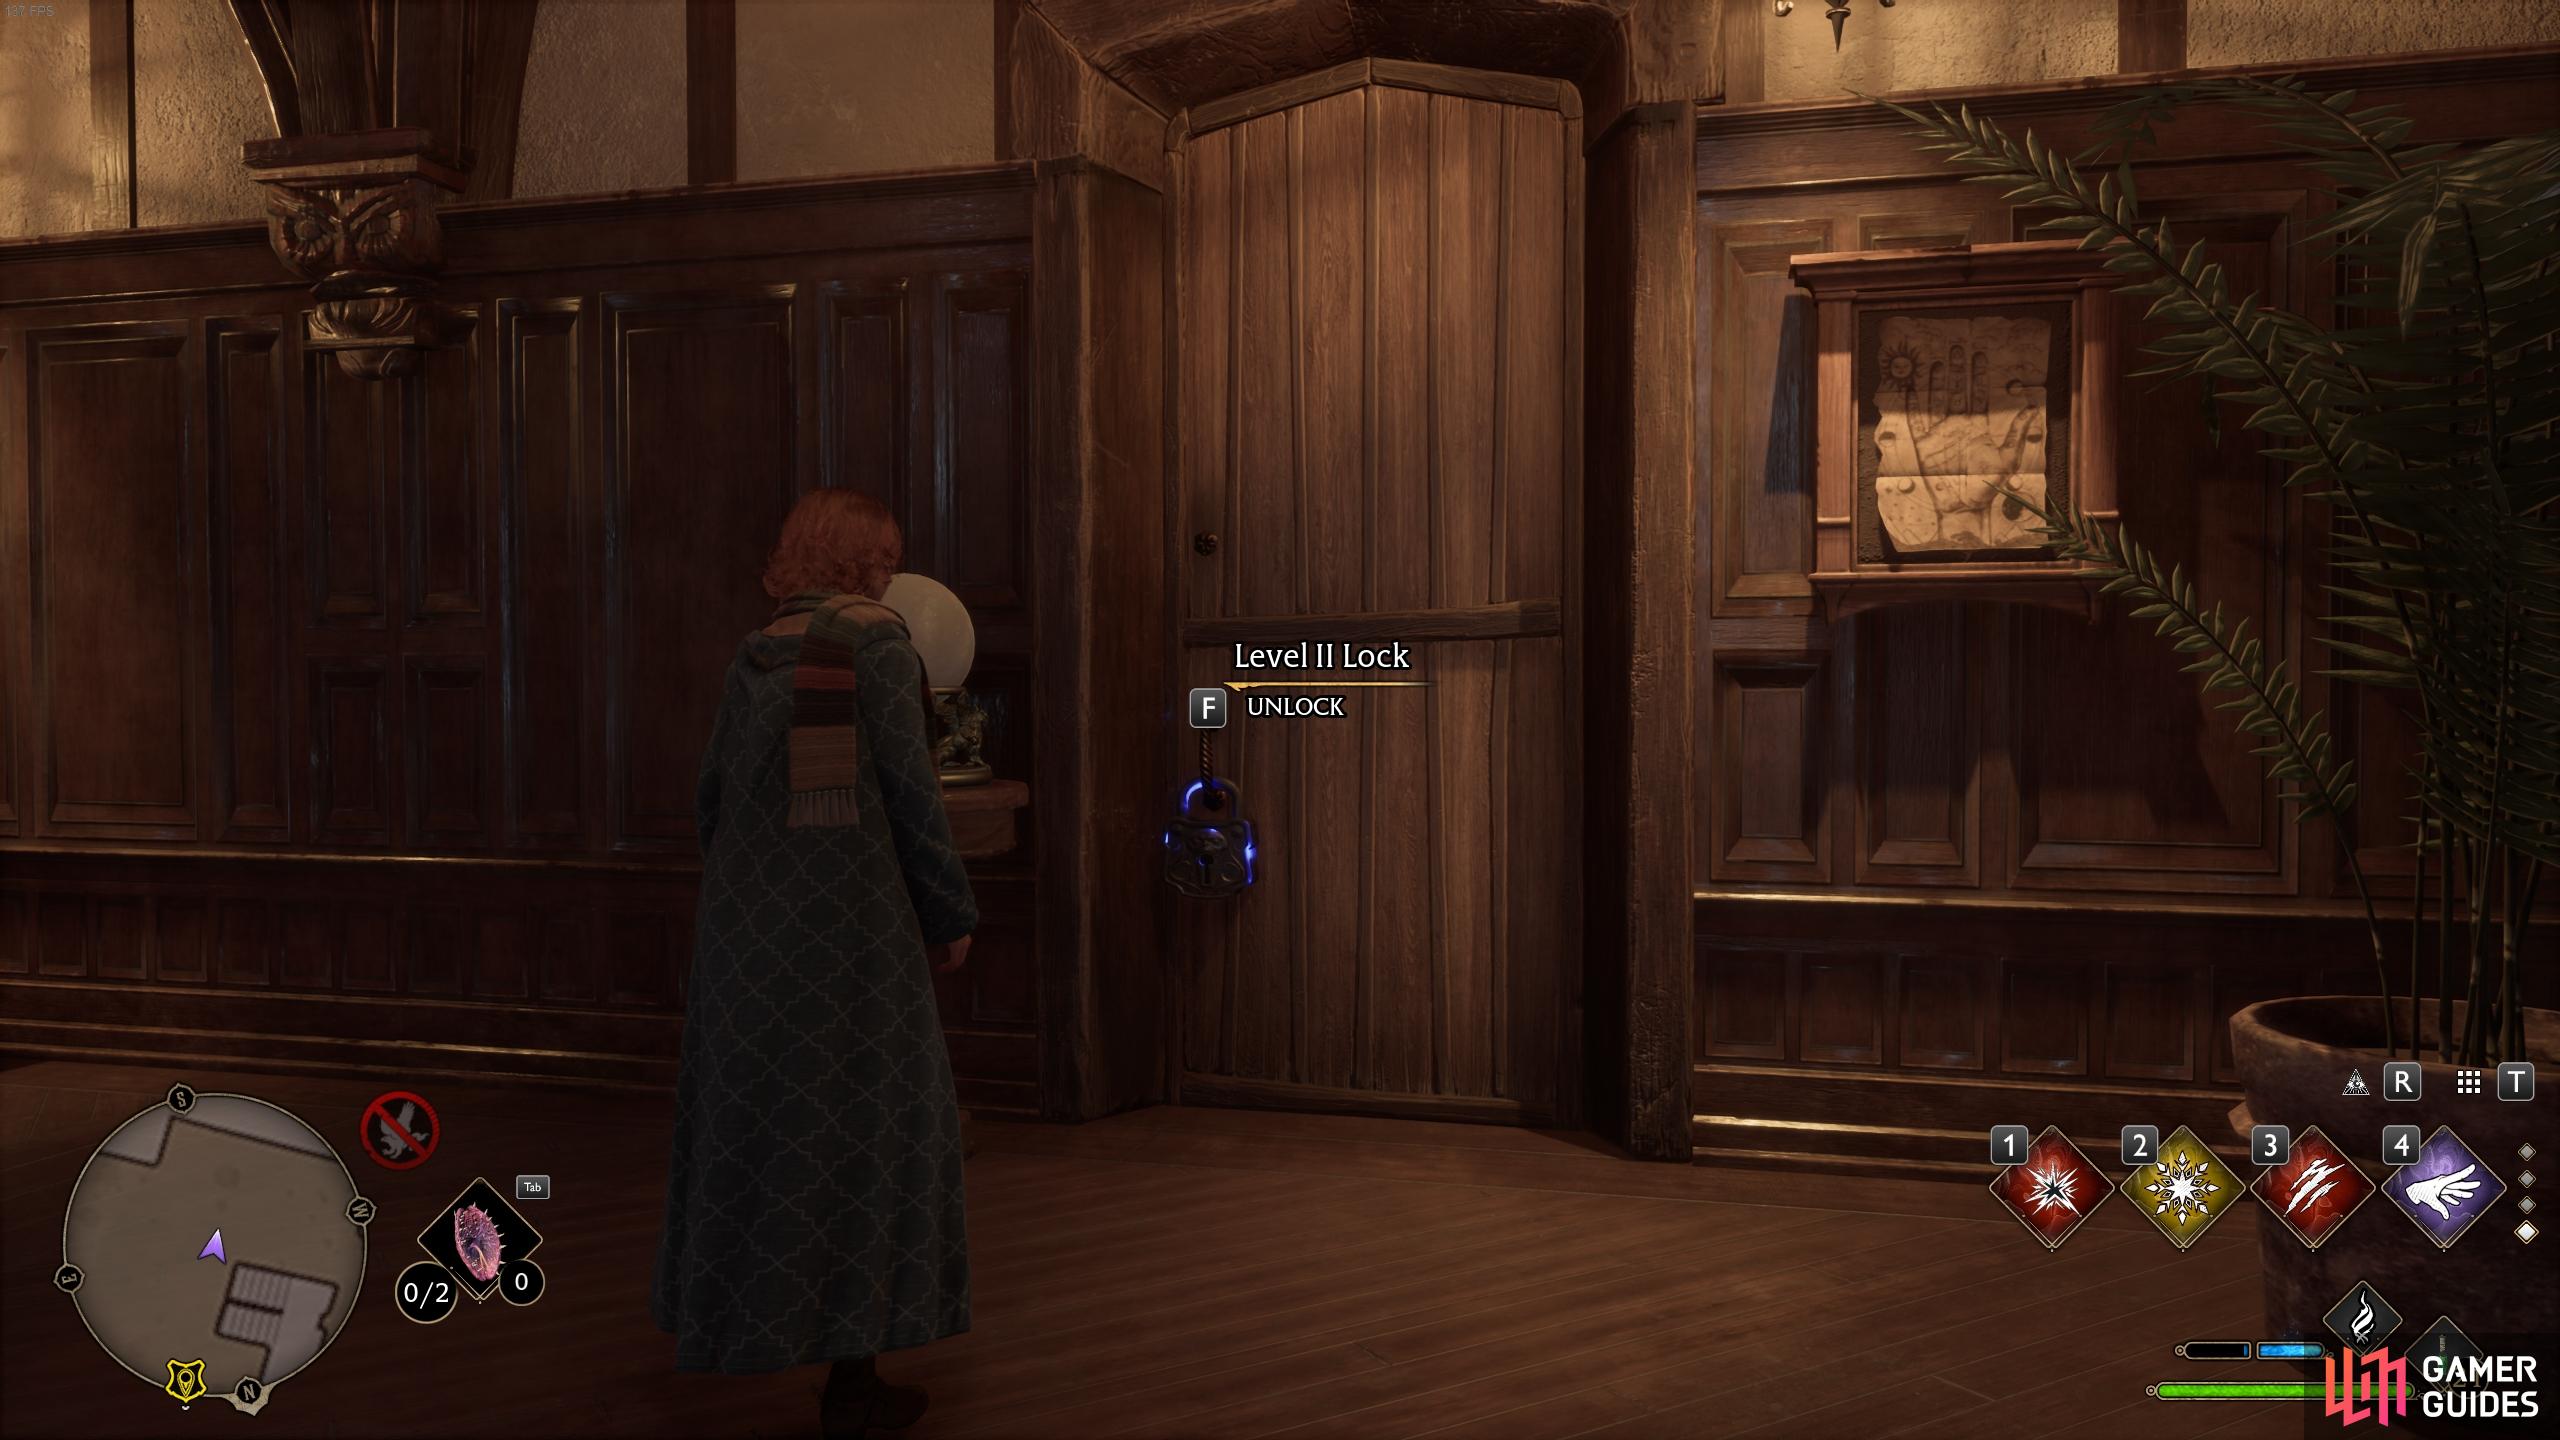
Adventure Novel Set - Hospital Wing
From the area where you discovered the Jewel-Encrusted Tortoise Shell, go down two flights of stairs and turn right at the bottom to find a locked door which requires Level II Alohomora to open. Once inside, turn right and go to the end of the room to cast Revelio, which will reveal a page for the Adventure Novel Set.
Portrait of Baruffio - Faculty Tower
Now back to the Faculty Tower. If you’re continuing from where we left off with the Adventure Novel Set, you can head down two more flights of stairs and go through the door to the southeast to reach the hallway. Look to the end of the western wall in the hallway to find the ![]() Portrait of Baruffio.
Portrait of Baruffio.
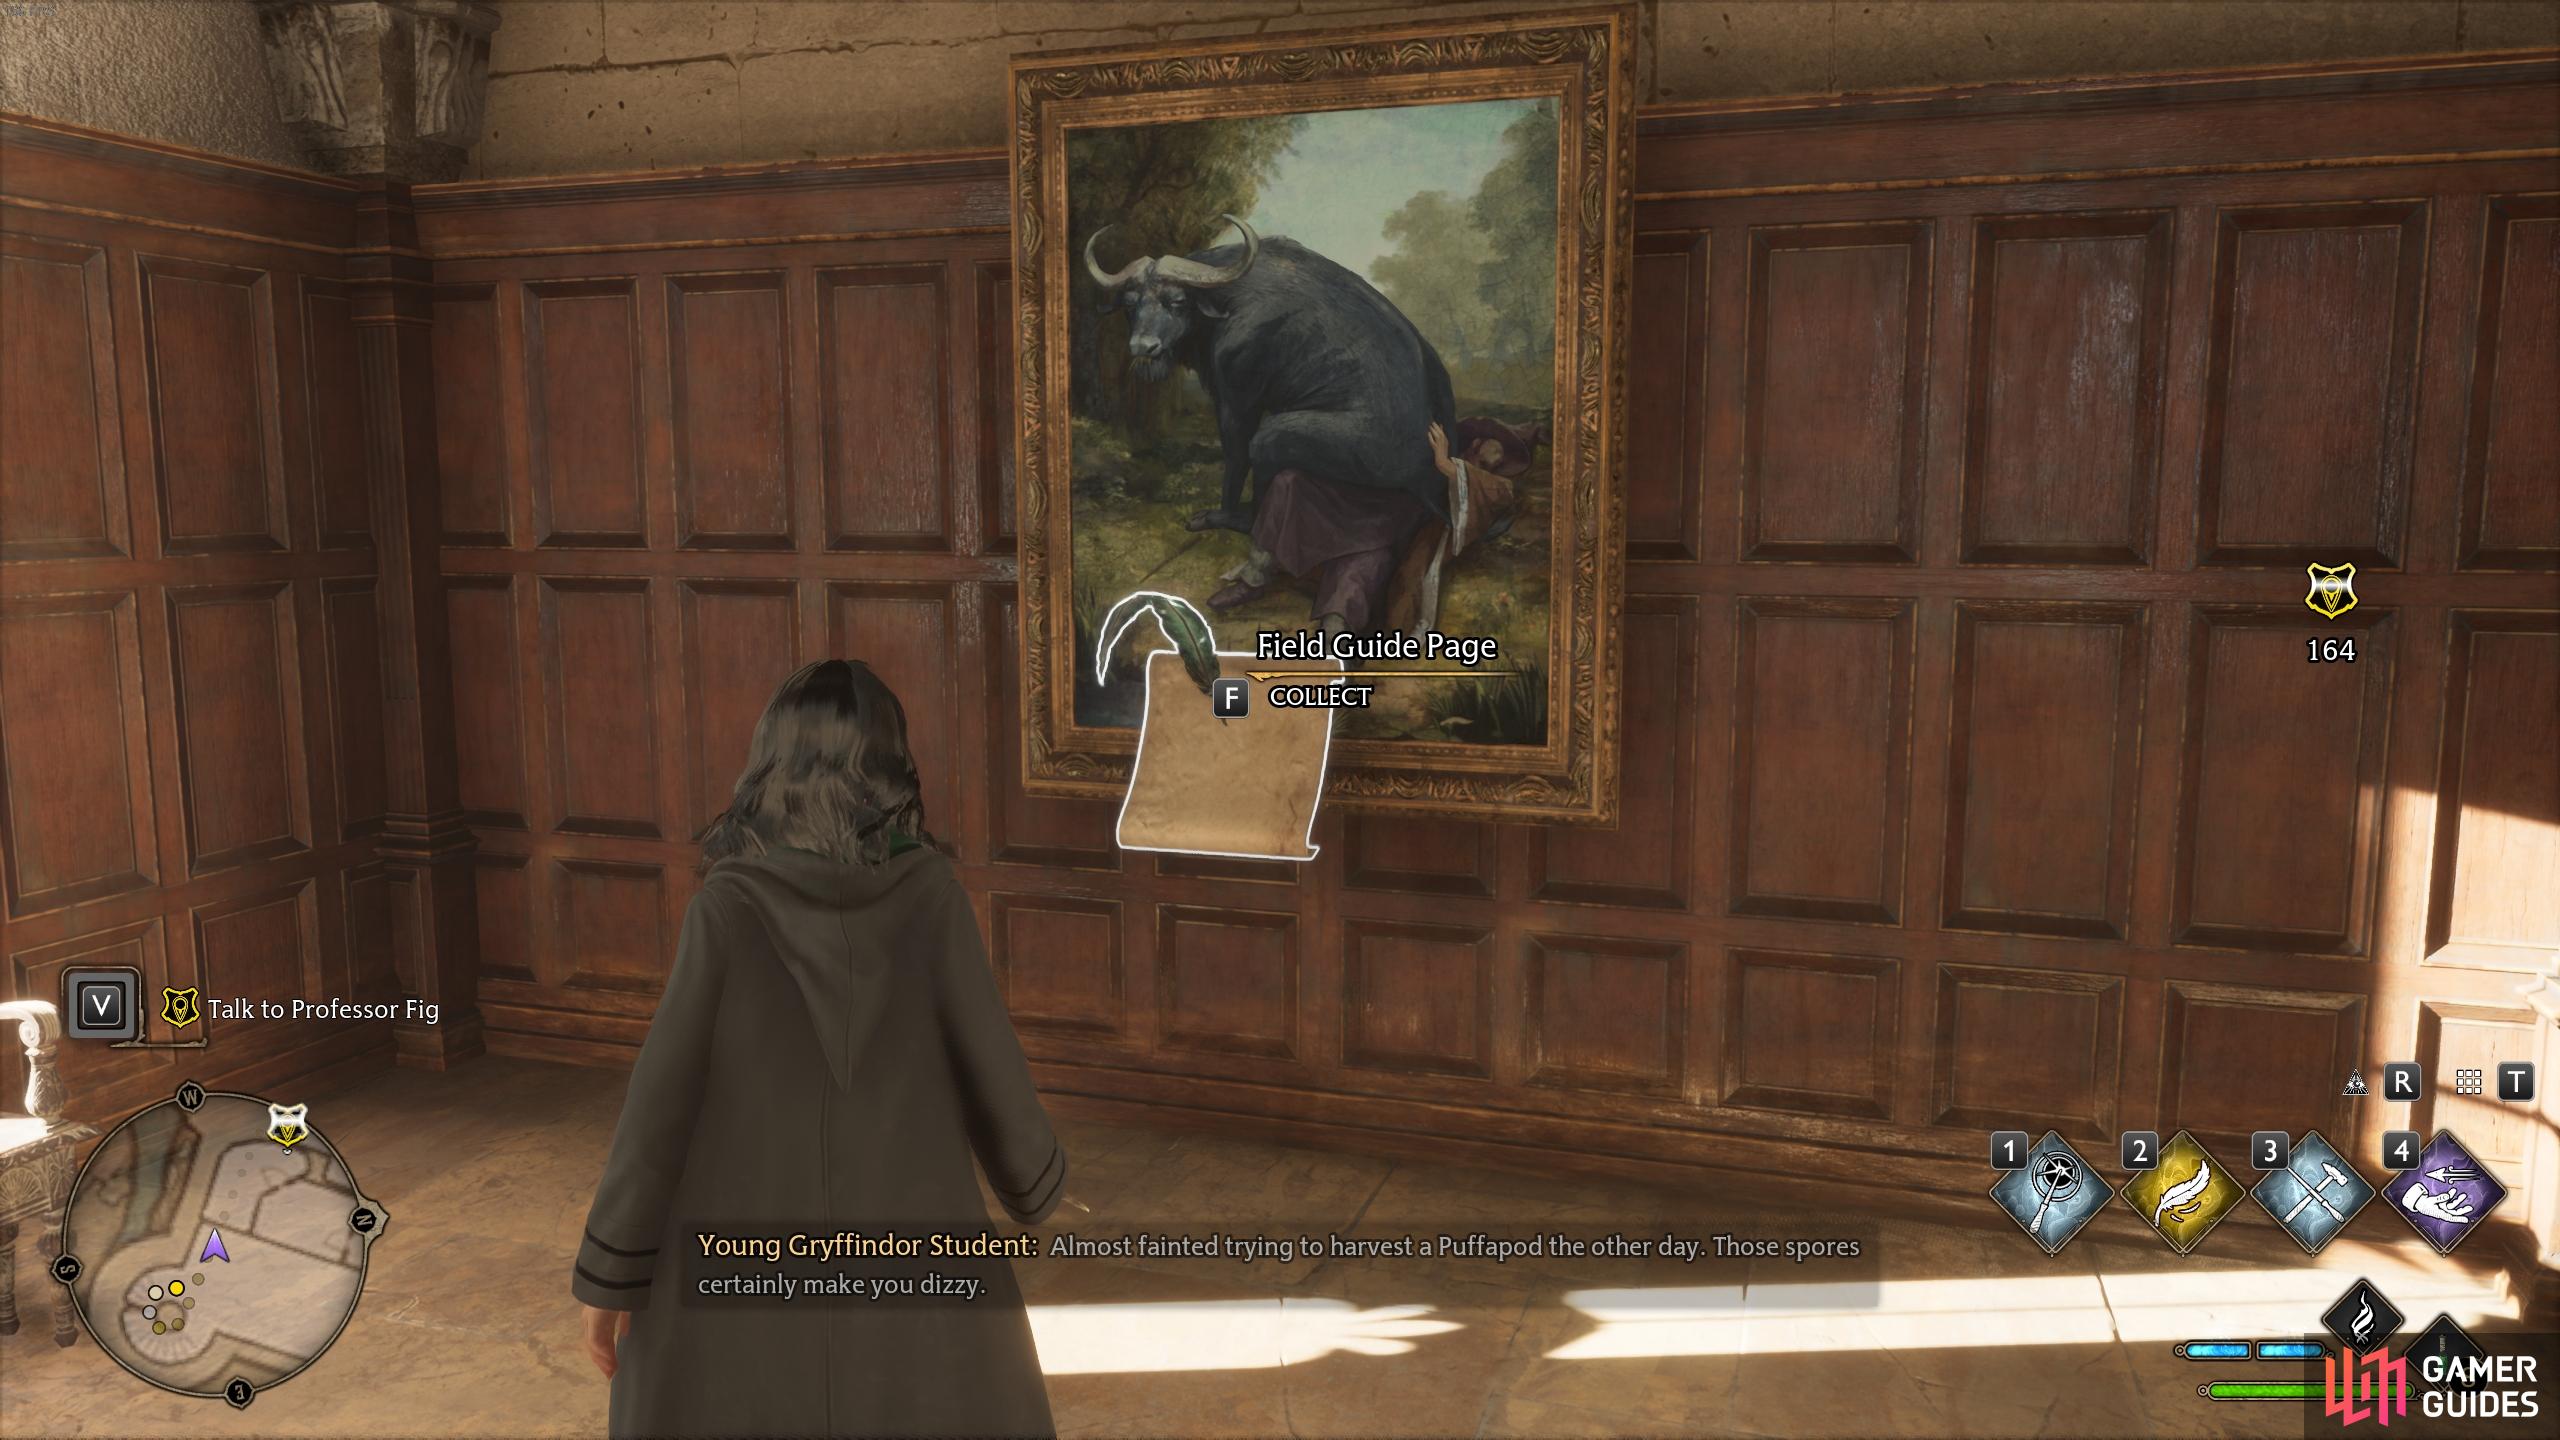
The Portrait of Baruffio can be found in the hall just southwest from the Faculty Tower Floo Flame.
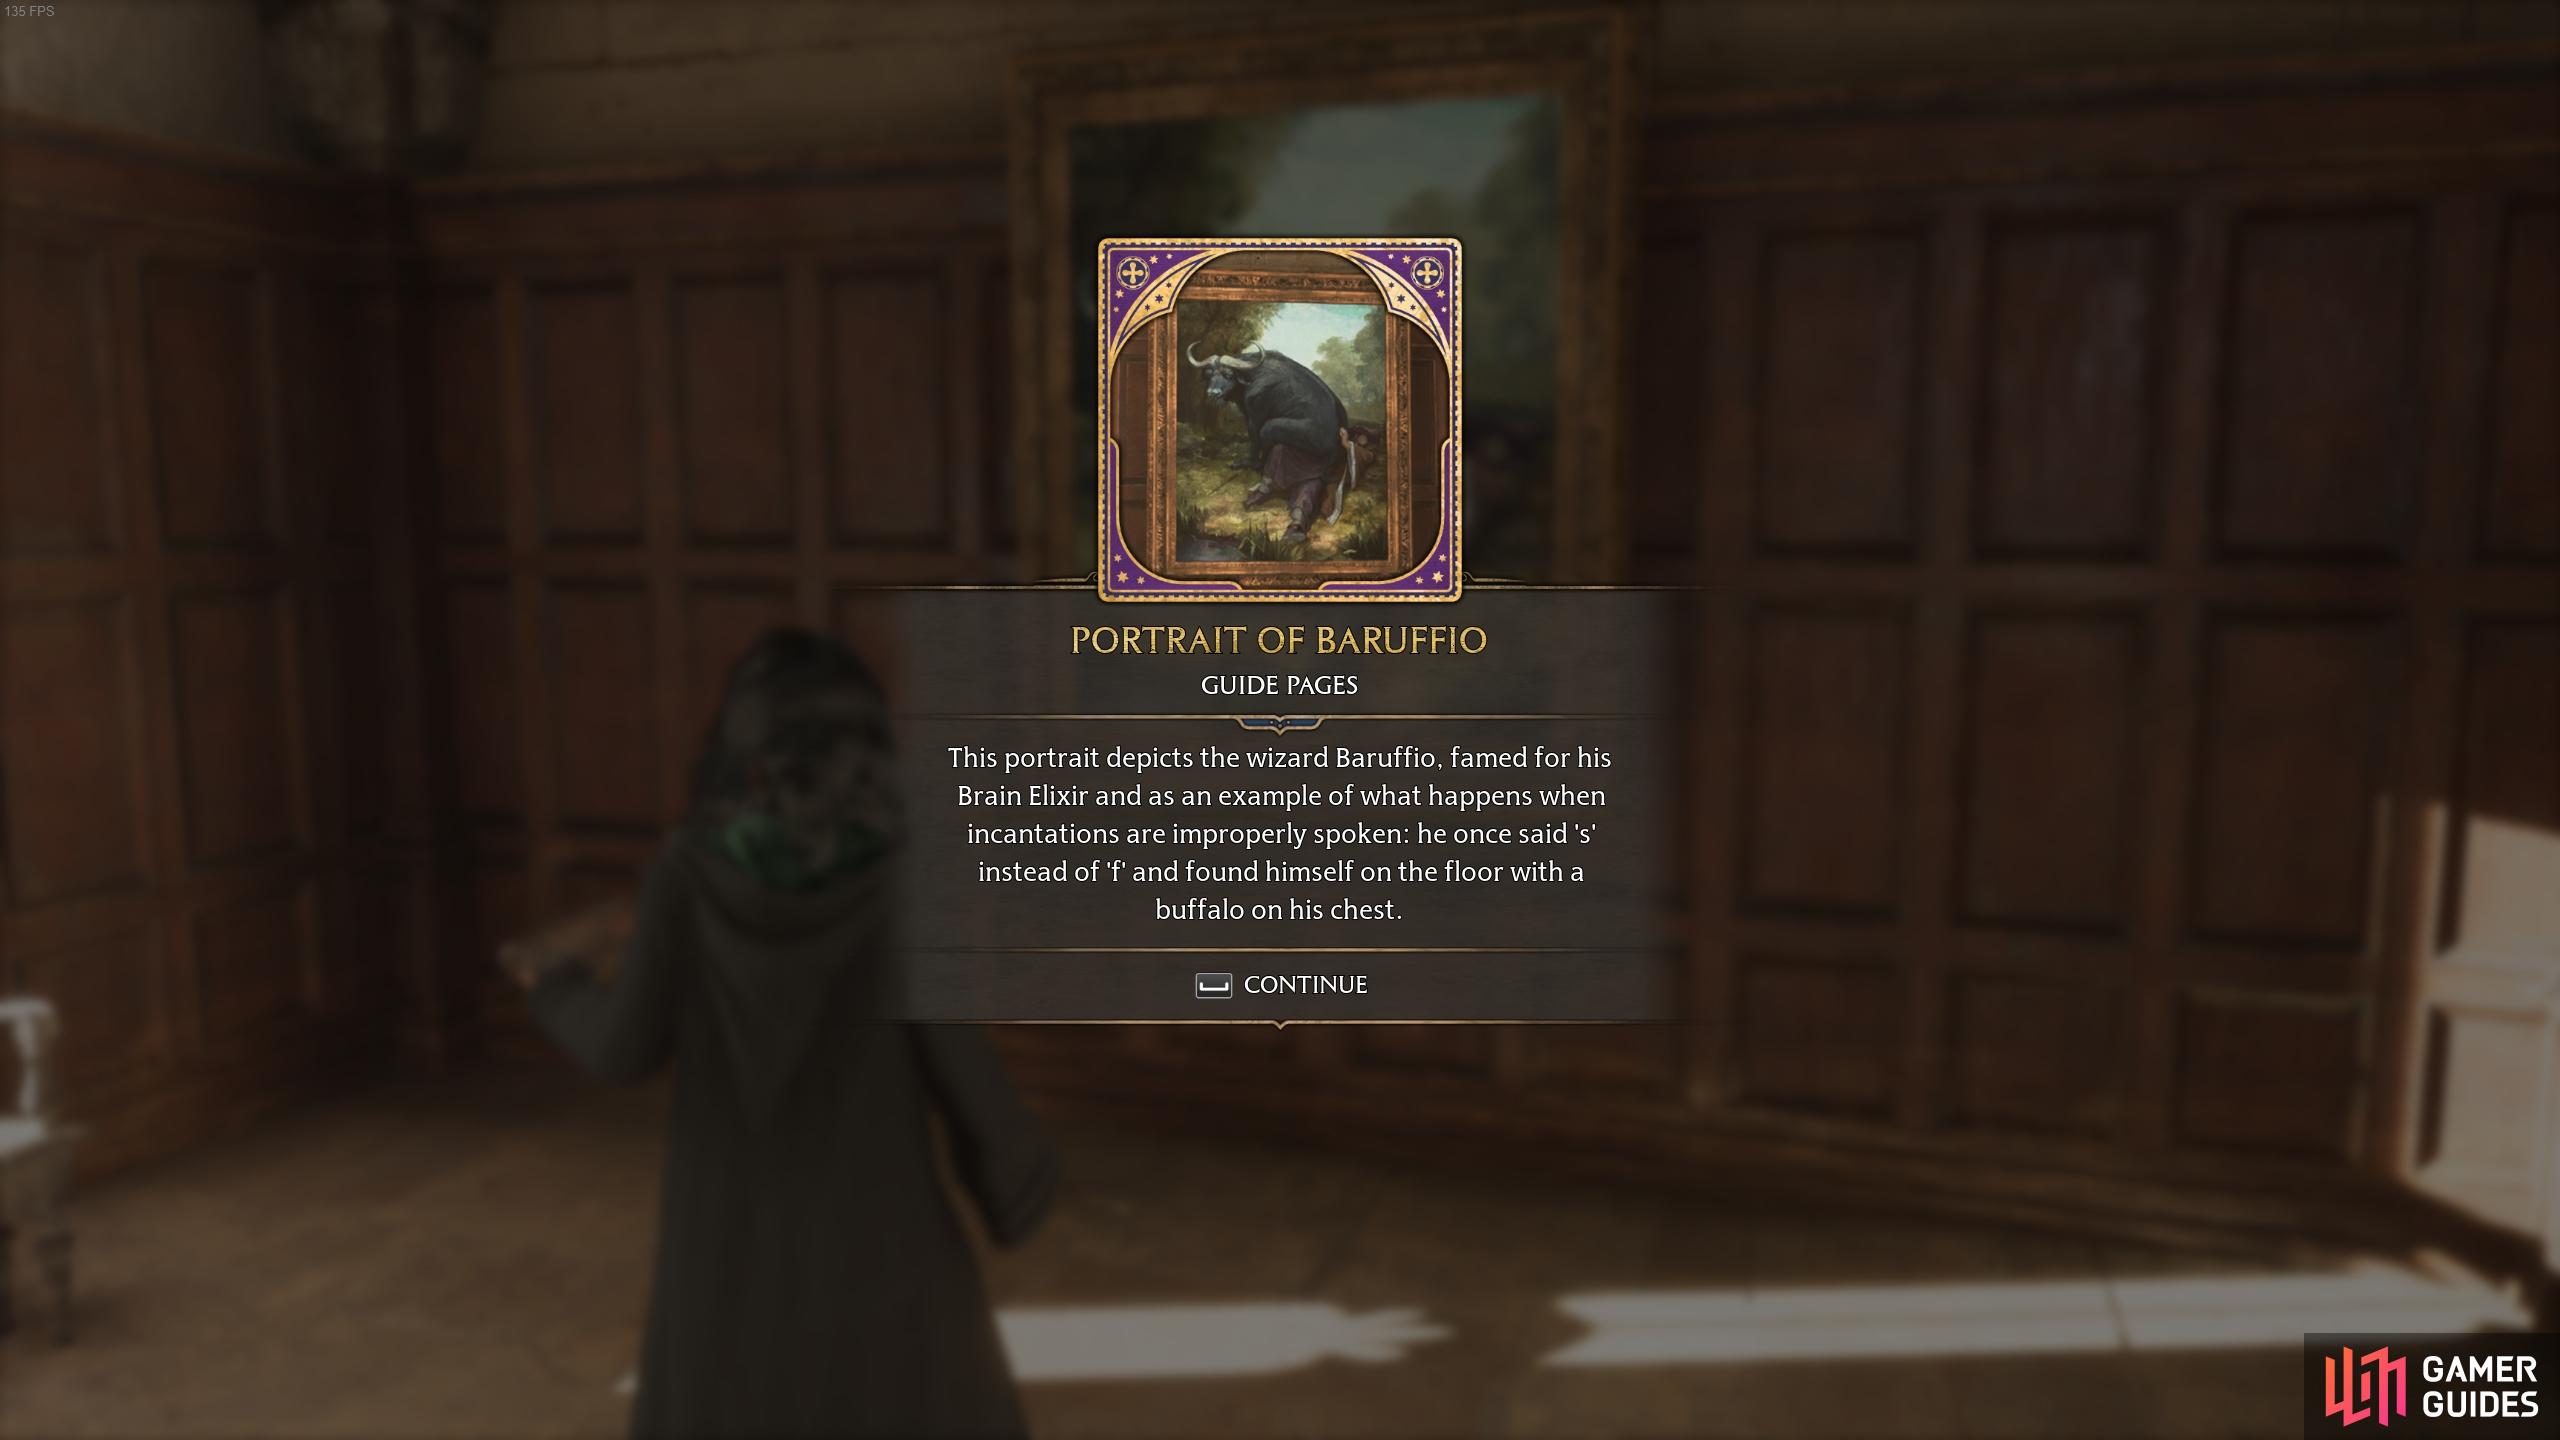
The description for the Portrait of Baruffio Revelio Field Guide Page.
Fat Lady Portrait - Faculty Tower
From the hallway where you found the Portrait of Baruffio, look to the southeast and go up the stairs here. Once at the top, turn left and go to the end of the hallway to find the ![]() Fat Lady Portrait, also the entrance to the Gryffindor common room.
Fat Lady Portrait, also the entrance to the Gryffindor common room.
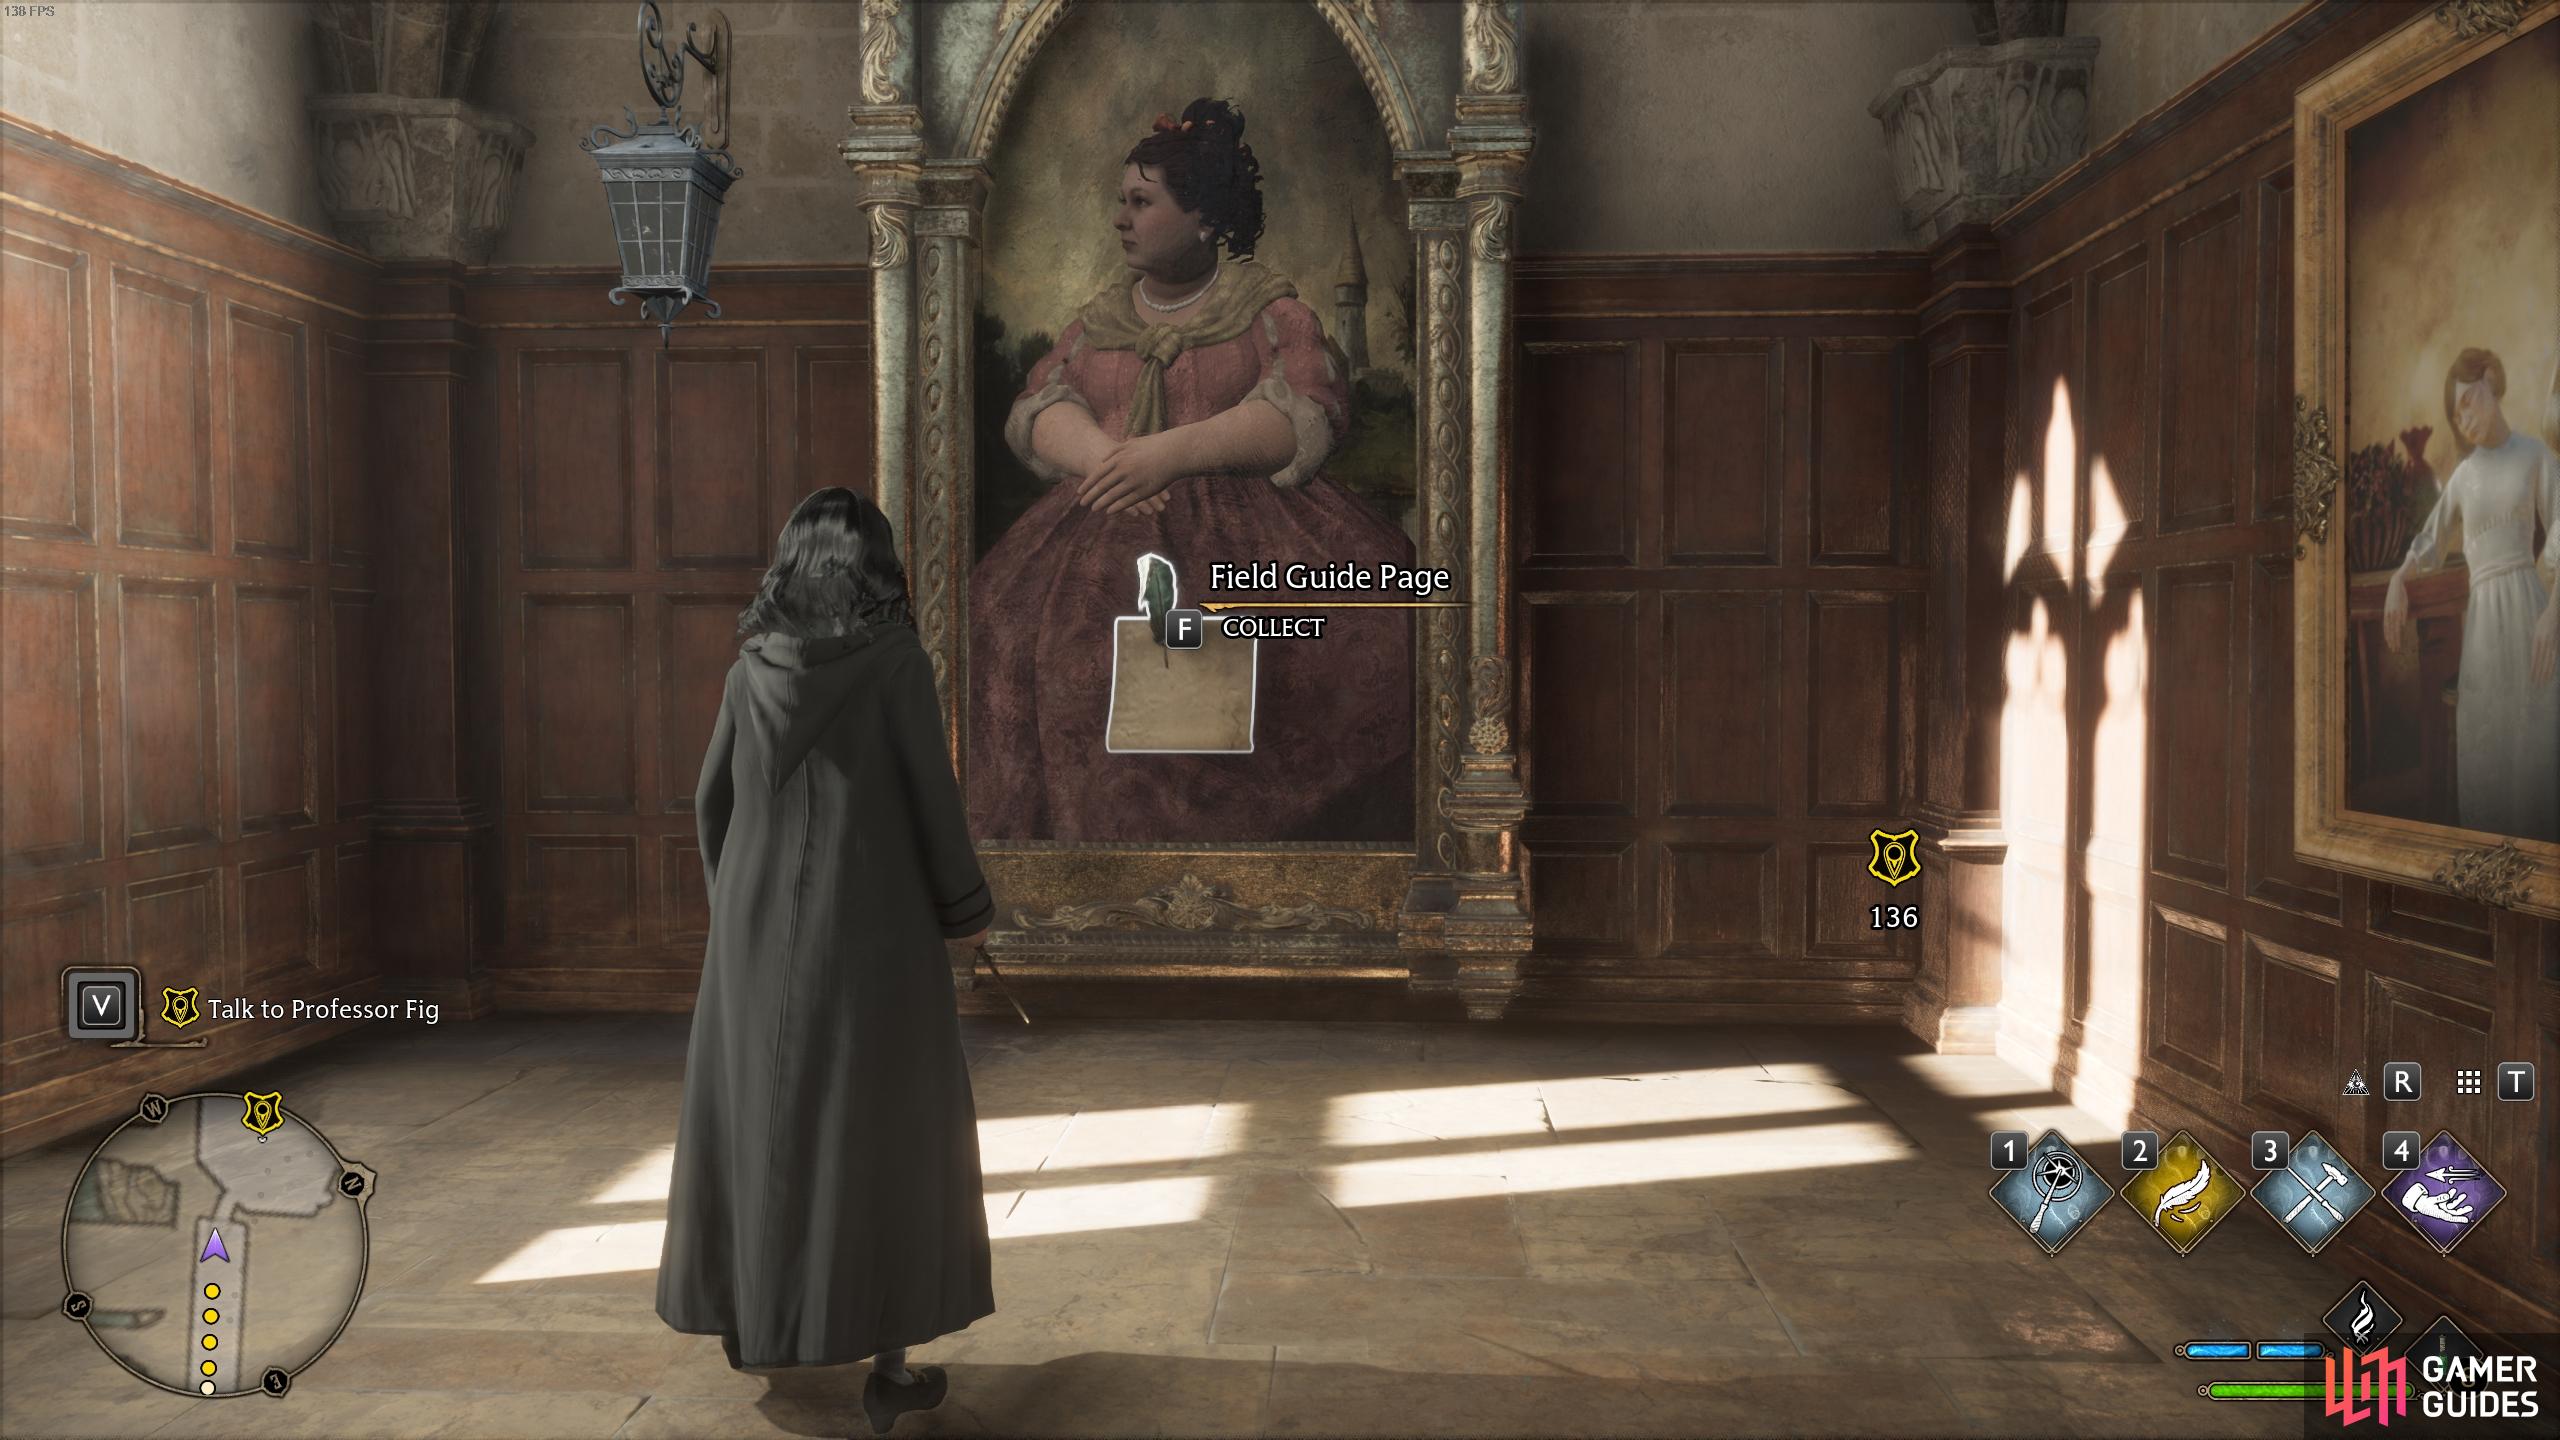
Cast Revelio in front of the portrait to reveal the page.
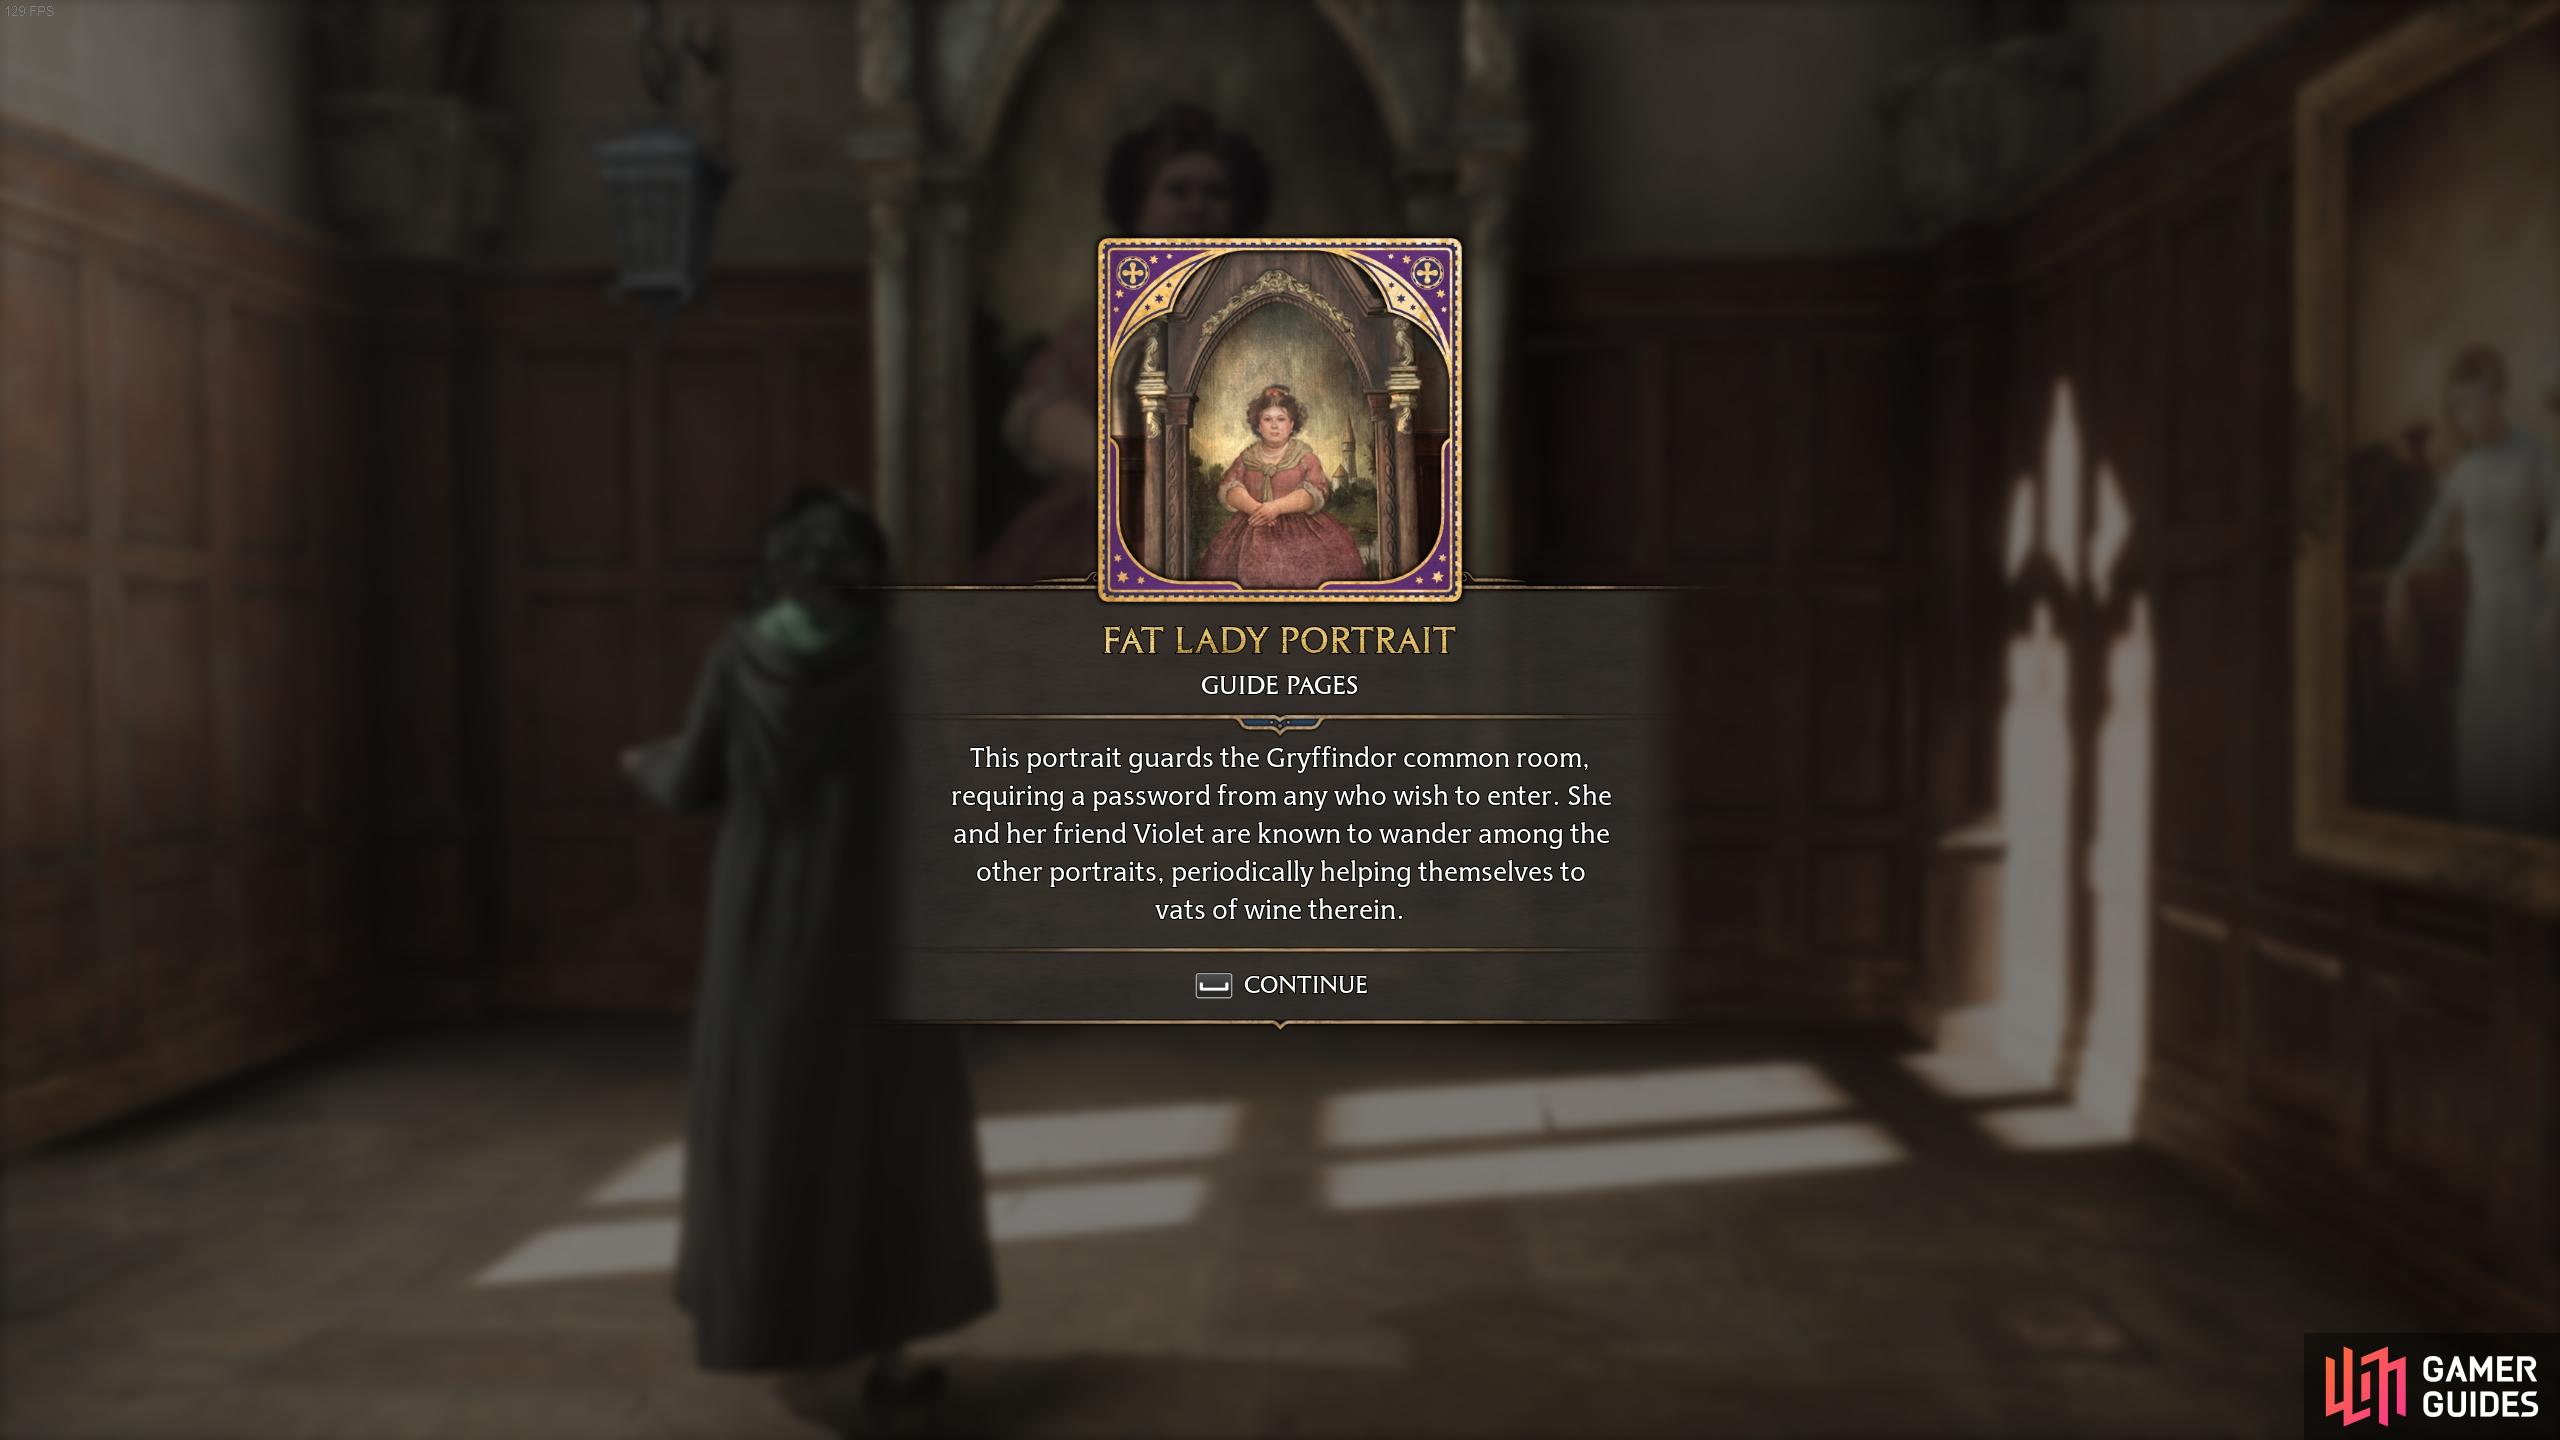
The description for the Fat Lady Portrait Field Guide Page.
Map of Argyllshire - Faculty Tower
Starting again from the Faulty Tower Floo Flame, go to the end of the hallway to the south (beyond the Portrait of Baruffio), and take the spiral staircase down, then take the straight staircase down. Continue on until you reach the end of the hallway at the western side, where you’ll see the large ![]() Map of Argyllshire on the wall.
Map of Argyllshire on the wall.
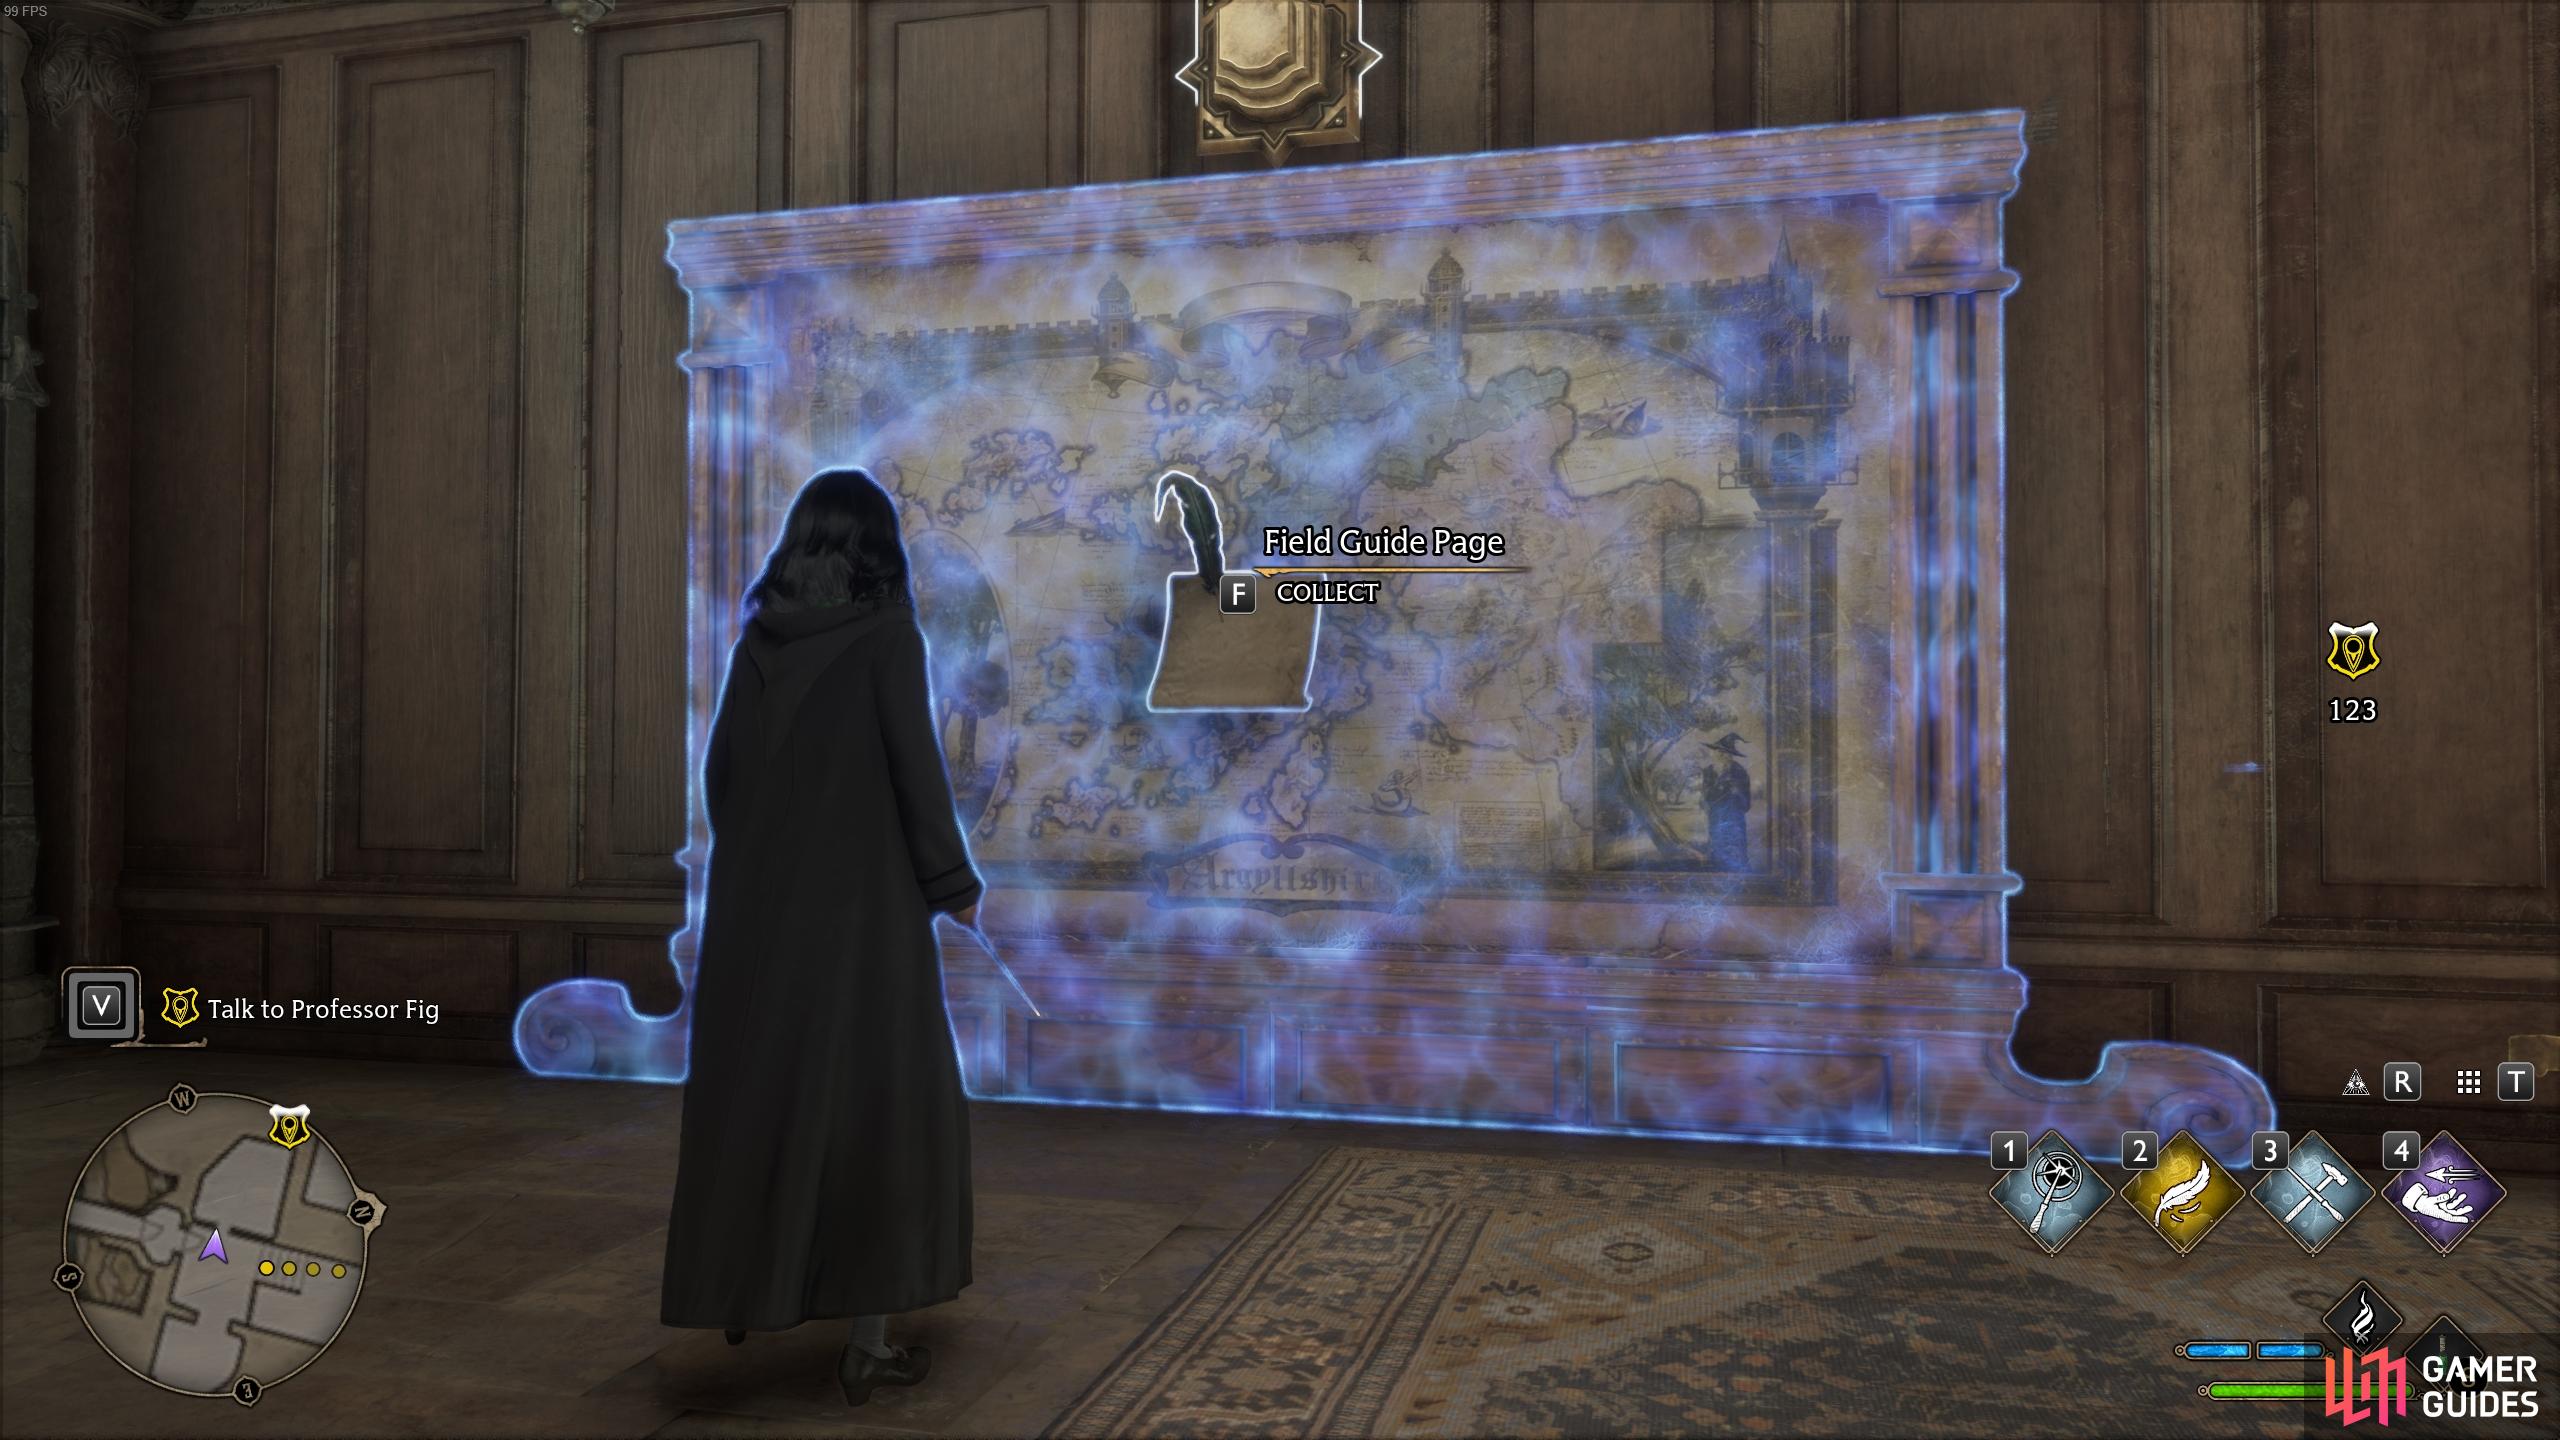
Cast Revelio next to the map to reveal the page.
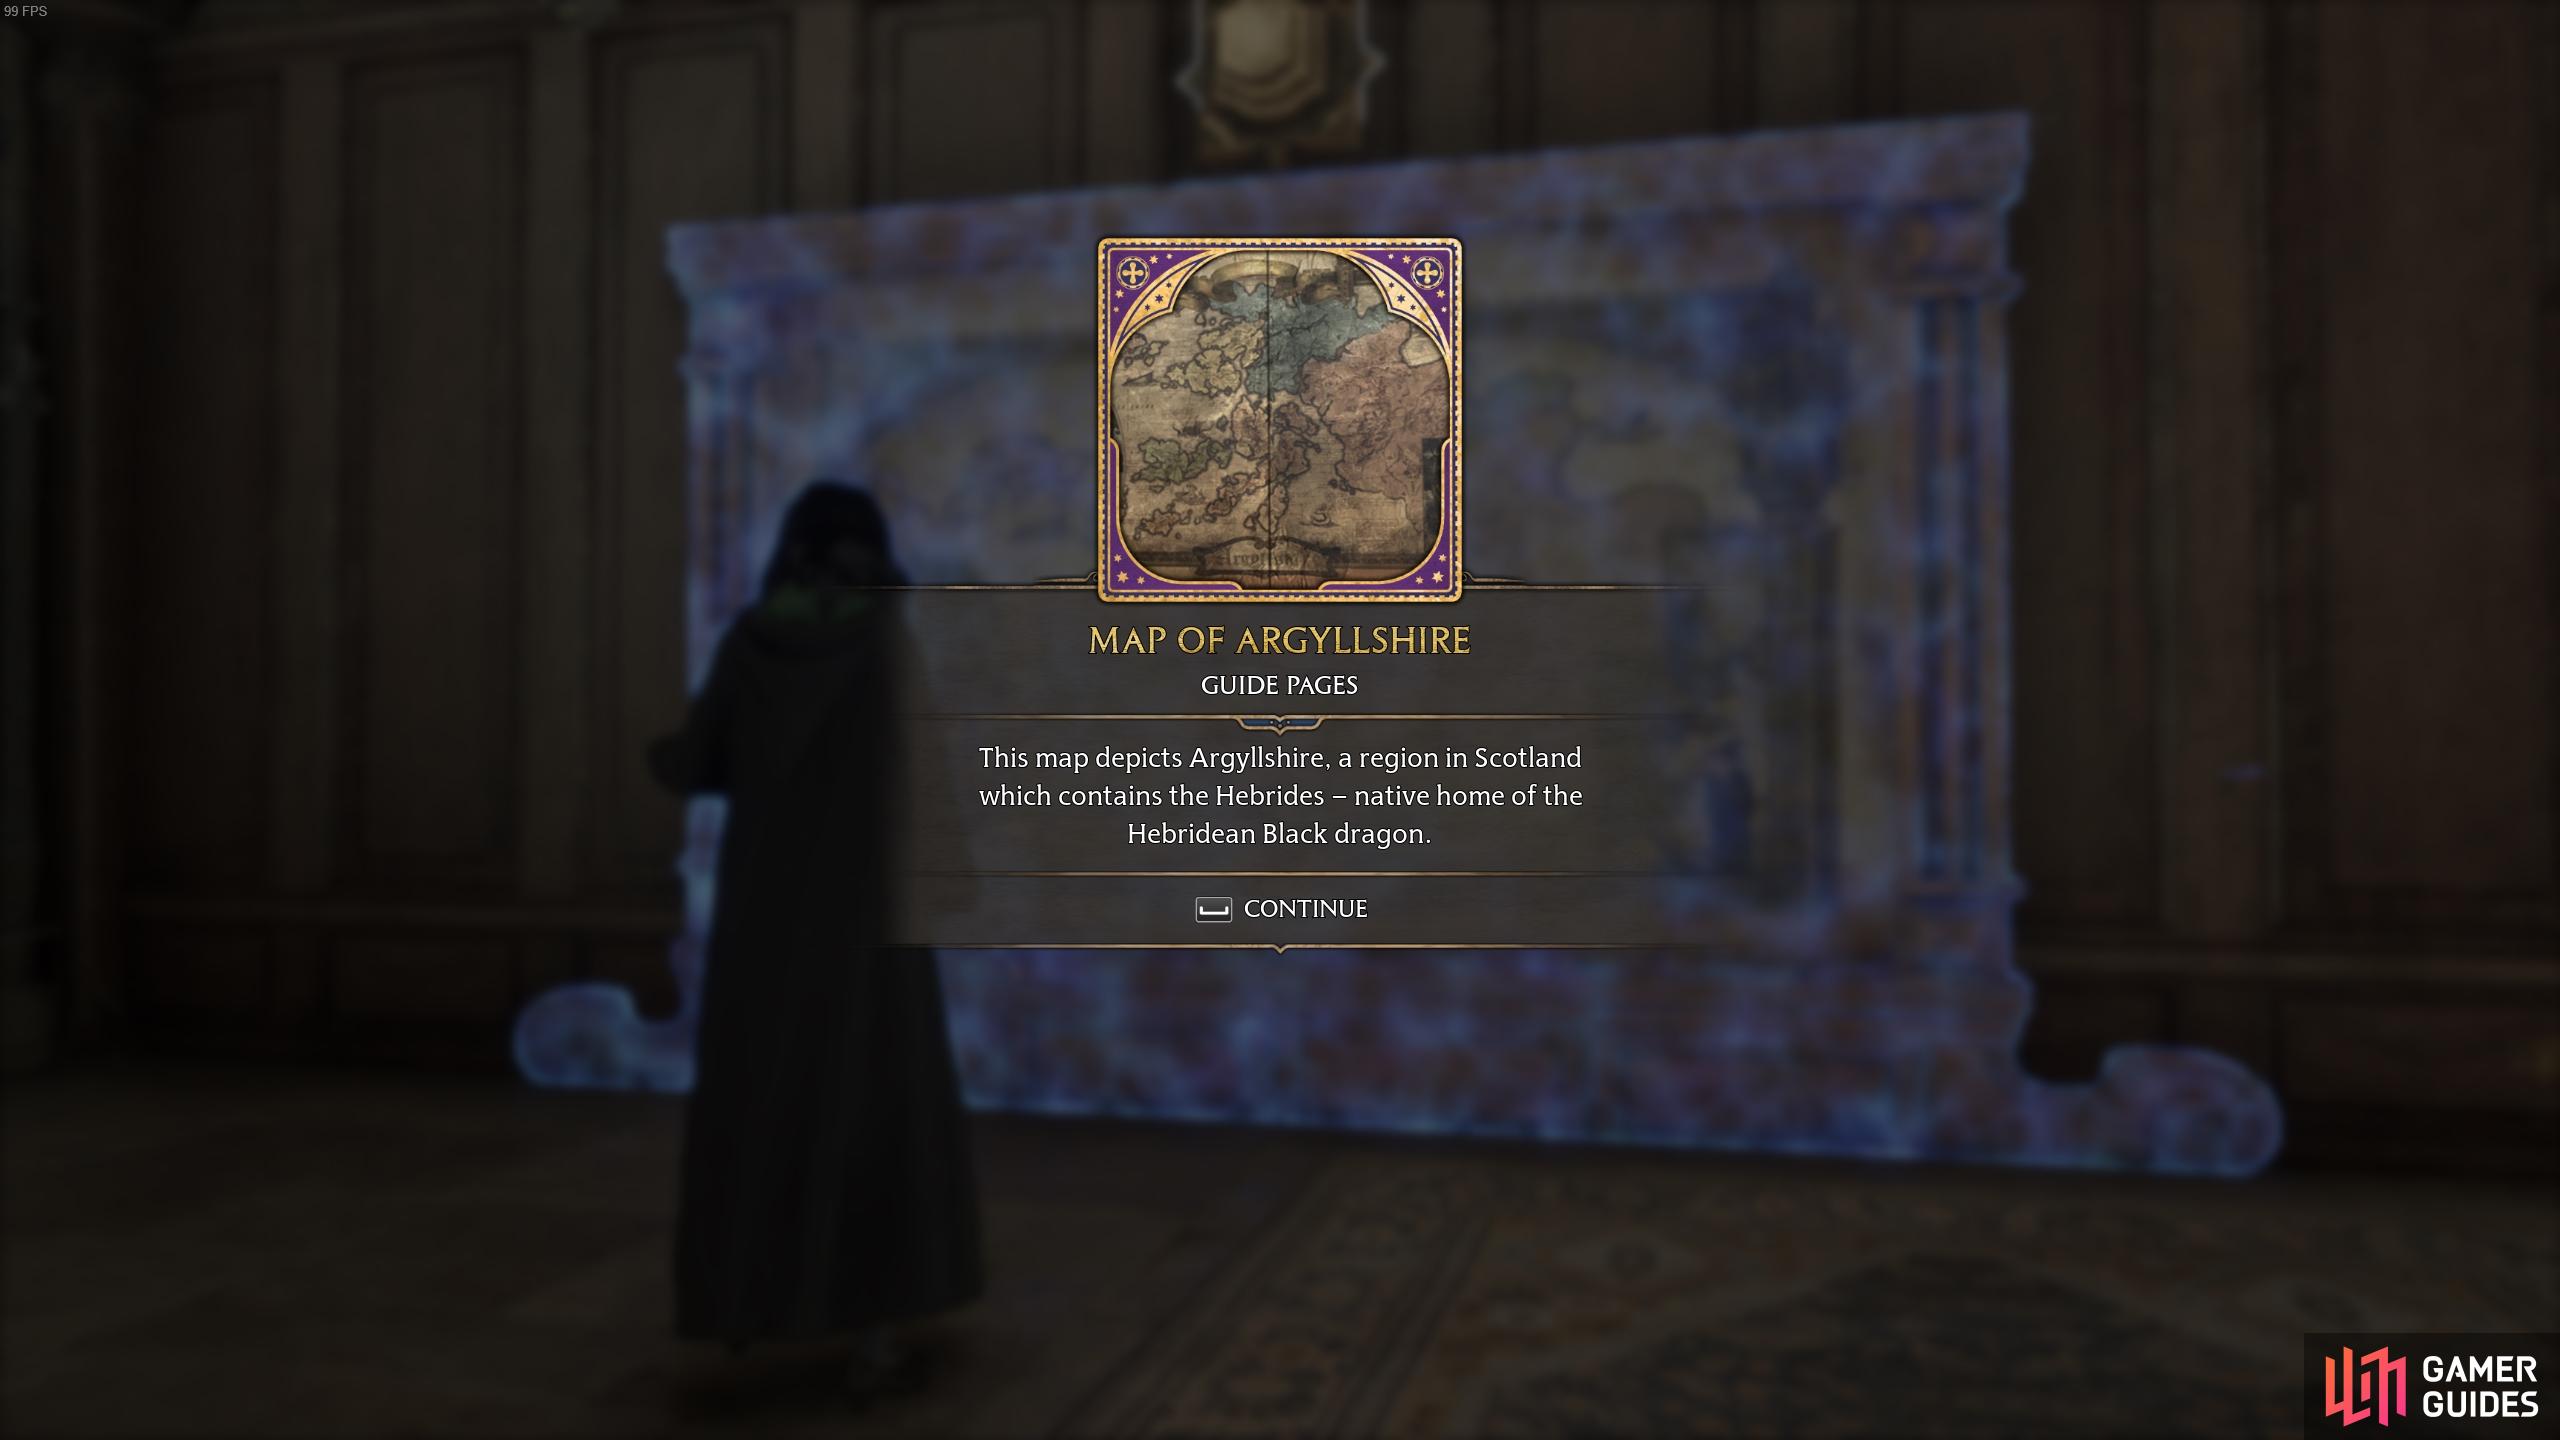
The description for the Map of Argyllshire.
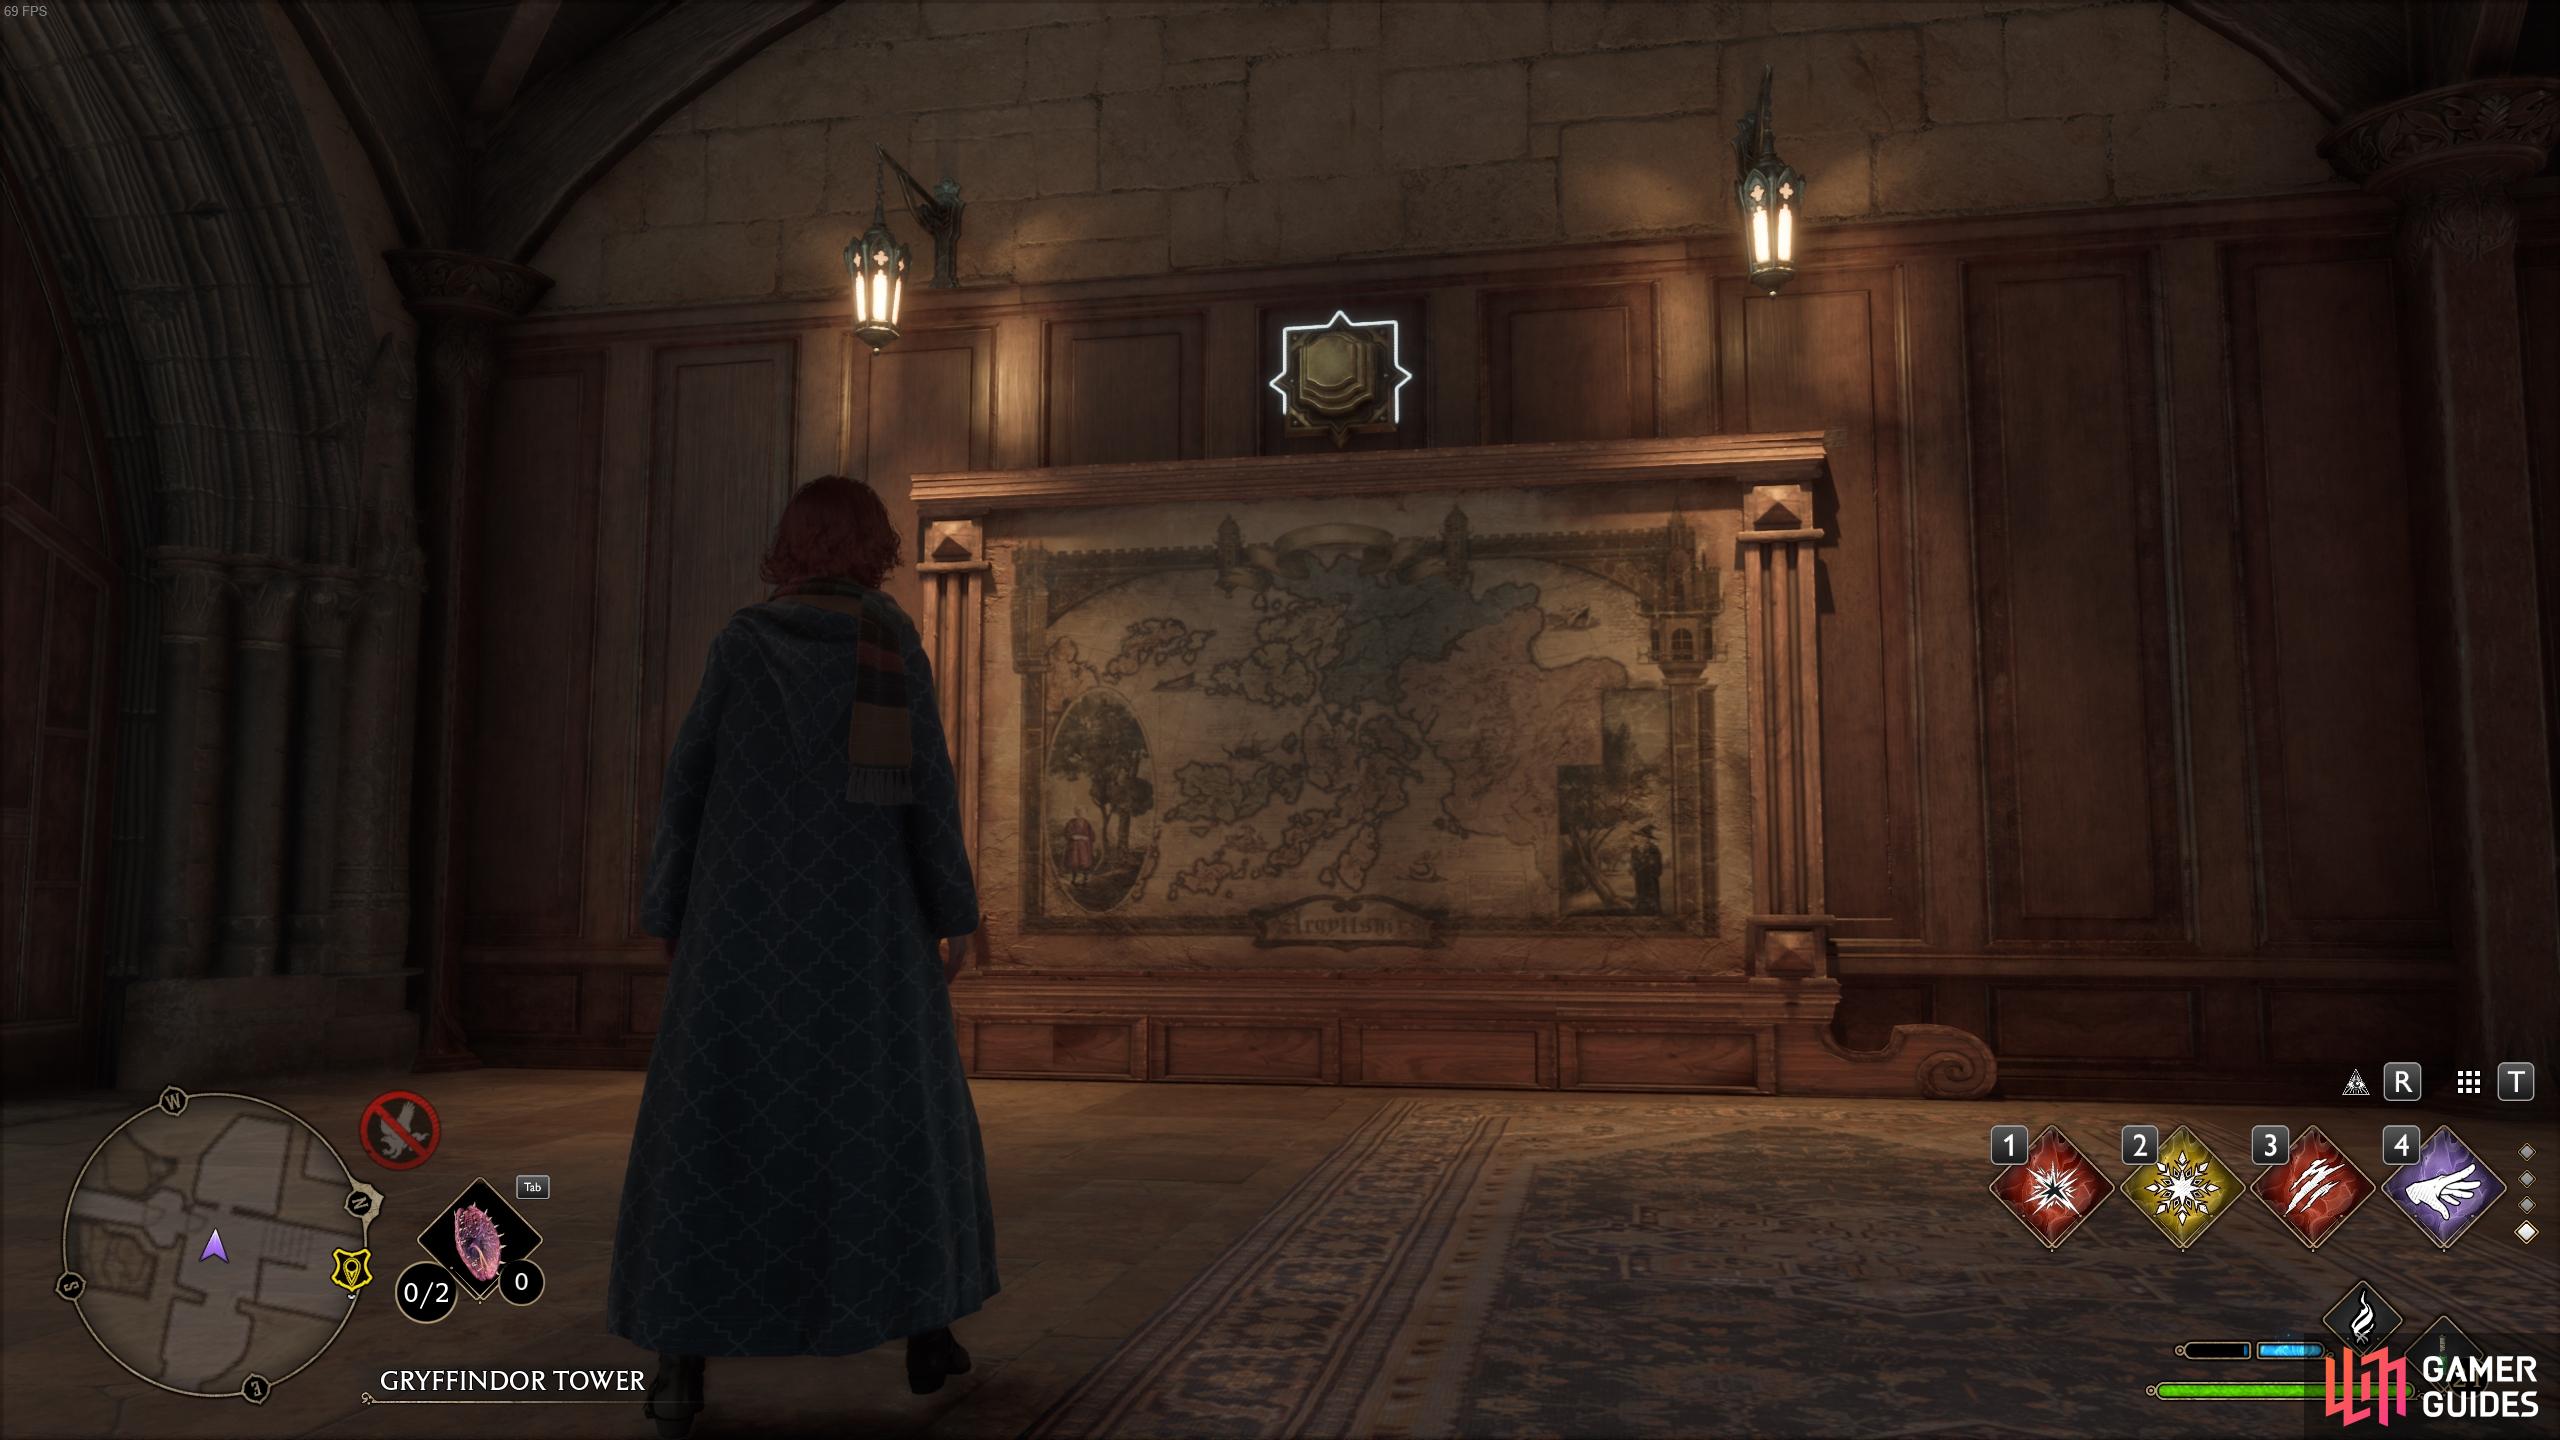
Moth Field Guide Page - Faculty Tower
At the same location of the Map of Argyllshire, you’ll see a button at the top of the map. You need to cast ![]() Depulso on this to open a hidden room behind it where you’ll find a black moth mirror. Cast Lumos in front of the mirror to reveal the location of its associated moth, then head back to the hallway and down the stairs to the north. Turn left from here, and then left again at the first door you come across. This leads you into a bathroom where you’ll find the moth immediately to your left again. All you need to do once you have it is carry it back to the mirror in the hidden room and decast Lumos to slot it into the mirror and reveal the page.
Depulso on this to open a hidden room behind it where you’ll find a black moth mirror. Cast Lumos in front of the mirror to reveal the location of its associated moth, then head back to the hallway and down the stairs to the north. Turn left from here, and then left again at the first door you come across. This leads you into a bathroom where you’ll find the moth immediately to your left again. All you need to do once you have it is carry it back to the mirror in the hidden room and decast Lumos to slot it into the mirror and reveal the page.
Lachlan the Lanky - Faculty Tower
This one can be found at the bottom of the stairs to the northeast from the Map of Argyllshire. Turn right at the bottom to find the statue, and cast Revelio to reveal its page.
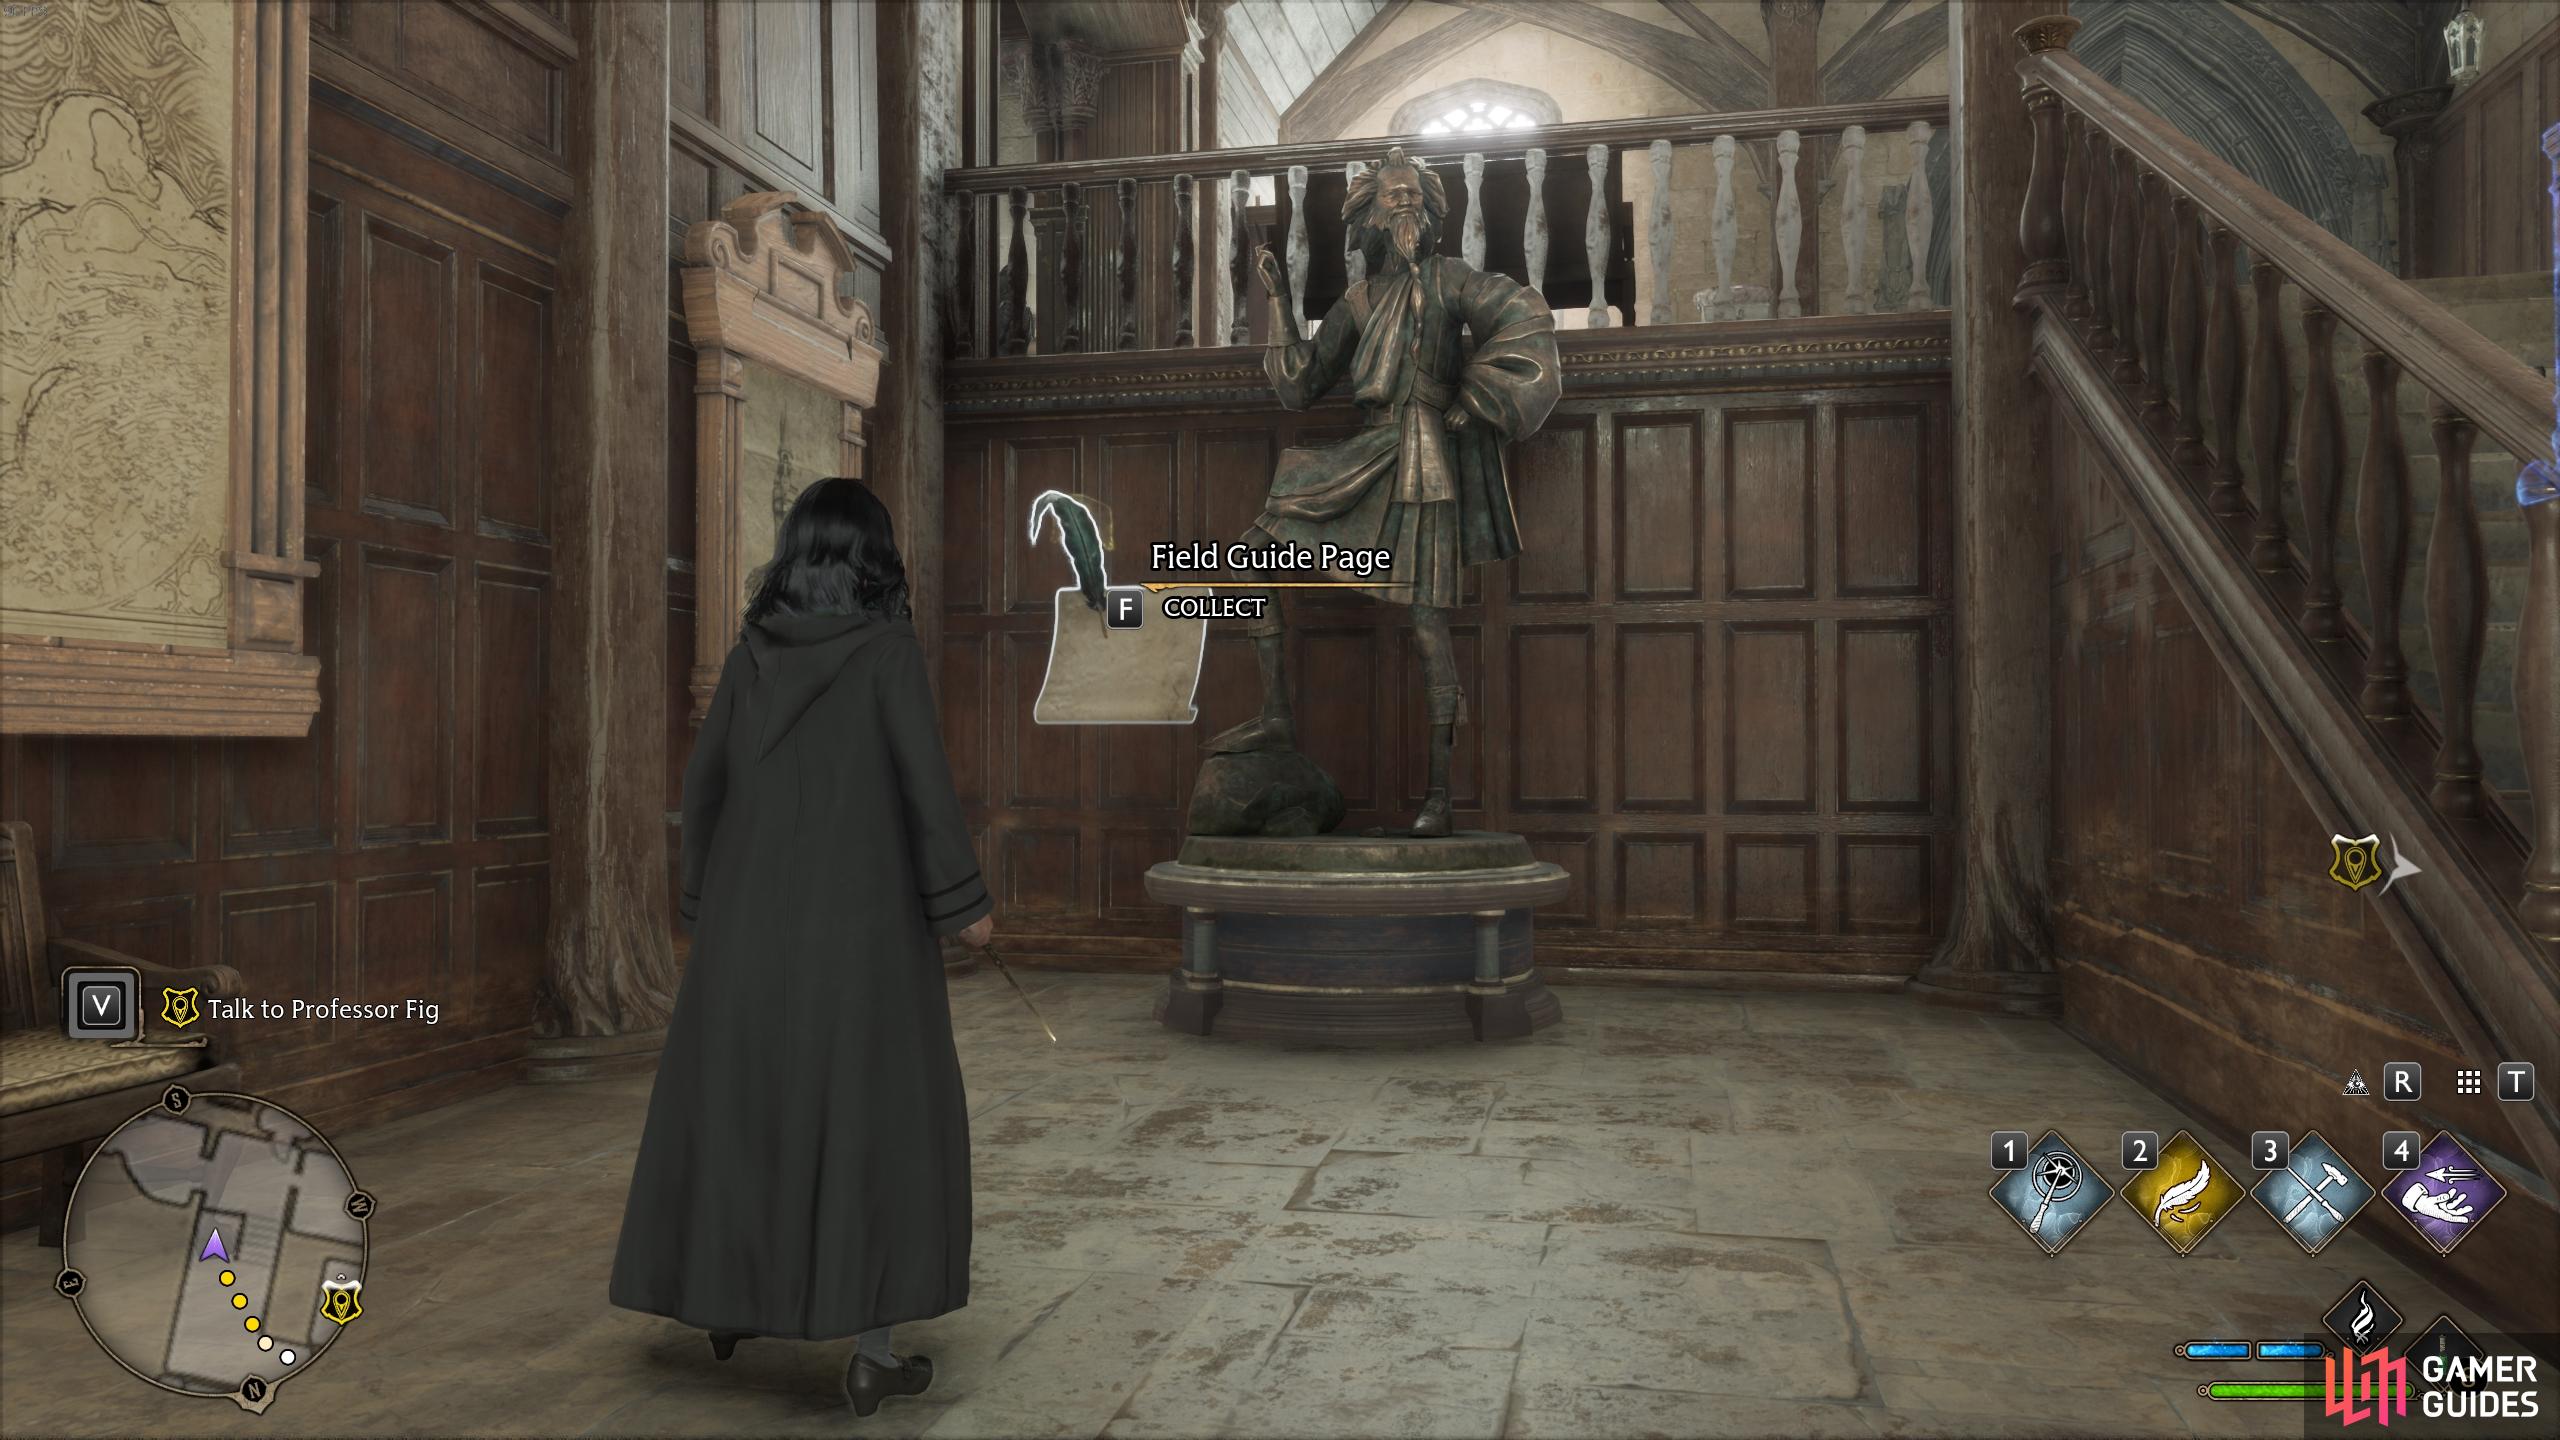
You’ll find the statue of Lachlan the Lanky at the bottom of the stairs here.
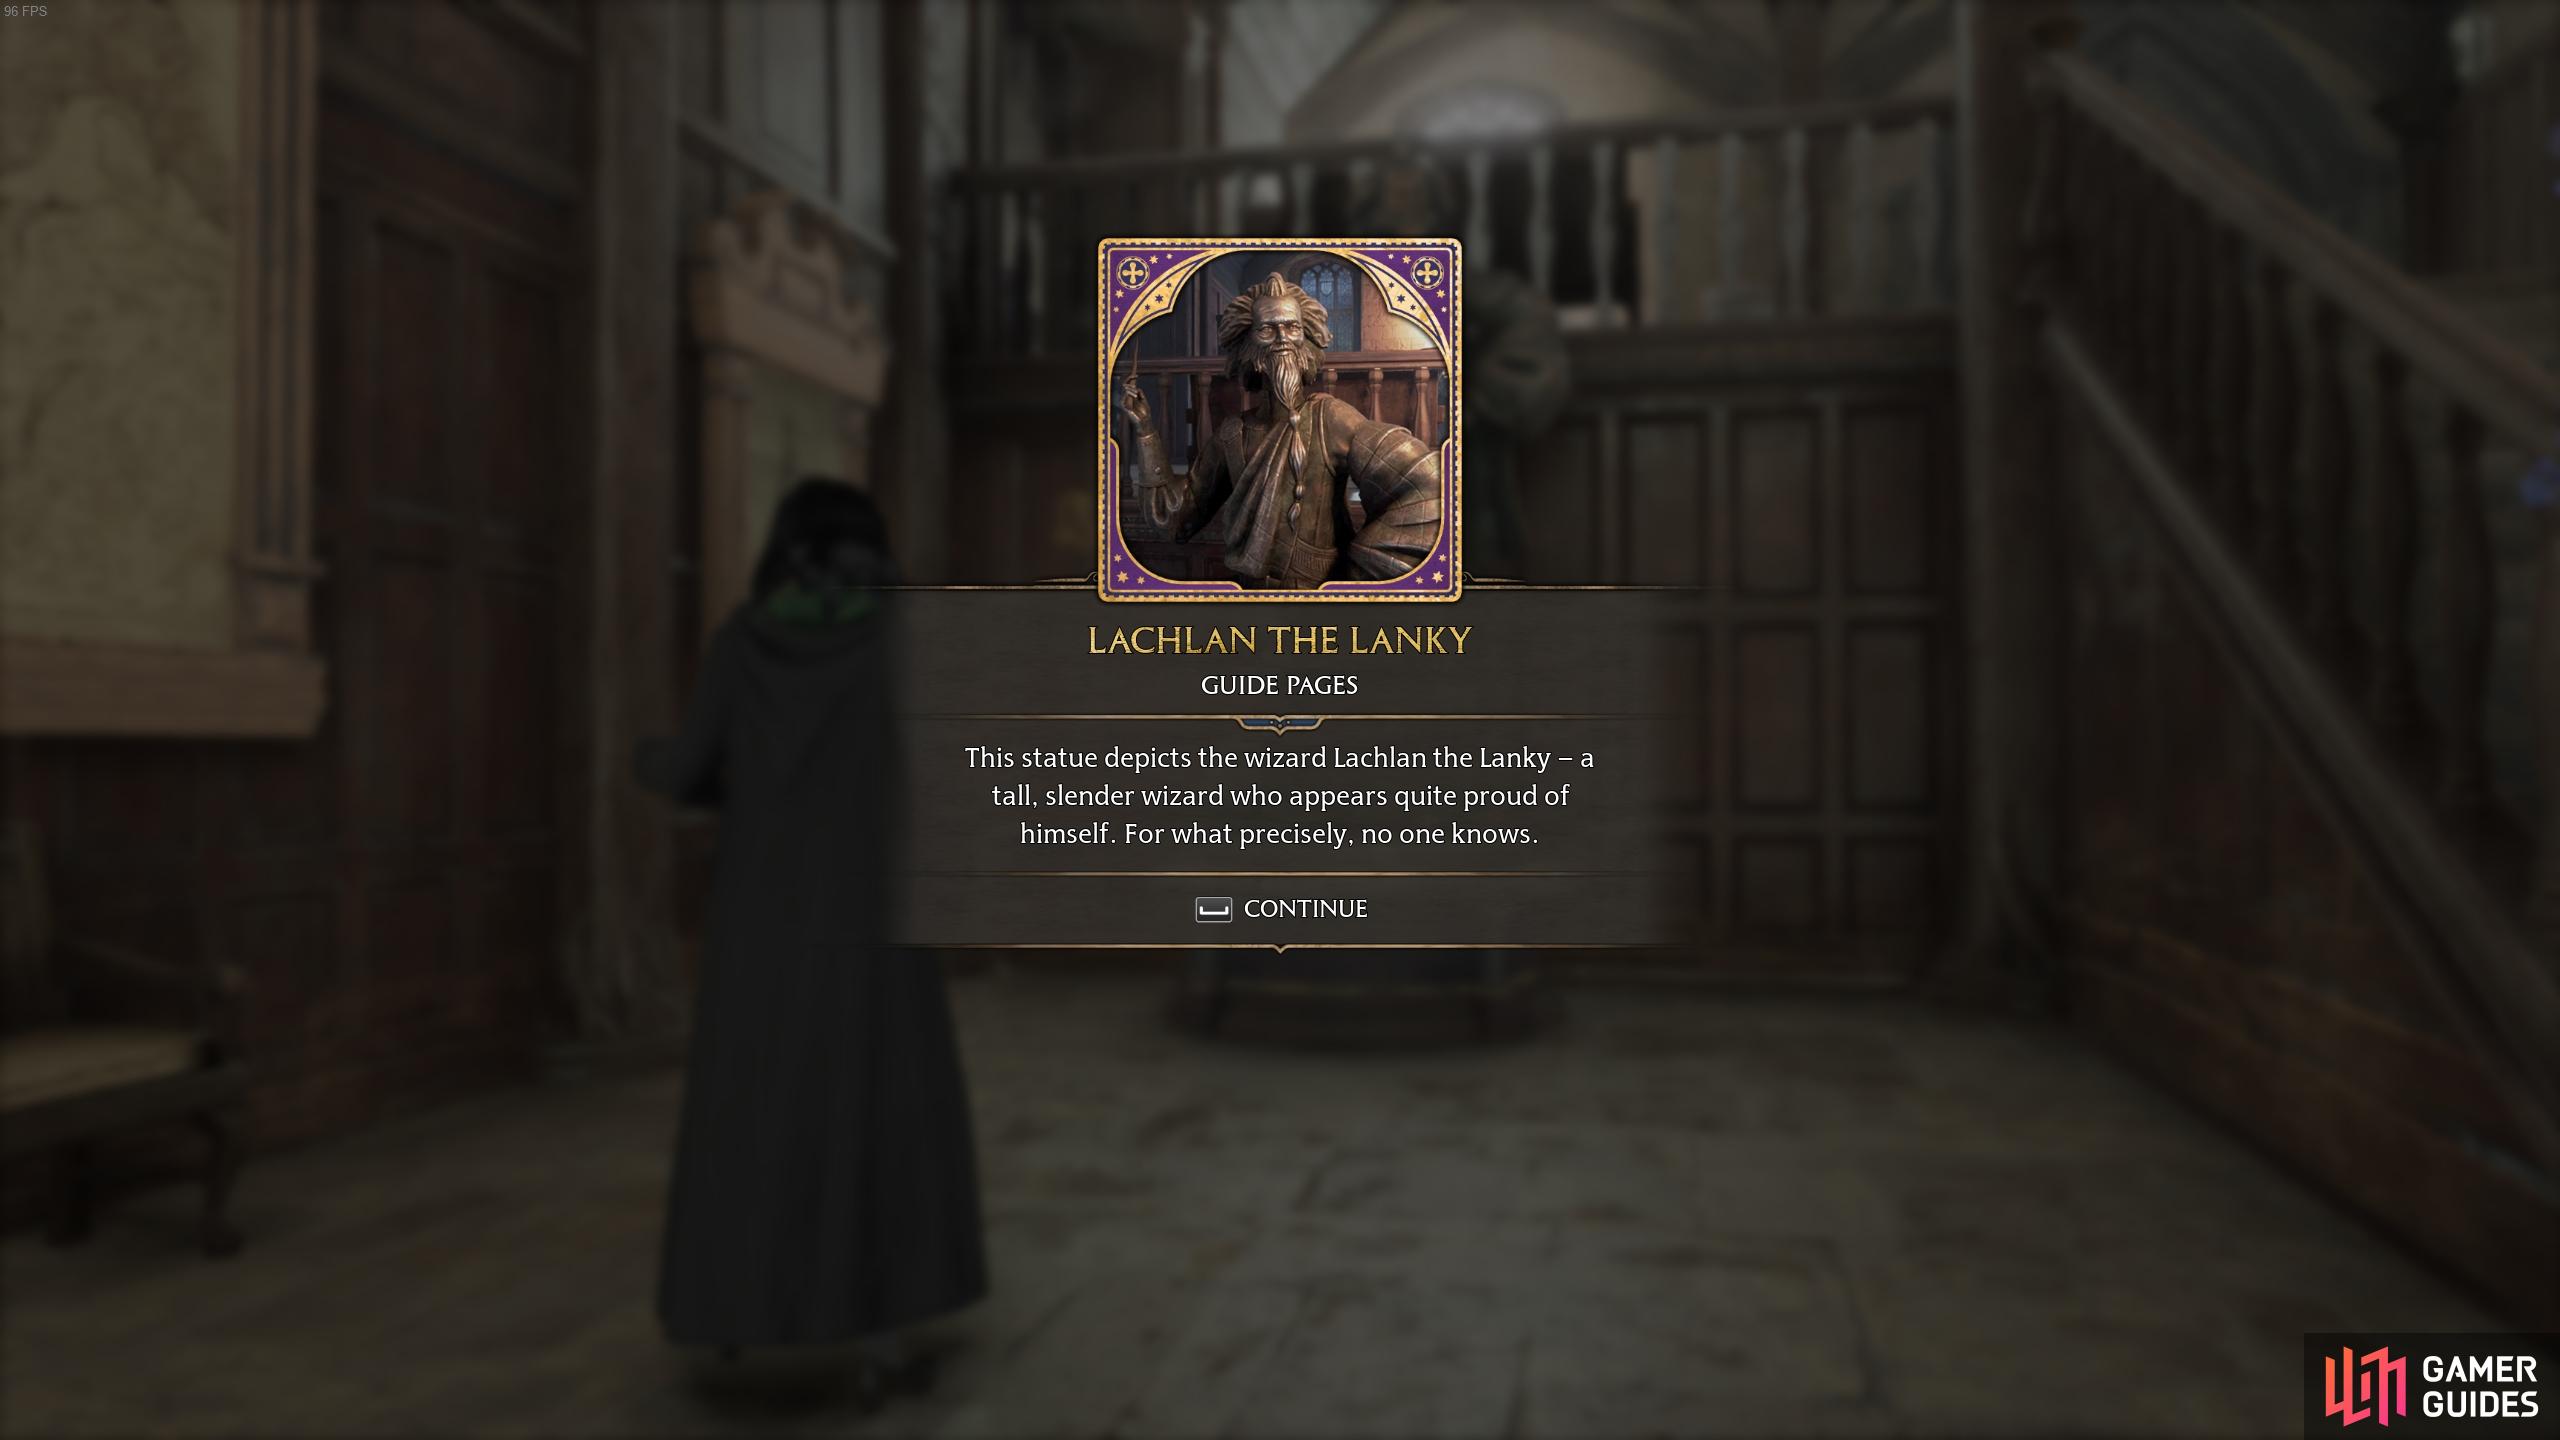
The description for Lachlan the Lanky.
Brazier Field Guide Page - Faculty Tower
This one can be found just opposite the statue of ![]() Lachlan the Lanky. It’s an unlit brazier in the corner of the room which you need to cast a fire-based spell on to light, such as Incendio or Confringo, then read the page from it.
Lachlan the Lanky. It’s an unlit brazier in the corner of the room which you need to cast a fire-based spell on to light, such as Incendio or Confringo, then read the page from it.
You need to light this brazier with a fire-based spell such as Incendio or Confringo.
Haunted Toilets - Faculty Tower
You’ll find this Revelio page at the end of the hallway just northwest from the unlit brazier. Cast Revelio in front of the door to discover the page.
You need to cast Revelio in front of the door to reveal the page.
Flying Field Guide Page - The South Wing Courtyard
The easiest way to reach this final page for The South Wing is actually by fast traveling to the Great Hall Floo Flame, part of The Great Hall section of Hogwarts Castle, and then heading through the doors on the western side which lead outside. Go down the steps to your right and through the archway to the right at the bottom of them. You’ll see the statue just ahead, directly west from where you’re facing. Cast Levioso to extract and read the page.
Cast Levioso to extract the page from the statue.
You can read the page as the statue disappears.
No Comments