
The final step of your legacy is upon you, the location of the Final Repository has been revealed and you need to get there before Ranrok does. This page will tell you what your choices will change and how to reach the final battle.
The Final Repository is the final main quest in Hogwarts Legacy.
Battles in the Keepers’ Caverns
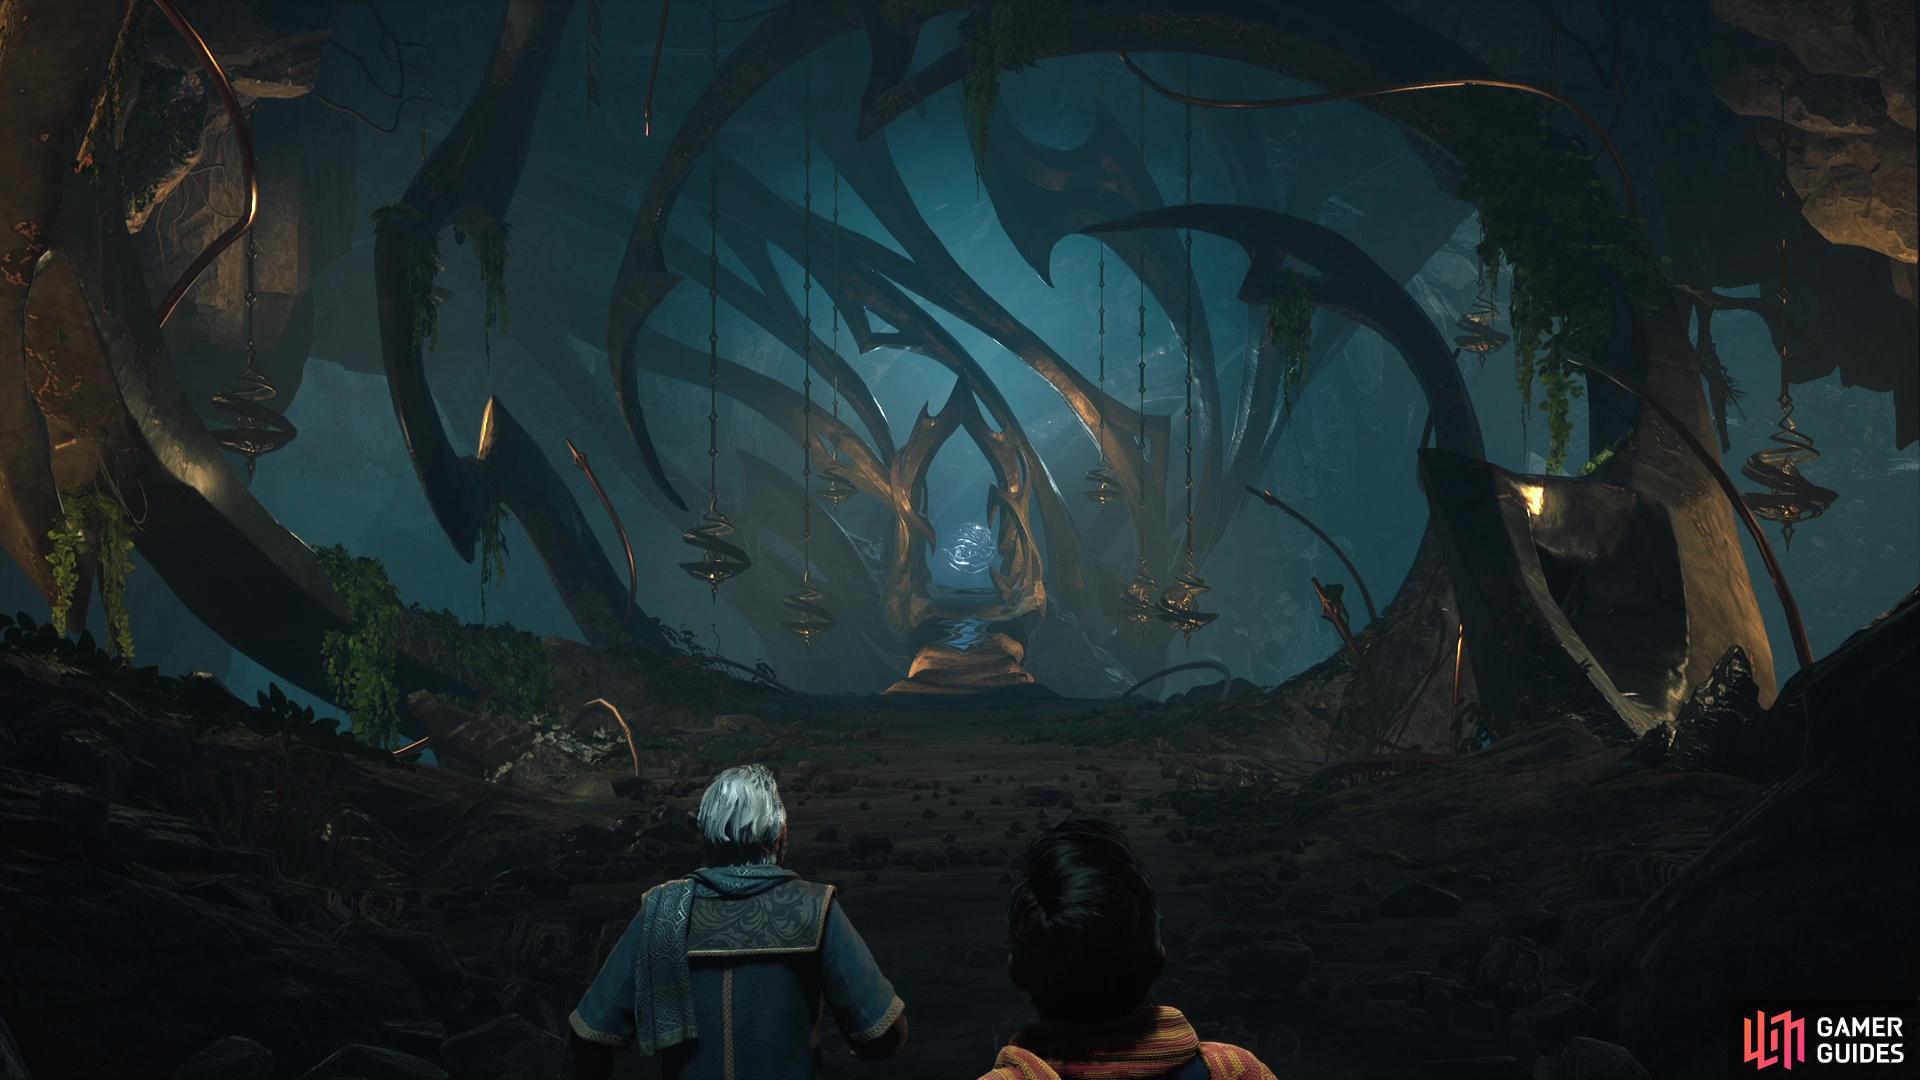
This is it, everything you’ve done has led to this point. All of the sacrifices from the people you’ve met, all of the knowledge you’ve amassed is all for this one moment, and time is running out as Ranrok already has the location too.
Make your way to the Map Chamber to relay to Professor Fig the outcome of your encounter with Rookwood and the Keepers will reveal the location of the final repository, right below your very feet in the Map Chamber. Before you go any further, you may wish to check your supply of ![]() Wiggenweld Potions and any other tonics that may aid you in the battles to come, such as
Wiggenweld Potions and any other tonics that may aid you in the battles to come, such as ![]() Edurus Potions and
Edurus Potions and ![]() Maxima Potions. Once you’re ready, return to the Map Chamber and head into the caverns.
Maxima Potions. Once you’re ready, return to the Map Chamber and head into the caverns.
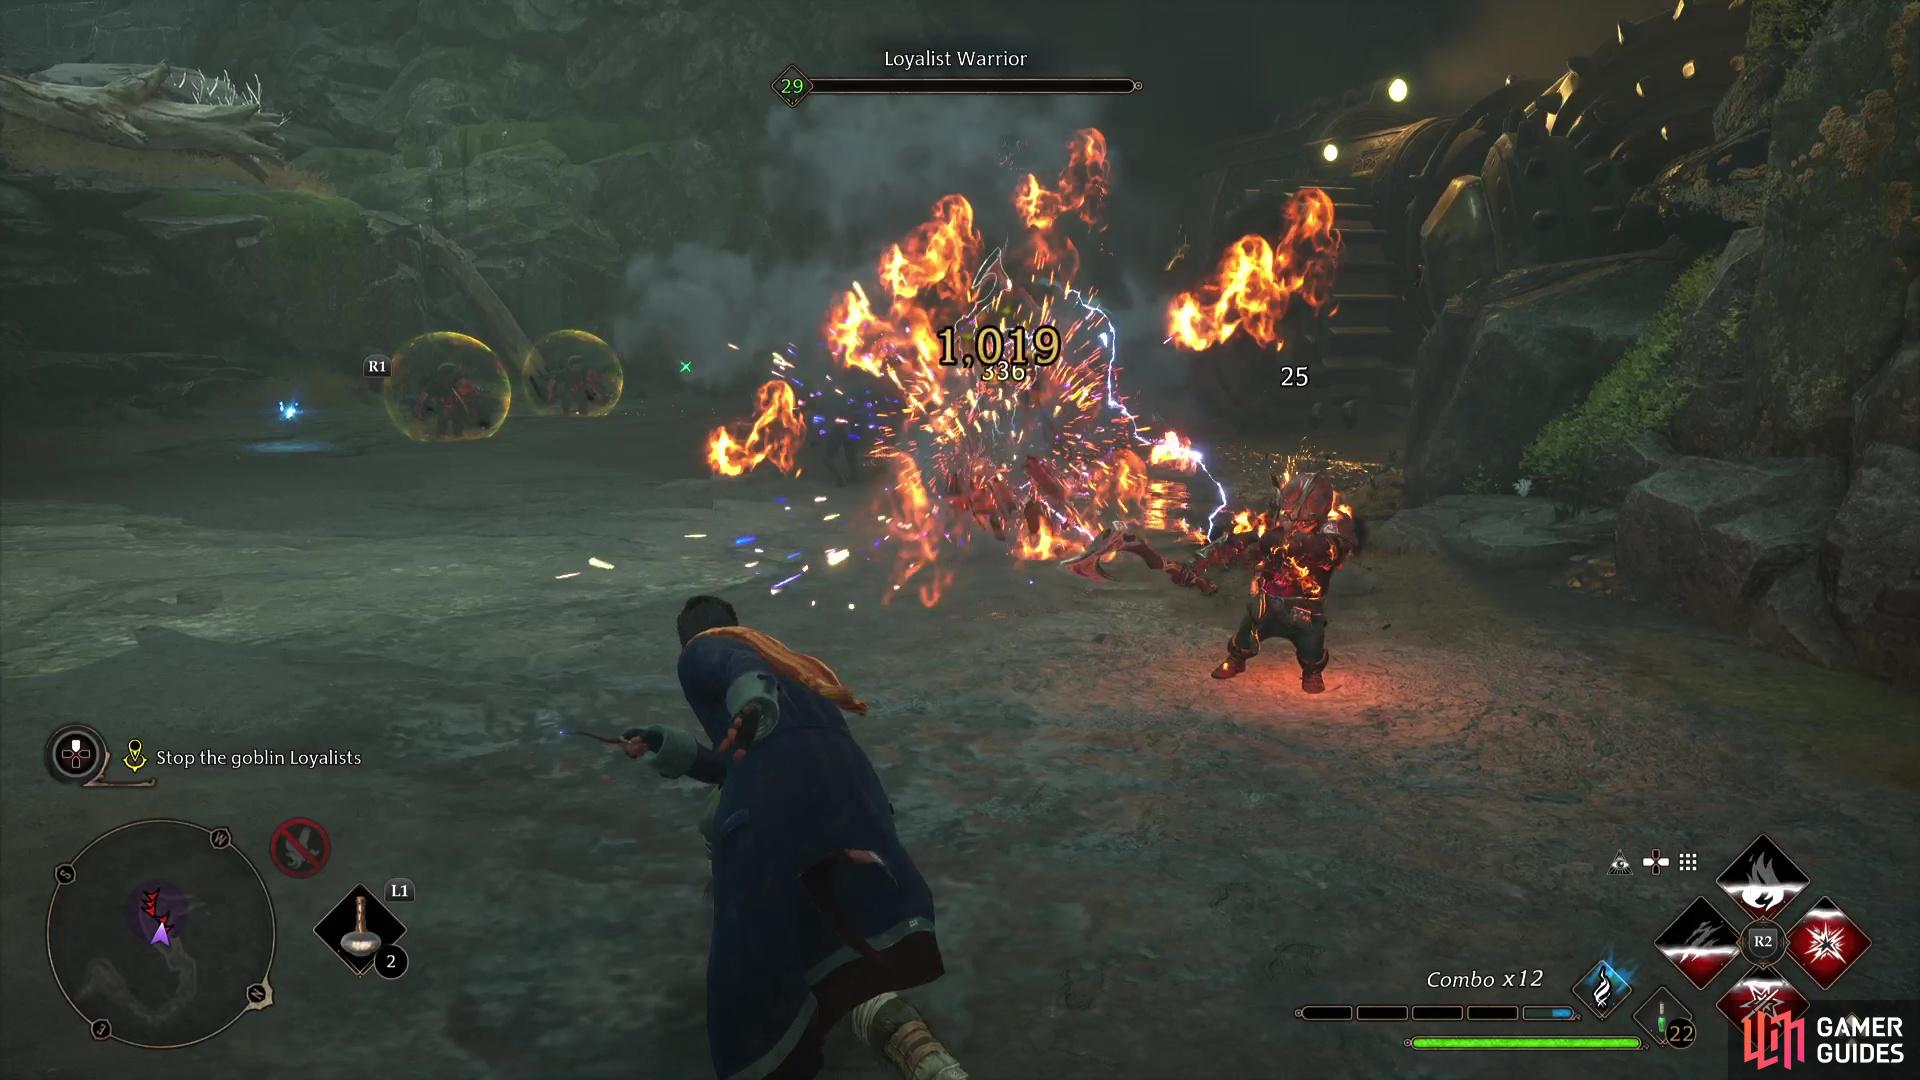
As you head down the path, you’ll soon be greeted with the sound of a Goblin assault! Professor Fig will aid you in battle here, and it’s a good job too since you’ll be swarmed by Goblins in a relatively enclosed space. As with most enemies that wield weapons, ![]() Expelliarmus is useful to disarm them, then you can use
Expelliarmus is useful to disarm them, then you can use ![]() Ancient Magic Throw to toss it back at them. Likewise, make use of the barrels and other props in the area to deal significant damage and deal with pesky barriers.
Ancient Magic Throw to toss it back at them. Likewise, make use of the barrels and other props in the area to deal significant damage and deal with pesky barriers.
Once the battle is over, Fig will deal with the drill and you can continue on. Once you pass under the large rock, you’ll be ambushed by two ![]() Fortified Trolls along with another group of Goblins. This is a great time to use an Edurus Potion (especially if you have the Trait that enhances it) so you can ignore the Trolls and focus on dealing with the Goblins.
Fortified Trolls along with another group of Goblins. This is a great time to use an Edurus Potion (especially if you have the Trait that enhances it) so you can ignore the Trolls and focus on dealing with the Goblins.
Once you’re left with the Trolls, pick one of them and focus on it, there’s no use in dividing your attention. There are plenty of barrels and other objects you can toss, but ideally, you’d have built up your ![]() Ancient Magic bar on the Goblins and can unleash it on the Trolls. Alternatively, if you’ve learned the
Ancient Magic bar on the Goblins and can unleash it on the Trolls. Alternatively, if you’ve learned the ![]() Avada Kedavra spell, this is the perfect time for it as it’ll kill a Troll outright!
Avada Kedavra spell, this is the perfect time for it as it’ll kill a Troll outright!
Take a look to your right as you pass through the passageway, there are some Wiggenweld Potions to collect. Another group of Goblins await you in the next open area, and you’ll want to deal with the deadly ![]() Loyalist Assassins first. Keep an eye for any rangers on the platforms and use barrels to dispatch them before they can become more of a nuisance.
Loyalist Assassins first. Keep an eye for any rangers on the platforms and use barrels to dispatch them before they can become more of a nuisance.
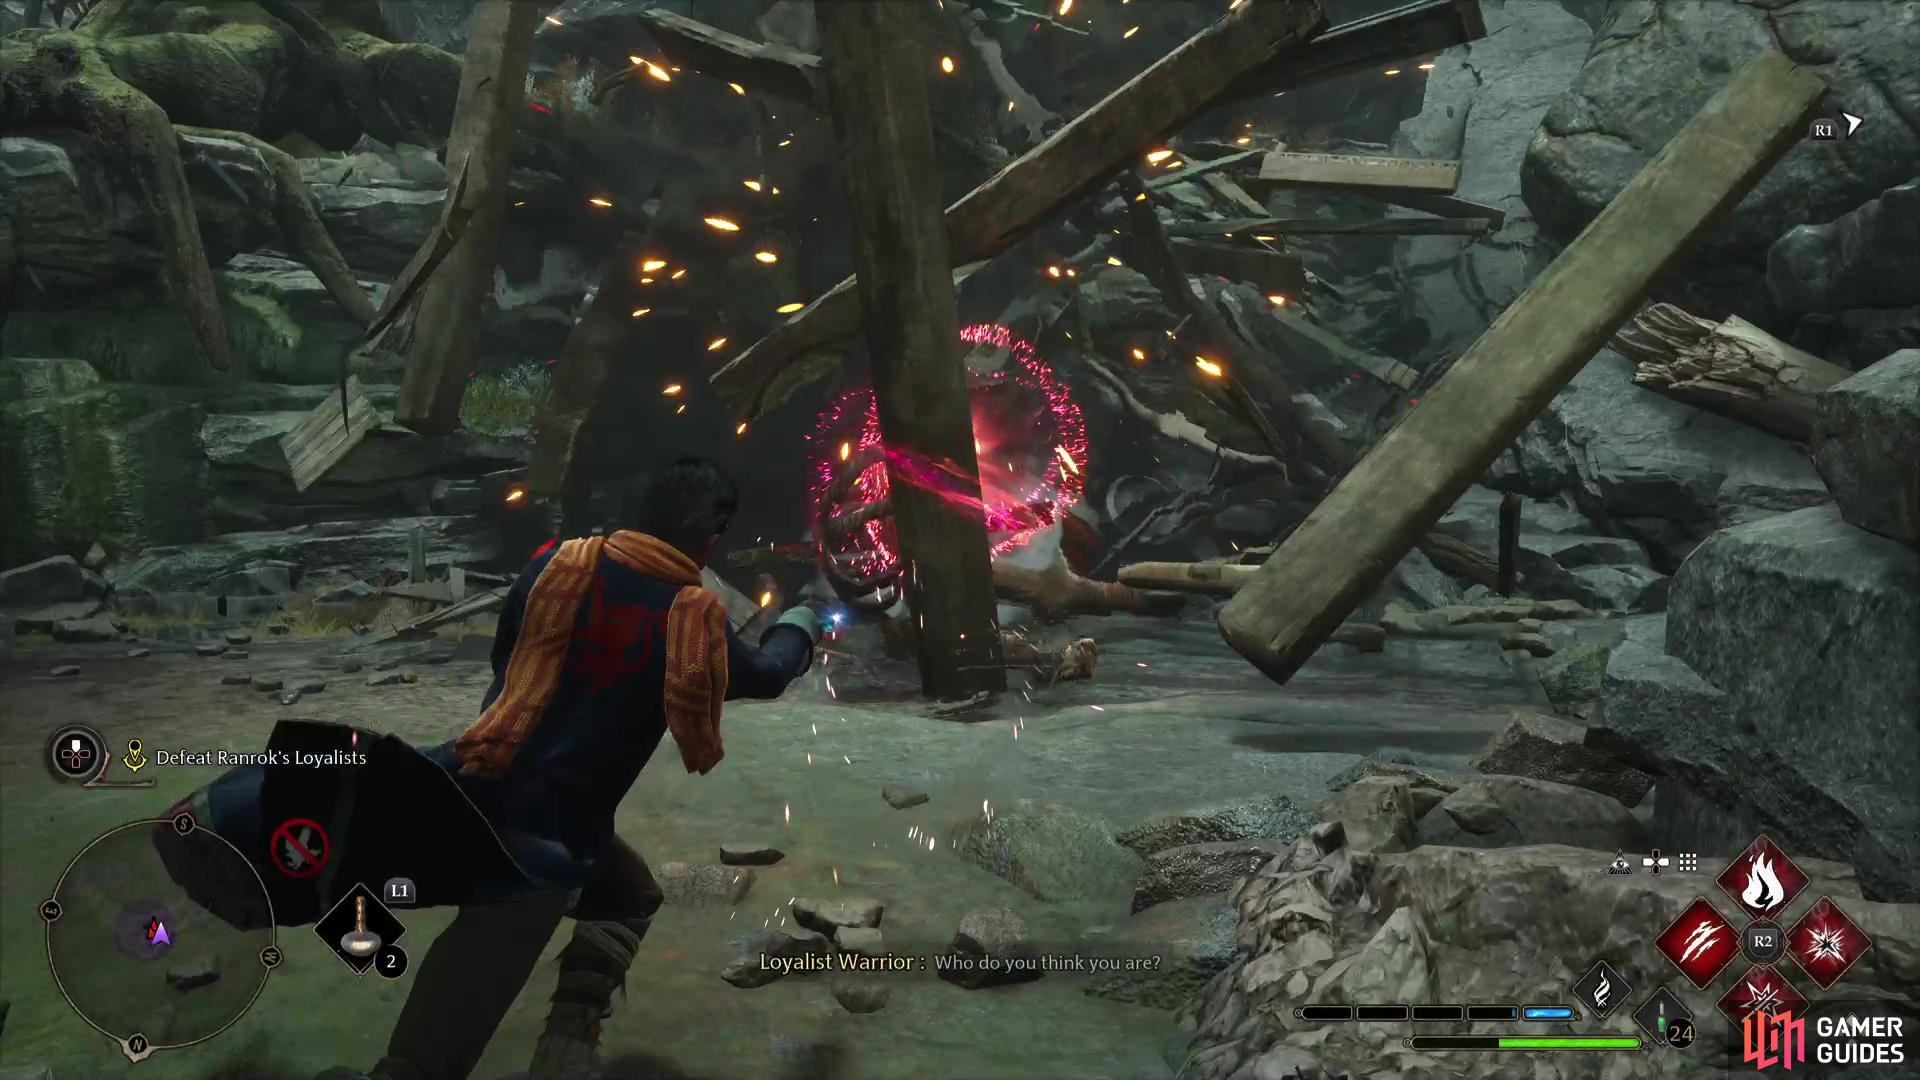
Shoot the explosive barrels in the final encounter
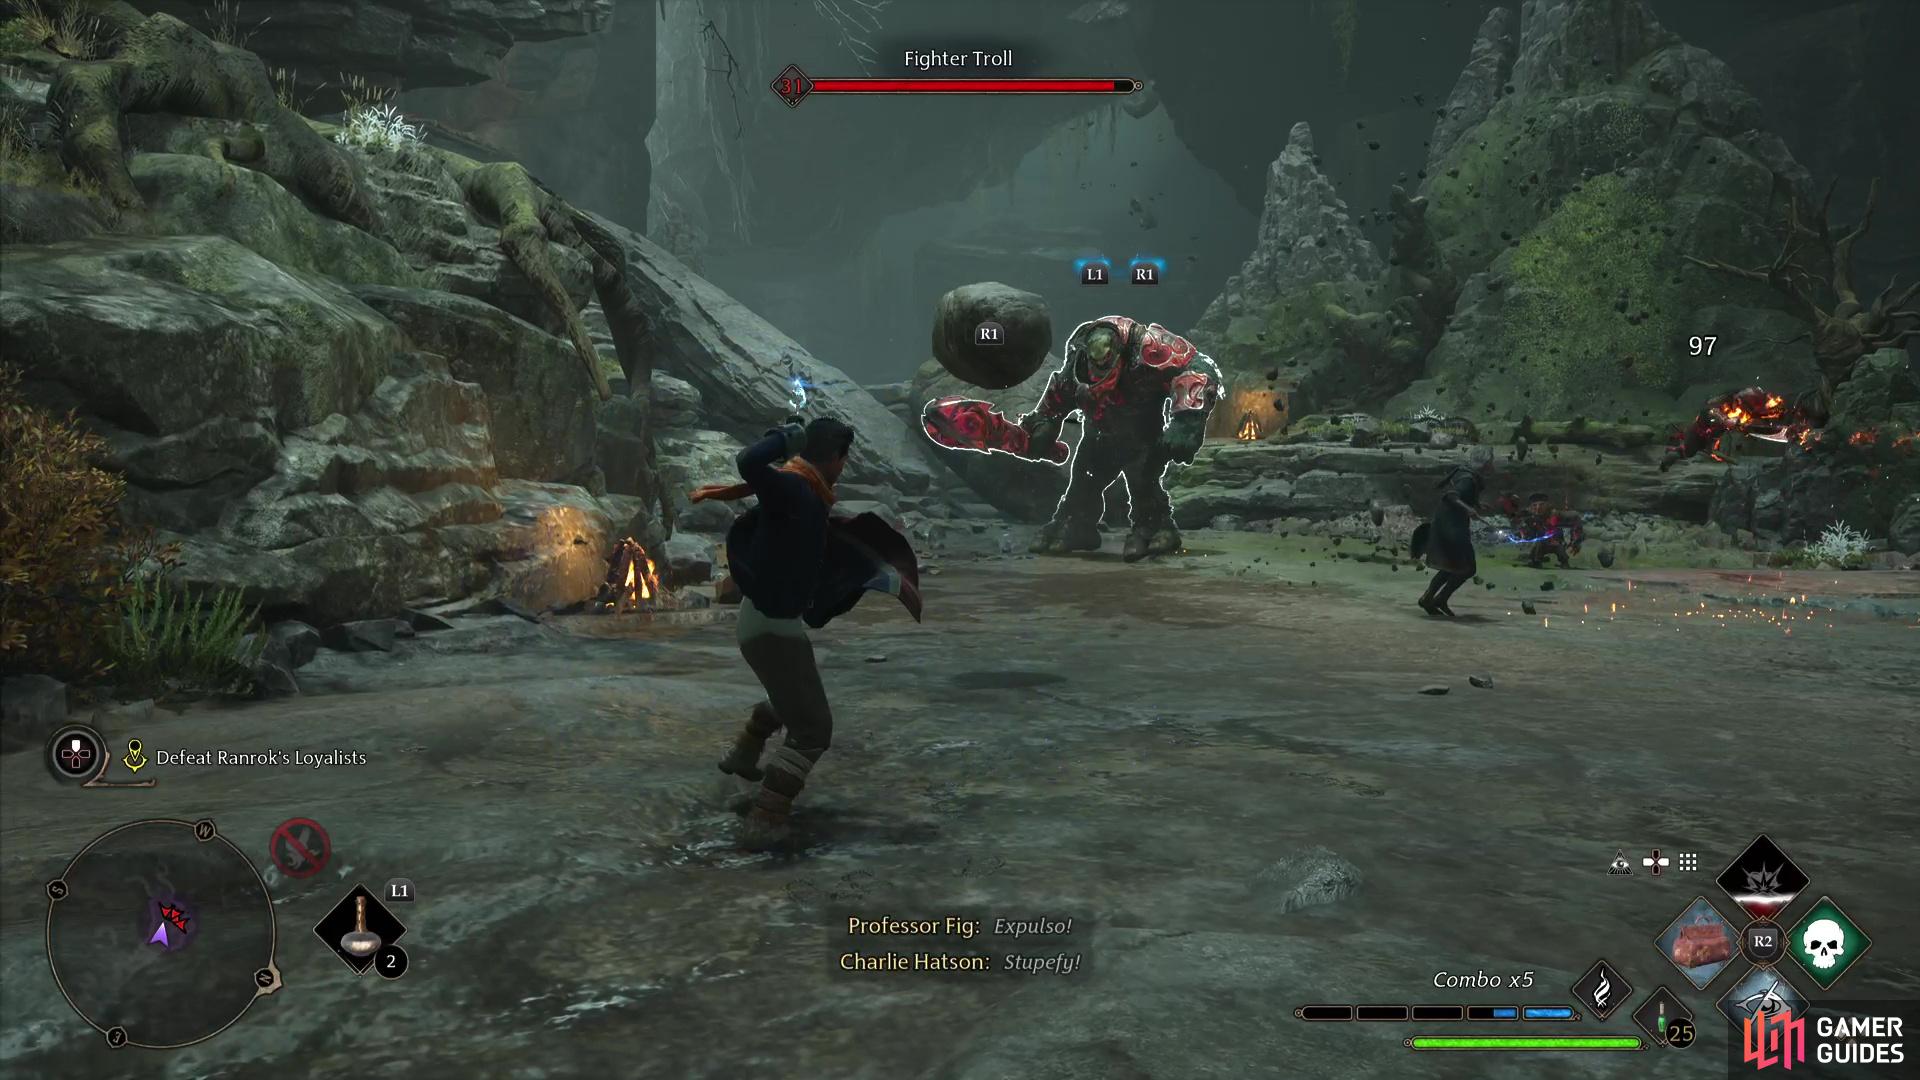
then build up and unleash !Ancient Magic on the last Troll.
As you press onwards, you’ll reach a large cavern with what looks like a massive amount of Loyalists. Before all hope is lost though, the Professors from the academy appear to aid you on your assault. Leave this to them and press onwards to the final open area of these caverns where you’ll need to deal with yet another group yourself.
Look to make use of the barrels under the platform as soon as a Goblin finds himself on it. Once the initial group is defeated, a ![]() Fighter Troll will burst through. Despite a different name, this Troll is no different than the others you’ve fought so use your Ancient Magic bar on it and deal with the second group of Goblins.
Fighter Troll will burst through. Despite a different name, this Troll is no different than the others you’ve fought so use your Ancient Magic bar on it and deal with the second group of Goblins.
I Intend to Keep it Contained Here or Intend to Open It Choice
Watch the scenes that follow and you’ll soon find yourself at the repository with what seems to be a rather important choice. Professor Fig will ask you what it is you intend to do with the power of the repository. Your choice here will alter your ending a little, although there is no different Trophies/Achievements based on your choice and ultimately, a lot of the same events will still happen.
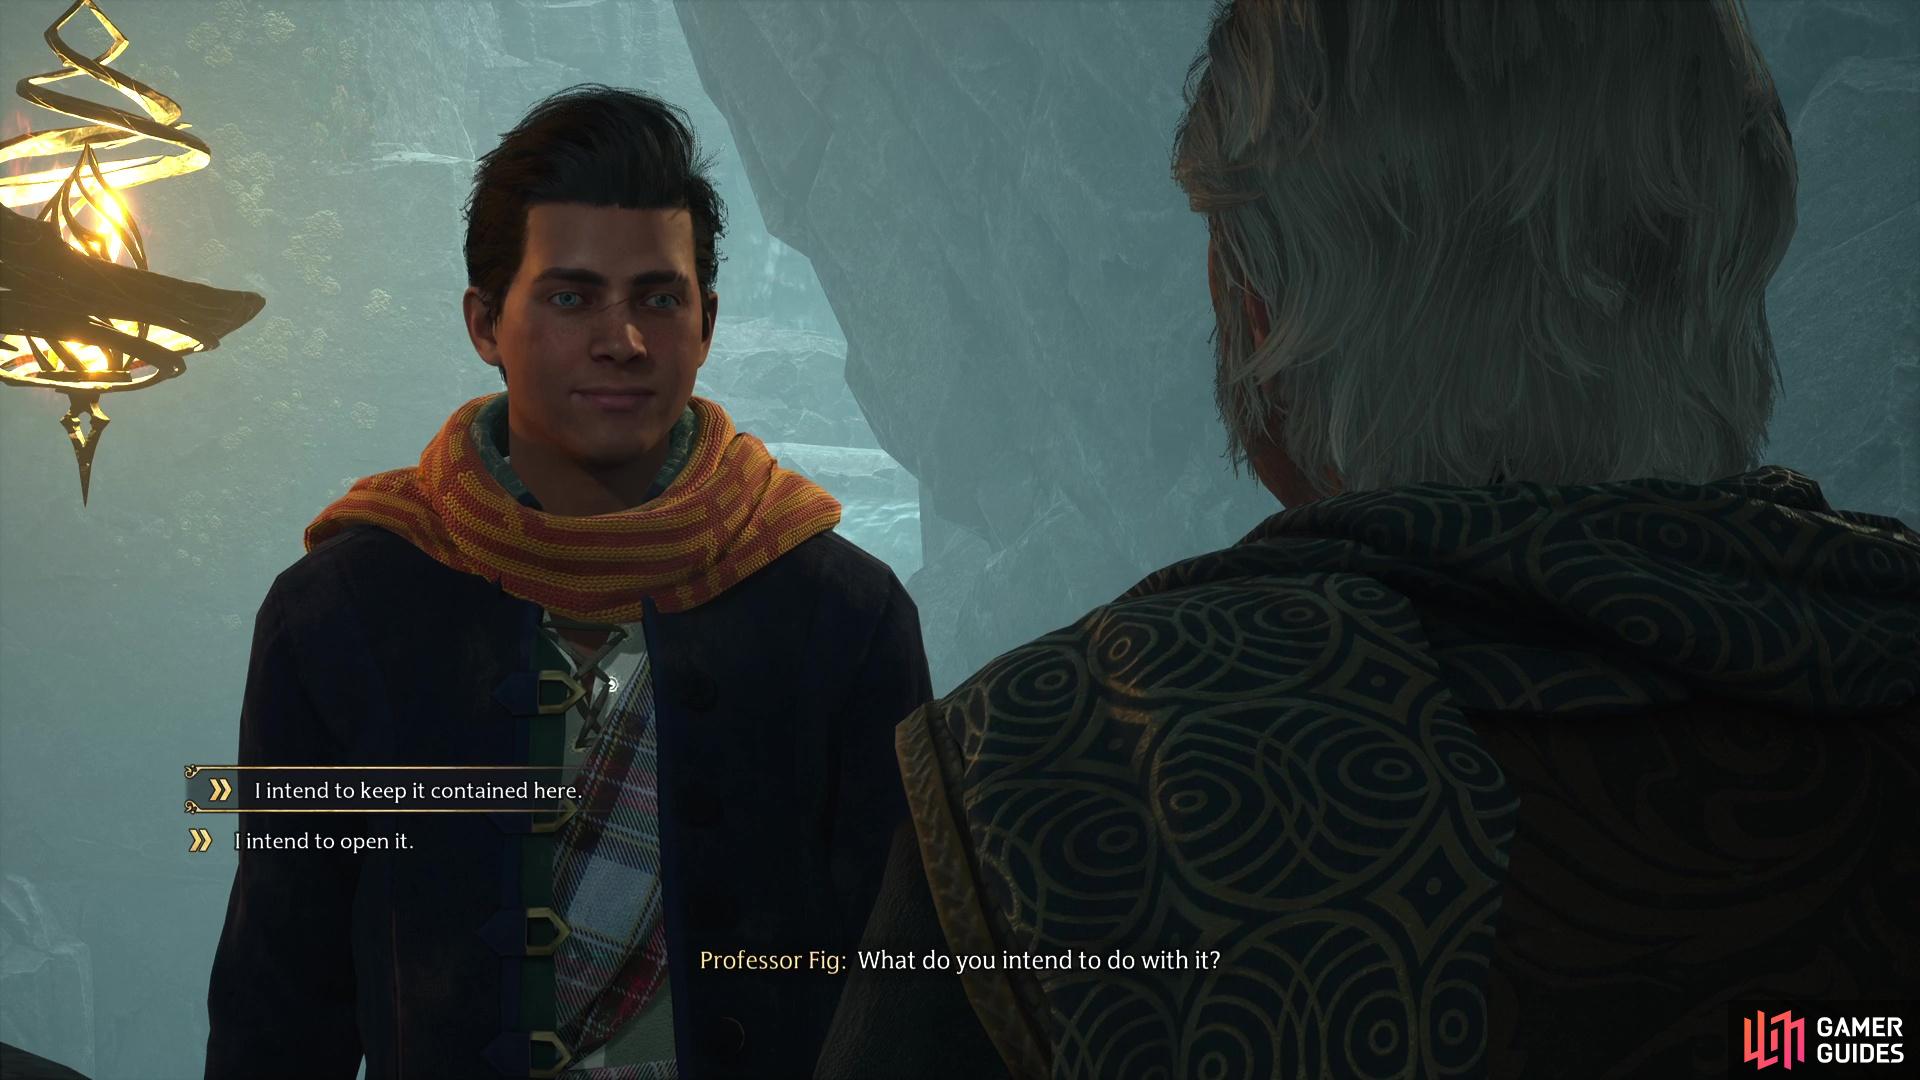
Your choice here will impact a little what ending you have
but first, you must deal with Ranrok!
Still, you may have had a particular route in mind for your student and as such, may want to follow a specific path. Suffice to say, choosing to Open It and wield the power for yourself is more on the side of an “evil” choice, if ever there was one. We’ve covered the full breakdown of all the ending choices here, so take a look if you want to learn more about your choices but beware, there are spoilers.
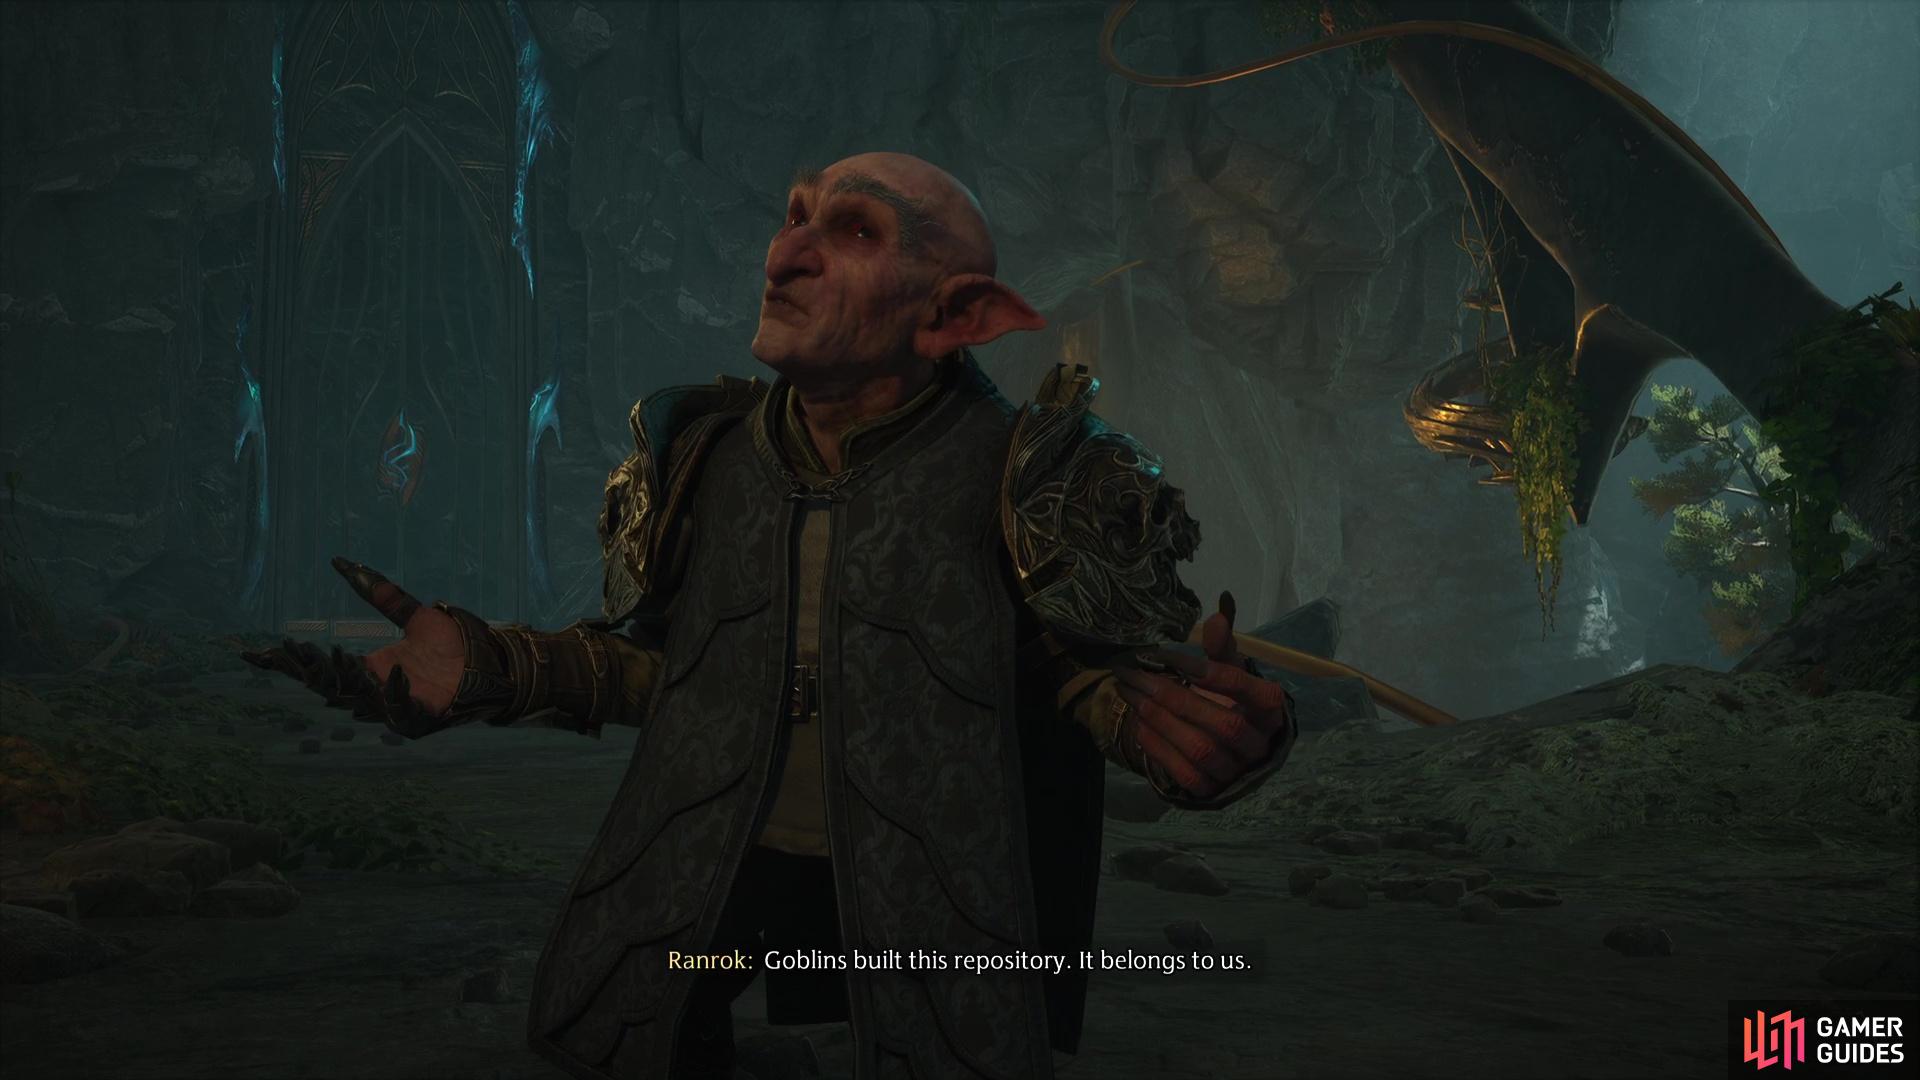
Regardless of your choice, it appears that Ranrok has indeed found the repository too, and intends to use it for his own nefarious schemes. It looks like you’re not going to solve this without a battle, and you can learn all about how to defeat the Ranrok Dragon here. This is the final battle in Hogwarts Legacy, so don’t hold anything back!
No Comments