
The Haunted Hogsmeade Shop is part of the PlayStation exclusive content for Hogwarts Legacy, but before you can obtain your very own shop, you must first complete this exclusive quest. This page will explain how to complete the Quest.
Minding Your Own Business is a PlayStation Exclusive Quest.
Unlocking PlayStation Exclusive Haunted Hogsmeade Shop Quest
As mentioned above, this is a PlayStation exclusive Quest so if you’re playing on anything other than a PlayStation, you’re out of luck. If you are, you’ll need to progress the main story until you complete the Main Quest “Fire and Vice”, as part of the third Trial.
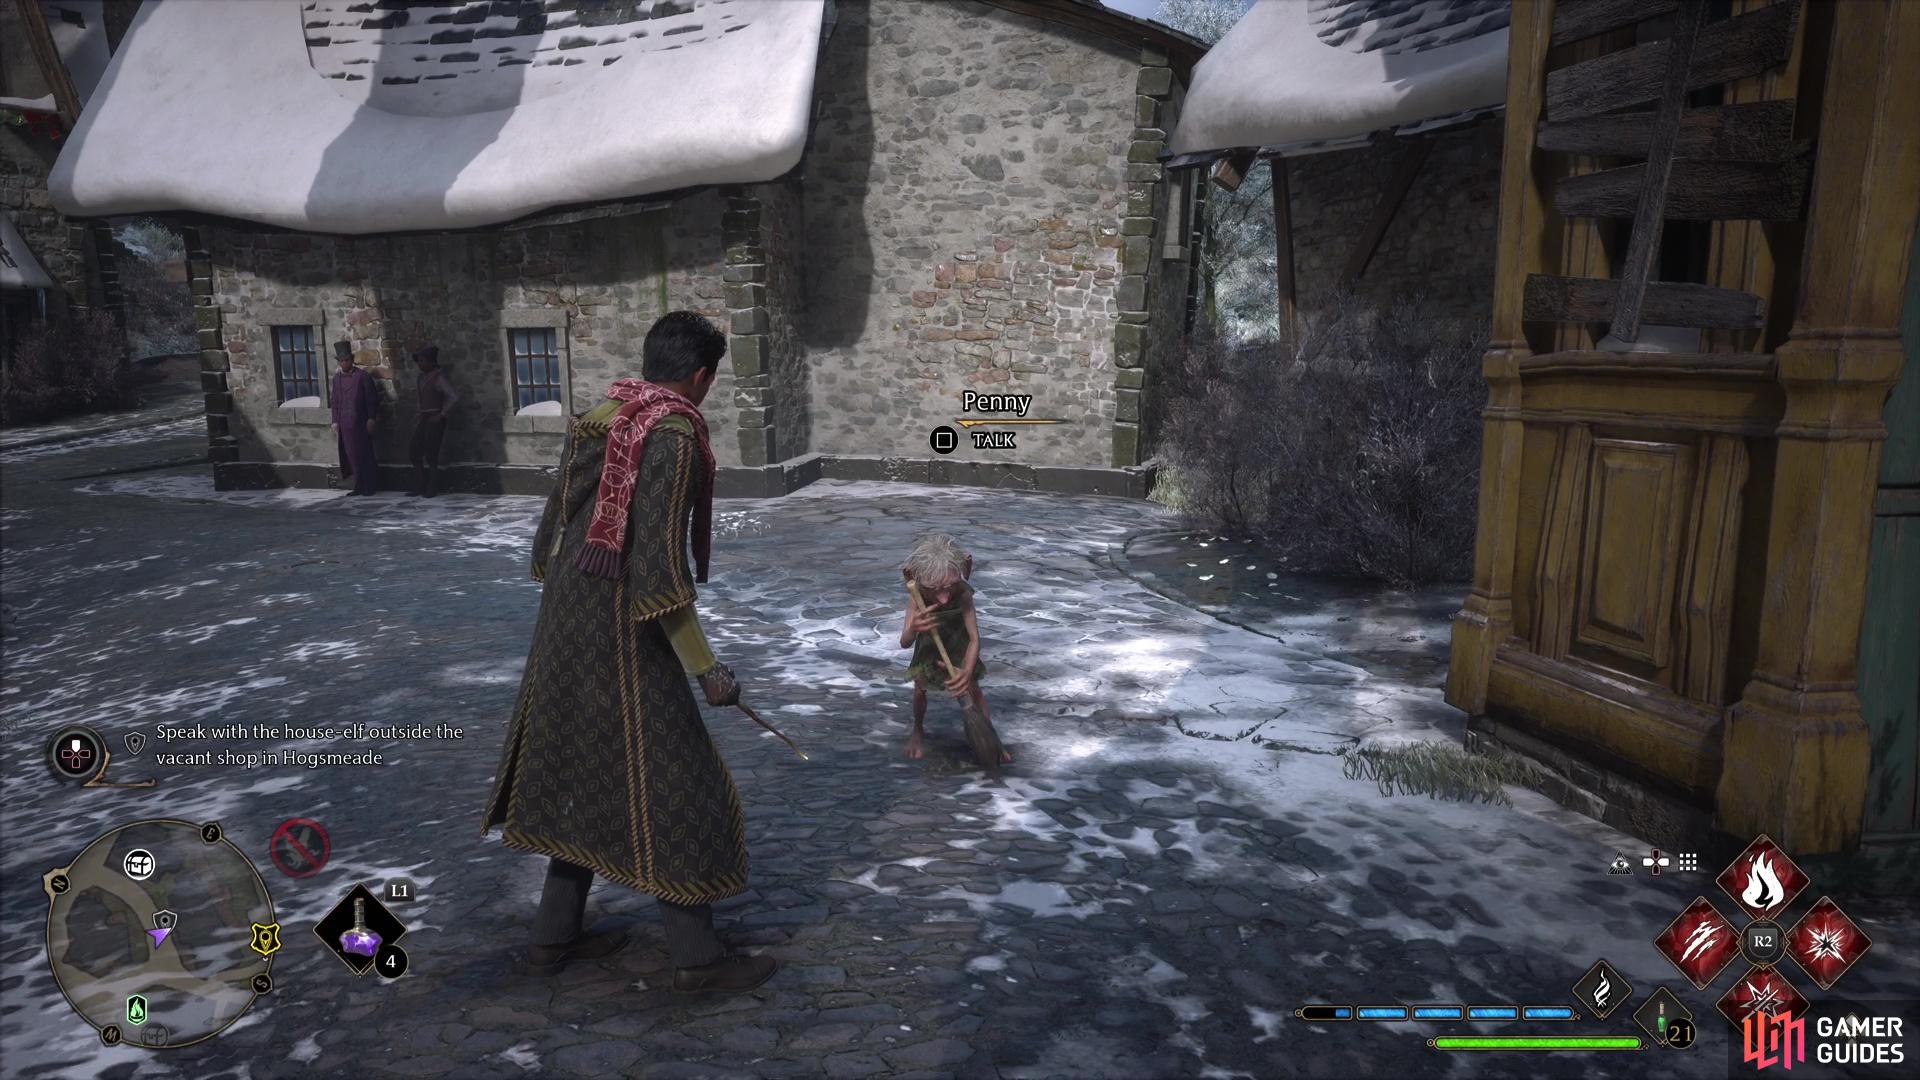
Once you’ve fulfilled these conditions, return to ![]() Hogsmeade and you’ll find a house-elf in the southeast named Penny. Speak with her and you’ll begin the Minding Your Own Business Side Quest.
Hogsmeade and you’ll find a house-elf in the southeast named Penny. Speak with her and you’ll begin the Minding Your Own Business Side Quest.
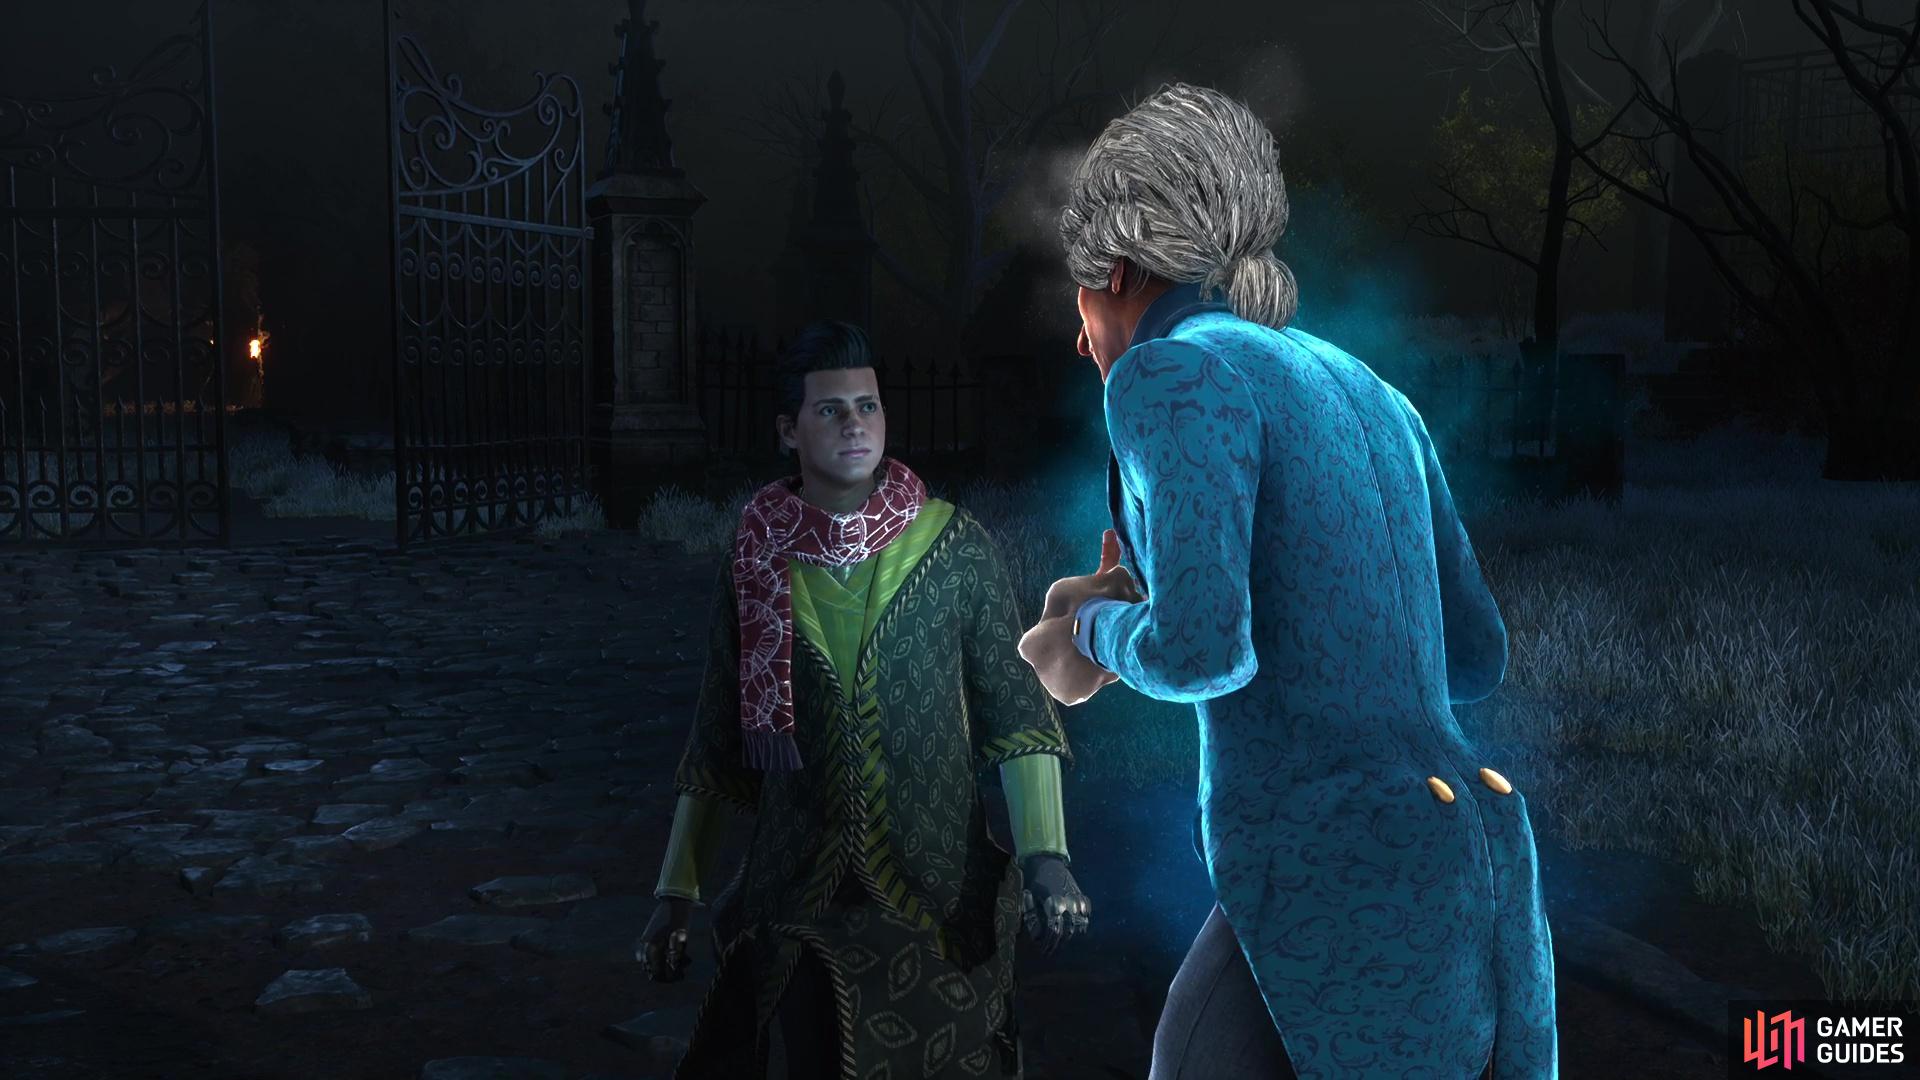
Penny will direct you to speak to her mistress, Cassandra Mason, who lives on the outskirts of town. Speak with her and she’ll offer you the chance to purchase your very own shop for the small price of 1,500 Gold.
How to get 1500 Gold for the Shop
This is the first big task in this Quest, and if you’ve not been exploring much, you may find the 1,500 Gold cost a bit steep. Thankfully, you can amass a lot of Gold quickly by visiting the Treasure Vaults out in ![]() The Highlands and then selling the gear that you get. A lot of the time, it’ll be no better than what you’re wearing and you’ll find it soon adds up.
The Highlands and then selling the gear that you get. A lot of the time, it’ll be no better than what you’re wearing and you’ll find it soon adds up.
If you’re looking for where to find the Treasure Vaults, check out our Interactive Map to find all 107 of them!
Exploring the What Lies Below Dungeon
You may have expected something was up already, but once you return to the Shop, clean it up with ![]() Reparo and explore the mysterious box, you’ll find yourself locked in a dungeon below the shop.
Reparo and explore the mysterious box, you’ll find yourself locked in a dungeon below the shop.
The path is linear to begin with and you’ll reach a room with mannequins, where you’ll find a small box with an Elf-Sized Hat. As you go to leave the room, the door will slam shut, locking you in. Turn around once more and the room will shift and the mannequins will be overhead. Walk northeast in this room to find a door that opens and out of the room.
A poltergeist will shoot past when you’re heading down the corridor, hinting at what’s to come. In the next room, head toward the box in the corner and the room will shift once more where once again, you’ll want to head for the small box in this room to open the nearby door.
The path remains linear after this point until you reach a locked door. If you look to the left of it, you will see a lantern on a holder, but none on the right. Look over the balcony to the right of the door to spot the missing lantern and pull it over with ![]() Accio, dropping it on the right holder and opening the door.
Accio, dropping it on the right holder and opening the door.
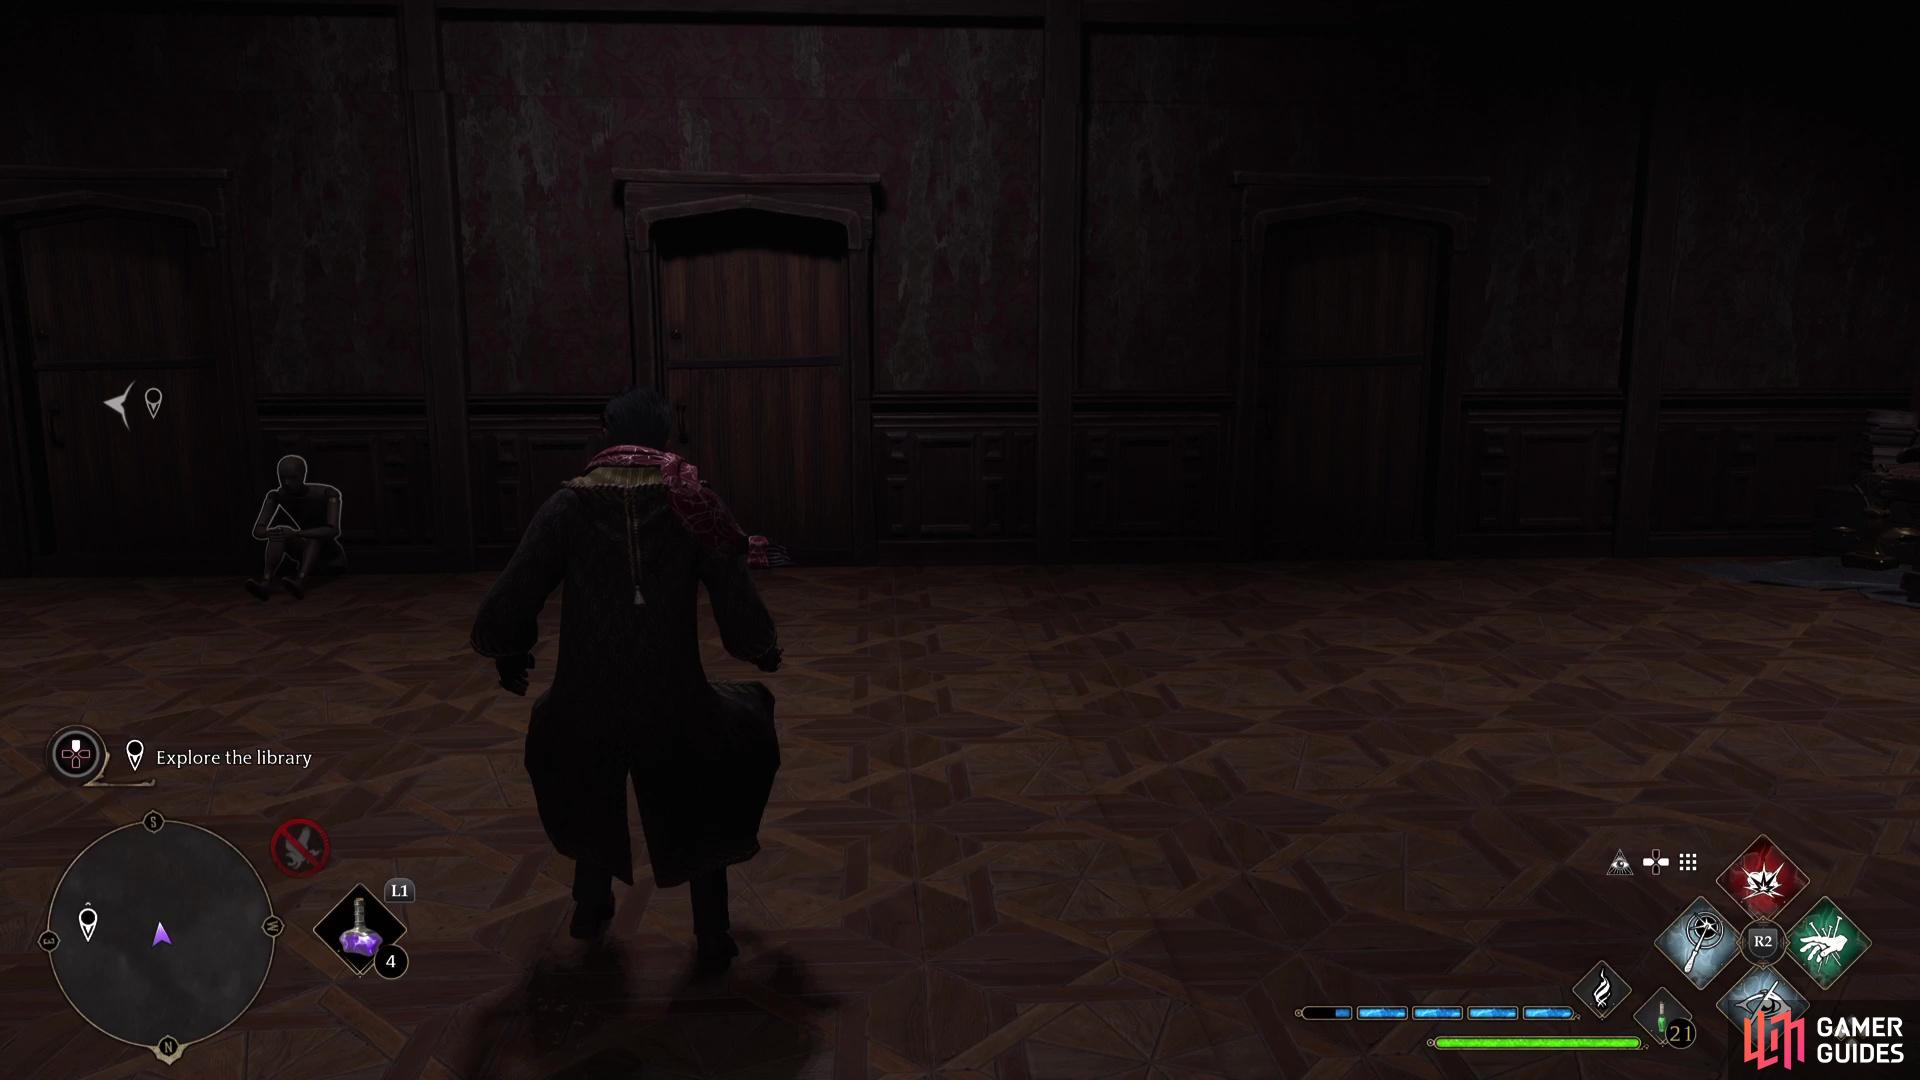
This will lead to the foyer, where you’ll finally meet with Fastidio. Once he’s taken off, you’ll notice the door ahead is locked and you have two paths available to you, south or north. You must clear the puzzles on both sides to gain access to the door.
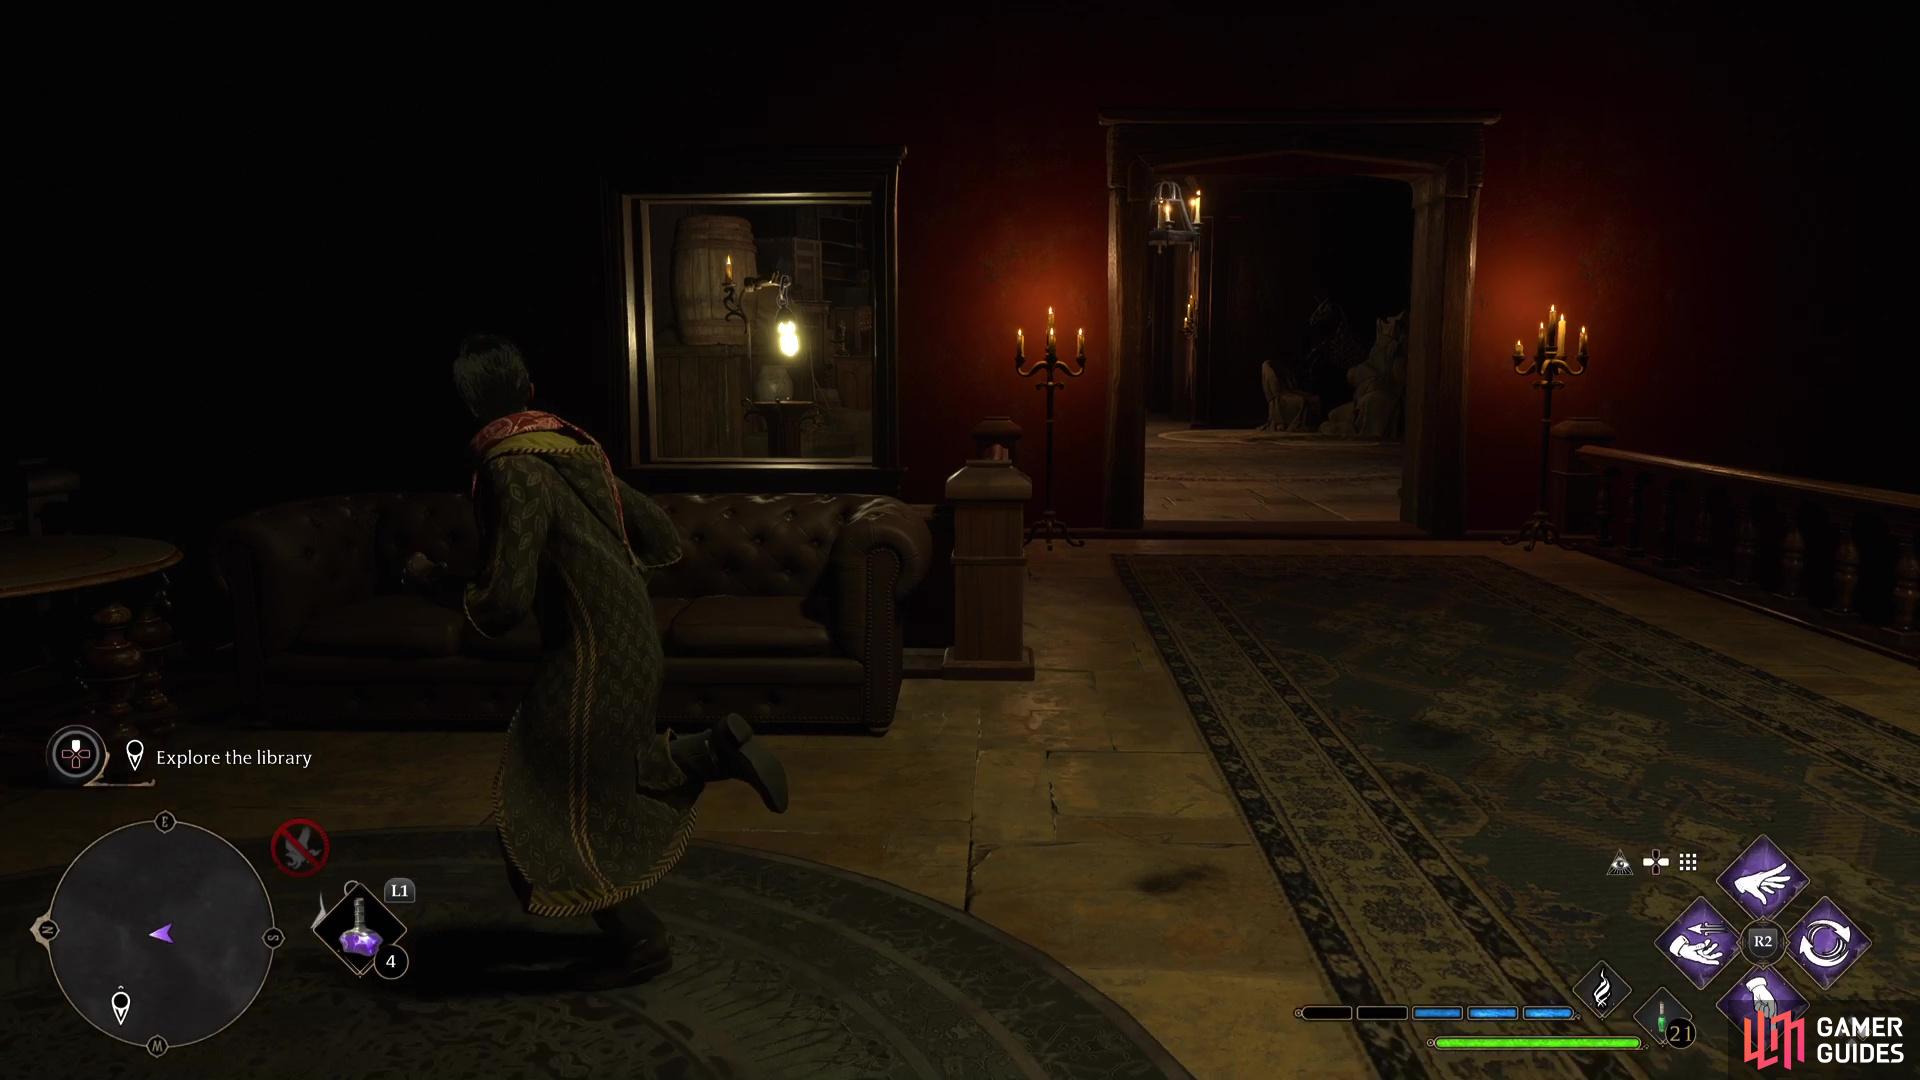
Solving the Library Puzzles
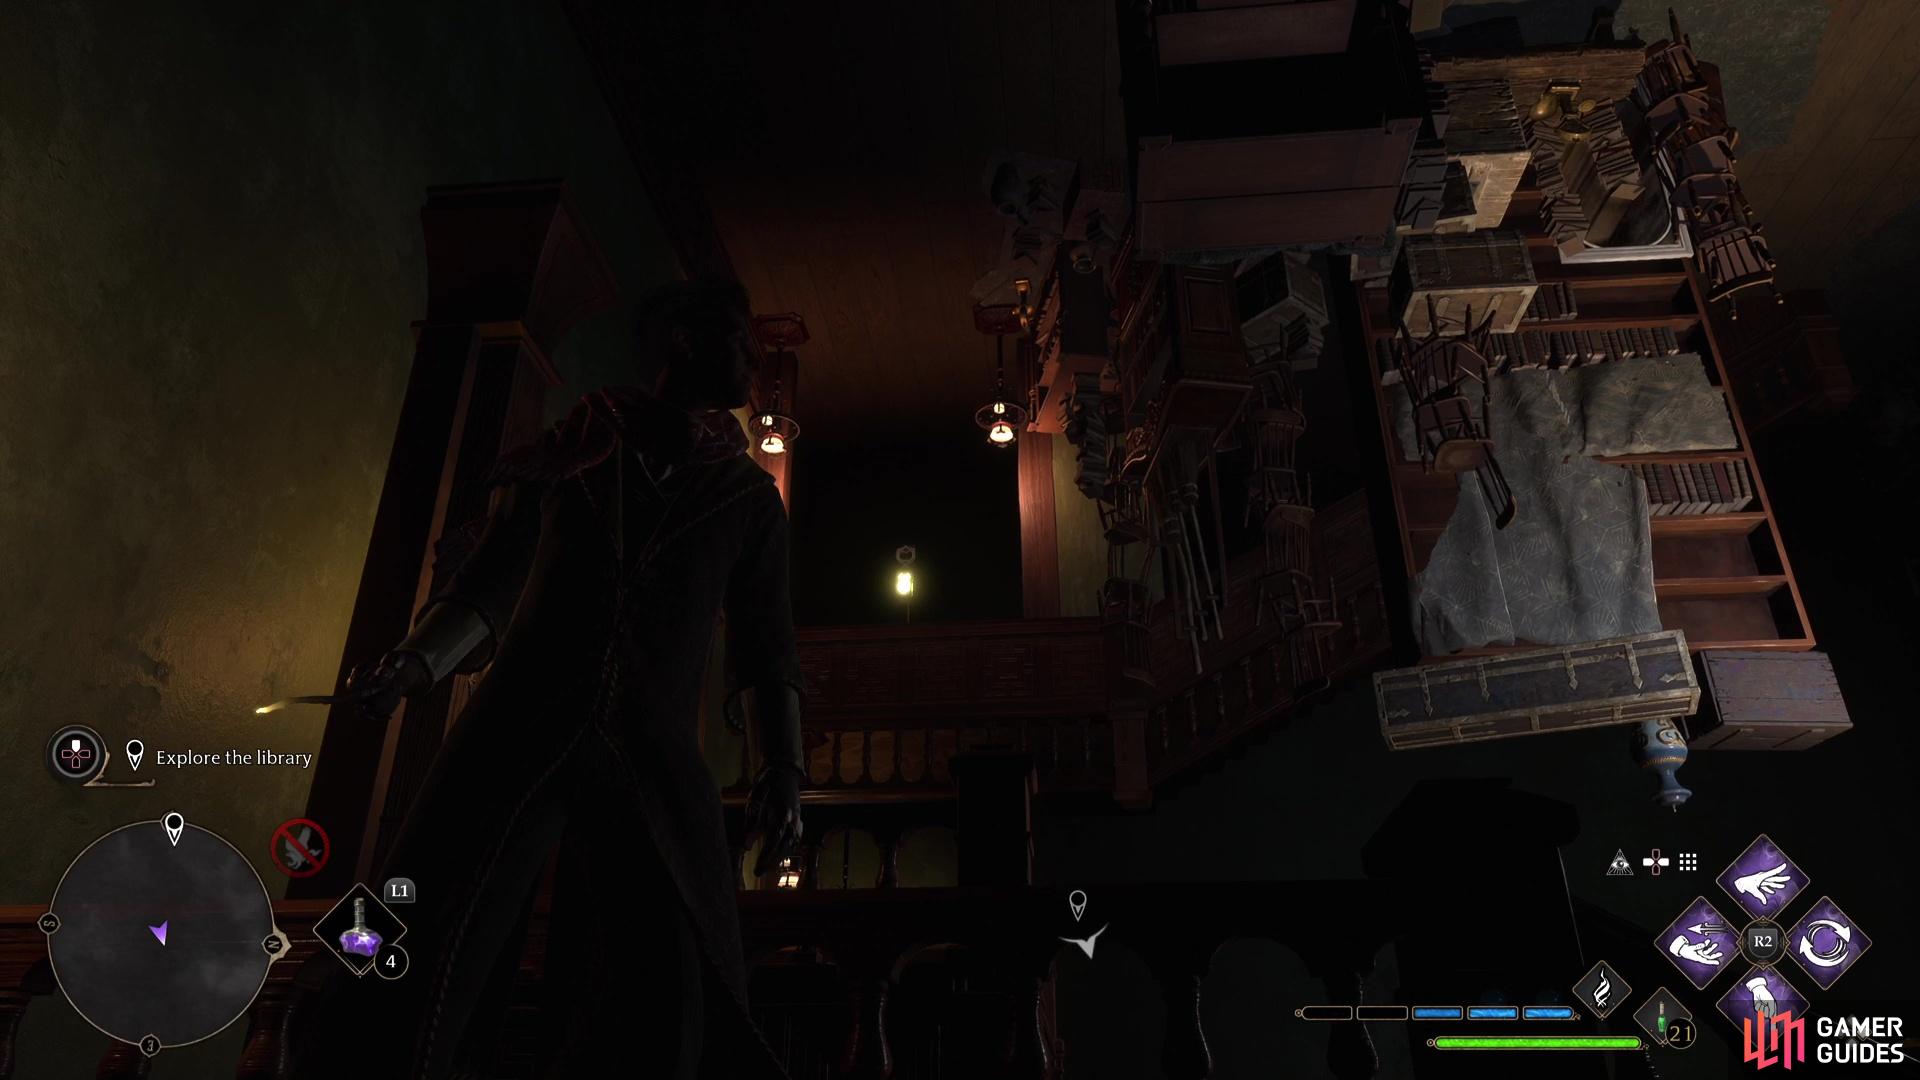
By taking the southern door, you’ll find yourself in what appears to be a library. At the far end of this room is another door locked with two lanterns, your goal then, in this room, is to find two lanterns for both the holders. Facing the locked door, head right and follow the path to a statue that leads to a room beyond it.
The Right Lantern
Follow the path here to a door and when you approach it, the room will shift. This will lead to a room with three doors, one of which is the correct one to take. If you take the wrong door, you’ll end up back in this room with the incorrect door removed. The door you want, however, is the middle door.
In the corridor that follows, it will appear that you are constantly walking in circles. Once you hear Fastidio speaking to you again, turn around and retrace your steps which will lead to a door where a spider ambushes you and shifts the room once more. Use ![]() Lumos to light the area and turn around to find yourself in a new room.
Lumos to light the area and turn around to find yourself in a new room.
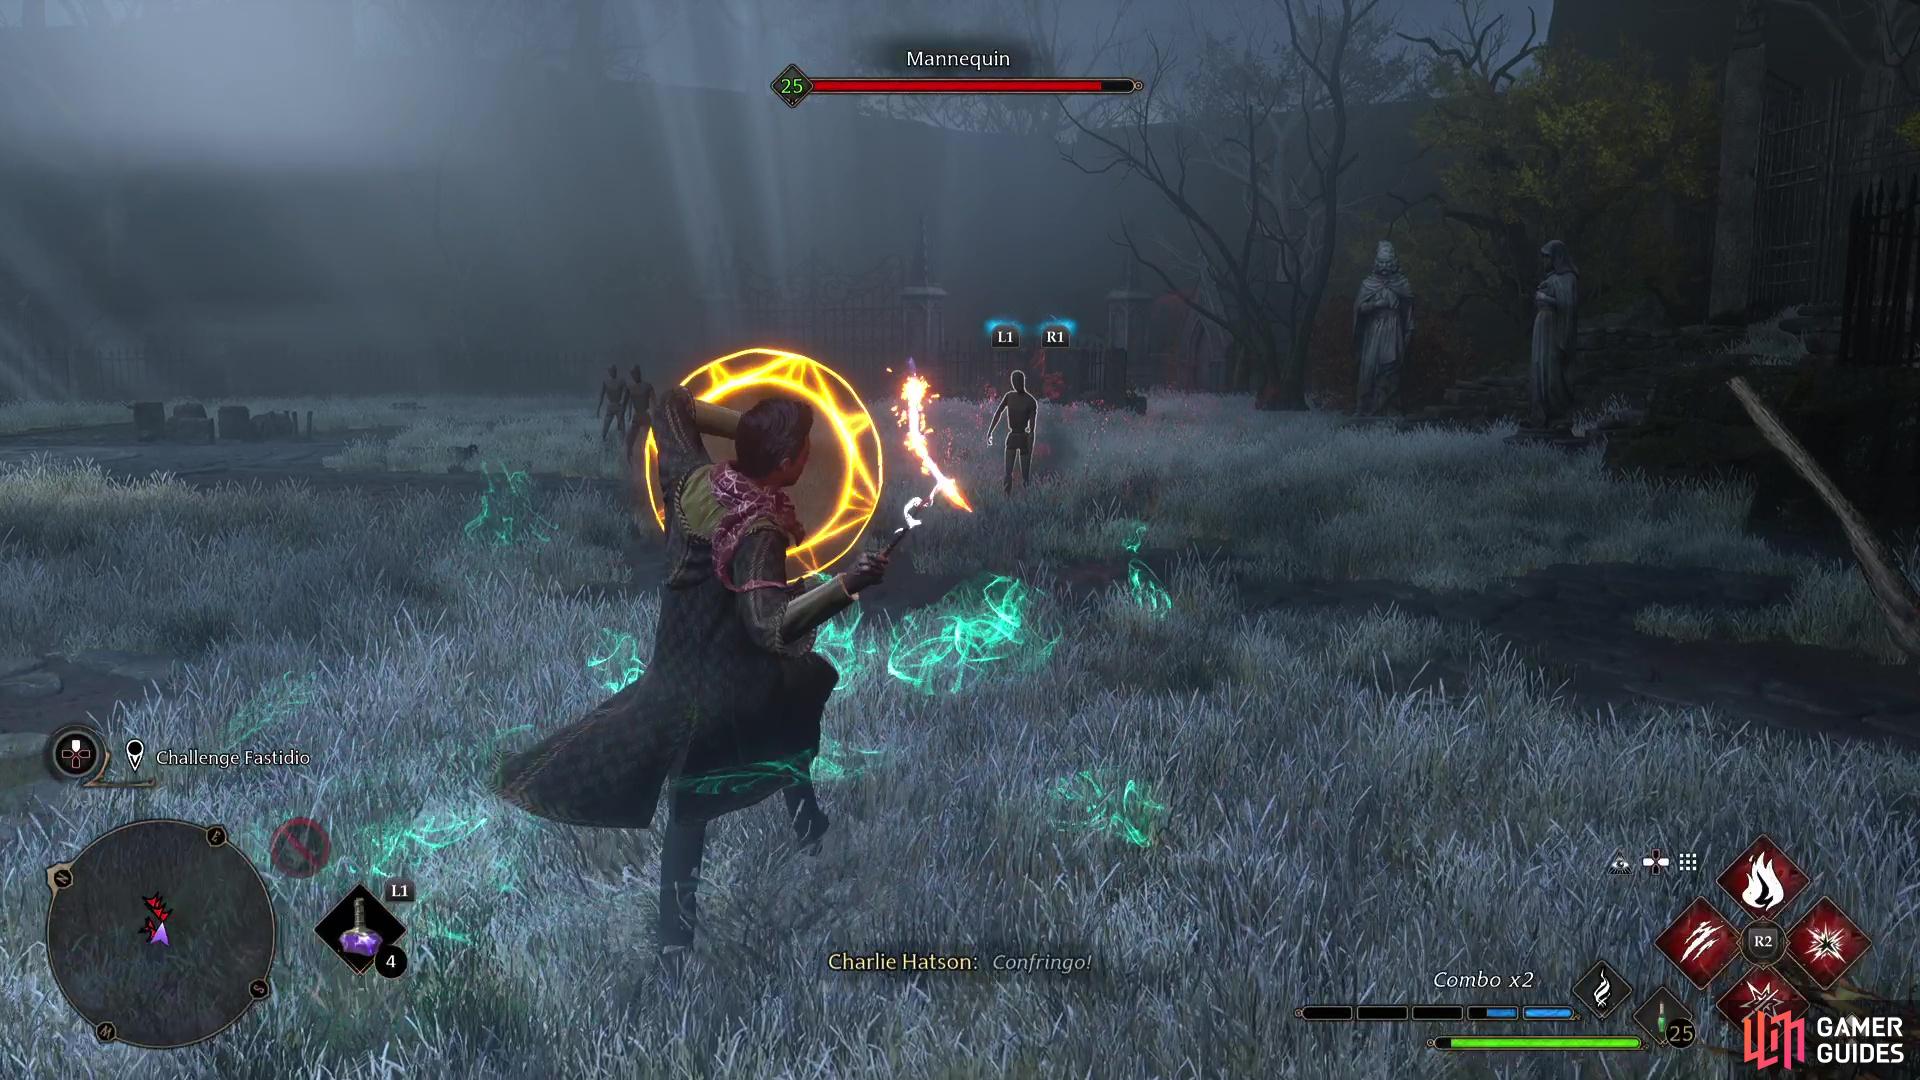
Head to the end of this corridor and turn around to find yourself in a closed room which will soon shift again. Cast Lumos to light up the room and find the door out of here and you’ll reach a room with the small box from earlier. Interact with it and the room will shift once more and you’ll soon be attacked by the ![]() Mannequins. These are simple enemies, but there are a lot of them so keep on the move and use
Mannequins. These are simple enemies, but there are a lot of them so keep on the move and use ![]() Incendio (if you have the Talent) to hit any groups that get too close.
Incendio (if you have the Talent) to hit any groups that get too close.
Once they’re all defeated, the door to the east will open, leading to the first lantern, grab it and place it on the holder to the right of the door.
The Left Lantern
Facing the locked door again, head left this time and follow it to another statue, heading down the path beyond it. Follow the path and you’ll reach a balcony and what appears to be a dead-end. Turn around and follow the corridor down some stairs and into the upside-down room. Go up the stairs in front of you and look to your right to find a lantern in a doorway, grab it with Accio and go through the now opened door next to you, dropping it on the holder in this room.
This will shift the balcony room once again so turn around once more, go right and climb through the window to drop into the room below. Follow the path and go up the next set of stairs, following this corridor to a large room with another lantern. Grab it and drop it on the holder in the corner of this same room to open the room ahead.
Look up and to the right to spot this lantern to grab
turn around and retake the lantern via the window.
Go into this room, turn around, and use Accio on the lantern you just dropped on the holder, taking it over to the holder just in front. This will open the door ahead which leads to the second library lantern. Take this and place it on the other holder to unlock the door.
Just beyond, you’ll find some ![]() Wiggenweld Potions and some stairs leading up, where you’ll encounter Fastidio again. You can’t damage here, so instead, look to avoid the furniture he launches at you and he’ll soon take off. Return back to the foyer and take the other available path here, the northern exit and into the atrium.
Wiggenweld Potions and some stairs leading up, where you’ll encounter Fastidio again. You can’t damage here, so instead, look to avoid the furniture he launches at you and he’ll soon take off. Return back to the foyer and take the other available path here, the northern exit and into the atrium.
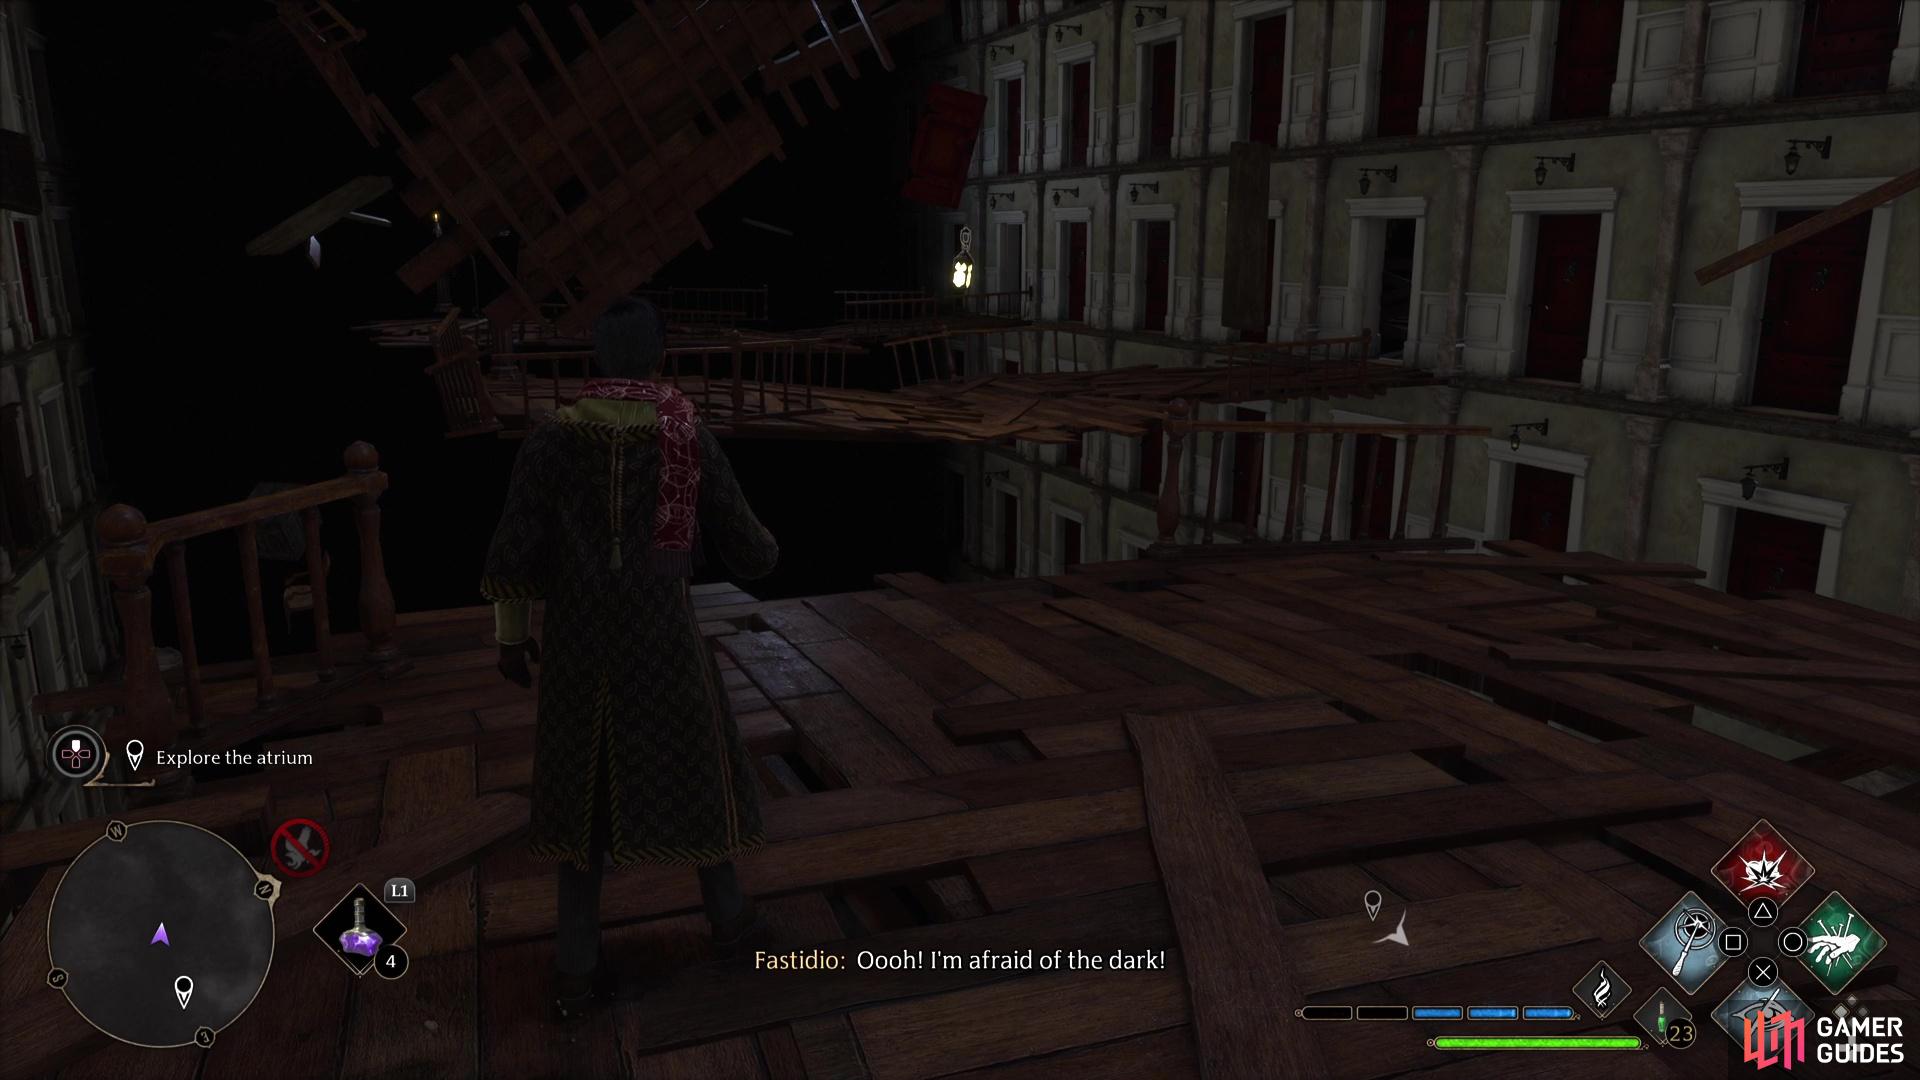
Solving the Atrium Puzzles
Just like the library, there is a locked door that requires two lanterns that you’ll need to track down, and like before, there are two paths available to you here.
The Left Lantern
Take the passageway to the southwest to begin your search for the left lantern. Follow the linear path and you’ll eventually reach a door with some wooden boards, shoot a spell at them to break them and continue on into the next room.
Look to your left in this room and use Accio on the lantern, then drop it on the holder to create a path over to the room on the opposite side. Head west, leap over the gap and break the boards on the next door to return to the center area once more. Shoot the boards off another door ahead of you and use Accio to grab another lantern, dropping it on the nearby holder here.
Pull the first lantern over with !accio
grab the second to place on the holder, then turn left and grab the first one again.
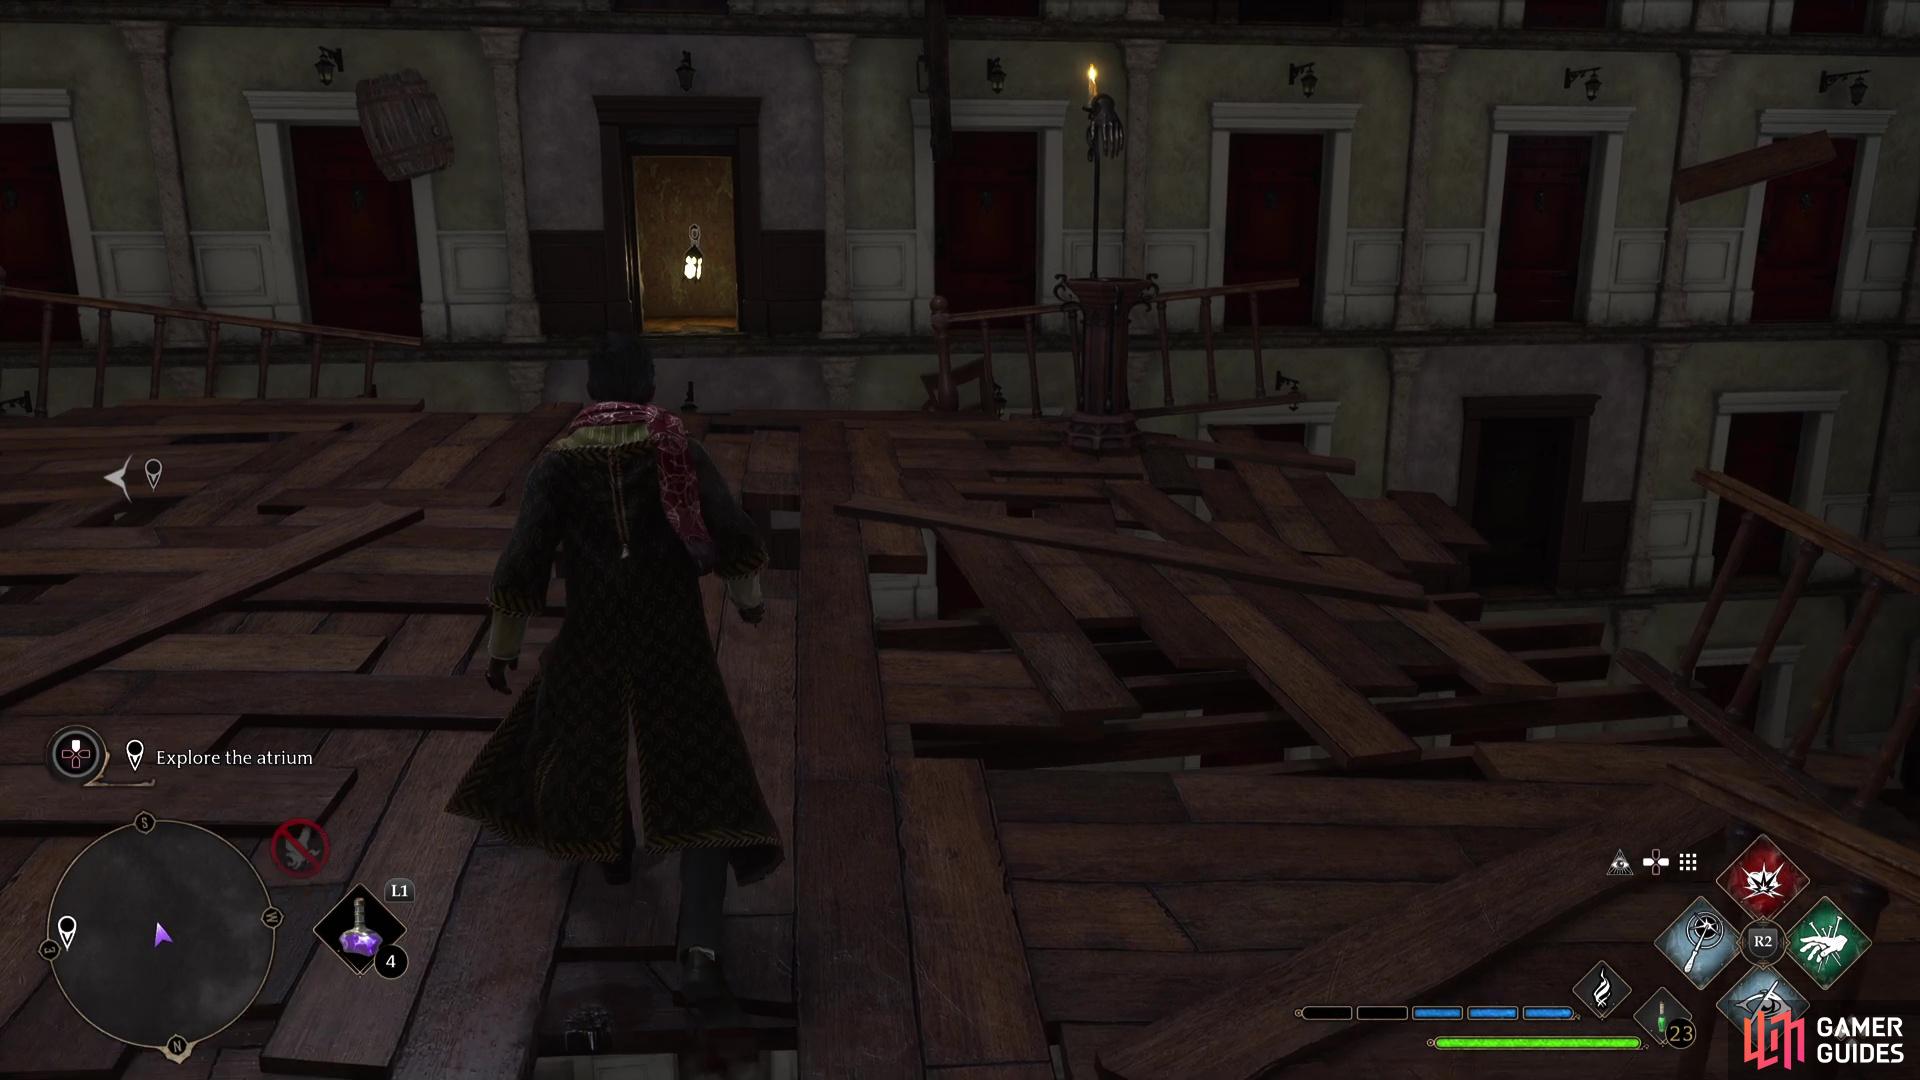
Before continuing, turn back to the first lantern you dropped and pull it over to you, then go through the northern room and back out to the center to find the final holder to drop this lantern. Head across into the next room and deal with more Mannequins when you approach the door. Go through the door that opens and follow this corridor to have the room shift.
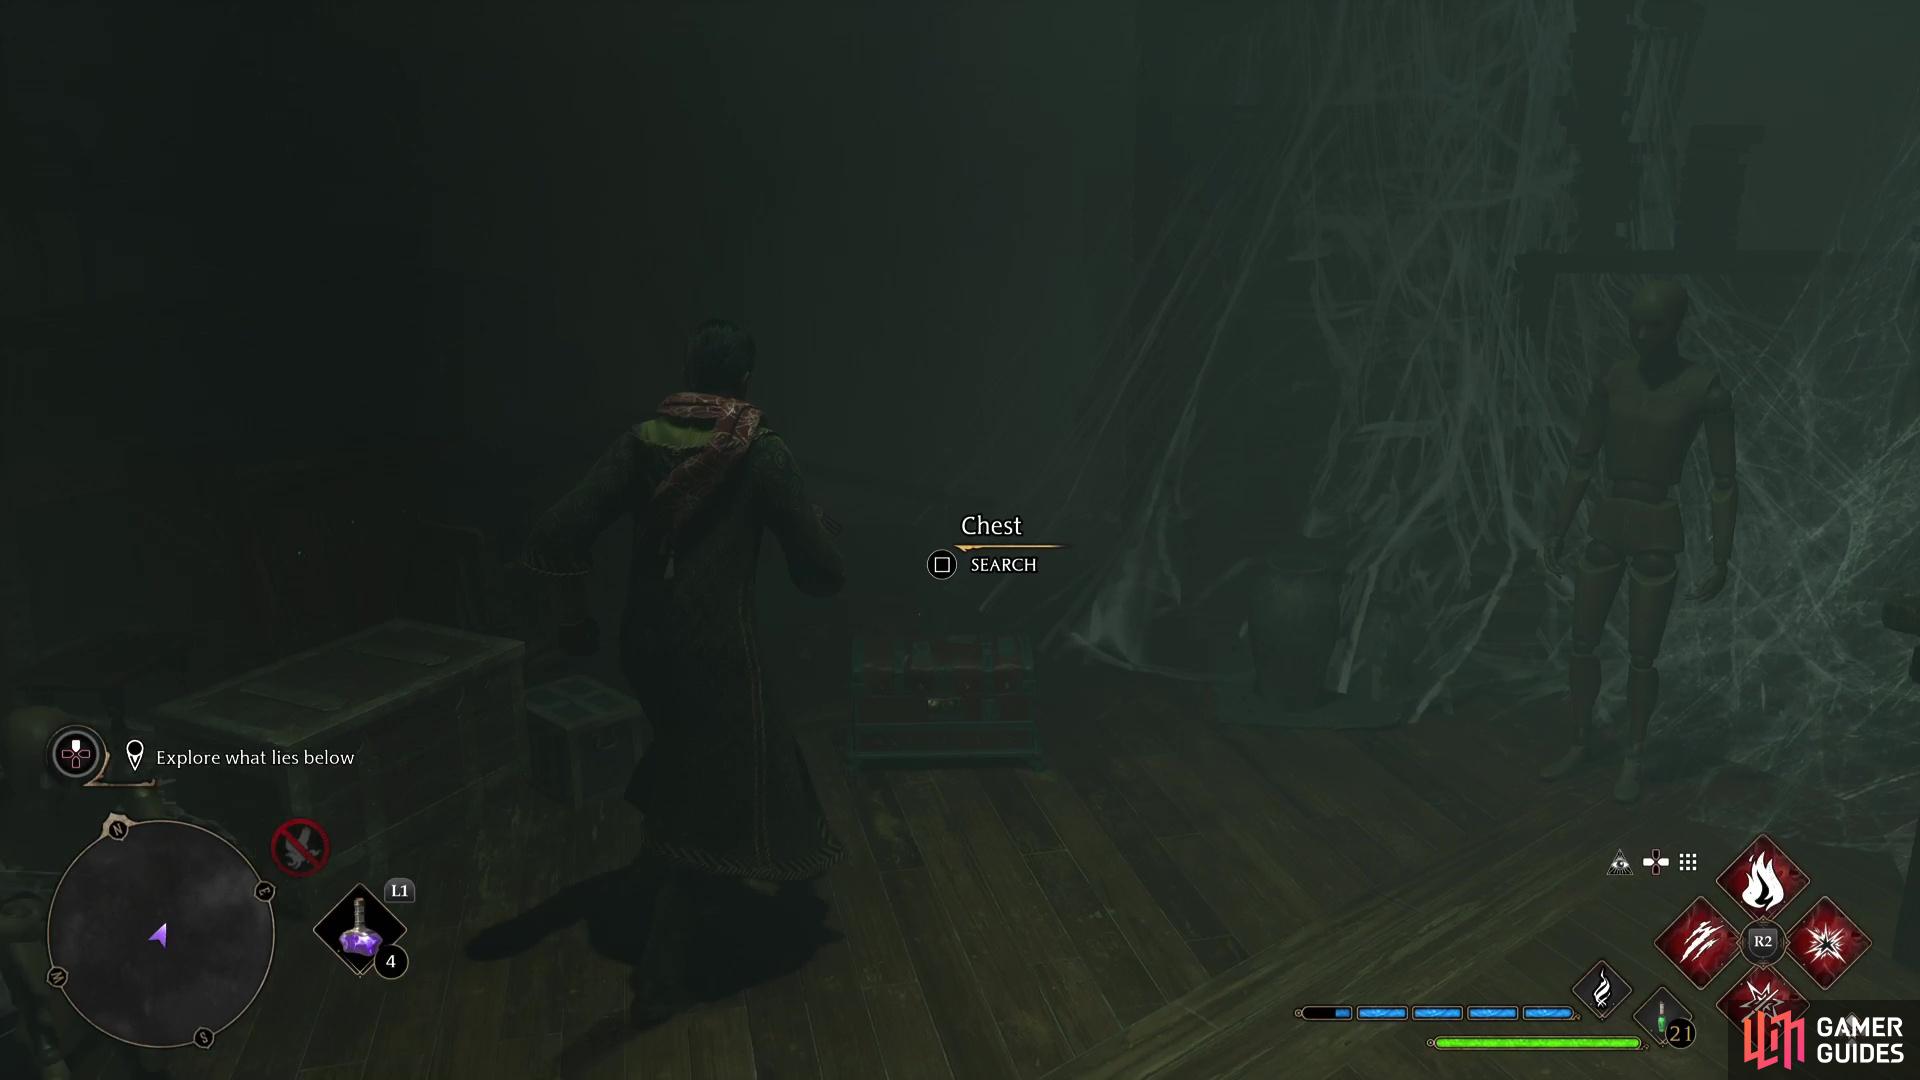
Use Lumos to light the area, then head along the corridor to an open room with a chest inside. Once you turn around, you’ll find yourself in a new corridor which leads to the first of the two Atrium lanterns which you should bring with you and put on one of the holders at the locked door.
The Right Lantern
Take the southeastern path next and as you enter the next room, you’ll spot a holder to your left and you’ll find the lantern just beyond it. Once you place it on the holder, you’ll notice a path opens up to the east.
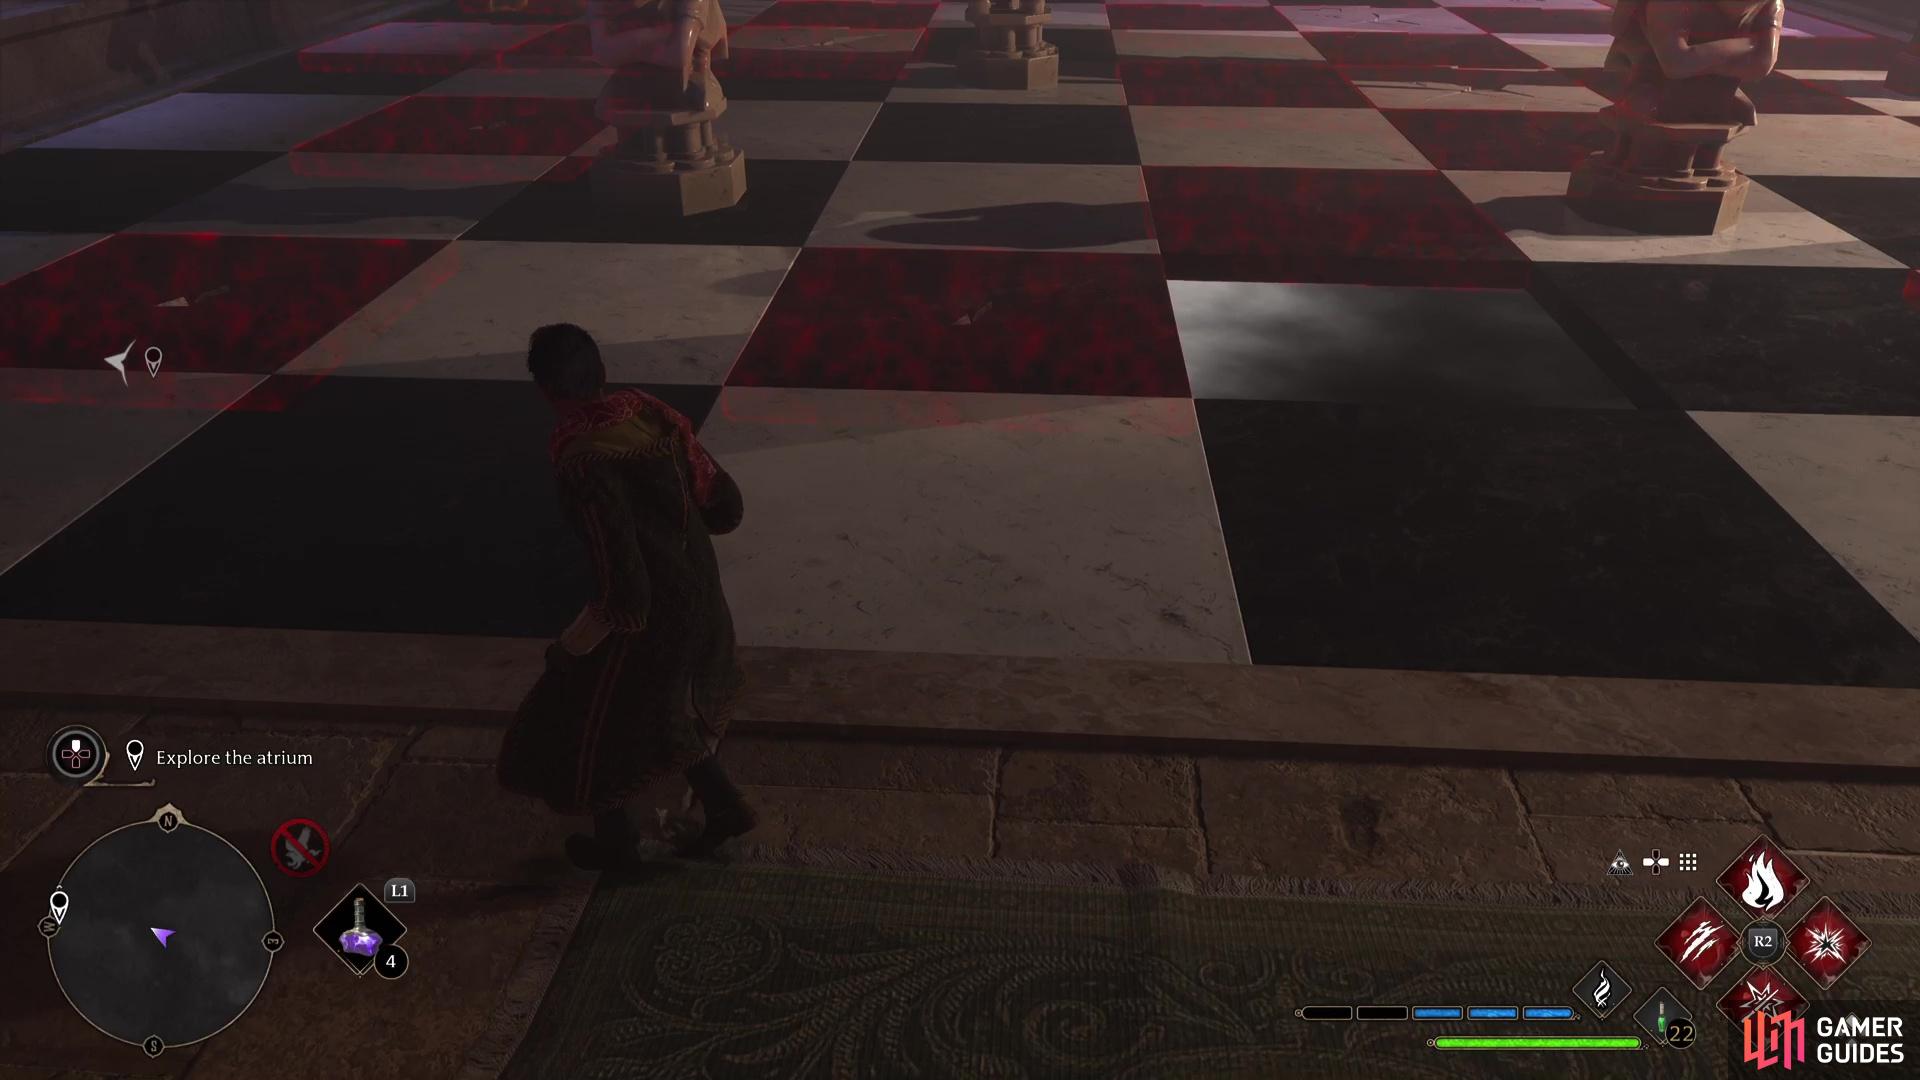
Follow this path, through the door and you’ll reach an oversized game of chess. If you look carefully, you’ll see some of the tiles have cracks in them and if you step on it, you’ll fall through the floor. To make life easier for yourself, use ![]() Revelio to have the tiles with cracks light up in red. Using this, you can navigate across the “board” (you can jump between tiles) and reach the pathway at the back.
Revelio to have the tiles with cracks light up in red. Using this, you can navigate across the “board” (you can jump between tiles) and reach the pathway at the back.
Follow the path and you’ll reach another holder, head towards the couch, look to your left, and use Accio to pull the previous lantern over to you and drop it on the holder. This will create a pathway across and a door where you’ll find the second of two Atrium lanterns which you should bring with you and place on the other holder at the locked door.
Once again, you’ll find some Wiggenweld Potions nearby and then at the bottom of the stairs, you’ll have another encounter with Fastidio. The same process applies here, avoid the furniture he flings at you while dispatching any Mannequins he conjures. Once he takes off, return to the foyer to find the locked door is now open (if you’ve cleared both sides).
Go through the doors and you’ll eventually catch up to Fastidio, who proposes a deal, if you can first match wits with him.
How to Defeat Fastidio’s Monster
This may appear to be a boss battle, what with the health bar that appears, but the battle is deceptively simple, and not too much different than that of a battle against a Troll. The first phase is a straight up battle between yourself and the monster, keep your distance, roll through the red circle prompts and attempt to ![]() Stupefy when you see an orange circle.
Stupefy when you see an orange circle.
Once you start the second phase, you’ll have to deal with Mannequins on top of increased aggressiveness from the Monster so be sure to keep on the move. The Monster will also begin tossing barrels at you on this phase, but you can time it with a Stupefy to stun it for a short while.
The third and final phase is where this becomes challenging, as Fastidio will flip the perspective and you’ll be upside-down. Be sure to stay locked on to try and keep your focus on it and use any ![]() Ancient Magic at your disposal. After a while, Fastidio will flip the perspective back to normal again, but you’ll want to try and finish the battle off before then.
Ancient Magic at your disposal. After a while, Fastidio will flip the perspective back to normal again, but you’ll want to try and finish the battle off before then.
Once the battle is over, you’ll come to an agreement with Fastidio and will be able to leave the dungeon at last. Speak to Penny to inform her on what happened and then make your way to speak with Officer Singer in Hogsmeade Square. With her support, return to Cassandra Mason who will attack you.
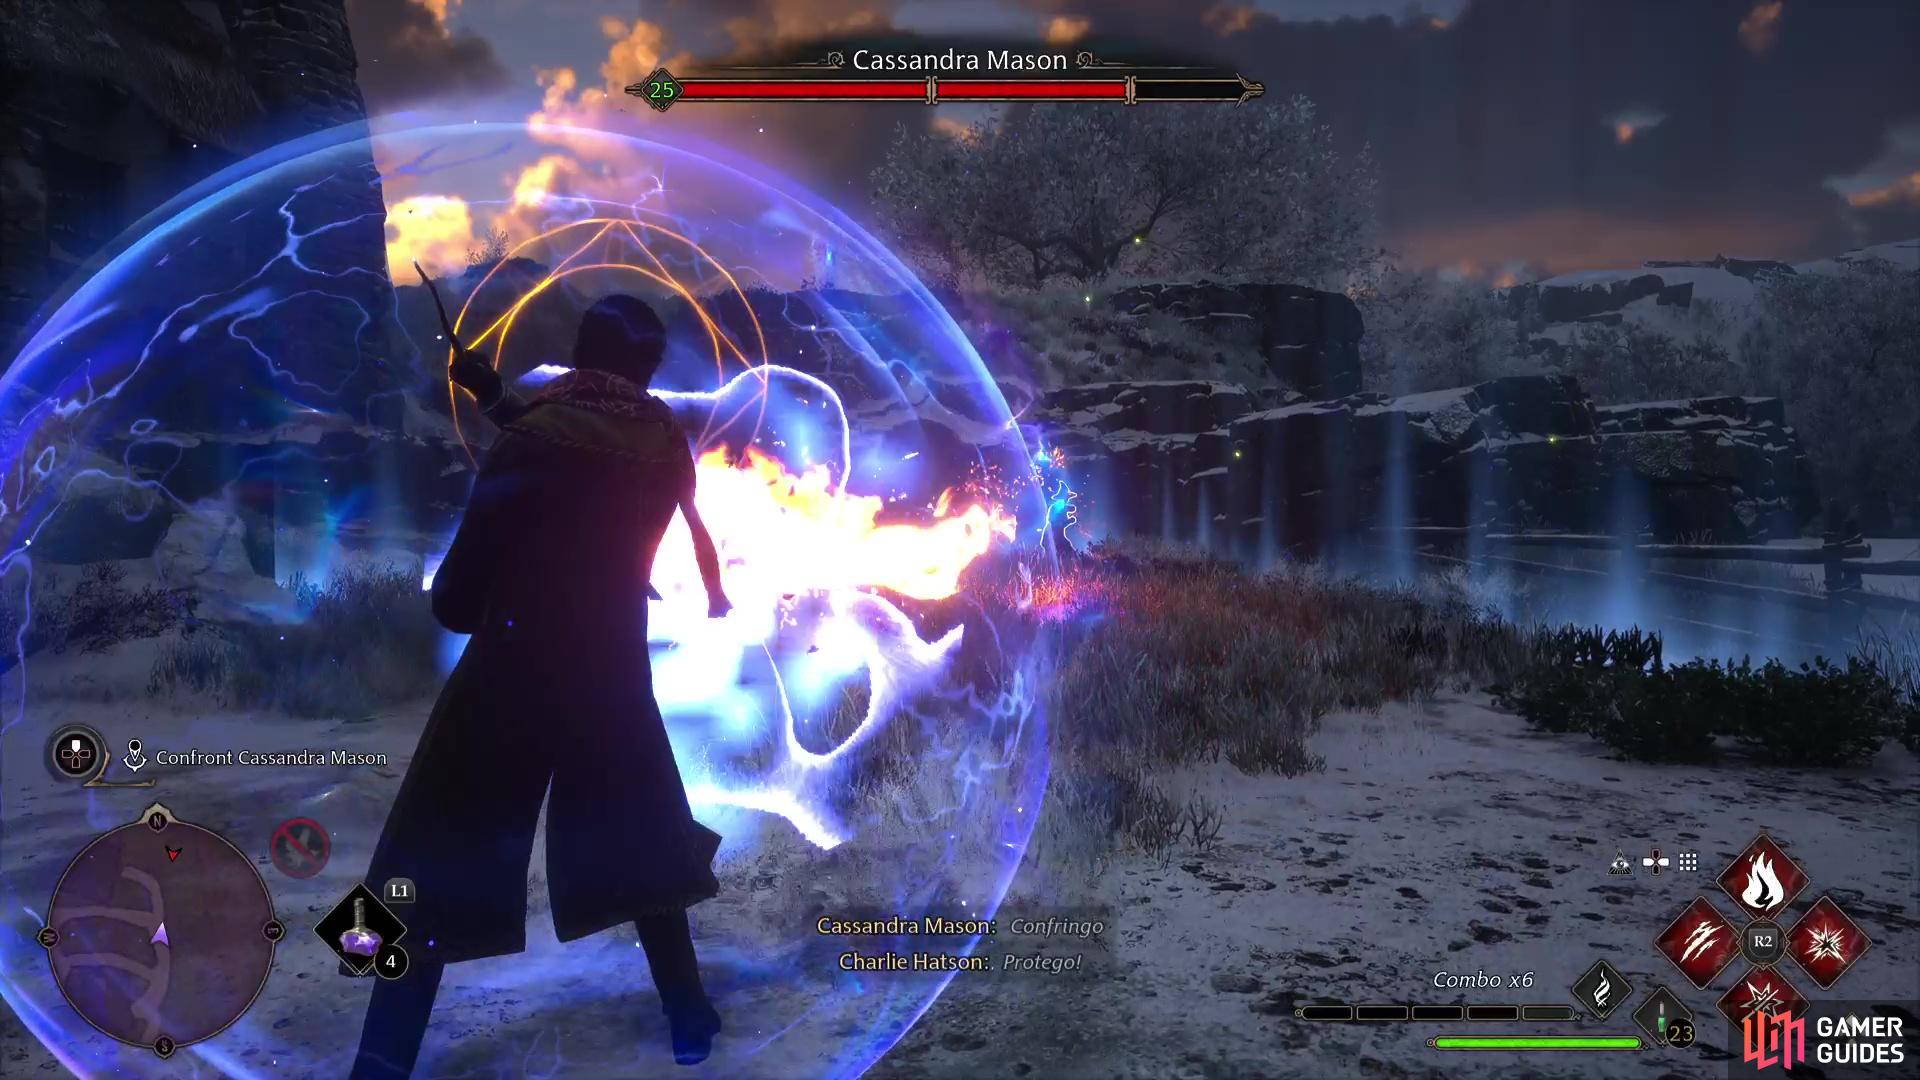
You only have to bring her health down to her final bar
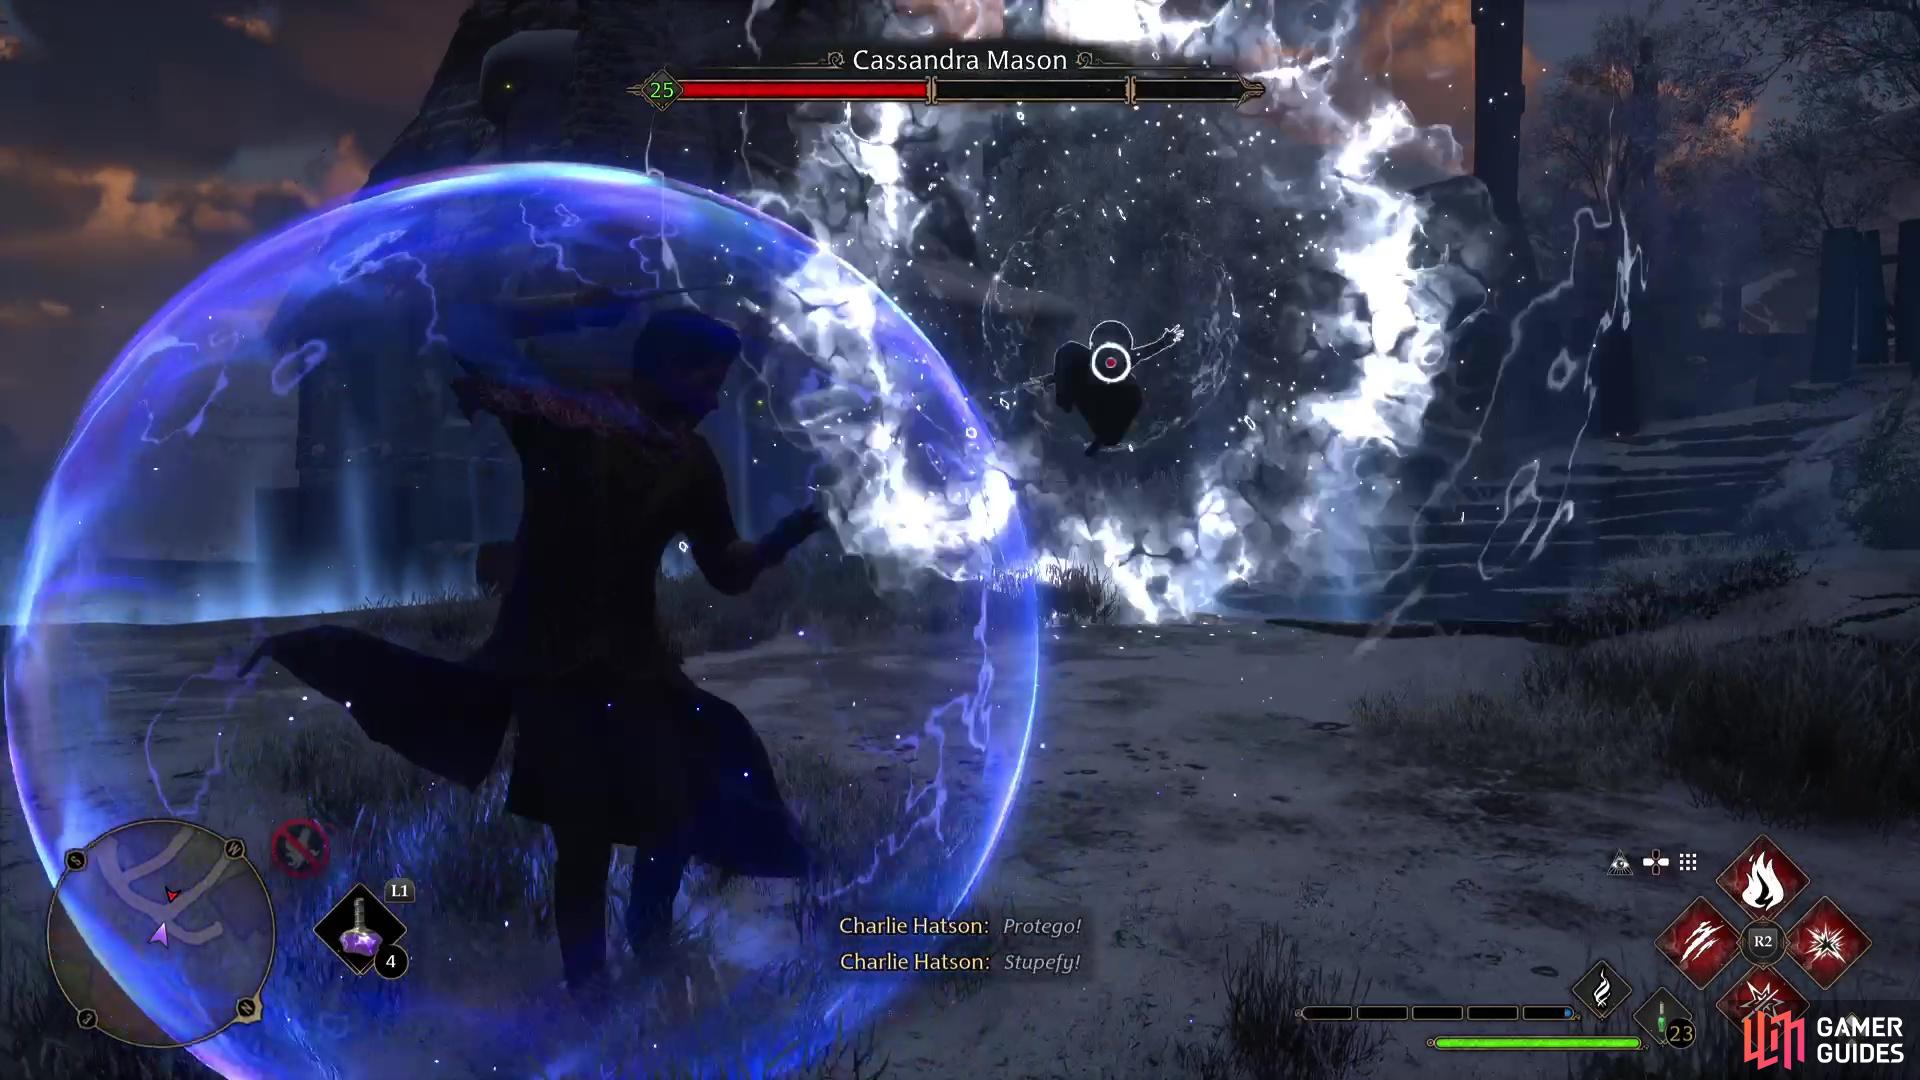
using !Stupefy will automatically drain a whole bar.
This is even less of a boss battle than the previous one, and you can end it quickly by using the Stupefy counter on her attacks which give you generous timing. Take down two of her health bars and the battle will come to an end.
Return to the shop and speak to Penny, you’ll get a choice from three options for your shop and the Quest will come to an end, unlocking your very own shop in the process along with the Shopkeeper’s cosmetic set.
No Comments