
You’ll need to complete four trials to help you understand the ancient magic you can wield, and how you can use it to save the wizarding world. The first of these trials, Percival Rackham’s Trial, will be covered below, including details for solving all the puzzles and finding all the treasure during the trial.
How to Start Percival Rackham’s Trial in Hogwarts Legacy
After the main quest Jackdaw’s Rest you’ll have to advance through another series of less important main quests until you reach the next story dungeon. Complete Flying Class , The Room of Requirement, In the Shadow of the Undercroft before you’ll finally unlock The Map Chamber, which is a glorified conversation that serves little purpose but to lead you to the meatier Percival Rackham’s Trial
To get this quest started properly you’ll need to meet up with Professor Fig at San Bakar’s Tower (there’s a Floo Flame of the same name), which is along the northern edge of the map, in the ![]() North Ford Bog region. Needless to say, if you don’t have a broom by now, this is going to be a long, perilous journey, so you’re probably going to want to get a broom before heading off here, if you don’t have one already.
North Ford Bog region. Needless to say, if you don’t have a broom by now, this is going to be a long, perilous journey, so you’re probably going to want to get a broom before heading off here, if you don’t have one already.
How to Defeat the Goblins Outside the Tower in Hogwarts Legacy
When you arrive, talk to Professor Fig (or wait, if it’s not daytime) only to find out you’re not alone - some of Ranrok’s goblins have infested the area outside the tower. Follow Professor Fig and when prompted use ![]() Disillusionment. What follows is another stealth segment, and this one finally introduces
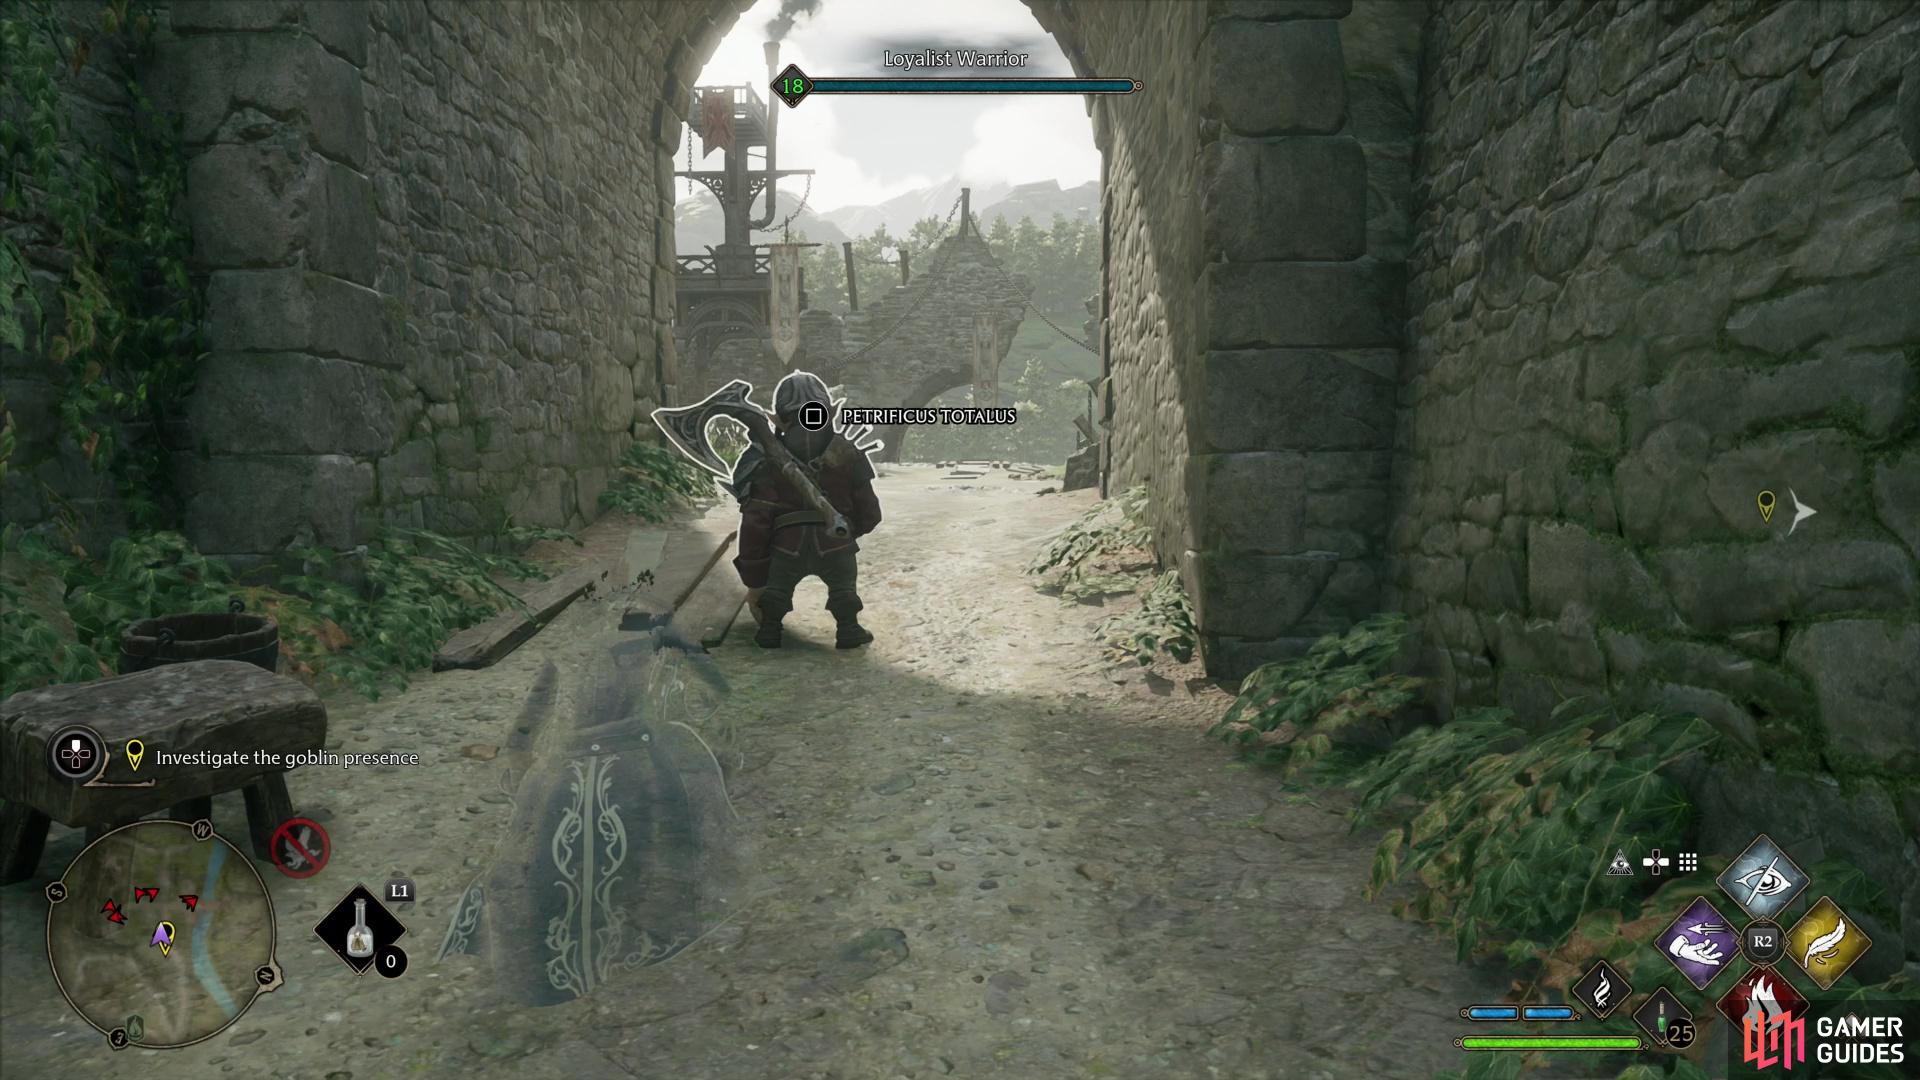
Disillusionment. What follows is another stealth segment, and this one finally introduces ![]() Petrificus Totalus - a stealth takedown spell that can only be used while under the effects of Disillusionment.
Petrificus Totalus - a stealth takedown spell that can only be used while under the effects of Disillusionment.
Dispatch the first goblin whose back is presented invitingly towards you, then move into their camp where you’ll find around half a dozen more goblins milling about. If you’re careful and patient you can dispatch them all stealthily, but it’s not required. The only tricky ones are the pairs of stationary goblins - if you use Petrificus Totalus on one, the other will notice, but if you’re fast enough you can take them out before they fully detect you. Once the goblins are out of the way, search a tent to find a letter from Ranrok, then defeat another half-dozen or so goblins that show up. These ones are led by a ![]() Loyalist Assassin, an extra aggressive Goblin who will attack frequently - including interrupting spell combos - with unblockable attacks. A prime target for
Loyalist Assassin, an extra aggressive Goblin who will attack frequently - including interrupting spell combos - with unblockable attacks. A prime target for ![]() Ancient Magic, if you have it charged.
Ancient Magic, if you have it charged.
With a dozen fewer goblins in your way, head up to the tower and Professor Fig will use an unlocking spell to open the door, something he promises to teach you later. Not that these spells take that long to teach, but whatever… Enter the tower and loot your way upstairs until you find a portrait of Percival Rackham. Talk to it, then head back to the bottom floor to find a reservoir of ancient magic - one of several such nexuses you’ve stumbled upon by now. Interact with it to finally find the doorway leading to Percival Rackham’s trial.
How to Solve the First Accio Puzzle in Percival Rackham’s Trial
Go through the portal and follow the linear path beyond to finally reach the dungeon containing the trials. Continue on and go down two flights of stairs to find another nexus of arcane magic, which will create a bridge when you interact with it. Loot a small chest nearby, head back upstairs, go through an archway, loot two more small chests (one north, one south) then continue west through a doorway to reach a room with an undulating bridge. The bridge lowers as you cross it, no tricks here, so press on until you reach a large, circular chamber.
Make your way through the room, past an arch, and up some stairs to find another small chest in the western corner, then backtrack east down the stairs to find another nexus of arcane magic. Use it, then go through the arch in the middle of this room, which now encompasses a portal. Follow the linear path ahead and you’ll encounter your first enemies - a ![]() Pensieve Protector and two
Pensieve Protector and two ![]() Pensieve Sentinels. Smash the statues and carry on to a room to the south to find your first puzzle, another
Pensieve Sentinels. Smash the statues and carry on to a room to the south to find your first puzzle, another ![]() Accio puzzle, to be precise.
Accio puzzle, to be precise.
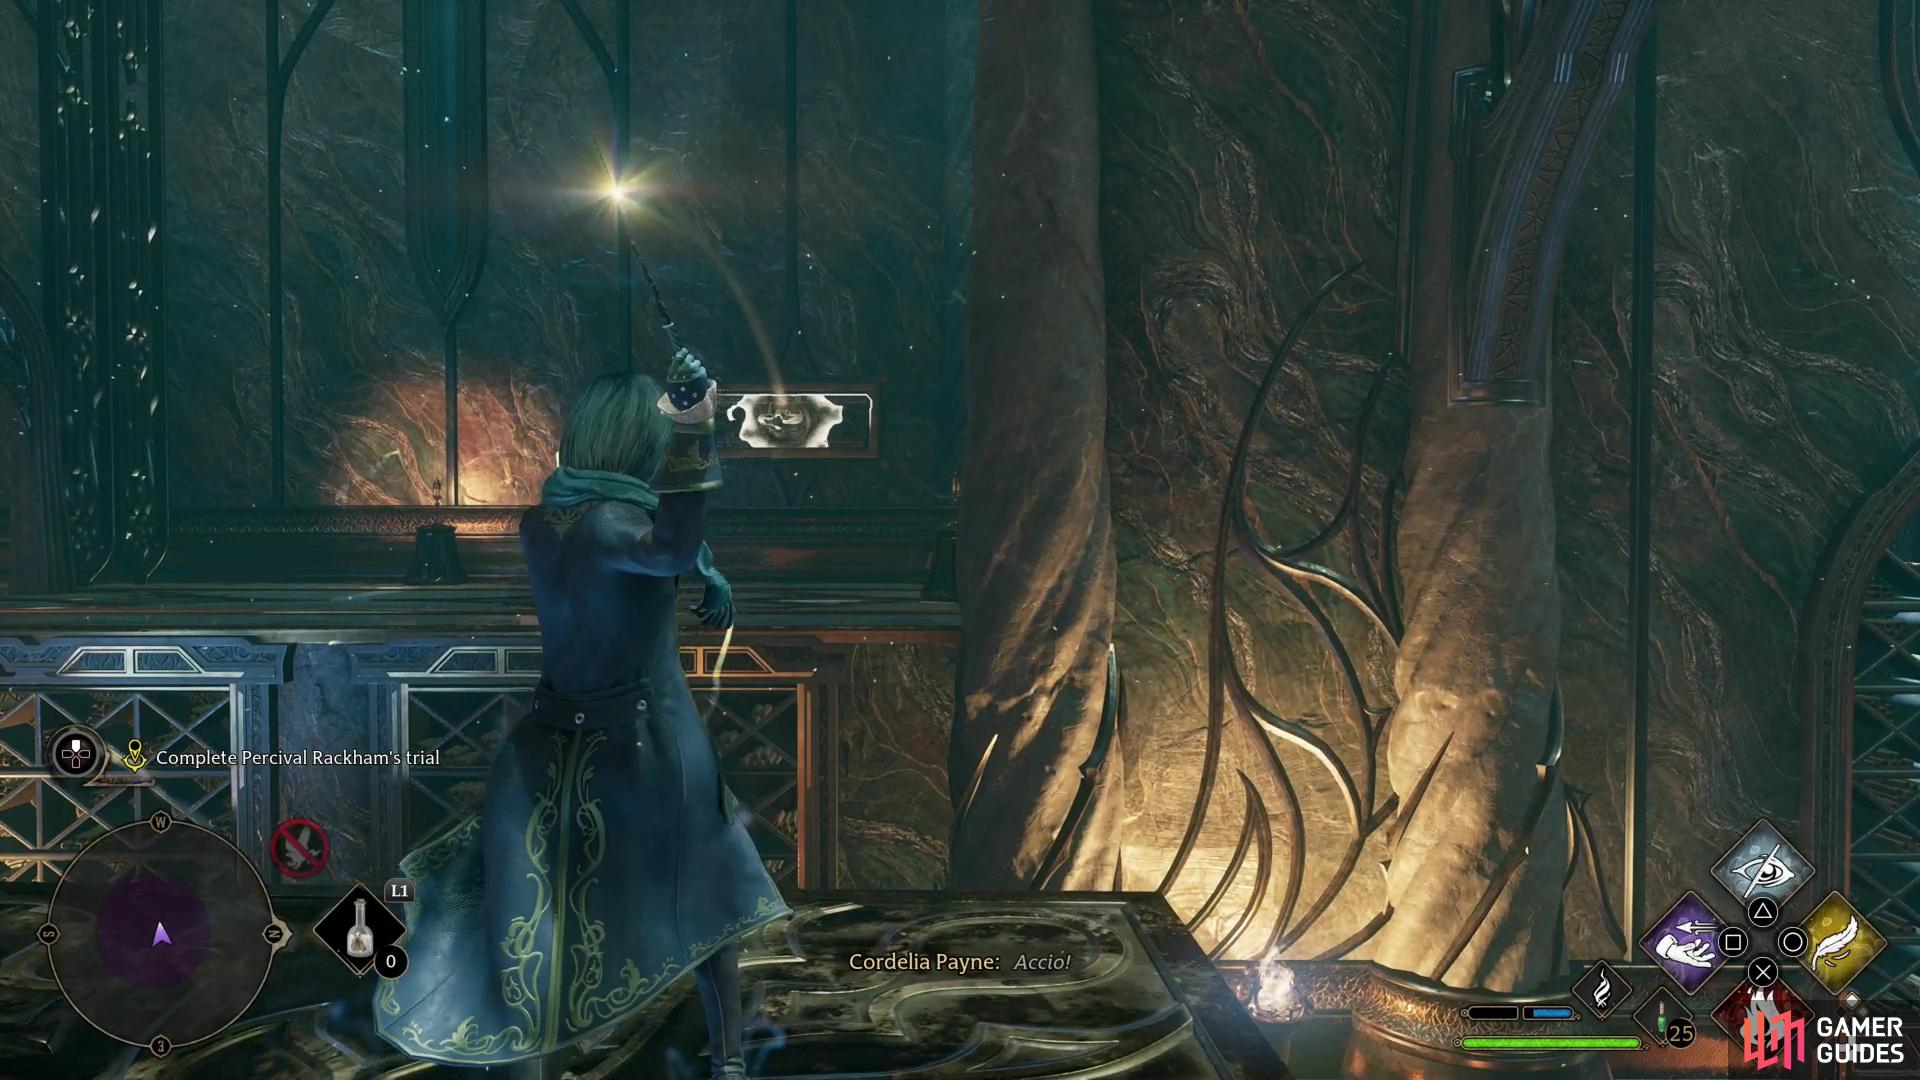
(1 of 5) Use !Accio to drag a floating platform to a ledge on the western end of the room,
Use Accio on the floating platform to drag it close, then jump on it. Accio a handle on the pillar to the south, and when the floating platform (and yourself) has been pulled to the pillar, turn west to find another handle embedded in the far wall. Pull yourself to west, then get off the floating platform and interact with another arcane magic nexus which will create a portal in an archway to the south. More interestingly, the room you were standing in will change - the pillar will now be a square platform housing a chest, and there are now Accio handles on the walls to the south and east.
First, pass through the archway to reach a small chamber with a large chest inside. Loot it and head back out. Now use the new handles to get two more small chests:
-
Get back on the floating platform and use Accio to pull yourself to the southern wall, then turn northeast and pull yourself towards the far handle on the eastern wall. This should intercept the square platform in the center of the room, allowing you to reach its chest.
-
Return to the floating platform and pull yourself to the southeastern handle to reach another ledge where a second small chest awaits.
By now you’re probably sick of hearing your character contemplate the puzzle aloud, so let’s get out of here. To solve the puzzle you need to get beyond the archway without passing through the archway. This is simple enough, just pull yourself back towards the western wall using the handle, then pull yourself to the southern wall using another handle. Jump off the floating platform and head south down some stairs. Your reward for solving this puzzle (aside from the chests you plundered)? Two more Pensieve Protectors. Reduce them to rubble, then continue on to the next puzzle.
(1 of 5) Use !Accio to pull a floating platform towards the footbridge, where it’ll allow you to access an arcane magic nexus.
How to Solve the Second Accio Puzzle in Percival Rackham’s Trial
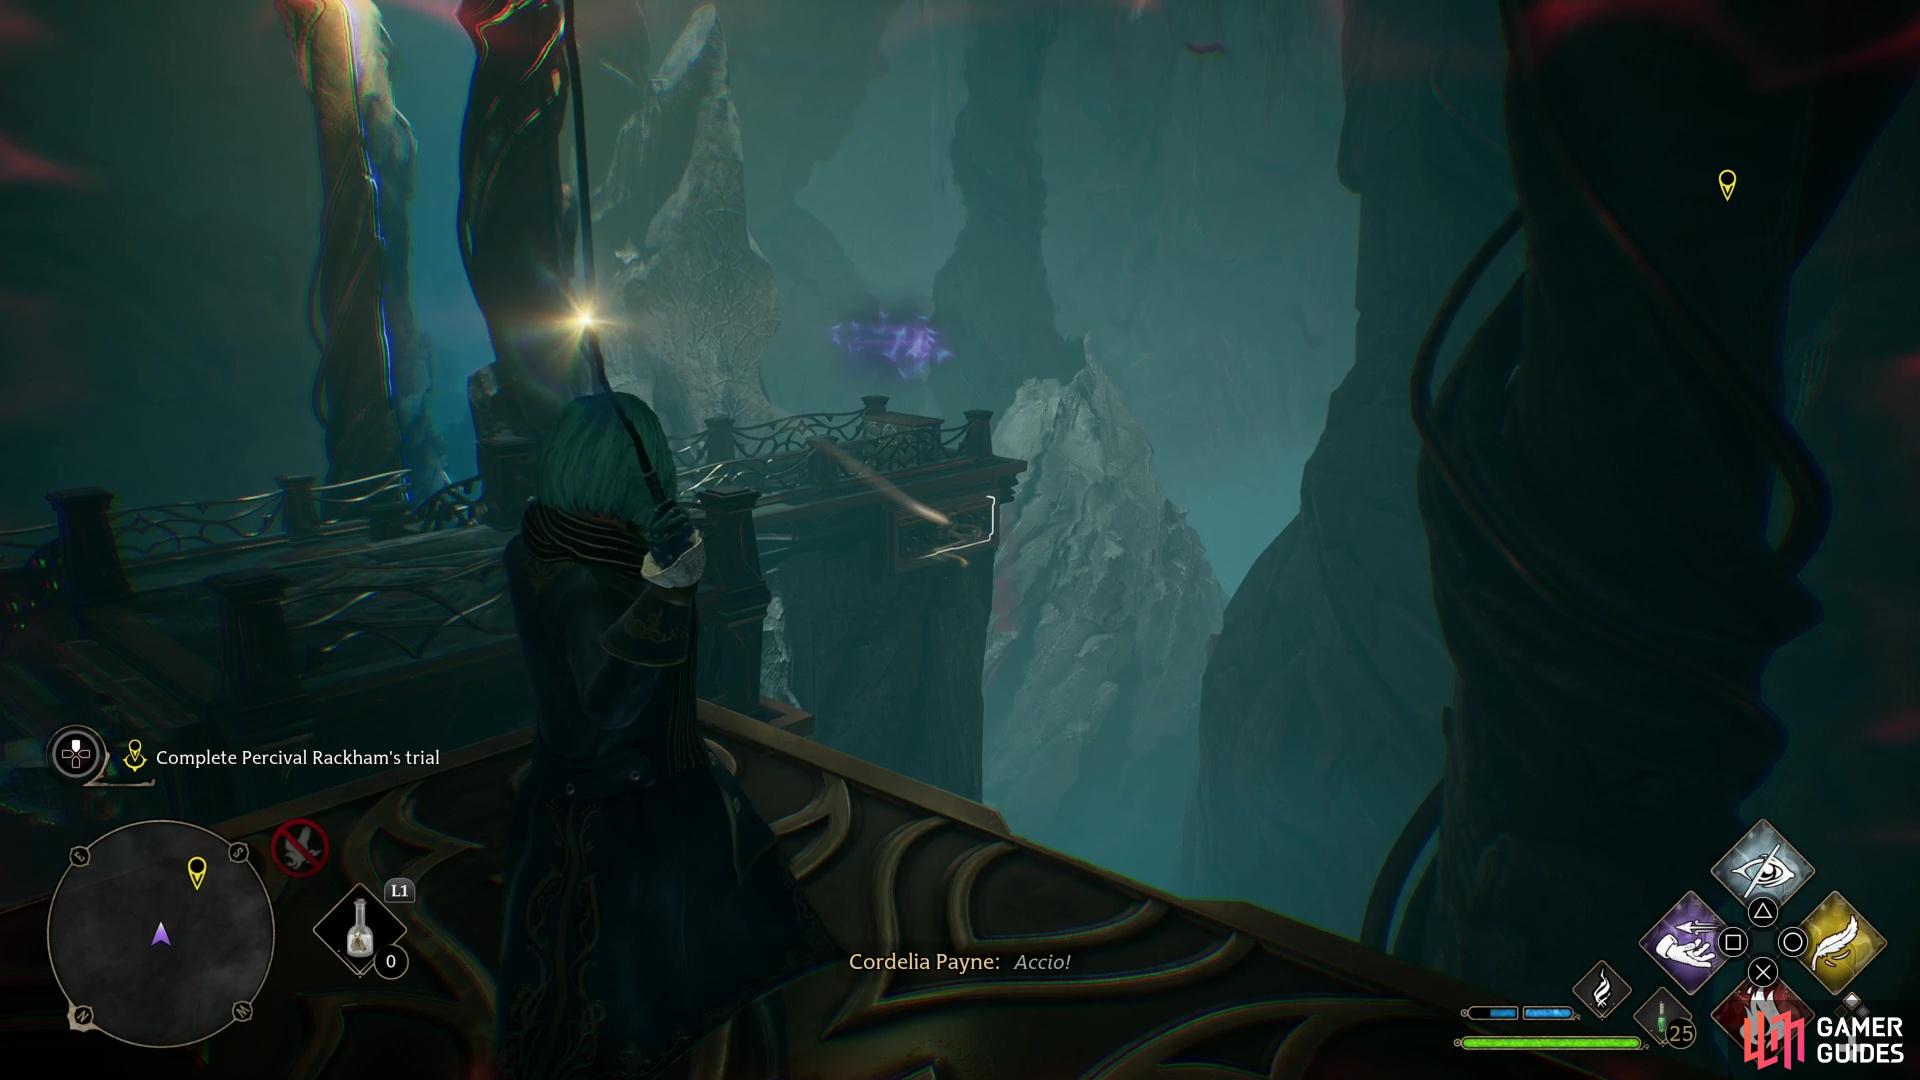
The second Accio puzzle is just south of the two Pensieve Protectors. Note the floating platform in the room beyond, then head down a short flight of stairs and ascend a second flight to find yourself on a footbridge. Head to the western end of the bridge and you’ll see the telltale signs of an ancient magic nexus, although this nexus is floating in the air. Provide some firmer foundation by pulling the floating platform over, then use the arcane magic nexus.
If you look south you’ll notice the wall is gone, revealing another half of the room, complete with a ledge holding a chest and an Accio handle to the south. Only one problem: you need to get the floating platform across the footbridge. Drop down into the northern half of the room and pass through an archway, which now houses a portal. Going through this portal will take you to another version of the chamber, one without the footbridge. There’s also no Accio handle on the ledge to the south, but there is one on the ledge to the southeast.
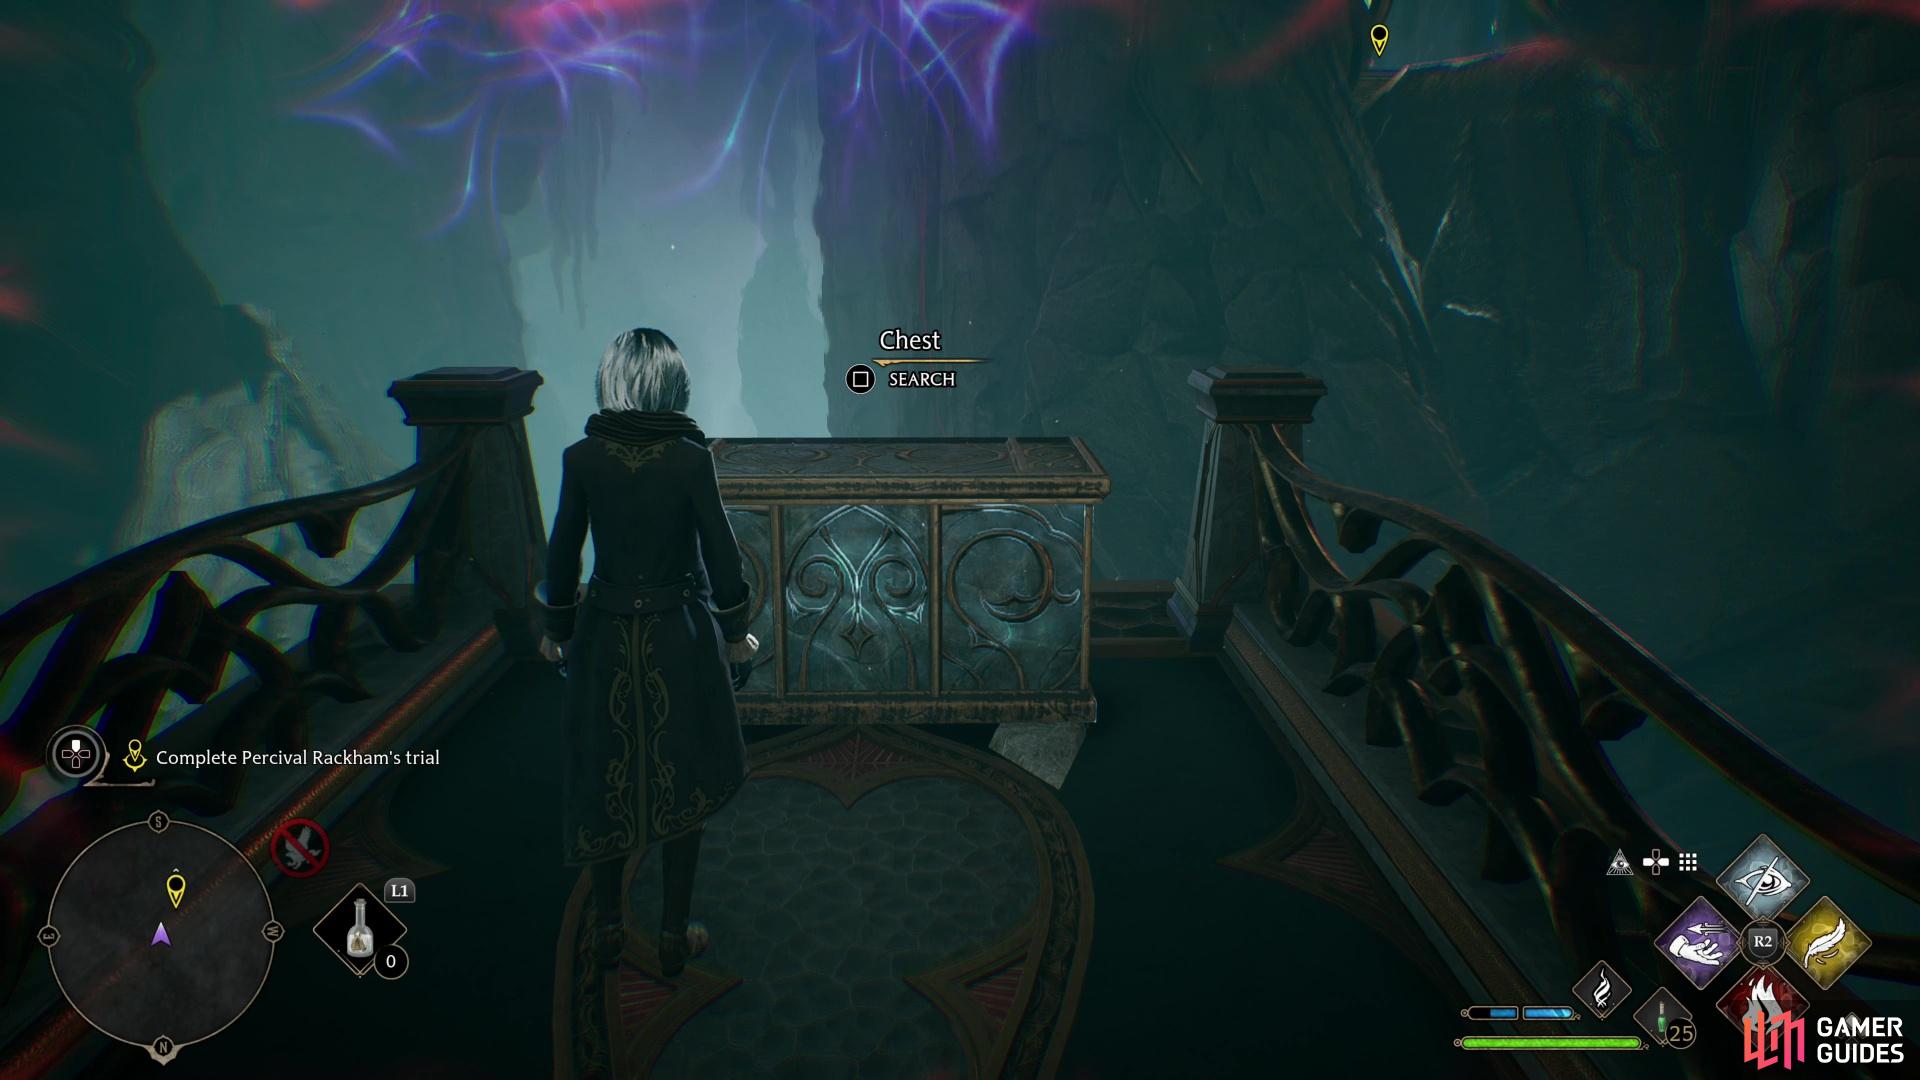
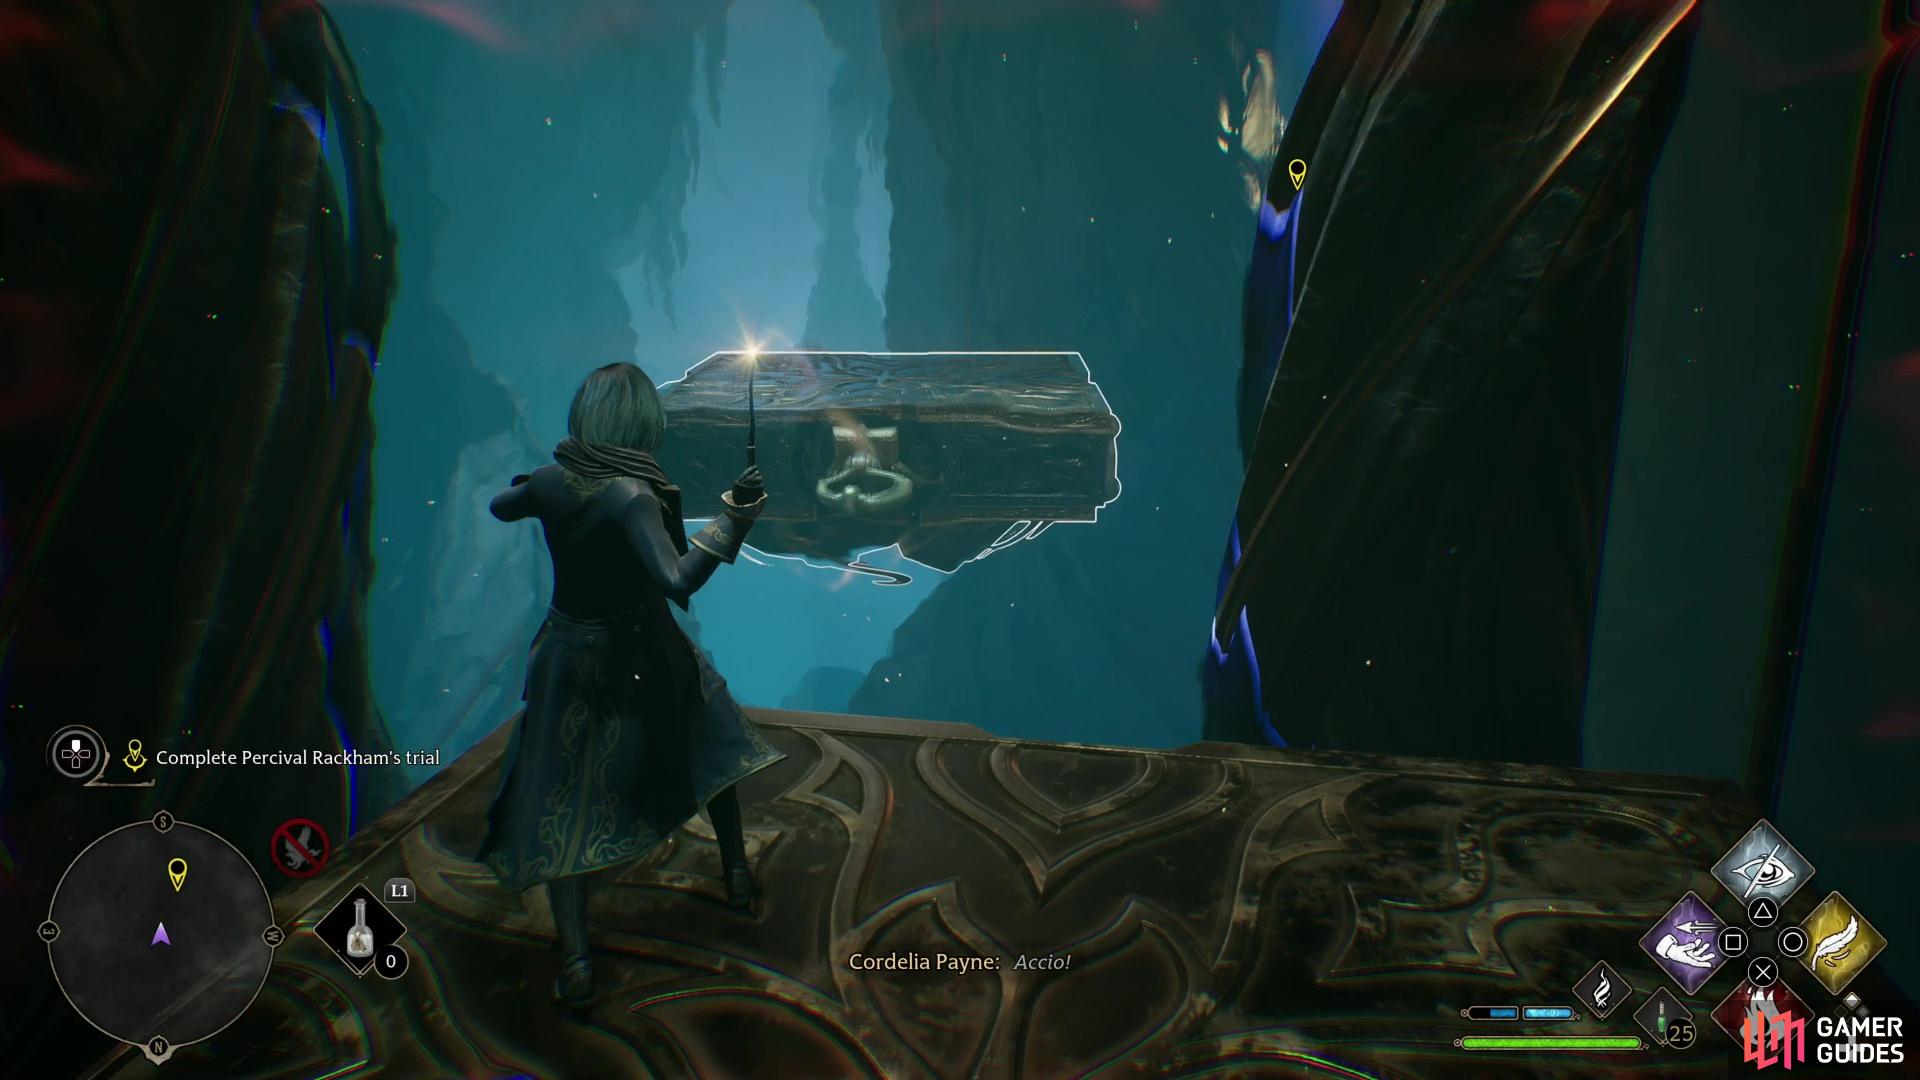
First step, you have to get back on the floating platform, and to do that you’ll need to move the floating platform somewhere you can reach it. The footbridge may be gone, but the stairs leading to it aren’t. Head to the southwestern corner of the chamber and pull the floating platform south along the western wall just enough so that it’s across from the stairs. Go up the stairs, then jump onto the floating platform. You now need to get to the southern ledge, but first.. There’s some treasure.
(1 of 3) Drop off the ledge where you looted the treasure chest and enter the portal from the north,
Look to the southeastern corner of the room and use the Accio handle to pull yourself to the ledge there, where you’ll find a large chest. Loot it, and with that, it’s time to finish this puzzle. Jump down to the floor of the chamber and leave your floating platform where it is. Make your way north back to the portal and go through it from the northern side of the room to summon back the footbridge. Ascend the stairs back to the footbridge and Accio the floating platform over to you, then Accio your way to the southern ledge, which once again has its Accio handle. Simple.
Continue south onto another undulating floor, turn west to loot a small chest, then following the unstable floor to the east. As always, your ultimate reward at the end of these puzzle segments is some combat, this time with a group of three Pensieve Protectors, and when they’re whittled down to a single belligerent boulder it’ll be joined by four ![]() Pensieve Sentry enemies. Defeat them and continue to the south to find another floating platform.
Pensieve Sentry enemies. Defeat them and continue to the south to find another floating platform.
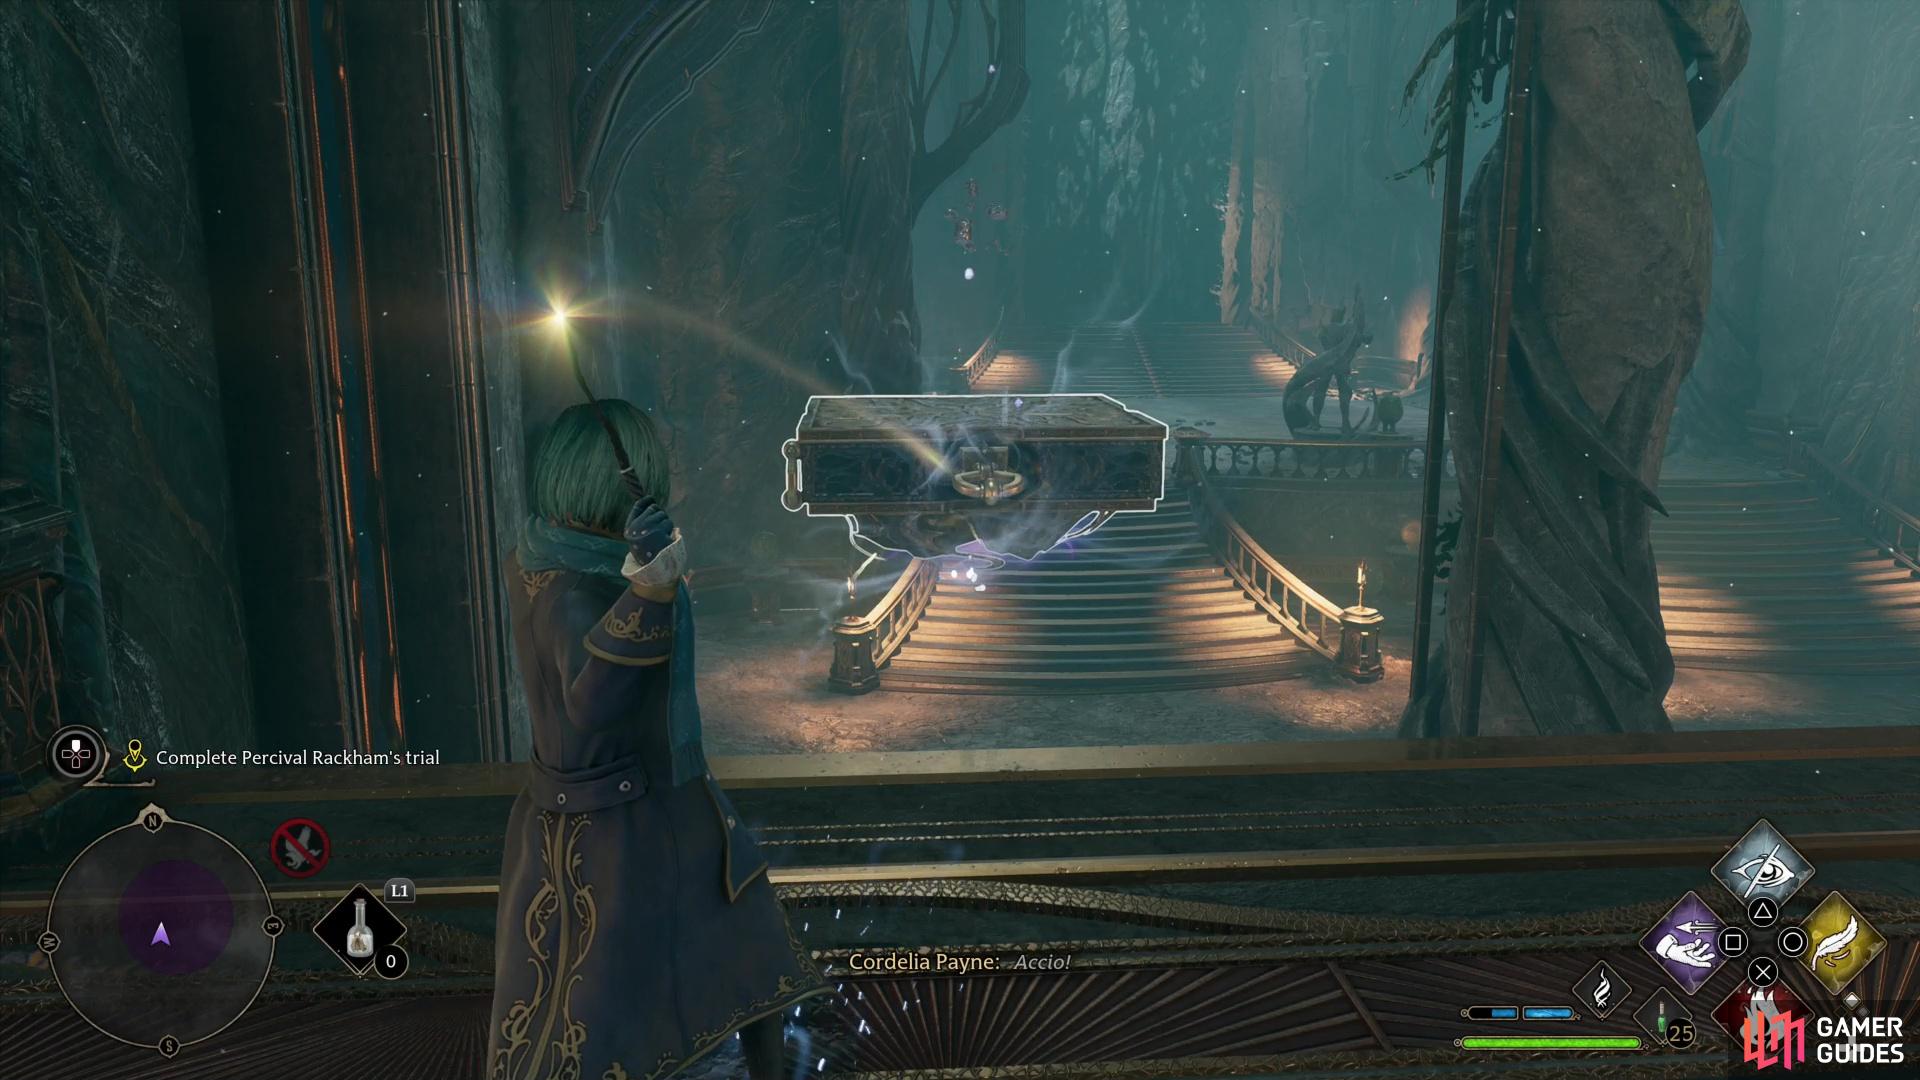
Use several !Accio handles to pull yourself towards the central structure, past the portal arch,
where you’ll find a large chest you can loot.
How to Solve the Third Accio Puzzle in Percival Rackham’s Trial
On the landing in front of the floating platform you’ll find another nexus of arcane energy. Use it and the cavern to the south will become more interesting, as it now features Accio handles to the east, west and south, not to mention a massive portal arch, also to the south.
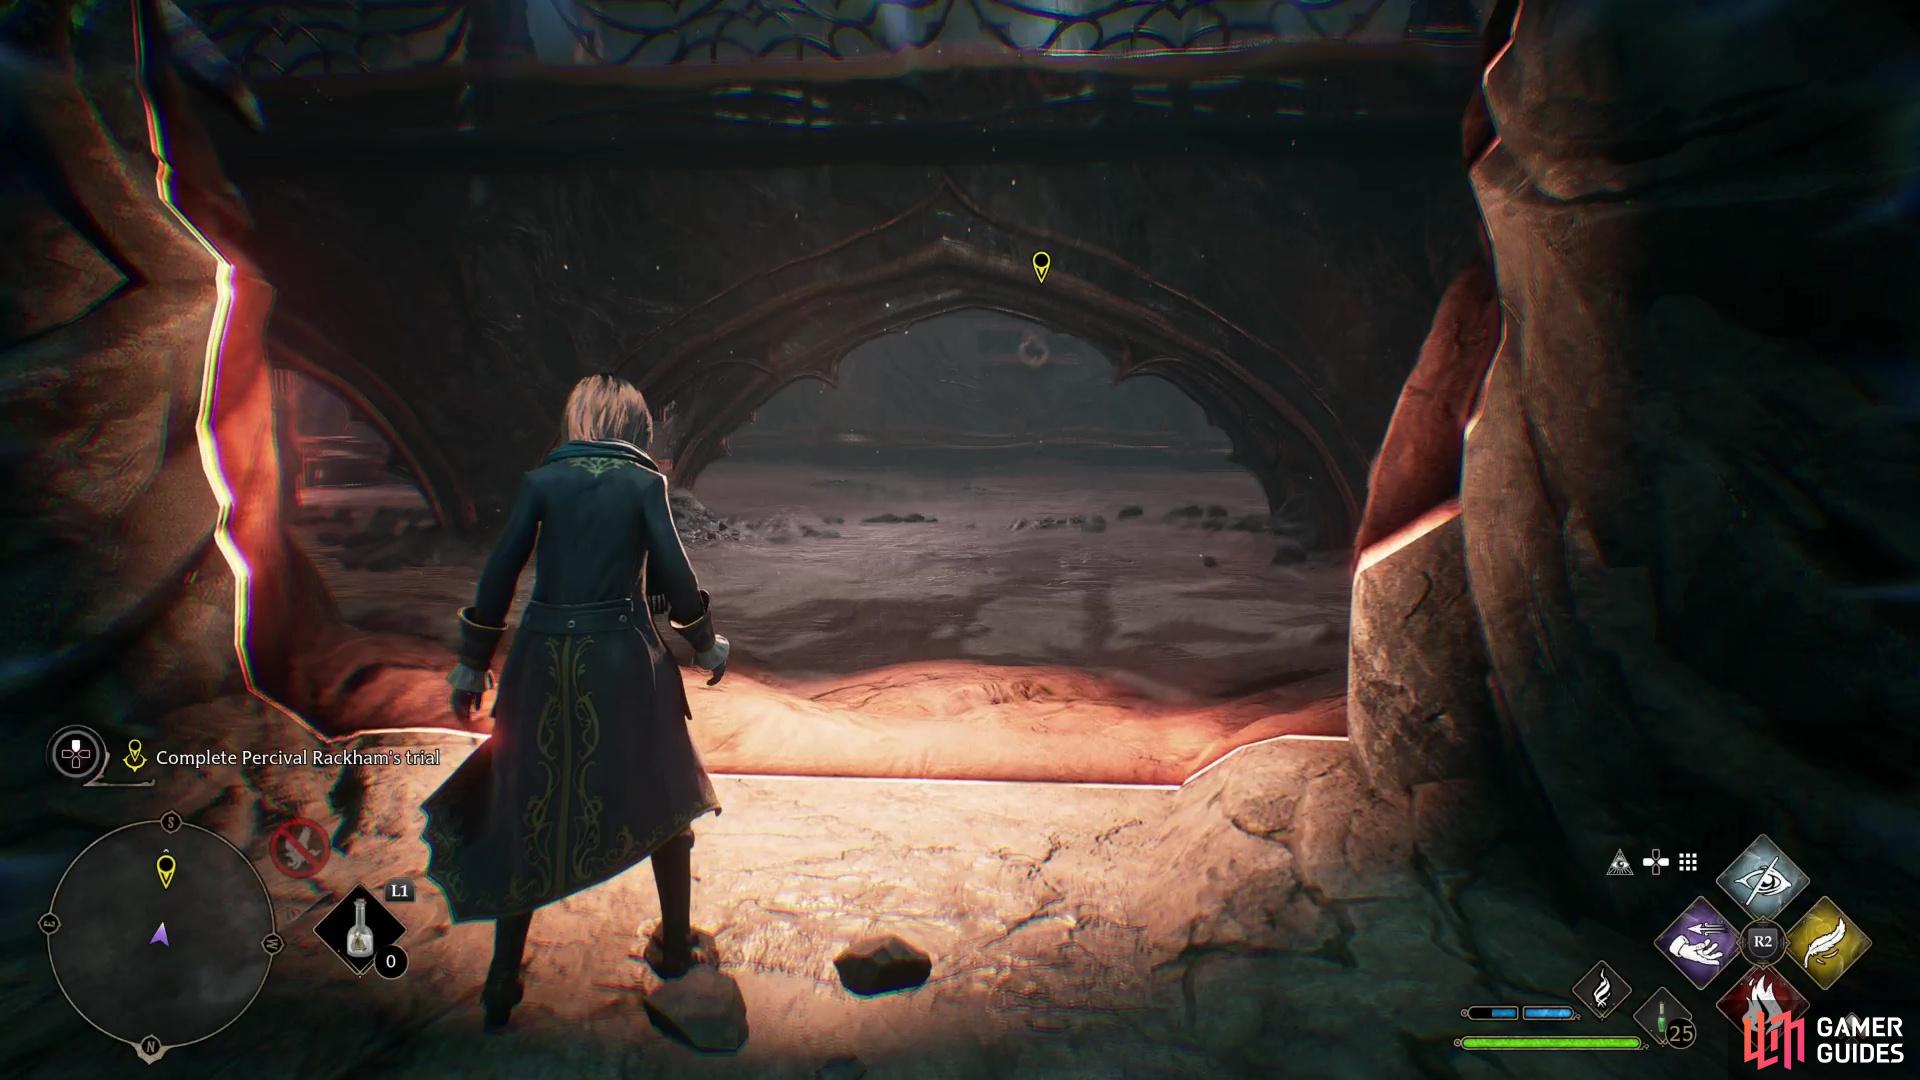
Pulling yourself south to the walkway leading to the portal arch seems promising, but from this side the portal just leads to a fall, resetting the puzzle. That being the case, instead Accio yourself to the western handle, then look southeast to spot another handle behind the portal arch. Accio over to it, then drop down and loot a large chest at the end of the walkway.
(1 of 3) Maneuver the floating platform so it’s in front (north of) the portal arch, then use !Accio to pull another floating platform towards the portal arch.
Now that your need for treasure has been (somewhat) satiated, turn around and go through the portal arch, which will deposit you back in the same version of the cavern you’ve been drifting through. The floating platform you used to reach the chest should be nearby, albeit just behind the portal arch. Head upstairs and draw the floating platform over to you, jump on it, then use the Accio handle on the eastern end of the room to pull the platform until it’s just in front of the portal arch. Once done, turn south and look through the portal arch - there’s a pit just beyond the portal, but above it is another floating platform. Accio the floating platform and the two platforms should be pulled together. Neither can cross the portal, but you can - jump from one floating platform to the next beyond the portal, then Accio the handle on the southern ledge to reach the end of this puzzle.
Continue down a hallway to the south and you’ll find two ![]() Wiggenweld Potions sitting out in the open, near some stairs. That’s not ominous. Head upstairs, go through some doors and loot a large chest - more Wiggenweld Potions. Yep, there’s definitely a boss fight ahead…
Wiggenweld Potions sitting out in the open, near some stairs. That’s not ominous. Head upstairs, go through some doors and loot a large chest - more Wiggenweld Potions. Yep, there’s definitely a boss fight ahead…
No Comments