
The stakes are getting higher, and you and Sebastian have found a lead on the location of the final piece of the triptych. He requests your assistance along the southeast coast to check it out. This page will tell you how to get every chest and clear every puzzle for the In the Shadow of the Mountain Main Quest.
You and Sebastian explore Tower Tunnel in the search of the final triptych piece.
Heading to the Tower Tunnel Dungeon
Before you can even begin this Main Quest, you’ll need to make sure you are Level 24 and have learned the Bombarda Spell, which can be done by completing the Assignment given to you in Winter. Once you’ve met these requirements, head to ![]() Marunweem Lake to meet with Sebastian, just to the southwest of this Merlin Trial.
Marunweem Lake to meet with Sebastian, just to the southwest of this Merlin Trial.
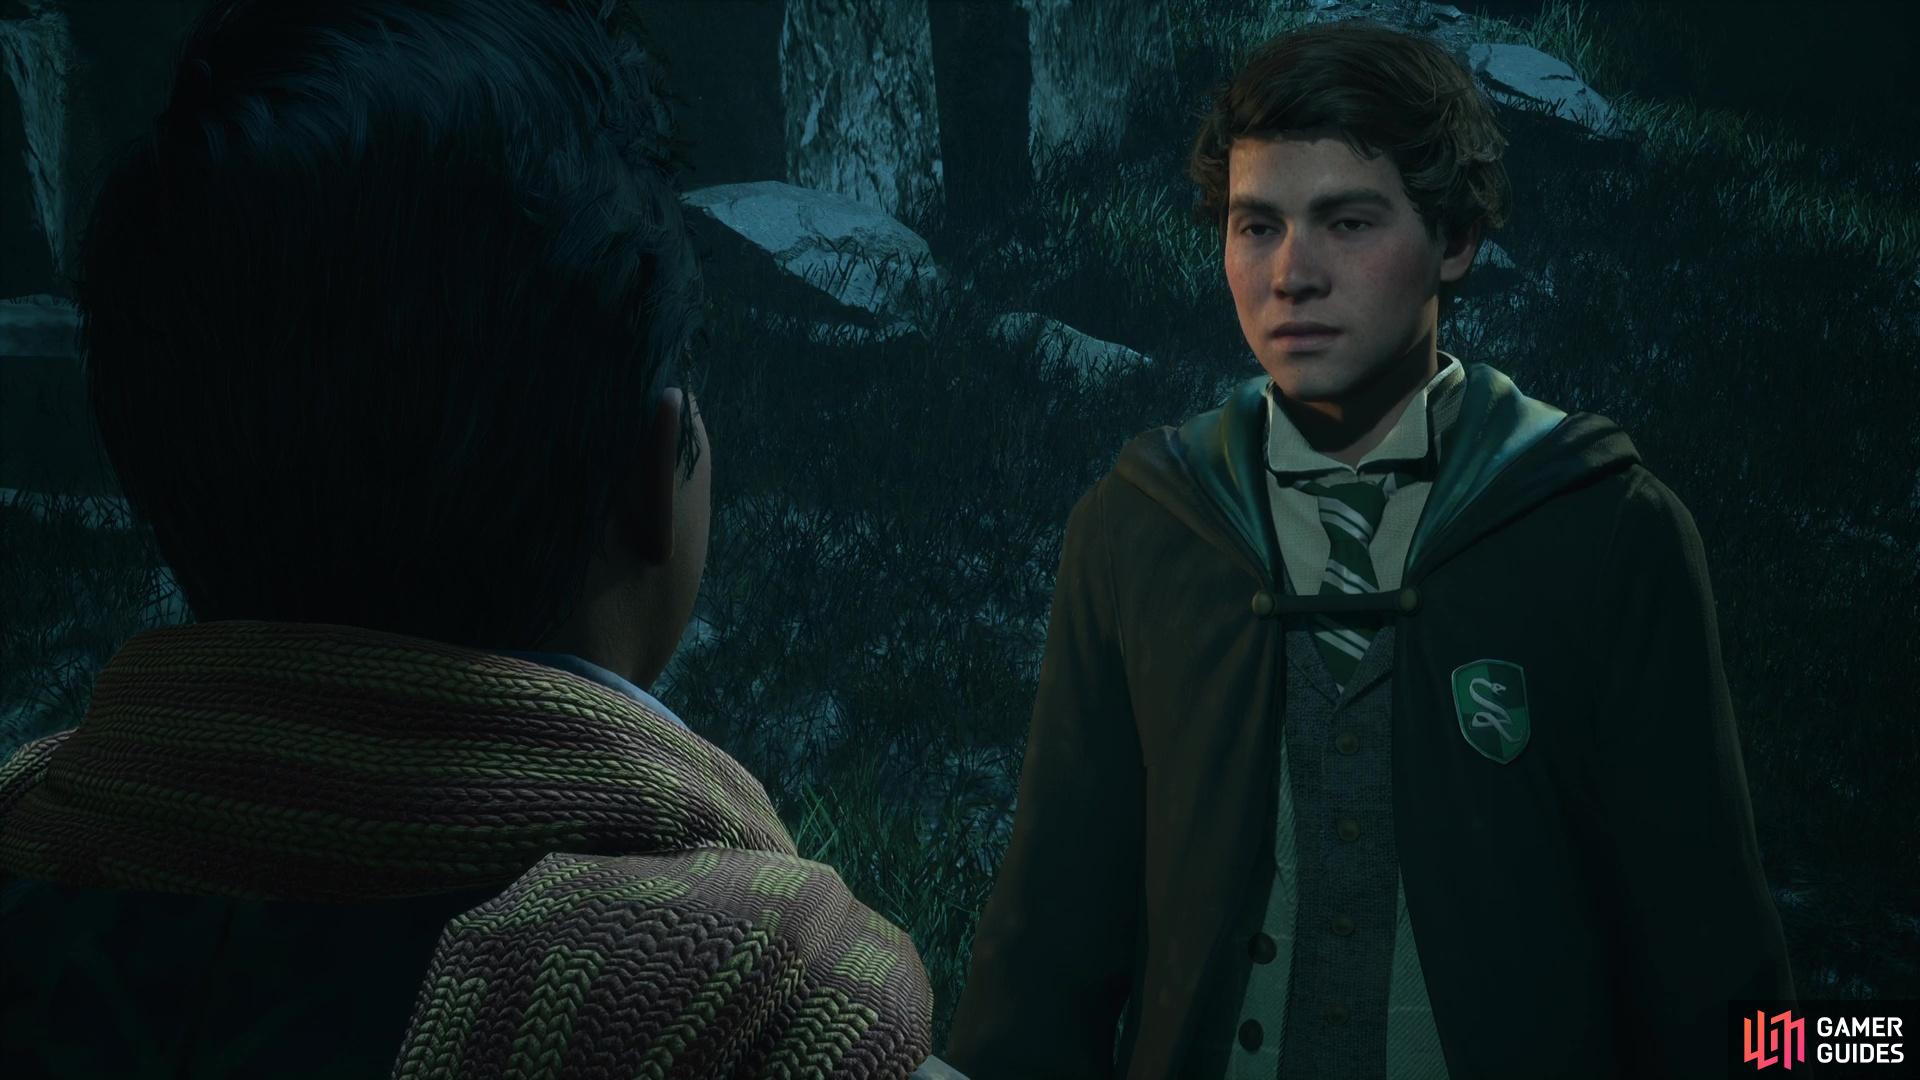
Despite not being on the best of terms with Sebastian right now, the two of you both have a shared interest in learning more about the triptych. Sebastian mentions a cavern up ahead, but you’ll need to navigate through two camps of Goblins under the cover of darkness first.

You will have to fight your way through these camps
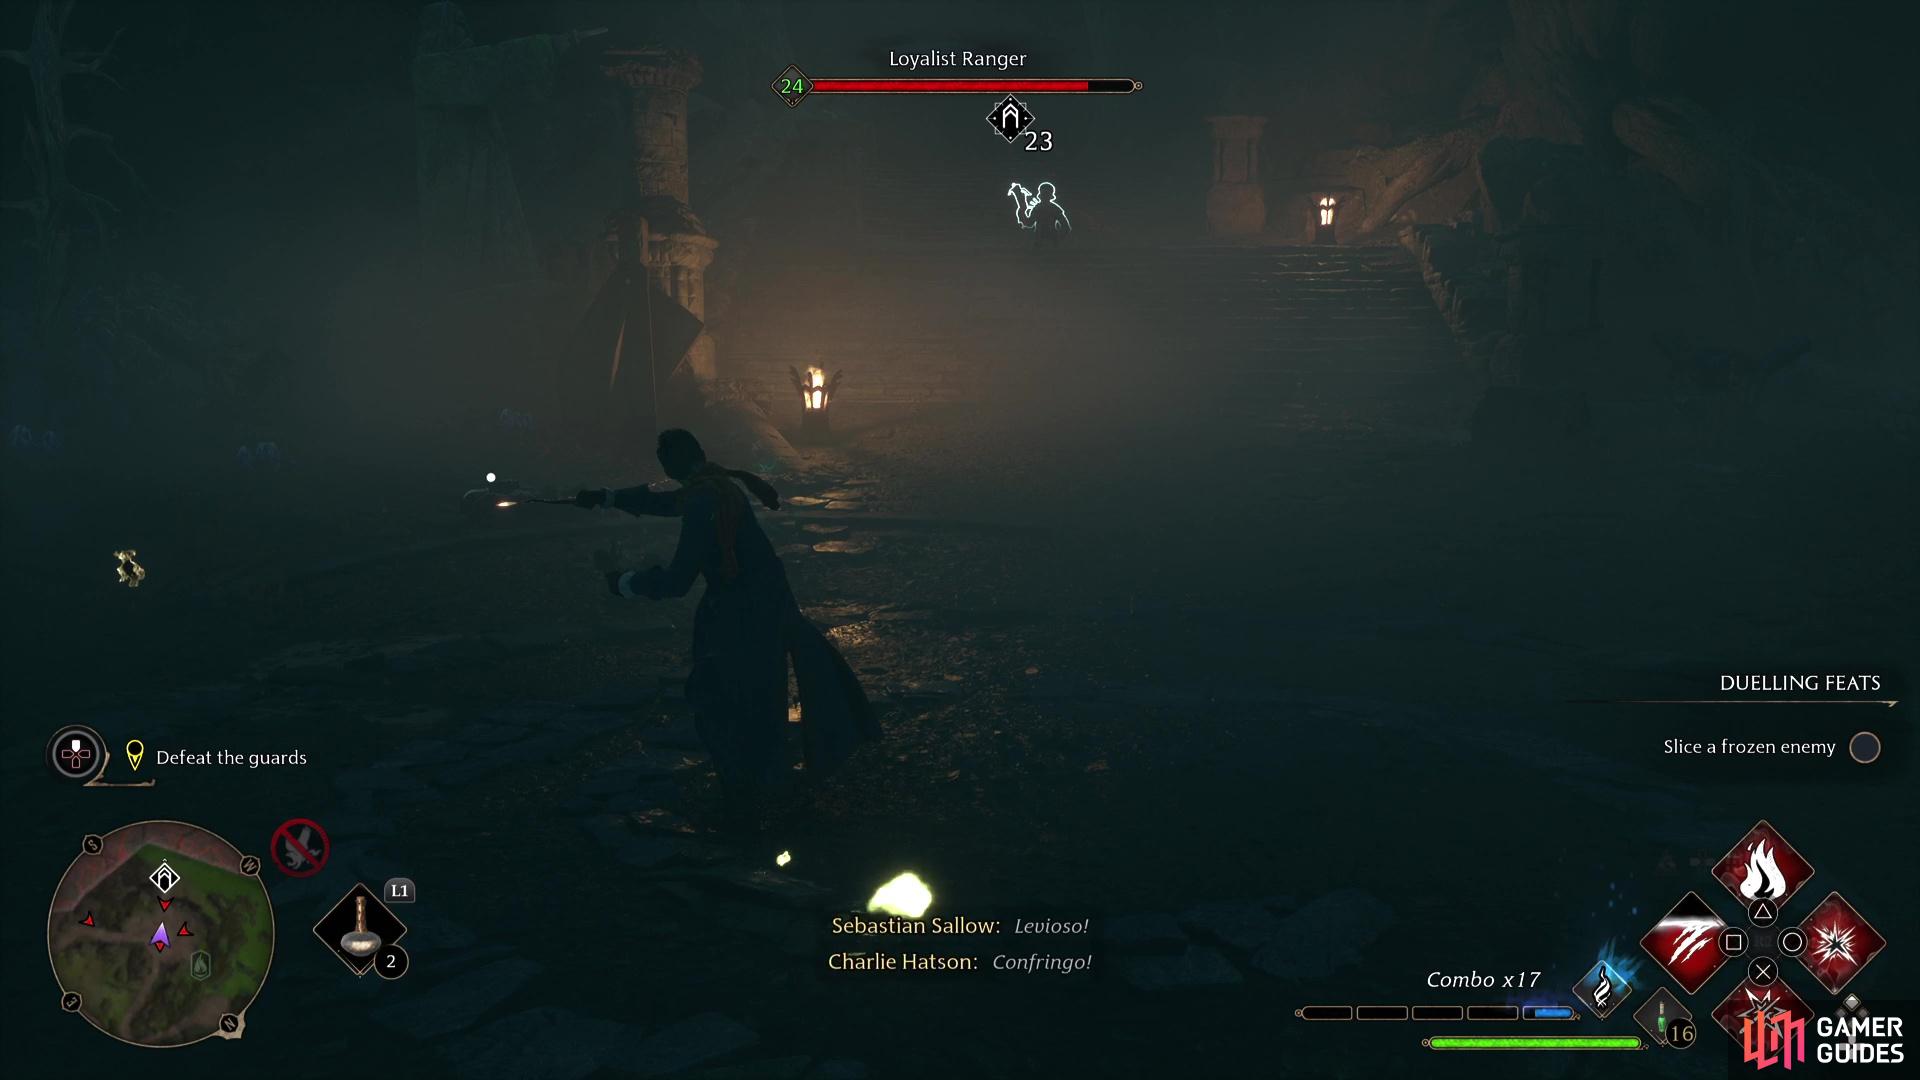
deal with any Rangers first.
You can ignore the first small checkpoint you reach, use ![]() Disillusionment to sneak past and avoid a battle. Continue to follow the path and you’ll soon reach the first Bandit Camp and you won’t have the option to sneak by here, you must defeat them all. Still, you can keep to stealth and take out as many as possible before you’re spotted. Once you’ve cleared the camp, be sure to nab the Collection Chest in the tent before continuing on.
Disillusionment to sneak past and avoid a battle. Continue to follow the path and you’ll soon reach the first Bandit Camp and you won’t have the option to sneak by here, you must defeat them all. Still, you can keep to stealth and take out as many as possible before you’re spotted. Once you’ve cleared the camp, be sure to nab the Collection Chest in the tent before continuing on.
Scale the cliffs beyond to further climb the mountain and you’ll reach a second camp. The same applies here, defeat all of the Goblins to continue, and make sure you register the Floo Flame. After more venting from Sebastian, you’ll spot the caverns up ahead, where the located led you to.
Tower Tunnel Puzzles and Chests
Tower Tunnel Collection Chest #1
Head into the caverns and as soon as you reach the first open area, you’ll be ambushed by a group of spiders, nothing you’ve not dealt with before, but keep on the move so they can’t catch you out by burrowing from below. Once the area is clear, look to your left to find some rocks you can blast away with ![]() Confringo, then follow it all the way to the first Collection Chest.
Confringo, then follow it all the way to the first Collection Chest.
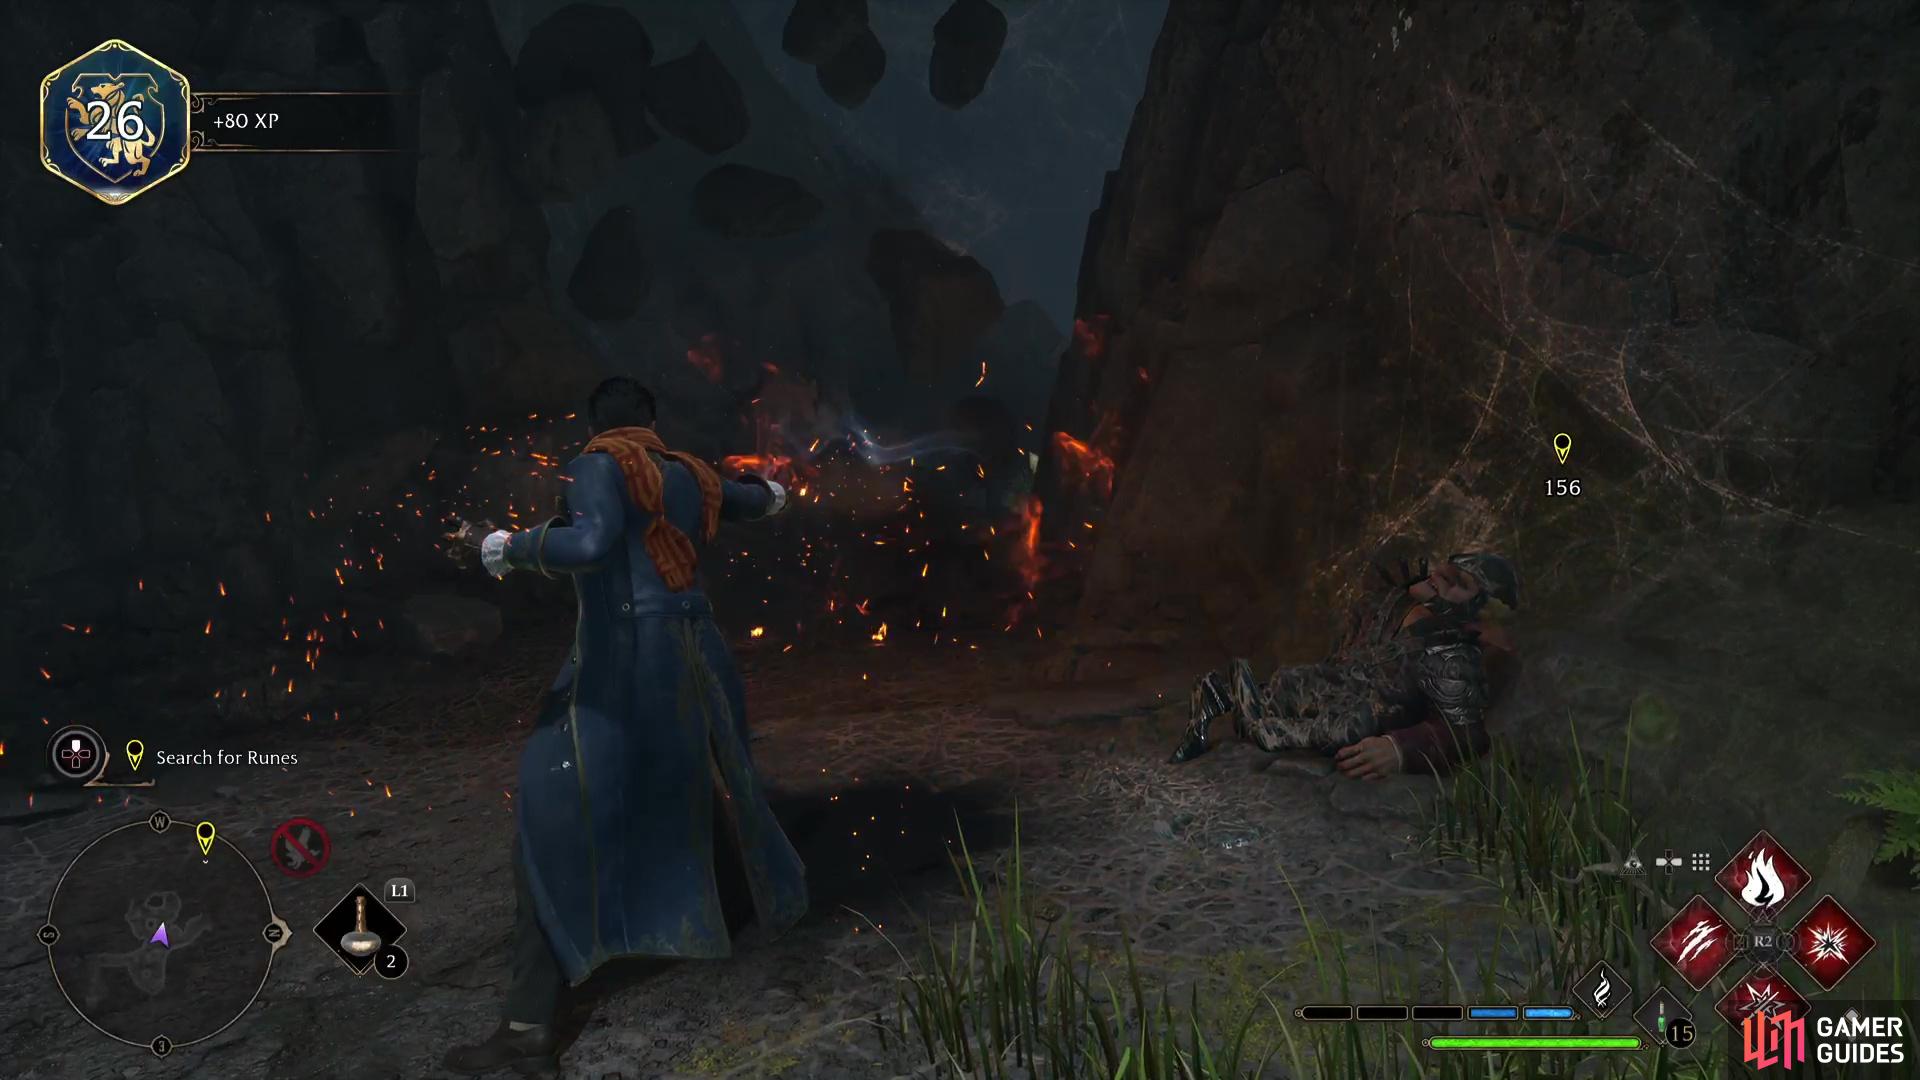
Use !Confringo on the rocks here
then follow the path to the first Collection Chest.
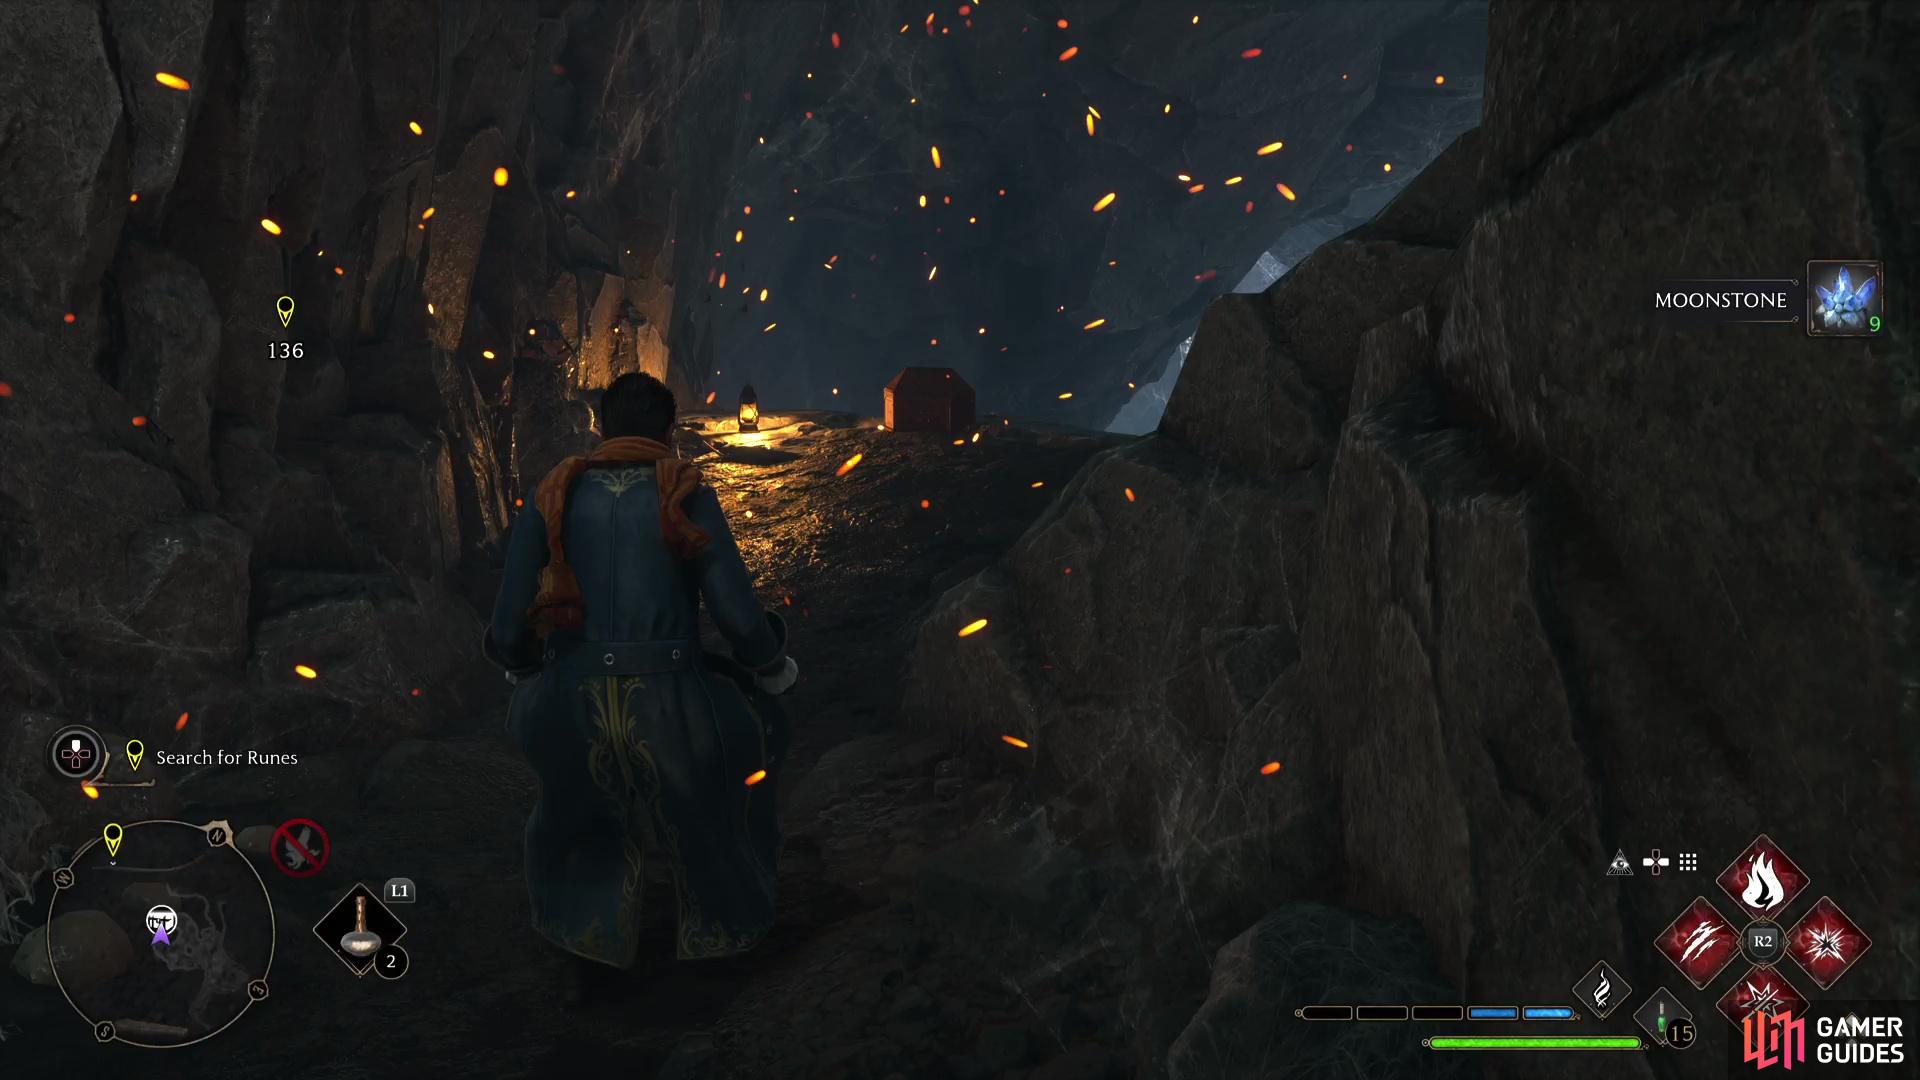
Go back the way you came and continue through the caverns, and you’ll be ambushed by even more spiders. Eventually, the linear path will give way to a staircase leading up, burn the webs in your way and press onwards, blasting more rocks away with Confringo in the process.
Tower Tunnel Collection Chest #2
The tunnels soon lead to a large room, and you’ll quickly be set upon by a massive group of spiders. Be wary of the spiders that keep to the floor above and shoot at a distance, opting to deal with them by tossing objects with them. You’ll also have to deal with two ![]() Thornback Matriarchs at the same time, so build up your
Thornback Matriarchs at the same time, so build up your ![]() Ancient Magic bar on the lesser spiders and unleash it on them.
Ancient Magic bar on the lesser spiders and unleash it on them.
Once you’ve finally purged the area of all spiders, it’s time to take a look around this area. The main objective is to reveal the three rune symbols but first, there’s another Collection Chest to find. Burn away the spiderwebs blocking the door to the north with ![]() Incendio or Confringo and you’ll find the second Collection Chest just sitting there, begging to be opened.
Incendio or Confringo and you’ll find the second Collection Chest just sitting there, begging to be opened.

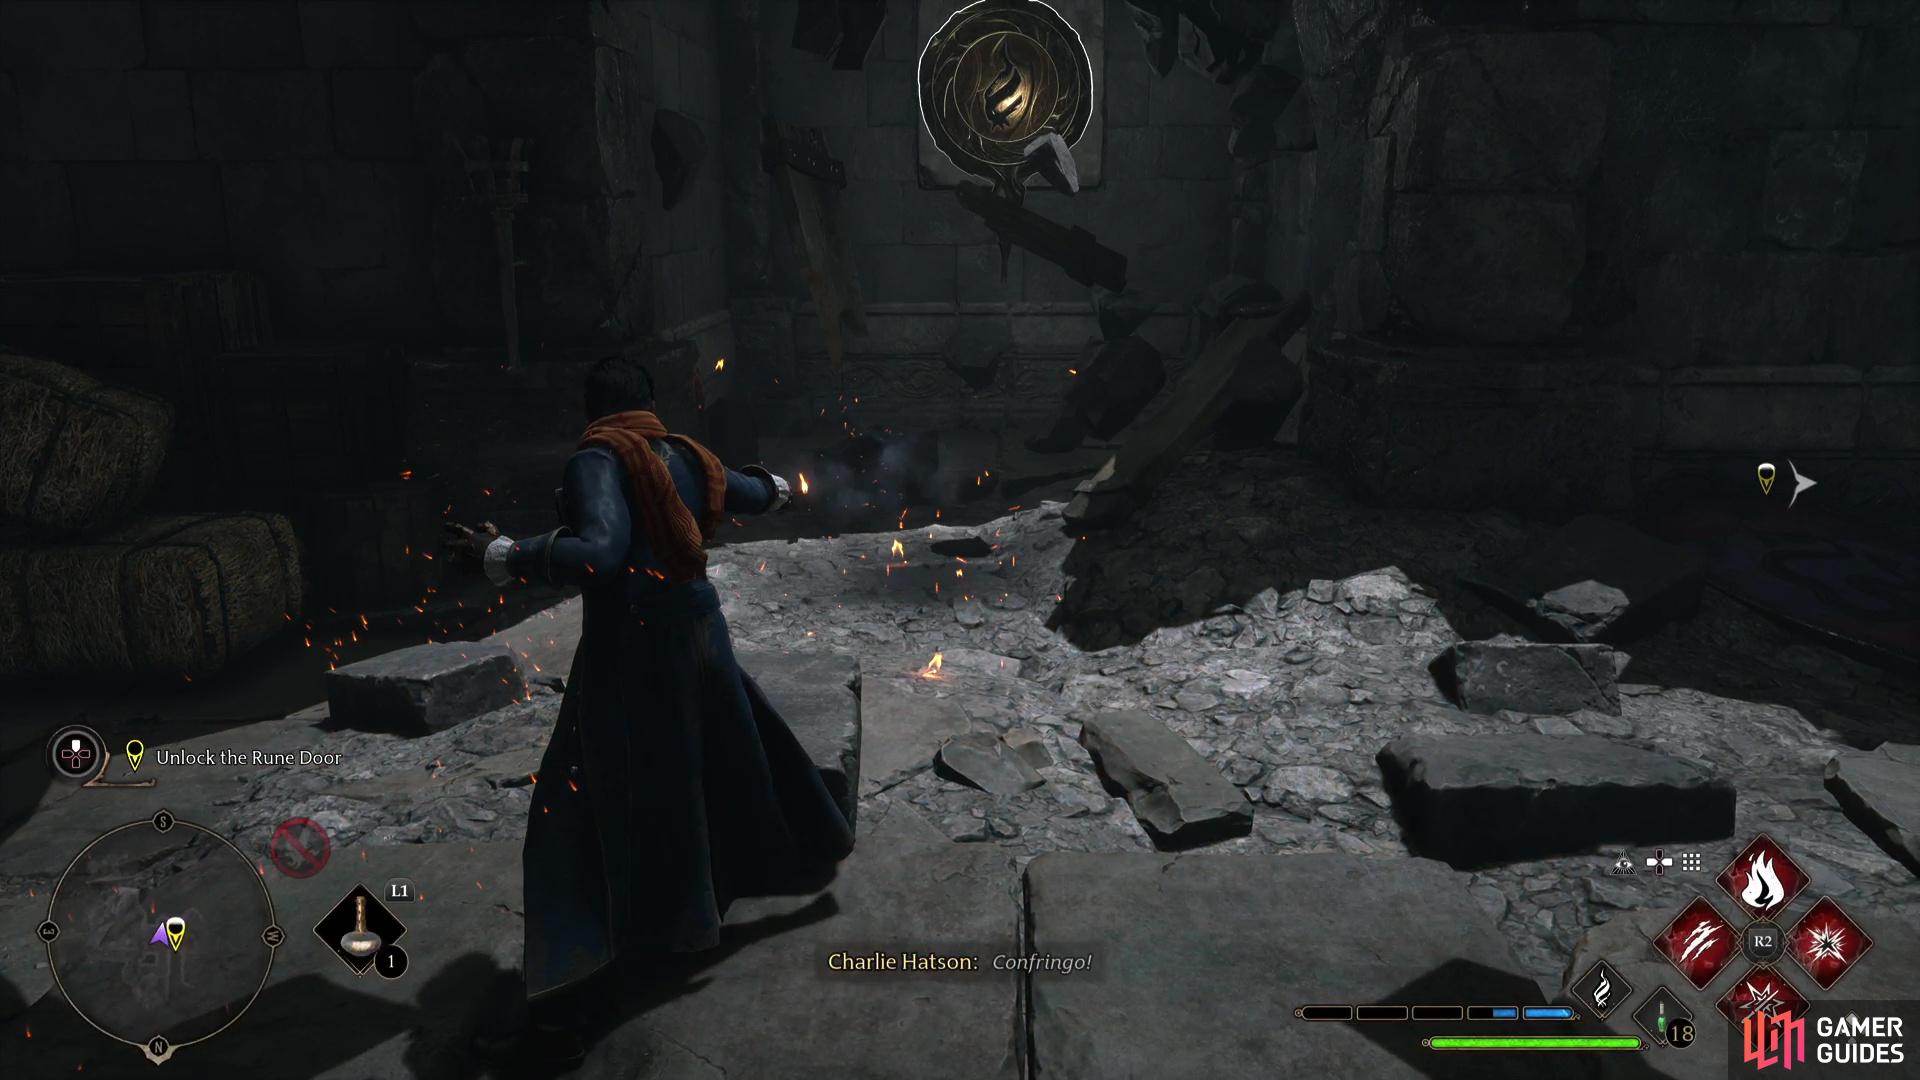
Return to the main room and you’ll spot the first two runes either side of the door, but you’ll need to burn away the webs on the rune to the right. The final rune symbol can be found amongst the rubble opposite the door, take aim and hit all three of them to open the door. Head through the door and drop into the large cavern below when you’re ready.
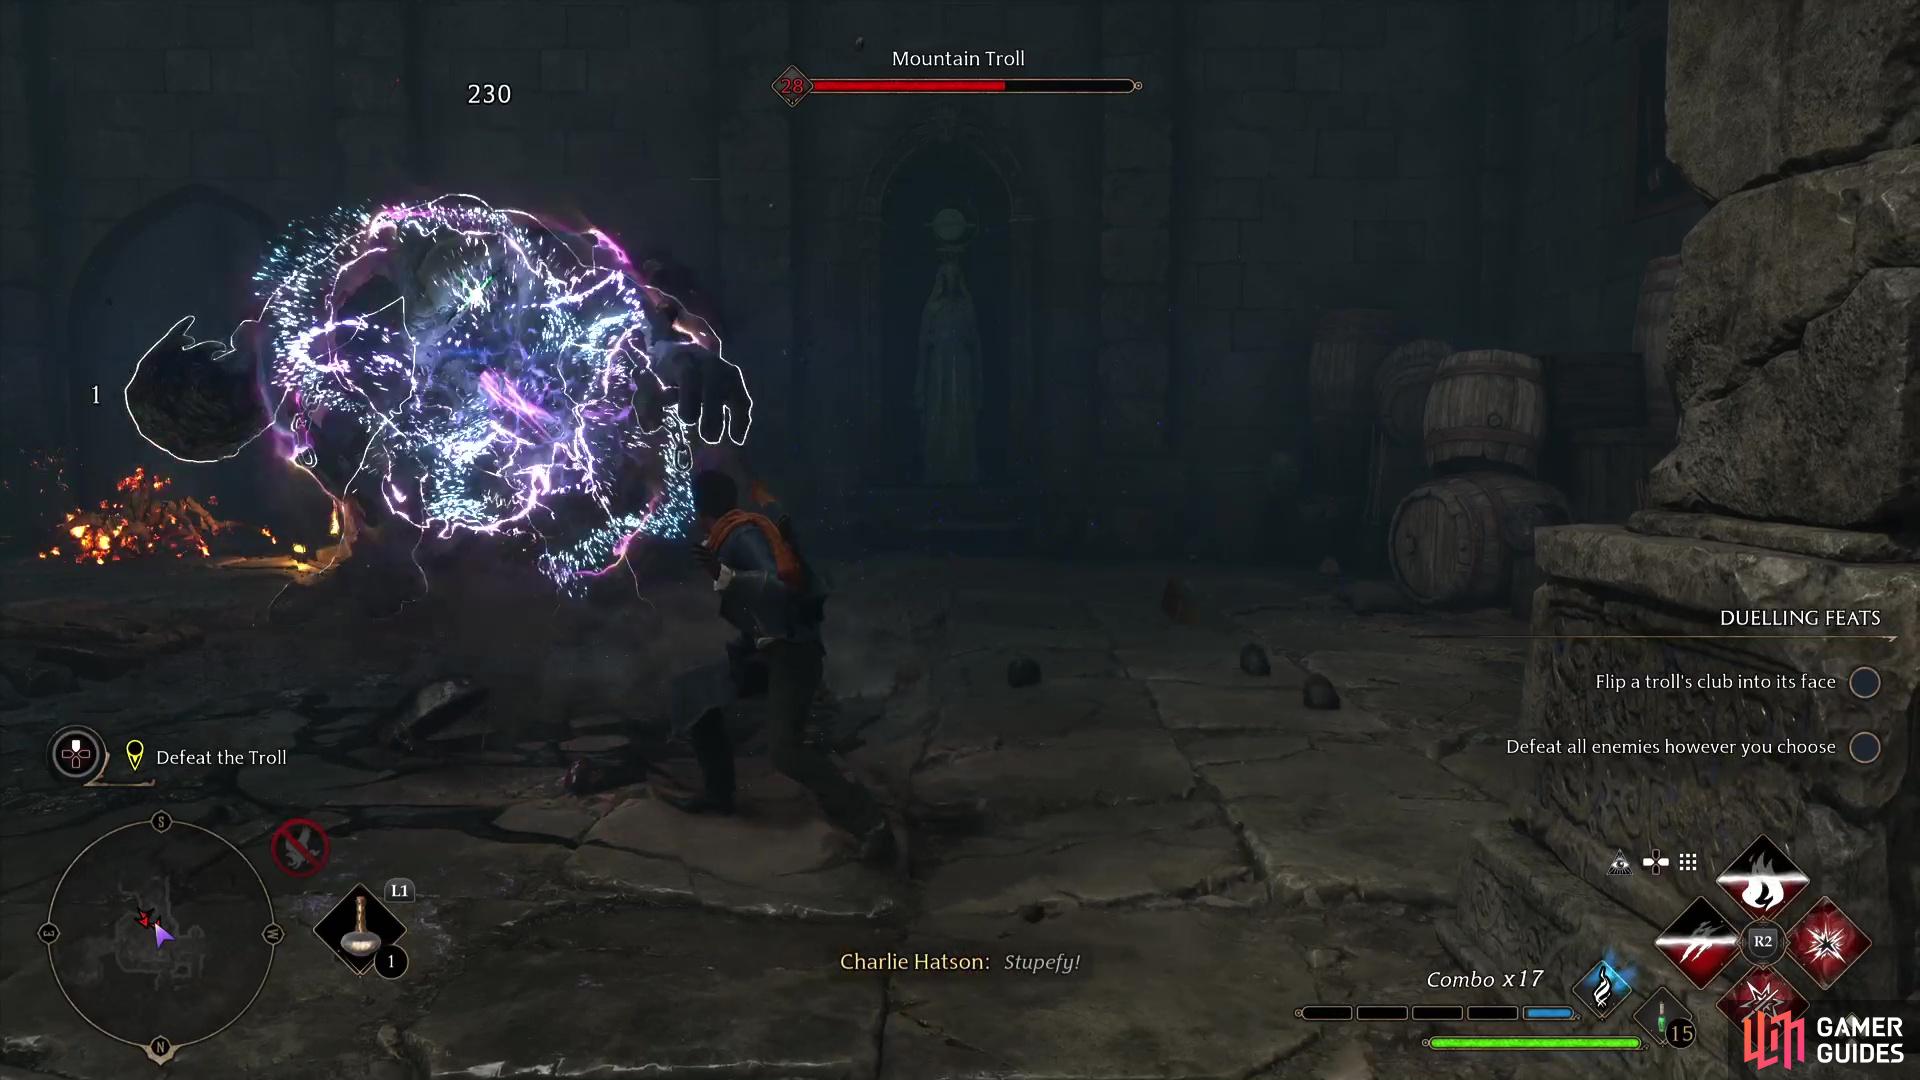
Mountain Troll Battle
A ferocious ![]() Mountain Troll will come crashing into the room, knocking down the bridge overhead. The Troll is not alone too, you’ll have to deal with some spiders too, although you can use this to your advantage by building up Ancient Magic on the spiders and turning it on the Troll.
Mountain Troll will come crashing into the room, knocking down the bridge overhead. The Troll is not alone too, you’ll have to deal with some spiders too, although you can use this to your advantage by building up Ancient Magic on the spiders and turning it on the Troll.
The Troll itself is like all others of their kind, they’ll generally try to slam their club on you twice (which is unblockable), followed by a third which you can use ![]() Stupefy against. It will also charge at you from a distance, this is well telegraphed, and you’ll have plenty of time to roll out of the way. Better yet, should the Troll collide with a wall, it’ll stun it momentarily.
Stupefy against. It will also charge at you from a distance, this is well telegraphed, and you’ll have plenty of time to roll out of the way. Better yet, should the Troll collide with a wall, it’ll stun it momentarily.
Once the area is clear, use ![]() Reparo on the broken bridge to repair it and the path across, then head into the room to the south. Light the bowl in front of the statue to cause it to turn around and present you with a chest, then go back into the previous room and take the path you just repaired.
Reparo on the broken bridge to repair it and the path across, then head into the room to the south. Light the bowl in front of the statue to cause it to turn around and present you with a chest, then go back into the previous room and take the path you just repaired.
Another staircase is broken here, and Reparo isn’t an option this time. Instead, use ![]() Accio on the crate in the corner and bring it to the bottom of the staircase, using it to reach the area above. Follow the path and you’ll reach another large room with a chest in it. Head down the west corridor to find another statue with a bowl, light it to open a second chest in this room.
Accio on the crate in the corner and bring it to the bottom of the staircase, using it to reach the area above. Follow the path and you’ll reach another large room with a chest in it. Head down the west corridor to find another statue with a bowl, light it to open a second chest in this room.
Look in the corner to find more rocks to blast away with Confringo and continue on. Leap over the gap and you’ll reach another door that requires you to hit three rune symbols again.
Look to the left of the door to find some rocks to blast away with Confringo to uncover the first symbol, the second can be found on the wall far to the east, and the final symbol can be found by looking at the northern wall. Hit all three symbols and then pass through the rune door.
You’ll find yourself in Isidora’s main chamber, where the triptych piece must be lurking. Go up the stairs and climb up to the second floor and you’ll find it on the desk there. All that remains now is to use the magic passageway to the north to find yourself back at the Undercroft in Hogwarts.
Insert the final triptych piece and you’ll finally gain access to Isidora’s memories, a key piece of the puzzle, bringing this Main Quest to an end and bringing you one step closer to the truth.
No Comments