
You and Sebastian have locked down the location of another piece of the triptych, and he requests your assistance just to the northeast of ![]() Hogsmeade to check it out. This page will tell you how to get every chest and clear every puzzle for the In the Shadow of the Mine Main Quest.
Hogsmeade to check it out. This page will tell you how to get every chest and clear every puzzle for the In the Shadow of the Mine Main Quest.

You and Sebastian have located the location of the second triptych piece.
Heading to the Overlook Mine Dungeon
Before you can even begin this Main Quest, you’ll need to make sure you are Level 22. Once you’ve met this requirement, head to ![]() Hogsmeade Valley to meet with Sebastian, just to the southeast of the East North Ford Bog Floo Flame.
Hogsmeade Valley to meet with Sebastian, just to the southeast of the East North Ford Bog Floo Flame.
Sebastian is eager to find out more about a possible method to help Anne, but before you can reach the mine, you’ll first need to proceed through two !Bandit Camps. You have the option of a stealth approach here, avoiding the enemies as you pass through them, but it’s in your best interest to defeat the enemies and pillage the Collection Chests at both camps to add to your Trait collection.
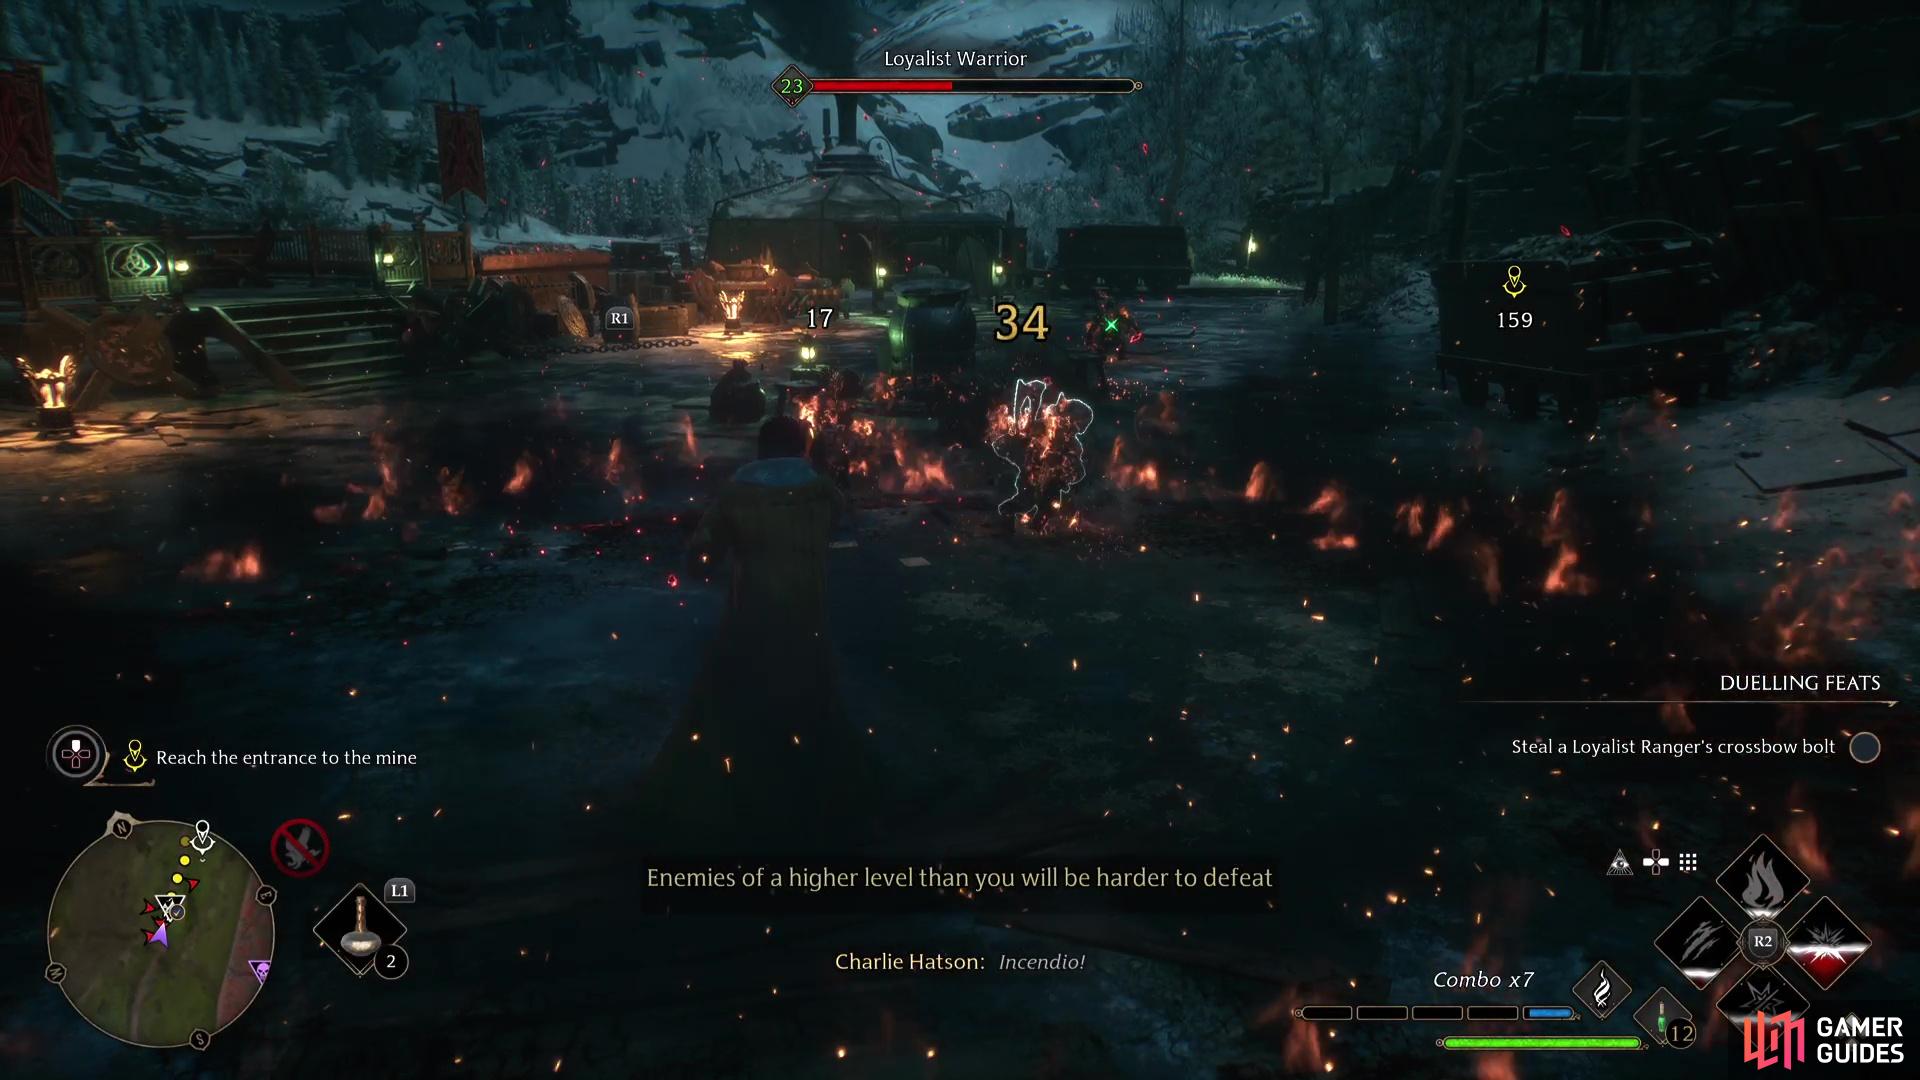
Clear out the camps on the way to the mine so you can loot the collection chests.
Once you reach the second camp, you’ll find the entrance to the Overlook Mine to the east. Make sure you’ve prepared with potions and gear space and then pass through into the Overlook Mine.
Overlook Mine Puzzles and Chests
Overlook Mine Collection Chest #1
As soon as you pass through the entrance of the mine, you’ll need to deal with a small group of Goblins. Make short work of them and then take the path to the left (the right leads to a bag to loot) until you slide down a slope into a large room full of Goblins.
Once the area is clear, ignore the crate for now and instead look to the left of the ledge to find some webs to burn away with ![]() Incendio or
Incendio or ![]() Confringo. Inside this small passageway is the first of two Collection Chests in the Overlook Mine.
Confringo. Inside this small passageway is the first of two Collection Chests in the Overlook Mine.
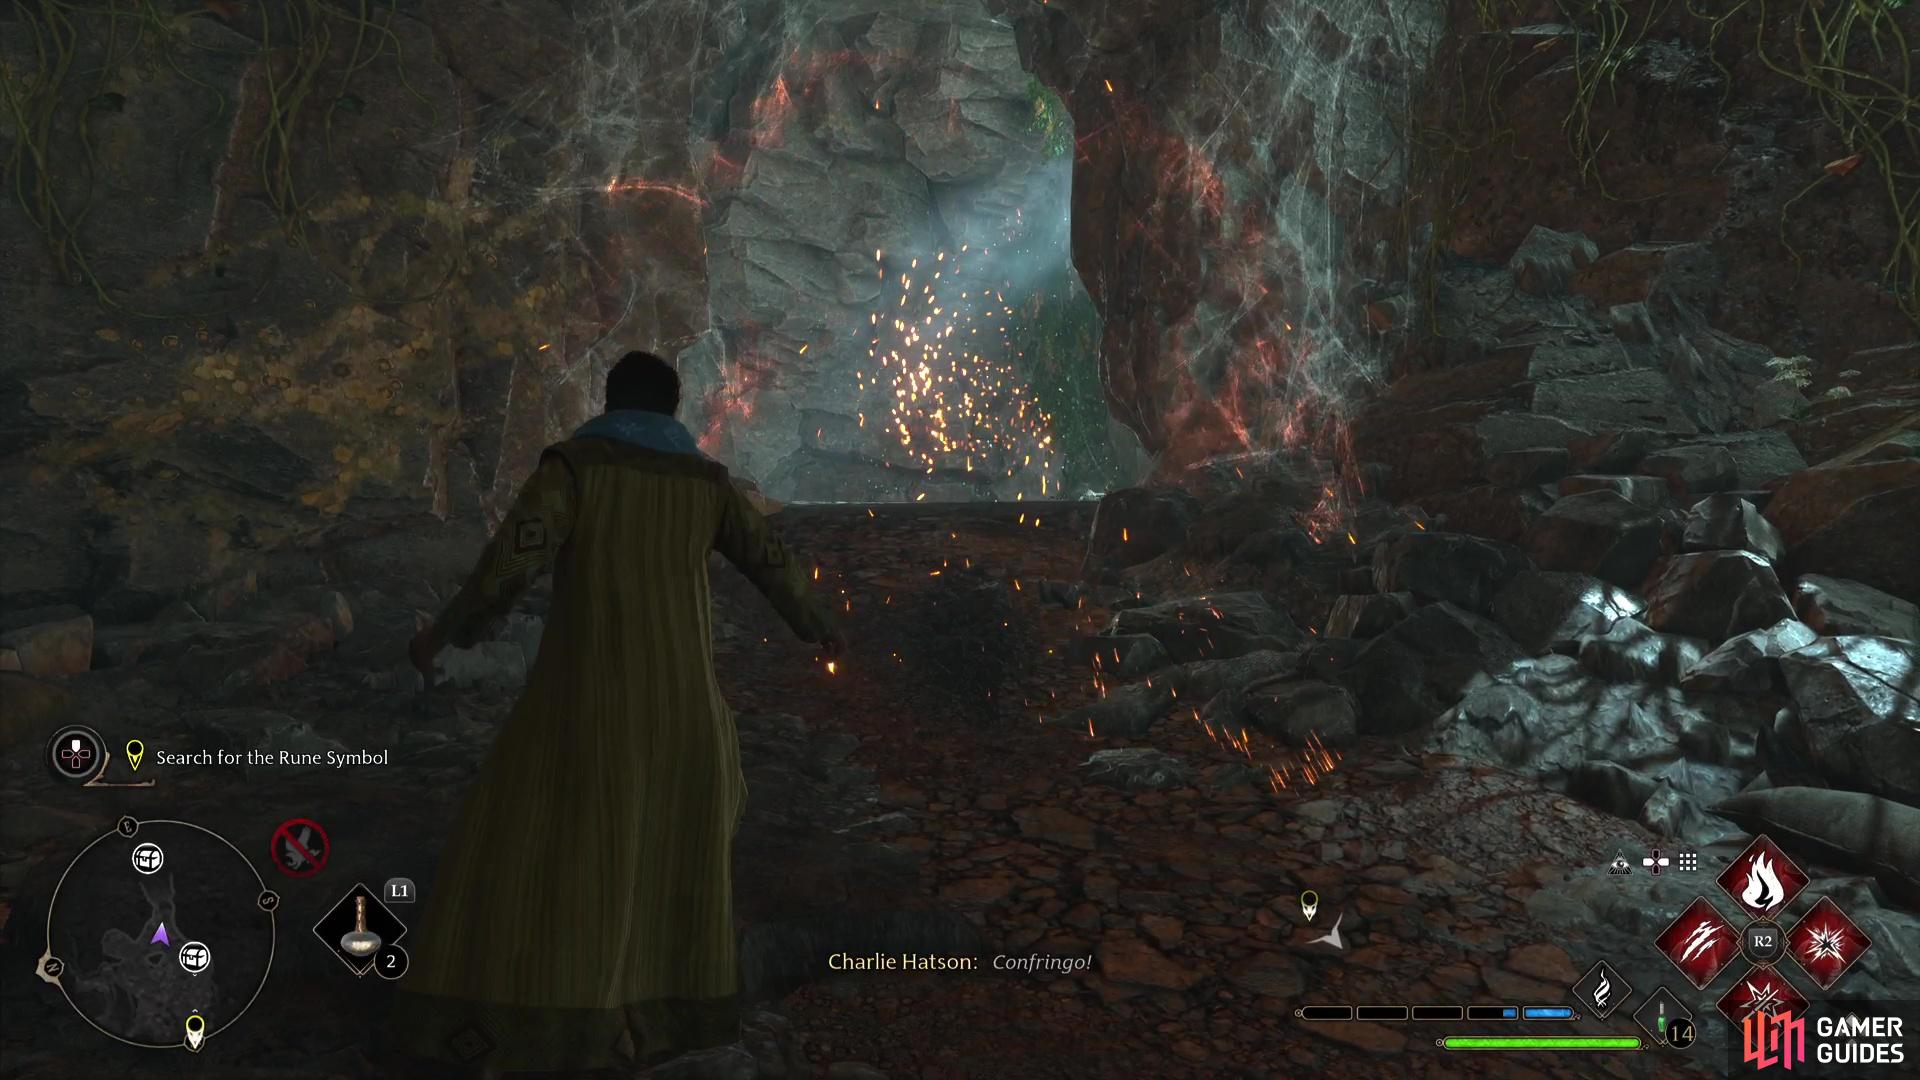
Burn away the webs to the left of the entrance
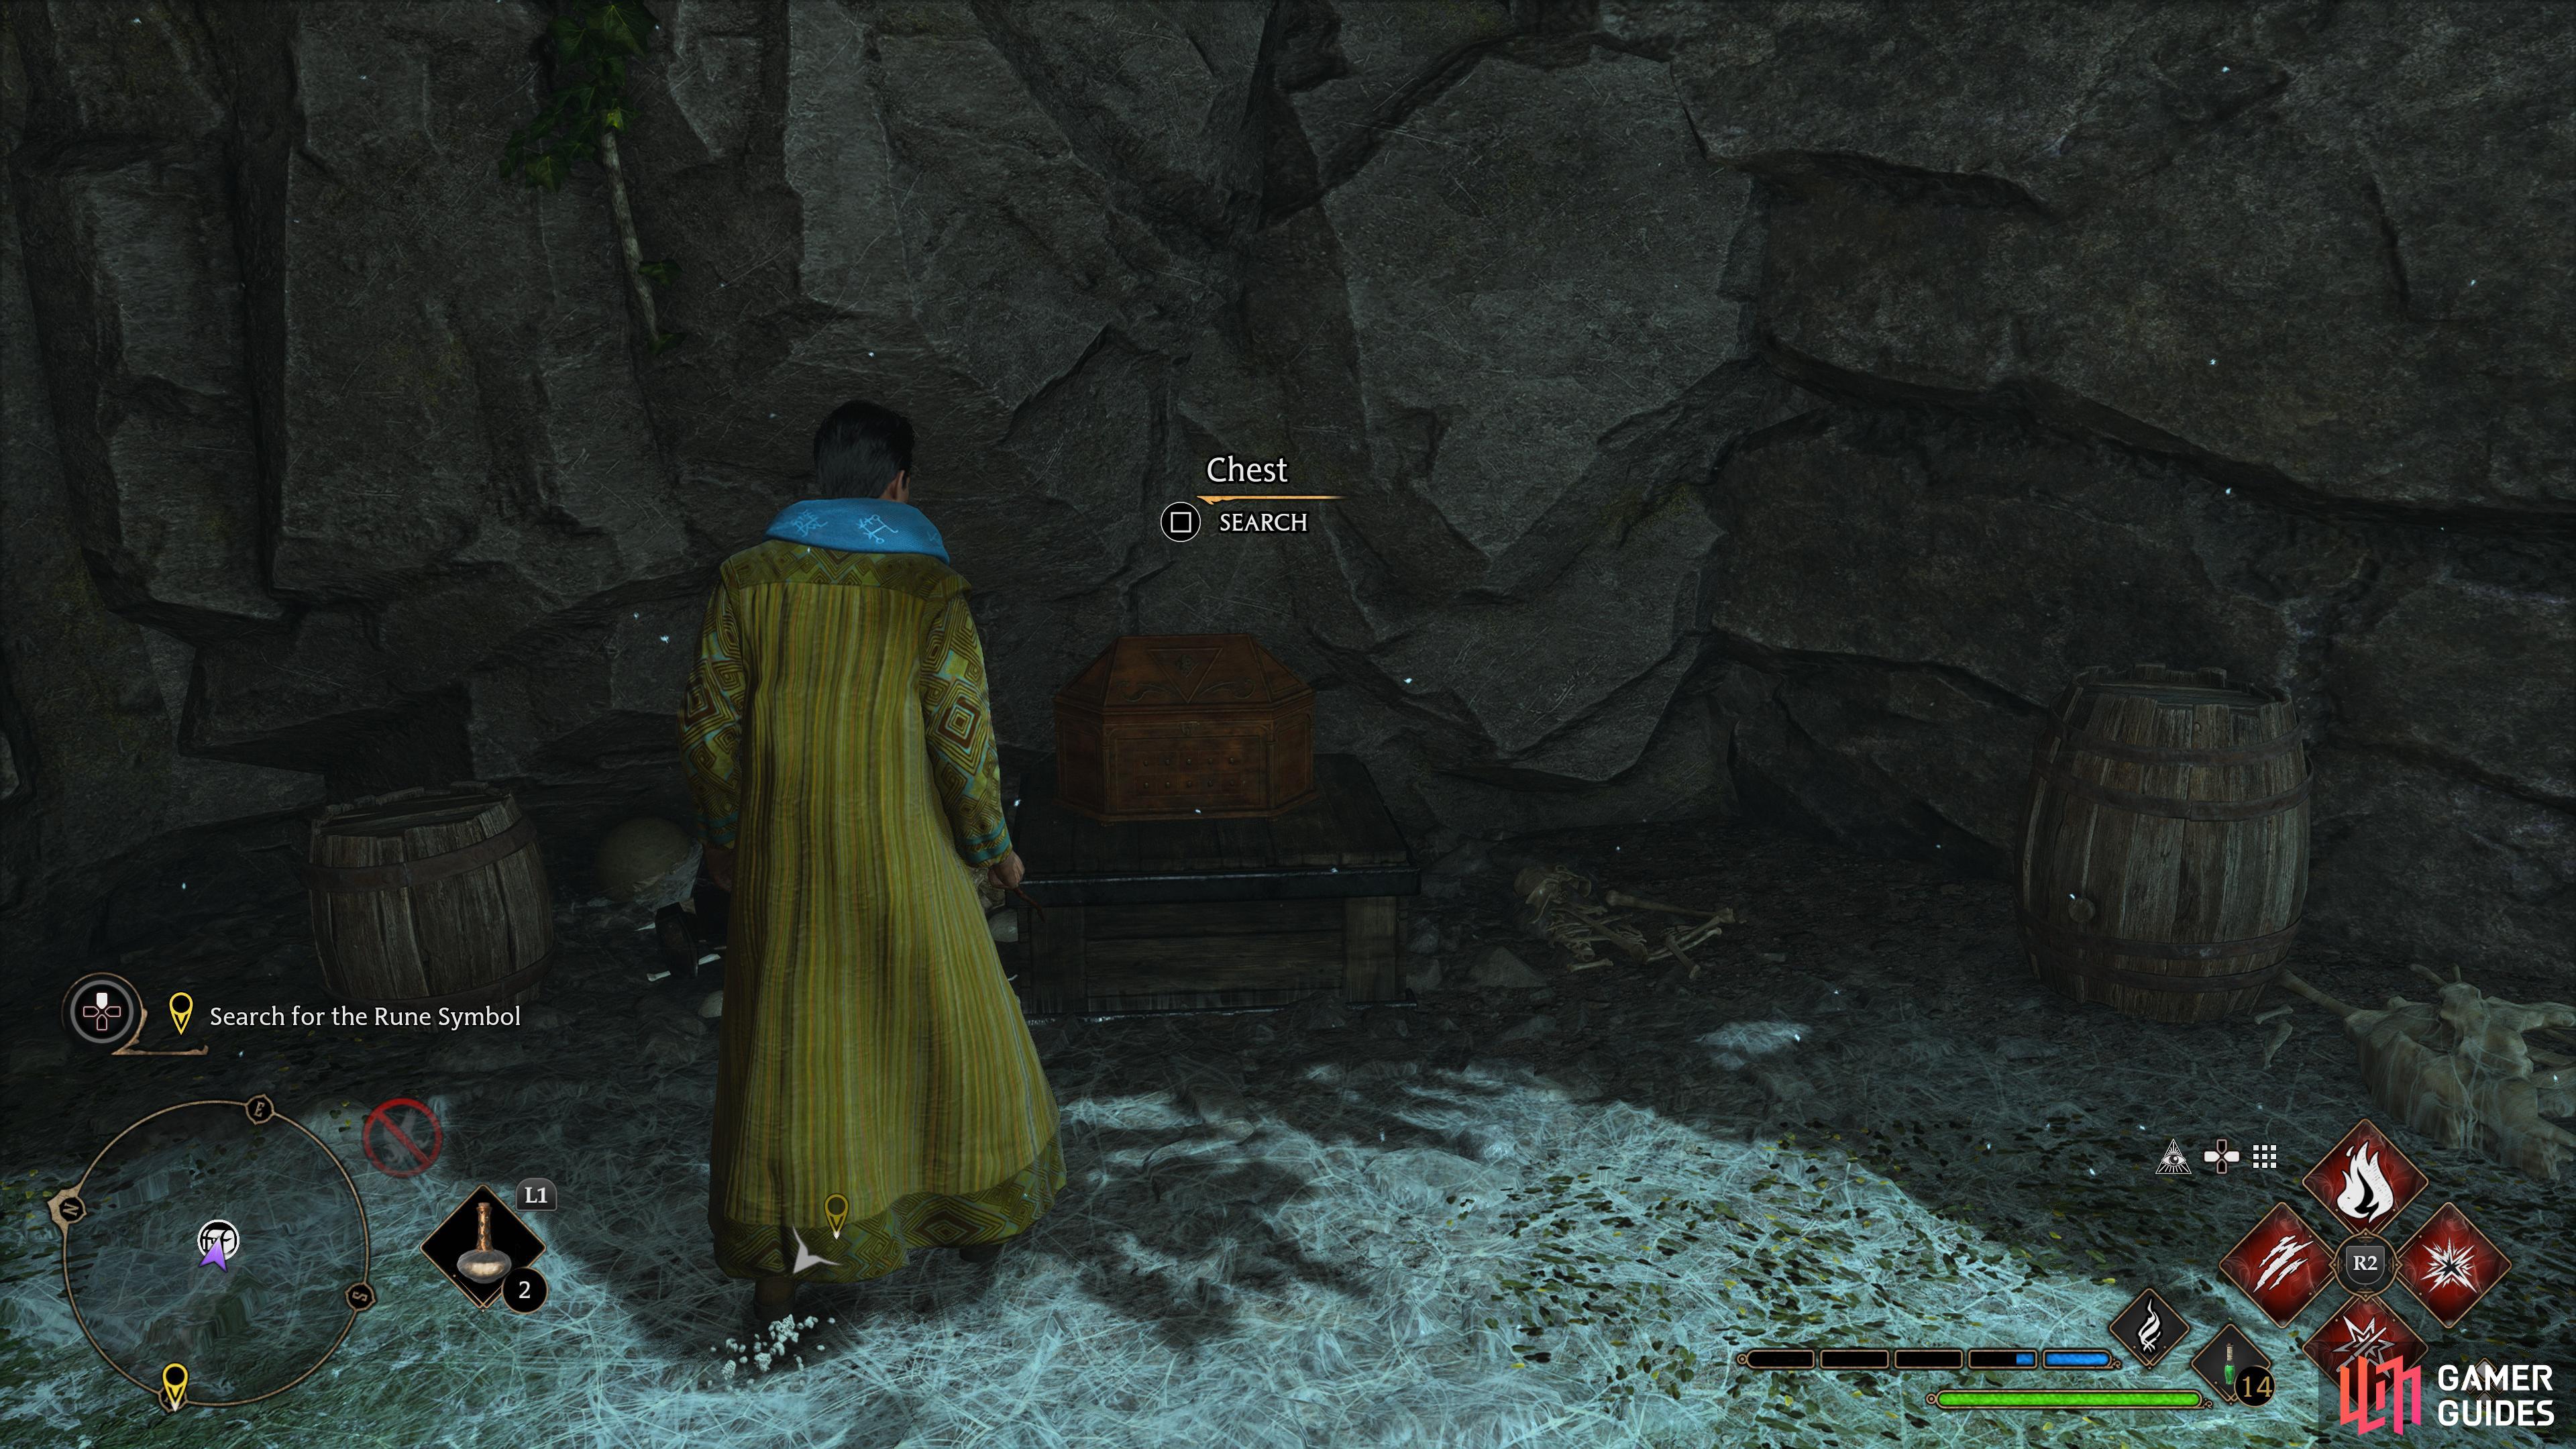
then follow the path to the first collection chest.
You’ll also find another large chest in this open area, look to the right of where you slid down the slope and you can climb to a chest. Once you’re done looting the area, pull the crate to the higher ledge and use it to continue deeper into the mine.
Overlook Mine Collection Chest #2
As you continue down the path, you can veer off to the right to find some loot if you wish. Otherwise, continue on the left path and you’ll soon slide down another slope and into another large room. Climb up the ledge to your left and burn the webs to ransack another chest, then approach the broken bridge and use ![]() Reparo to get across it.
Reparo to get across it.
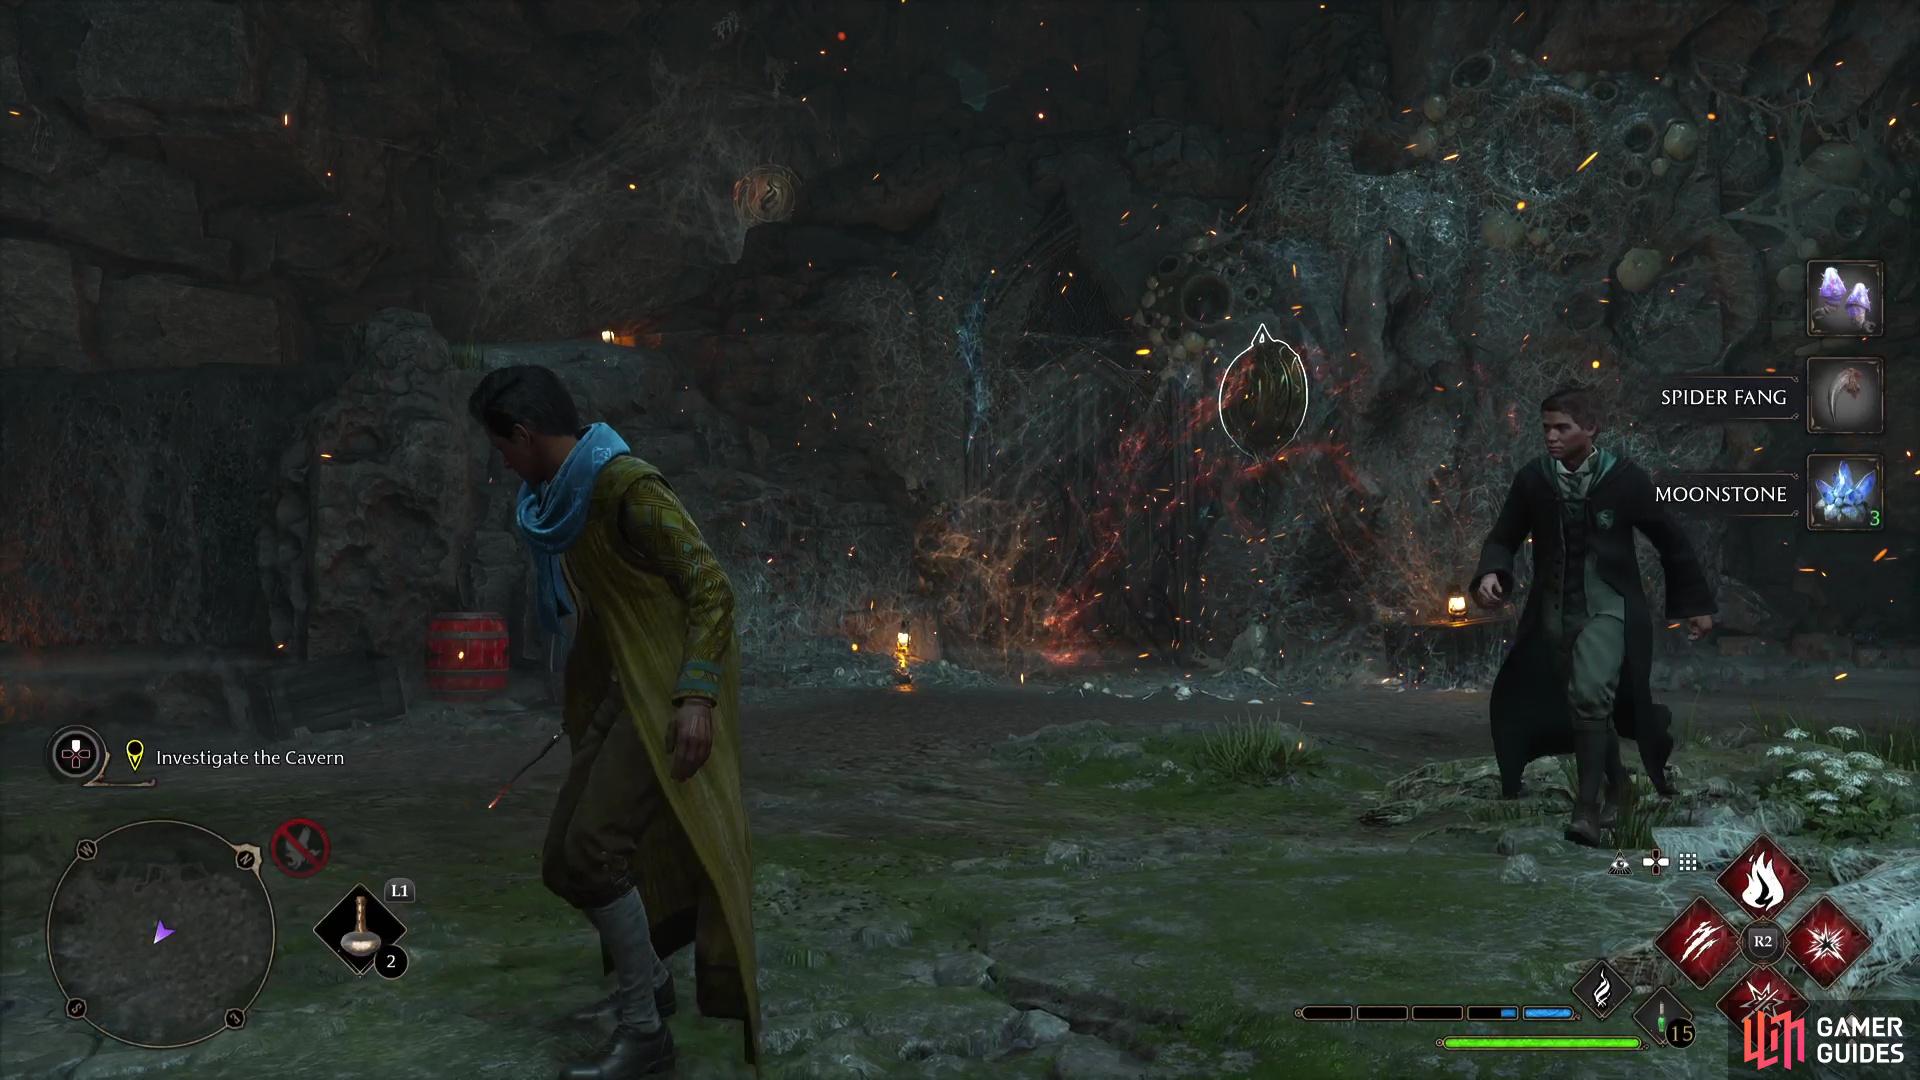
As soon a you reach the other side of the bridge, you’ll be ambushed by Spiders. Remember that they’re weak to Fire and use it against them, the upgraded Confringo being especially useful as you bounce the projectile to multiple critters at once.
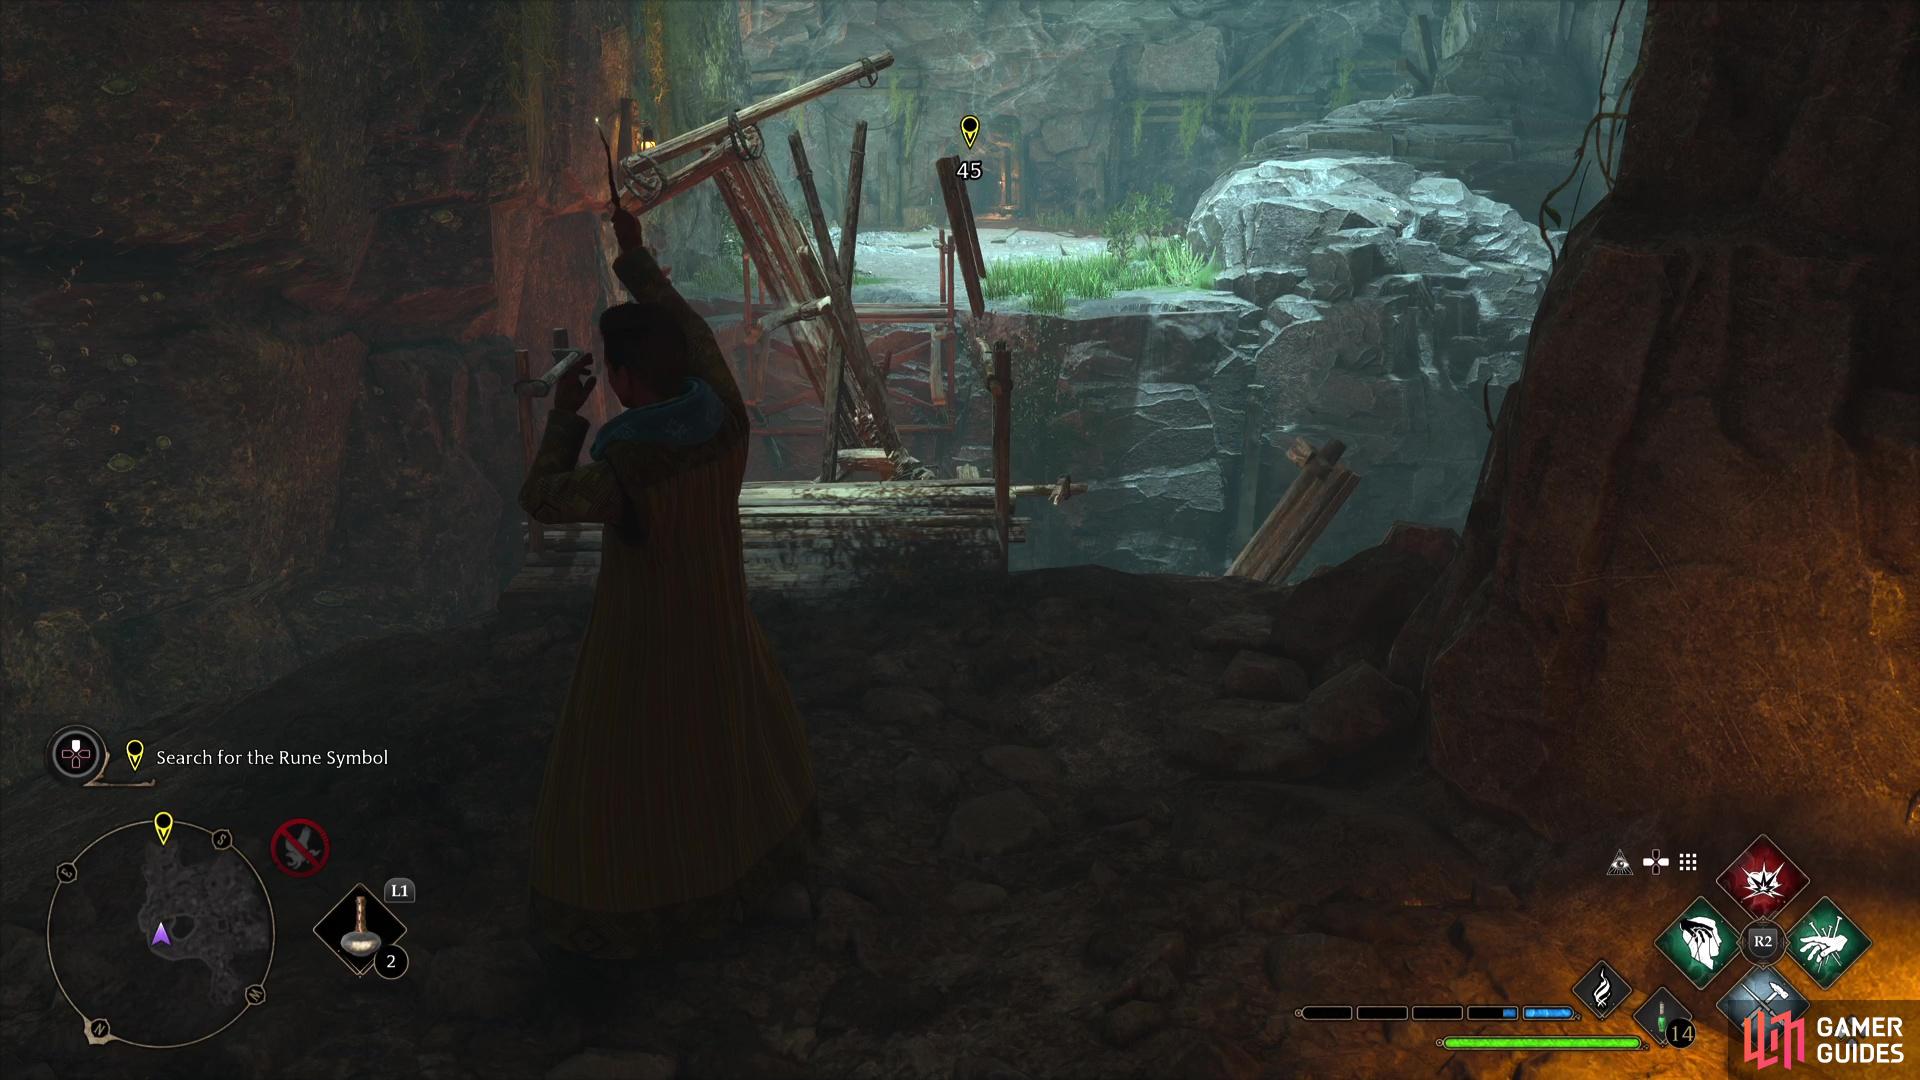
Once the Spiders are defeated, press onwards into the mine and you’ll soon reach a fork, head right and use Incendio on the vines to pass through and then hang another right to reach the second and final Collection Chest in the Overlook Mine. Return to the previous fork and shoot the brazier with Confringo to keep the vines away and climb the ledge where you’ll find a Legendary Chest.
Return to the first fork and take the left path this time. You’ll soon reach another split and if you look to your right, you’ll find some boards you can break which lead to another chest. Return to the previous fork and continue down the path and you’ll come to an opening with more Spiders. Follow the path beyond them and you’ll reach a large cavern teeming with both Goblins and Spiders. Keep an eye for any Goblins that teleport to your location and focus on dealing with troublesome Goblins such as the Commander and any Rangers.
Once the cavern is clear, look around for the Rune symbols. The first is buried behind plenty of webs to the right of the door, use Confringo to burn it away. The second can be found above to the left of the door, again, Confringo is needed here to burn away the webs. The final symbol is located high up on the wall to the northeast of the cavern, strike them all to open the door and pass through it.
Once you enter the hidden room beyond, look for a large chest at the back and open it to obtain the Second Triptych Canvas Piece. Speak with Sebastian after and then head up the stairs to the southeast to find a passageway back to the Undercroft. Back in the confines of Hogwarts, place the second canvas piece into the Triptych to complete the Quest.
No Comments