
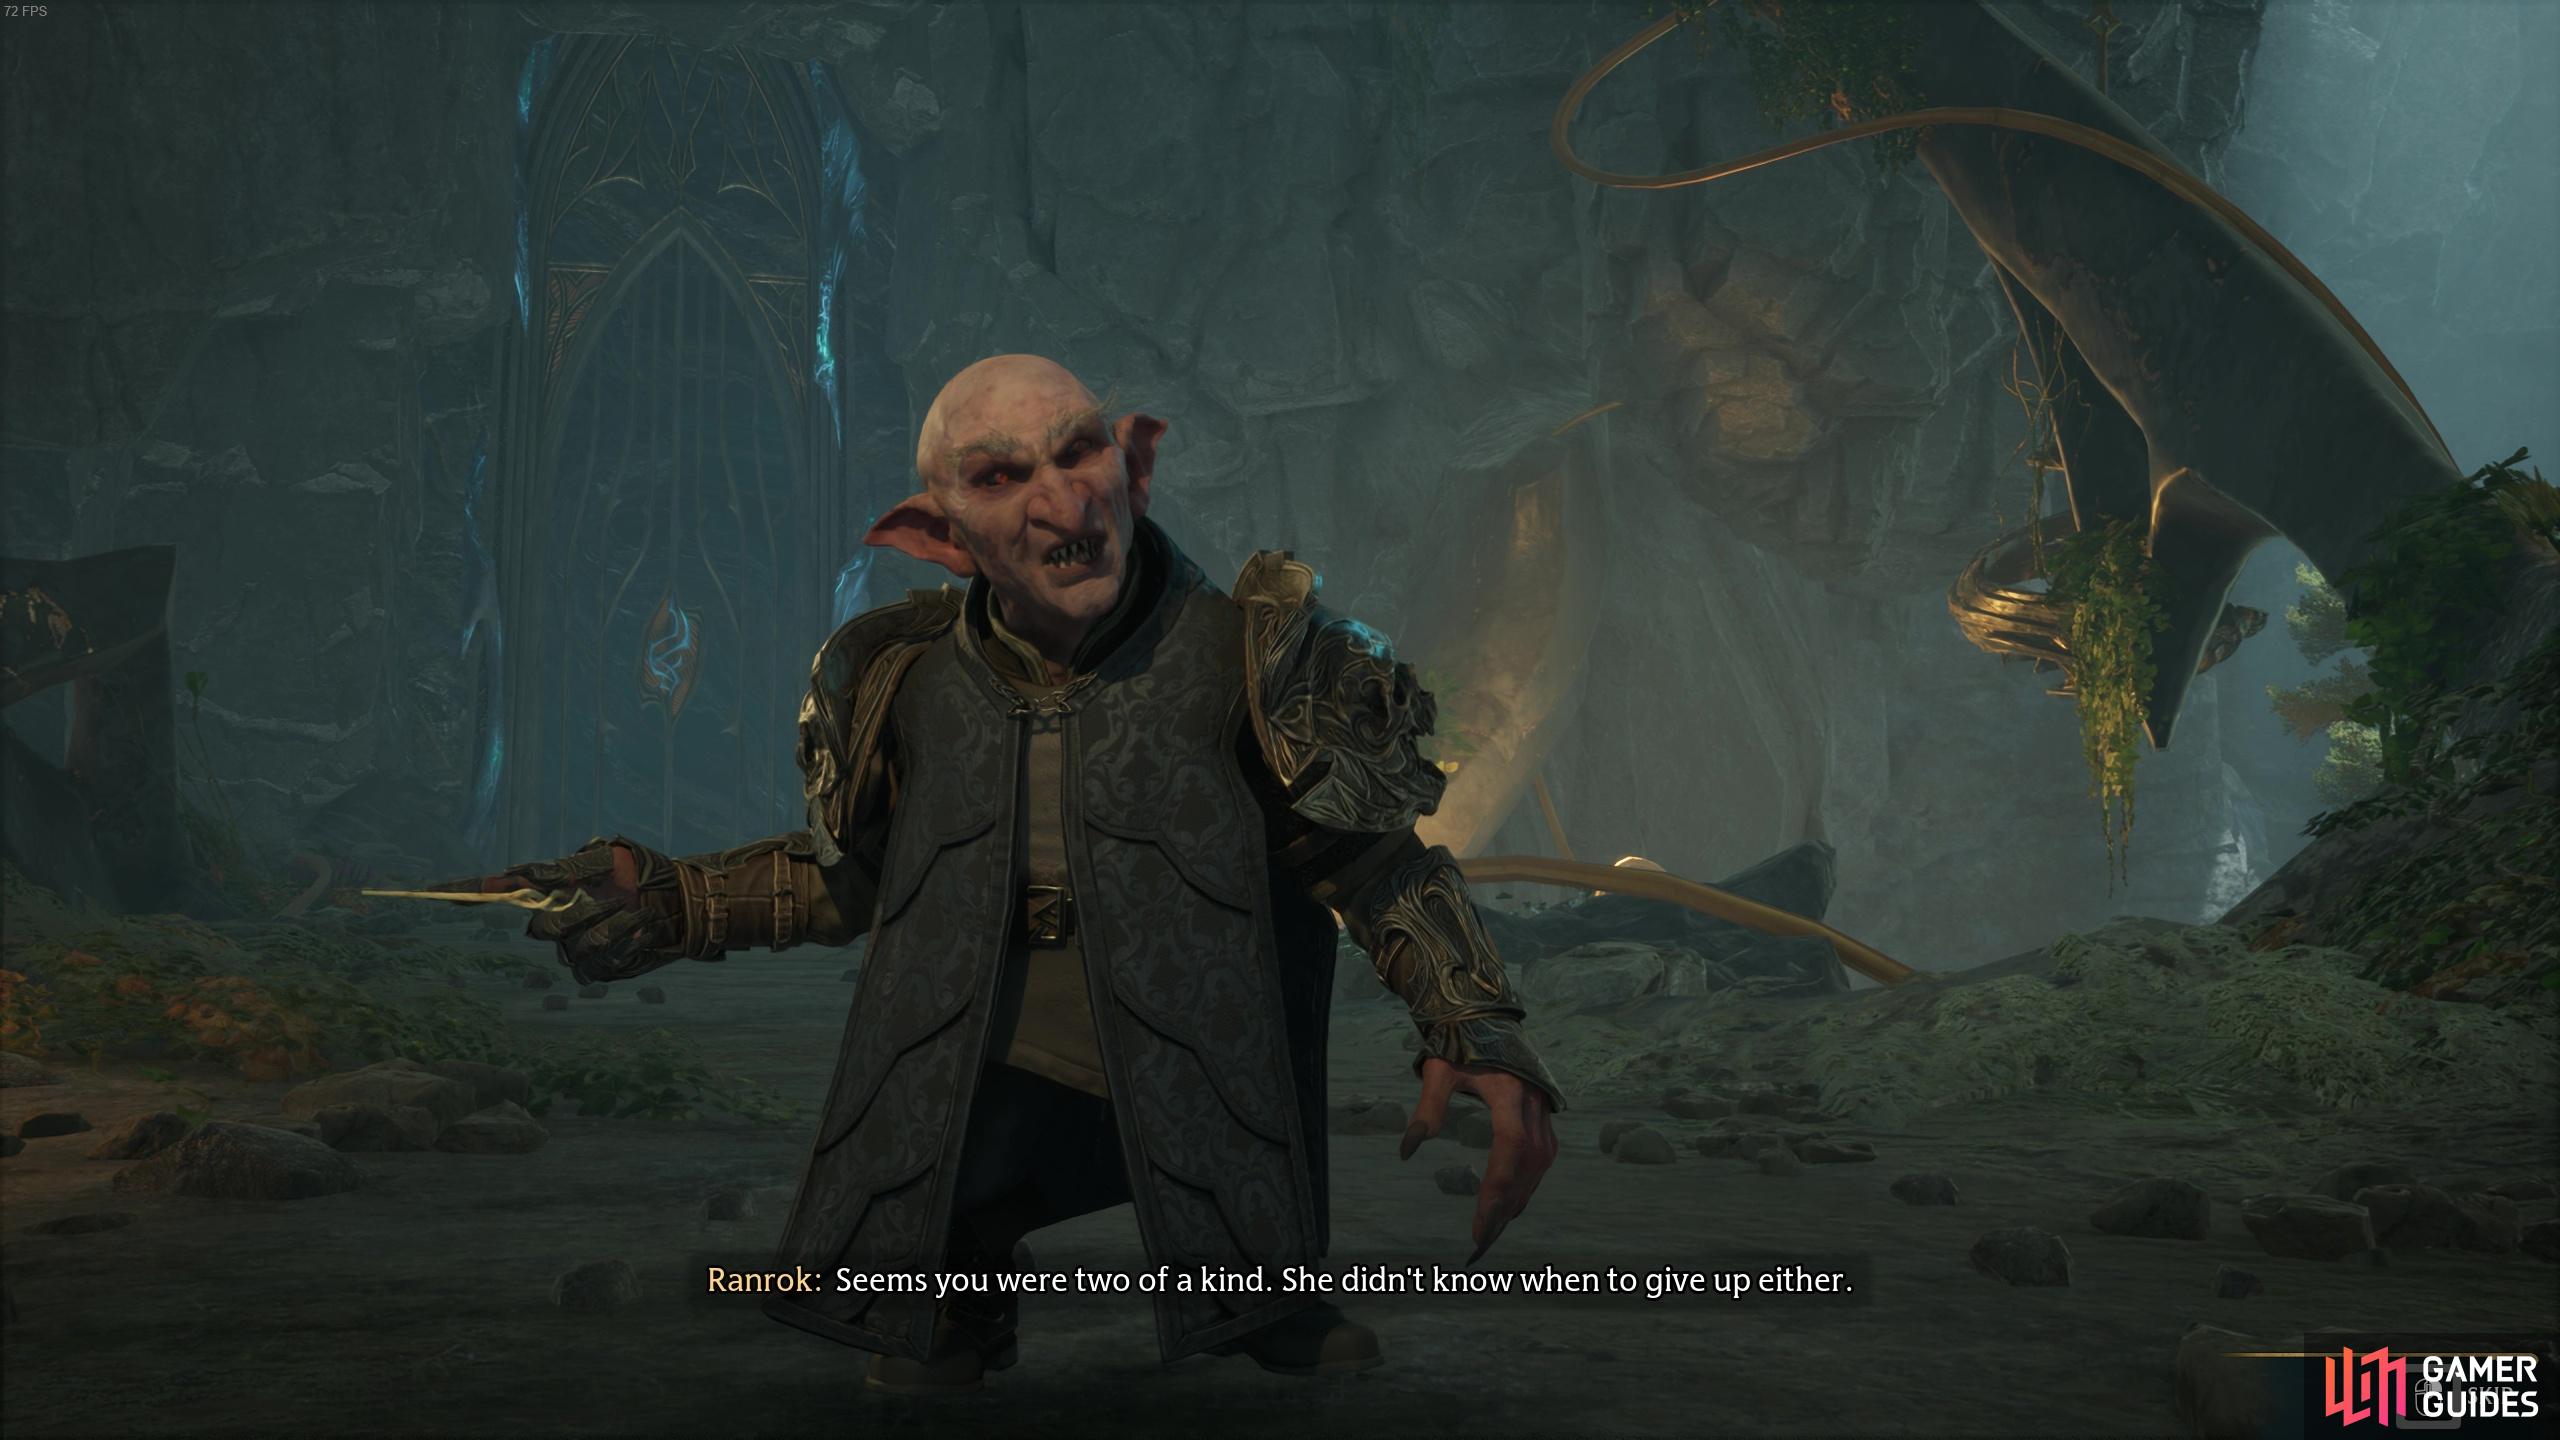
This page offers a guide on how to beat the final boss of the main story in Hogwarts Legacy. After finding the ![]() Ancient Magic repository, you’ll be confronted by Ranrok - the main antagonist of the game - and he’ll harness the Ancient Magic and turn into a ferocious dragon!
Ancient Magic repository, you’ll be confronted by Ranrok - the main antagonist of the game - and he’ll harness the Ancient Magic and turn into a ferocious dragon!
Ranrok transforms into a fierce dragon!
Boss Fight: Ranrok Dragon
This is easily the hardest boss fight of the game, which makes sense since it is the final story boss! You’ll encounter this boss right at the end of The Final Repository quest. Before you embark on The Final Repository quest, ensure you’ve stocked up on ![]() Wiggenweld Potions and any defensive potions. Combat Plants may be useful in the lead up to the final boss fight but they won’t prove useful against Ranrok himself. Don’t panic too much if you’re using up a lot of potions prior to the final fight - if you make sure to loot the areas thoroughly after every goblin fight, you’ll find Wiggenweld Potions scattered around! Additionally, you’ll want to upgrade your Wiggenweld Potency by spending talents - it’ll do a world of good in this boss fight.
Wiggenweld Potions and any defensive potions. Combat Plants may be useful in the lead up to the final boss fight but they won’t prove useful against Ranrok himself. Don’t panic too much if you’re using up a lot of potions prior to the final fight - if you make sure to loot the areas thoroughly after every goblin fight, you’ll find Wiggenweld Potions scattered around! Additionally, you’ll want to upgrade your Wiggenweld Potency by spending talents - it’ll do a world of good in this boss fight.
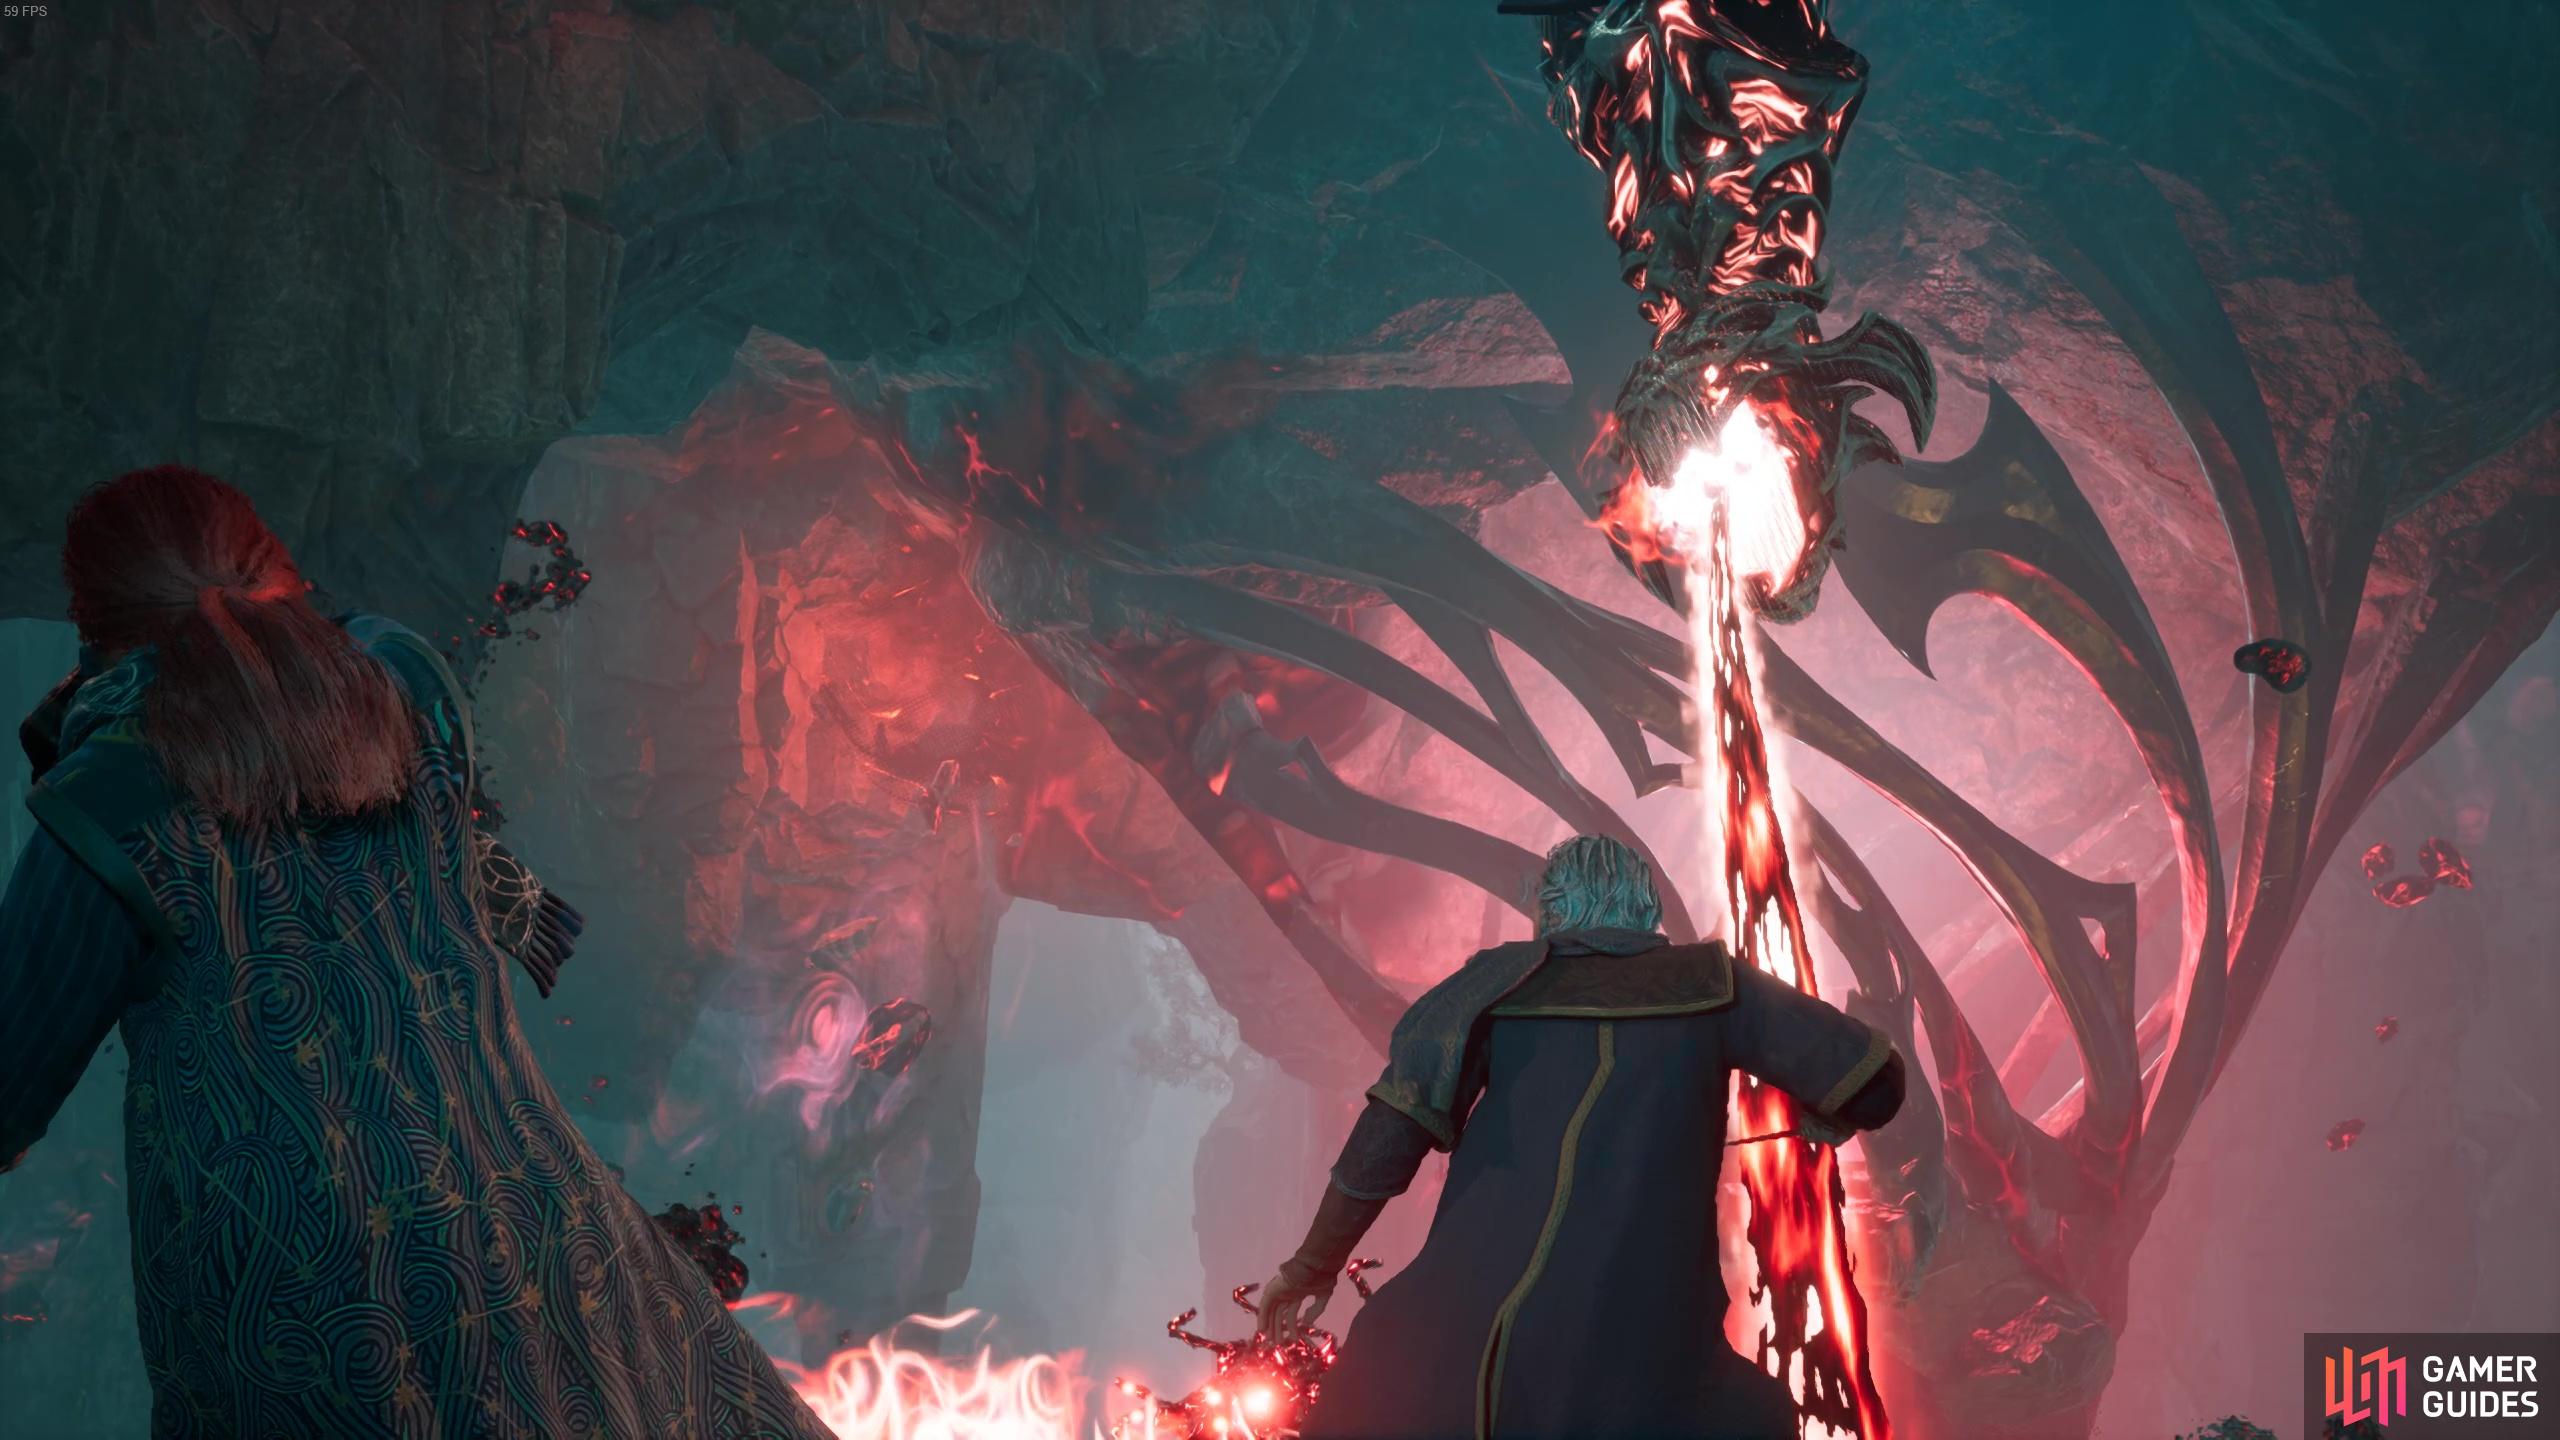
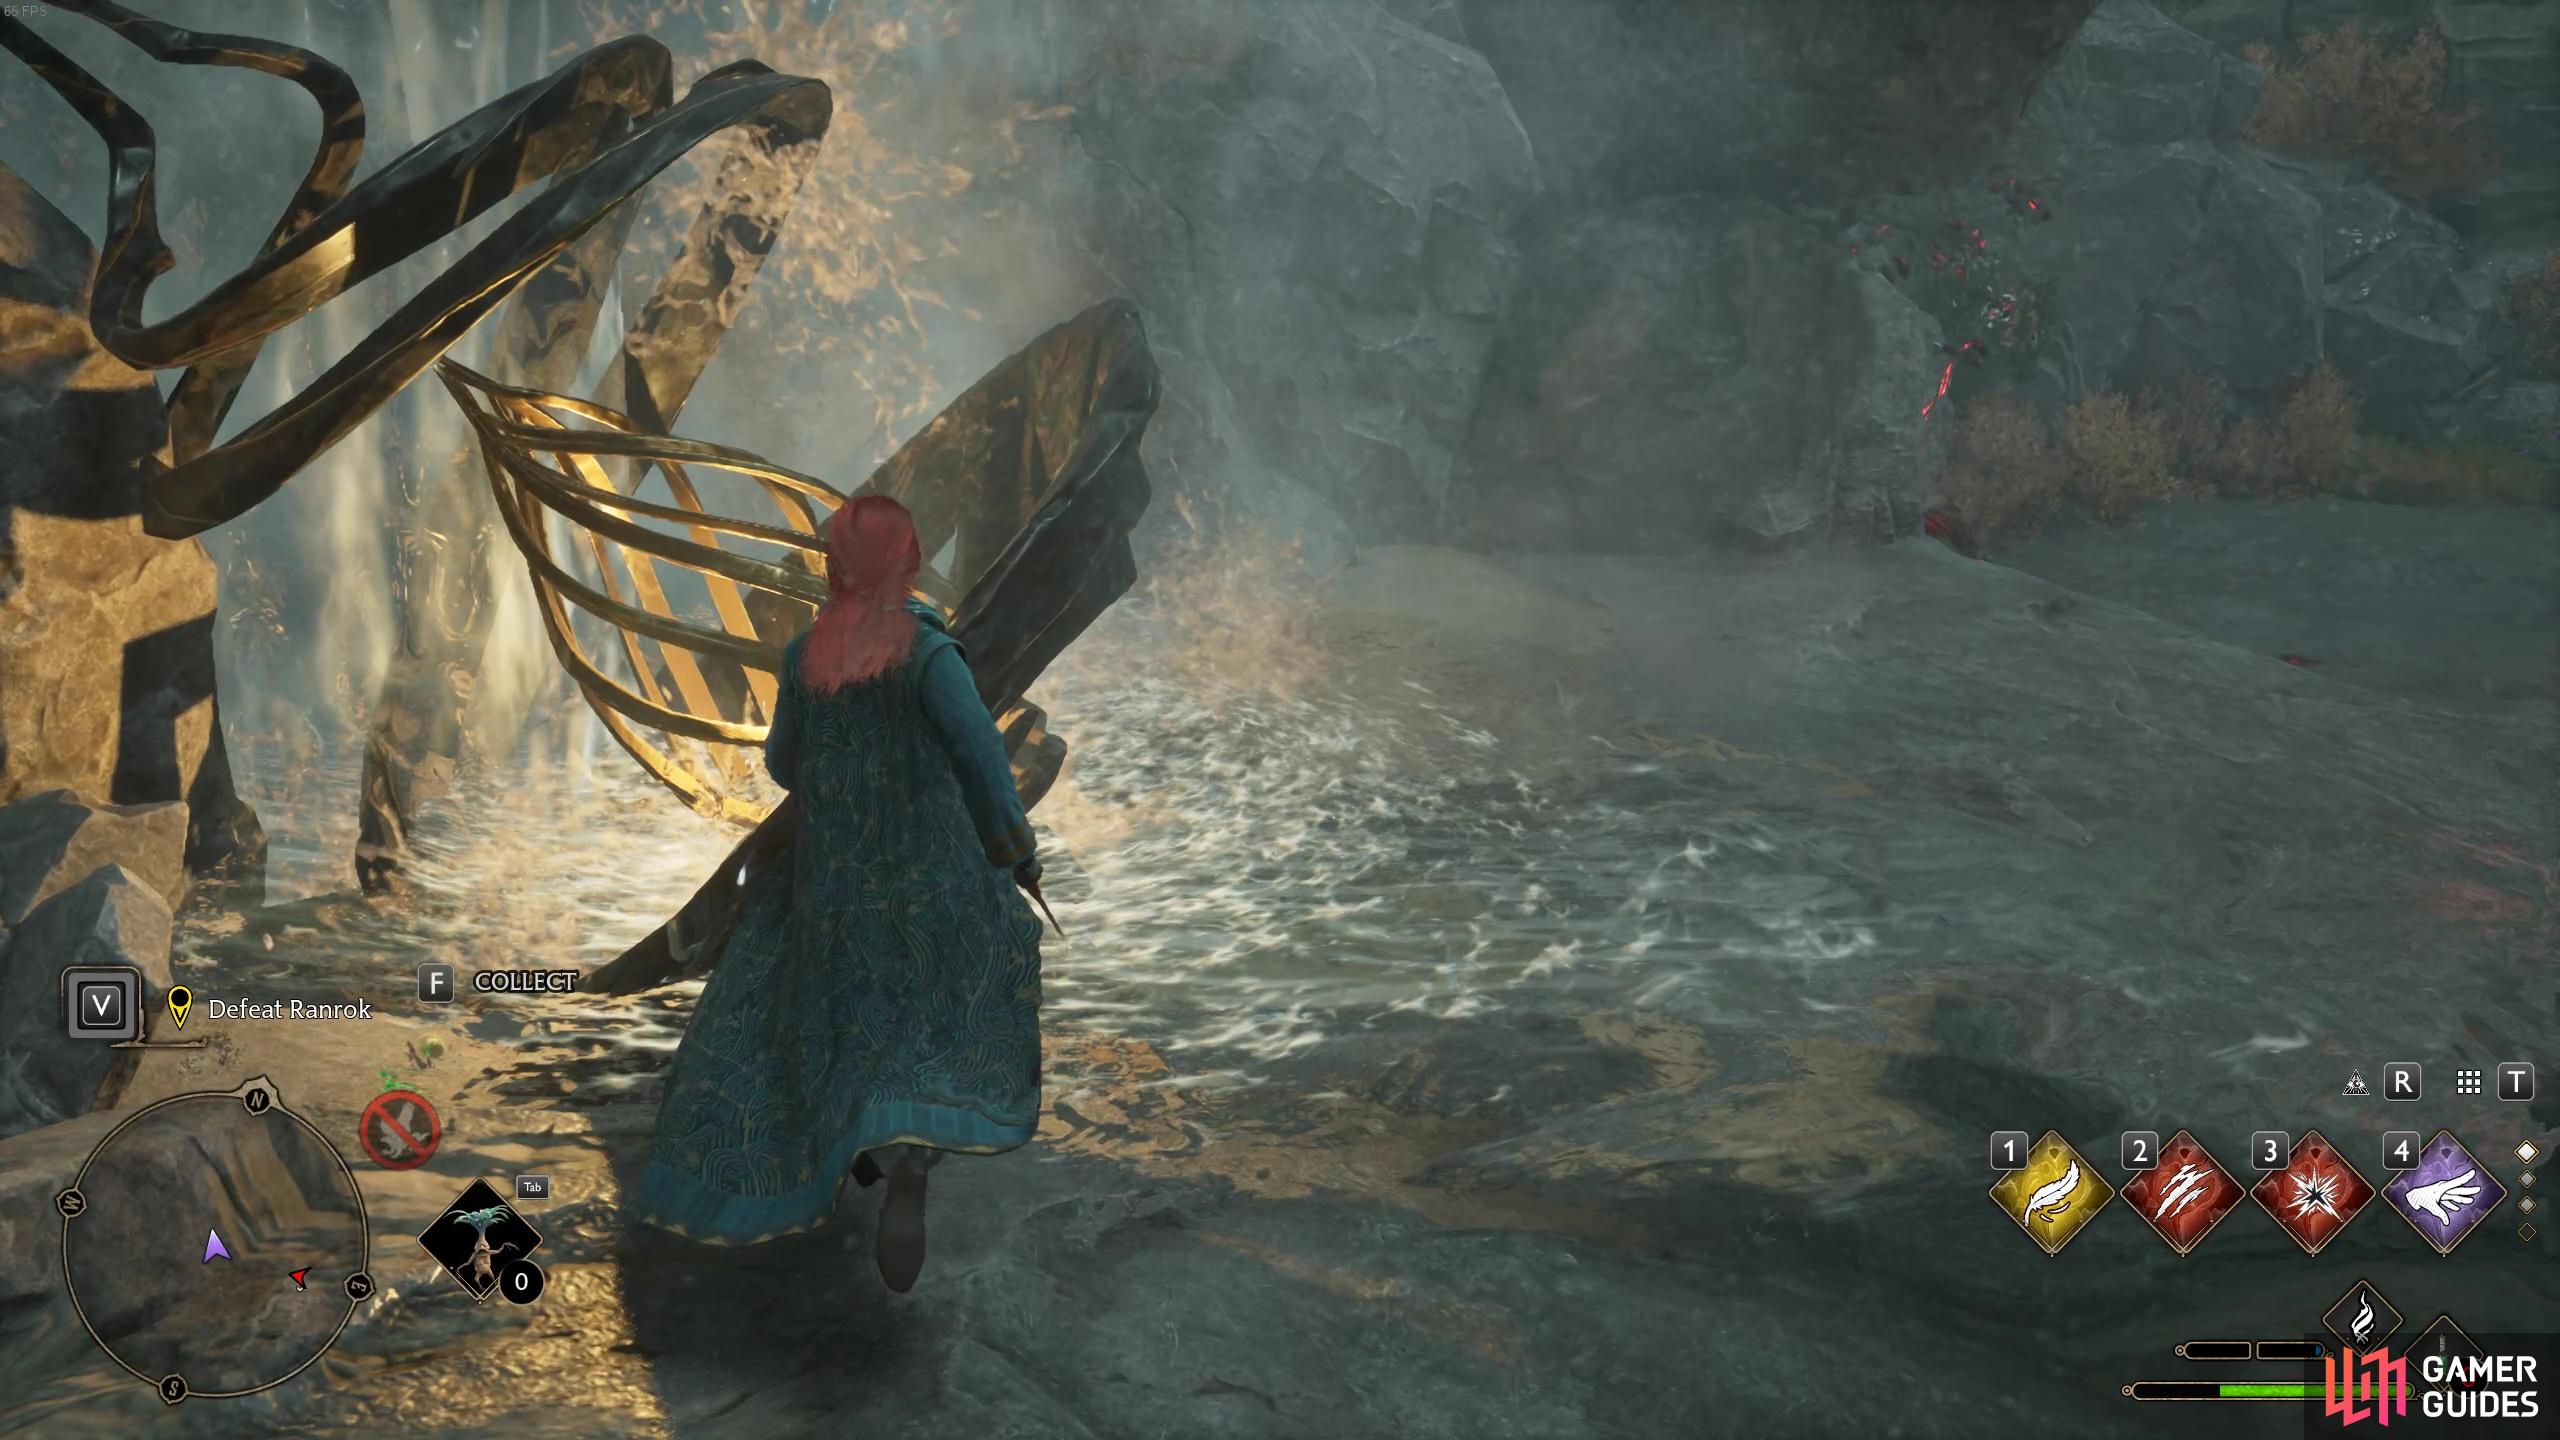
After witnessing a brief cutscene in which you and Professor Fig find the repository, Ranrok will harness its power and turn into a ginormous magical dragon. This boss fight has three phases (with the last phase also split into three sub phases) so buckle in and get ready for a pretty brutal boss fight!
Looks like you and Professor Fig aren’t the only two to have found the Repository!
Additionally, if you’ve not already unlocked it, we highly recommend spending talent points to learn ![]() Spell Knowledge I. Most people will likely have unlocked all the Spell Knowledge talents at this point, but for those of you who haven’t it allows you to have an extra set of four spells that you can scroll between easily in combat. So you’ll have your main spell set for combat, and then you might want a spell set for puzzle related spells, beast related spells etc. You’ll see why this is important later on!
Spell Knowledge I. Most people will likely have unlocked all the Spell Knowledge talents at this point, but for those of you who haven’t it allows you to have an extra set of four spells that you can scroll between easily in combat. So you’ll have your main spell set for combat, and then you might want a spell set for puzzle related spells, beast related spells etc. You’ll see why this is important later on!
Ranrok Dragon 1st Phase
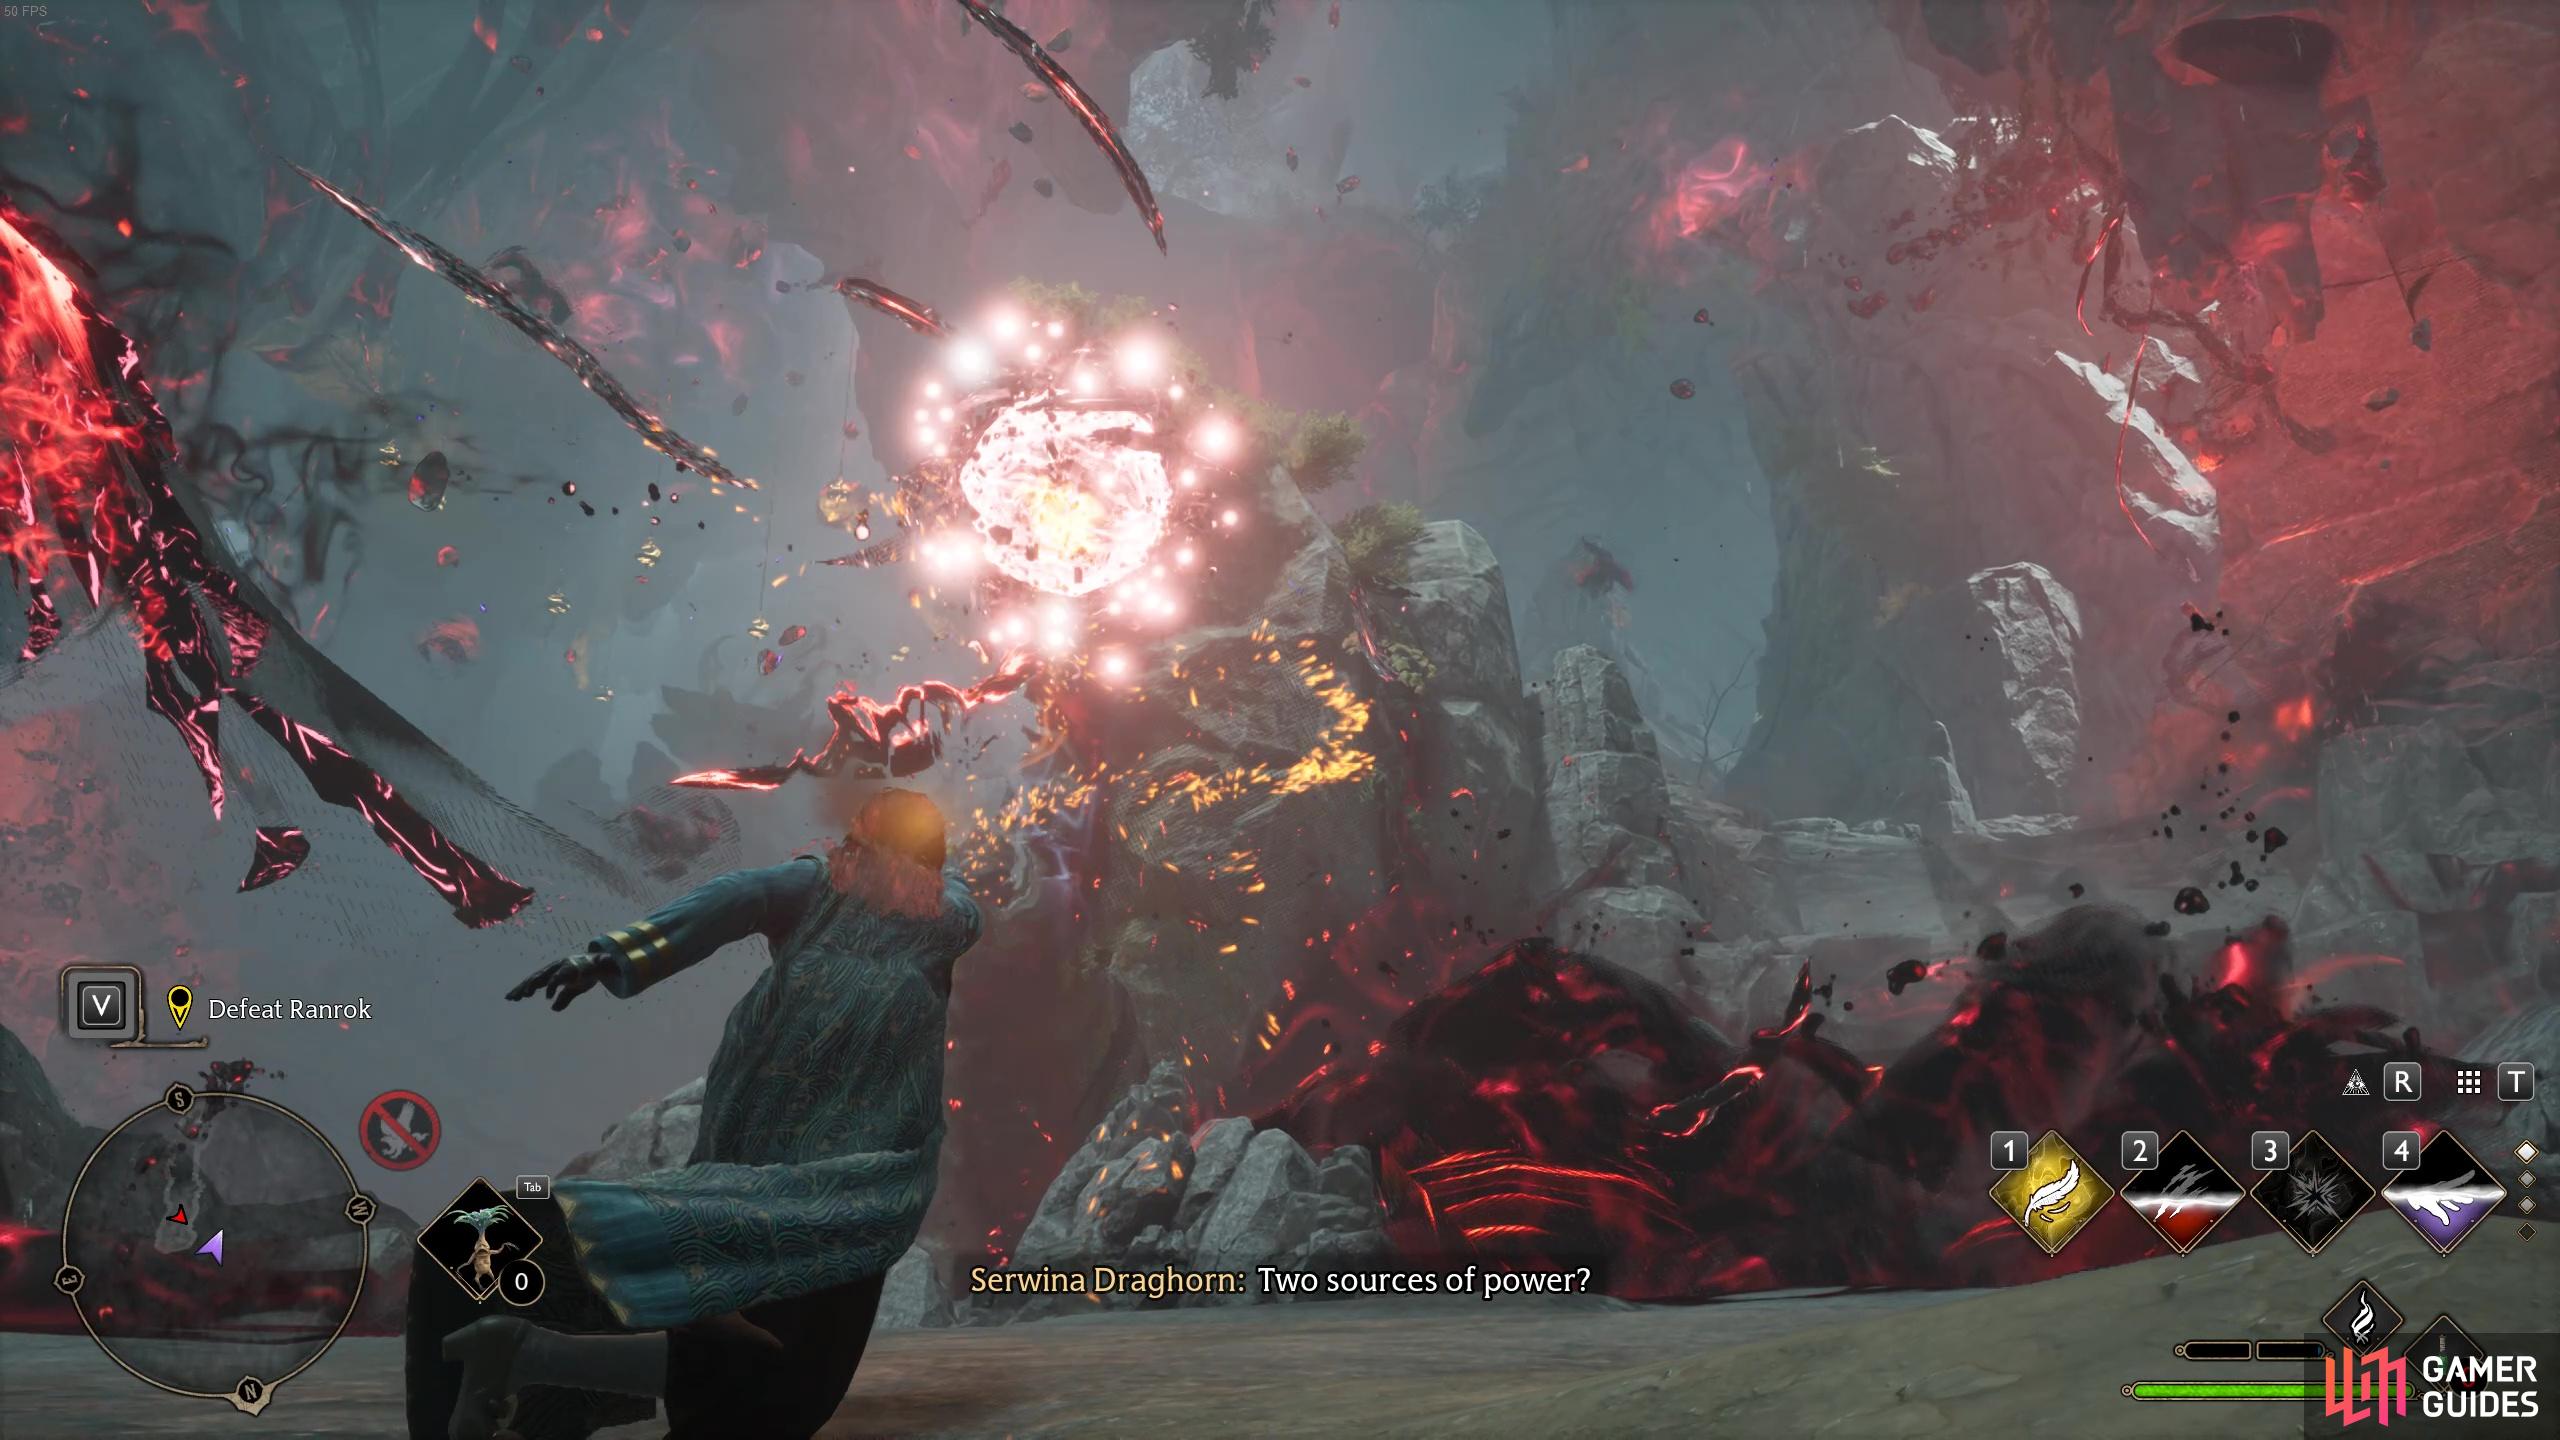
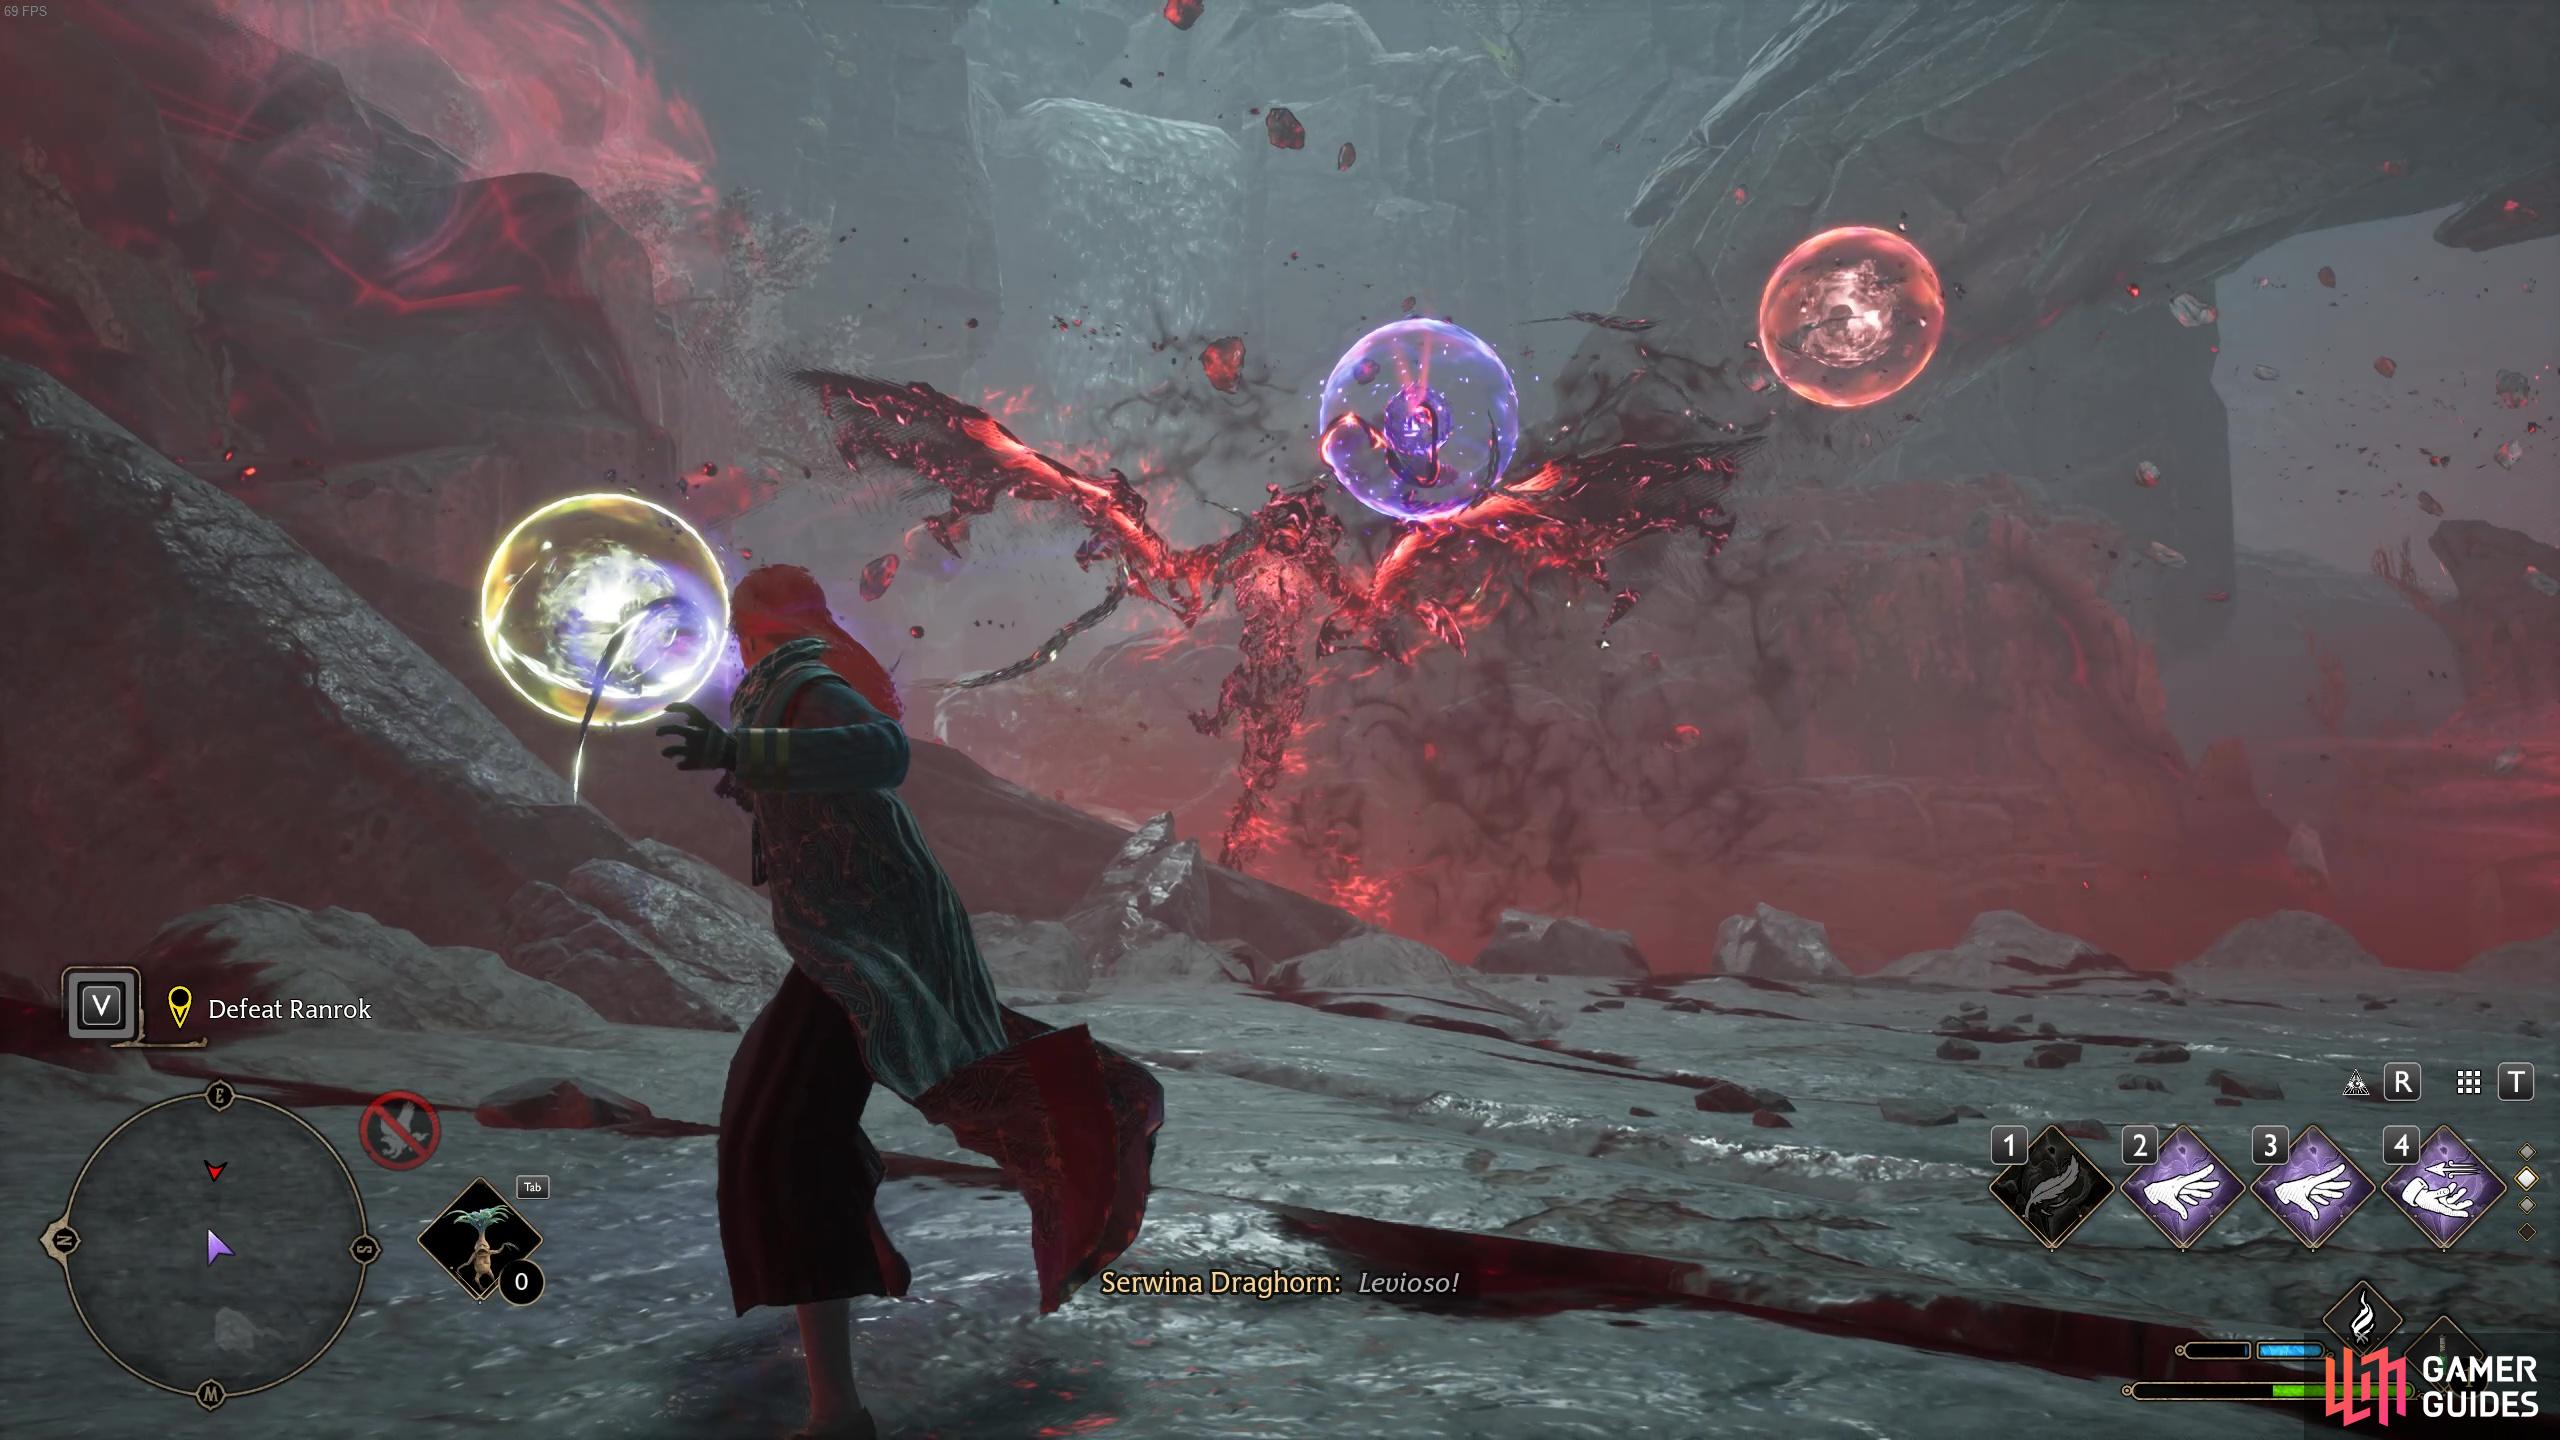
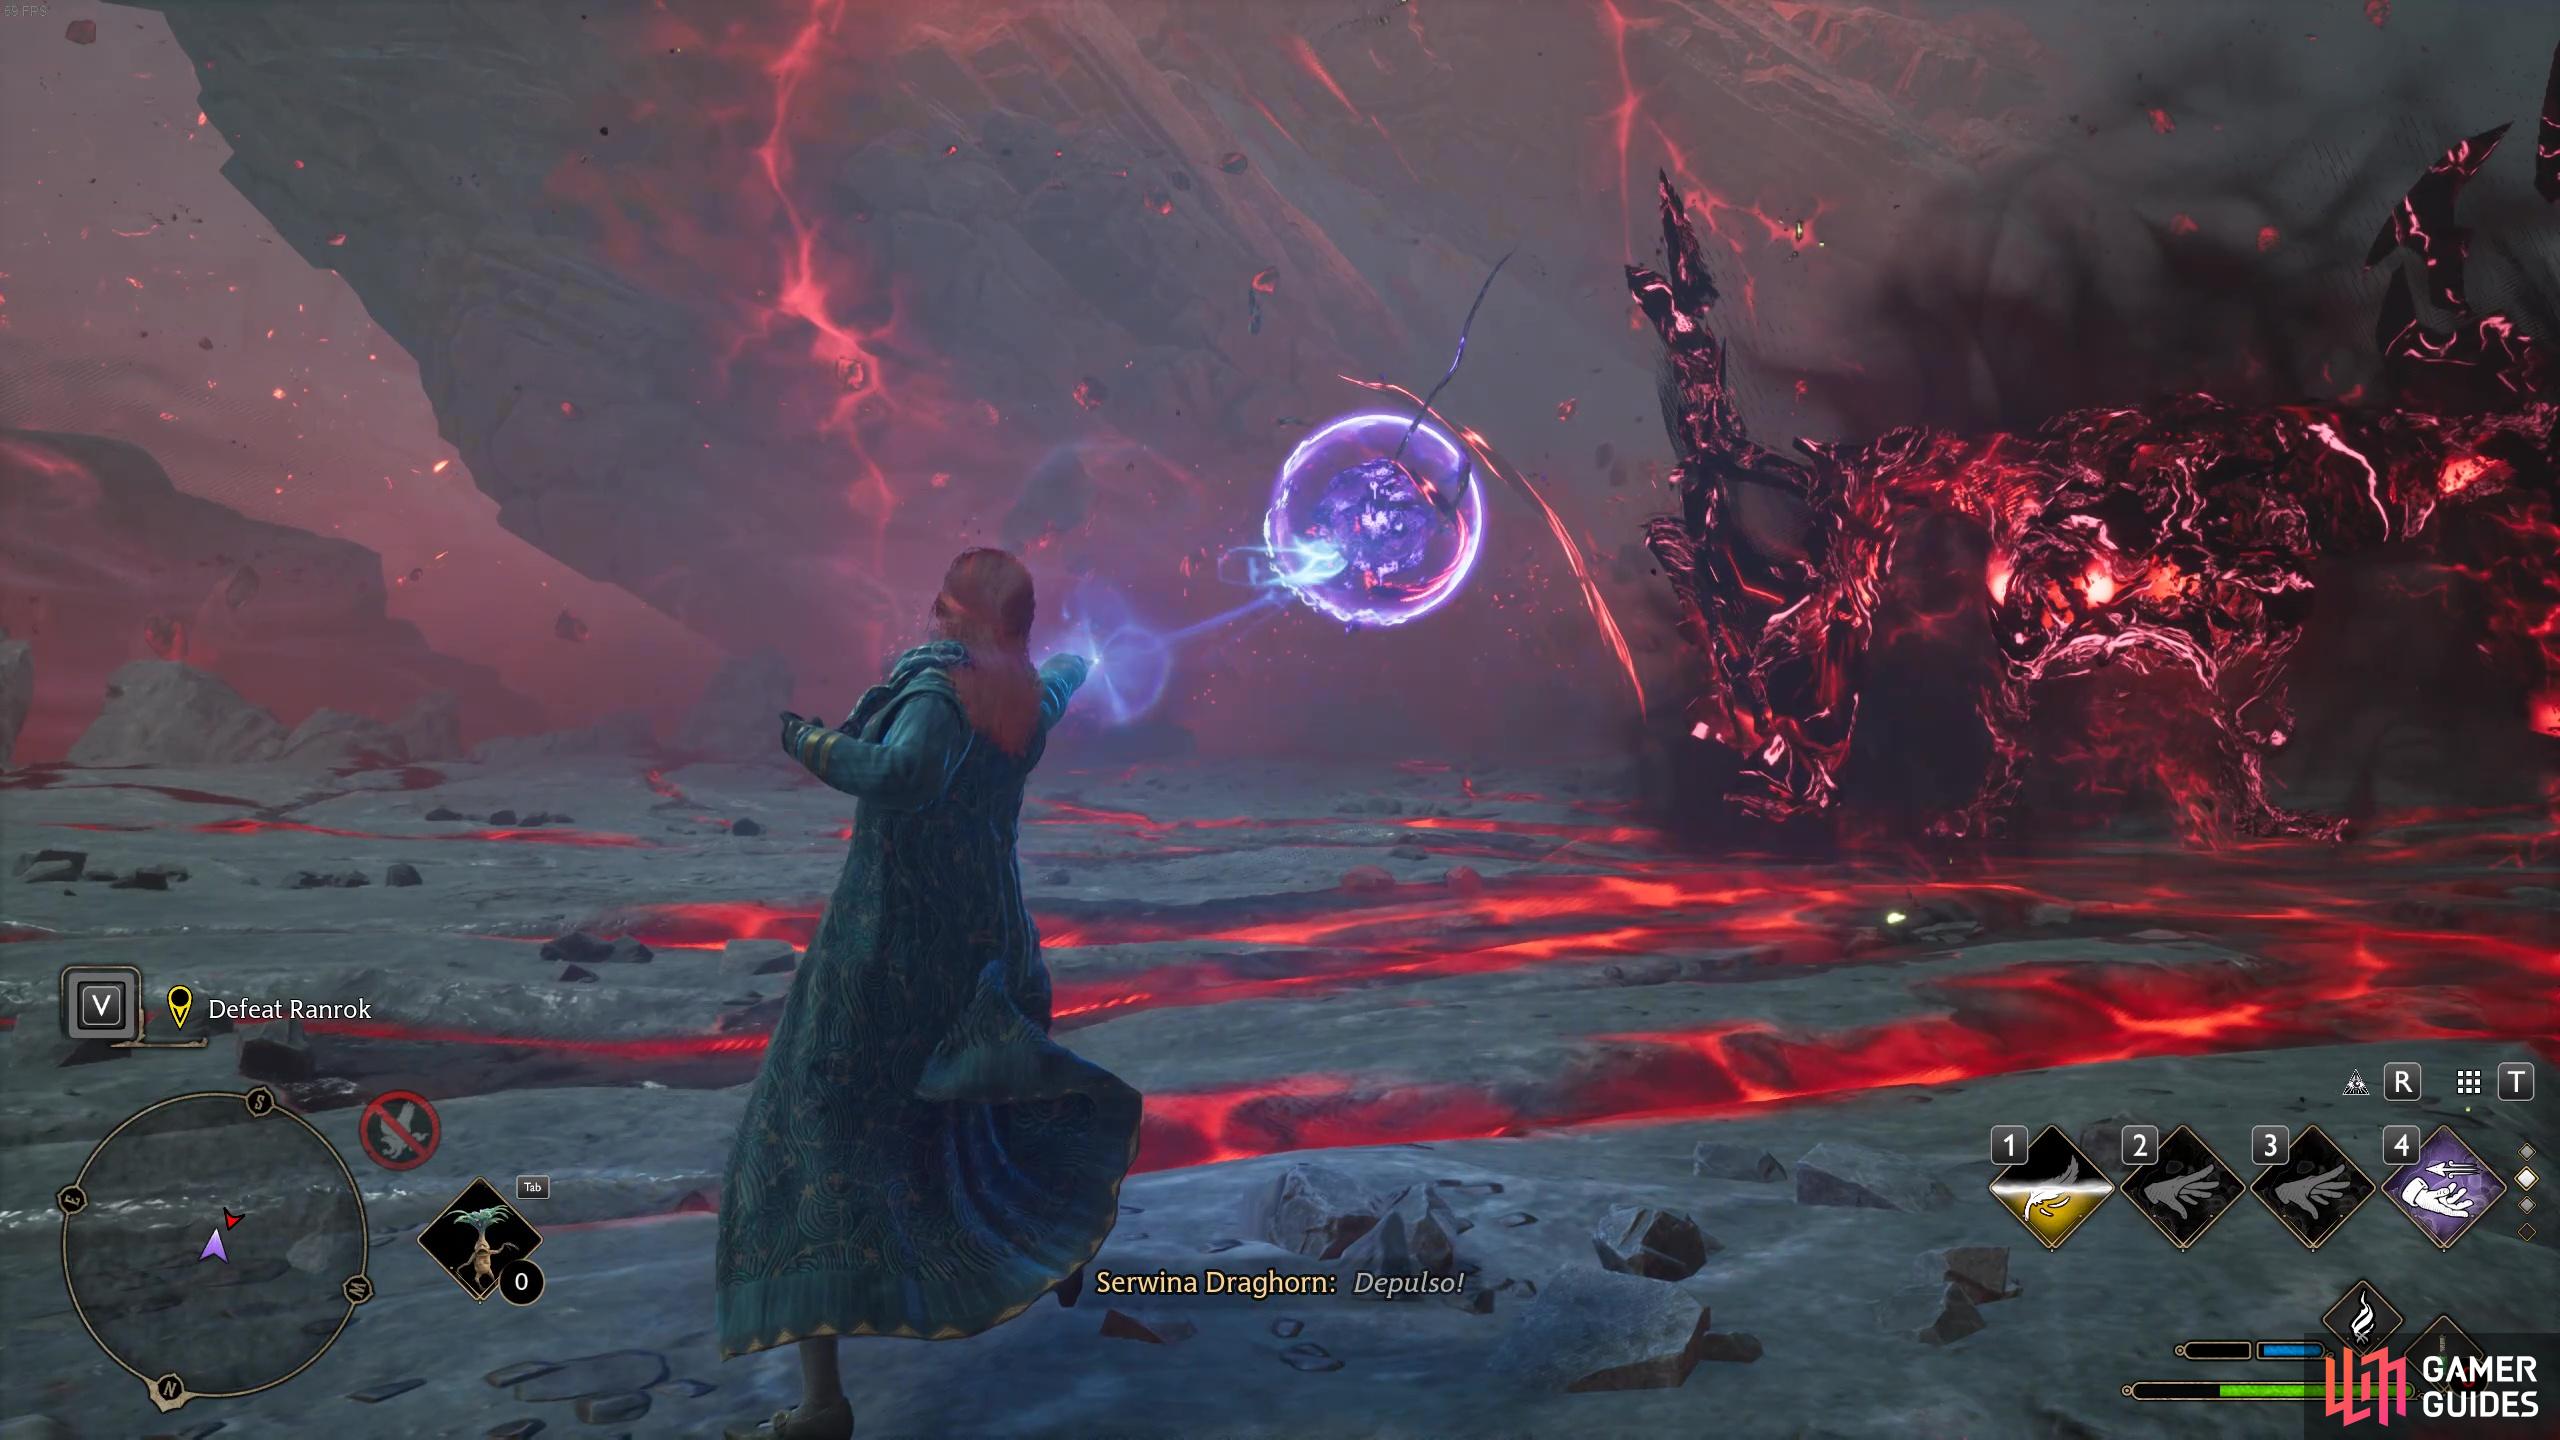
During this fight, you’ll first notice that the dragon is invulnerable. However, you’ll spot a large magical orb nearby. You need to dispel the orb to make the dragon vulnerable to attacks. The color of the orb will determine what sort of spell will dispel it:
| Orb Color | Spell |
|---|---|
| Yellow | Control Spells - |
| Purple | Force Spells - |
| Red | Damaging Spells - |
As mentioned previously, you’ll want at least two spell sets so you can have the perfect spell set up for this fight:
Spell set 1: ![]() Confringo,
Confringo, ![]() Diffindo,
Diffindo, ![]() Expelliarmus,
Expelliarmus, ![]() Bombarda
Bombarda
Spell set 2: ![]() Levioso,
Levioso, ![]() Accio,
Accio, ![]() Depulso,
Depulso, ![]() Arresto Momentum or
Arresto Momentum or ![]() Flipendo
Flipendo
This is the best layout because even though you’ll need Levioso and a force spell to complete the orb puzzles you’ll want your main spell set to consist entirely of damaging spells so you can fill up your Ancient Magic bar quickly. Levioso and force spells like Accio and Depulso don’t do anything to the dragon itself so they’re just wasted space unless the dragon is in its invulnerable stage and you can use them to hit the orbs.
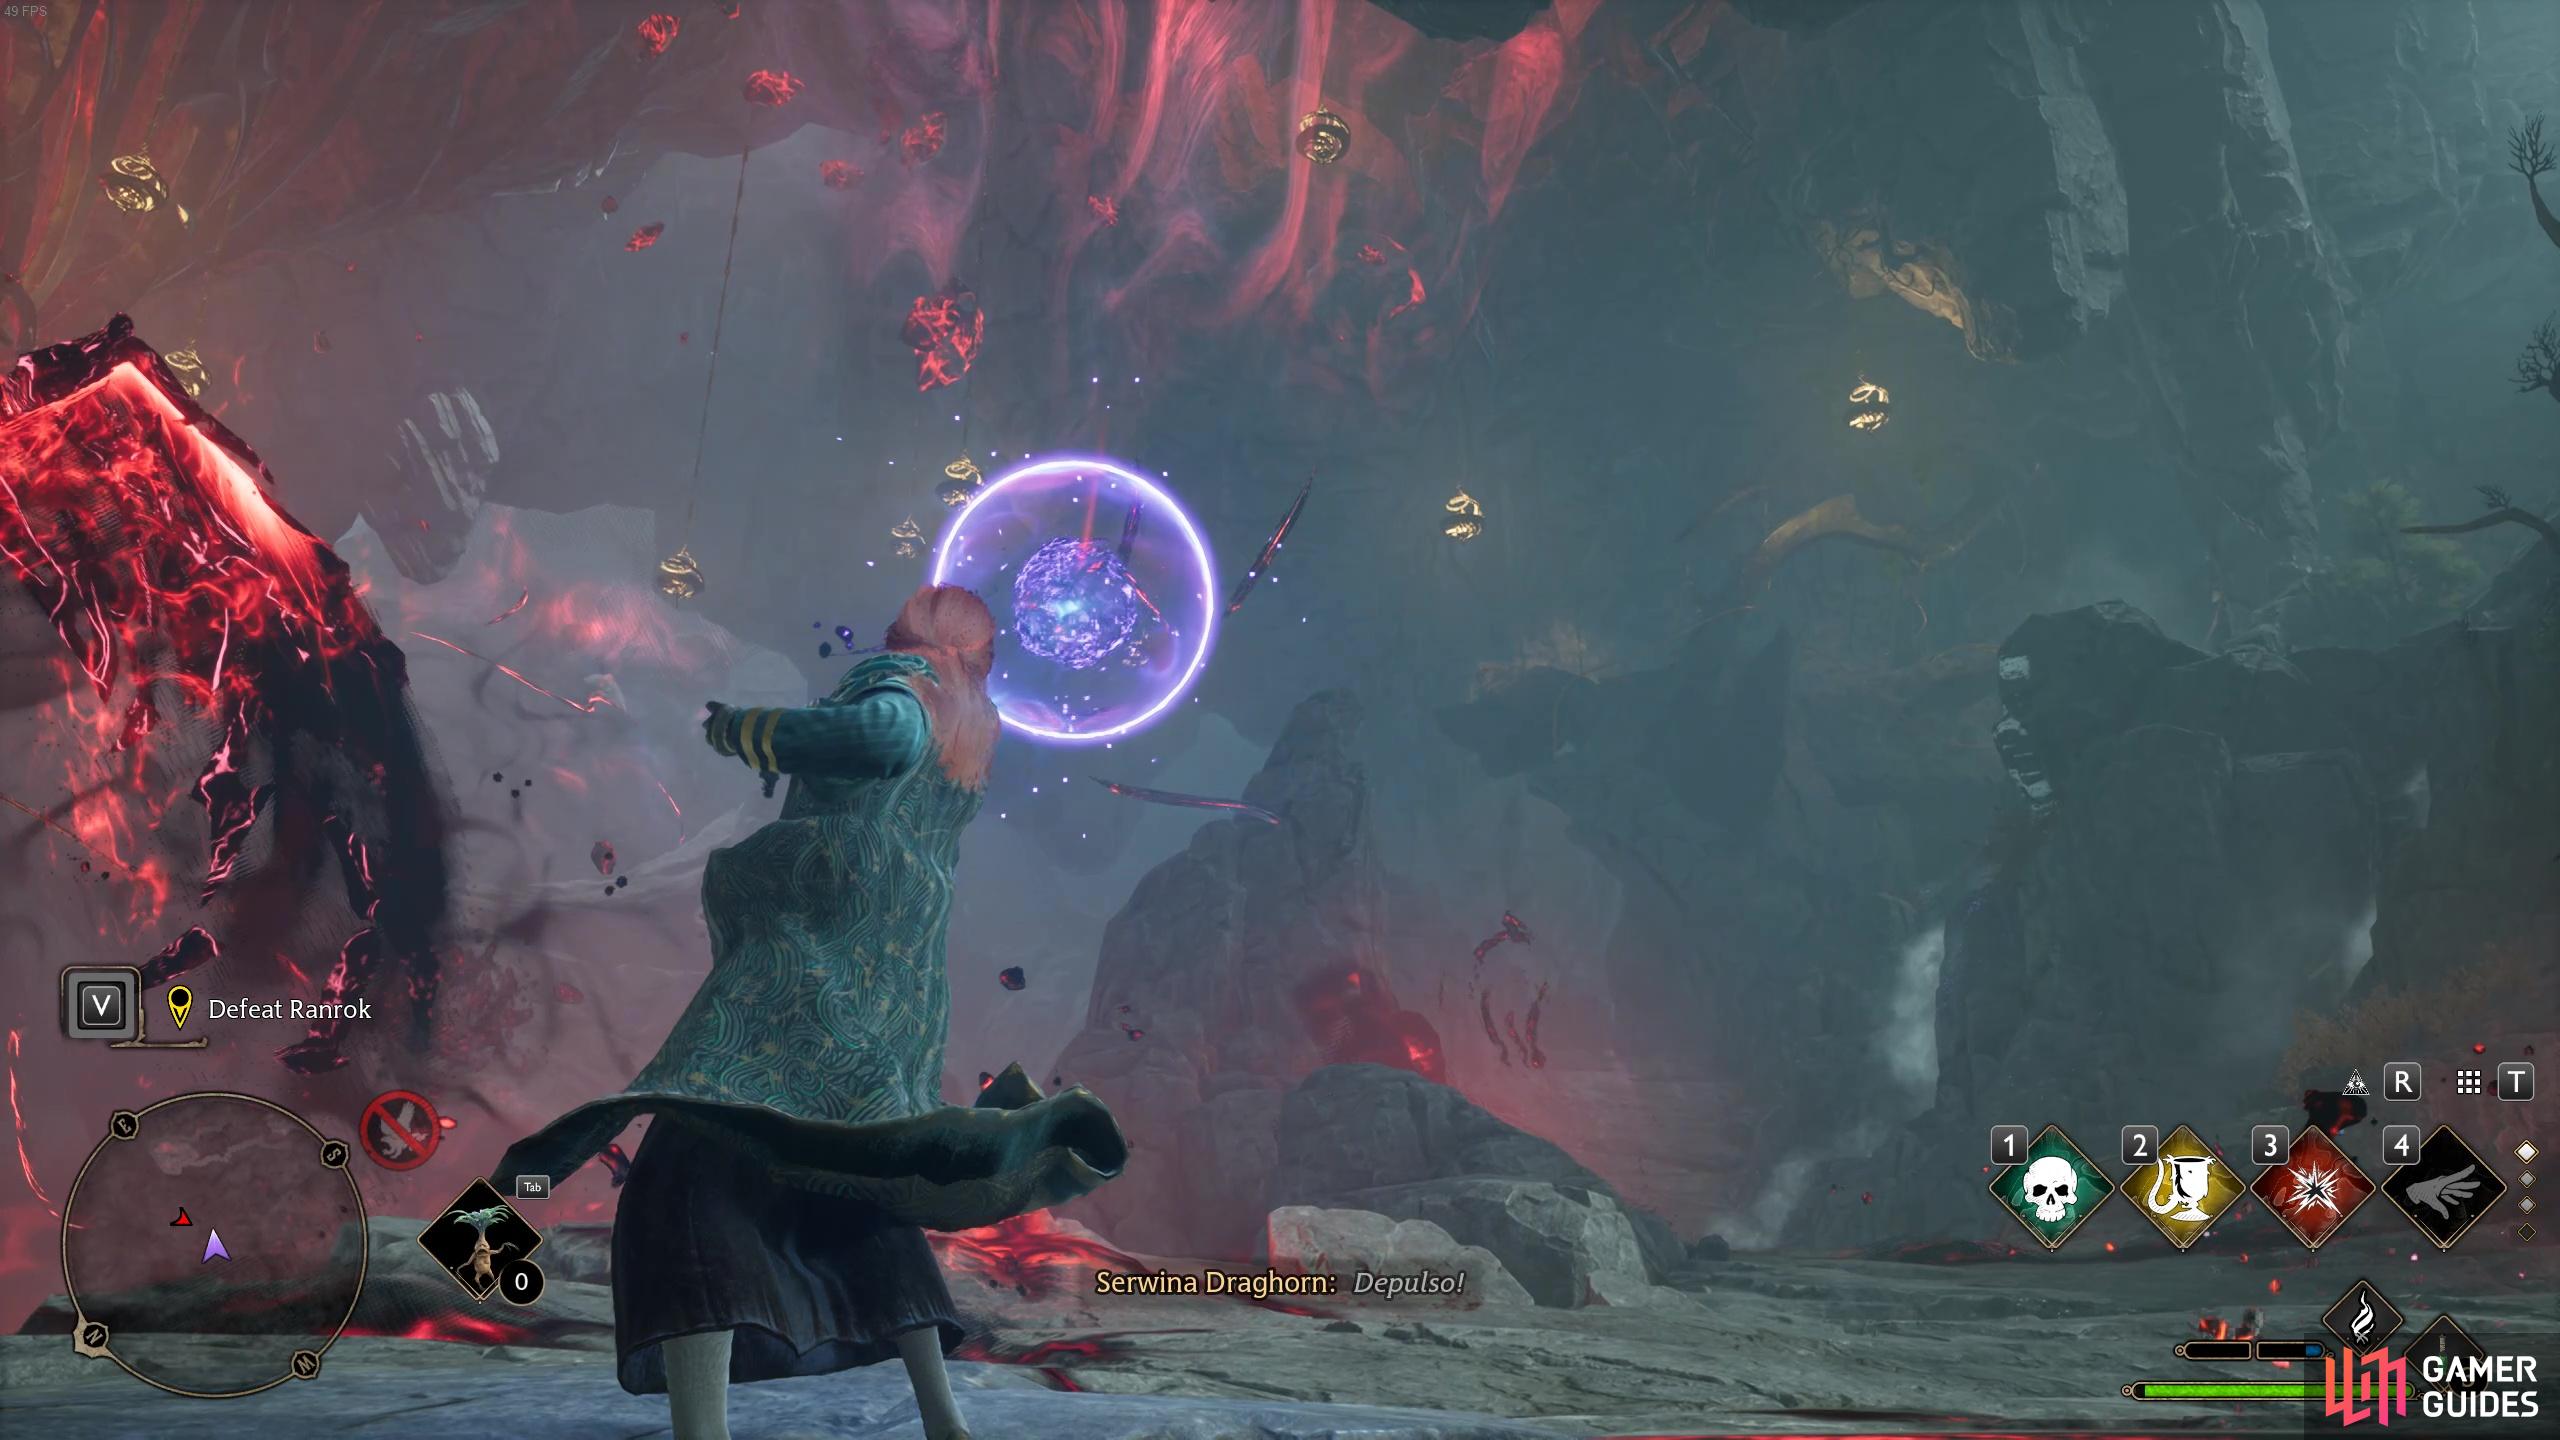
At purple orbs, throw out a force spell like accio or depulso!
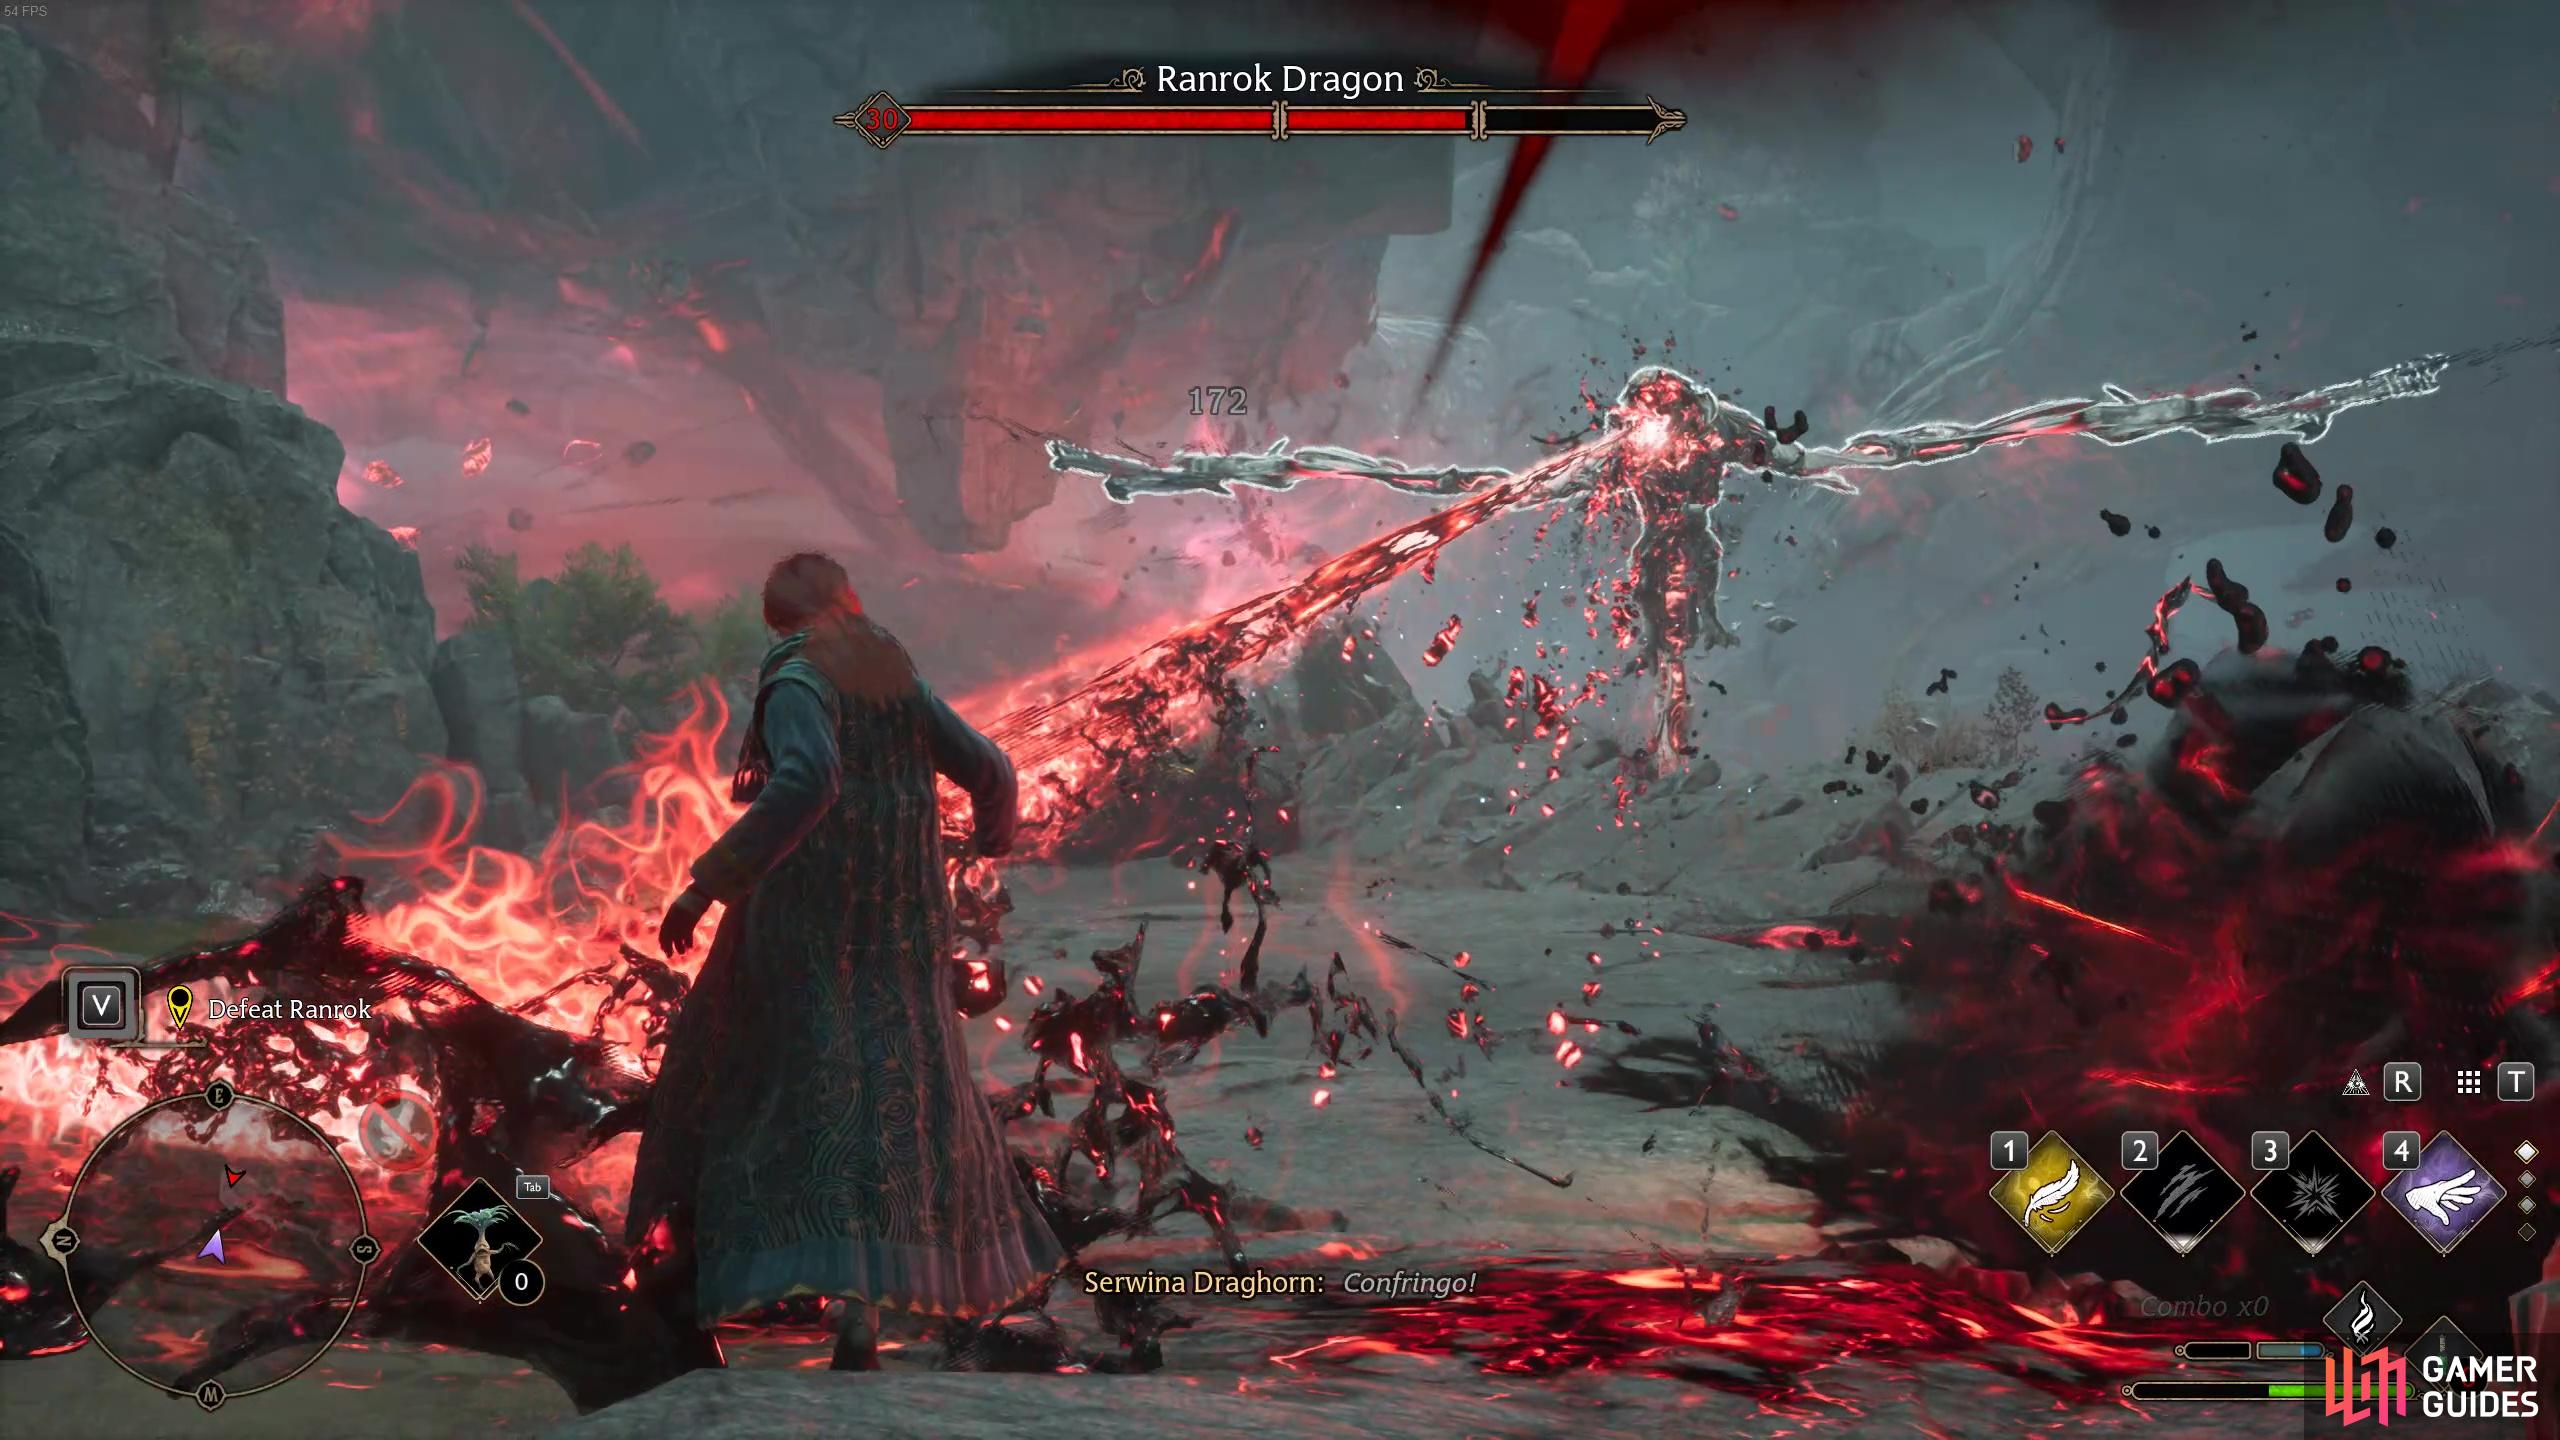
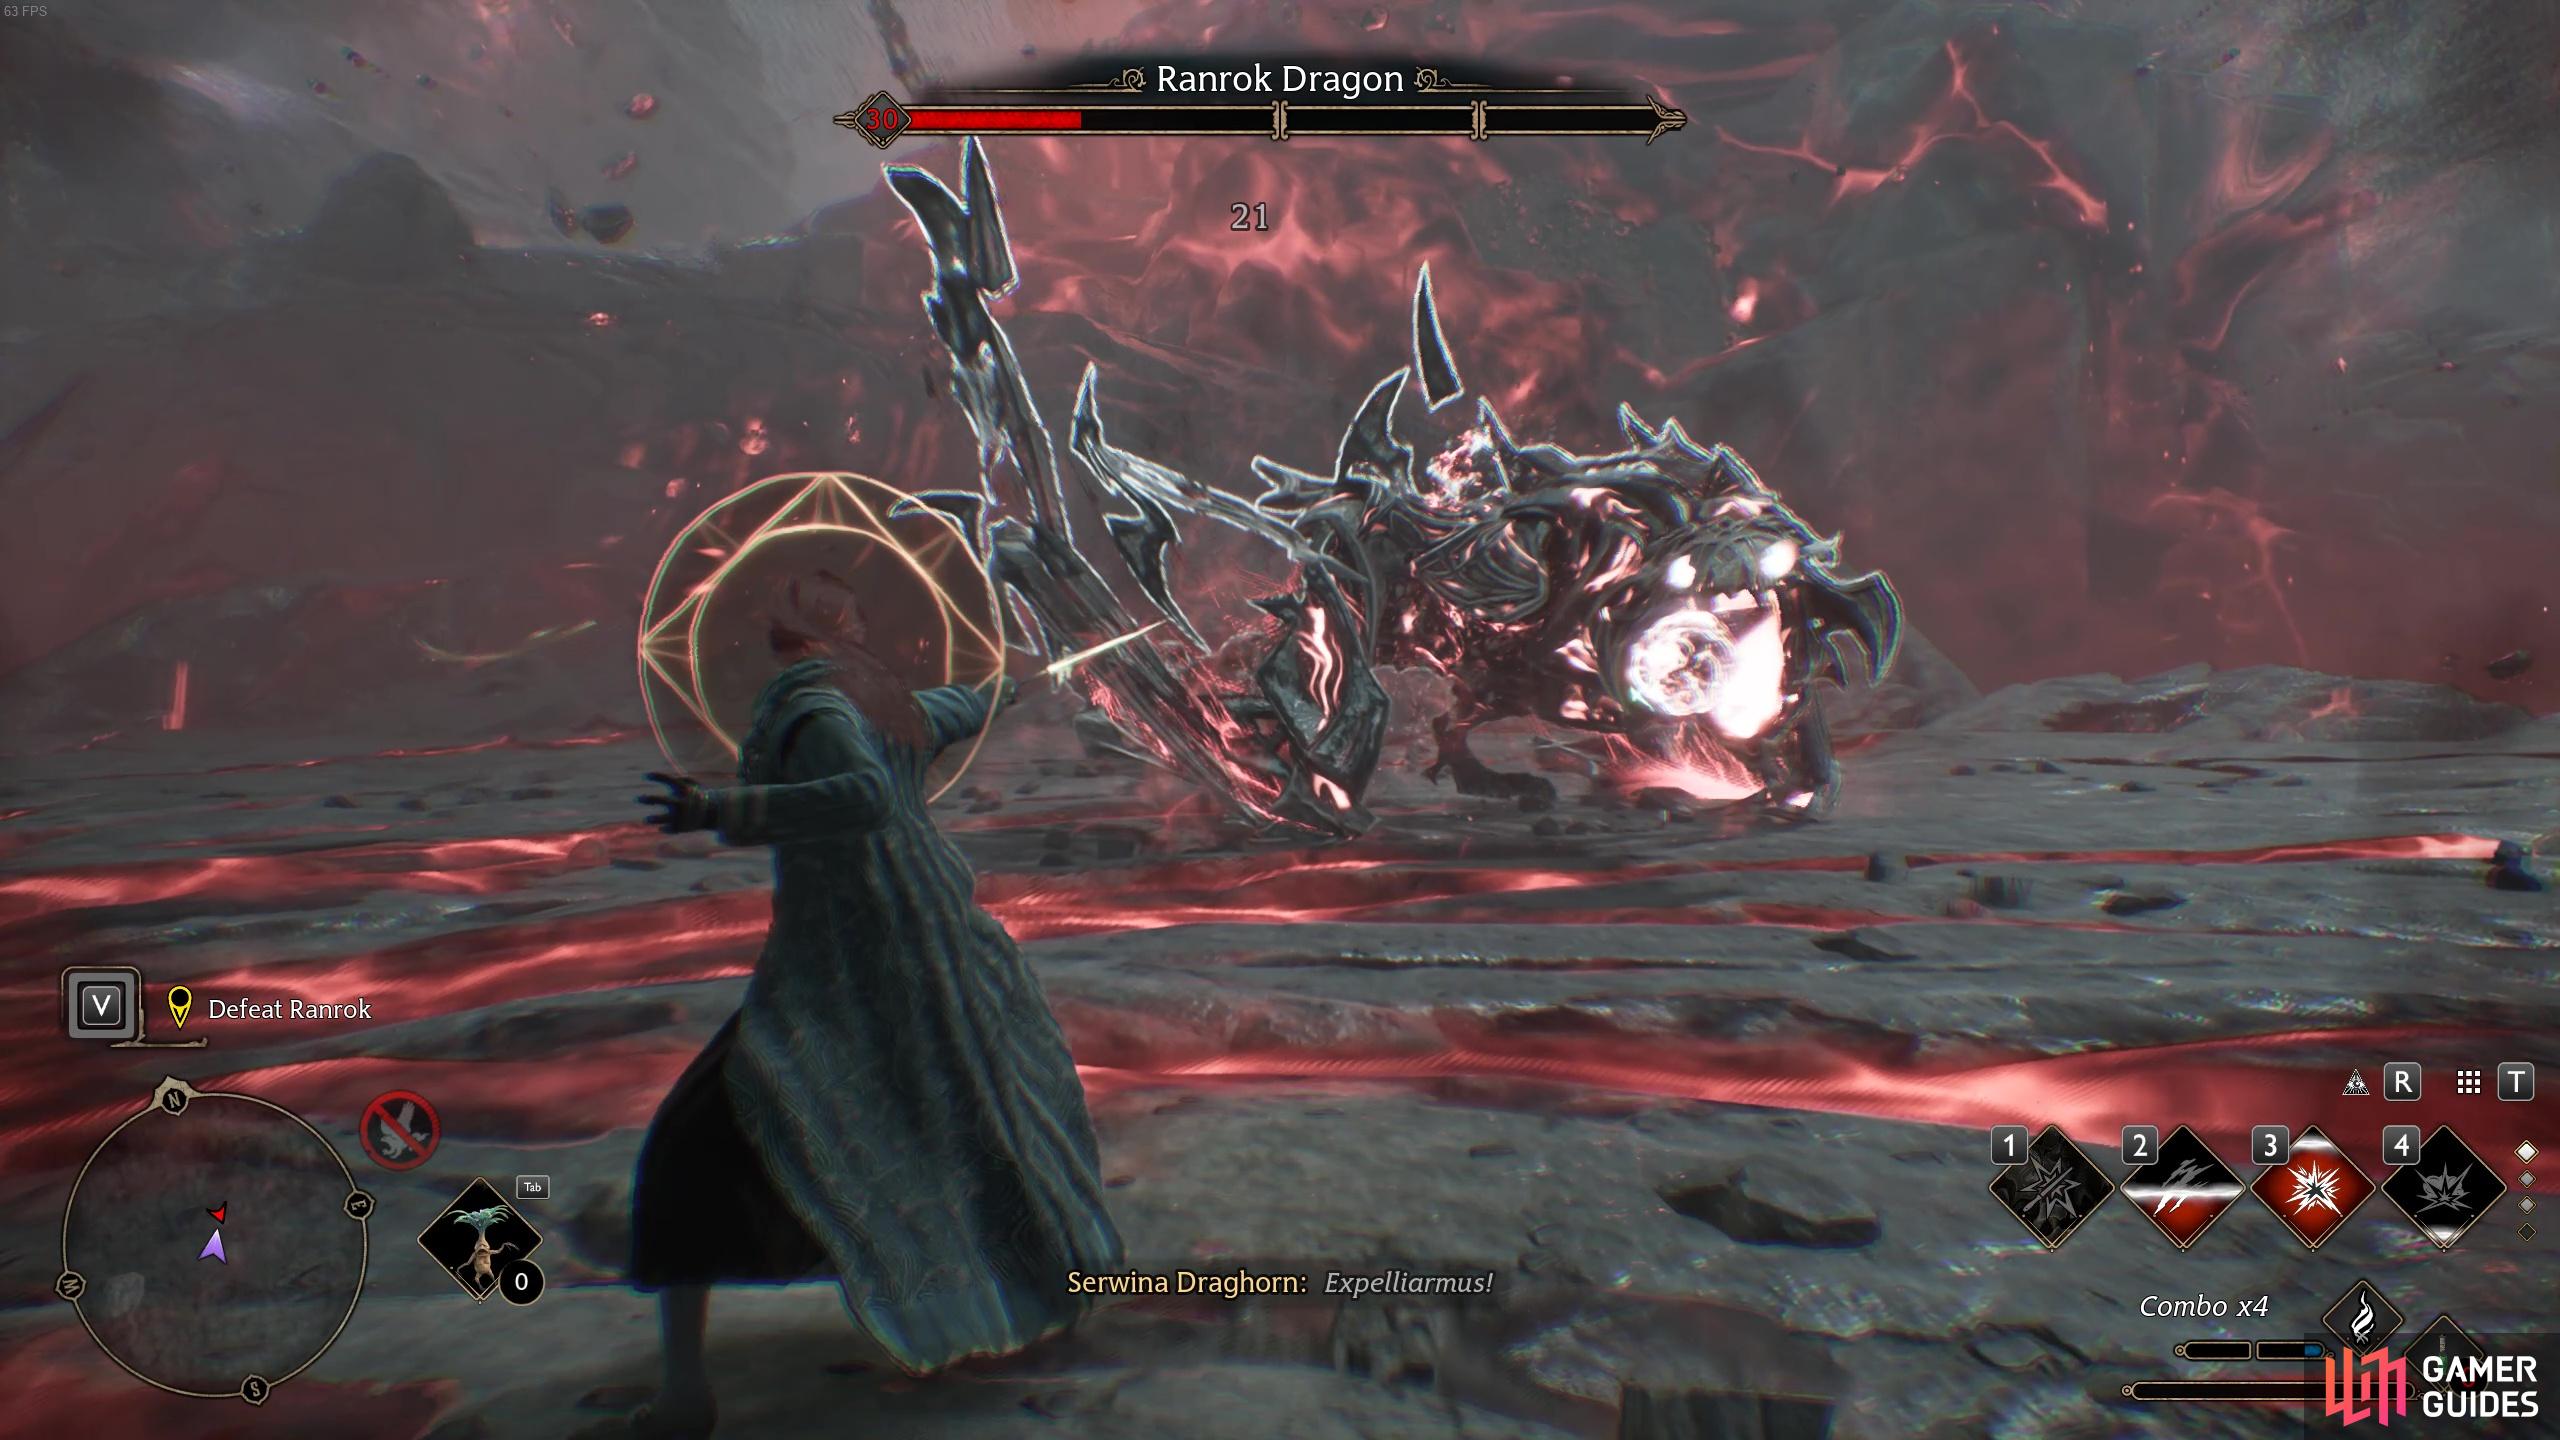
Its most likely that the first orb you’ll encounter in the first phase of the fight is purple so equip your favorite force spell and use it to dispel the orb! Once dispelled, the dragon will be vulnerable to attacks for a short period of time. Constantly unleash damaging spells and basic attacks during this fight so that you can fill up that Ancient Magic bar. Ancient Magic Attacks will do a huge chunk of his health.
After a brief time, the dragon will up its defenses again and you’ll be forced to repeat the same process of dispelling the colored orb with the right spell.
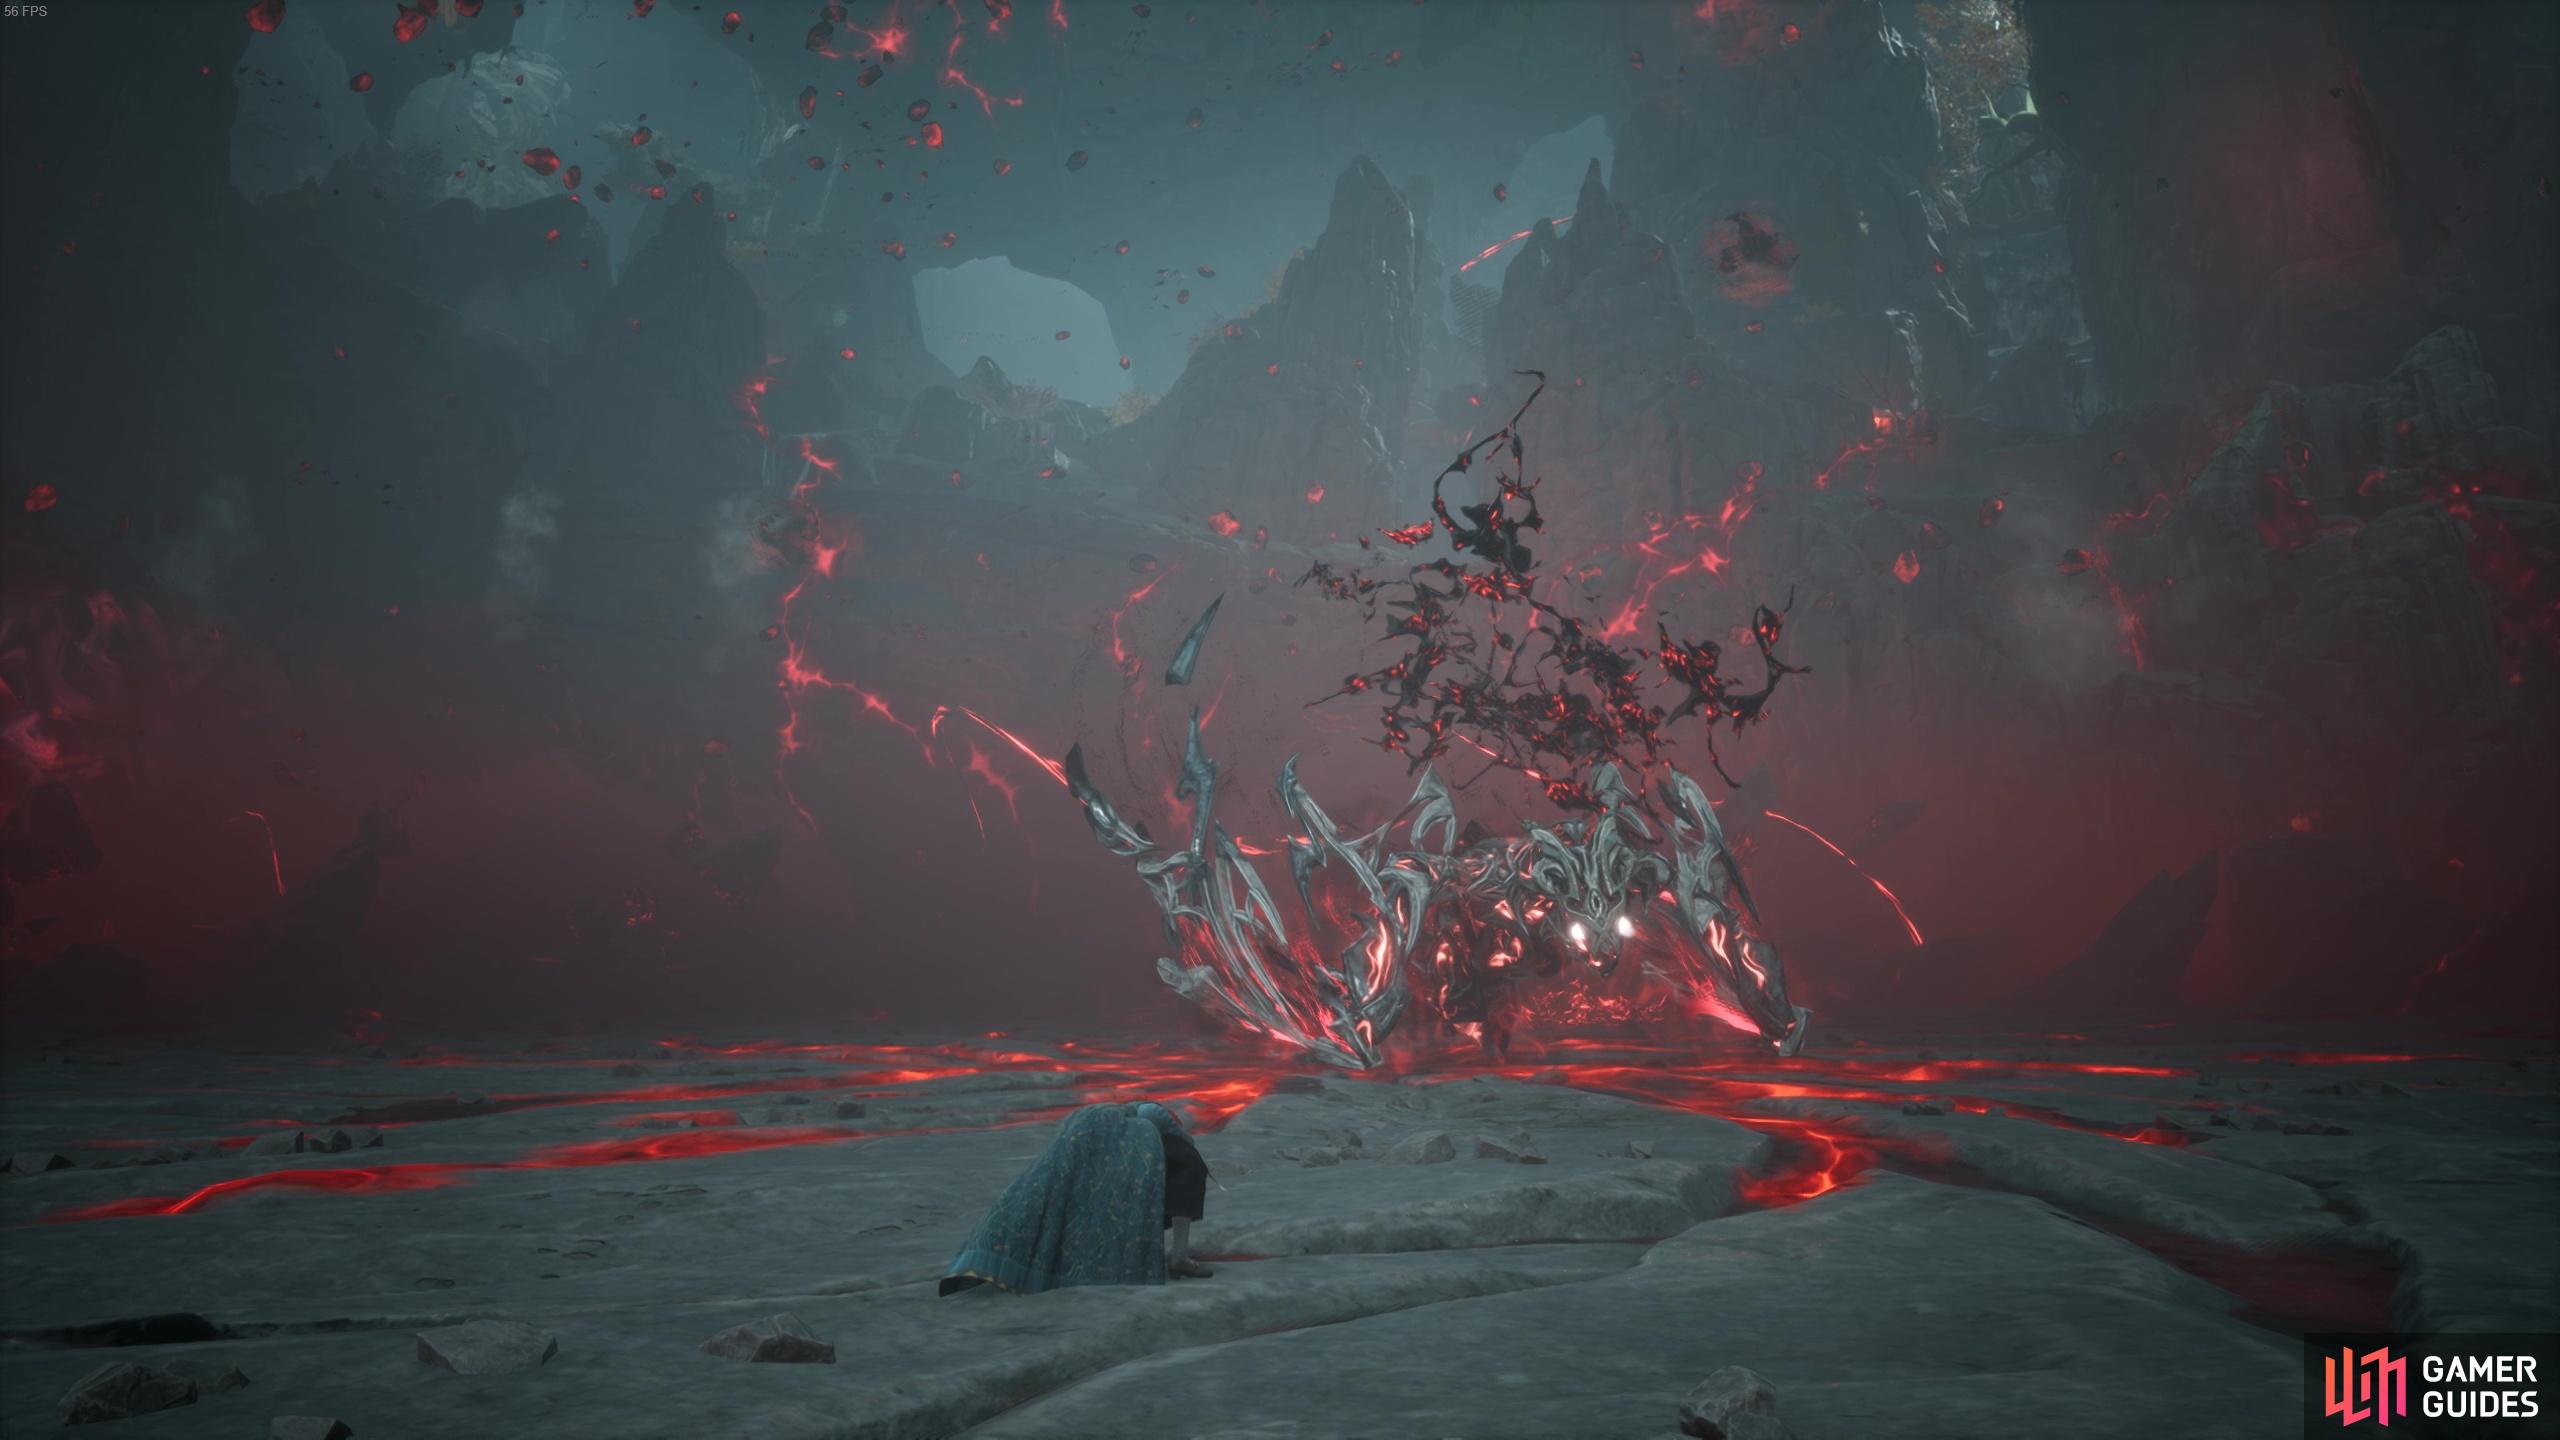
But this fight isn’t just a fun orb puzzle! Whilst your trying to dispel the orbs and deal damage to Ranrok, you’ll be forced to also deal with his range of powerful attacks. During this phase, Ranrok can breathe fire, throw out blockable magical orbs and unblockable boulders. If your reactions are quick enough, you can actually throw the unblockable boulders right back at him - if you’re situated a bit further back from the ledge, its easier to do this as you have more time before the rock hits the ground. Don’t risk this maneuver if you’ve not got quick reactions though as getting hit by the rock is painful. Likewise, you’ll want to dodge or ![]() Protego the magical orbs as they’ll also deal lots of damage.
Protego the magical orbs as they’ll also deal lots of damage.
The dragon’s worst attack in this phase is the fire breathing. He’ll breathe fire in a line in front of him and leave residual fire on the ground that’ll damage you if you go in it. It can be hard to dodge out of the way of the fire effectively, and it becomes even harder in the later phases!
This is definitely a slow and steady wins the race kind of fight. Just focus on dodging his attacks whilst slowly building up your Ancient Magic meter and getting in damaging spells where ever possible. Once you’ve reduced the first bar of his HP, you’ll trigger the next phase.
Ranrok Dragon 2nd Phase
After completing the first phase, you’ll be prompted to follow a path to the left. As you head down this path, Ranrok Dragon will fire out 2 blockable orbs - you can use Protego but may find it easier to just dodge them as you run down the slope. Before you hop down into the next arena though, look to the left-hand side for a golden glowing statue. Next to it, you’ll find another Wiggenweld Potion - hallelujah!
This extra hidden wiggenweld potion could be a life saver!
During this fight you’ll want to spend most of your time near the middle of the arena - not too far forward that you can’t anticipate attacks and not too far back that you can’t hit him. This is pretty much the same as the last phase except way more intense. Each time you need to dispel the magic orbs, you’ll need to dispel two separate orbs. The orbs will also sometimes disappear and you’ll need to wait for them to pop up again.
As with the first phase, you’ll need to dispel the orbs to attack Ranrok.
In addition to having to manage two orbs, the dragon will also have more attack types. He will now use his fire breath attack in a sweeping manner, moving it across the arena. So dodging to the side is actually not a good option here as you risk rolling into the travelling line of fire. Instead, roll forwards or backwards to situate yourself beneath or away from the flames. It’ll still frequently send out unblockable boulders and magic orbs too.
It will also occasionally curl up into a ball in the sky and prepare a huge attack that sends out a spherical wave of magical damage. This attack is unblockable so you’ll need to move away from him as soon as he starts doing this attack. This is why its a good option to stay at the center of the arena as the wave will stop at about half way. If you do get caught by it, it does a ton of damage and knocks you prone.
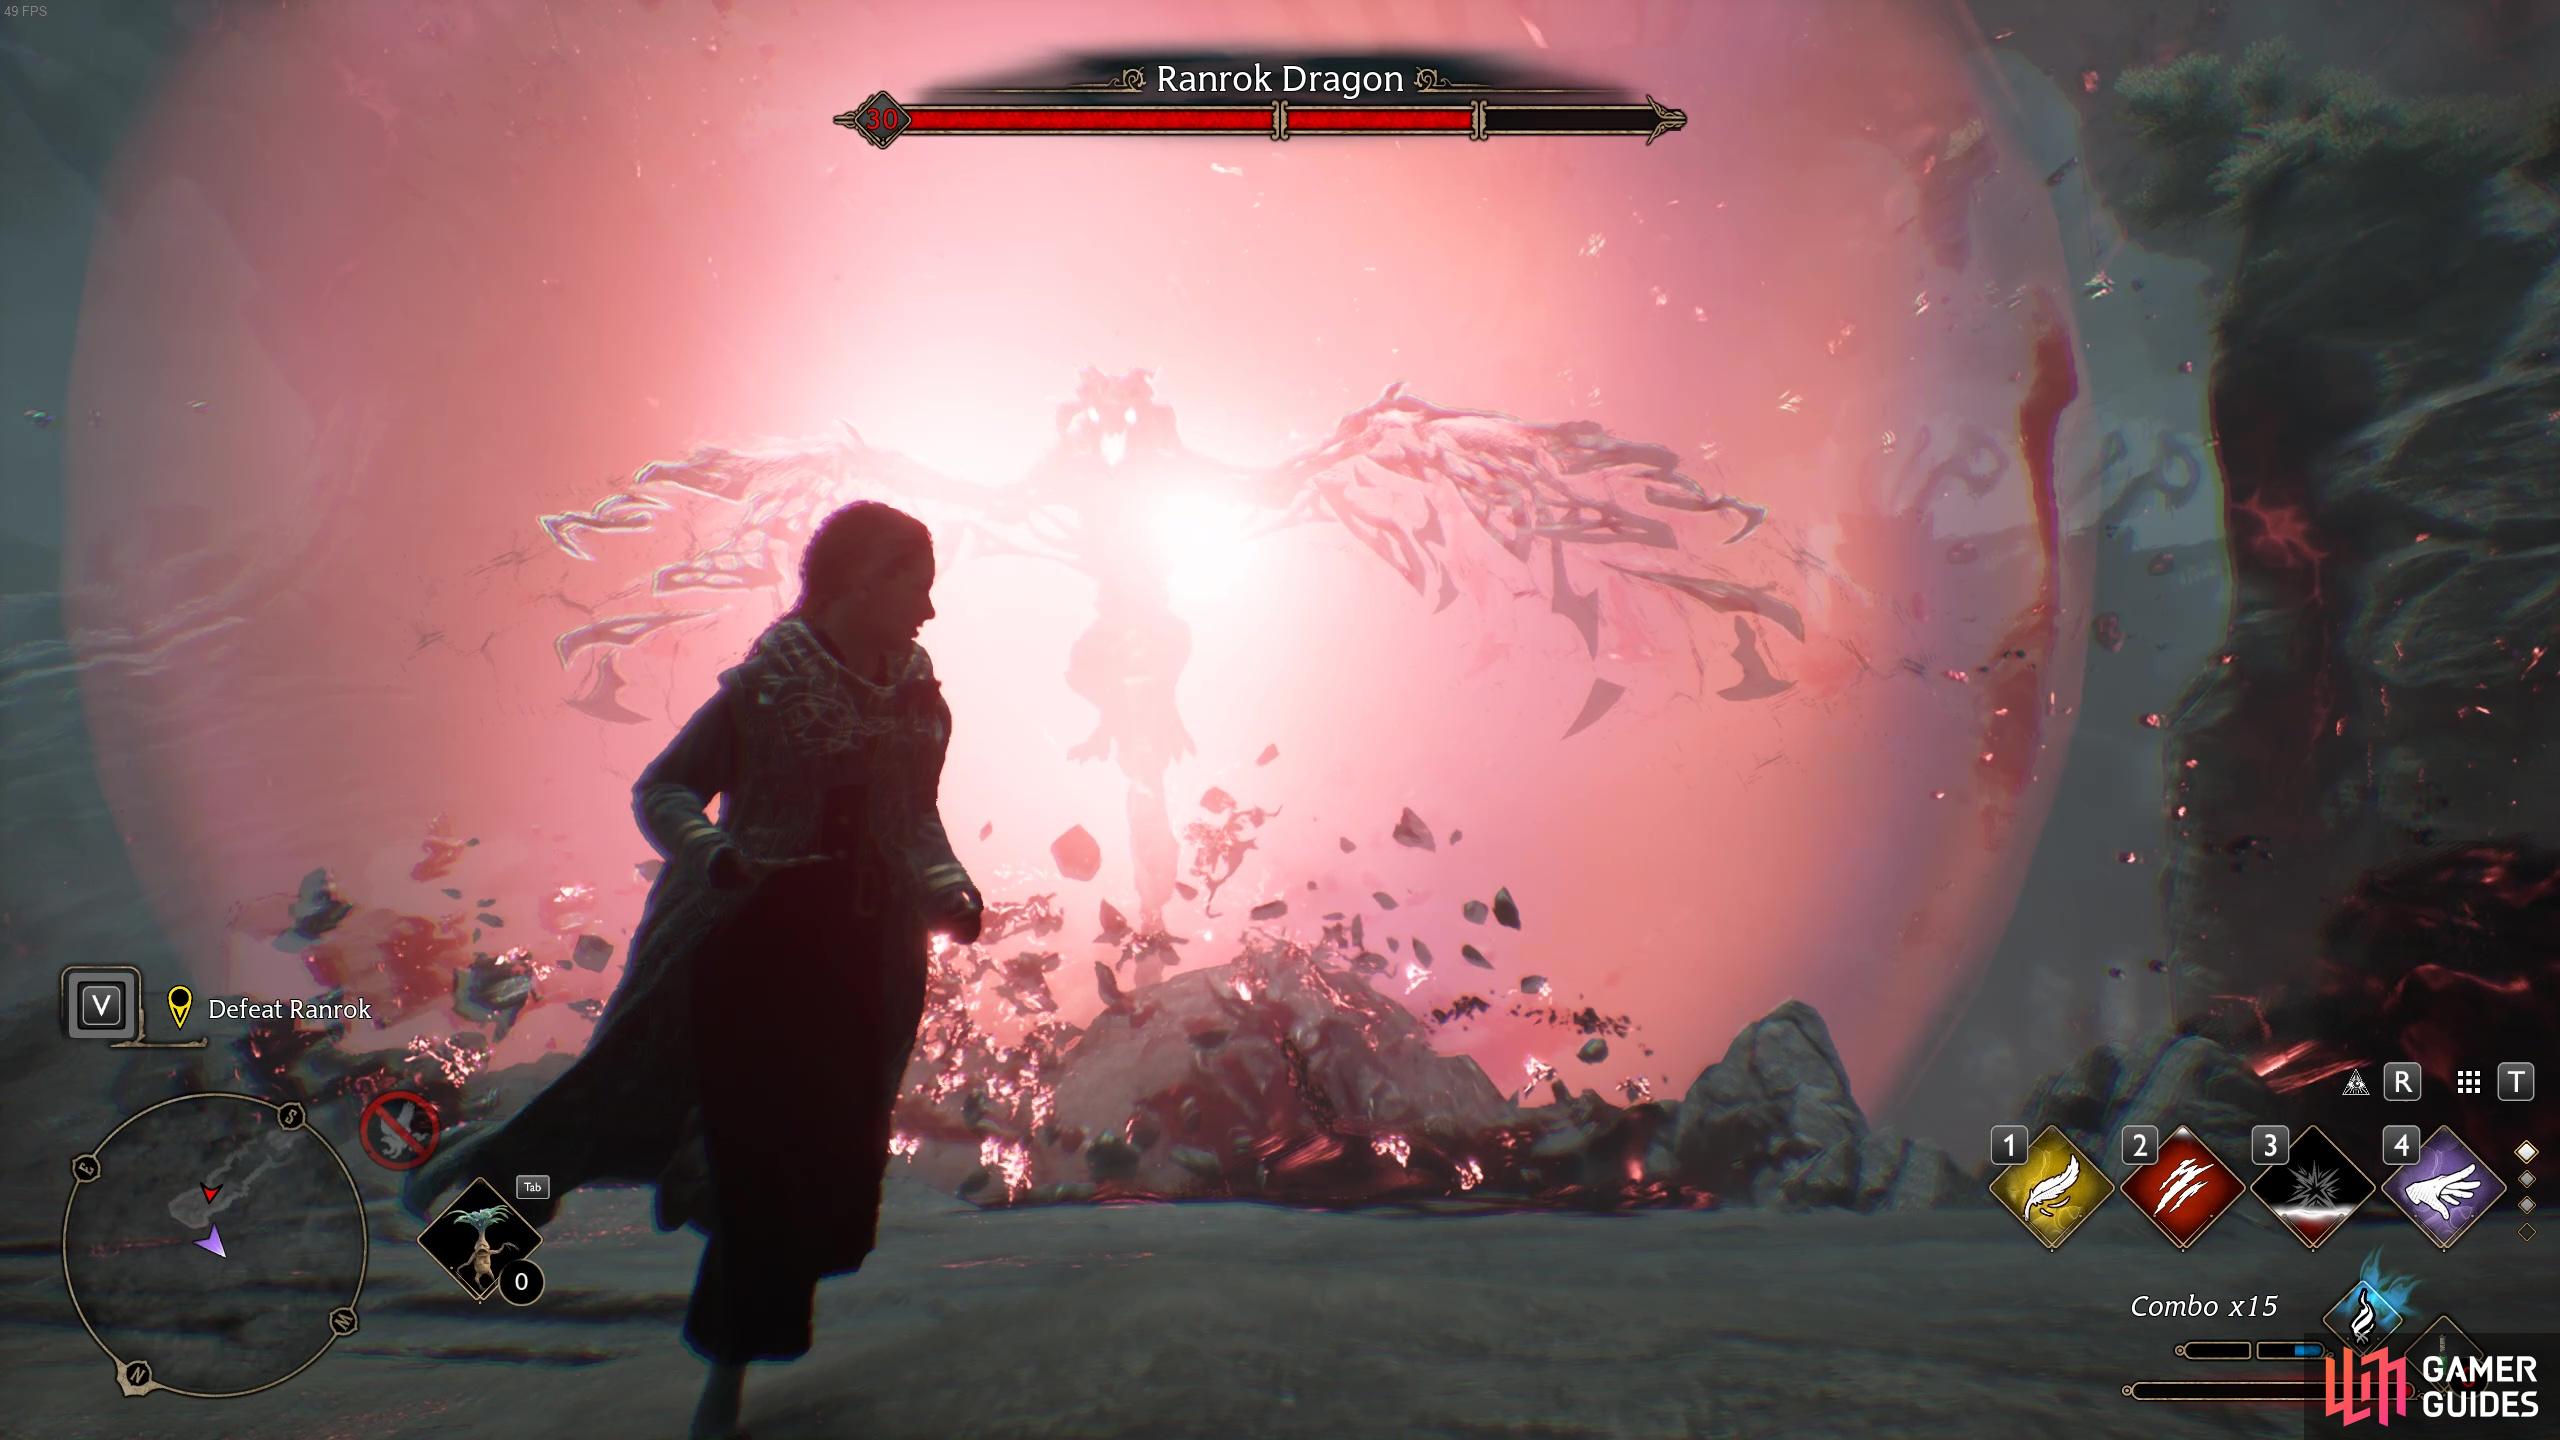
This giant spherical wave attack is pretty brutal if you get caught in it.
Once you’ve got the gist of the extra moves and extra orbs you need to deal with, this fight is pretty much the same as the last. Just keep dodging and getting in those damaging hits wherever possible! Once you’ve whittled down the next portion of his HP bar, you’ll need to jump down into the final boss arena.
Before you jump down though, loot the Wiggenweld Potion found near the golden statue that appears when the path to the area below opens up - you can thank me later!
Ranrok Dragon 3rd Phase
The first thing you’ll need to do in this phase is dispel three orbs - there will be one of each color. Be careful here though as he almost immediately uses the huge spherical wave attack and it might catch you off guard as you try to dispel the orbs.
Now there are three orbs to deal with!
Again, its attacks are the same here and to trigger the next sub-phase, you’ll need to damage Ranrok to about 3/4 of the final bar of health. He’ll keep spawning three orbs every so often and making himself invulnerable until you damage him enough to trigger the next phase.
When you trigger the next sub-phase, you’ll get another handy checkpoint! Ranrok will fly into the center of the arena and several orbs will spawn. There will be two purple orbs, one yellow orb and one red orb to deal with and they’ll despawn and respawn quite quickly so you’ll need to make your way around the arena to reach them, all whilst dodging Ranrok’s classic attacks!
Once you’ve dispelled all four orbs, you’ll now face the final sub-phase of this fight. Unfortunately there’s no checkpoint between this sub-phase and the last so if you die you’ll need to do the big orb puzzle again.
There’s four orbs to dispel this time!
During this phase, you’ll face Ranrok on the ground! He’ll perform all of the same attacks but also introduce some new “ground” moves. This includes charging at you - the hit box on this is really annoying so make sure to dodge well clear of him when he charges - and swiping his wings and tail at you. Both of these new attacks do loads of damage and should be dodged at all costs. The good thing is, he won’t go invulnerable anymore so you can just focus on dealing as much damage as you can and slowly whittling down his damage.
When he charges at you try to get as far away as possible because his close combat attacks are a bit buggy. Plus, your a spell caster so there’s no point being any closer than you need to anyway! He will still occasionally perform the huge spherical attacks so you don’t wanna be caught in those either.
Ensure that you keep distance between you and Ranrok so you don’t have to deal with its annoying swipe attacks.
For extra Ancient Magic charge, you can pick up the sparkly blue Ancient Magic remnants that occasionally drop on the floor. This can be tricky to do when in the middle of fighting a literal dragon so don’t sweat it if you’re struggling to disengage!
Once you’ve whittled down his entire HP, there’s one last set of orbs to dispel. Ranrok will situate himself in the center and one after the other a different colored orb will appear above his head. Dispel all three orbs and the fight will be complete!
You’ve successfully beaten the hardest boss in the game - yay!
After witnessing a brief cutscene (that’s dependent on your answer earlier in the quest), you’ll have successfully finished the main story quest - hurrah!
No Comments