
Thus far, you’ve usually had one substantial main quest at the end of numerous tutorials, assignments and transitory main quests capping off each section of the game. Do your busywork as a student around Hogwarts to learn essential spells (or other useful aspects of wizardry - brewing potions, herbology, flying, etc.), then move onto the next proper dungeon filled with puzzles, enemies and treasure. After completing Percival Rackham’s Trial, however, you’ll immediately be able to tackle another main quest with a proper dungeon. This page will help you solve all the puzzles and guide you to all the treasure in The Helm of Urtkot in Hogwarts Legacy.
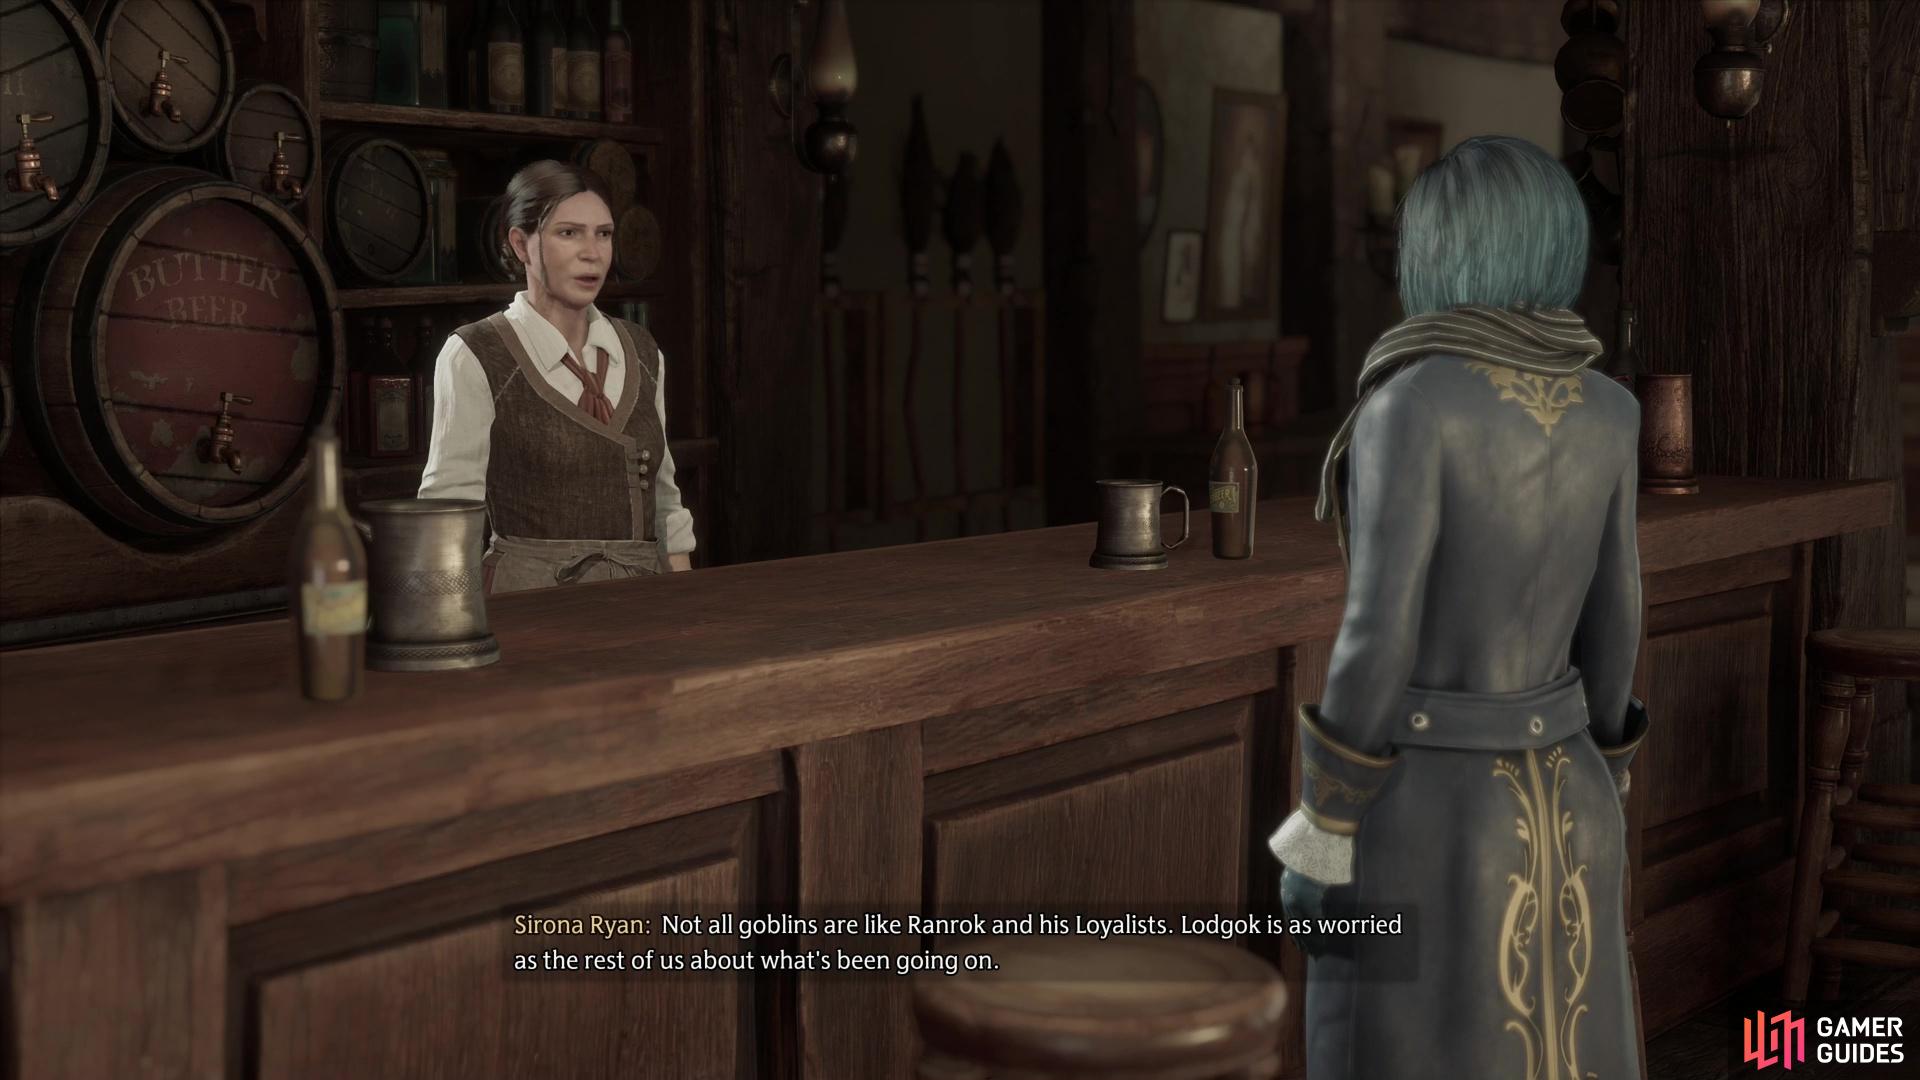
Talk to Sirona in Hogsmeade,

and she’ll refer you to Lodgok, a goblin with a scheme to get info out of Ranrok.
How to Start The Helm of Urtkot in Hogwarts Legacy
This quest will begin immediately after completing Percival Rackham’s Trial. You must have learned the ![]() Depulso spell by completing Professor Sharp’s Assignment 1 before you can begin this quest. To properly start the quest you’ll need to head to
Depulso spell by completing Professor Sharp’s Assignment 1 before you can begin this quest. To properly start the quest you’ll need to head to ![]() The Three Broomsticks in
The Three Broomsticks in ![]() Hogsmeade and talk to Sirona, who will refer you to a goblin named Lodgok, who can be found in Hog’s Head, another establishment in Hogsmeade. Head there, talk to Lodgok, then, after some chatter, accompany him to a witch’s tomb (marked as a “Collector’s Cave” on the map) west of Hogsmeade. The matter of actually retrieving the stolen relic, will, of course, be left up to you alone.
Hogsmeade and talk to Sirona, who will refer you to a goblin named Lodgok, who can be found in Hog’s Head, another establishment in Hogsmeade. Head there, talk to Lodgok, then, after some chatter, accompany him to a witch’s tomb (marked as a “Collector’s Cave” on the map) west of Hogsmeade. The matter of actually retrieving the stolen relic, will, of course, be left up to you alone.
How to Solve the First Lumos Moth Puzzle
Enter the tomb and make sure you have fire spells (![]() Confringo and
Confringo and ![]() Incendio) on one of your spell sets. You’ll also need to make use of
Incendio) on one of your spell sets. You’ll also need to make use of ![]() Accio, Depulso and
Accio, Depulso and ![]() Lumos, so having one spell set prepared for puzzles and another for combat makes good sense.
Lumos, so having one spell set prepared for puzzles and another for combat makes good sense.
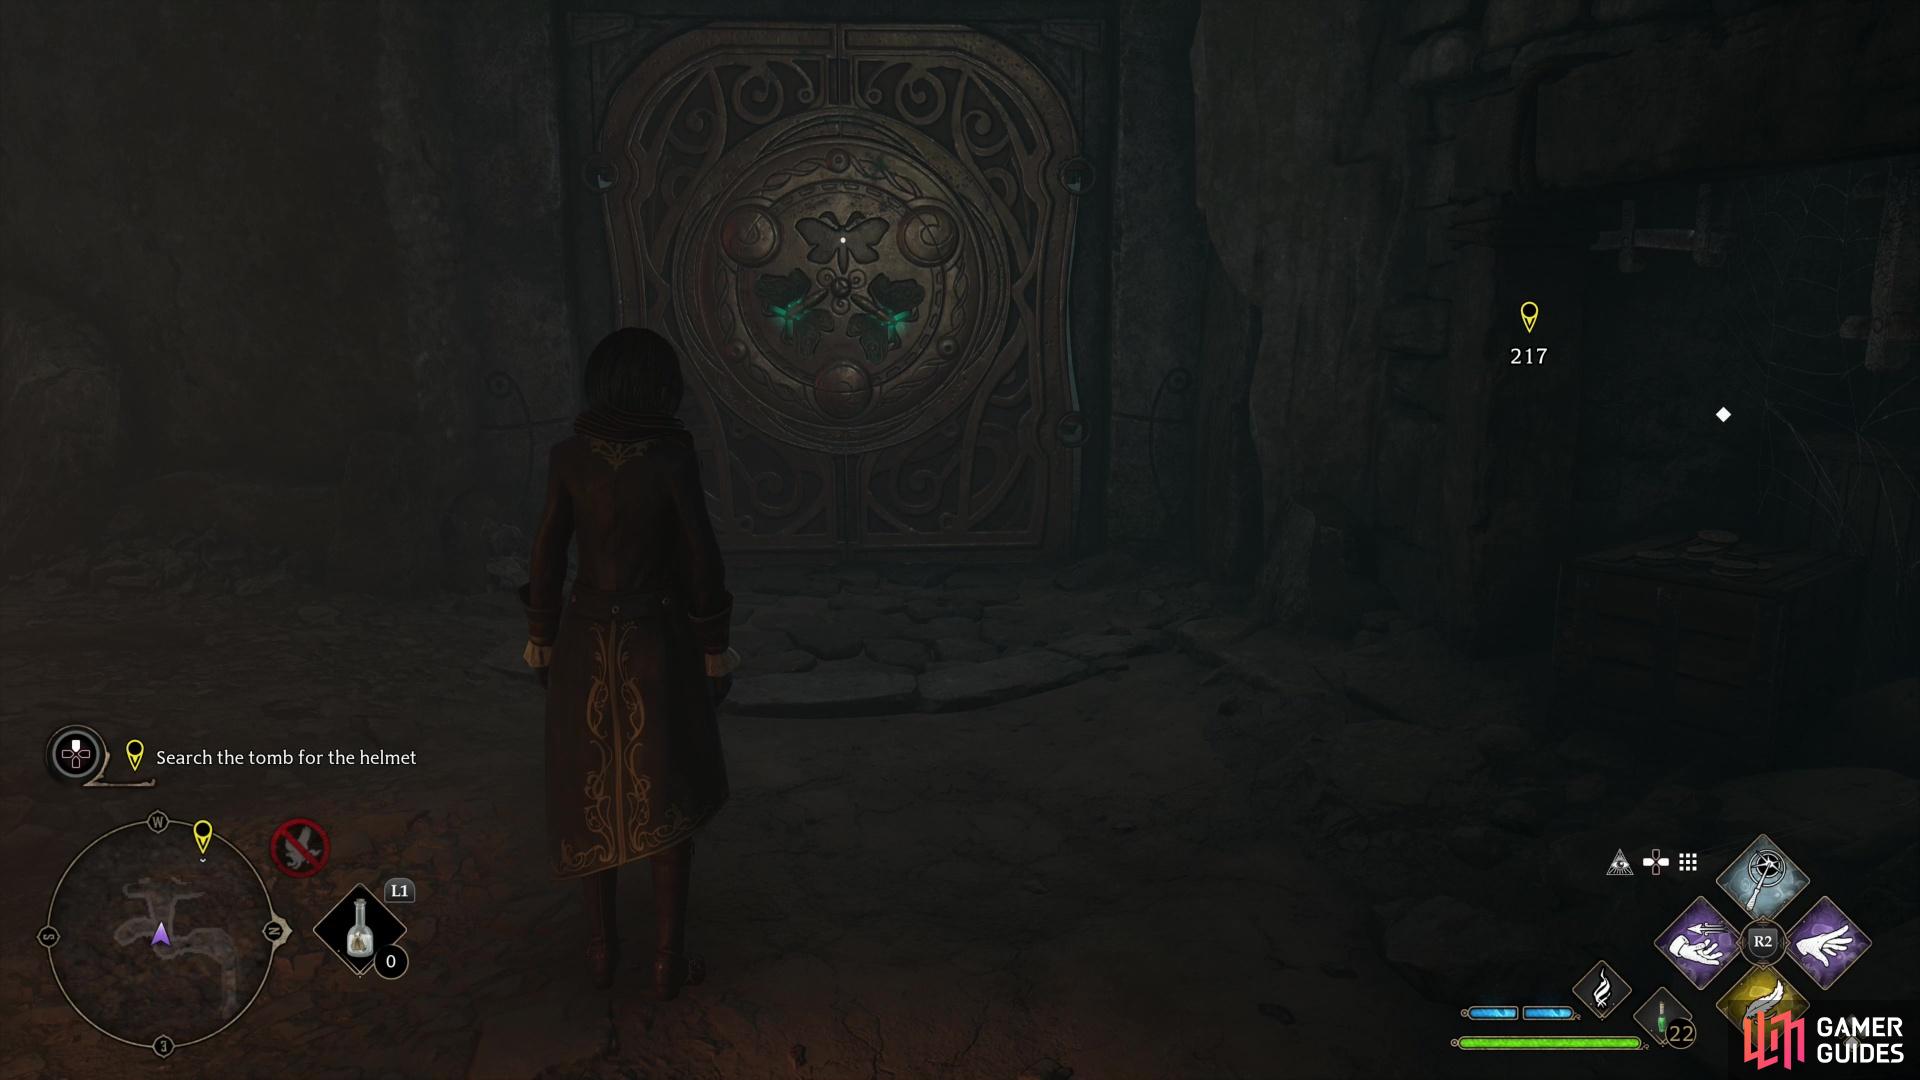
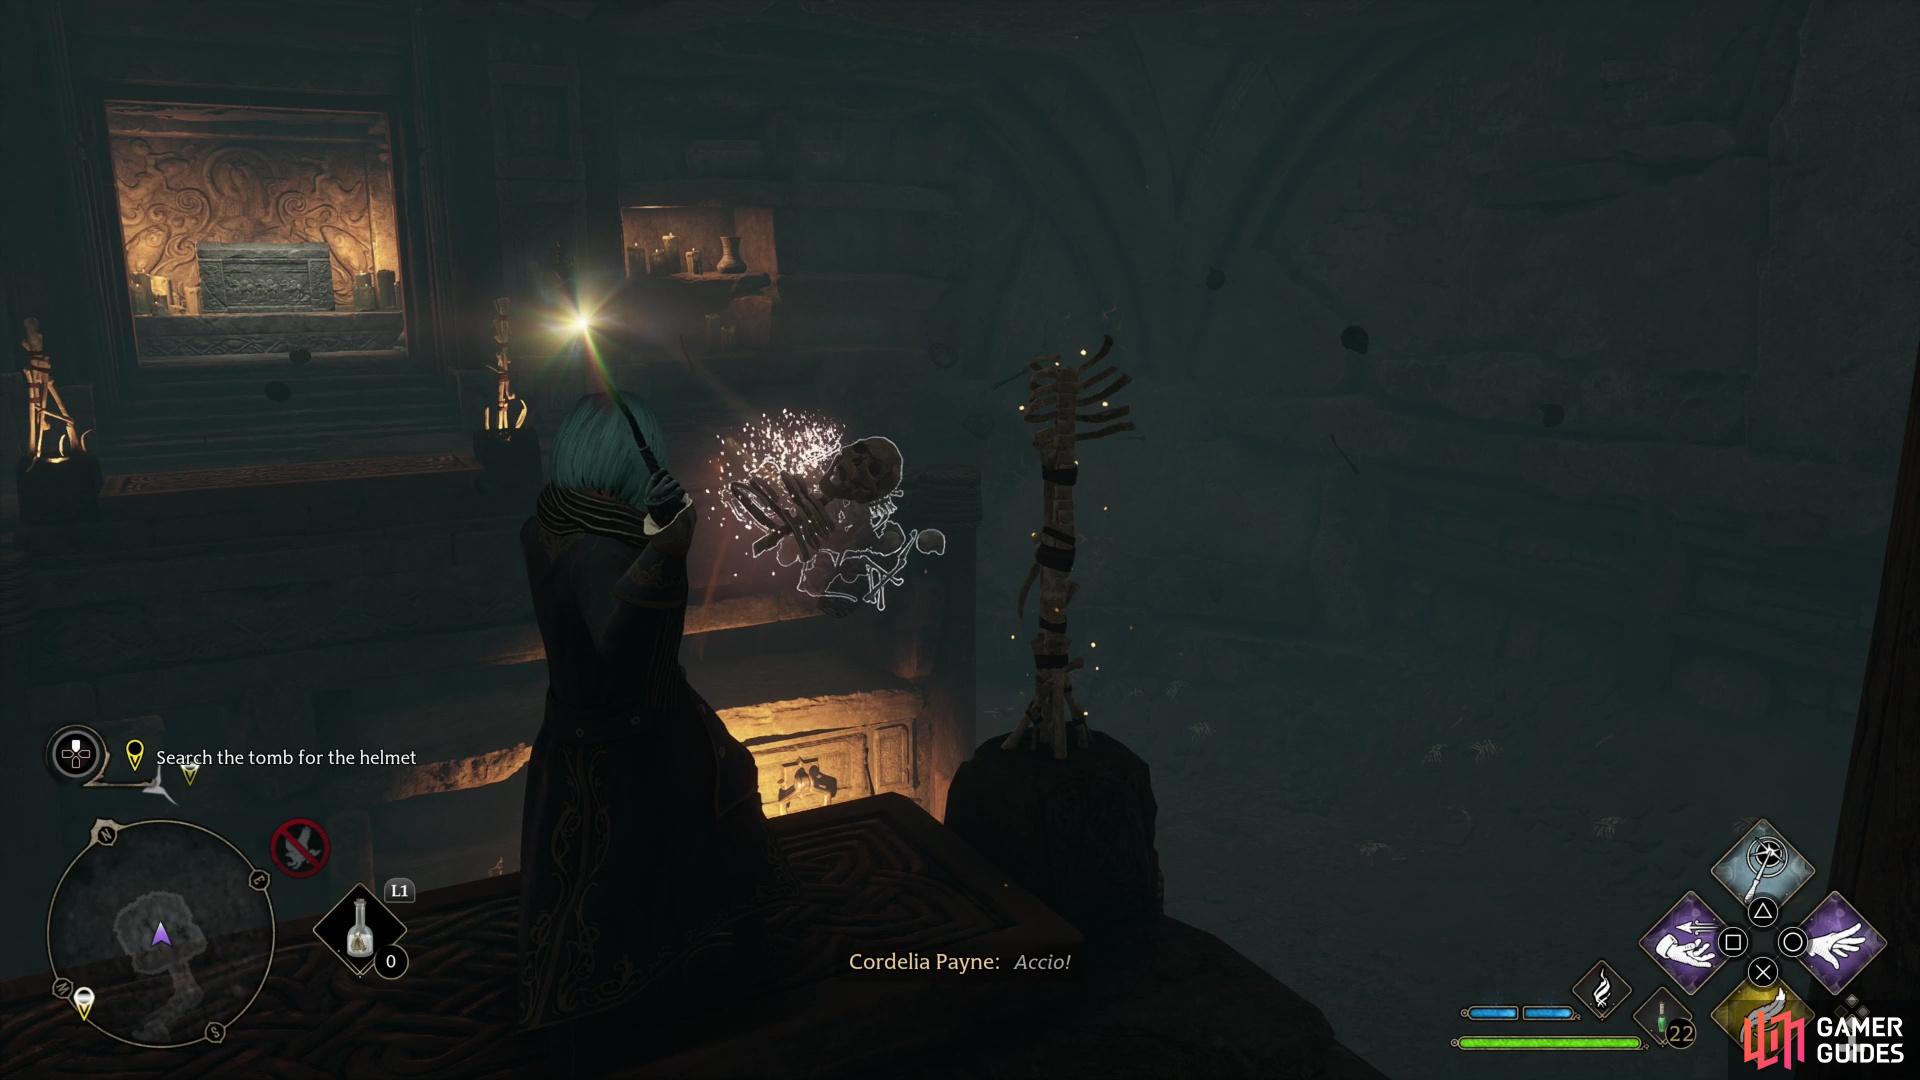
When you’re ready, follow the linear path ahead until you find your way blocked by a moth door. Two moths flutter from within moth-shaped depression on the front of the door, while a third is conspicuously empty. Well, that’s no good. Head down a side passage to the left and you’ll find a moth on an ornate purchase. It’ll flutter around madly if you approach, just in case you weren’t quite aware this is a puzzle element. Cast Lumos to attract the moth to your way, return to the sealed moth-door, then dispel Lumos. Stranded away from its perch without light, the moth will choose the closest haven - the depression on the door. With all three moth depressions filled, the door will open.
Now that the introductory Lumos Moth puzzle has been solved and you know what’s expected of you, you’ll be able to advance deeper into the tomb, where more complicated puzzles await.
How to Solve the Second Lumos Moth Puzzle
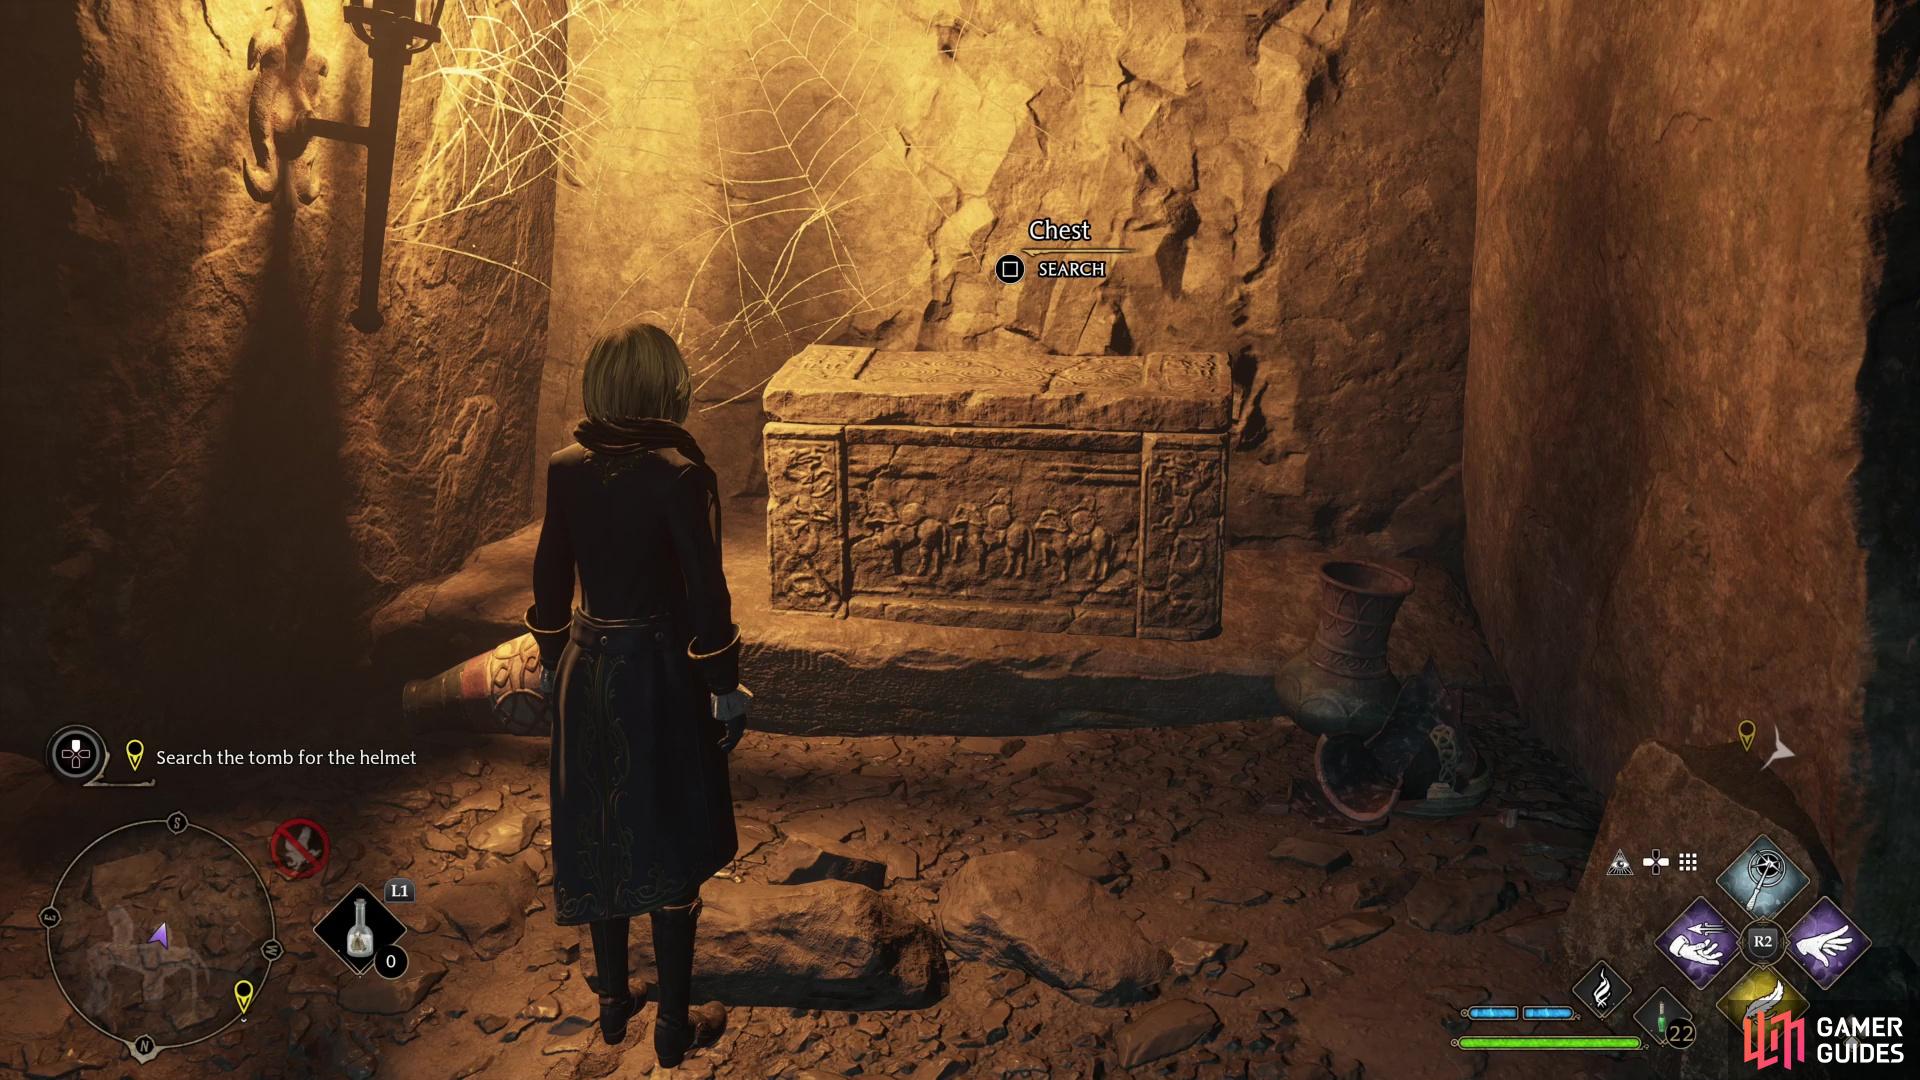
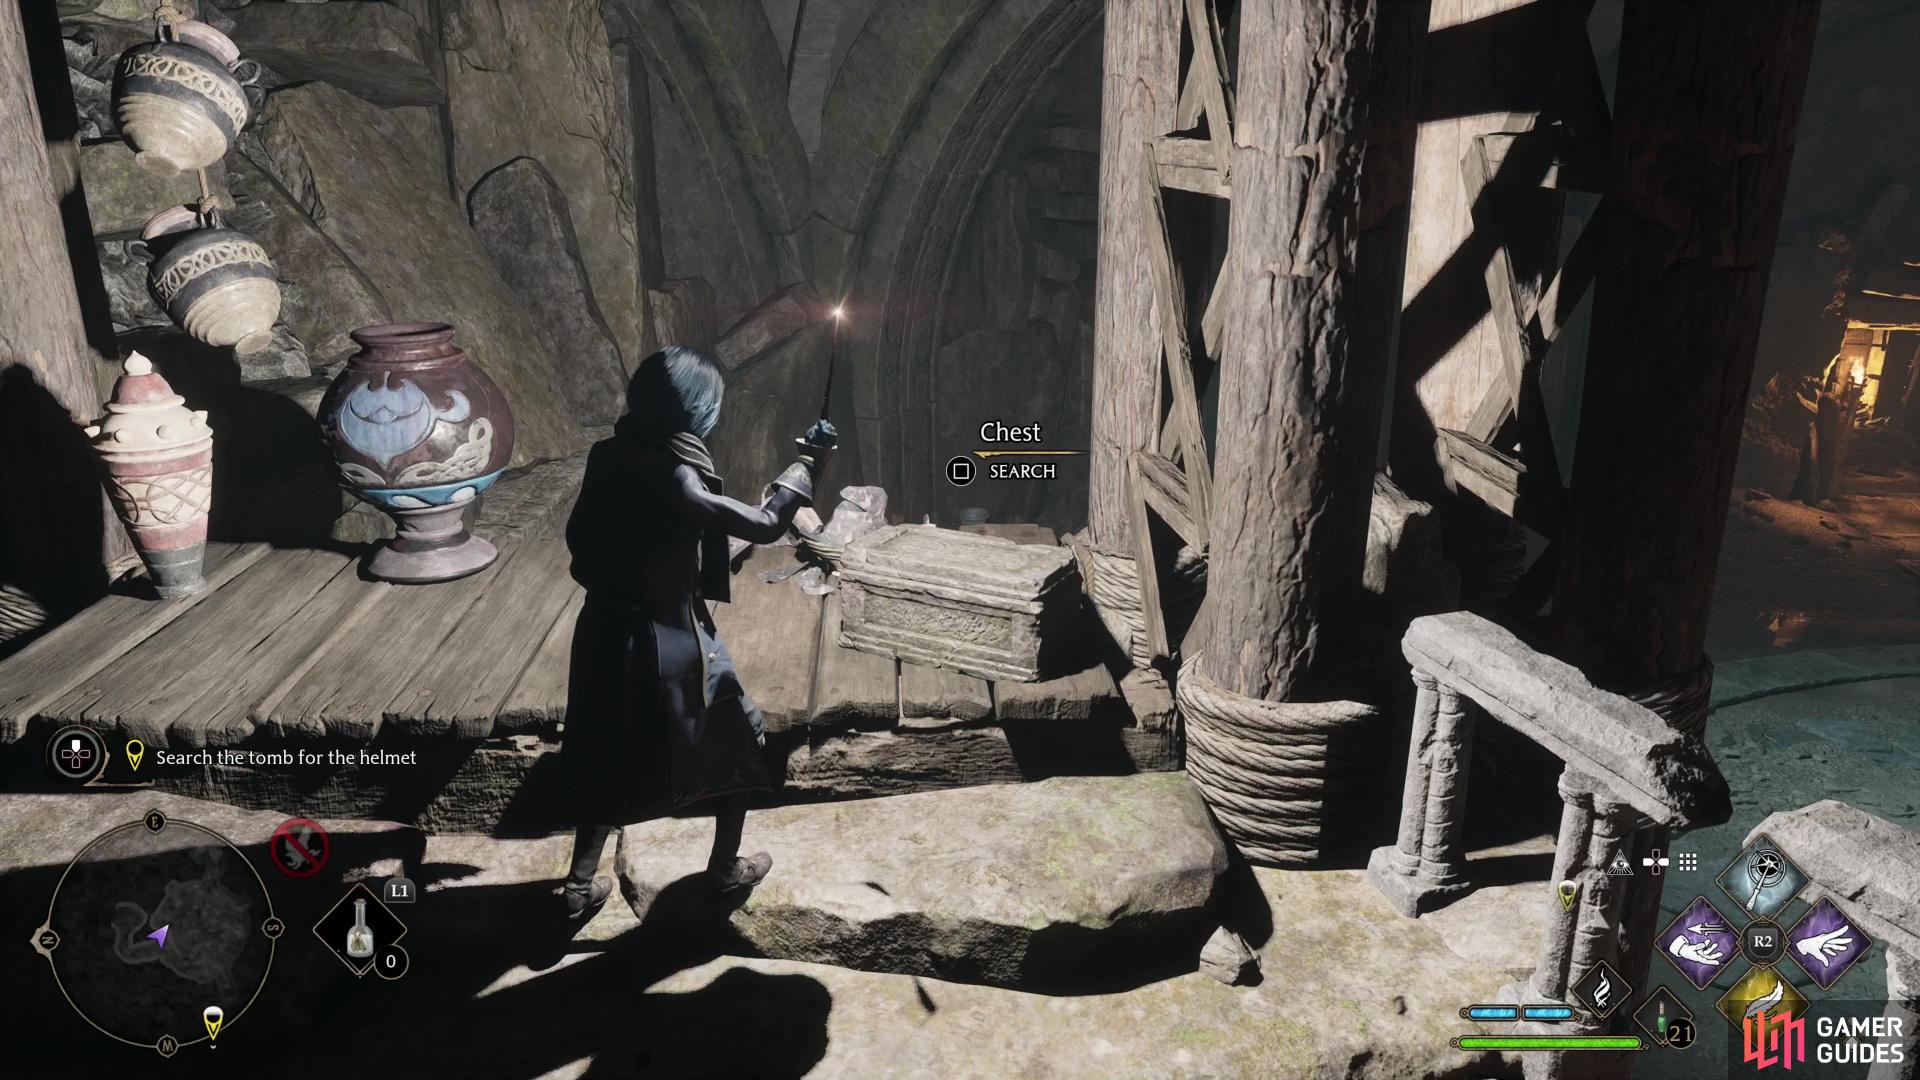
Go through the now-opened Lumos Moth door and explore a side passage to the left to find a stone chest. Loot it, then continue down a tunnel to the west and north until you reach a circular tomb with a sarcophagus in the middle. This isn’t the witch’s tomb you’re looking for, however, and another Lumos Moth door blocks your way to the north, this one with three empty depressions.
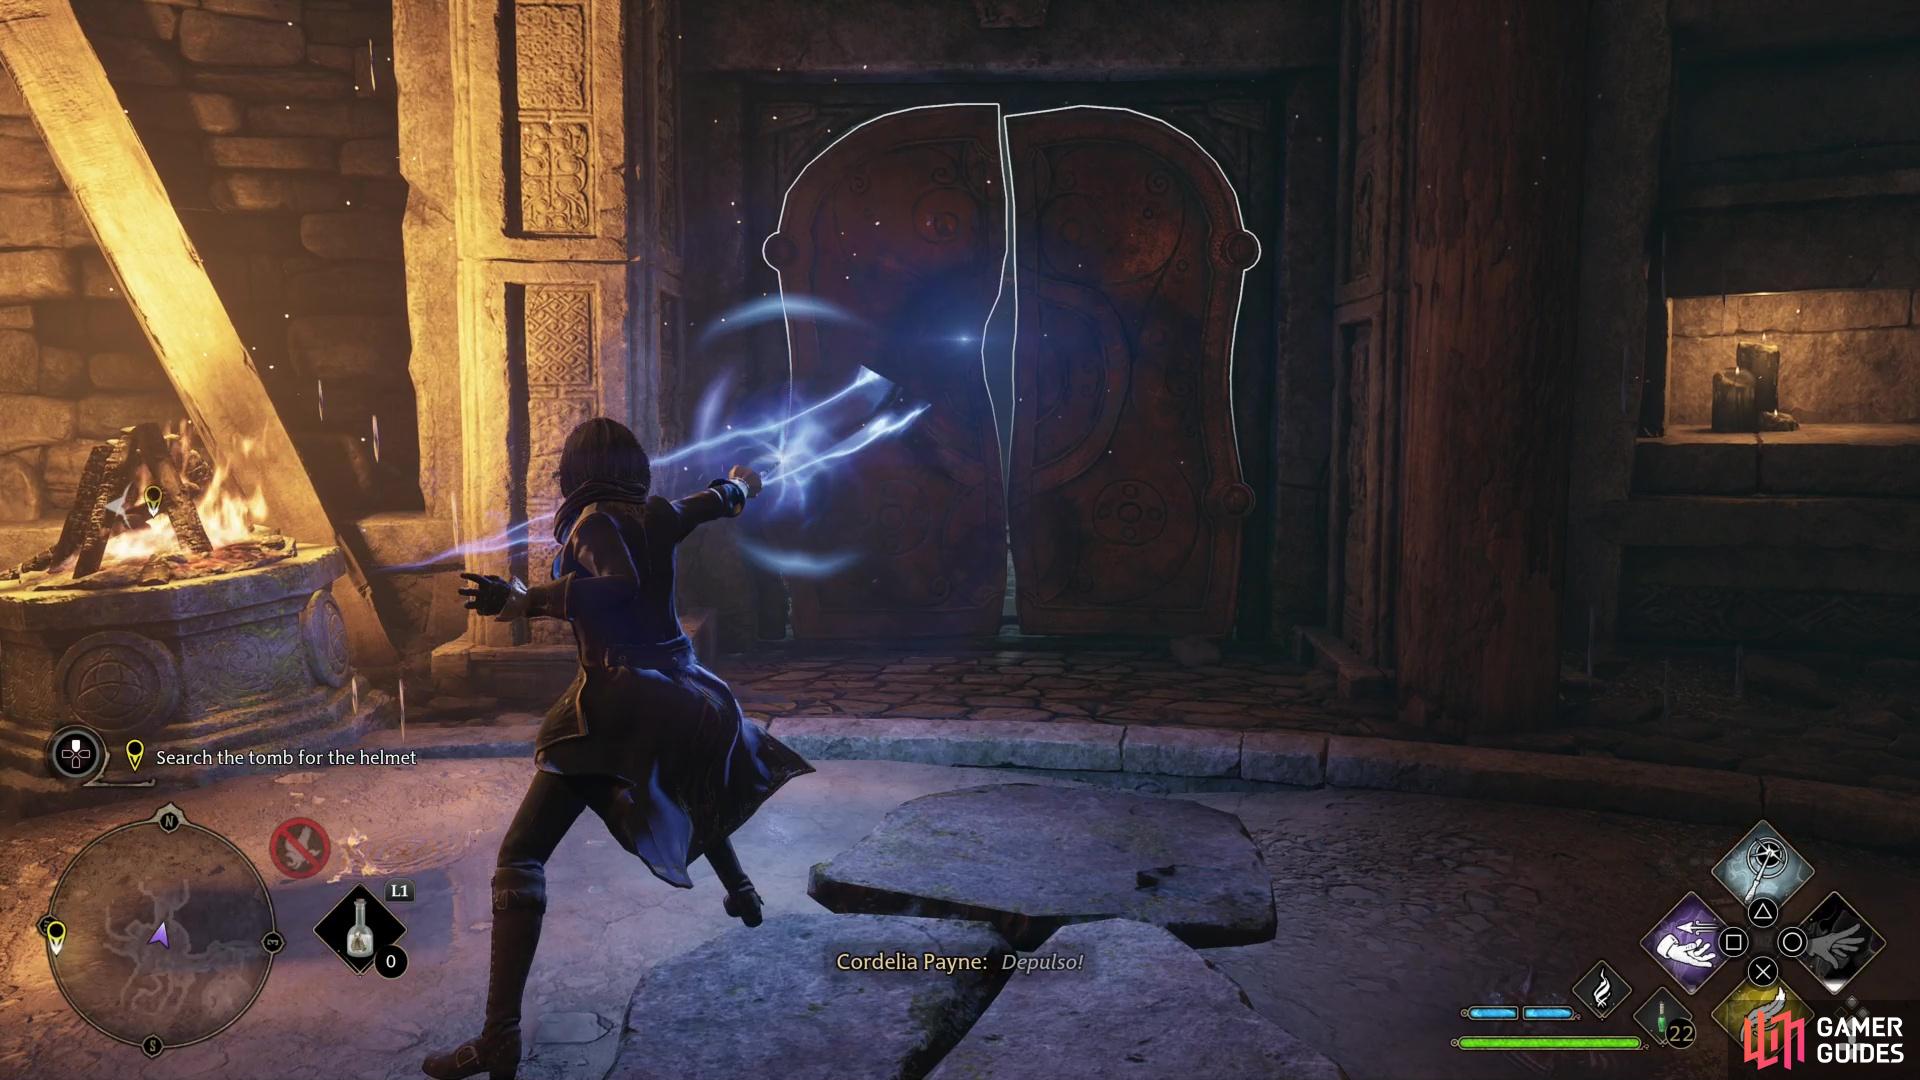
Two Lumos Moths can be found in the circular room you’re in, one to the east, southeast, and another to the west. To find the third, use Depulso on some doors to the east, northeast, beyond which is a third Lumos Moth perch. Use Lumos to lead all the bugs to the Lumos Moth door and when all three depressions are filled the Lumos Moth door will open. You can also find a small chest in the room with the third Lumos Moth.
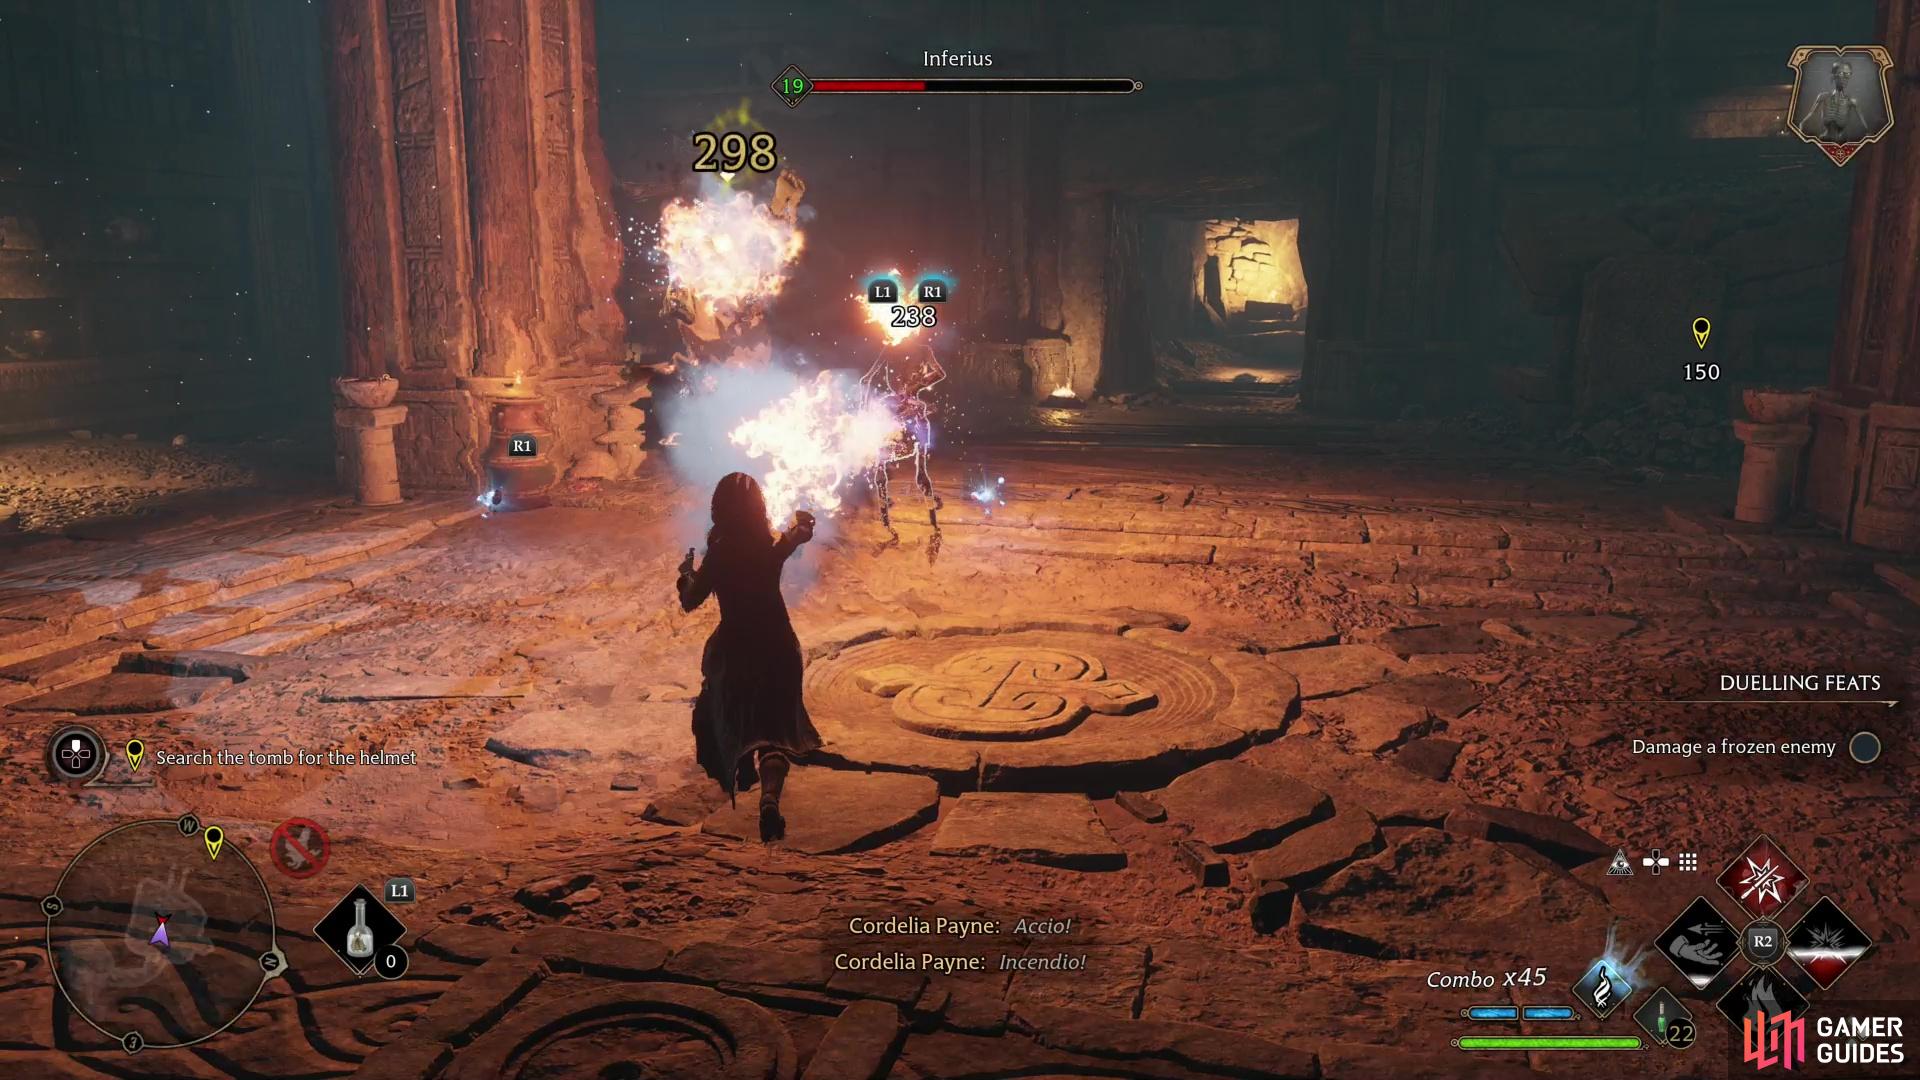
(1 of 4) You’ll have to hit Inferius enemies with fire to make them receptive to other forms of damage.
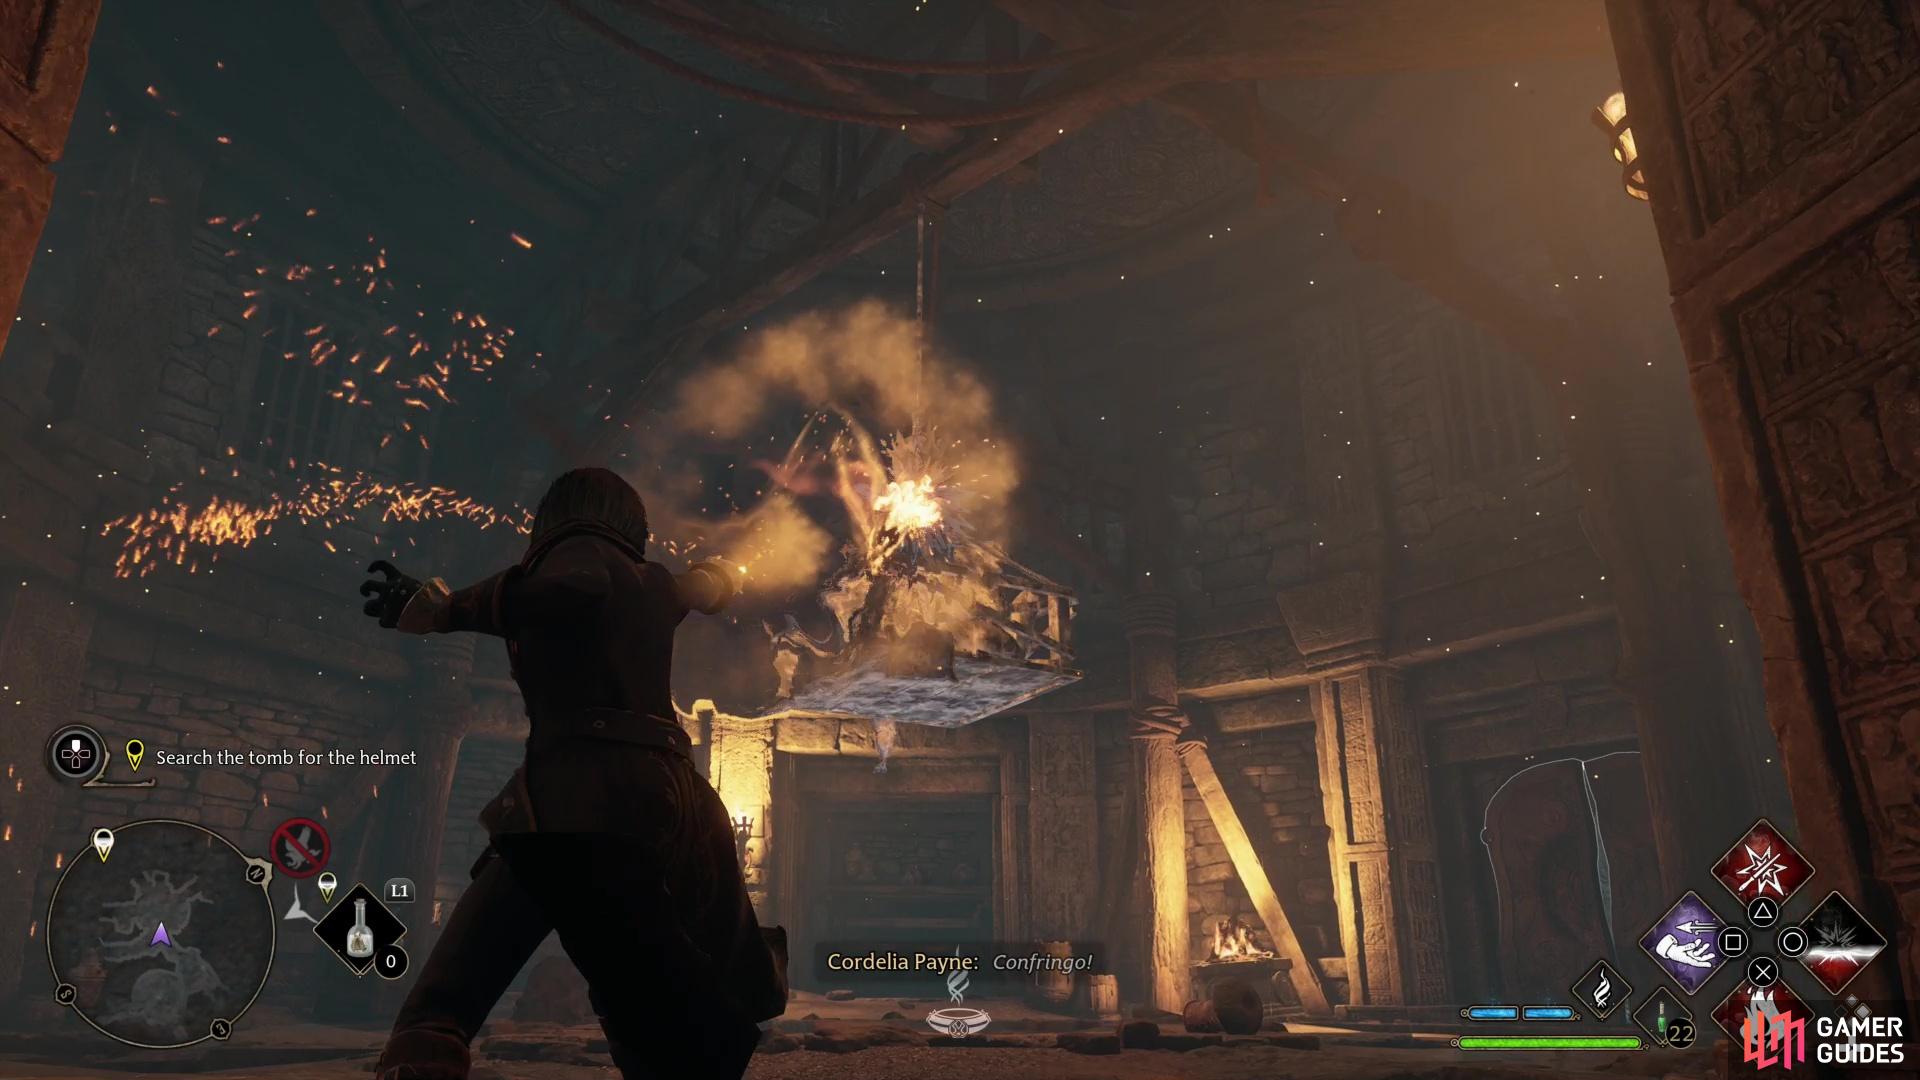
After the second Lumos Moth door is open, head down the passage beyond it until you reach another chamber, which will quickly fill with ![]() Inferius enemies. There are about half a dozen of them, but you’ll likely only face several at a time. You must use fire spells like Confringo or Incendio before they’ll become receptive to damage from other sources, although
Inferius enemies. There are about half a dozen of them, but you’ll likely only face several at a time. You must use fire spells like Confringo or Incendio before they’ll become receptive to damage from other sources, although ![]() Ancient Magic will bypass this immunity. There are also fire pots strewn throughout the chamber, which you can use to deal significant damage and inflict the fire damage you need to make Inferius enemies vulnerable to followup attacks.
Ancient Magic will bypass this immunity. There are also fire pots strewn throughout the chamber, which you can use to deal significant damage and inflict the fire damage you need to make Inferius enemies vulnerable to followup attacks.
Once the Inferius enemies are dead, search the northern wall to find some stacked rocks, which can be toppled with Depulso. Behind it you’ll find an alcove housing a bag you can loot and a purse of money. In the main chamber, climb onto a ledge to the southwest to find a large chest
How to Solve the Third Lumos Moth Puzzle
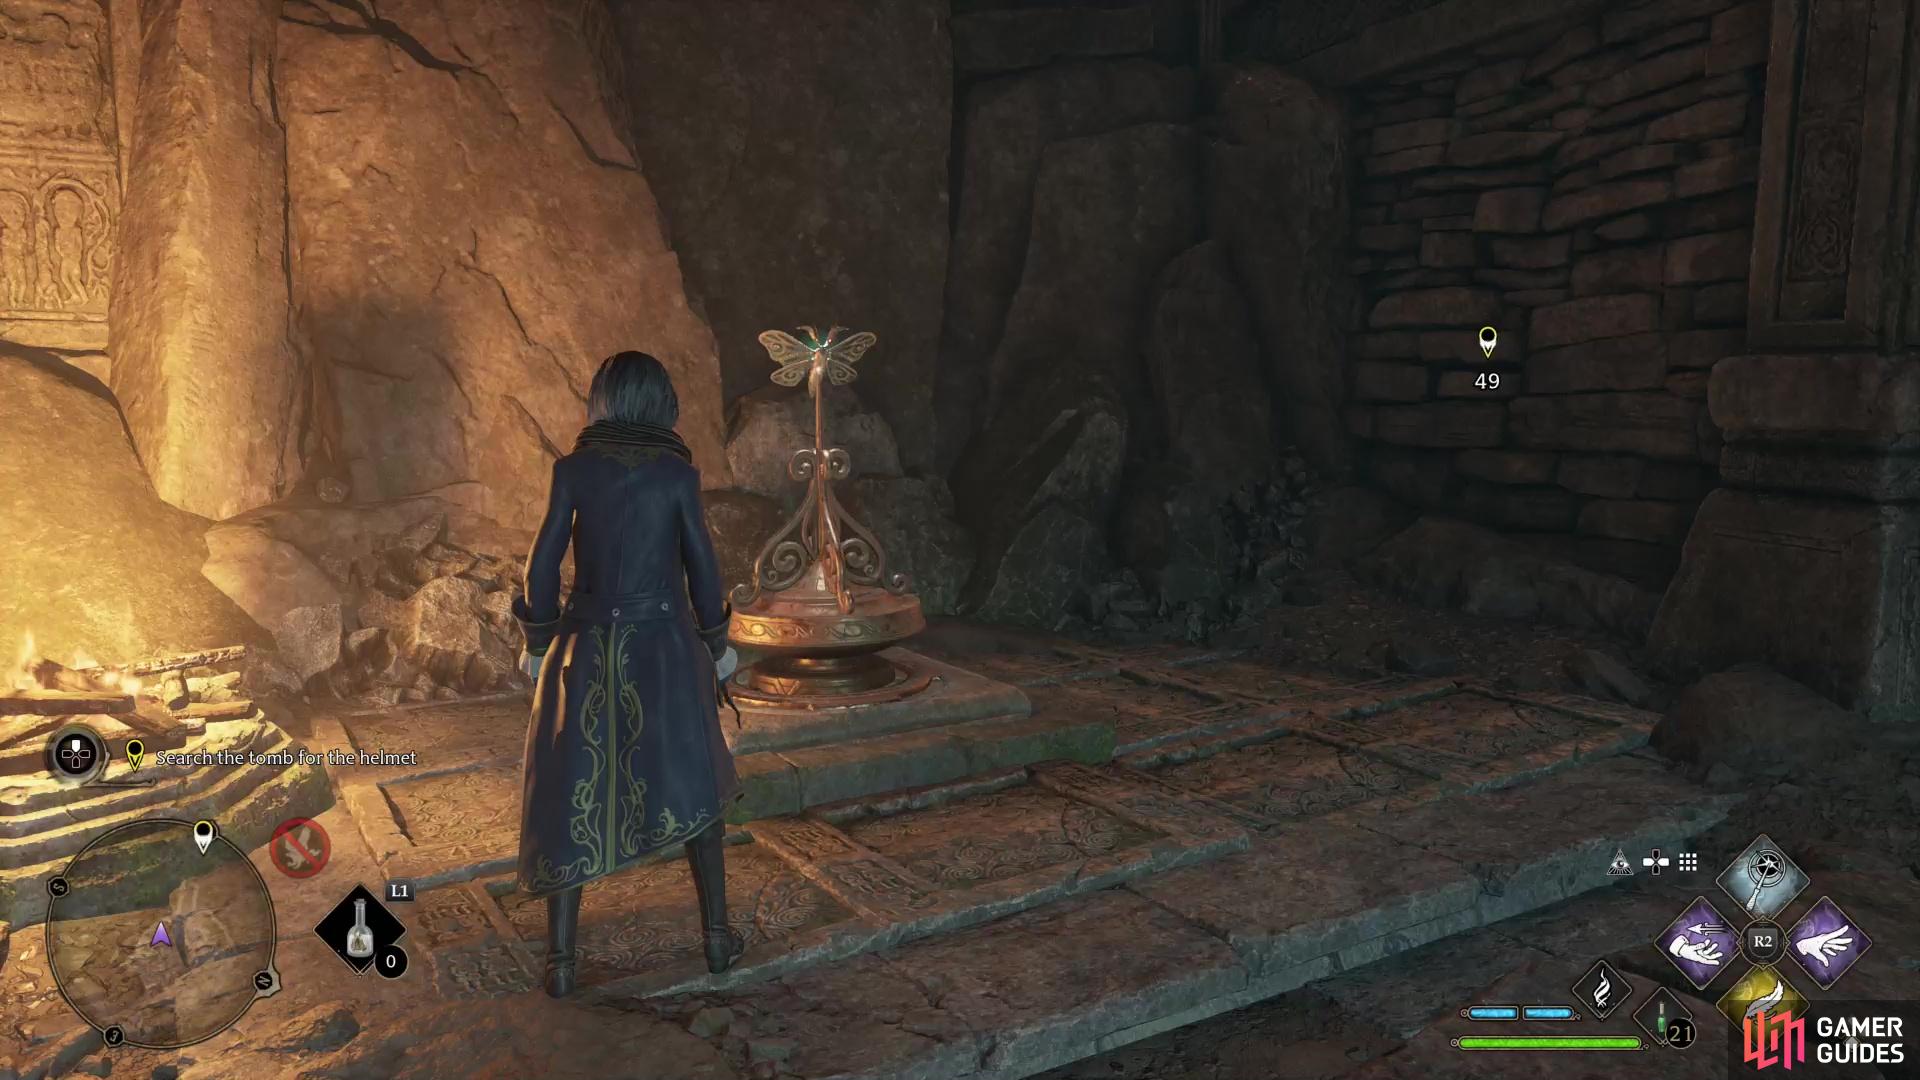
Defeat the Inferius enemies and loot the room they guarded, then head down a passage to the west, then north, vaulting over an obstruction to reach the third Lumos Moth door. This puzzle introduces a new feature - the Lumos Moth wheel, which dominates the center of this chamber. When a Lumos Moth is housed in a depression on the wheel, you’ll be able to spin it with Depulso, which will activate some feature or another - in this case, it’ll elevate a platform to the east.
Two Lumos Moth perches can be found in this chamber, and a third is up a ledge to the east. Install one Lumos Moth (by luring it with Lumos) in the Lumos Moth wheel and hit it with Depulso several time to spin it and raise a platform to the east. When the platform is raised, quickly climb atop it, then climb onto a higher ledge to the east, where another Lumos Moth perch awaits. Use Lumos to grab this moth, drop back down into the main chamber, and put the Lumos Moth in the Lumos Moth door. Now all you have to do is lure the Lumos Moths in the main chamber (one on its original perch, one on the Lumos Moth wheel) to the door and you’ll be able to advance.
Go through the third Lumos Moth door and the path will split. Turn right (west) and climb a ledge, then turn around a corner to the north to find a chamber where a large chest sits tantalizingly out of reach. To reach this chest you’ll need to stand on a landing and use Accio on some piles of bones strewn throughout the room. One such bone pile can be found across the gap to the northeast, another pile of bones can be found in a coffer to the west, and a third is in a coffer below you to the northeast (use Accio to pull the coffer open and reveal the bones). If you use Accio on these bone piles, they should float up and form a macabre bone bridge, but they’re awfully fussy and you may have trouble getting both sections of the bridge to “stick”. Fortunately you only need one section of bone bridge, after which you can perform a running jump to the chest platform to the north.
Once the large chest is looted, backtrack to the fork and continue down the previously neglected western route, which will shortly lead to a chamber where you’ll find a rickety floor grate with a pulley hanging over it. Before bothering with that, however, there’s some more treasure you can nab. Depulso a door to the north, then climb onto a box near a ledge and use the height provided by the box to reach the higher ledge, on top of which is another large chest. Once done, drop back down, Accio the box to the east, then climb atop the box and use it to reach another ledge, where a small chest resides.
Use a spell to destroy the pulley,
then after diving into the pit, find a handle you can pull with !Accio to create a shortcut.
How to Solve the Bone Bridge Puzzles and Destroy the Pulley
Return to the room with the pulley and you should notice you can target the device. Any spell capable of generating sufficient force should be capable of destroying the pulley, causing it to drop its payload and smash the grate below. You can use ![]() Diffindo, Confringo, or, oddly enough, Accio to achieve this. Once done, jump into the hole and you’ll find your fall broken by some water. A levitation spell would be… just lovely.
Diffindo, Confringo, or, oddly enough, Accio to achieve this. Once done, jump into the hole and you’ll find your fall broken by some water. A levitation spell would be… just lovely.
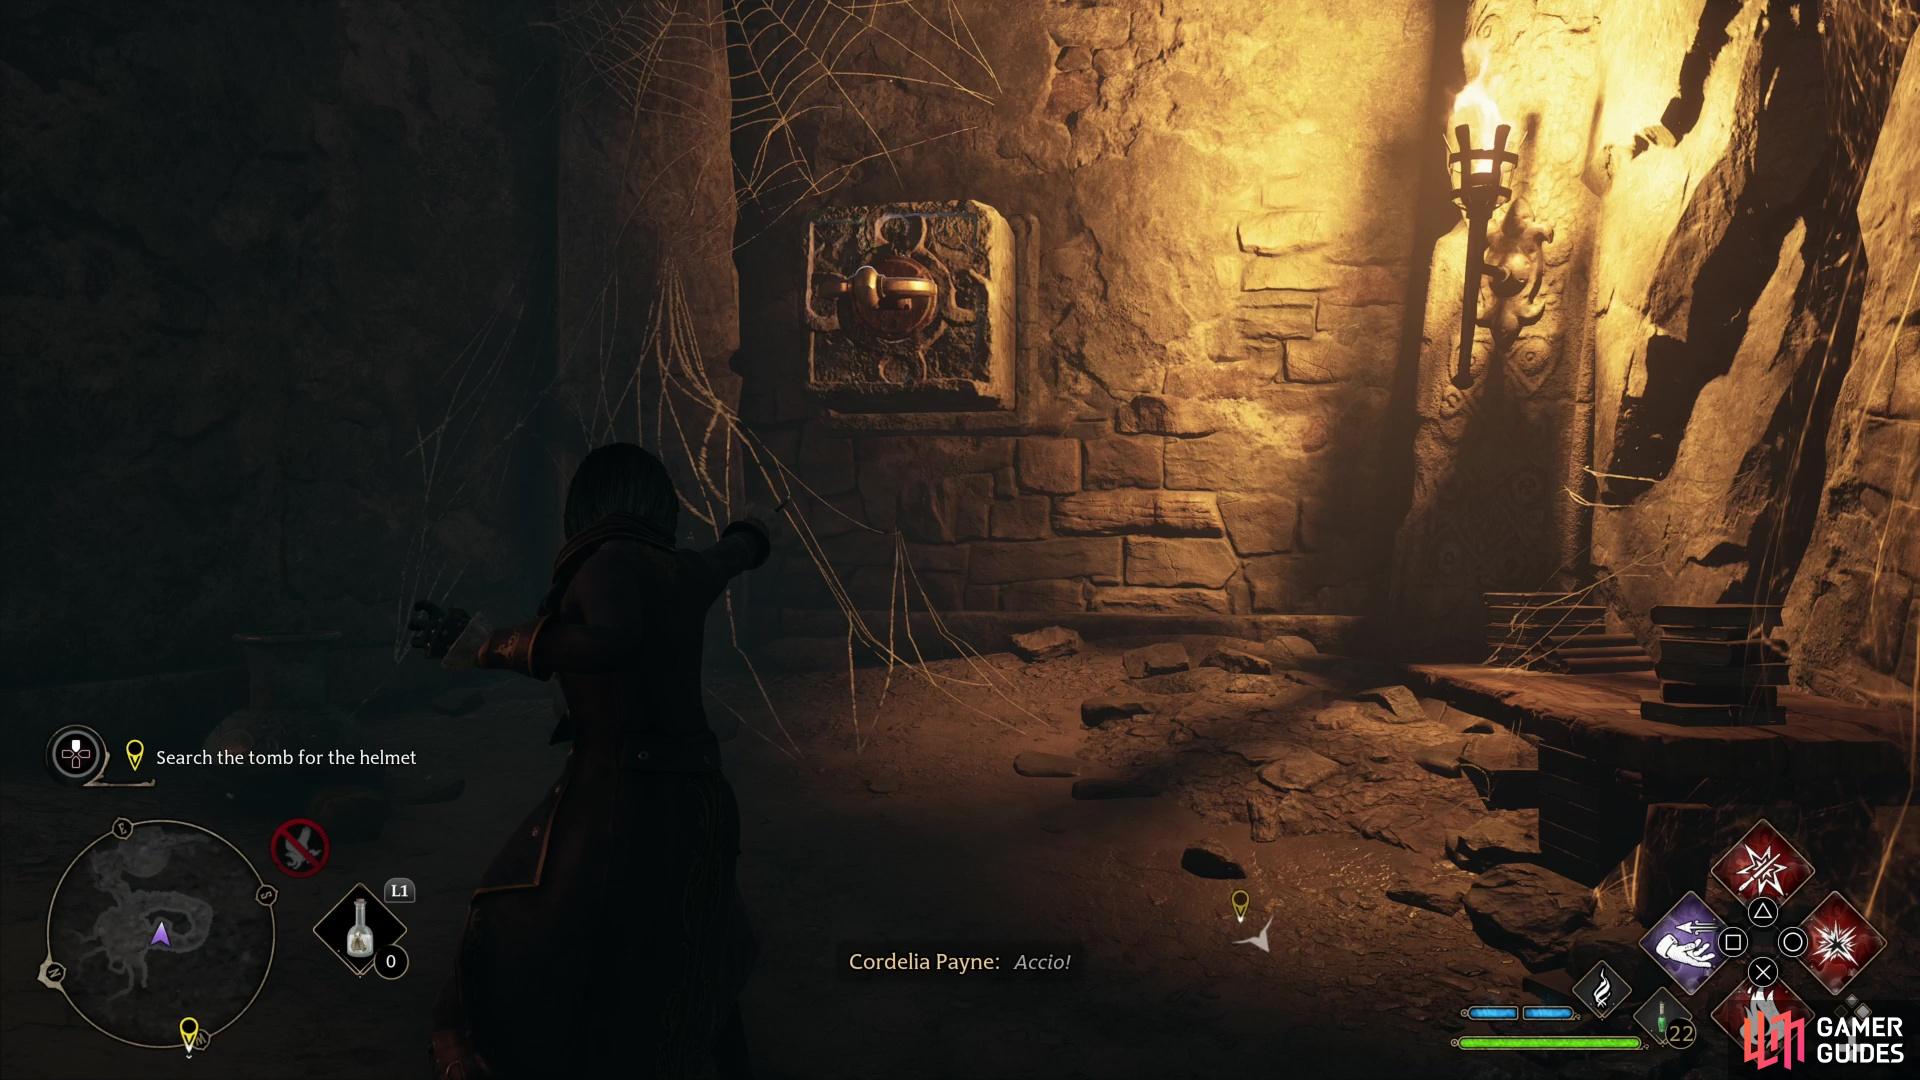
There are two paths you can take from here - southeast, and west. West leads to the fourth and final puzzle, while going southeast will allow you to open up a shortcut. Go southeast first and when you reach dry land follow the linear passage until you reach a sealed door looking into the pulley room. Turn right and use Accio on a handle in the wall to pull out a slab of stone, which opens the nearby door. Simple. Now that the way back is clear, return to the water and swim over to the western shore.
How to Solve the Fourth Lumos Moth Puzzle
The chamber west of the pit is full of Inferius enemies - around a dozen of them. They don’t all spawn at once, but you’ll likely be fighting half a dozen of them at once, which can make this a pretty hectic fight. If you deal fire damage to them, they’ll become receptive to damage from other attacks, but they’ll also start performing unblockable attacks. That being the case, resorting to dodging instead of relying on ![]() Protego may be easier this time around. You’ve got a few firepots you can use to speed things up, but there’s not enough to account for all the Inferius enemies. Survive the onslaught, after which you can get around to the important business of solving the fourth and final puzzle in this dungeon.
Protego may be easier this time around. You’ve got a few firepots you can use to speed things up, but there’s not enough to account for all the Inferius enemies. Survive the onslaught, after which you can get around to the important business of solving the fourth and final puzzle in this dungeon.
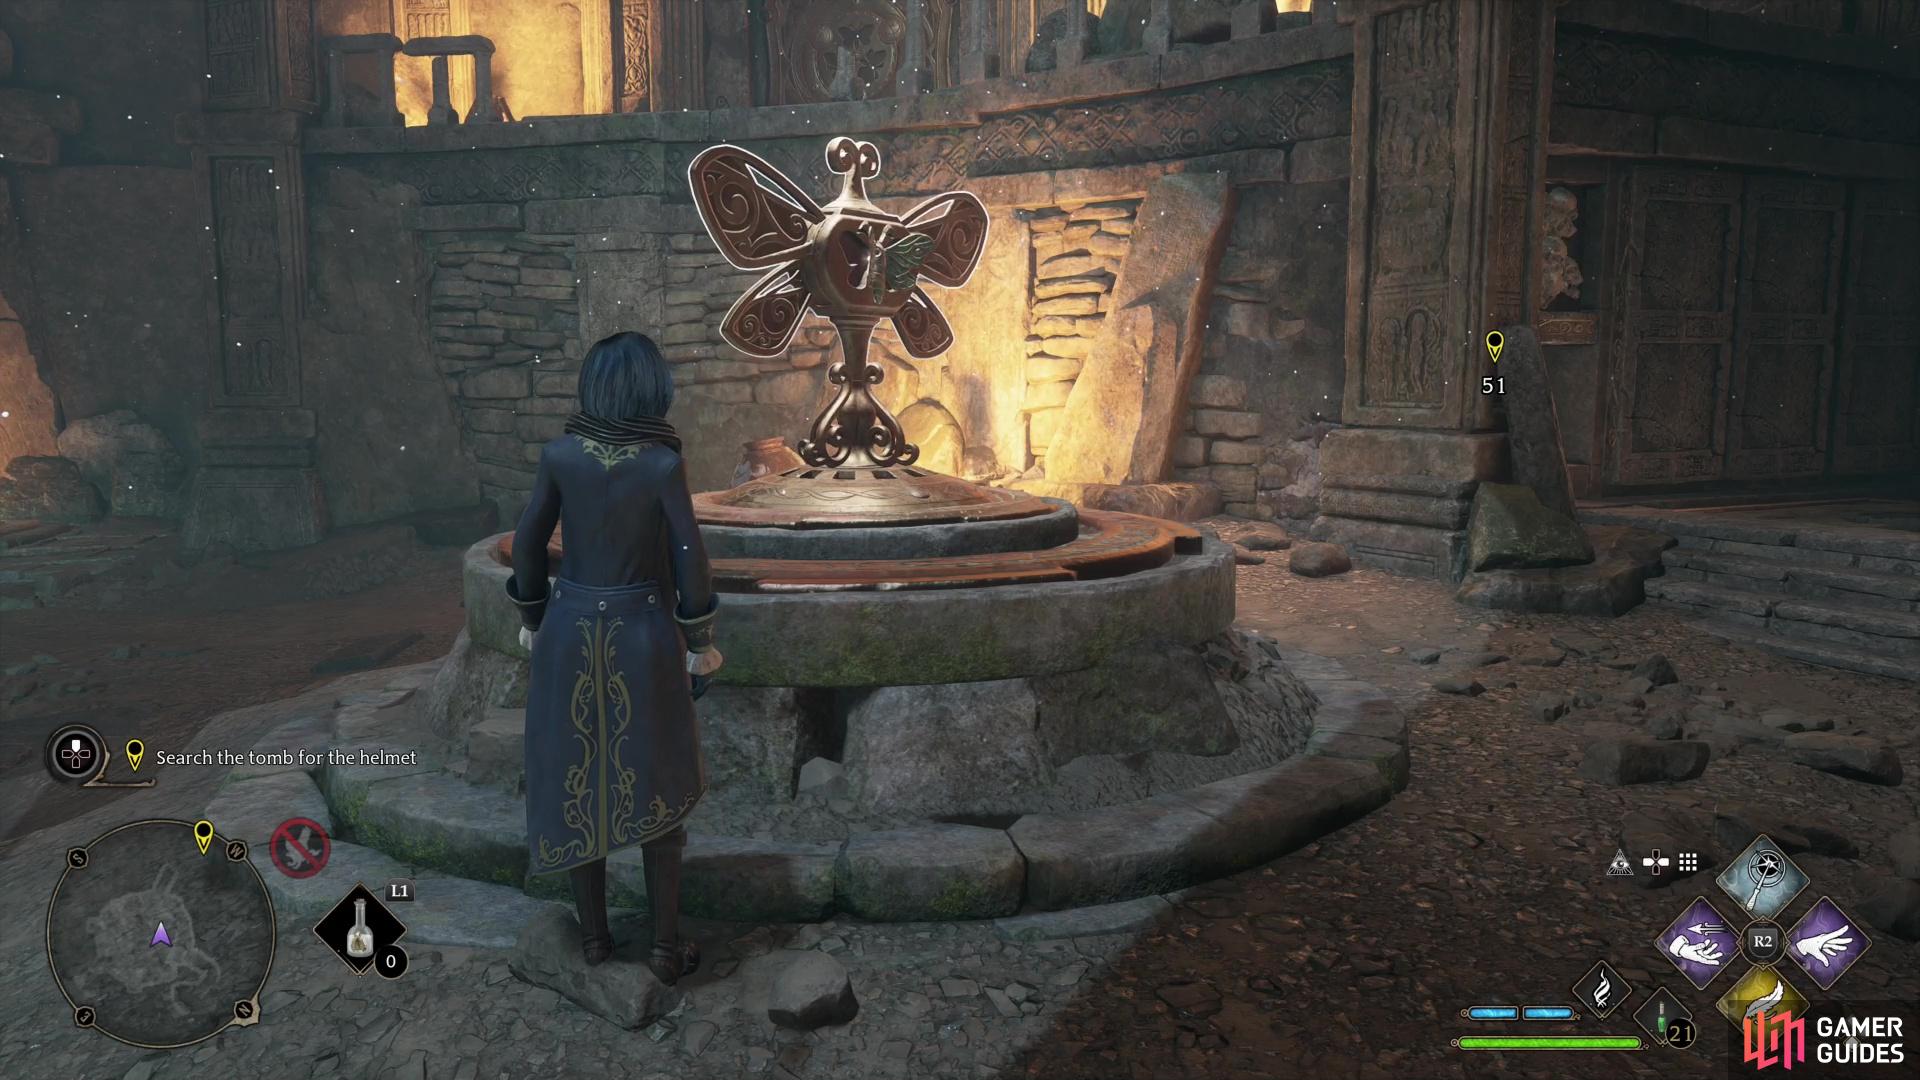
This puzzle puts together everything you’ve learned in the last few puzzles, and adds a bit extra, just in case. The Lumos Moth door is up on a ledge to the west, but to reach that ledge you’ll need to spin a Lumos Moth wheel and raise a platform. Using Depulso will cancel any Lumos spells you have in effect, causing any lured Lumos Moths to fly back to their perch. Fortunately if you hit the Lumos Moth wheel with Depulso several times in succession, it’ll fully raise and stay in place for a moment, giving you enough time to cross from ledges on either side of the platform.
Take a !Lumos Moth and place it on a vacant perch,
then place a second !Lumos Moth on a moth wheel.
With that established, note a Lumos Moth perch to the west, southwest, which currently doesn’t house a Lumos Moth. Two occupied Lumos Moth perches can be found to the south and east, while a third is in an alcove just to the right of the Lumos Moth door (can be hard to see from the ground) and a fourth is on the ledge opposite the Lumos Moth door. Here’s how to solve this puzzle:
-
Lure the Lumos Moth in the southern alcove with Lumos and place it on the vacant Lumos Moth perch to the west, southwest.
-
Lure the Lumos Moth in the eastern alcove and place it on the Lumos Moth wheel.
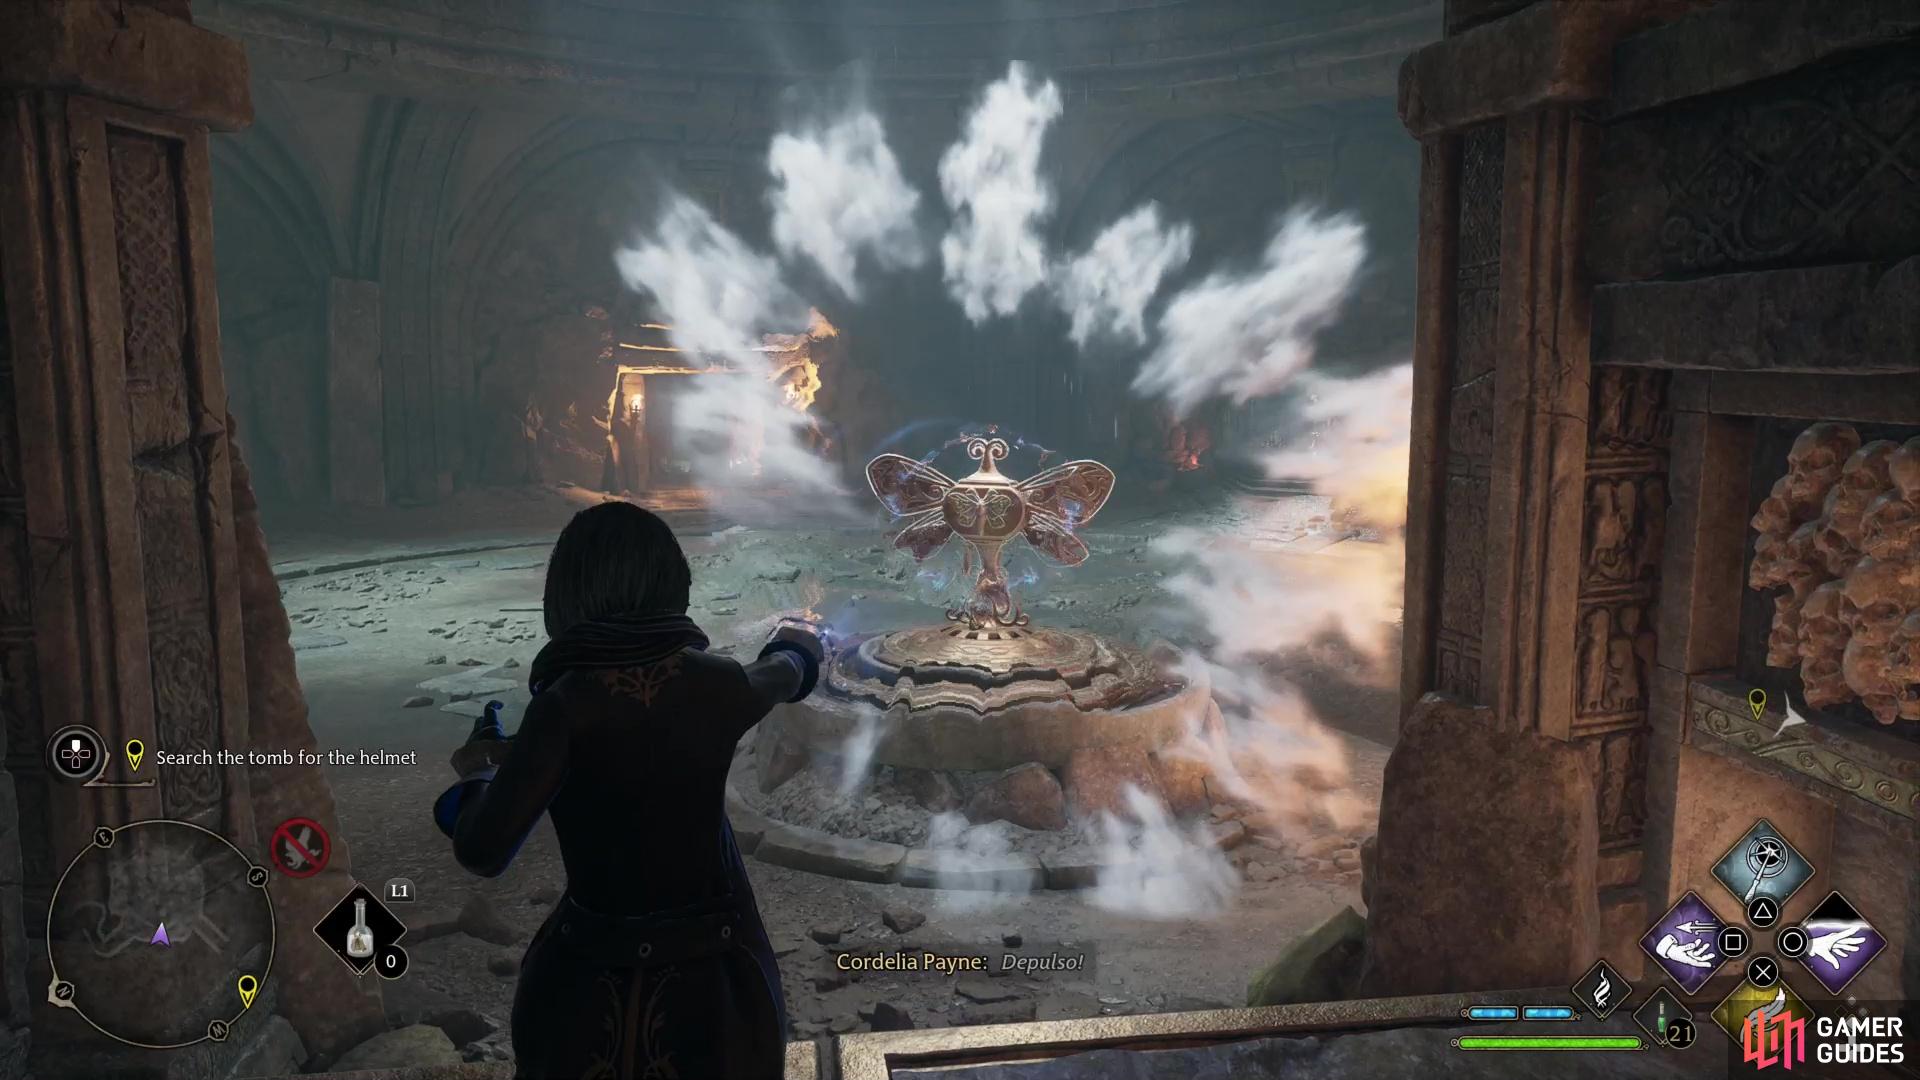
(1 of 3) Stand on a platform between two ledges and hit the moth wheel with !Depulso repeatedly.
-
Stand on the raisable platform between the two ledges (northwest, just past the Lumos Moth wheel) and from here hit the Lumos Moth Wheel with Depulso several times.
-
When the platform reaches the top, turn northeast and head onto the ledge. Quickly lure a Lumos Moth with Lumos, then turn around and run and jump across the now-lowering platform to reach the southwestern ledge. Place the Lumos Moth on the Lumos Moth door.
-
Use Lumos to lure a second Lumos Moth from its perch just to the right of the Lumos Moth door and place it in said door.
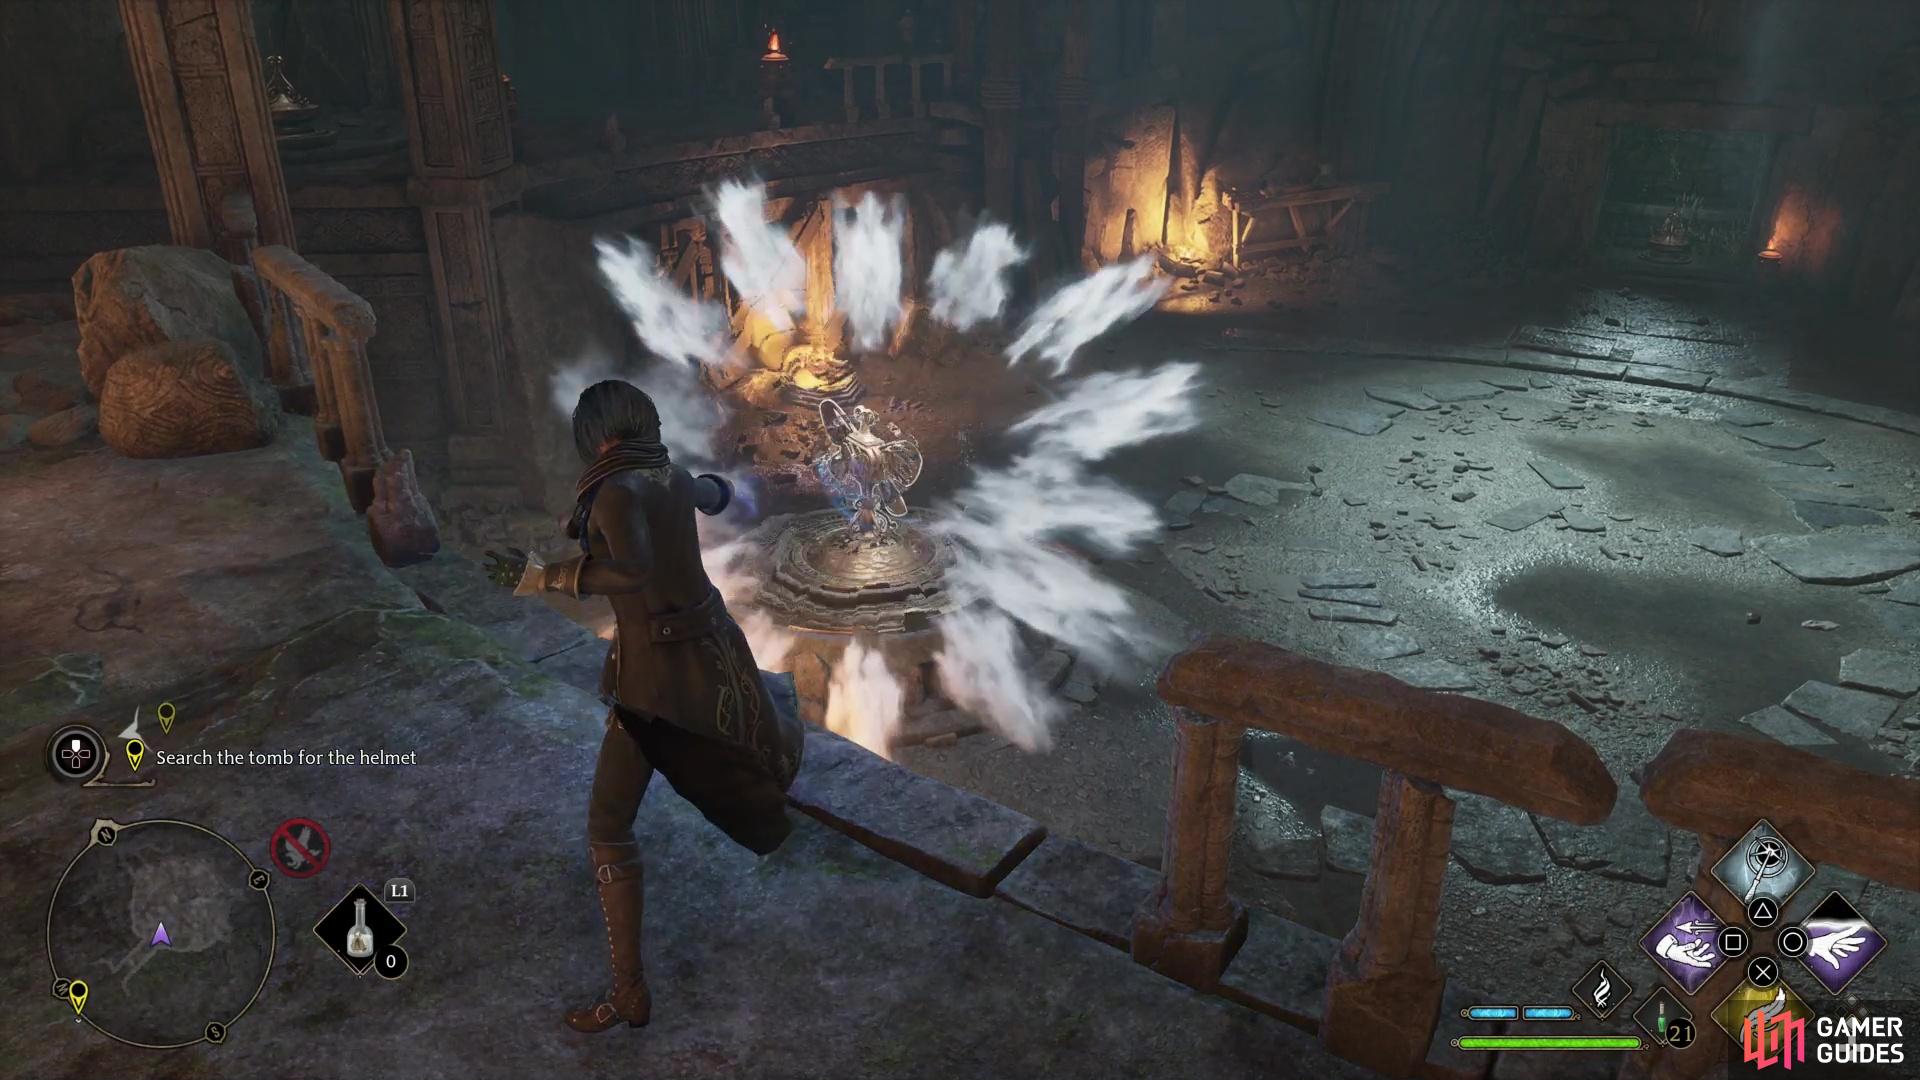
Stand in front of the !Lumos Moth door and blast the wheel with !Depulso,

when fully raised, find the previously vacant !Lumos Moth perch and lure the moth off it to open the nearby door.
- From the walkway in front of the Lumos Moth door, look down at the Lumos Moth wheel and hit it with Depulso several times until the platform is fully raised, then turn right (southeast) away from the platform. The vacant Lumos Moth platform on the ground floor - upon which you placed the Lumos Moth from the southern alcove - also raises when you turn the Lumos Moth wheel. When fully raised you should be able to lure the Lumos Moth on that perch by casting Lumos near the railing. Do so and place it on the door to finally open the way forward.
Before you leave, note that you can find some treasure on the northeastern ledge, which is easier to explore now that you don’t have to fuss with Lumos Moths - just use Depulso to raise the platform connecting the two ledges as necessary. Once across, loot a small chest on the eastern edge of this ledge, then go down some stairs to the left (north) to find a chamber housing a small chest and a large chest.
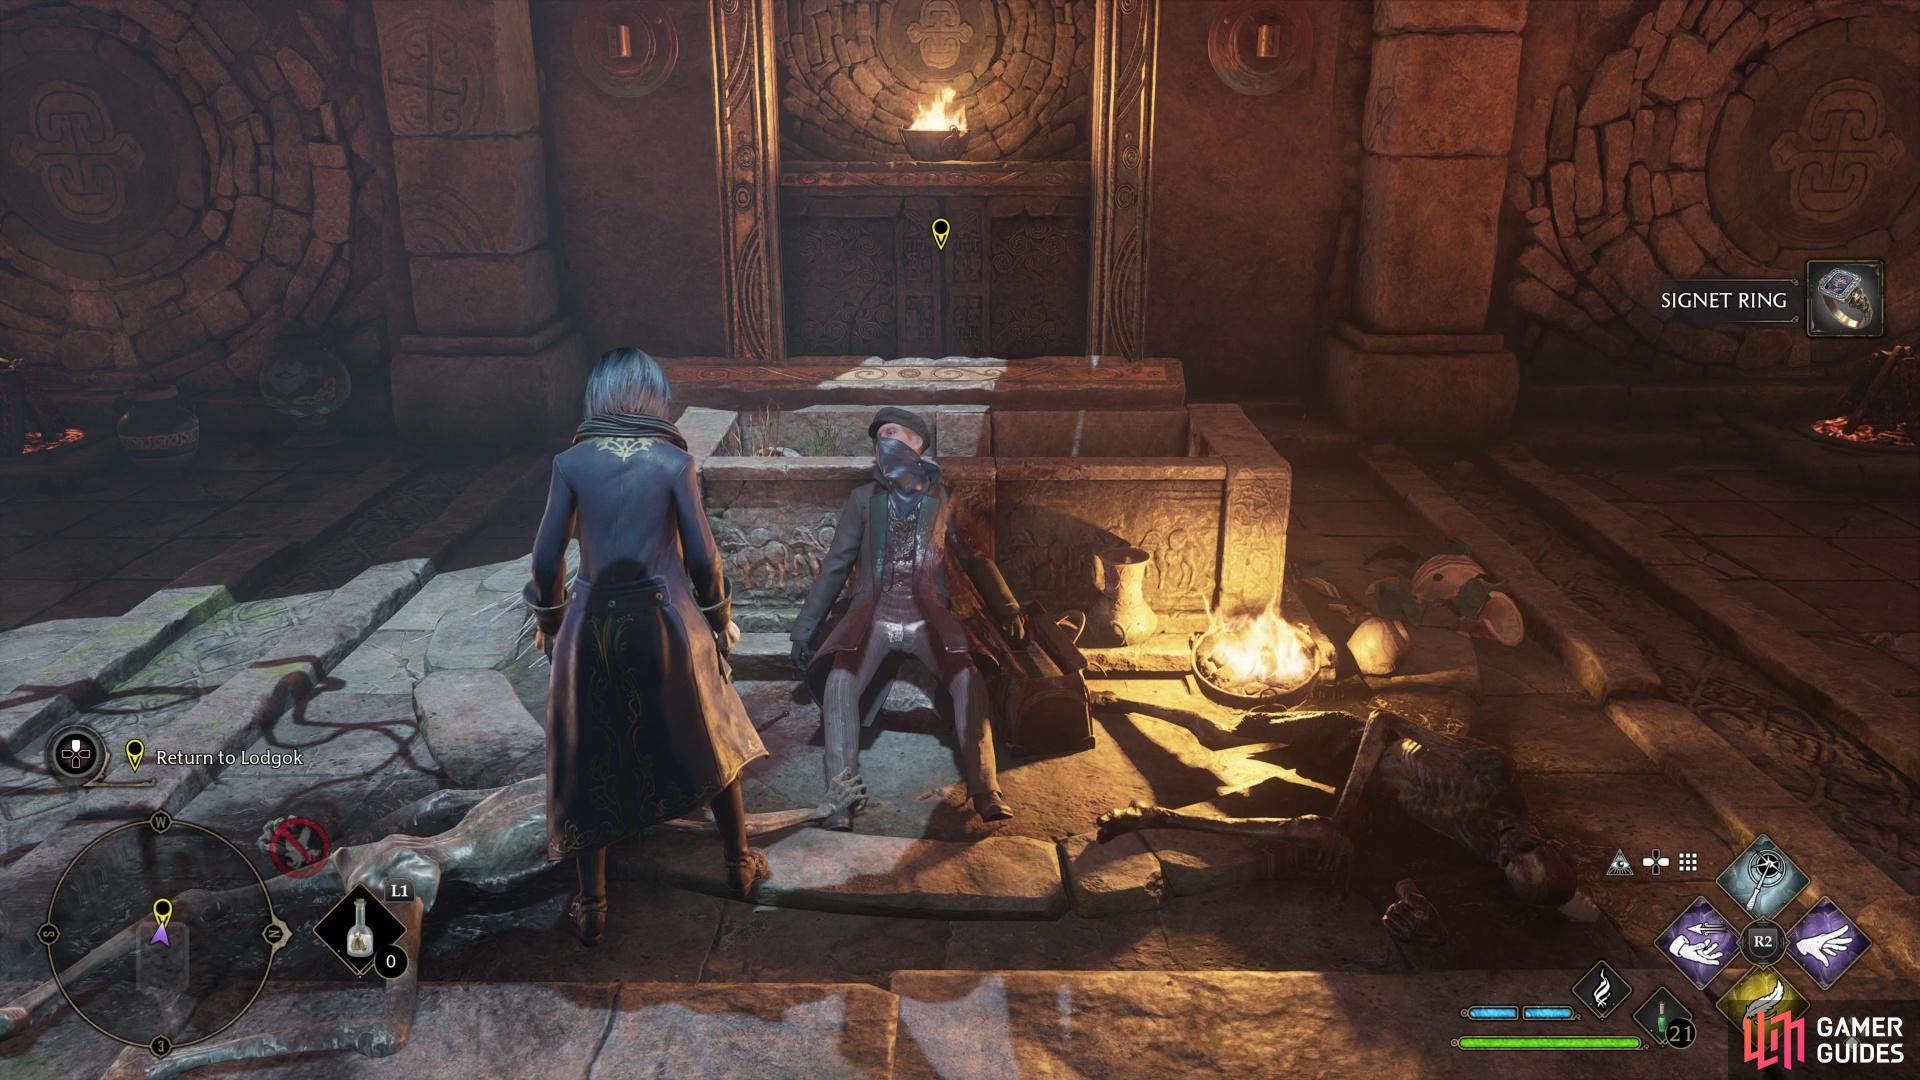
Whew! Now that that’s over with, head through the fourth Lumos Moth door to find the witch’s tomb. Unfortunately, you’re not the first one here recently, as the corpse of an Ashwinder attests. Loot him for a Signet Ring, then plunder a large chest to the right (north). When you’re ready to leave, examine the wall behind the tomb to the west.
No Comments