
At the beginning of Xenoblade Chronicles 3: Future Redeemed, every character will start with a number of Arts on their battle palette. If you played the base game, you remember that all of the characters had three base Arts on the right side, then would unlock three more Arts on the left side. In Future Redeemed, all characters will only have a single Art unlocked on the left side. In order to get the others, you need to spend Affinity Points on their Affinity Growth sections to get more, but they will still only have one slot available. You need to find Art Unlock Kits in order to gain access to more slots, with there being a total of 12 unlock Kits.
Art Unlock Kit #1
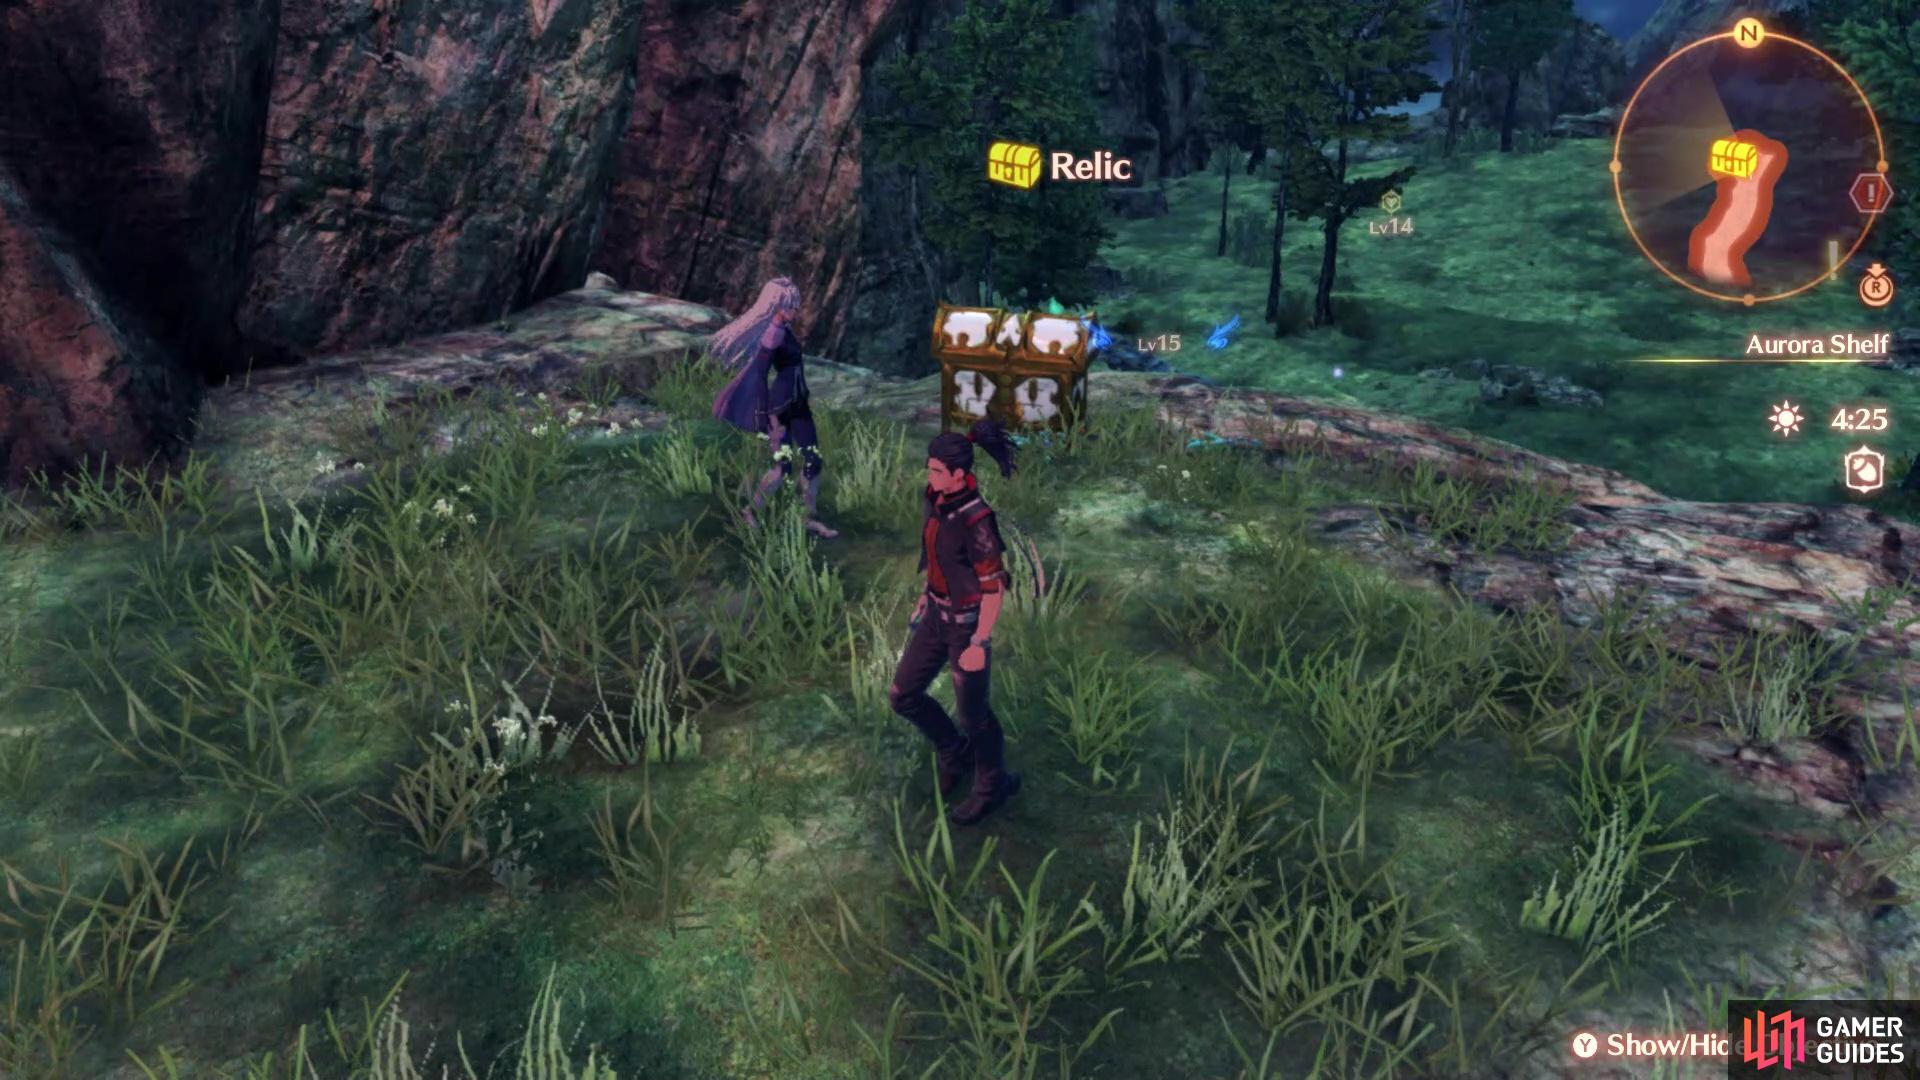
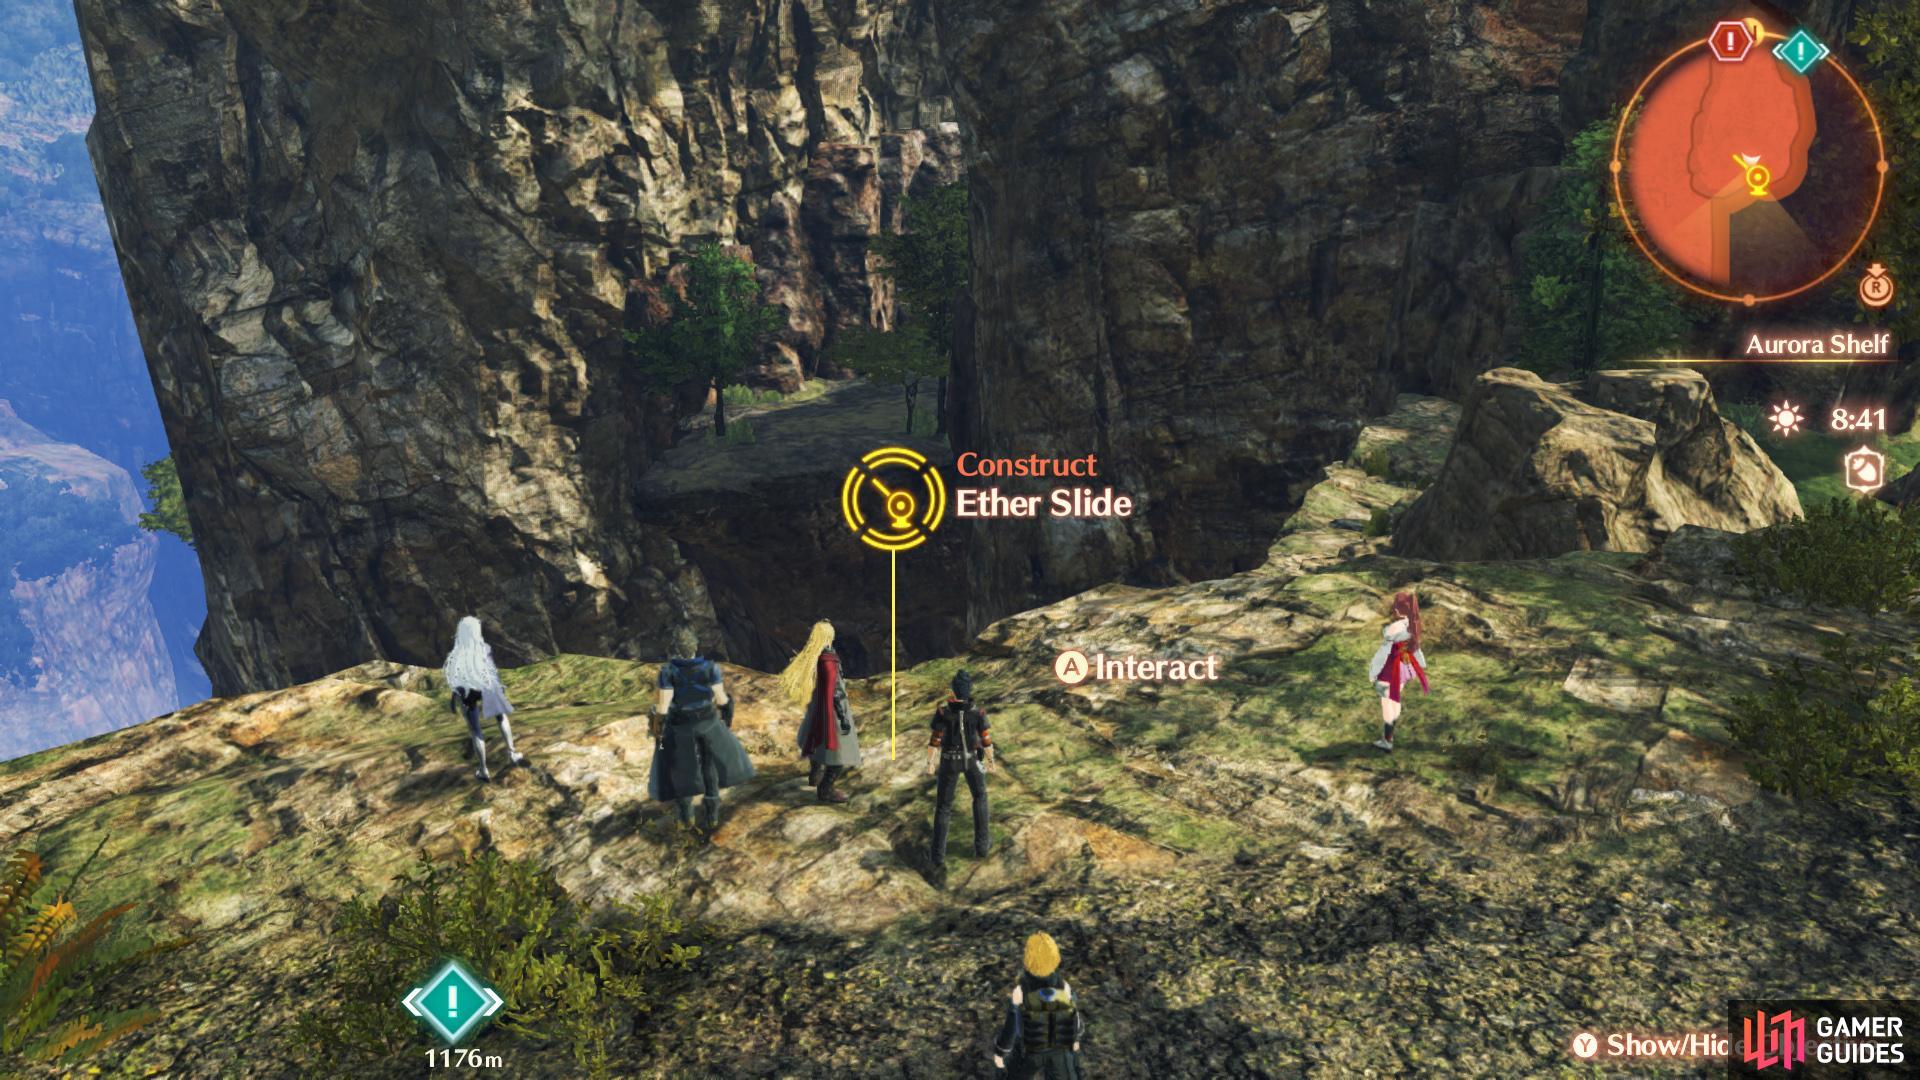
Pass through the short cave west of Gran Dell Citadel for this Relic and Unlock Kit
The first Unlock Kit you can get is found in Aurora Shelf, a little west of the Echoes of the Gran Dell Citadel landmark. If you follow the cliffside west of that landmark, you should see a cave just next to the Tirkin Totem on a little hill. This leads you a little cliff that houses a Relic, so open it to get the Unlock Kit.
Art Unlock Kit #2
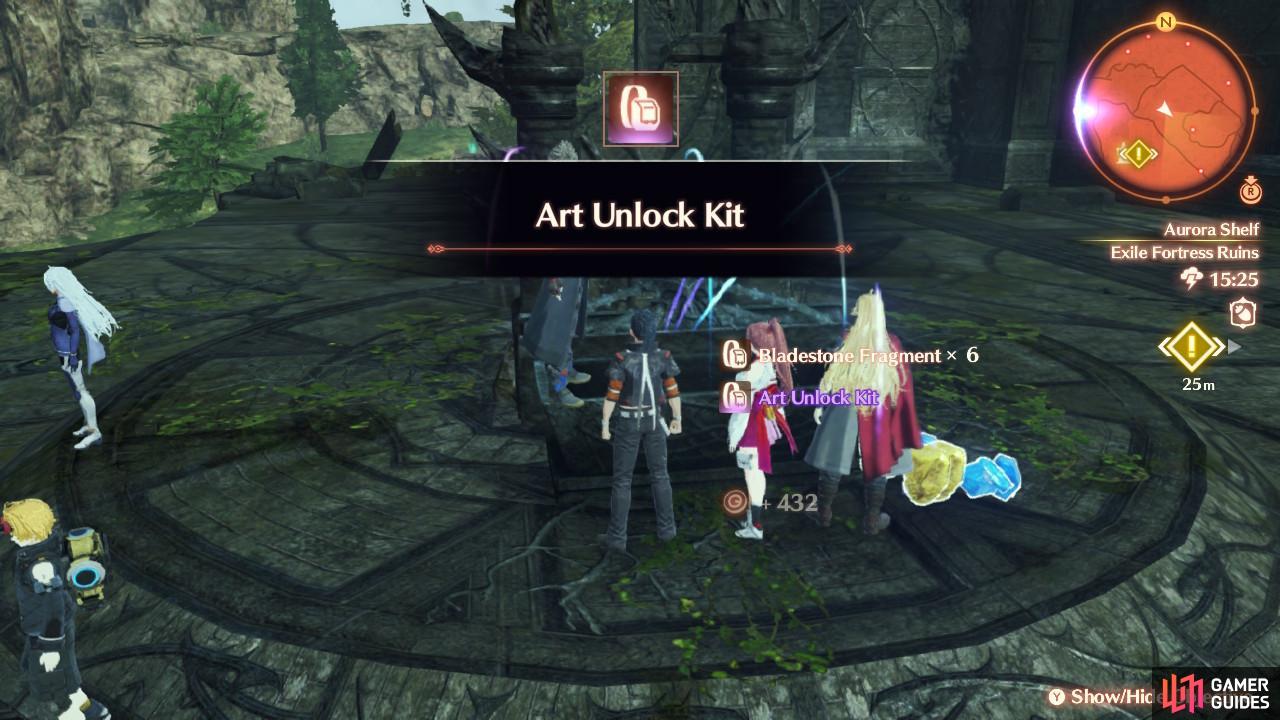
You will find this one in the Exile Ruins
For the second one on this list, go to the Three-Pillar Transept Ruins landmark, which is east of the Elevator Landing Camp. This is where you can find a hole in the ground that drops you into the Agni’s Tomb Ruins. Ignore that hole, though, and head directly north of the landmark to find a path guarded by some Level 20-21 Igna enemies. Continue past them and you should arrive in the Exile Fortress Ruins, where you should find a broken throne. Behind that throne is a Relic chest, so open it up to find the Unlock Kit. Note that you likely want to do this before Chapter 4 of the main story, as a Level 43 Unique Enemy will spawn in the same area.
Art Unlock Kit #3
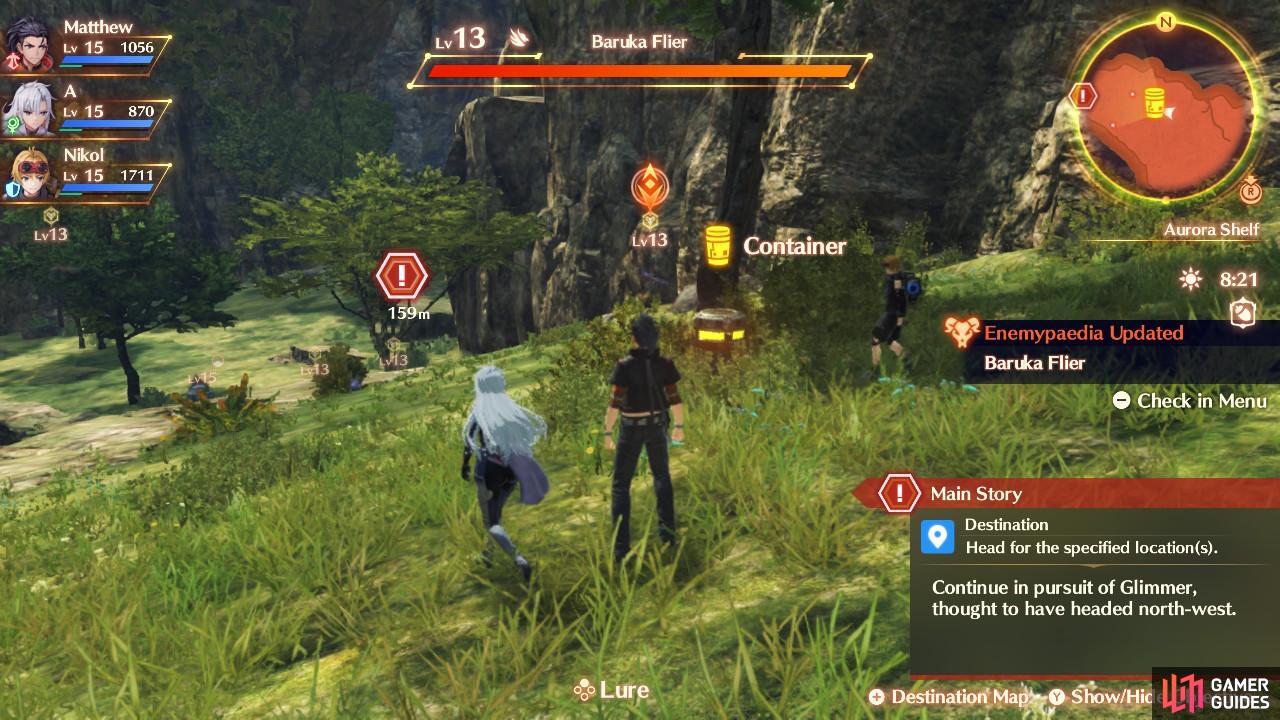
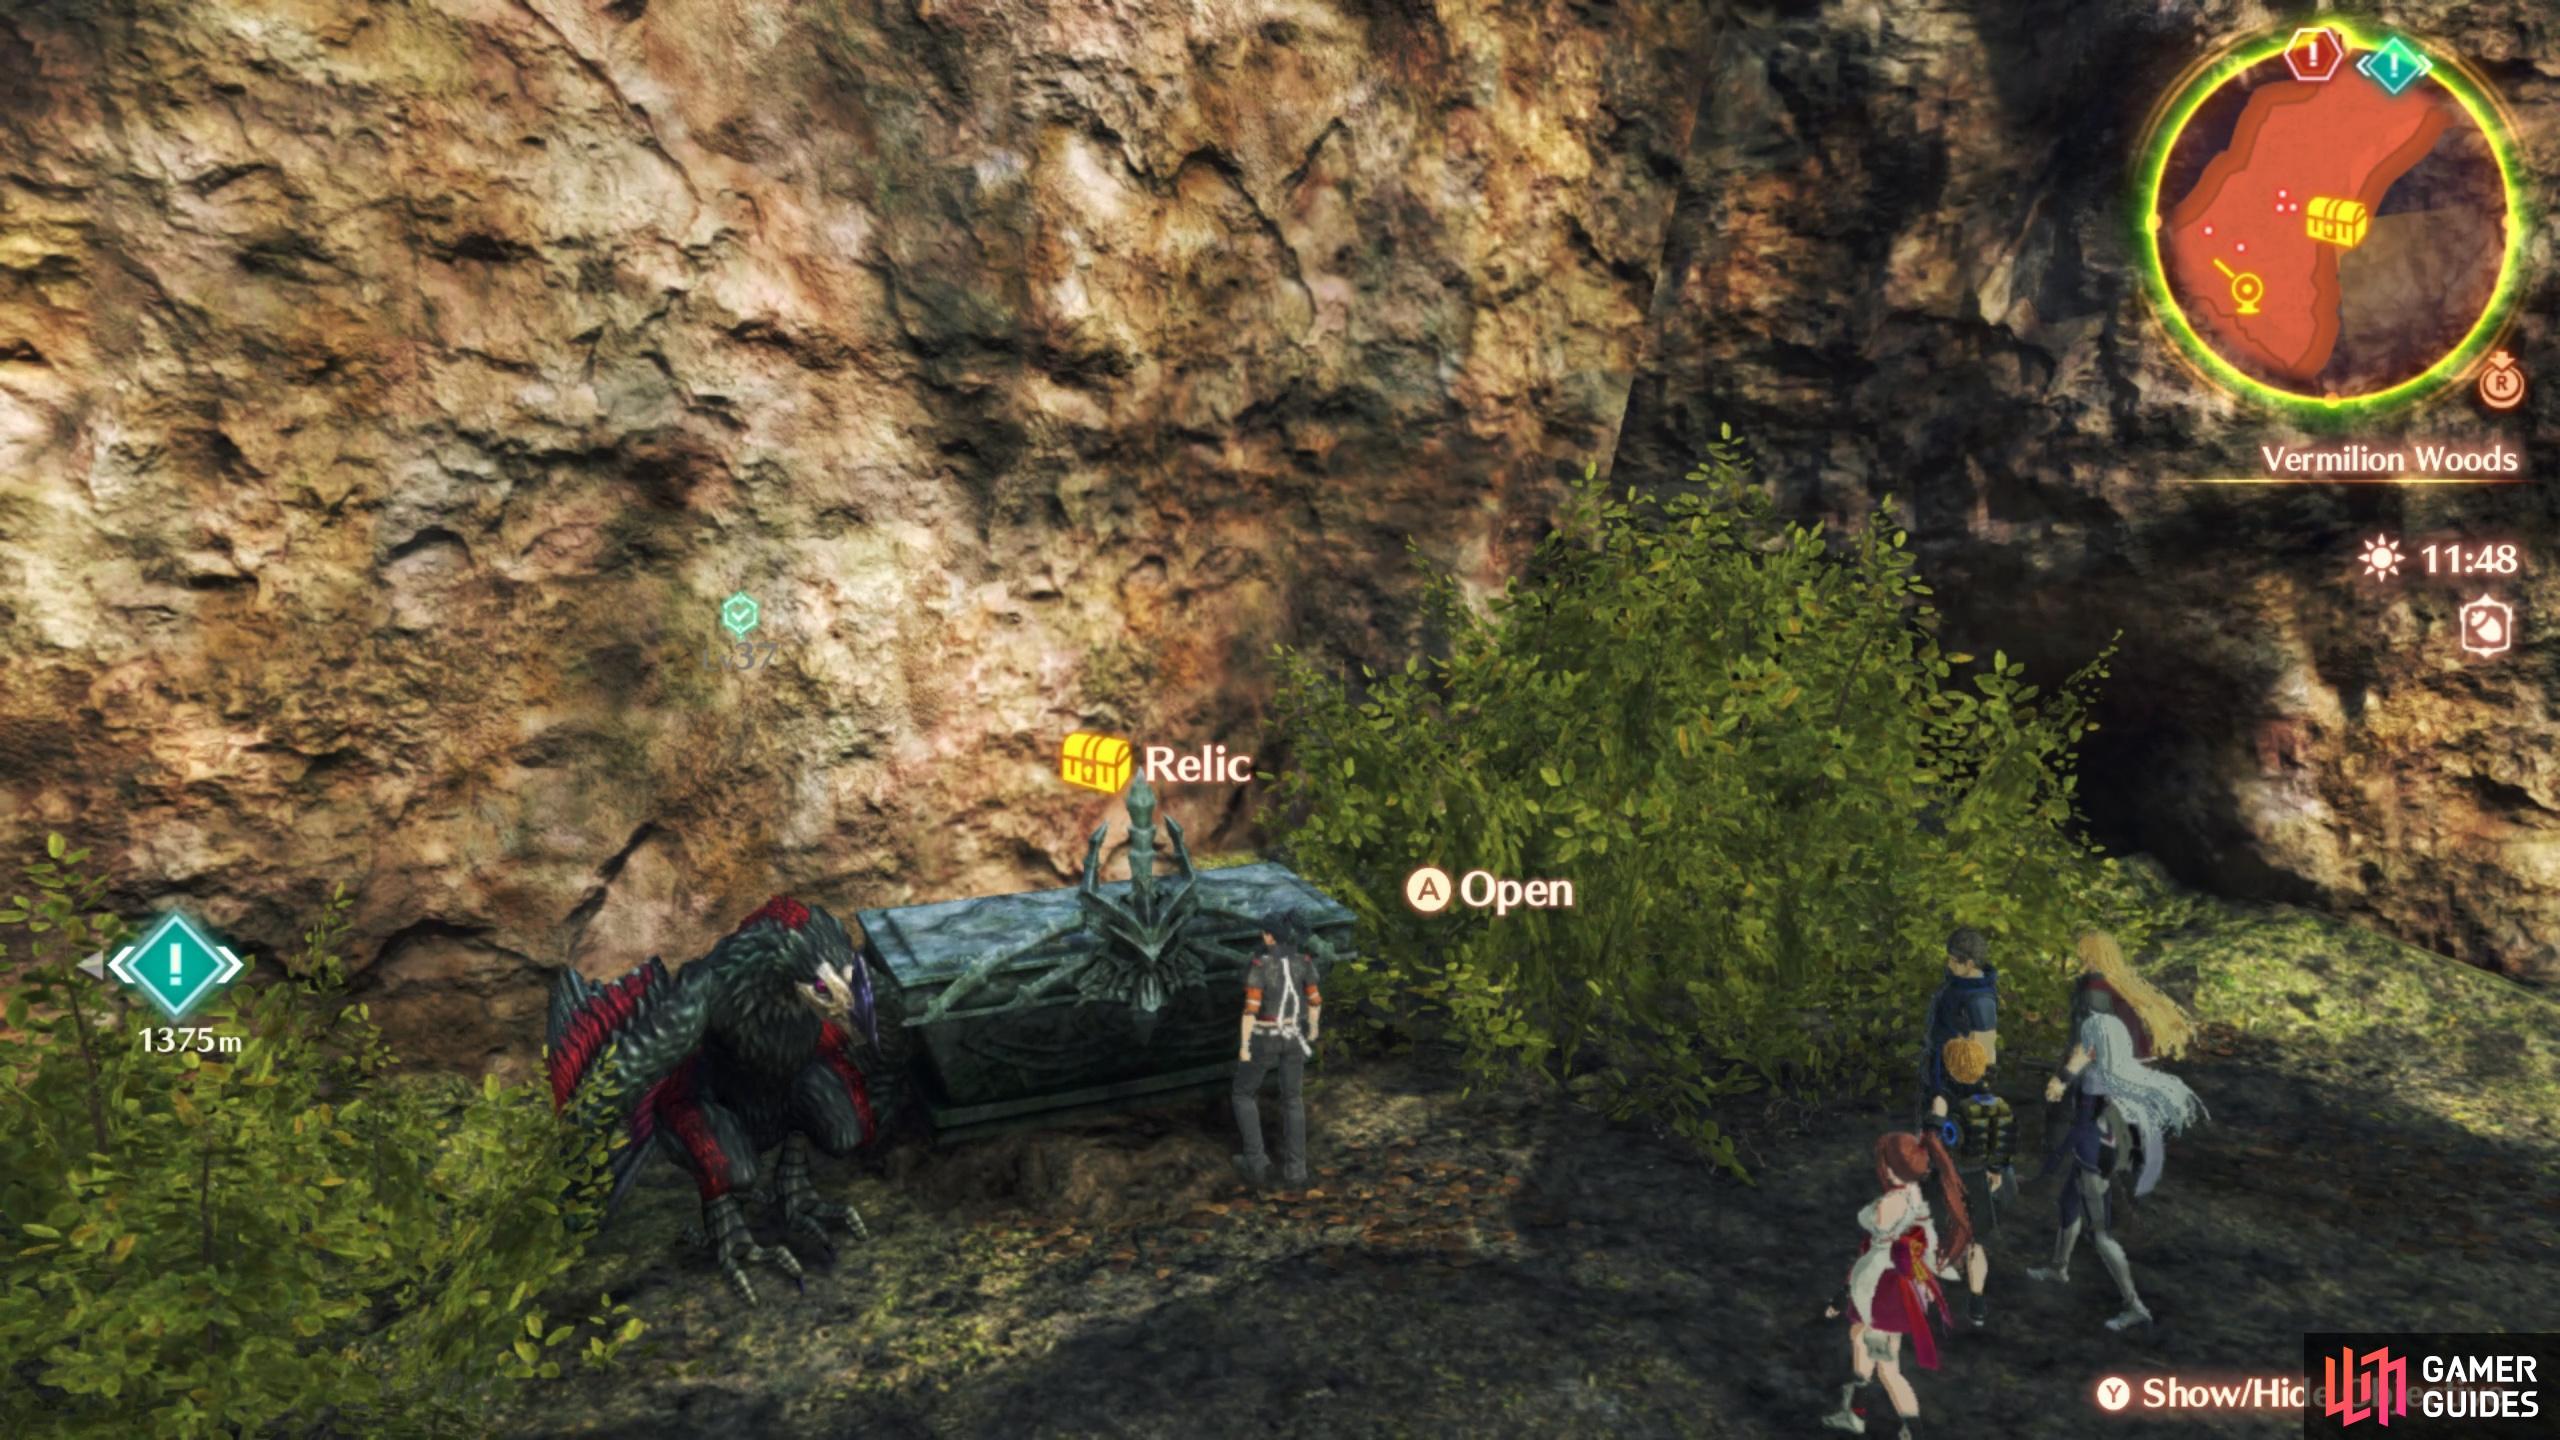
This Container will yield one of the Unlock Kits
Go back to the Gran Dell Citadel landmark and pass through that area to the northwest (there was a scripted fight here). As soon as you go through the little section there, head to the northern cliff wall to find a Container. Open the Container you see for the Unlock Kit.
Art Unlock Kit #4
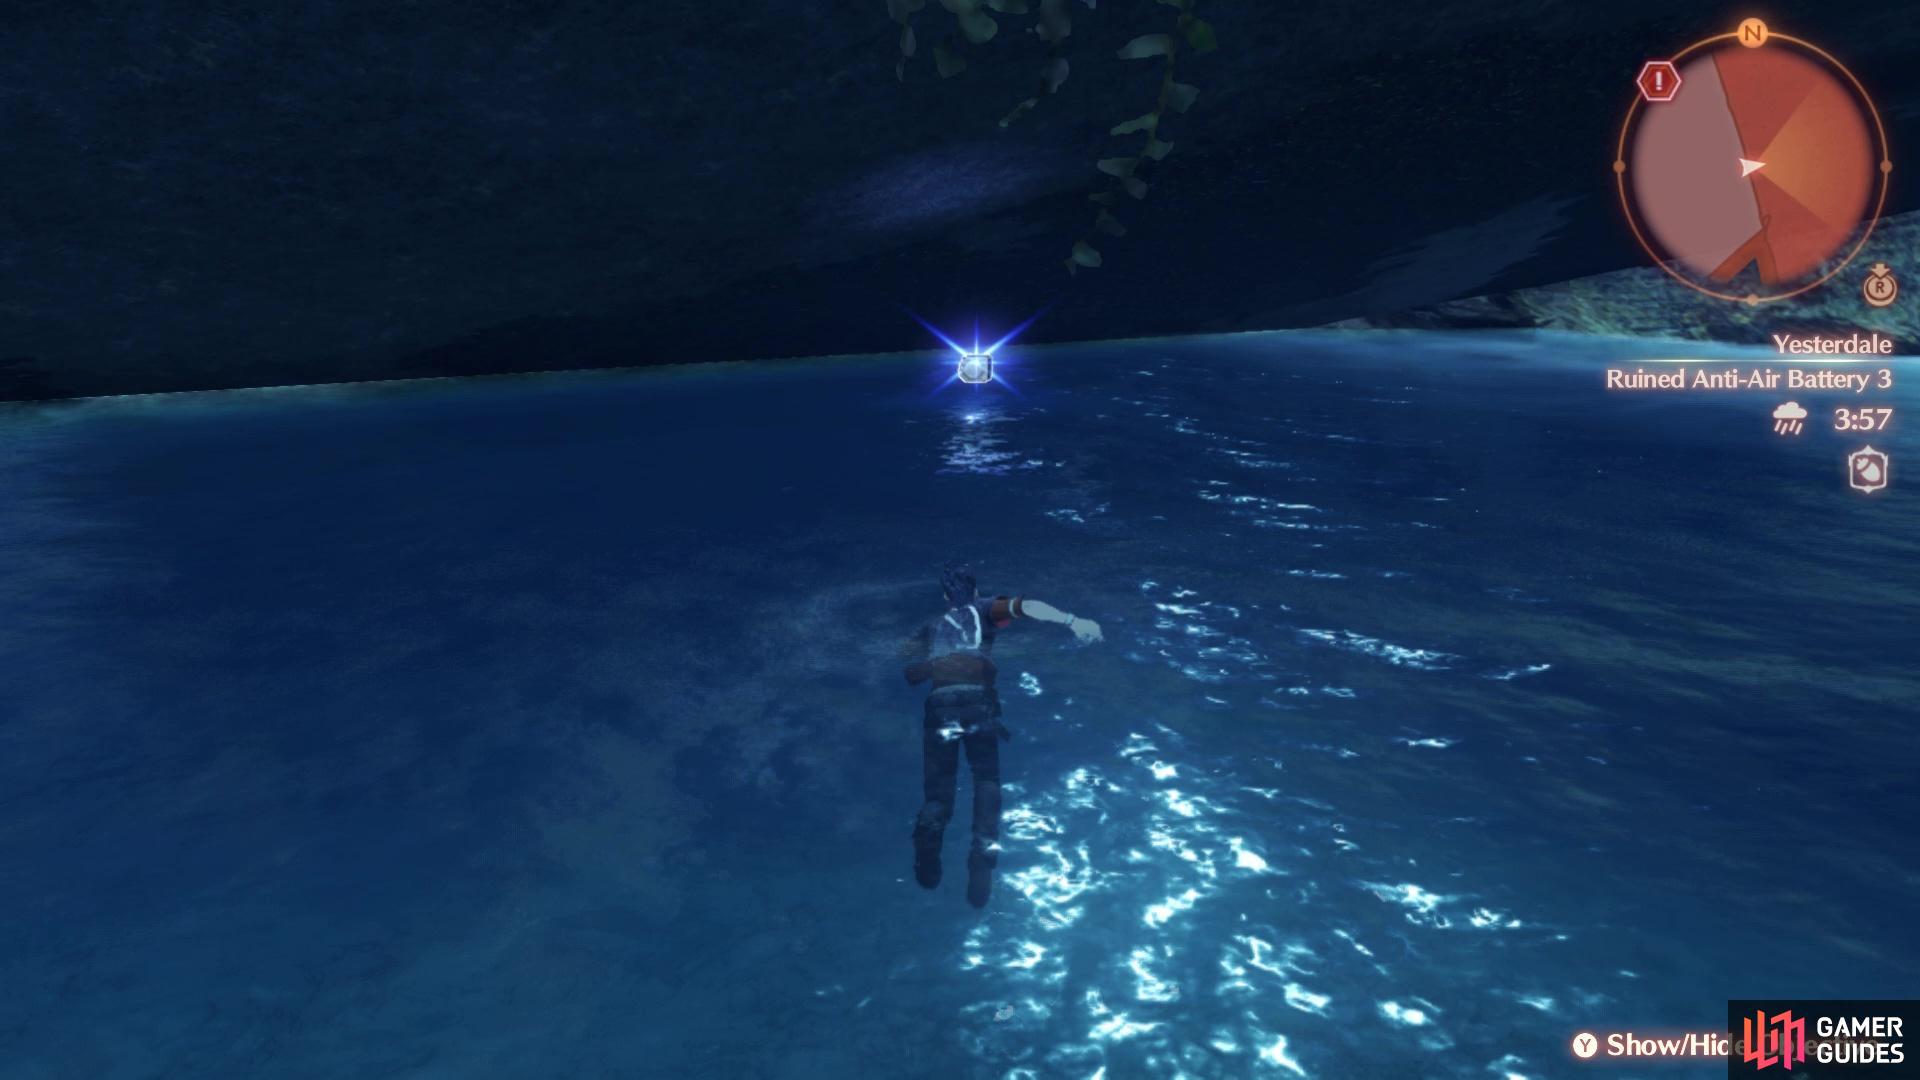
Look underneath the western side of the Anti-Air Battery for this kit
Upon making it to Colony 9 and doing some story bits there, you will then be able to explore the areas surrounding it. Of particular notes are the Ruined Anti-Air Battery to the south and the Gotrock Oracle Ruins to the east. For now, head to the south, to the Anti-Air Battery, but stick to the waters. You will want to keep to the western side of the Battery and stay close to it. As you continue going south, you will eventually see an item in the water. That will be the Unlock Kit.
Art Unlock Kit #5
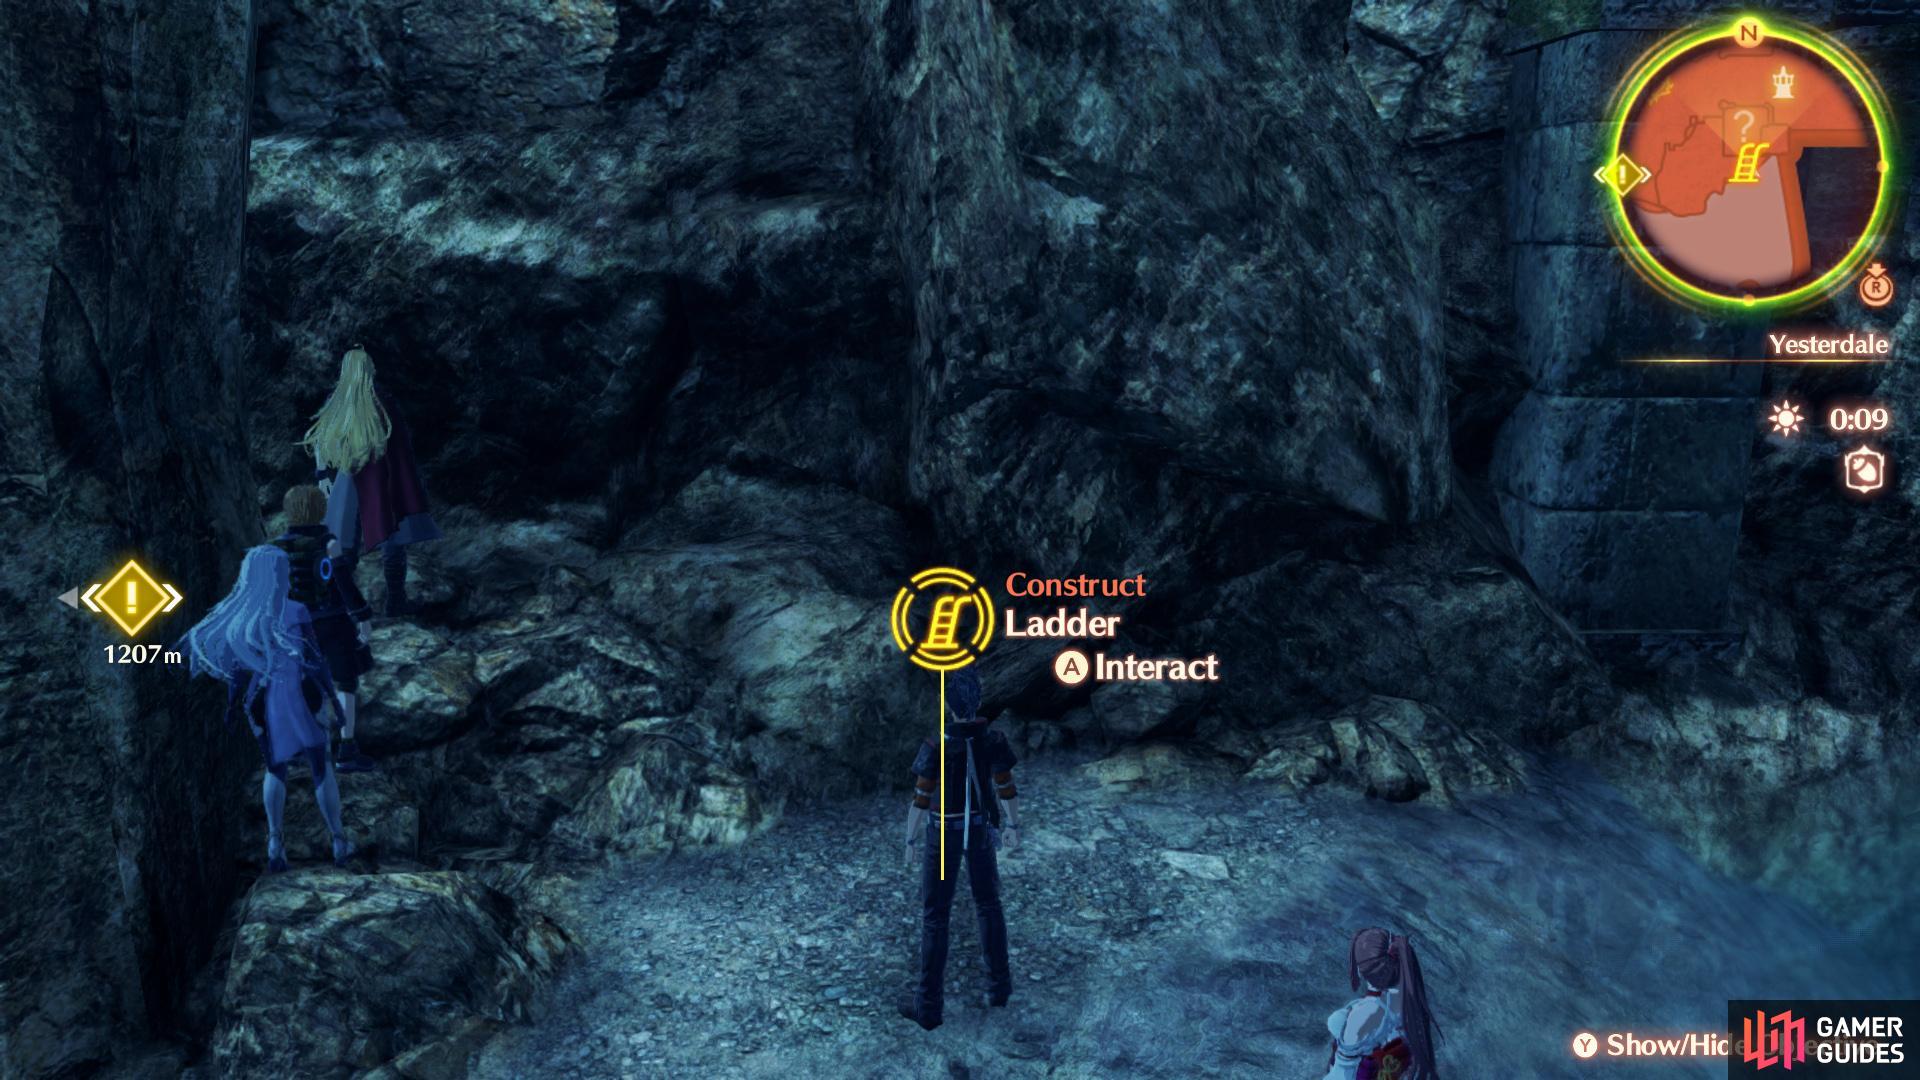
You can find a ladder to construct on the southern side of Gotrock Ruins
Making it will allow you to get the Unlock Kit on top of the ruins
Mentioned above was the Gotrock Oracle Ruins, which is located to the east of Colony 9. Head on over there and stay in the water, as you circle around to the southern side. You should see a shore there, leading to a ladder you can build. Construct the ladder you find to allow you to get on top of the ruins, where you will find a Relic that contains the Unlock Kit.
Art Unlock Kit #6
For this Unlock Kit, you will need to do a Standard Quest that begins in Colony 9. The quest’s name is Hunt for the Kids, which begins on the bridge at the entrance to the place. It’s fairly easy and you will have to fight some Fogbeasts at the end, with there being five of them. You will receive the Unlock Kit as a reward for completing the quest.
Art Unlock Kit #7
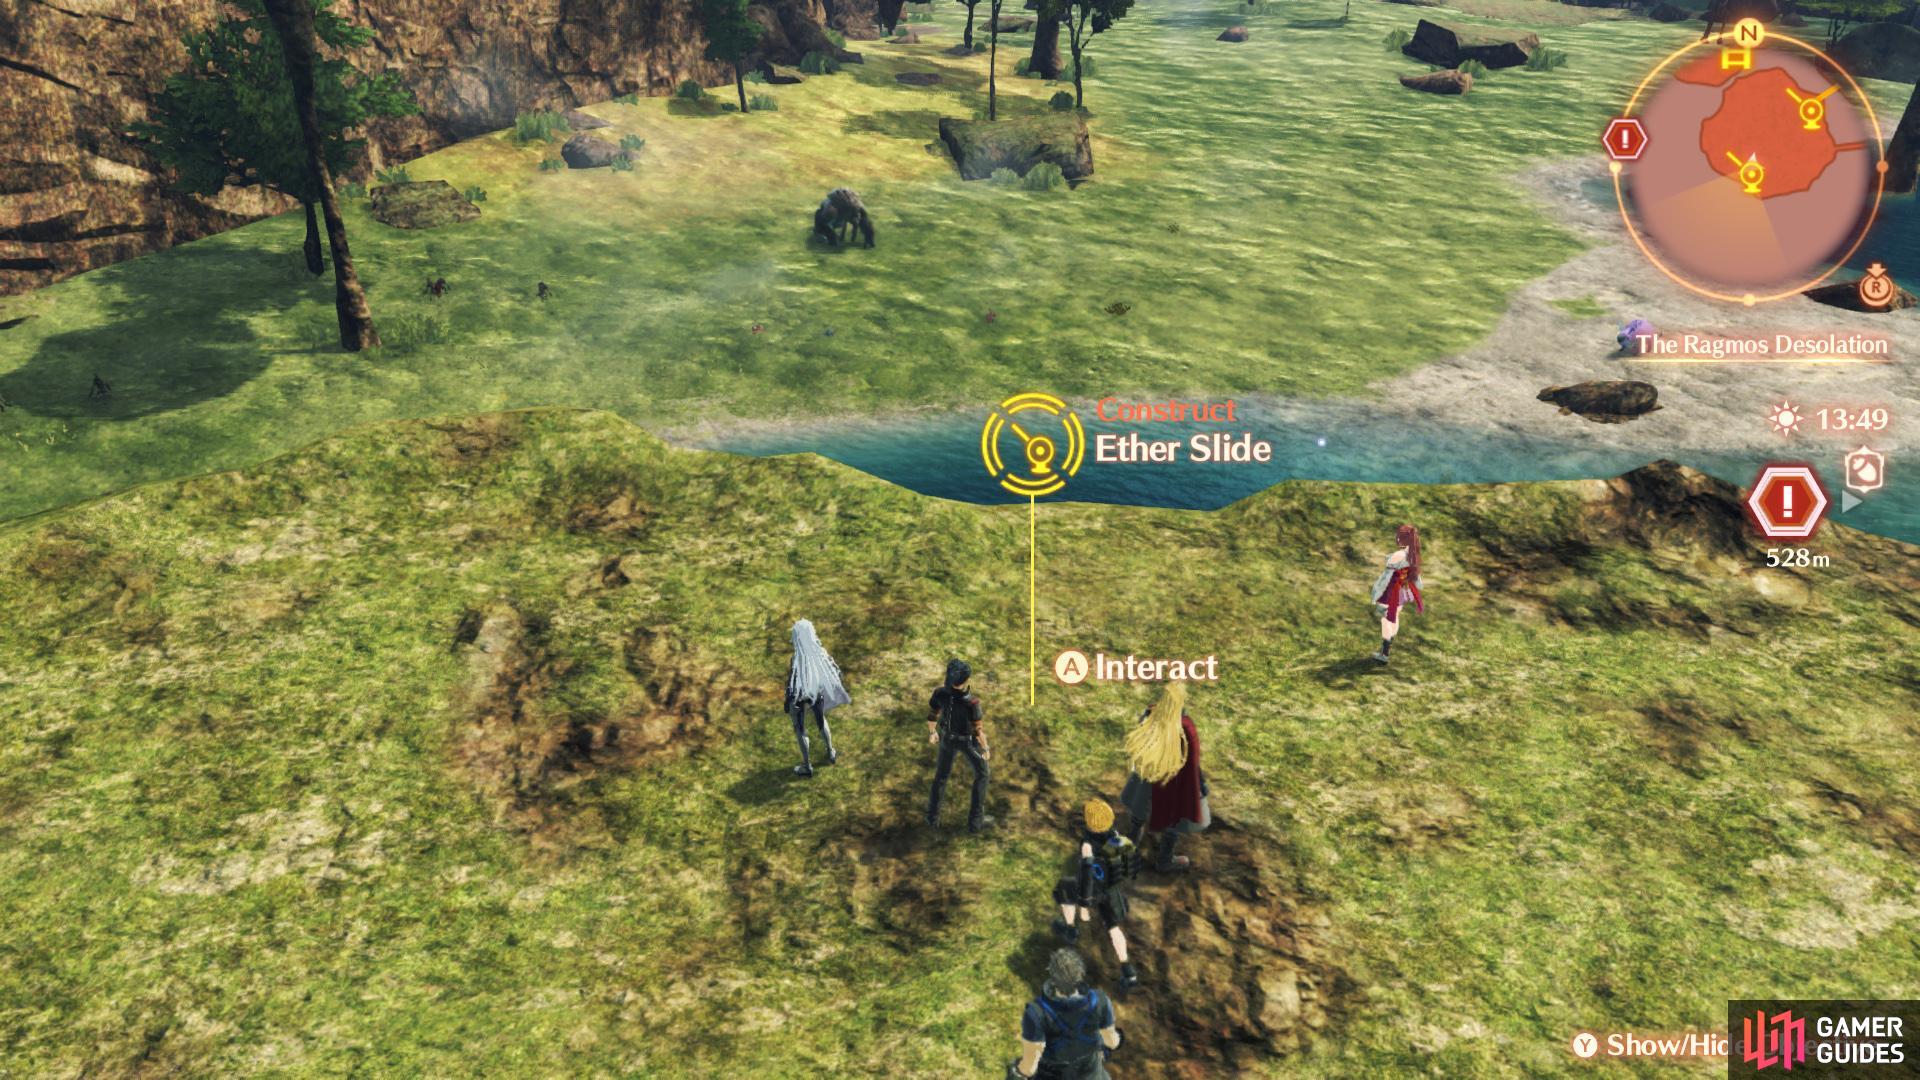
This one is just sitting on top of a rock, in plain sight
Upon getting the ability to construct Ether Slides, you will be able to head to Raguel Lake, after passing through the Lumos Garrison. Right before the actual lake, there will be a large rock not too far from the shoreline, and on top of that rock is the Unlock Kit, just sitting there in the open. You don’t have to do anything special to get on the rock, as just jumping will suffice.
Art Unlock Kit #8
There is a second Standard Quest, called The Junior Workforce, that is holding another Unlock Kit as hostage. In order to start this quest, you will need to find two Survivors first, both of whom are kids. Finley can be found underneath Outlook Park, so just jump into the hole there and into the water below, where they will be found off to the side. Axel is found up on Oracle Spire, which requires you to take the Ether Lift that is part of the story. Once you’re at Oracle Spire, drop to the lowest level to find Axel. As for the quest, it’s very simple and you only have to correctly identify five of the randomized items (feel free to look at your inventory for some of the trickier ones).
Art Unlock Kit #9

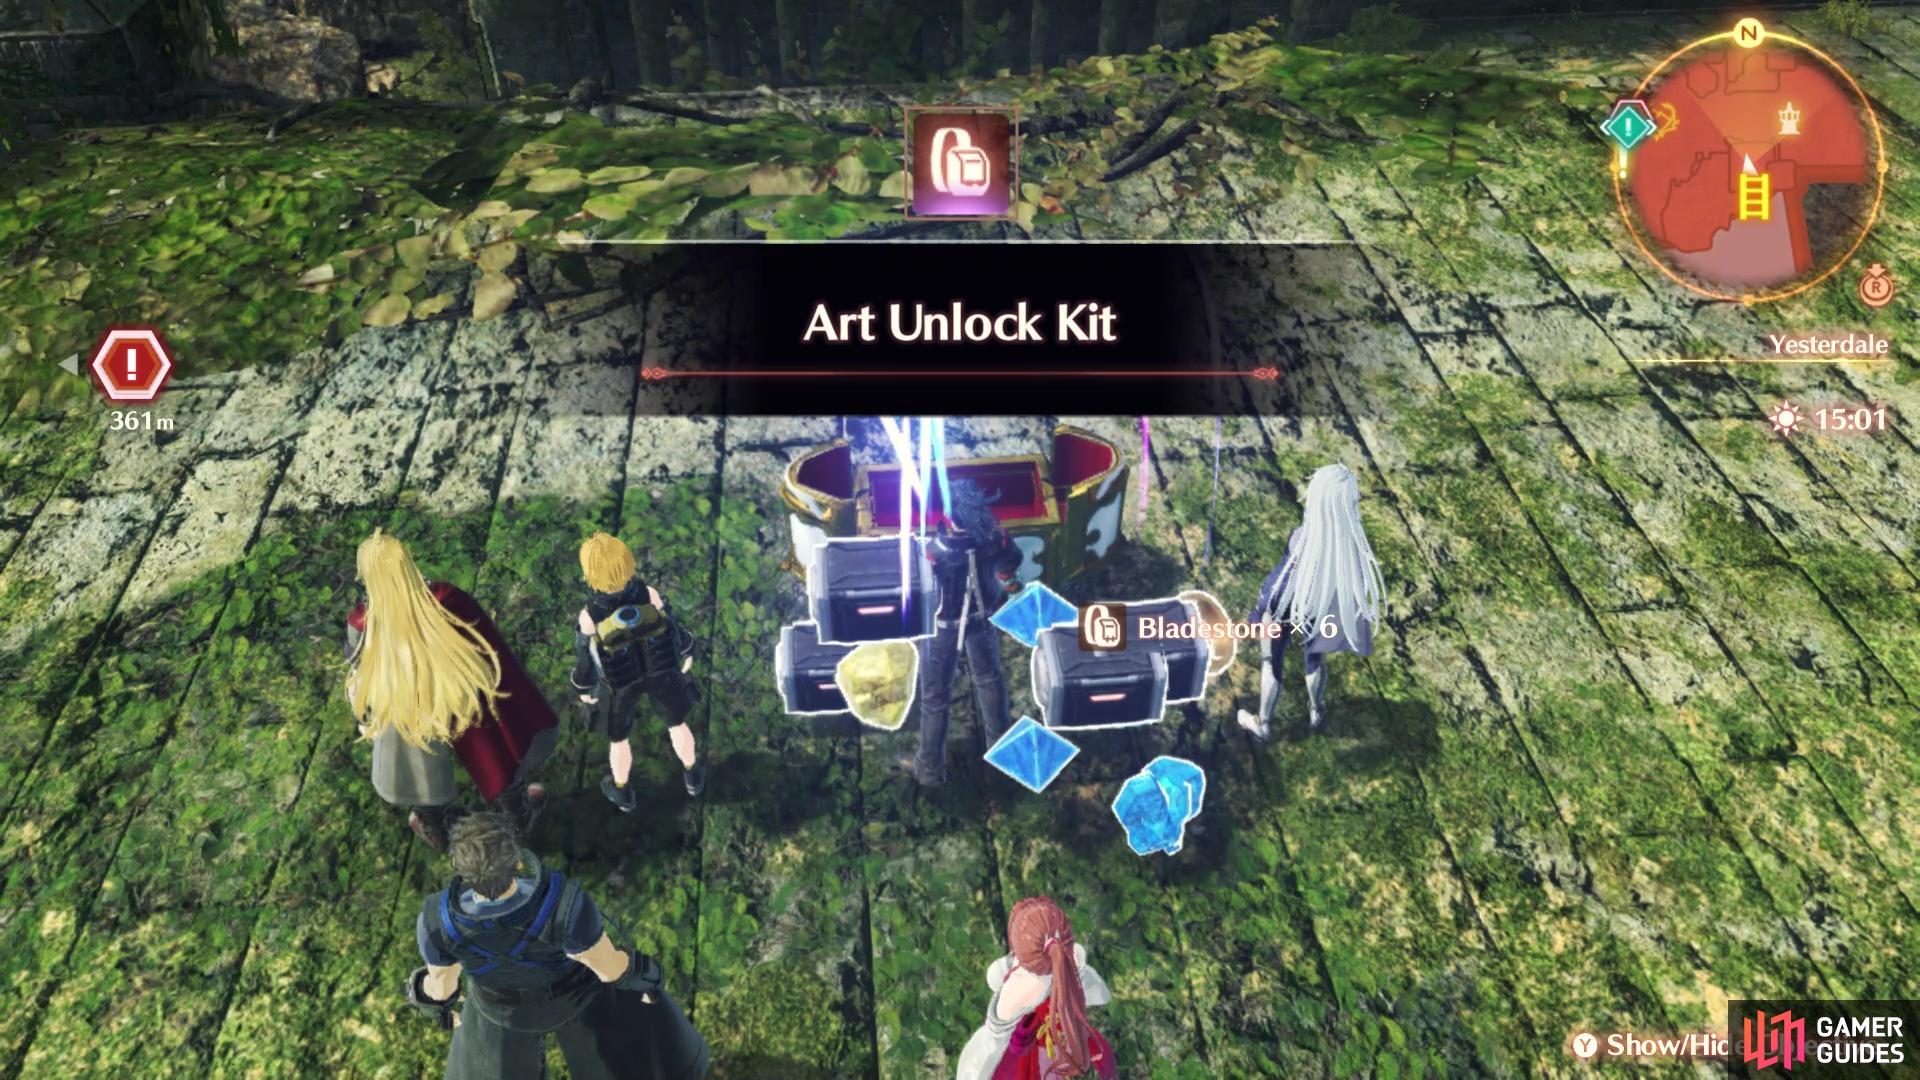
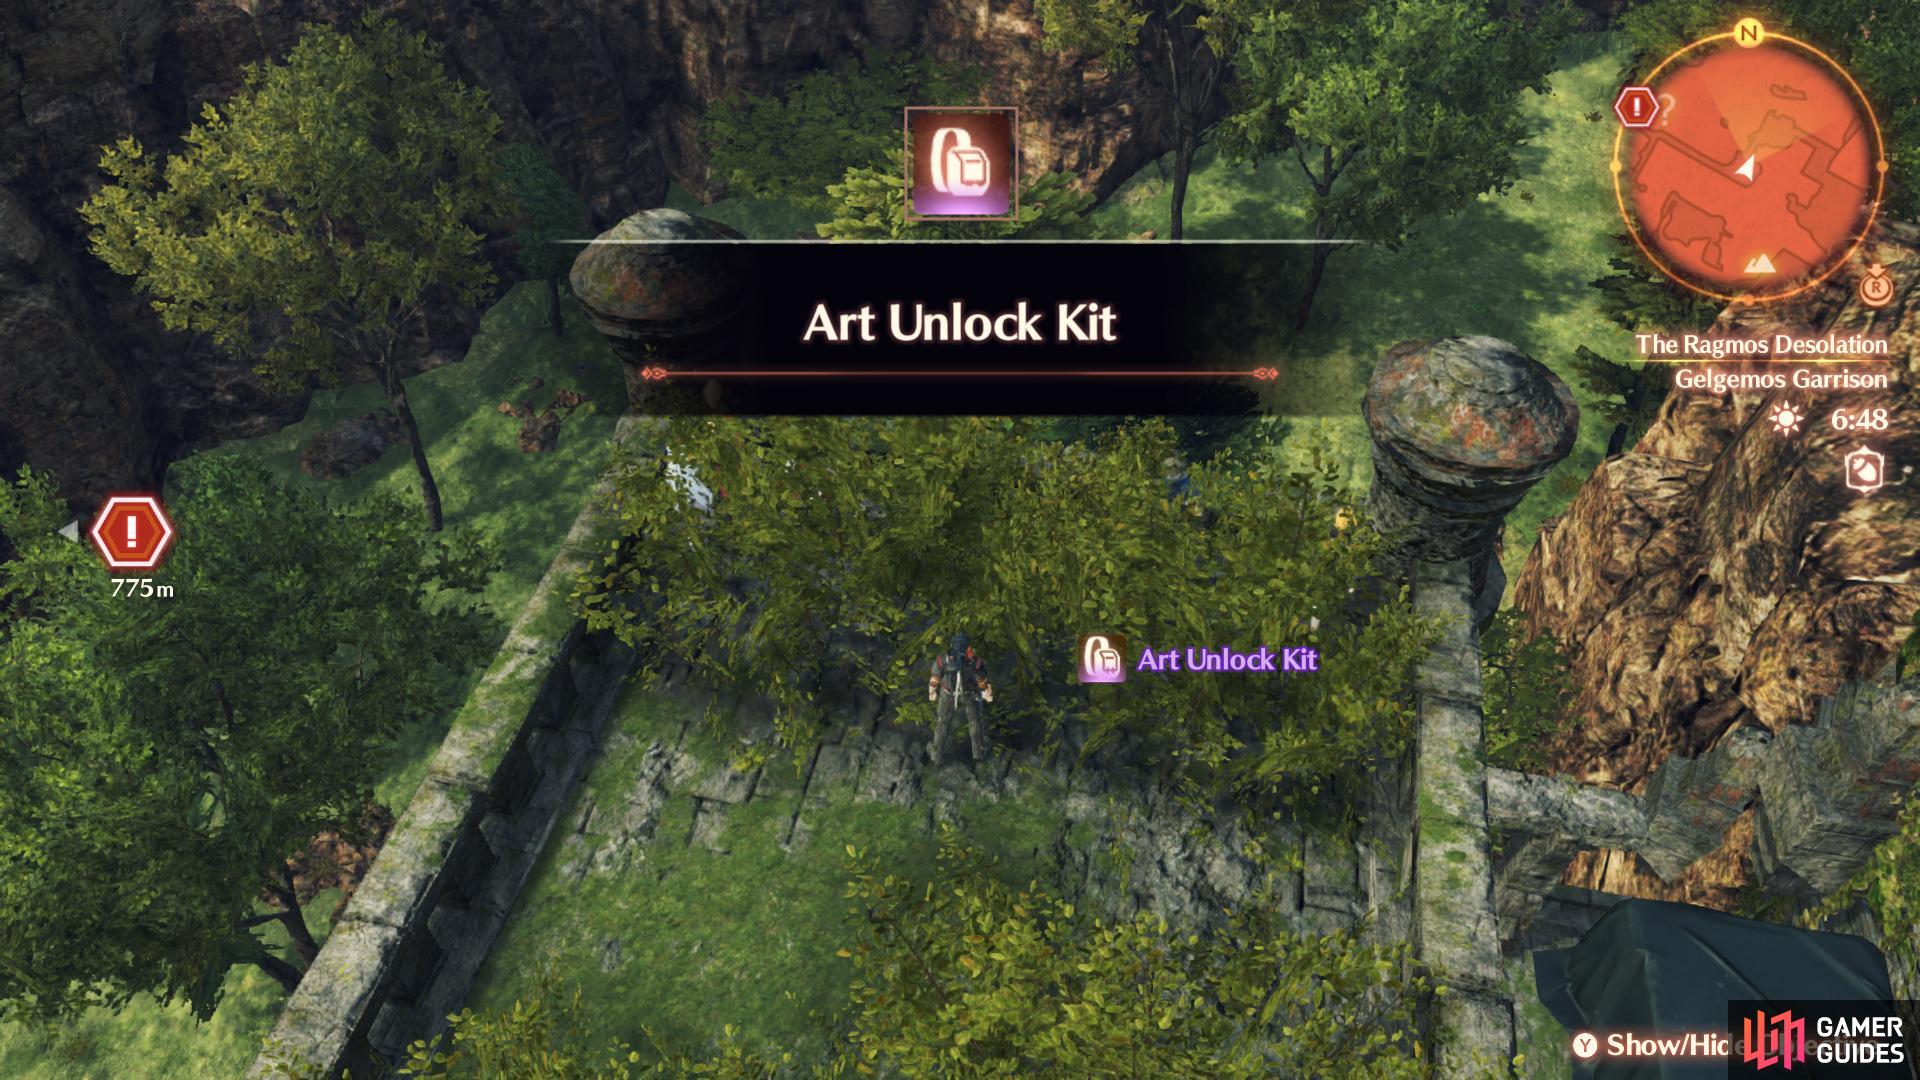
You will be venturing to Gelgemos Garrison for this one, which is just past the Oracle Spire that requires the story-related Ether Lift. It should be noted that this Unlock Kit, as well as the next one, are pretty much in the same spot. Cross the bridge at Oracle Spire to reach the garrison, but ignore the enemies and go straight up all of the stairs. At top, upon reaching the dead end, you will find a ladder that can be repaired. Do this to reach a giant egg (Unique Enemy), although you can ignore it. Southwest of the egg is a tunnel that brings you to the Royal Green secret area, where you’ll find a Relic that contains the Unlock Kit.
Art Unlock Kit #10
Jump down to this spot from the Royal Green secret area to get this Unlock Kit
From the Royal Garden secret area mentioned above, look over the railing of it and down towards the ground. You should notice a spot to jump down to, where there’s a bunch of bushes. You can jump down to this platform without dying, so do that and look in those bushes to find the Unlock Kit.
Art Unlock Kit #11
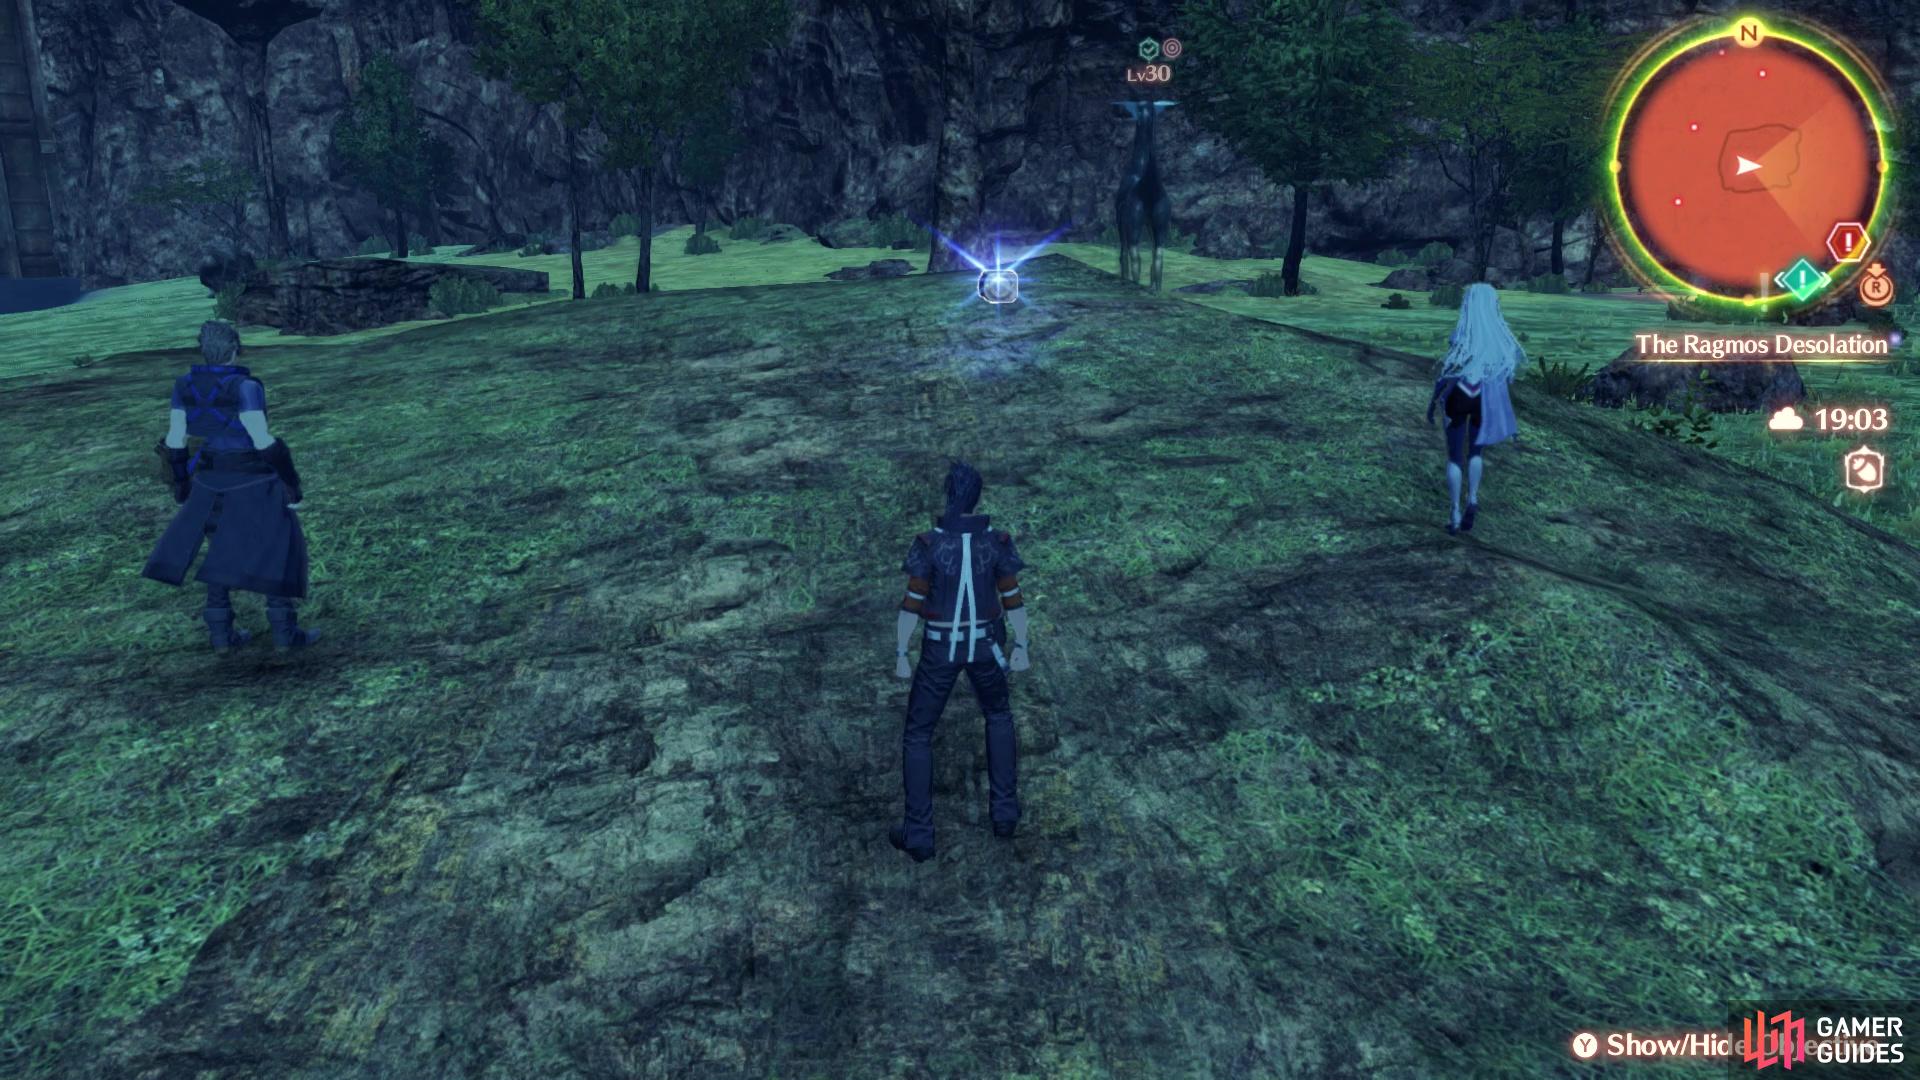
This Ether Slide at the end of the Ravaged Village area will take you towards the kit
Open this Relic chest to find the Unlock Kit
Return to Colony 9 and exit the place via the main bridge. As soon as you do, head south and follow the trail until you reach Outlook Park. In this same area, there will be a hole in the middle that you can jump into, leading to some water. Do that and head west, past the Unique Enemy there, to find an Ether Lift spot. Make it and use it to reach an area off the map, where you find another thing to make, an Ether Slide. This one will bring you to the Ravaged Village location, so continue south to another Ether Slide. In this next little area, there will be a bunch of enemies, so clear them out, then look off to the side to see a Relic. That Relic will contain the Unlock Kit.
Art Unlock Kit #12
Use the southern of the two Ether Slides on the floating island
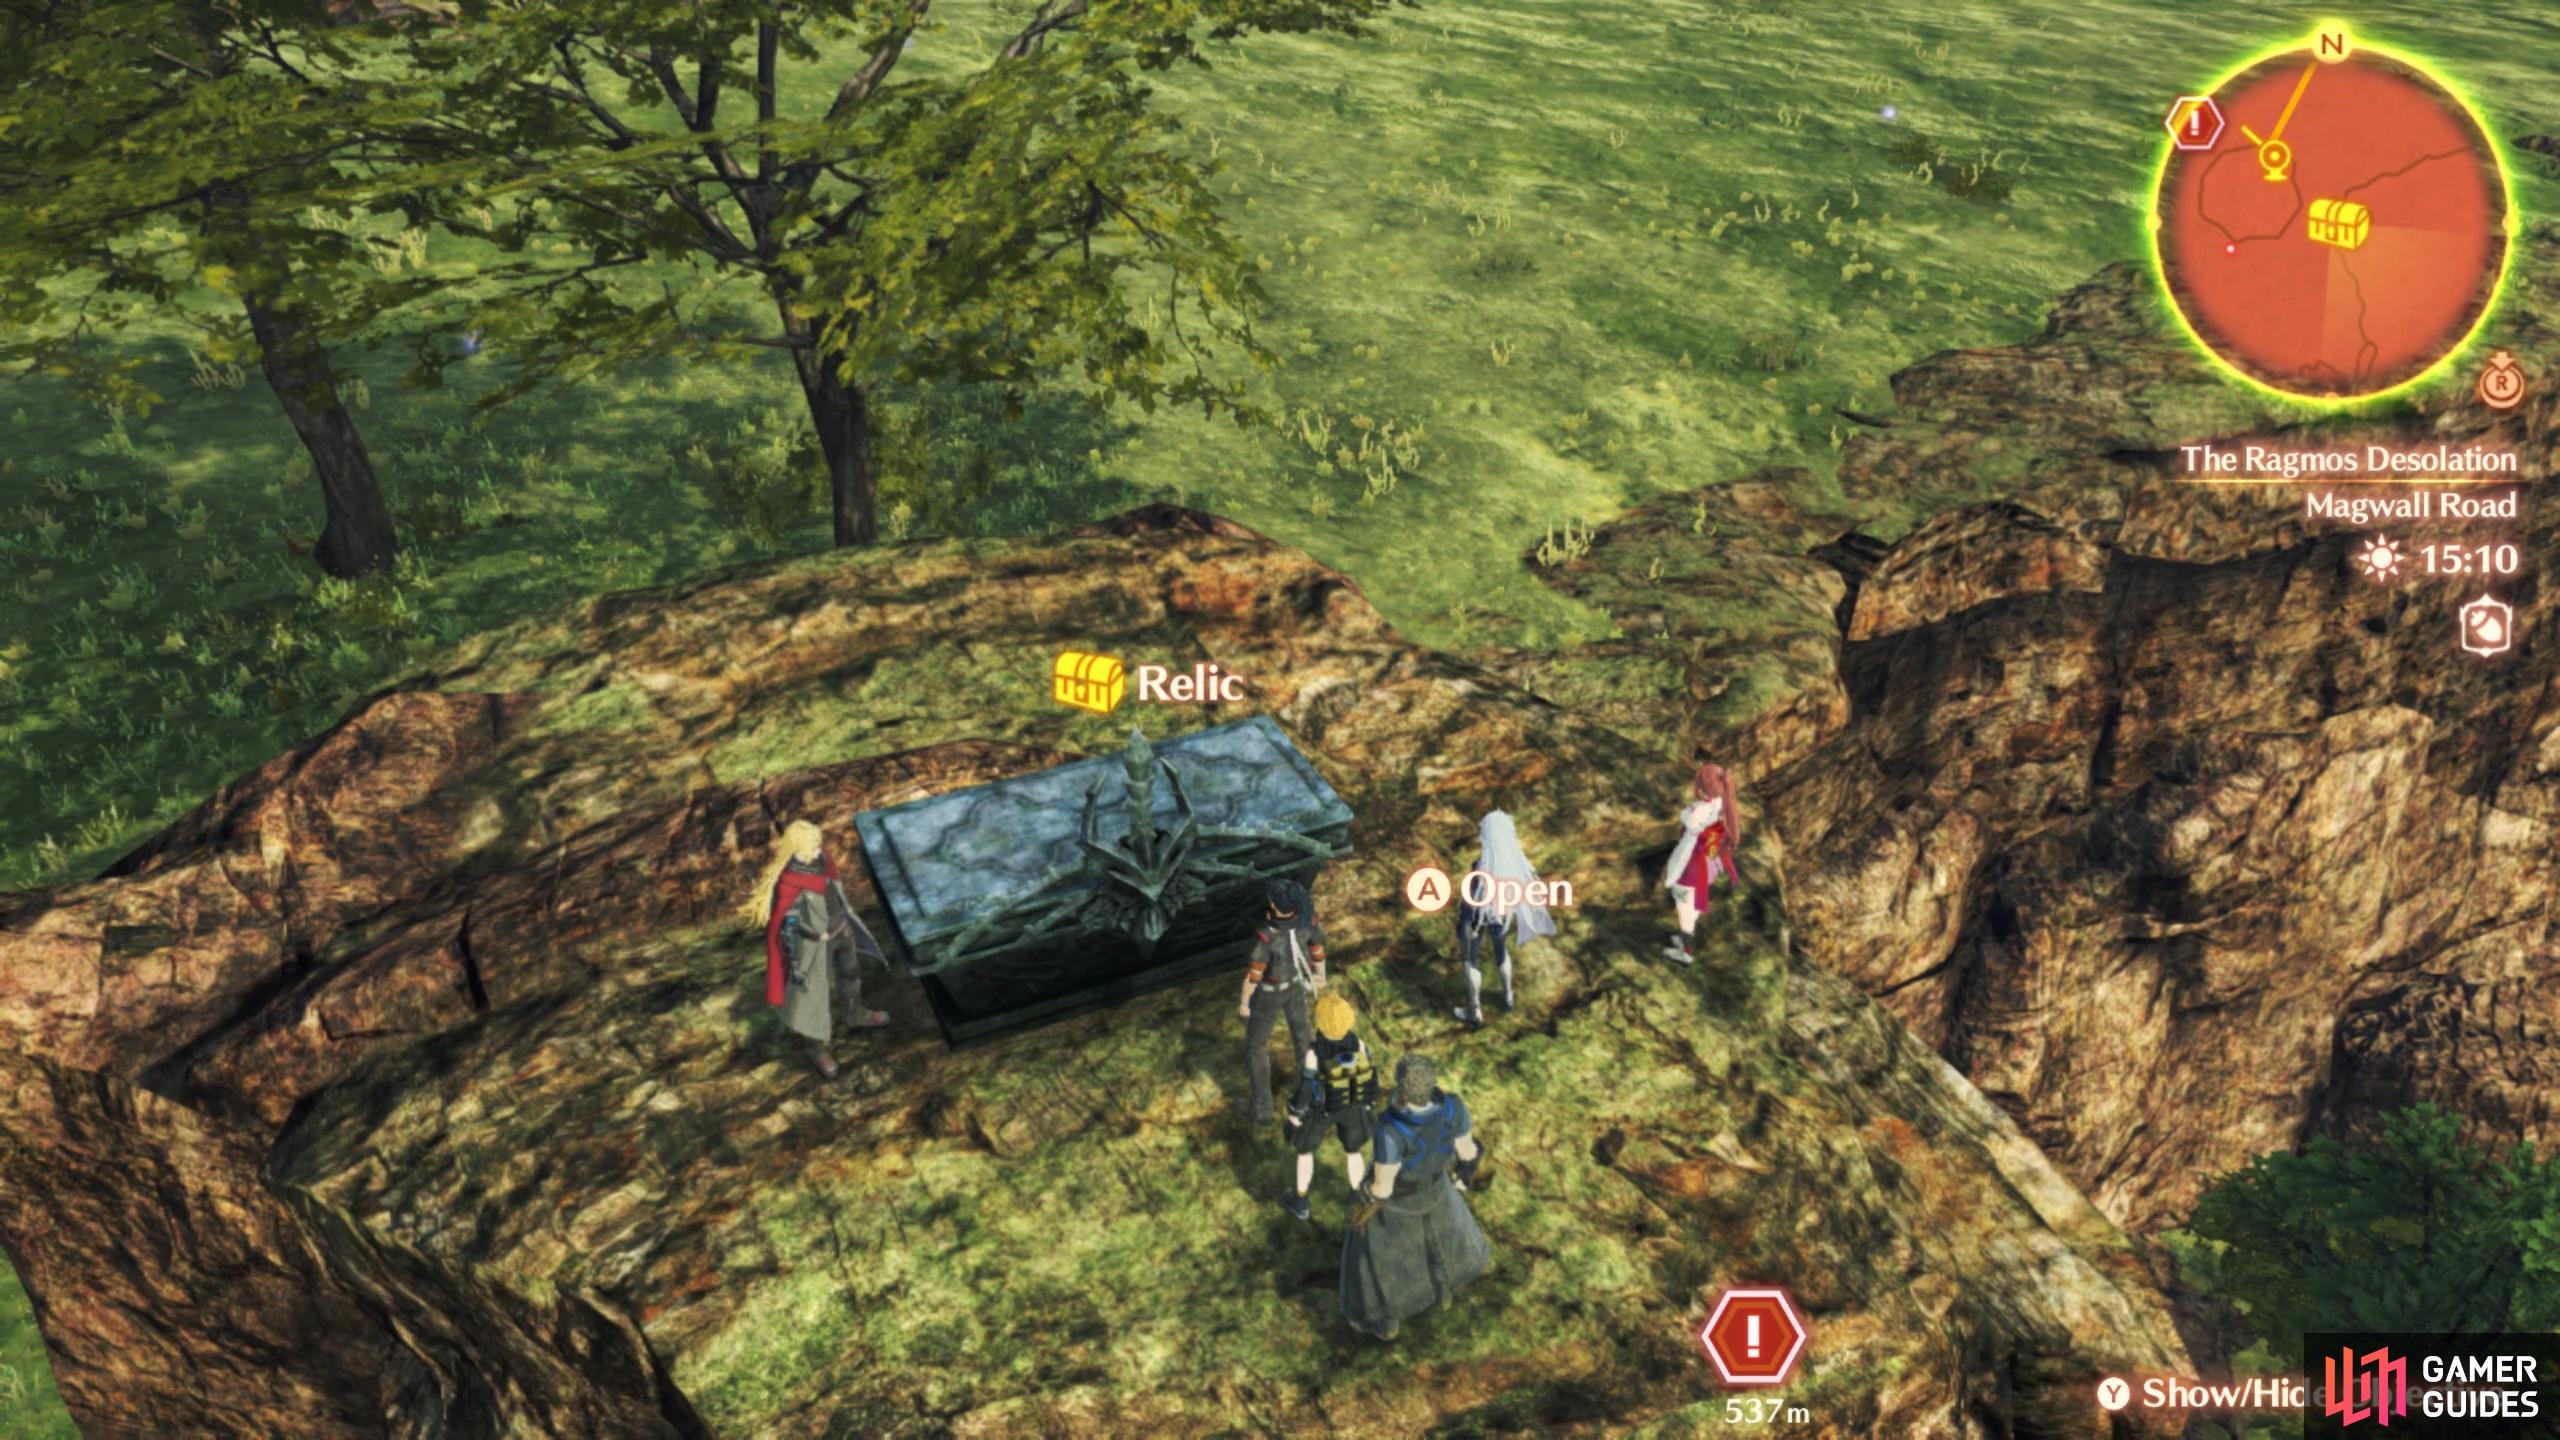
You’ll have to jump down to this Relic after landing to get the Unlock Kit
For the final Unlock Kit on this list, you need access to the upper areas of Raguel Lake. As you cross the big bridge there, you can see little islands floating in the sky below it. You can drop down to these islands from the bridge, so do that on the western side. One of the islands has two spots for you to construct Ether Slides and for this kit, take the one going south. This will put you on a pillar and you will be able to jump to the other raised section, where there’s a Relic that contains the Unlock Kit.
No Comments