

This is a guide for the “Inhumanity” Hero quest in Xenoblade Chronicles 3. It’ll navigate you through the necessary steps to starting the Quest and unlocking a new Hero, Segiri.
A mysterious girl appeared, piloting a fearsome Levnis. Just who is this person…?
| Icon | Hero | Prerequisite | Level | Rewards |
|---|---|---|---|---|
 |
Segiri | Chapter 6 | 56 | 4900 EXP, 4600 G, 10 SP |
How to start the “Inhumanity” Quest
This quest appears from Chapter 6, as soon as you’re free to roam the snowy landscape of the Aetia Region, Upper. However, before you can begin it, you must complete a long chain of quests involving the Mysterious Raider enemies.
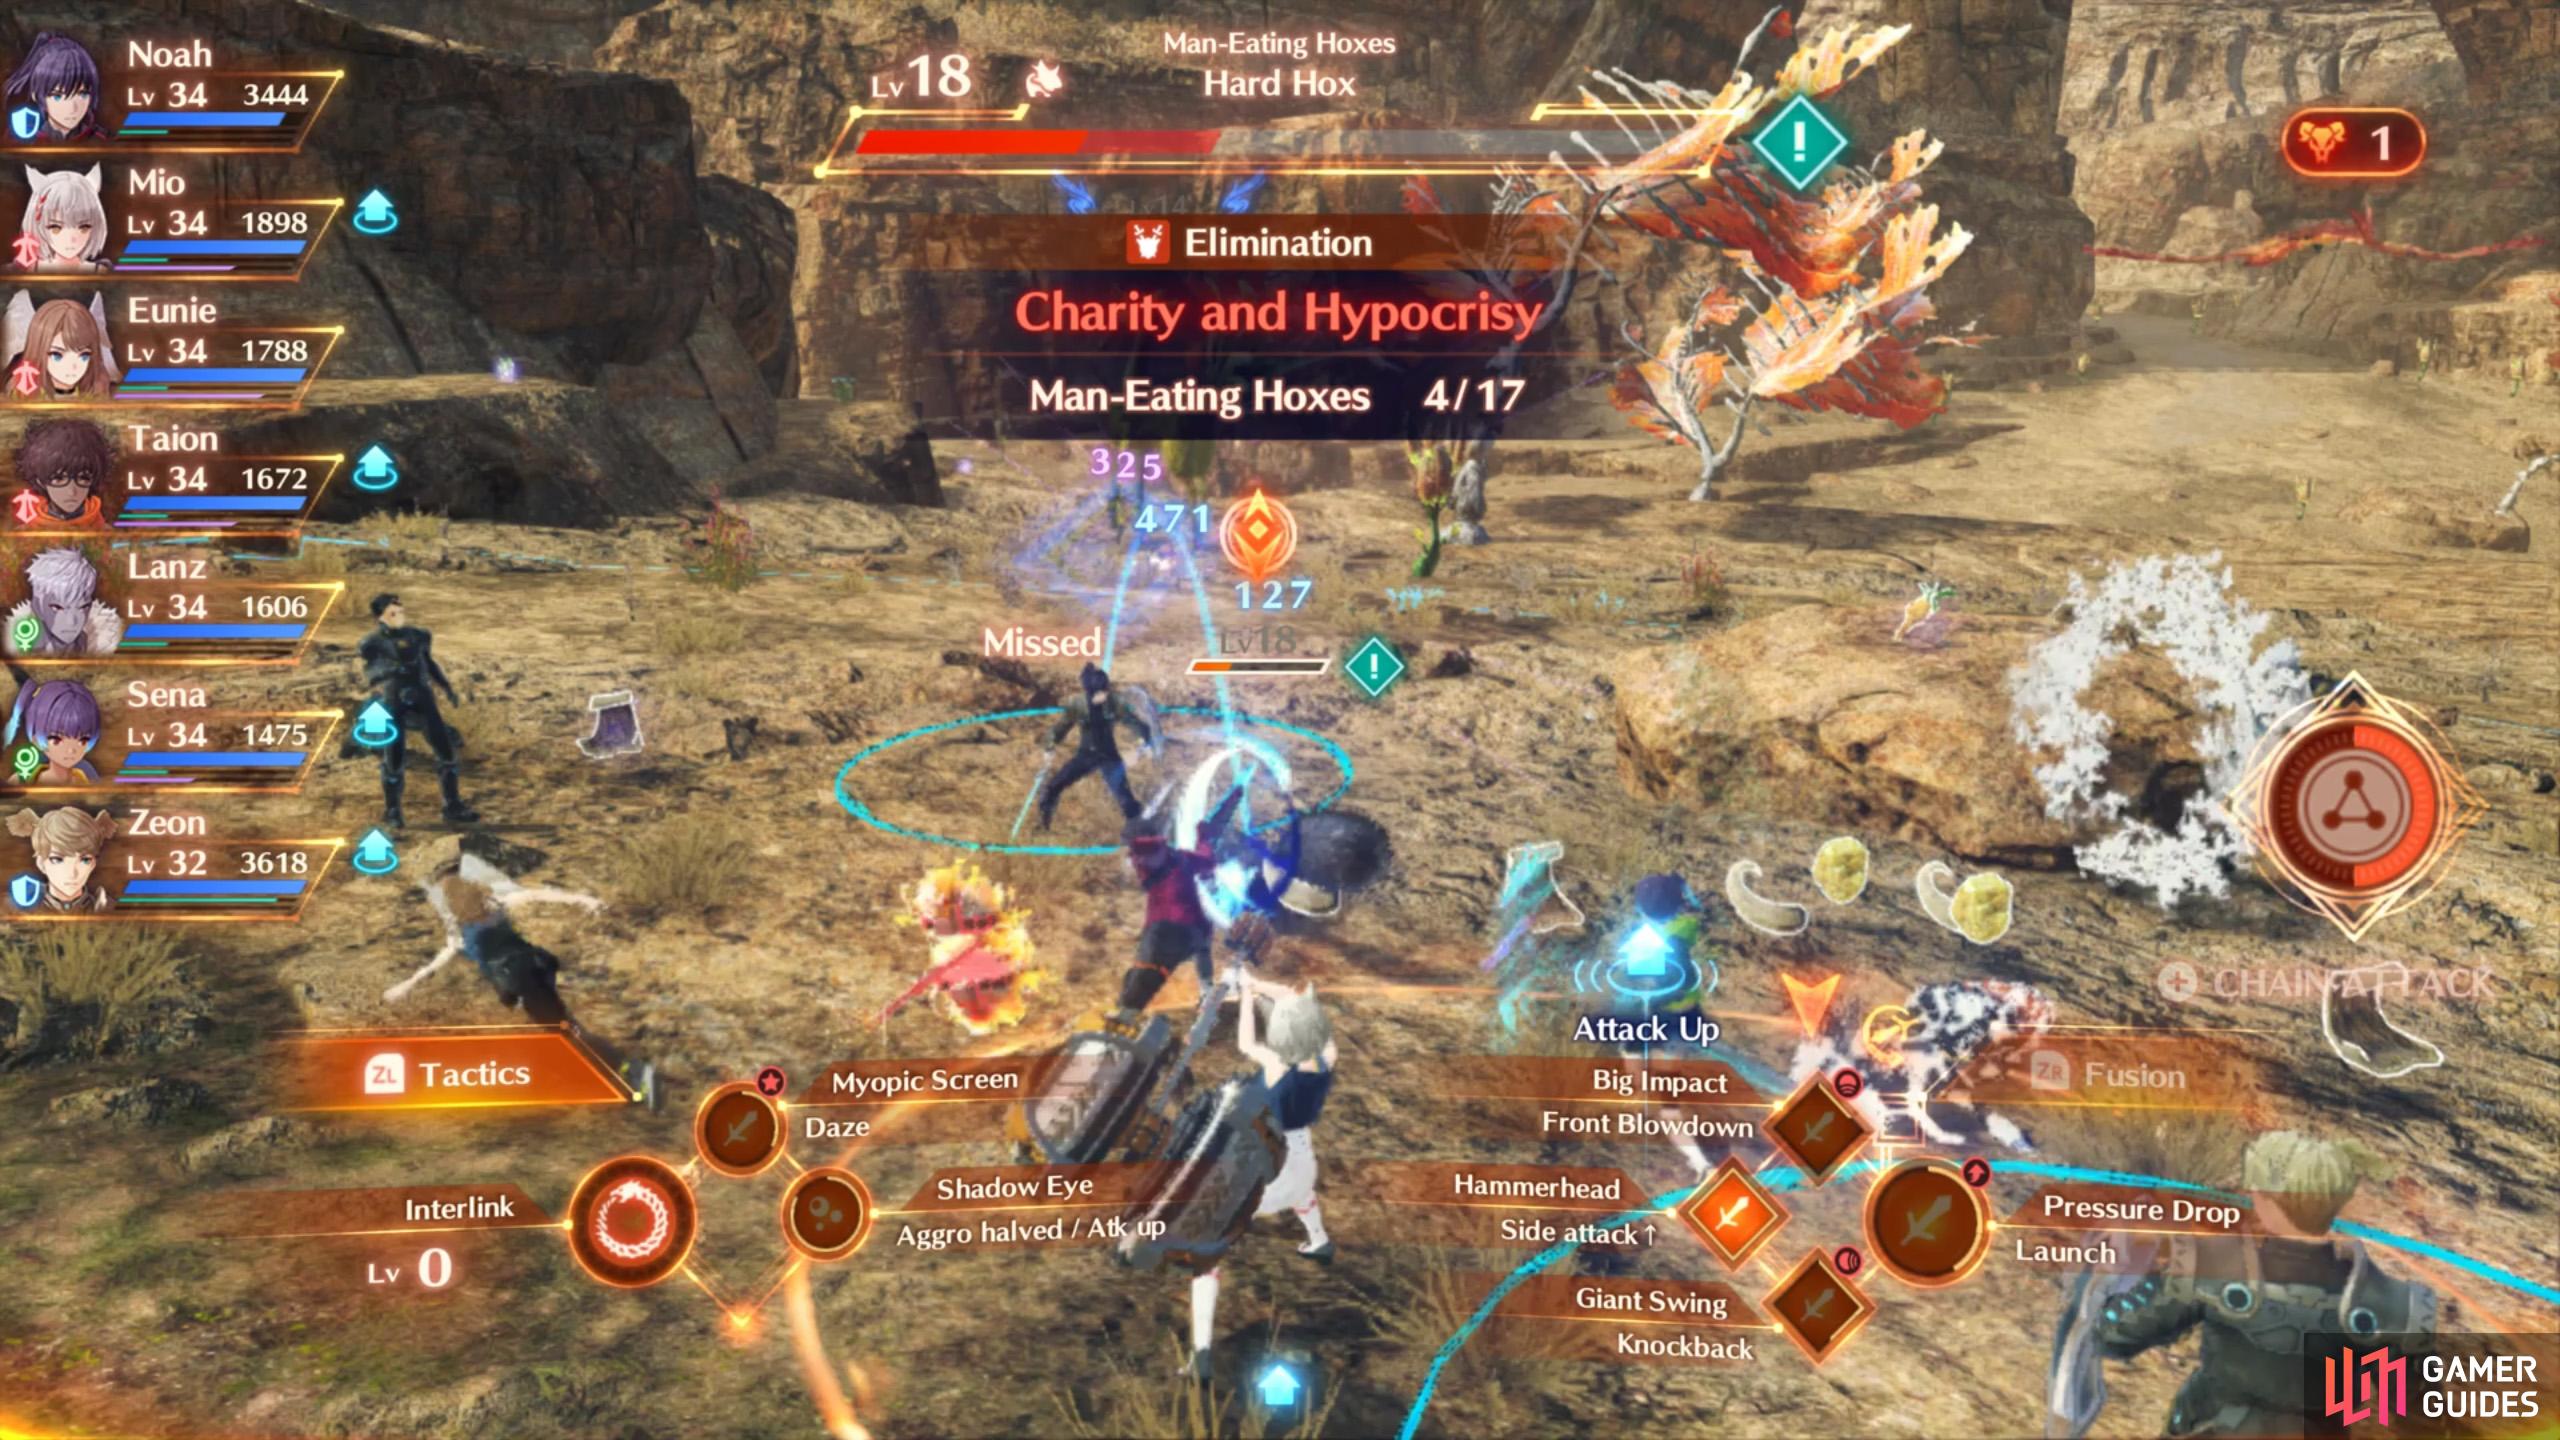
Step 1: Complete the “Charity and Hypocrisy” Quest
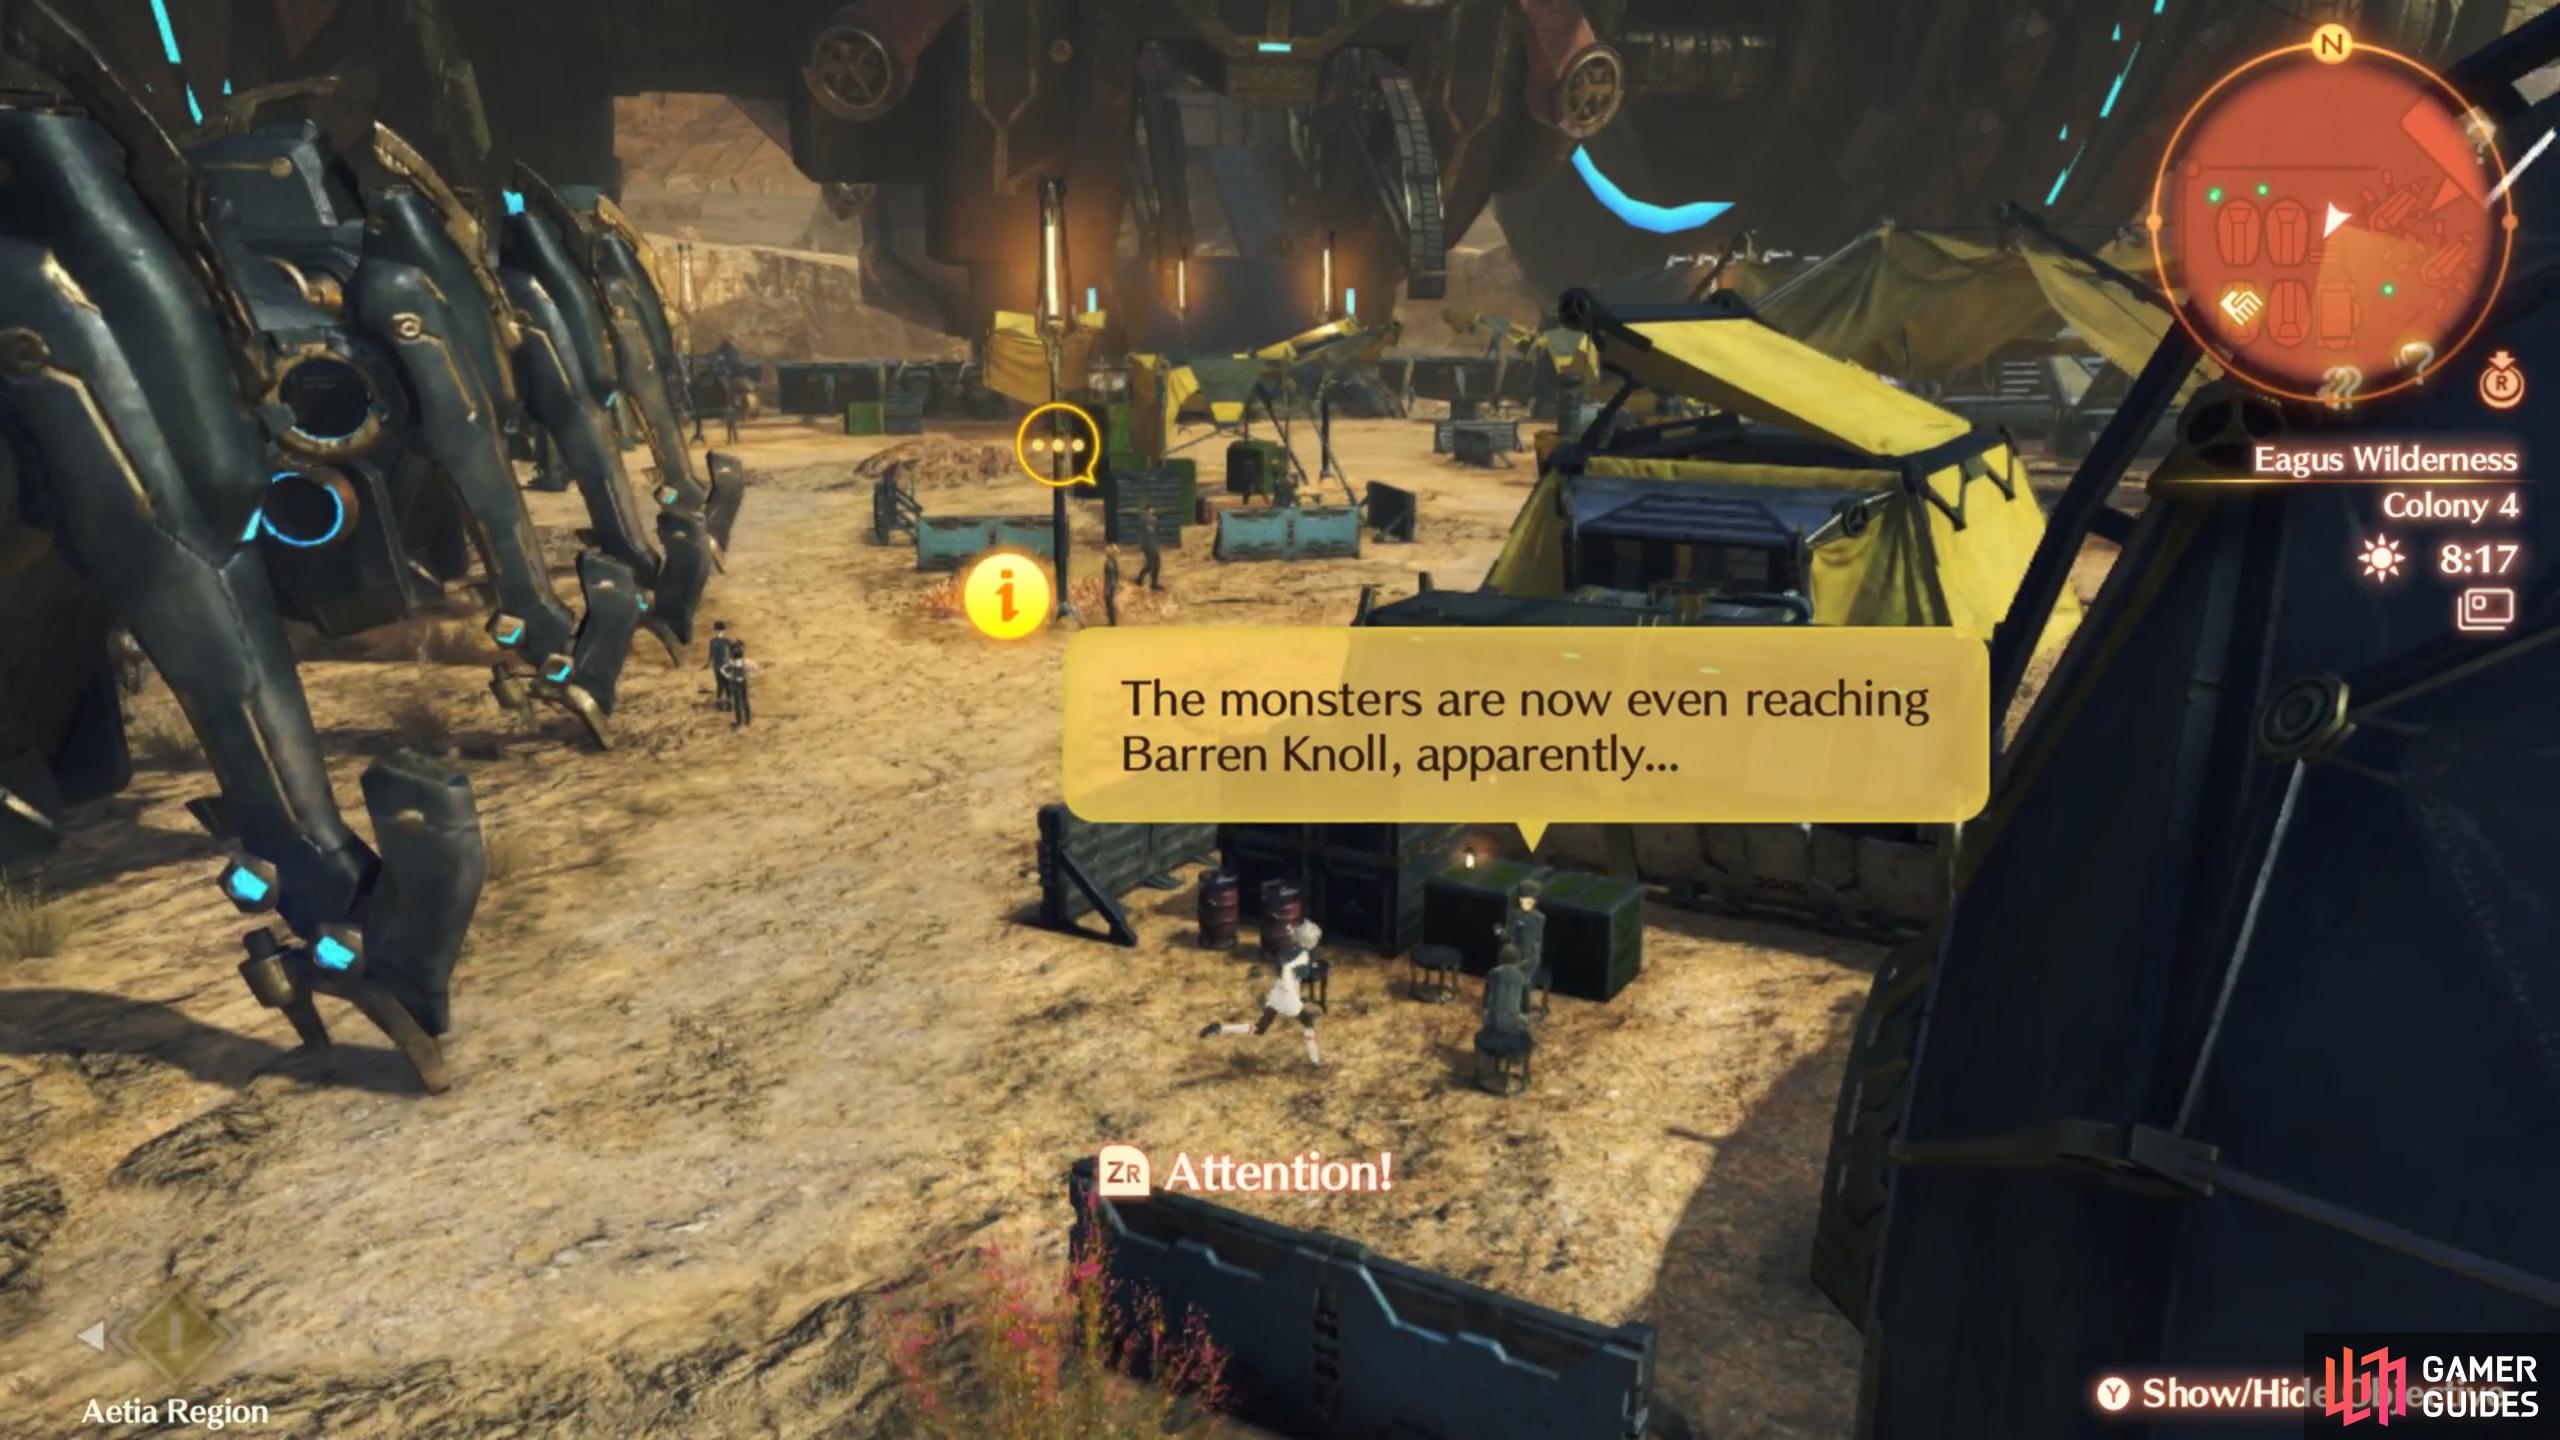
Listen to this gossip in Colony 4.
After discussing the topic, rush to Barren Knoll.
After completing Ethel’s Hero Quest, additional quests will be available from Colony 4, by going around the colony, listening to Info Fragments and discussing them at a rest area. Among them is the Charity and Hypocrisy Quest, from the “Herding Monsters” topic.
This quest is unrelated to Segiri herself, but is required to gain Colony 4’s trust for the next quest.
Step 2: Complete the “Tactical Eradication” Quest
Look out for this particular piece of gossip.

After discussing among yourselves, speak to Maxie and assist him.
Once you’ve cleared “Charity and Hypocrisy”, return to Colony 4 around Chapter 4 and listen for more Info Fragments. You want to discuss the “Tactician’s Plan” topic at a rest area to trigger the Tactical Eradication quest. This involves defeating three strong enemies.
Again, this quest is unrelated to Segiri, but just keep bearing with it.
Step 3: Complete the “Imminent Illusion” Quest
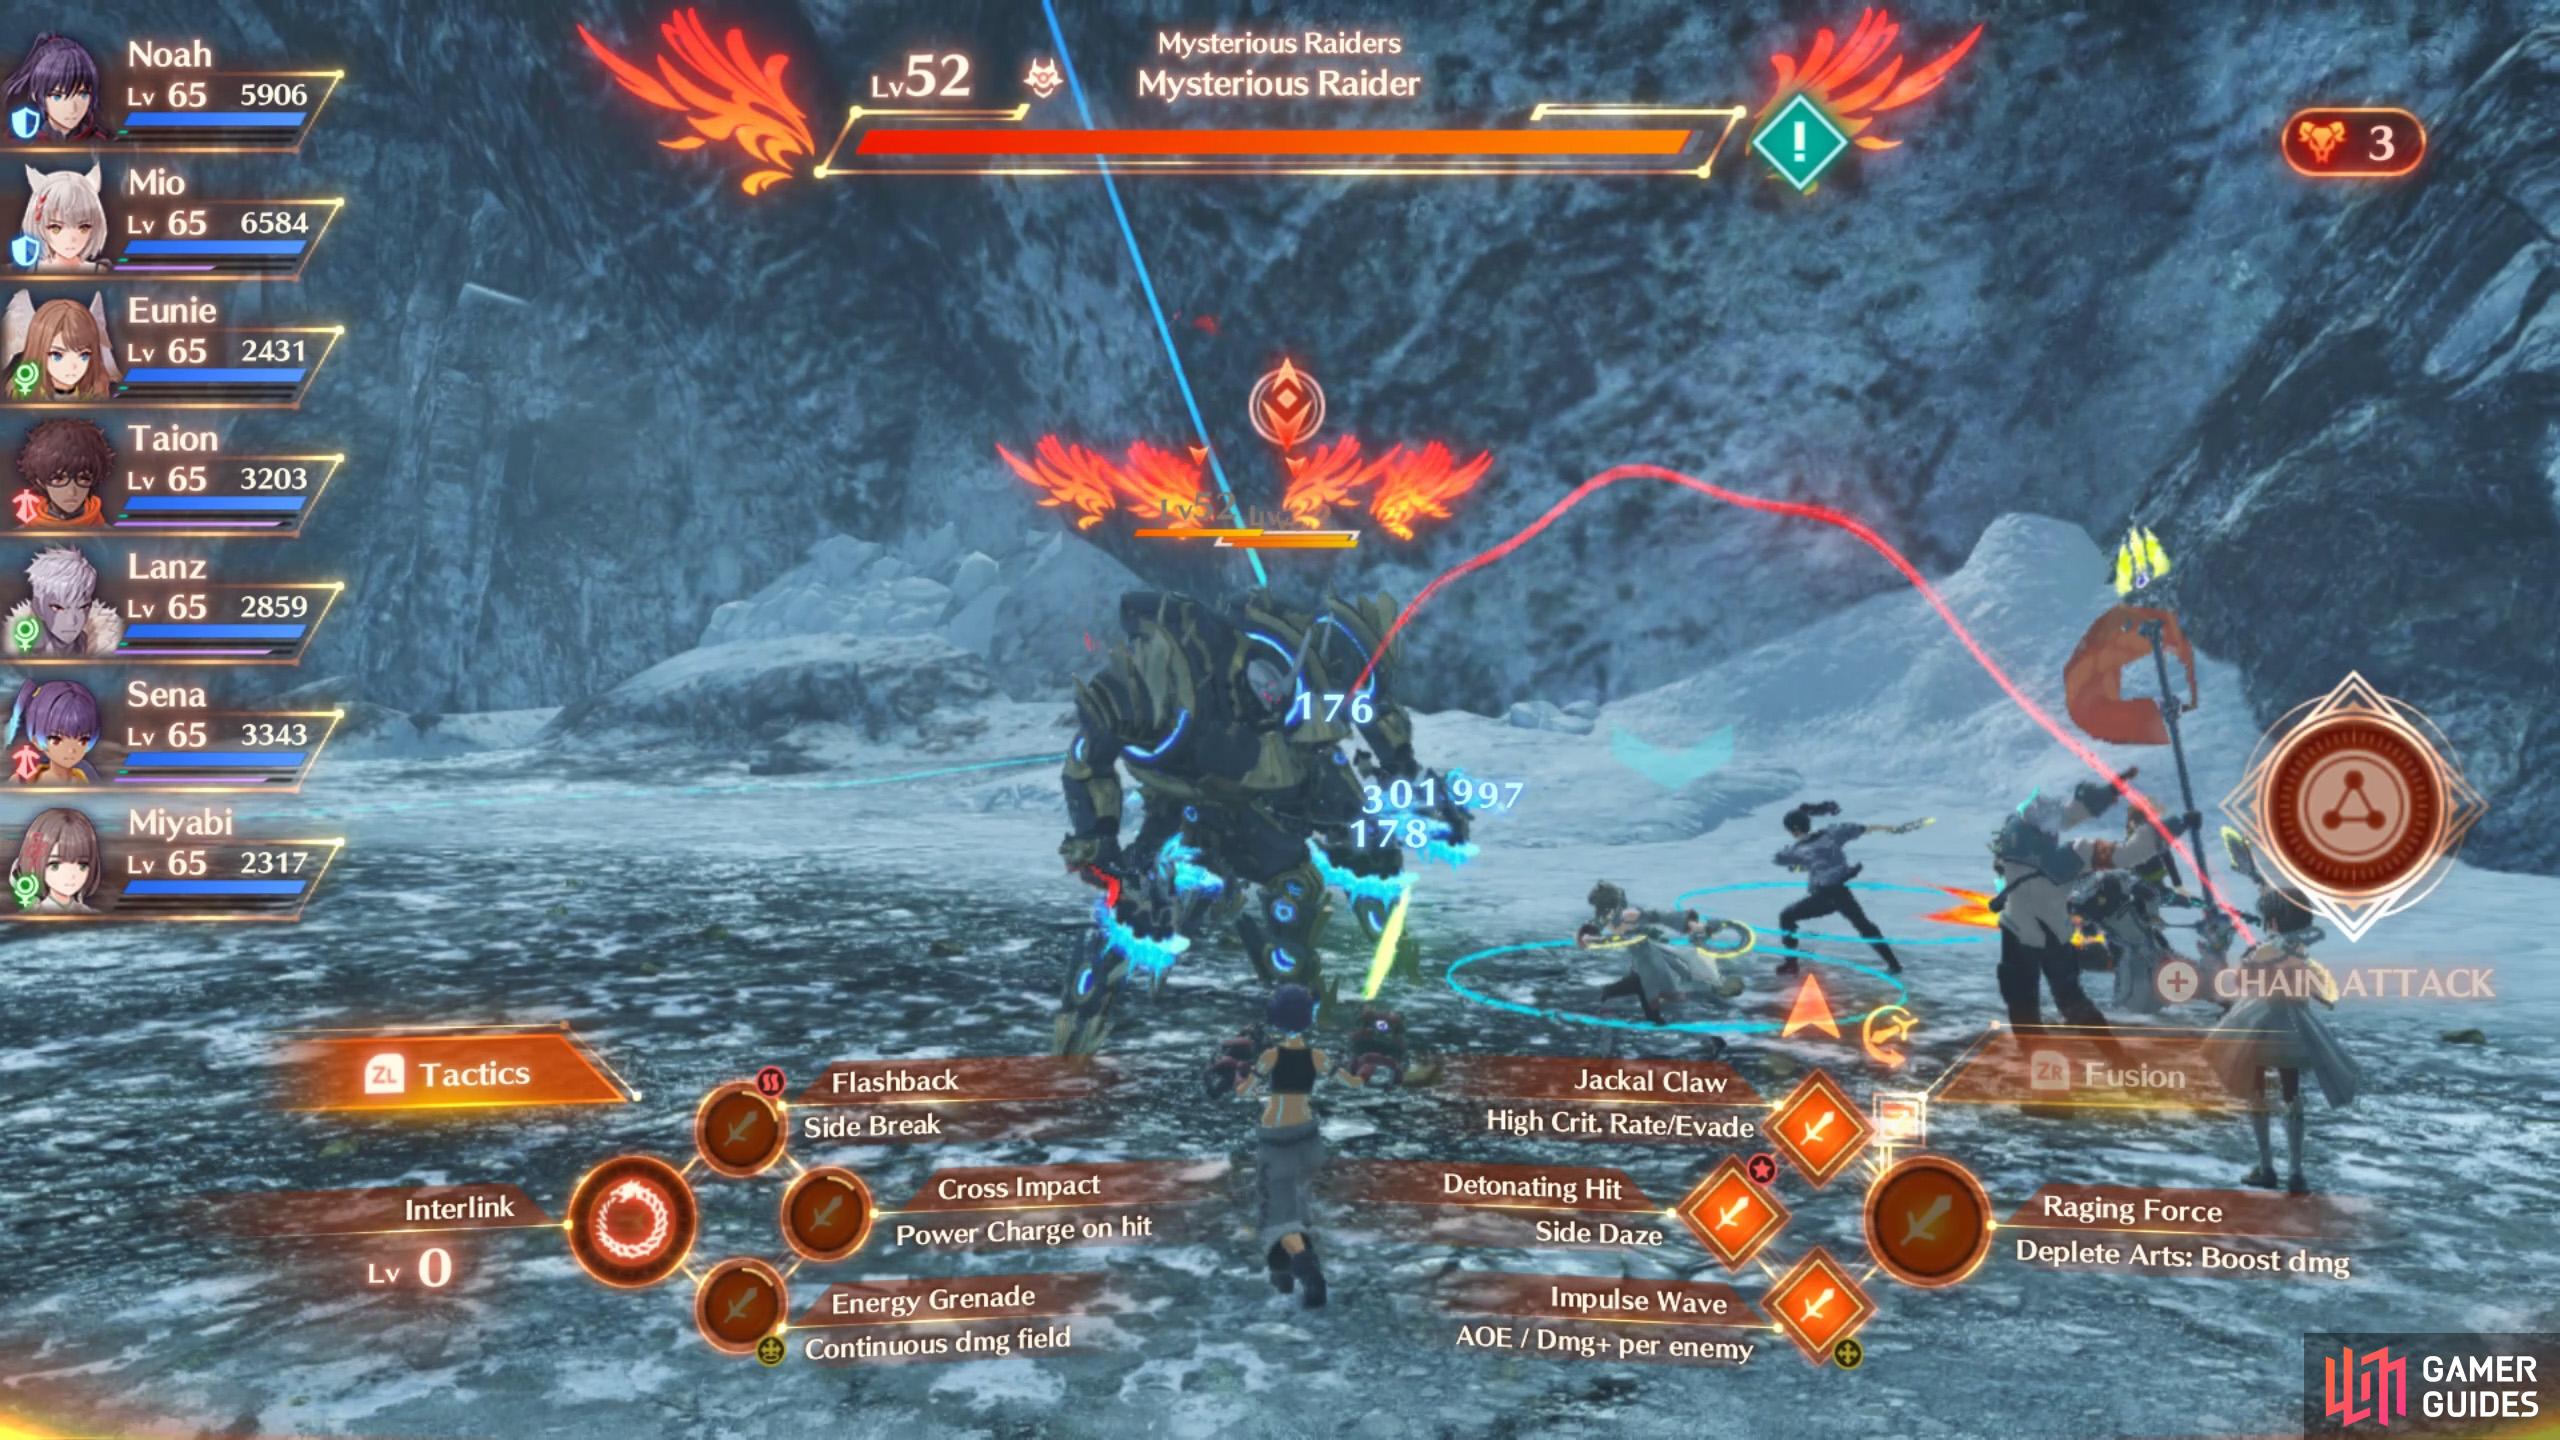
This will be your first run in with the Mysterious Raiders.
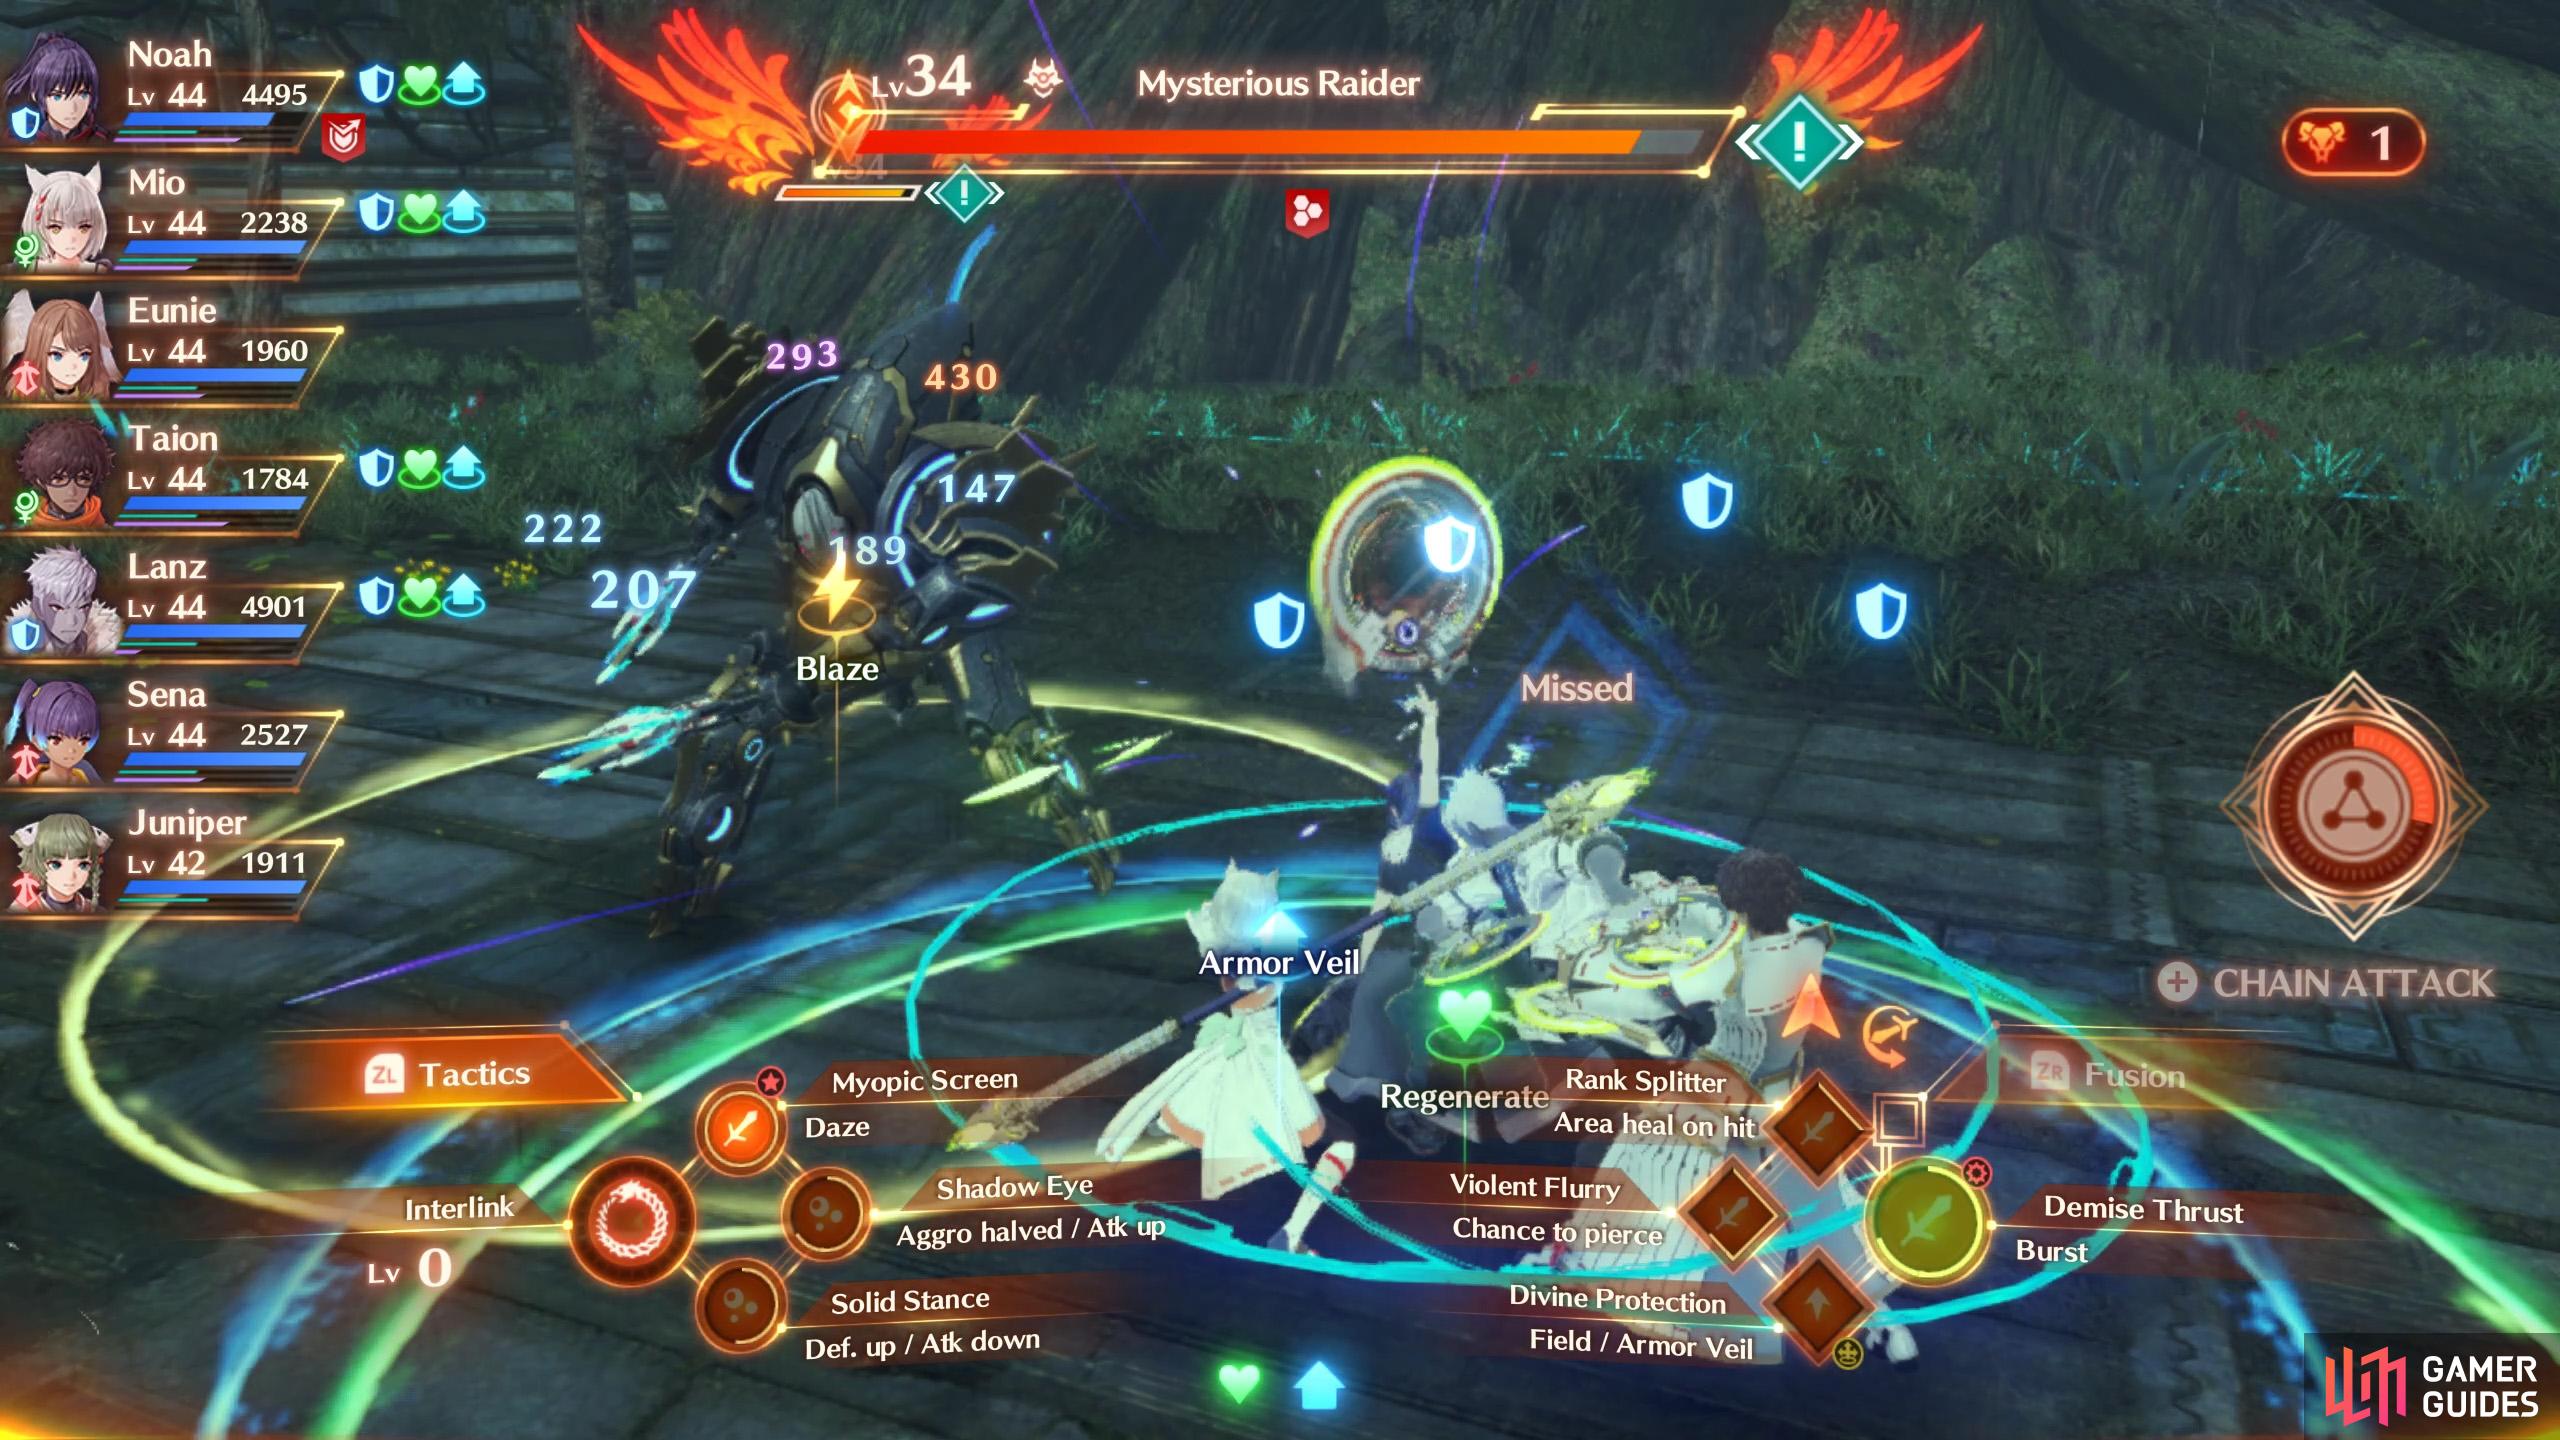
This battle is mandatory to progress the story.
During the main story, after recruiting Juniper and using the zip-line to proceed further north into the High Maktha Wildwood, you’ll automatically trigger this quest right before entering the Tree Hollow Opening. A Mysterious Raider enemy will attack you; fend it off to the best of your ability.
To further clarify, you cannot miss this quest/fight.
Step 4: Complete the “Severed Connection” Quest

You need to befriend Colony 4 to trigger this quest.
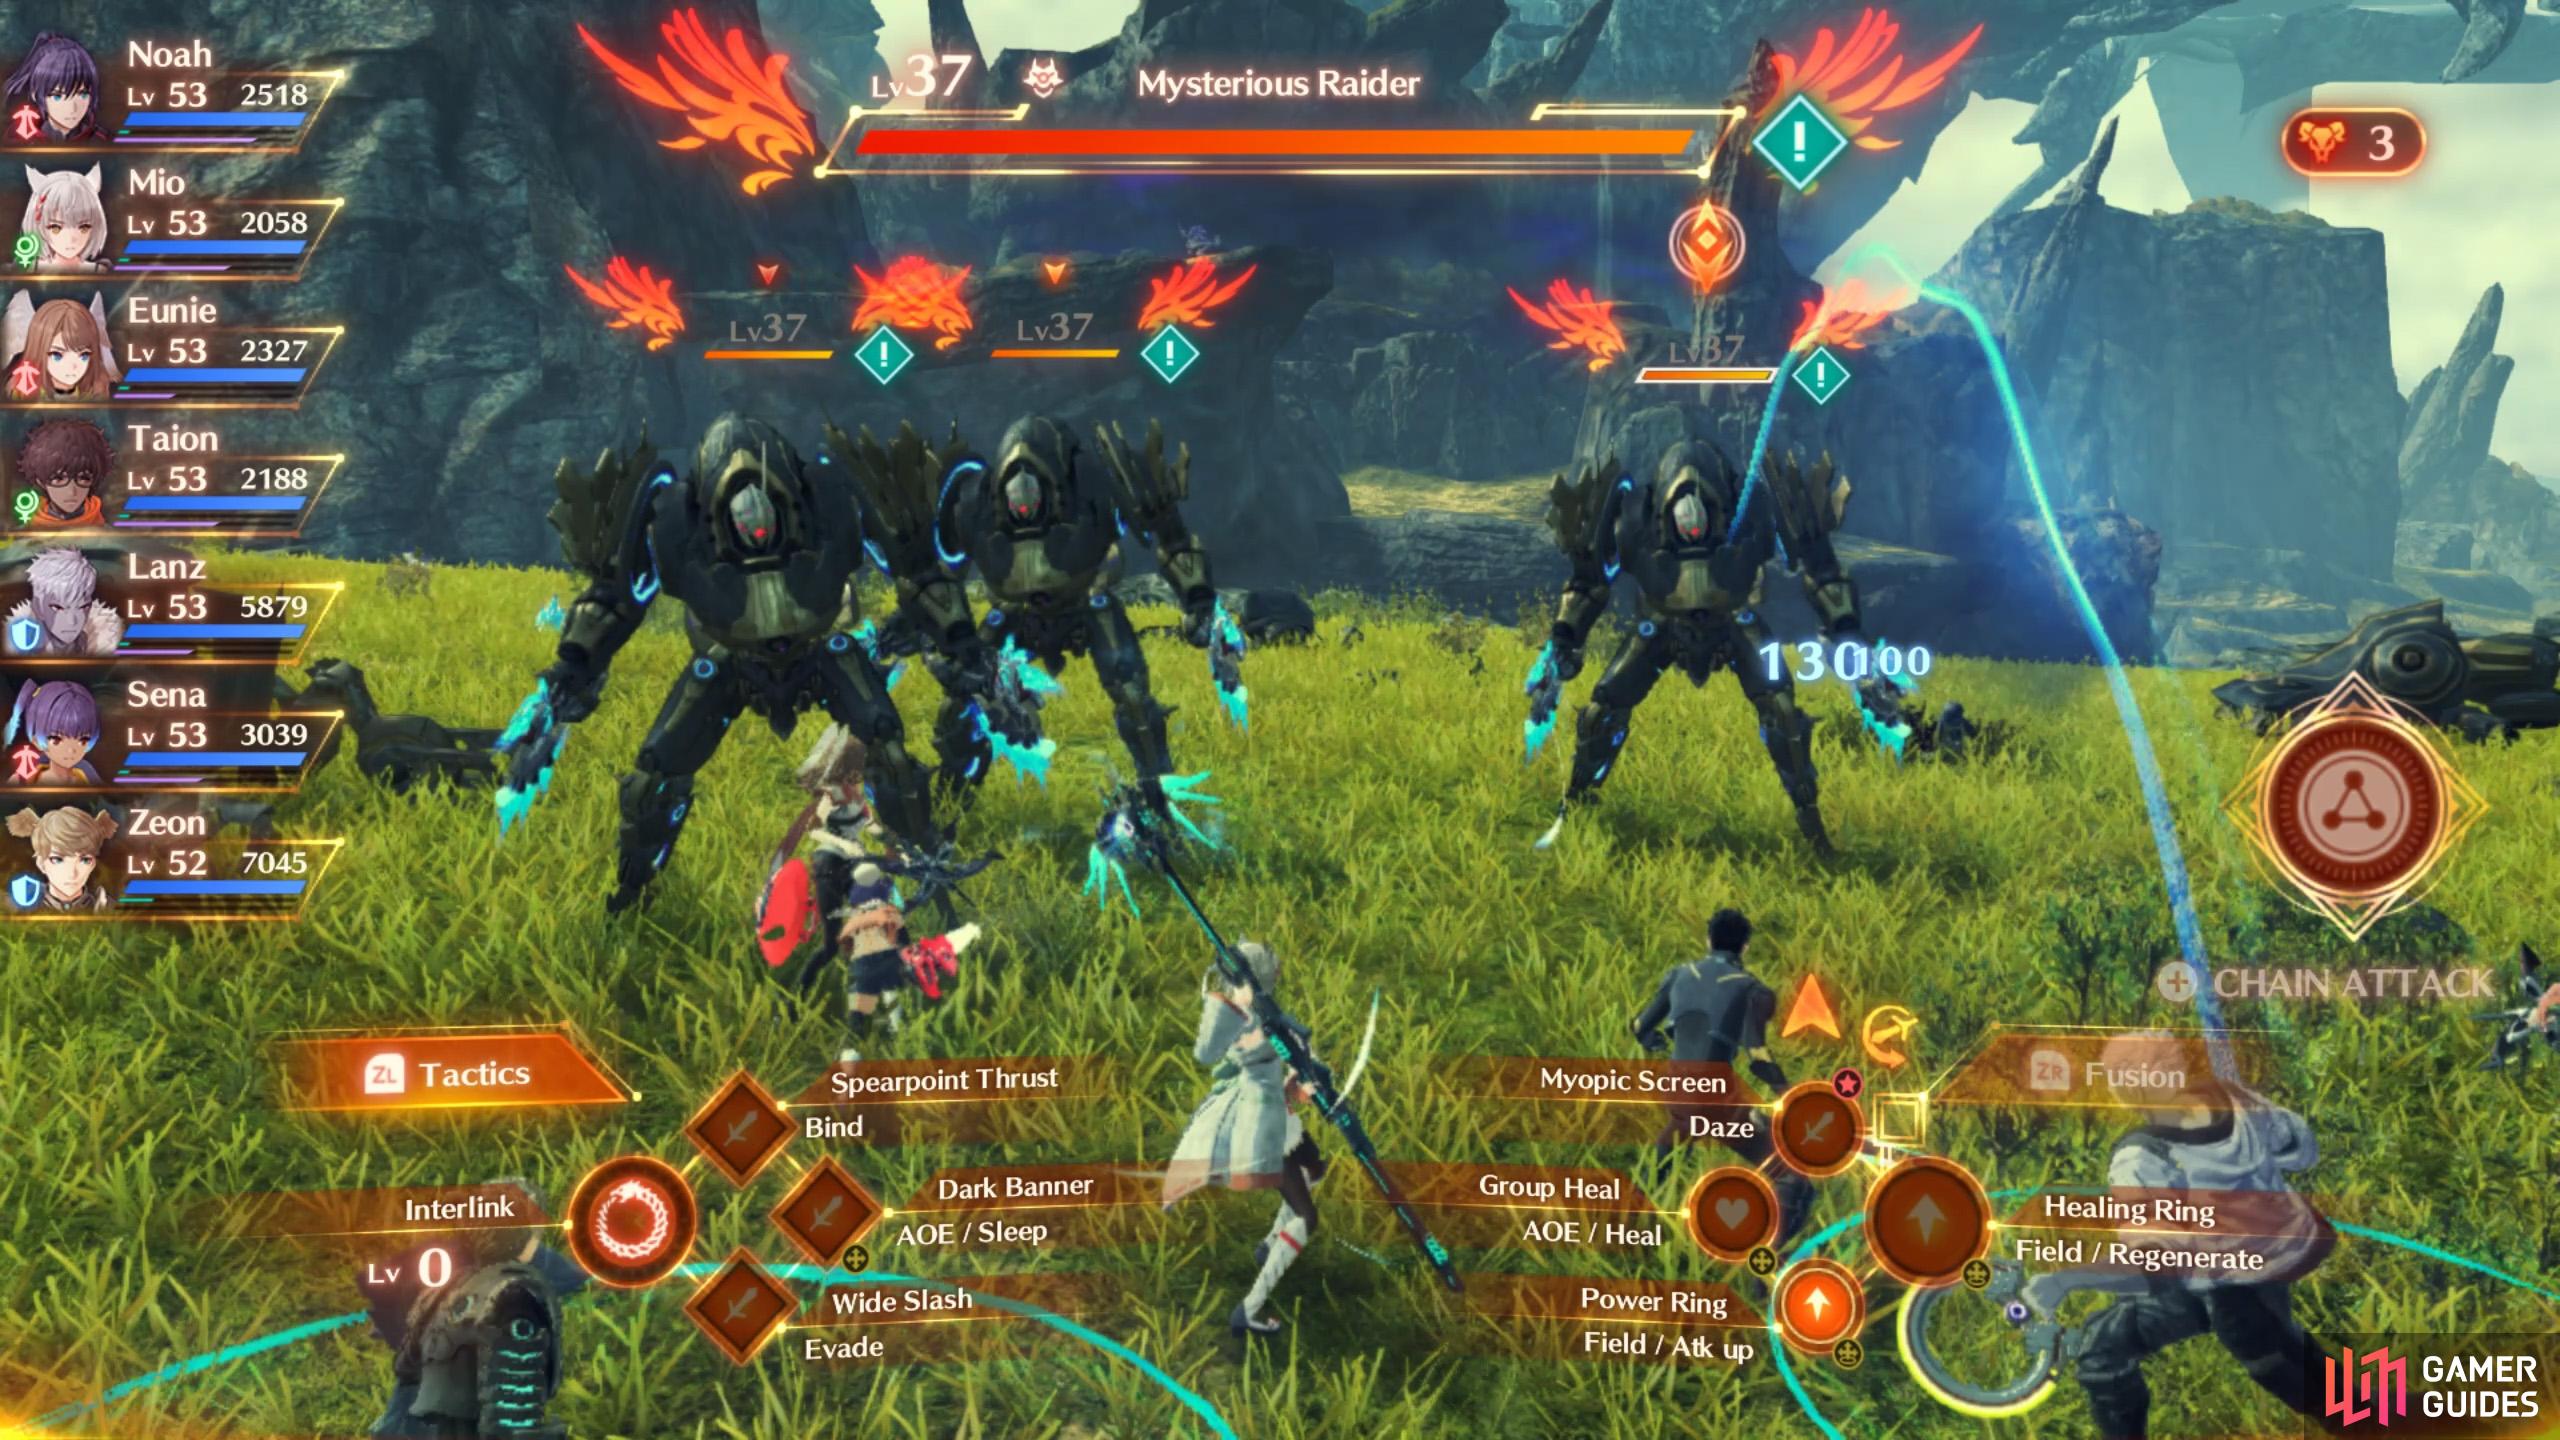
This time, you must fight 3 Mysterious Raiders.
After your first encounter with the Mysterious Raider, so long as you completed the two quests in Step 1 and 2, there should be a quest-related marker near the main entrance of Colony 4. This will trigger the “Severed Connection” quest.
Head to the Medical Quarter and Maxie will accompany you to your next destination, at Murmur Rise in the Aetia Region. It’s located past the climbable wall north-east from Kamos Guidepost. When you reach the quest marker, you’ll have to fight three Mysterious Raider foes.
Step 5: Complete the “Writer’s Block” Quest
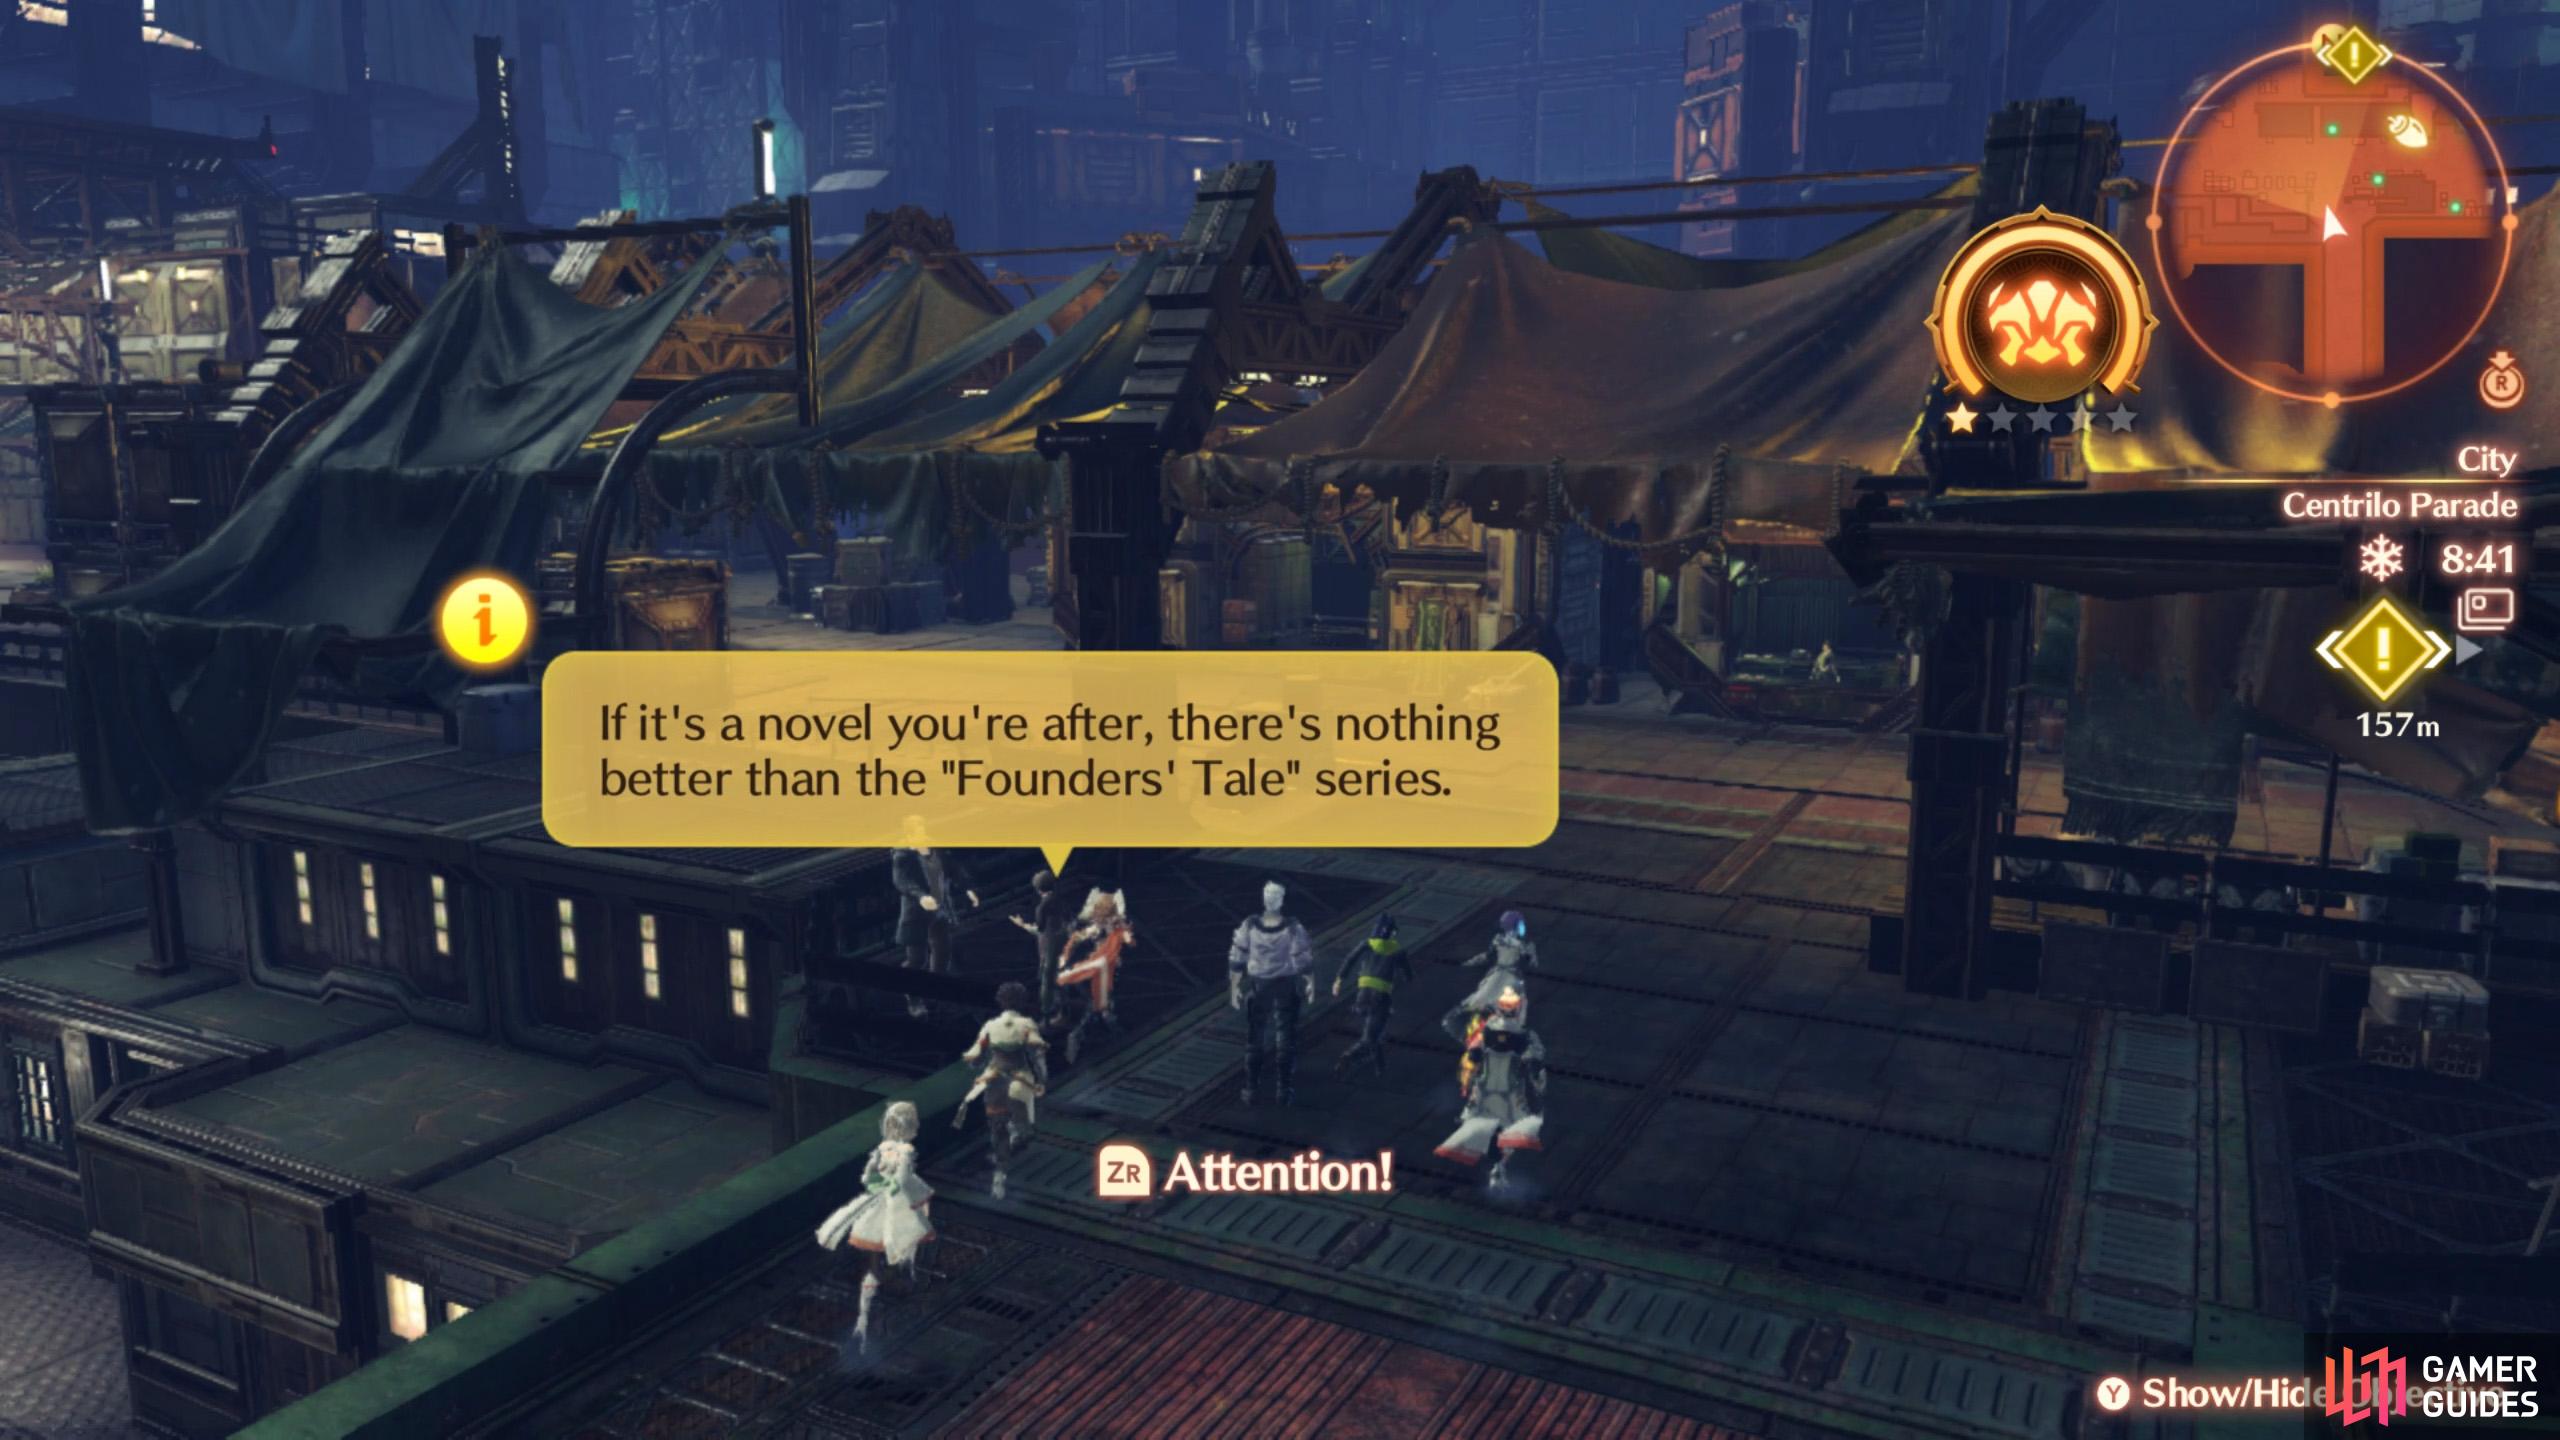
Keep your eyes peeled for this juicy piece of gossip.
The Mysterious Raiders will surprise you during your treasure hunt.
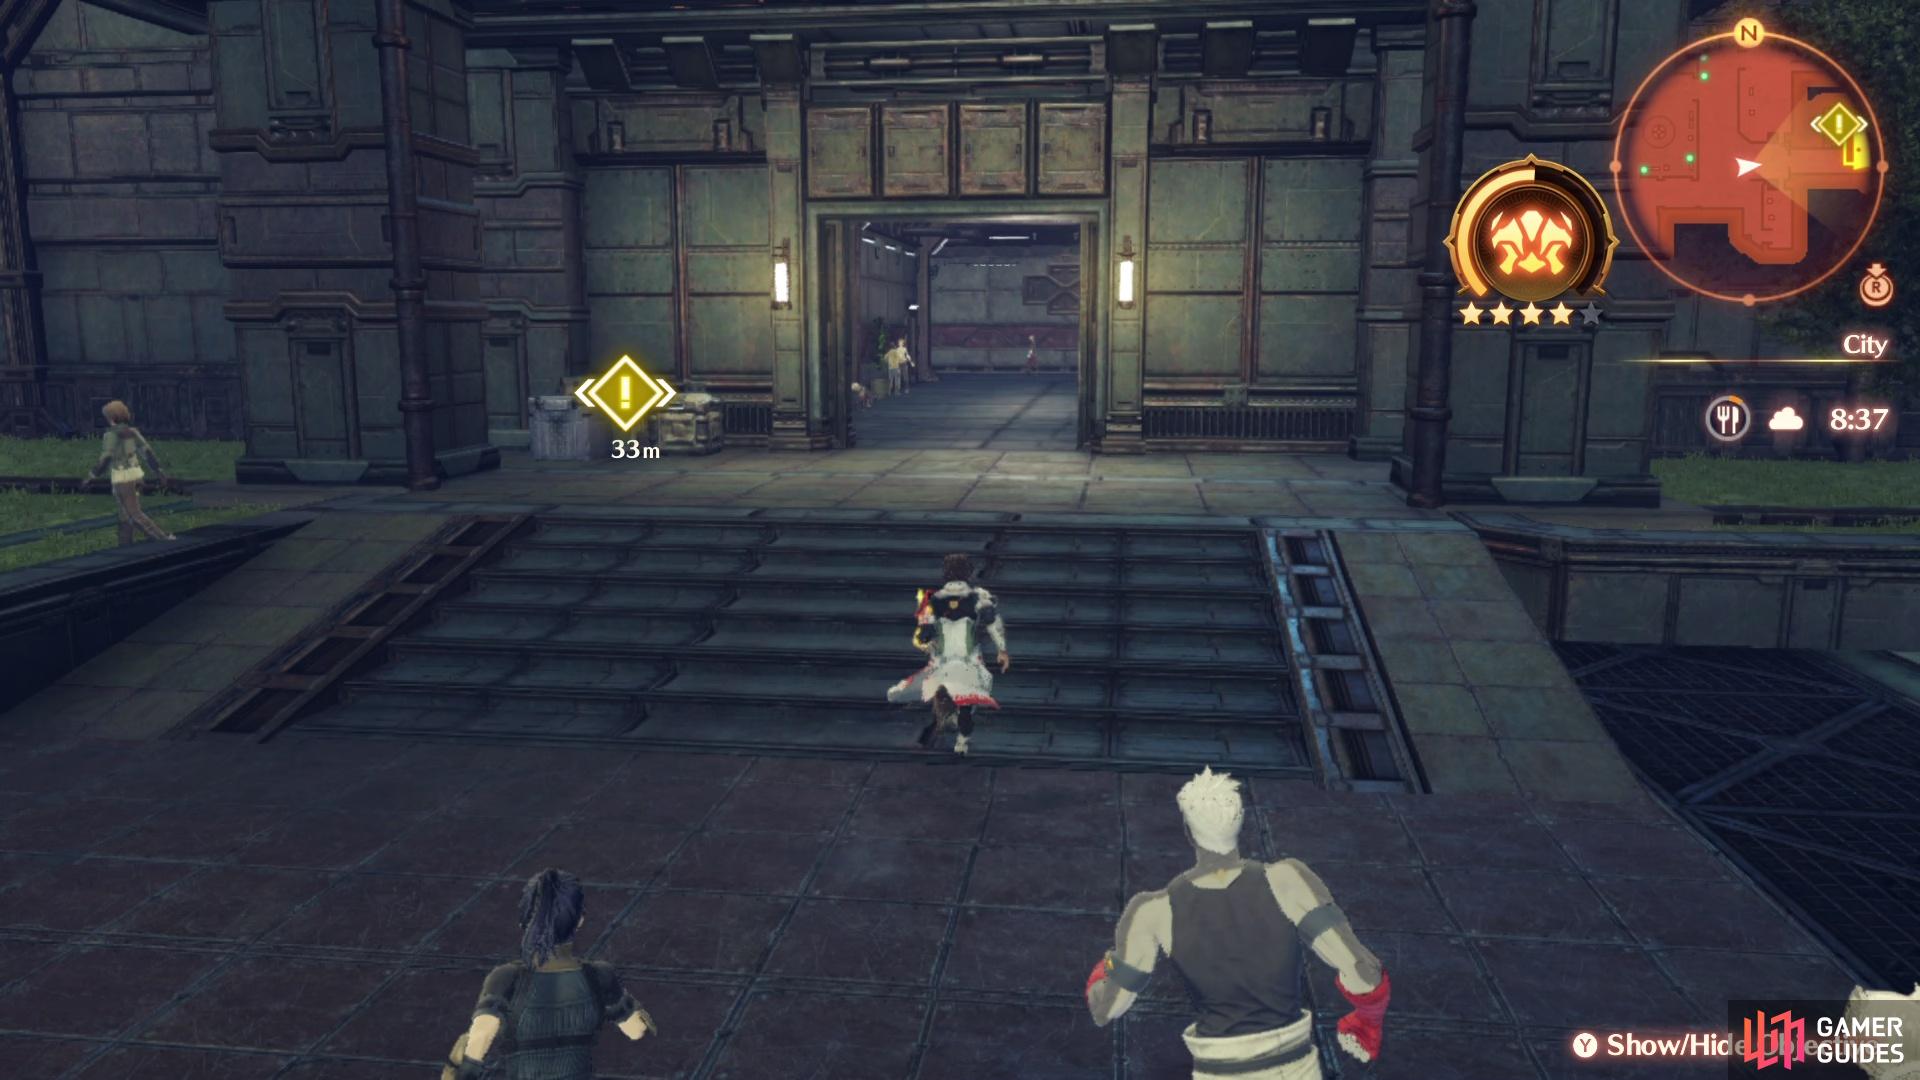
Around Chapter 5, if you completed the previous 4 quests, you can find an Info Fragment within Centrilo Parade in the City, where the shops are, related to the Founder’s Tale. Discuss this at a rest area, then seek out Wellwell, who runs the bookshop.
This will lead you to the author, Leeanne, who’s at Virid Park. She’ll ask you to search five areas for inspiration.
- Distant Fingertip in the Fornis Region. Head south from Visura Parkland Camp at Elaice Highway, then climb up from there.
- Dannagh Desert, also in the Fornis Region. Specifically, the ledge overlooking the Quicksand Basin from the north.
- Ruins of Seebu in the Pentelas Region. Check the base of the building south from the Ruins of Seebu Camp, across the scarily narrow bridge.
- Old Cliffside Way, also in the Pentelas Region. A short distance south-west from the Vista of Rhonnar.
- Eternal Canopy in the Cadensia Region. On the big island north of Vinisog Holm Camp.
At three of these locations, you will encounter Mysterious Raider enemies again.
Step 6: Complete the “Illusion Returns” Quest
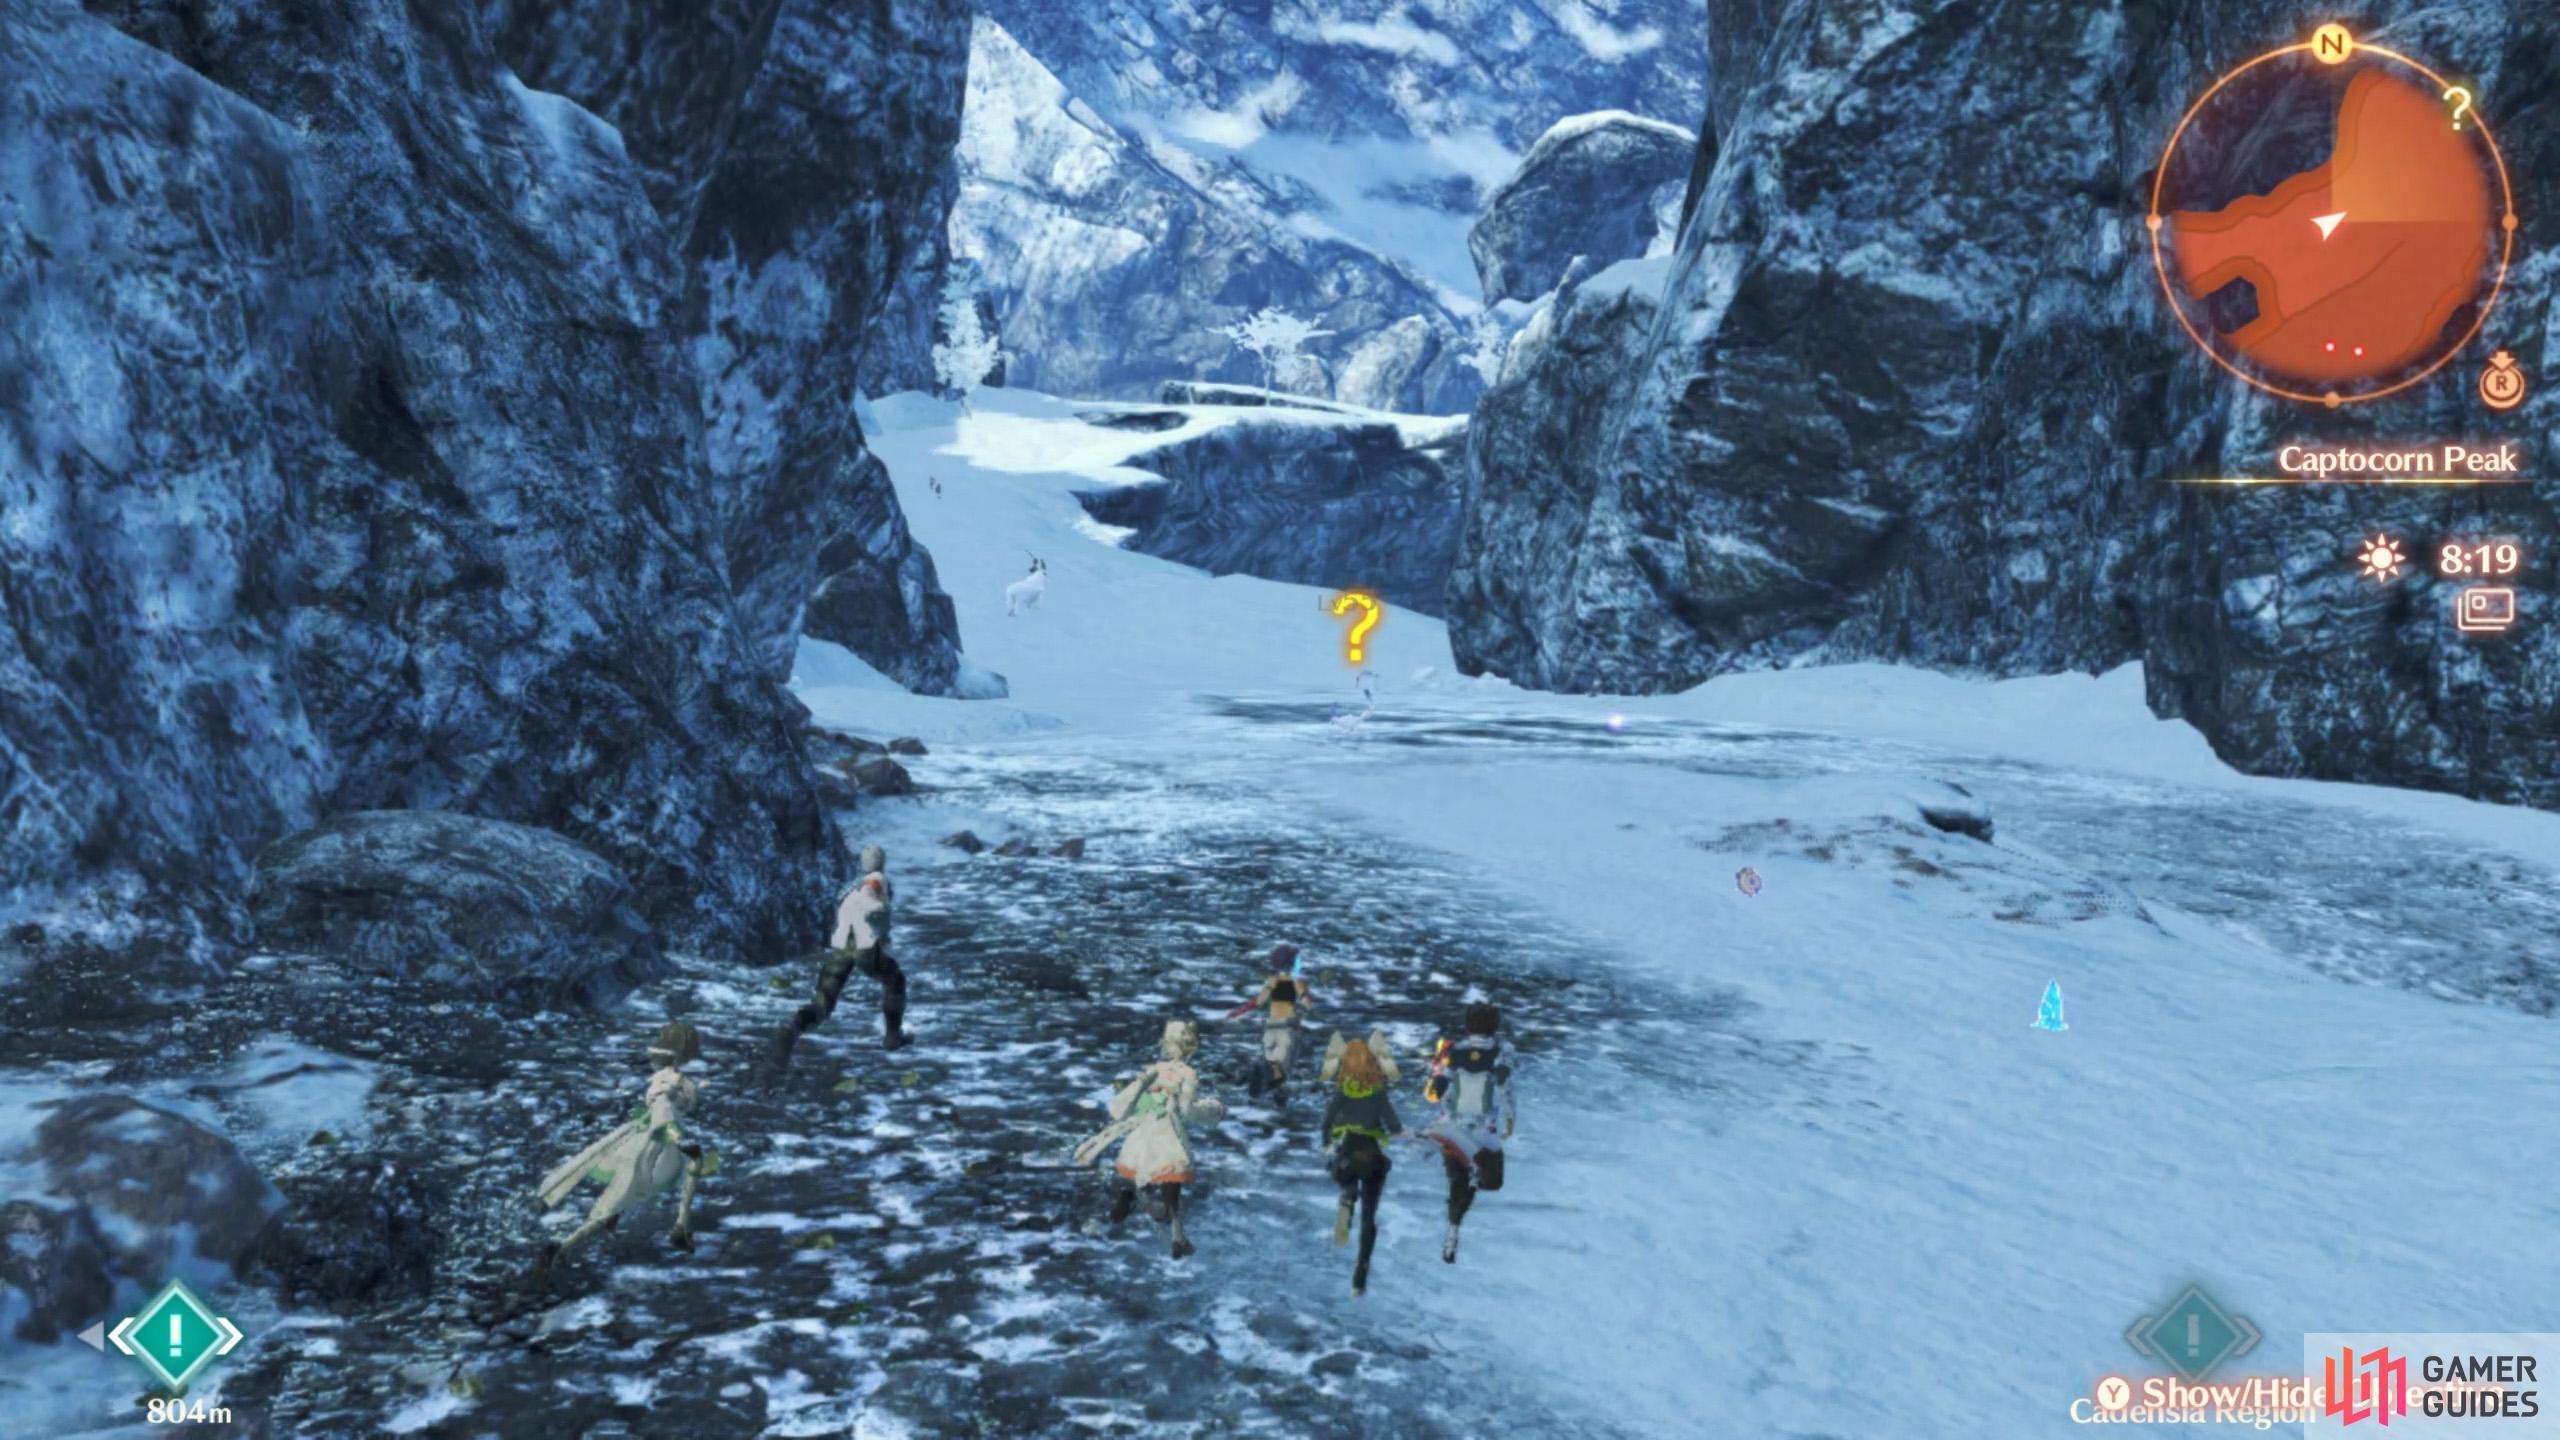
Look for this quest-related marker along the south path of the Aetia Region, Upper.
Yay, more of these mysterious enemies.
From Chapter 6, when you’re heading for the Cloudkeep at the Aetia Region, Upper, travel along the south path near Nocclia Mire. If you completed all of the previous 5 quests, a quest-related marker will appear around here. This will trigger a fight with 3 Mysterious Raider foes. You know the drill.
Upon completion of this quest, you’ll finally unlock Segiri’s Hero Quest!
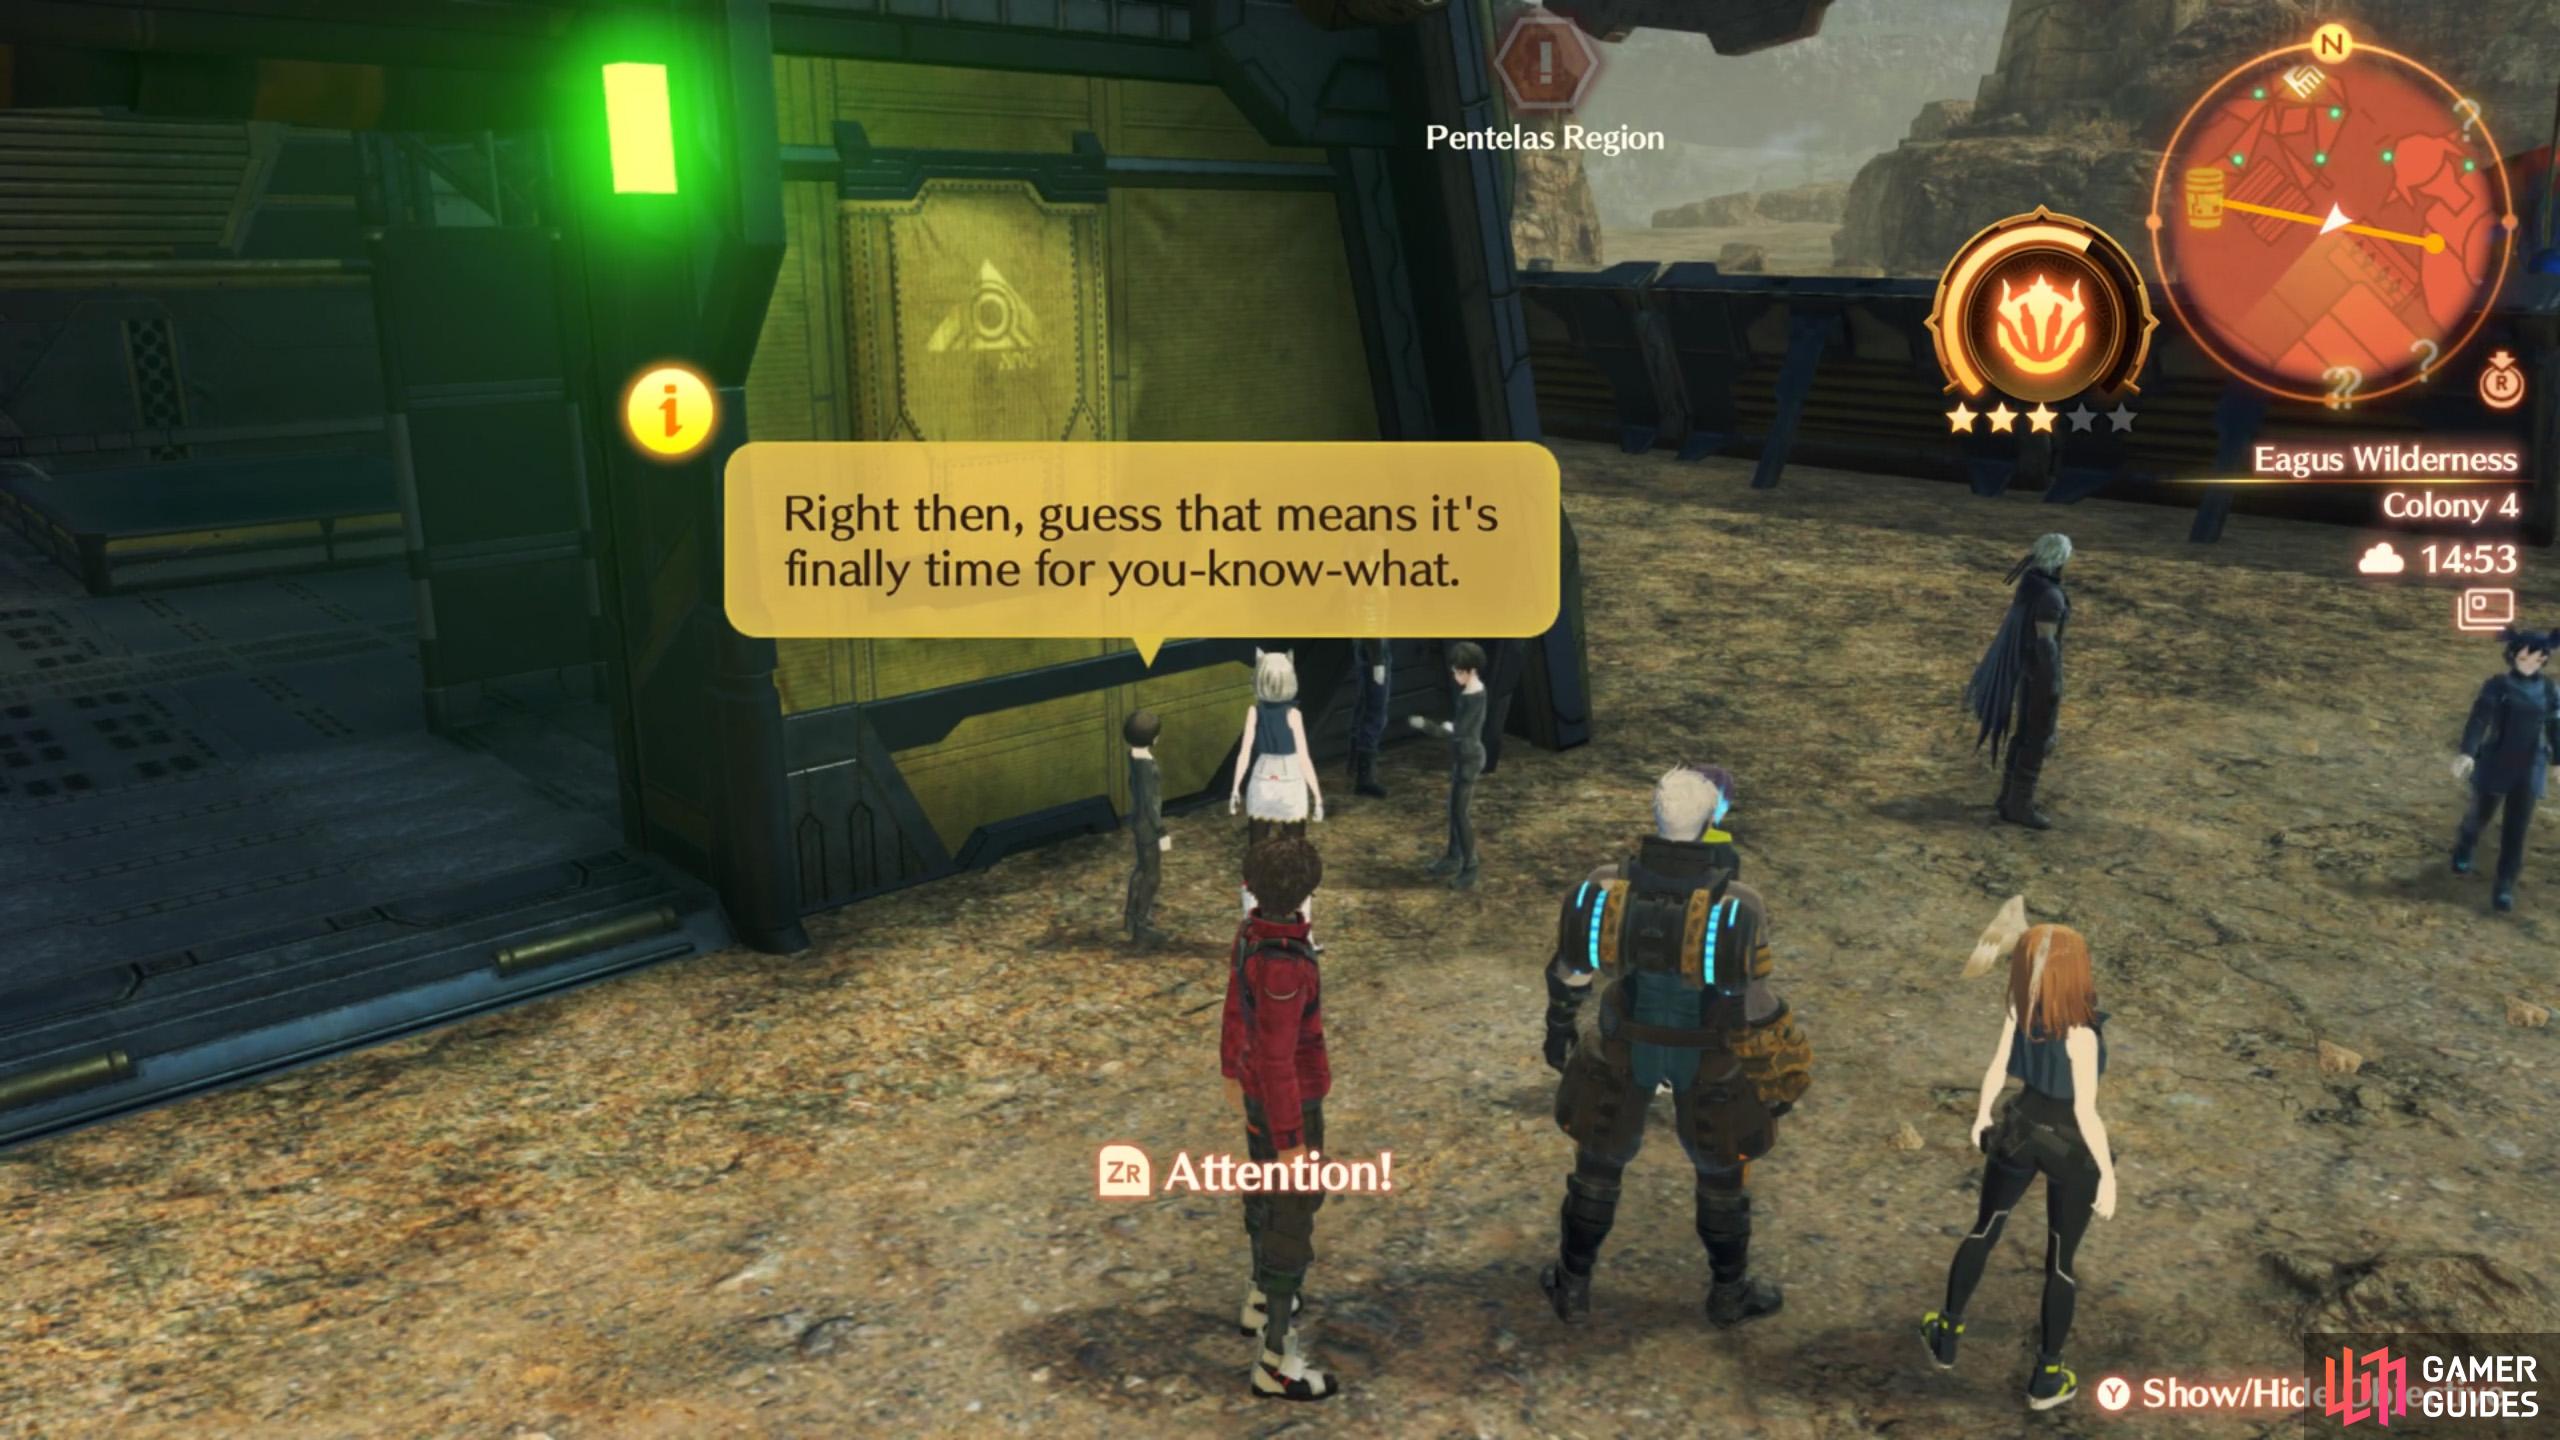
How to Complete the “Inhumanity Quest”
With the Quest unlocked, you’ll first need to take the unconscious Segiri back to the City to get her checked out. Use Skip Travel and head on over to the Medical Facility, Hollis will provide you a room where the stricken girl can recover without raising any questions. Head to the marked apartment and speak to the Doctor’s Aide to be allowed to speak to the girl, a task that Sena takes upon herself.
Make your way over to the nearby Rest Spot following the conversations with Segiri and discuss the topic with the rest of the party. Sena decides that cooking something for the girl to eat may help break the ice a little, so make your way back to Colony Lambda in the Pentelas Region to find a Lambda Soldier you can speak with to gain the necessary ingredients.
You’ll need to make your way to Michiba Canteen in the City to cook the dish, then take it back to Segiri to trigger more scenes. After learning about Consul F, speak with Segiri one final time and agree to take her to the meeting place. You’ll first, however, need to make your way back to where you fought her at the start of this Quest, at which point she will join as a guest along with gaining Hazard Neutralization, this will allow you to run over poisonous surfaces without suffering damage.
This is for good reason too, as to the west of here lies your destination, the Nocclia Mire. You’ll have to cross the swampy waters here to reach Colony 0 on the other side, where Consul F awaits.
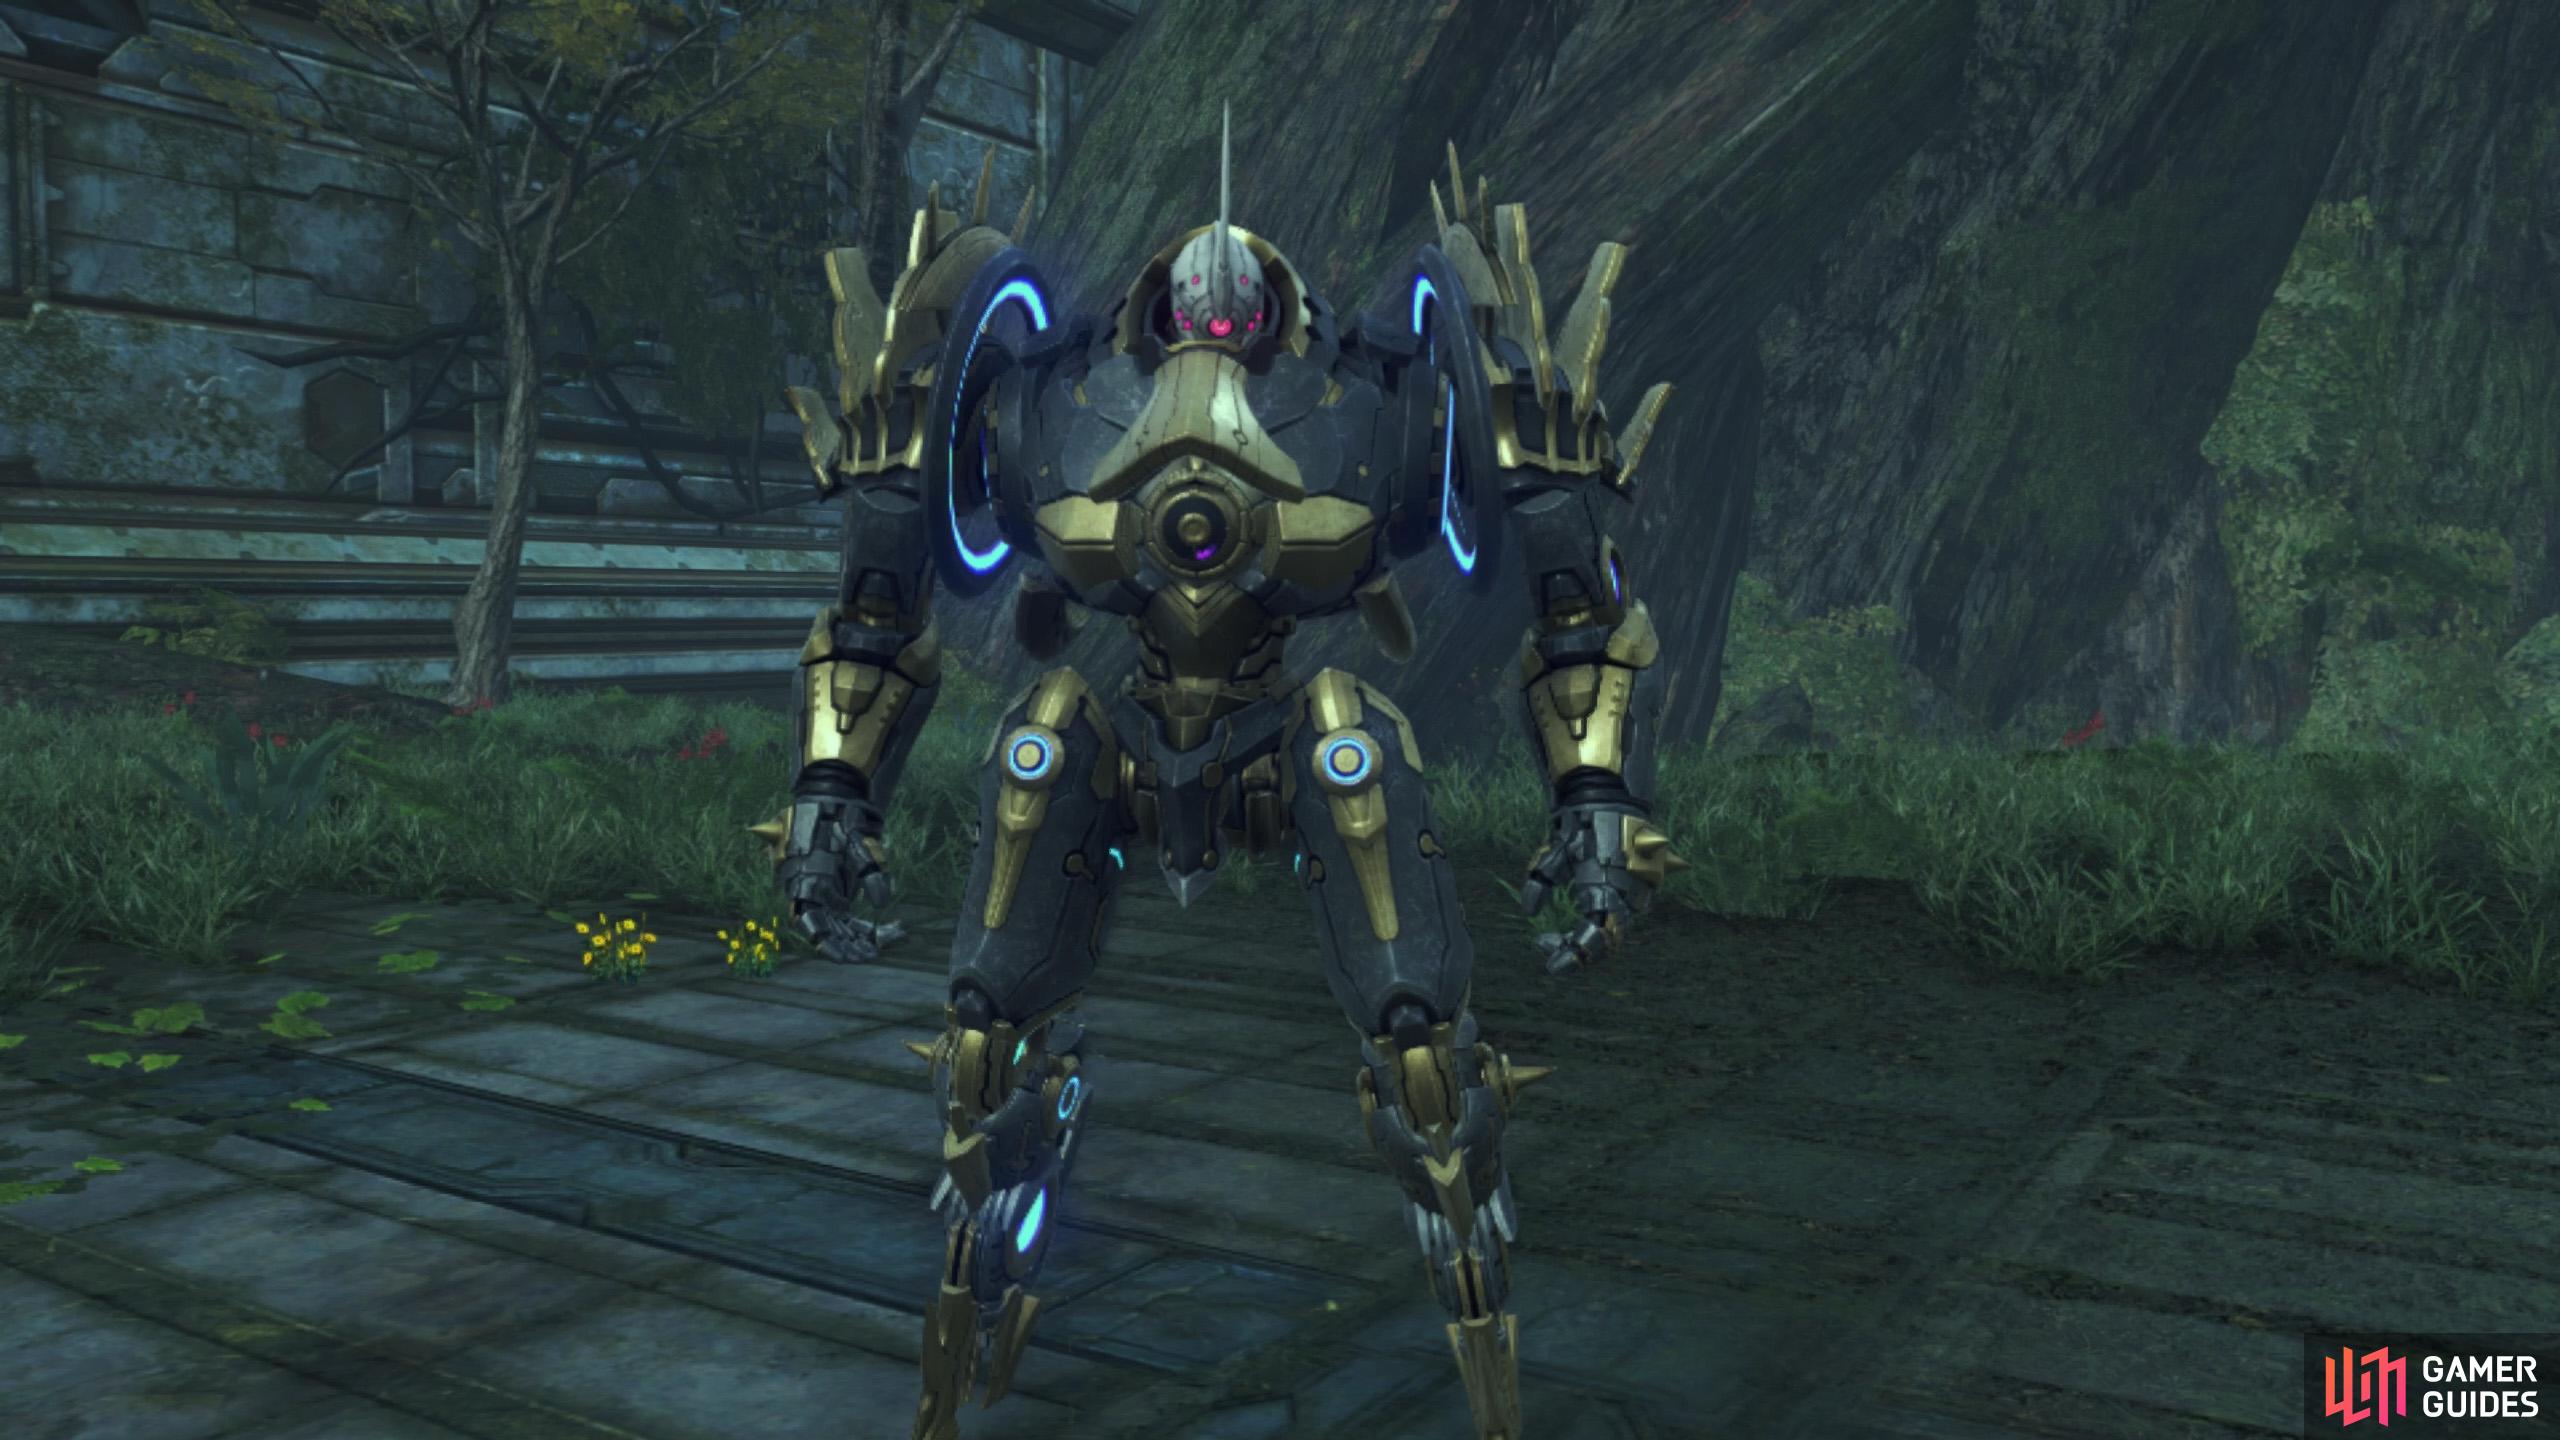
How to Defeat the Colony 0 Battlegroup
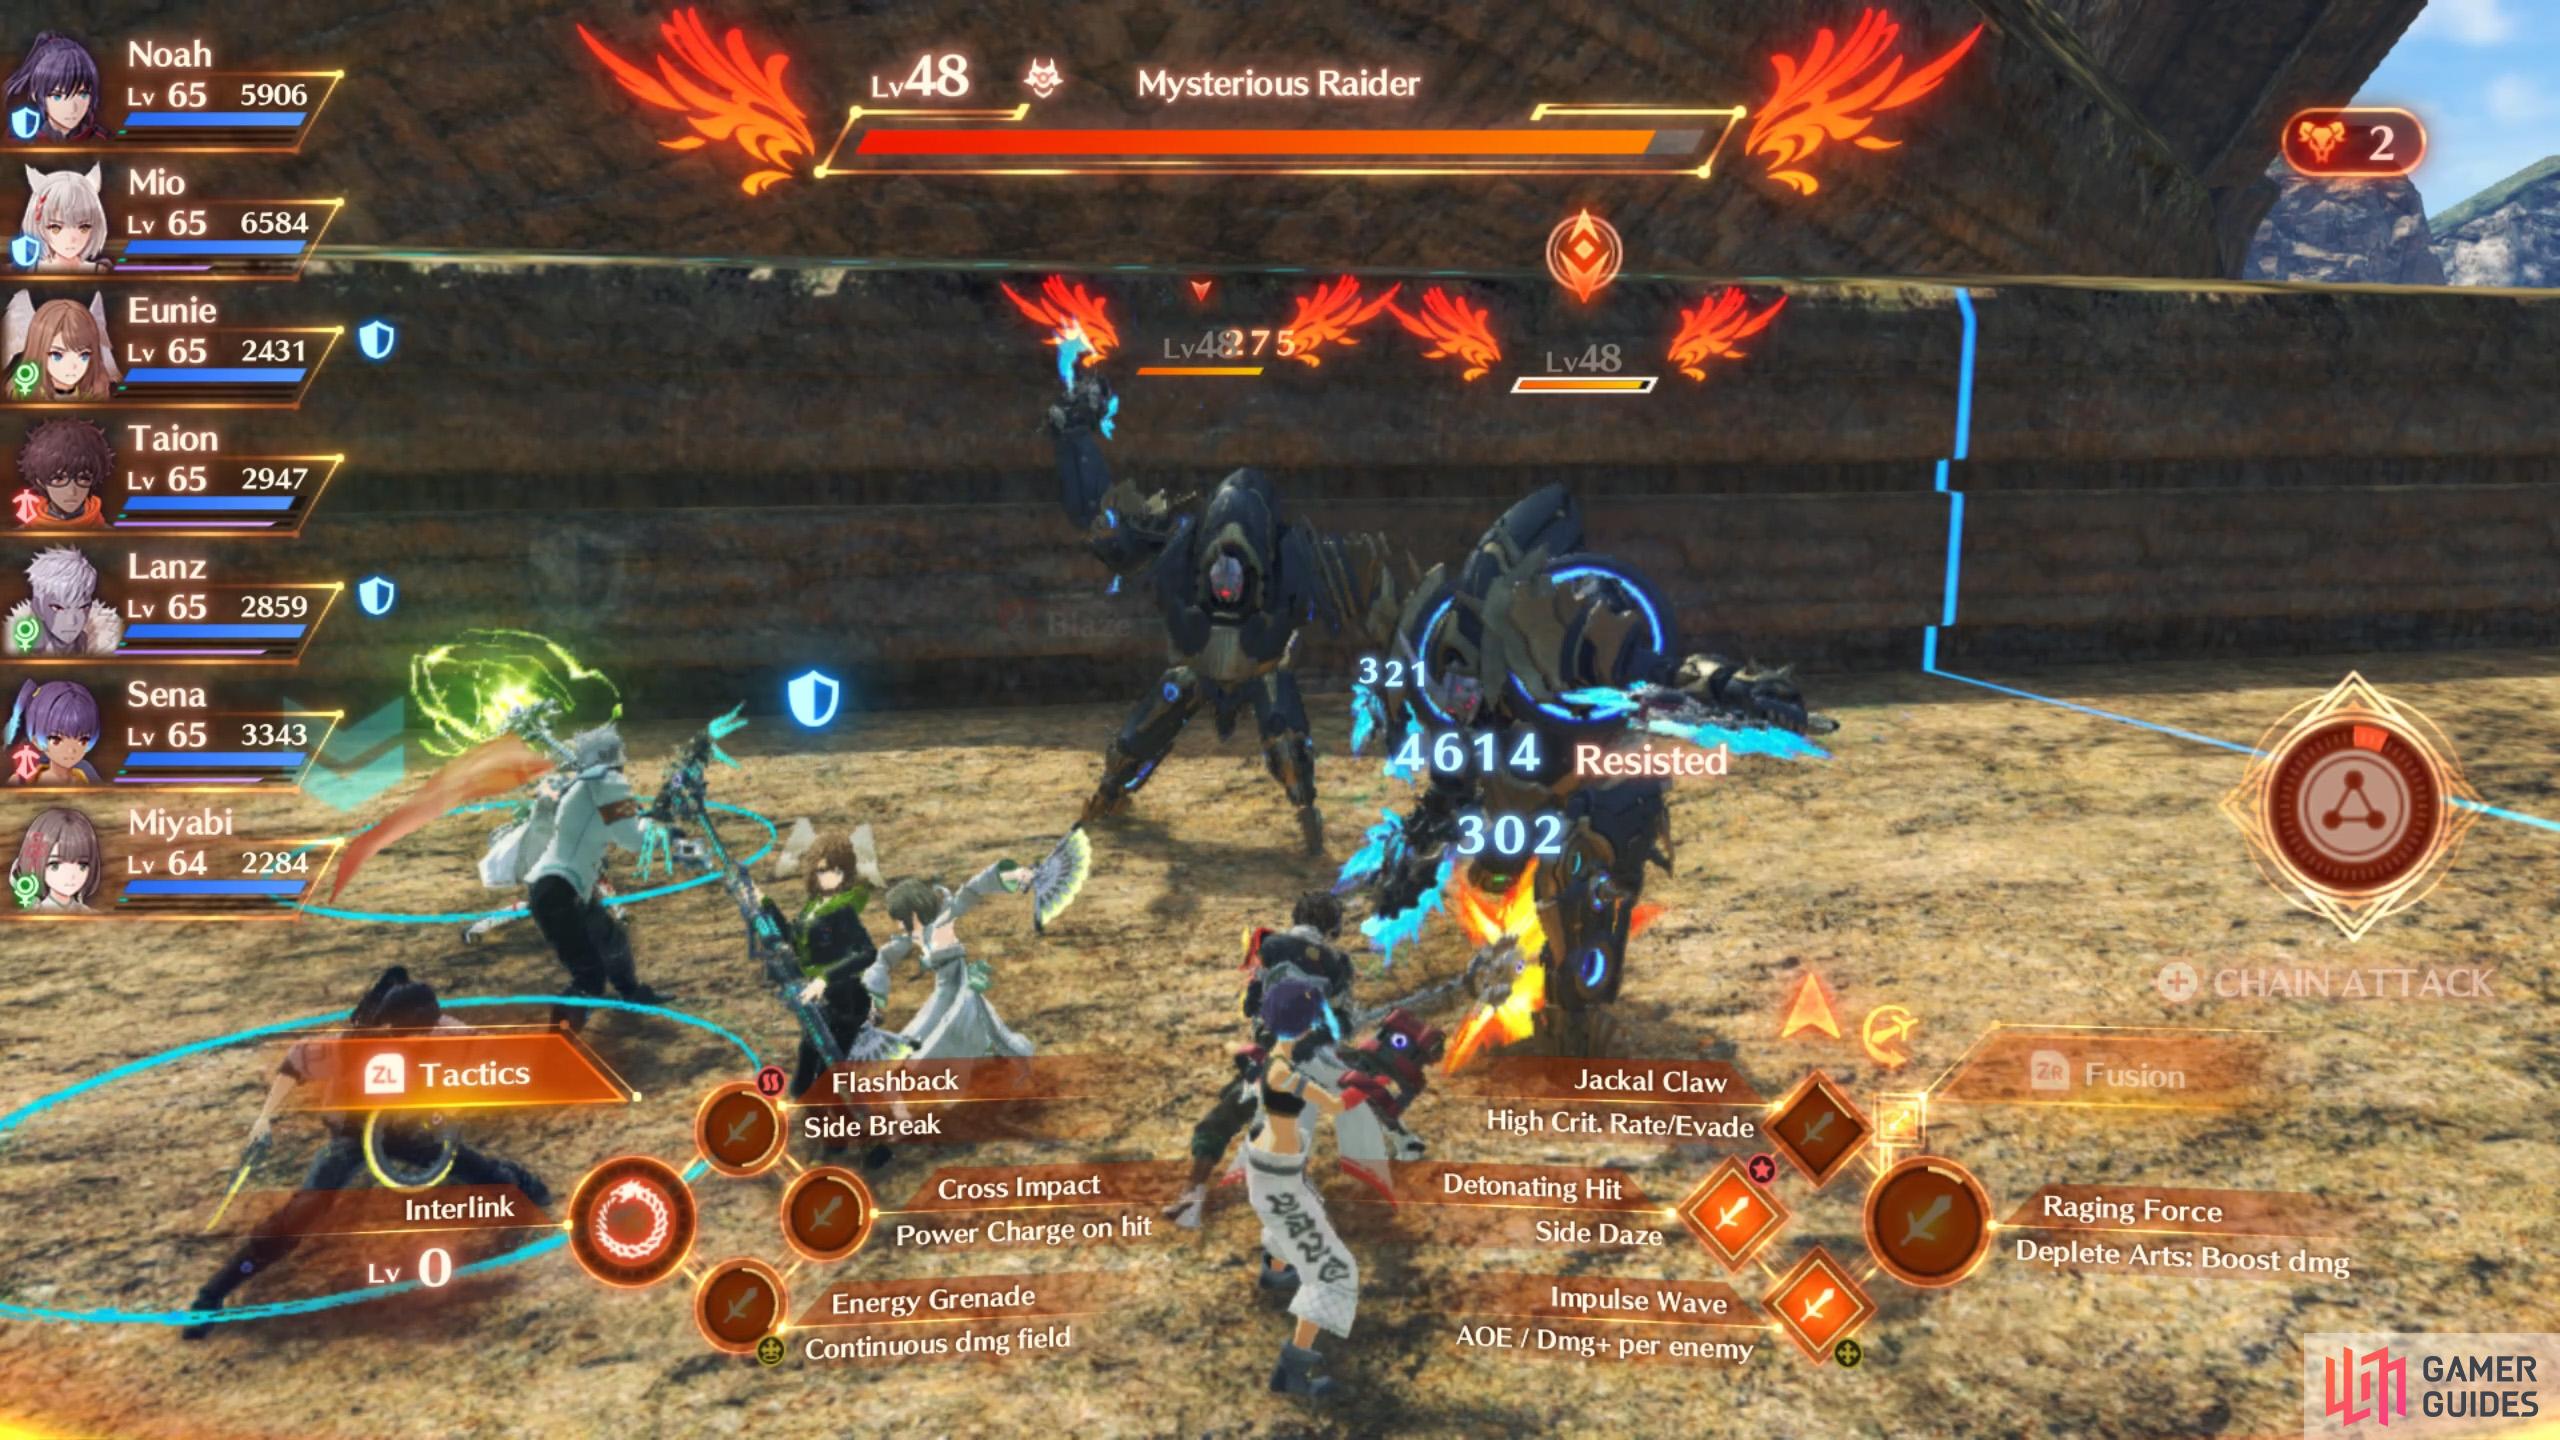
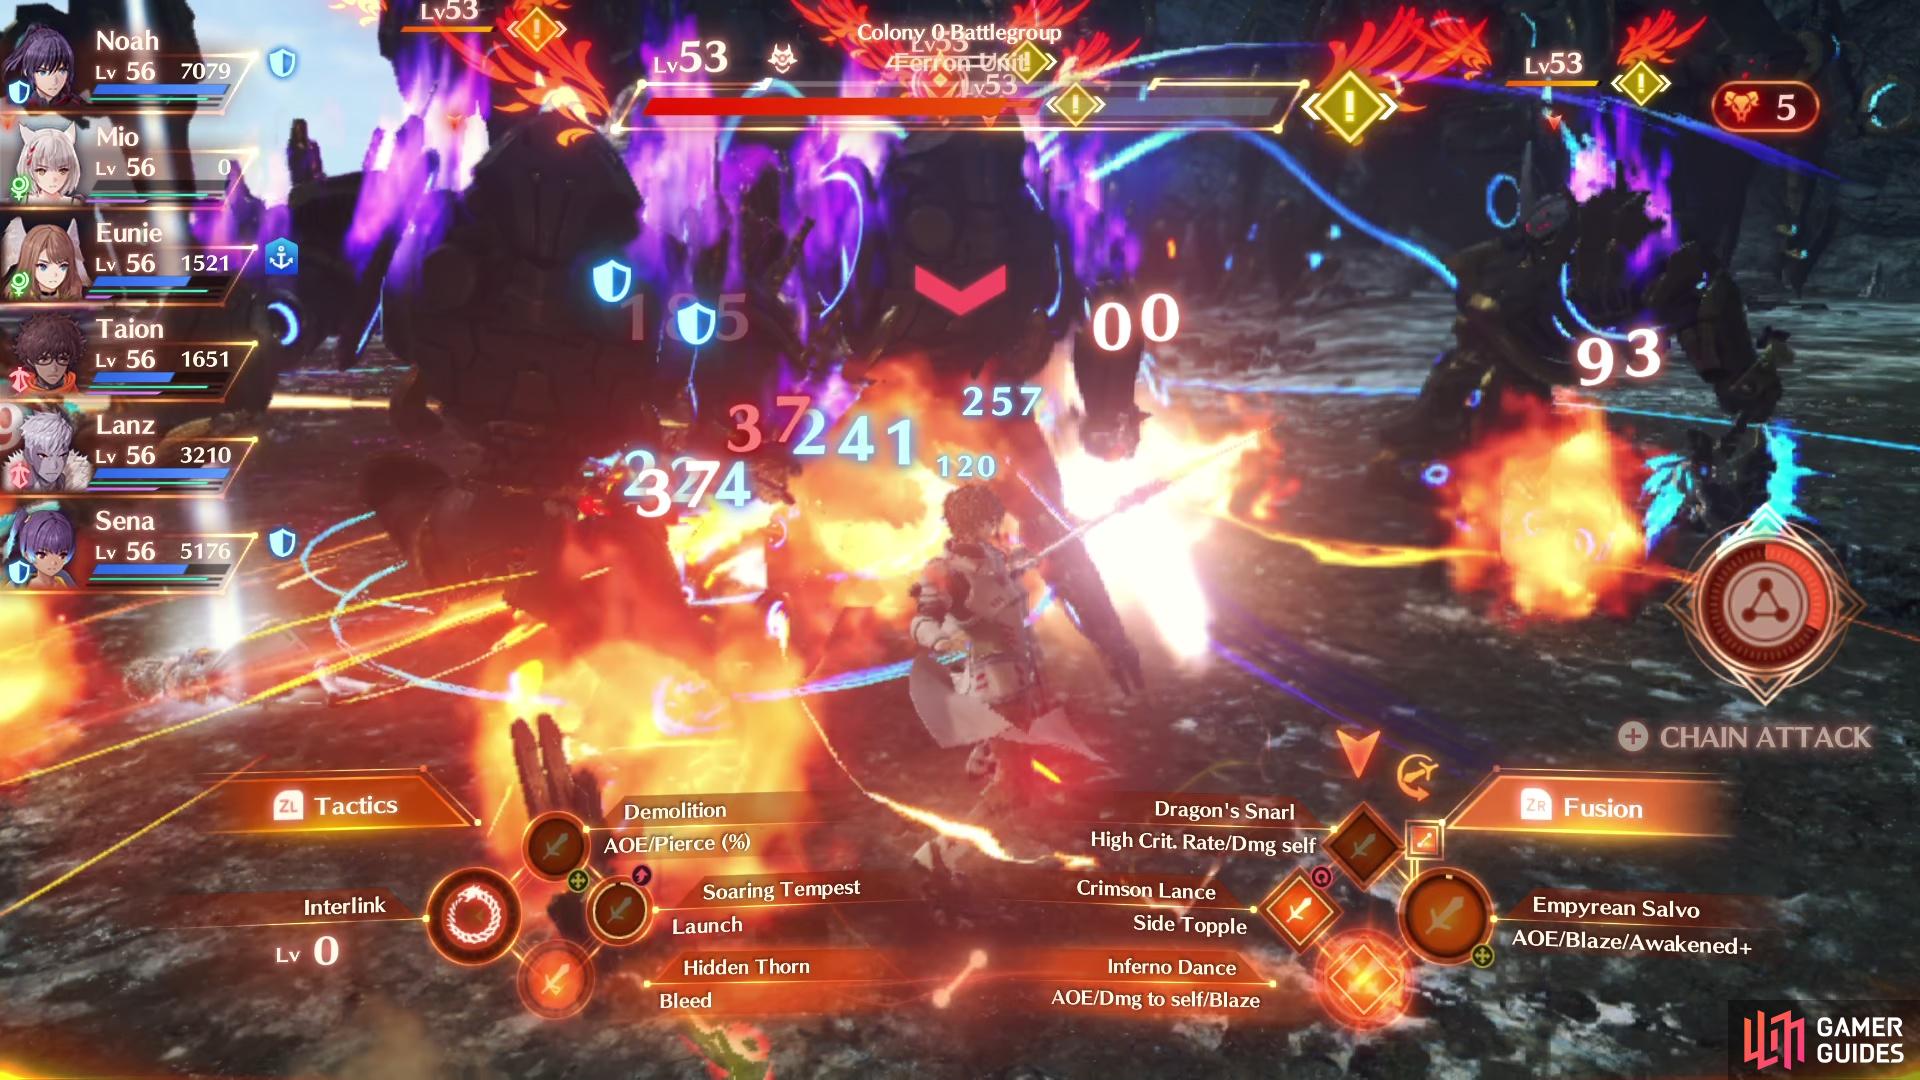
You should know your enemies like the back of your hand at this point, there’s nothing new to expect from them and you can learn all about their Arts on the Mysterious Raider Boss page back in Chapter 4. What is different here, is how many you’re going up against at once. Any mob battle is difficult at the start while you establish control, a mob battle against Ferron Units is even tougher.
Focus down each Ferron Unit one at a time
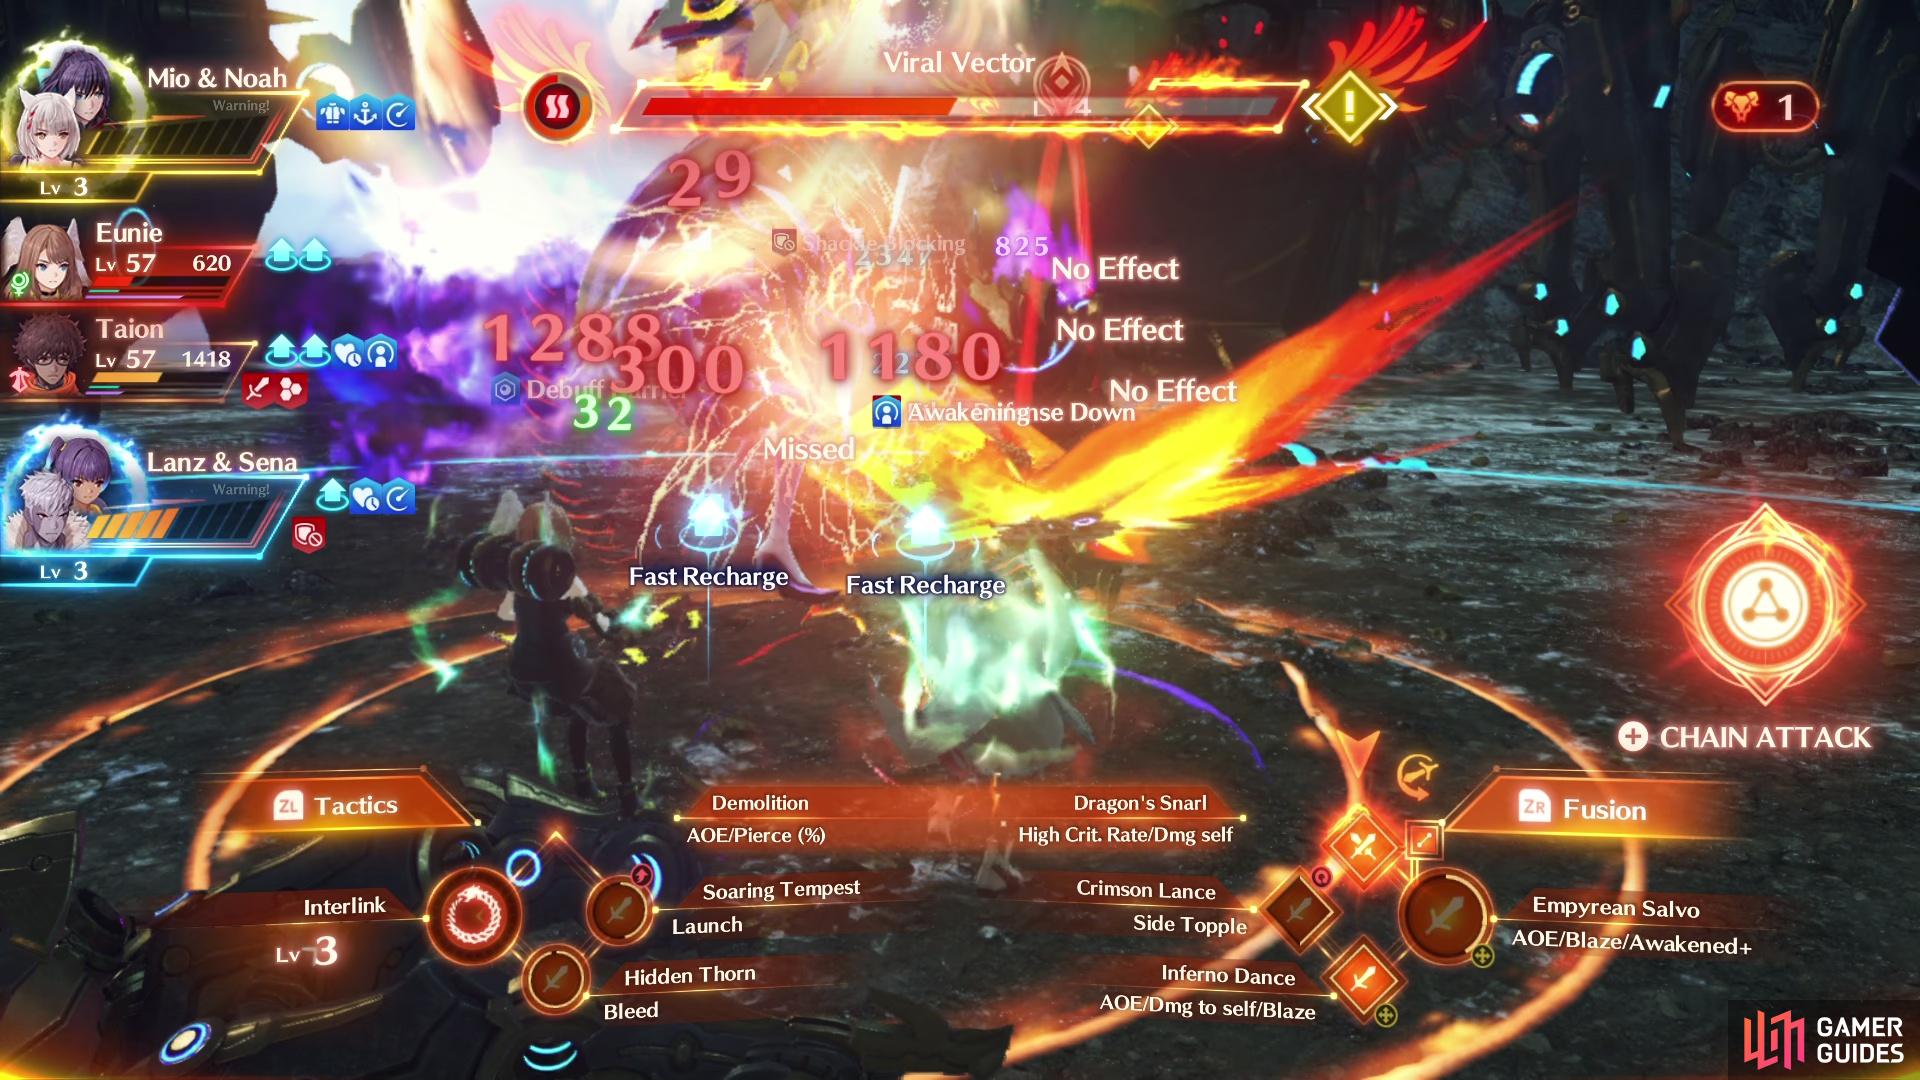
Segiri’s Viral Vector will hit in an AoE along with inflicting a random debuff.
No. 7, Segiri, is the most difficult of the bunch and she has one or two new Arts over the rest of them, so save her for last and focus on getting down the others. Once your Tanks have established Aggro on them, use Tactics to focus down one Ferron Unit at a time, making sure your party has at least two Healers if you’re around the same Level or three if you’re under the required level of the boss. You won’t have a Hero for this battle either, so you’ll have to make do with just your party.
As for Segiri, she’ll use Viral Vector, this is her Talent Art that will hit an AoE dealing moderate damage and inflicting a random debuff. If this debuff happens to be something like Blaze, Freeze, Bleed, or Toxin, then you’ll be in real danger unless you quickly remove it with an Art like Cure Bullet. She won’t use this until she’s Enraged, but once she is, she’ll use it often so try to use a Chain Attack at this point or use a Burst Combo to temporarily quell her Enrage.
No Comments