
This is a guide for Chapter 2 of Xenoblade Chronicles 3, covering Eagus Wilderness in the Fornis Region.
Eagus Wilderness stretches for a long distance.

First, make your way to Menno Arch, towards the south.
Upon reaching the Fornis Region, you’ll begin at the northernmost part of the Eagus Wilderness. There are two paths the group can take, but they ultimately decide to go east.
From the entrance, head forward (south) until the area widen out. There should be a giant pillar in front; take a left here (east). Go around the mound until you reach the south, where Menno Arch–the next landmark–is.
By the way, if you go west from the beginning, you’ll reach Elaice Highway. However, the party will stop you from going there–and even if you could, it’s swarming with high level foes.
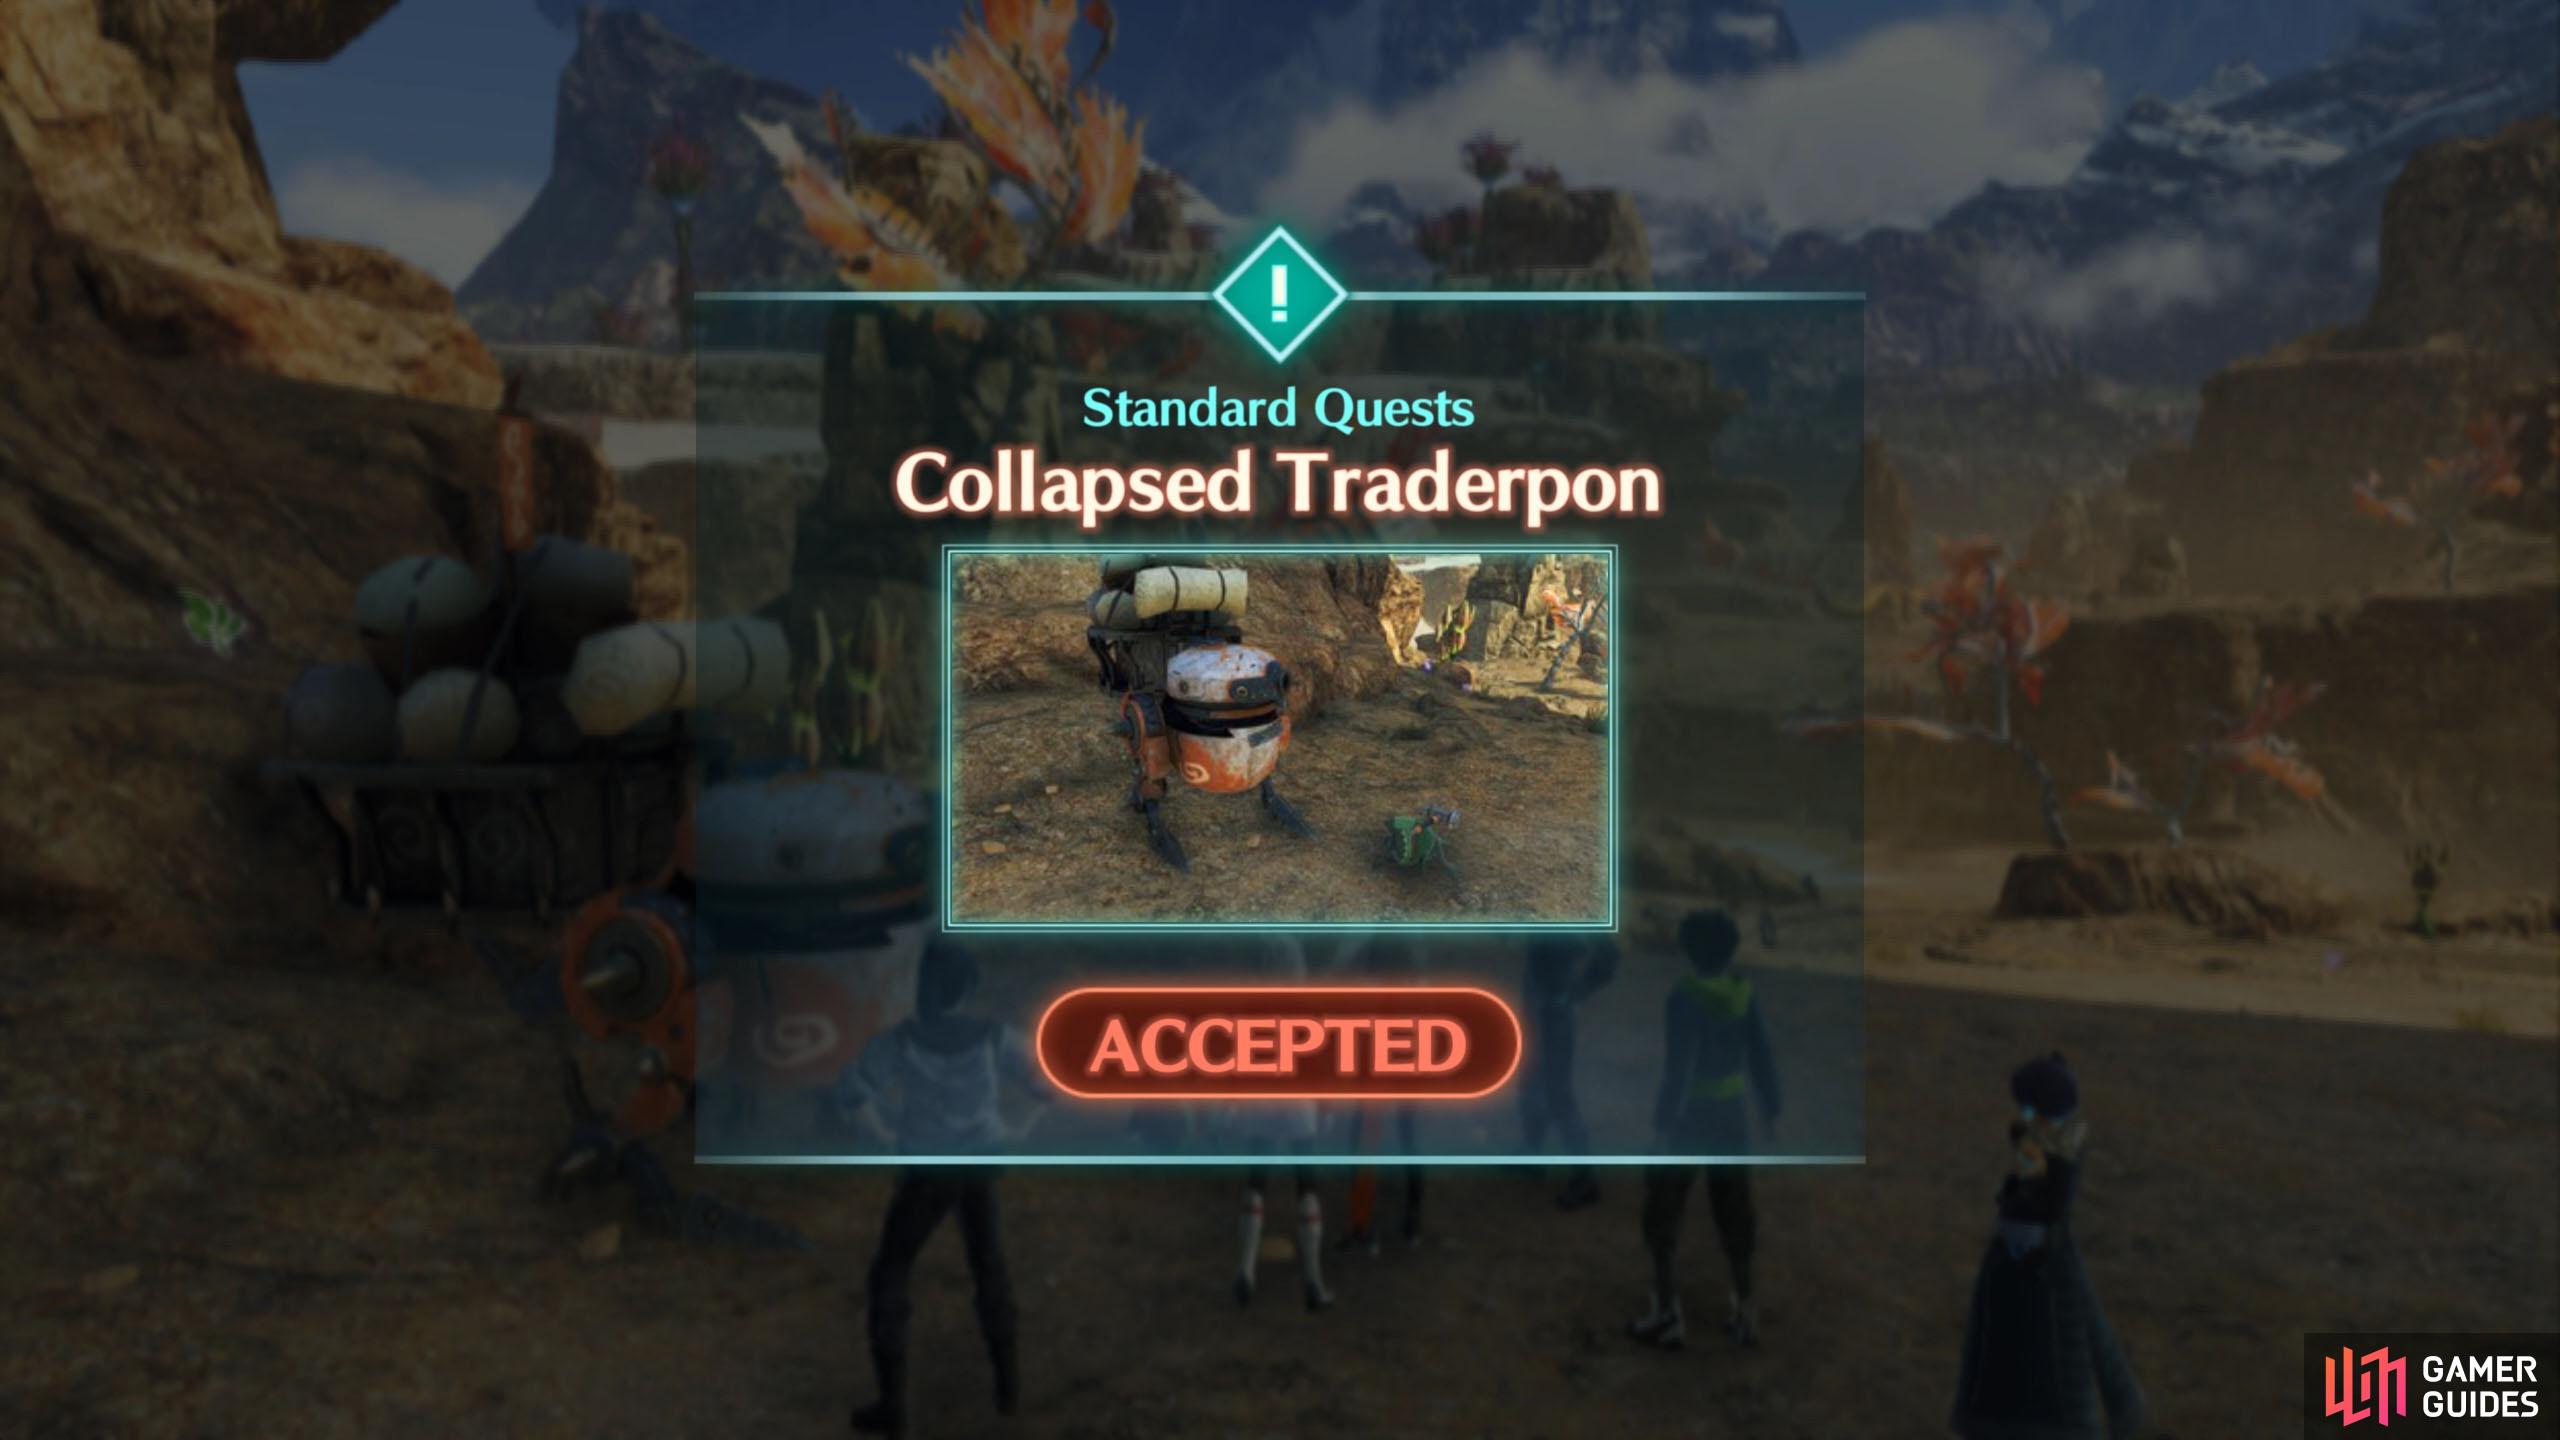
Standard Quest: Collapsed Traderpon
This Nopon is thirsty.
If you’ve being running around grabbing collectables, this should be easy.
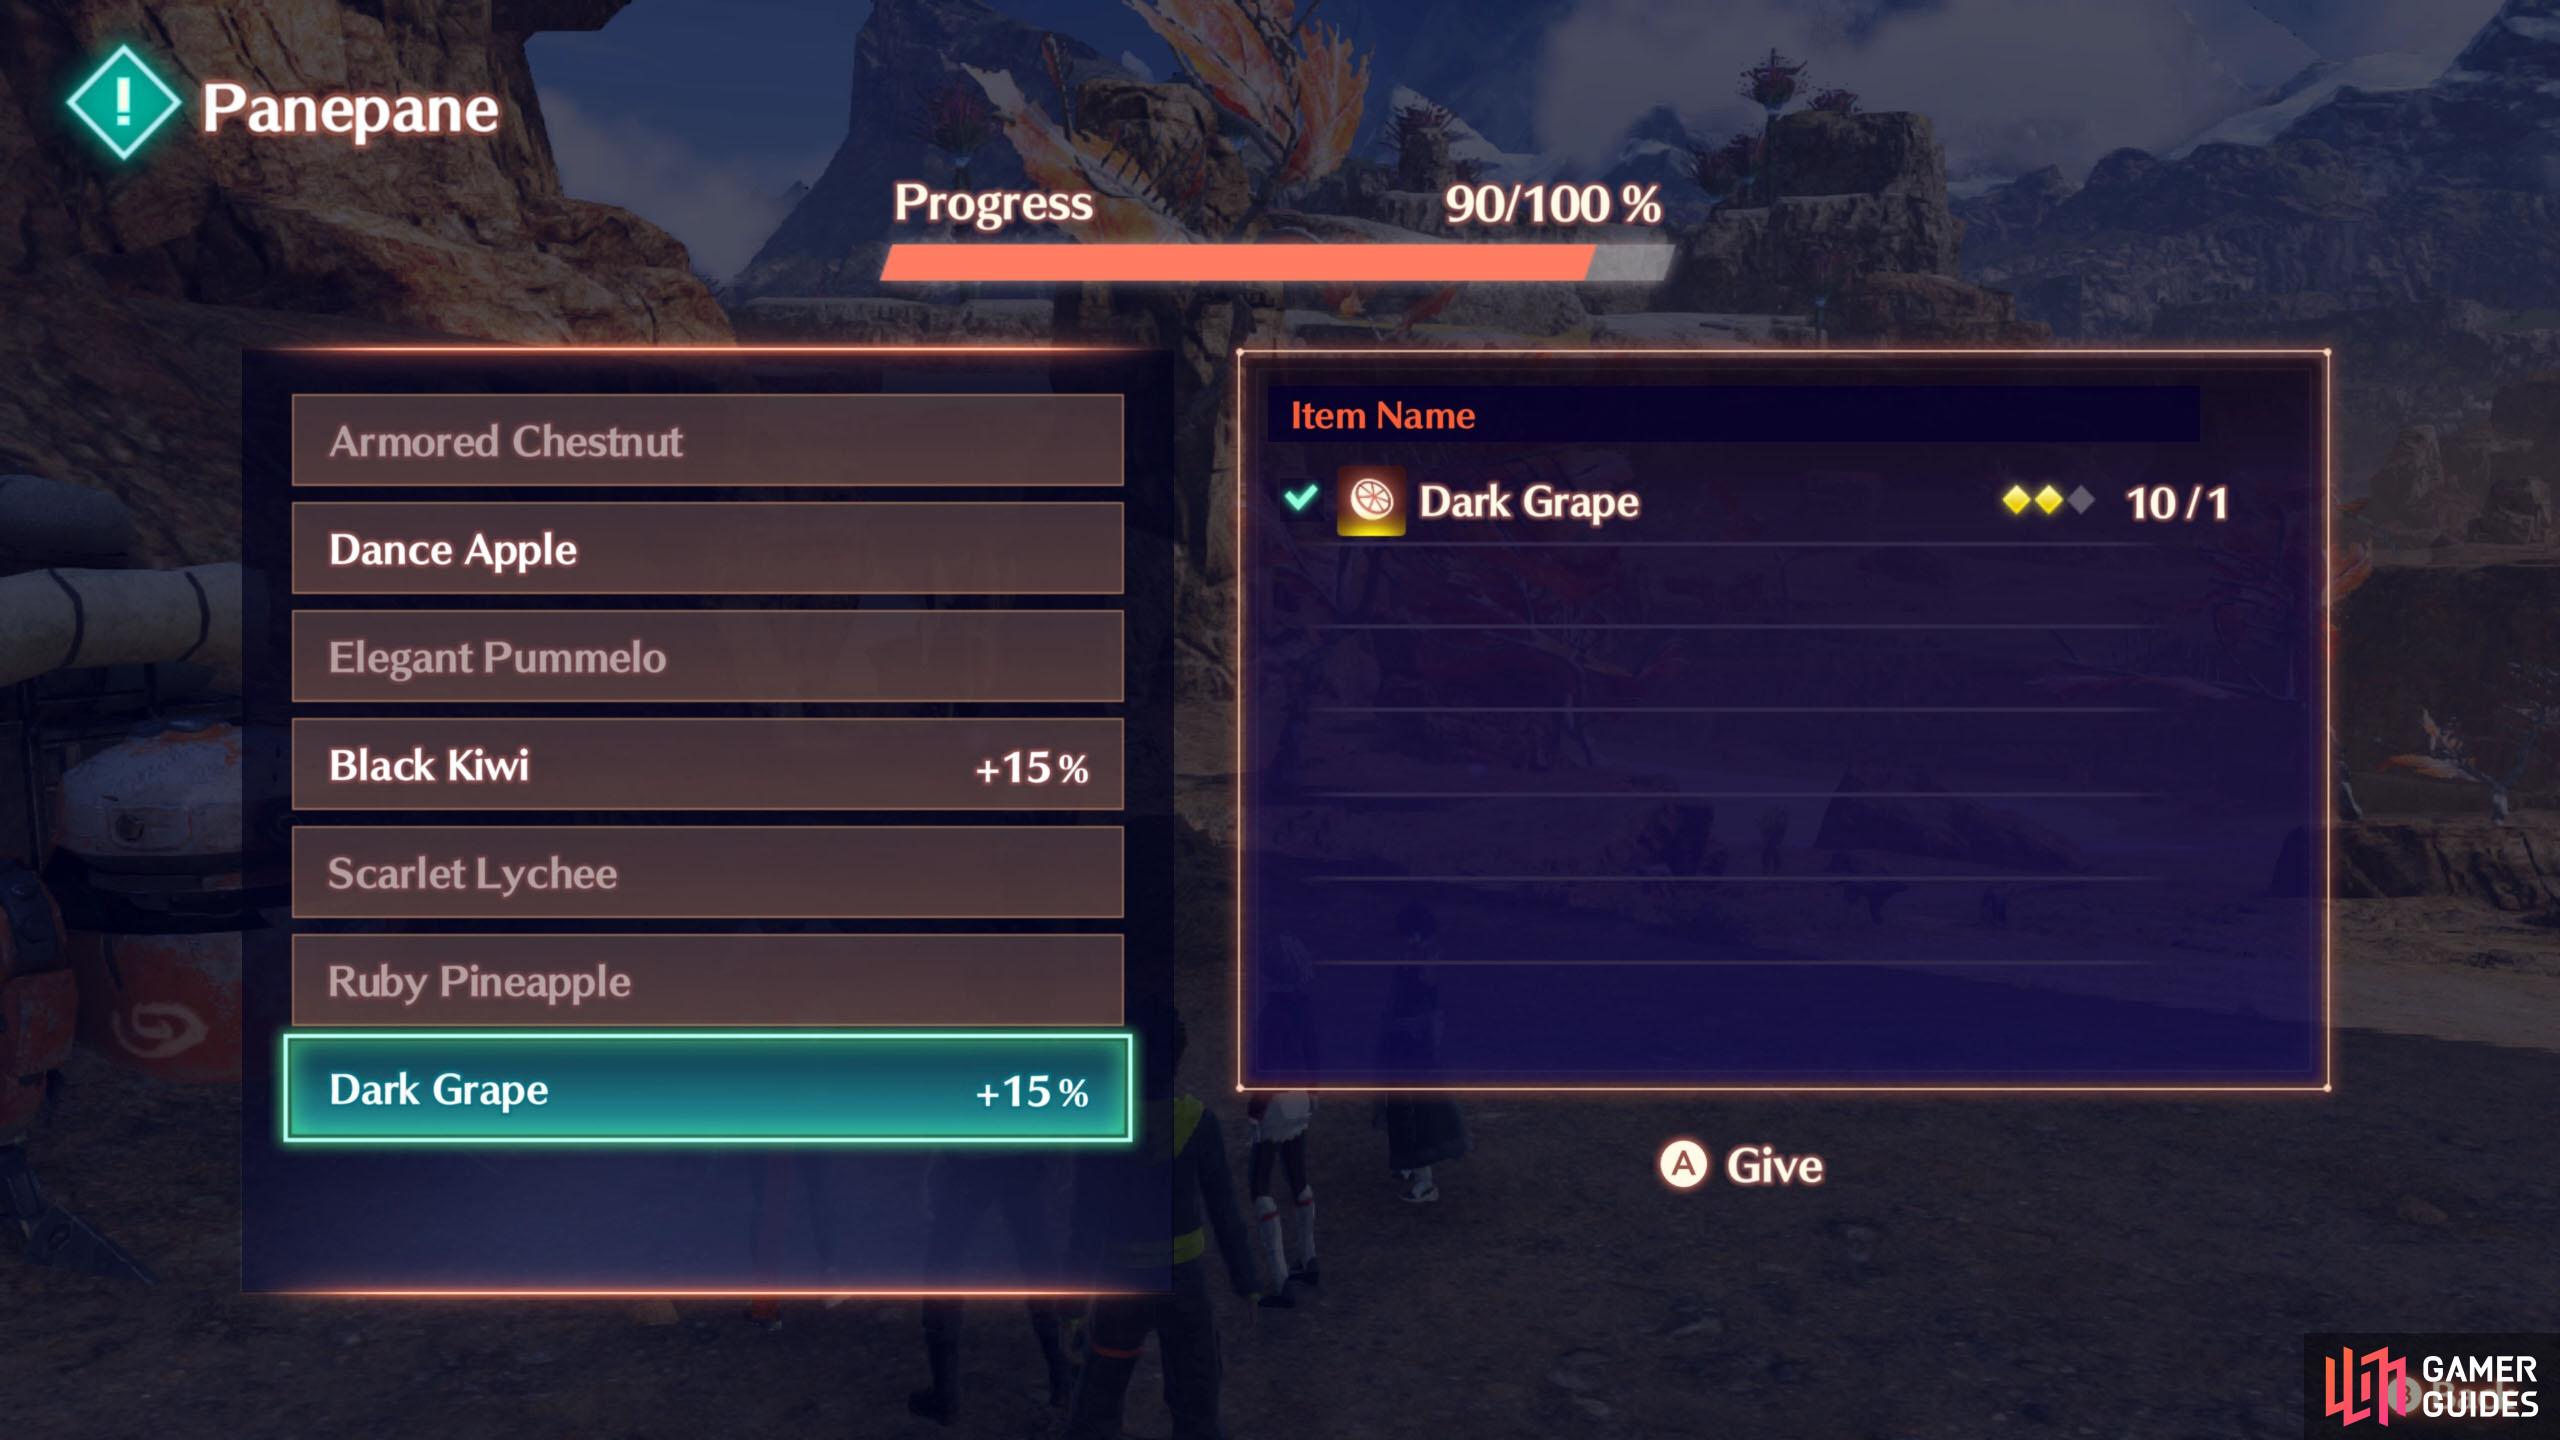
Anyway, at Menno Arch, there’s a Nopon who needs your help: Panepane. They need food items that have a sufficient amount of moisture. Eligible items include:
- Armored Chestnut
- Dance Apple
- Elegant Pummelo
- Black Kiwi
- Scarlet Lychee
- Ruby Pineapple
- Dark Grape
For each item you give, it will raise the progress bar along the top, by the value listed on the right. The rarer the item, the bigger the increase. Once it hits 100%, you’ll complete this quest. At this stage, you may want to conserve the rarer items and hand in the more common ones that you’ve got aplenty.
Afterwards, Panepane will make his way to the Hillside Ferronis Hulk, when he’s ready.
Quest Rewards
| EXP | Gold | SP | Rewards |
|---|---|---|---|
| 660 | 220 | 3 | Nopon Coin (Silver) x3 |
Towards the Oasis
Hey, isn’t that…?
Wotah… Need wotah…
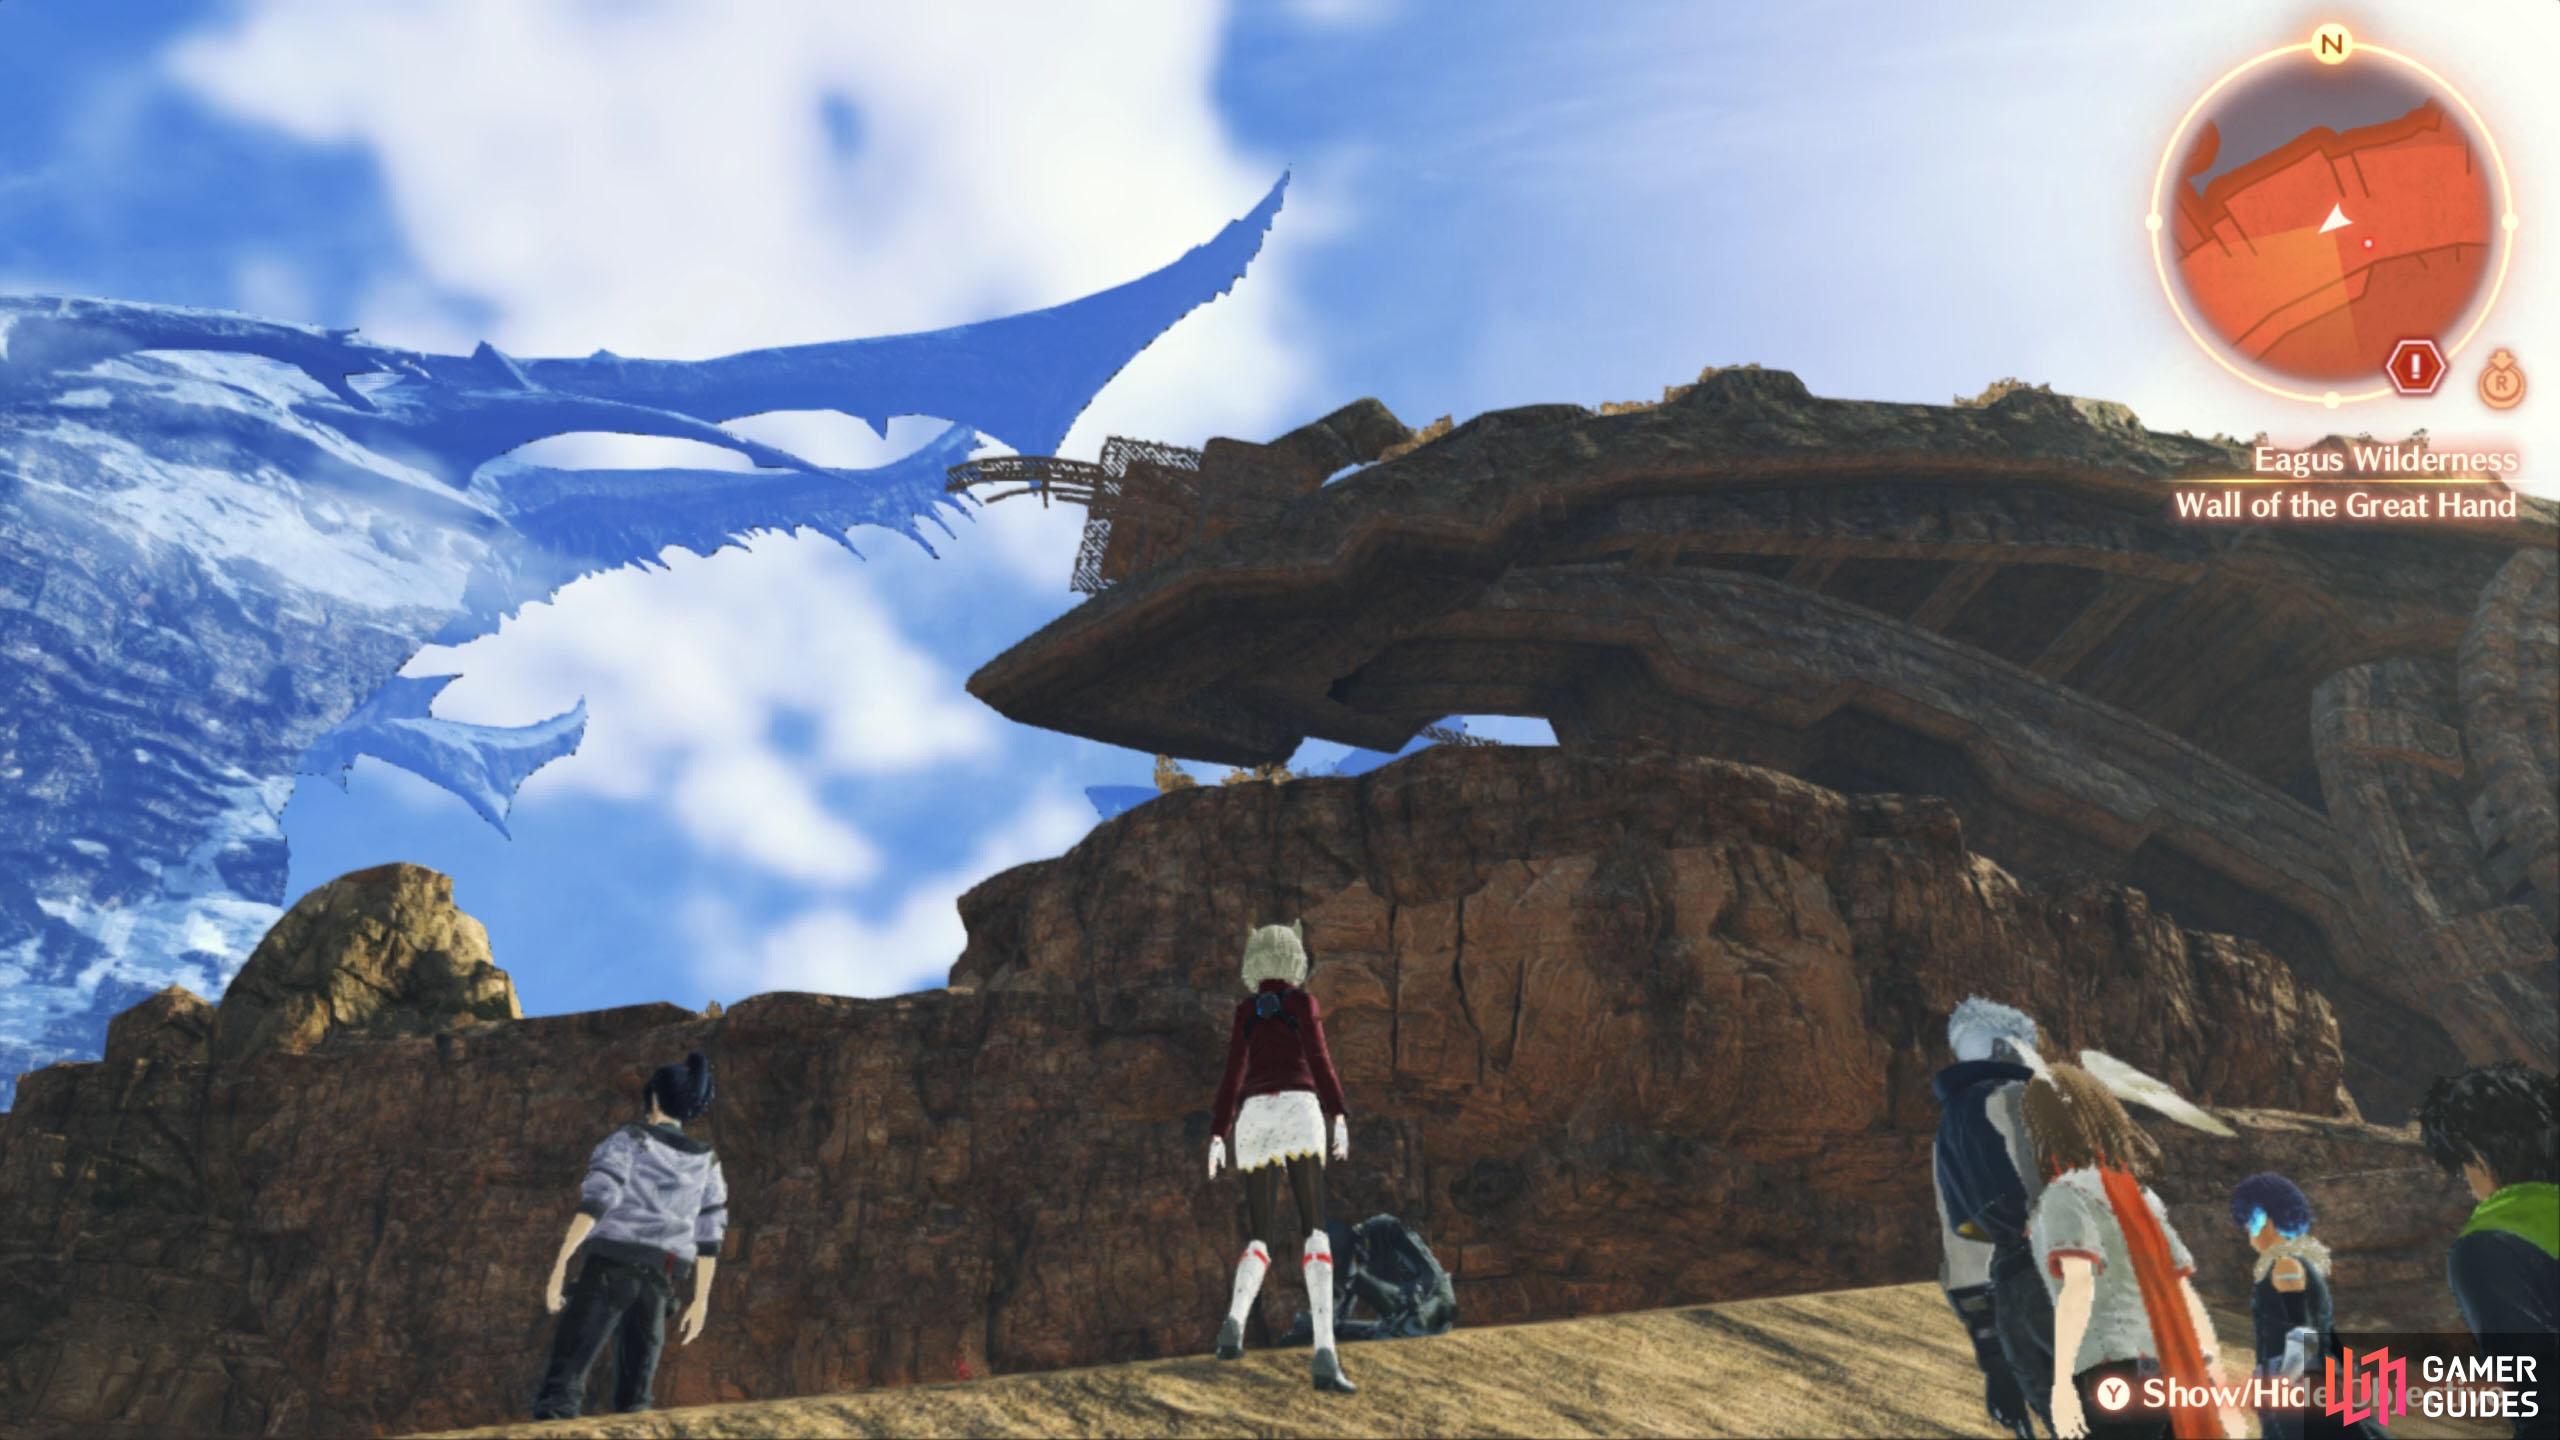
From Menno’s Arch, you still have a long road ahead of you. If you head south, then south-east, you’ll reach Galghour’s Menhir. Past that is a sandy slope that you cannot traverse, which leads to Dannagh Desert. To progress, you need to go west from Menno’s Arch, towards the Wall of the Great Hand.
After admiring/exploring the great hand, continue south-east until the area widens out again. Now for the final stretch. Cut a path west-south-west towards the next destination. Not far from there, you’ll trigger an amusing cutscene. Then it’s not too far until you reach the actual destination: the oasis.
Locations
Landmarks in Eagus Wilderness
| Name | Description |
|---|---|
| Ordell Ravine Way | Northernmost passageway, where you first arrive. |
| Menno Arch | Divides Reith Valley (the initial area) and Piento Basin (the second portion of the wilderness). |
| Galghour’s Menhir | East side of Piento Basin, near Dannagh Desert. |
| Wall of the Great Hand | West side of Piento Basin. |
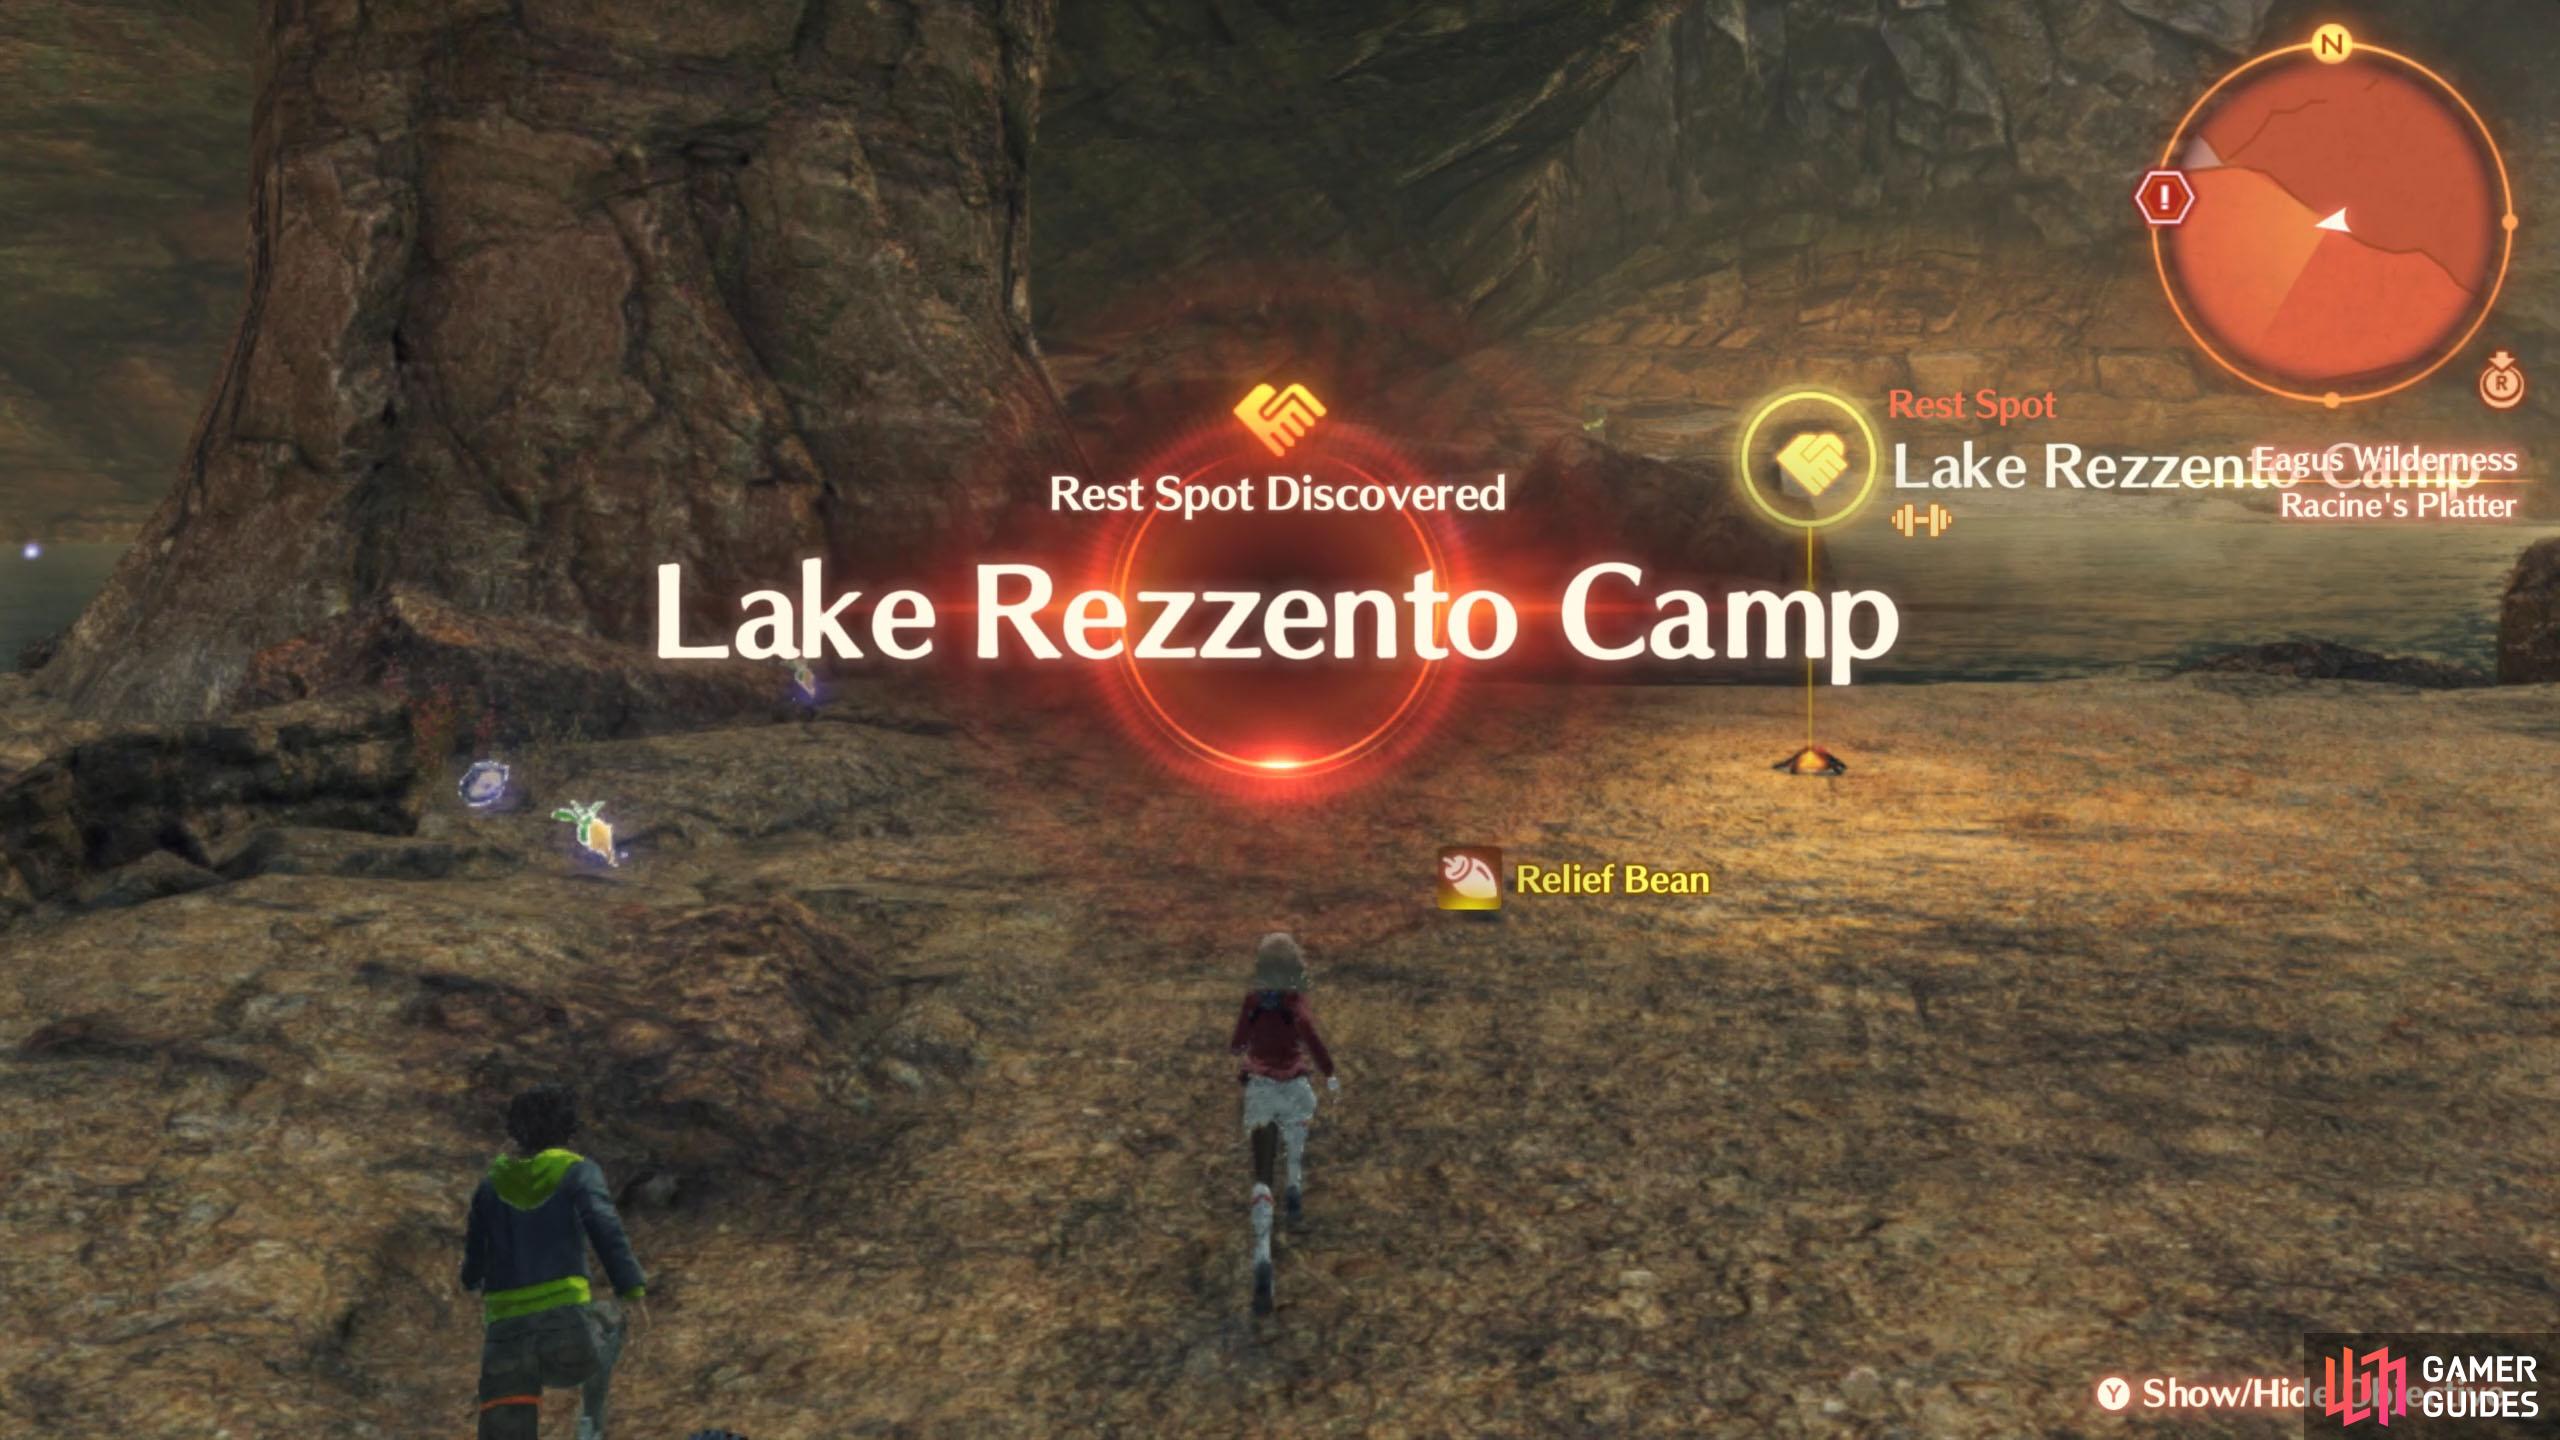
Rest Spots in Eagus Wilderness
| Name | Description |
|---|---|
| Lake Rezzento Camp | West side of Racine’s Platter (the third portion of the wilderness). |
Containers in Eagus Wilderness
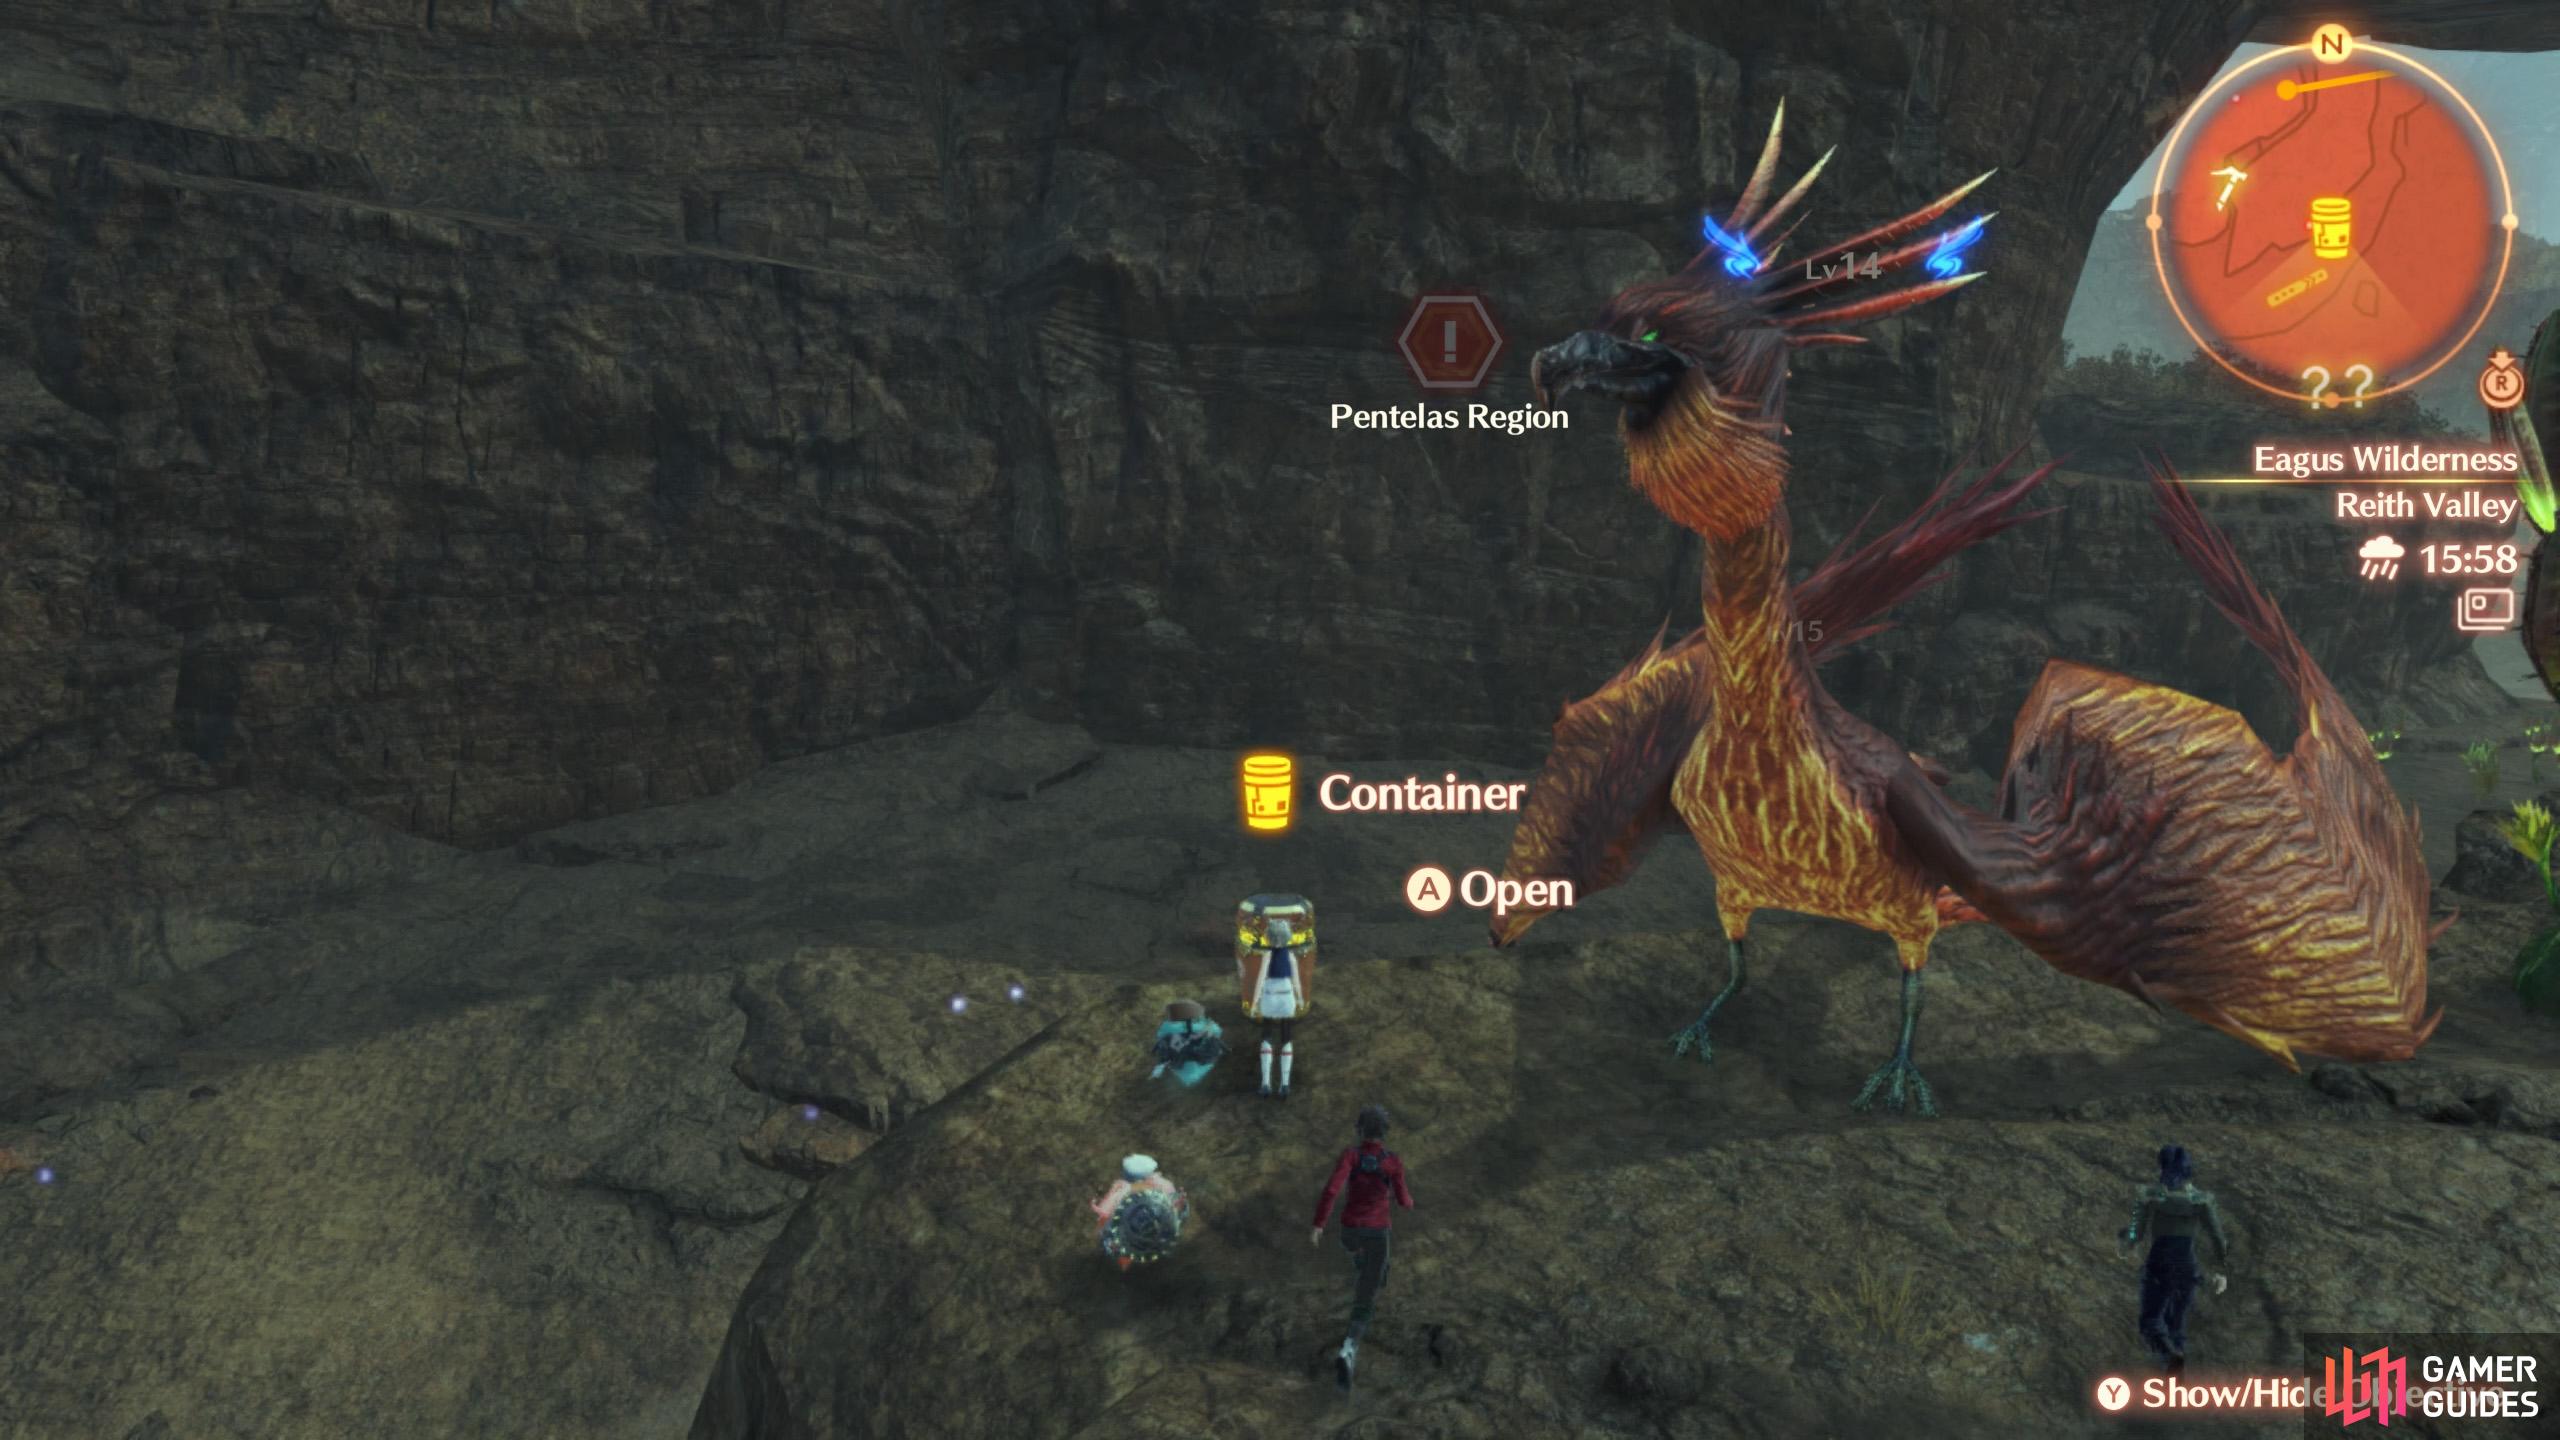
| Container # | Map Marker | Location |
|---|---|---|
| 1 | Map Marker | South-east side of the spirally hill in Reith Valley. |
| 2 | Map Marker | Center of Piento Basin, near end of a knoll. |
| 3 | Map Marker | South from the east side of Galghour’s Menhir. |
| 4 | Map Marker | Ledge overlooking Wall of the Great Hand. Need to cut through tunnel to the west. Note: There’s a tunnel through the Wall of the Great Hand accessible via a smaller side ramp from ground level. |
| 5 | Map Marker | Corner of Barren Knoll. |
| 6 | Map Marker | Racine’s Platter, next to a rocky mound north-east from the center. |
Soldier Husks in Eagus Wilderness
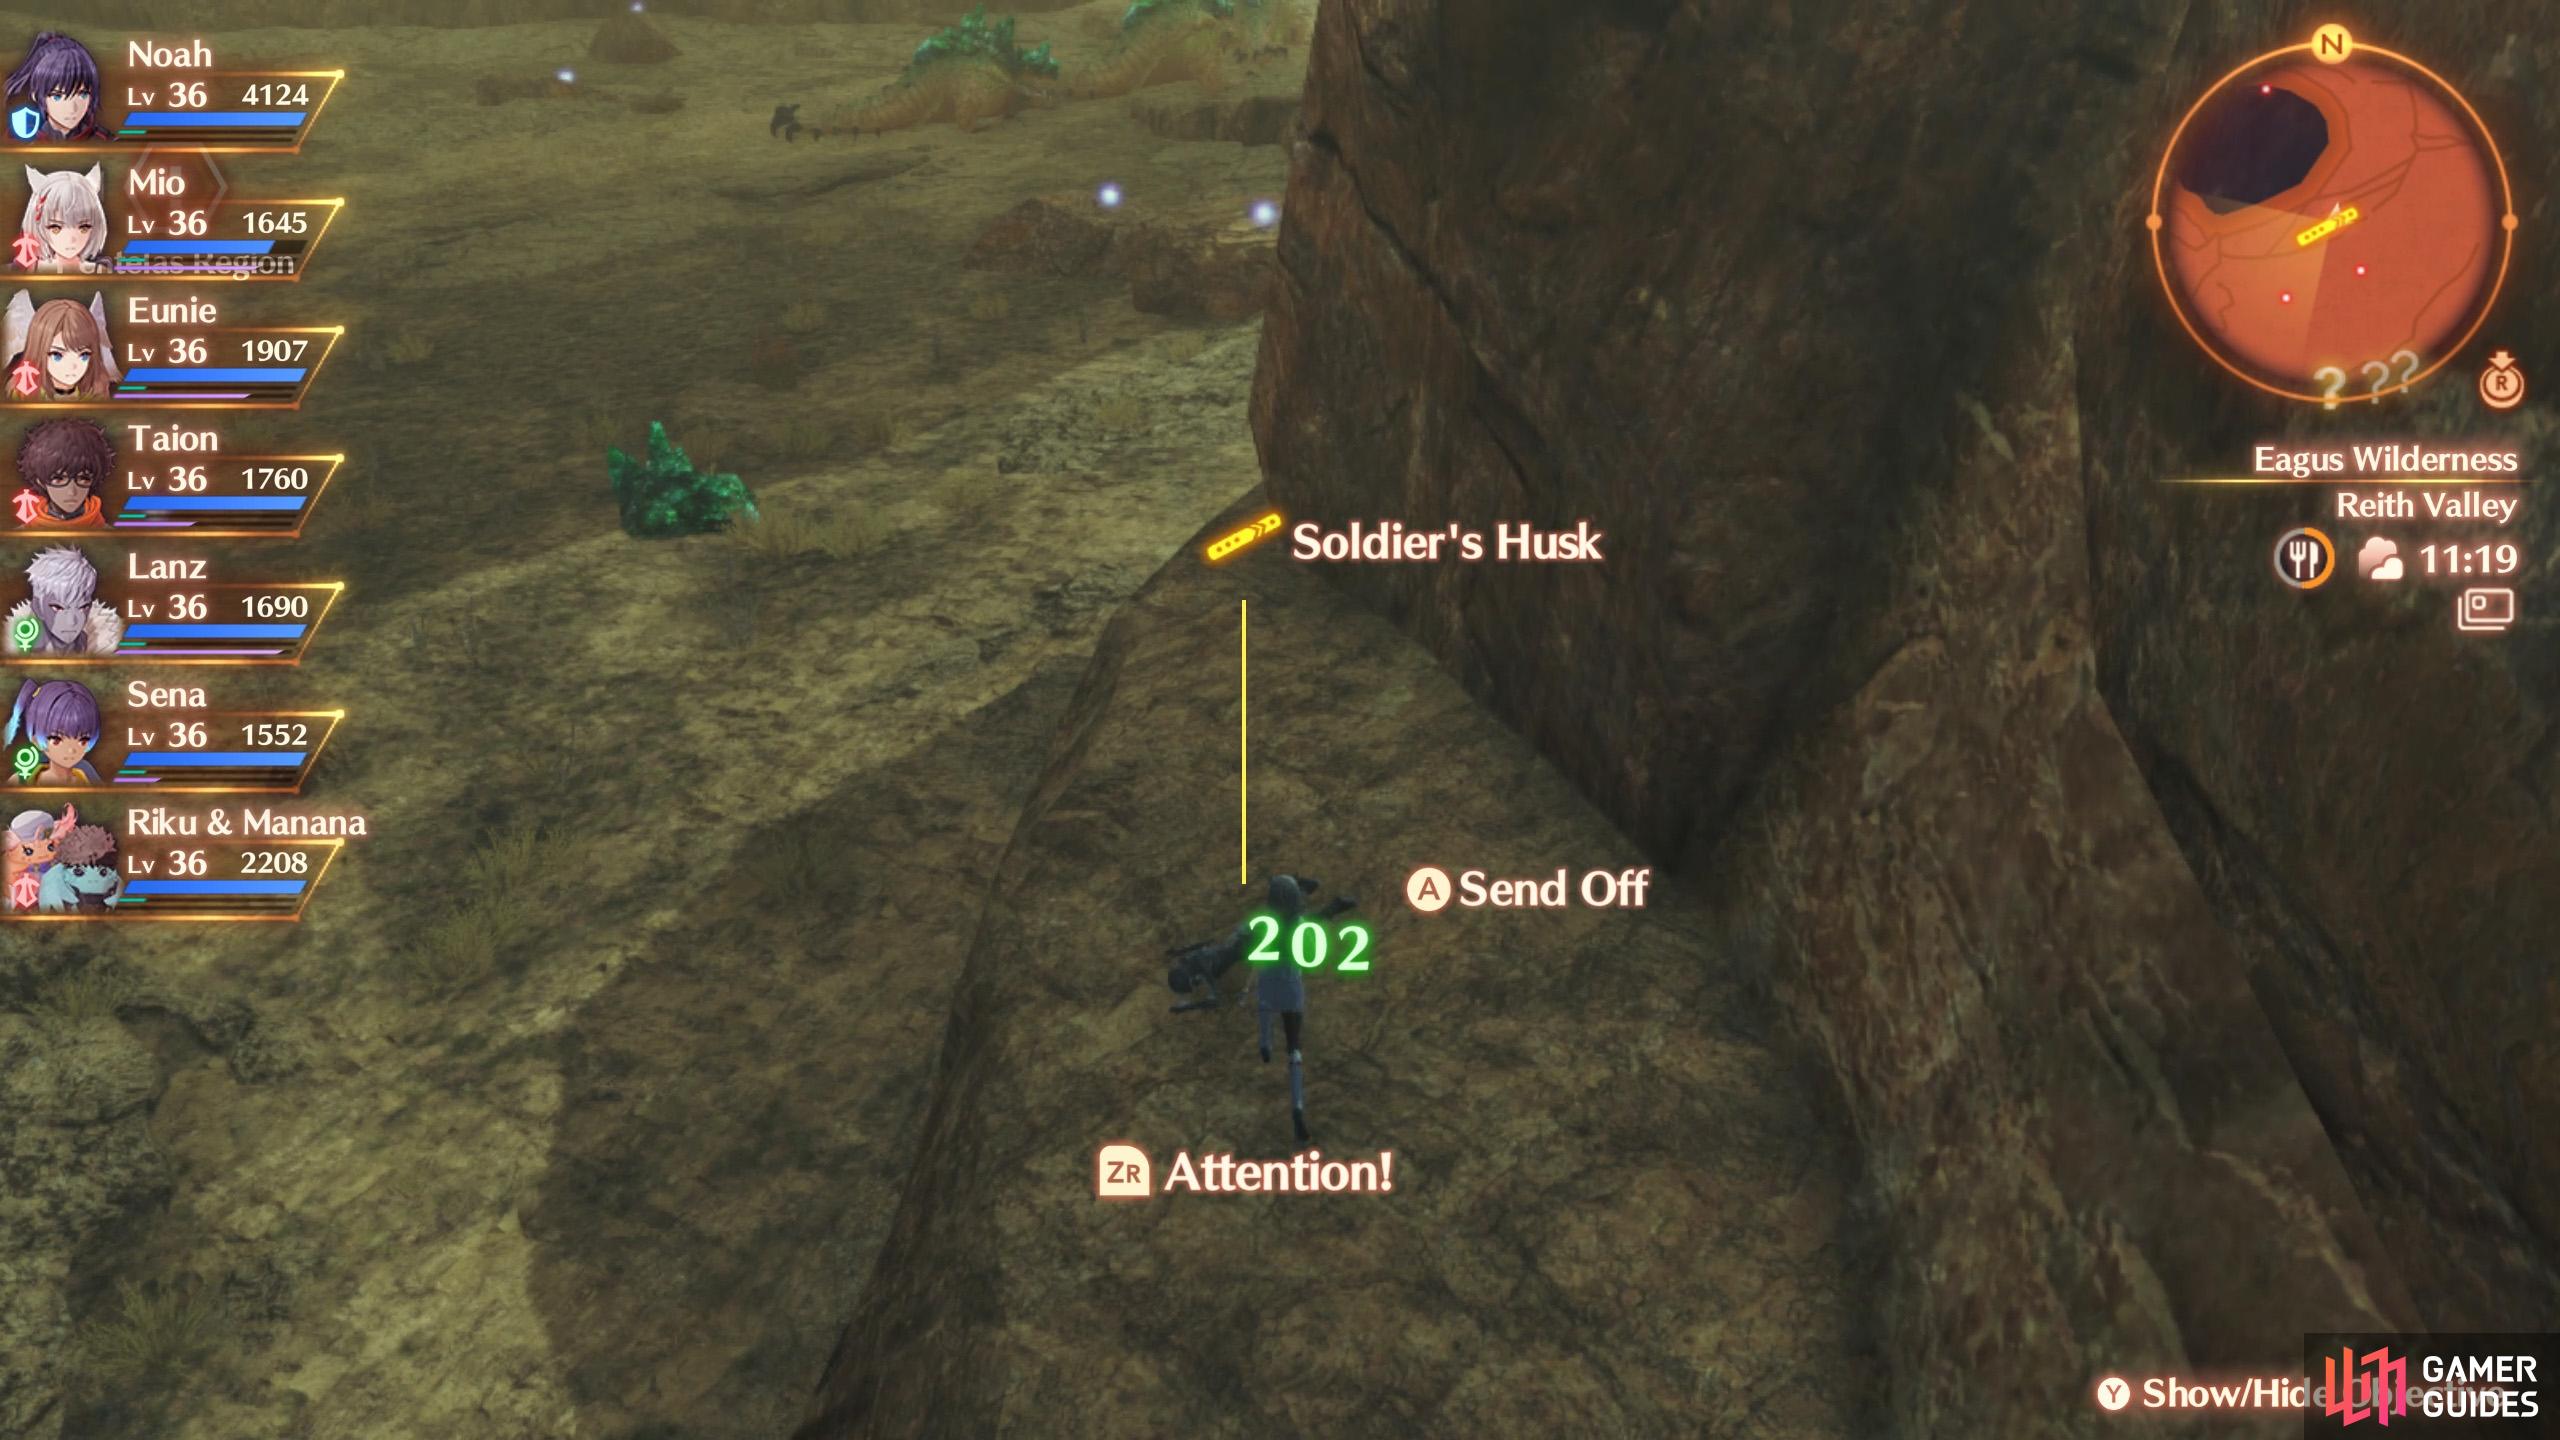
| Soldier Husk # | Map Marker | Location |
|---|---|---|
| 1 | Map Marker | Side of the pillar in front of the entrance. Jump from the north-east. |
| 2 | Map Marker | South side of spirally hill in Reith Valley. |
| 3 | Map Marker | North of Menno Arch. |
| 4 | Map Marker | West after going past Menno Arch. |
| 5 | Map Marker | Middle of the sand pit in Piento Basin. Watch out for monsters! |
| 6 | Map Marker | Before Wall of the Great Hand, along the northern cliff wall. |
| 7 | Map Marker | Along the top of Wall of the Great Wall. |
| 8 | Map Marker | East edge of Racine’s Platter, vertically halfway. |
No Comments