
This is a guide for the “Side Story - Taion” Ascension Quest in Xenoblade Chronicles 3. It’ll navigate you through the necessary steps to starting the Quest and upgrading Taion’s default Class, Tactician.
Side Story: Taion is Taion’s Ascension Quest in Xenoblade Chronicles 3.
Taion receives a call from Isurd. Give Command a visit next time you drop by Colony Lambda.
| Icon | Character | Prerequisite | Level | Rewards |
|---|---|---|---|---|
 |
Taion | Chapter 6 - Tactician at Rank 10 | 54 | 4450 EXP, 4270 G, 15 SP |
How to Start the Side Story: Taion Ascension Quest
If you’ve been paying attention to the Hero Roster in the System menu, you’ll have noticed that there are Ascension Quests in Xenoblade Chronicles 3. Completing these Quests will release the Rank cap on that particular Hero’s Class, allowing you to take it to Rank 20. On top of this, each of the main characters have a side story that will release the Rank cap on their default Classes.
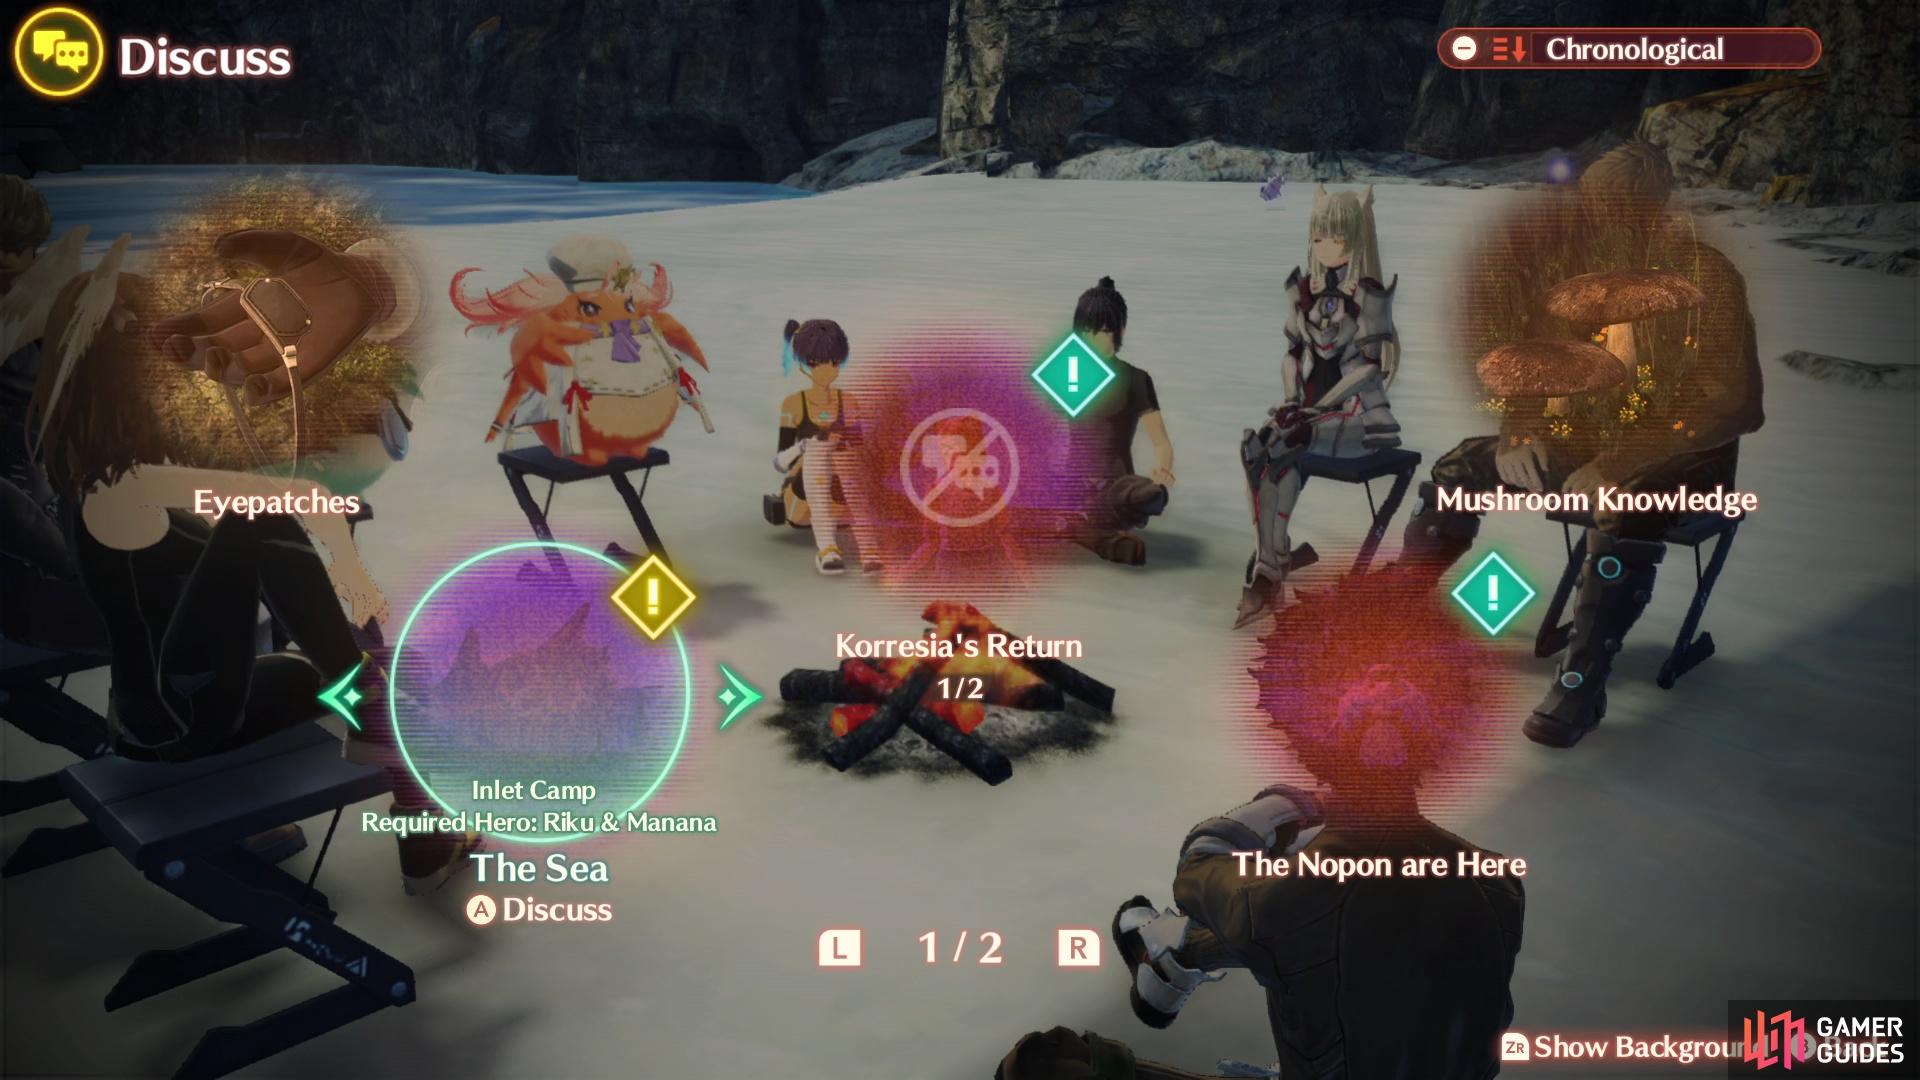
Discuss The Sea at the Inlet Camp to begin the Ascension Quest.
Taion’s Side Story can be initiated upon reaching Chapter 6 in the main story and progressing until you’ve helped clean up the debris at Agnus Castle, following the boss fights there. The Info Fragment needed to start this Quest can be found within the Ascension Grounds of Agnus Castle; the Info Fragment that you need is called The Sea. Head to the Inlet Camp Rest Spot now and discuss the topic to begin this Ascension Quest.
How to Complete the Side Story - Taion Ascension Quest
Head to Colony Lambda in Pentelas
To get the ball rolling, make your way to Colony Lambda in the Pentelas region and head to Isurd’s tent to speak to him. After listening to Isurd’s tale, you’ll learn of a mysterious hidden Colony, the one that Nimue came from, and Taion decides to set off to try and protect it from leadership. Following the conversation, you’ll receive a topic to discuss at the nearby Rest Spot, do so and everyone will decide to assist Taion with helping this Colony. Return to Isurd and deliver him your verdict and then it’s time to seek out the Colony.
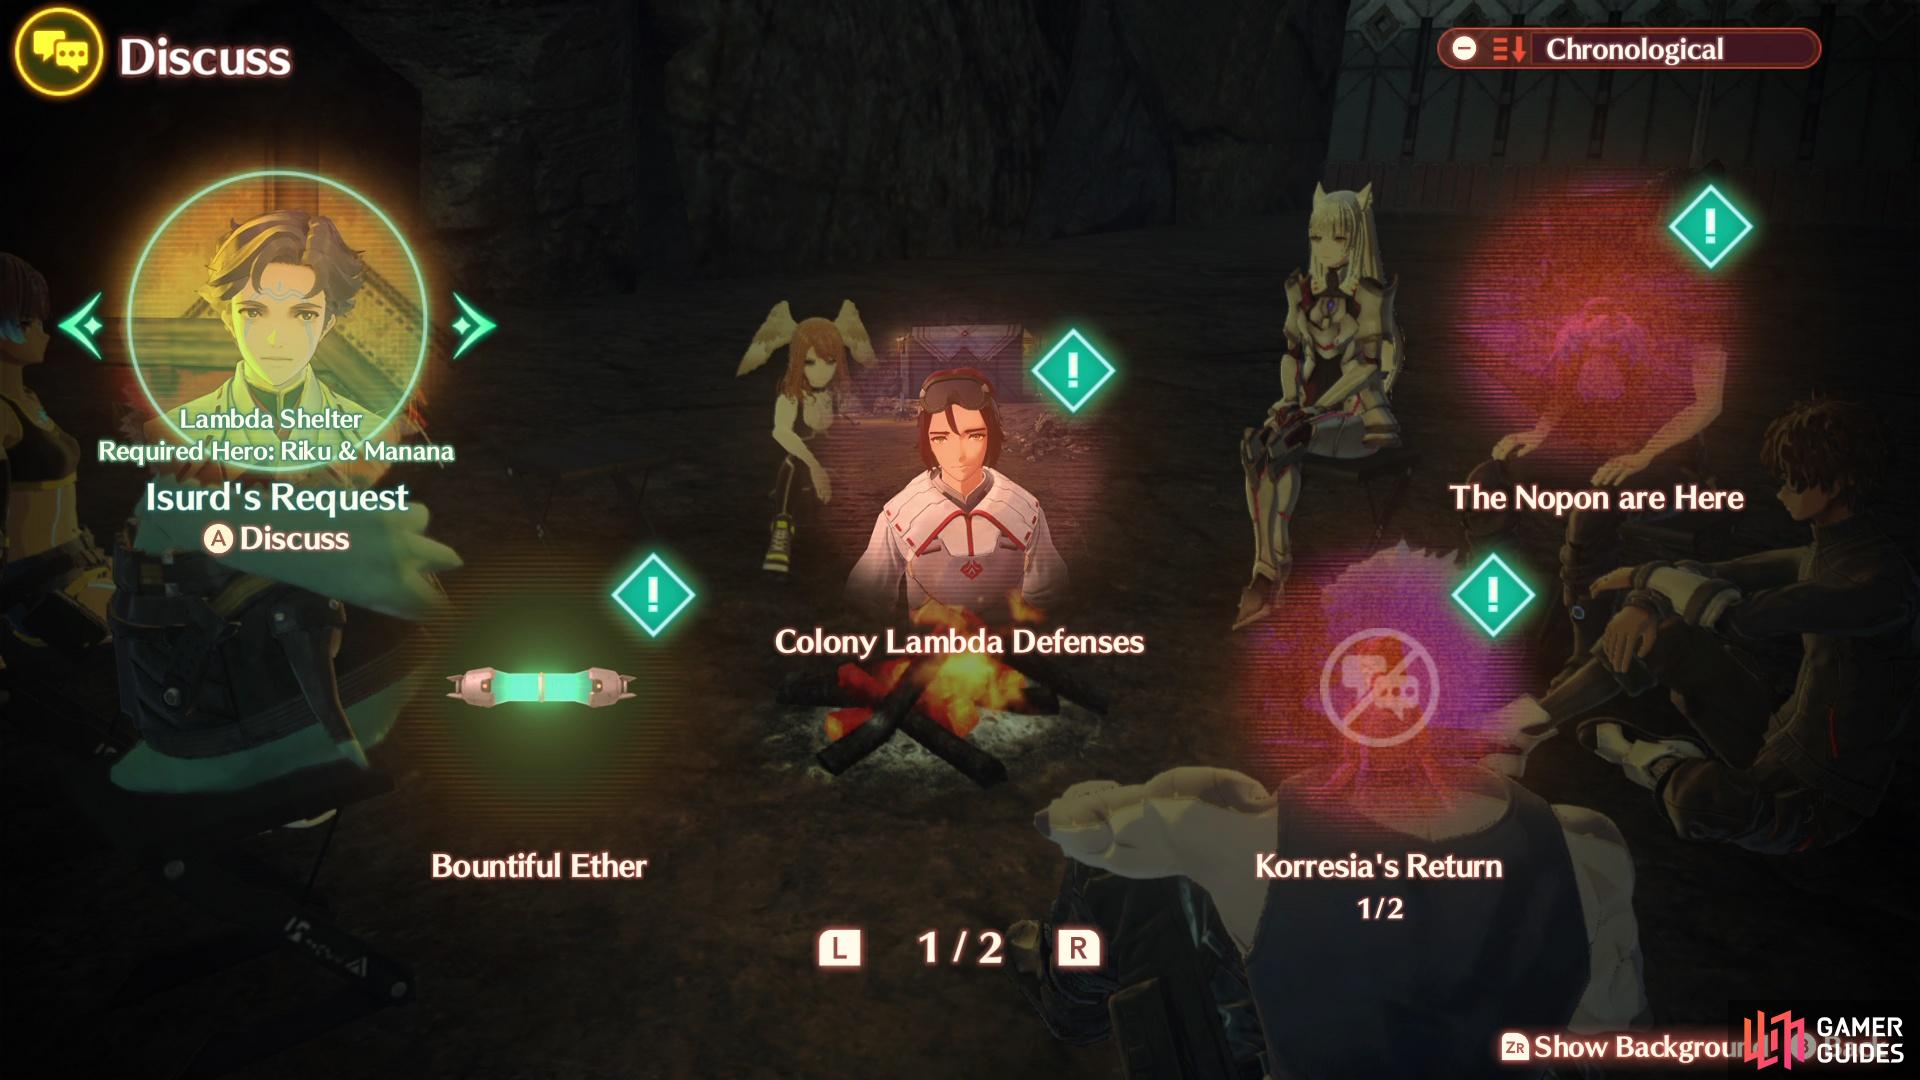
Discuss Isurd’s Request with the rest of the party
then head to the Hermit Inlet found in the northeast of the Erythia Sea.
Head to the Lost Colony
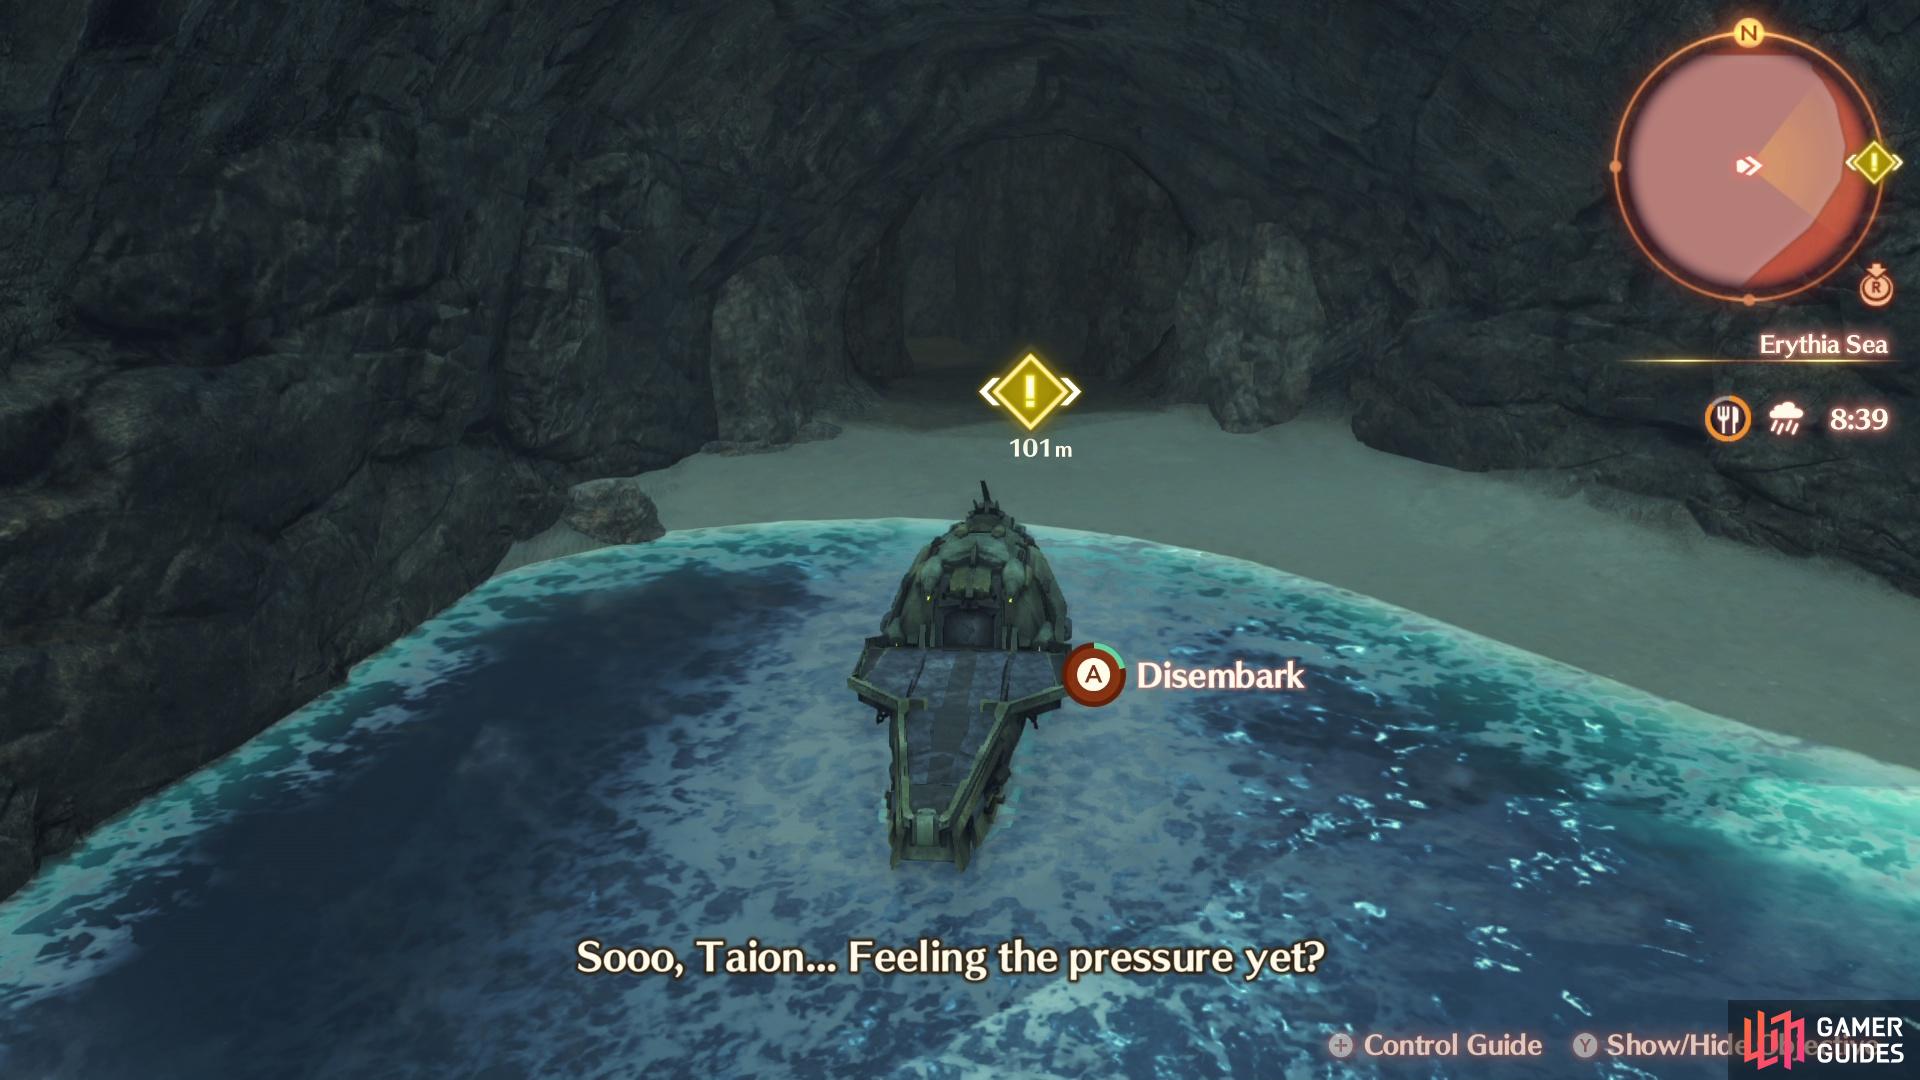
You’ll need to return to the Cadensia Region and look for the place that Isurd mentioned if you’re to locate the Lost Colony. Board the Boundary and make for the Hermit’s Inlet. As you enter the cave entrance, you’ll see the presence of a large group of Levnises and of course, a Consul. Take the southeast path around and follow it, taking care of the enemies if you’re undertaking this Quest underlevel.
Once you go beyond the Rujah Headwaters Landmark, you’ll trigger a scene as some soldiers belonging to the Lost Colony find themselves up against a group of Levnises. You’ll be up against two Lv 54 Armadillos along with a Lv 55 Lepus, focus on dealing with the Armadillos before turning your attention to the deadlier Lepus. Be especially aware of Ground Breach, if you see it burrow, move your controlled character as far away as possible.
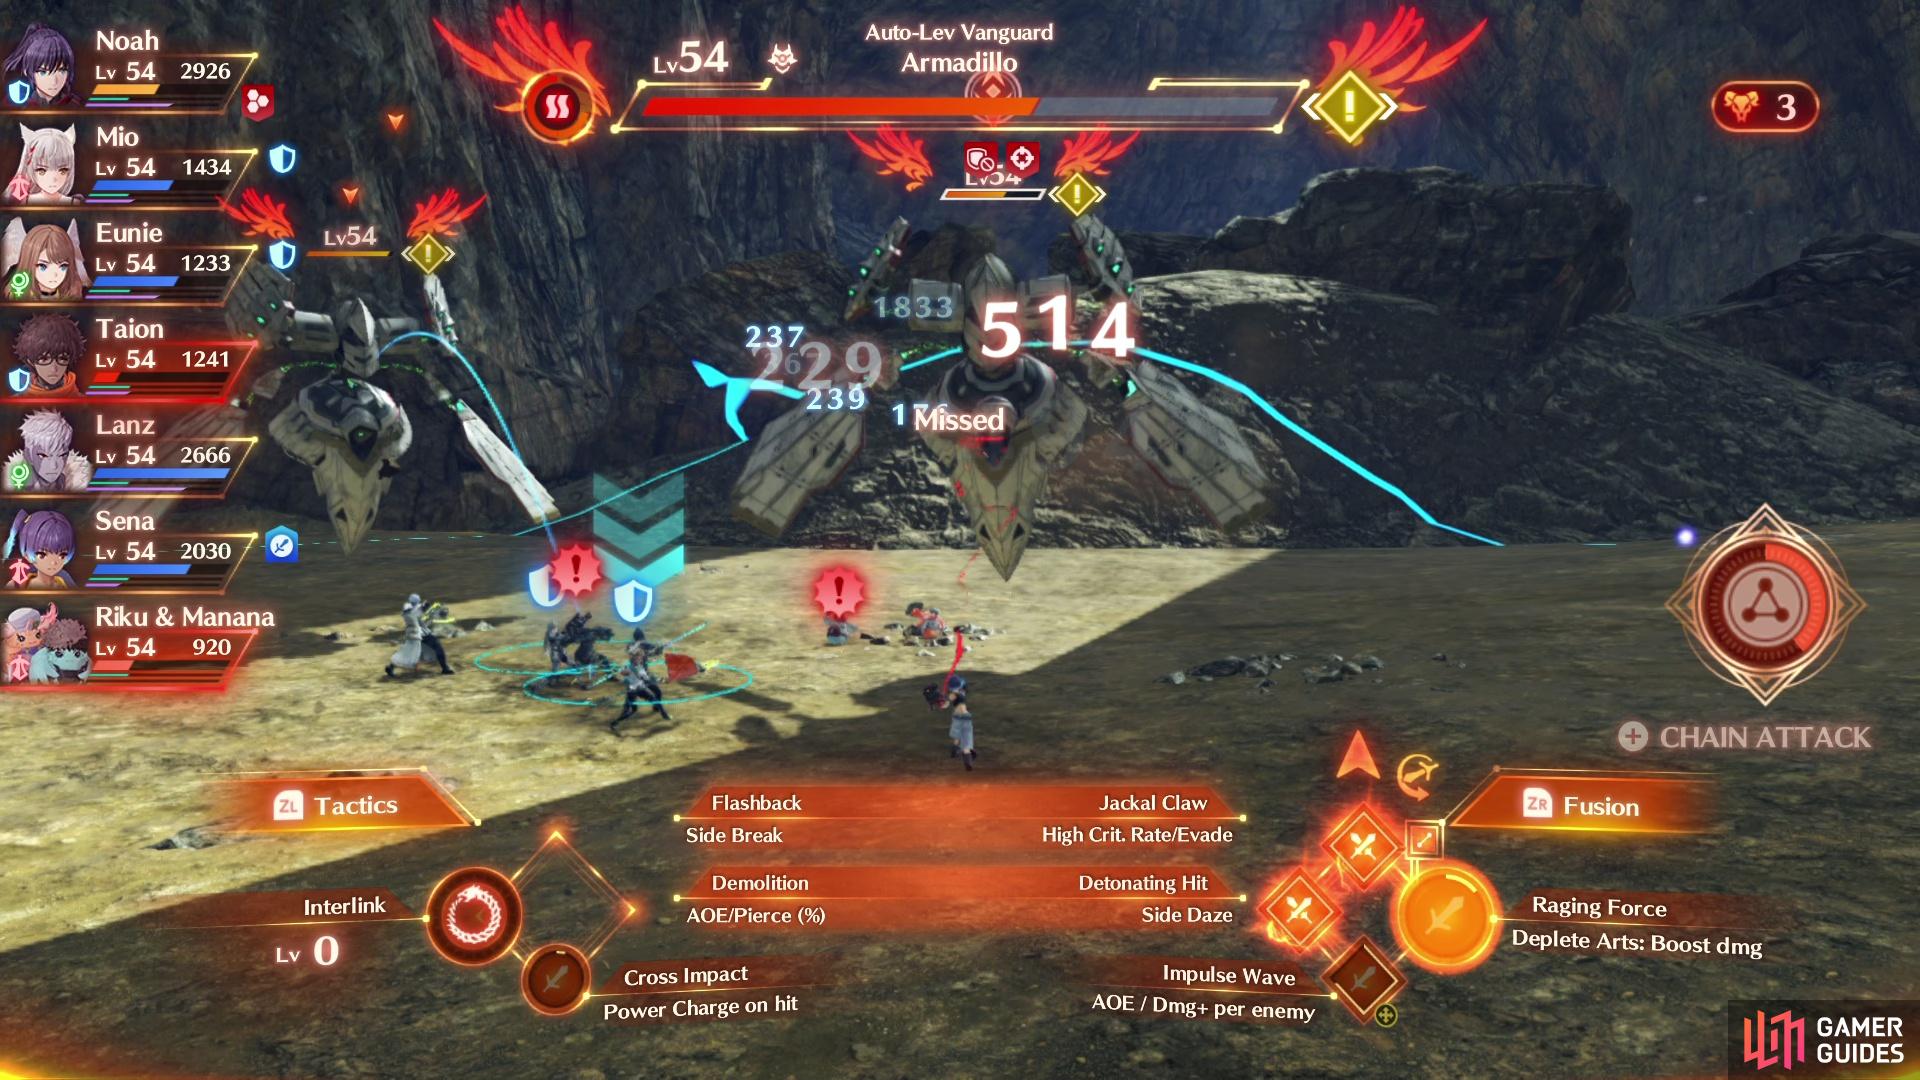
Deal with the two Armadillos first
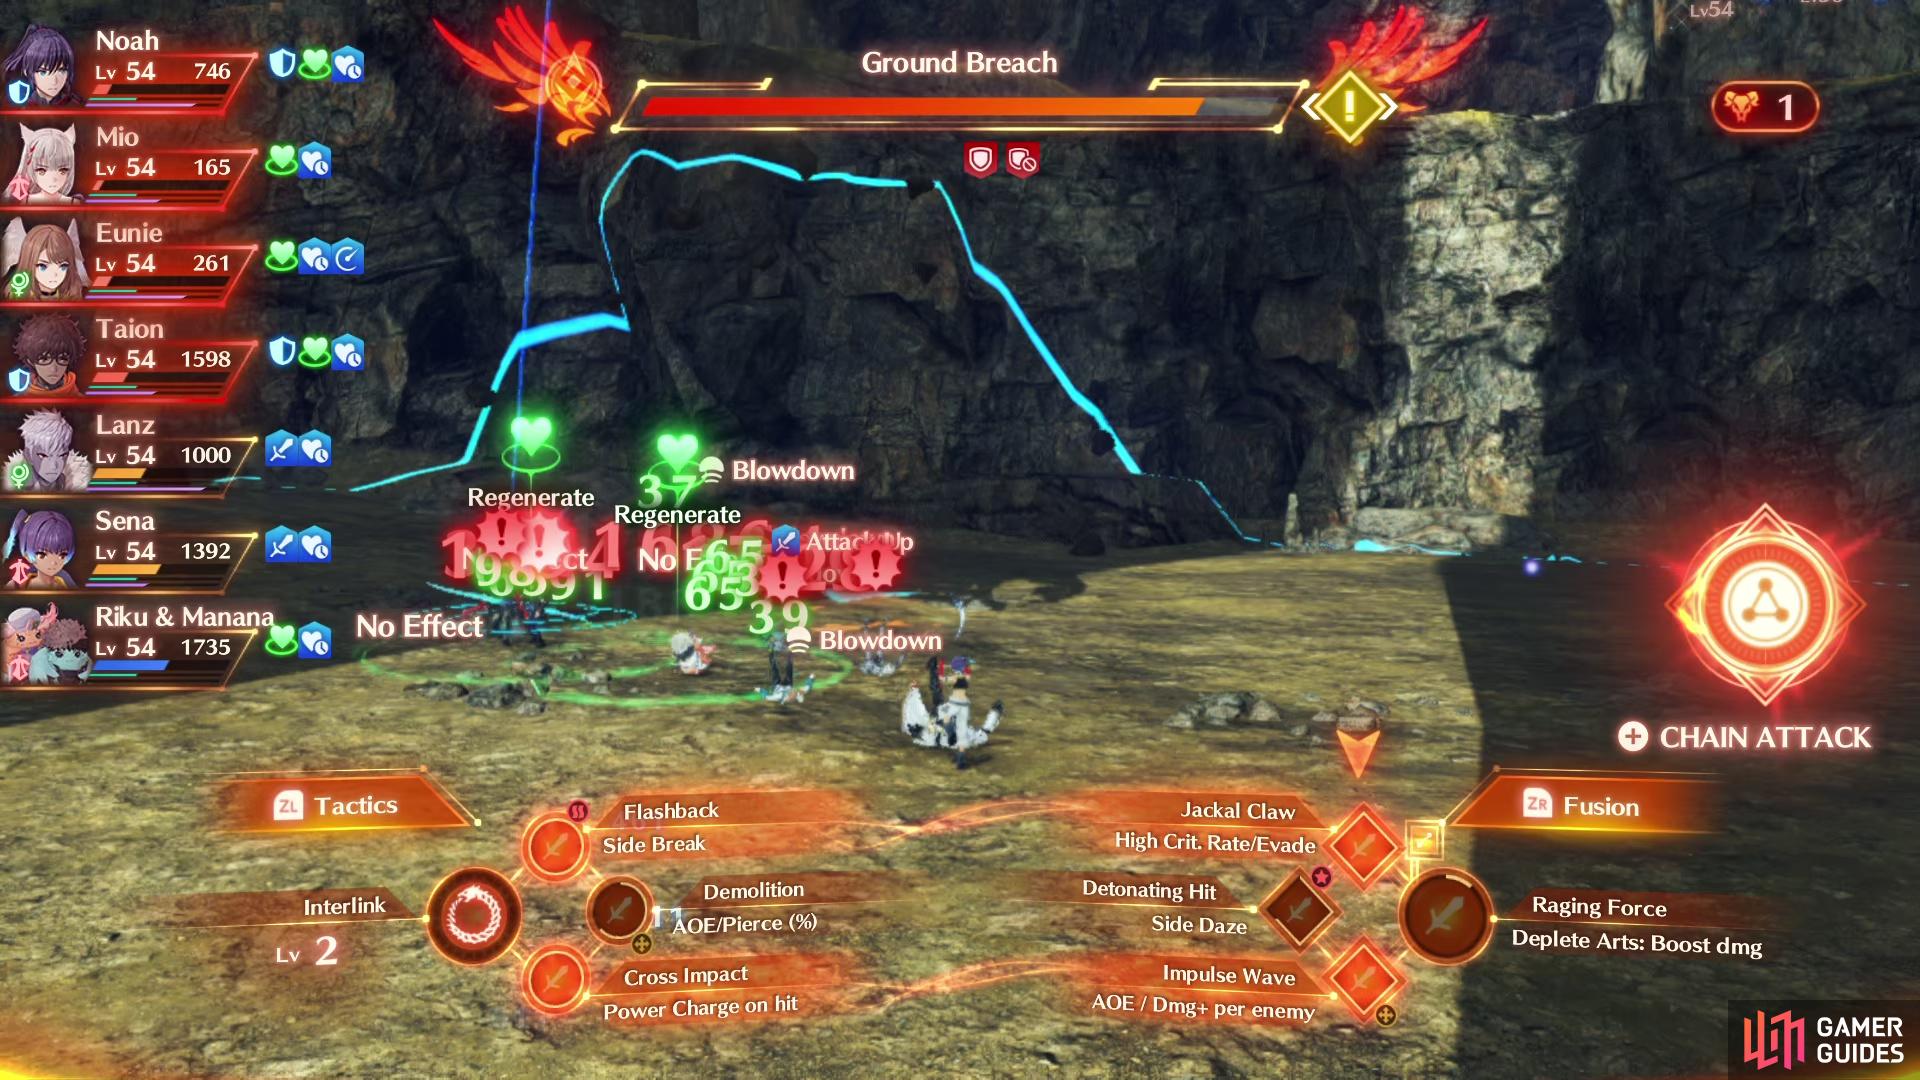
beware of the Lepus’ Ground Breach Art.
Once the Levnises are nothing more than scrap, continue north through the cave as it loops around back to a higher elevation to the south. The group will camp for a short while and then you’ll be left with a short dash to the south for your destination. You may wish to ignore the enemies and beeline your destination, there are a lot of high level enemies here and should you die, you’ll be sent back to the Rujah Headwaters Landmark.
Follow Nimue
Now that you’ve reached your destination at last, Nimue wishes to bring Taion and the others to Stella, the Commander of this hidden Colony. She’ll take you around the south and then east where you’ll reach the Chief’s Quarters. After a short discussion, you learn that although she is grateful for the assistance, she wishes for Taion and the rest of the group to leave the Colony.
Make your way to the residential area where you’ll find the Colony Barracks. Following the scene, the group doubles down on their determination to protect this Colony. Head over to the ruined Ferronis now to trigger another scene and spur a moment of insight from Taion.
Repairing the Ferronis
Your next task is to aid in the repair of the broken Ferronis. Odds are you already have plenty of the materials needed if you’ve been fighting Levnises throughout your adventure.
| Item | Location |
|---|---|
| Fluid Cranker x5 | Great Sword Passage in Cadensia |
| Monochromagnetite x3 | Lavi Sandbar or Corne Island in Cadensia |
| Cube Chip x3 | North of the Rujah Headwaters Landmark |
| Ether Cylinder x9 | Gathered at Ether Currents around the world |
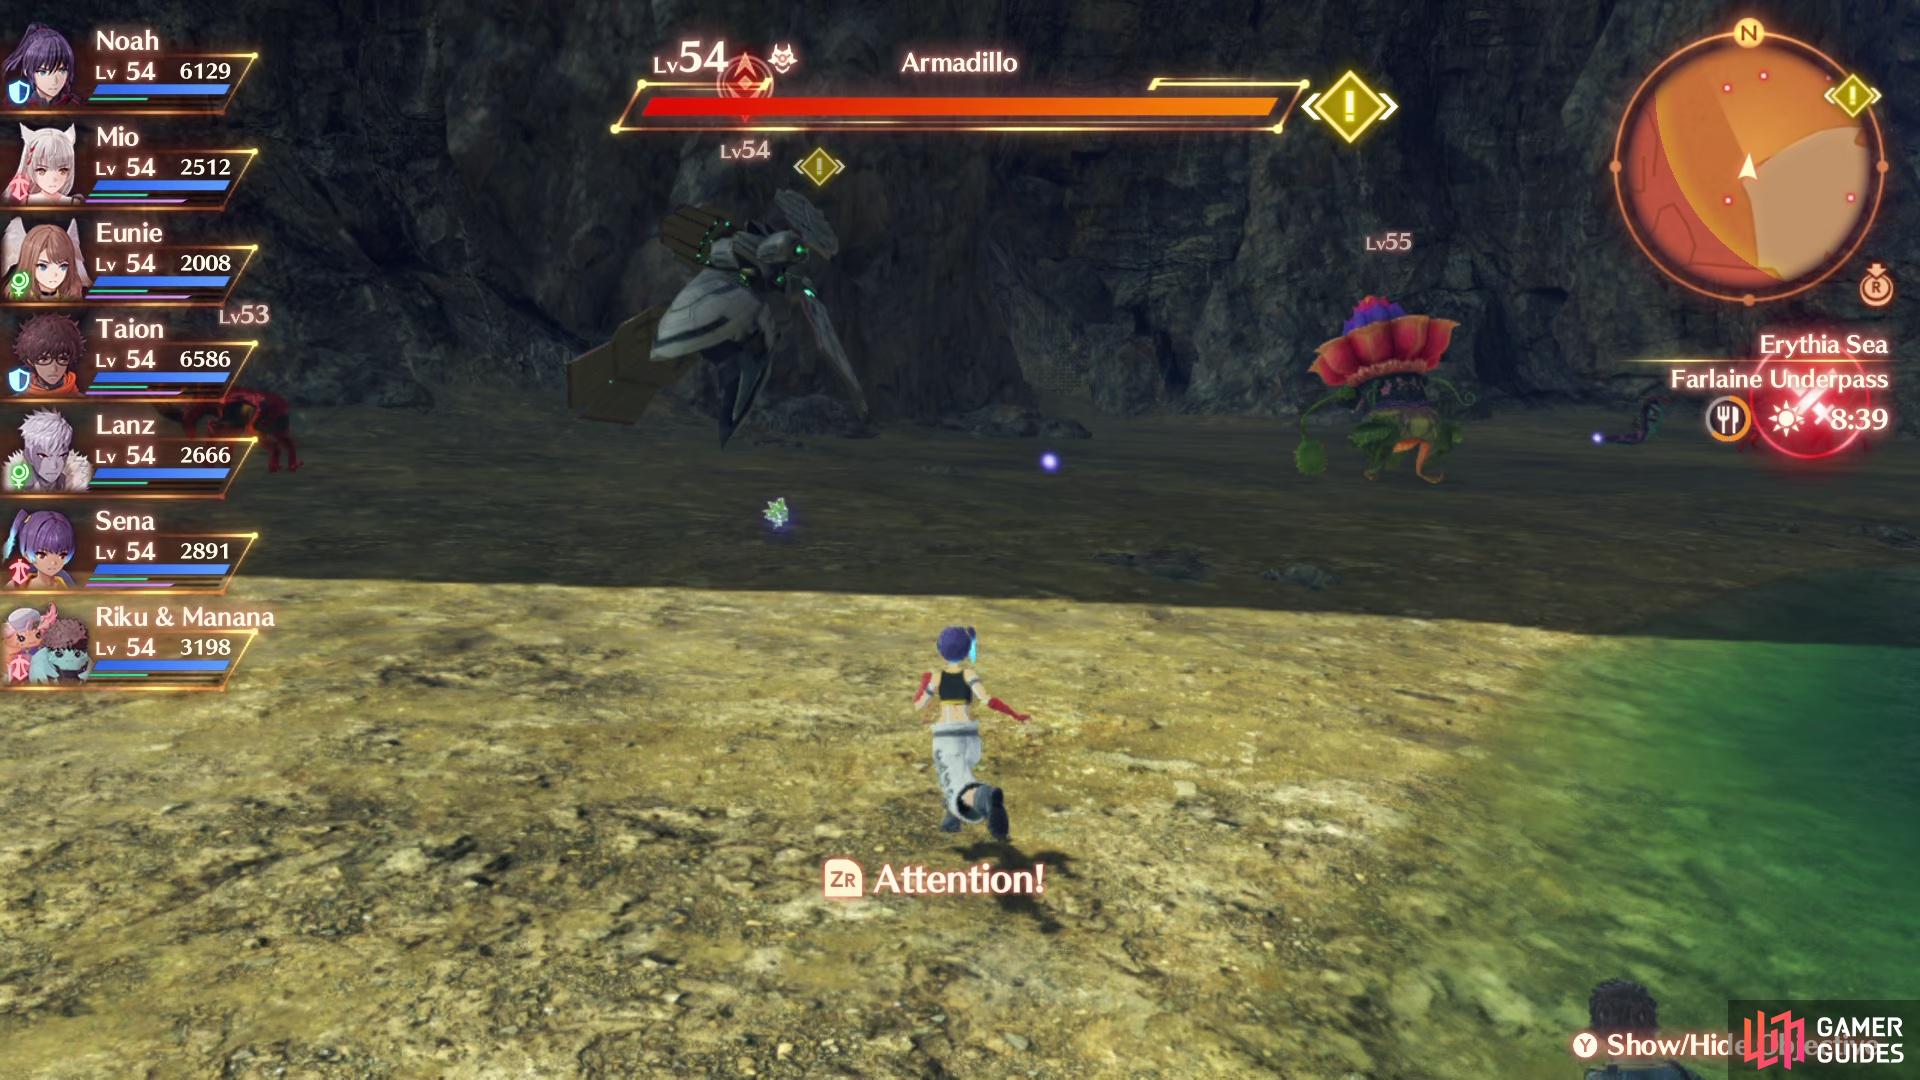
You can find Cube Chips by defeating the Armadillos in this cave.
Once you’ve gathered all of the necessary materials, return to Riku and hand them over. With the Ferronis now moving again, it’s time to return to where the Consul is. Skip Travel to the Rujah Headwaters Landmark and head west to trigger a scene. Once you regain control, continue west back to the entrance of the cave for a showdown with Moebius V!
No Comments