
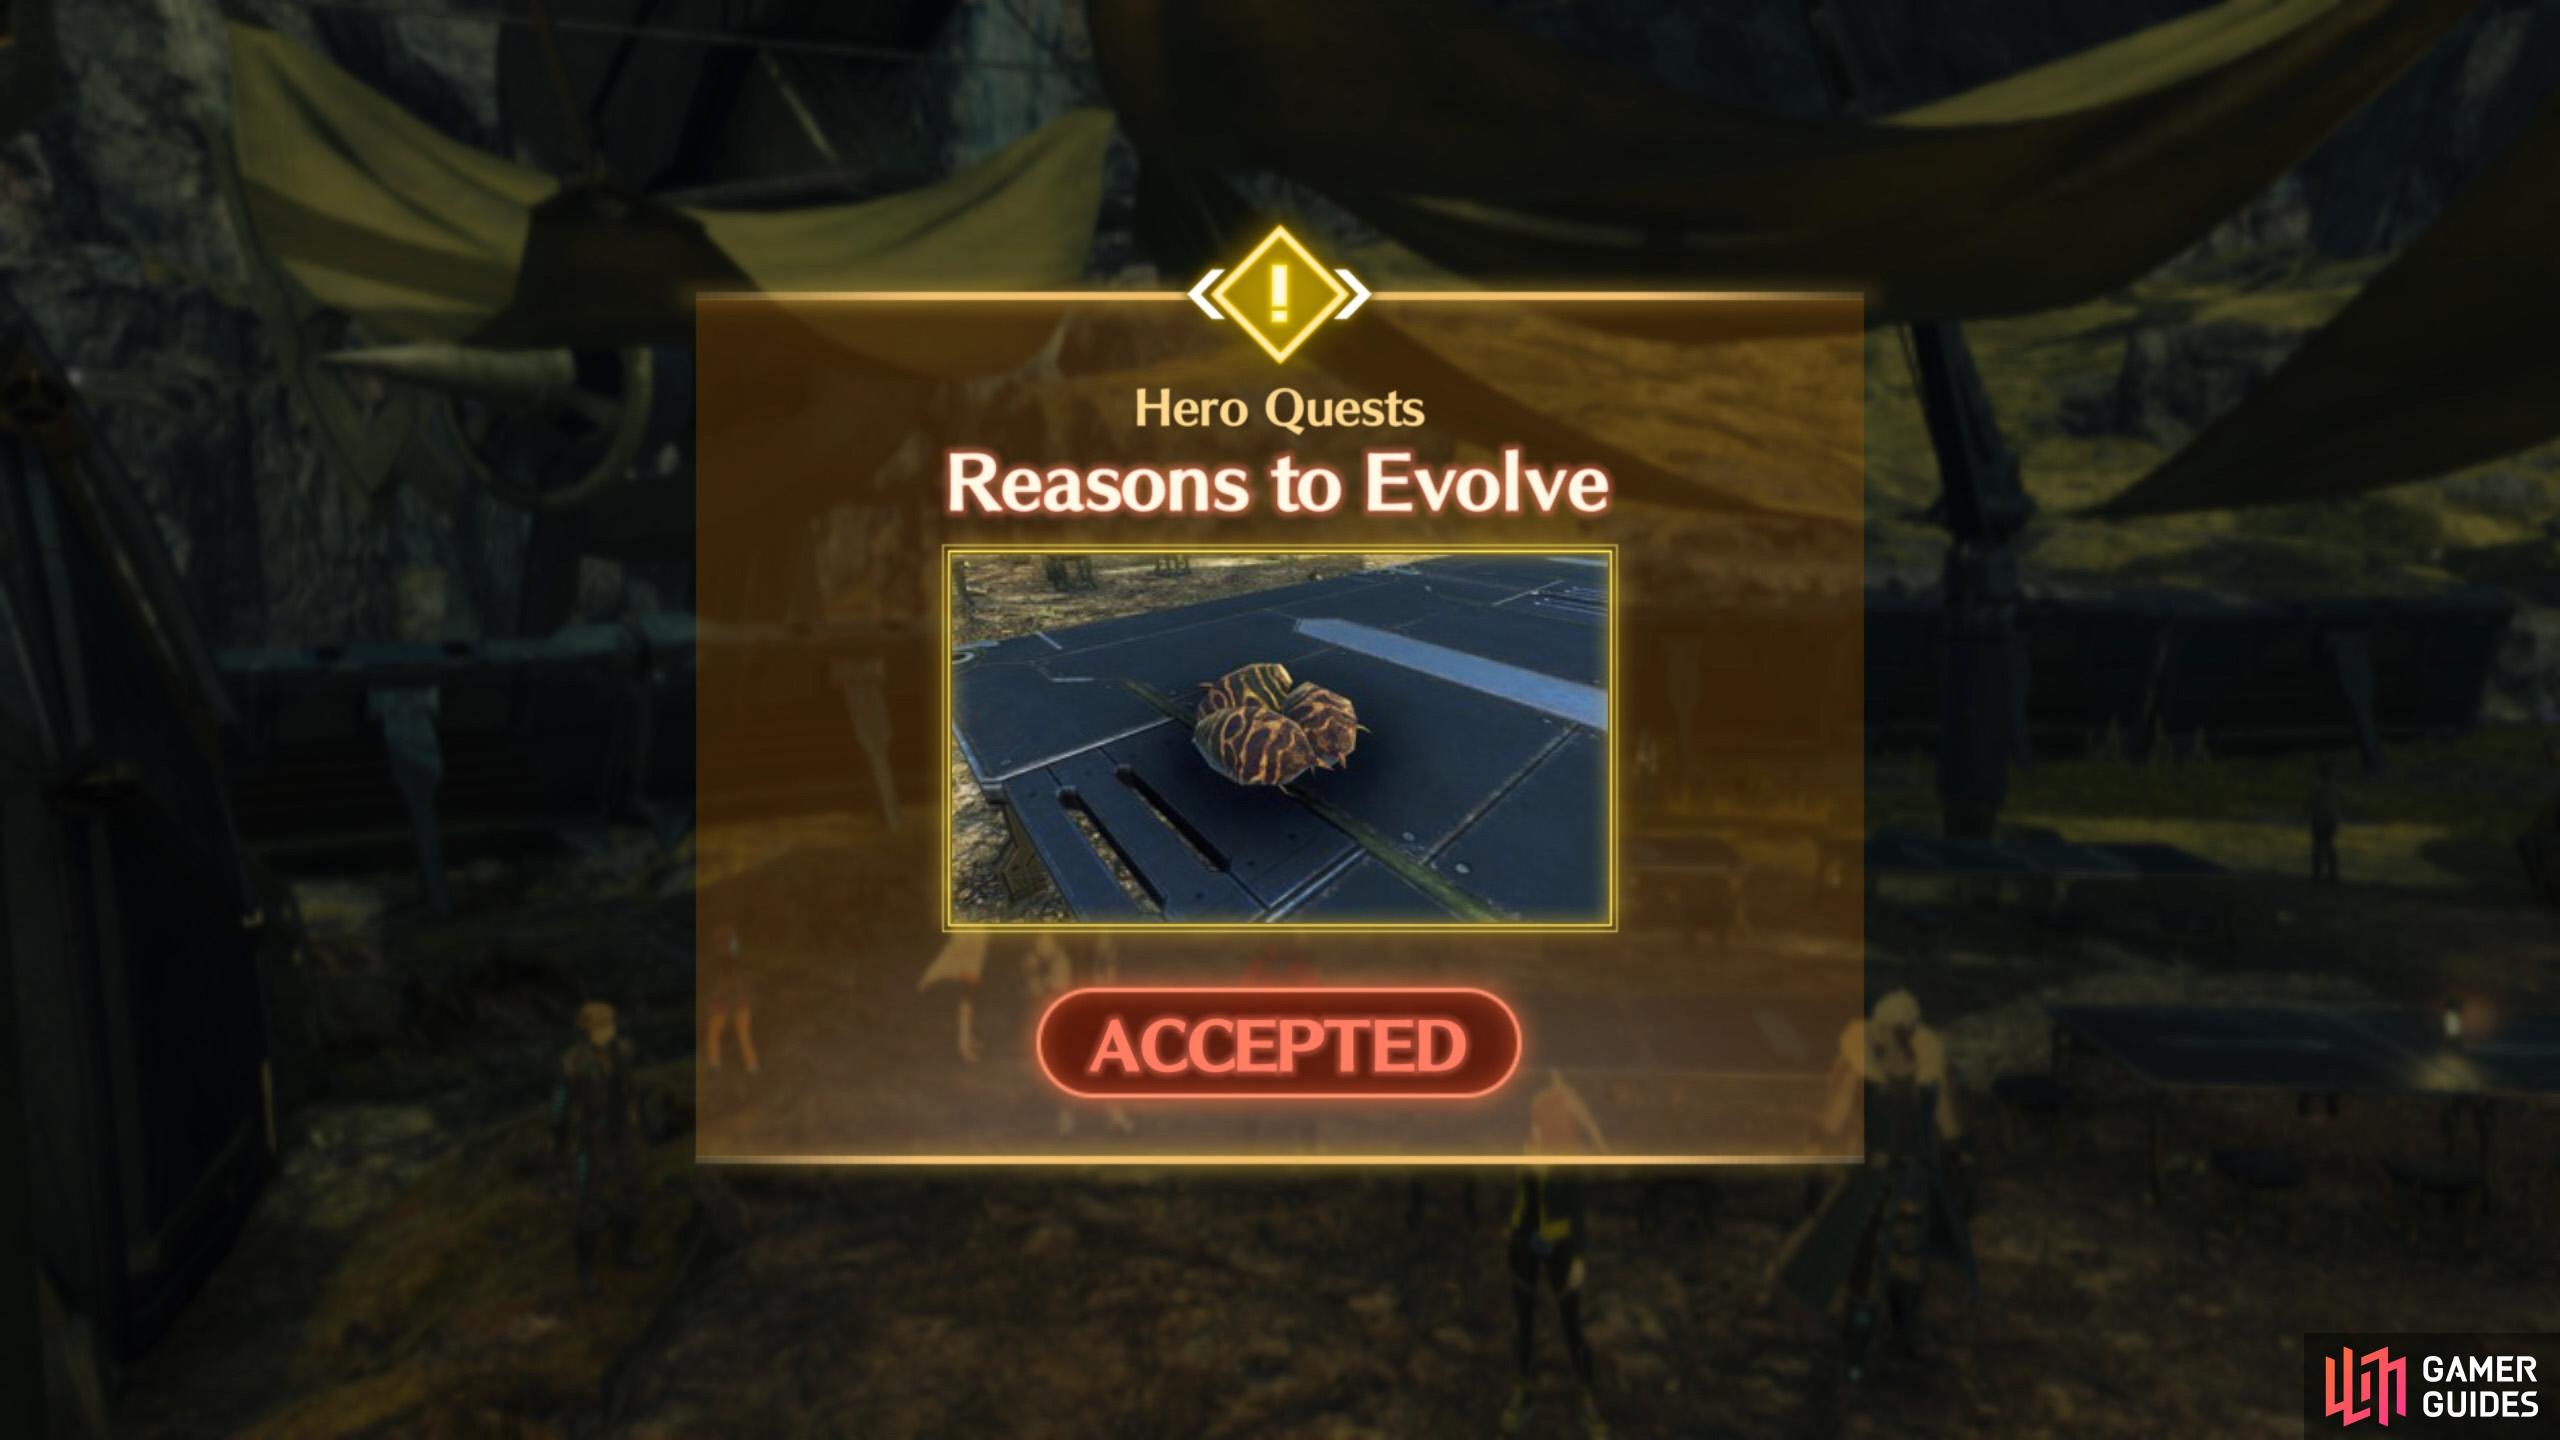
This is a guide for Zeon’s Ascension Quest “Reasons to Evolve” in Xenoblade Chronicles 3.
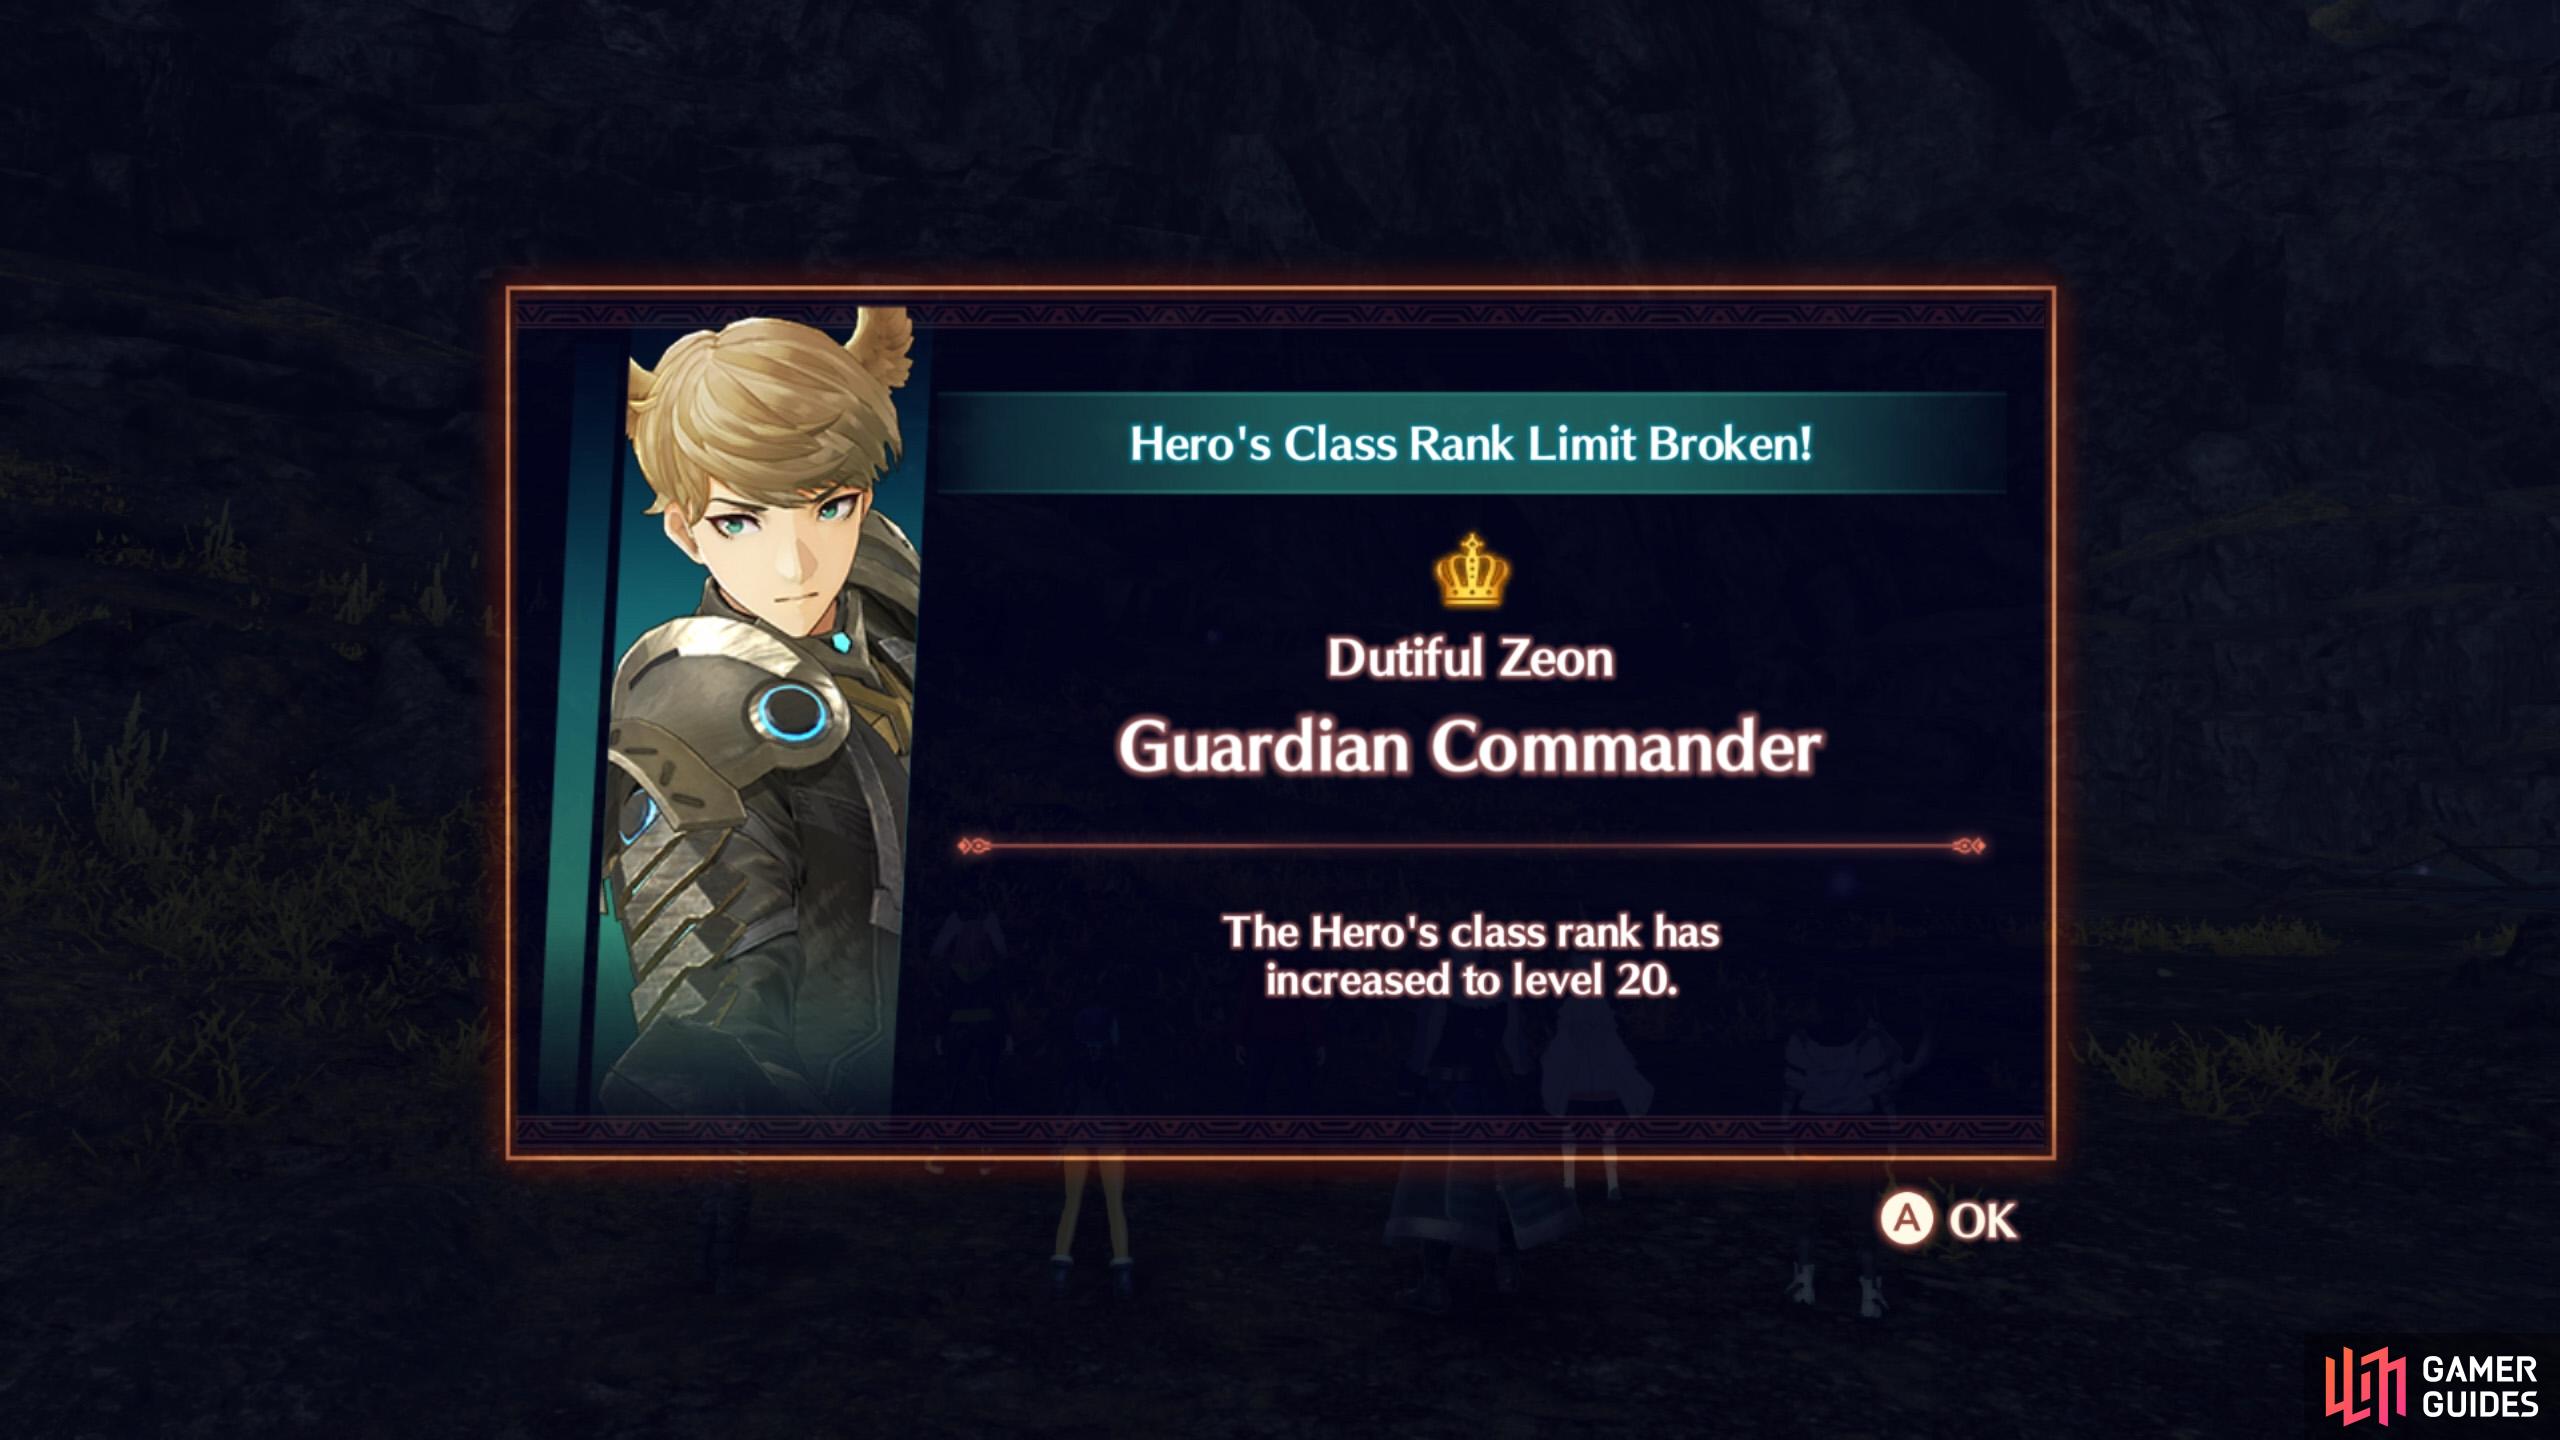
Completing this quest will unlock Rank 20 for Guardian Commander class.

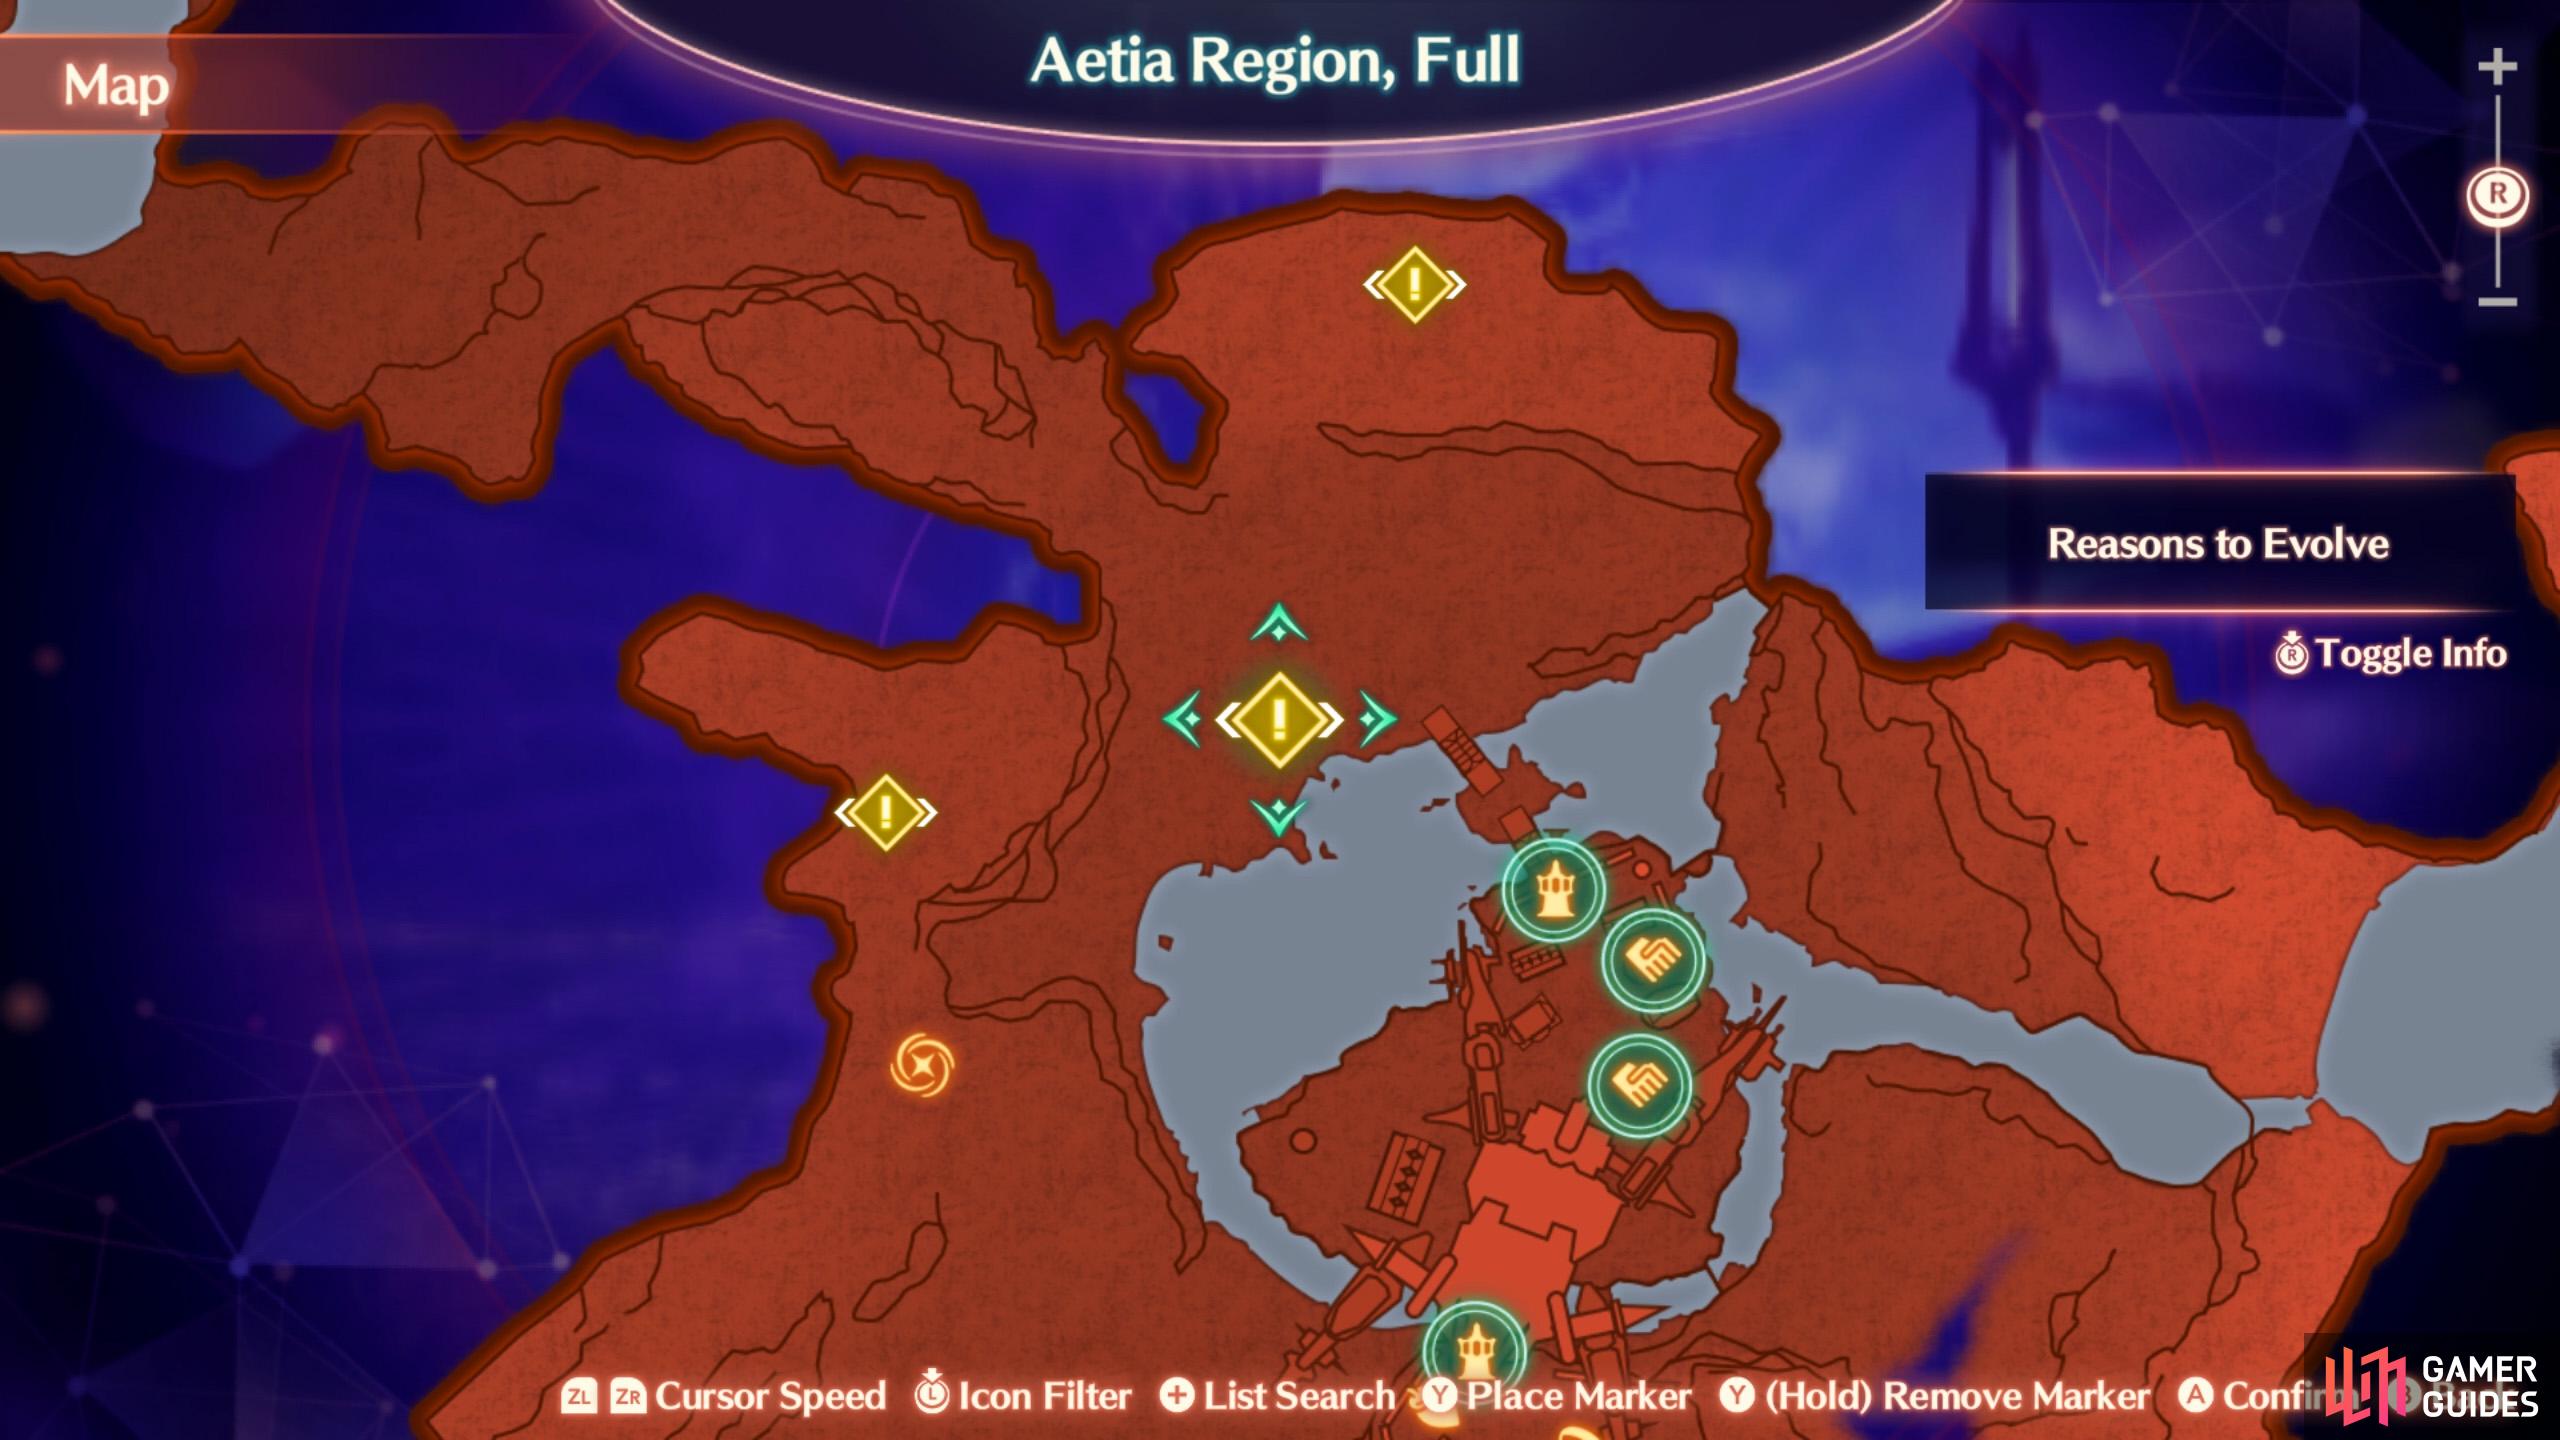
Progression of this quest will also unlock a new location in the Aetia Region, Full.
After unlocking a Hero, once you’ve reached Rank 10 for their class with one of your characters (excluding the Hero themselves), you can begin their Ascension Quest to unlock Rank 20 for that class.
The conditions for the Ascension Quest can be viewed in the Hero’s profile, under System - Hero Roster. However, some of them are fairly vague and/or have multiple hidden steps.
How to Start the “Reasons to Evolve” Quest

Make sure you’ve completed “For Colony 9” and Zeon is in your battle party.
Also, Noah must be Rank 10 in Zeon’s Guardian Commander class.
For this quest to appear, there are a few conditions.
One, Noah must be Rank 10 in the Guardian Commander class.
Two, you must have completed the “For Colony 9” Standard Quest. This quest is part of a long quest chain.
- Complete the Forgotten Supplies and Lean Times in Colony 9 quests, available after recruiting Zeon.
- Complete the A Difficult Transition Quest, from Chapter 4.
- The For Colony 9 Quest will then become available from Chapter 5.
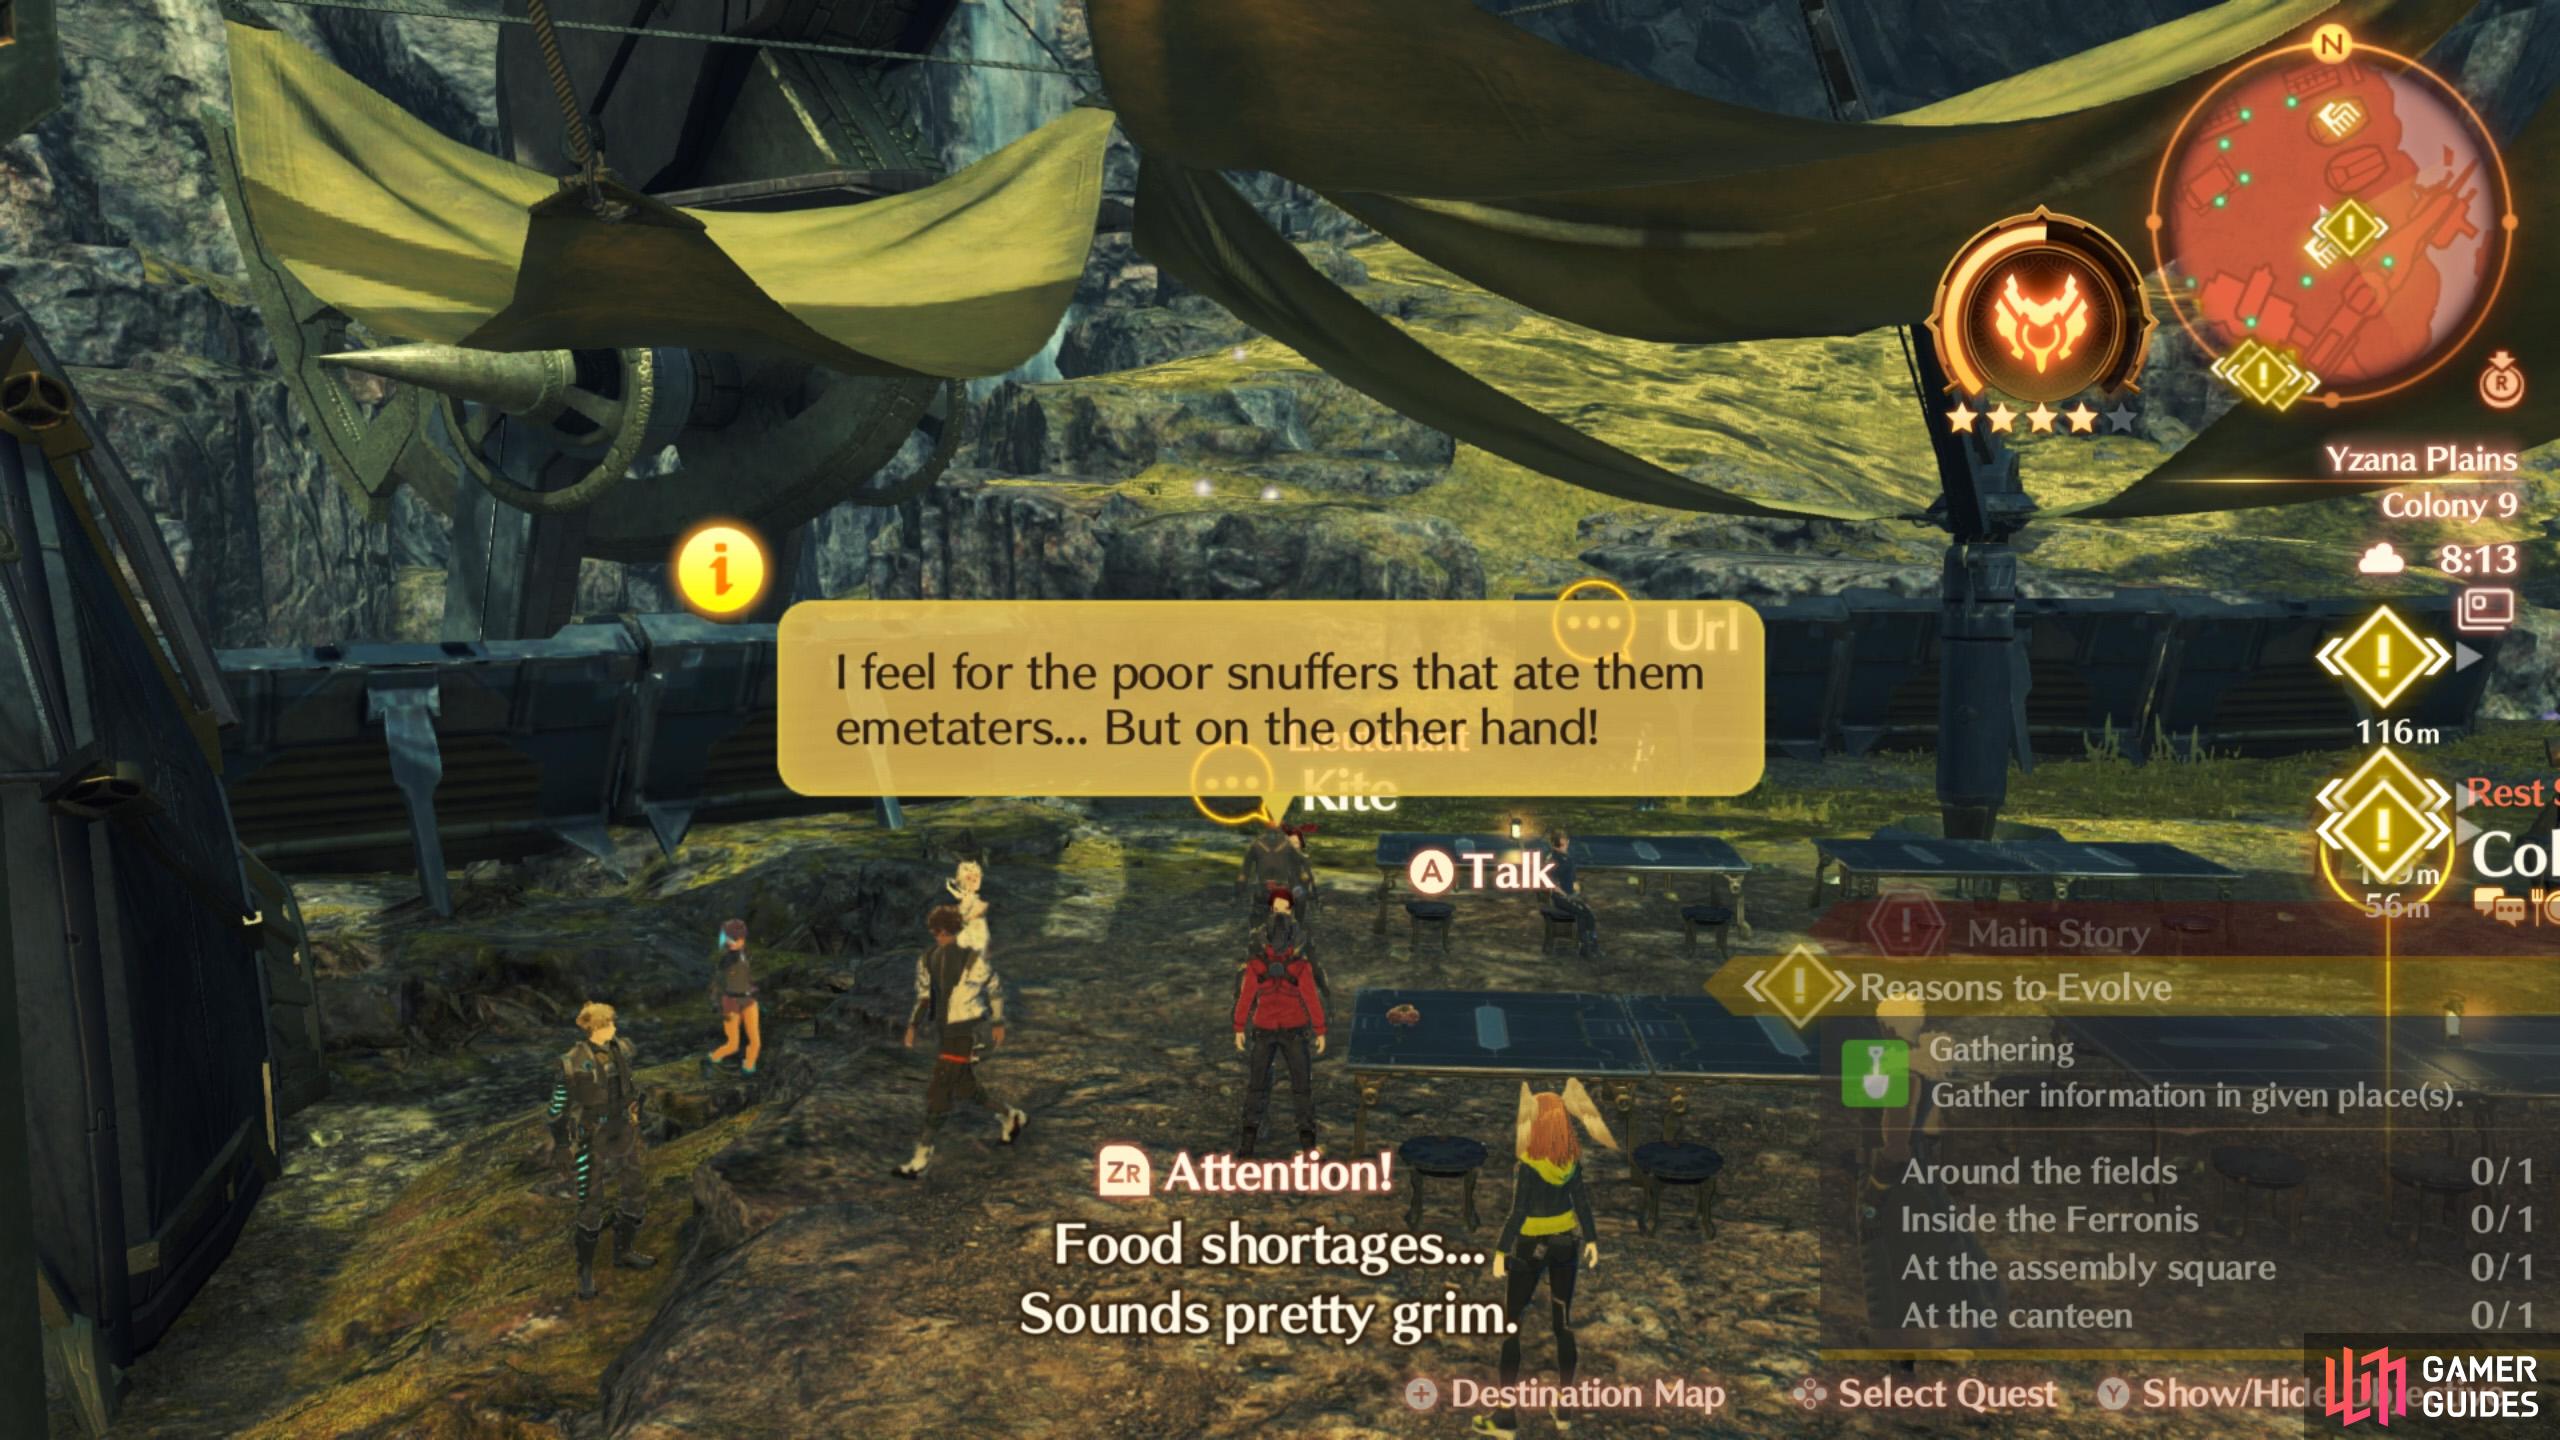
Finally, you need Zeon in your battle party. If all the conditions have been met, a quest-related marker will appear near the Colony 9 Canteen. Go there and speak to Kite to begin the Ascension Quest.
How to Complete the “Reasons to Evolve” Quest
Fair warning, the “Reasons to Evolve” Quest is fairly straightforward, with minimal fighting. However, it’s very long-winded. In essence, you’ll be doing a spot of farming, with all the ups and downs that come with the job.
Step 1. Look for Info Fragments Around Colony 9
After speaking to Kite, you’ll be told to poke around Colony 9. In particular, look for Info Fragments related to “The Fields”. Altogether, there are 4 parts.
| Info Fragment | Location |
|---|---|
| The Fields (1) | At the Colony 9 Canteen, behind Kite. |
| The Fields (2) | Inside the Colony 9 Ferronis, en route to the Colony 9 Assembly Square. |
| The Fields (3) | Colony 9 Assembly Square, opposite the Commissary. |
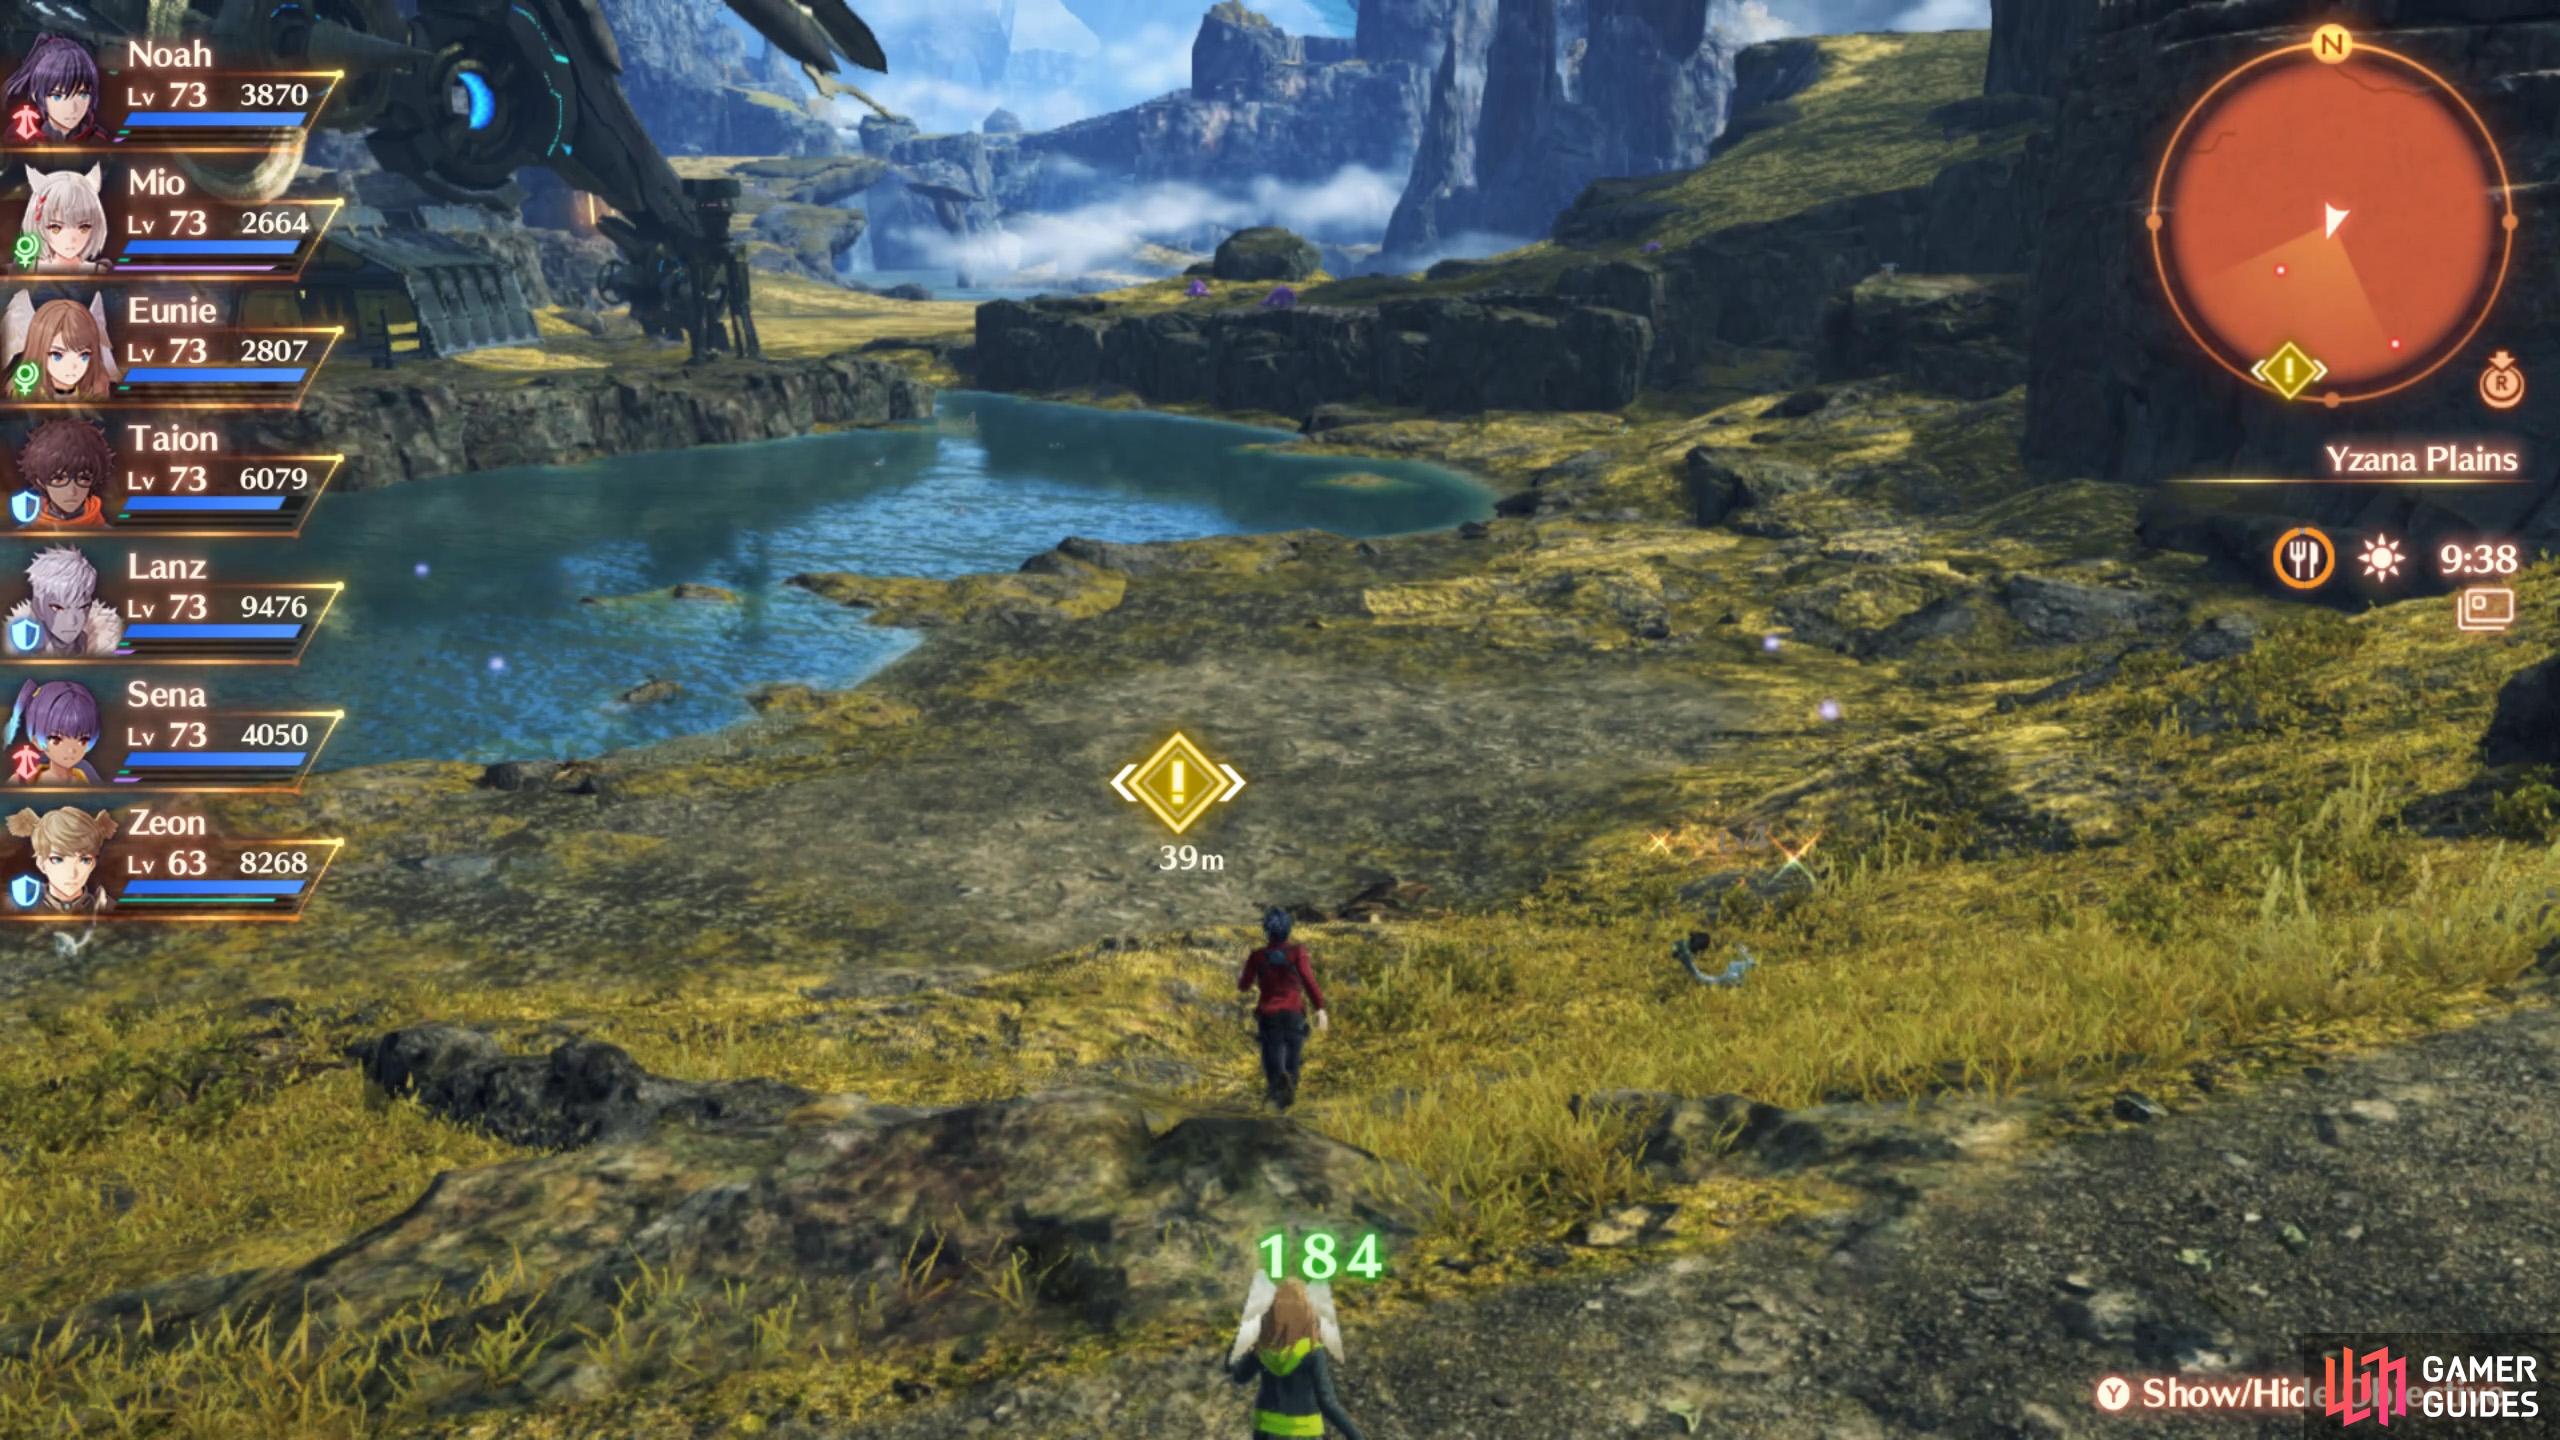
| The Fields (4) | Next to Colony 9 Front Gate, en route to Yzana Plains. |
Step 2. Discuss “The Fields” at a Rest Area
Having acquired all 4 Info Fragments, return to the Colony 9 Canteen or somewhere, then Discuss the topic. The group decides to visit Juniper at Colony Tau, but they also need to speak to somebody first.
Step 3. Return to Kite at the Colony 9 Canteen
Since Kite is involved in the whole scheme, go back and speak to him at the canteen. He’ll offer to tag along. Well, the more the merrier!
Step 4. Visit Juniper at Colony Tau
Fast-travel to the Colony Tau Entrance in the Pentelas Region, Full, then take a left and enter the Colony Tau, Crop Fields. Juniper will be there, ready for a good old chat. Huh, we didn’t see that coming.
Step 5. Inspect the Crop Field at Colony 9
Heeding Juniper’s advice, fast-travel to the Colony 9 Front Gate, then similarly take a left. You’ll find Colony 9’s crop fields in bad shape, compared to Tau’s.
Step 6. Find a Place Near Colony 9 to Grow a New Crop Field
There are three locations you can check,
This is the only one that fits the bill though.
Fast-travel to the Colony 9 Rear Gate, then inspect the flat area of land directly north. There are also two other areas north and west from there that you can check if you want, but they’re no good.
Step 7. Report to Kite at Colony 9
Walk back or fast-travel to Colony 9, then speak to Kite who’s standing in front of the tent opposite the Colony 9 Barracks. Let him know what your current progress is.
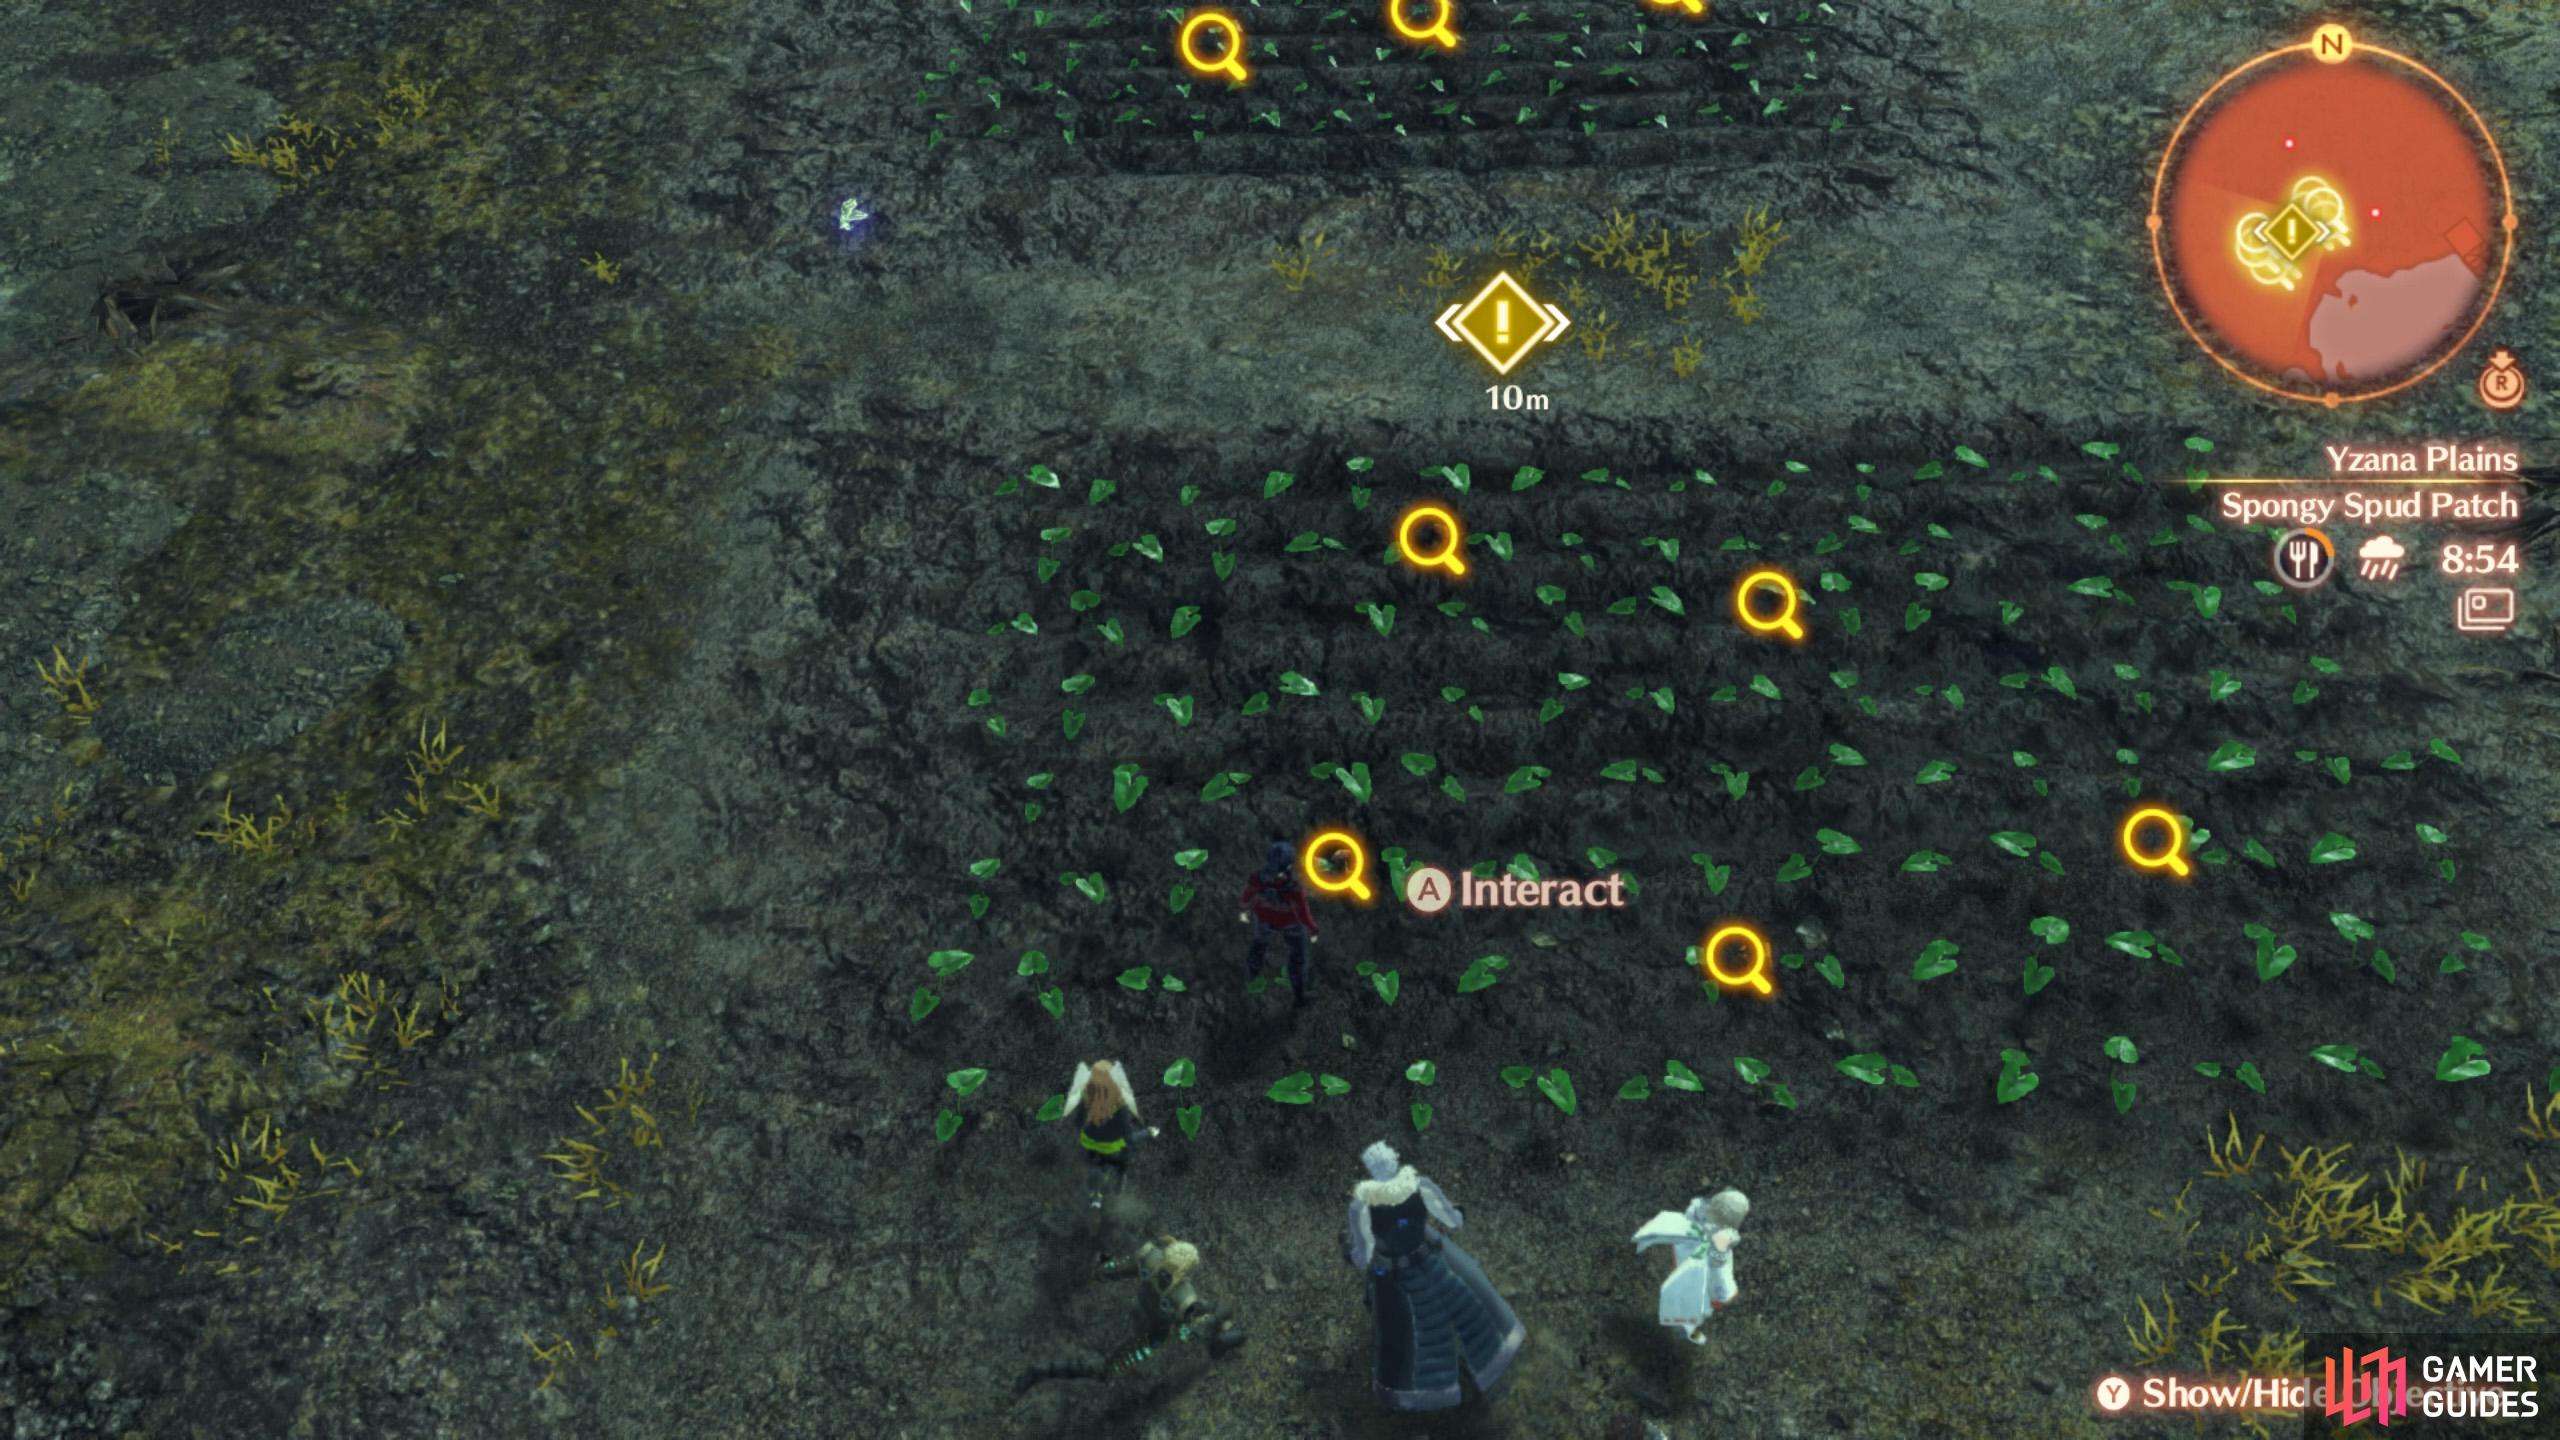
Step 8. Search for Spongy Spuds at Maktha Wildwood
You need to head to the area before the Tree Hollow Opening.
The Spongy Spuds will have a golden quest marker, so they’re hard to miss.
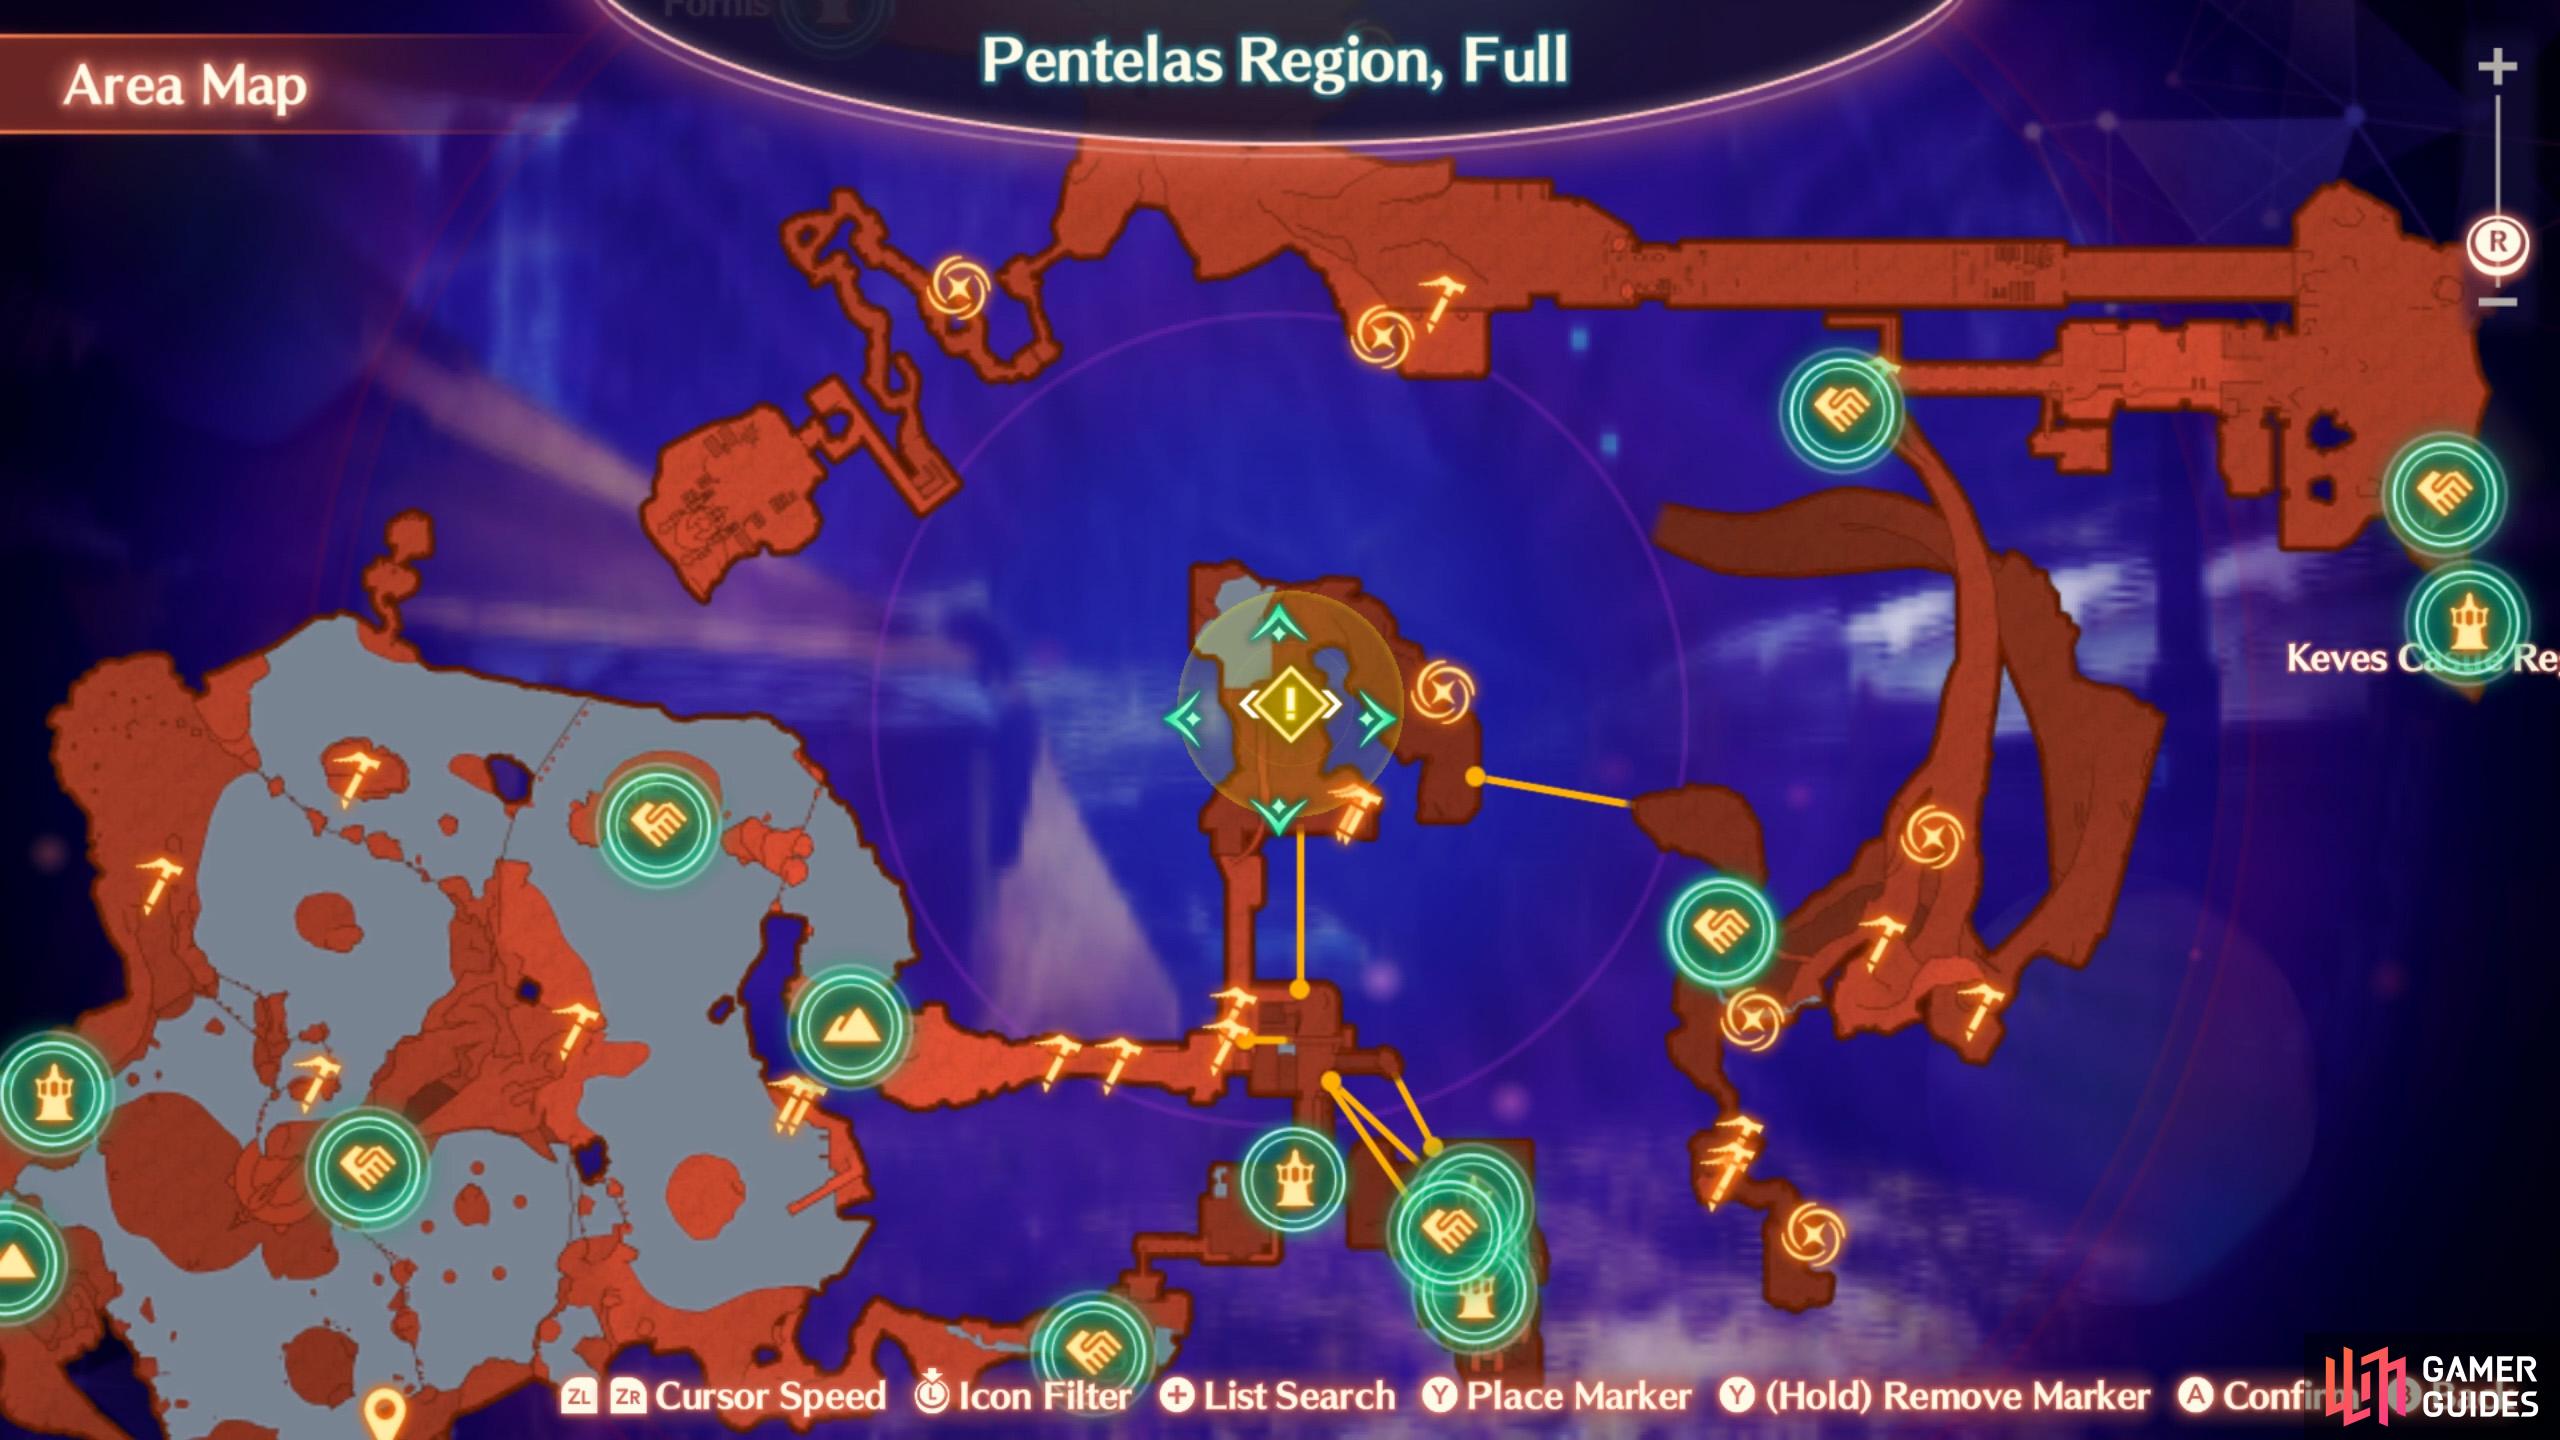
Oops, forgot the most important thing: the actual spuds you’re supposed to grow. Before you die of embarrassment, fast-travel to the Vista of Rhonnar in the Pentelas Region, Full, then proceed north, across the zip-line. Search within the radius of the golden quest marker until you find 10 Spongy Spuds.
Step 9. Return to the New Crop Field
Having acquired enough spuds, fast-travel back to Colony 9 and head back to the new crop field towards the north.
Step 10. Return to the Spongy Spud Patch During Rain
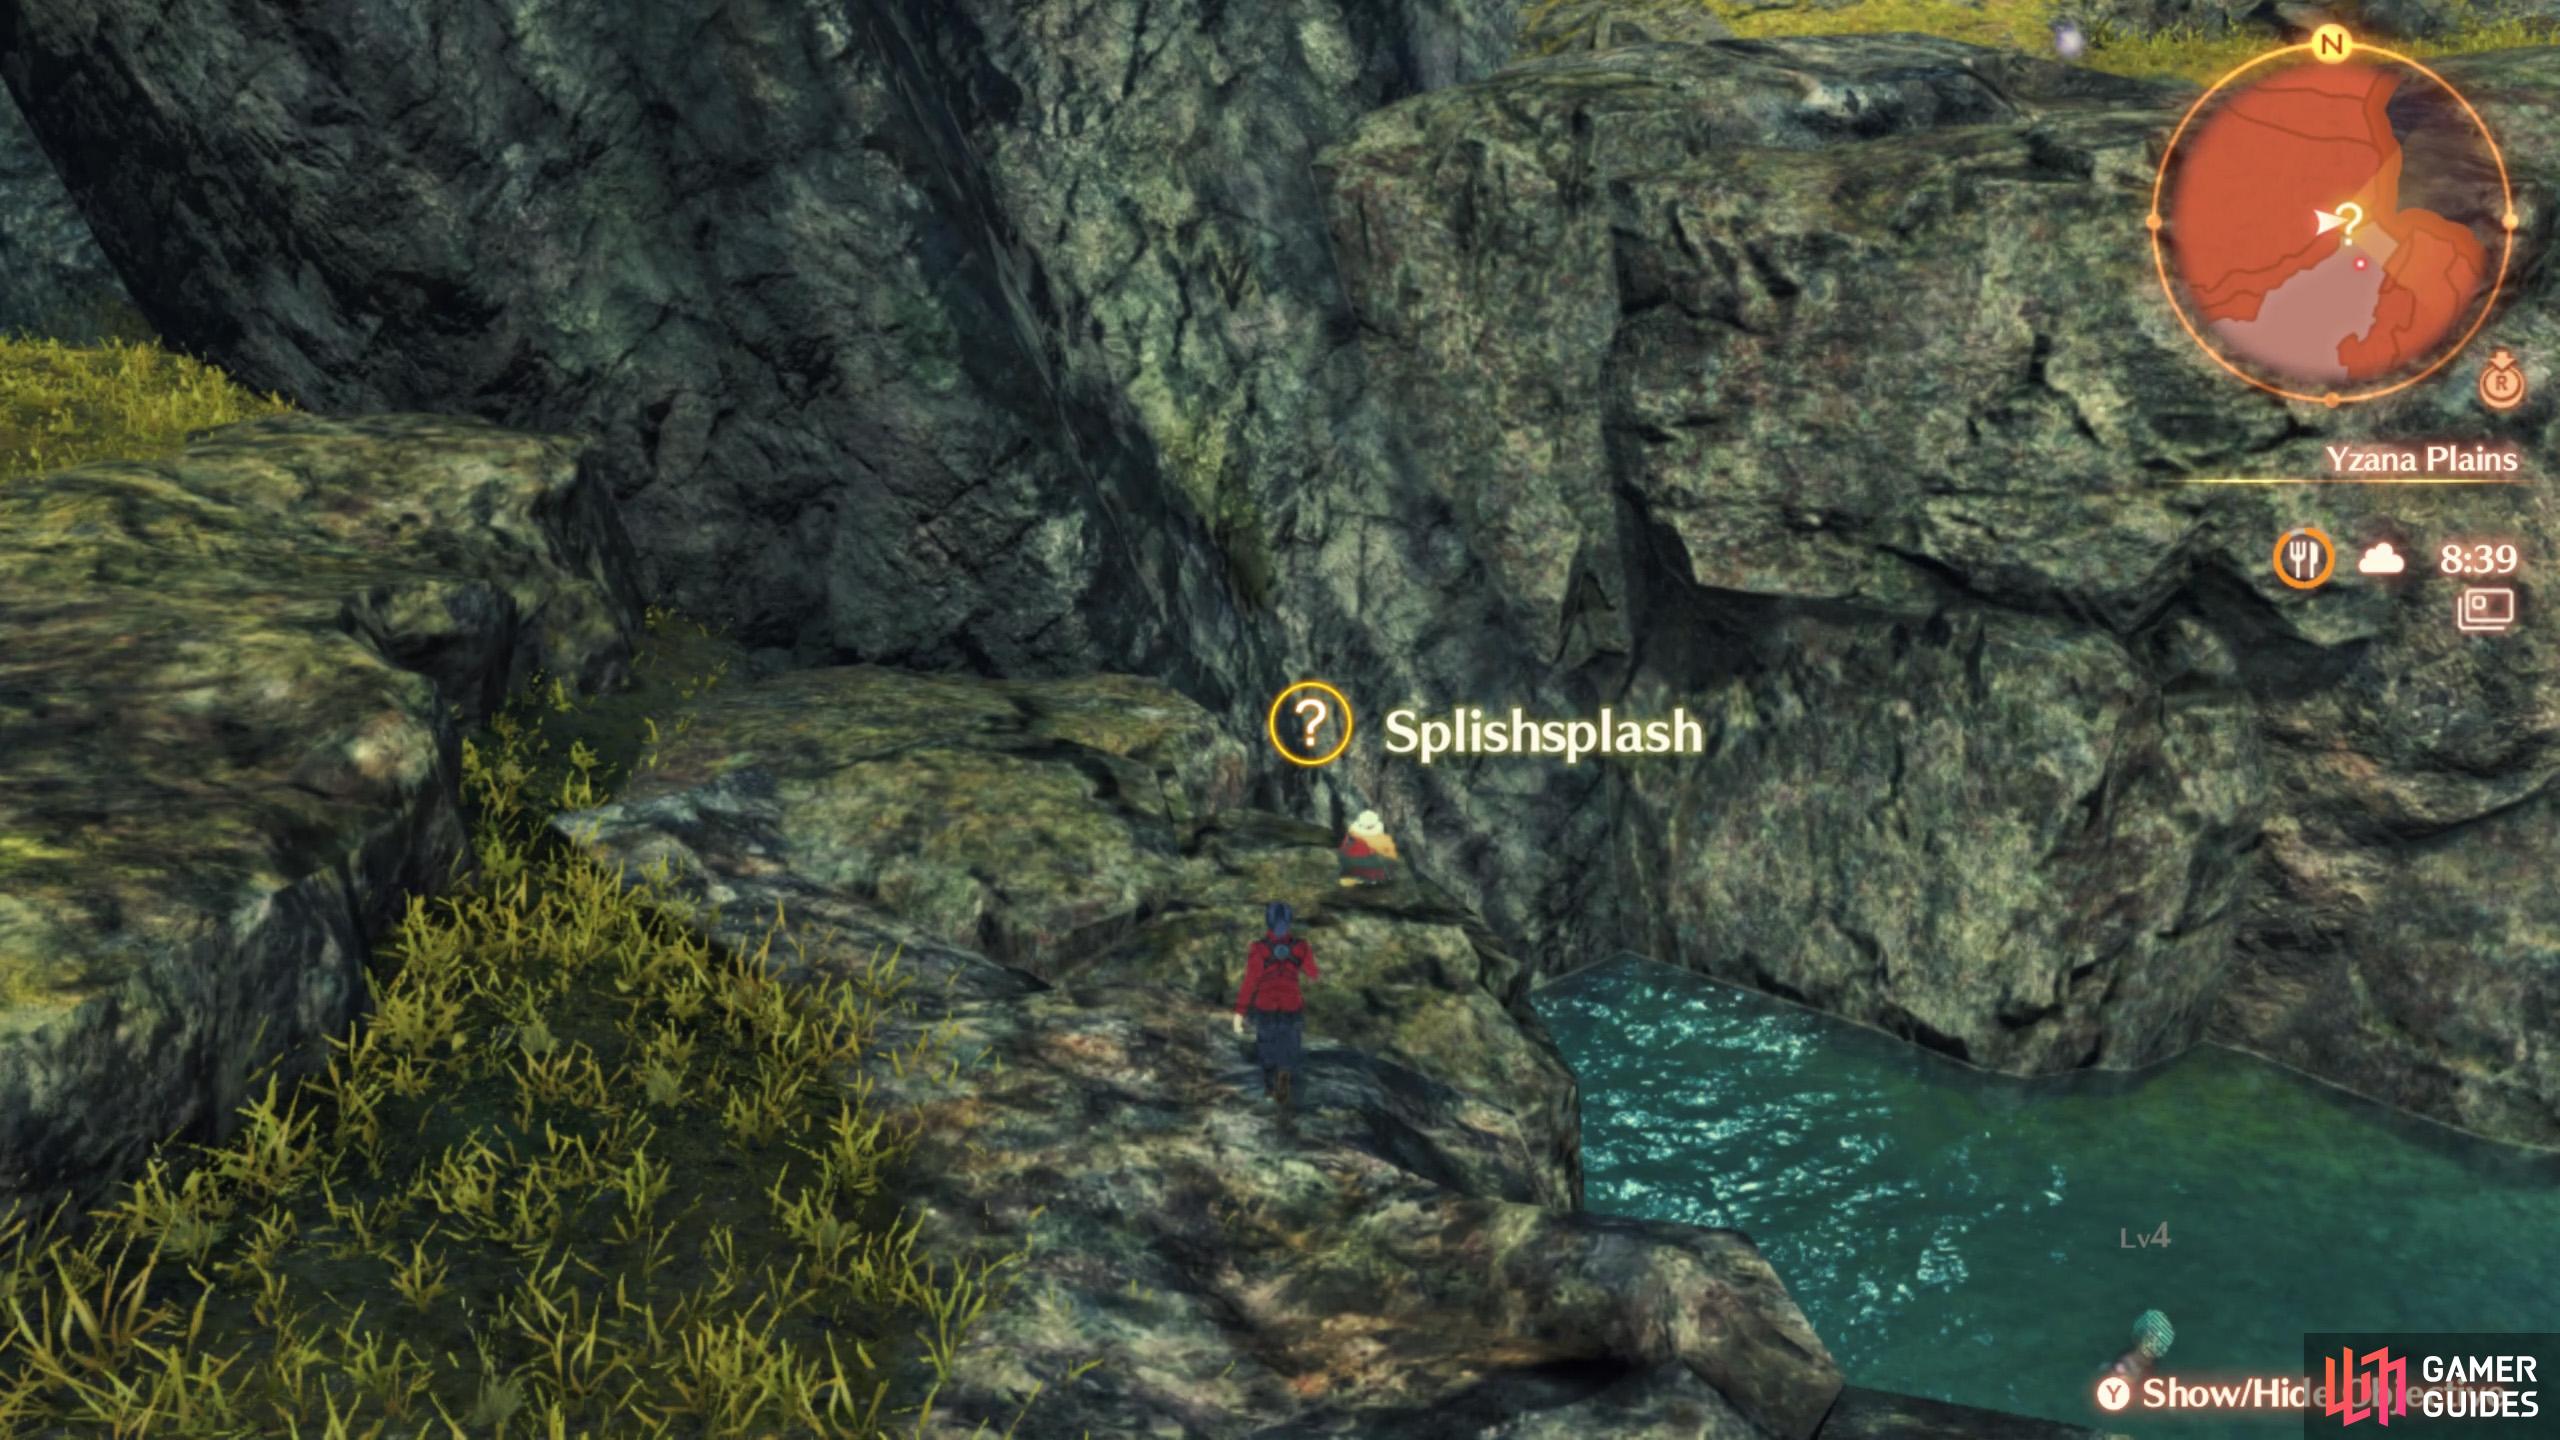
You could wait, but we suggest seeking out Splishsplash, who’s nearby.
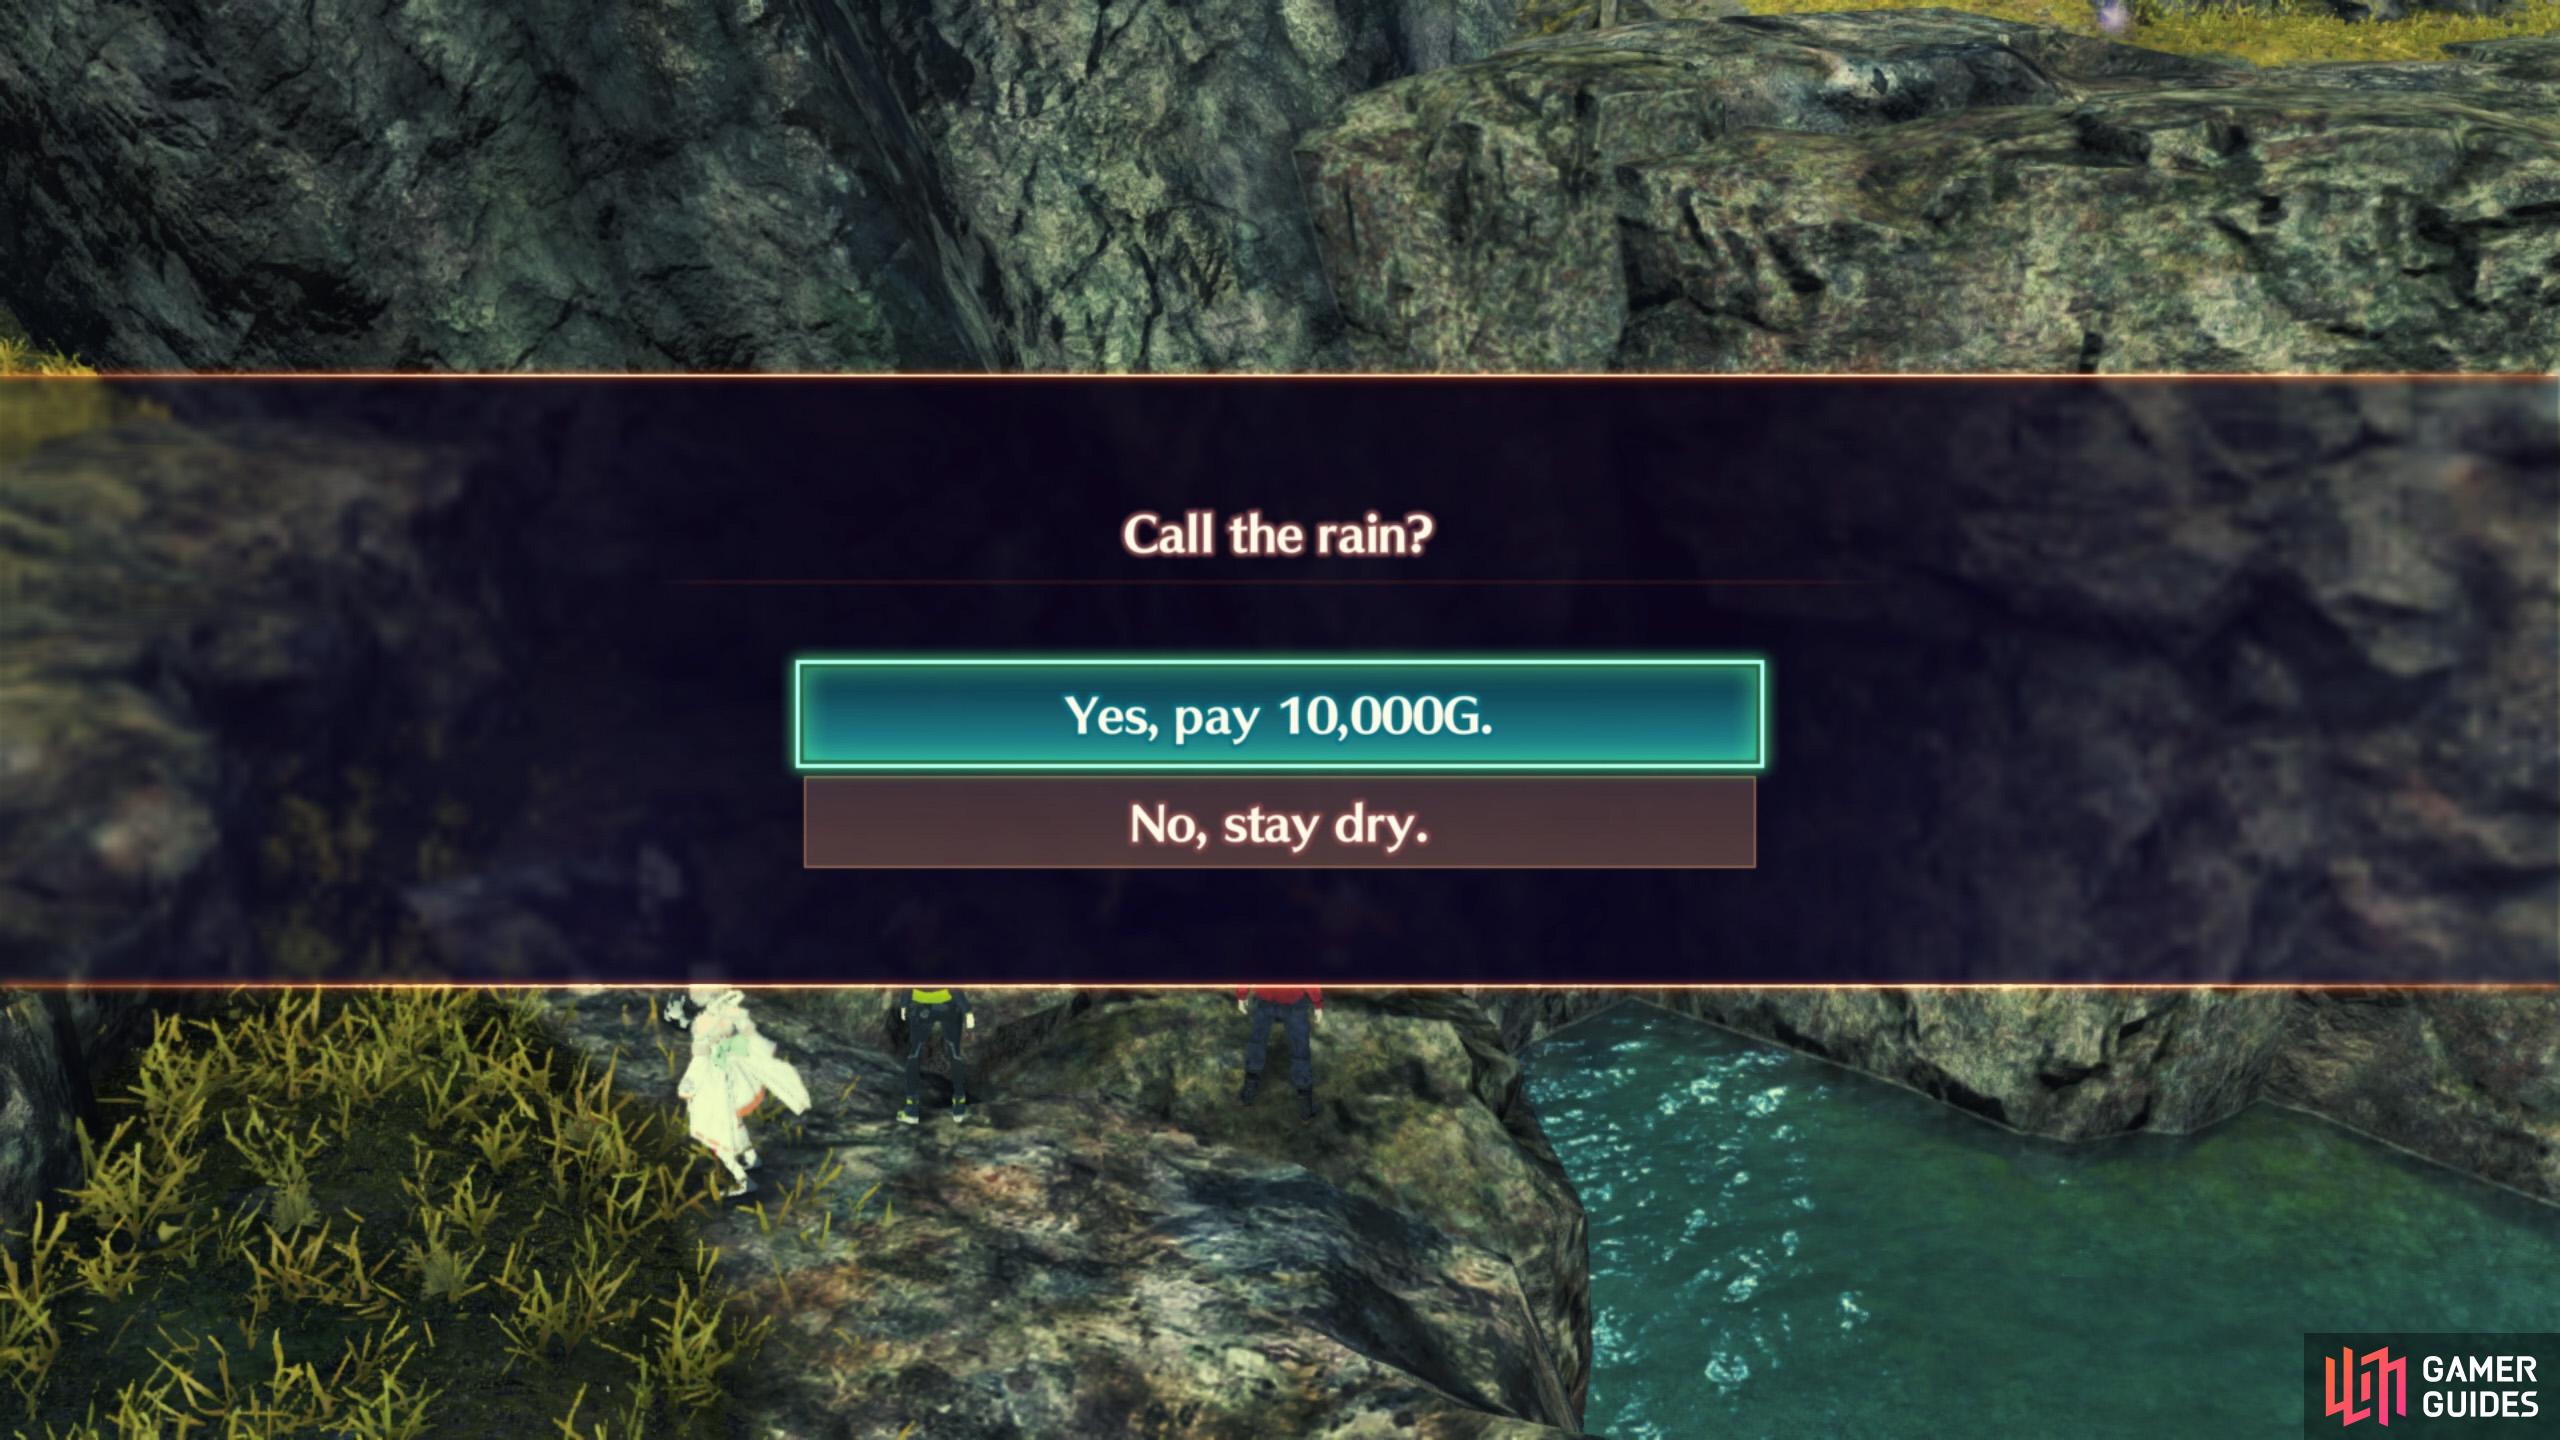
Time is money.
Now to wait for nature to do its thing. Or if you have spare money (very likely), head east towards the new quest-related marker to find Splishsplash the Nopon near the foot of the stream. If you pay them 10,000G, they will magically change the weather so it’s raining. Note that Splishsplash does have a chance to fail at making it rain, and you don’t get your money back, either.
In any case, when it’s raining, go back to the Spongy Spud Patch north of Colony 9 to see the results.
Step 11. Repeat the Previous Three Steps
Unfortunately, the first batch of crops didn’t work out. So return to Maktha Wildwood and collect another 10 Spongy Spuds. Then bring them back to the Spongy Spud Patch to plant them. After that, wait for the rain to fall or make it happen by bribing Splishsplash. Then check the Spongy Spud Patch again.
Step 12. Obtain Fertilizer from Url at Colony 9
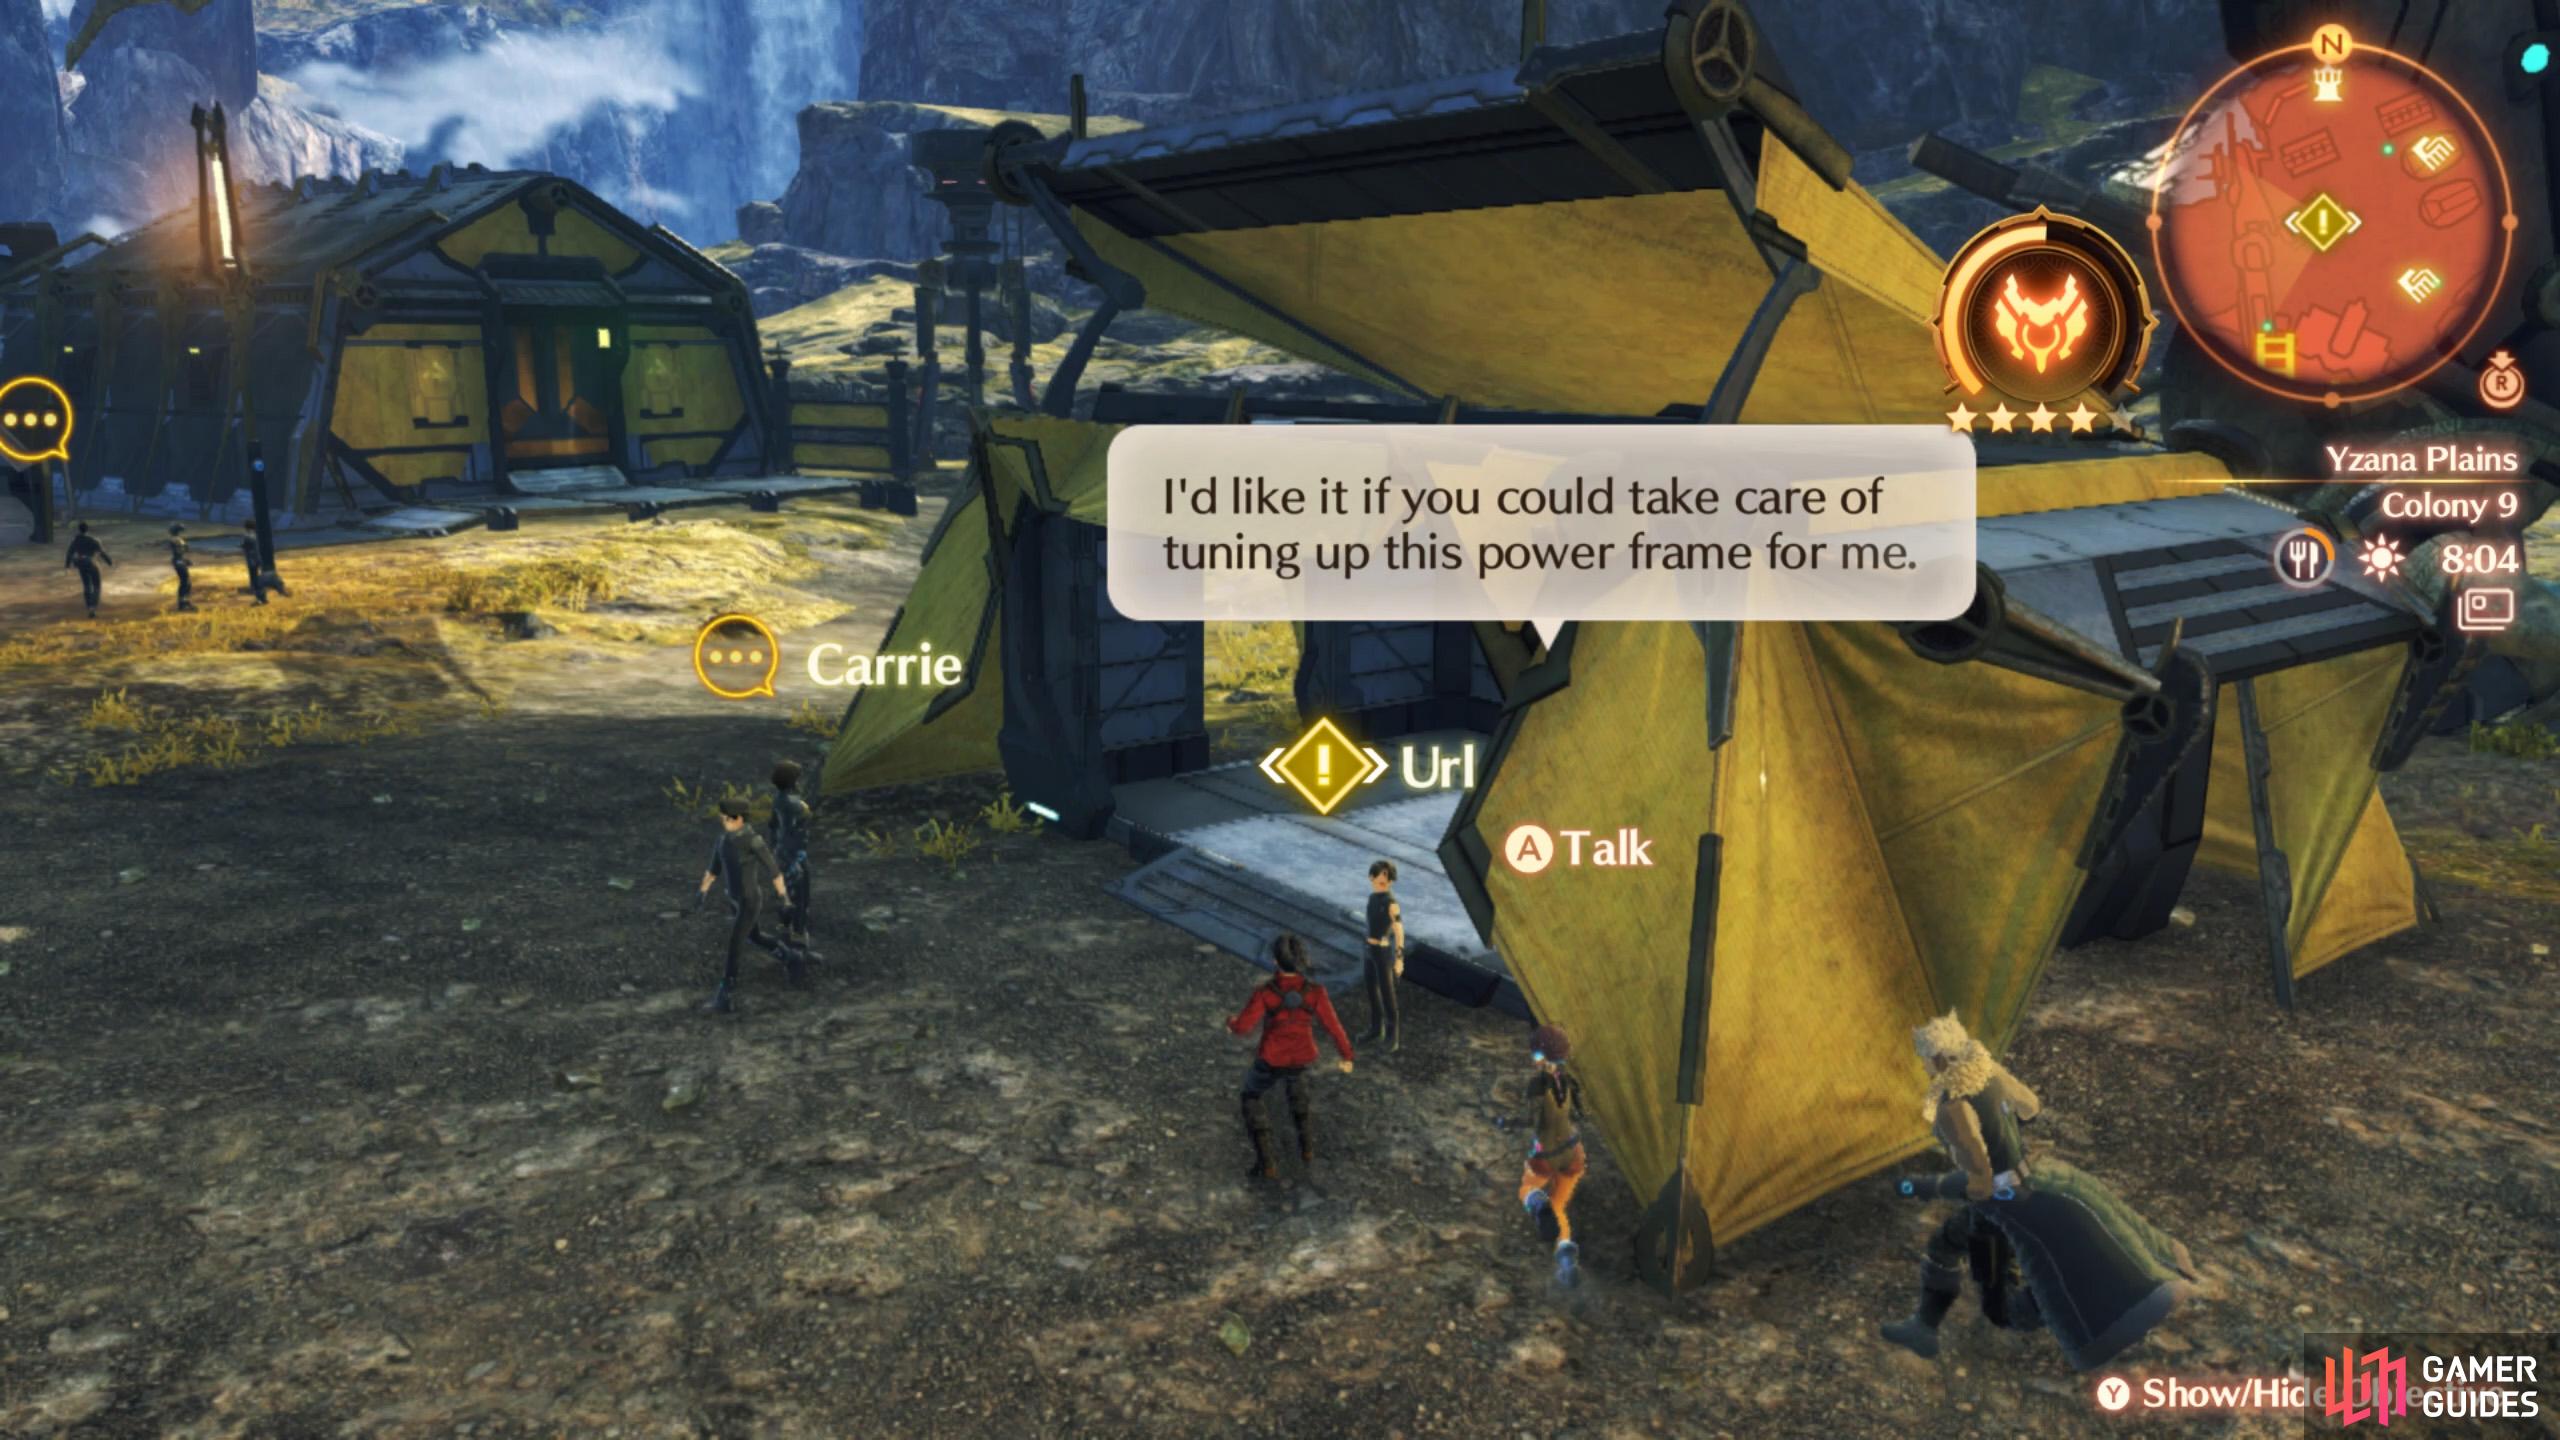
Url will offer assistance.
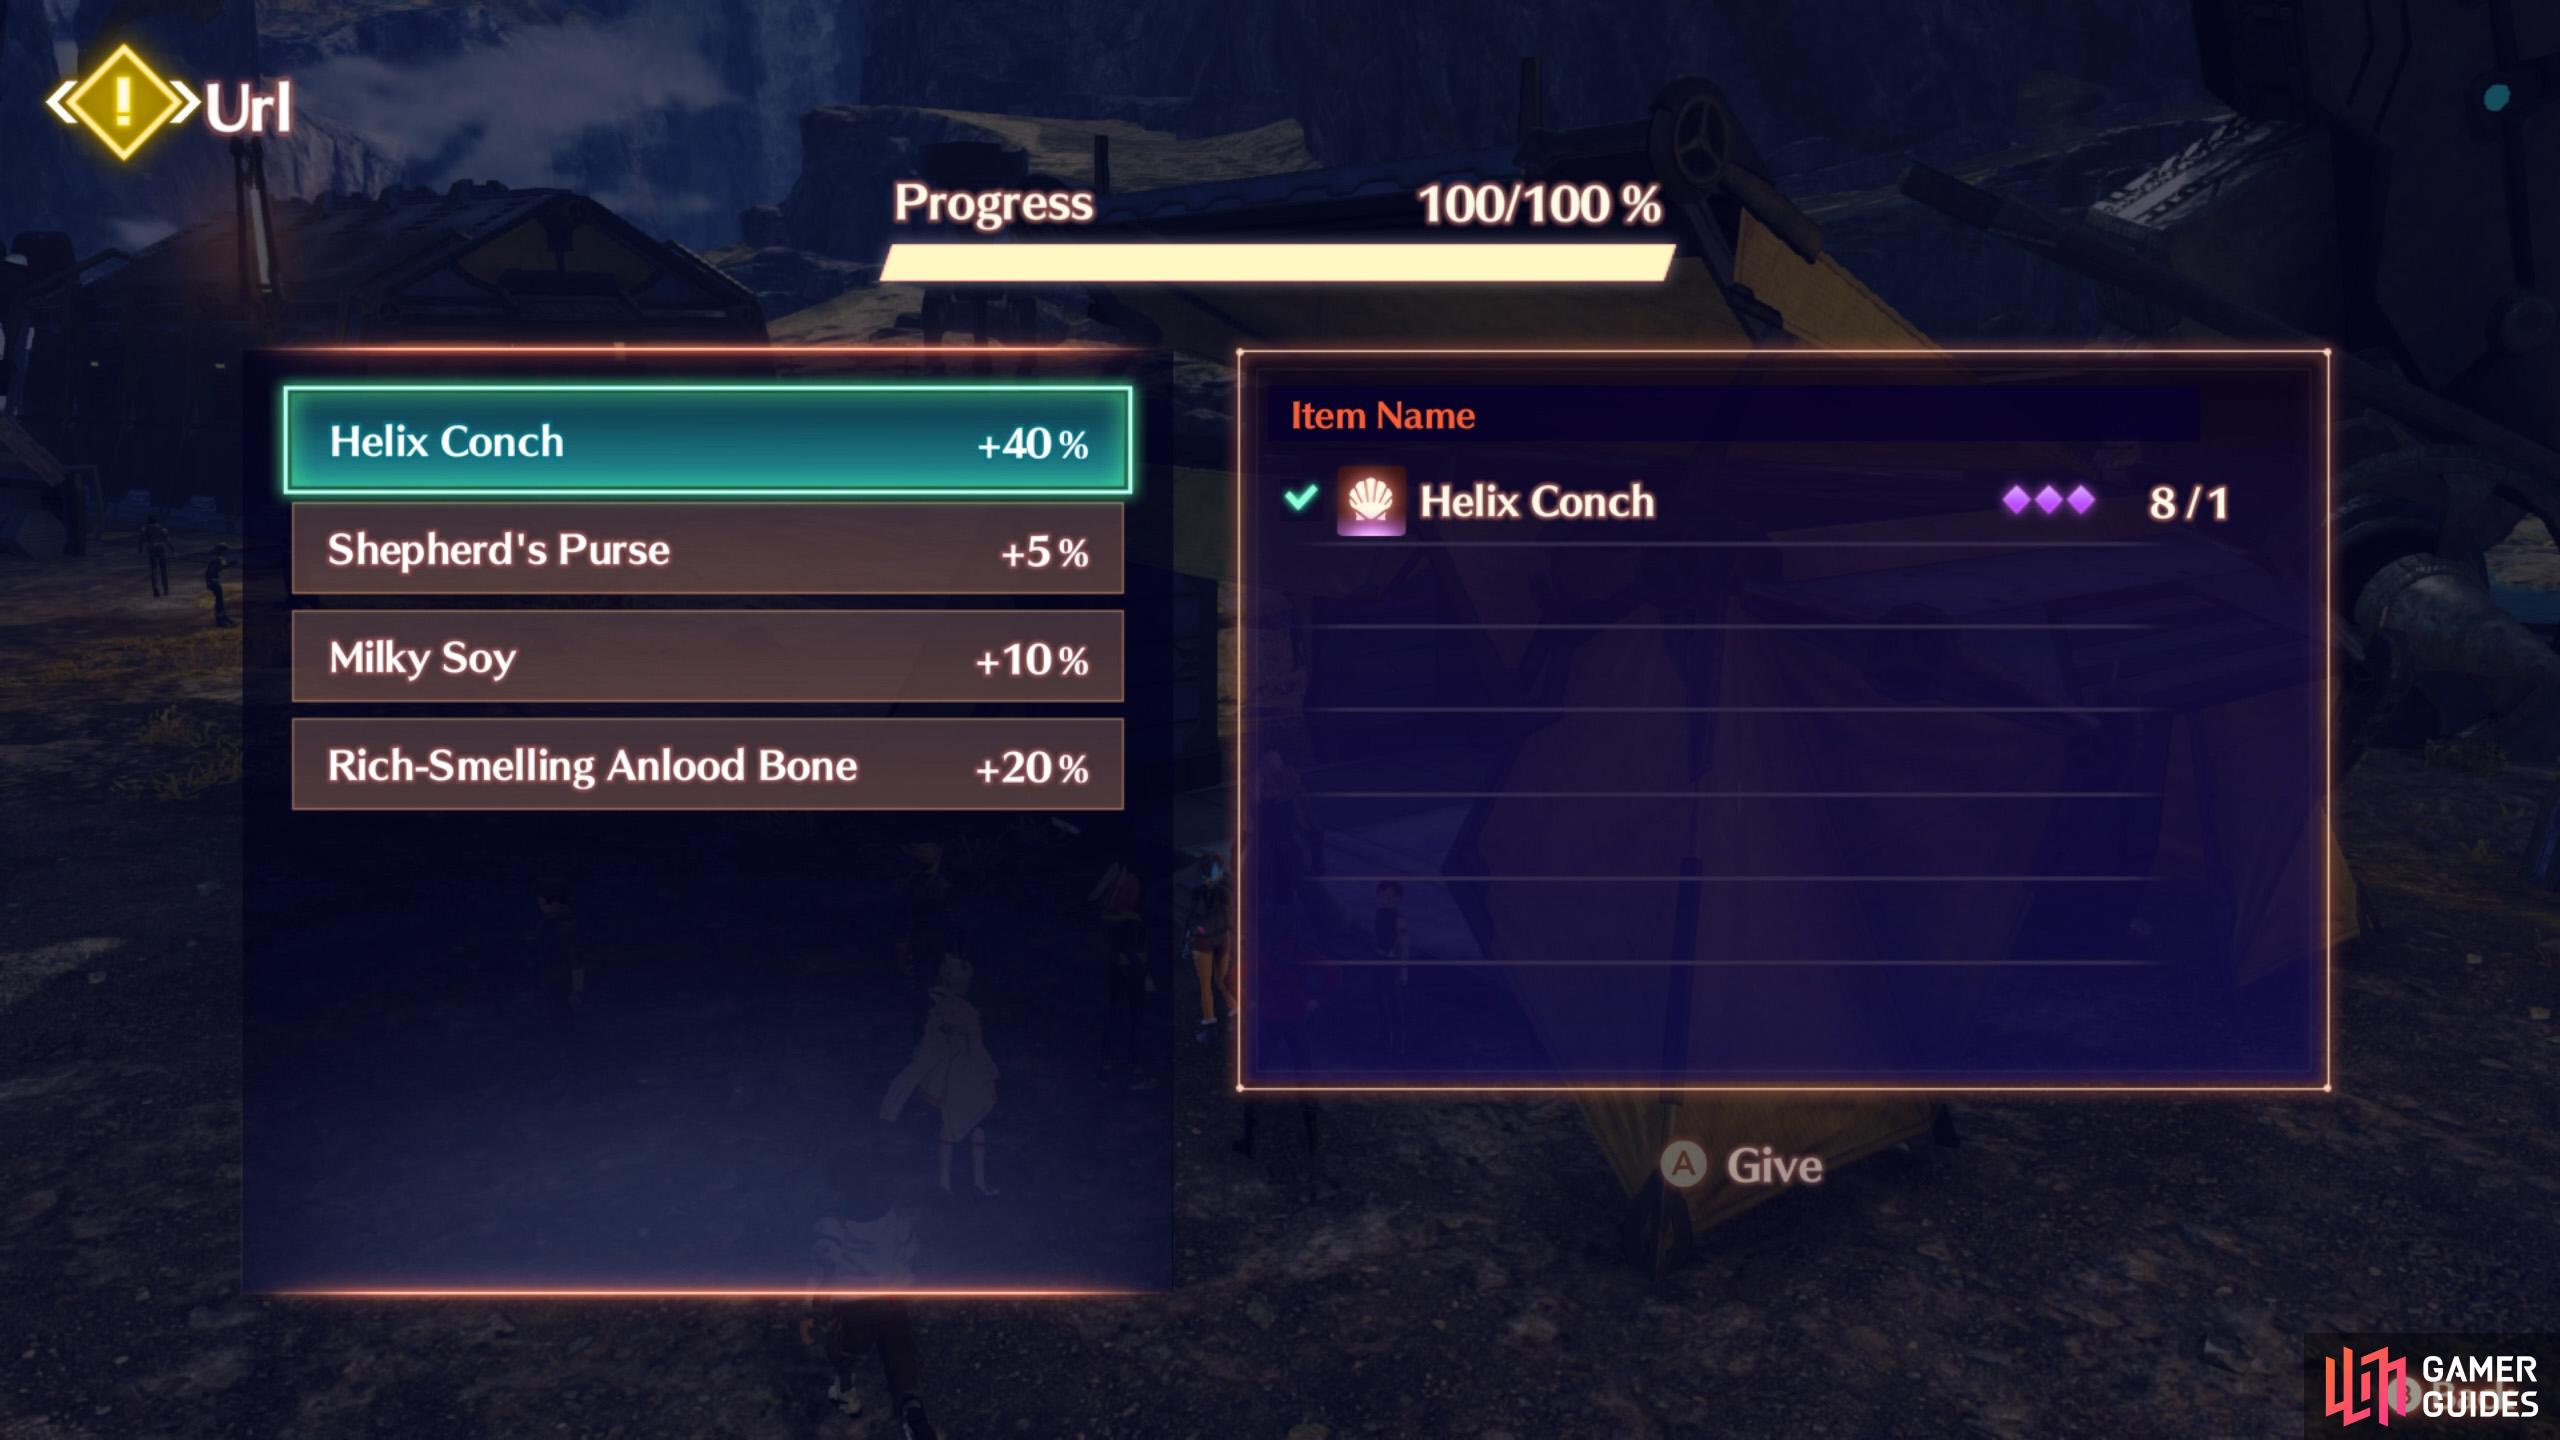
These are the four materials that Url can use.
Phew, this second batch seems promising, but your work is far from over. Return to Colony 9 and speak to little Url, who’s standing by the side of the tent opposite the Colony 9 Barracks. This is another of those fill ’er up requests. Give Url enough materials until the completion bar hits 100%.
| Material | Completion | Location |
|---|---|---|
| Helix Conch (legendary) | +40% | Collectible in the Pentelas Region. |
| Shepherd’s Purse (rare) | +5% | Collectible in the Aetia Region. |
| Milky Soy(rare) | +10% | Collectible in the Aetia Region. |
| Rich-Smelling Anlood Bone (rare) | +20% | Dropped by Scape Anlood at Aetia Region, Upper. |
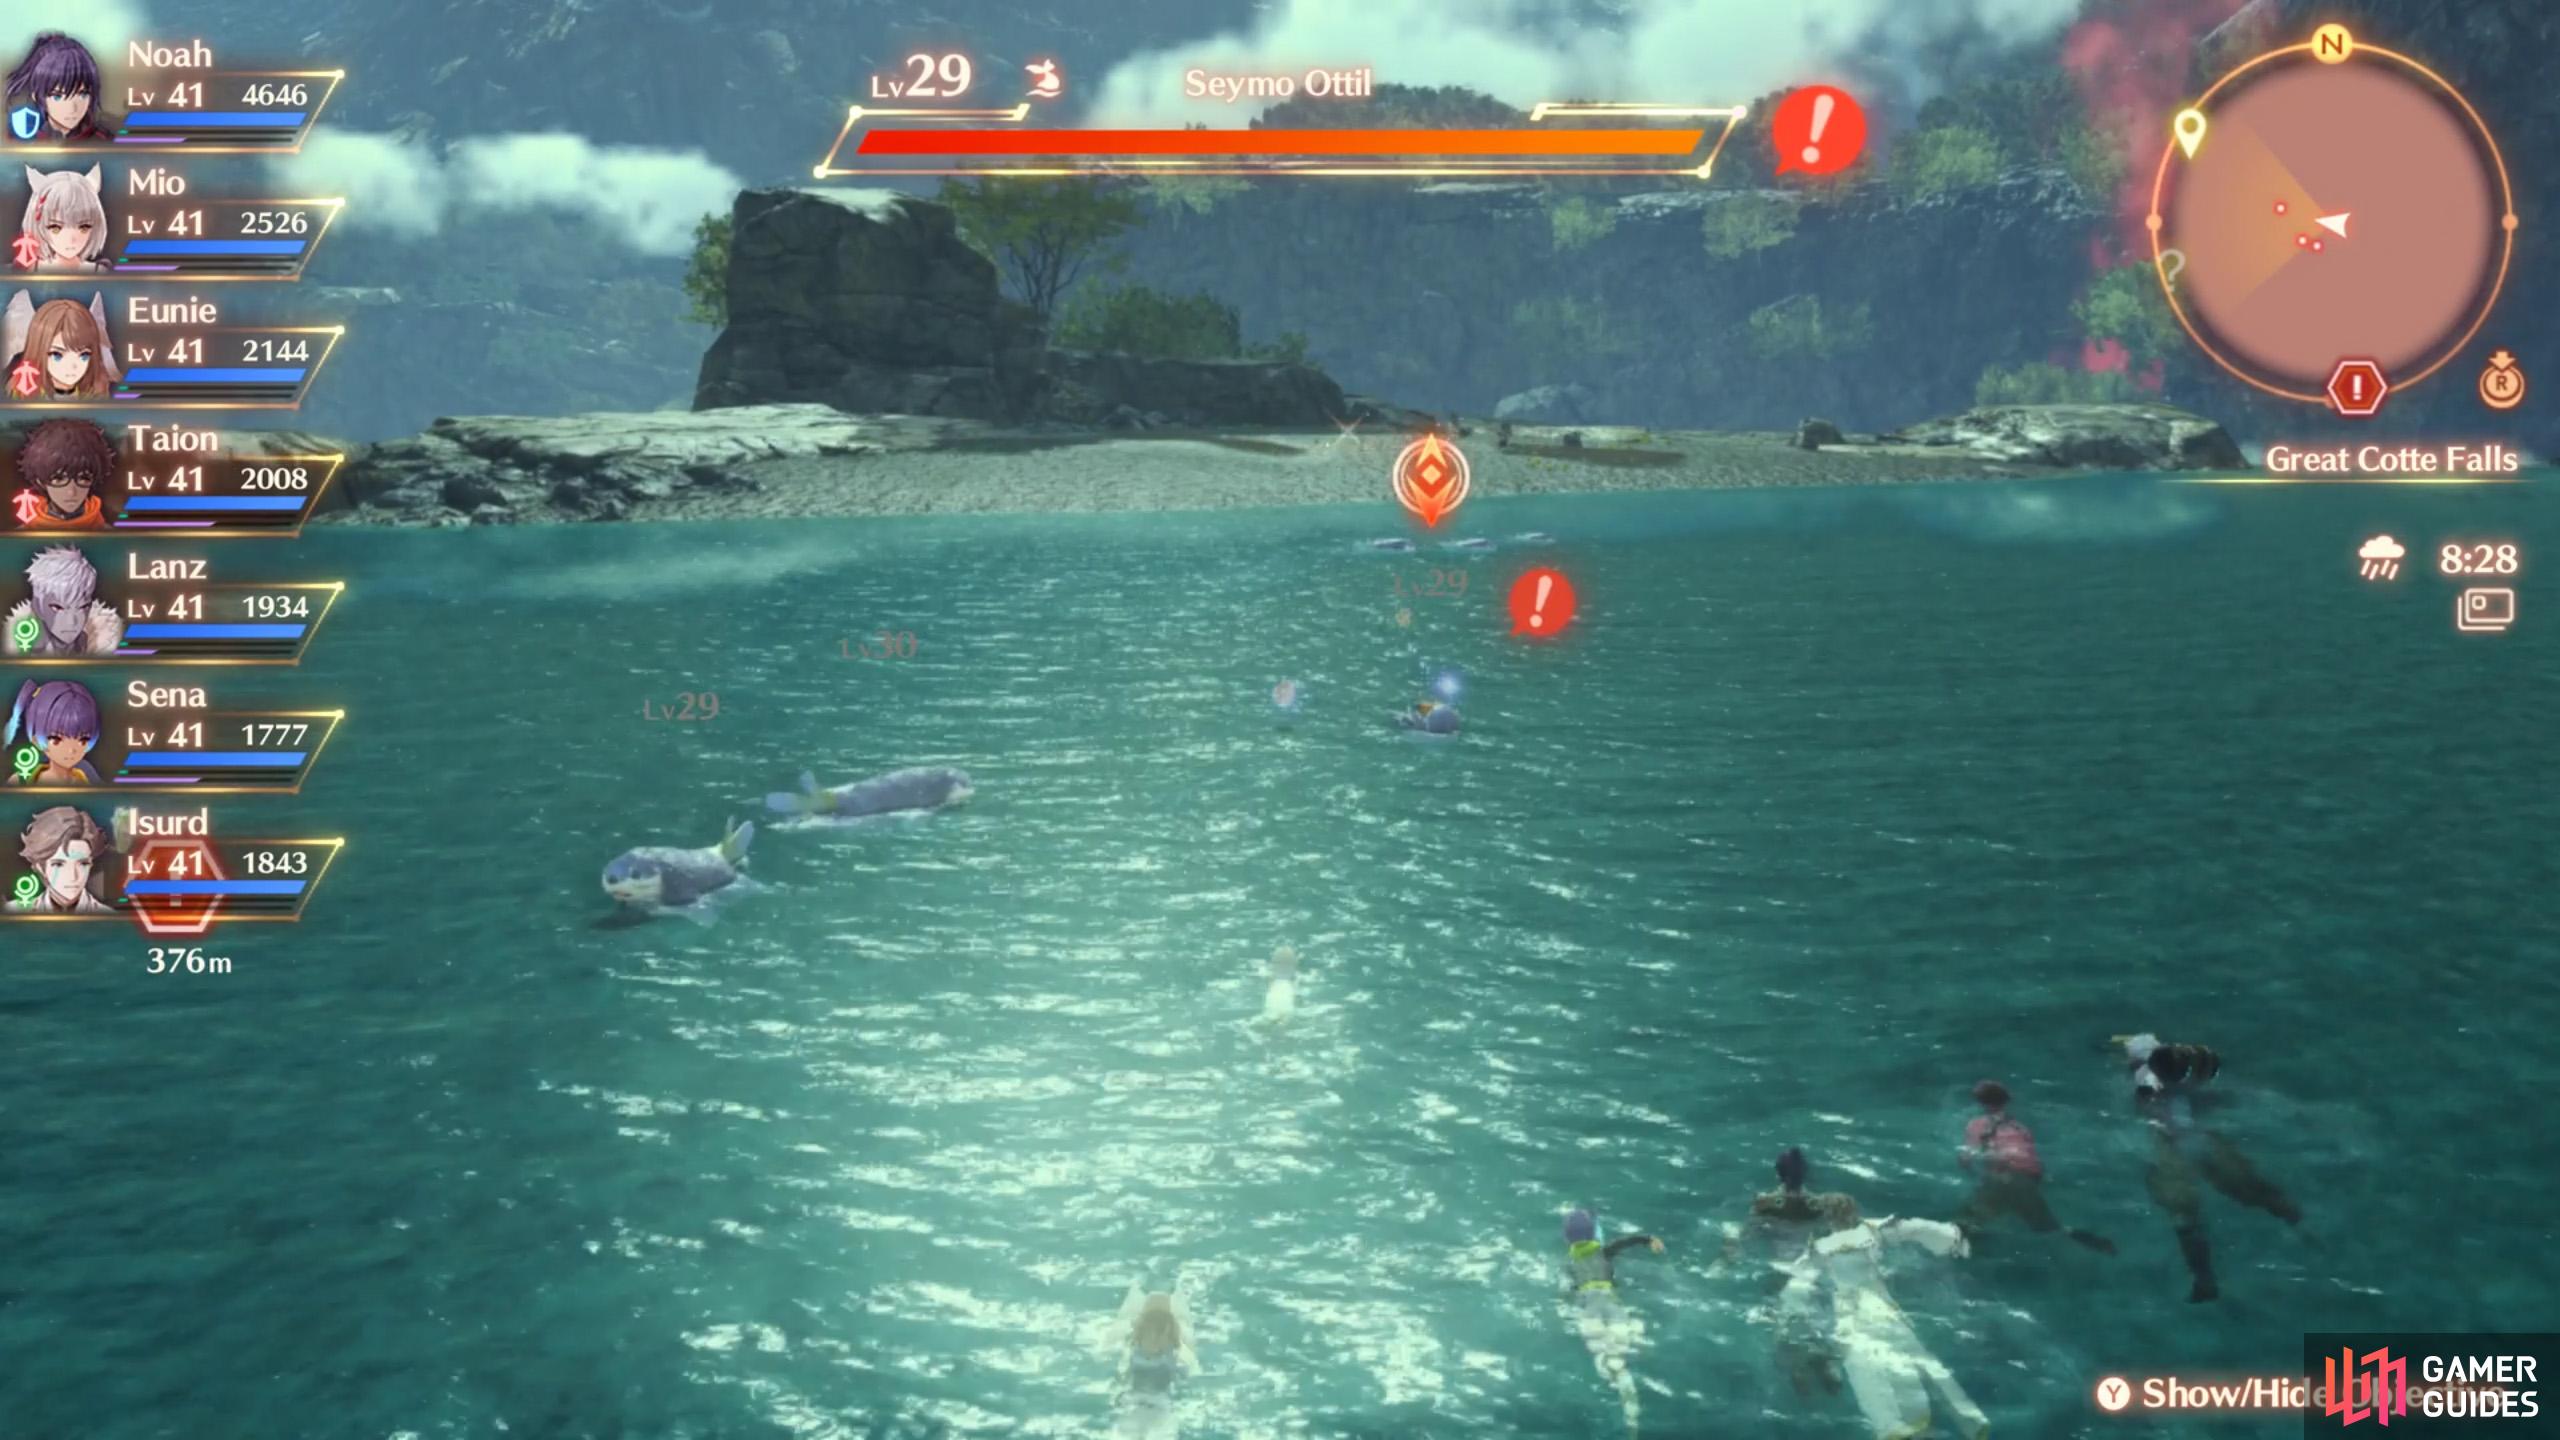
You can find Helix Conch in the Pentelas Region.

They are often dropped by Otill monsters when they’re playing around.
As you can see, Helix Conch provides the biggest contribution. Hopefully you have a couple of those from exploring the Great Cotte Falls. In particular, you can obtain them from Otill creatures when they smash their shells. Don’t engage them and let them do their thing.
Upon meeting Url’s demands, you’ll receive Url’s Special Fertilizer.
Step 13. Apply the Fertilizer to the Spongy Spud Patch
With some fresh fertilizer in hand, return to the Spongy Spud Patch north of Colony 9. After applying it, you once again need to wait for rainfall. Unless you’re broke, we suggest poking Splishsplash to make it rain instantly.
Step 14. Investigate the Withering Spuds
You don’t need to check every spud. If you look carefully, you see which ones are discolored.
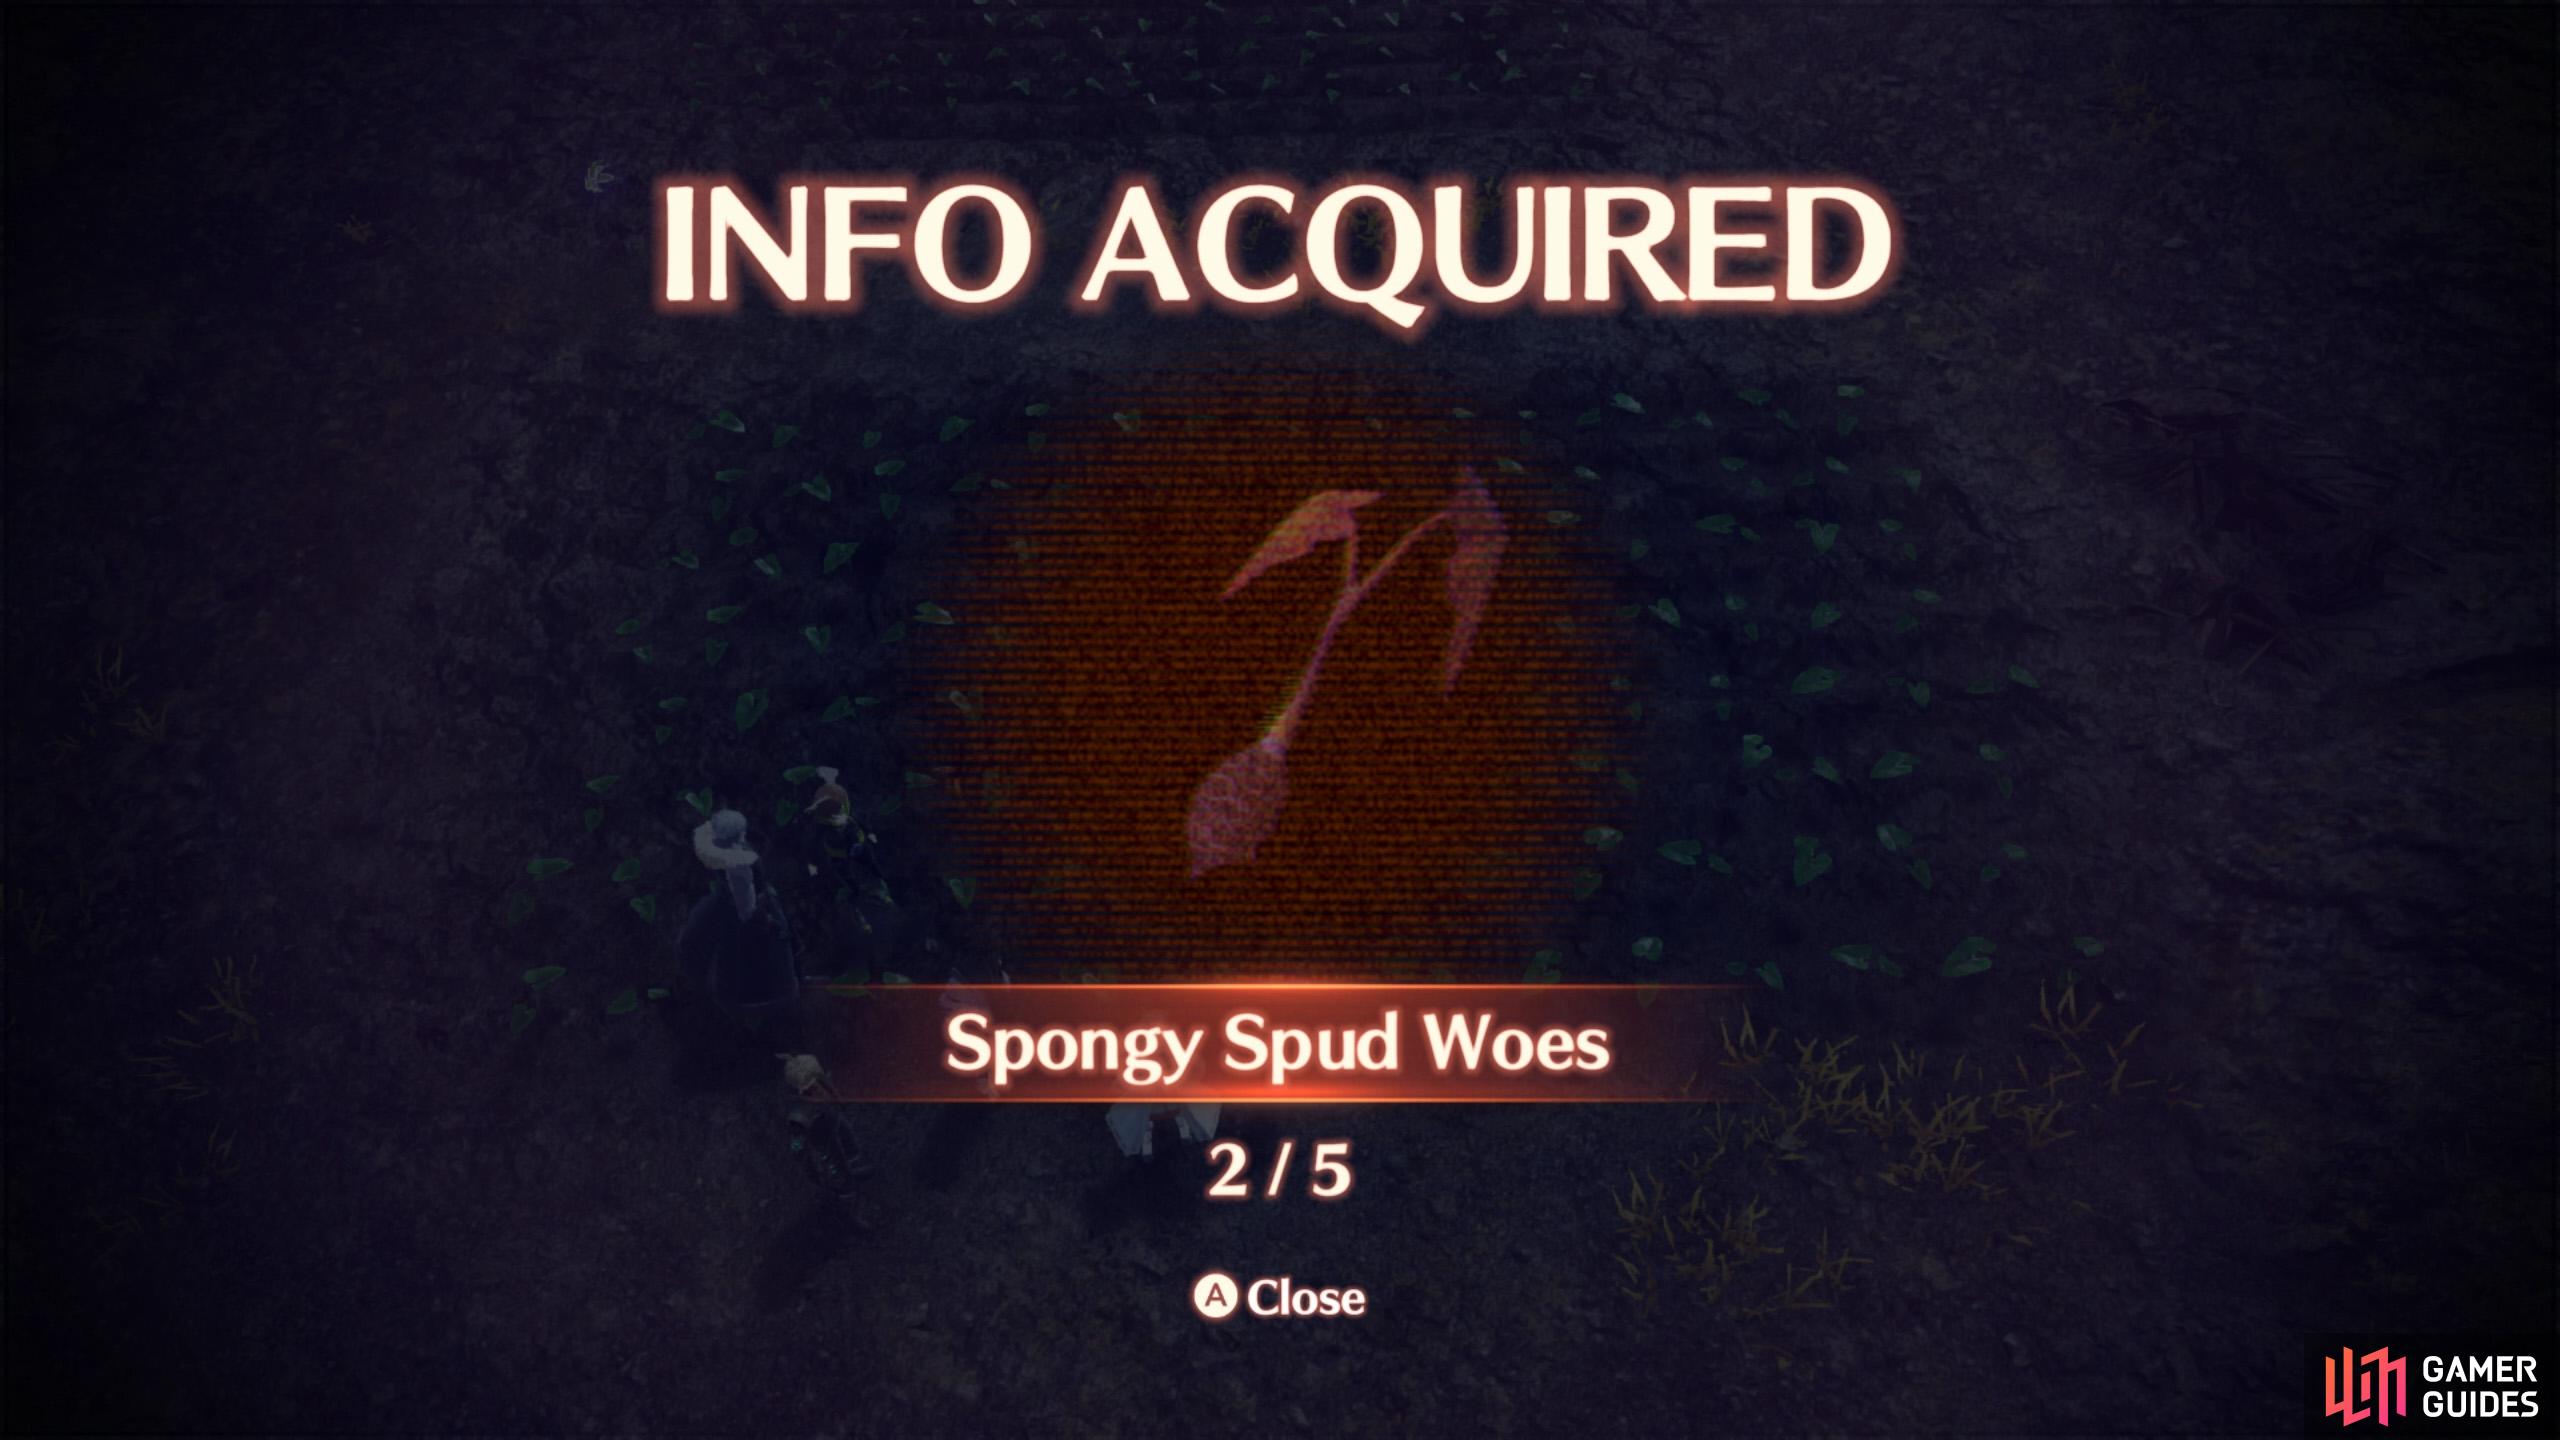
Anyway, you need to identify five discolored spuds, obtaining an Info Fragment for each one.
Things never seem to 100% go to plan, huh? Inspect the spuds until you’ve found all 5 withering ones. For each withering spud, you’ll obtain an Info Fragment related to “Spongy Spud Woes”. If you look carefully, you can tell which spuds are suspect from the color.
Step 15. Discuss the Spongy Spud Woes
Once you’ve gathered all 5 Info Fragments, return to the nearest rest area–probably the barracks or canteen–and get your thinking caps on.
Step 16. Pull Out the Withering Spuds
The solution was fairly obvious, but sometimes it’s good to double check. Return to the Spongy Spud Patch and yank out the 5 withering spuds.
Step 17. Report to Juniper at Colony Tau
You’ve done everything you can for now. Fast-travel back to Colony Tau in the Pentelas Region and speak to Juniper, who’s still at Colony Tau’s crop fields.
Step 18. Return to the Spongy Spud Patch and Kick Some Butt
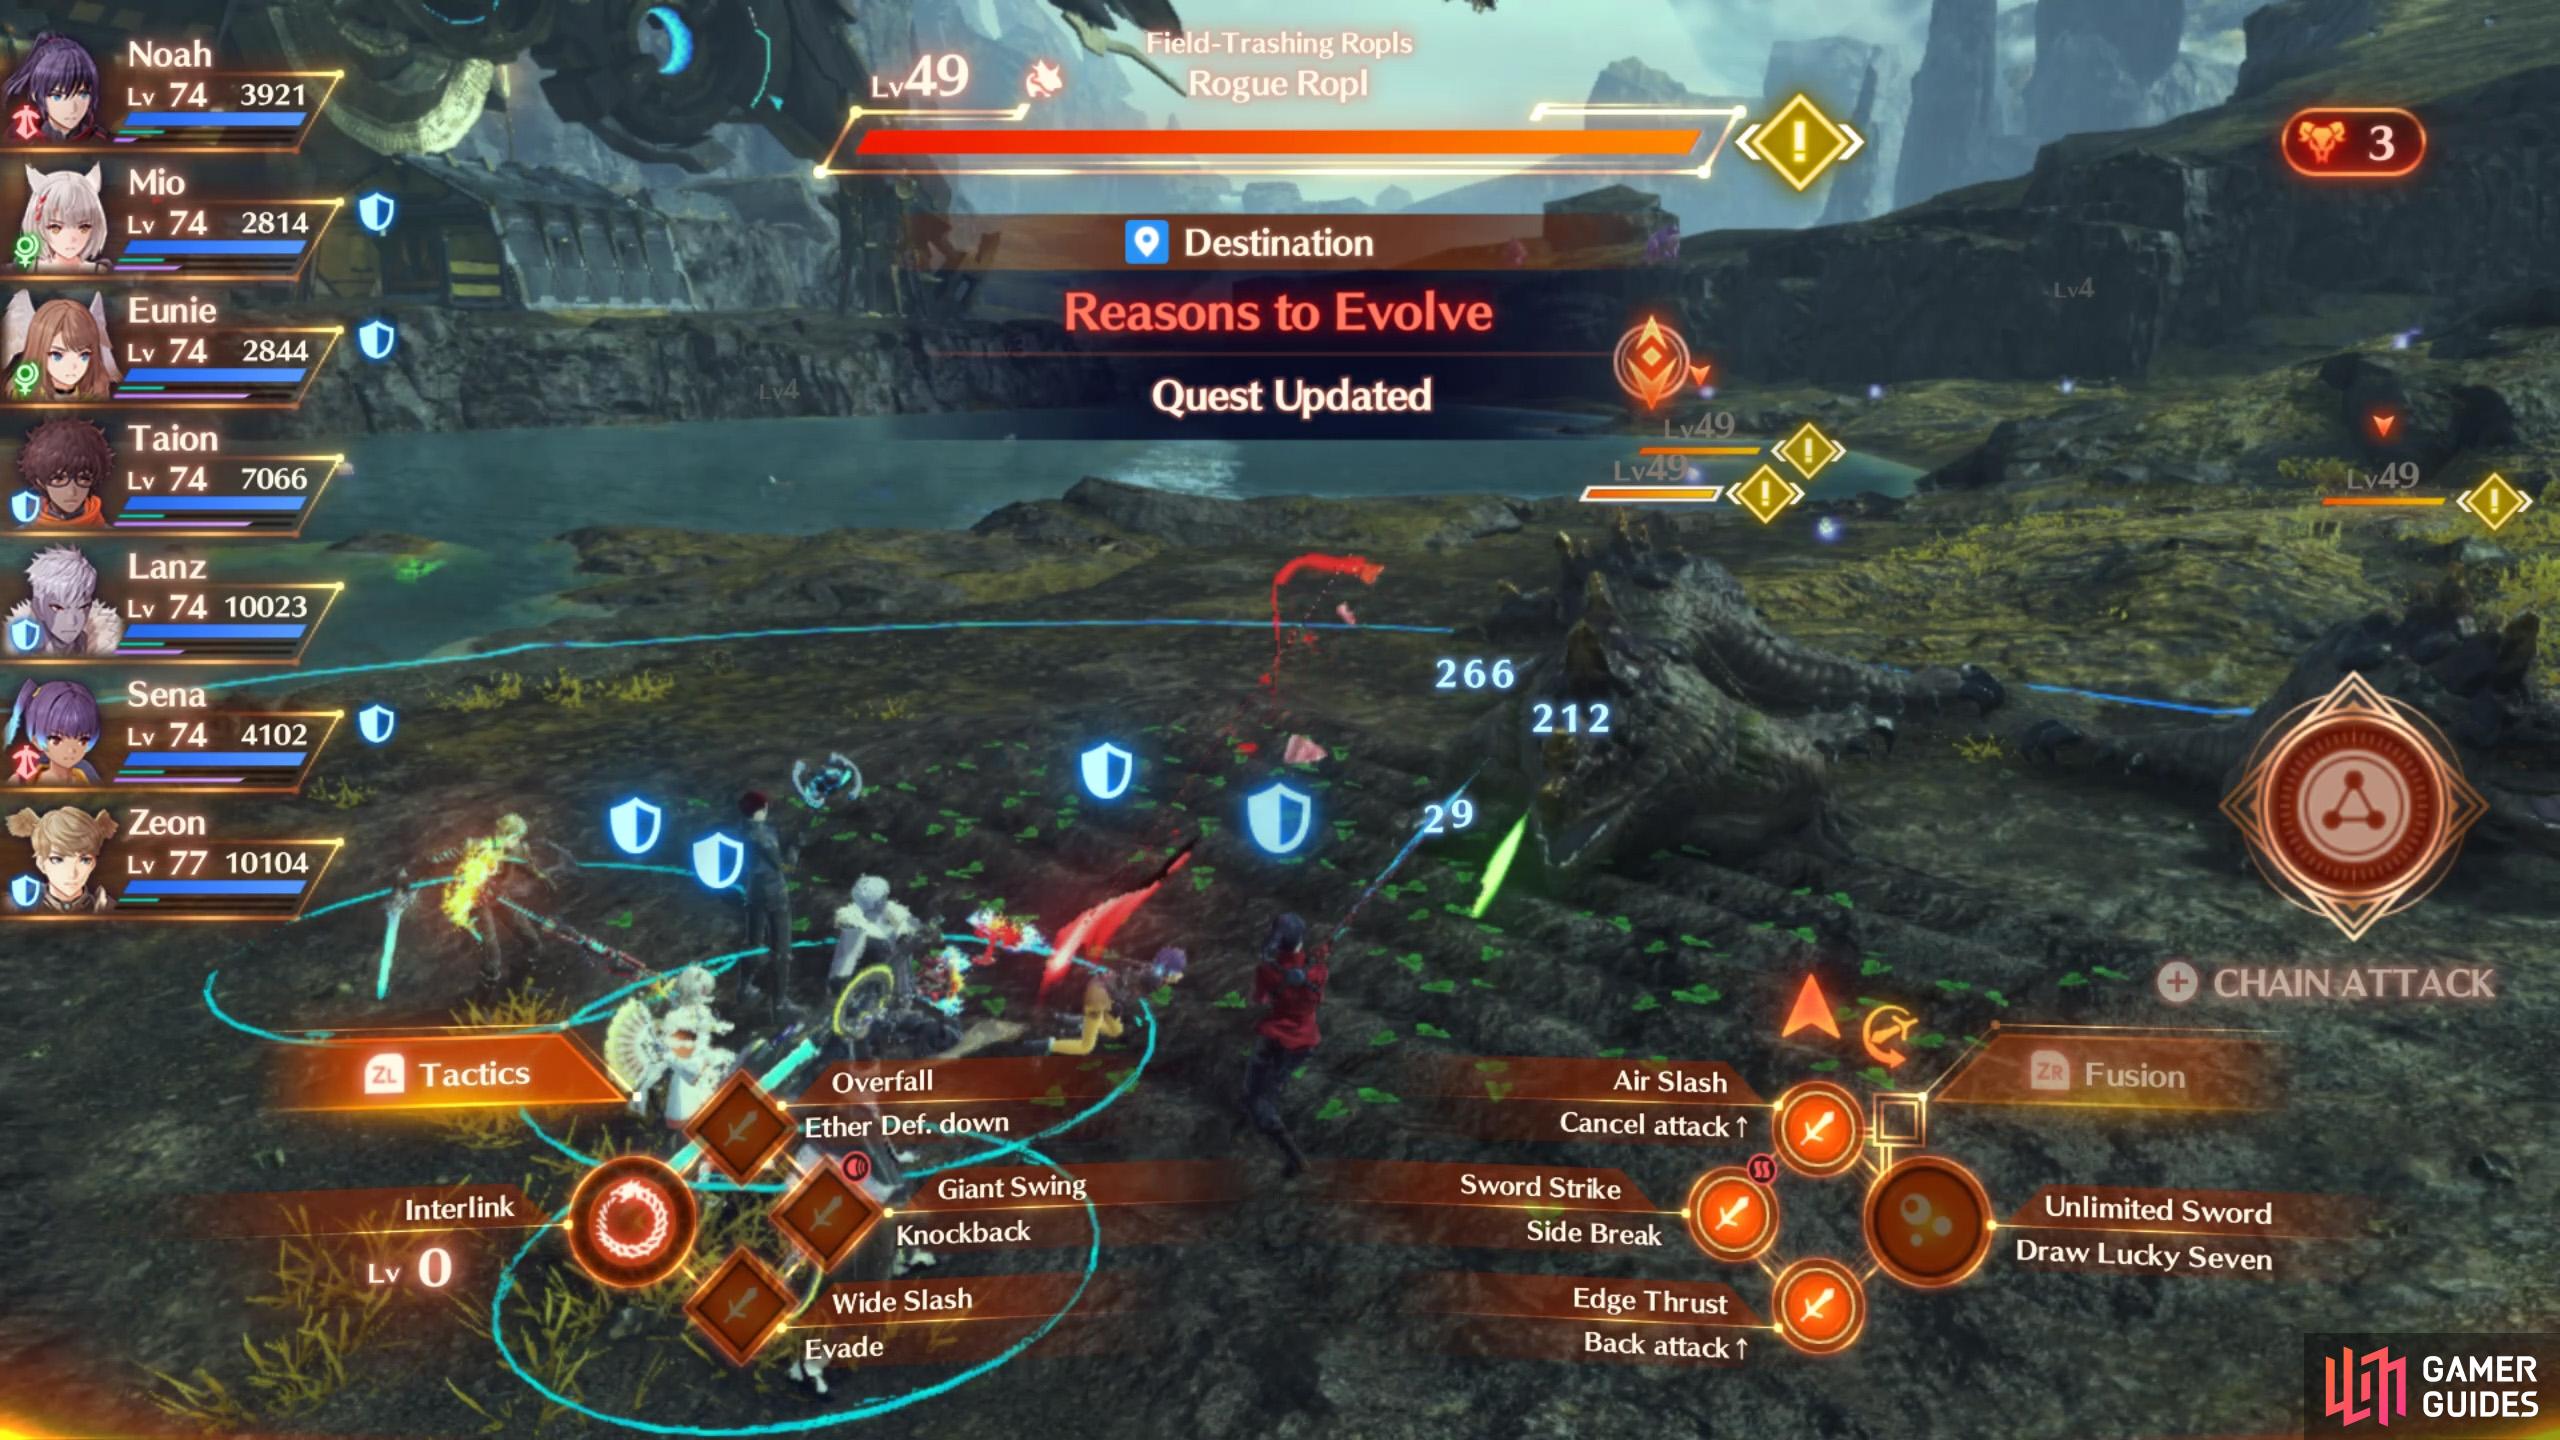
Don’t you dare touch our spuds.

Well, that was one wild ride.
This is the final step. With Juniper’s assistance, high-tail it back to the Spongy Spud Patch north of Colony 9. You’ll have to repel some nasty critters: three Level 49 Rogue Ropl monsters. Succeed and Colony 9’s Spongy Spuds will live to fight another day!
This will end this quest and unlock Rank 20 for Zeon’s Guardian Commander class. Now we’re curious how the newfound friendship between Colony 9 and Tau will develop…
Quest Reward
| EXP | Gold | SP | Reward |
|---|---|---|---|
| 4900 | 4600 | 10 | None |
No Comments