
This is a guide for The Battlescar Hulk in Xenoblade Chronicles 3.
How to Start The Battlescar Hulk Standard Quest
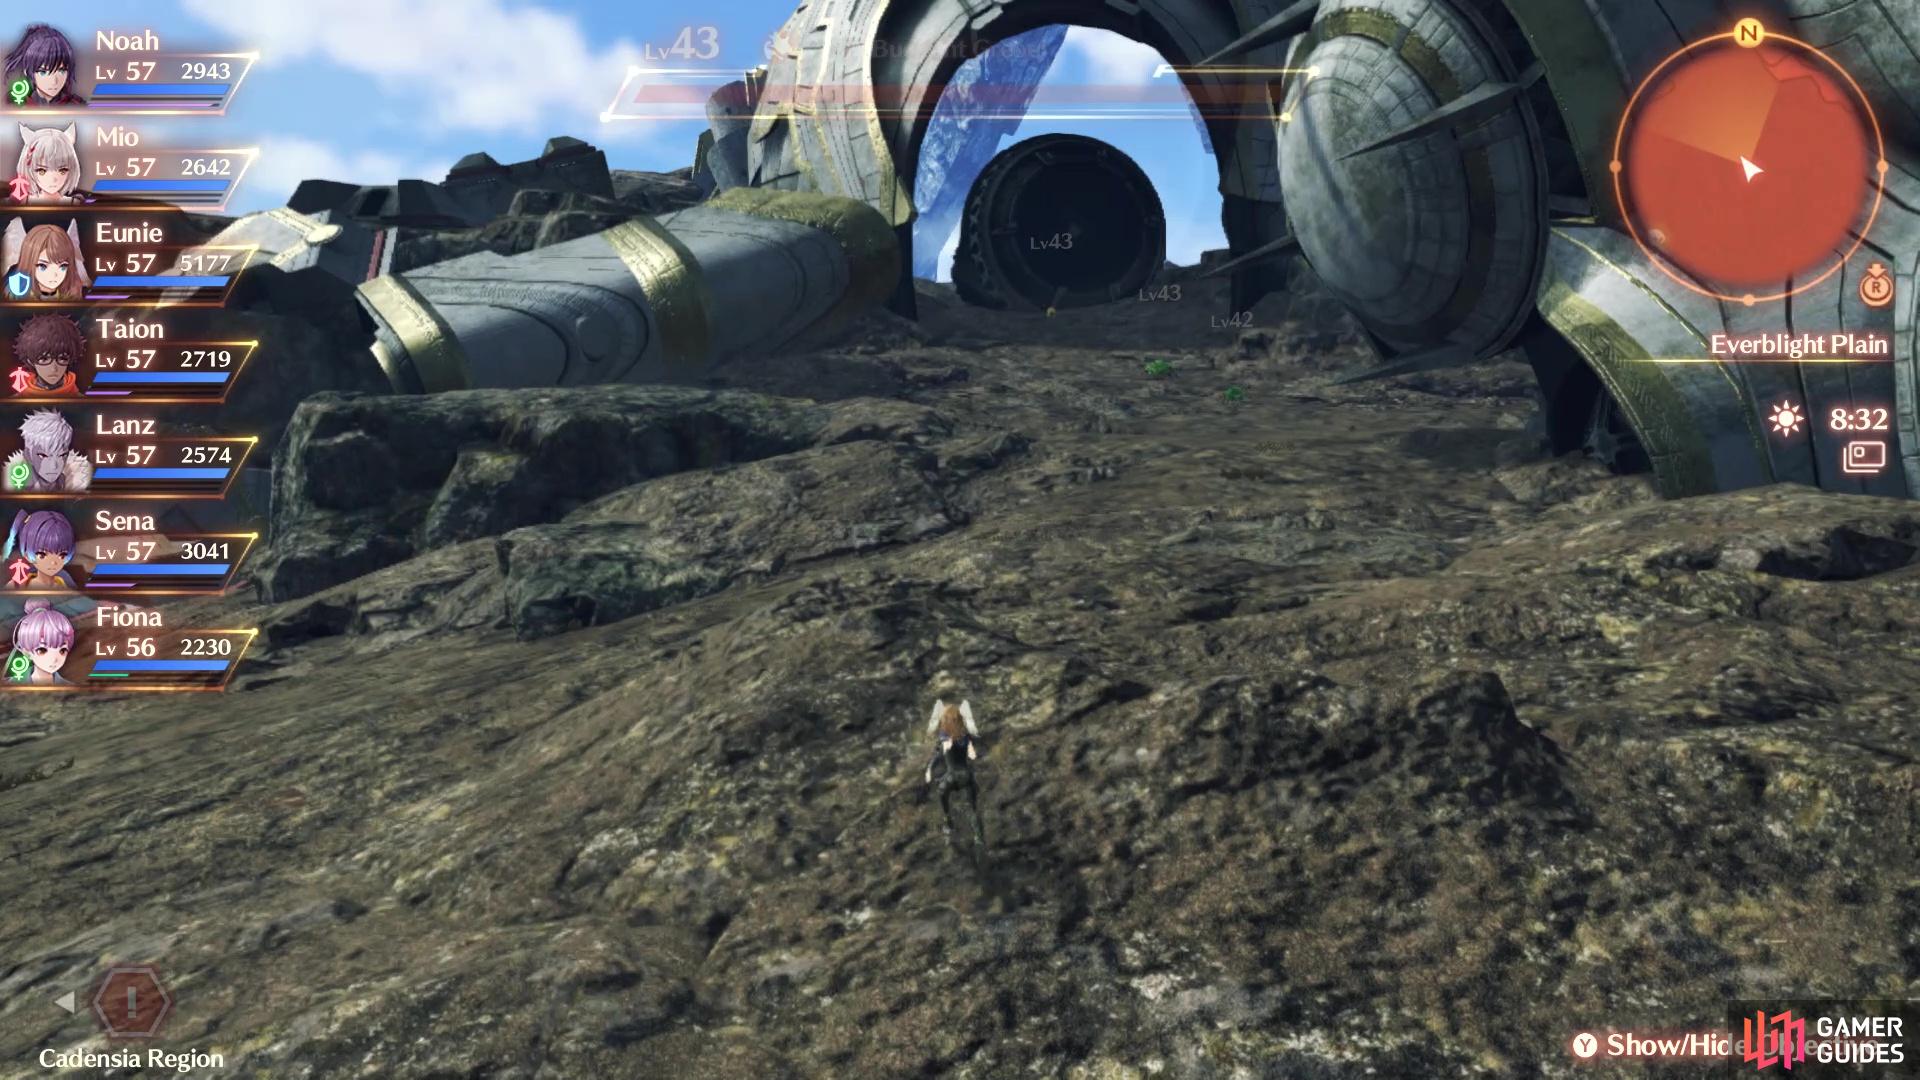
Go up this hill here to find the Battlescar Hulk
As you progress the main story, you will eventually lock yourself out of being able to explore a good portion of Yzana Plains and Everblight Plain. Once you reach Chapter 3, you will be able to explore those areas again, but only after completing the Hero Quest, Where the Heart Is. This will completely open up the Everblight Plain for exploration, which is where you will find this Ferronis Hulk. From the Torchlight Hill landmark, head northwest, under the ruins forming a bit of an arch and the Ferronis Hulk will be right in front of you.
How to Complete The Battlescar Hulk
Despite the quest log saying this is level 58, the enemies will be level 60, so that is the recommended level here. There are seven enemies to defeat here, four of which are Scarred Ansels, and the other three being Rockheart Ropls. In fact, you will want to be extremely careful about approaching the Ferronis from the front, as the Ropls are underground and it’s difficult to see their bodies, as they blend in with the ground very well. Even worse, once you aggro one of the Ropls, the other two will join in on the fun, so they are all linked and one of them is an Elite.
The best course of action here is to go after the Scarred Ansels first, since you can approach them from the side and pull them one-by-one with your lure. Note that one of them will be an Elite, but none of them should give you any trouble if you are level 60 or so. The Ropls, on the other hand, will likely give you a good bit of trouble, since you will be fighting three at once, with one of them being an Elite. Running three Healers here will be the ideal solution, as well as two Defenders and two Attackers. The Ropls can do some major damage with their fireballs, as well as the two AoEs they have.
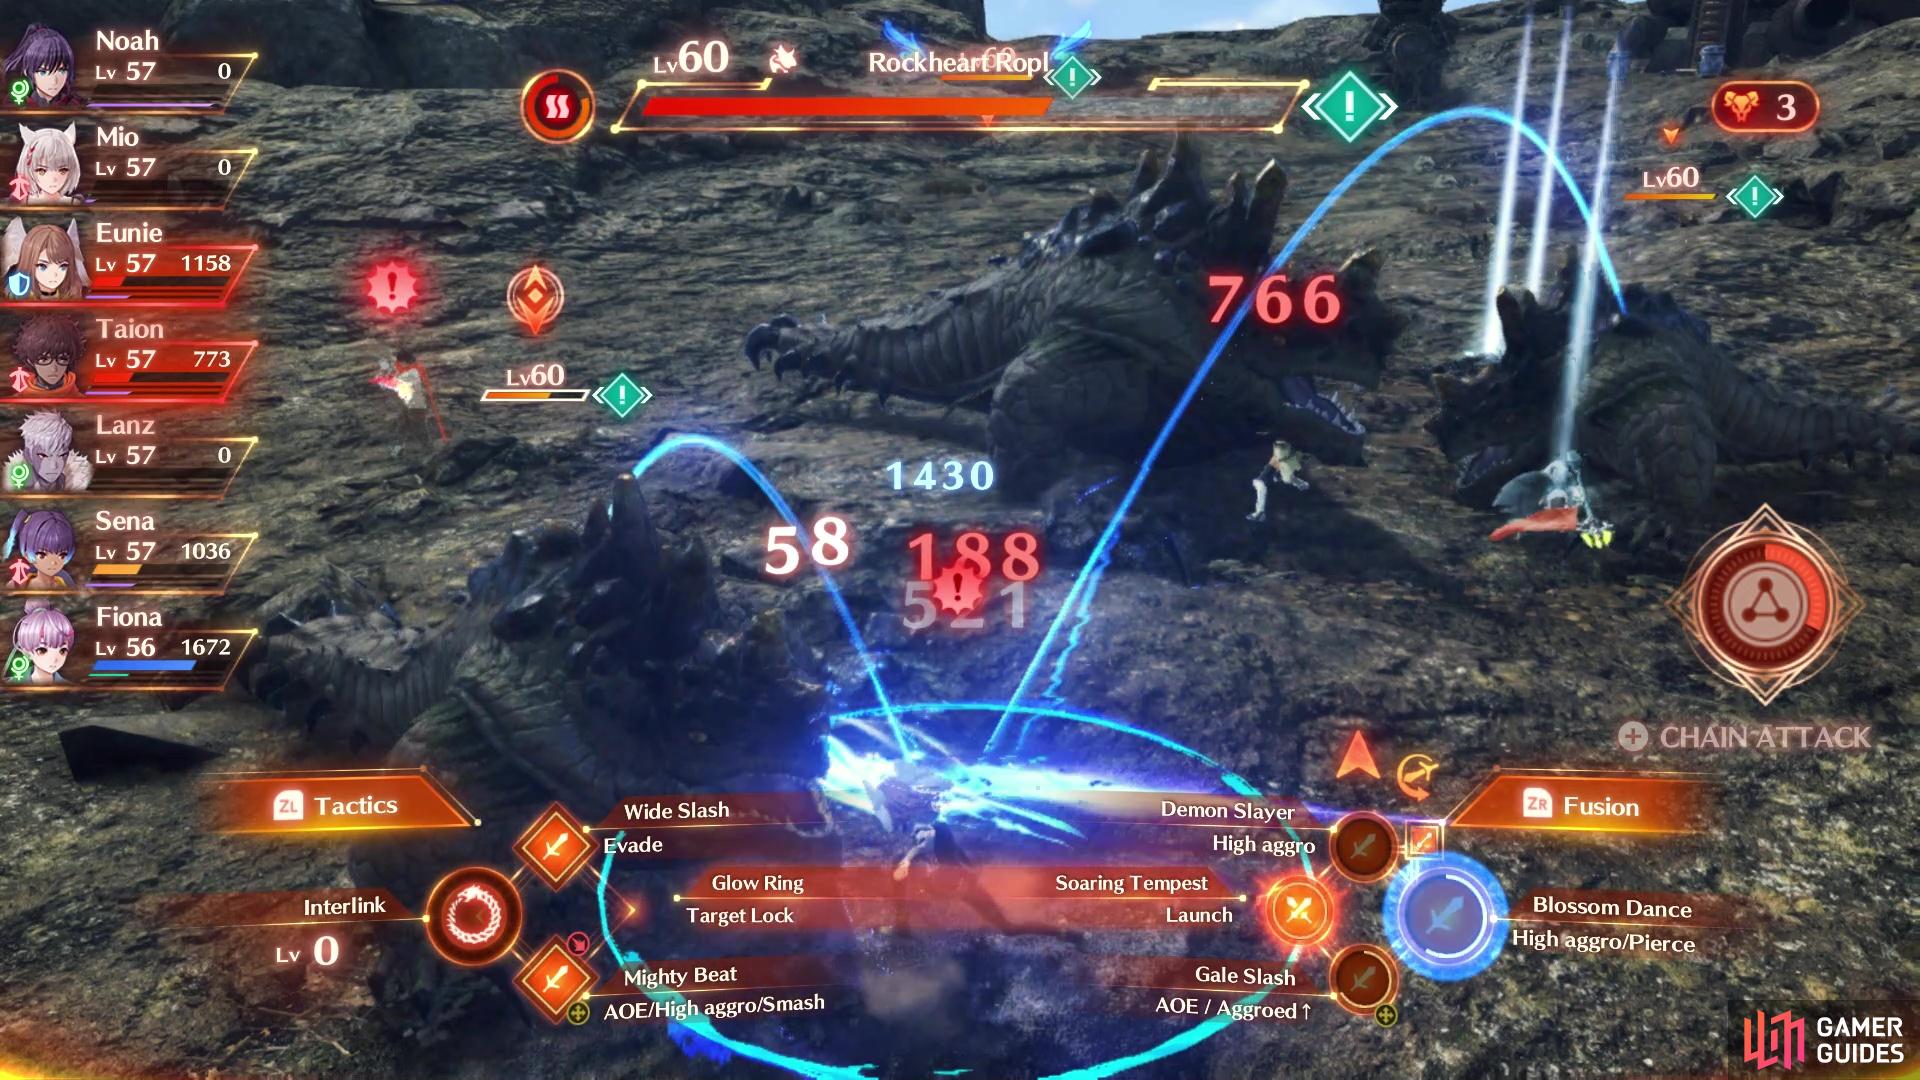
You will be forced to fight the three Ropls are the same time
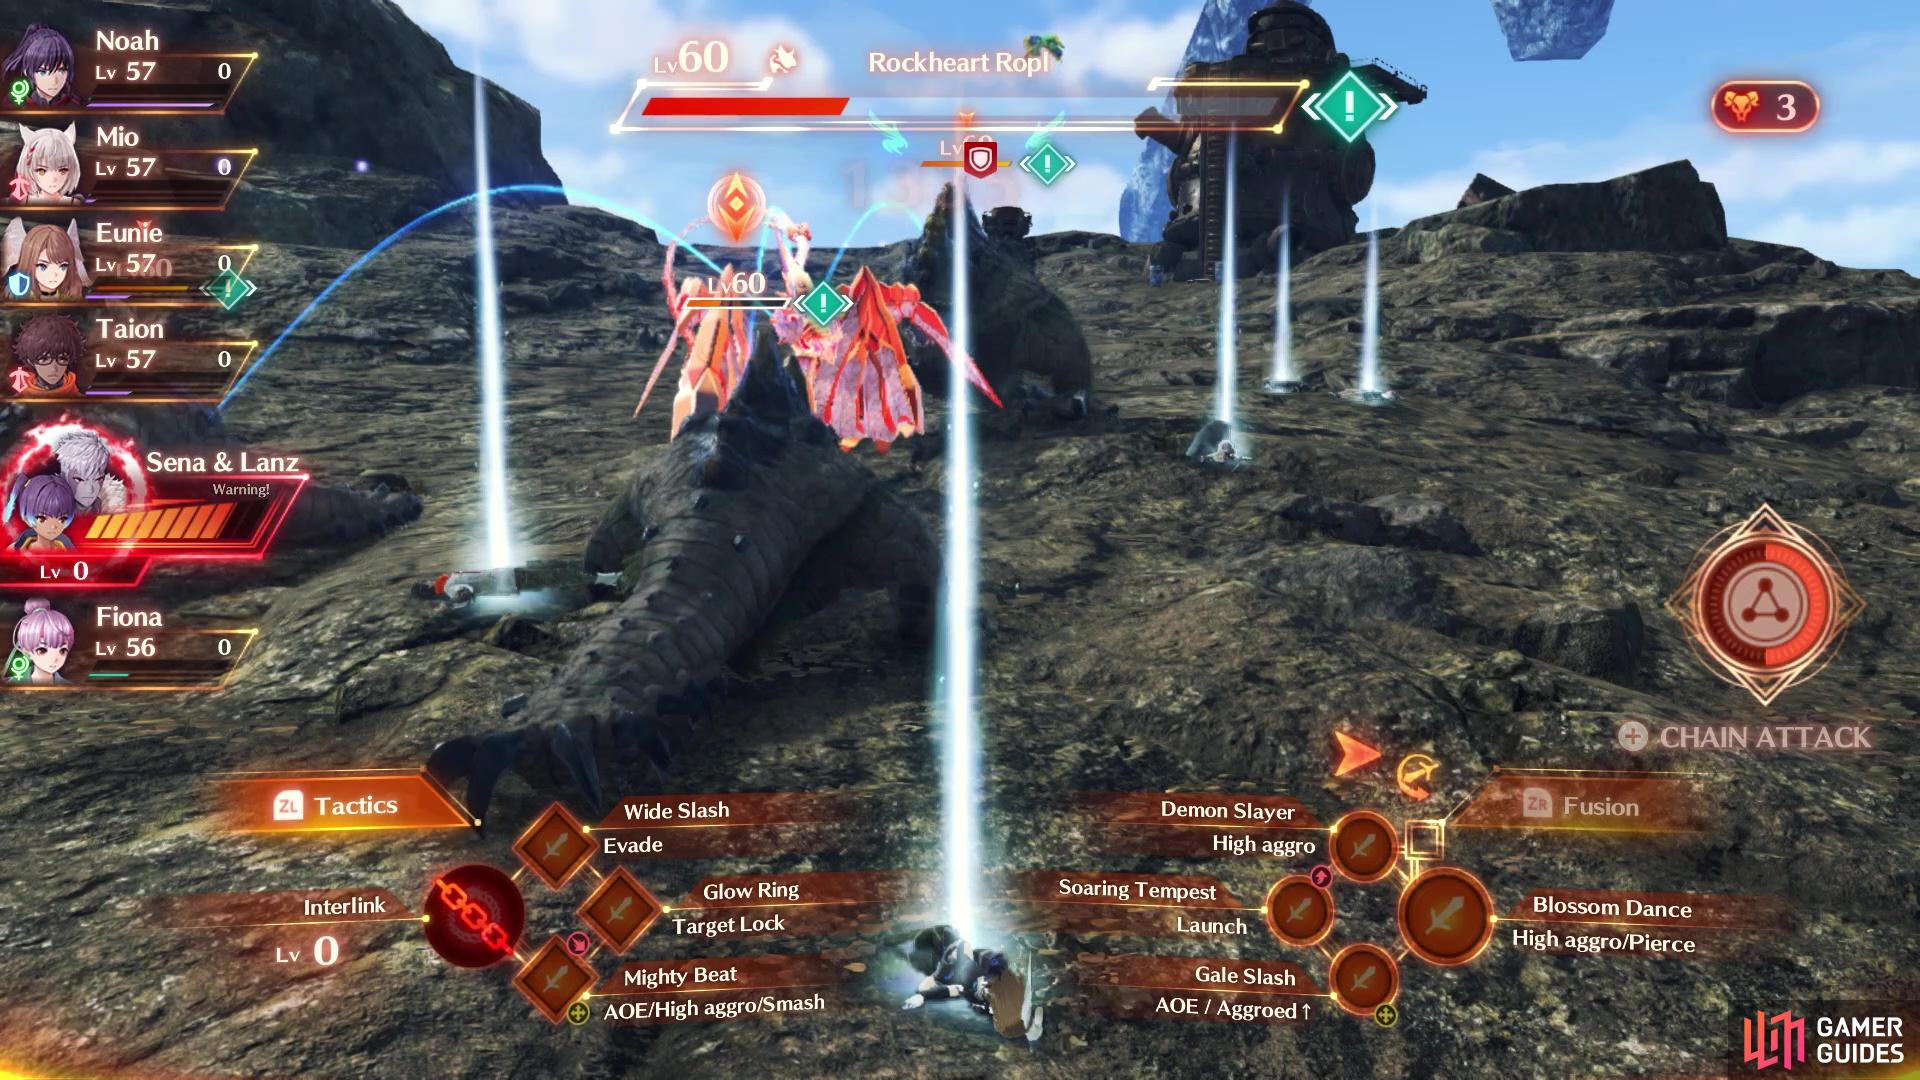
They can easily overwhelm you if you don’t have a plan
Do not be afraid to use your Interlink in case of emergencies, even if it’s at Level 0 or 1. Also, don’t forget to set your Tactics to focus on a single enemy at a time, going after the normal Ropls first, since those will go down quicker than the Elite.
Once you have defeated all seven enemies, climb the ladder to the main part of the Ferronis and insert the necessary amount of Ether Cylinders (you need 30) to start up the Ferronis, completing the quest. As usual, you will be able to loot the two Containers, and use the Fabricator there. Also, you can find another Nopon here for the Nopon Register quest, so make sure you speak with Papana.
| EXP | Gold | SP | Rewards |
|---|---|---|---|
| 9560 | 0 | 10 | – |
No Comments